Containerize an application
For the rest of this guide, you'll be working with a simple todo list manager that runs on Node.js. If you're not familiar with Node.js, don't worry. This guide doesn't require any prior experience with JavaScript.
Prerequisites
- You have installed the latest version of Docker Desktop.
- You have installed a Git client.
- You have an IDE or a text editor to edit files. Docker recommends using Visual Studio Code.
Get the app
Before you can run the application, you need to get the application source code onto your machine.
Clone the getting-started-app repository using the following command:
$ git clone https://github.com/docker/getting-started-app.gitView the contents of the cloned repository. You should see the following files and sub-directories.
├── getting-started-app/
│ ├── .dockerignore
│ ├── package.json
│ ├── README.md
│ ├── spec/
│ ├── src/
│ └── yarn.lock
Build the app's image
To build the image, you'll need to use a Dockerfile. A Dockerfile is simply a text-based file with no file extension that contains a script of instructions. Docker uses this script to build a container image.
In the
getting-started-appdirectory, the same location as thepackage.jsonfile, create a file namedDockerfilewith the following contents:# syntax=docker/dockerfile:1 FROM node:lts-alpine WORKDIR /app COPY . . RUN yarn install --production CMD ["node", "src/index.js"] EXPOSE 3000This Dockerfile starts off with a
node:lts-alpinebase image, a light-weight Linux image that comes with Node.js and the Yarn package manager pre-installed. It copies all of the source code into the image, installs the necessary dependencies, and starts the application.Build the image using the following commands:
In the terminal, make sure you're in the
getting-started-appdirectory. Replace/path/to/getting-started-appwith the path to yourgetting-started-appdirectory.$ cd /path/to/getting-started-appBuild the image.
$ docker build -t getting-started .The
docker buildcommand uses the Dockerfile to build a new image. You might have noticed that Docker downloaded a lot of "layers". This is because you instructed the builder that you wanted to start from thenode:lts-alpineimage. But, since you didn't have that on your machine, Docker needed to download the image.After Docker downloaded the image, the instructions from the Dockerfile copied in your application and used
yarnto install your application's dependencies. TheCMDdirective specifies the default command to run when starting a container from this image.Finally, the
-tflag tags your image. Think of this as a human-readable name for the final image. Since you named the imagegetting-started, you can refer to that image when you run a container.The
.at the end of thedocker buildcommand tells Docker that it should look for theDockerfilein the current directory.
Start an app container
Now that you have an image, you can run the application in a container using the docker run command.
Run your container using the
docker runcommand and specify the name of the image you just created:$ docker run -d -p 127.0.0.1:3000:3000 getting-startedThe
-dflag (short for--detach) runs the container in the background. This means that Docker starts your container and returns you to the terminal prompt. Also, it does not display logs in the terminal.The
-pflag (short for--publish) creates a port mapping between the host and the container. The-pflag takes a string value in the format ofHOST:CONTAINER, whereHOSTis the address on the host, andCONTAINERis the port on the container. The command publishes the container's port 3000 to127.0.0.1:3000(localhost:3000) on the host. Without the port mapping, you wouldn't be able to access the application from the host.After a few seconds, open your web browser to http://localhost:3000. You should see your app.

Add an item or two and see that it works as you expect. You can mark items as complete and remove them. Your frontend is successfully storing items in the backend.
At this point, you have a running todo list manager with a few items.
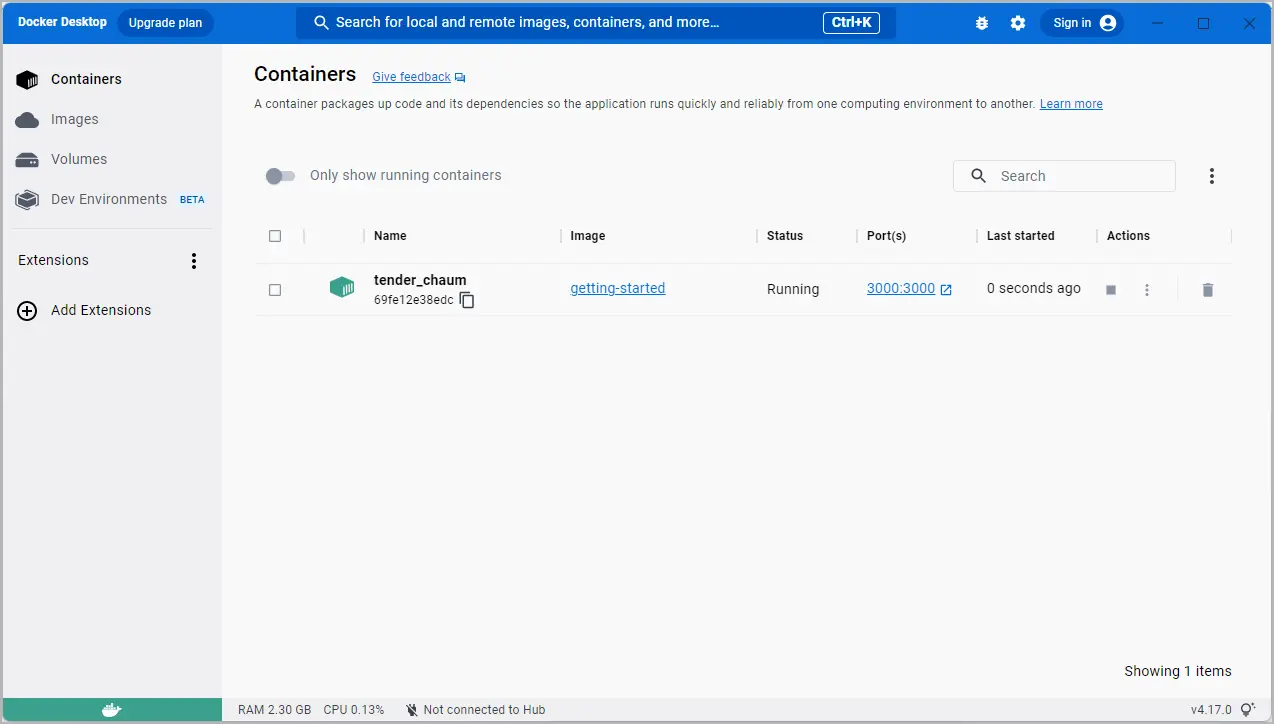
If you take a quick look at your containers, you should see at least one container running that's using the getting-started image and on port 3000. To see your containers, you can use the CLI or Docker Desktop's graphical interface.
Run the docker ps command in a terminal to list your containers.
$ docker ps
Output similar to the following should appear.
CONTAINER ID        IMAGE               COMMAND                  CREATED             STATUS              PORTS                      NAMES
df784548666d        getting-started     "docker-entrypoint.s…"   2 minutes ago       Up 2 minutes        127.0.0.1:3000->3000/tcp   priceless_mcclintock
In Docker Desktop, select the Containers tab to see a list of your containers.
Summary
In this section, you learned the basics about creating a Dockerfile to build an image. Once you built an image, you started a container and saw the running app.
Related information:
Next steps
Next, you're going to make a modification to your app and learn how to update your running application with a new image. Along the way, you'll learn a few other useful commands.
Update the application