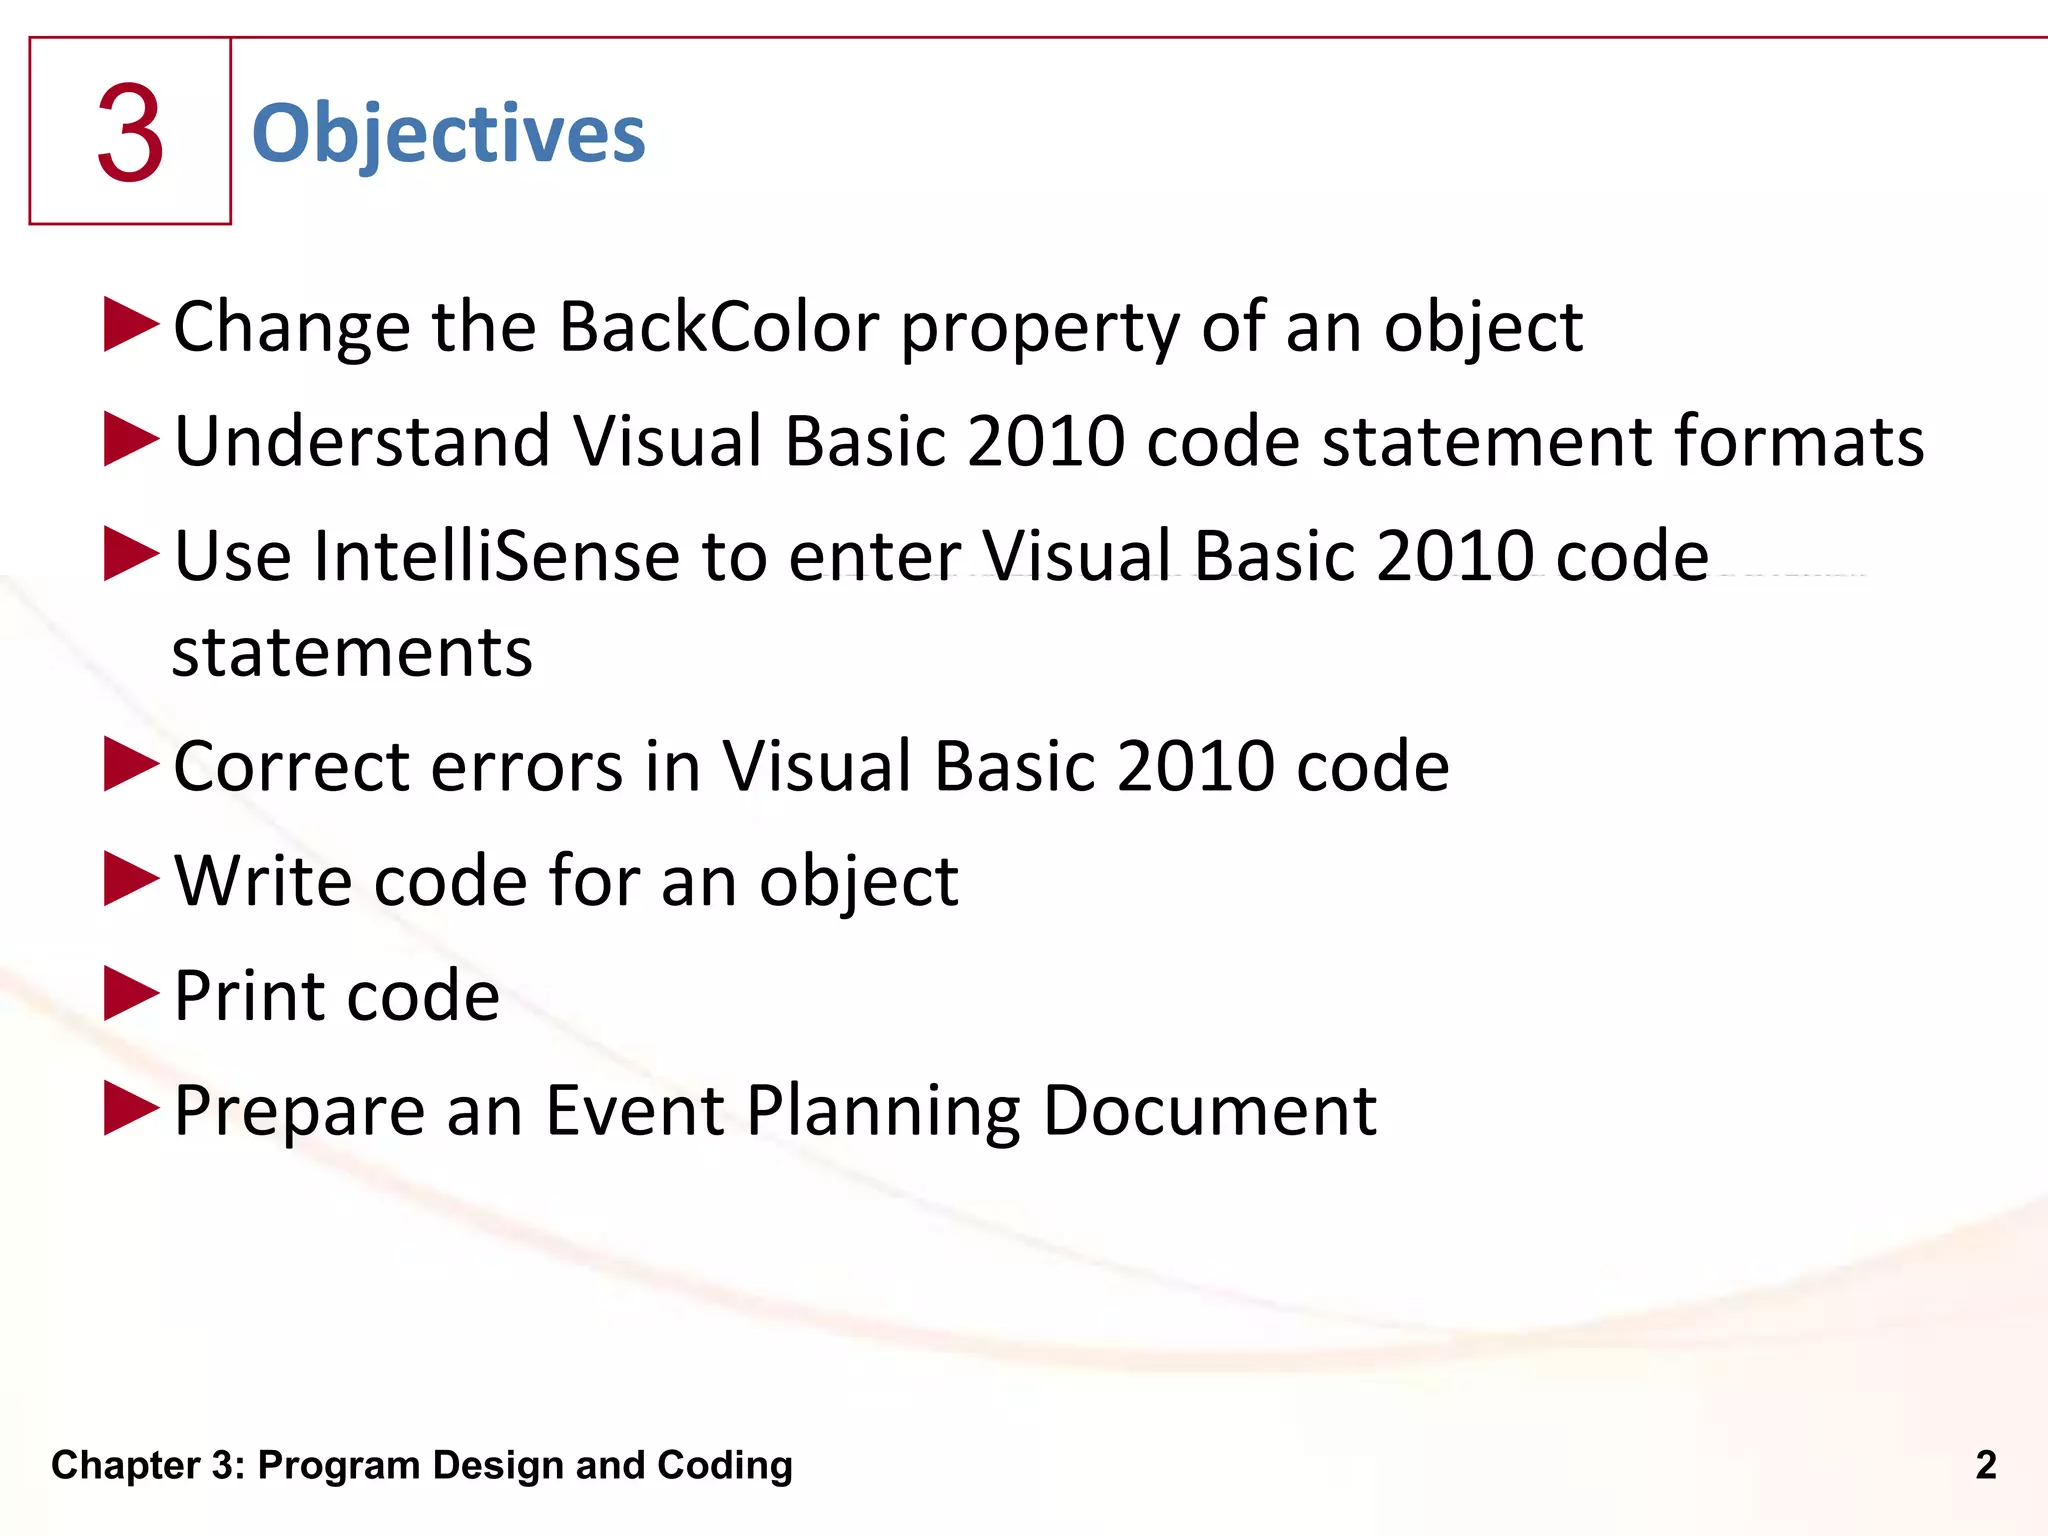
Chapter 3 of Microsoft Visual Basic 2010 focuses on program design and coding, covering objectives like changing object properties, using Intellisense, and correcting code errors. It details steps for adjusting the backcolor and size of images, entering code for event handling, and comments in statements. The chapter also discusses debugging, printing code, and developing a program based on an event planning document.

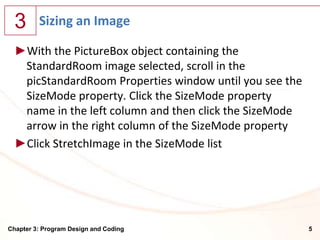

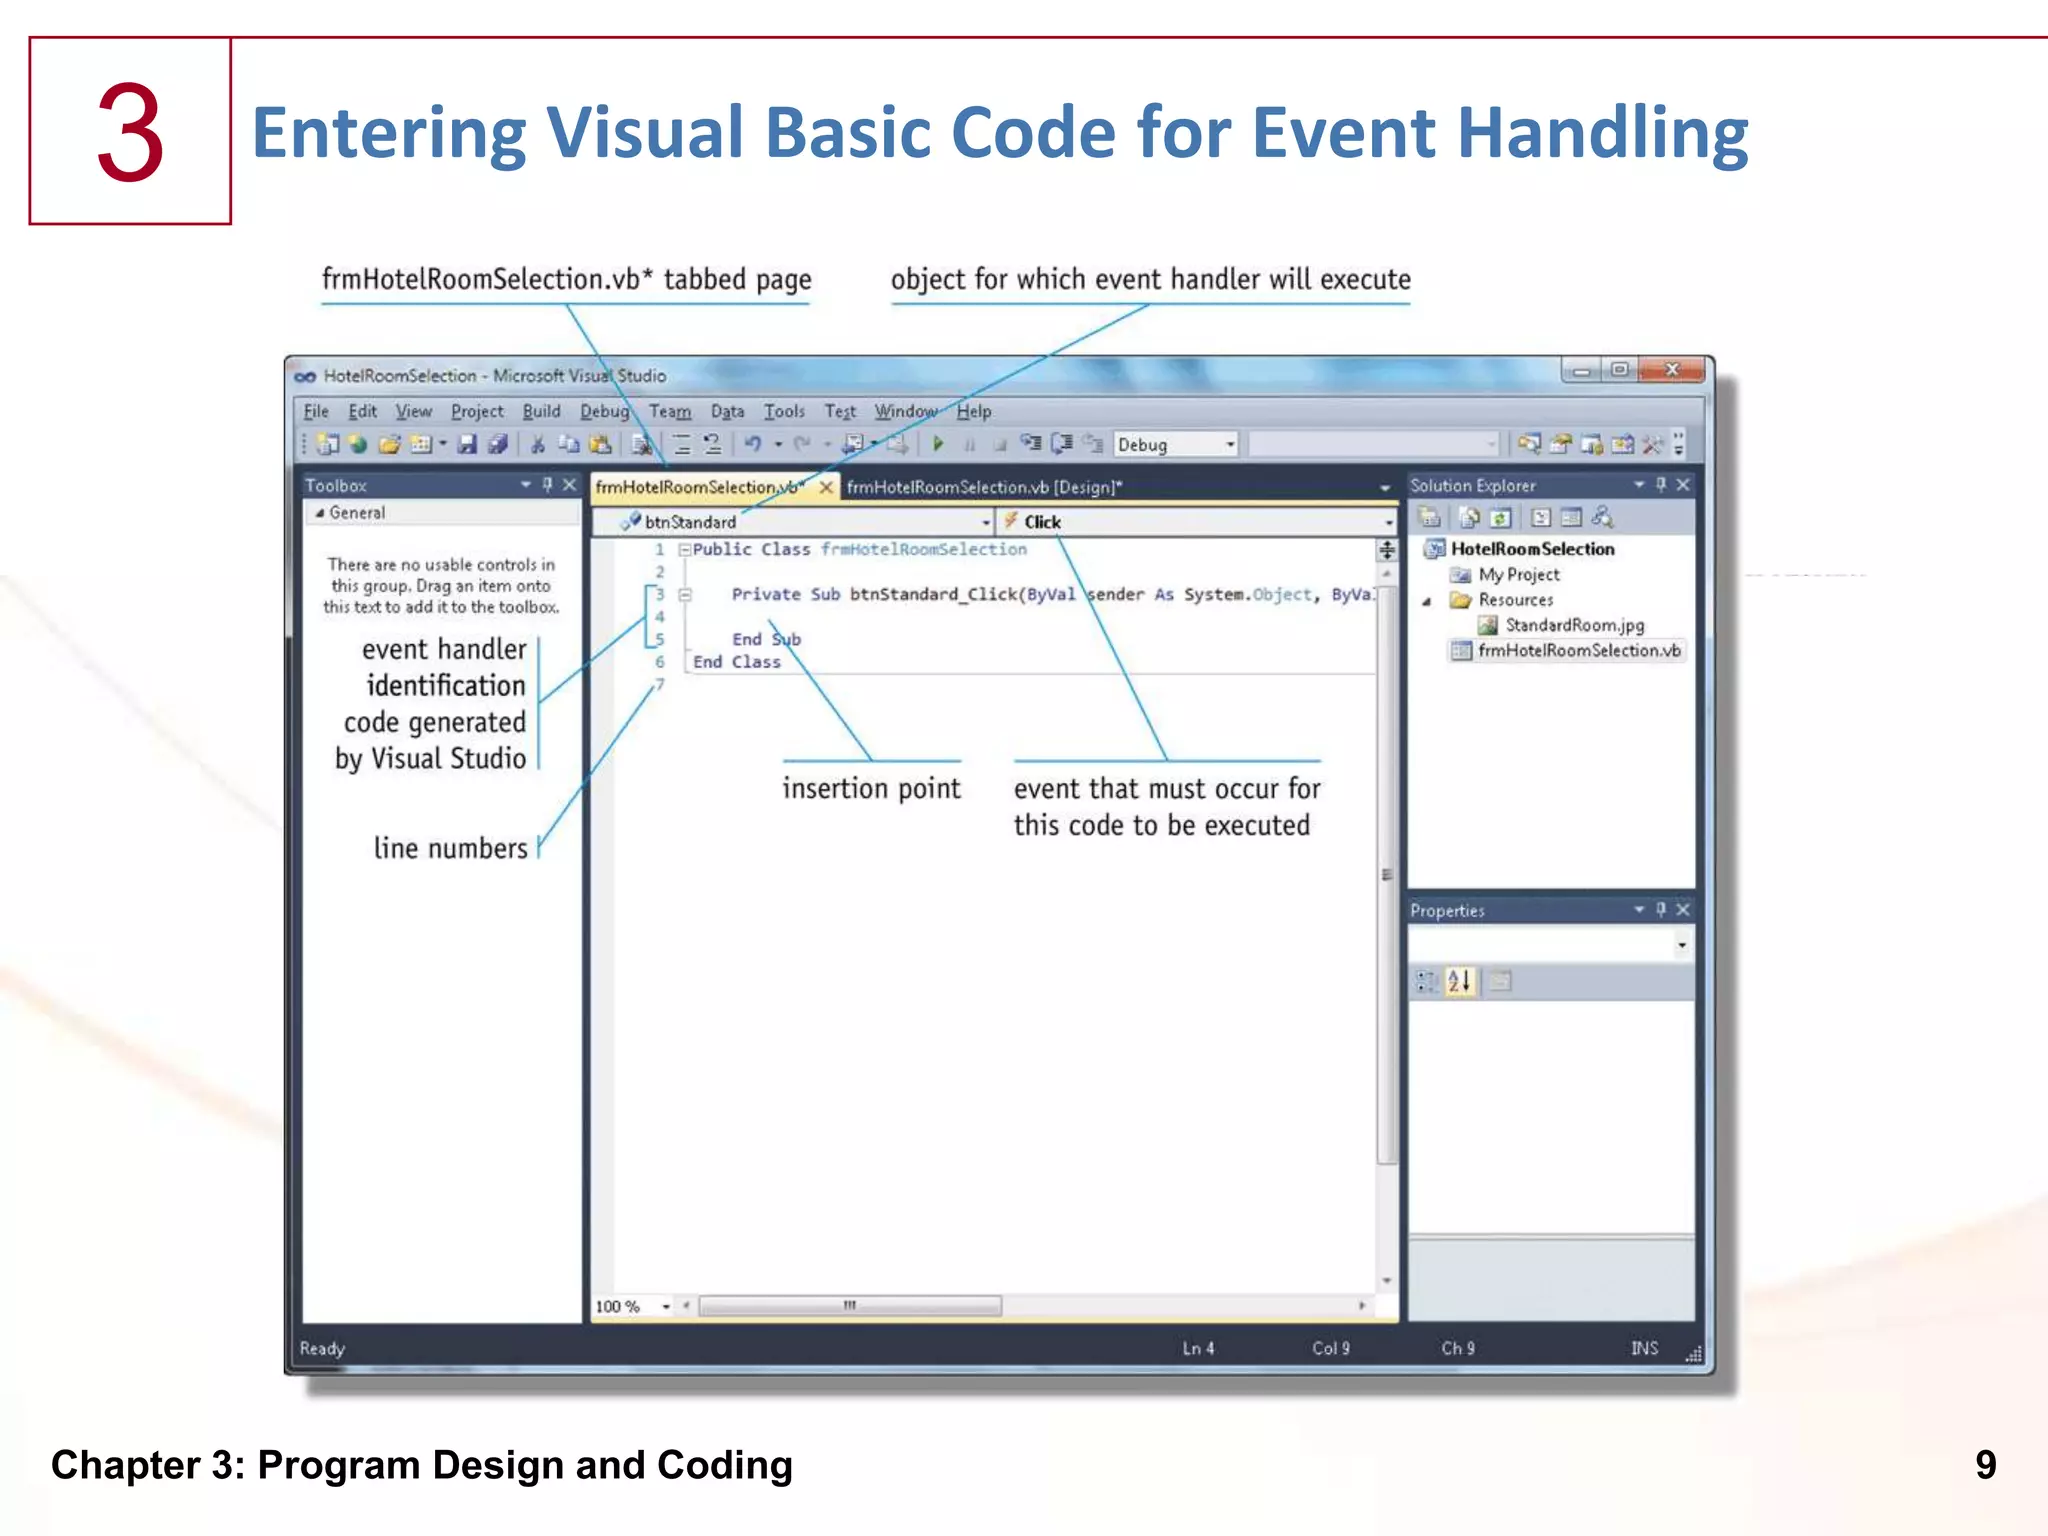
![3 Entering Visual Basic Code for Event Handling
►With Visual Studio 2010 and the Hotel Room Selection
program open and the frmHotelRoomSelection.vb
[Design] tabbed window visible, point to the Standard
Room Button object in the Windows Form object
►Double-click the Standard Room Button object
Chapter 3: Program Design and Coding 8](https://image.slidesharecdn.com/chapter03-120919161819-phpapp02/85/Chapter-03-Program-Coding-and-Design-8-320.jpg)


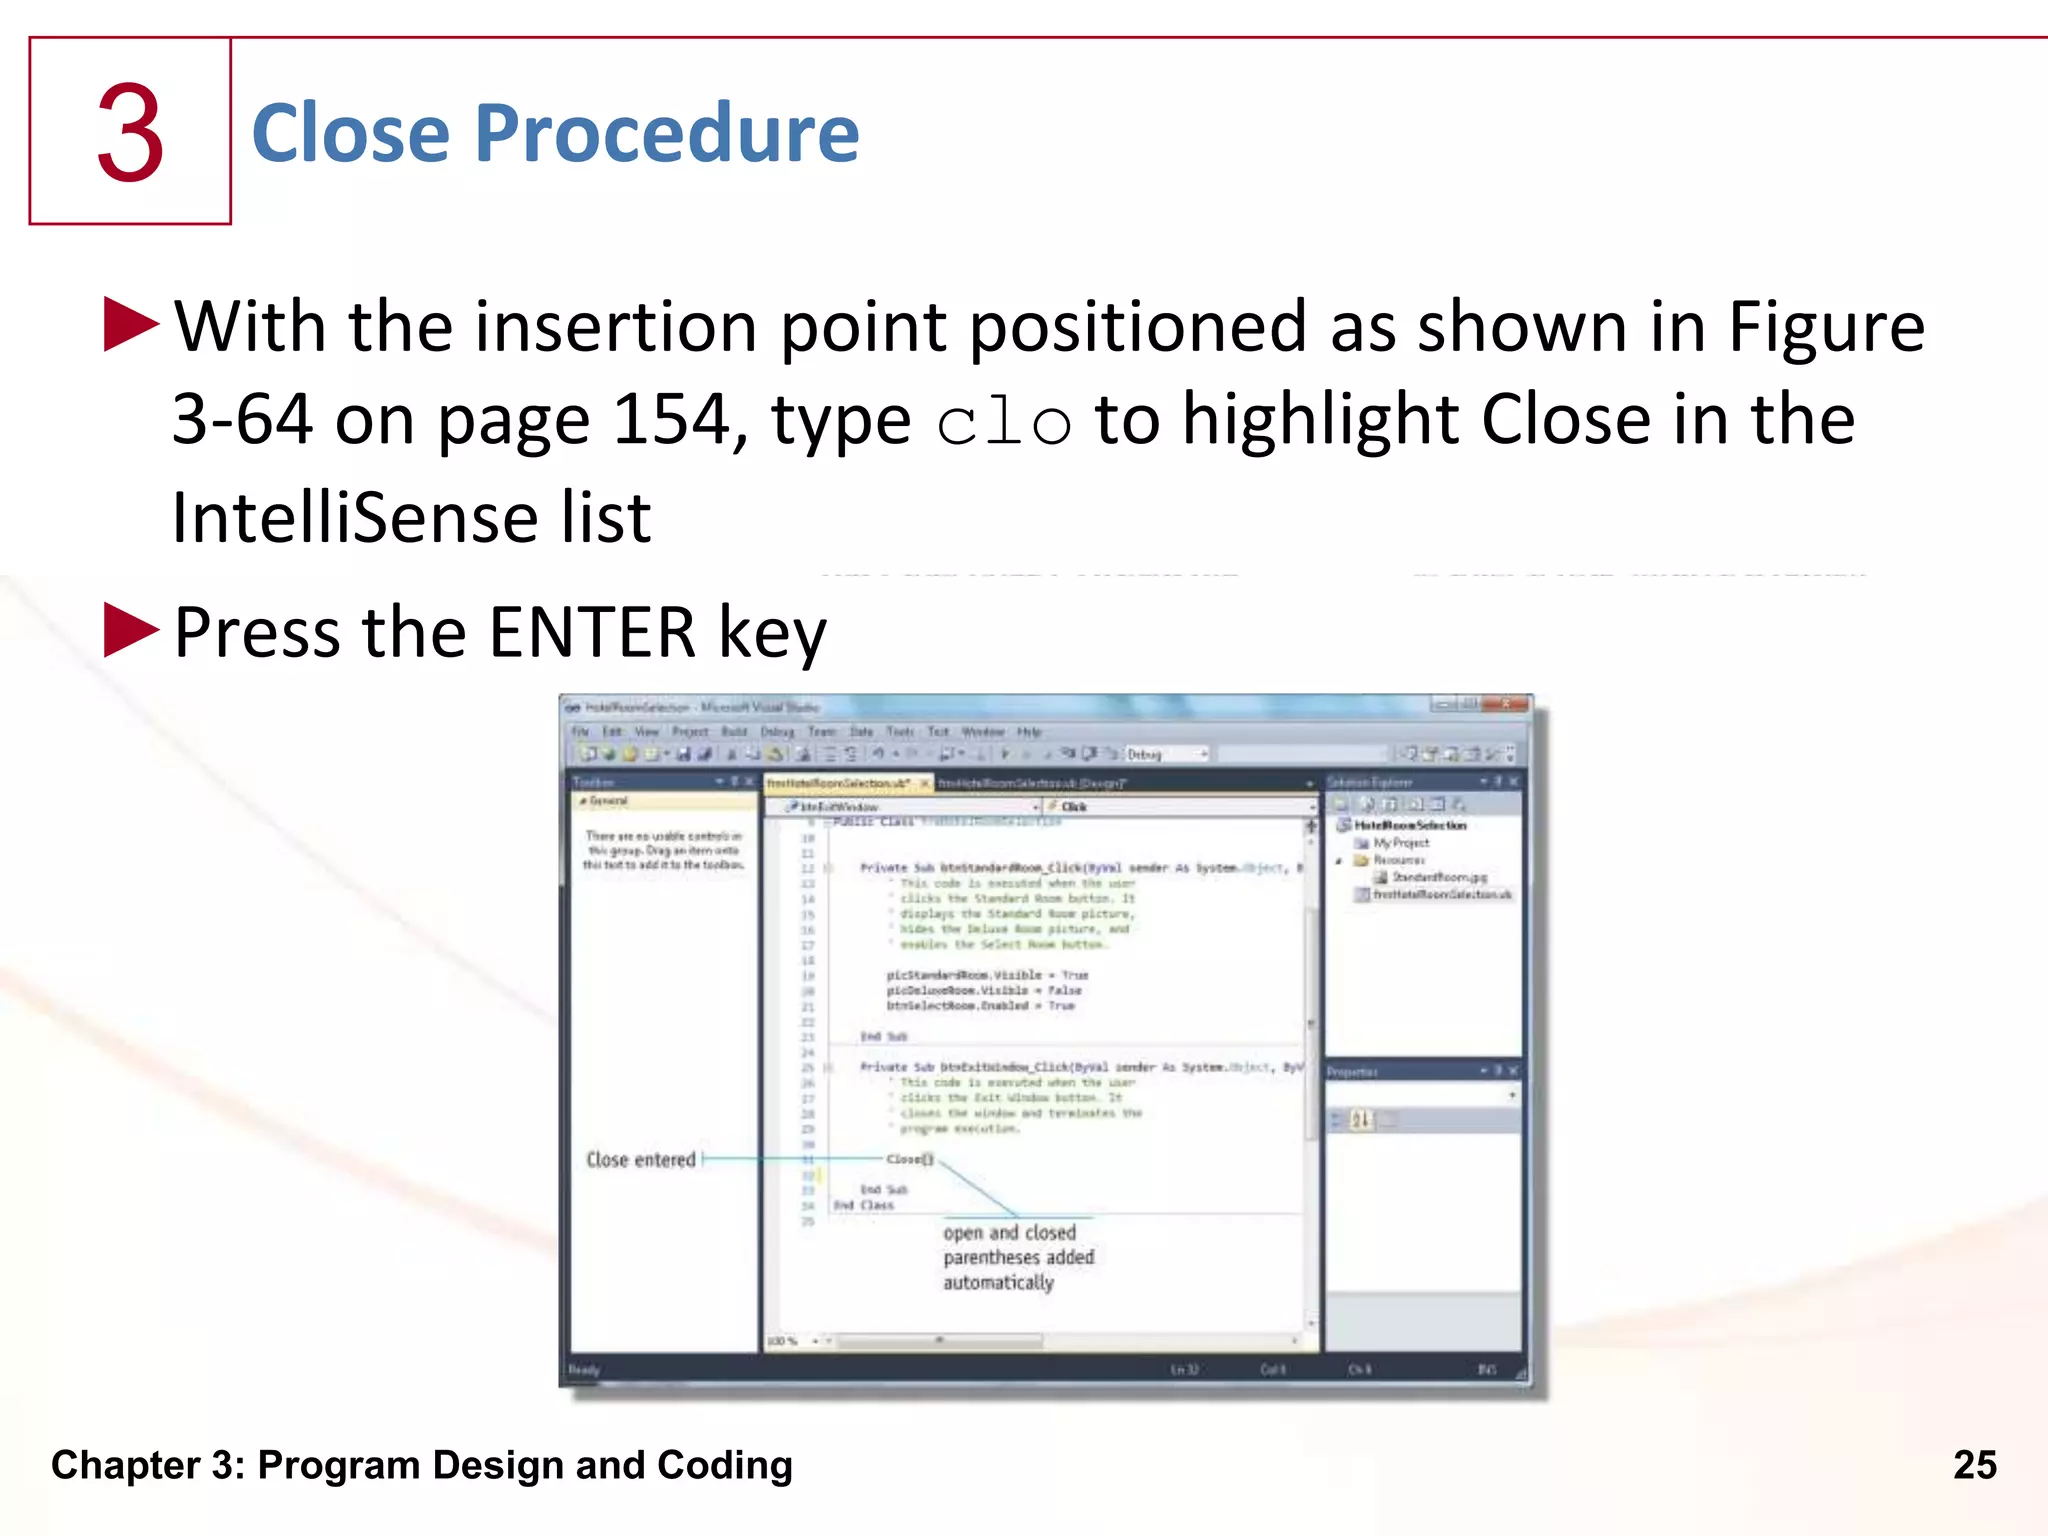
![3 Additional Click Events
►On the frmHotelRoomSelection.vb [Design] tabbed
page, double-click the Exit Window Button object
Chapter 3: Program Design and Coding 24](https://image.slidesharecdn.com/chapter03-120919161819-phpapp02/85/Chapter-03-Program-Coding-and-Design-24-320.jpg)


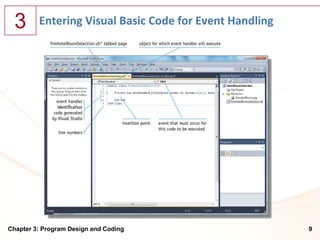
![3 Entering Visual Basic Code for Event Handling
►With Visual Studio 2010 and the Hotel Room Selection
program open and the frmHotelRoomSelection.vb
[Design] tabbed window visible, point to the Standard
Room Button object in the Windows Form object
►Double-click the Standard Room Button object
Chapter 3: Program Design and Coding 8](https://image.slidesharecdn.com/chapter03-120919161819-phpapp02/75/Chapter-03-Program-Coding-and-Design-8-2048.jpg)


![3 Additional Click Events
►On the frmHotelRoomSelection.vb [Design] tabbed
page, double-click the Exit Window Button object
Chapter 3: Program Design and Coding 24](https://image.slidesharecdn.com/chapter03-120919161819-phpapp02/75/Chapter-03-Program-Coding-and-Design-24-2048.jpg)