This document provides instructions for compiling programs with the Eclipse IDE. It describes the key components of Eclipse like the edit area and views. It outlines the steps to create a Java program in Eclipse, including creating a project, package, class, and implementing code. It also provides an example of a program to convert gallons to liters and key terms used in the lesson.


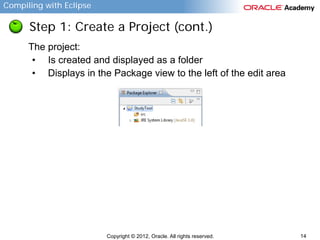

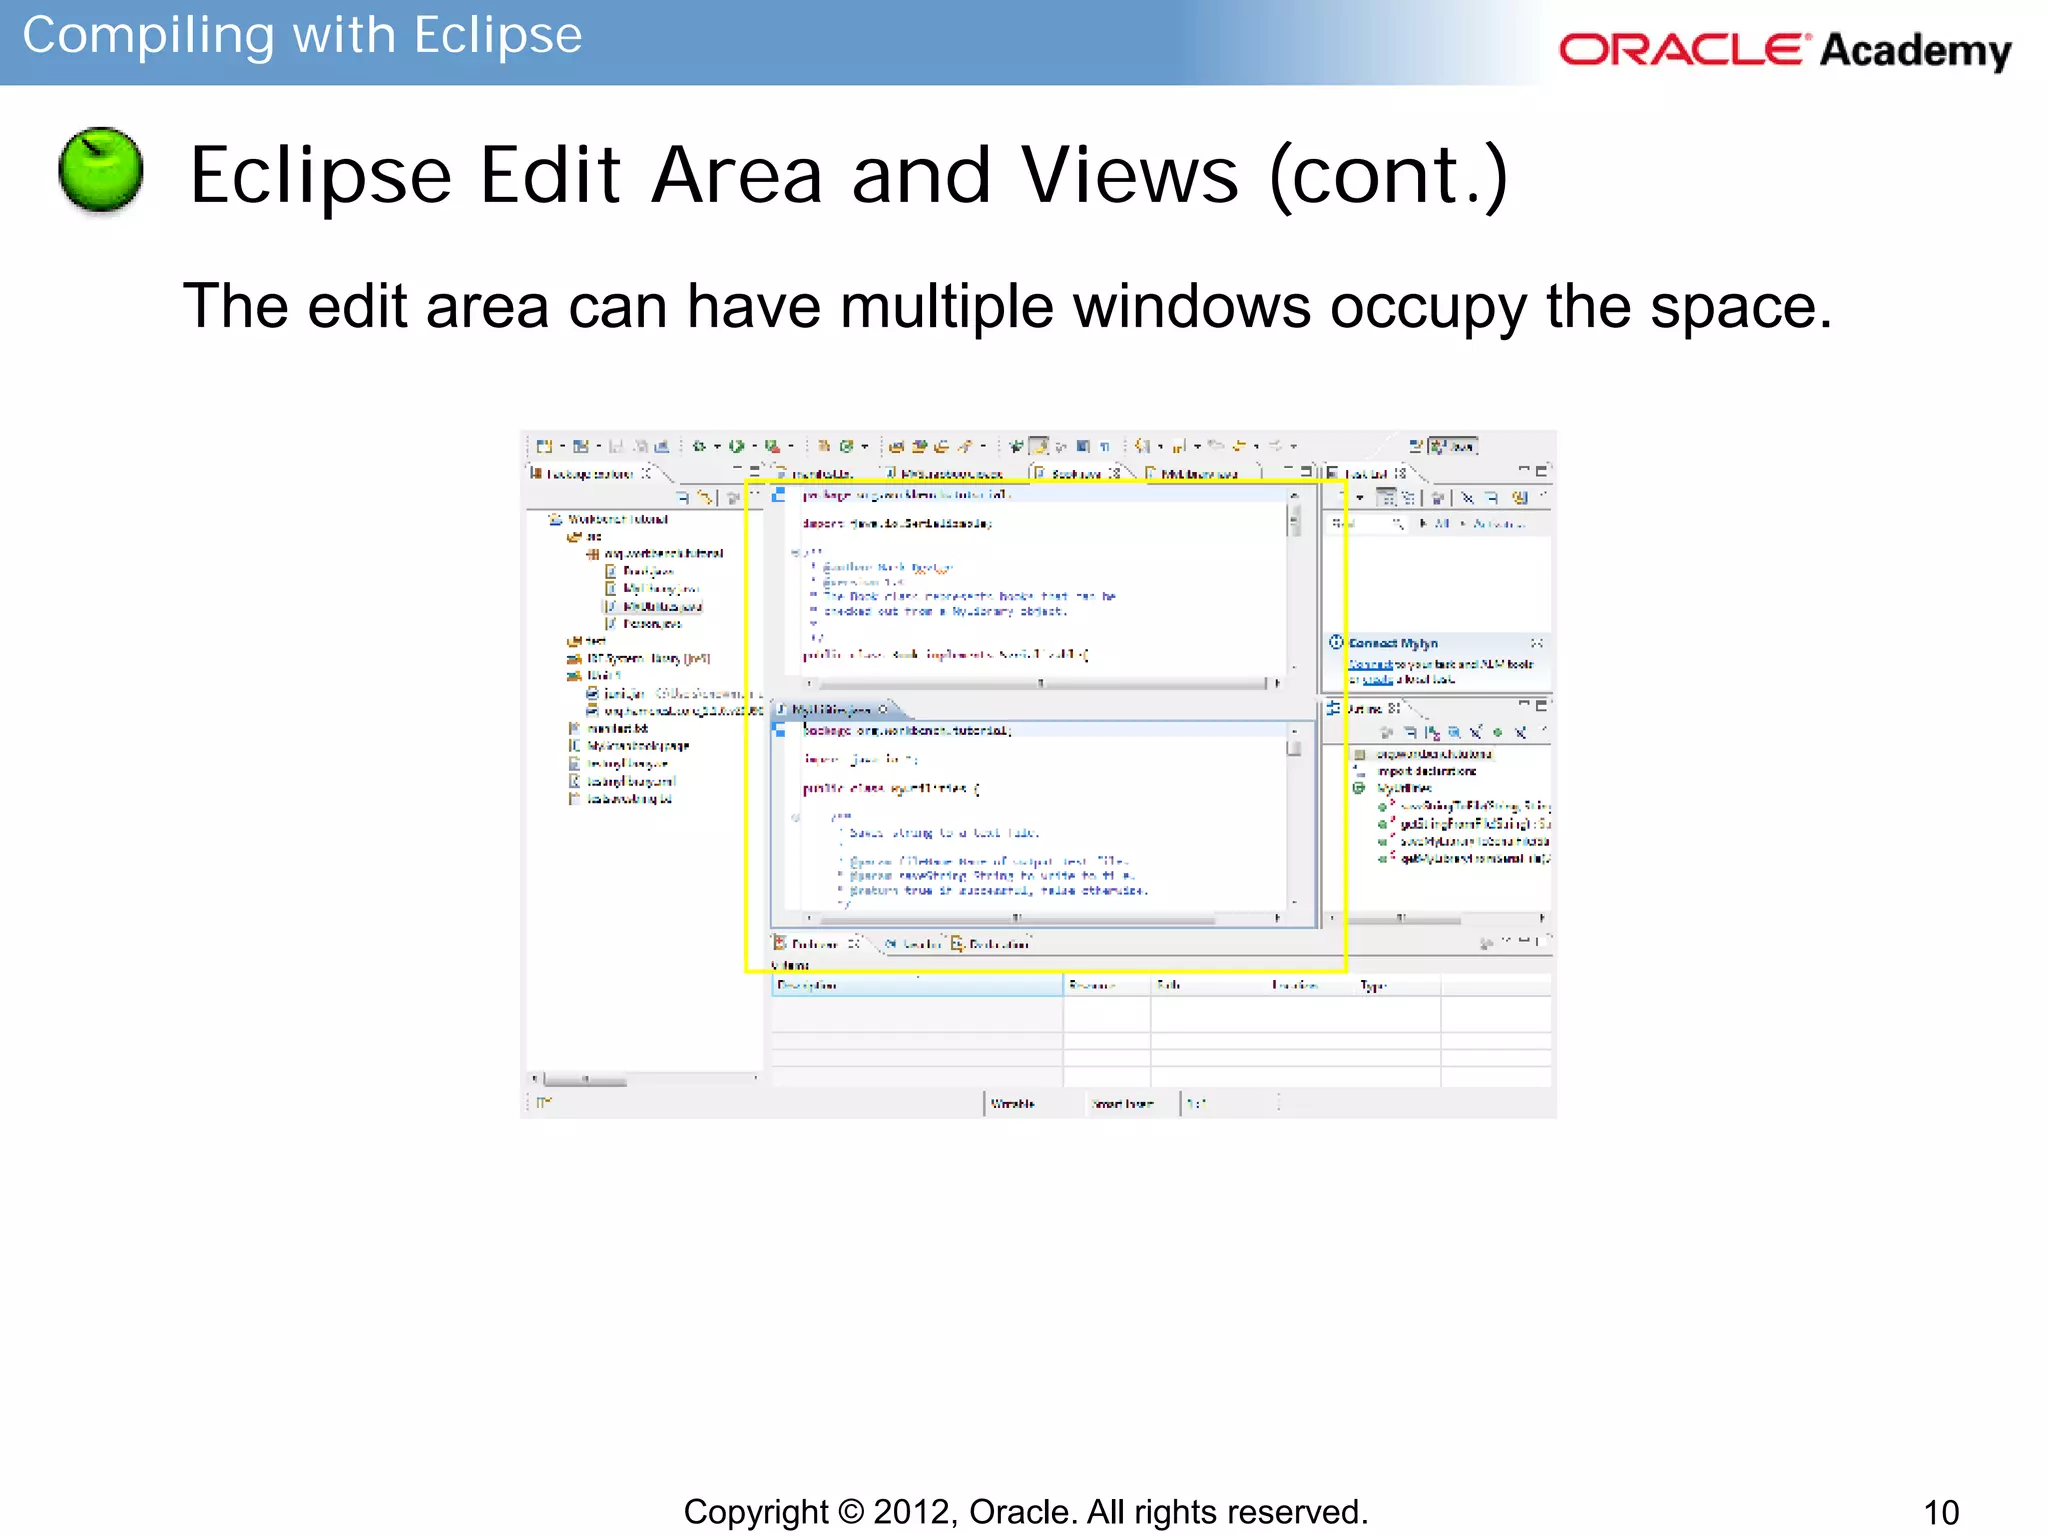
![Compiling with Eclipse
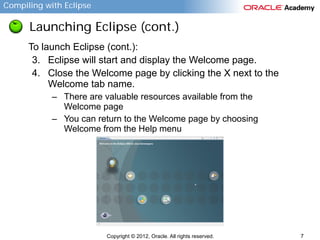
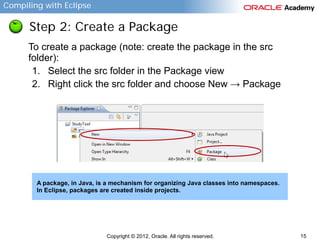
Step 4: Create and Run Java Code
To implement the main method and run the program:
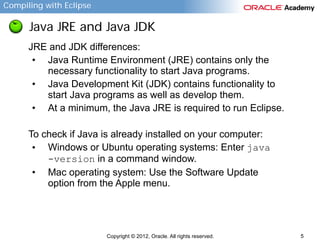
1. Enter the following information into the main class:
public class studyPage {
public static void main(String[] args) {
System.out.println(“Enter a study term”);
}
}
2. Right click on StudyPage.java in
the package view.
3. Choose Run As → Java Application.
4. Save the class when prompted.
5. Note results display in the Console
View.
Copyright © 2012, Oracle. All rights reserved.
19](https://image.slidesharecdn.com/jfv01s04l01-131014195902-phpapp02/85/Compiling-With-Eclipse-19-320.jpg)
![Compiling with Eclipse
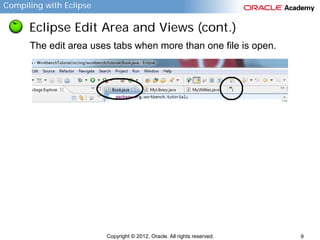
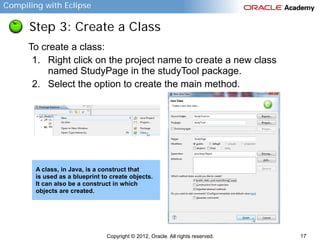
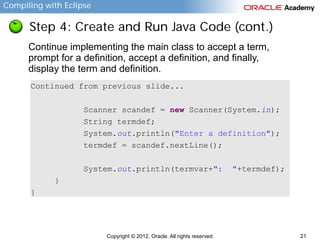
Step 4: Create and Run Java Code (cont.)
Continue implementing the main class to accept a term,
prompt for a definition, accept a definition, and finally,
display the term and definition.
package studyTool;
import java.util.Scanner;
public class StudyPage {
public static void main(String[] args) {
Scanner scanterm = new Scanner(System.in);
String termvar;
System.out.println("Enter a study term");
termvar = scanterm.nextLine();
Continued on next slide...
Copyright © 2012, Oracle. All rights reserved.
20](https://image.slidesharecdn.com/jfv01s04l01-131014195902-phpapp02/85/Compiling-With-Eclipse-20-320.jpg)


![Compiling with Eclipse
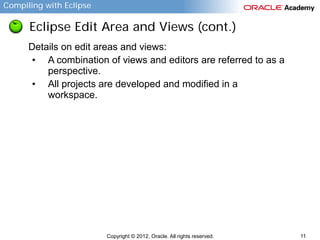
Step 4: Create and Run Java Code
To implement the main method and run the program:
1. Enter the following information into the main class:
public class studyPage {
public static void main(String[] args) {
System.out.println(“Enter a study term”);
}
}
2. Right click on StudyPage.java in
the package view.
3. Choose Run As → Java Application.
4. Save the class when prompted.
5. Note results display in the Console
View.
Copyright © 2012, Oracle. All rights reserved.
19](https://image.slidesharecdn.com/jfv01s04l01-131014195902-phpapp02/75/Compiling-With-Eclipse-19-2048.jpg)
![Compiling with Eclipse
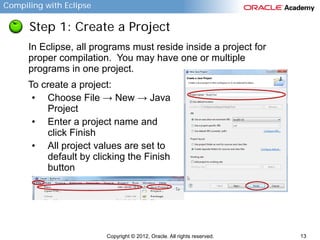
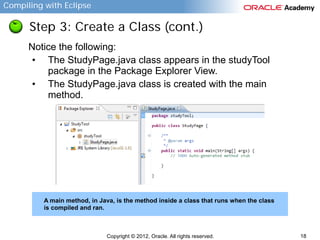
Step 4: Create and Run Java Code (cont.)
Continue implementing the main class to accept a term,
prompt for a definition, accept a definition, and finally,
display the term and definition.
package studyTool;
import java.util.Scanner;
public class StudyPage {
public static void main(String[] args) {
Scanner scanterm = new Scanner(System.in);
String termvar;
System.out.println("Enter a study term");
termvar = scanterm.nextLine();
Continued on next slide...
Copyright © 2012, Oracle. All rights reserved.
20](https://image.slidesharecdn.com/jfv01s04l01-131014195902-phpapp02/75/Compiling-With-Eclipse-20-2048.jpg)