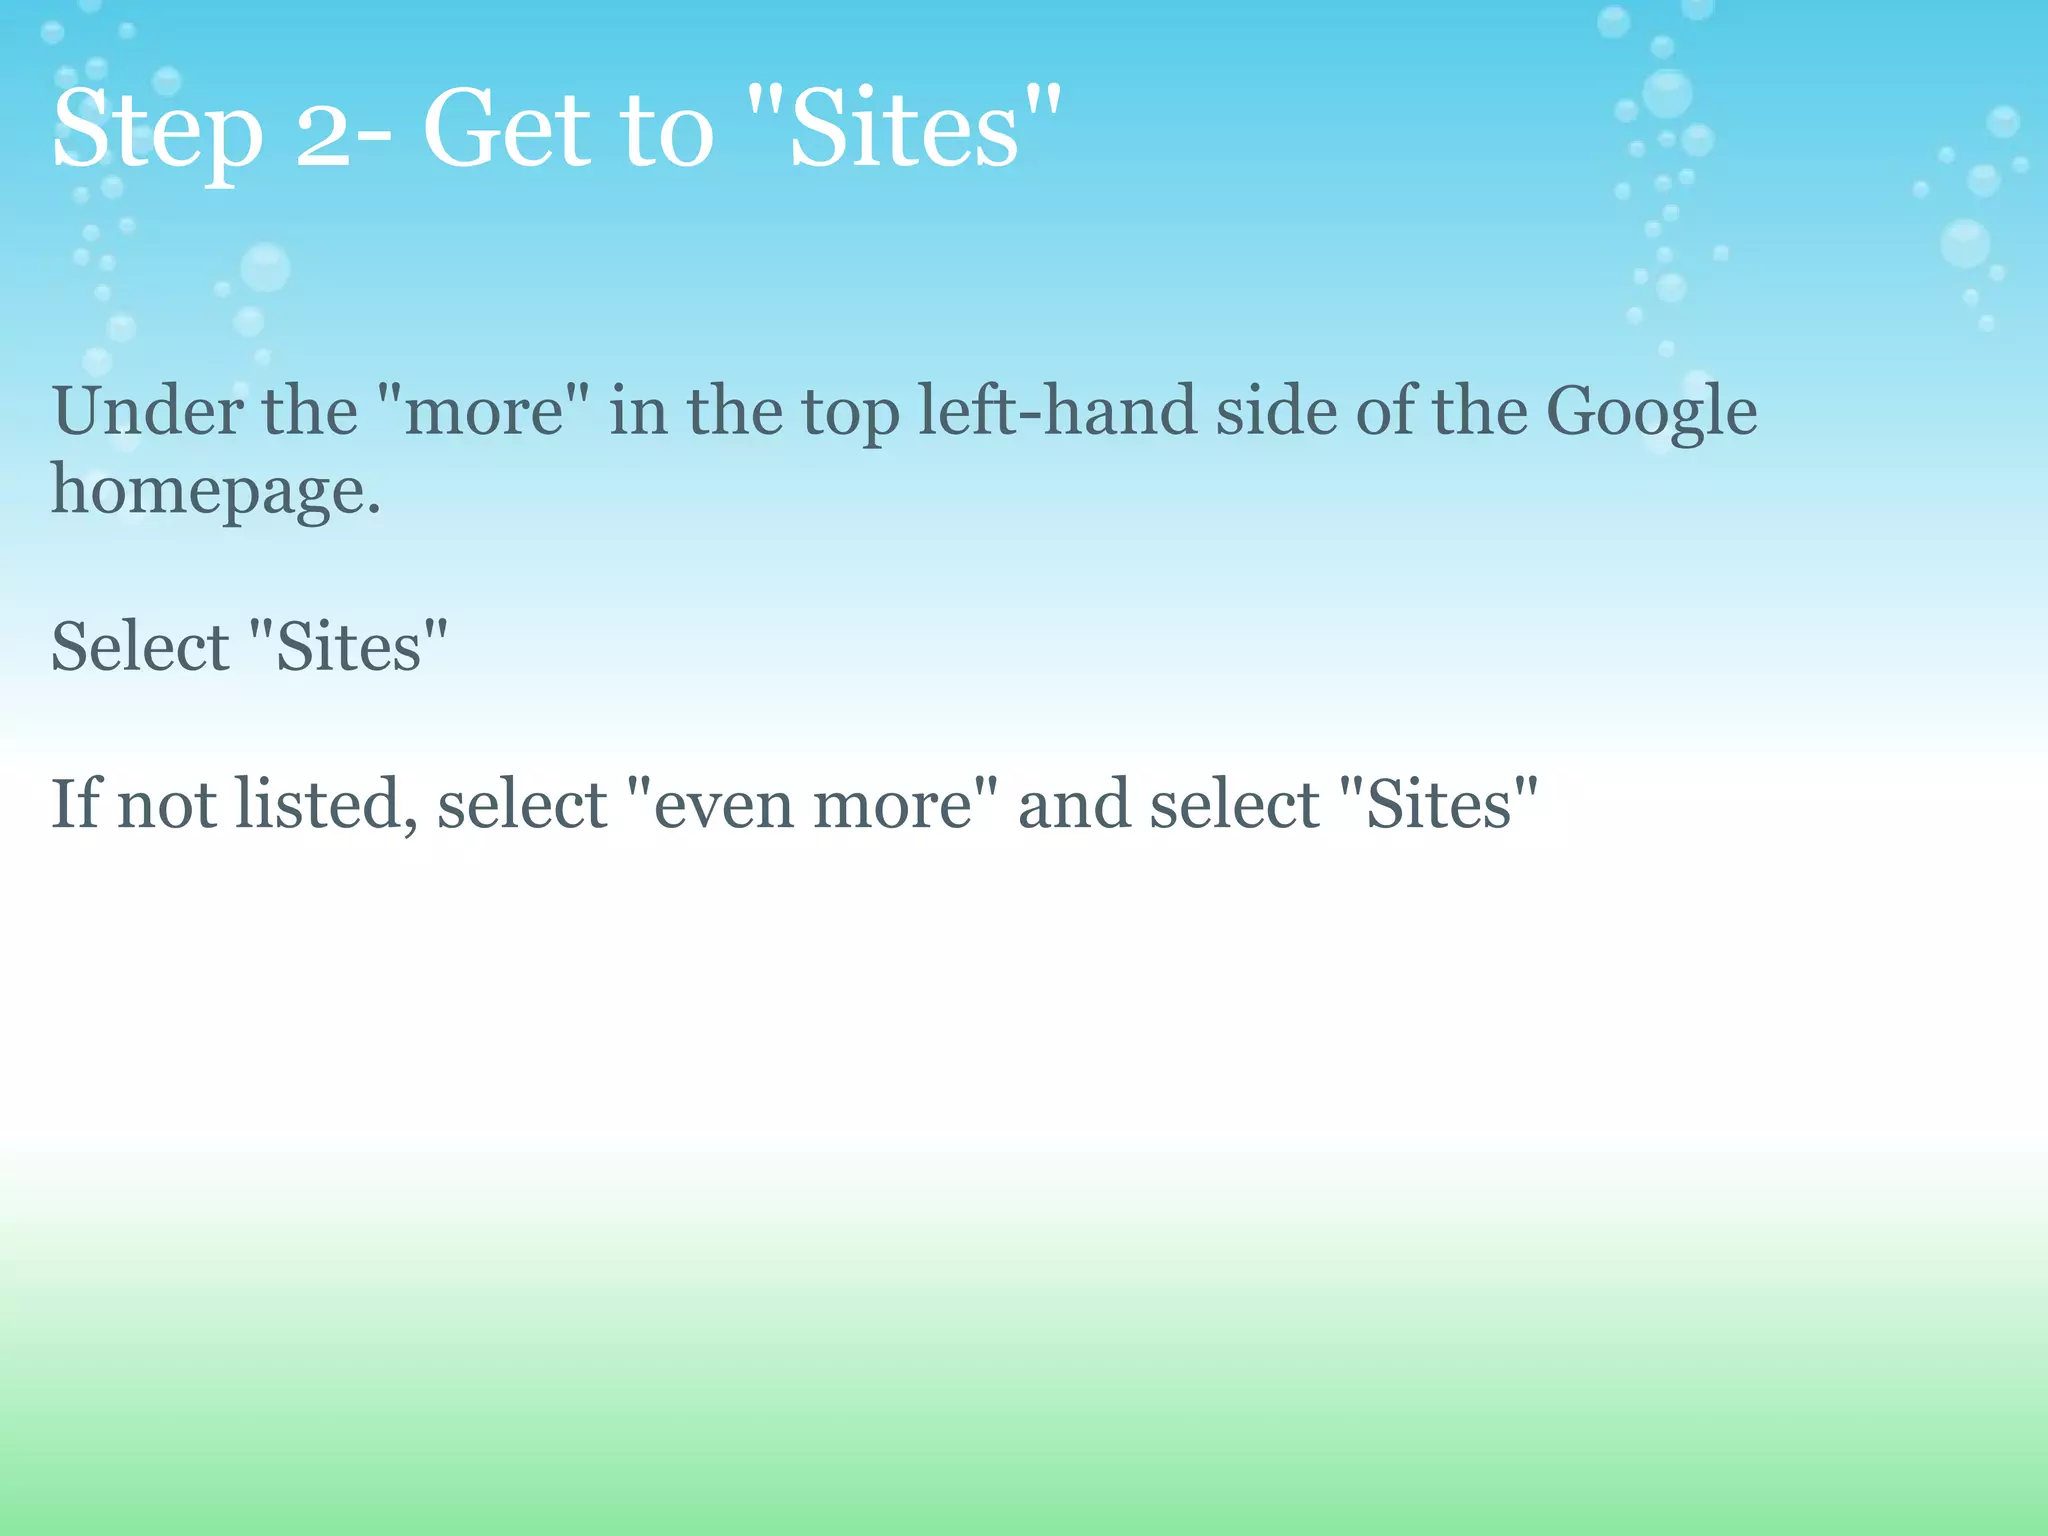
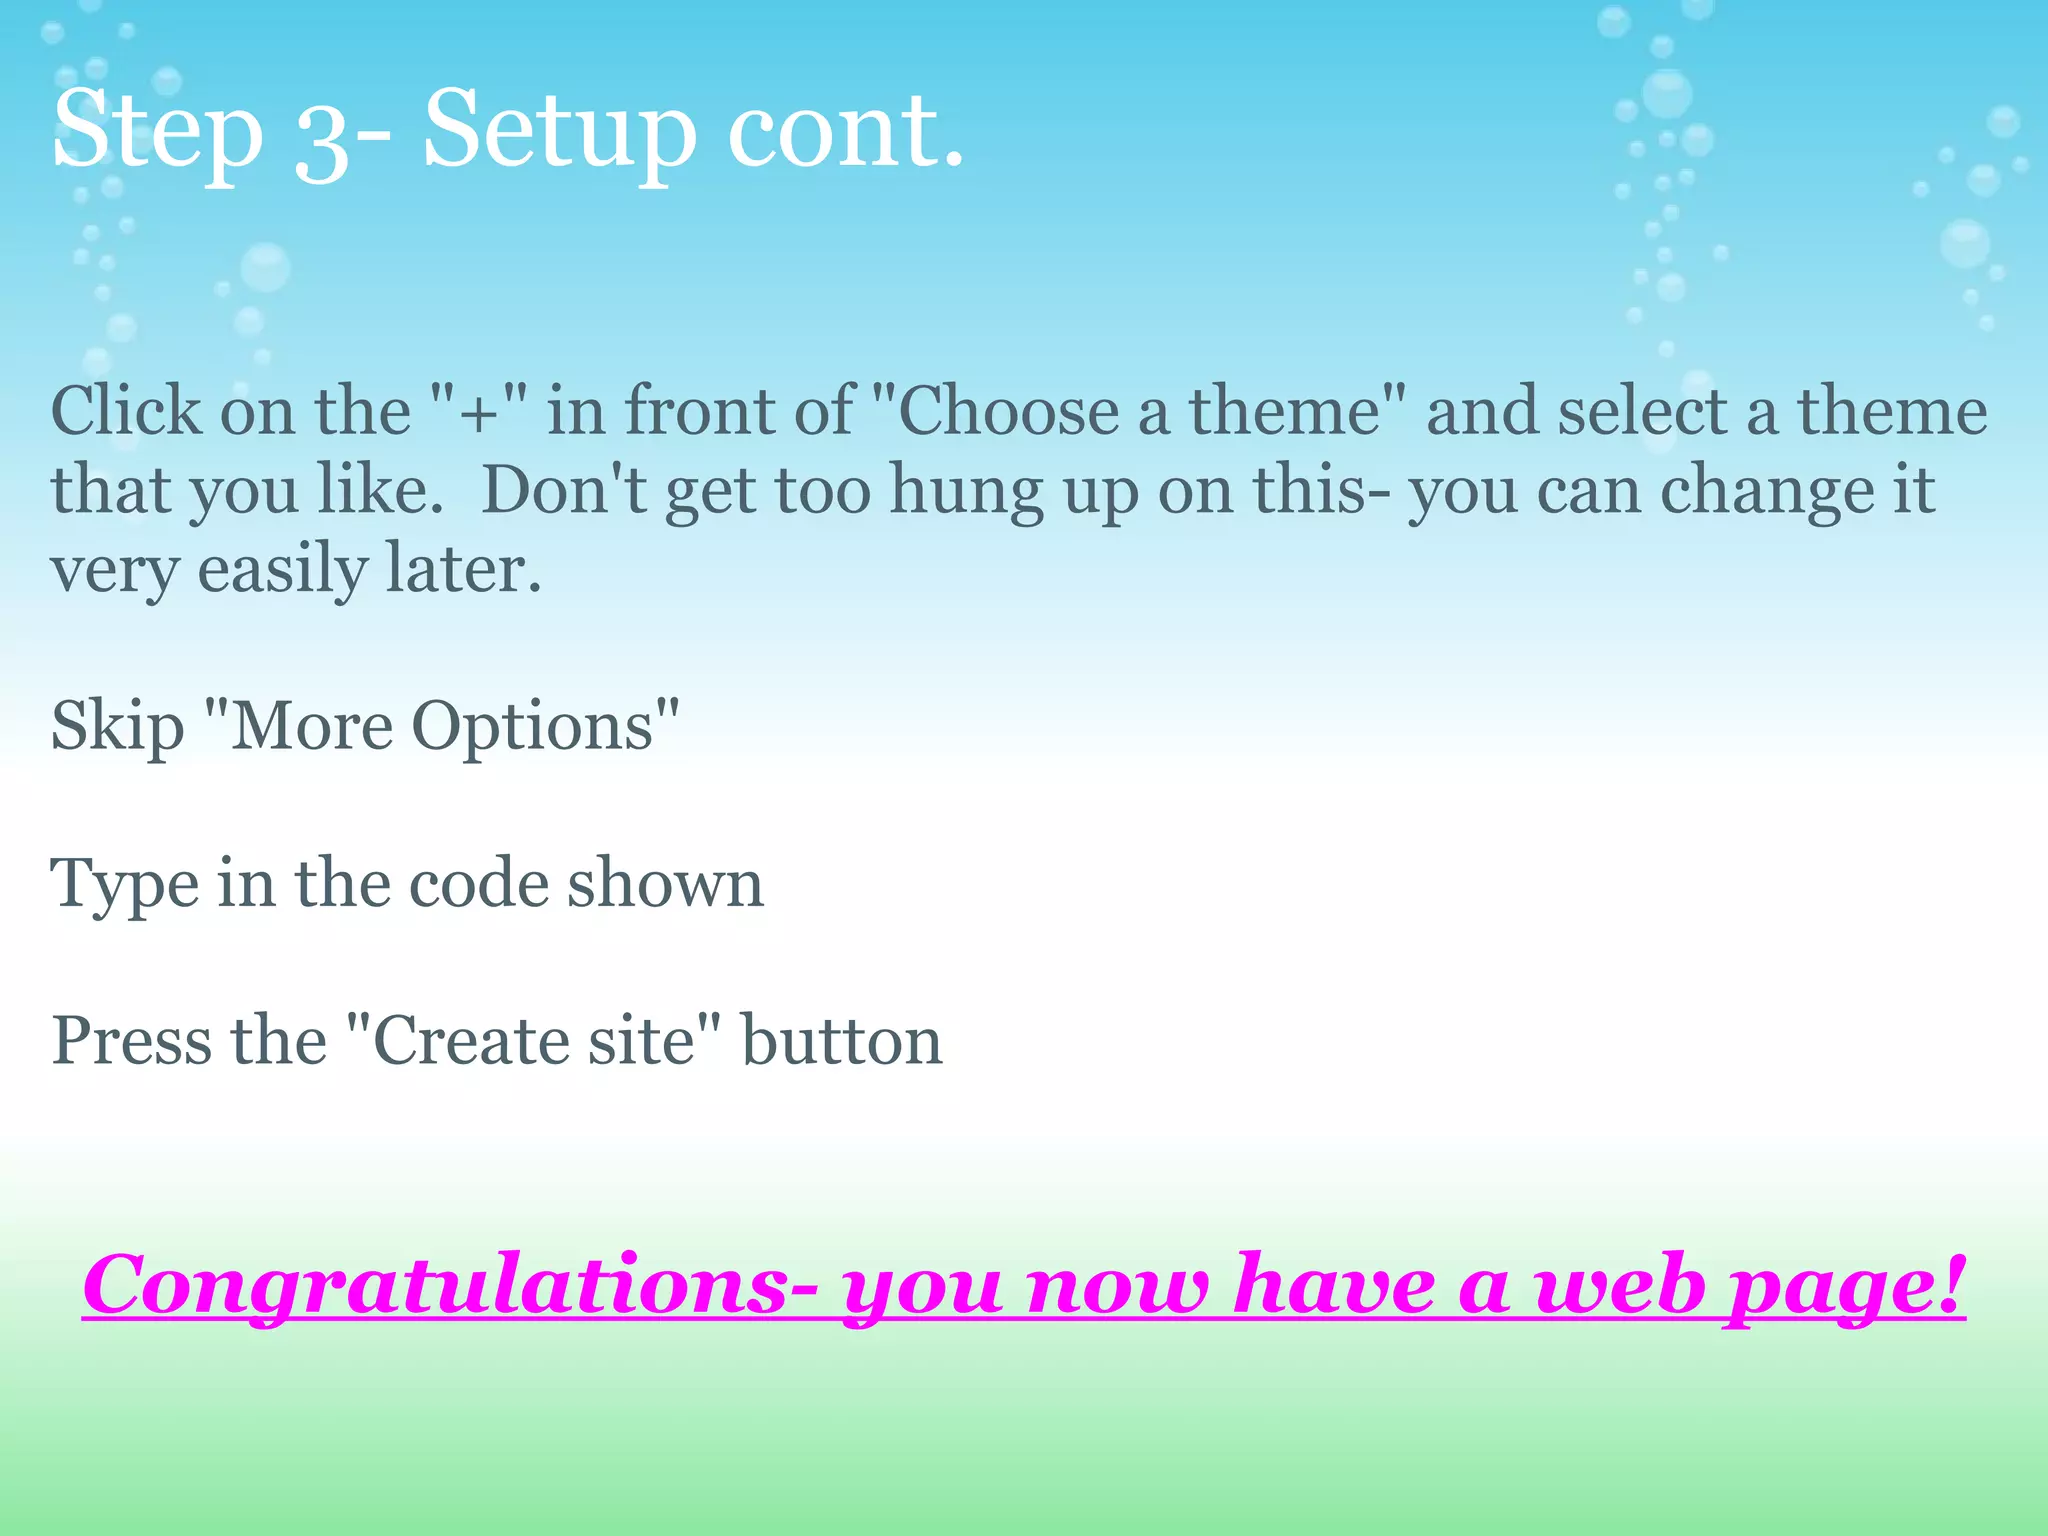
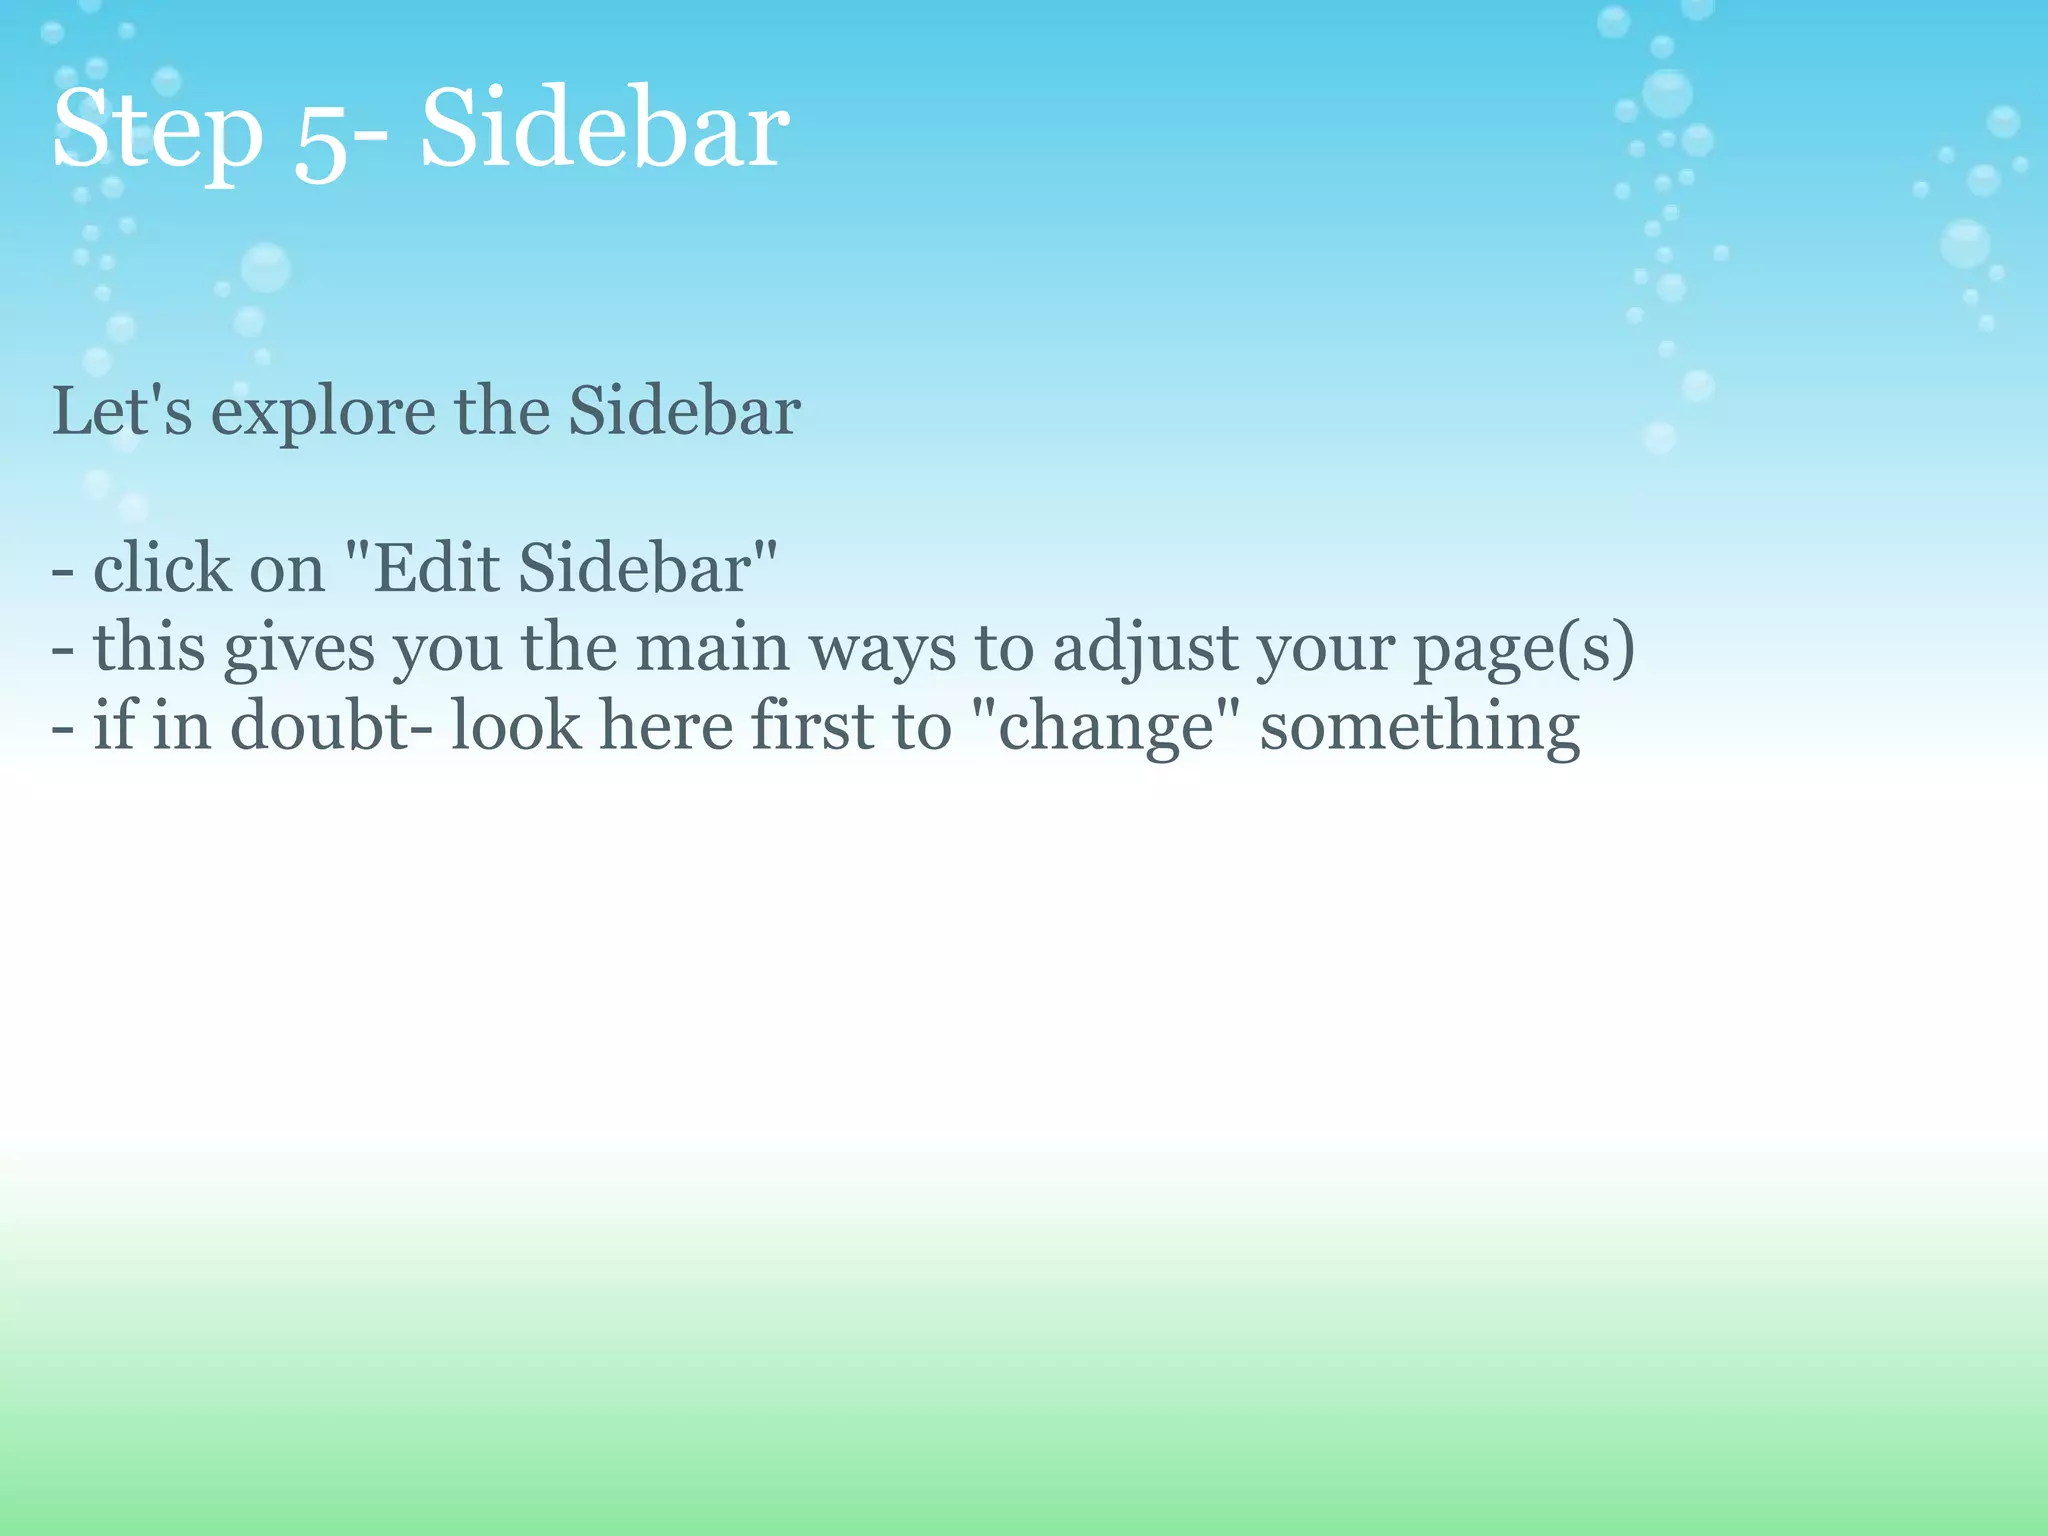
This document provides step-by-step instructions for creating a basic website using Google Sites. It outlines how to log in to Google, access Sites, set up a new blank site, add a theme and site name. It then describes how to add content like text and images within tables, how to link pages and content, and how to create additional pages. The document stresses keeping the site simple initially and provides tips for getting help and improving the site over time.
![Creating Your Own Website with Google Sites by: Tim Mattison [email_address] 1/11/10](https://image.slidesharecdn.com/googlesiteswebpagecreation-100112104756-phpapp02/85/Google-Sites-Web-Page-Creation-1-320.jpg)


![Step 9- Adding Images within a Table - Let's insert an image. - First, get an image (My Doc--Sample Pictures) [or Search "Public Domain" pictures, clip art at: http://search.creativecommons.org/ or take your own pictures. Save it someplace (desktop)] - Click "Edit page" - Click on the desired location for the image - Select "Insert"--"Image" - Upload image by "Browse" to image's location - "Open" image - Select image and press "OK" DON'T PANIC!](https://image.slidesharecdn.com/googlesiteswebpagecreation-100112104756-phpapp02/85/Google-Sites-Web-Page-Creation-13-320.jpg)


![Creating Your Own Website with Google Sites by: Tim Mattison [email_address] 1/11/10](https://image.slidesharecdn.com/googlesiteswebpagecreation-100112104756-phpapp02/75/Google-Sites-Web-Page-Creation-1-2048.jpg)


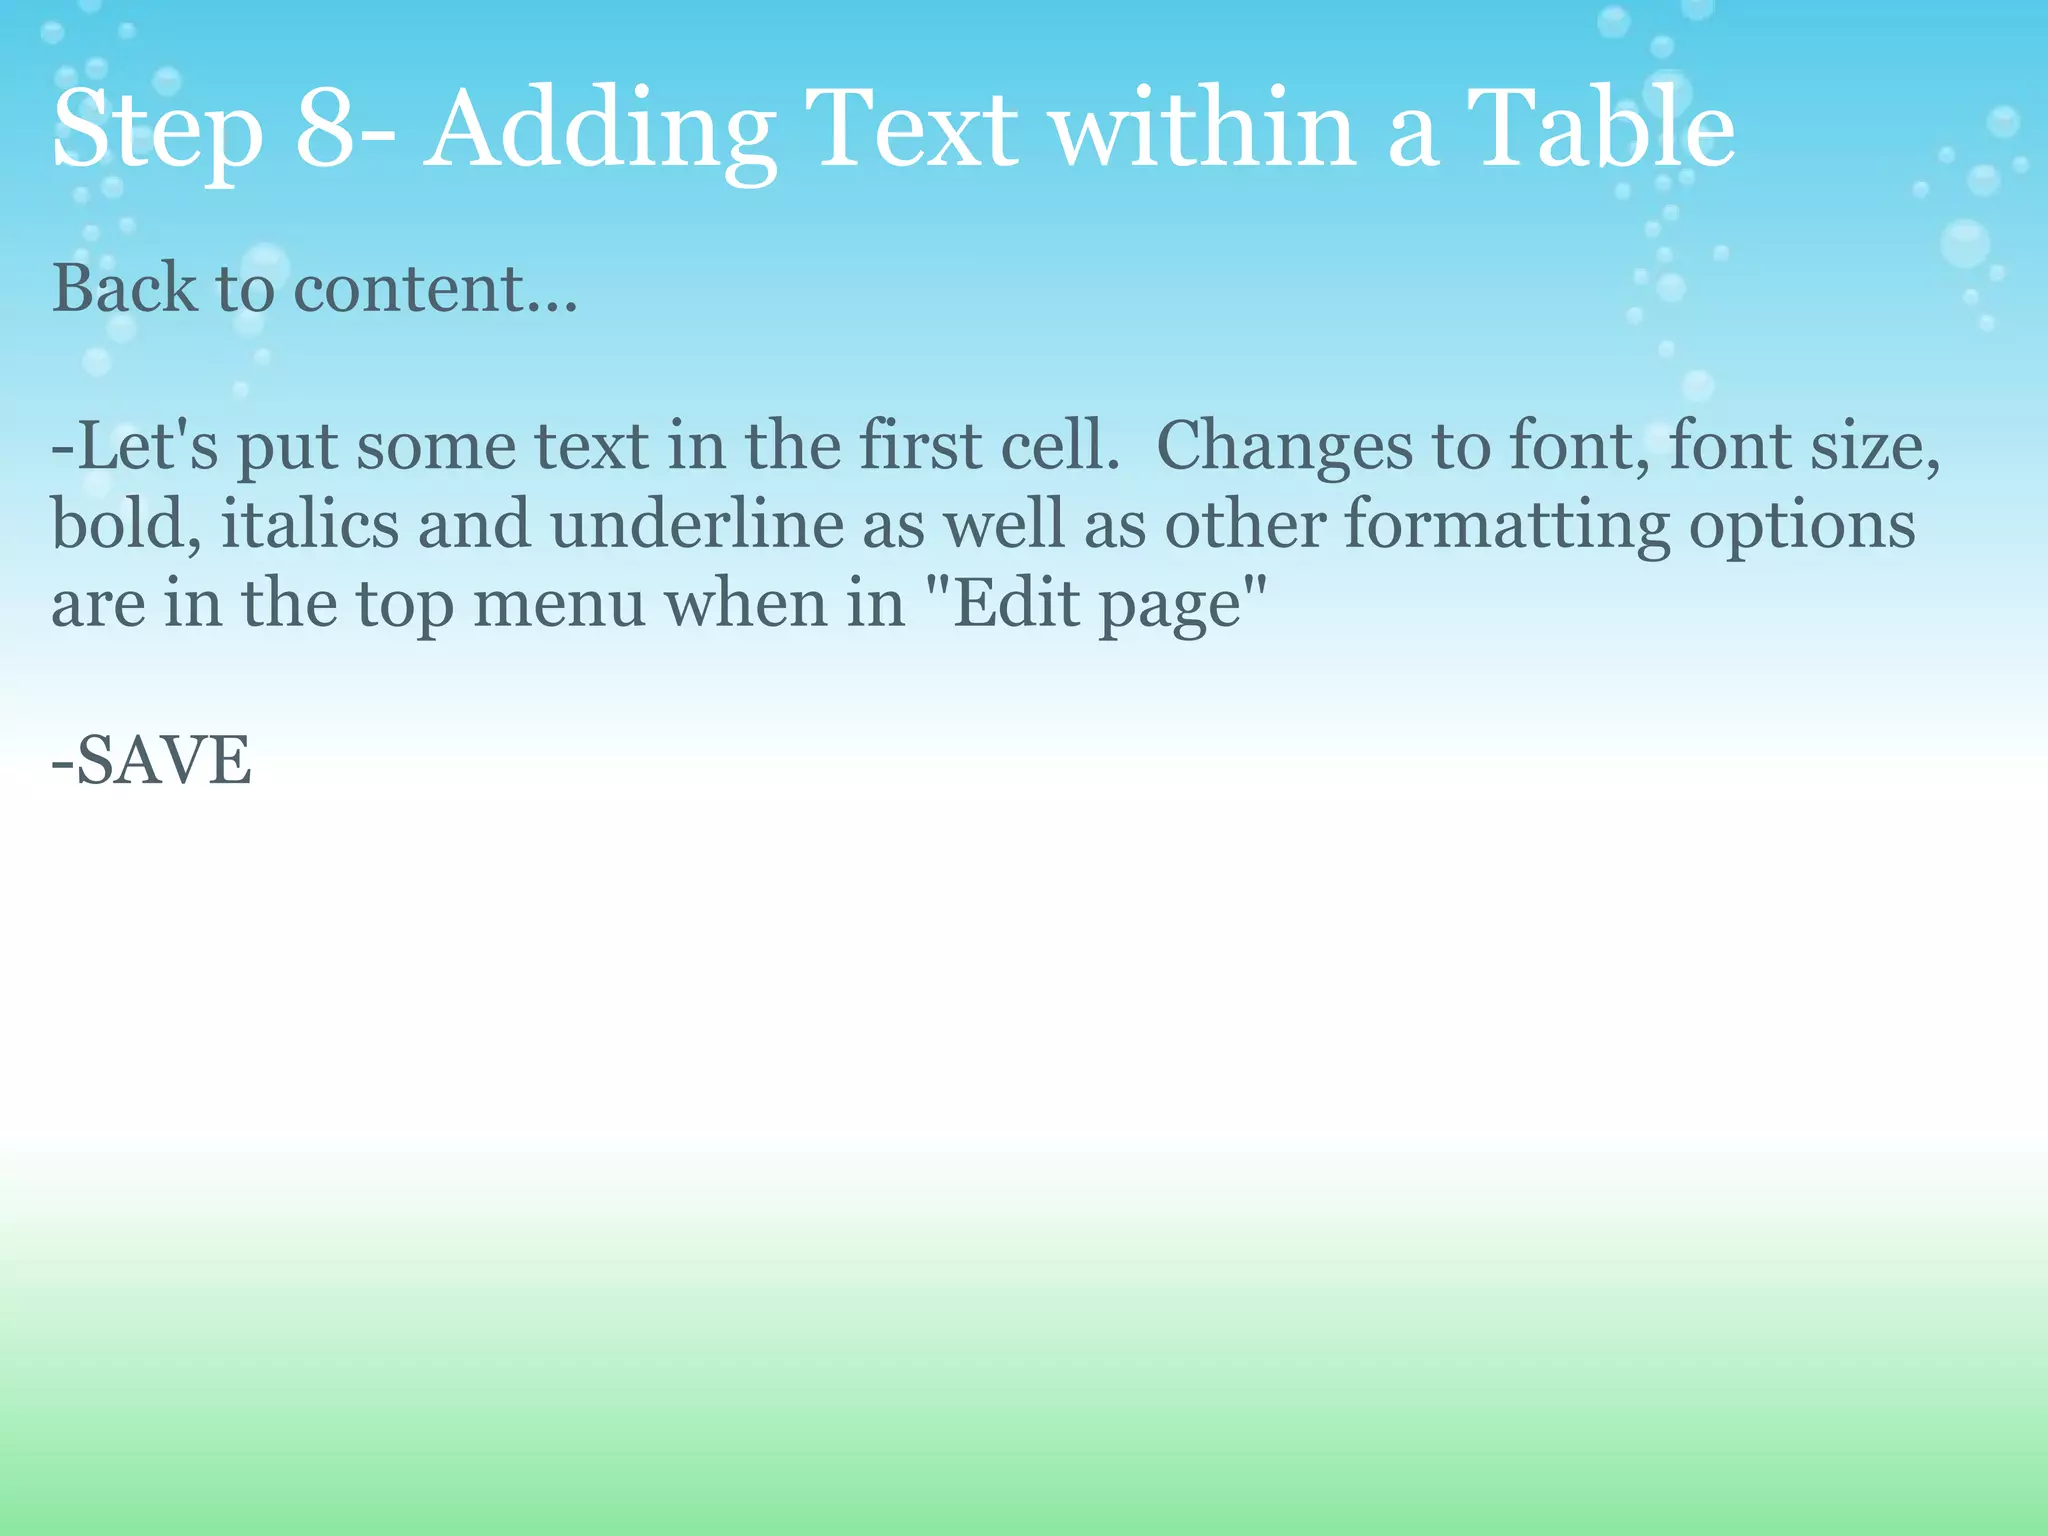
![Step 9- Adding Images within a Table - Let's insert an image. - First, get an image (My Doc--Sample Pictures) [or Search "Public Domain" pictures, clip art at: http://search.creativecommons.org/ or take your own pictures. Save it someplace (desktop)] - Click "Edit page" - Click on the desired location for the image - Select "Insert"--"Image" - Upload image by "Browse" to image's location - "Open" image - Select image and press "OK" DON'T PANIC!](https://image.slidesharecdn.com/googlesiteswebpagecreation-100112104756-phpapp02/75/Google-Sites-Web-Page-Creation-13-2048.jpg)