Downloaded 339 times


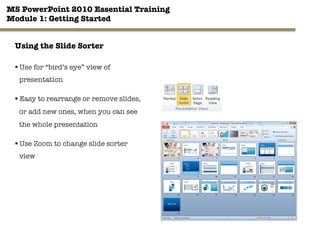

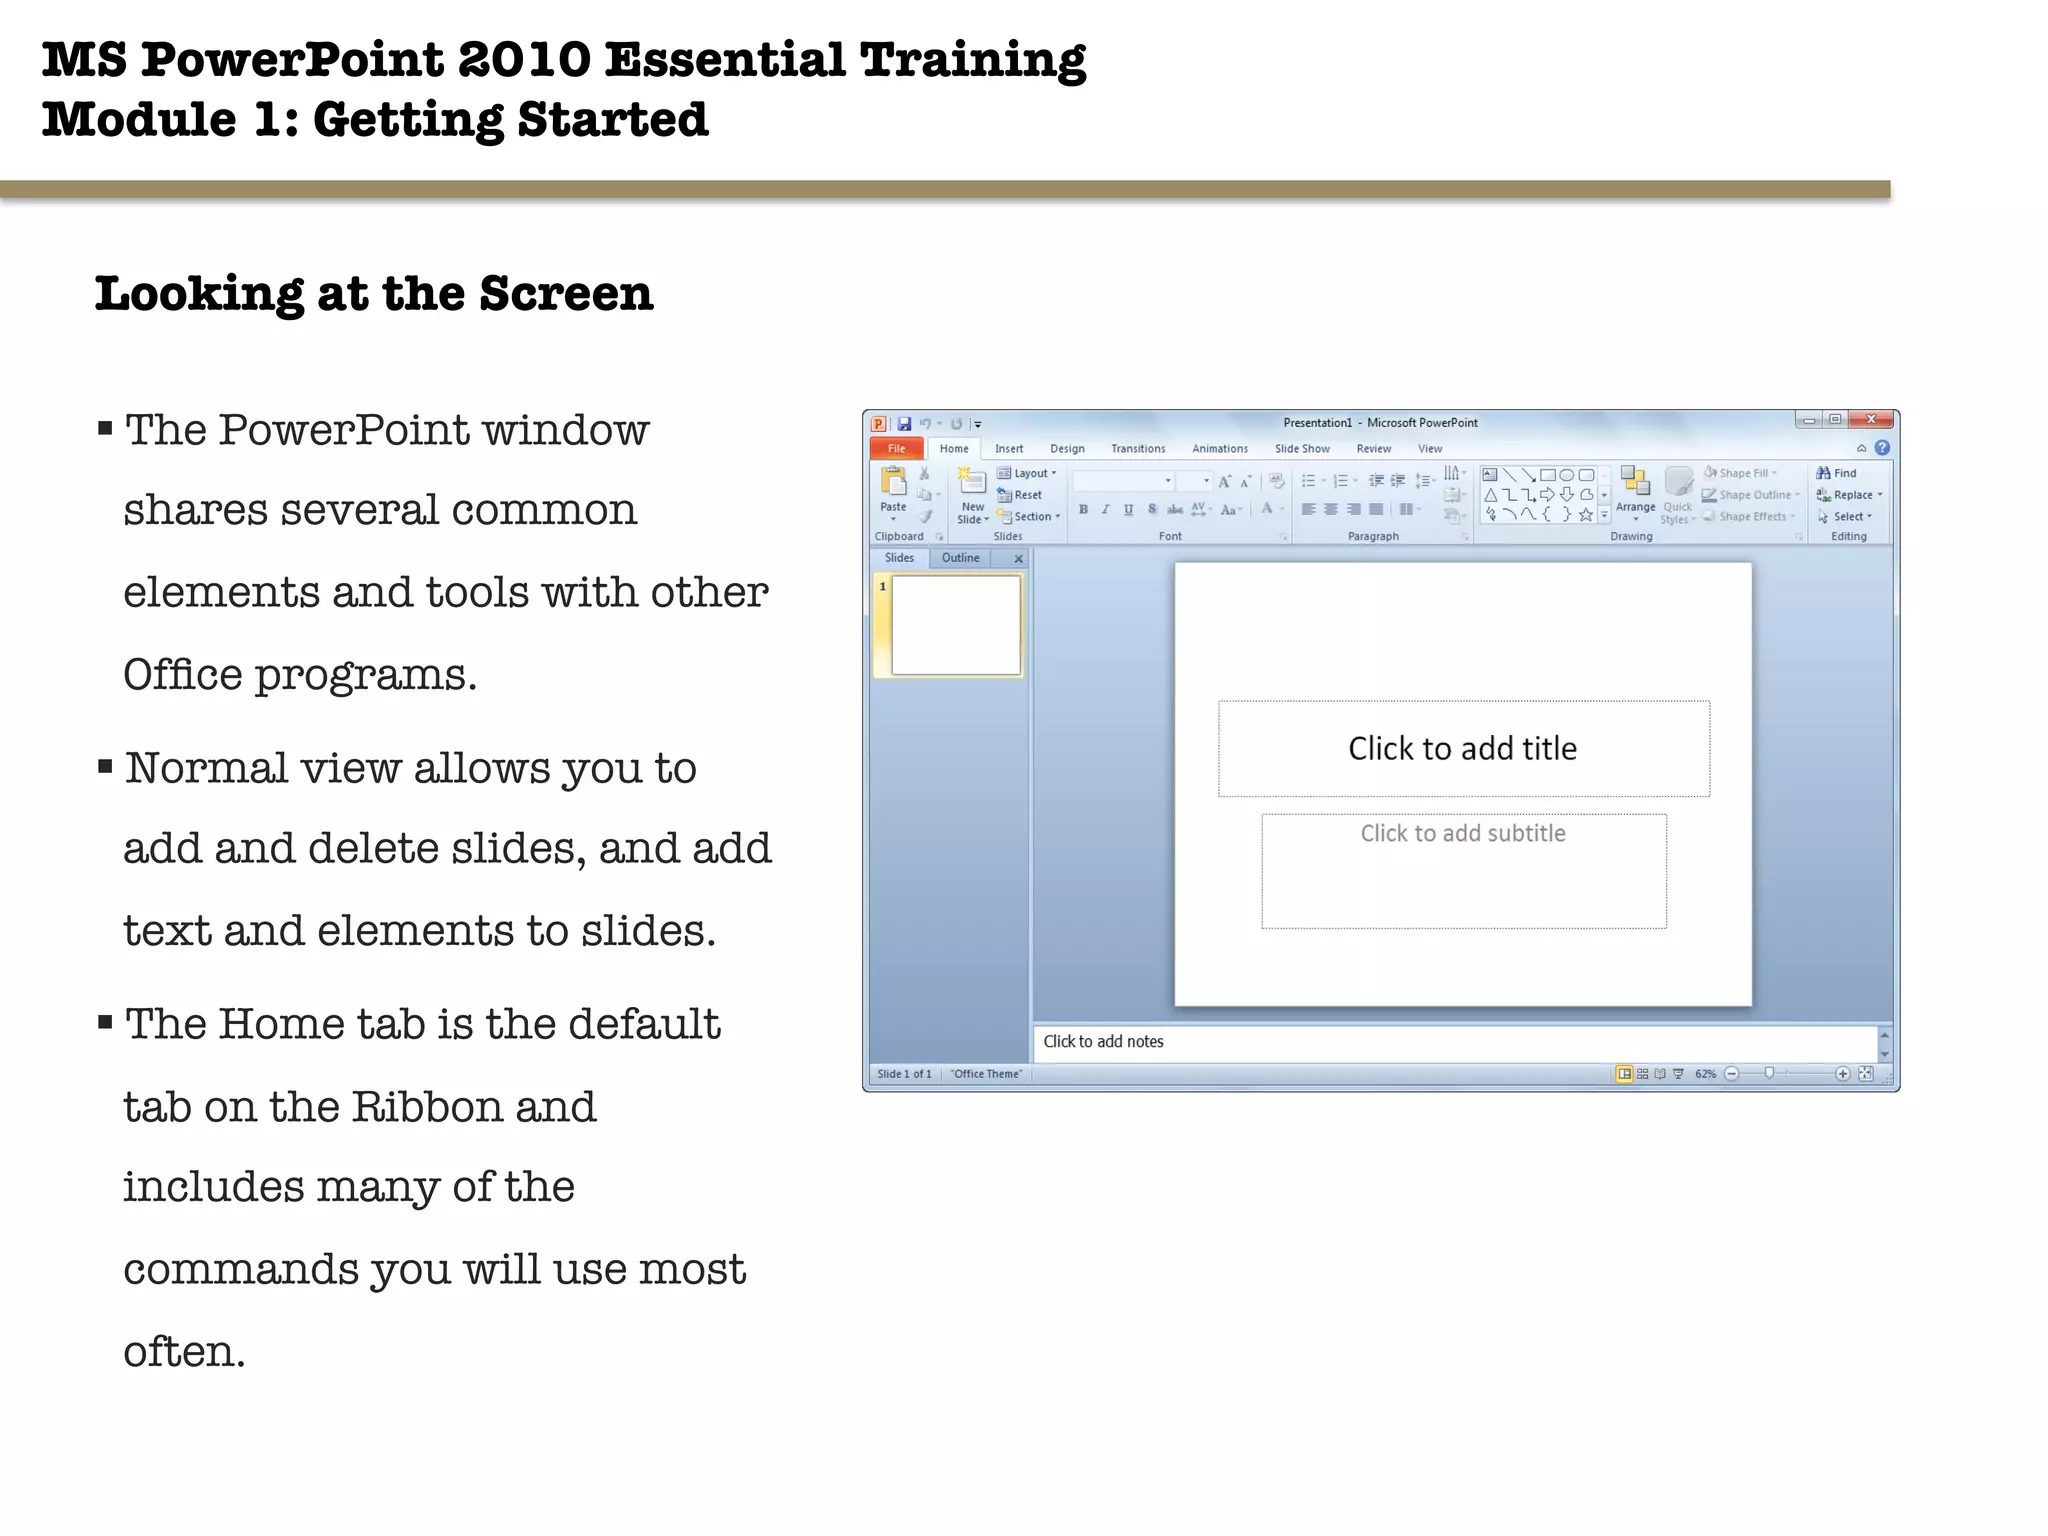

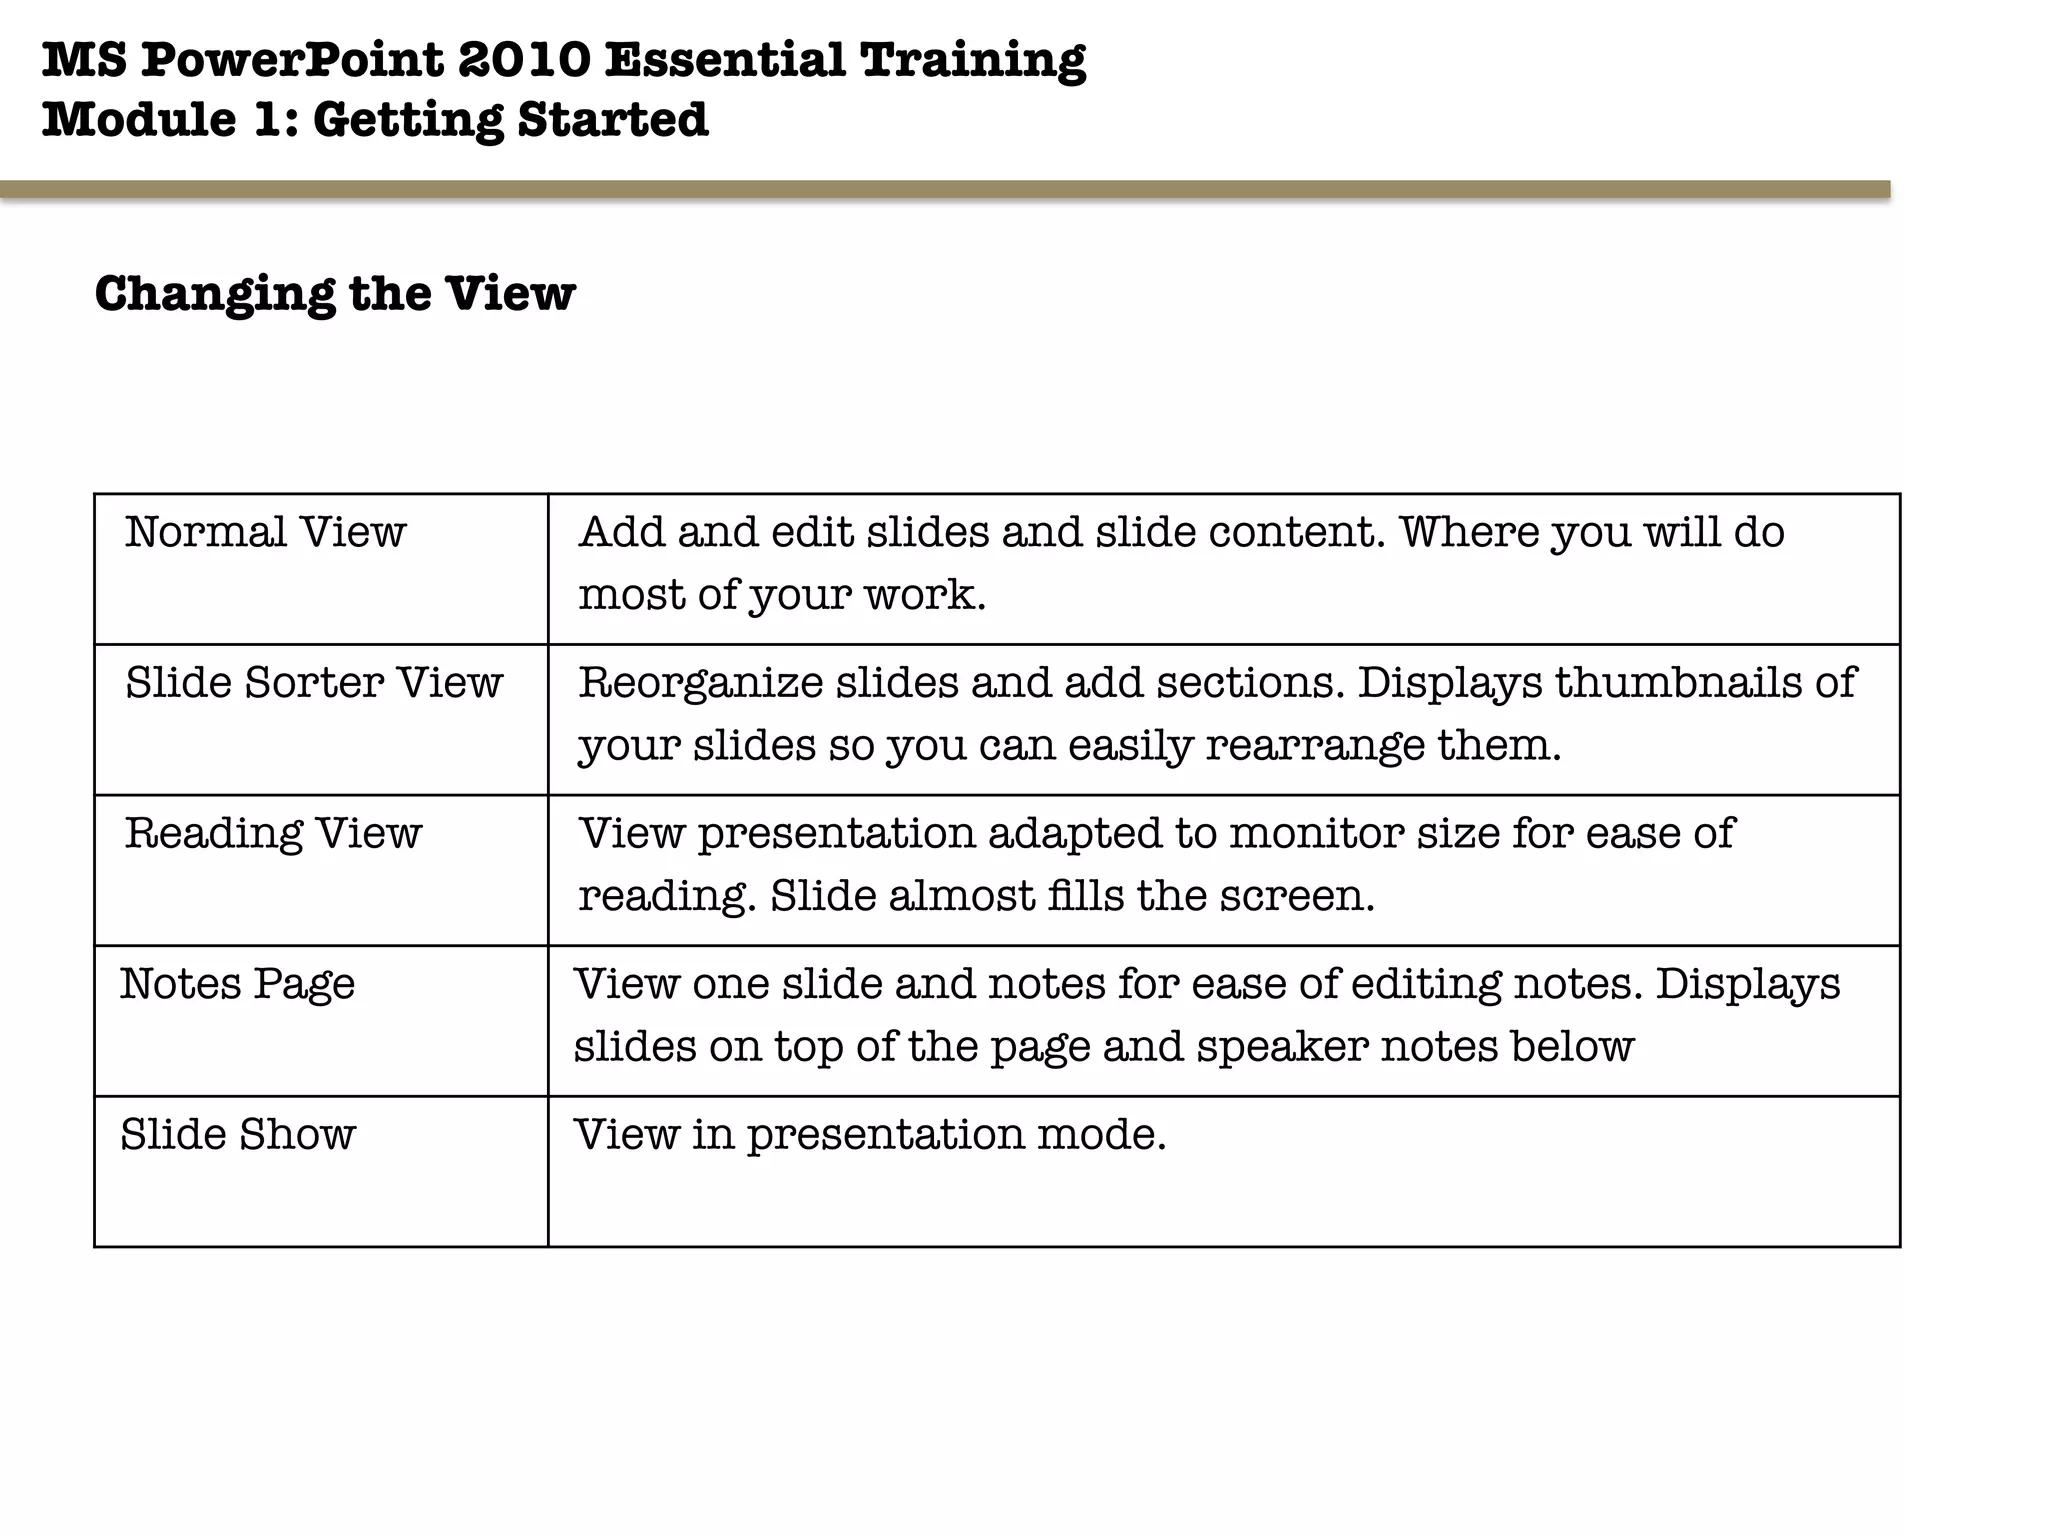


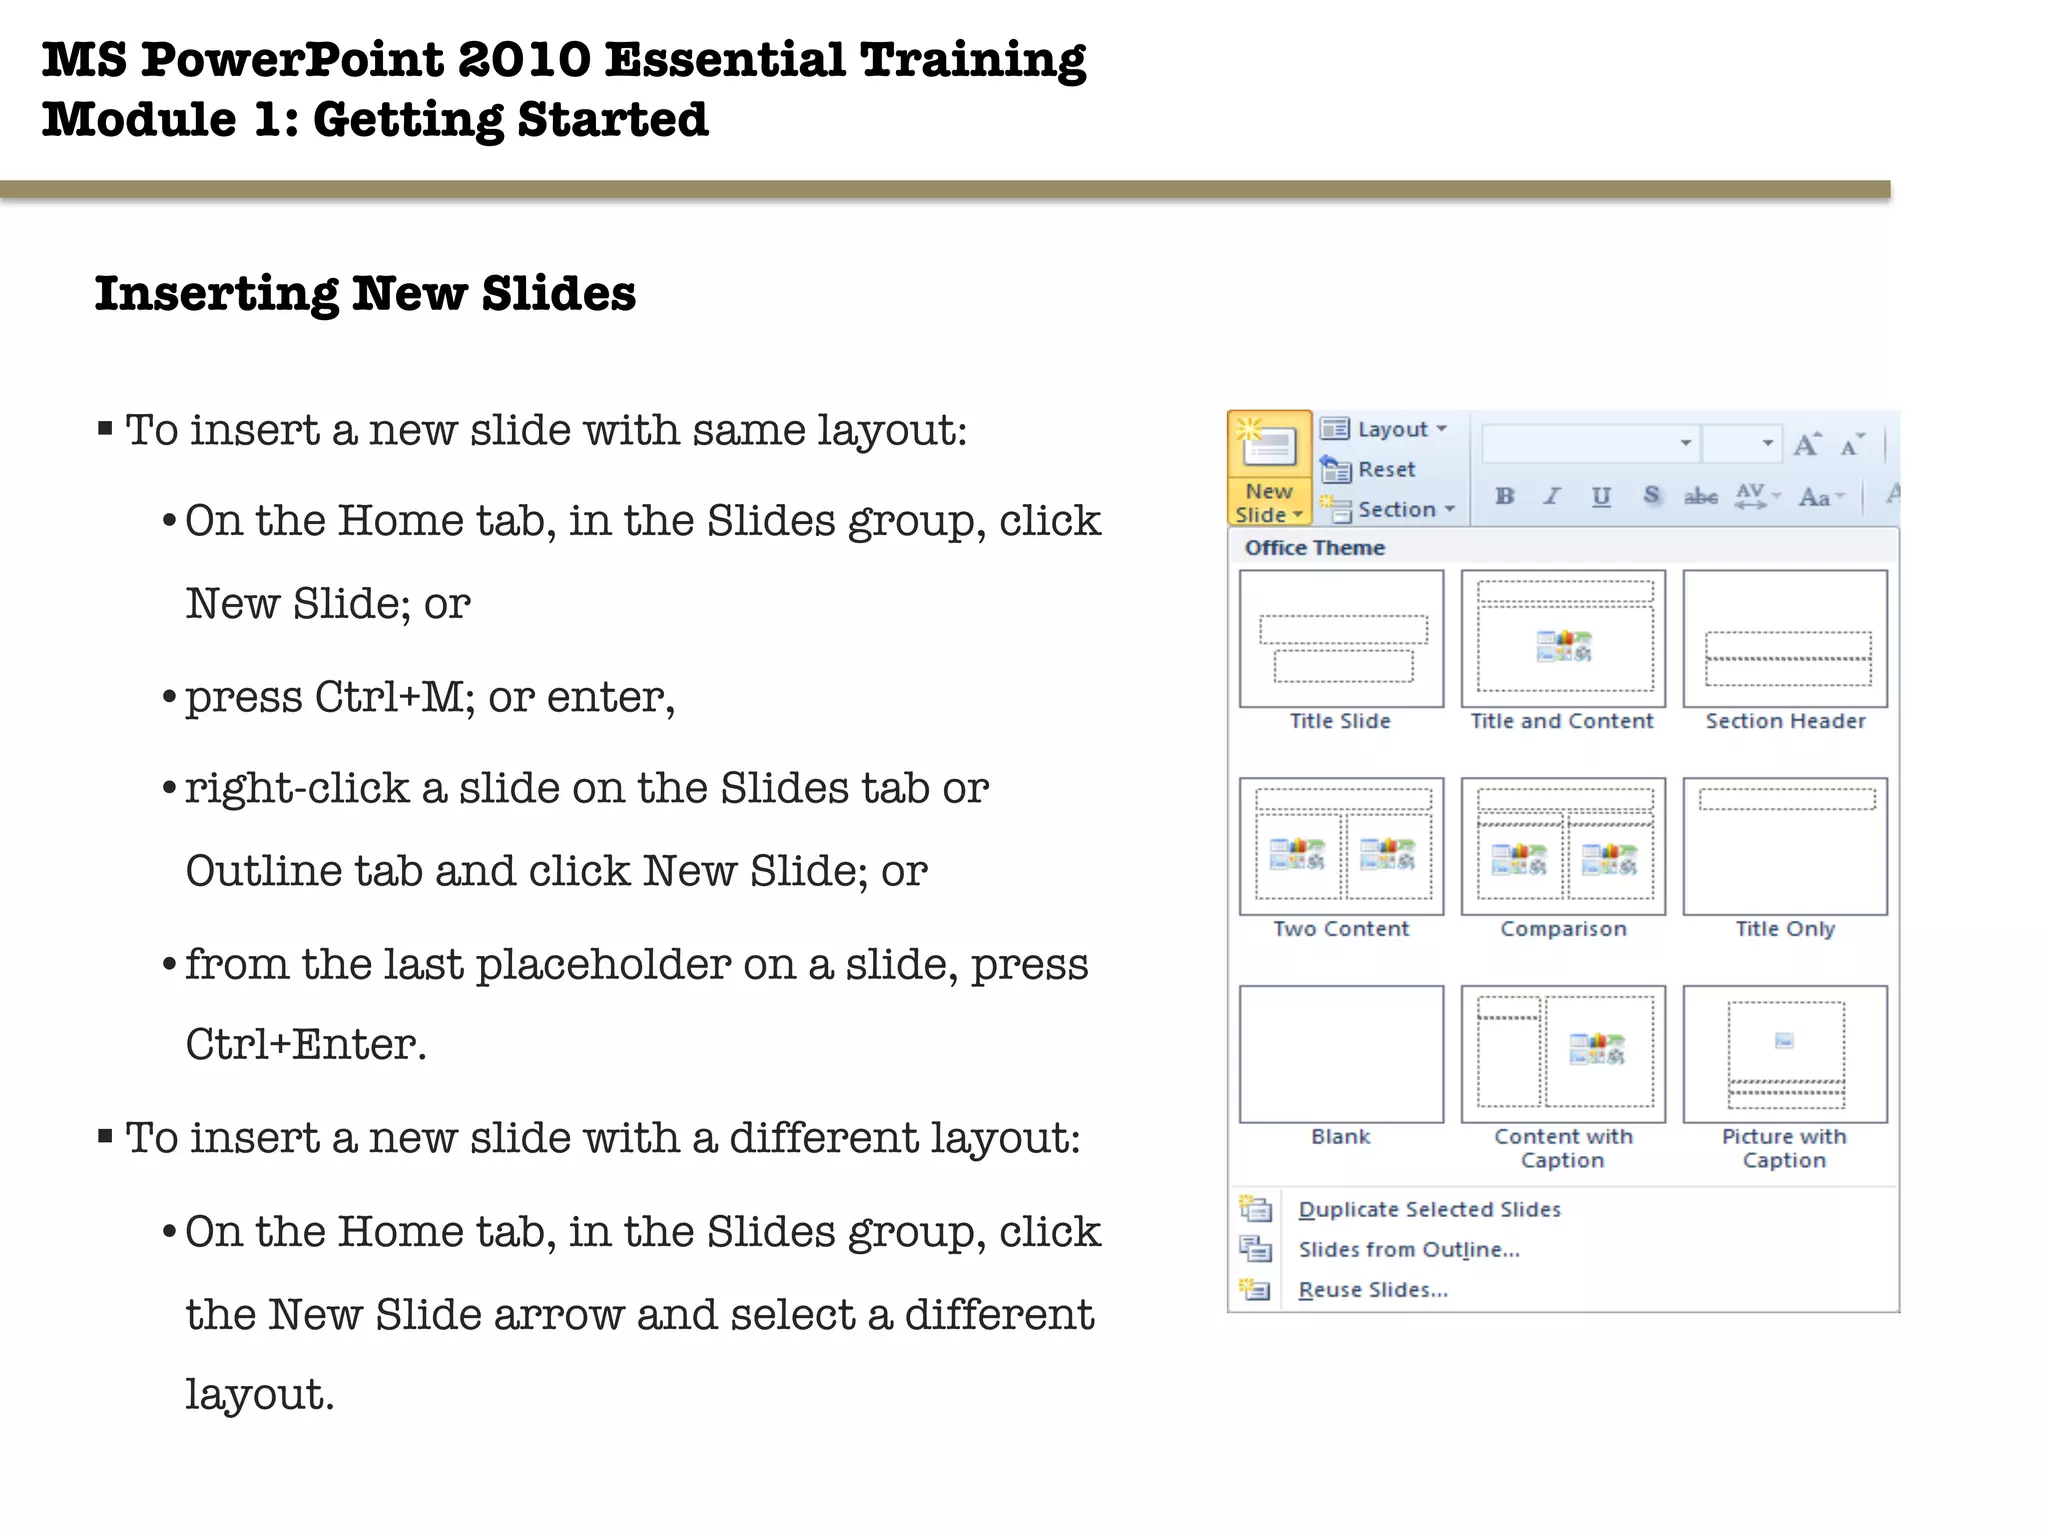
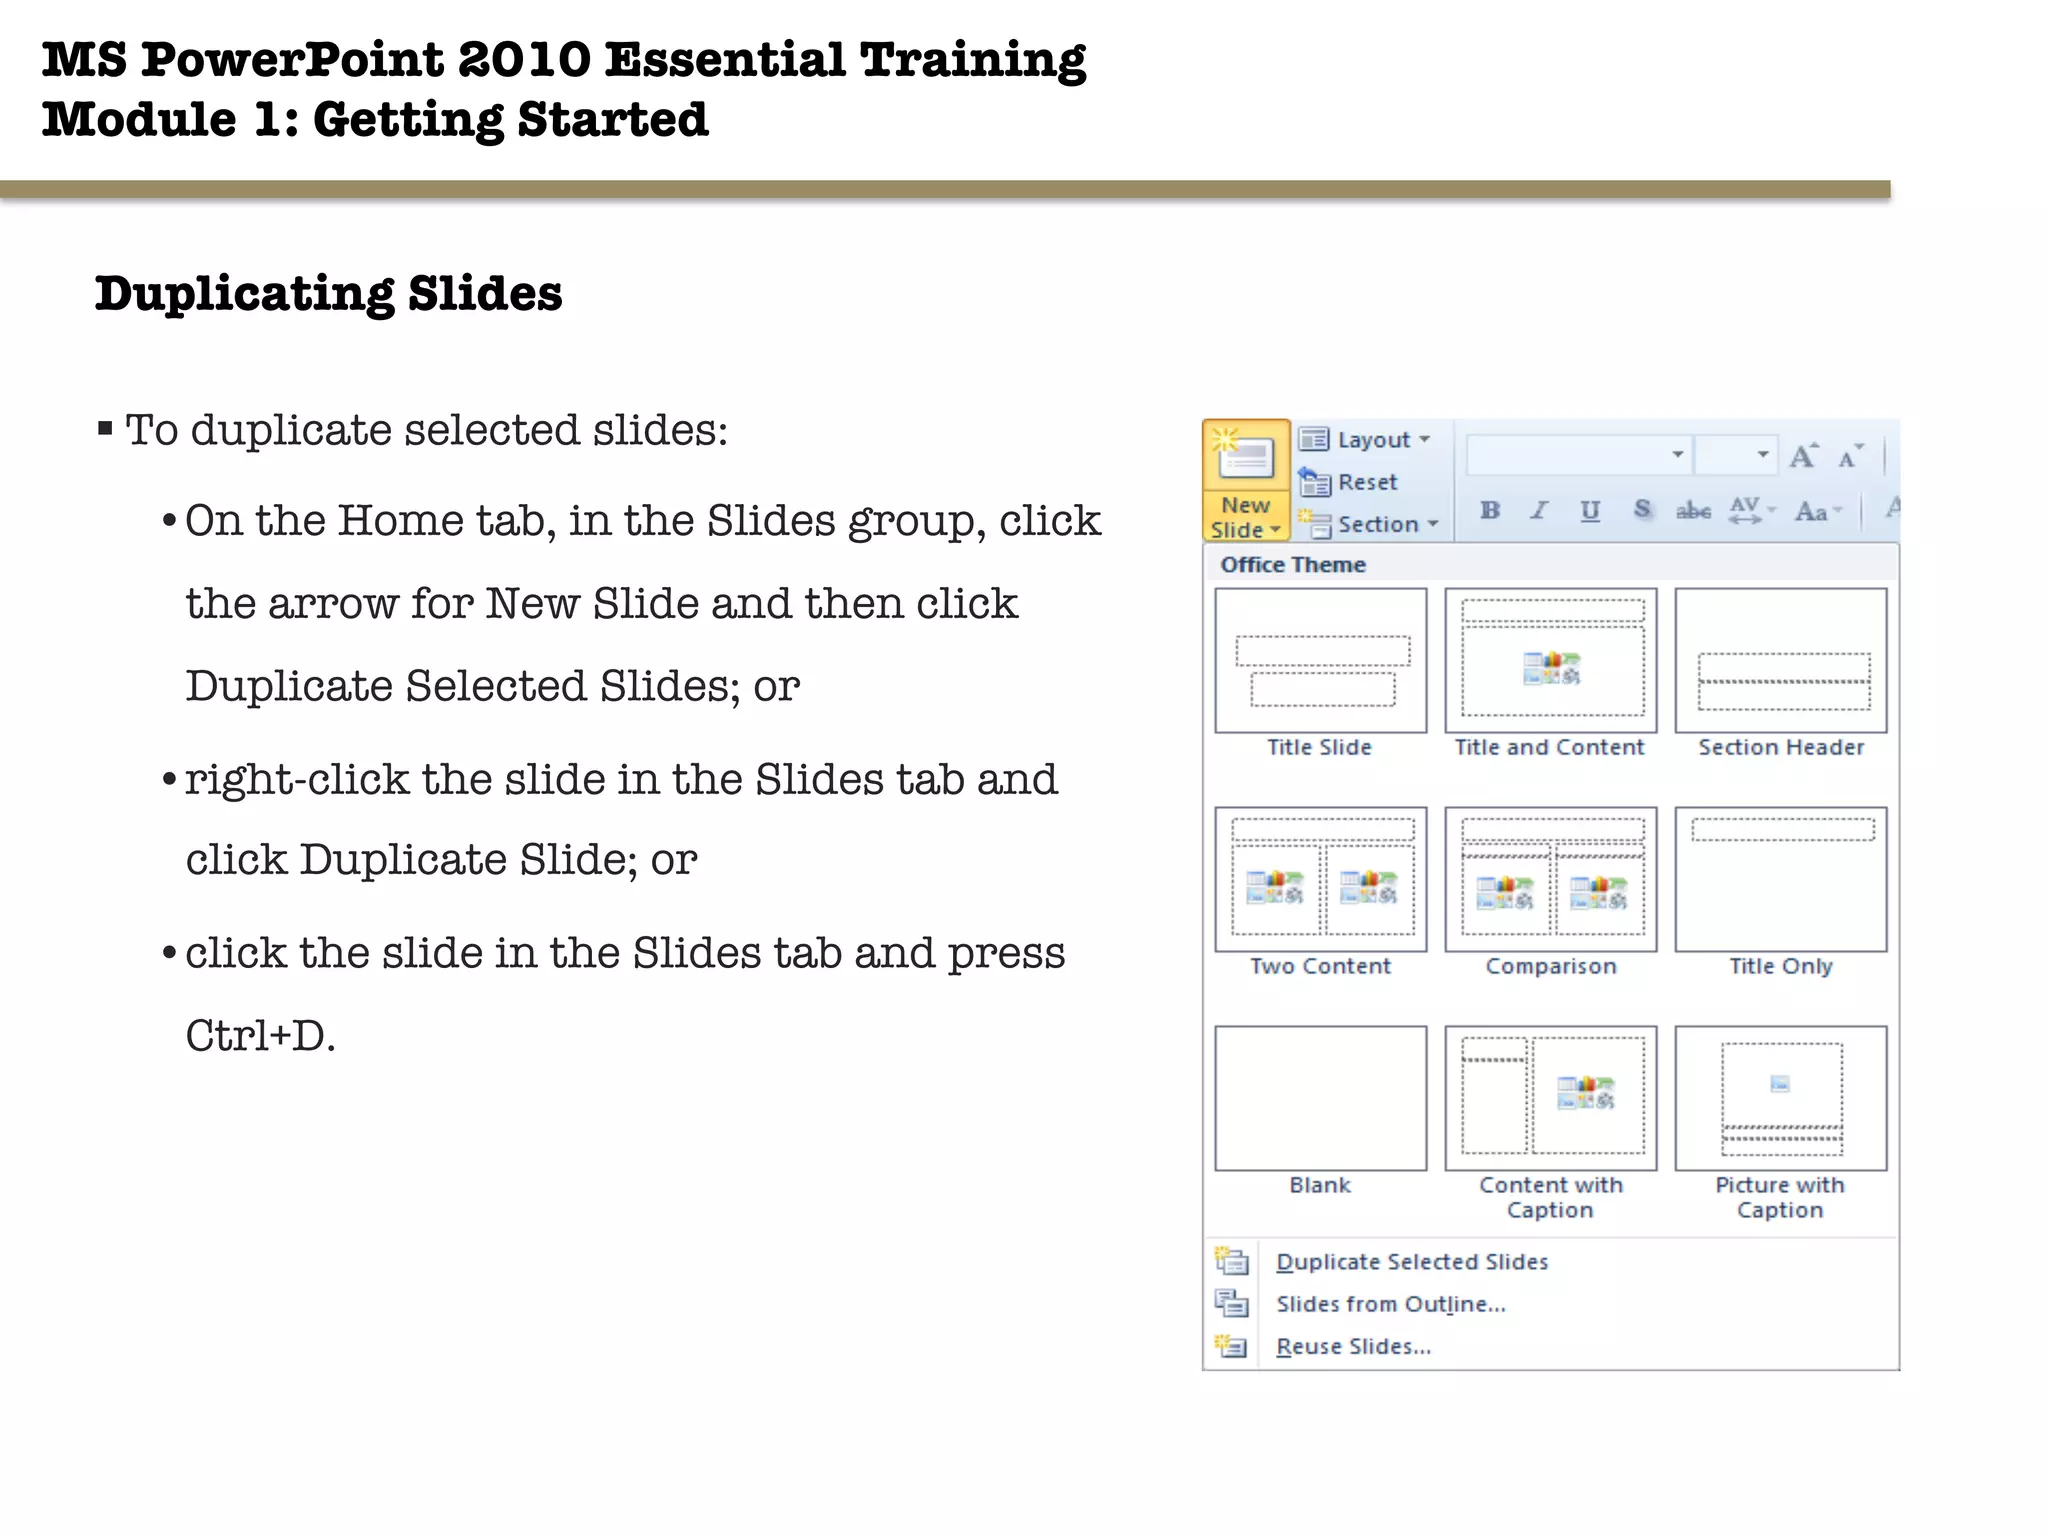
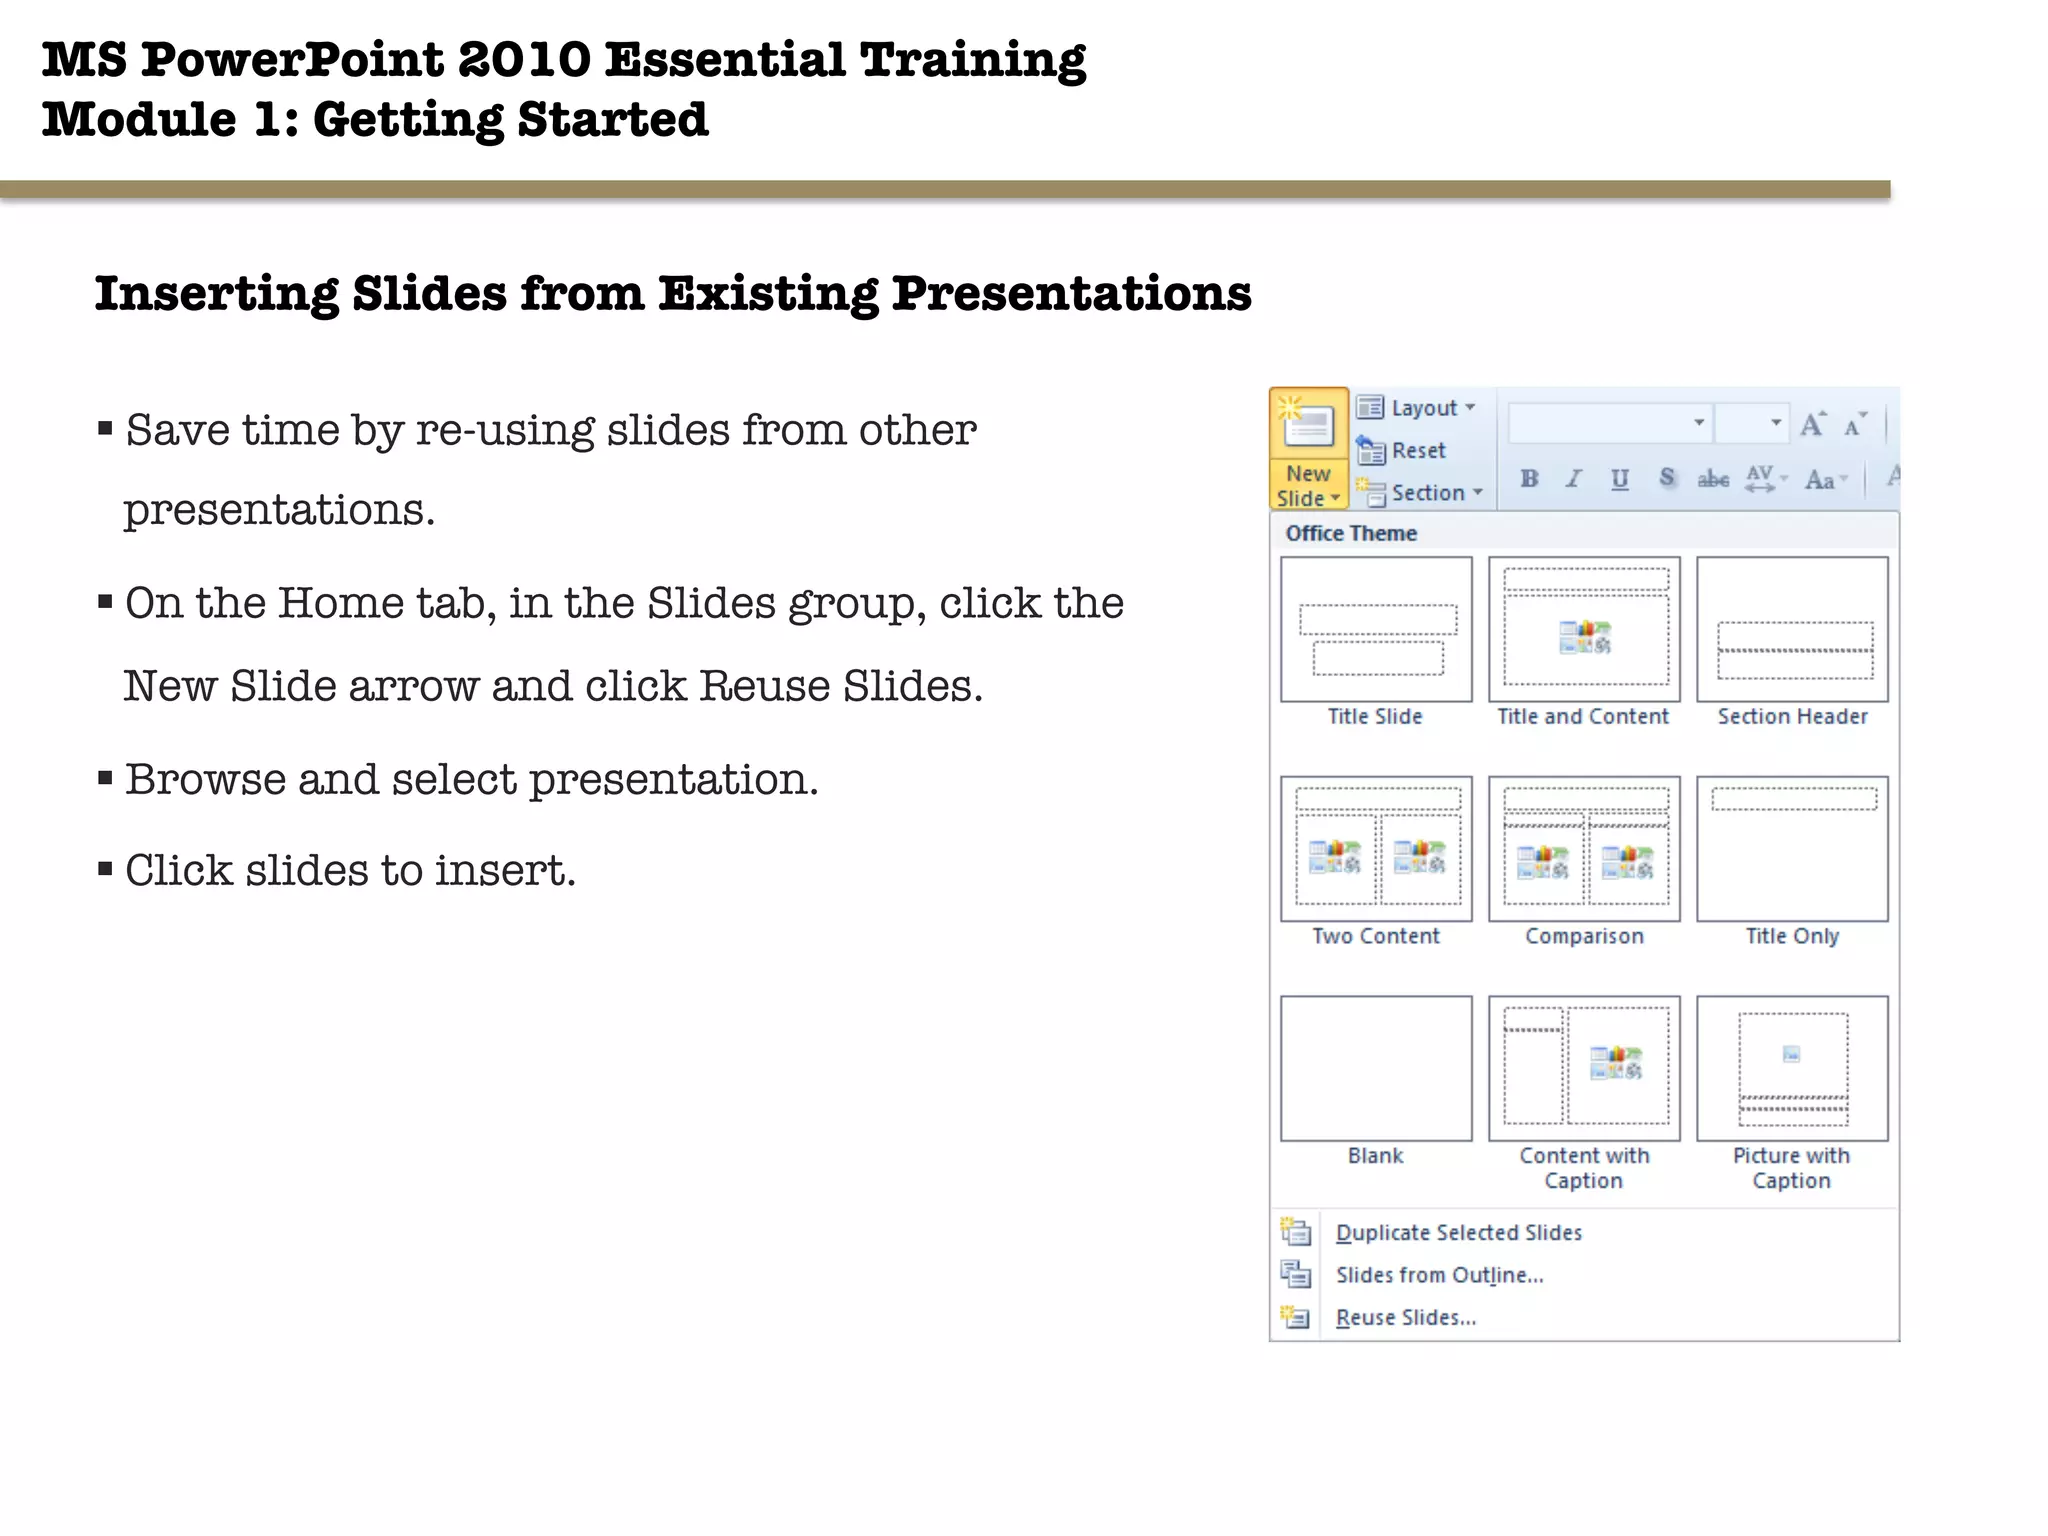


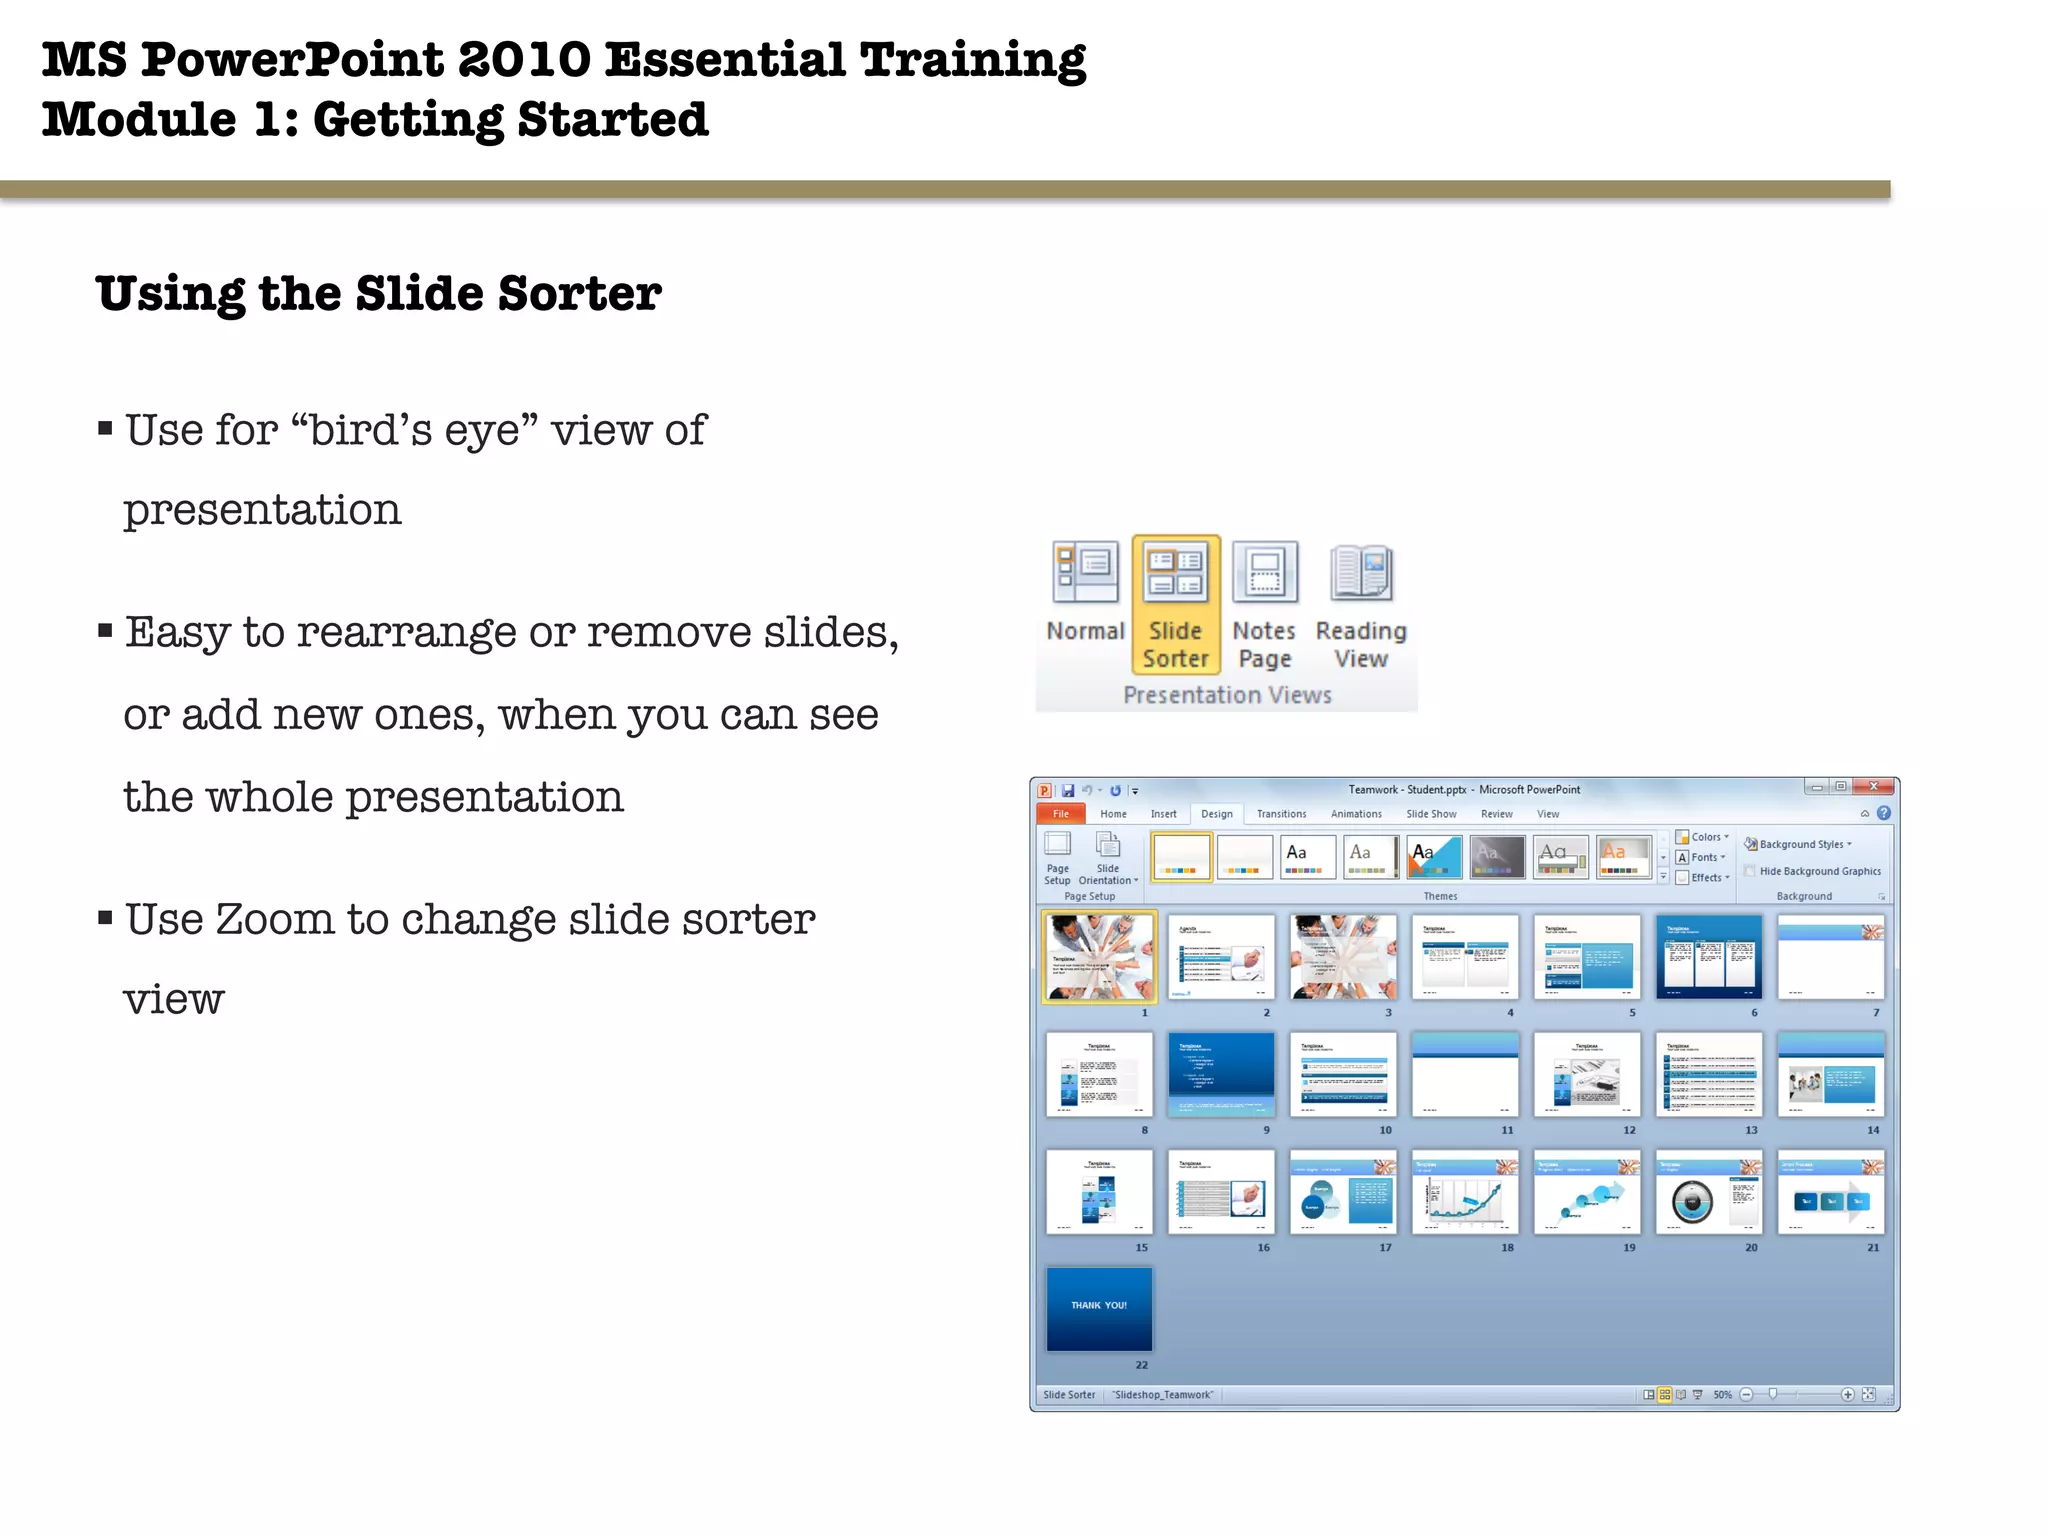


This document provides an overview of Module 1 of the MS PowerPoint 2010 Essential Training course. It covers topics like the basic PowerPoint interface and elements, how to create and work with presentations, and how to format slides. Key points covered include how to change views, insert and modify slides, apply themes and backgrounds, and use the slide sorter view to rearrange slides. The goal of the module is to learn fundamental PowerPoint skills like navigation, layouts, and basic formatting and organization.


