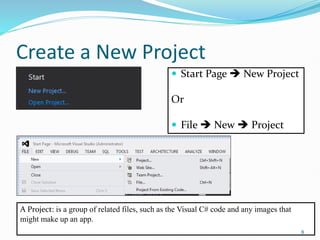
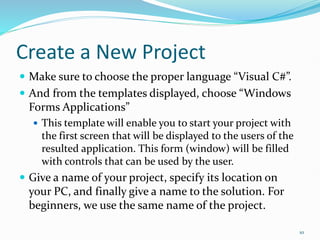
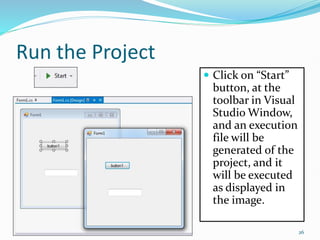
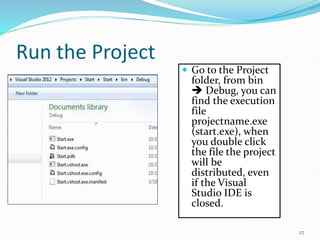
Visual programming allows creating software applications graphically without writing code. Visual Studio is a development environment for building applications with languages like C#. It contains tools like the toolbox, properties window, and solution explorer. The toolbox has common controls that can be dragged onto forms to build an application's interface. Properties configure the controls and forms. Running the project generates an executable file to distribute the completed application.


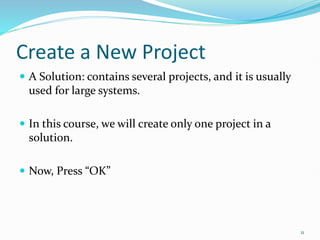
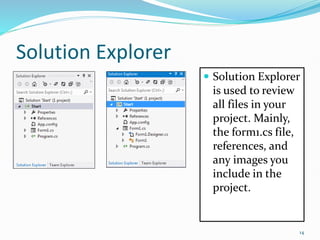
![Forms.cs
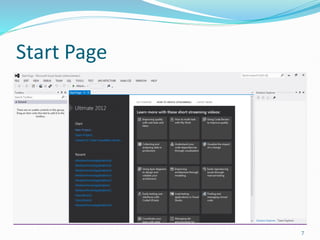
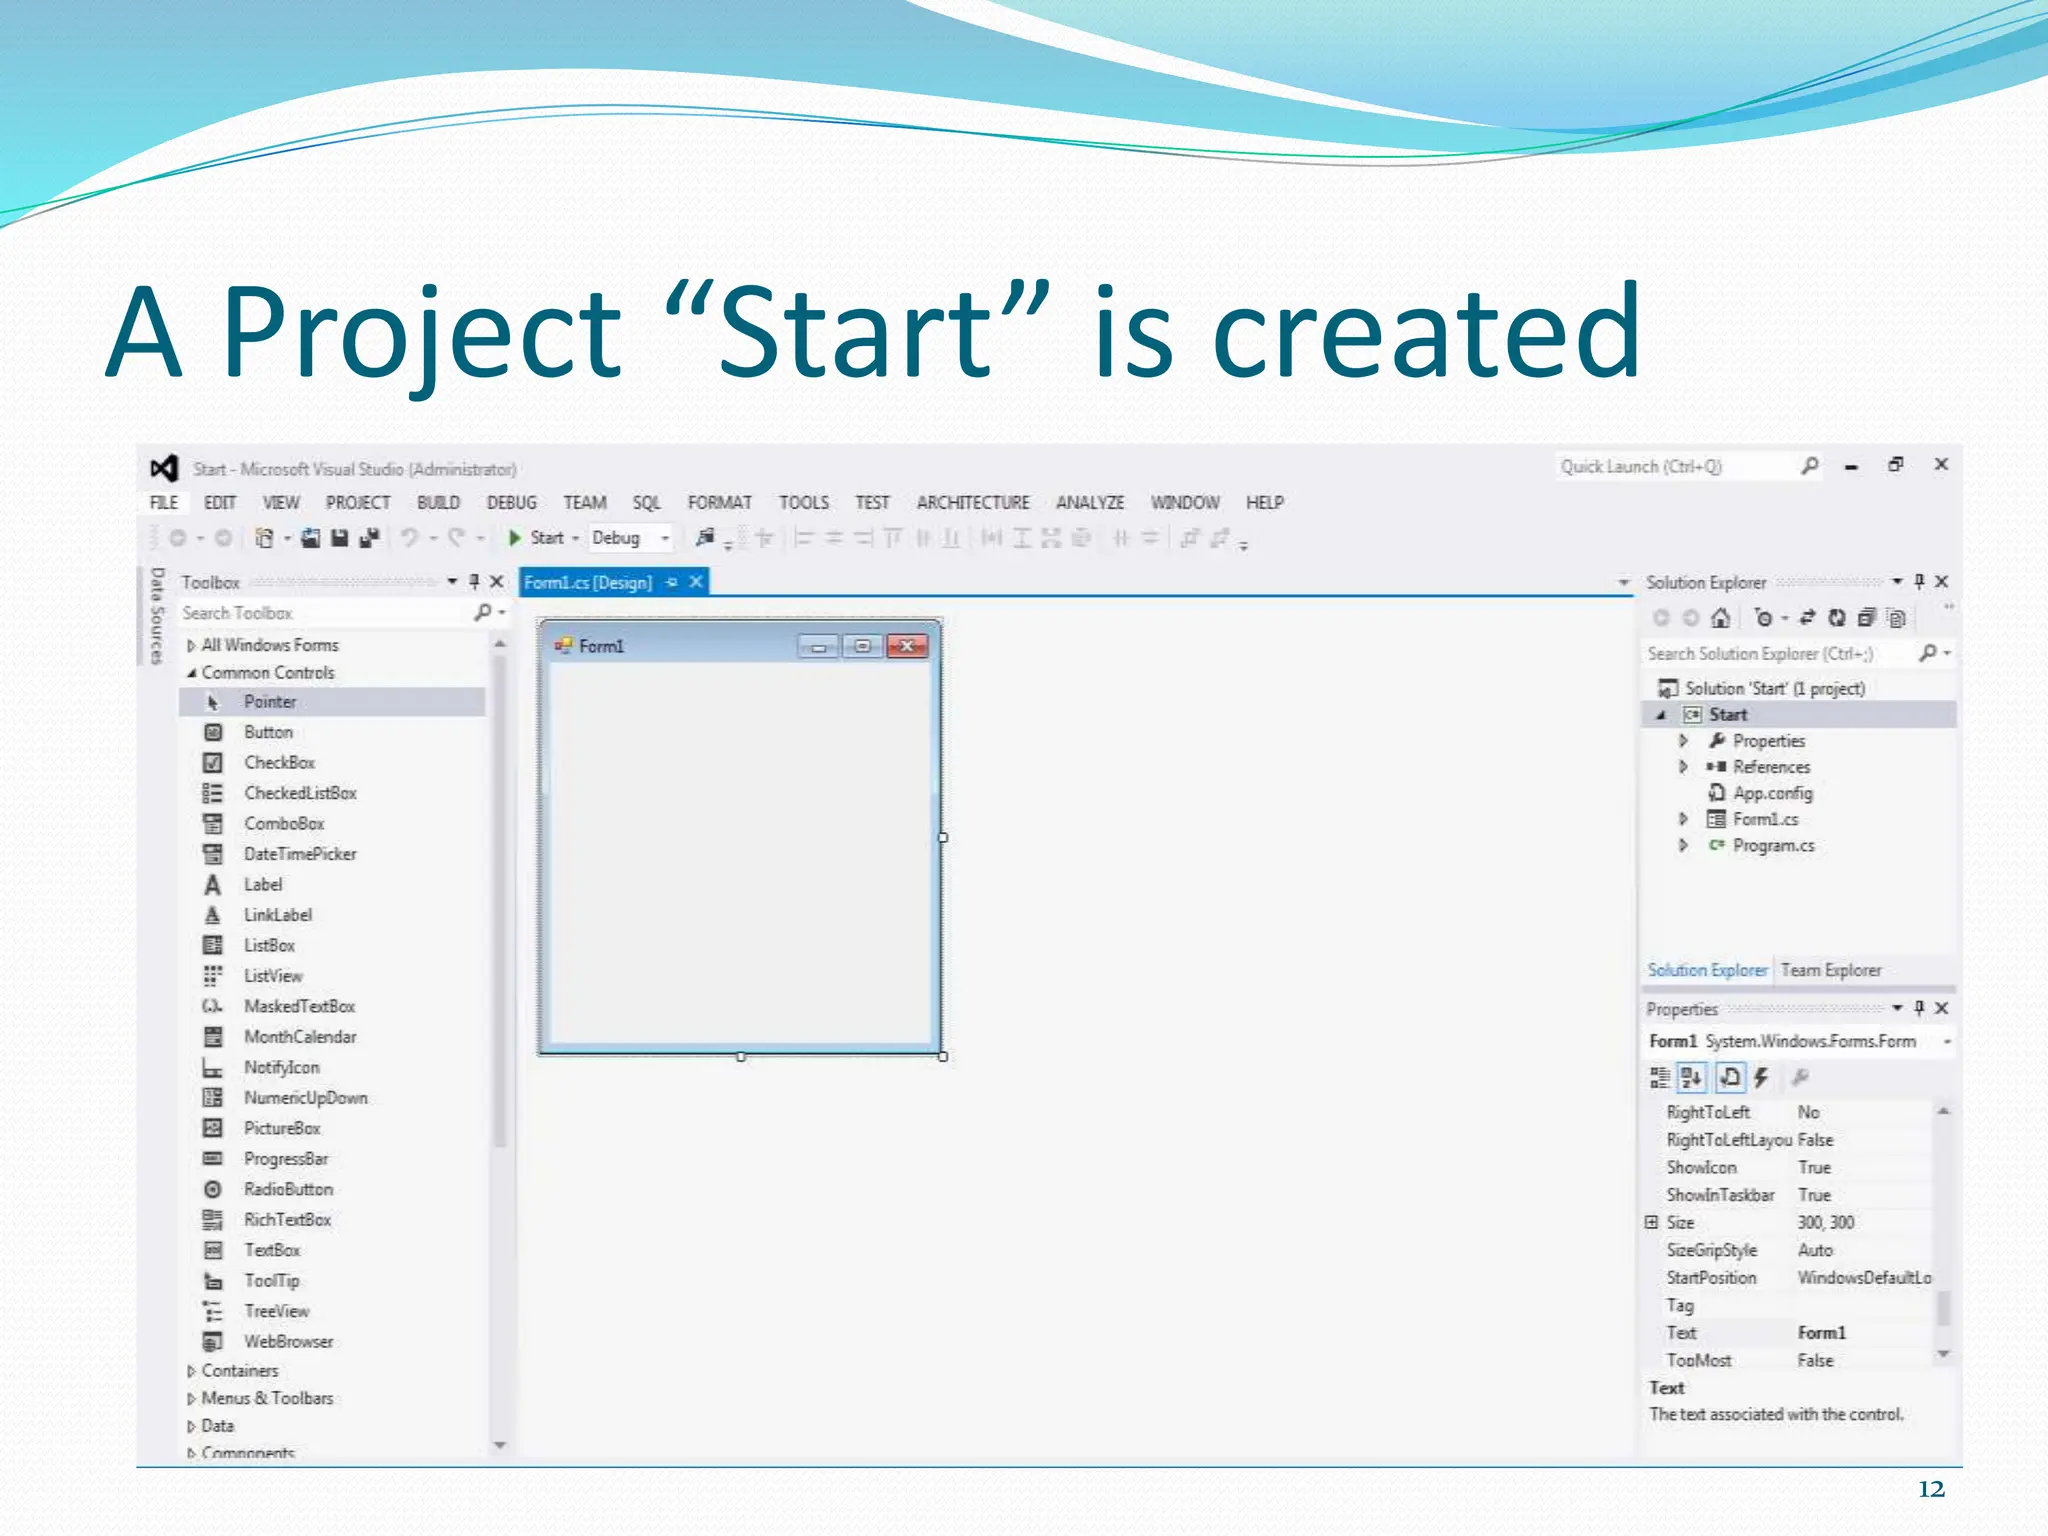
Form1.cs [Design]
This window displays the
file form1.cs in design
mode.
In this window you can
add the needed controls
to the form.
Your project may contain
several forms that act as
the windows of the
application.
13](https://image.slidesharecdn.com/visualprogrammingbasic-240228101744-036456a7/85/Visual-programming-basic-ppt-bs-cs5th-class-13-320.jpg)


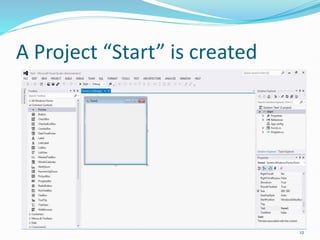
![Forms.cs
Form1.cs [Design]
This window displays the
file form1.cs in design
mode.
In this window you can
add the needed controls
to the form.
Your project may contain
several forms that act as
the windows of the
application.
13](https://image.slidesharecdn.com/visualprogrammingbasic-240228101744-036456a7/75/Visual-programming-basic-ppt-bs-cs5th-class-13-2048.jpg)