This document is a comprehensive tutorial on using WebdriverIO for Selenium automation in web development and automated testing. It covers the tool's features, advantages, and setup process, as well as best practices for writing and executing test scripts. By integrating with modern frameworks and CI/CD tools, WebdriverIO streamlines automated testing, ensuring applications perform effectively across different environments.

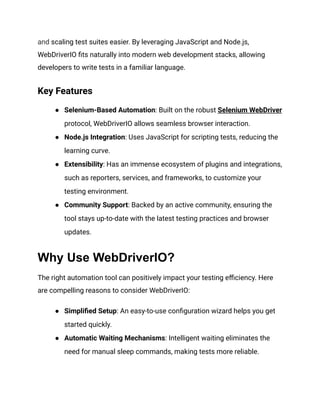

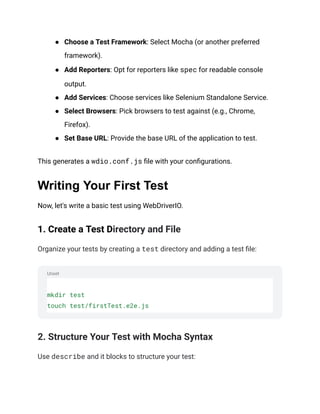
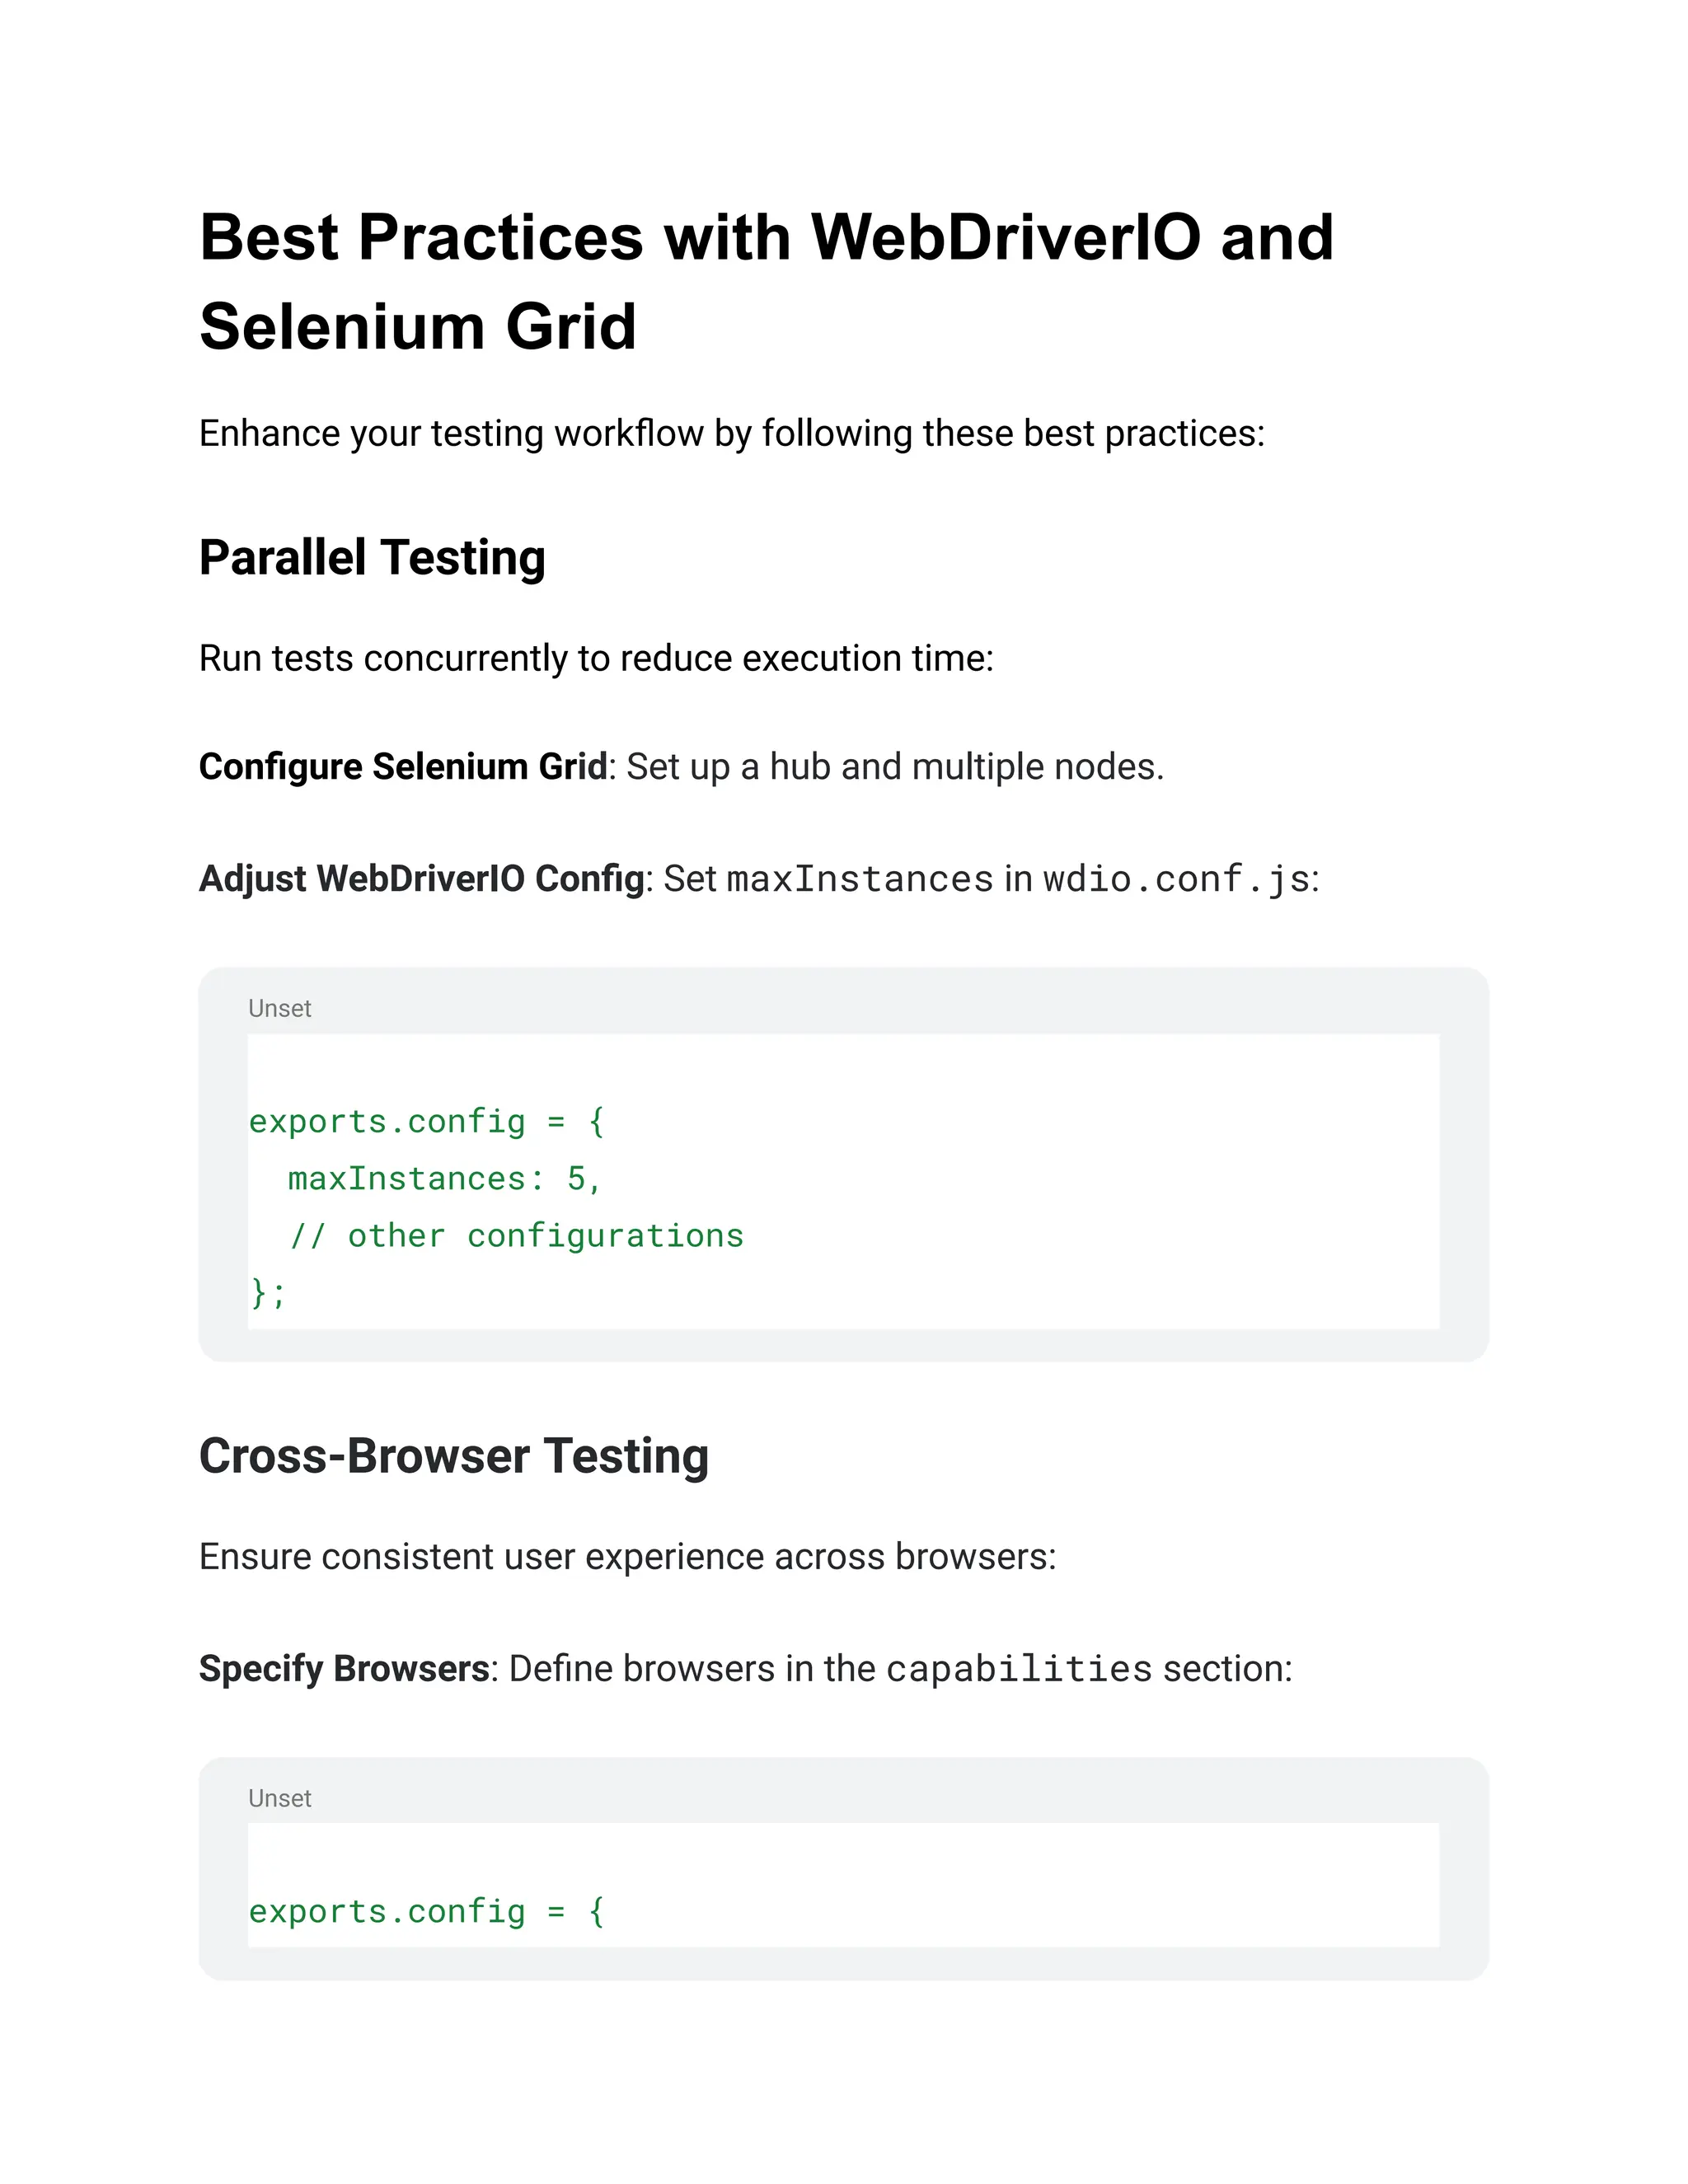
![capabilities: [
{ browserName: 'chrome' },
{ browserName: 'firefox' },
{ browserName: 'safari' },
],
// other configurations
};
Testing on Real Devices
For mobile applications, test on real devices for accurate results:
● Use Device Clouds: Integrate with services like BrowserStack or
Sauce Labs.
● Set Up Local Devices: Connect physical devices as nodes in your
Selenium Grid.
Performance Monitoring
Integrate performance analysis to identify bottlenecks:
● Use Performance APIs: Leverage commands like
browser.getMetrics().
● Integrate Monitoring Tools: Use tools like Lighthouse within your
tests.
Automate Test Management](https://image.slidesharecdn.com/webdriveriotutorialforseleniumautomation-241126055930-a2207520/85/WebDriverIO-Tutorial-for-Selenium-Automation-pdf-11-320.jpg)
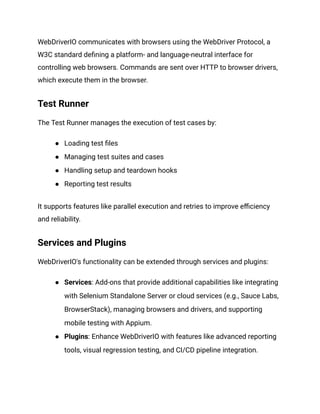
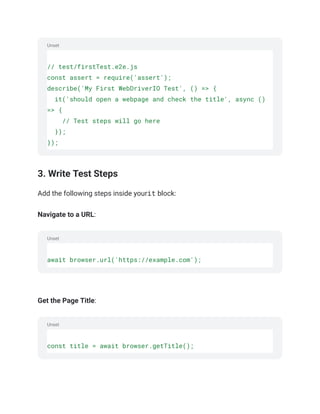
![capabilities: [
{ browserName: 'chrome' },
{ browserName: 'firefox' },
{ browserName: 'safari' },
],
// other configurations
};
Testing on Real Devices
For mobile applications, test on real devices for accurate results:
● Use Device Clouds: Integrate with services like BrowserStack or
Sauce Labs.
● Set Up Local Devices: Connect physical devices as nodes in your
Selenium Grid.
Performance Monitoring
Integrate performance analysis to identify bottlenecks:
● Use Performance APIs: Leverage commands like
browser.getMetrics().
● Integrate Monitoring Tools: Use tools like Lighthouse within your
tests.
Automate Test Management](https://image.slidesharecdn.com/webdriveriotutorialforseleniumautomation-241126055930-a2207520/75/WebDriverIO-Tutorial-for-Selenium-Automation-pdf-11-2048.jpg)


![[Deu] Test Automatisierung Mit Web Driver.io](https://cdn.slidesharecdn.com/ss_thumbnails/deutestautomatisierungmitwebdriverio-191120180803-thumbnail.jpg?width=600ounds&width=560&fit=bounds)


