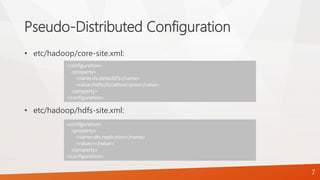
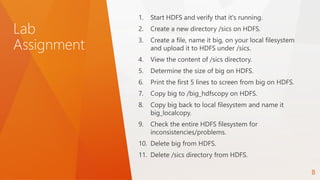
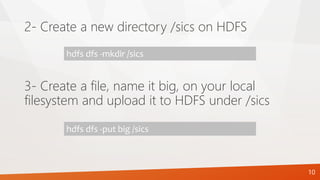
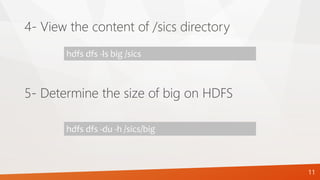
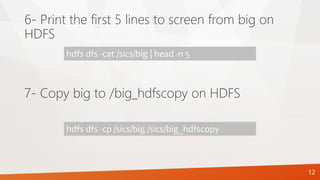
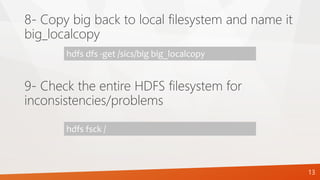
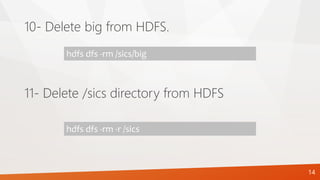
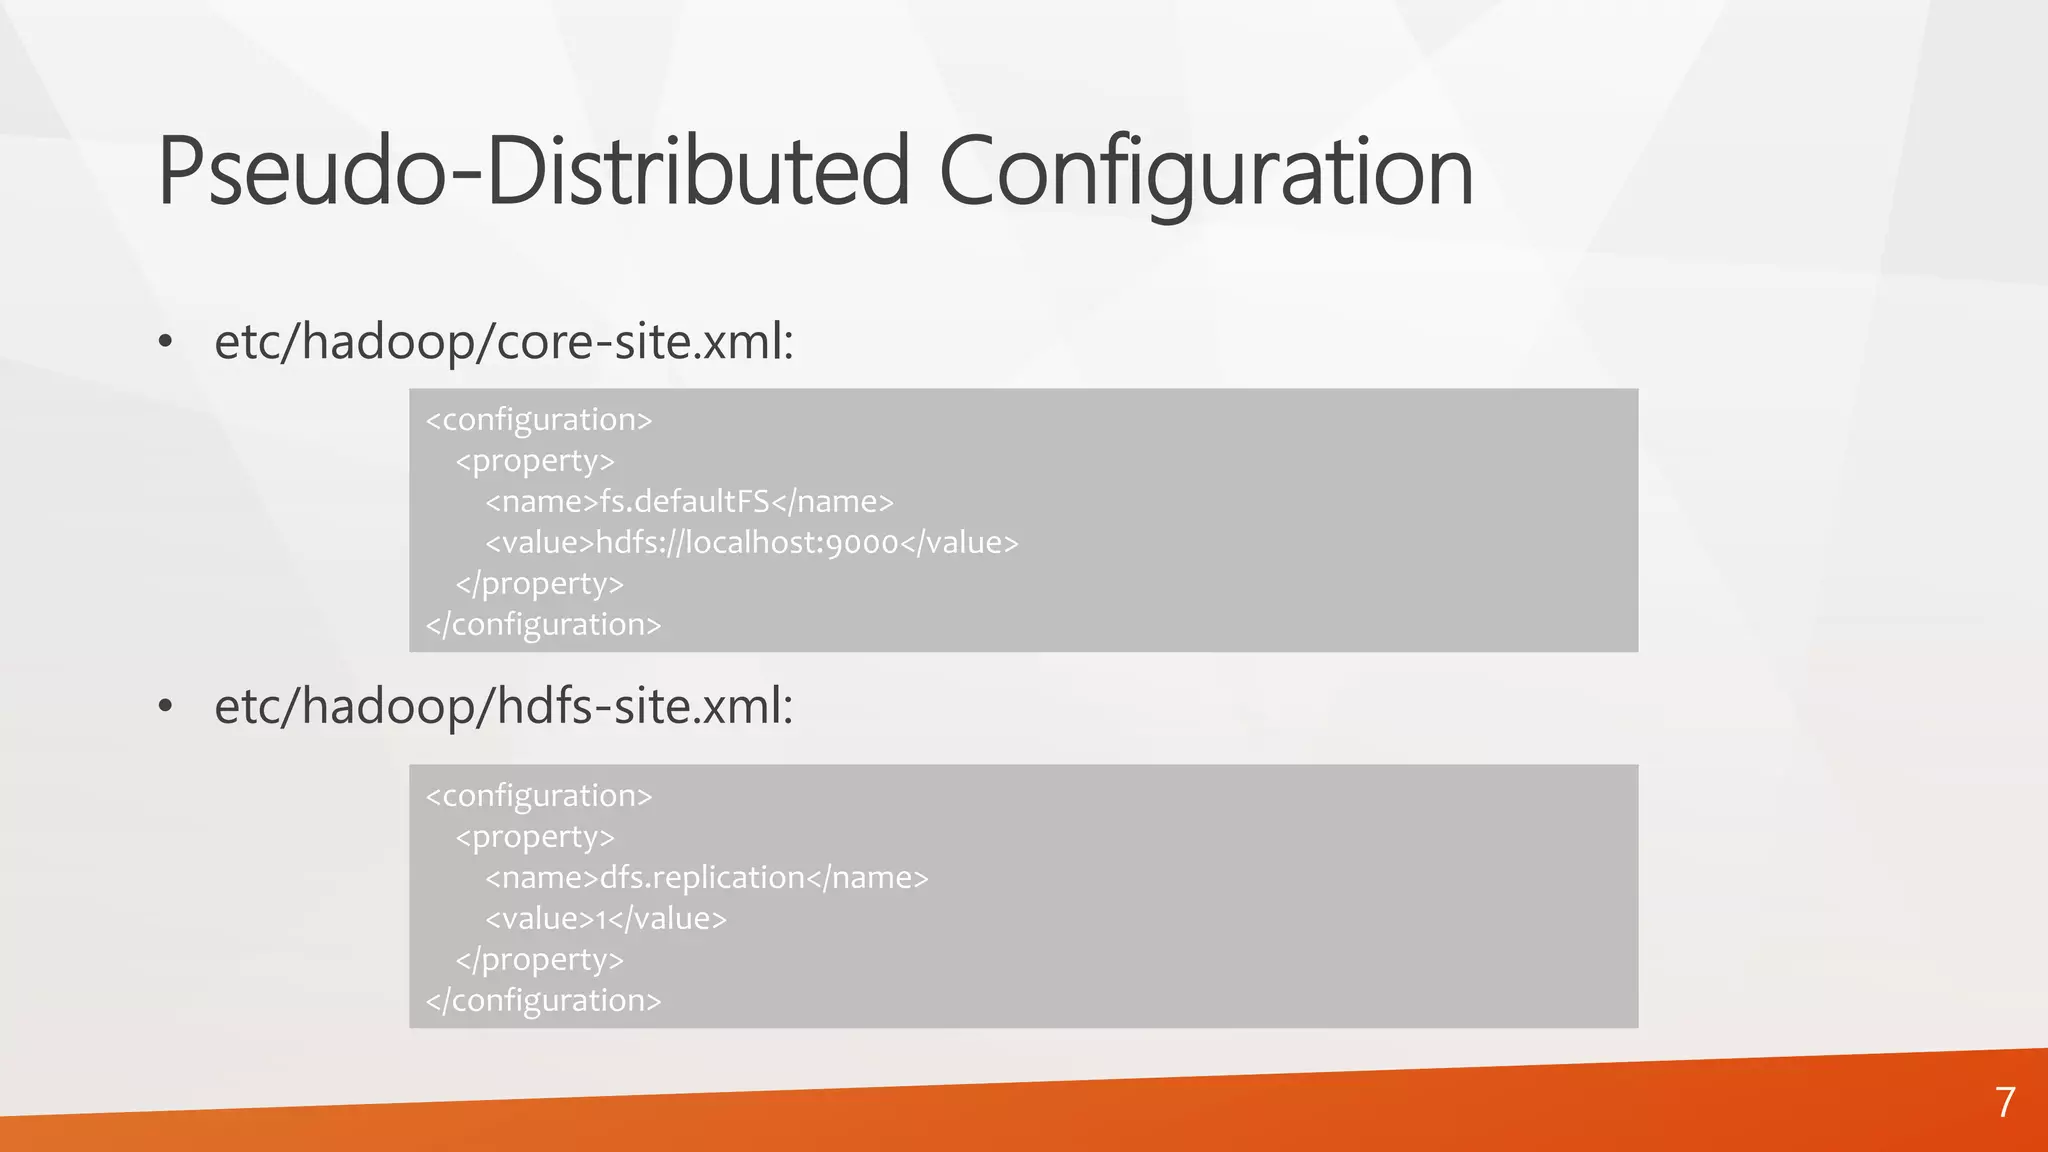
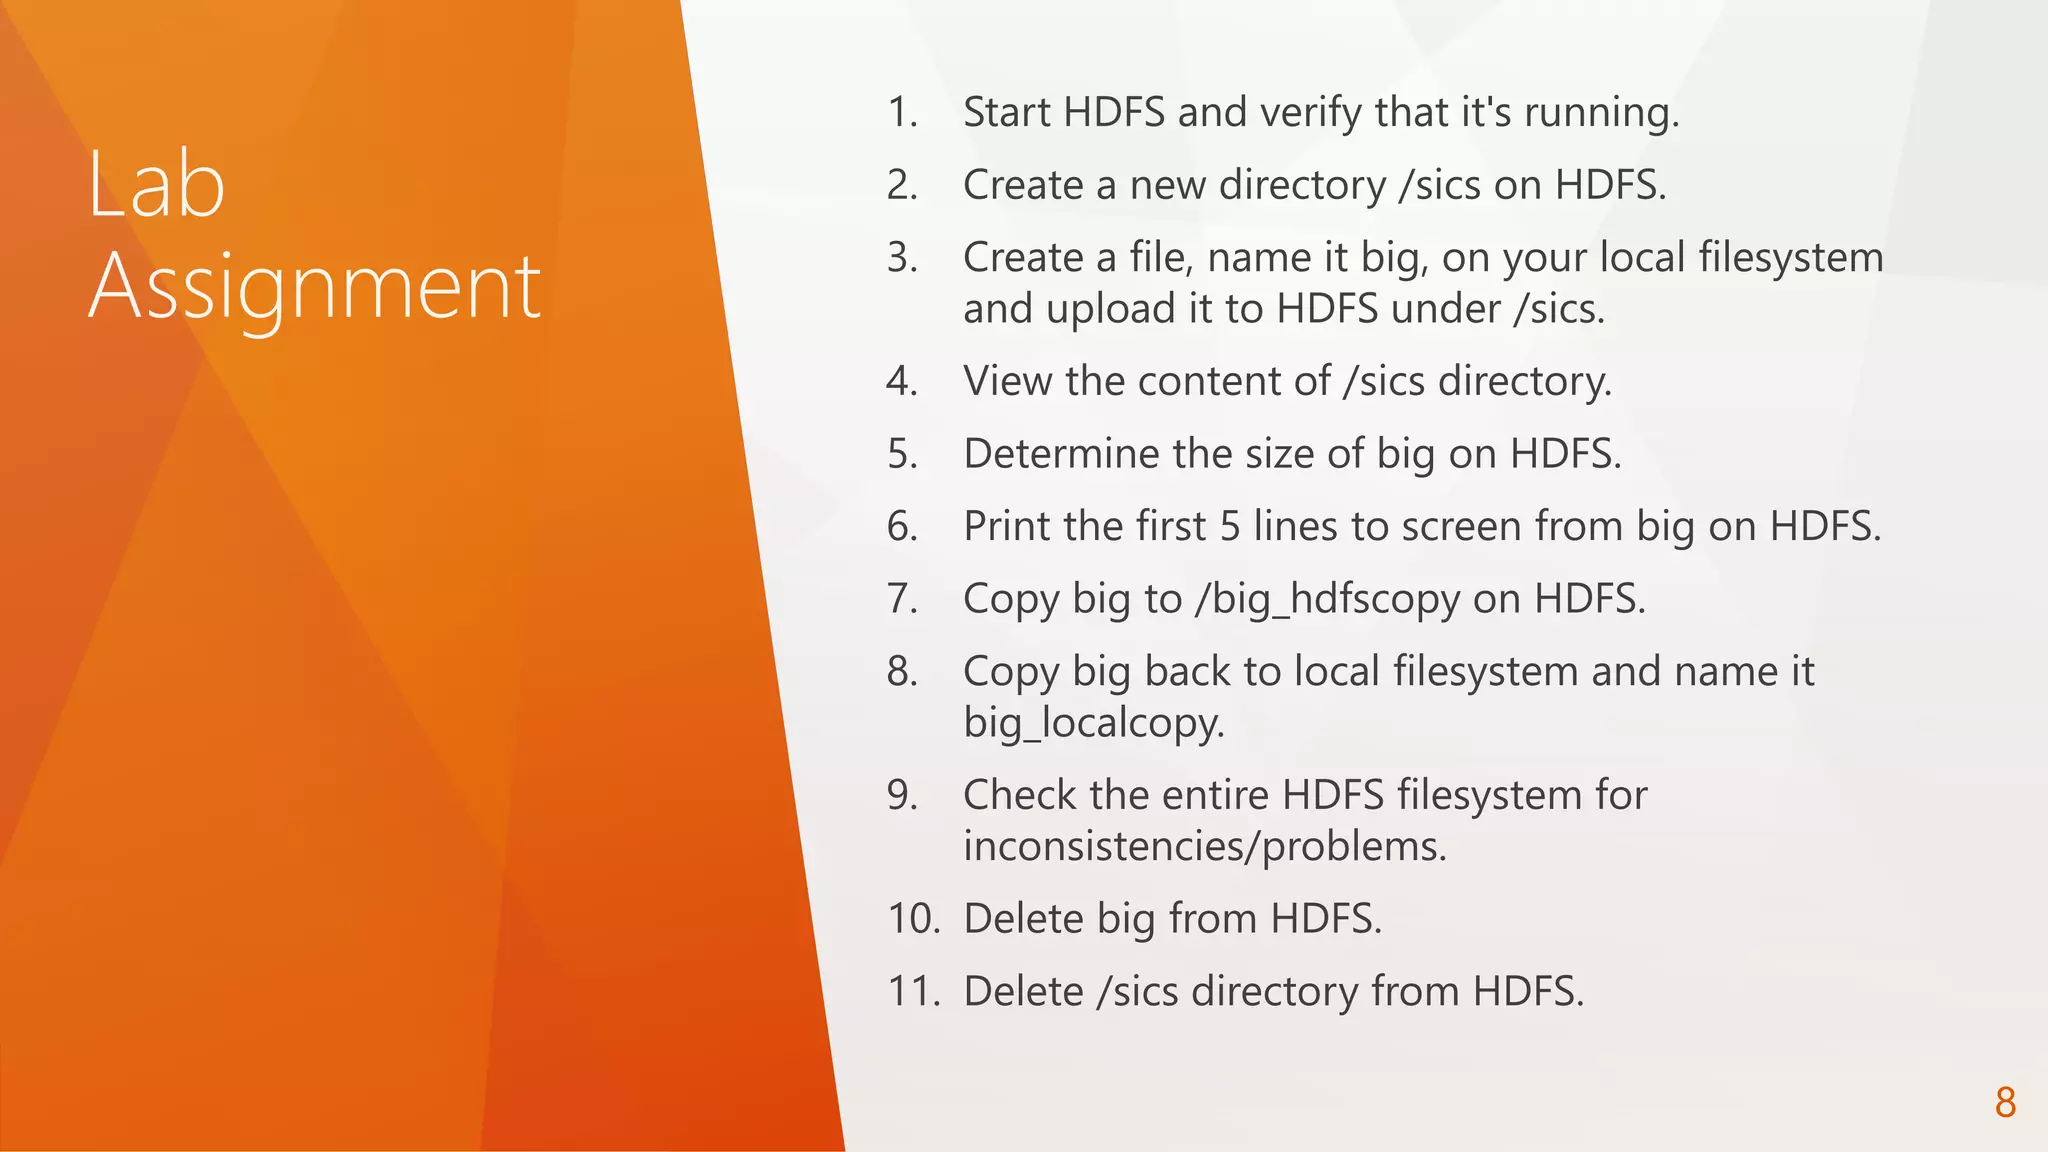
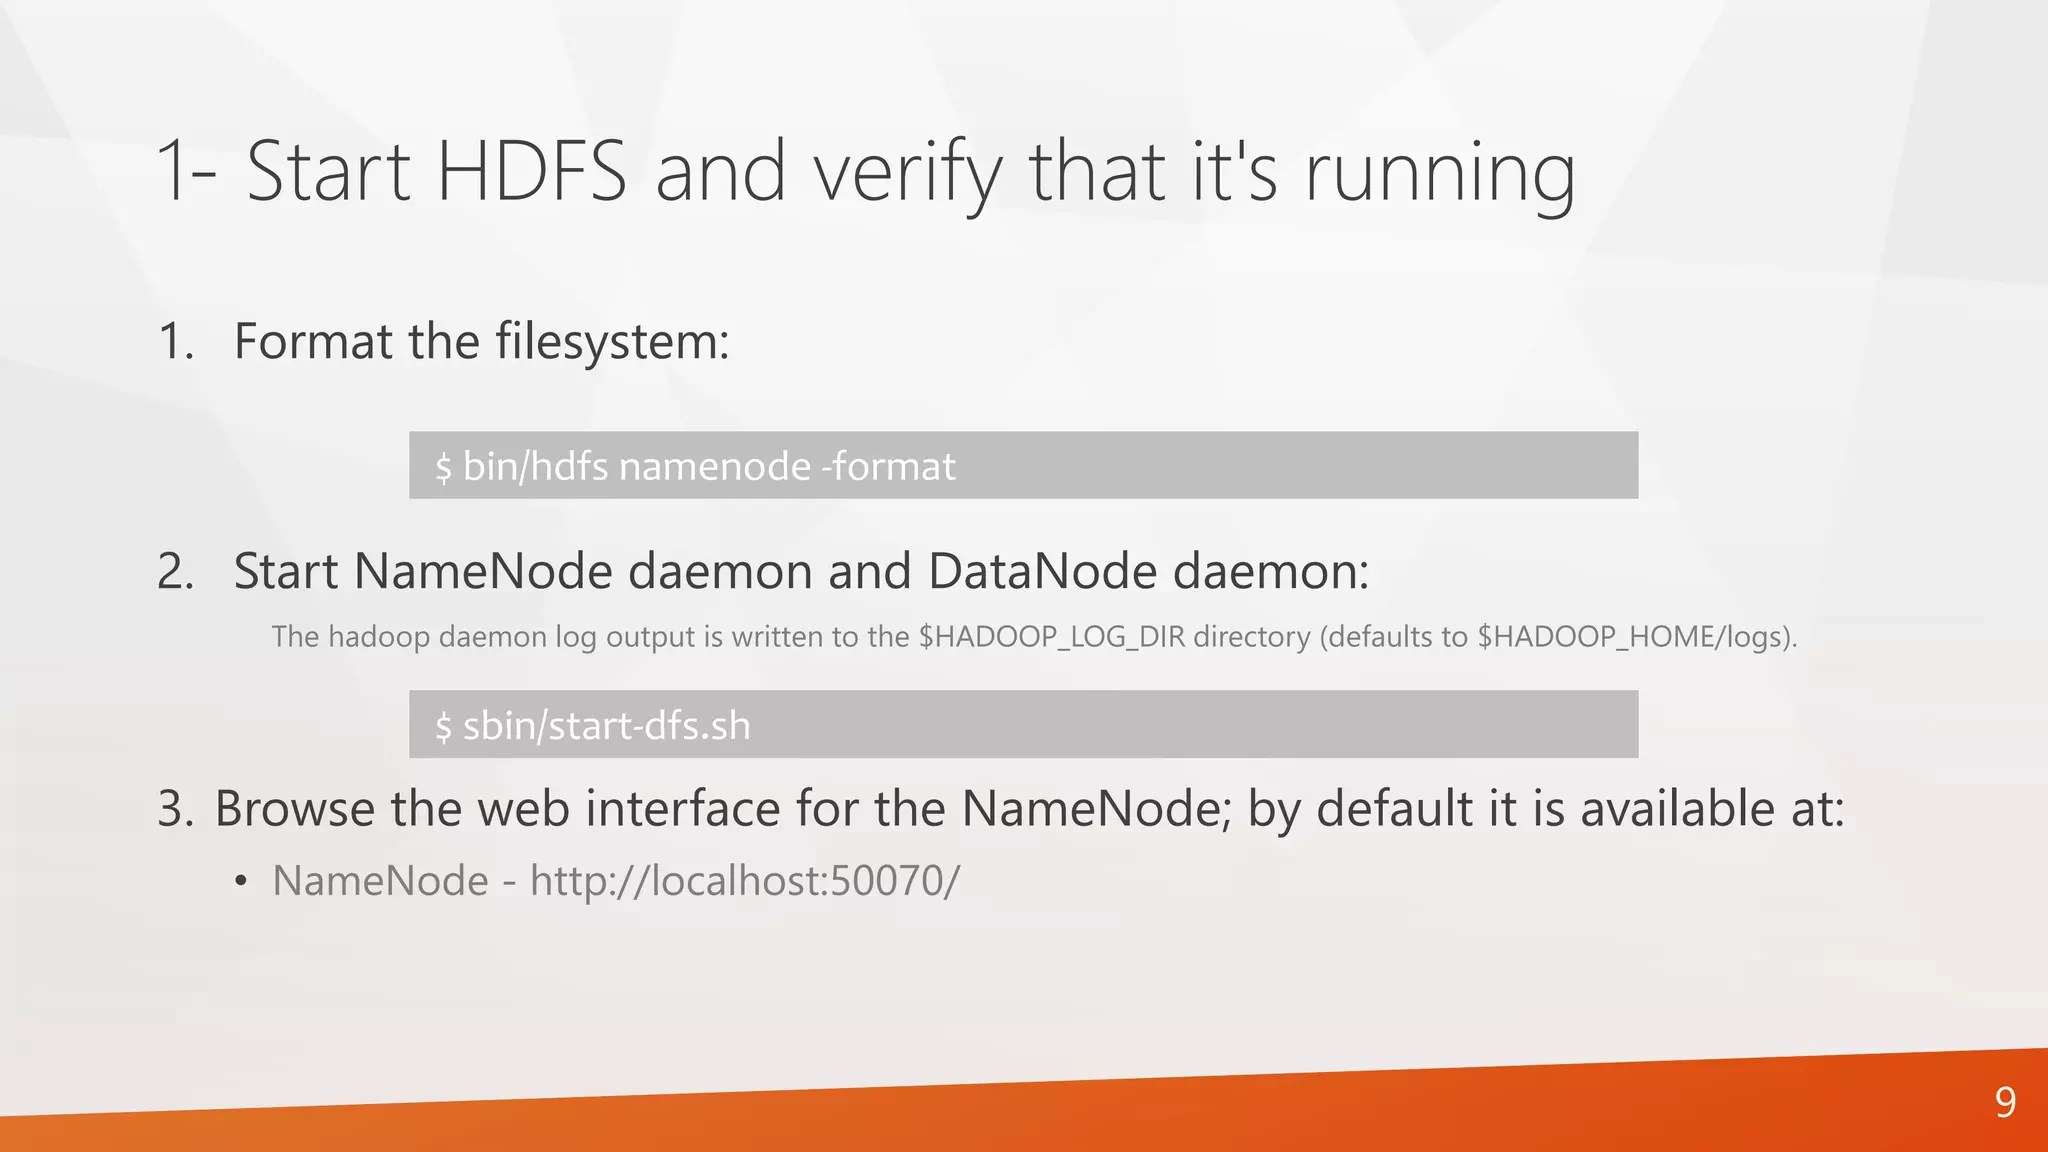
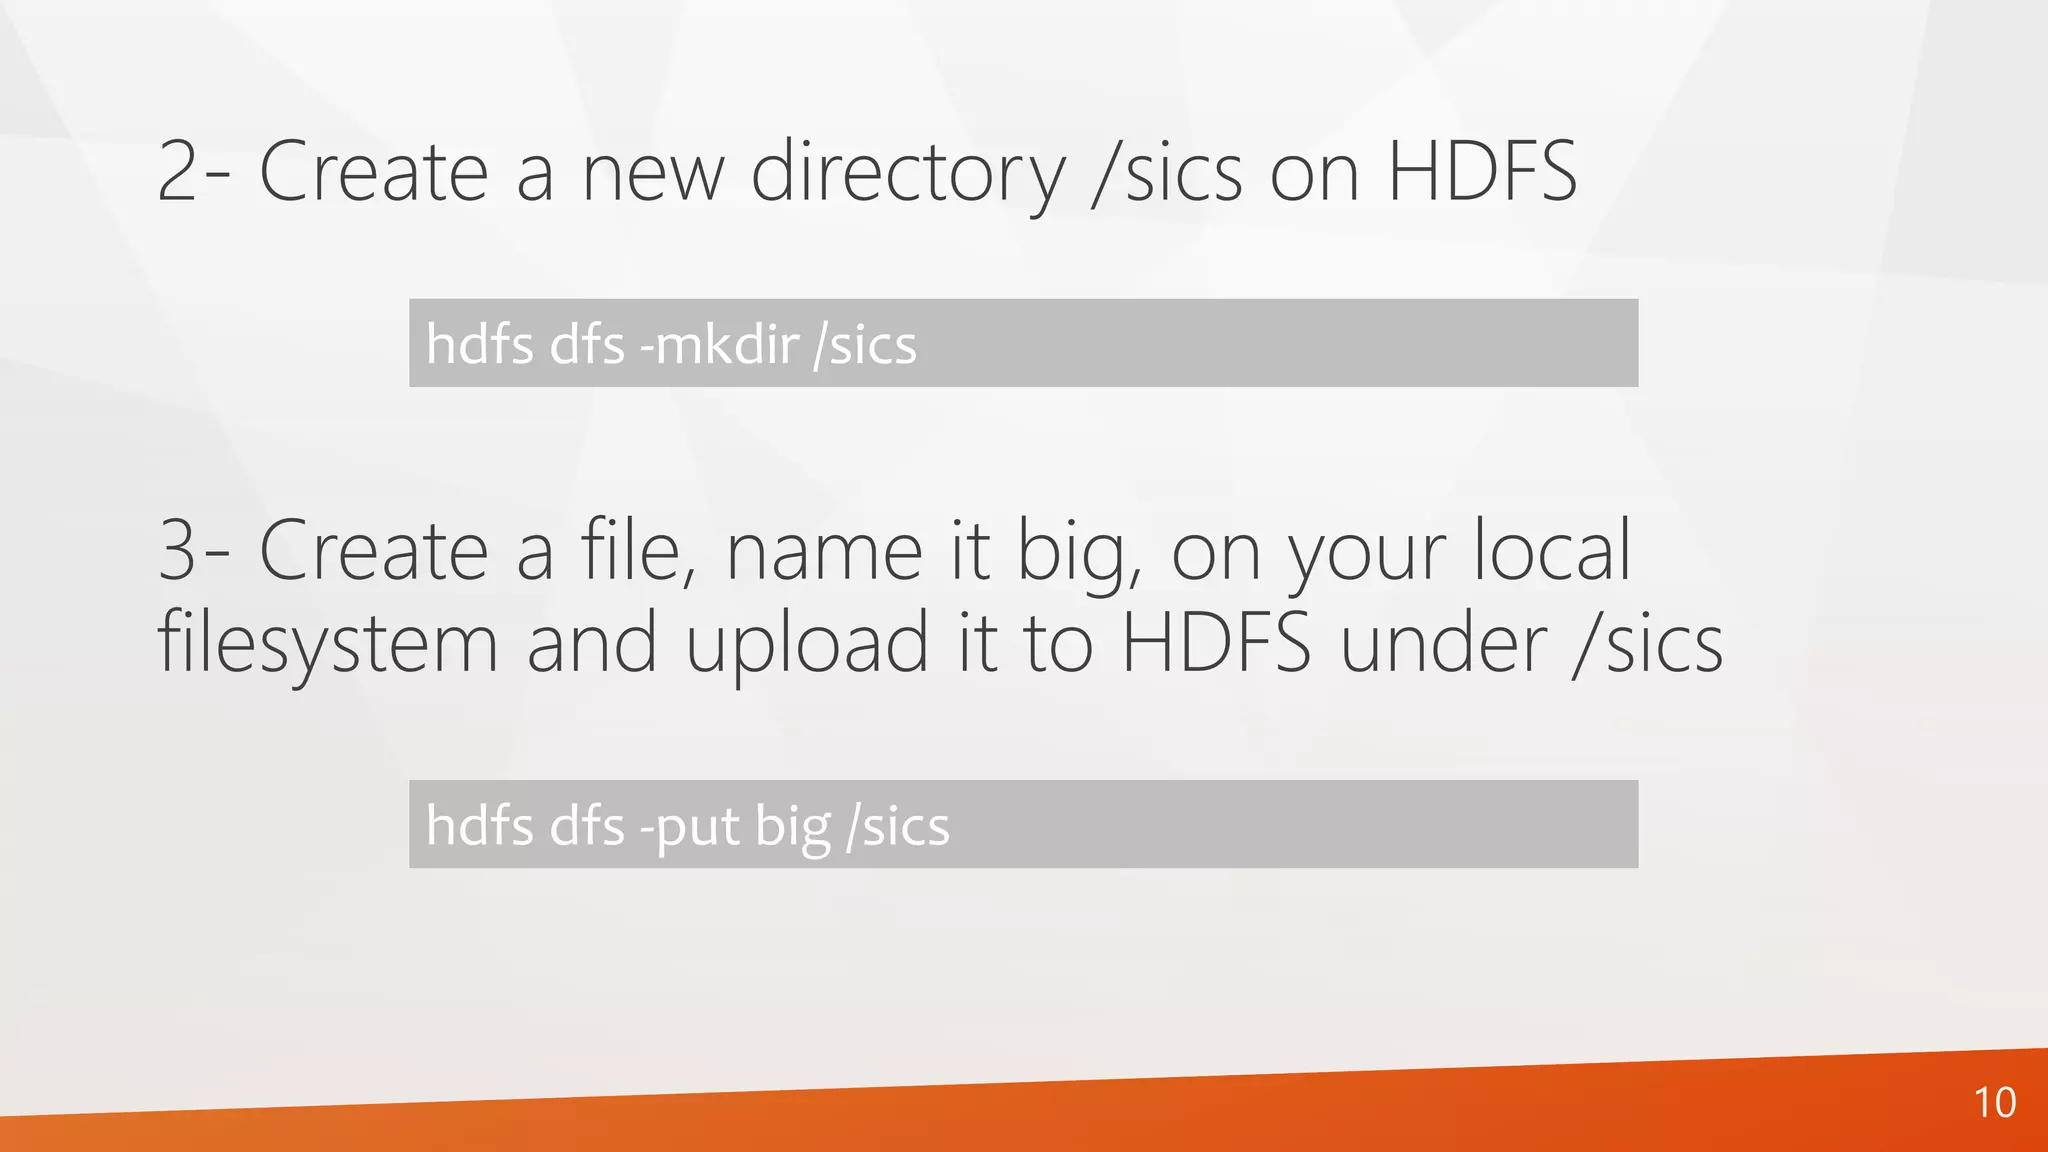
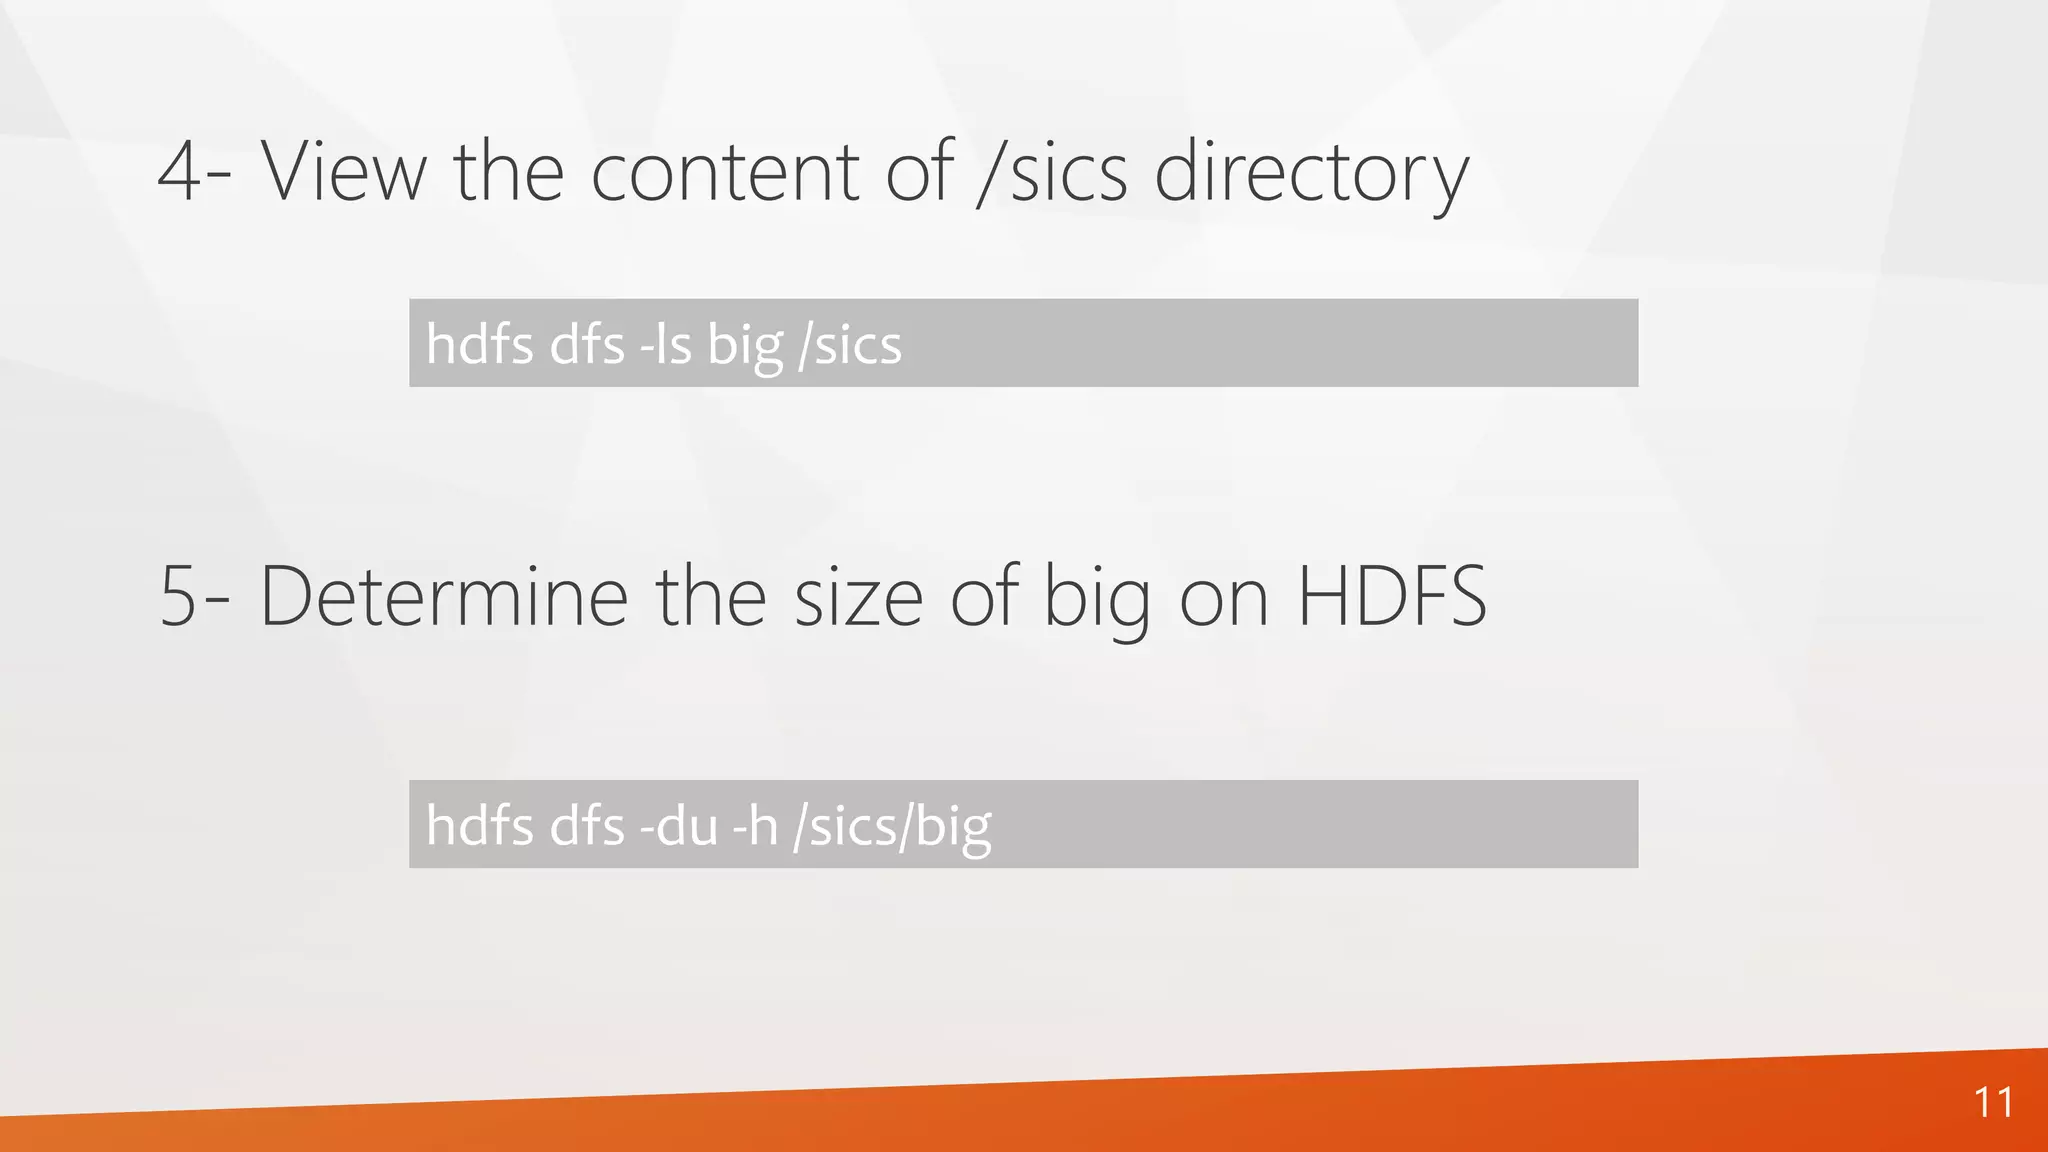
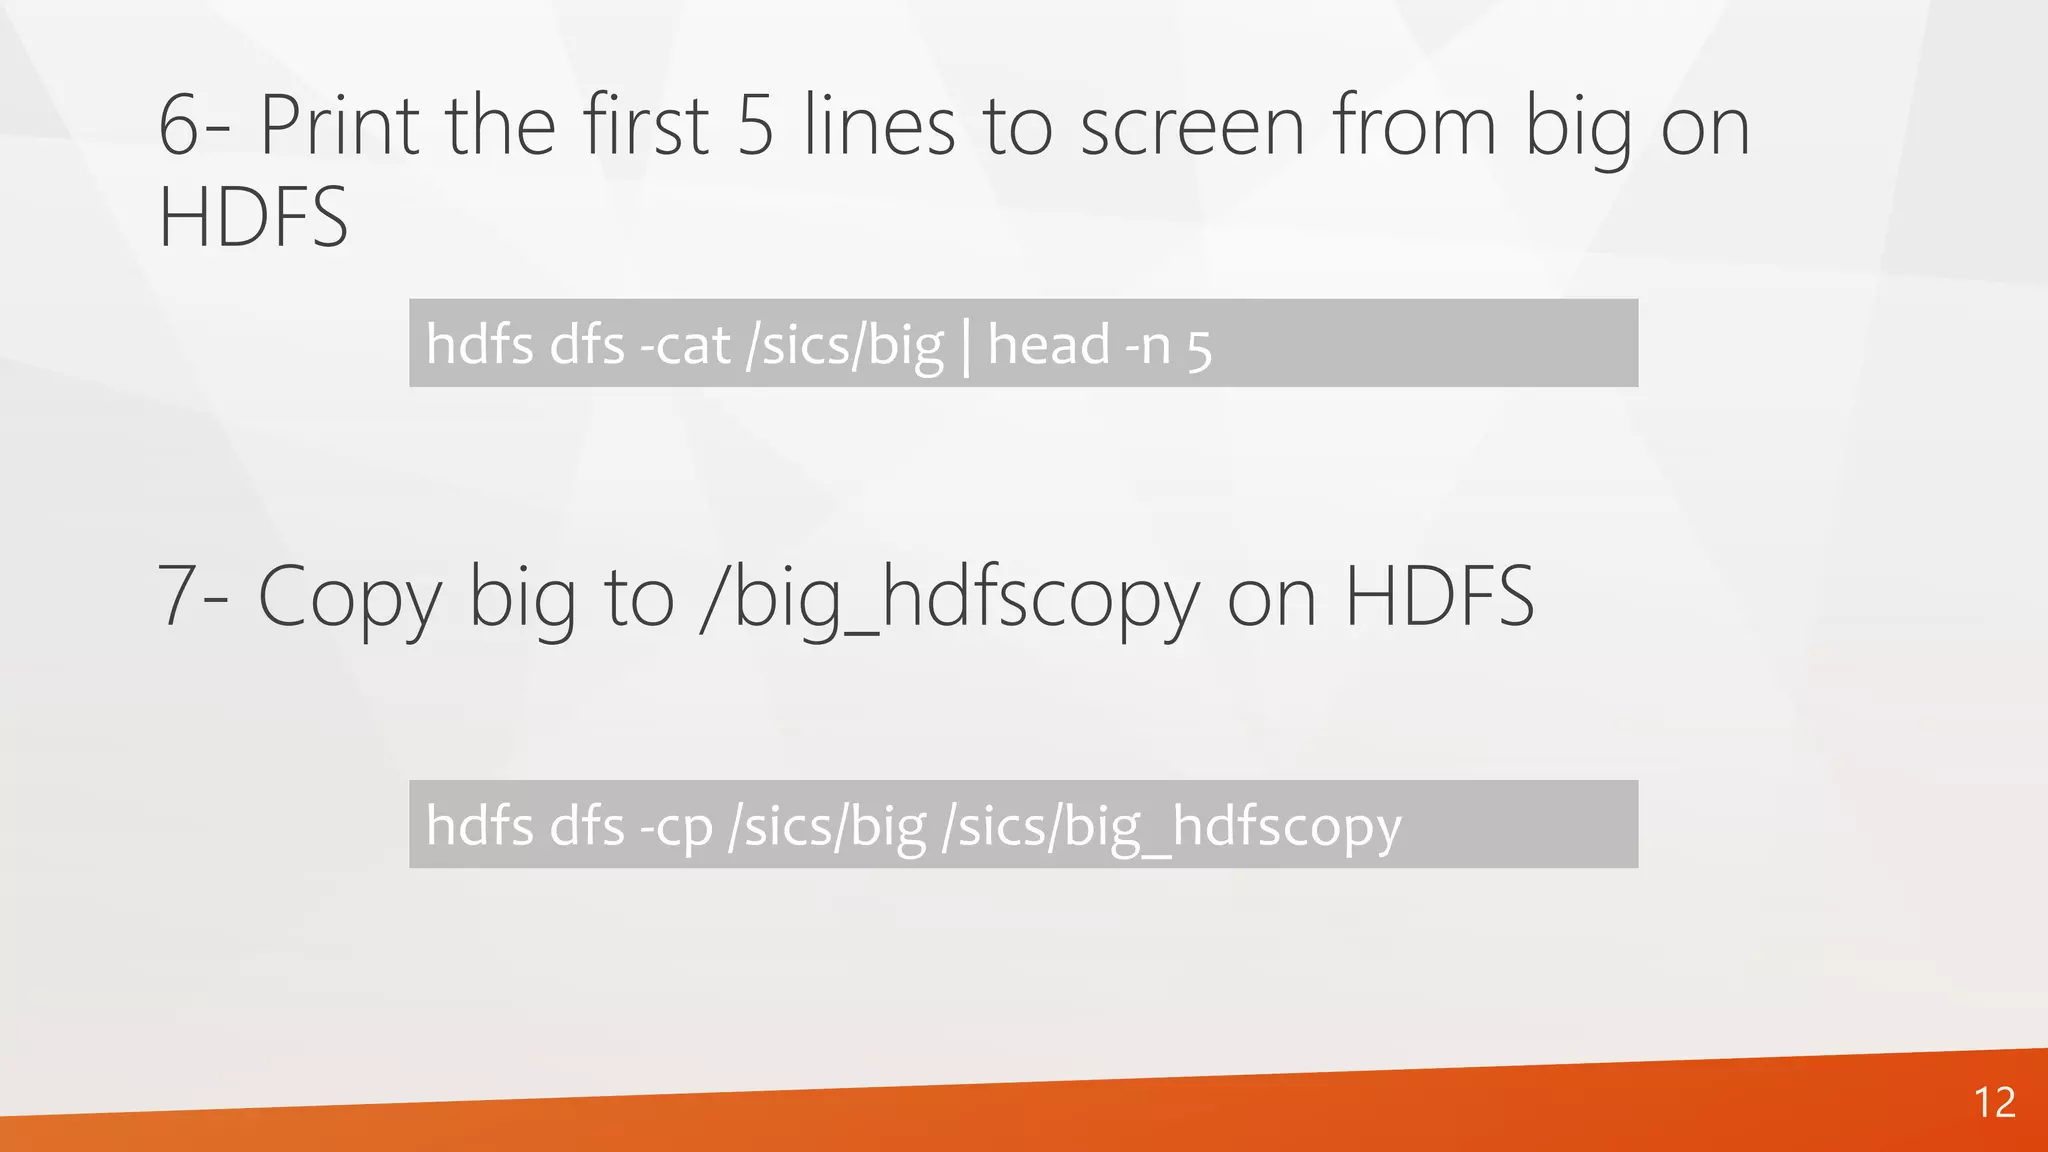
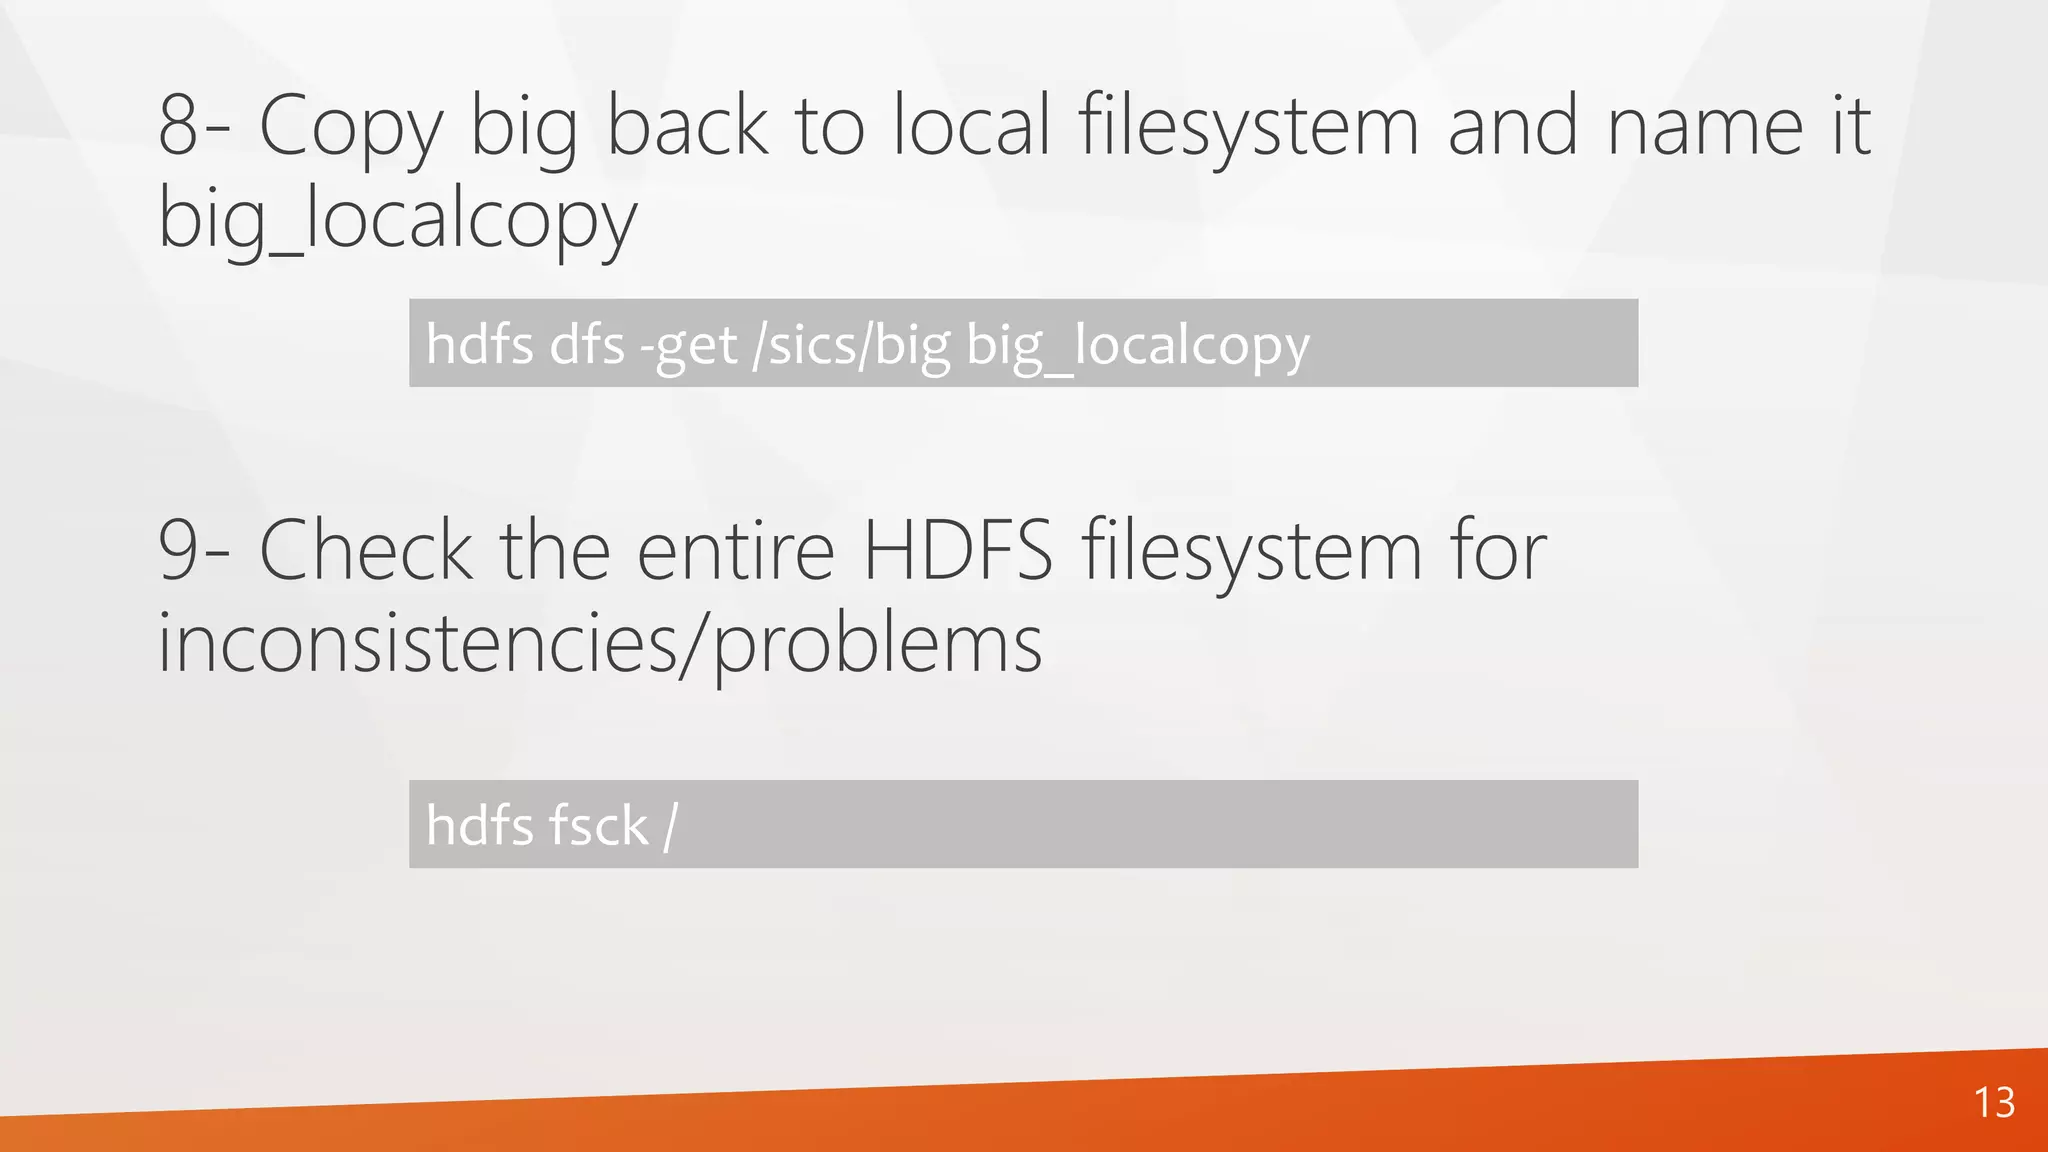
KEMBAR78
Apache HDFS - Lab Assignment | PDF
HDFS warmup
Farzad Nozarian
3/14/15 @AUT
Purpose
How to set up and configure a single-node Hadoop installation so that you
can quickly perform simple operations using Hadoop Distributed File System
(HDFS).
2
Supported Platforms
• GNU/Linux is supported as a development and production platform.
Hadoop has been demonstrated on GNU/Linux clusters with 2000 nodes.
• Windows is also a supported platform but the followings steps are for
Linux only.
3
Required Software
• Java™ must be installed. Recommended Java versions are described at
http://wiki.apache.org/hadoop/HadoopJavaVersions
• ssh must be installed and sshd must be running to use the Hadoop scripts
that manage remote Hadoop daemons.
• To get a Hadoop distribution, download a recent stable release from one
of the Apache Download Mirrors
$ sudo apt-get install ssh
$ sudo apt-get install rsync
4
Prepare to Start the Hadoop Cluster
• Unpack the downloaded Hadoop distribution. In the distribution, edit the
file etc/hadoop/hadoop-env.sh to define some parameters as follows:
• Try the following command:
This will display the usage documentation for the hadoop script.
# set to the root of your Java installation
export JAVA_HOME=/usr/lib/jvm/jdk1.7.0
# Assuming your installation directory is /usr/local/hadoop
export HADOOP_PREFIX=/usr/local/hadoop
$ bin/hadoop
5
Prepare to Start the Hadoop Cluster (Cont.)
• Now you are ready to start your Hadoop cluster in one of the three
supported modes:
• Local (Standalone) Mode
• By default, Hadoop is configured to run in a non-distributed mode, as a single Java
process. This is useful for debugging.
• Pseudo-Distributed Mode
• Hadoop can also be run on a single-node in a pseudo-distributed mode where each
Hadoop daemon runs in a separate Java process.
• Fully-Distributed Mode
6
Pseudo-Distributed Configuration
• etc/hadoop/core-site.xml:
• etc/hadoop/hdfs-site.xml:
<configuration>
<property>
<name>fs.defaultFS</name>
<value>hdfs://localhost:9000</value>
</property>
</configuration>
<configuration>
<property>
<name>dfs.replication</name>
<value>1</value>
</property>
</configuration>
7
Lab
Assignment
1. Start HDFS and verify that it's running.
2. Create a new directory /sics on HDFS.
3. Create a file, name it big, on your local filesystem
and upload it to HDFS under /sics.
4. View the content of /sics directory.
5. Determine the size of big on HDFS.
6. Print the first 5 lines to screen from big on HDFS.
7. Copy big to /big_hdfscopy on HDFS.
8. Copy big back to local filesystem and name it
big_localcopy.
9. Check the entire HDFS filesystem for
inconsistencies/problems.
10. Delete big from HDFS.
11. Delete /sics directory from HDFS.
8
1- Start HDFS and verify that it's running
1. Format the filesystem:
2. Start NameNode daemon and DataNode daemon:
The hadoop daemon log output is written to the $HADOOP_LOG_DIR directory (defaults to $HADOOP_HOME/logs).
3. Browse the web interface for the NameNode; by default it is available at:
• NameNode - http://localhost:50070/
$ bin/hdfs namenode -format
$ sbin/start-dfs.sh
9
2- Create a new directory /sics on HDFS
hdfs dfs -mkdir /sics
3- Create a file, name it big, on your local
filesystem and upload it to HDFS under /sics
hdfs dfs -put big /sics
10
4- View the content of /sics directory
hdfs dfs -ls big /sics
5- Determine the size of big on HDFS
hdfs dfs -du -h /sics/big
11
6- Print the first 5 lines to screen from big on
HDFS
hdfs dfs -cat /sics/big | head -n 5
7- Copy big to /big_hdfscopy on HDFS
hdfs dfs -cp /sics/big /sics/big_hdfscopy
12
8- Copy big back to local filesystem and name it
big_localcopy
hdfs dfs -get /sics/big big_localcopy
9- Check the entire HDFS filesystem for
inconsistencies/problems
hdfs fsck /
13
10- Delete big from HDFS.
hdfs dfs -rm /sics/big
11- Delete /sics directory from HDFS
hdfs dfs -rm -r /sics
14
References:
hadoop.apache.org
(http://hadoop.apache.org/docs/current/hadoop-project-dist/hadoop-common/SingleCluster.html)
15

Apache HDFS - Lab Assignment

  • 1.
  • 2.
    Purpose How to setup and configure a single-node Hadoop installation so that you can quickly perform simple operations using Hadoop Distributed File System (HDFS). 2
  • 3.
    Supported Platforms • GNU/Linuxis supported as a development and production platform. Hadoop has been demonstrated on GNU/Linux clusters with 2000 nodes. • Windows is also a supported platform but the followings steps are for Linux only. 3
  • 4.
    Required Software • Java™must be installed. Recommended Java versions are described at http://wiki.apache.org/hadoop/HadoopJavaVersions • ssh must be installed and sshd must be running to use the Hadoop scripts that manage remote Hadoop daemons. • To get a Hadoop distribution, download a recent stable release from one of the Apache Download Mirrors $ sudo apt-get install ssh $ sudo apt-get install rsync 4
  • 5.
    Prepare to Startthe Hadoop Cluster • Unpack the downloaded Hadoop distribution. In the distribution, edit the file etc/hadoop/hadoop-env.sh to define some parameters as follows: • Try the following command: This will display the usage documentation for the hadoop script. # set to the root of your Java installation export JAVA_HOME=/usr/lib/jvm/jdk1.7.0 # Assuming your installation directory is /usr/local/hadoop export HADOOP_PREFIX=/usr/local/hadoop $ bin/hadoop 5
  • 6.
    Prepare to Startthe Hadoop Cluster (Cont.) • Now you are ready to start your Hadoop cluster in one of the three supported modes: • Local (Standalone) Mode • By default, Hadoop is configured to run in a non-distributed mode, as a single Java process. This is useful for debugging. • Pseudo-Distributed Mode • Hadoop can also be run on a single-node in a pseudo-distributed mode where each Hadoop daemon runs in a separate Java process. • Fully-Distributed Mode 6
  • 7.
    Pseudo-Distributed Configuration • etc/hadoop/core-site.xml: •etc/hadoop/hdfs-site.xml: <configuration> <property> <name>fs.defaultFS</name> <value>hdfs://localhost:9000</value> </property> </configuration> <configuration> <property> <name>dfs.replication</name> <value>1</value> </property> </configuration> 7
  • 8.
    Lab Assignment 1. Start HDFSand verify that it's running. 2. Create a new directory /sics on HDFS. 3. Create a file, name it big, on your local filesystem and upload it to HDFS under /sics. 4. View the content of /sics directory. 5. Determine the size of big on HDFS. 6. Print the first 5 lines to screen from big on HDFS. 7. Copy big to /big_hdfscopy on HDFS. 8. Copy big back to local filesystem and name it big_localcopy. 9. Check the entire HDFS filesystem for inconsistencies/problems. 10. Delete big from HDFS. 11. Delete /sics directory from HDFS. 8
  • 9.
    1- Start HDFSand verify that it's running 1. Format the filesystem: 2. Start NameNode daemon and DataNode daemon: The hadoop daemon log output is written to the $HADOOP_LOG_DIR directory (defaults to $HADOOP_HOME/logs). 3. Browse the web interface for the NameNode; by default it is available at: • NameNode - http://localhost:50070/ $ bin/hdfs namenode -format $ sbin/start-dfs.sh 9
  • 10.
    2- Create anew directory /sics on HDFS hdfs dfs -mkdir /sics 3- Create a file, name it big, on your local filesystem and upload it to HDFS under /sics hdfs dfs -put big /sics 10
  • 11.
    4- View thecontent of /sics directory hdfs dfs -ls big /sics 5- Determine the size of big on HDFS hdfs dfs -du -h /sics/big 11
  • 12.
    6- Print thefirst 5 lines to screen from big on HDFS hdfs dfs -cat /sics/big | head -n 5 7- Copy big to /big_hdfscopy on HDFS hdfs dfs -cp /sics/big /sics/big_hdfscopy 12
  • 13.
    8- Copy bigback to local filesystem and name it big_localcopy hdfs dfs -get /sics/big big_localcopy 9- Check the entire HDFS filesystem for inconsistencies/problems hdfs fsck / 13
  • 14.
    10- Delete bigfrom HDFS. hdfs dfs -rm /sics/big 11- Delete /sics directory from HDFS hdfs dfs -rm -r /sics 14
  • 15.