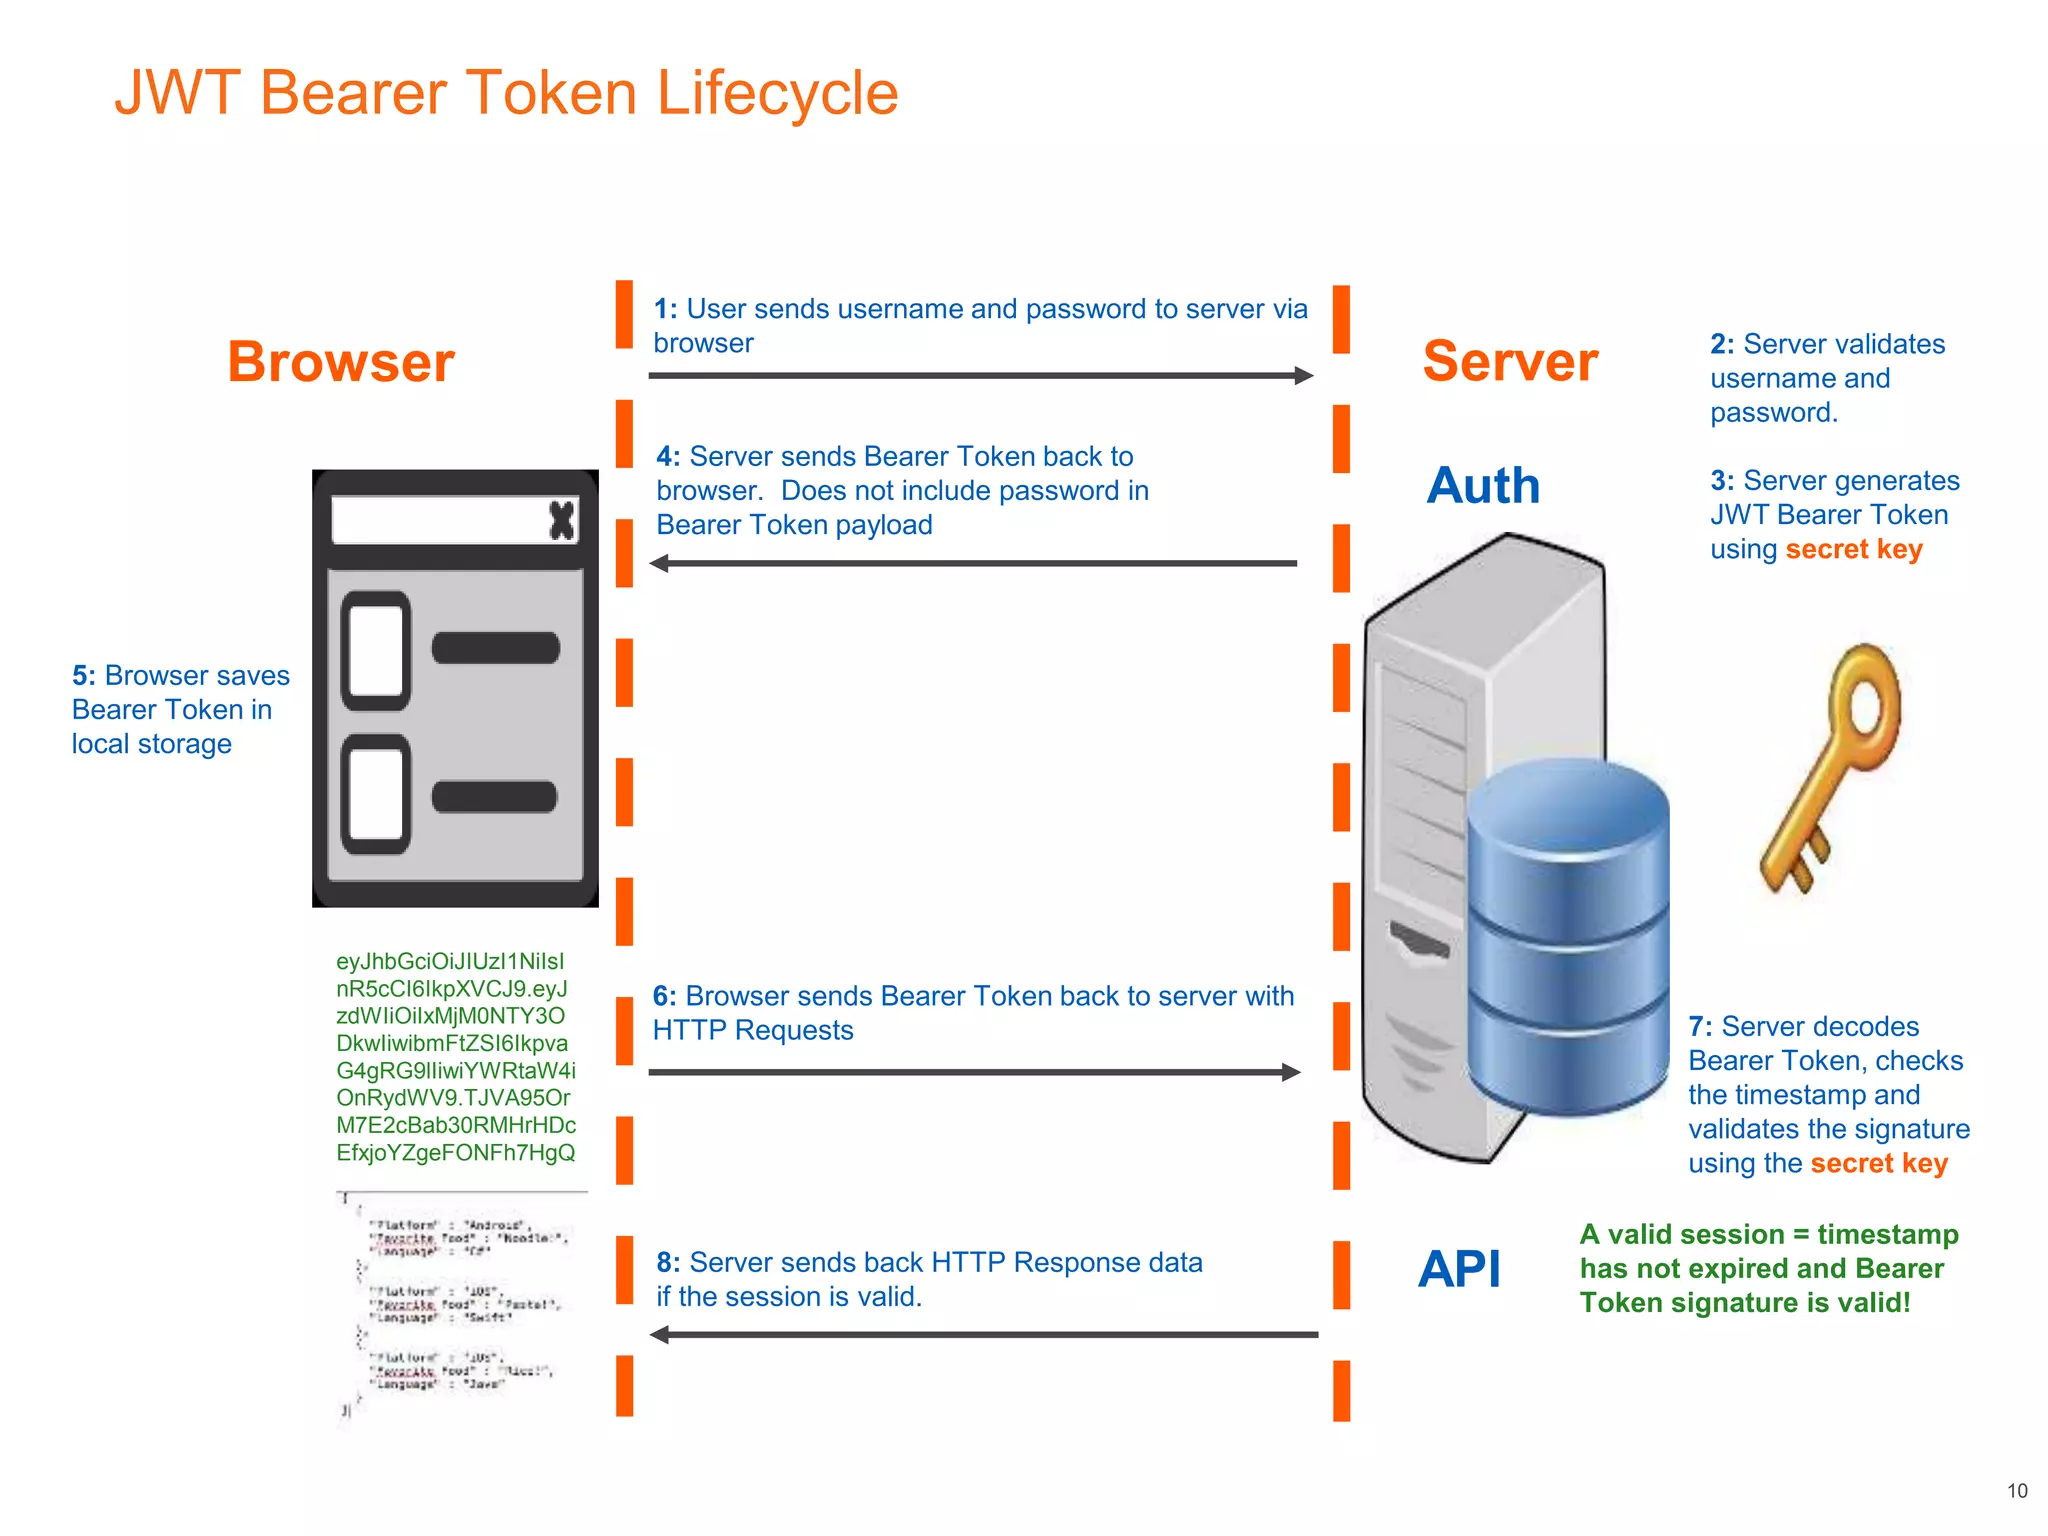
This document discusses authenticating Angular apps with JSON Web Tokens (JWTs). It begins with background on OAuth 2.0 bearer tokens and then explains that JWTs are commonly used as bearer tokens. It describes the three parts of a JWT - the header, payload, and signature. It outlines the JWT authentication token lifecycle, from a user logging in to receive a JWT from the server to sending that JWT on subsequent requests. Finally, it presents an Angular HTTP interceptor design pattern to automatically add the JWT to requests by intercepting HTTP calls and modifying the authorization header.


![Angular HTTP Interceptor Design Pattern – Step 3
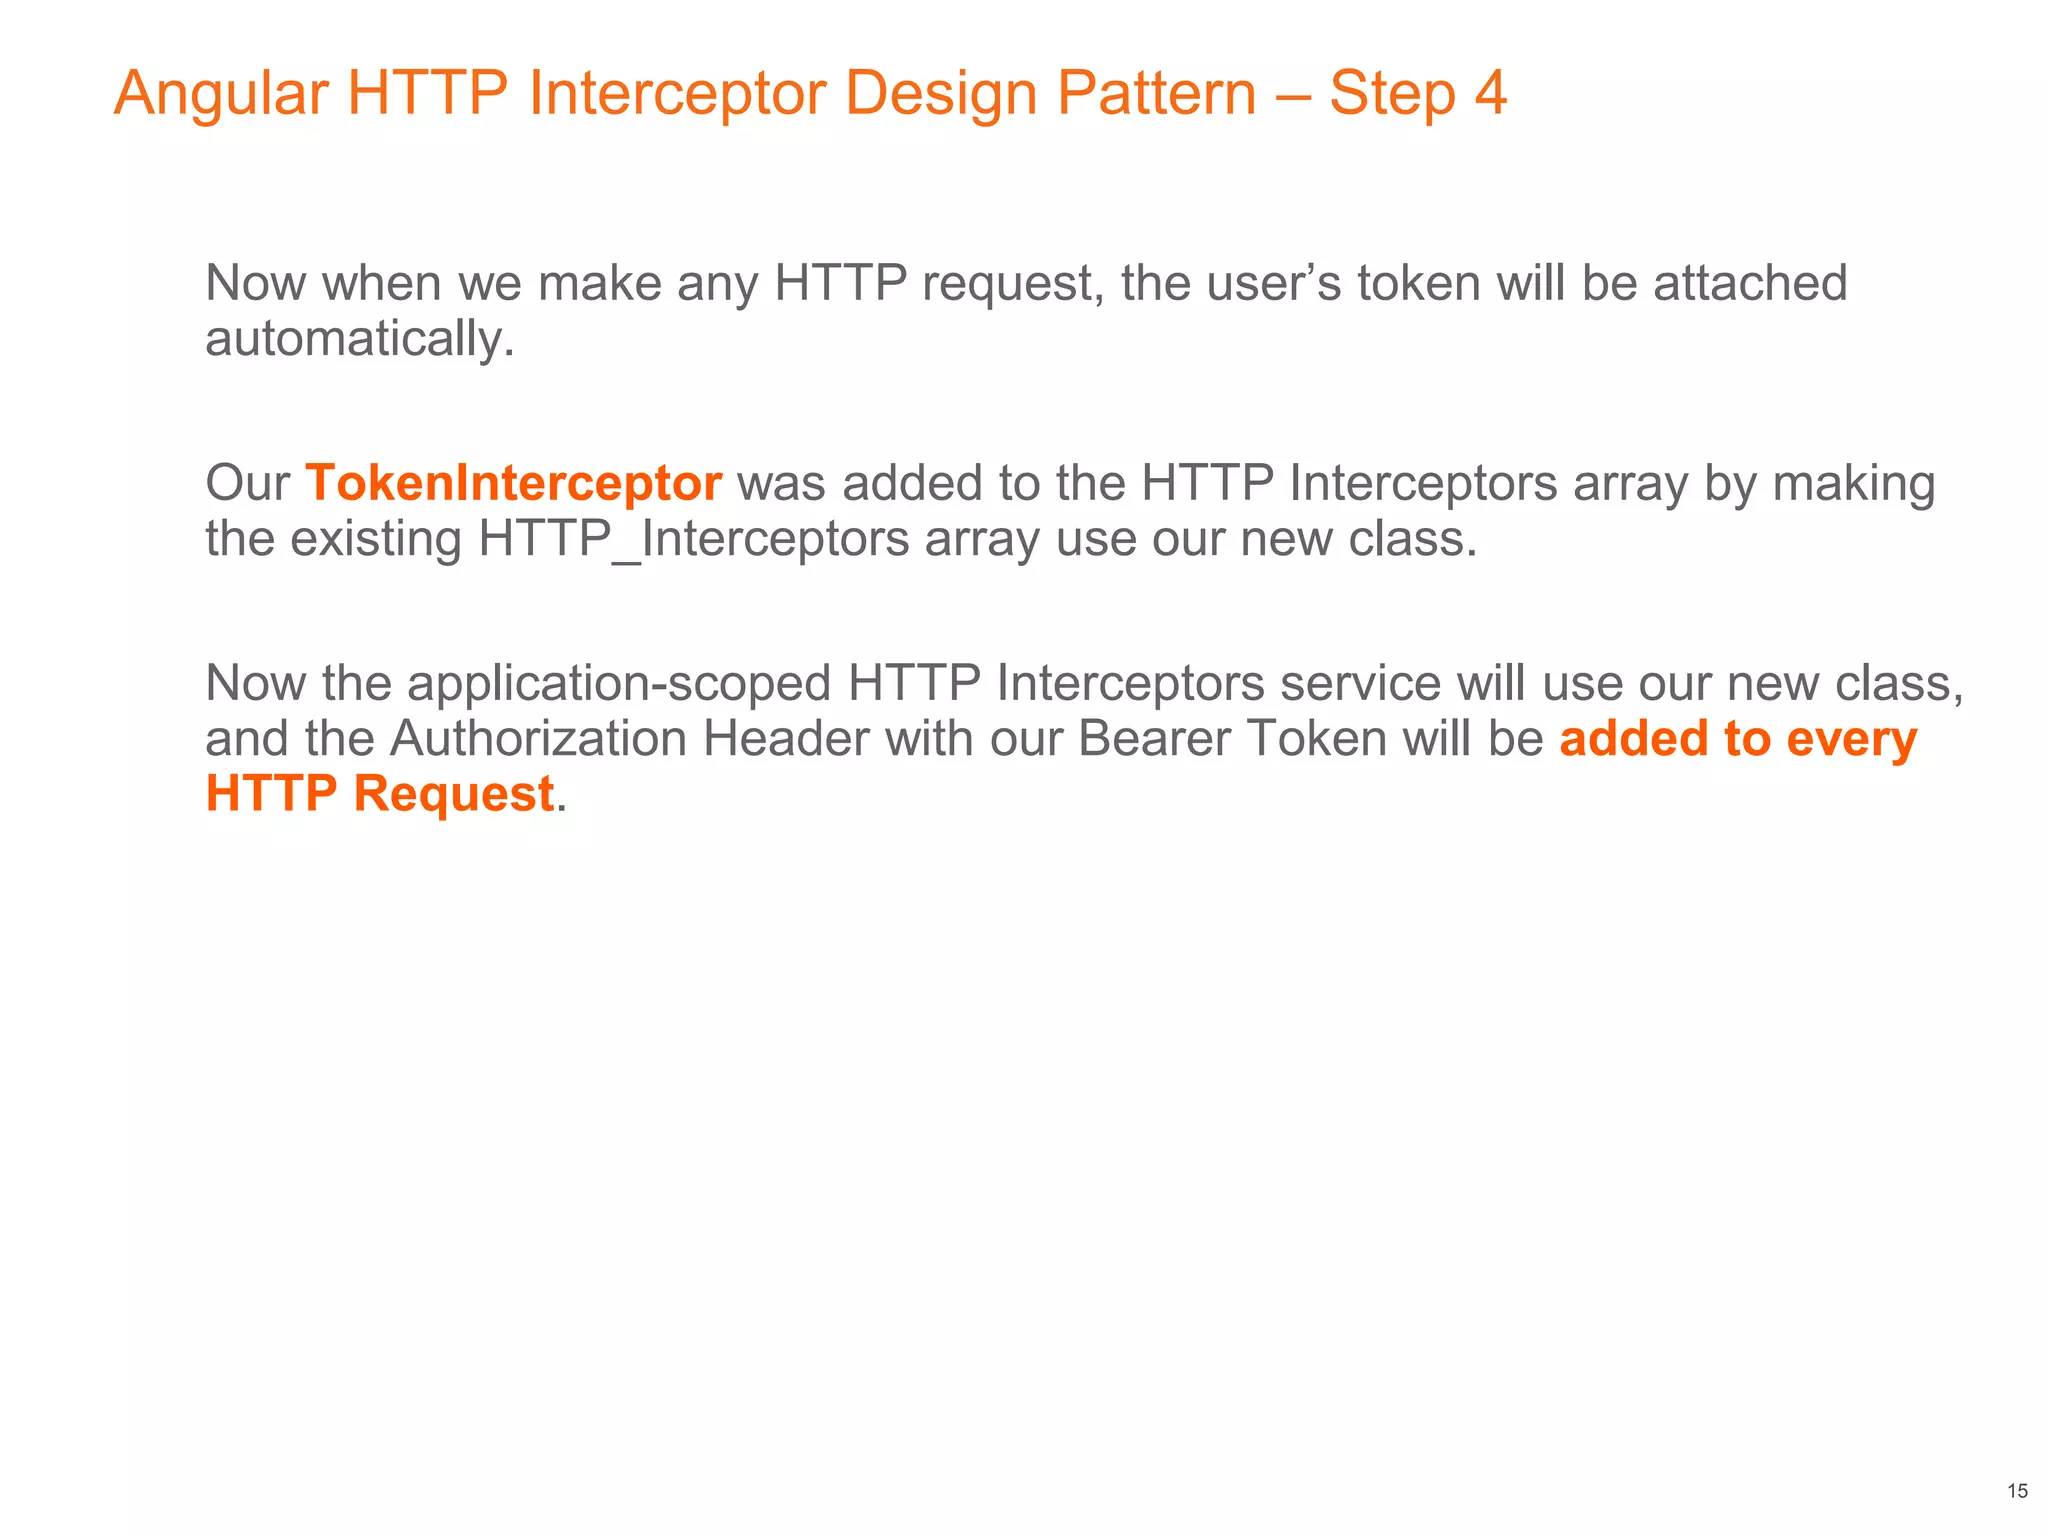
Add our new Interceptor class to the HTTP Interceptors service provider (and add the HTTP
Interceptors service to your app if needed).
// src/app/app.module.ts
import { HTTP_INTERCEPTORS } from '@angular/common/http';
import { TokenInterceptor } from './../auth/token.interceptor’;
@NgModule({
bootstrap: [AppComponent],
imports: [...],
providers: [
{
provide: HTTP_INTERCEPTORS,
useClass: TokenInterceptor,
multi: true
}
]
})
export class AppModule {}
14](https://image.slidesharecdn.com/sigapril-181227202457/85/Authenticating-Angular-Apps-with-JWT-14-320.jpg)


![Angular HTTP Interceptor Design Pattern – Step 3
Add our new Interceptor class to the HTTP Interceptors service provider (and add the HTTP
Interceptors service to your app if needed).
// src/app/app.module.ts
import { HTTP_INTERCEPTORS } from '@angular/common/http';
import { TokenInterceptor } from './../auth/token.interceptor’;
@NgModule({
bootstrap: [AppComponent],
imports: [...],
providers: [
{
provide: HTTP_INTERCEPTORS,
useClass: TokenInterceptor,
multi: true
}
]
})
export class AppModule {}
14](https://image.slidesharecdn.com/sigapril-181227202457/75/Authenticating-Angular-Apps-with-JWT-14-2048.jpg)