Download to read offline

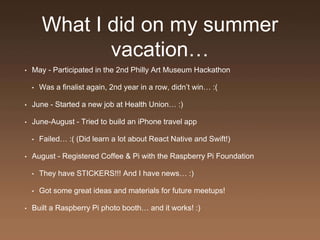


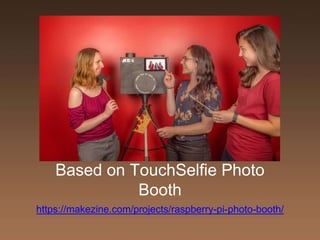
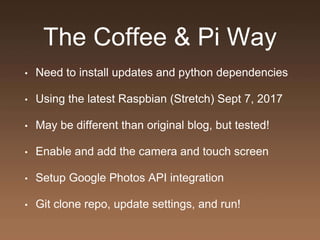


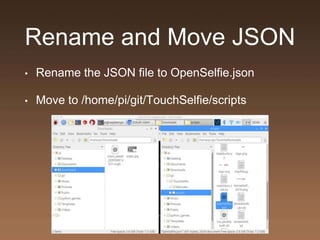


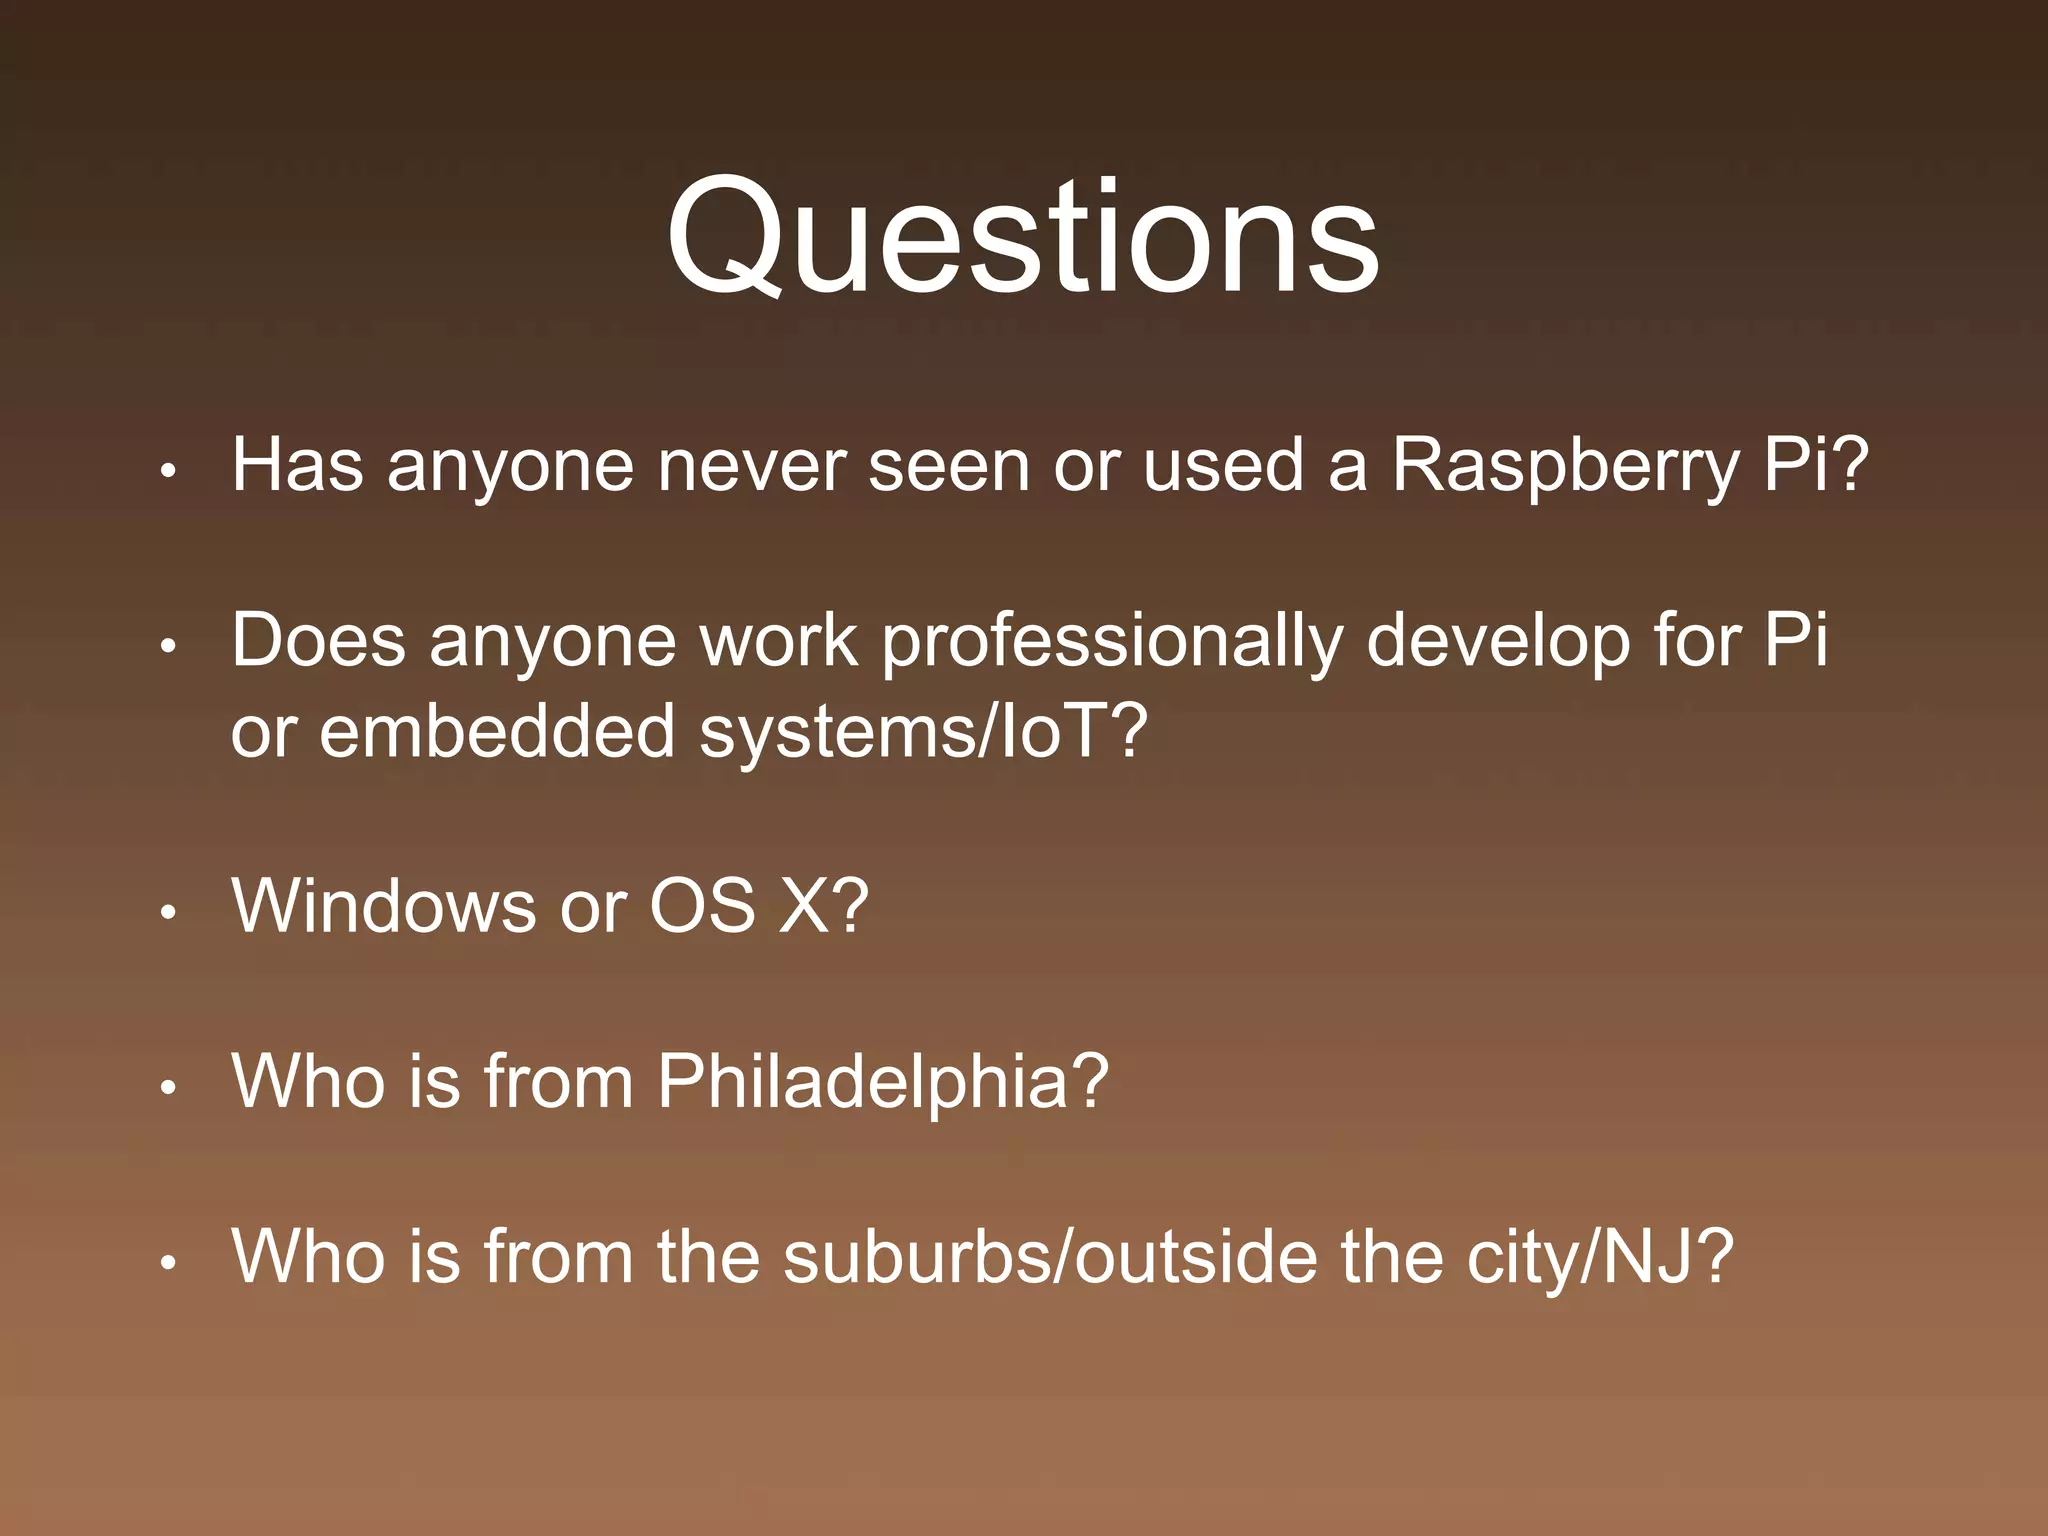
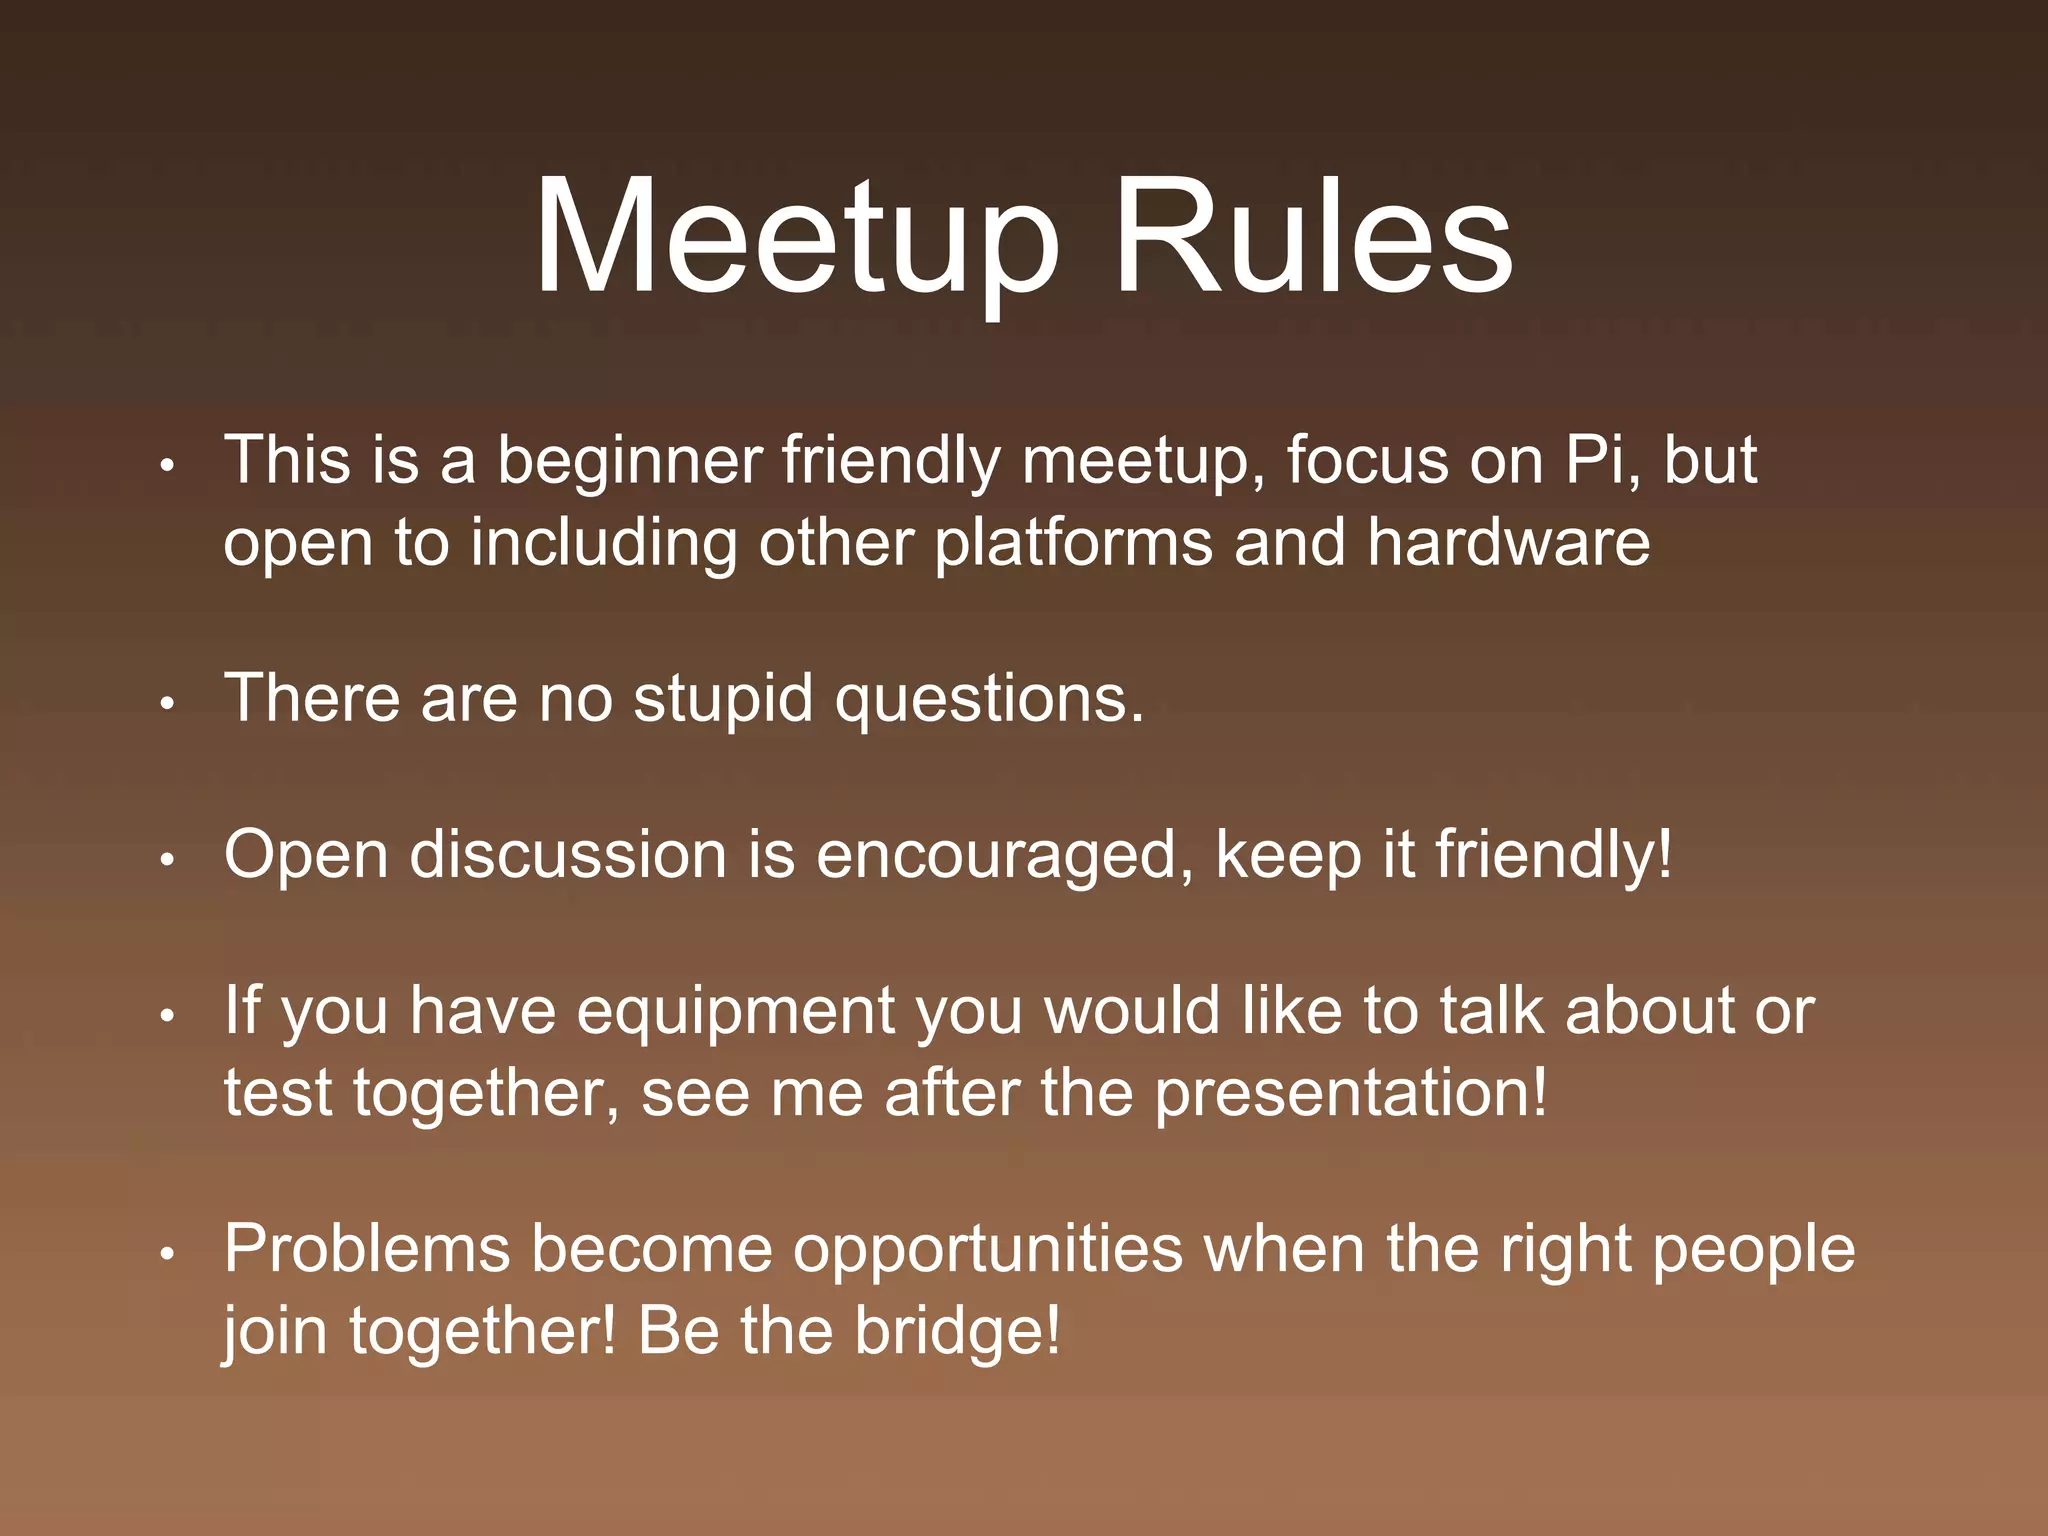

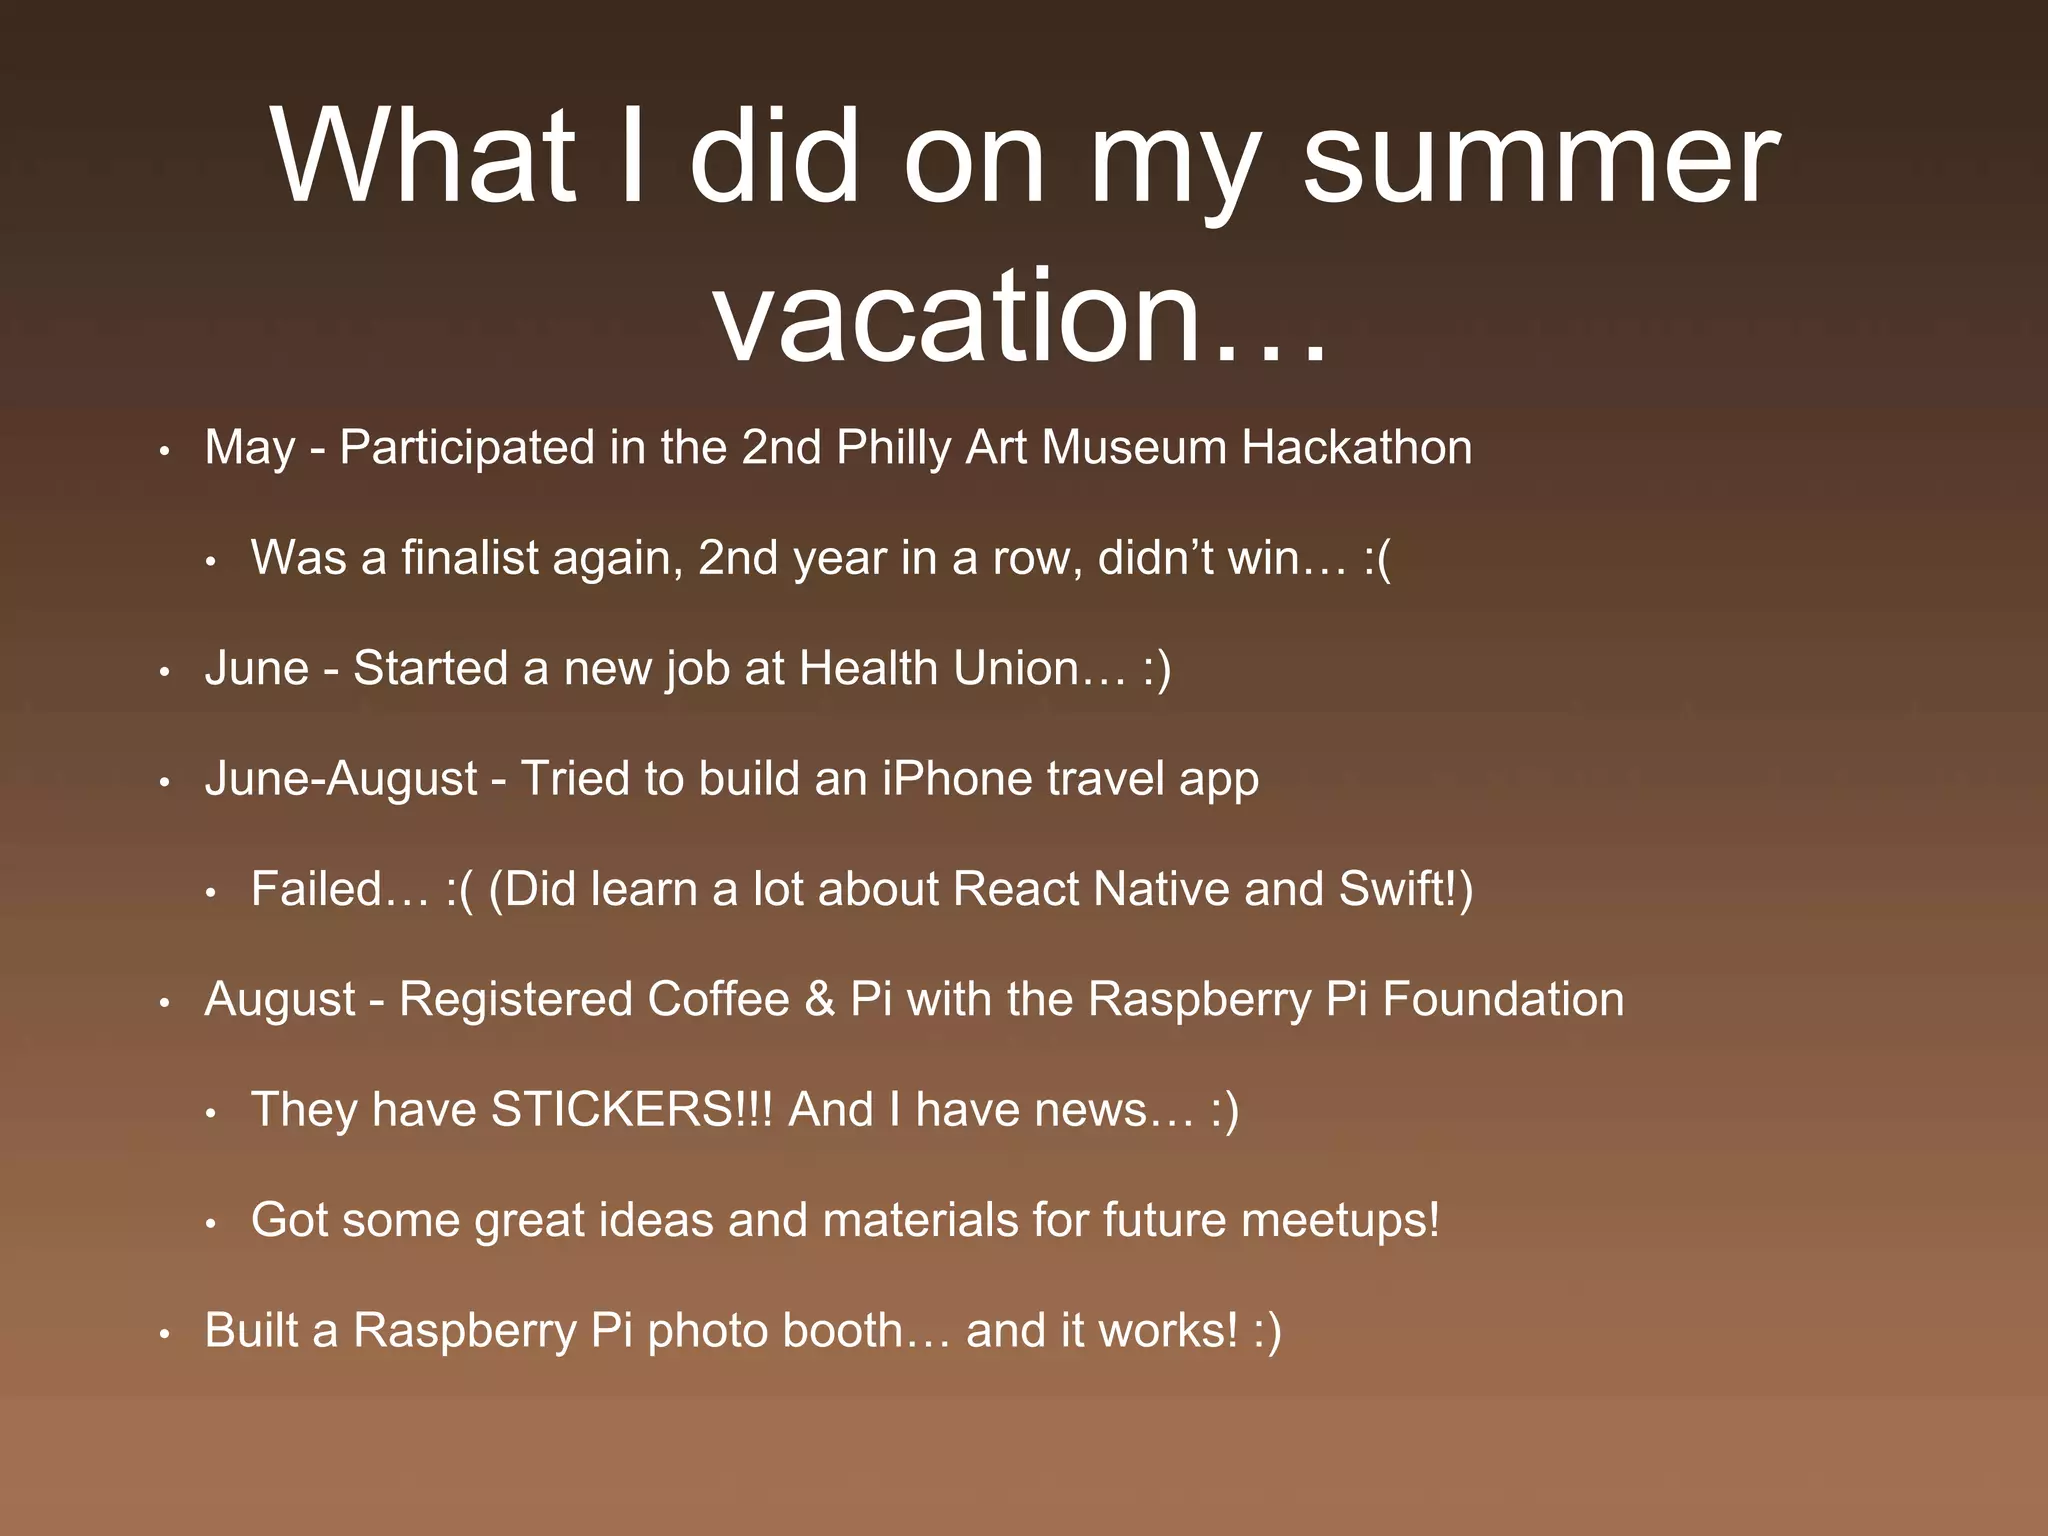


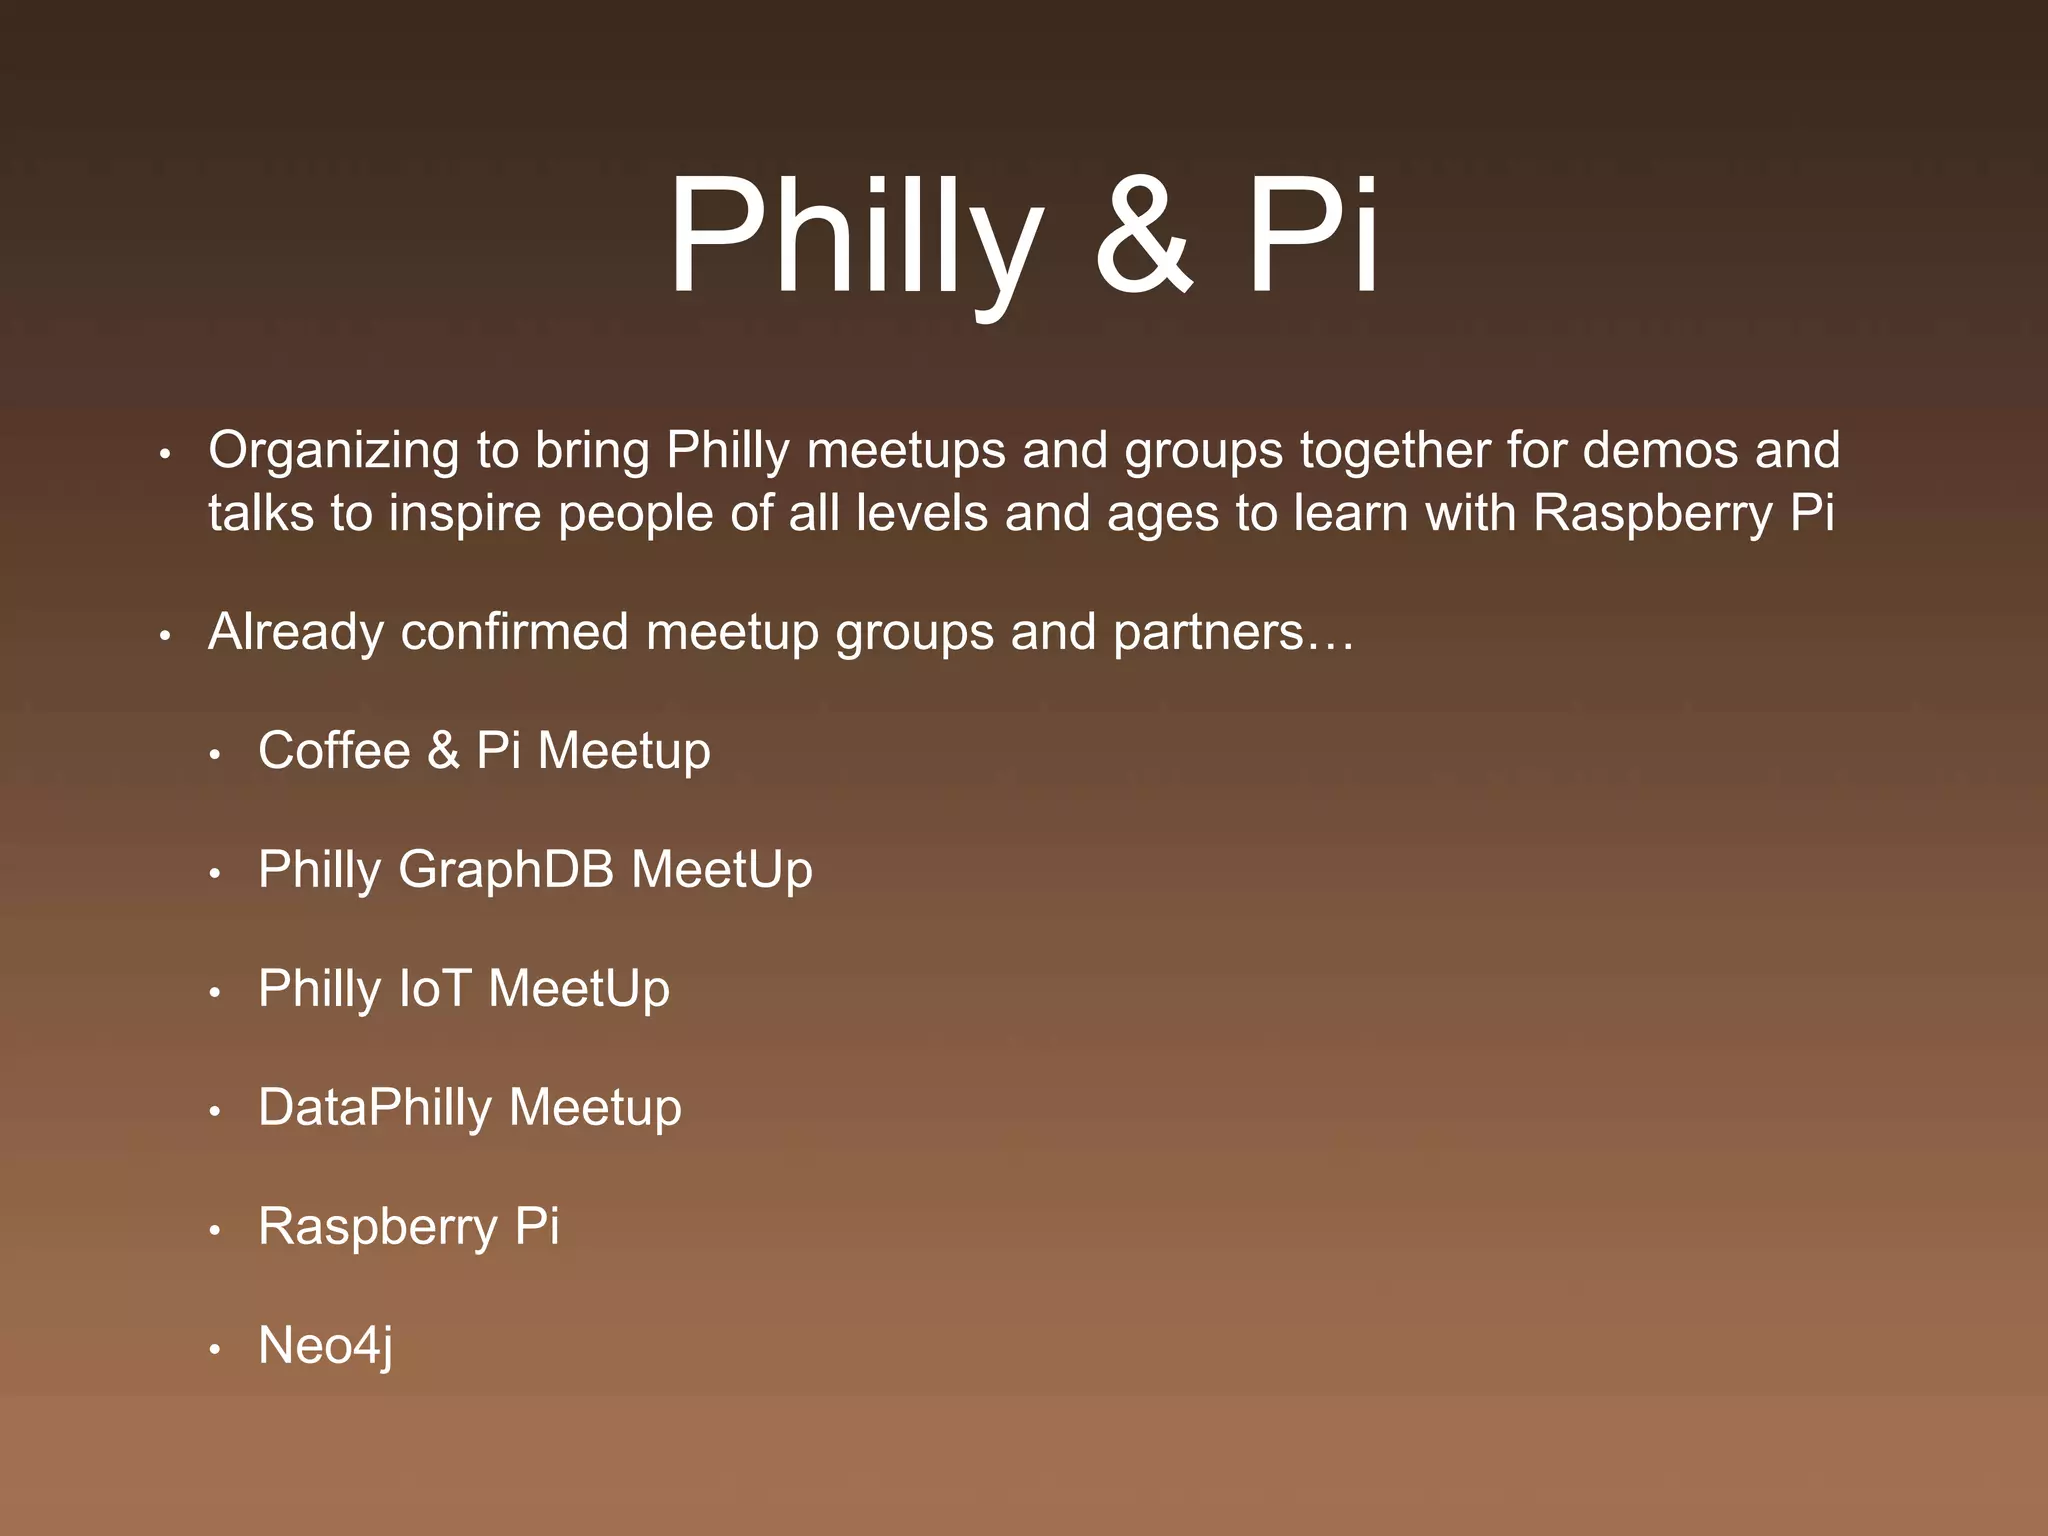


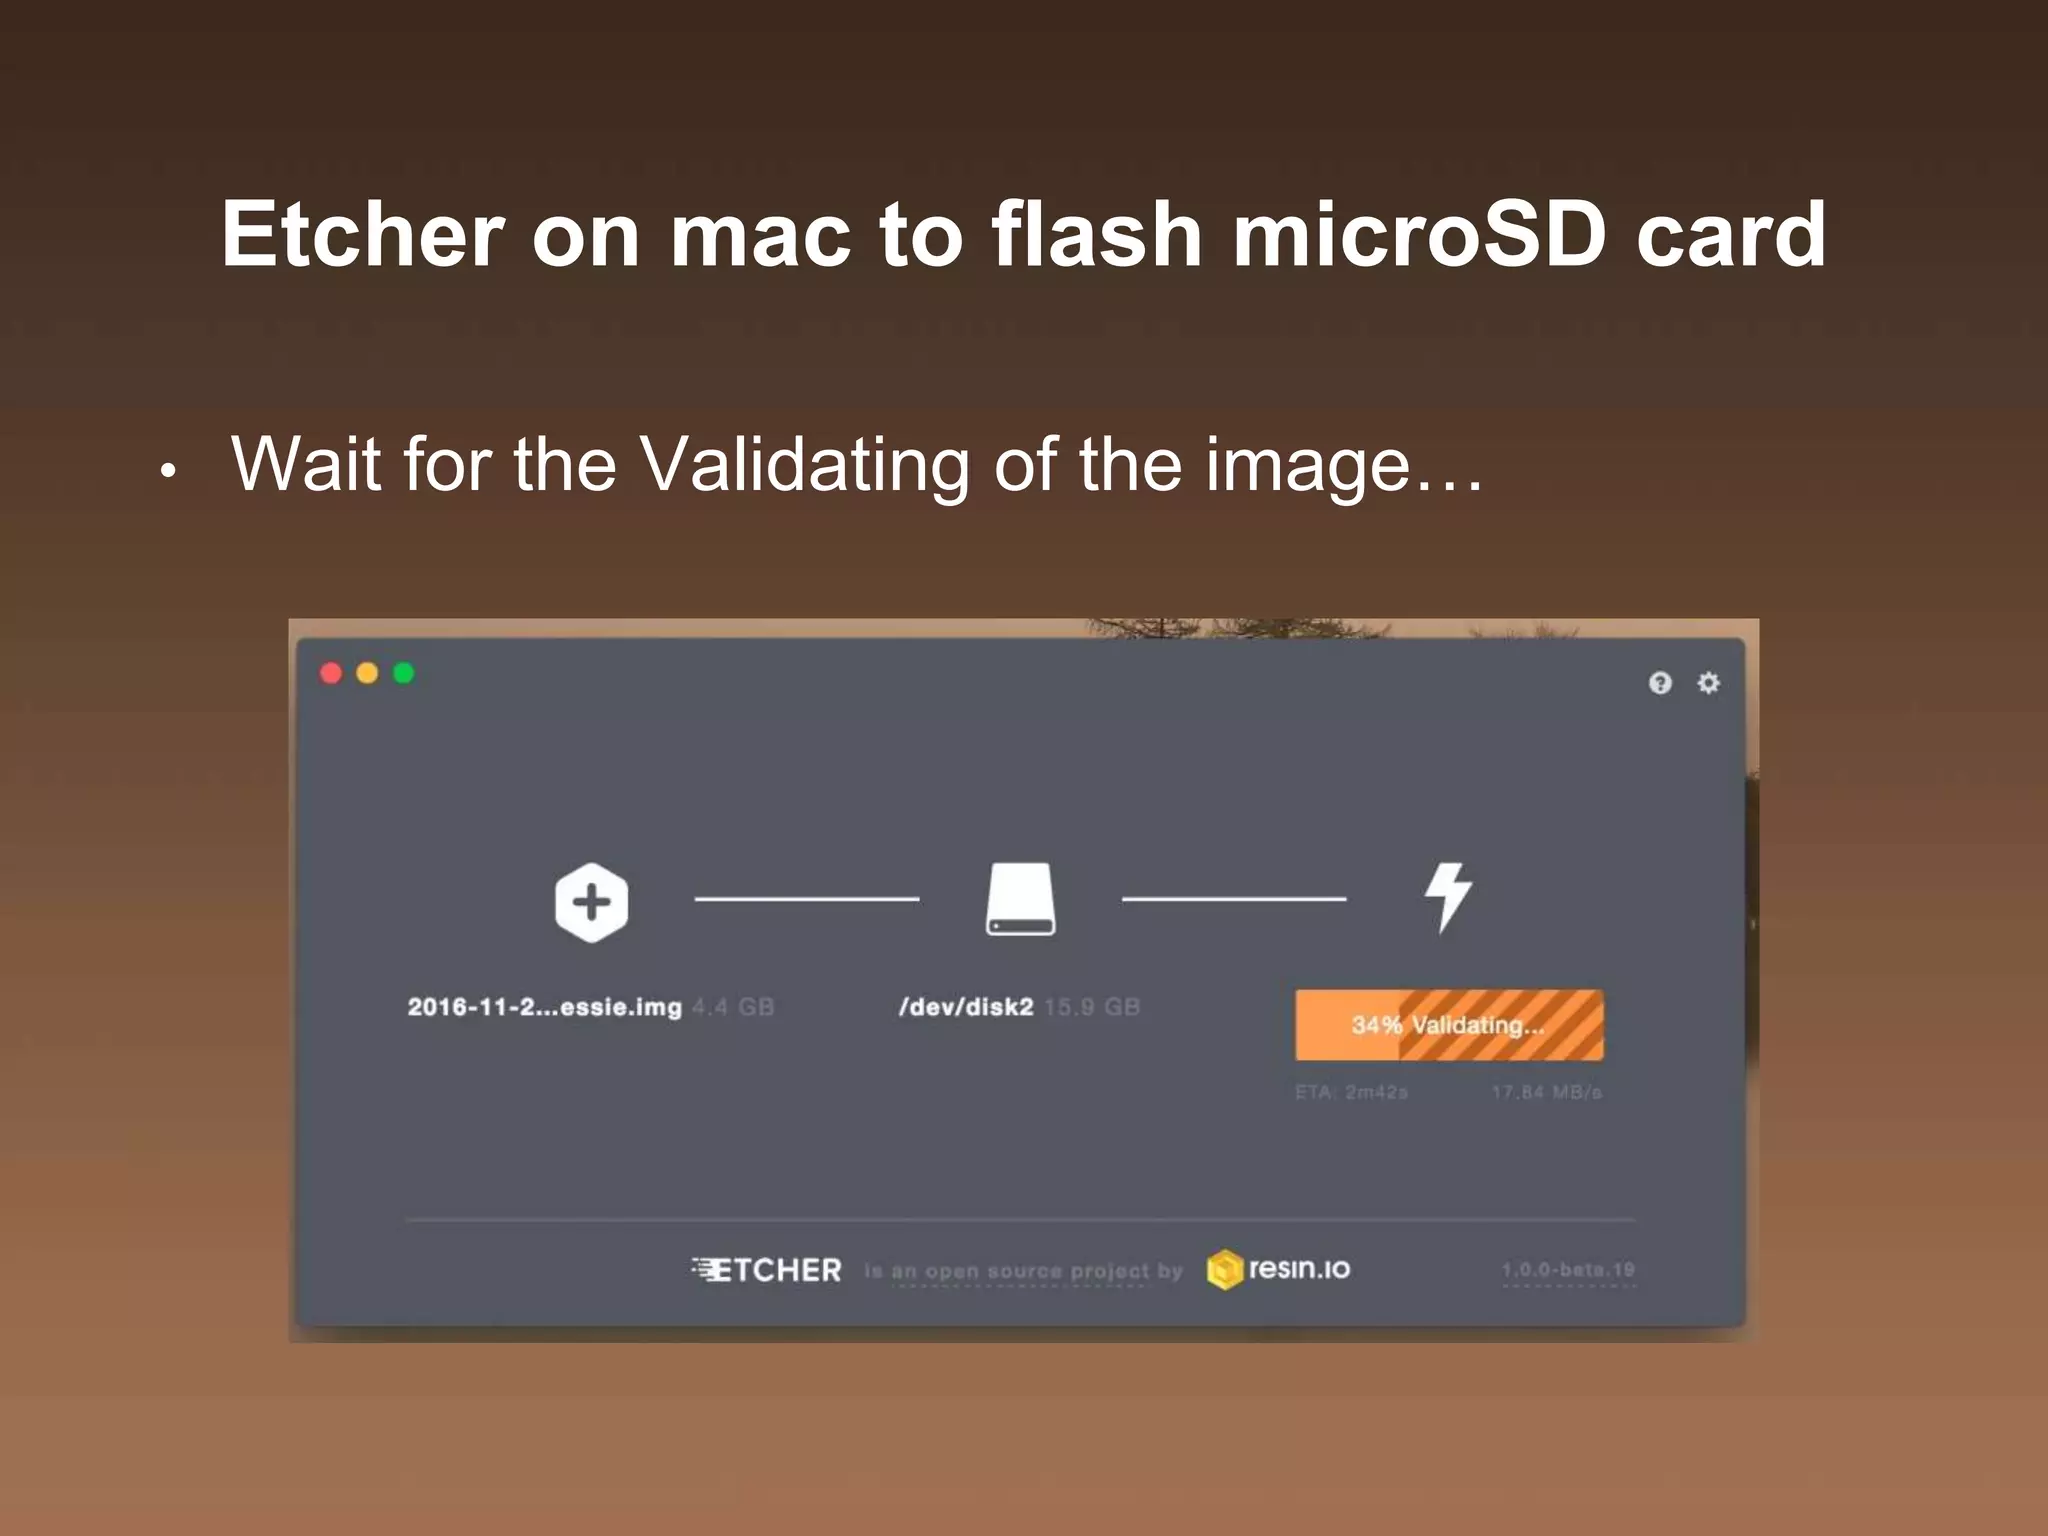
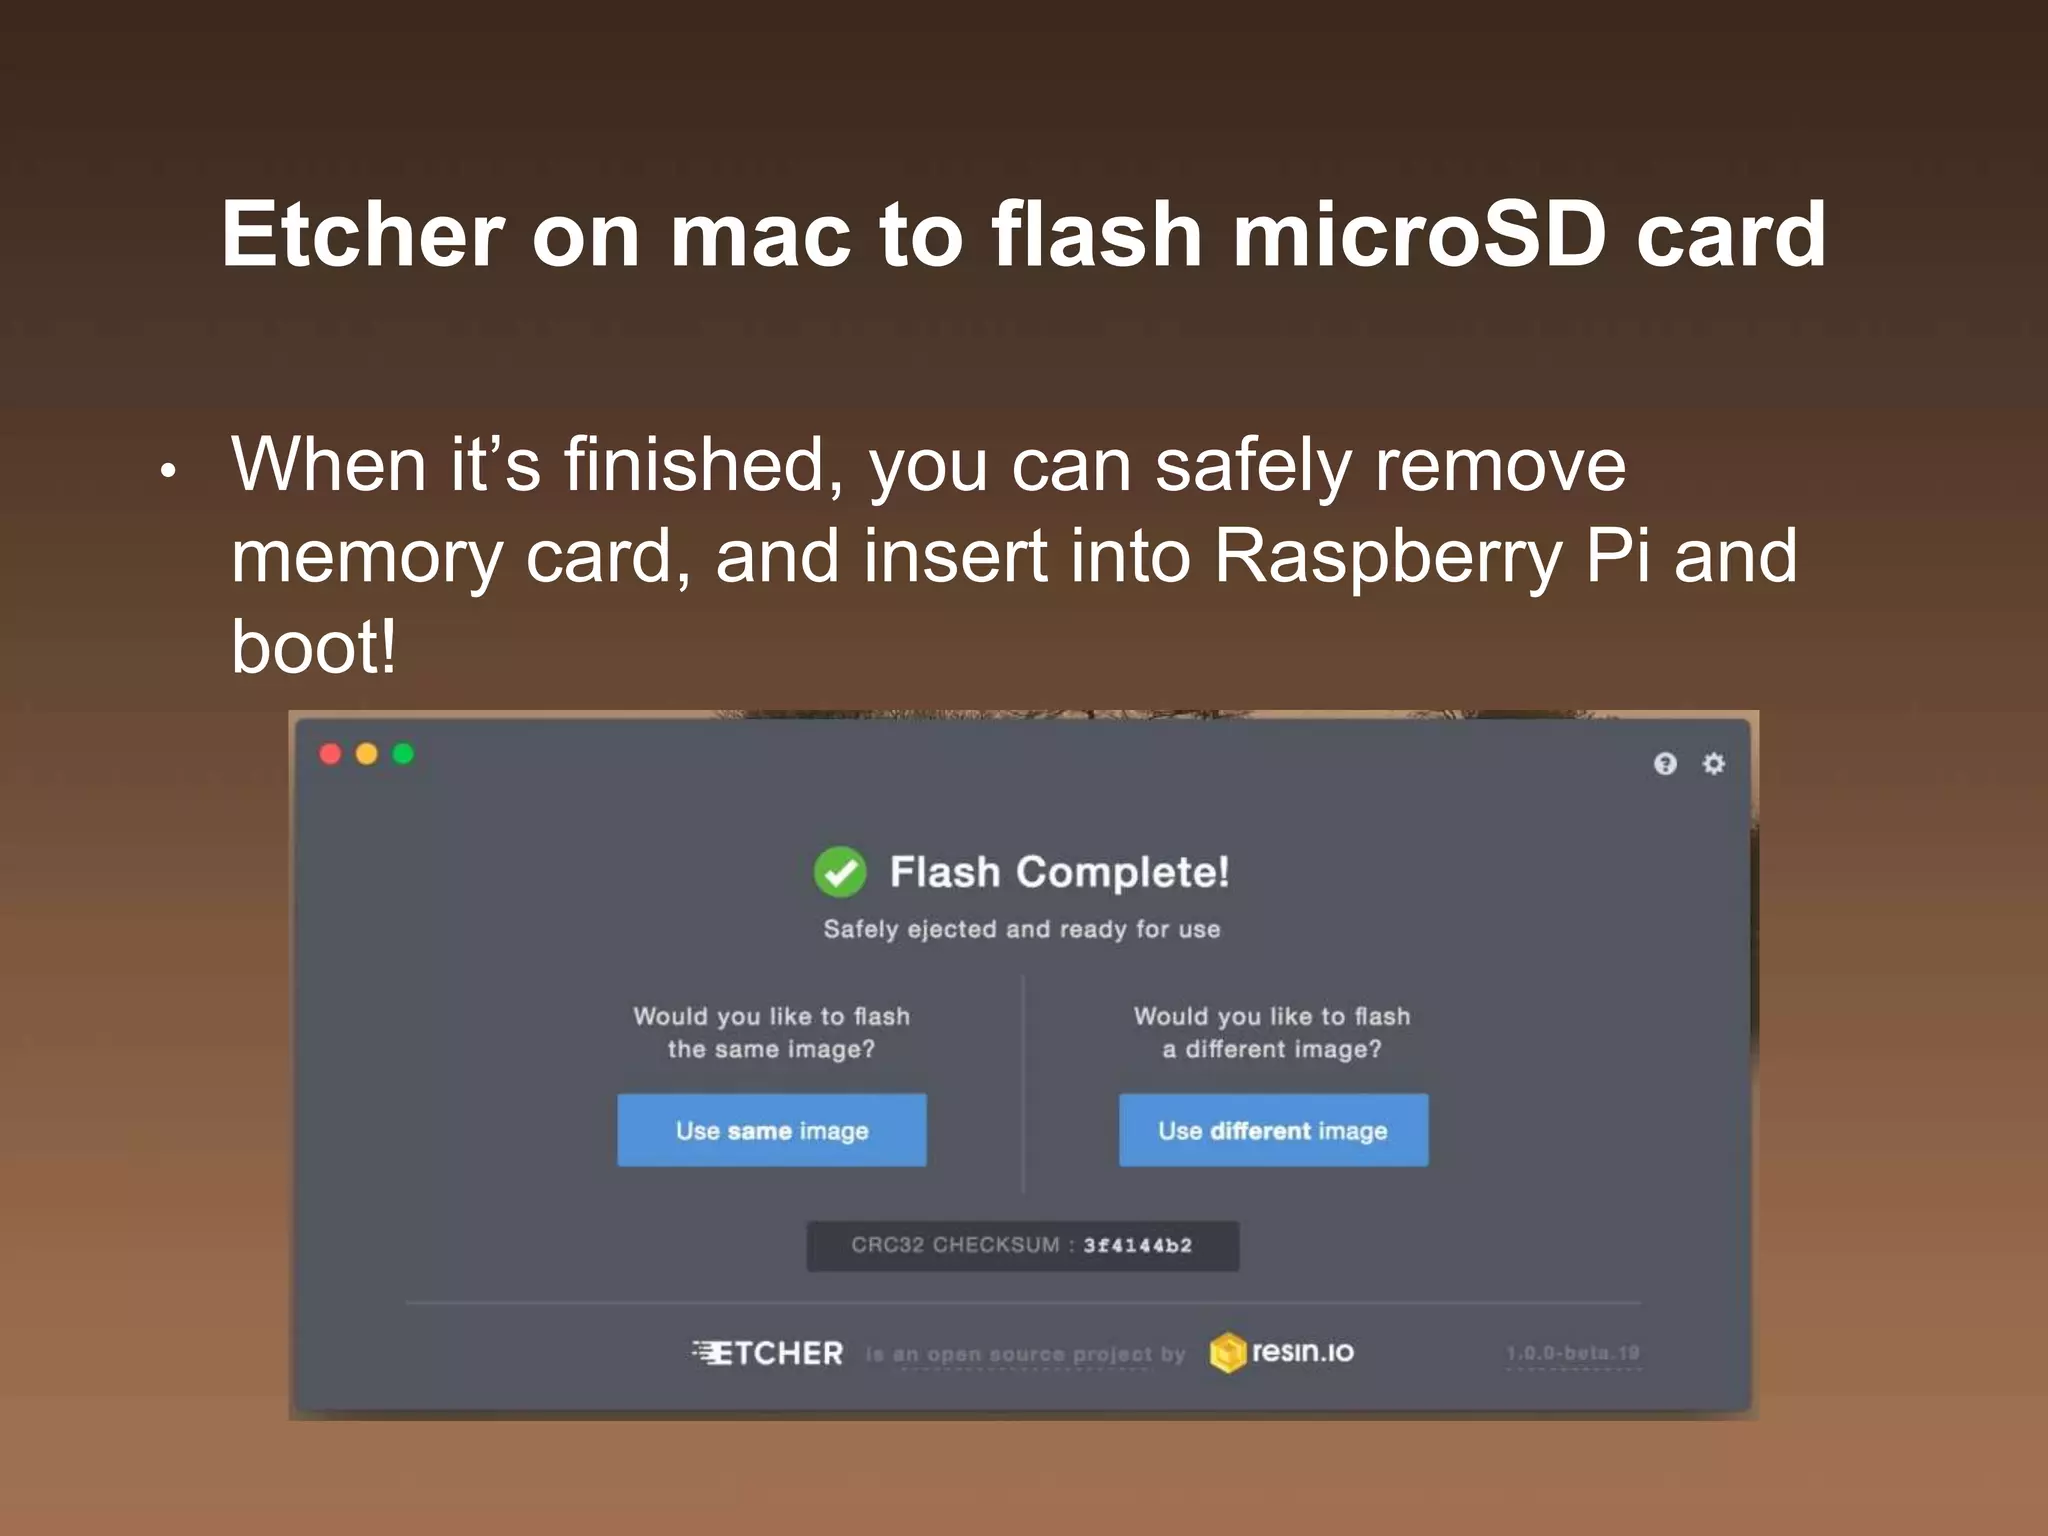
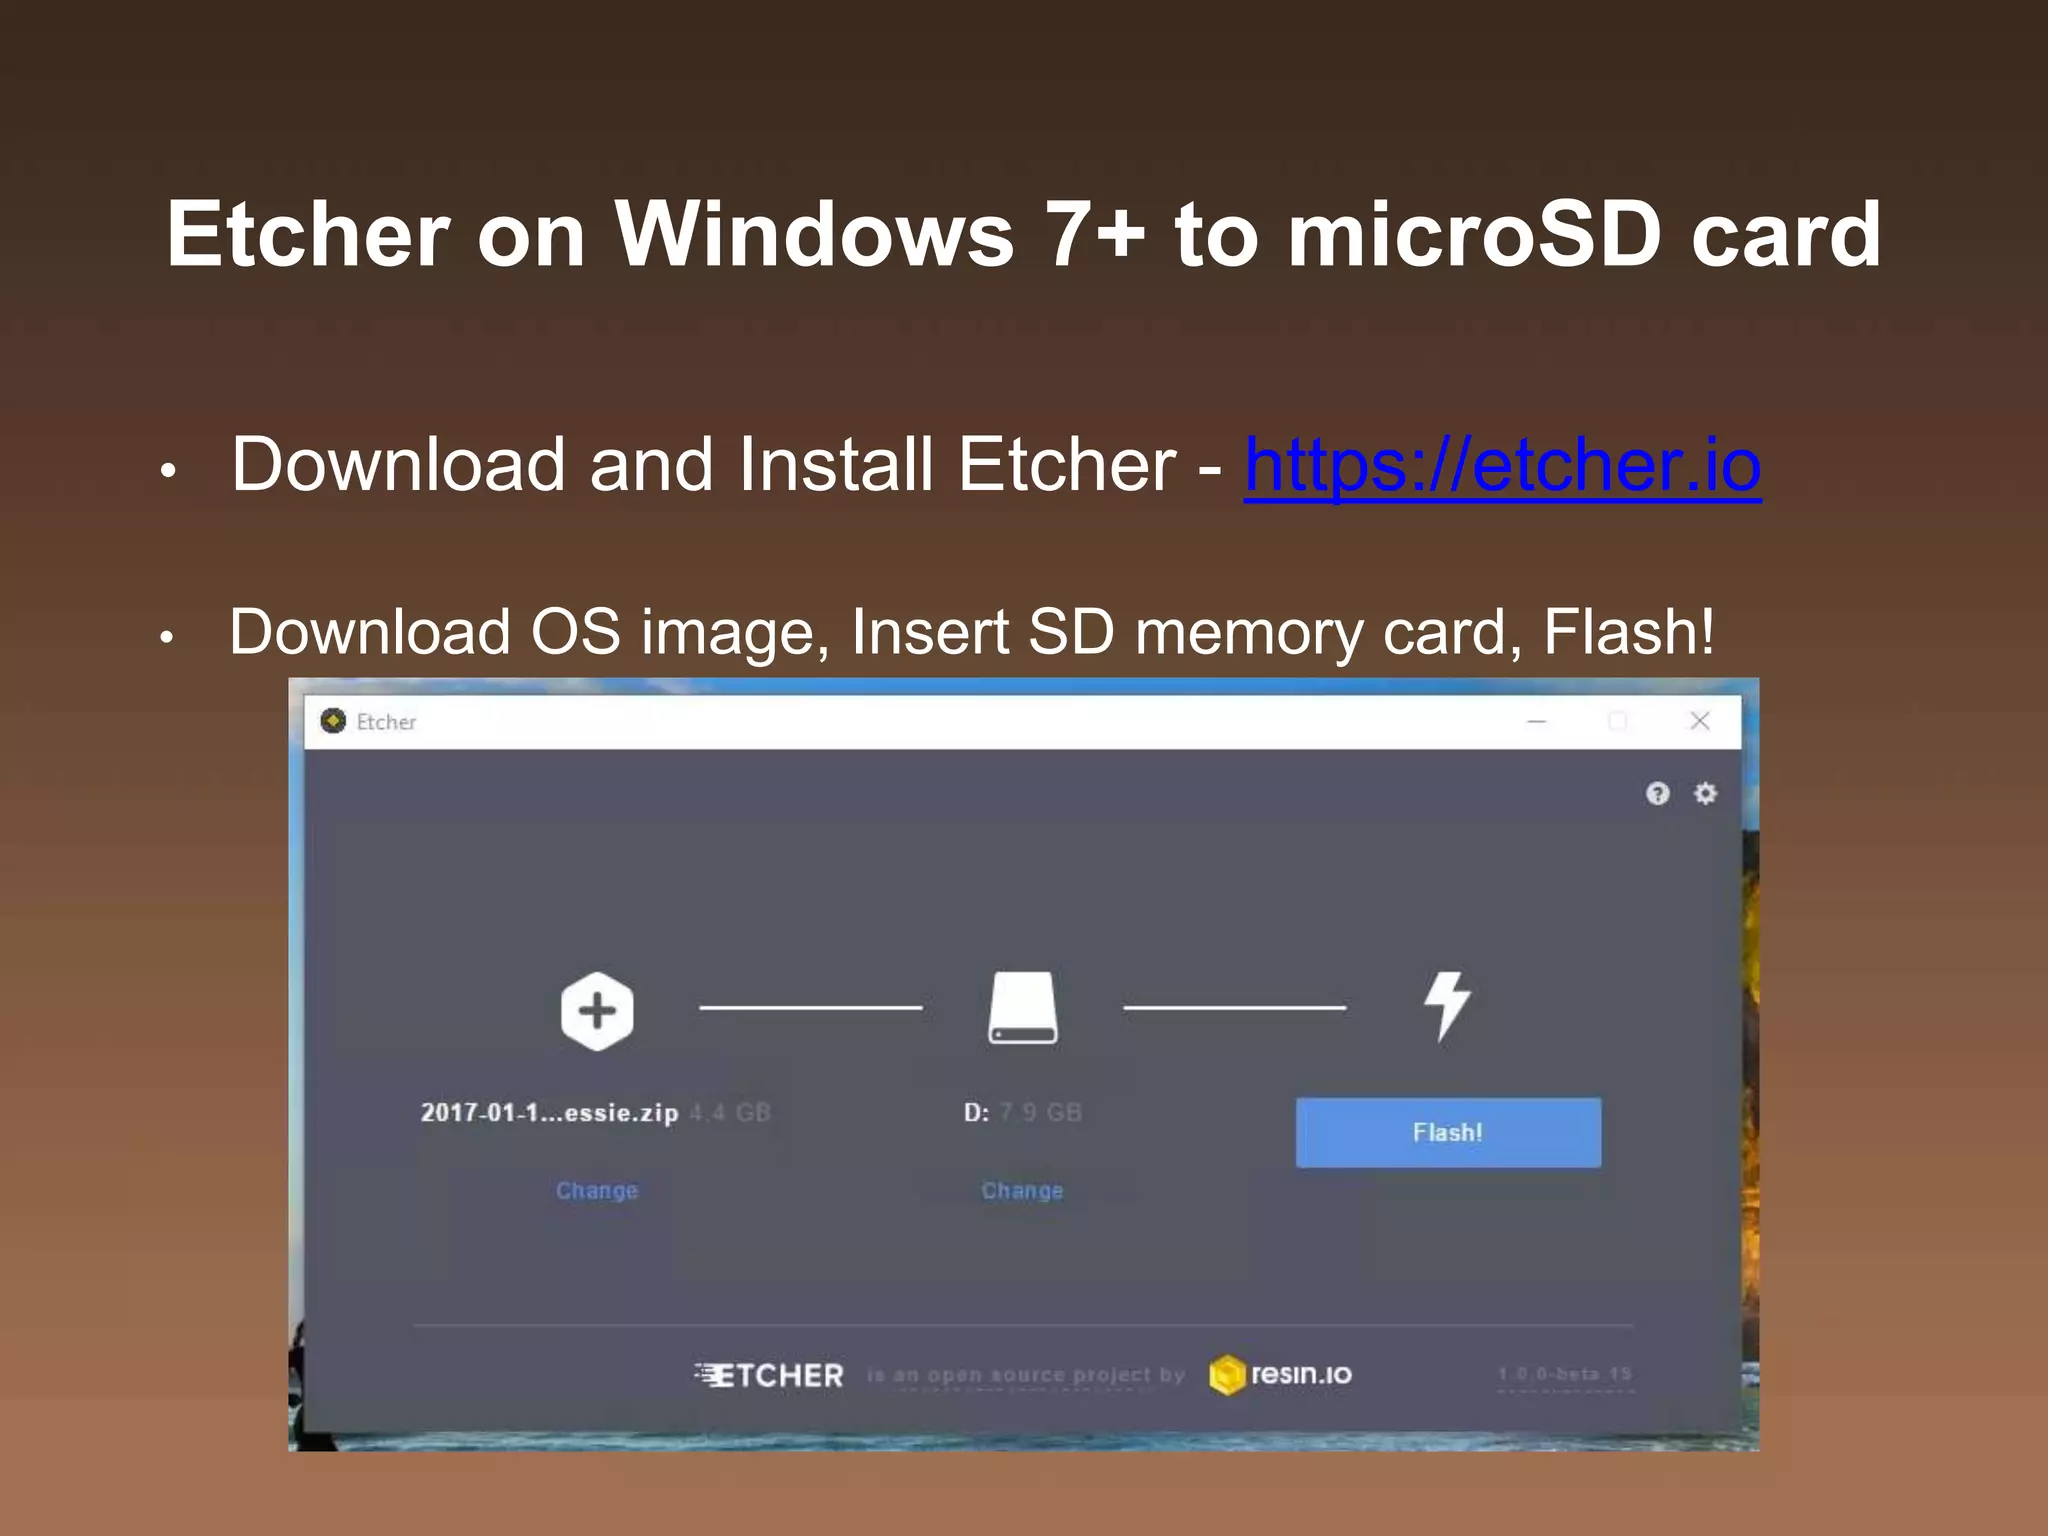
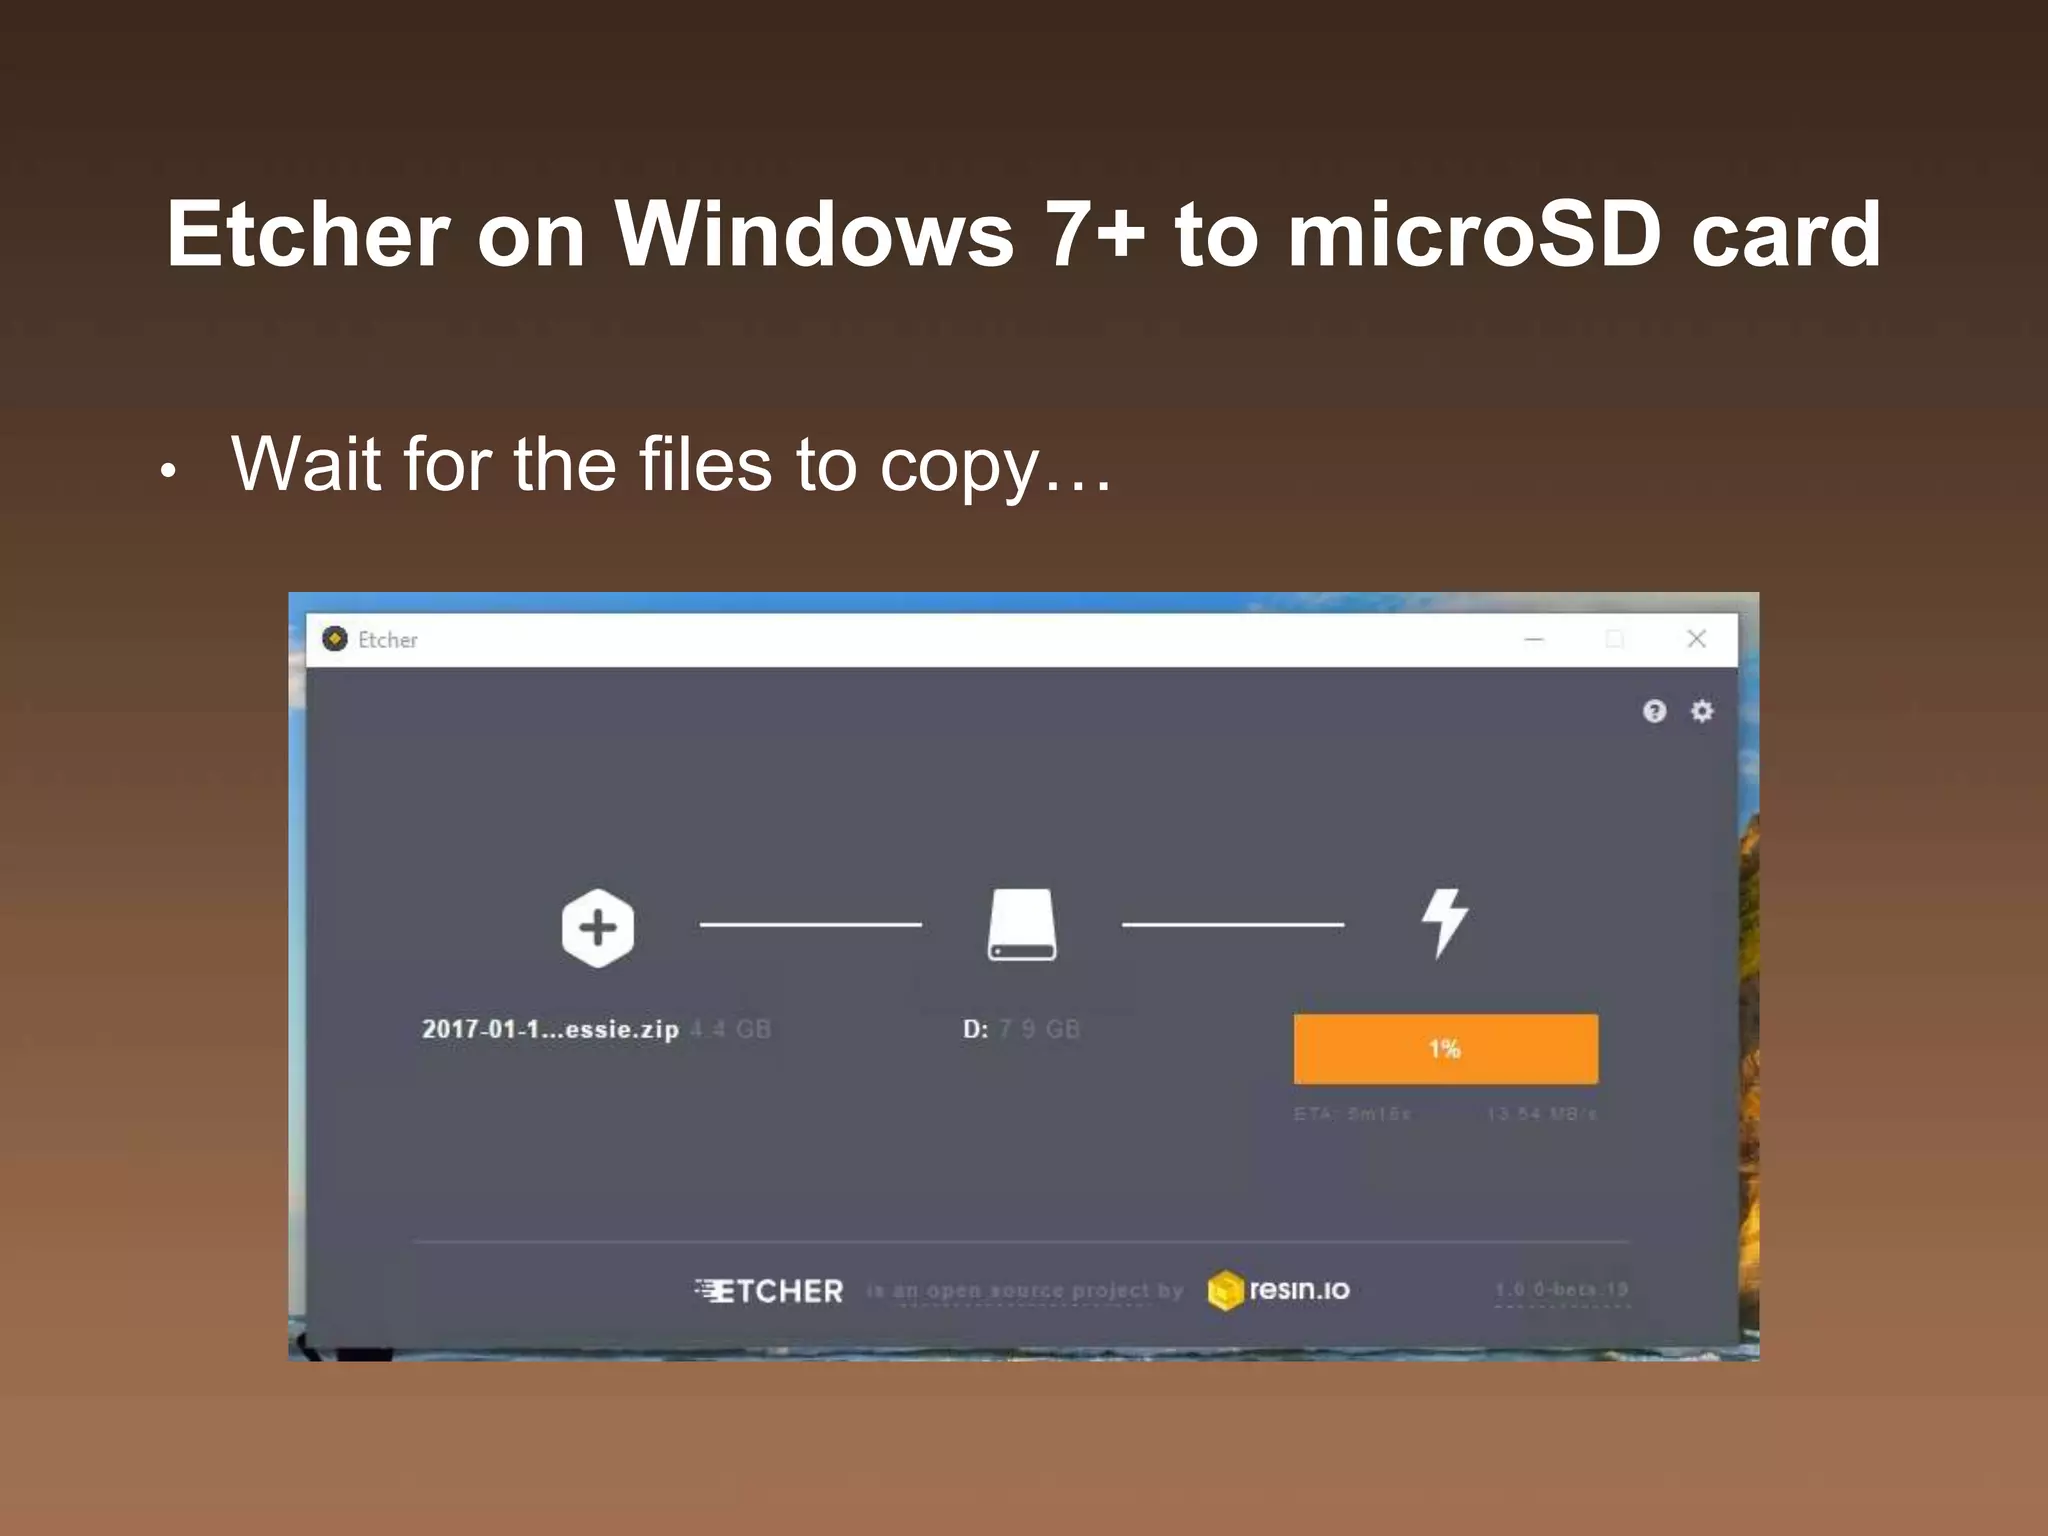


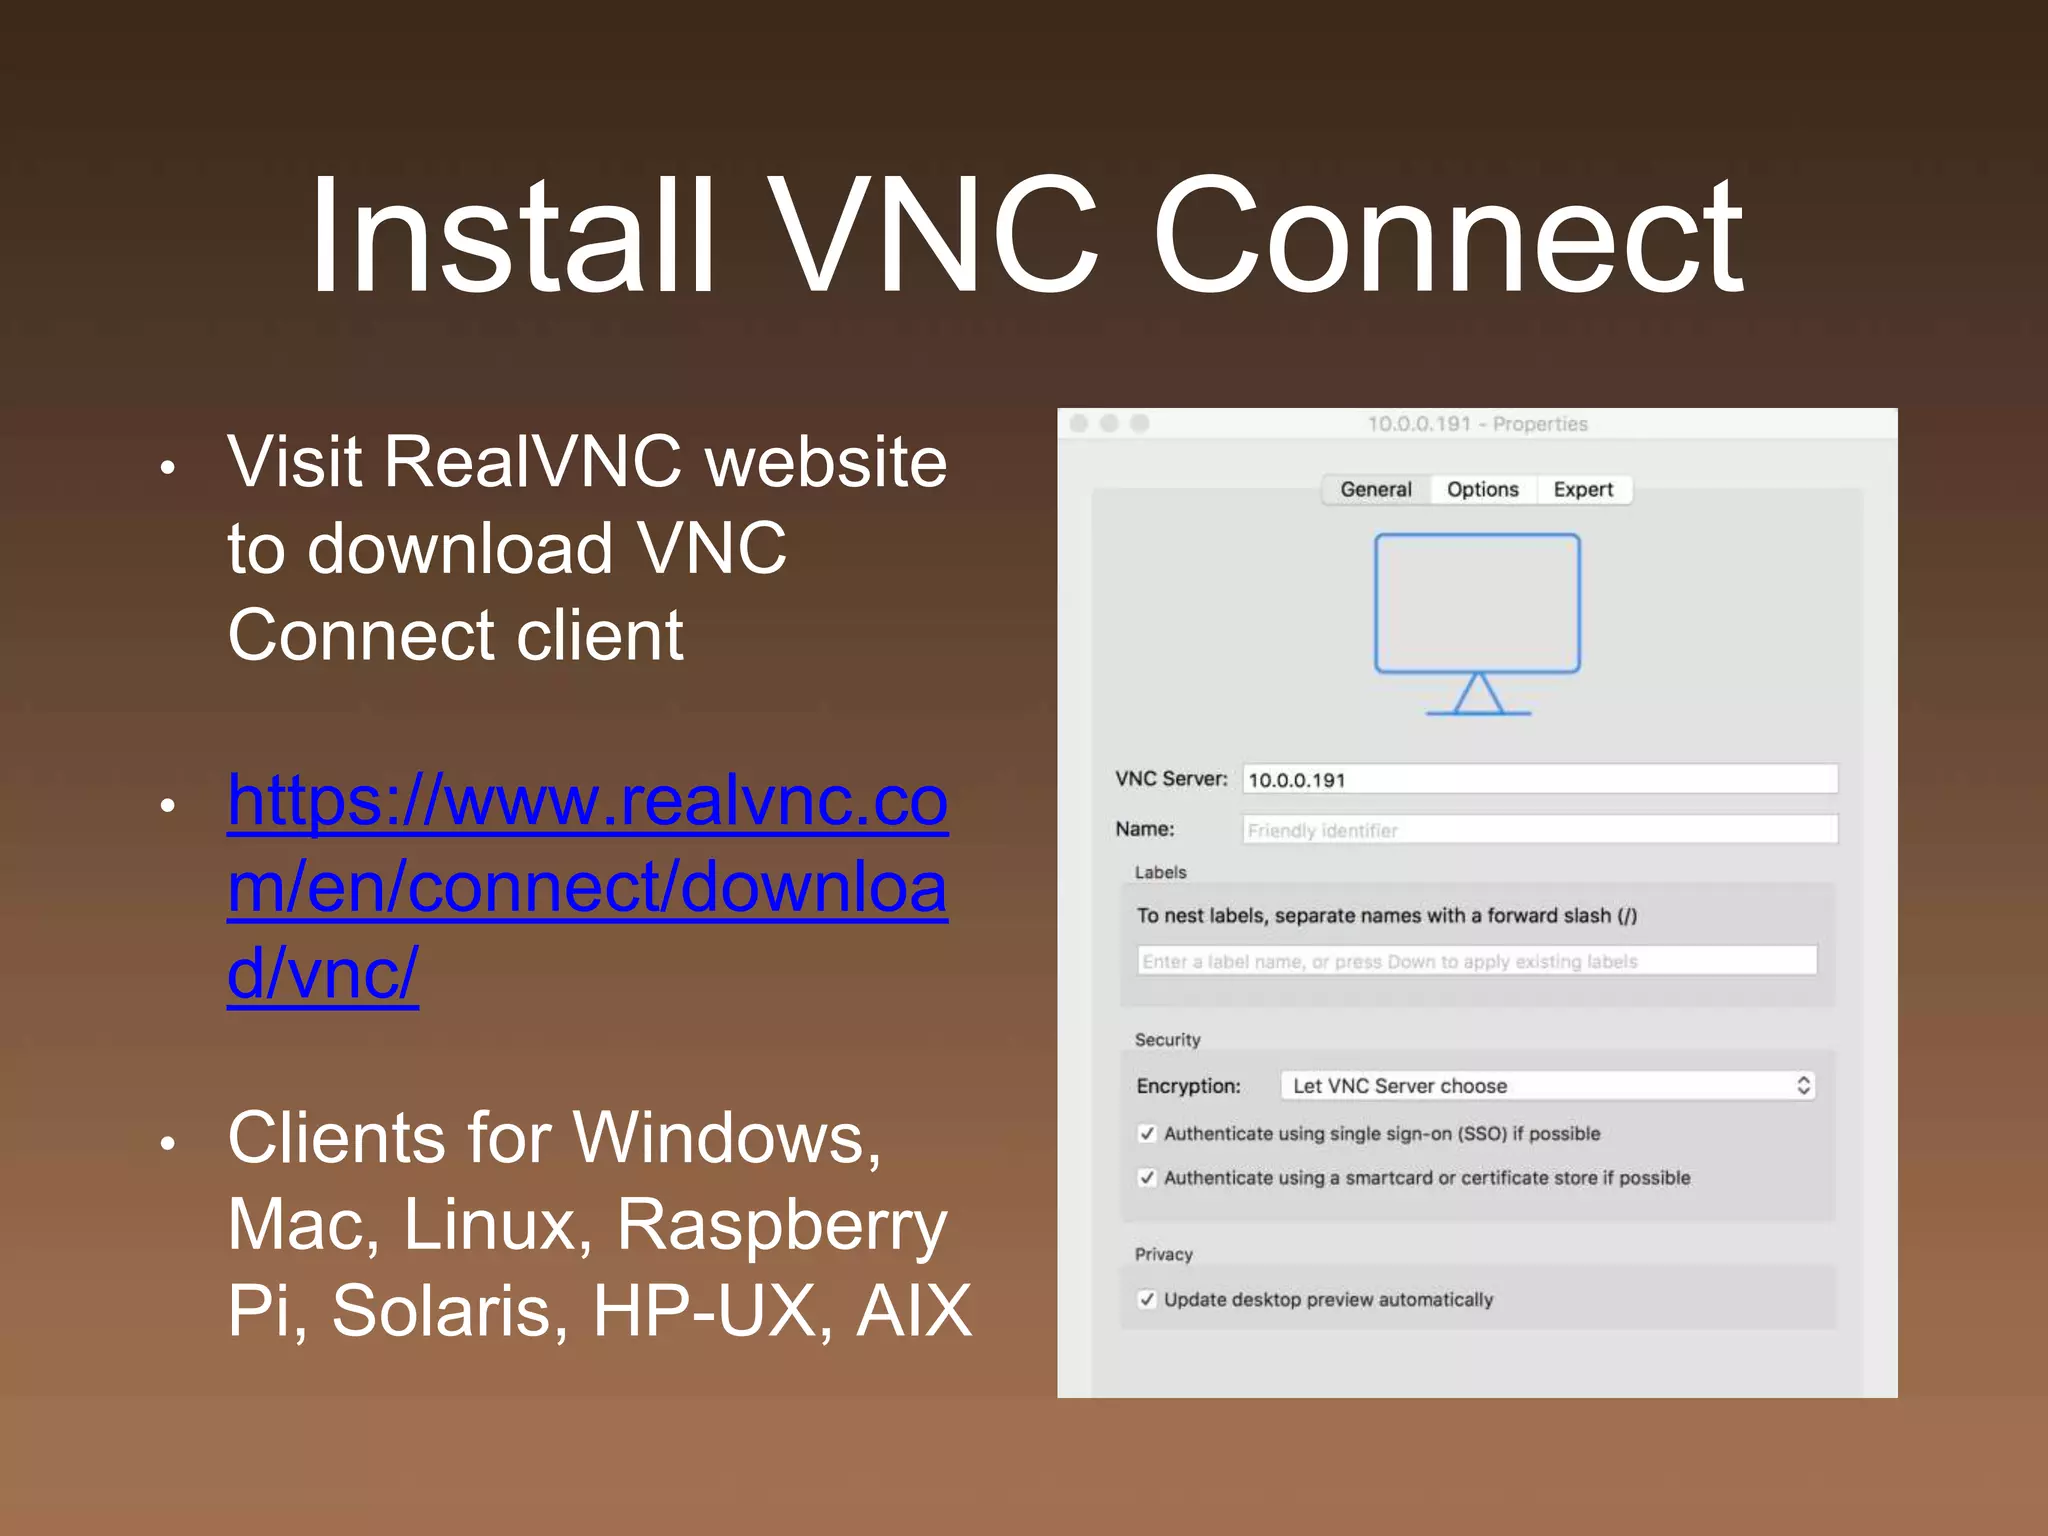
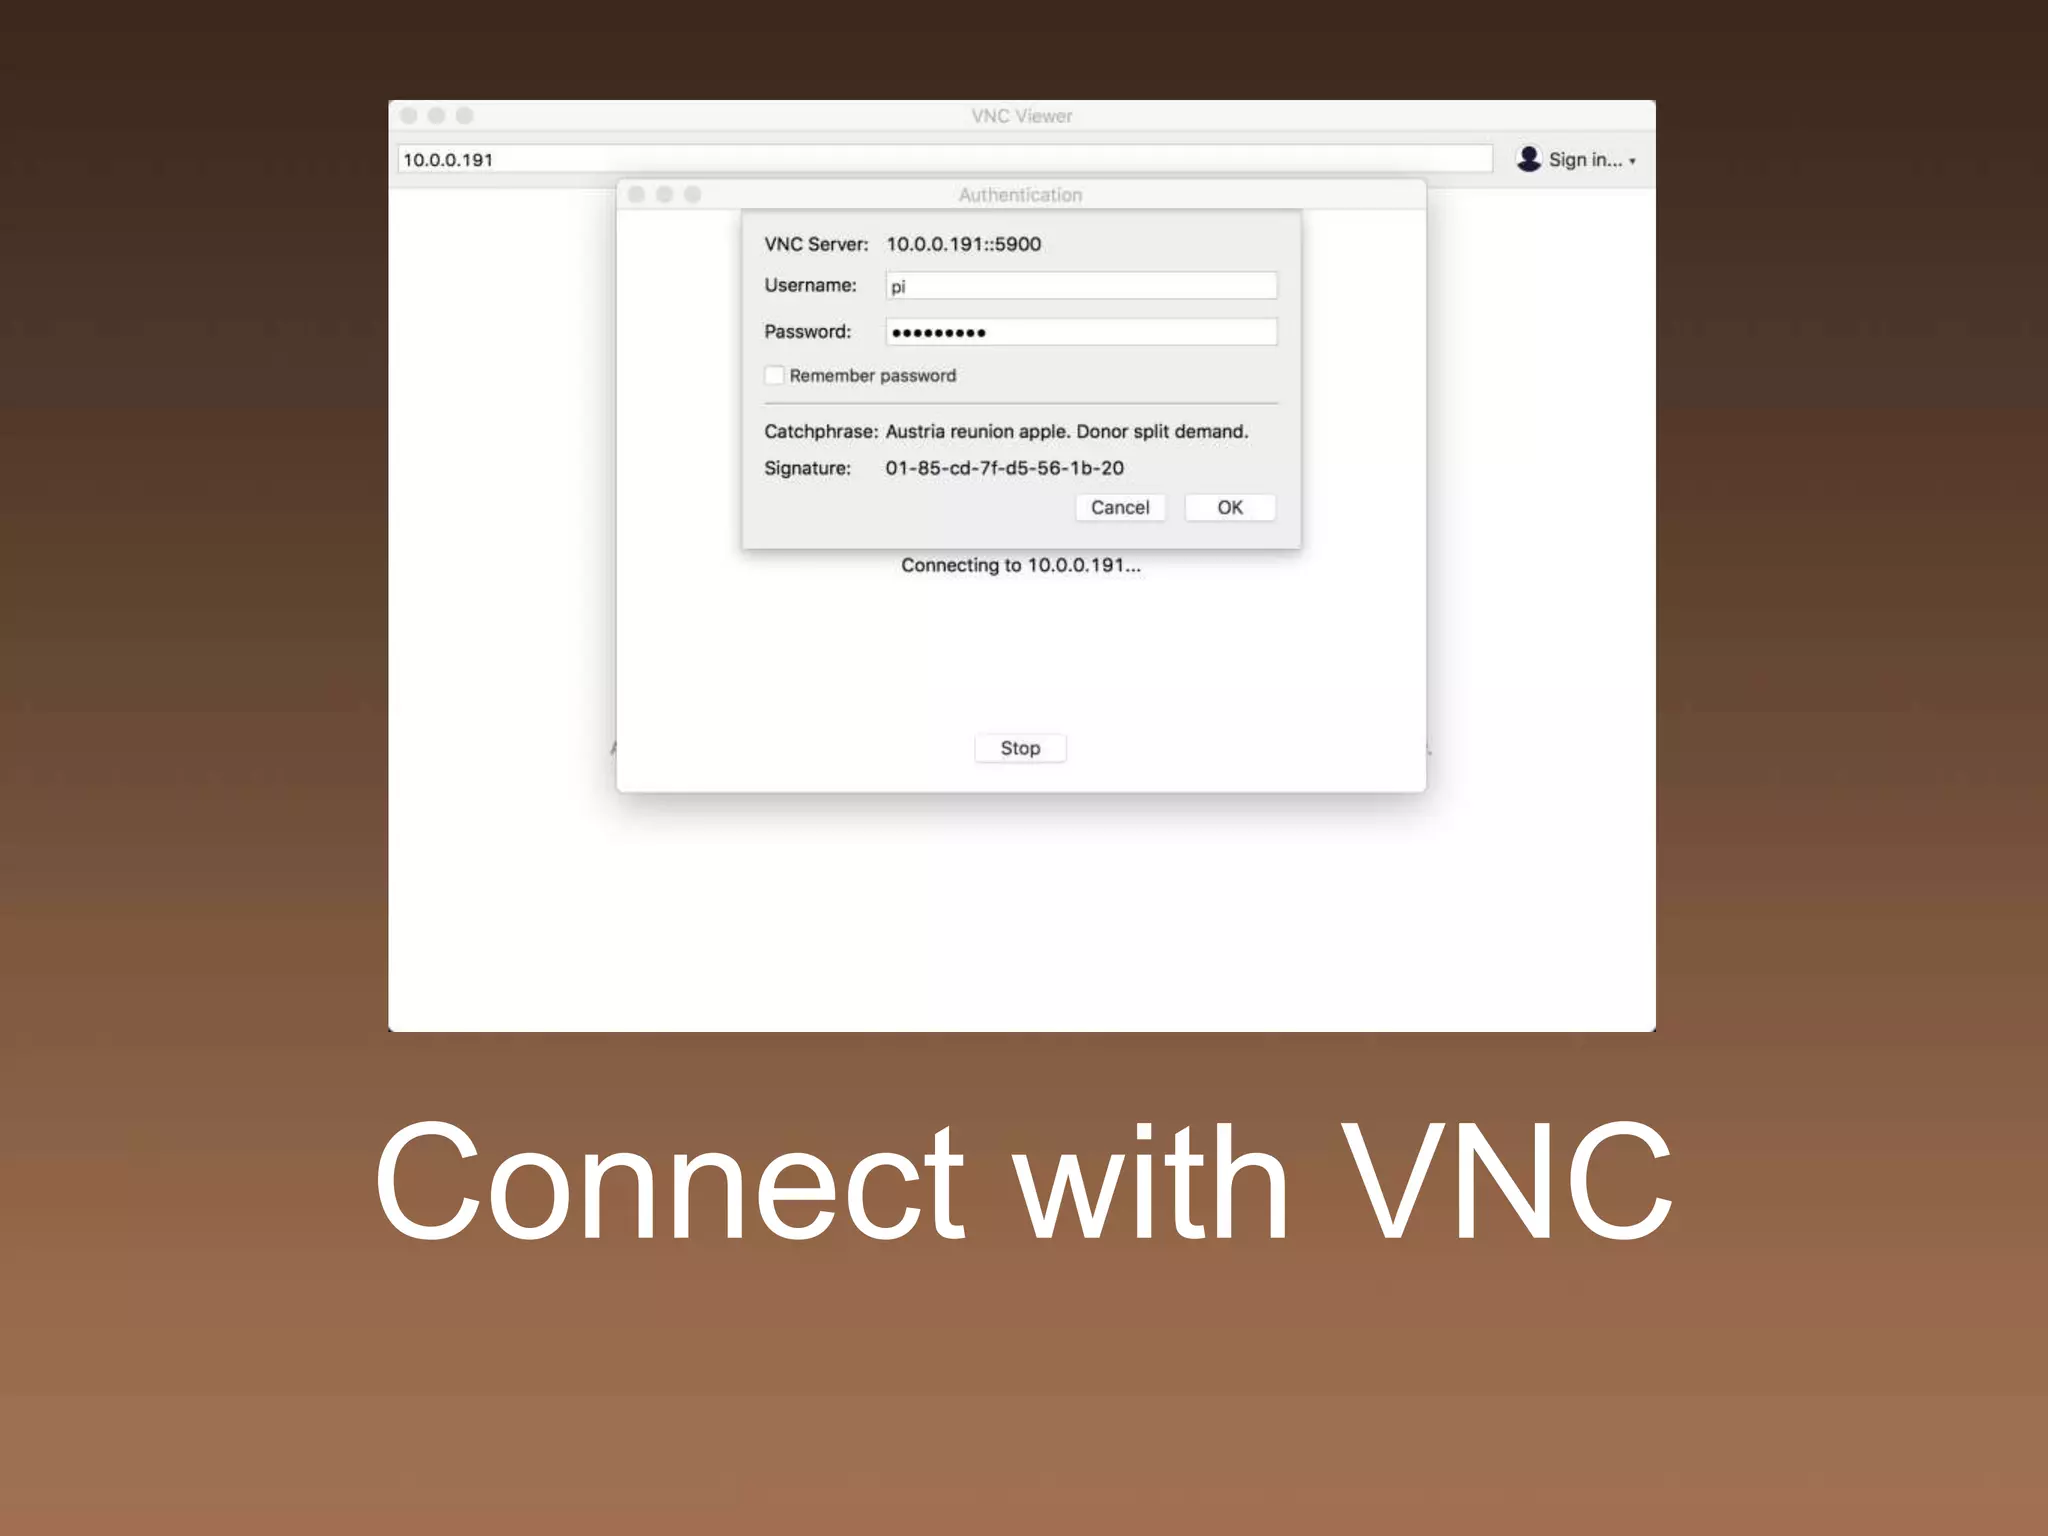
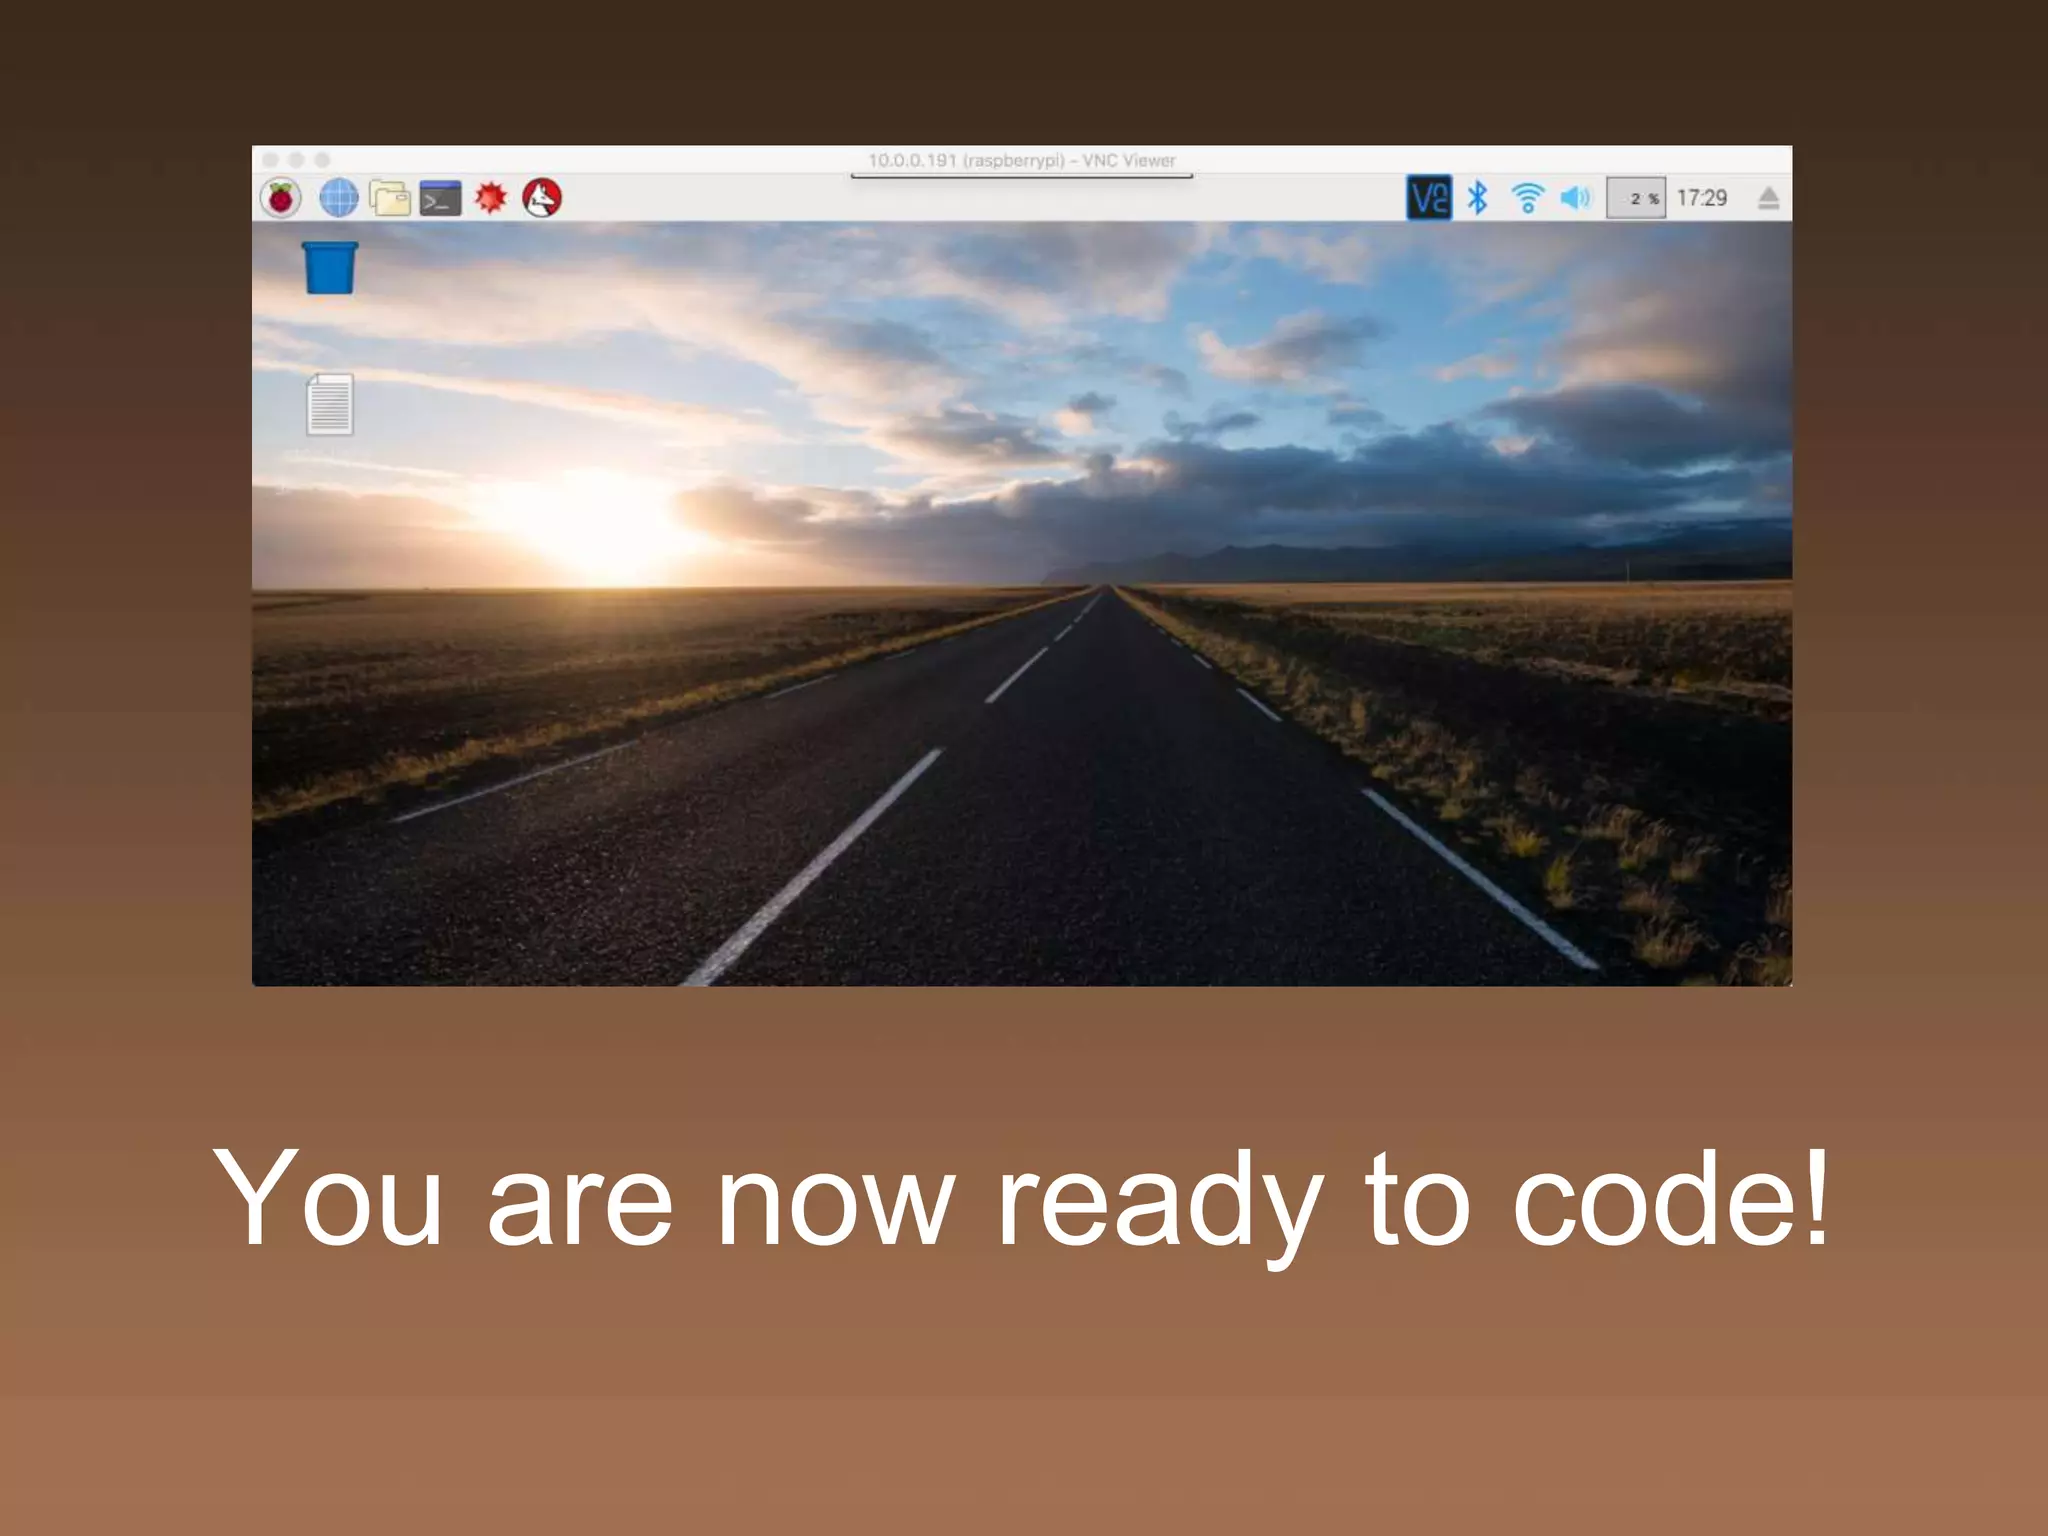


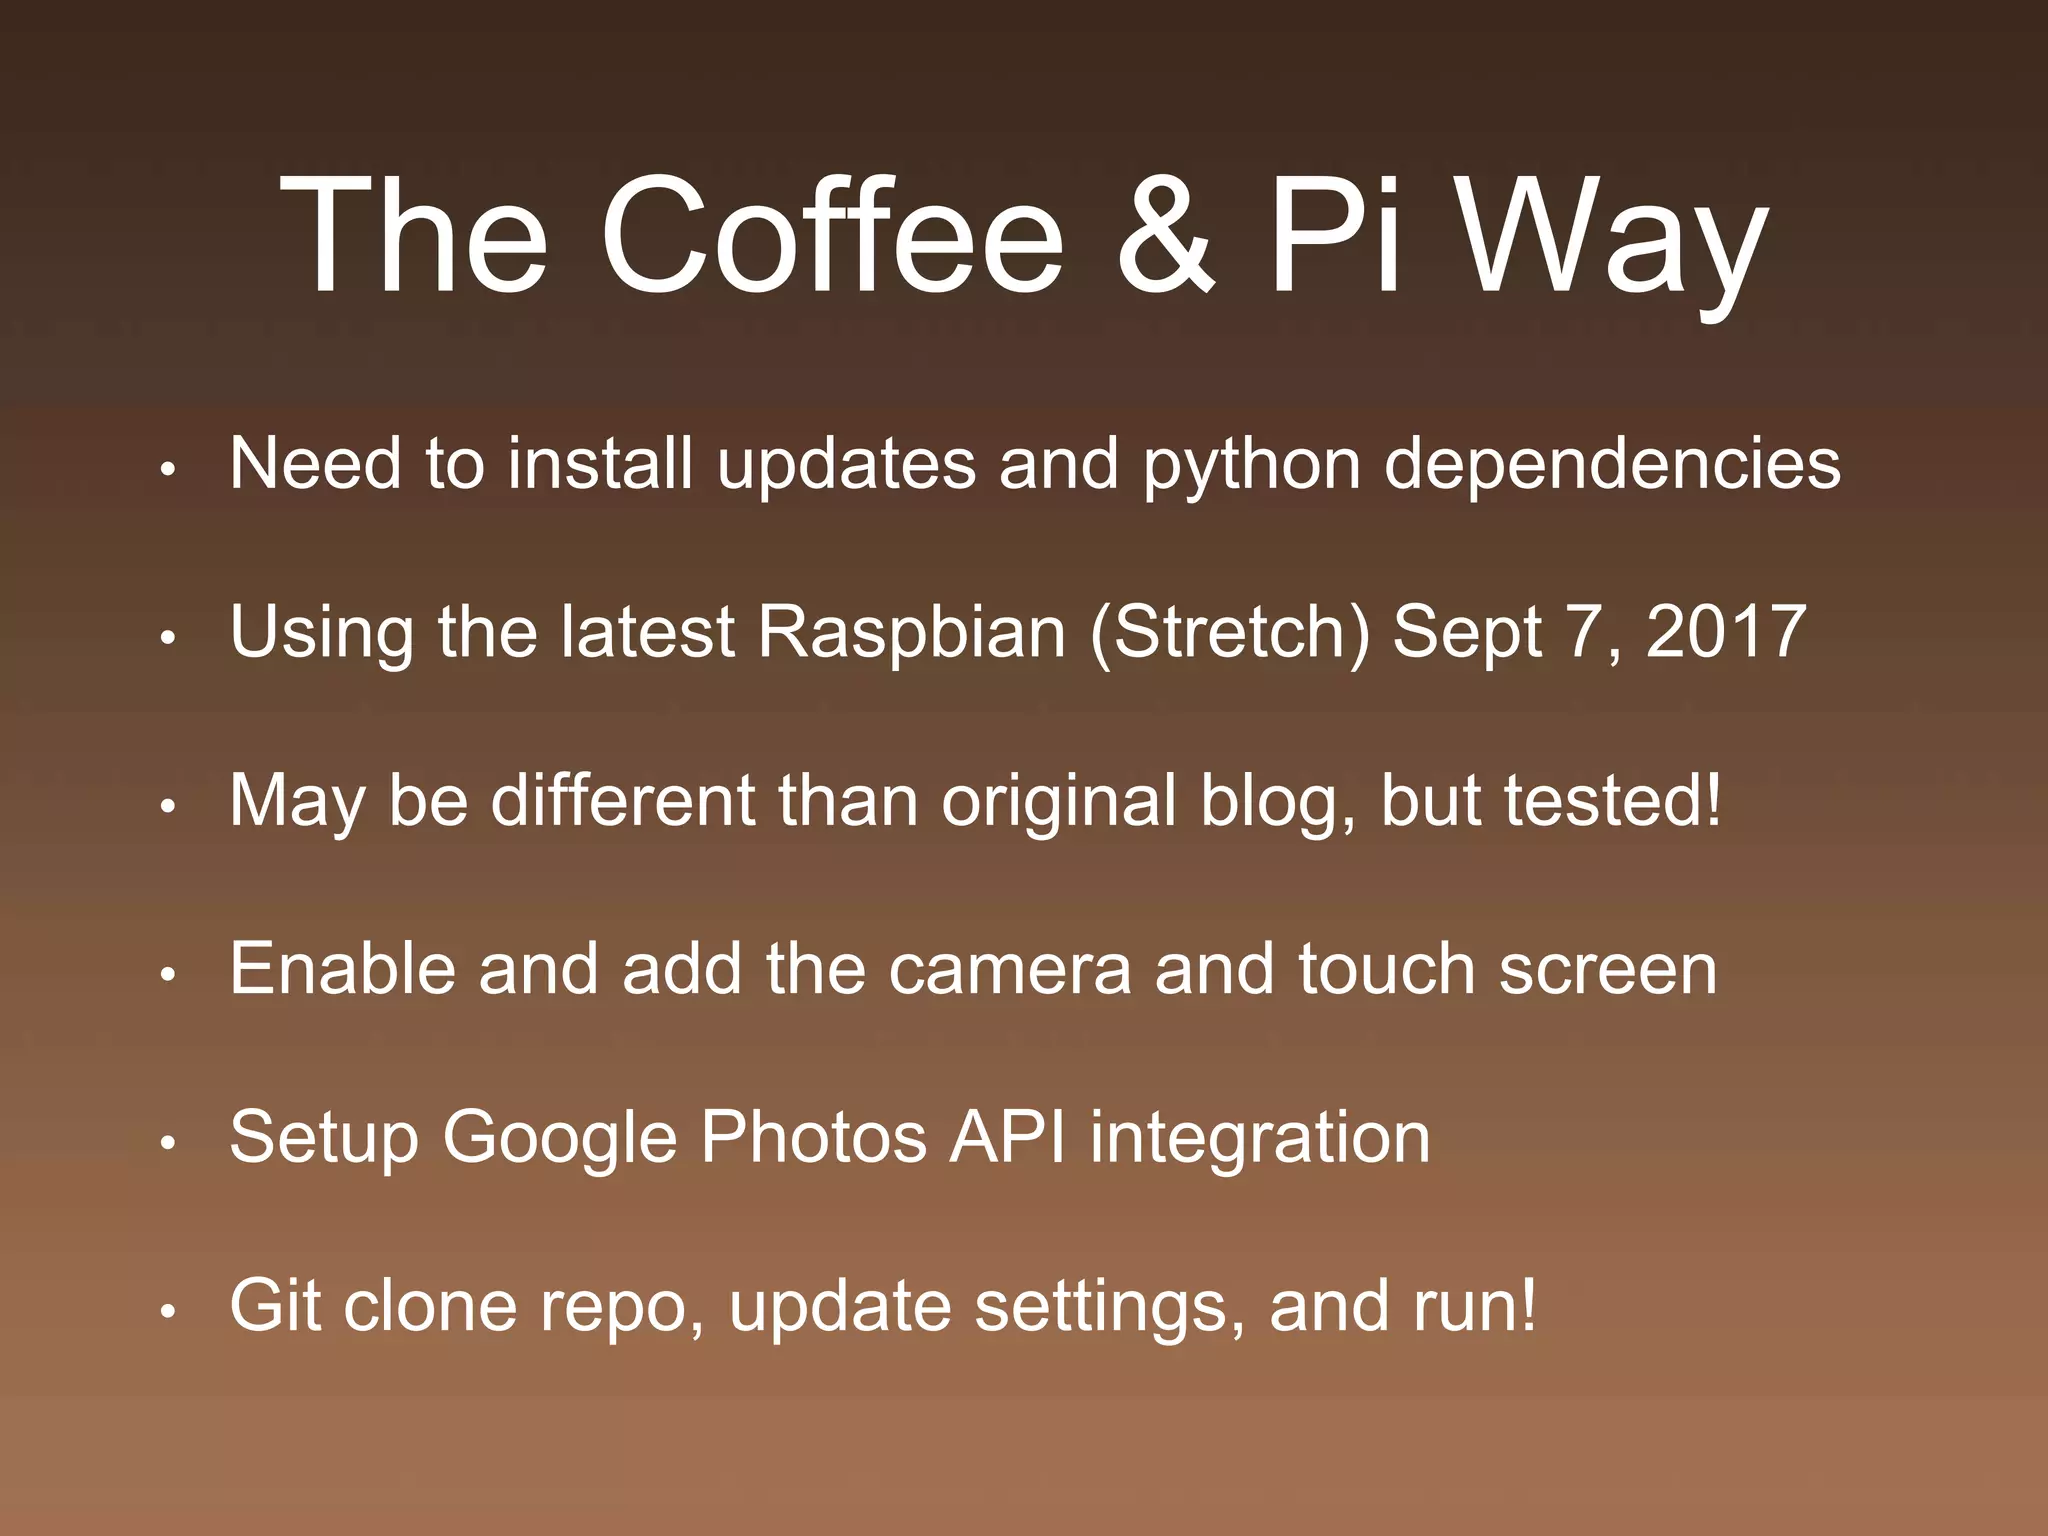


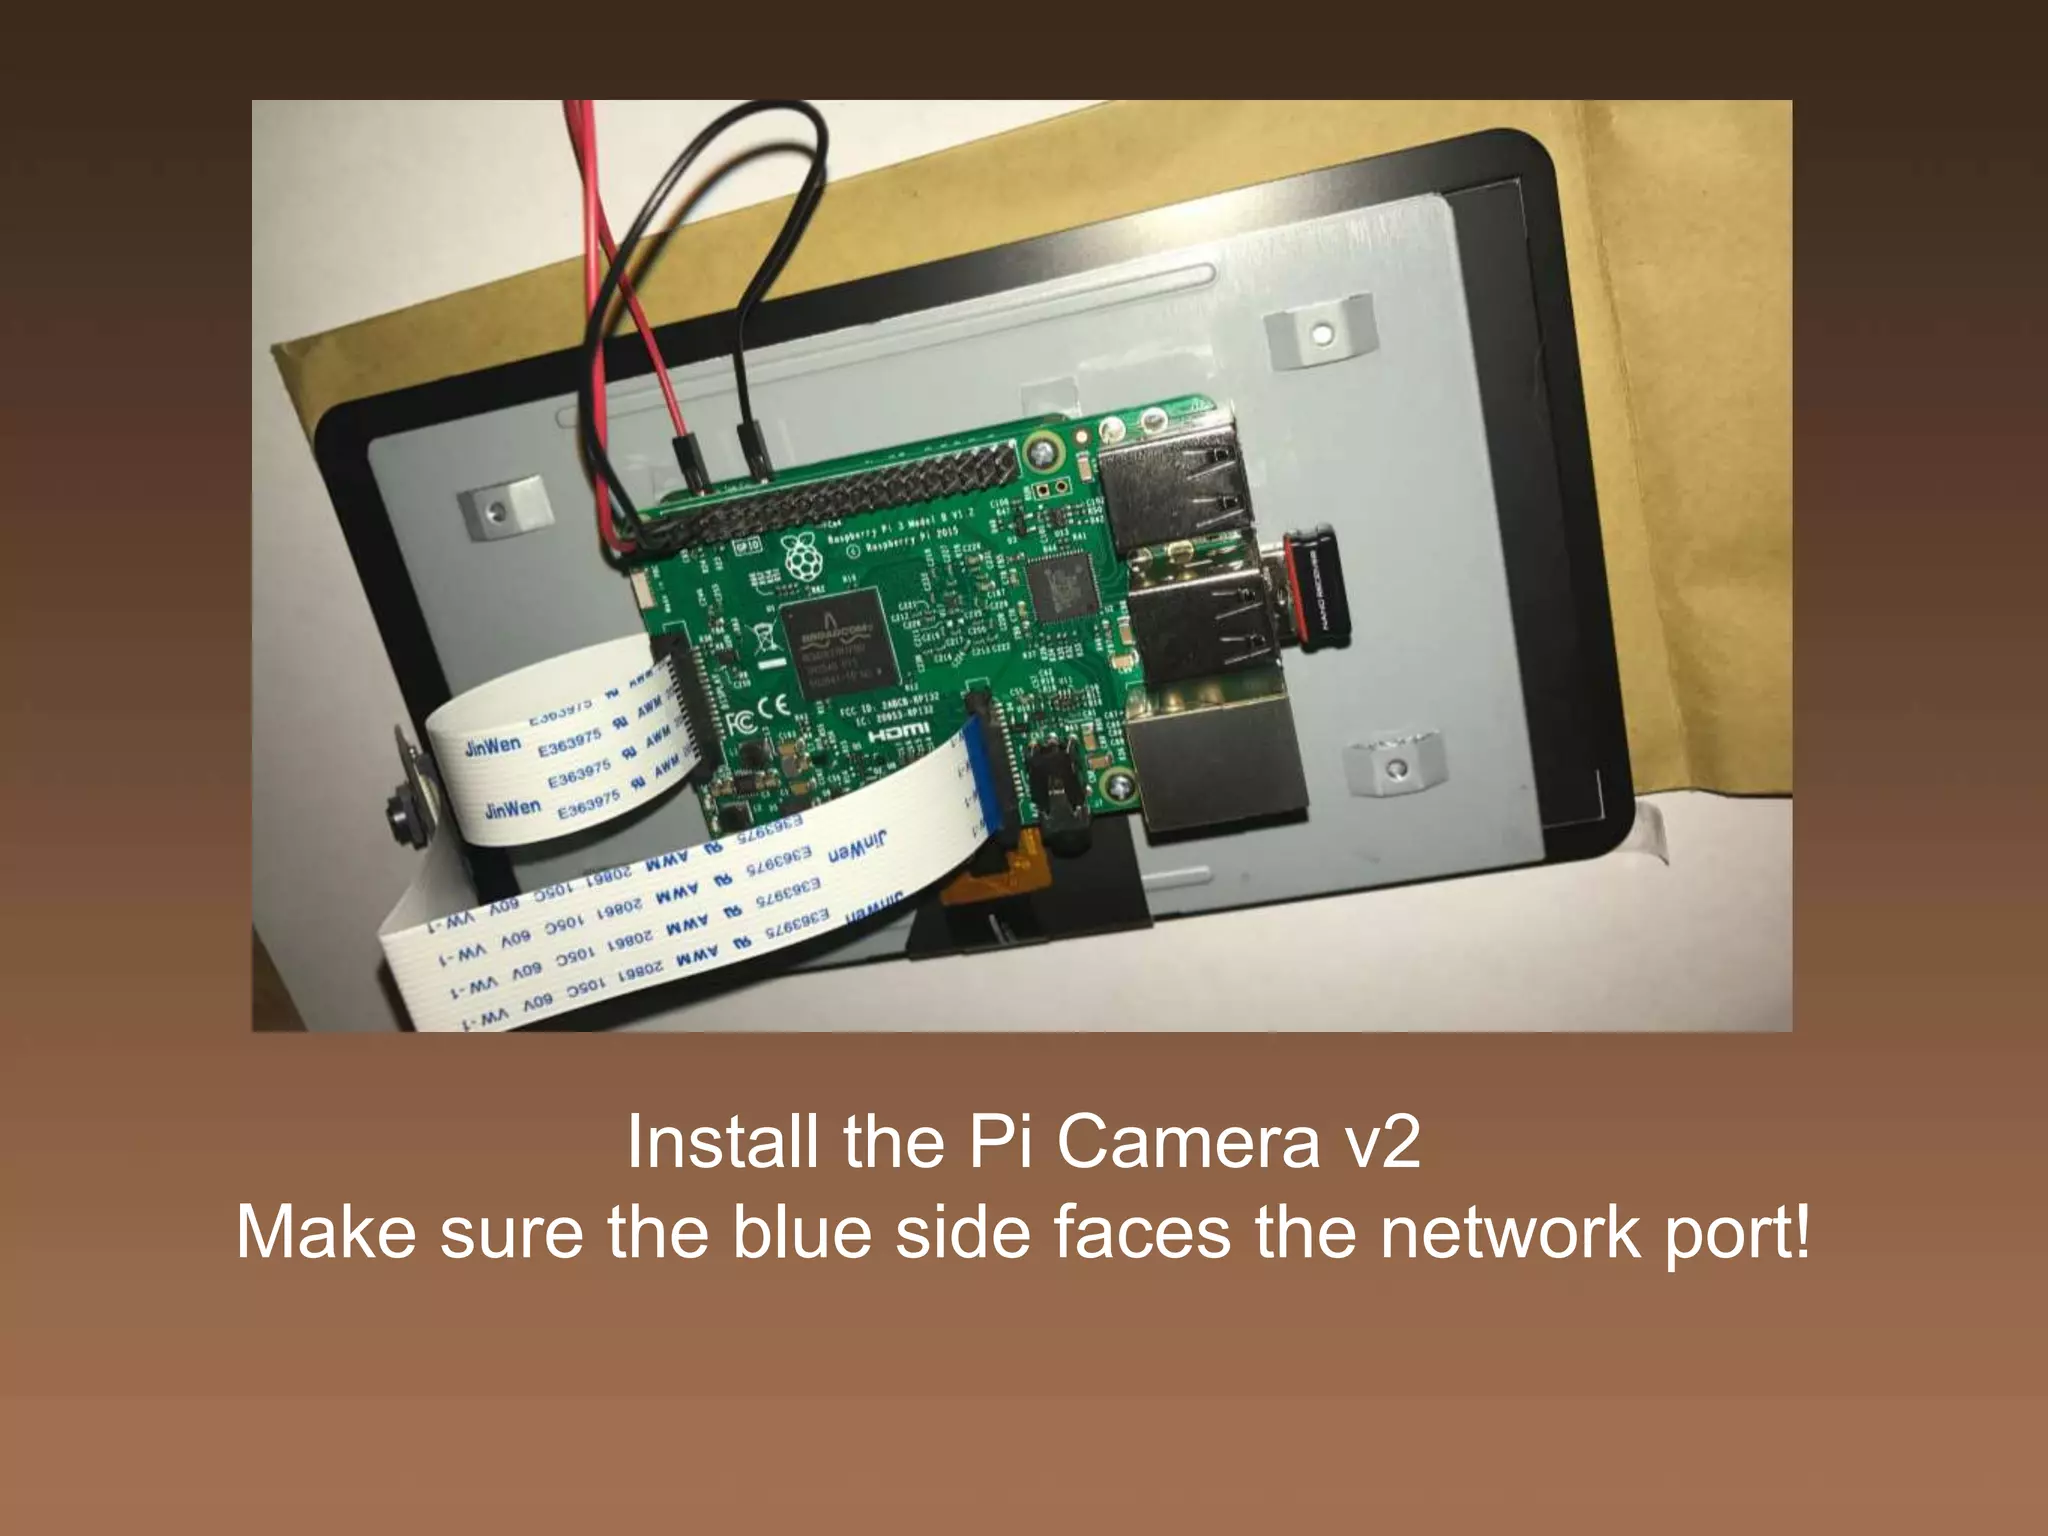
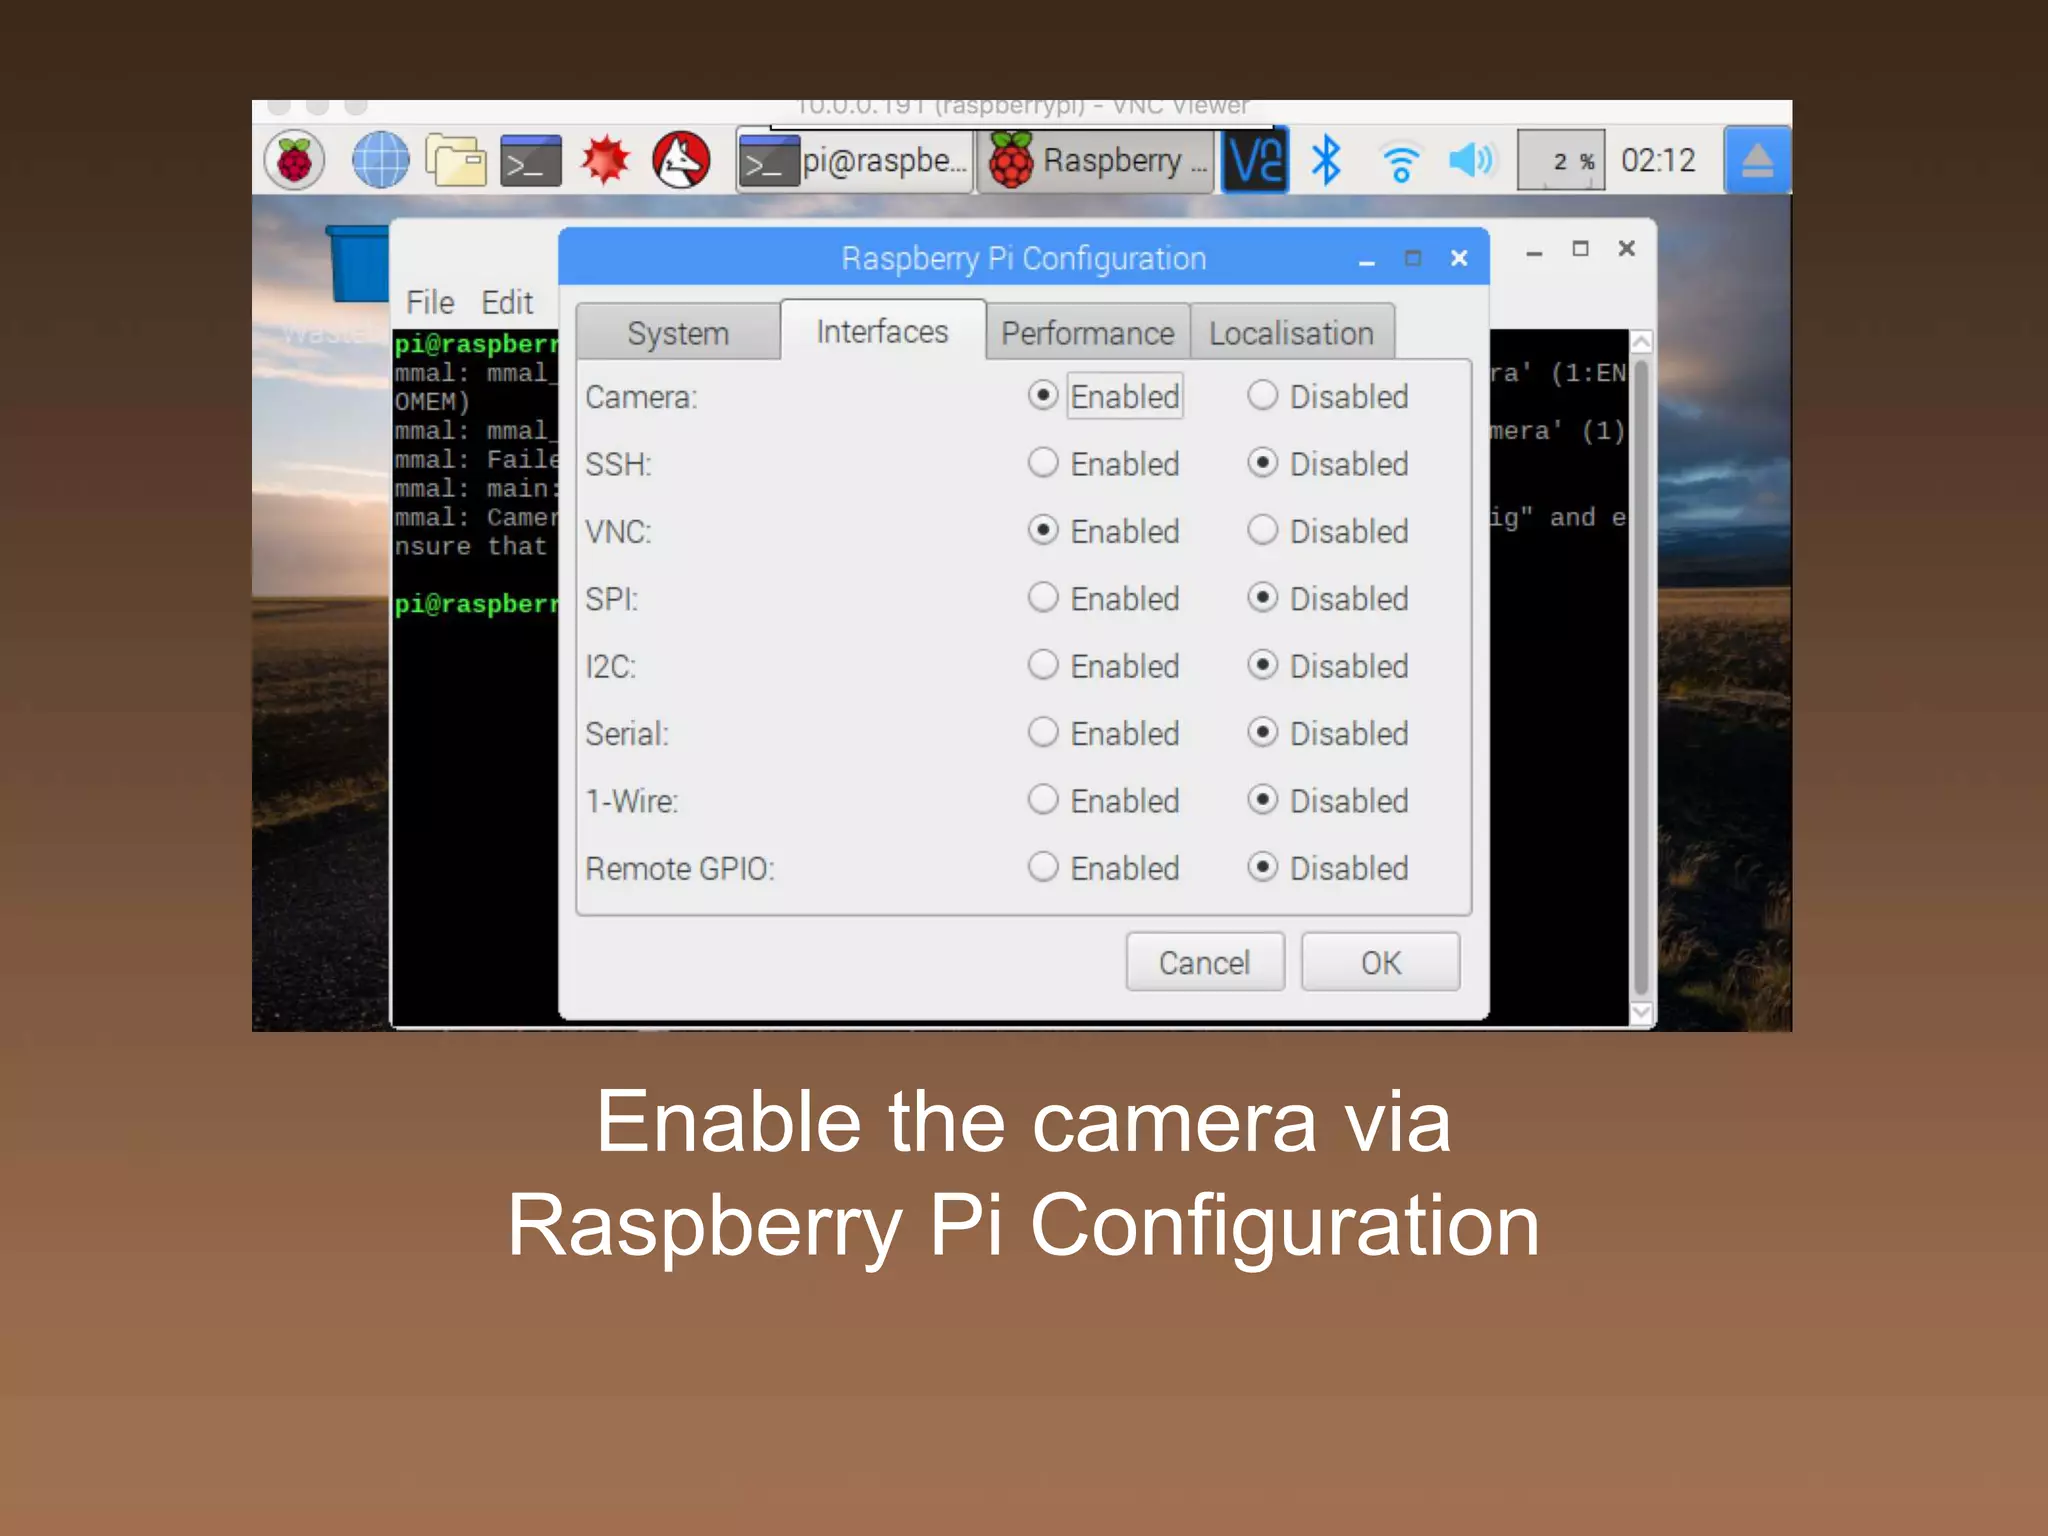
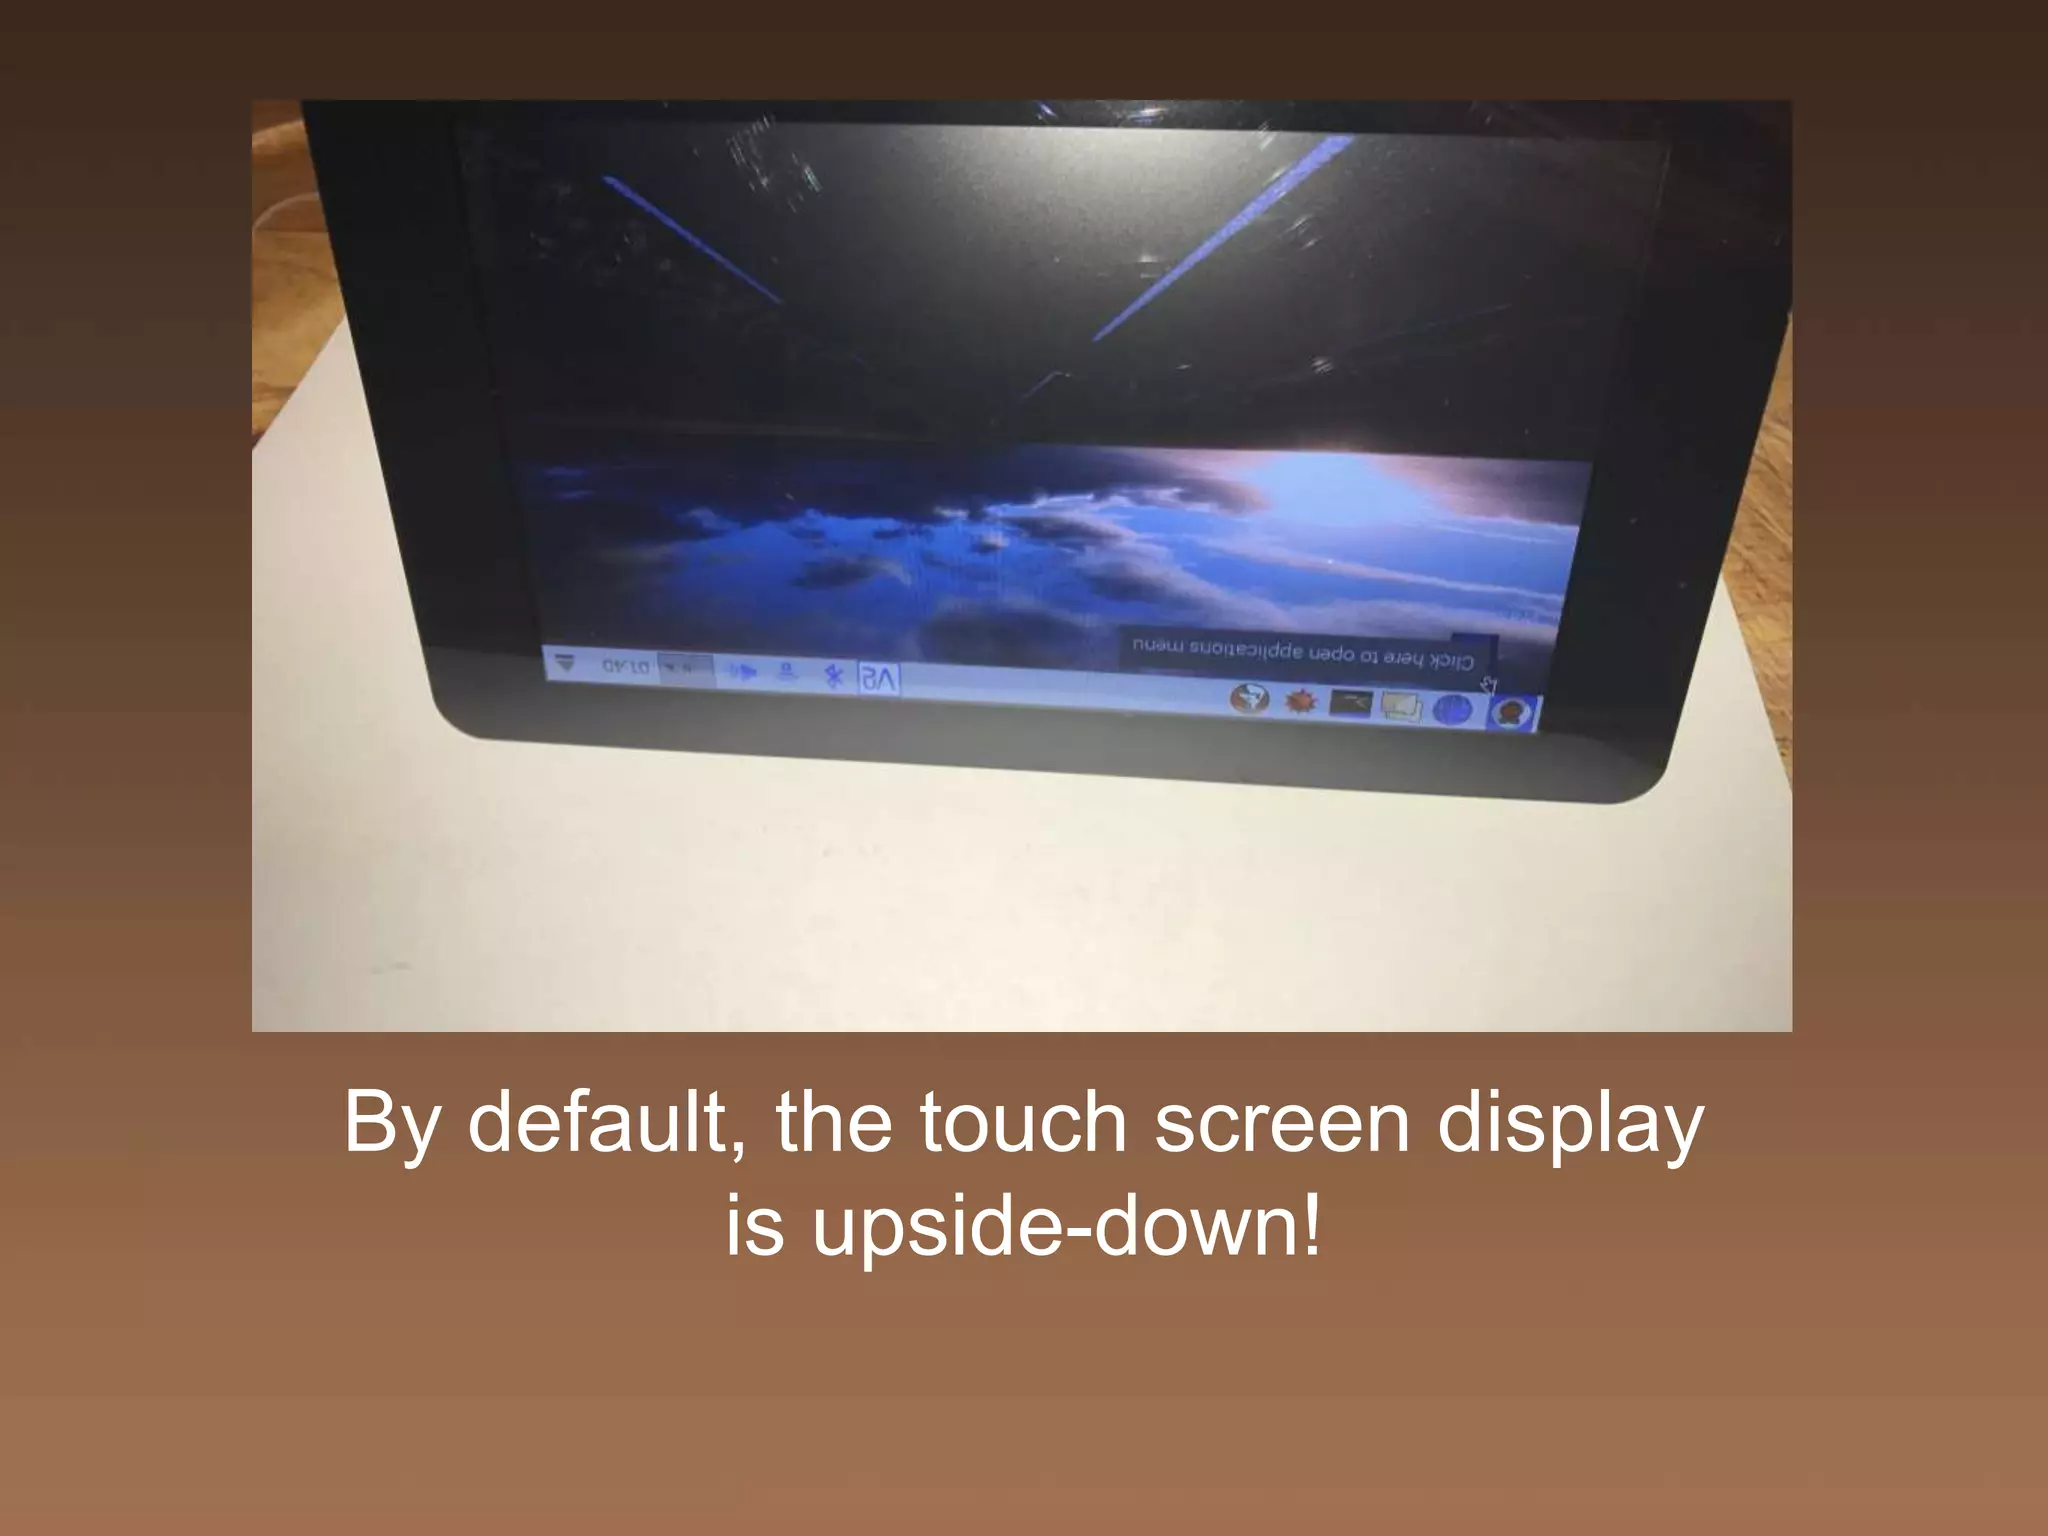

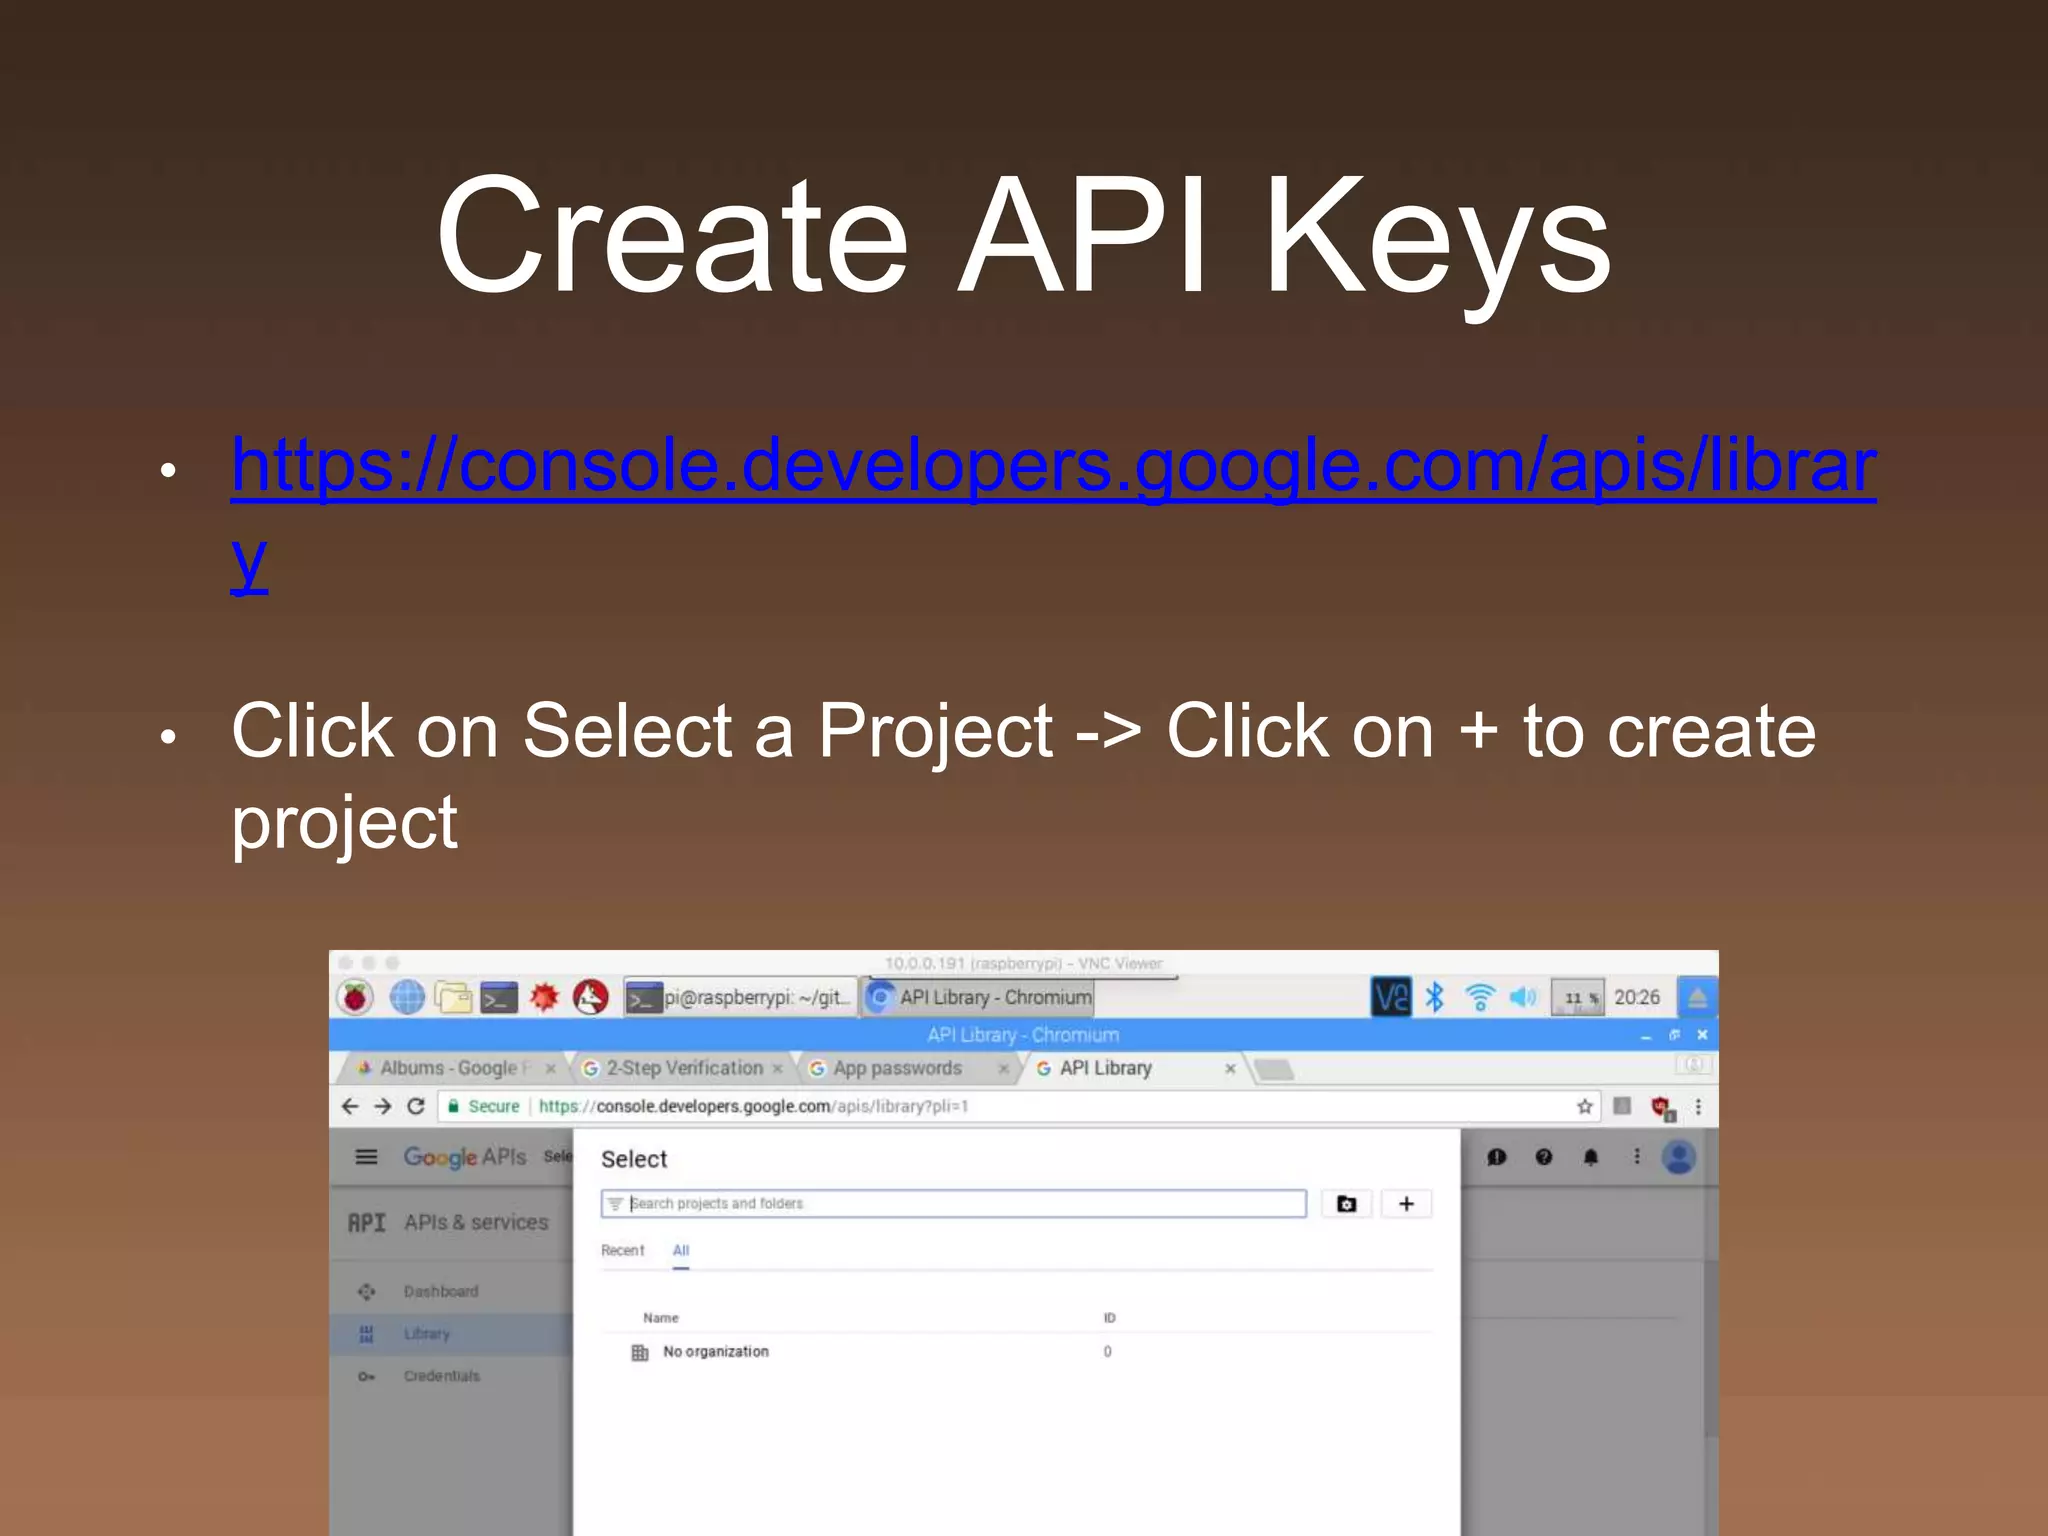
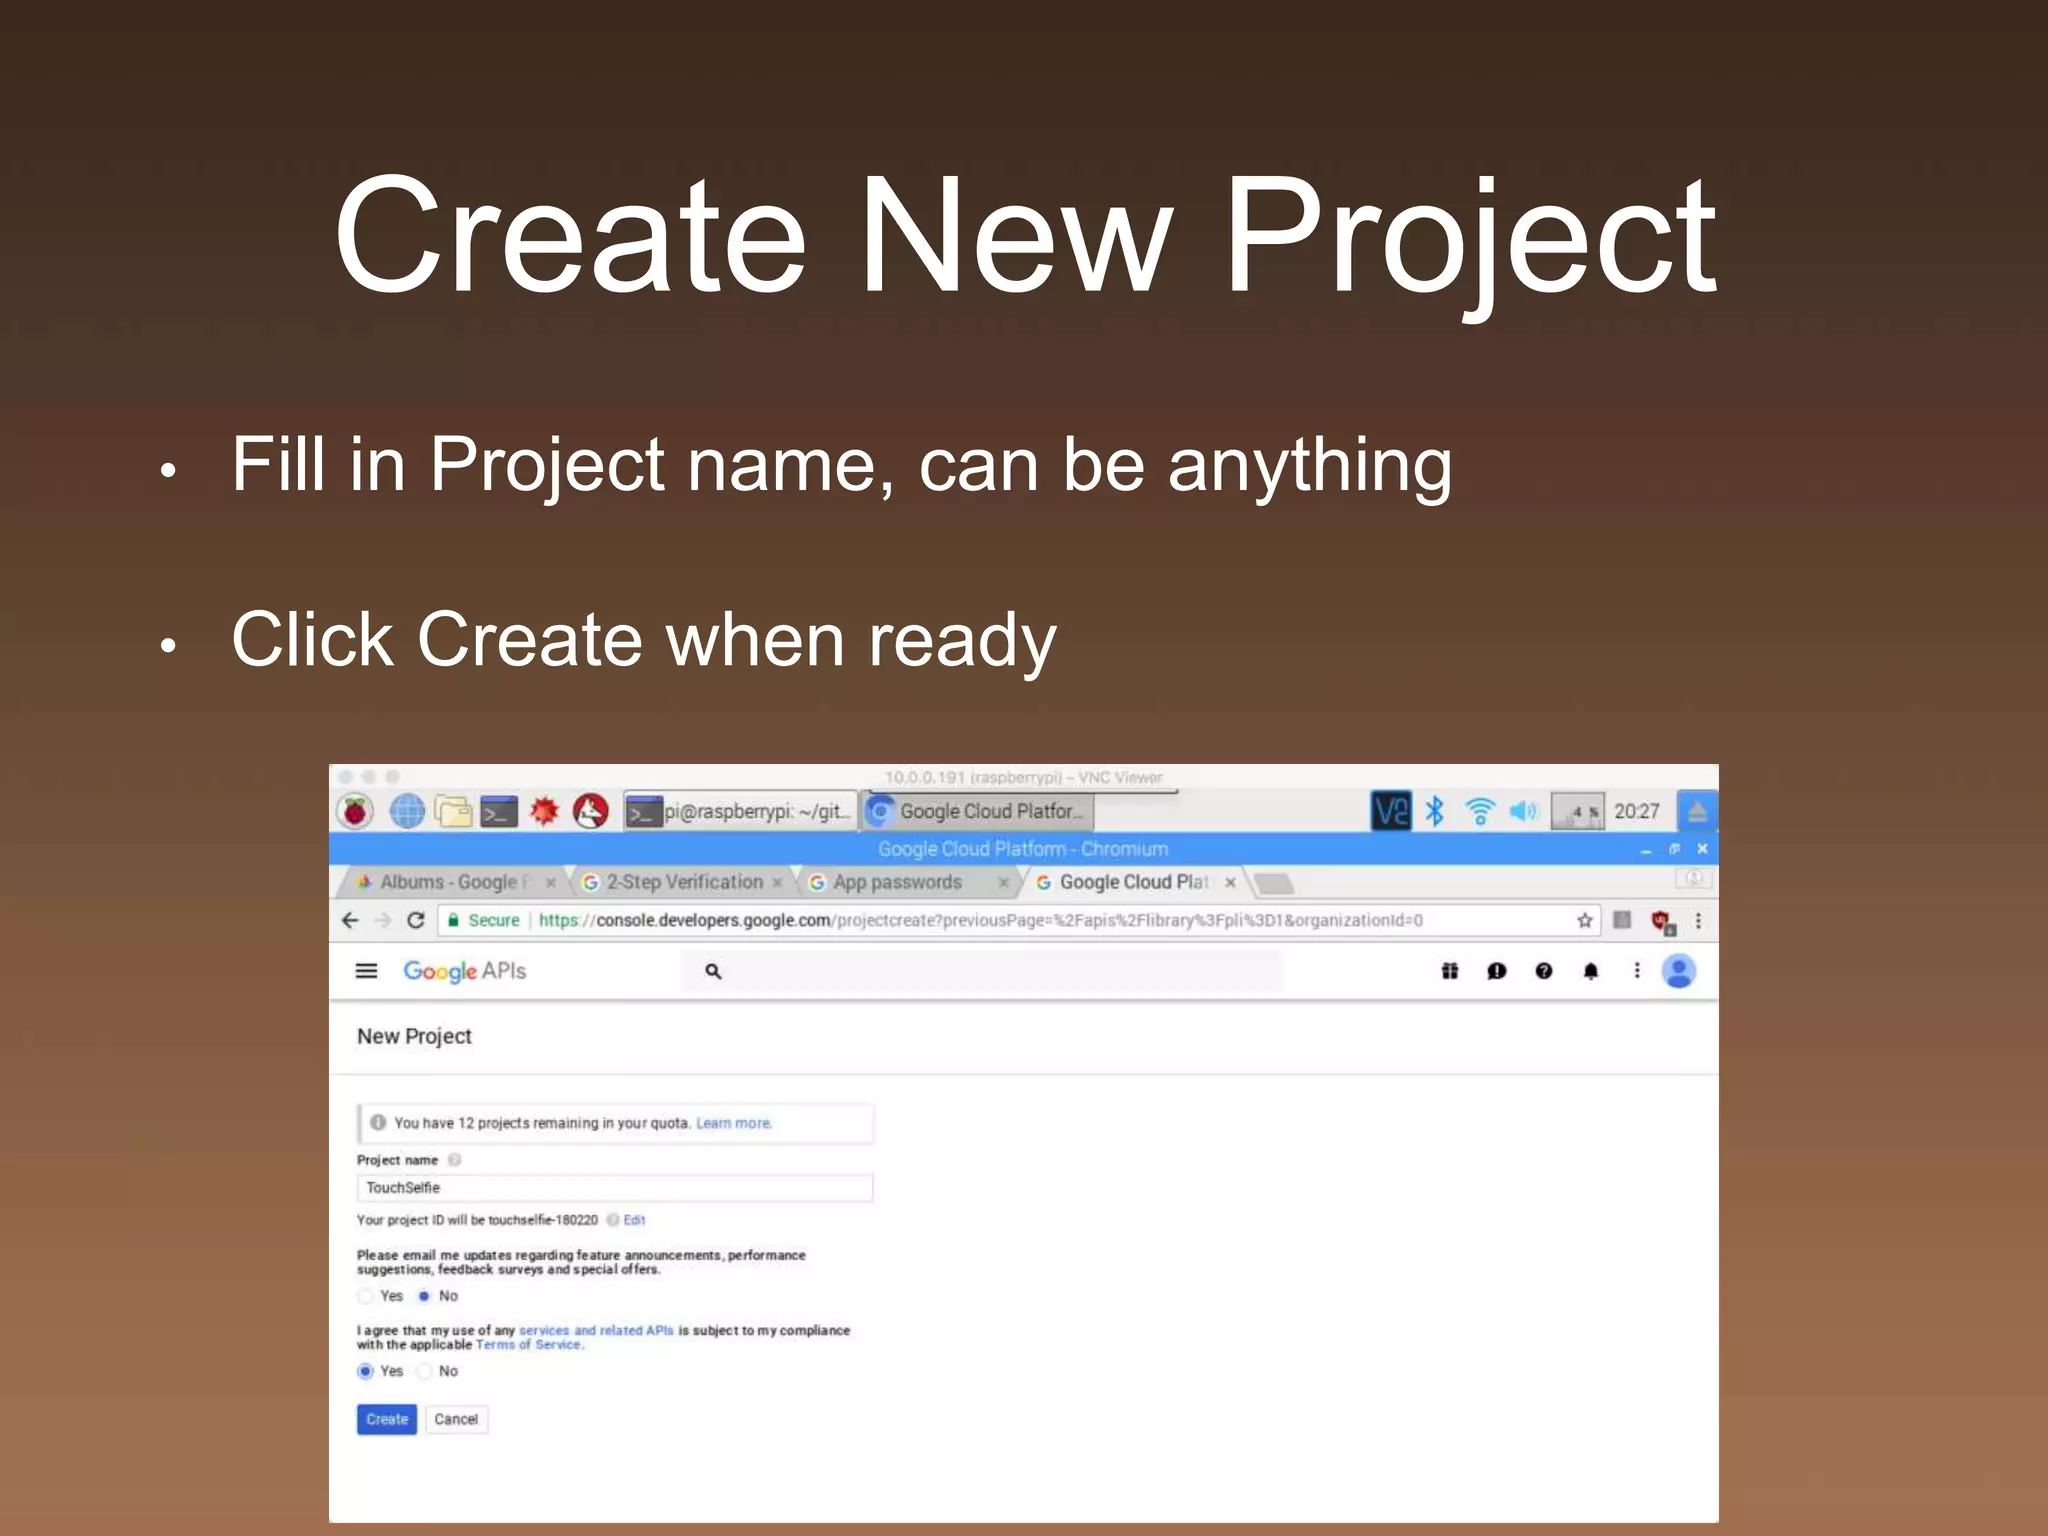
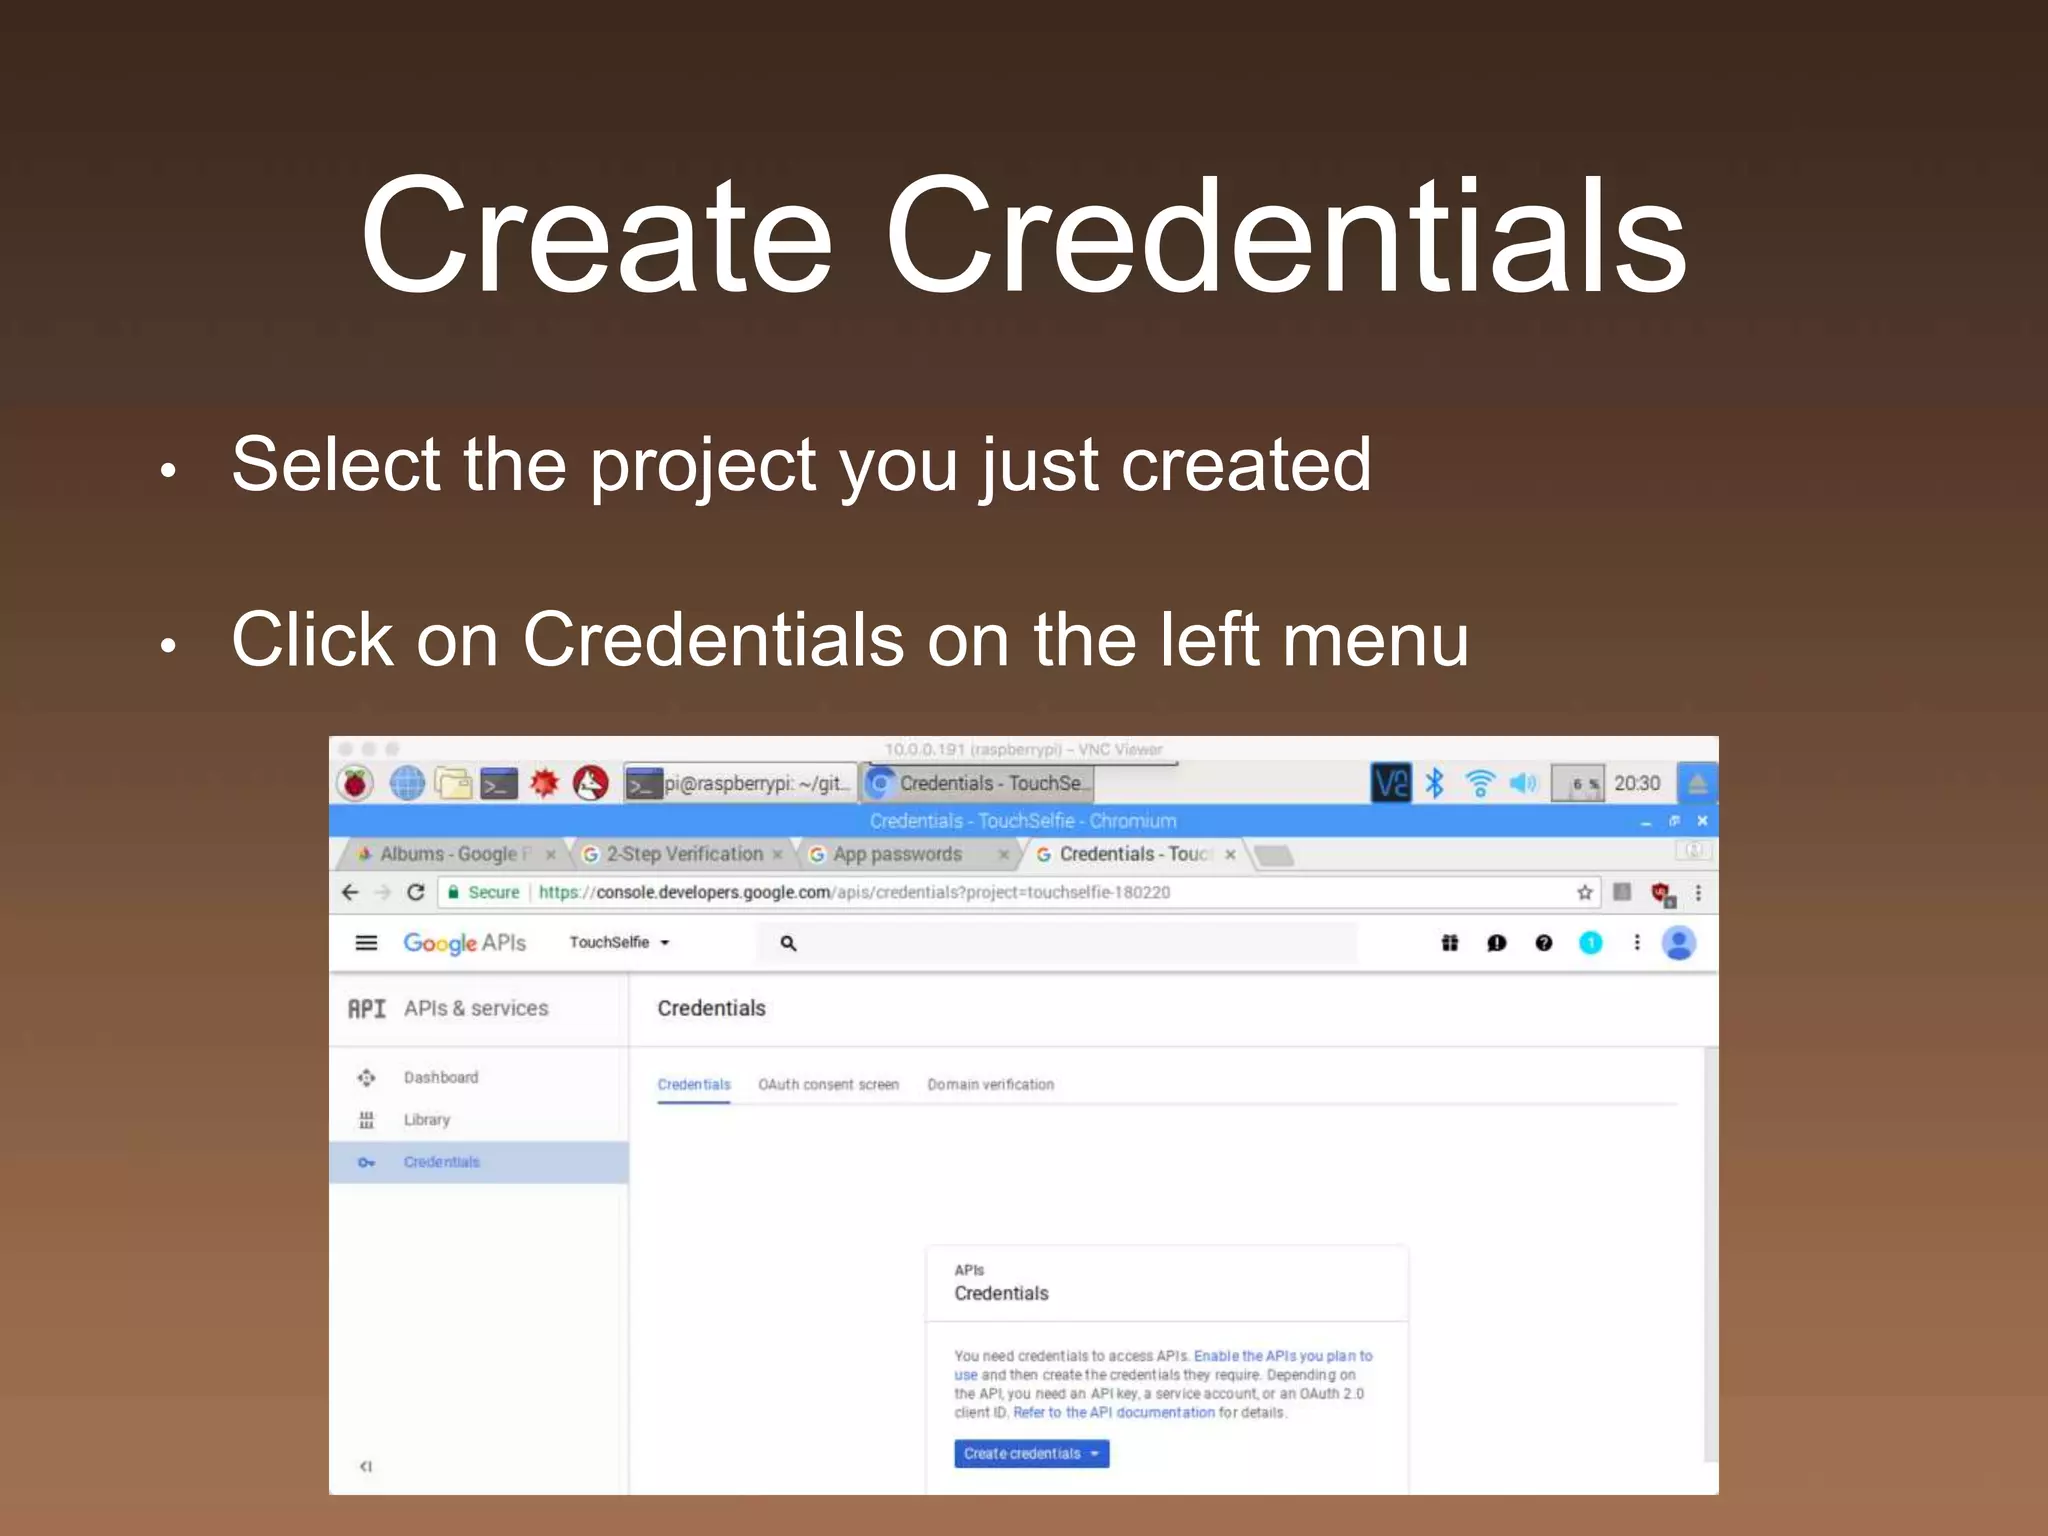
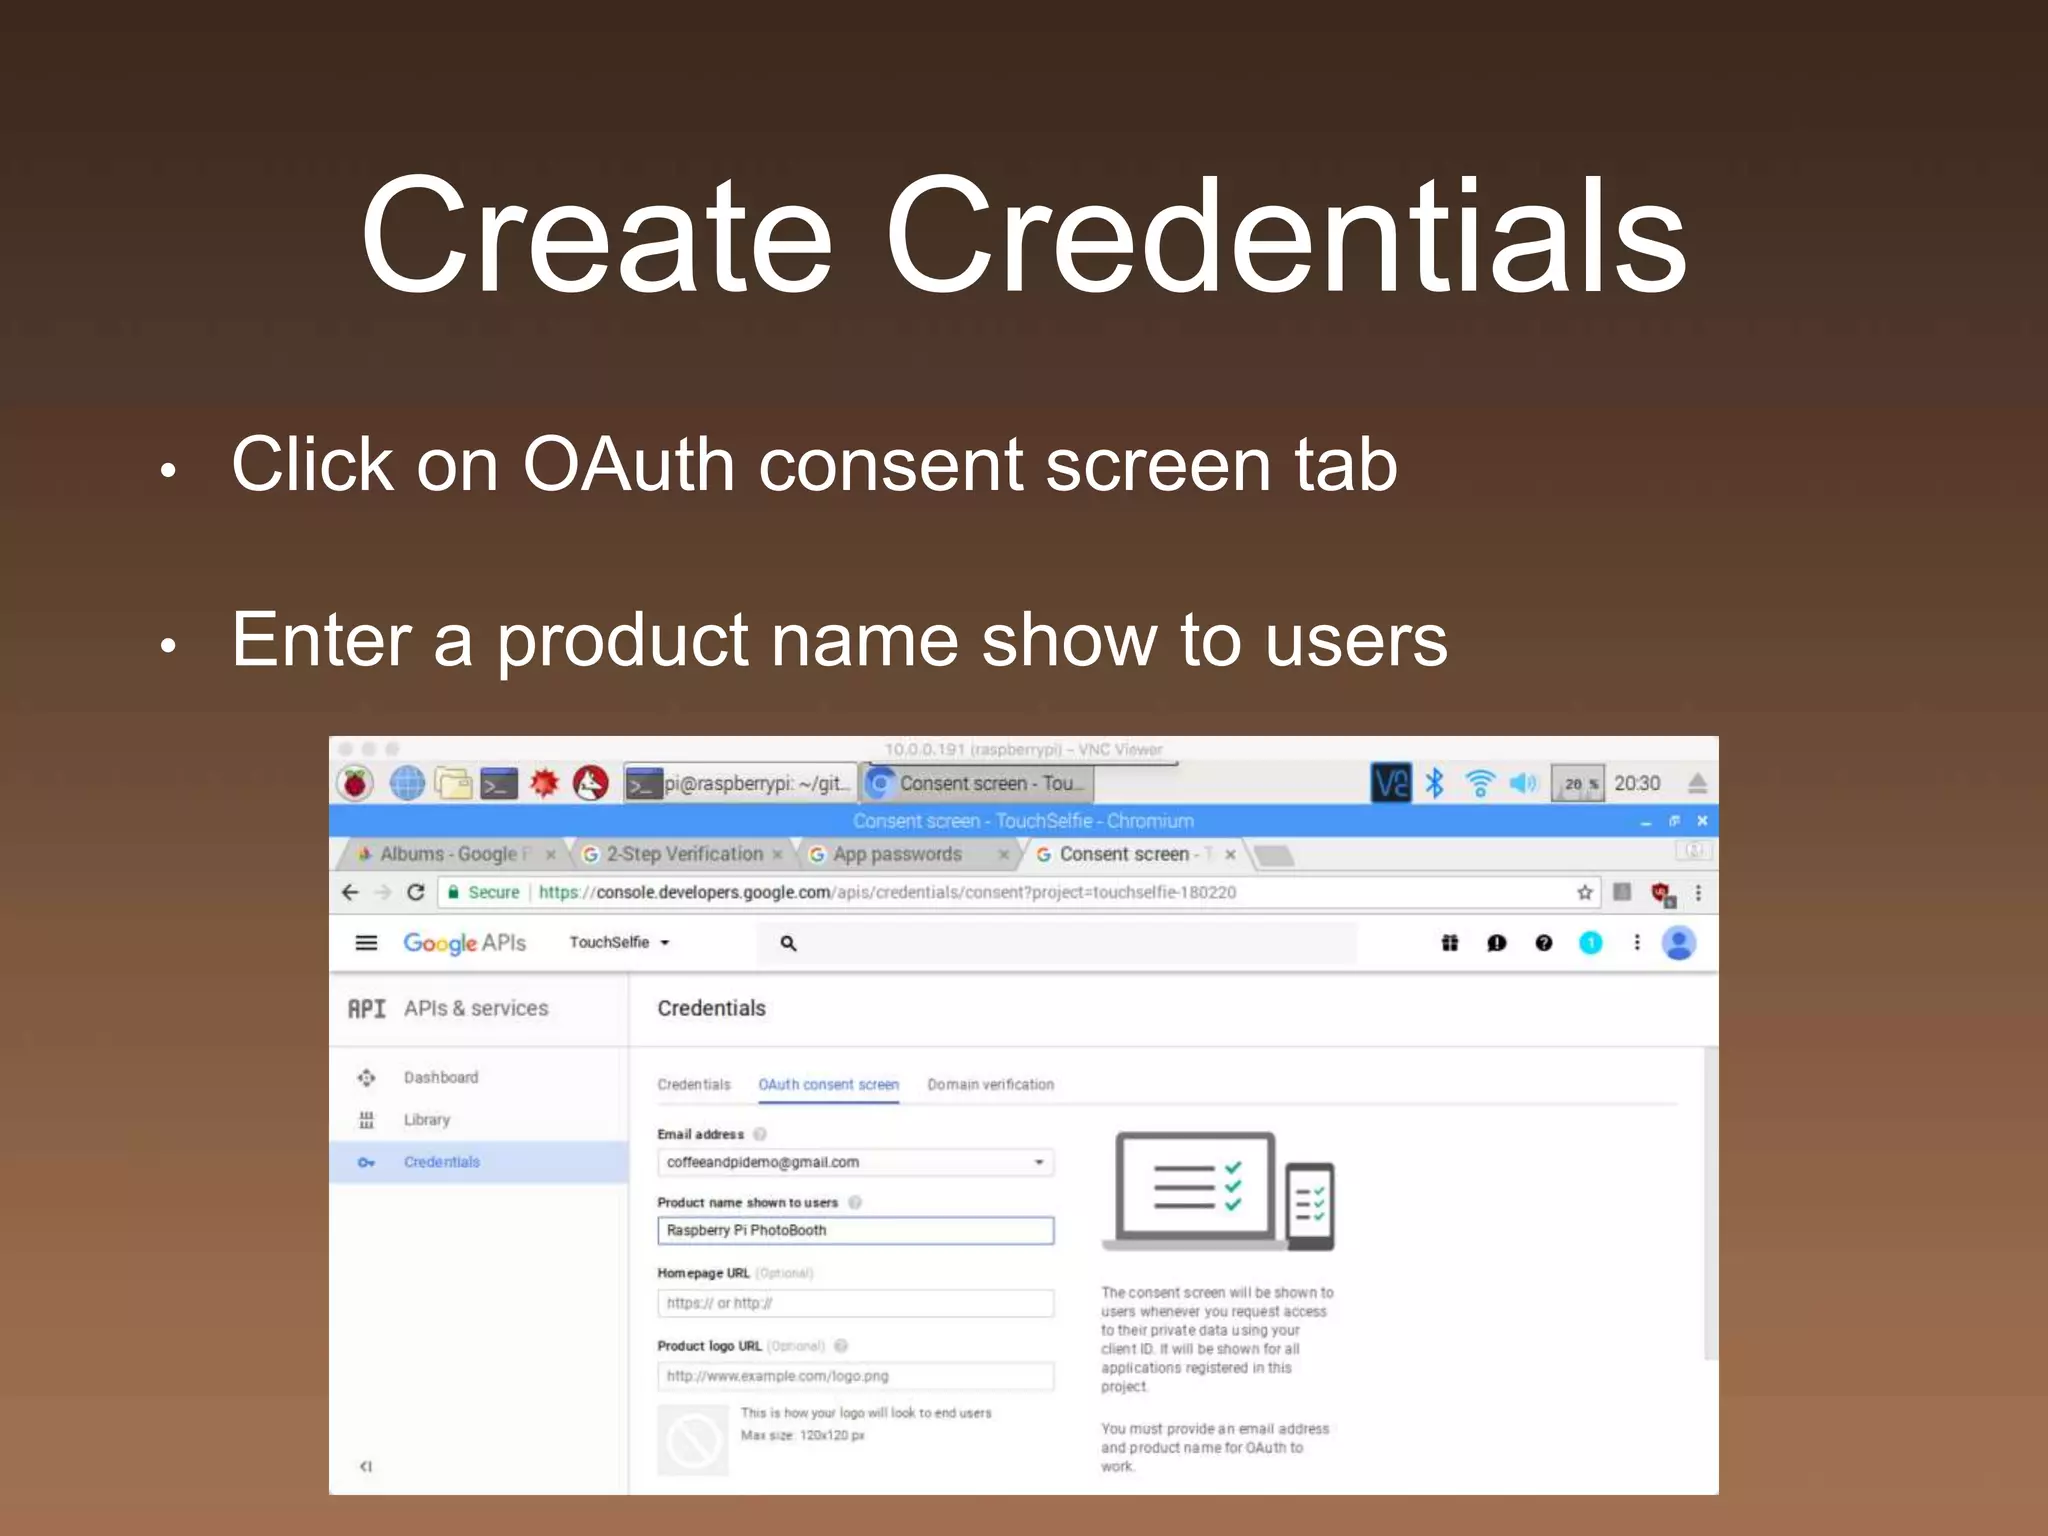
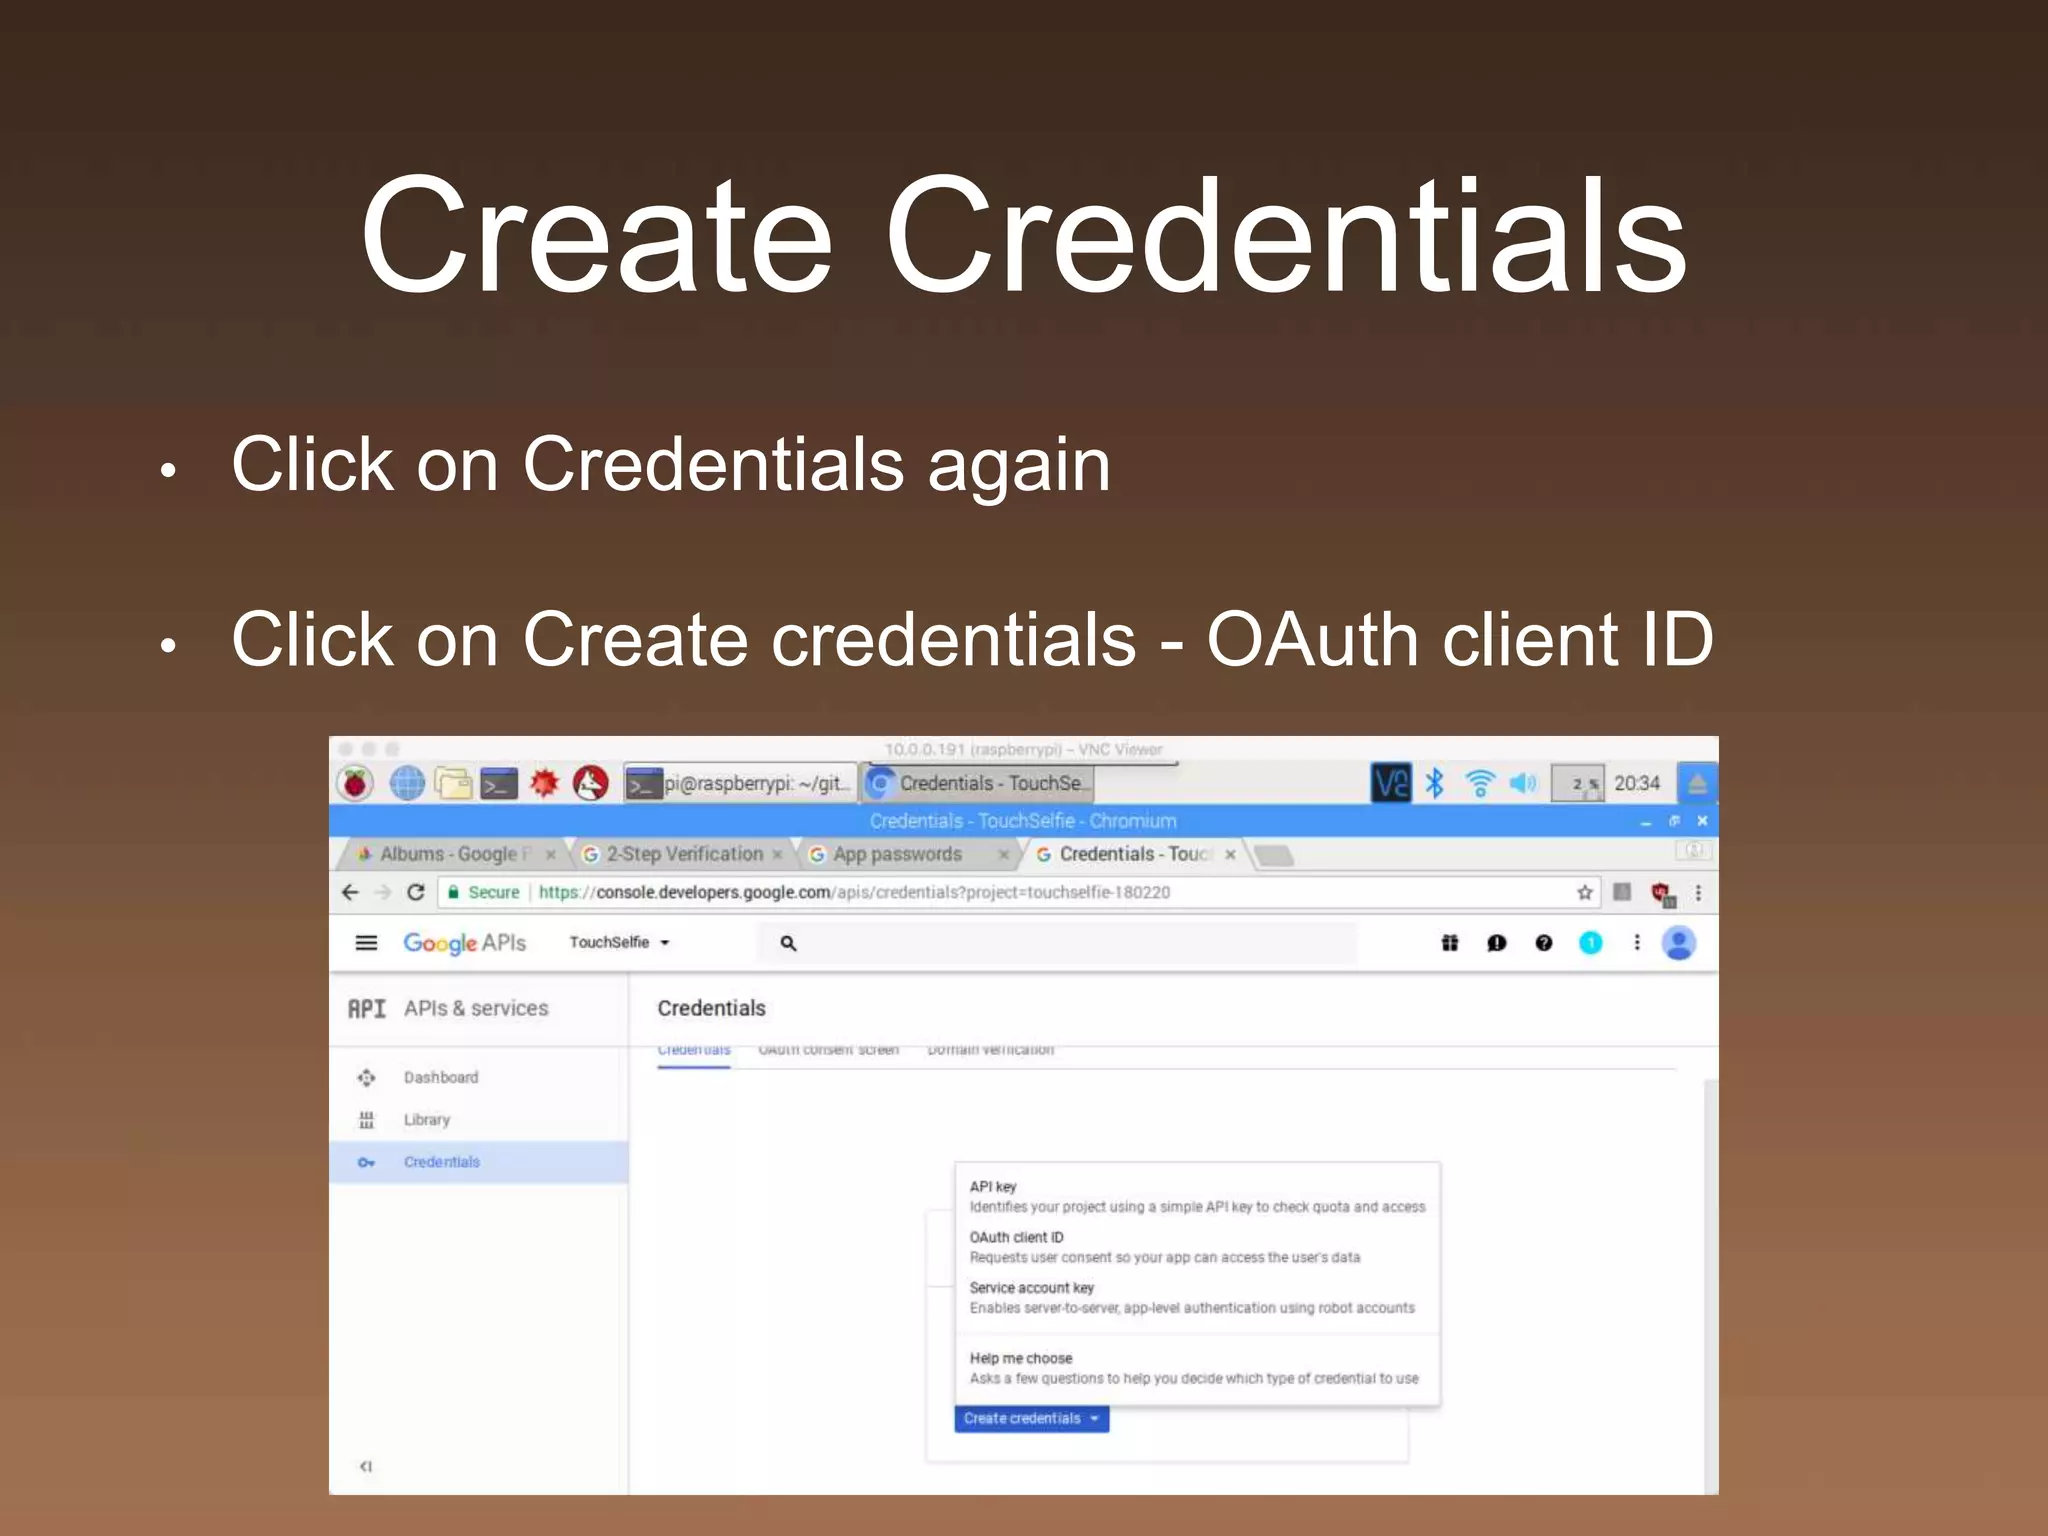
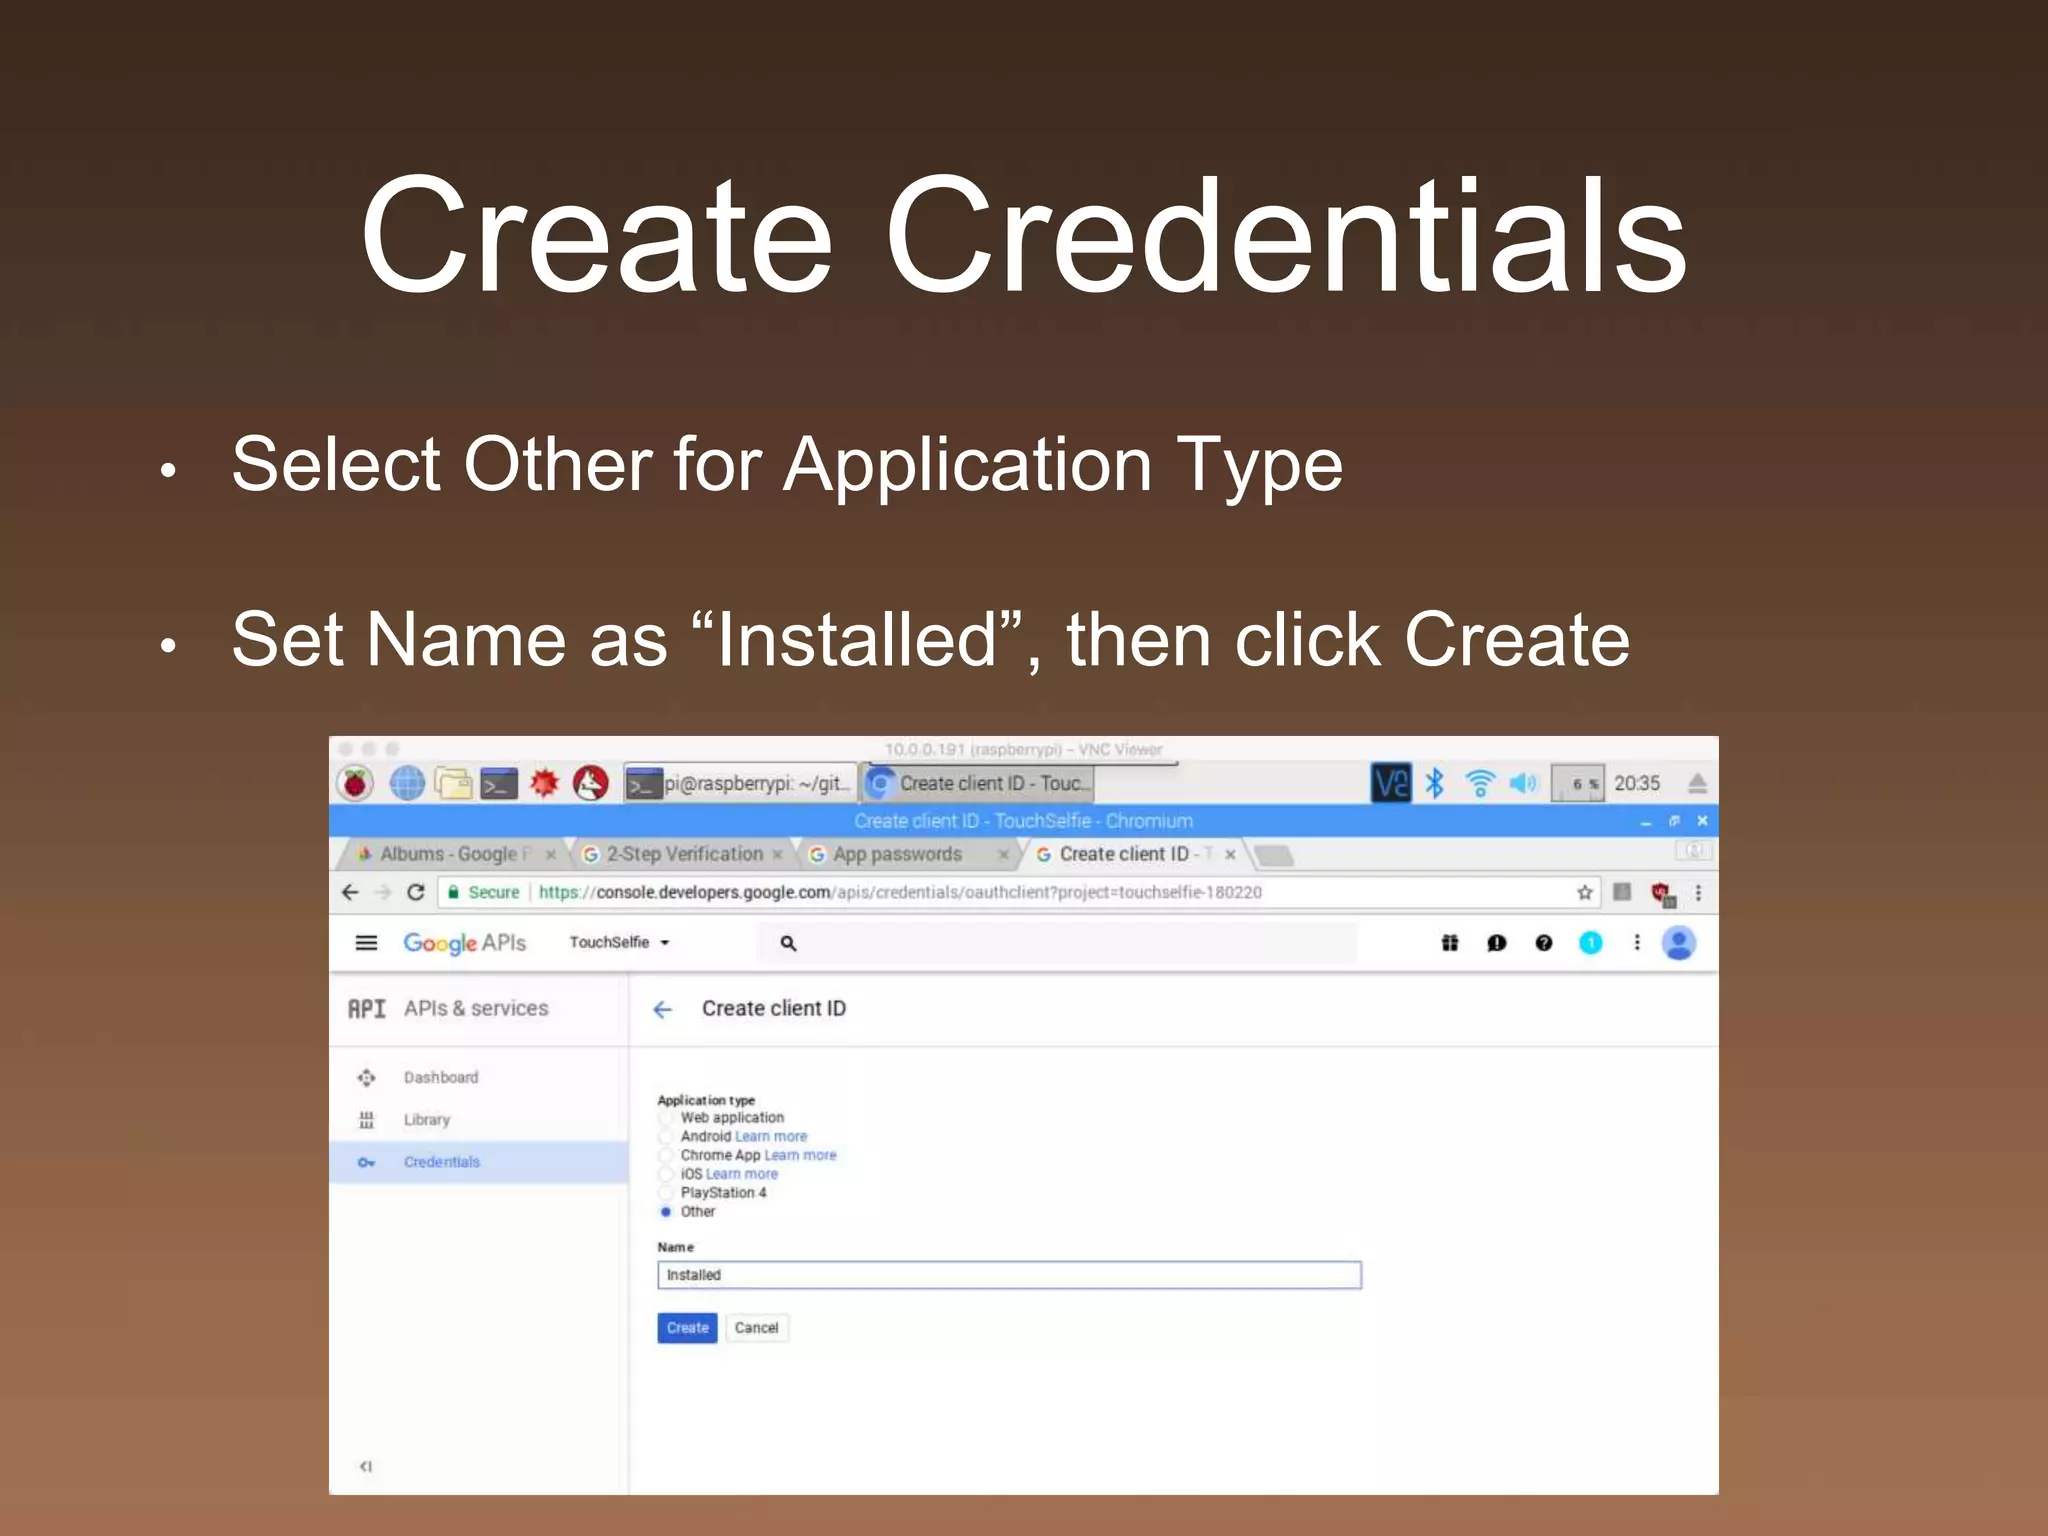

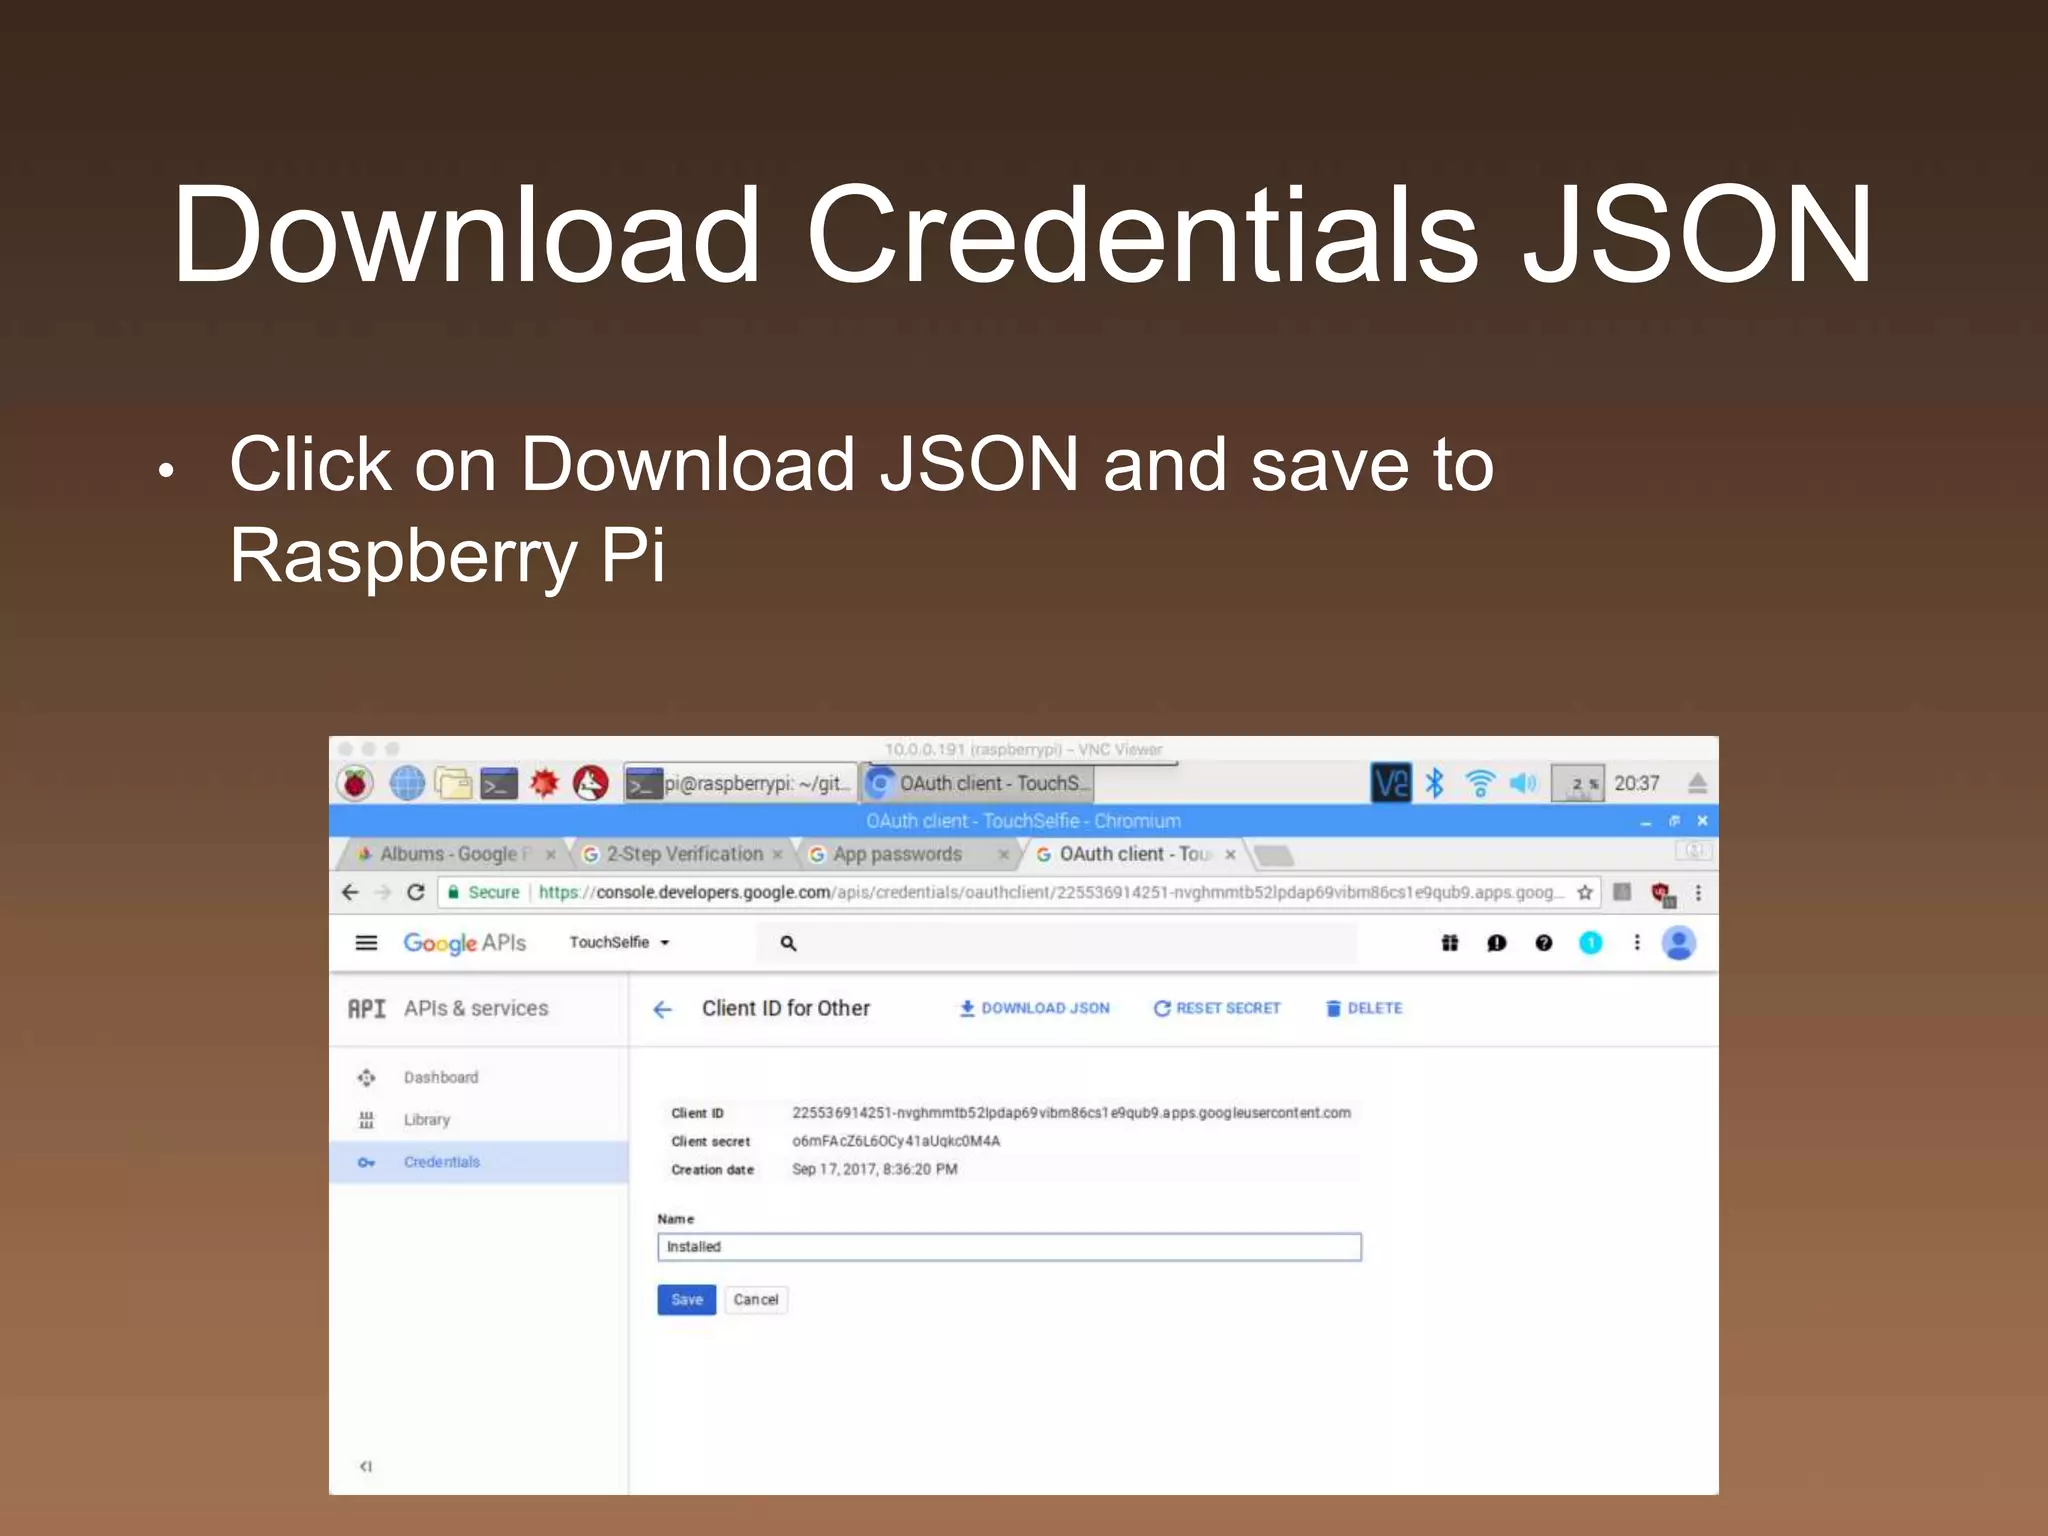


The Coffee & Pi meetup is a beginner-friendly gathering focused on Raspberry Pi and related technology, encouraging open discussion and collaboration among participants. Upcoming events include sessions on RetroPie, a major Raspberry Pi anniversary, and initiatives to connect various tech-focused communities in Philadelphia. The document also provides detailed instructions for installing Raspbian, setting up a Raspberry Pi photo booth, and necessary coding practices.


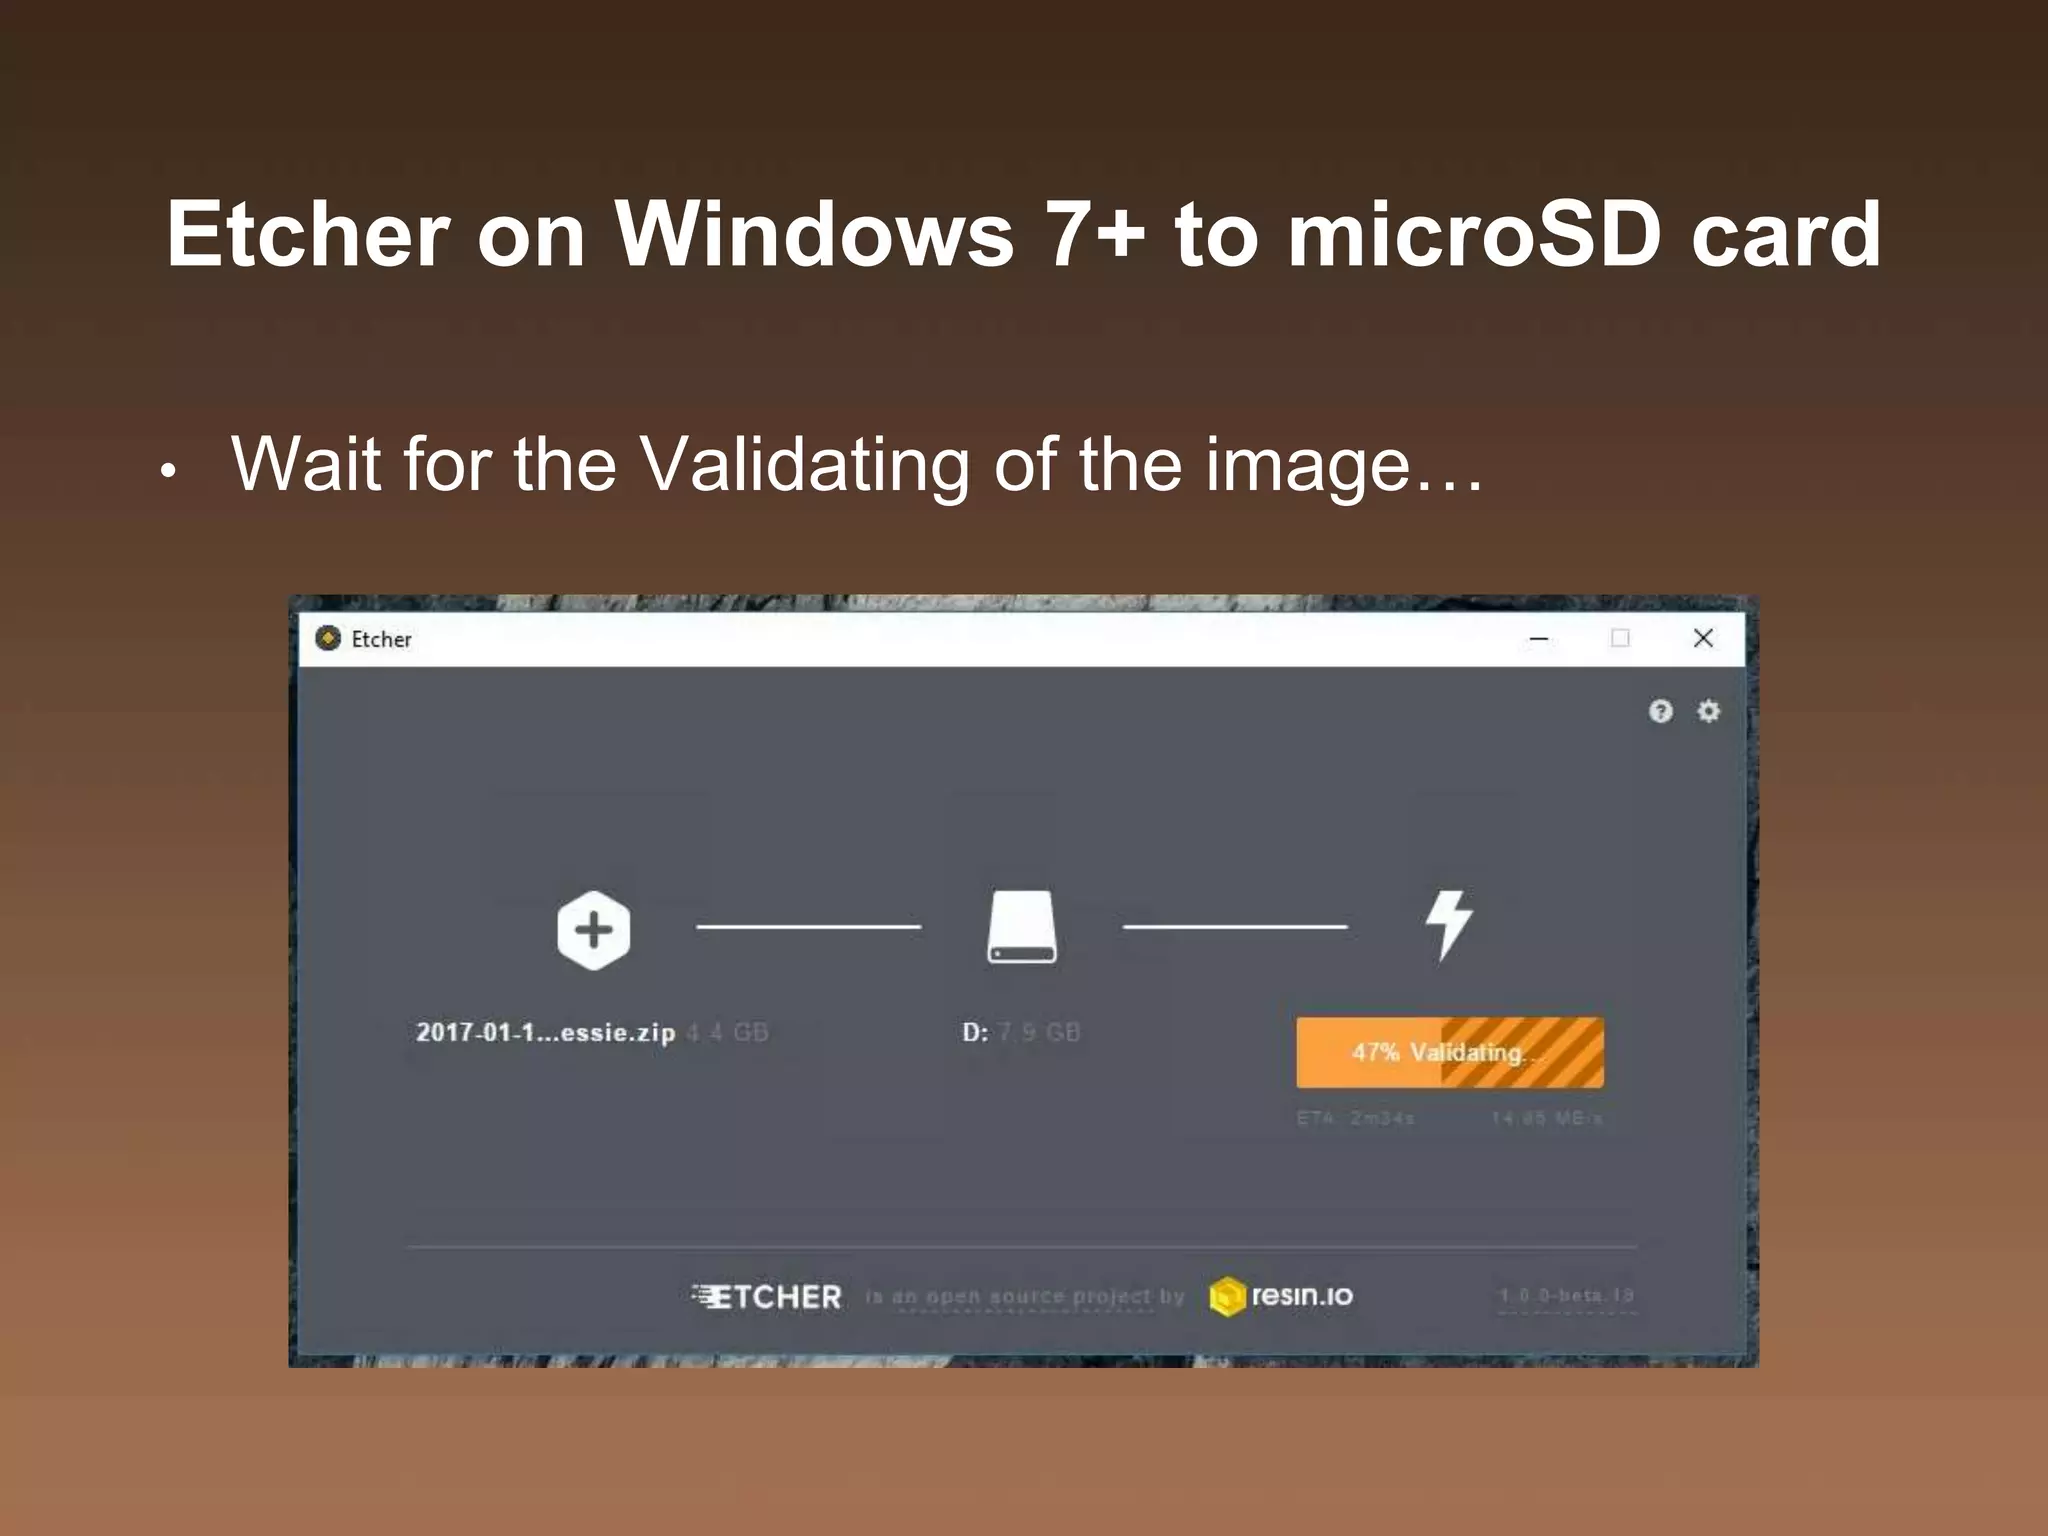
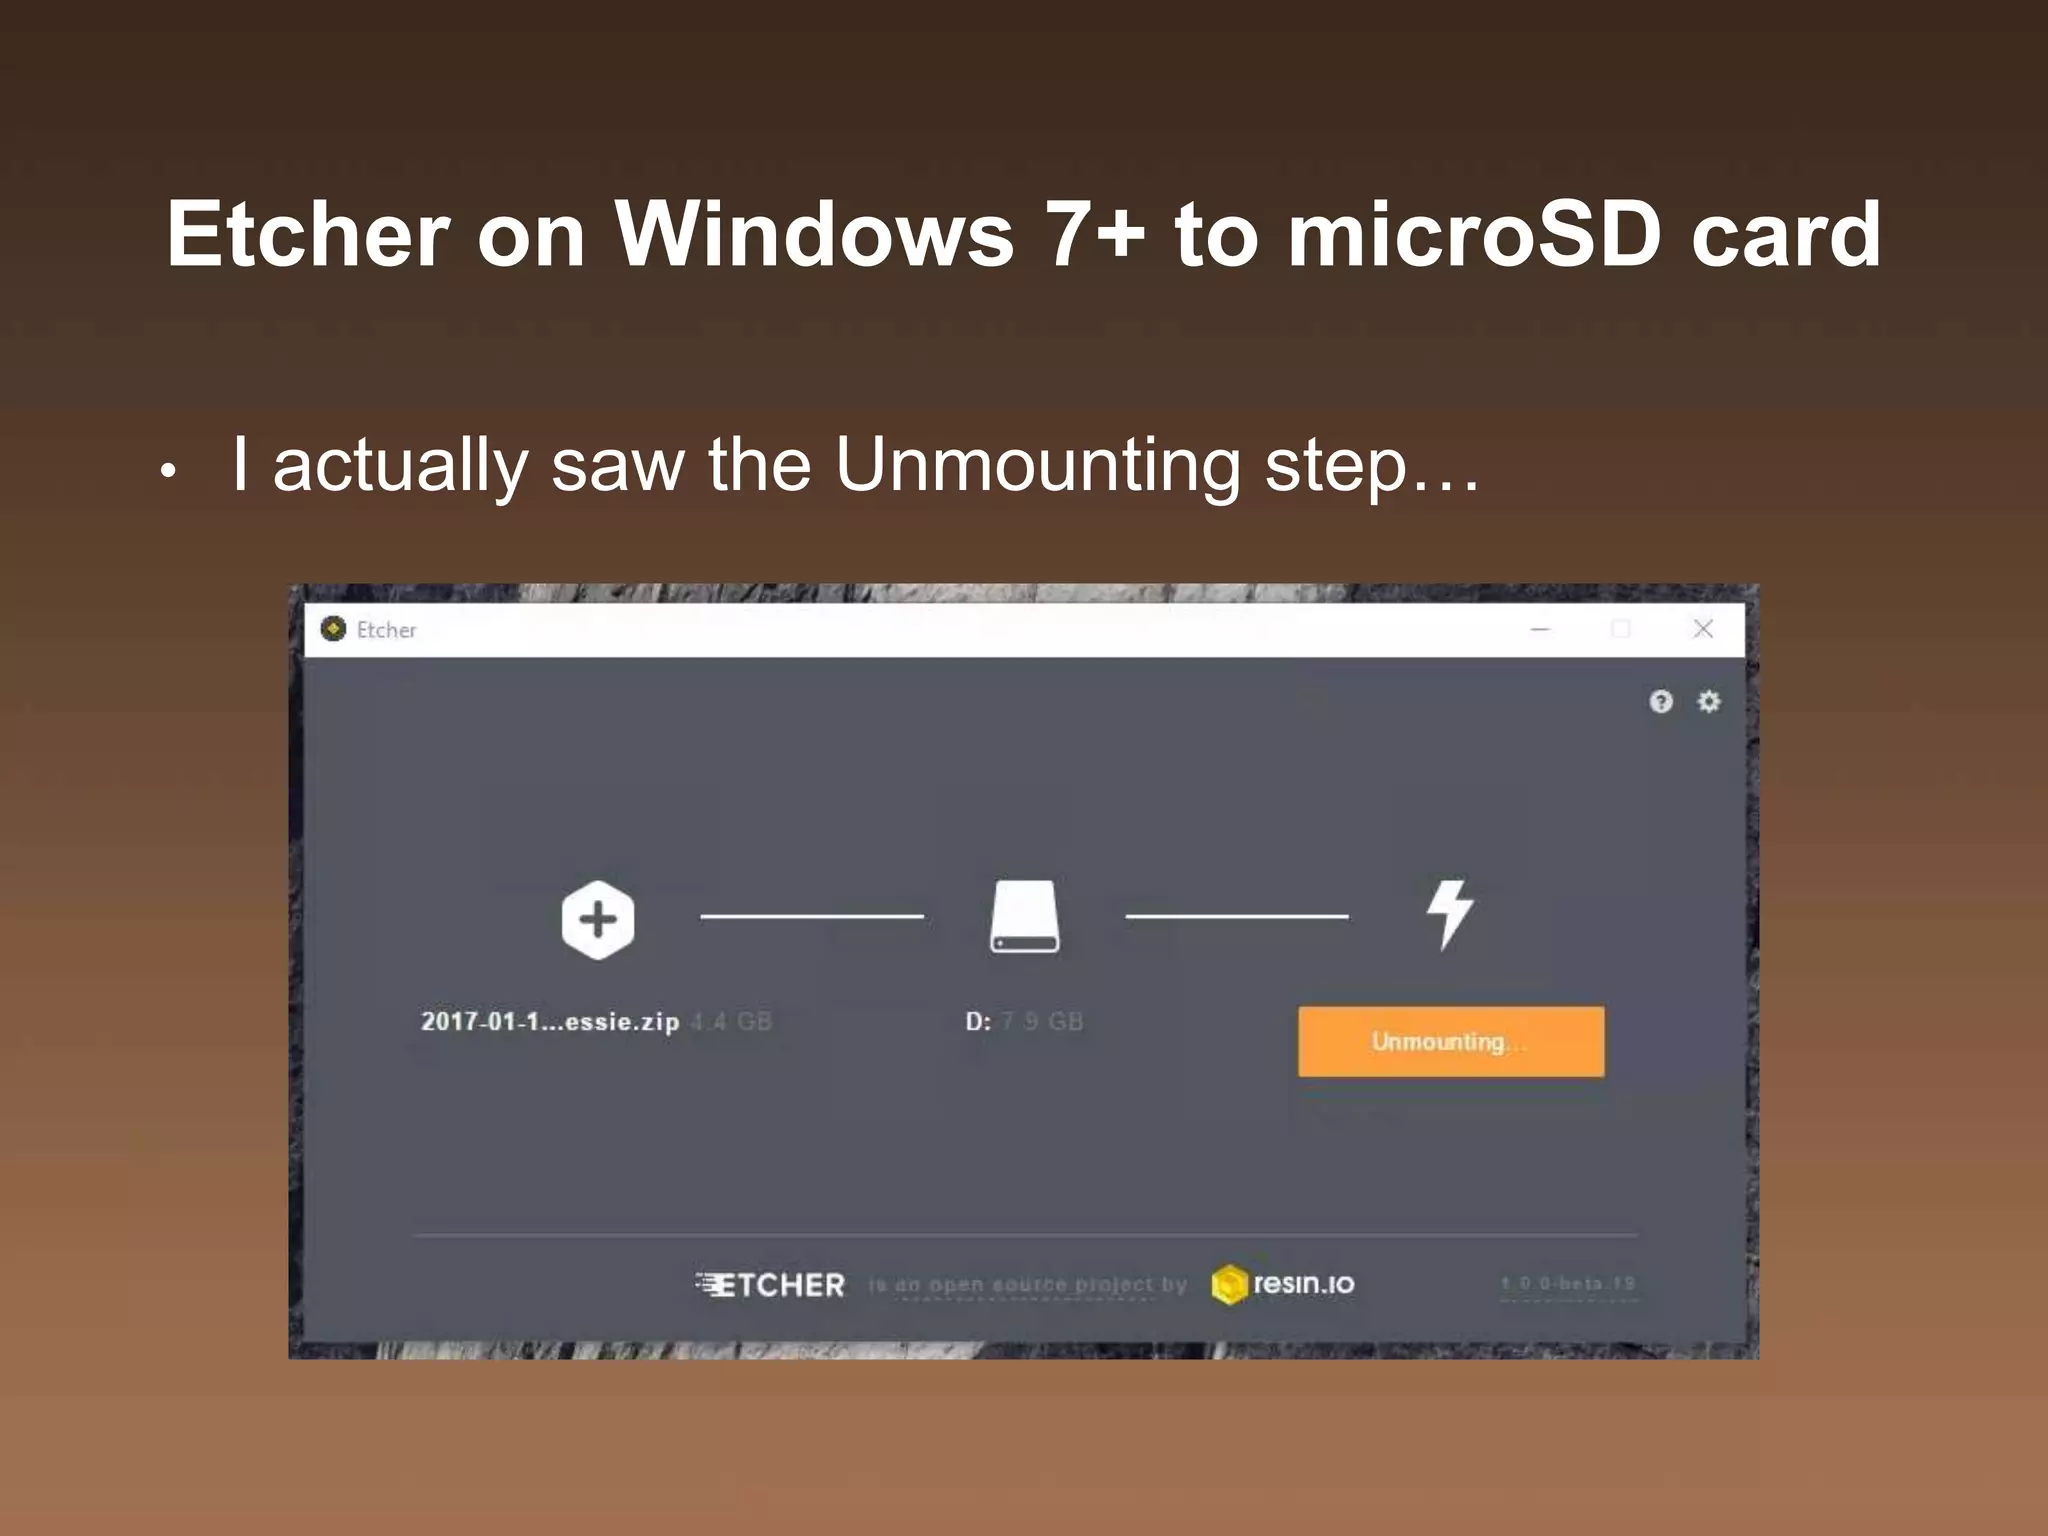
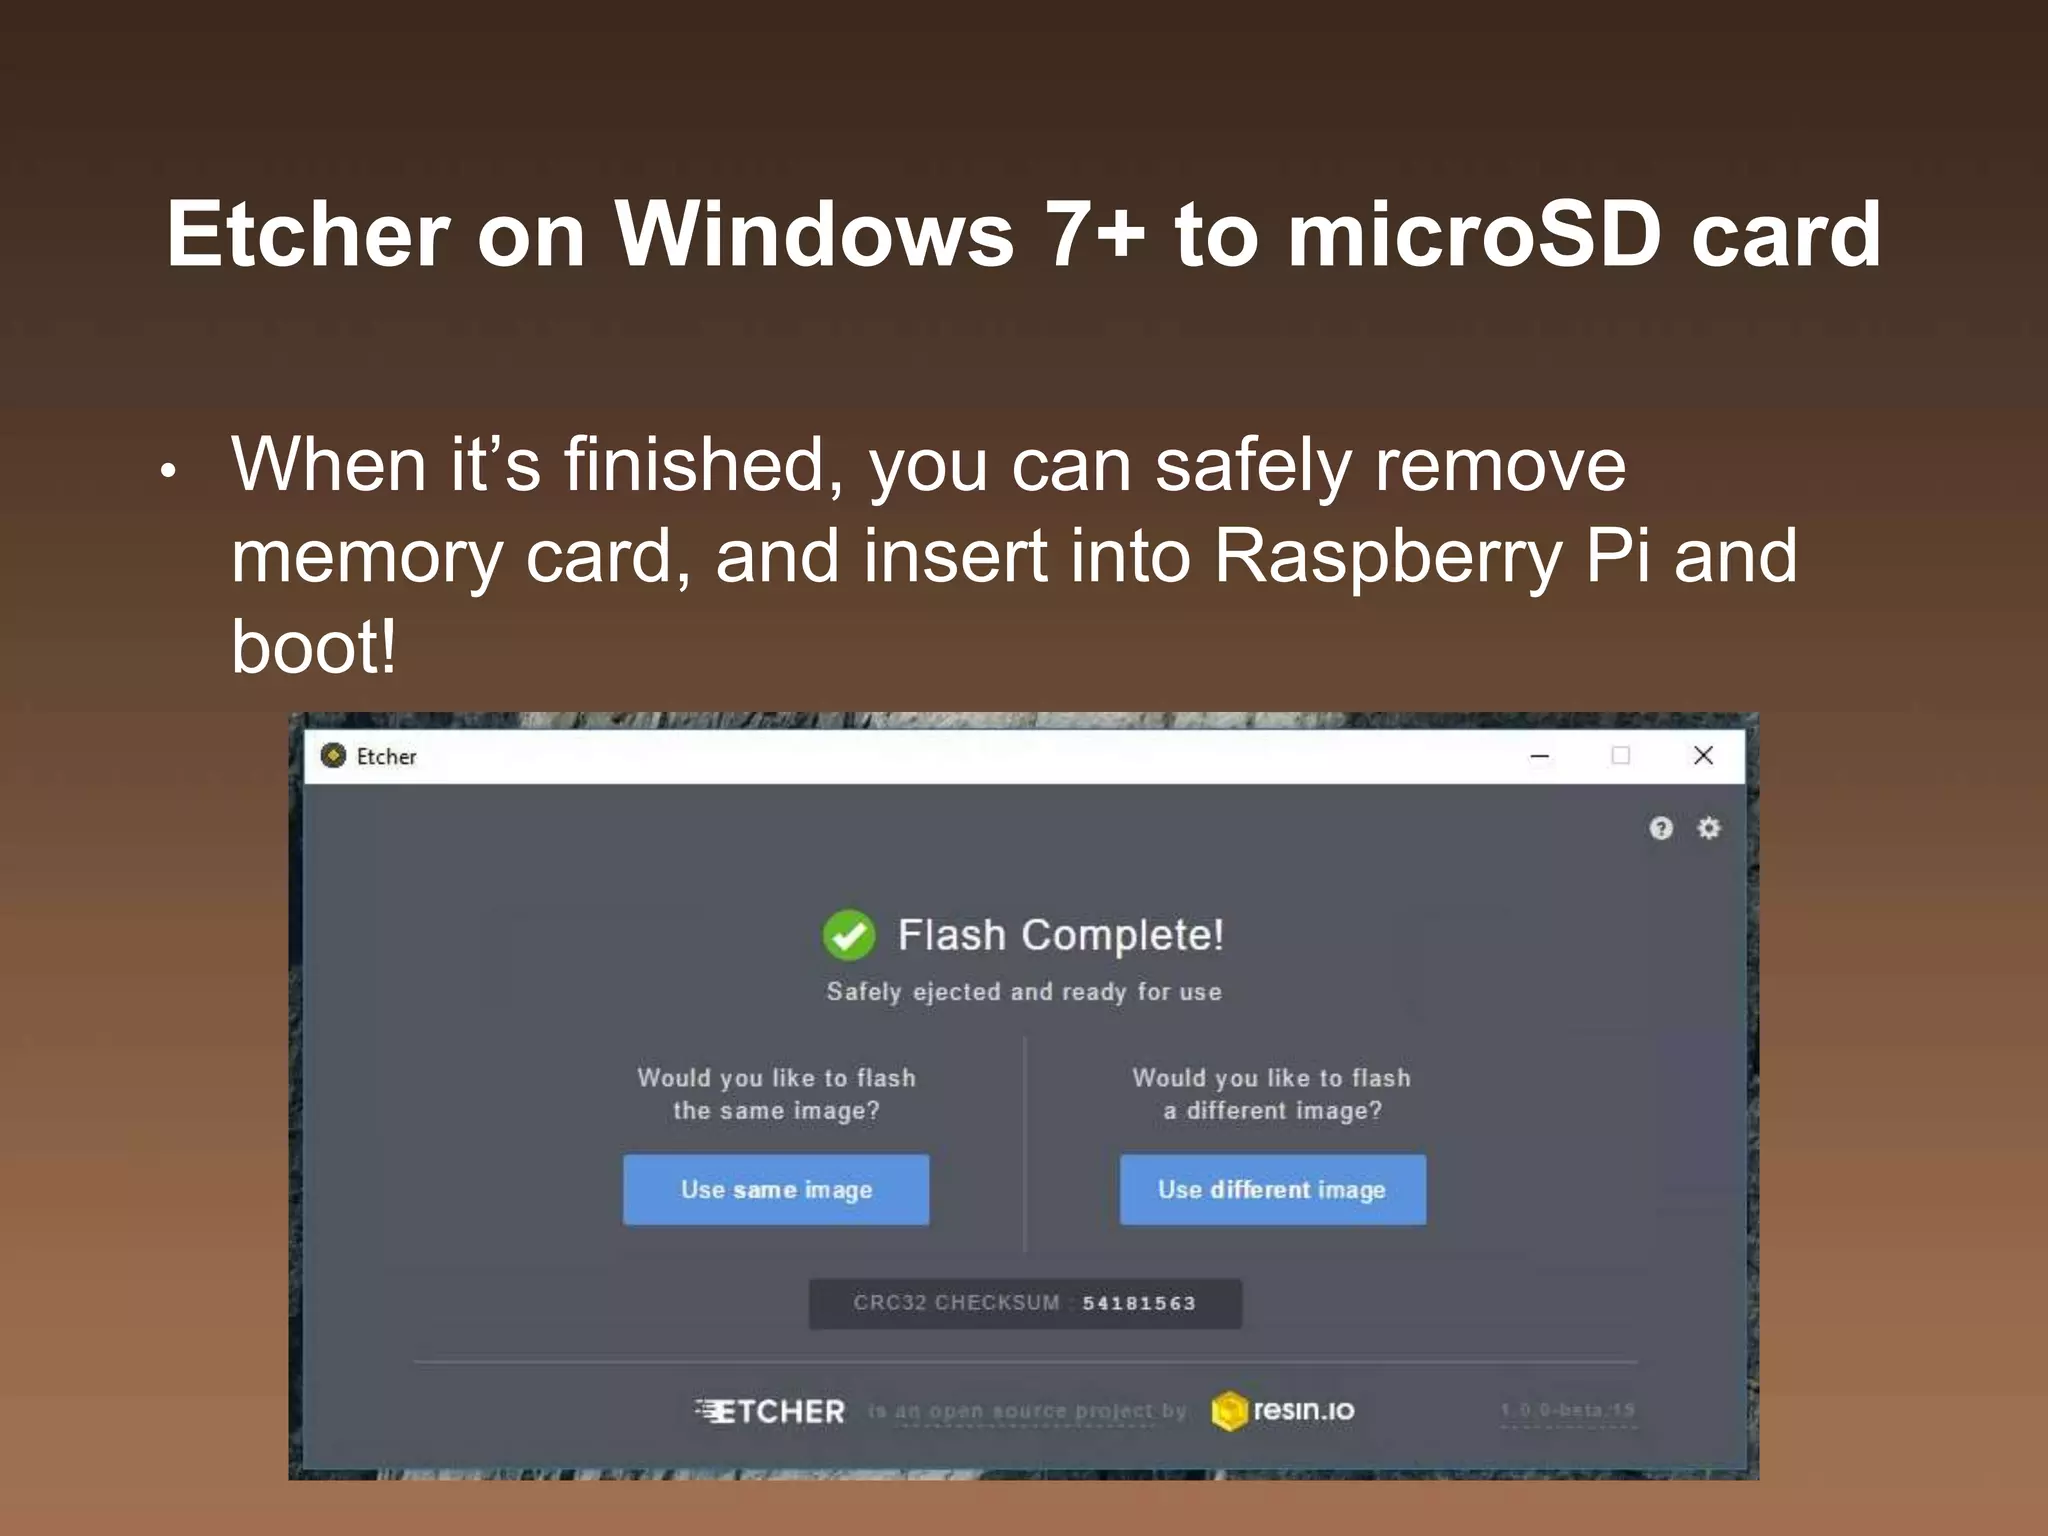
![UiPath Automation Suite Installation (Hands-On) [2/3]](https://cdn.slidesharecdn.com/ss_thumbnails/automationsuitecommunitysession2-251015095633-a6d862f1-thumbnail.jpg?width=600ounds&width=560&fit=bounds)


