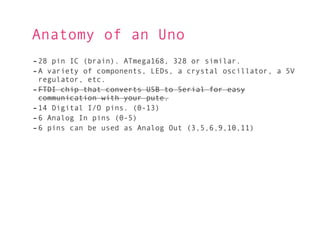
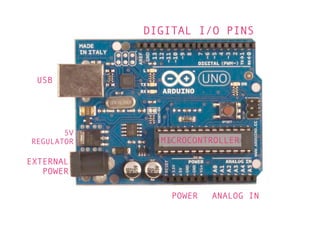
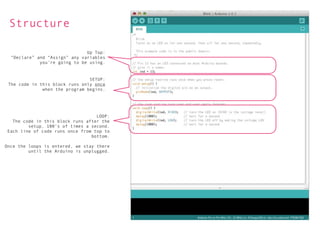
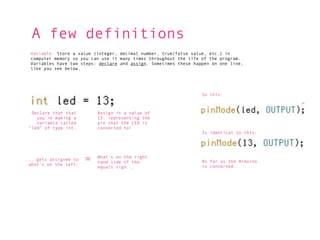
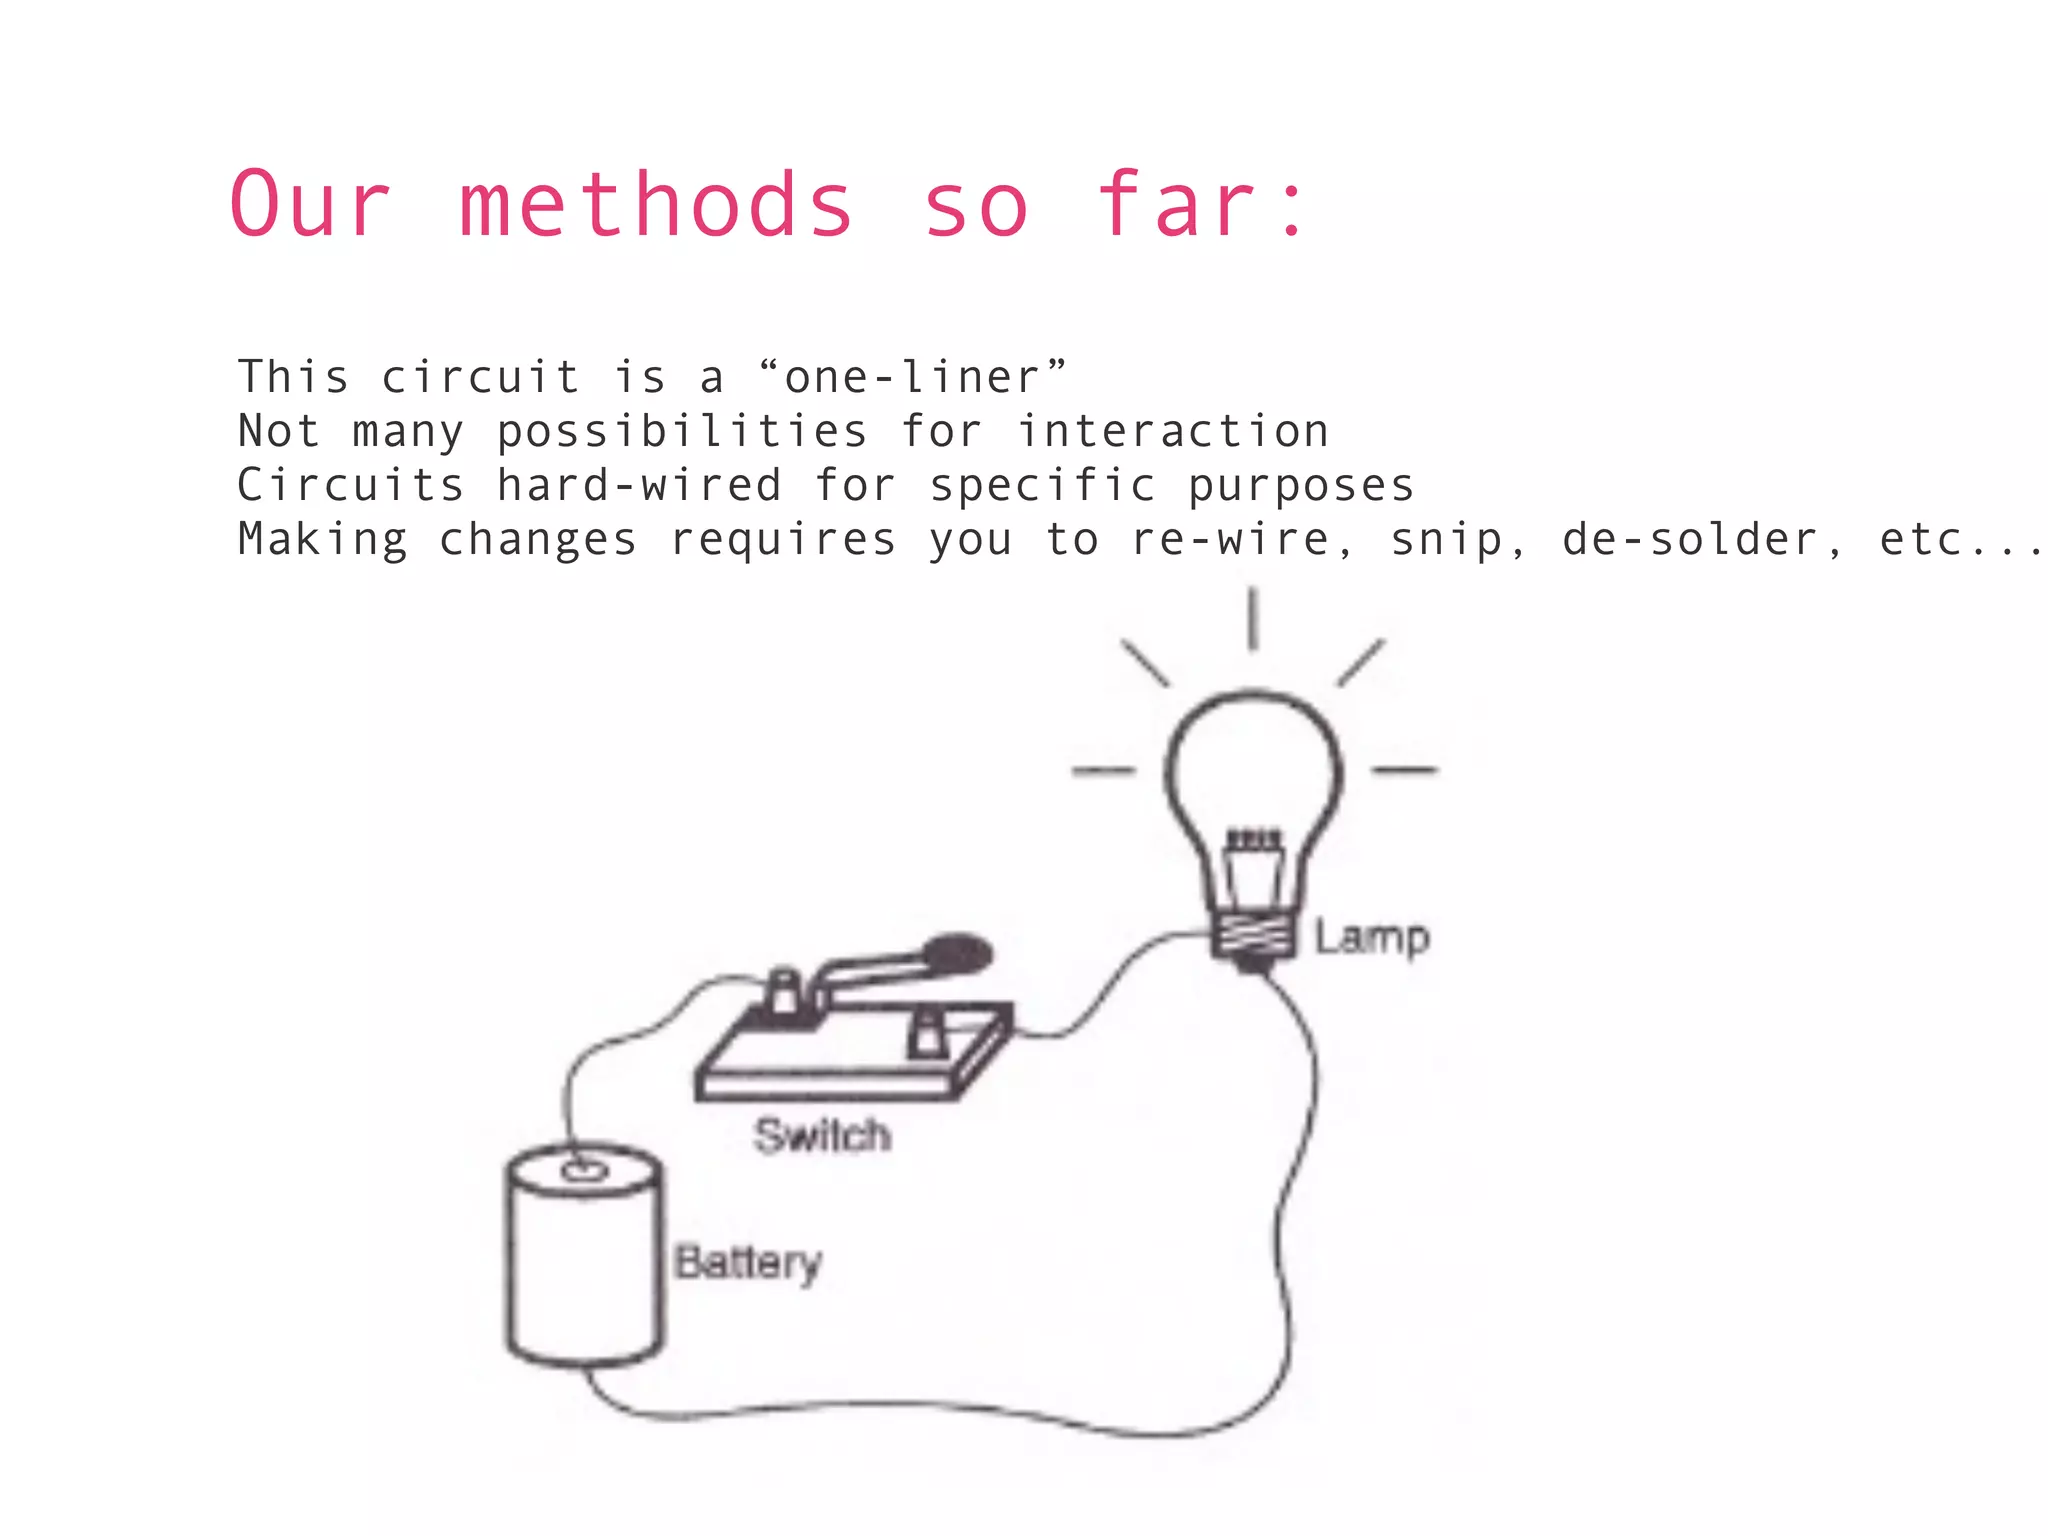
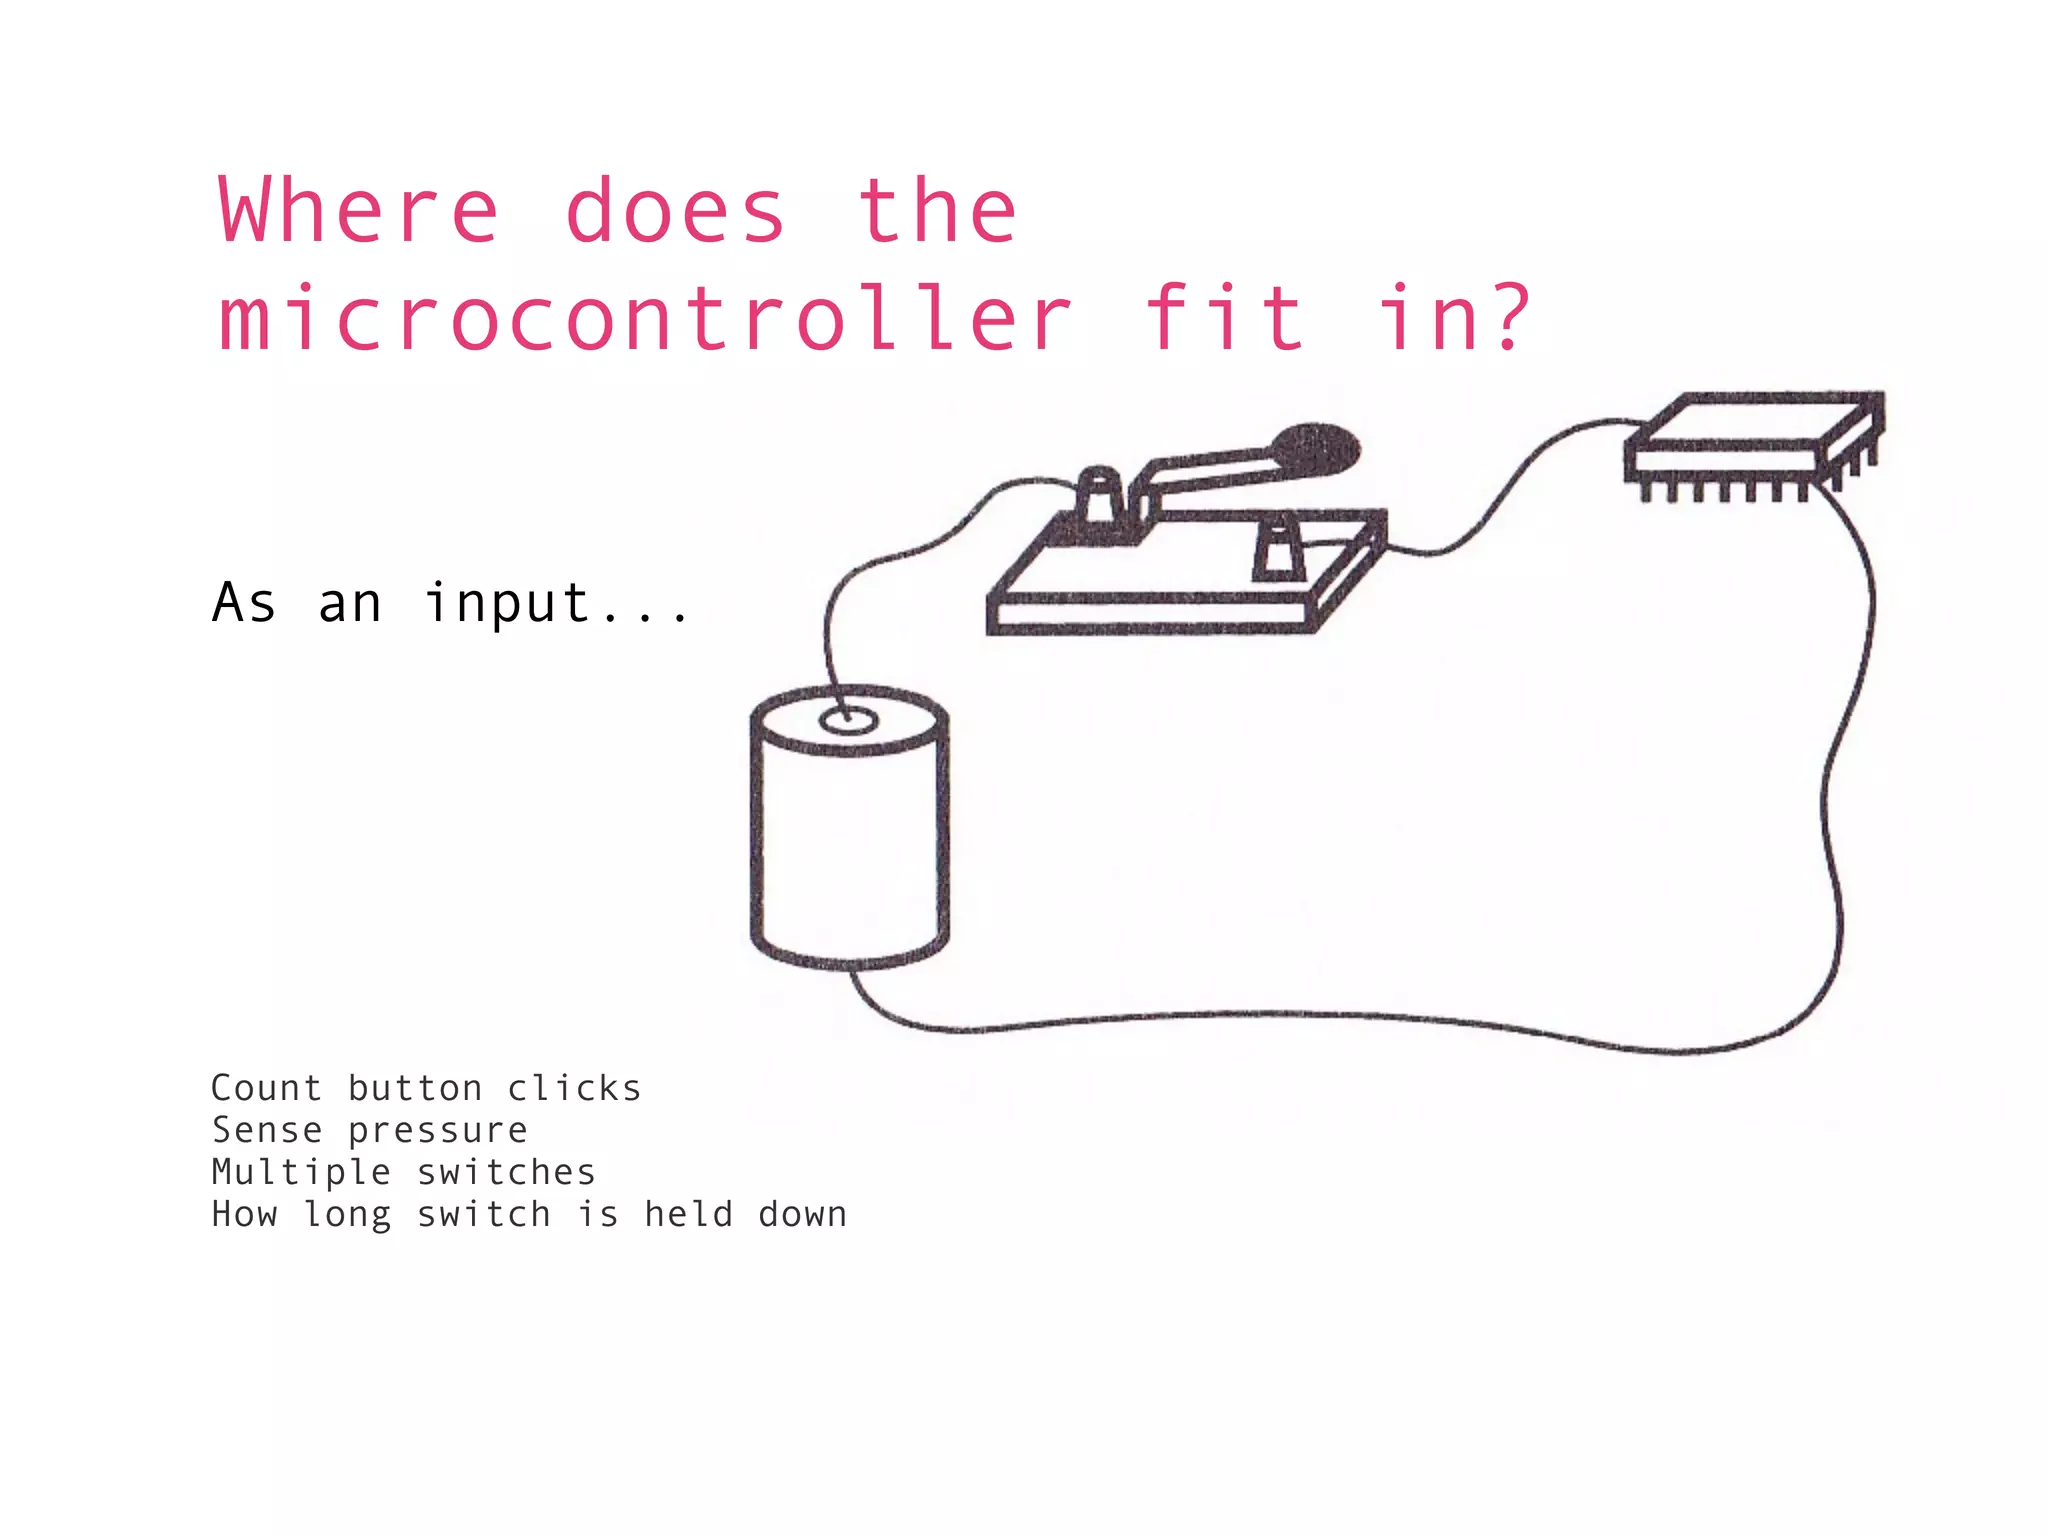
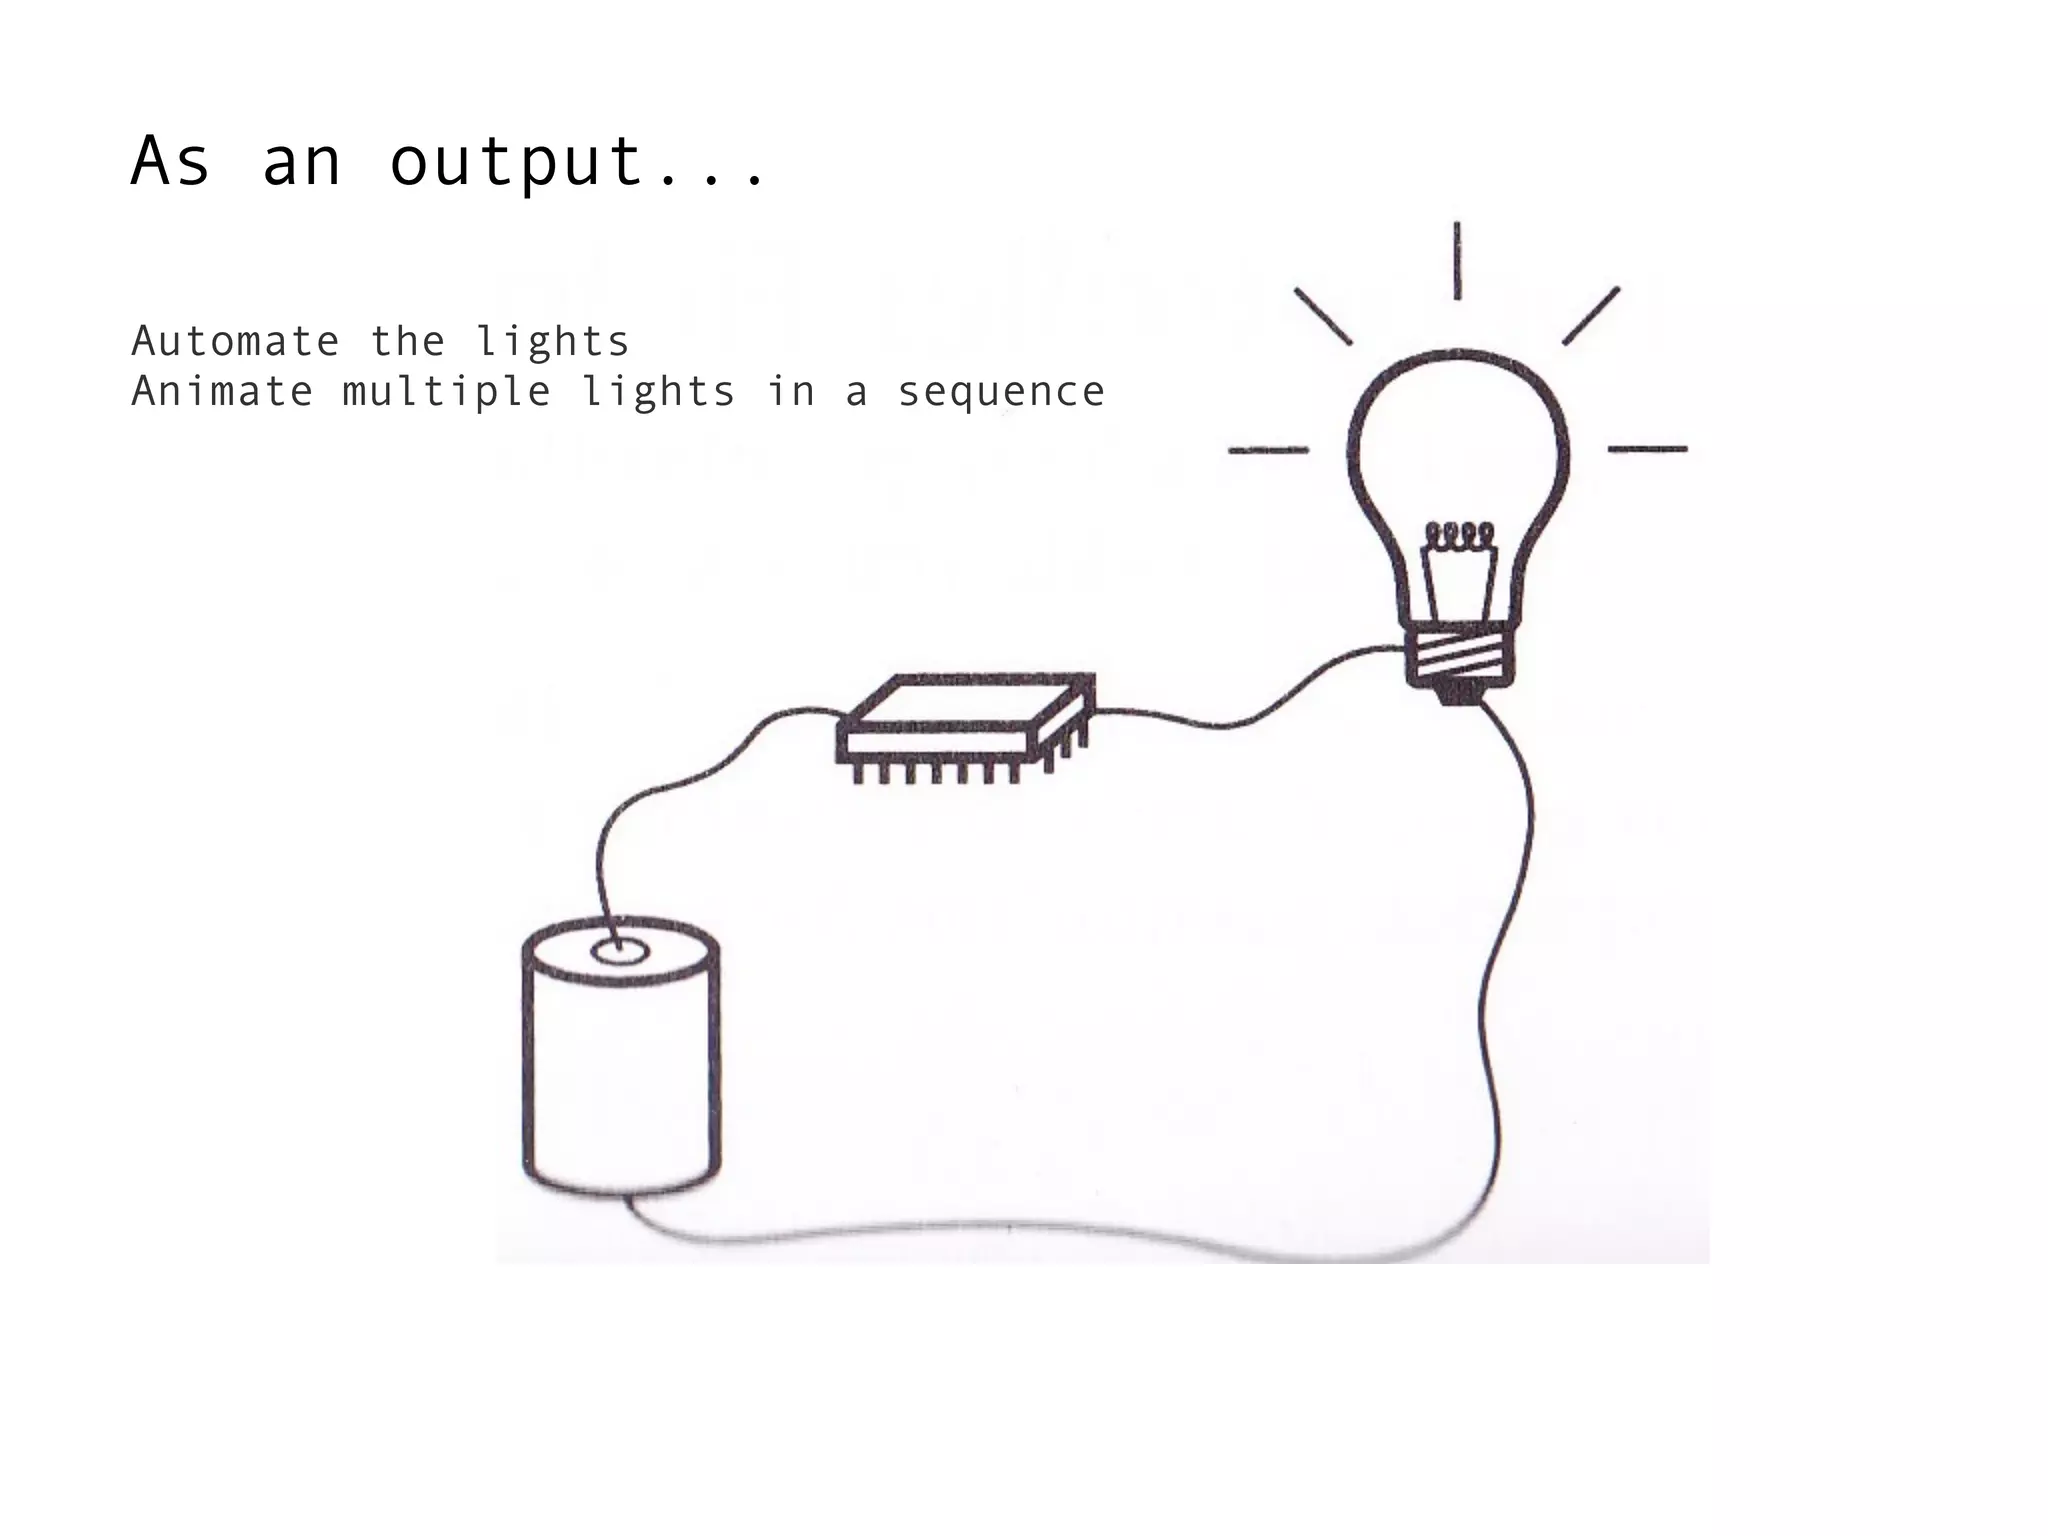
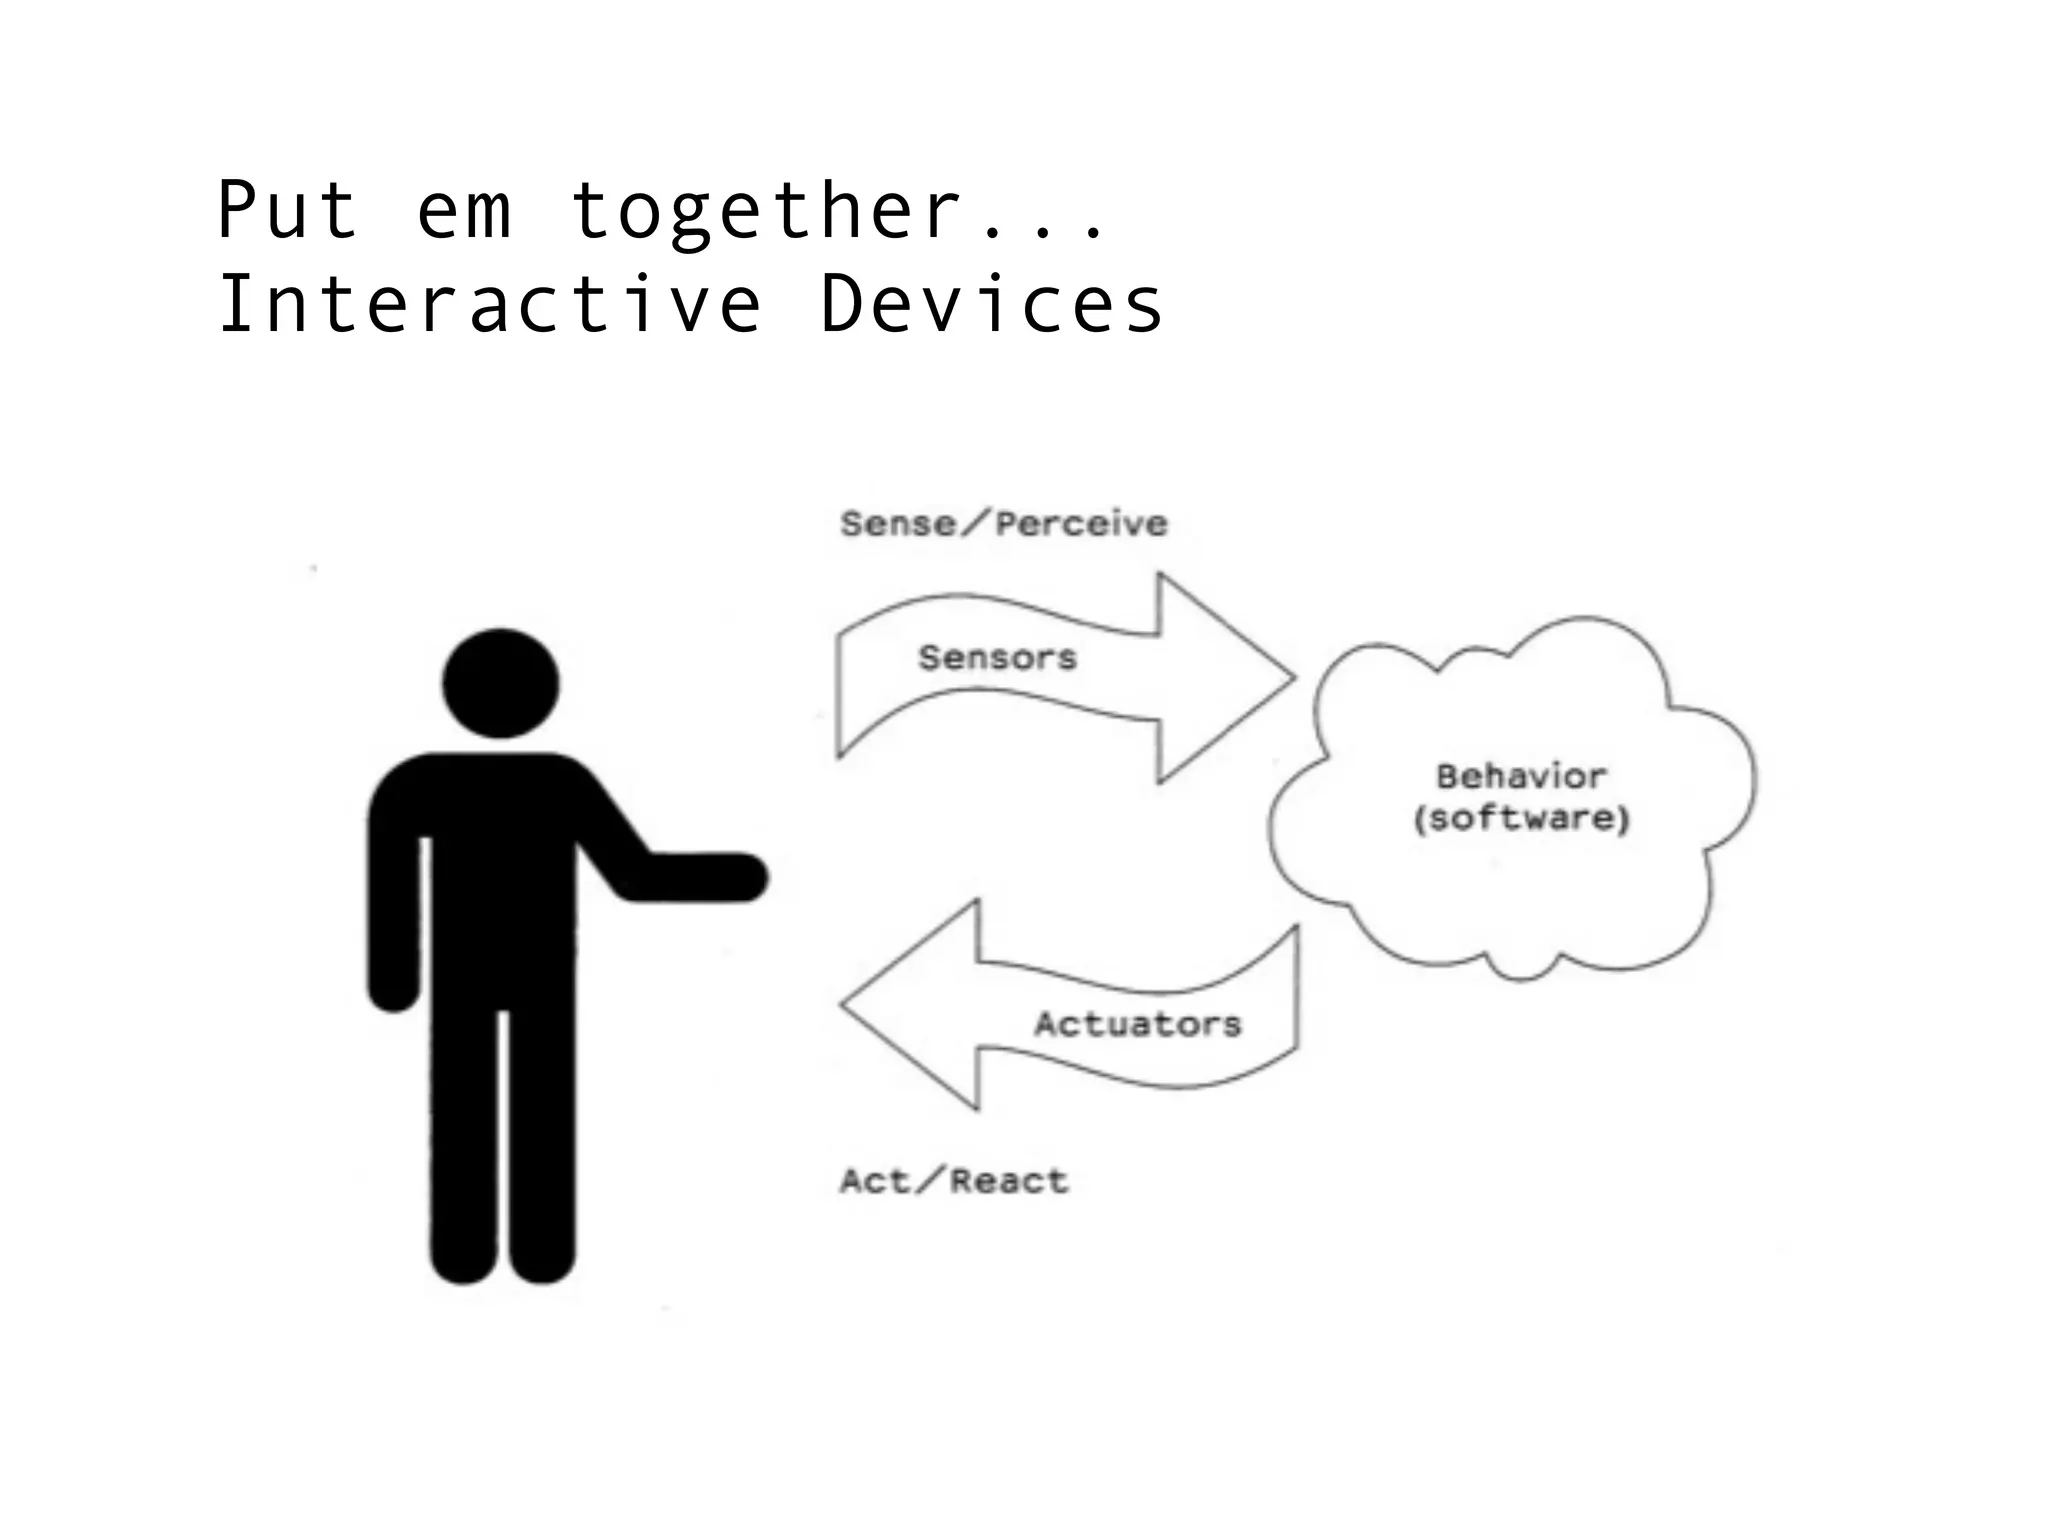
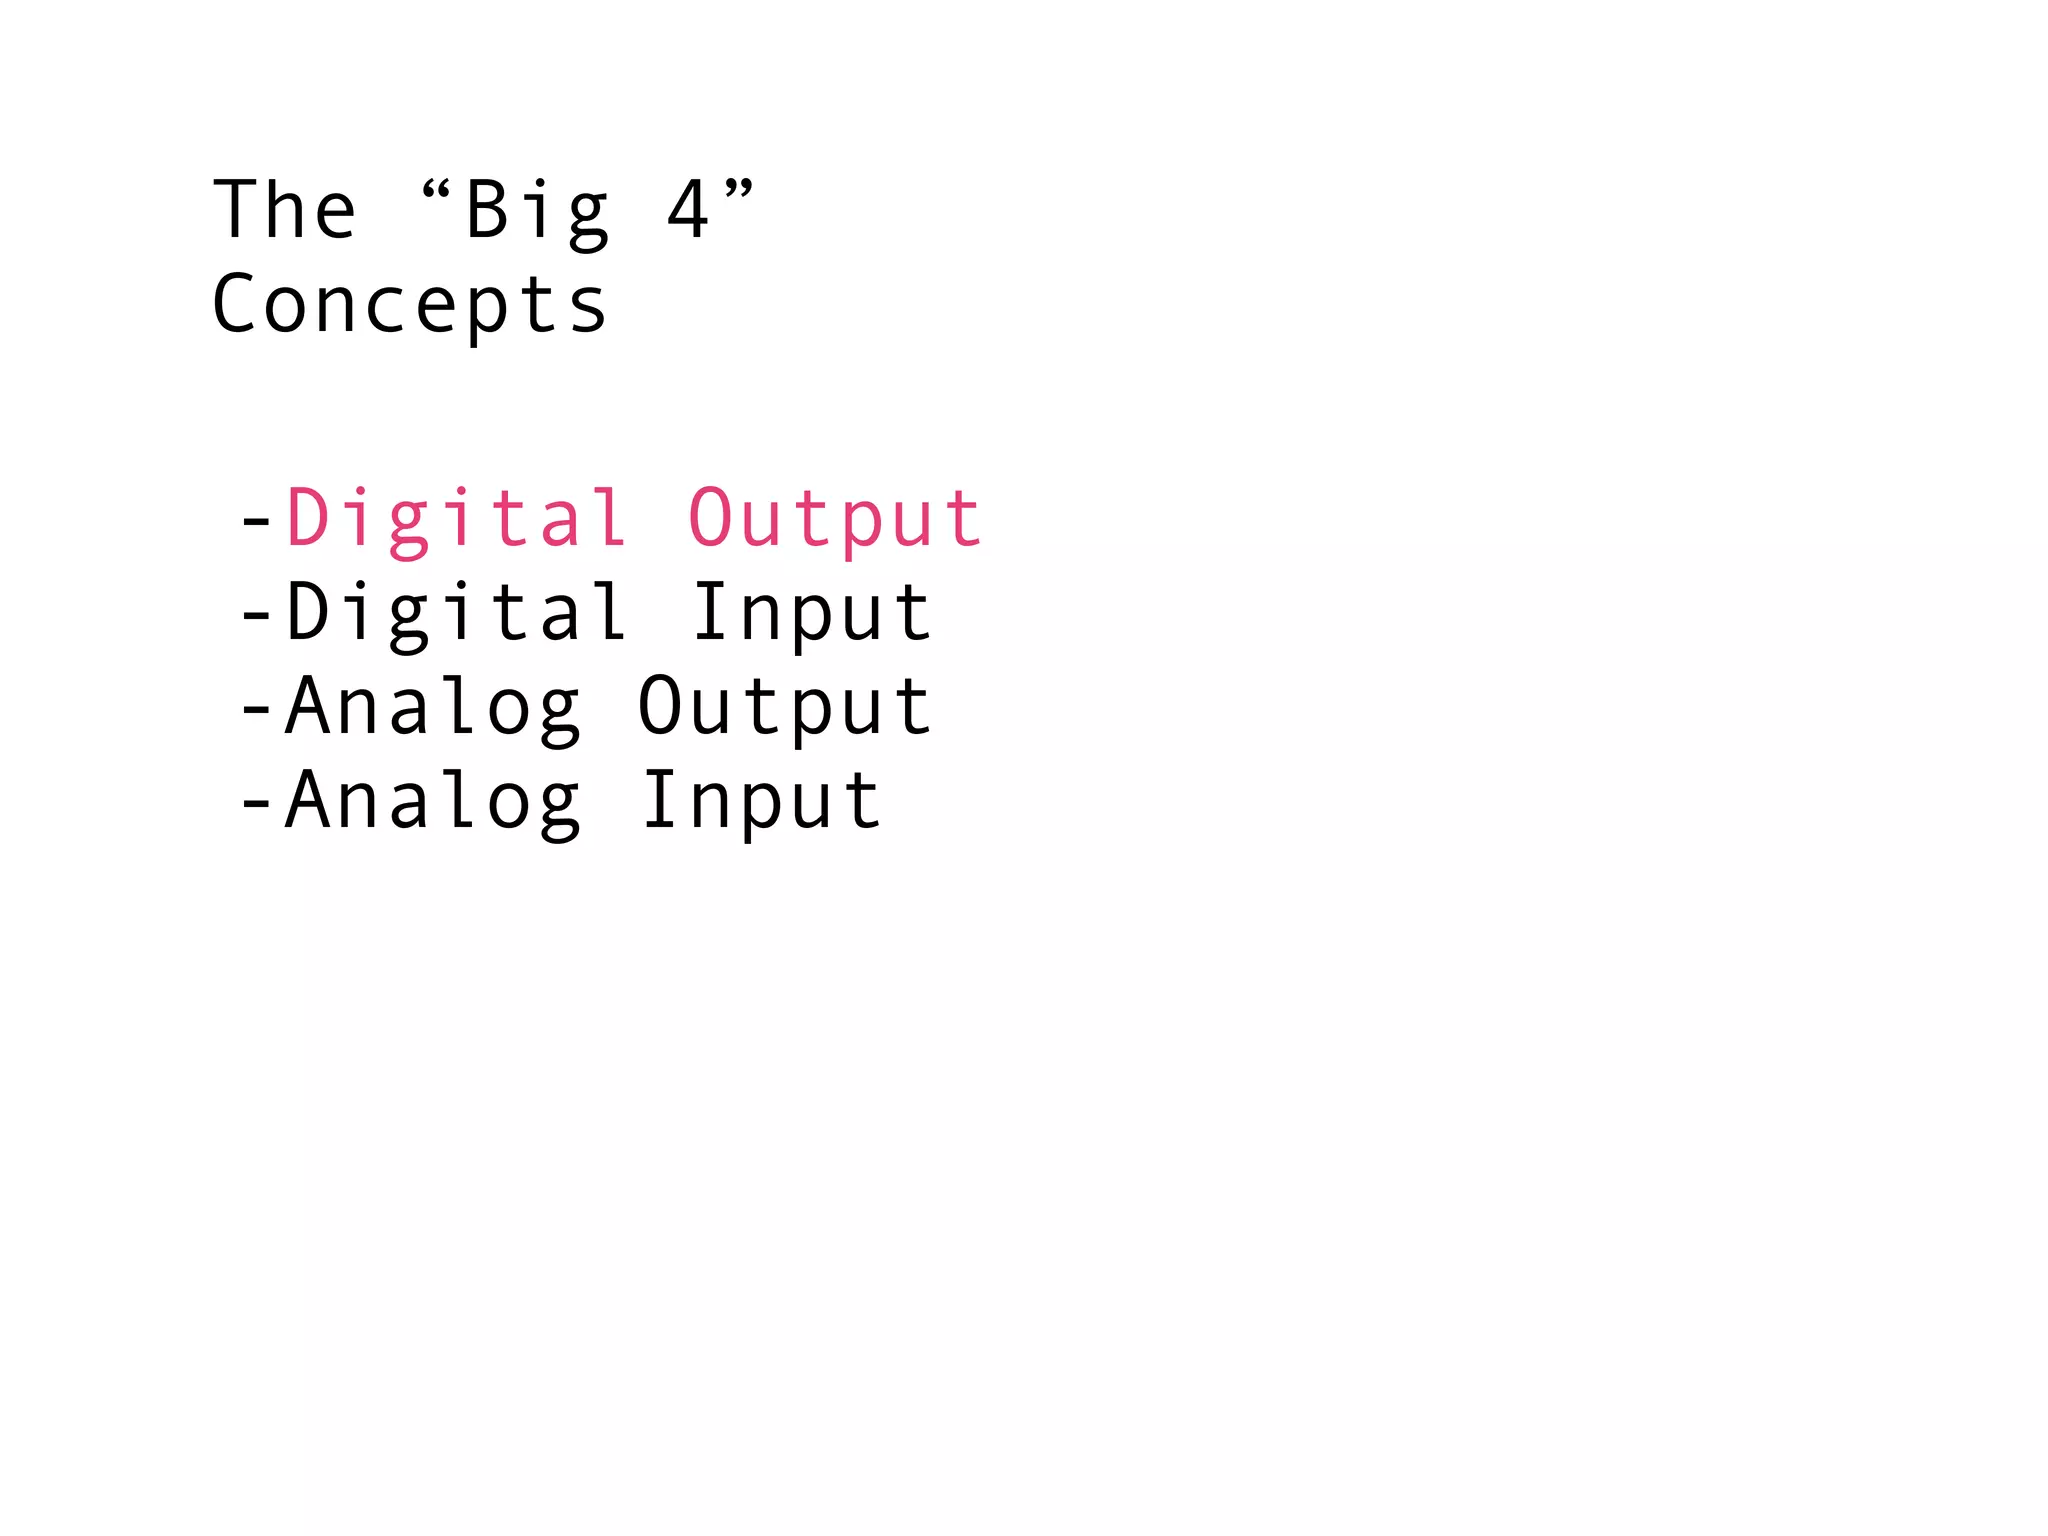
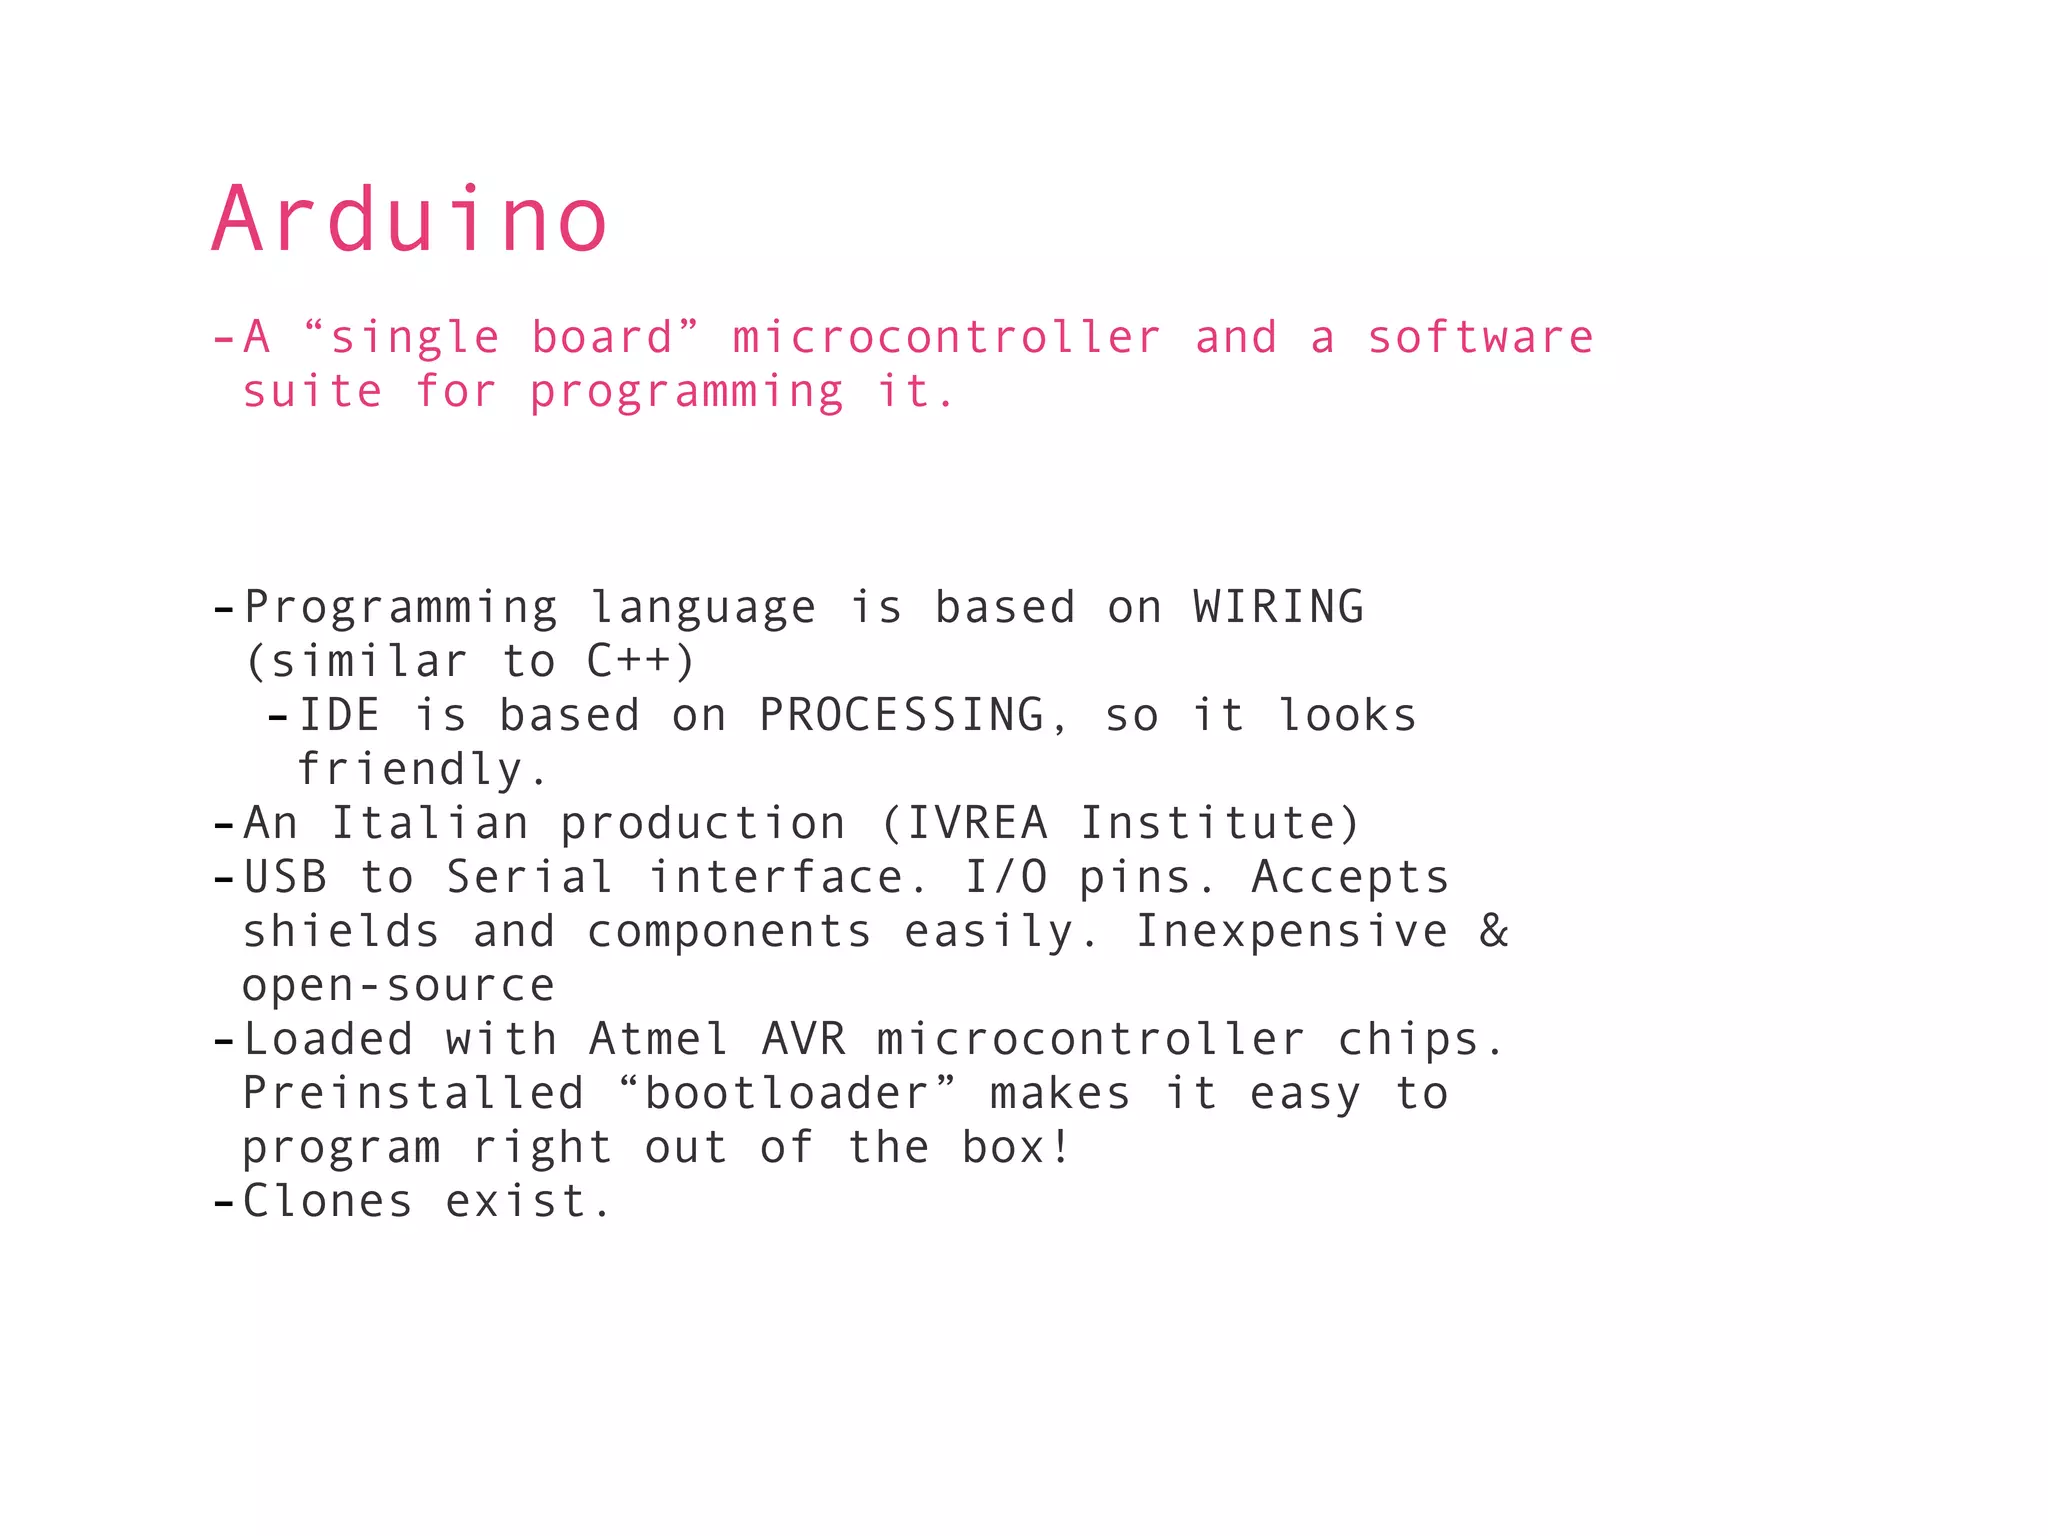
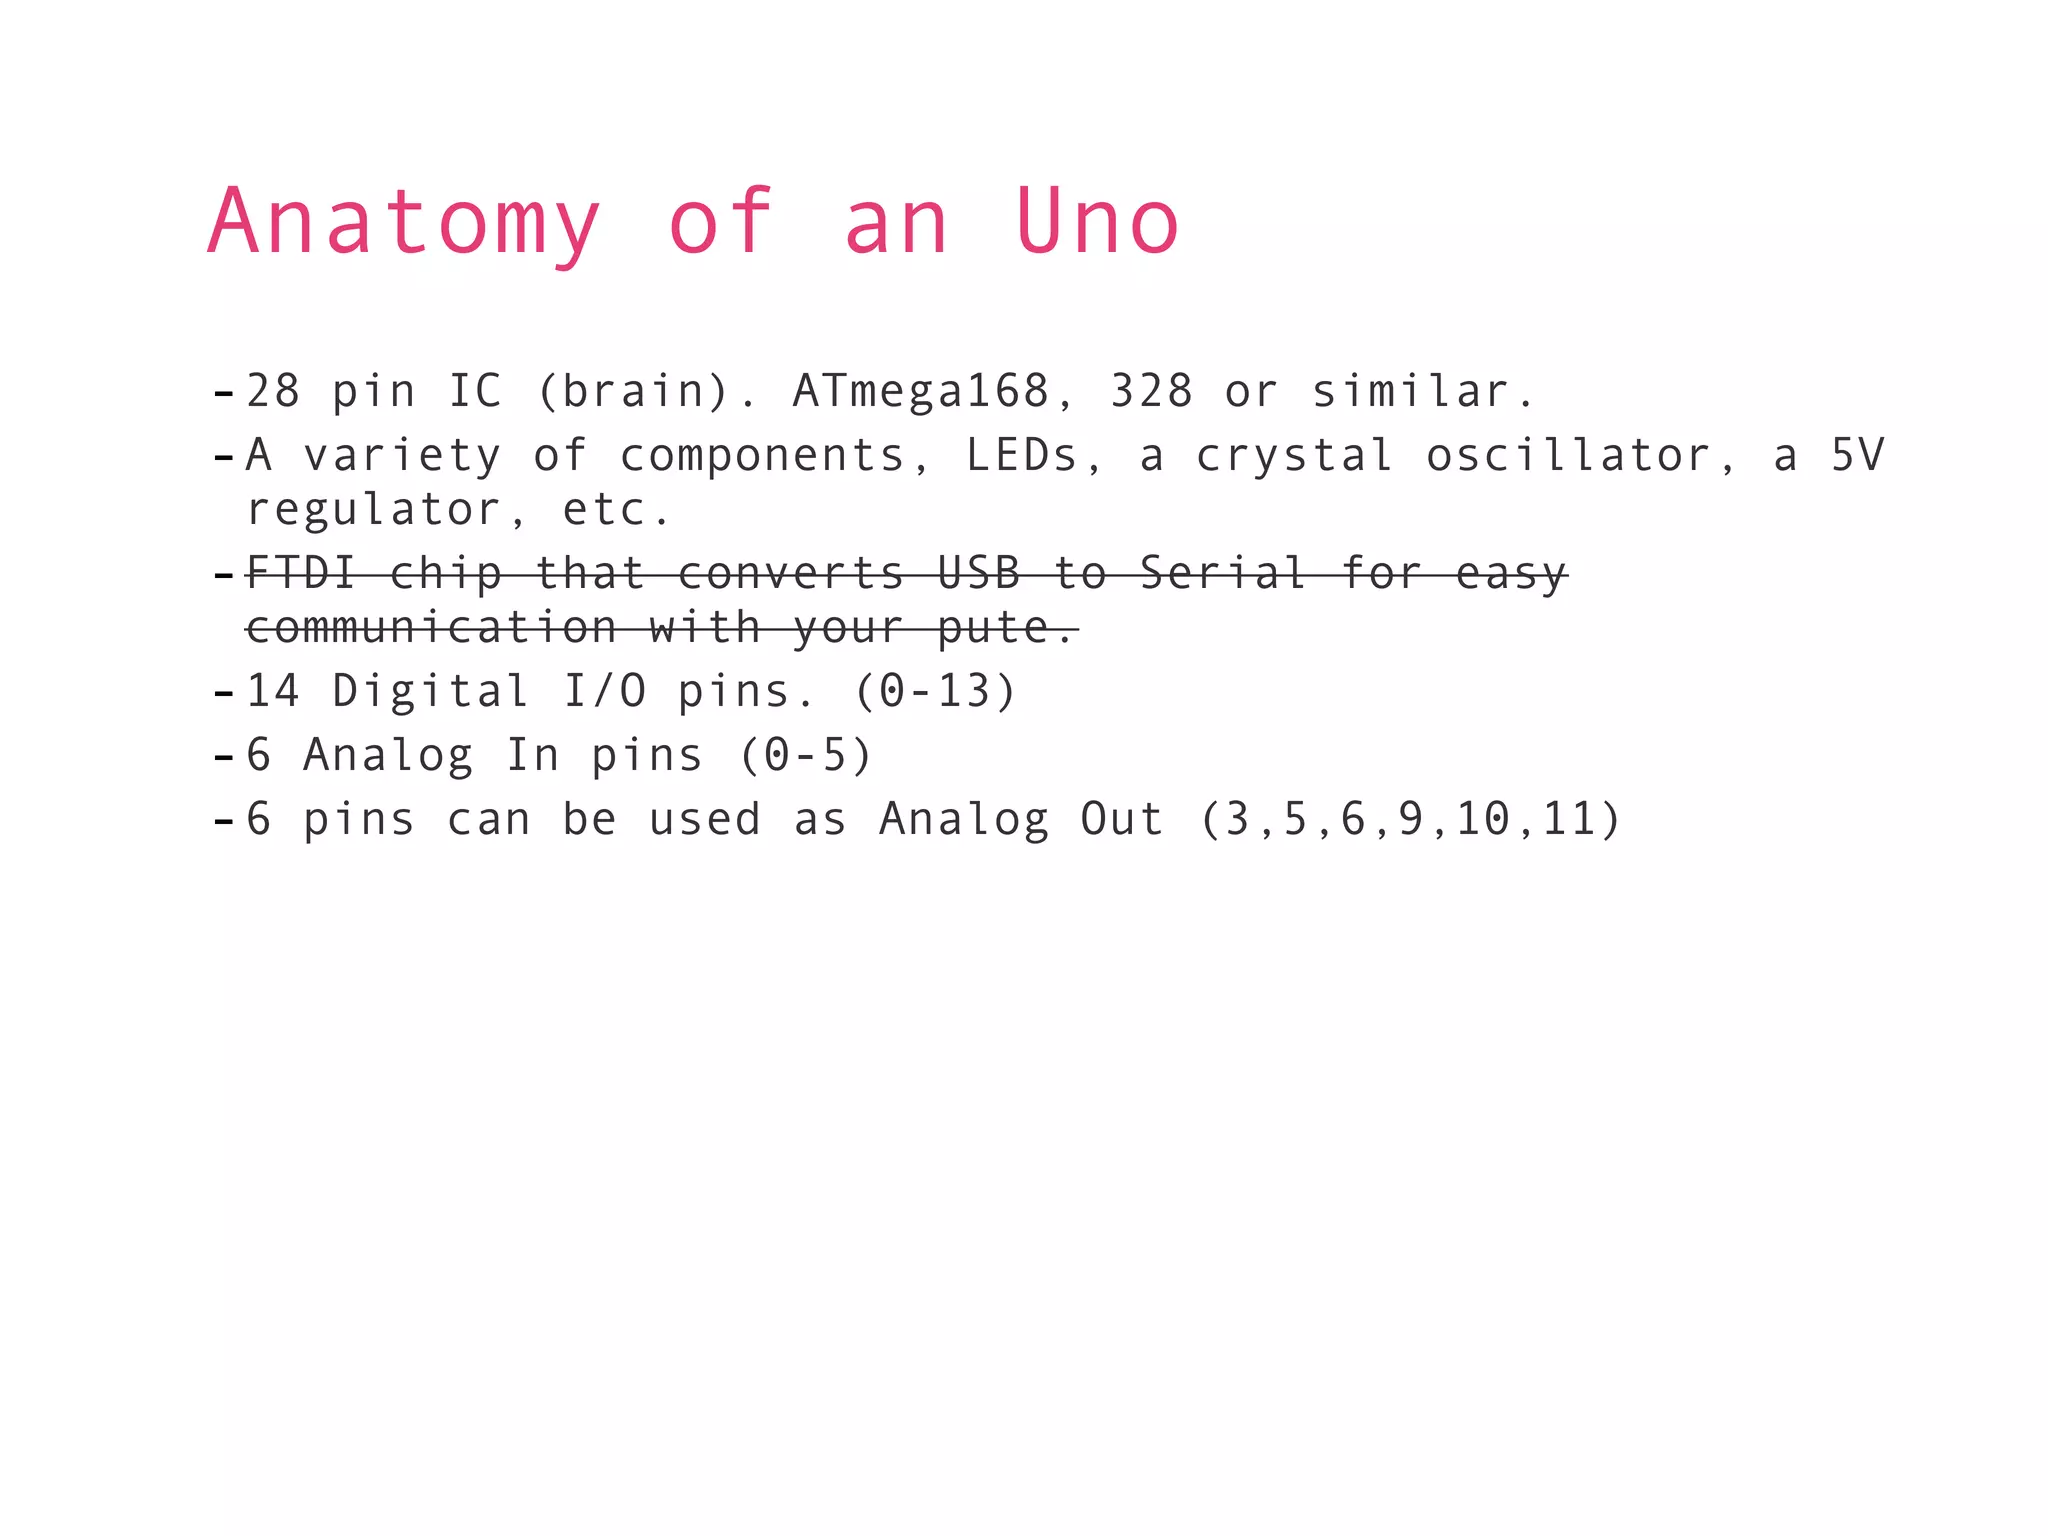
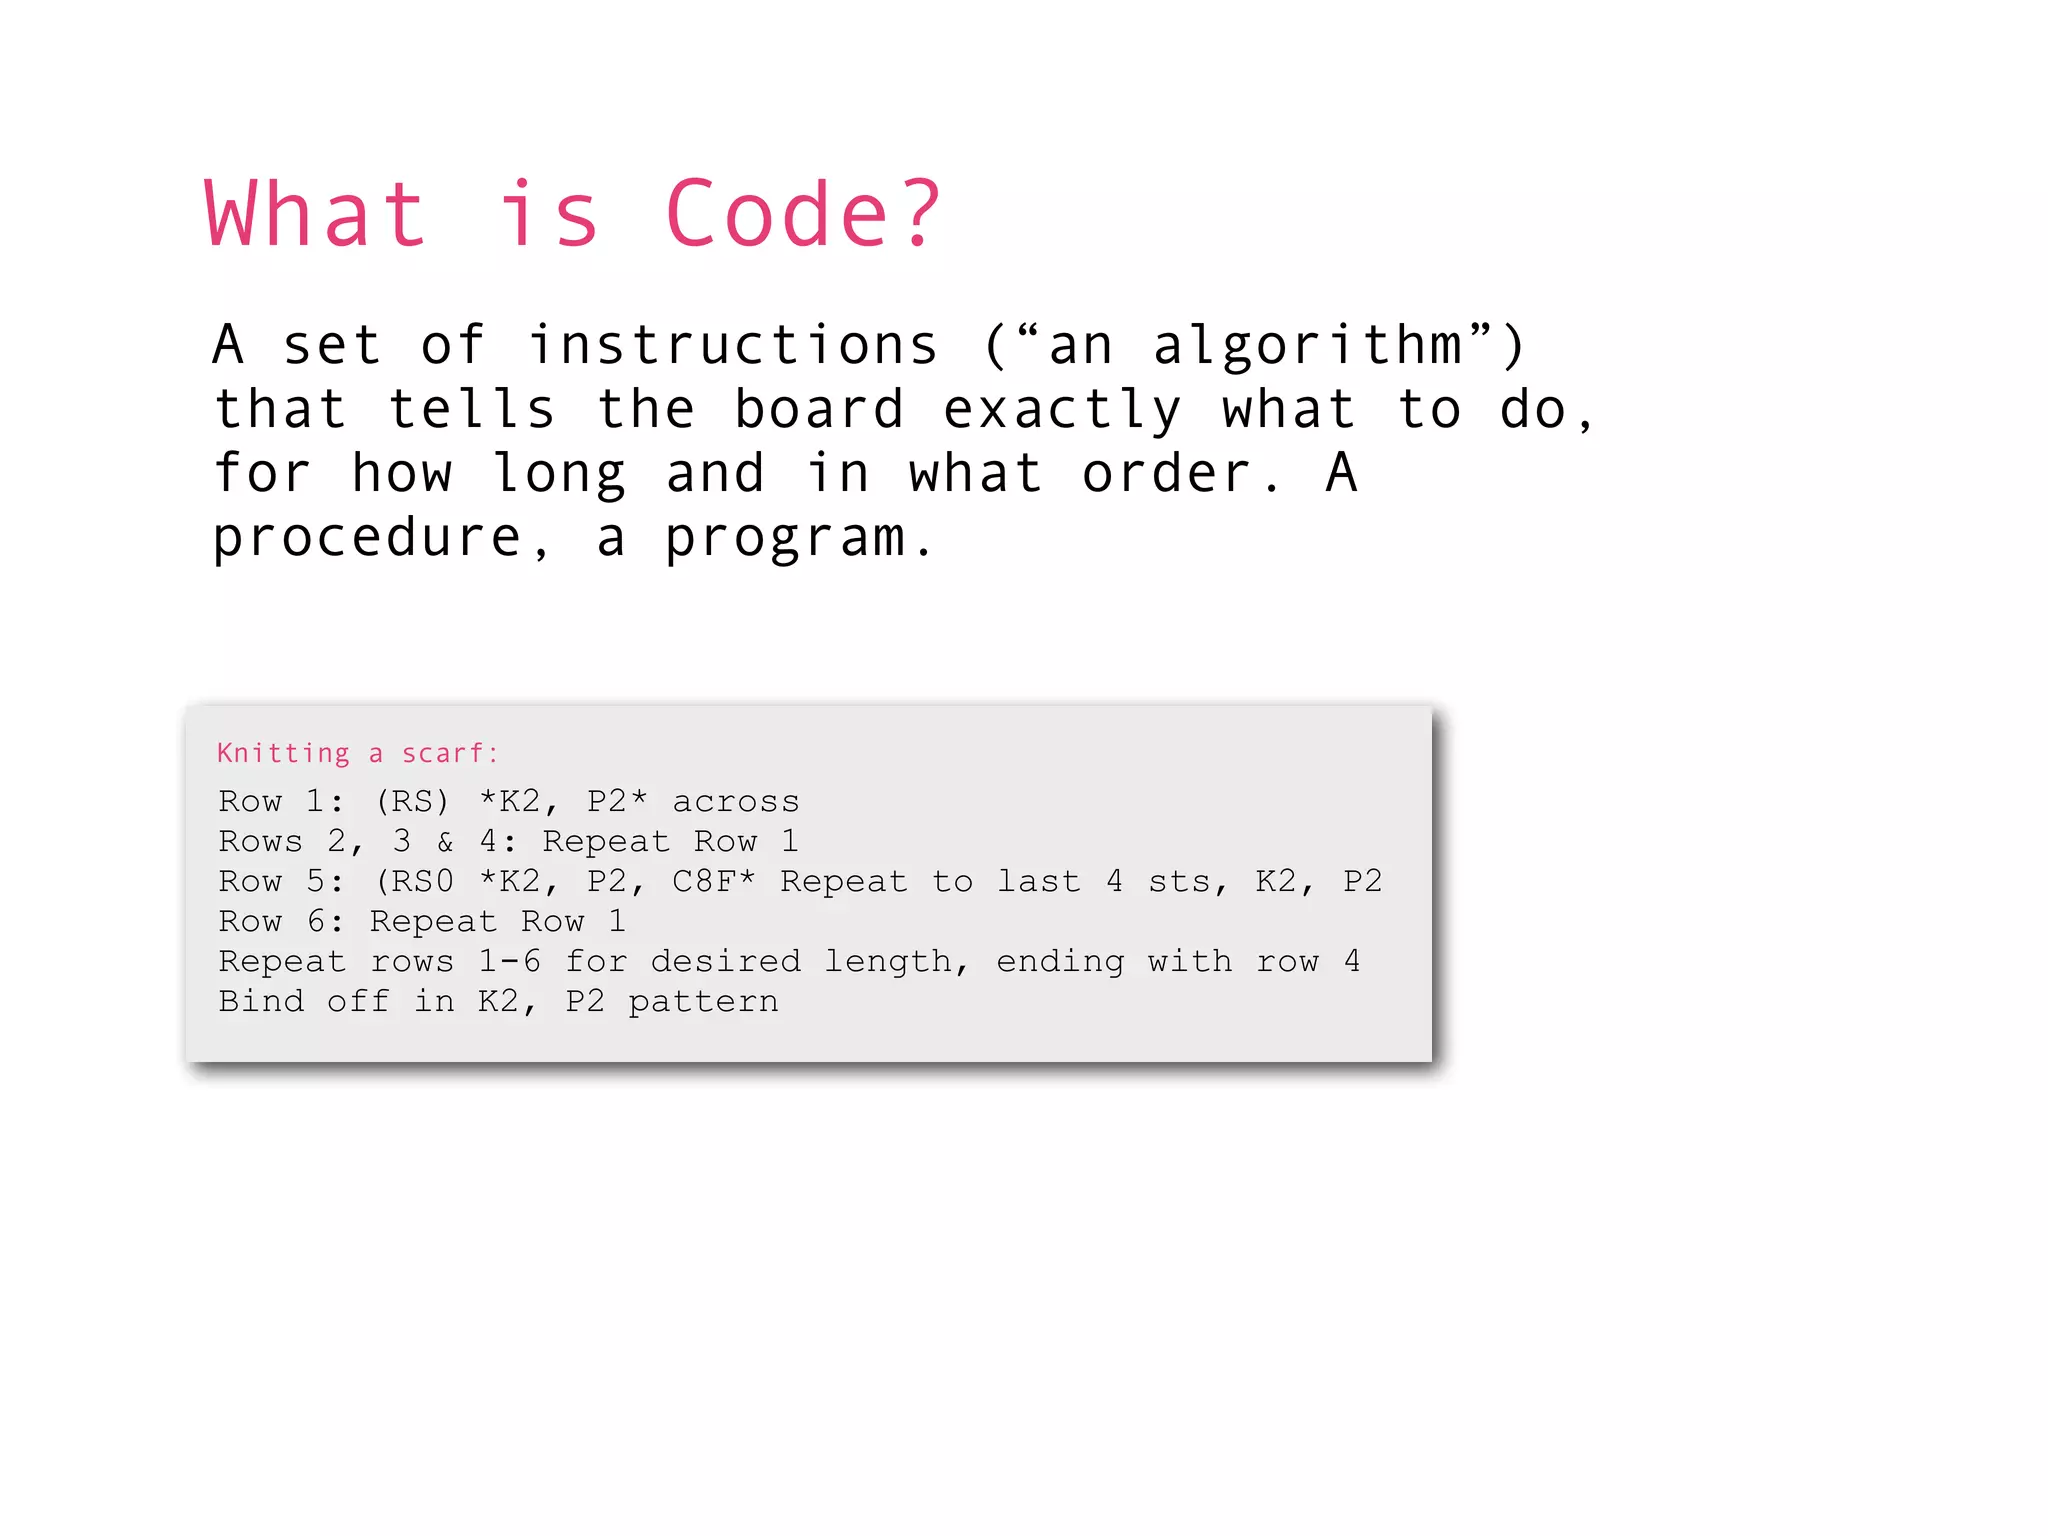
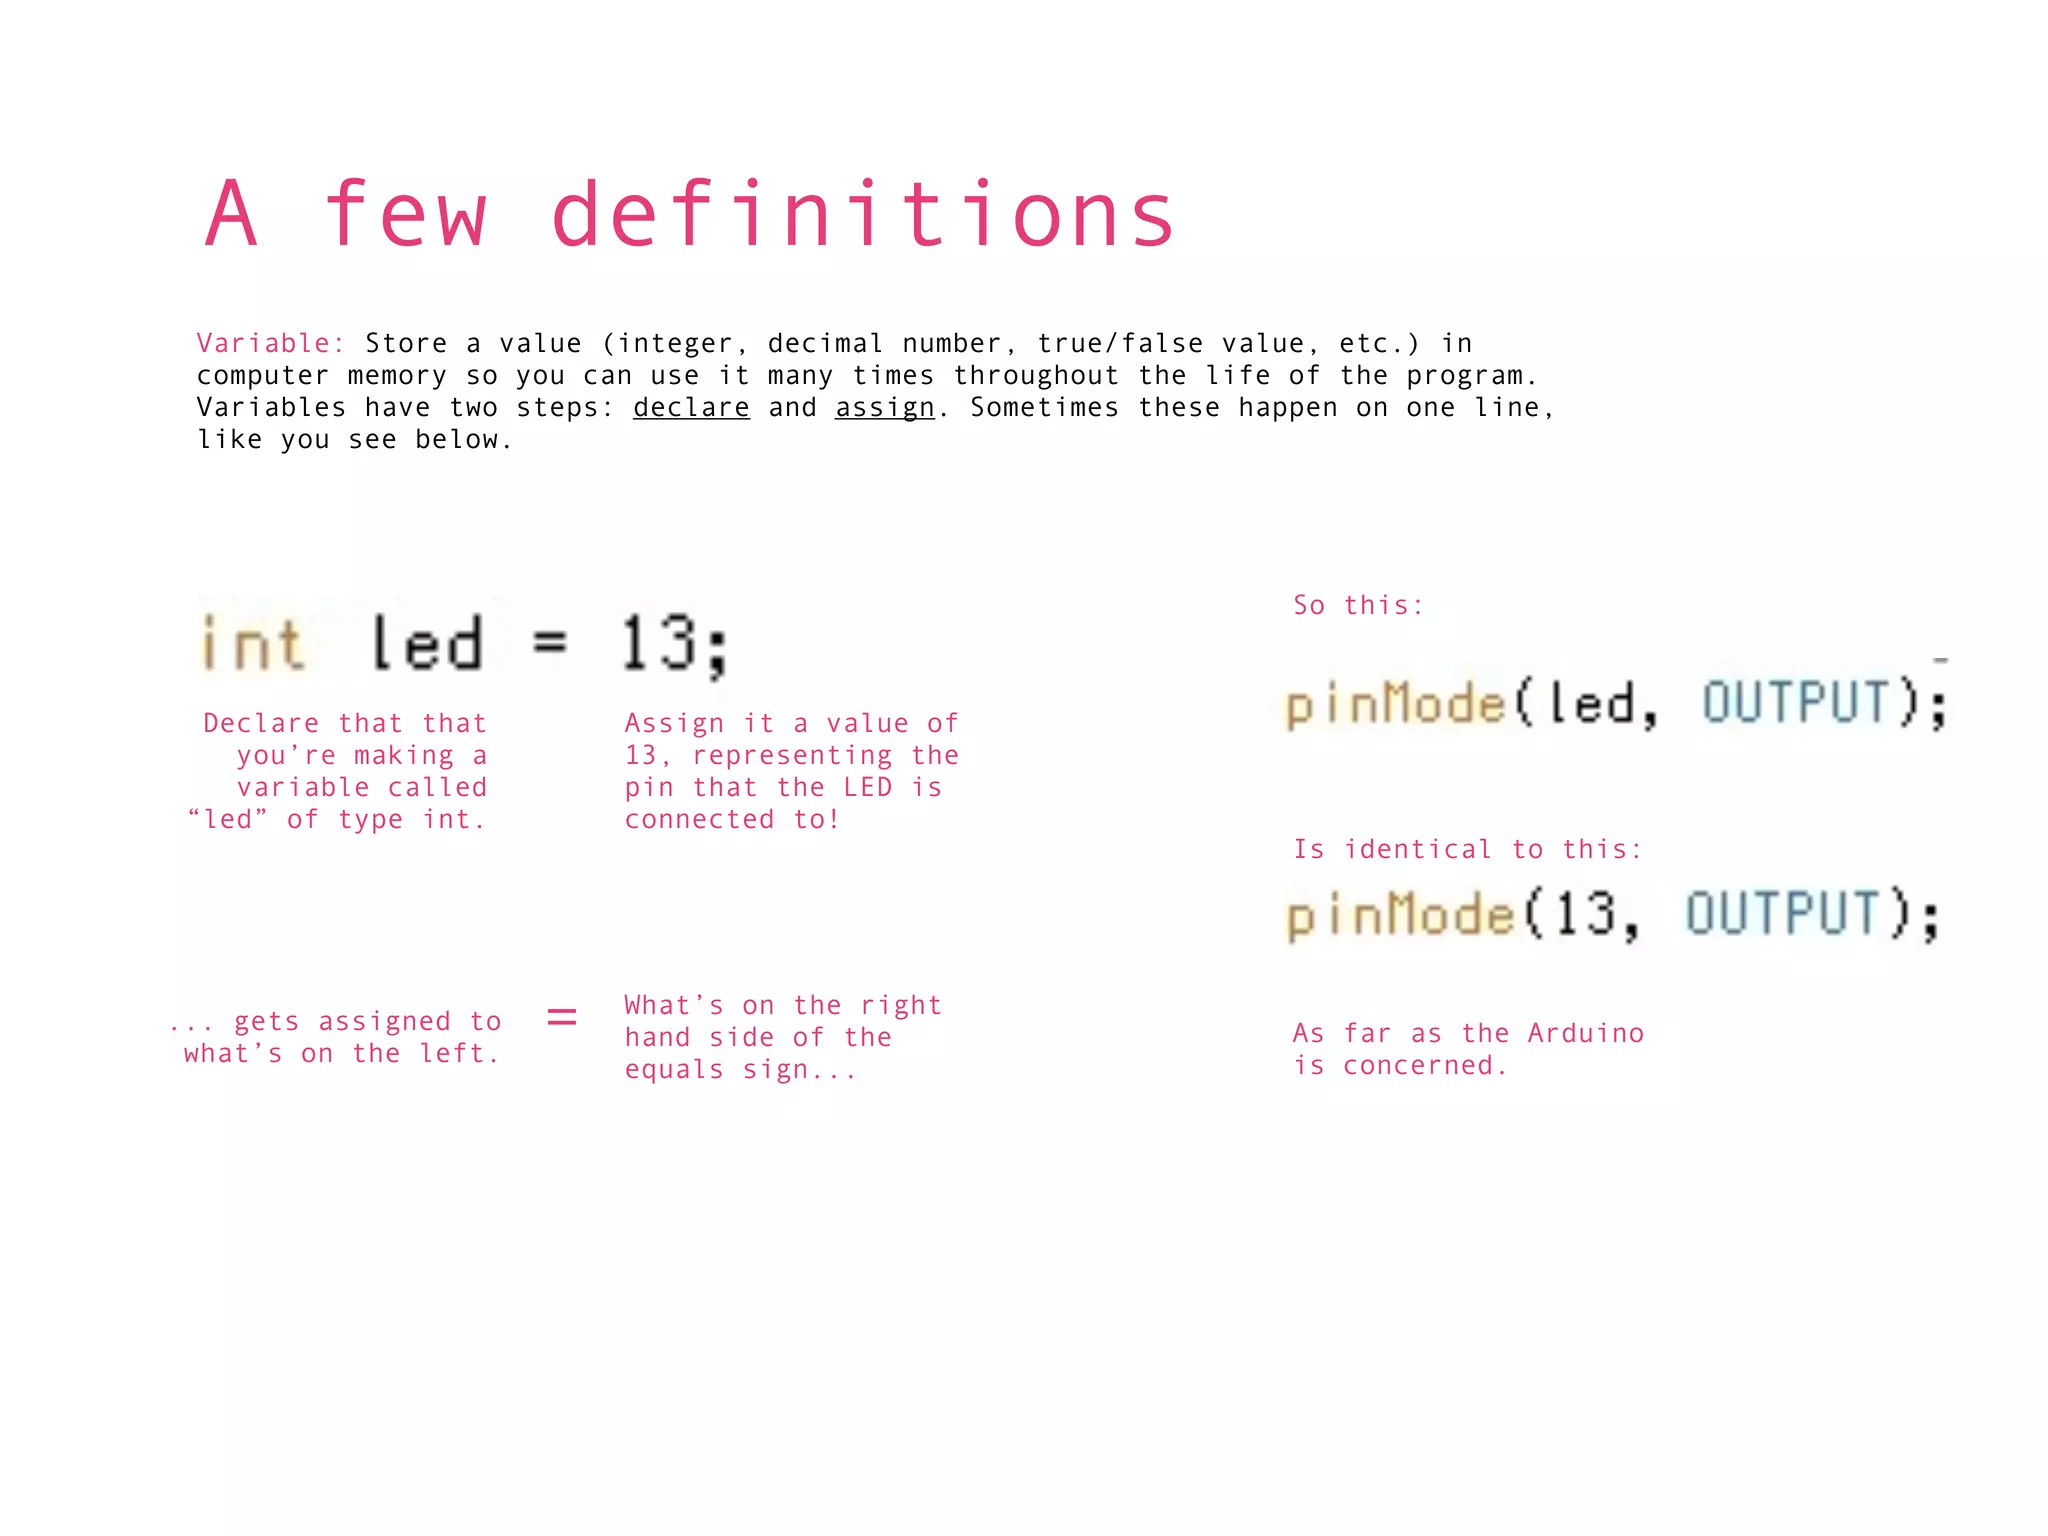
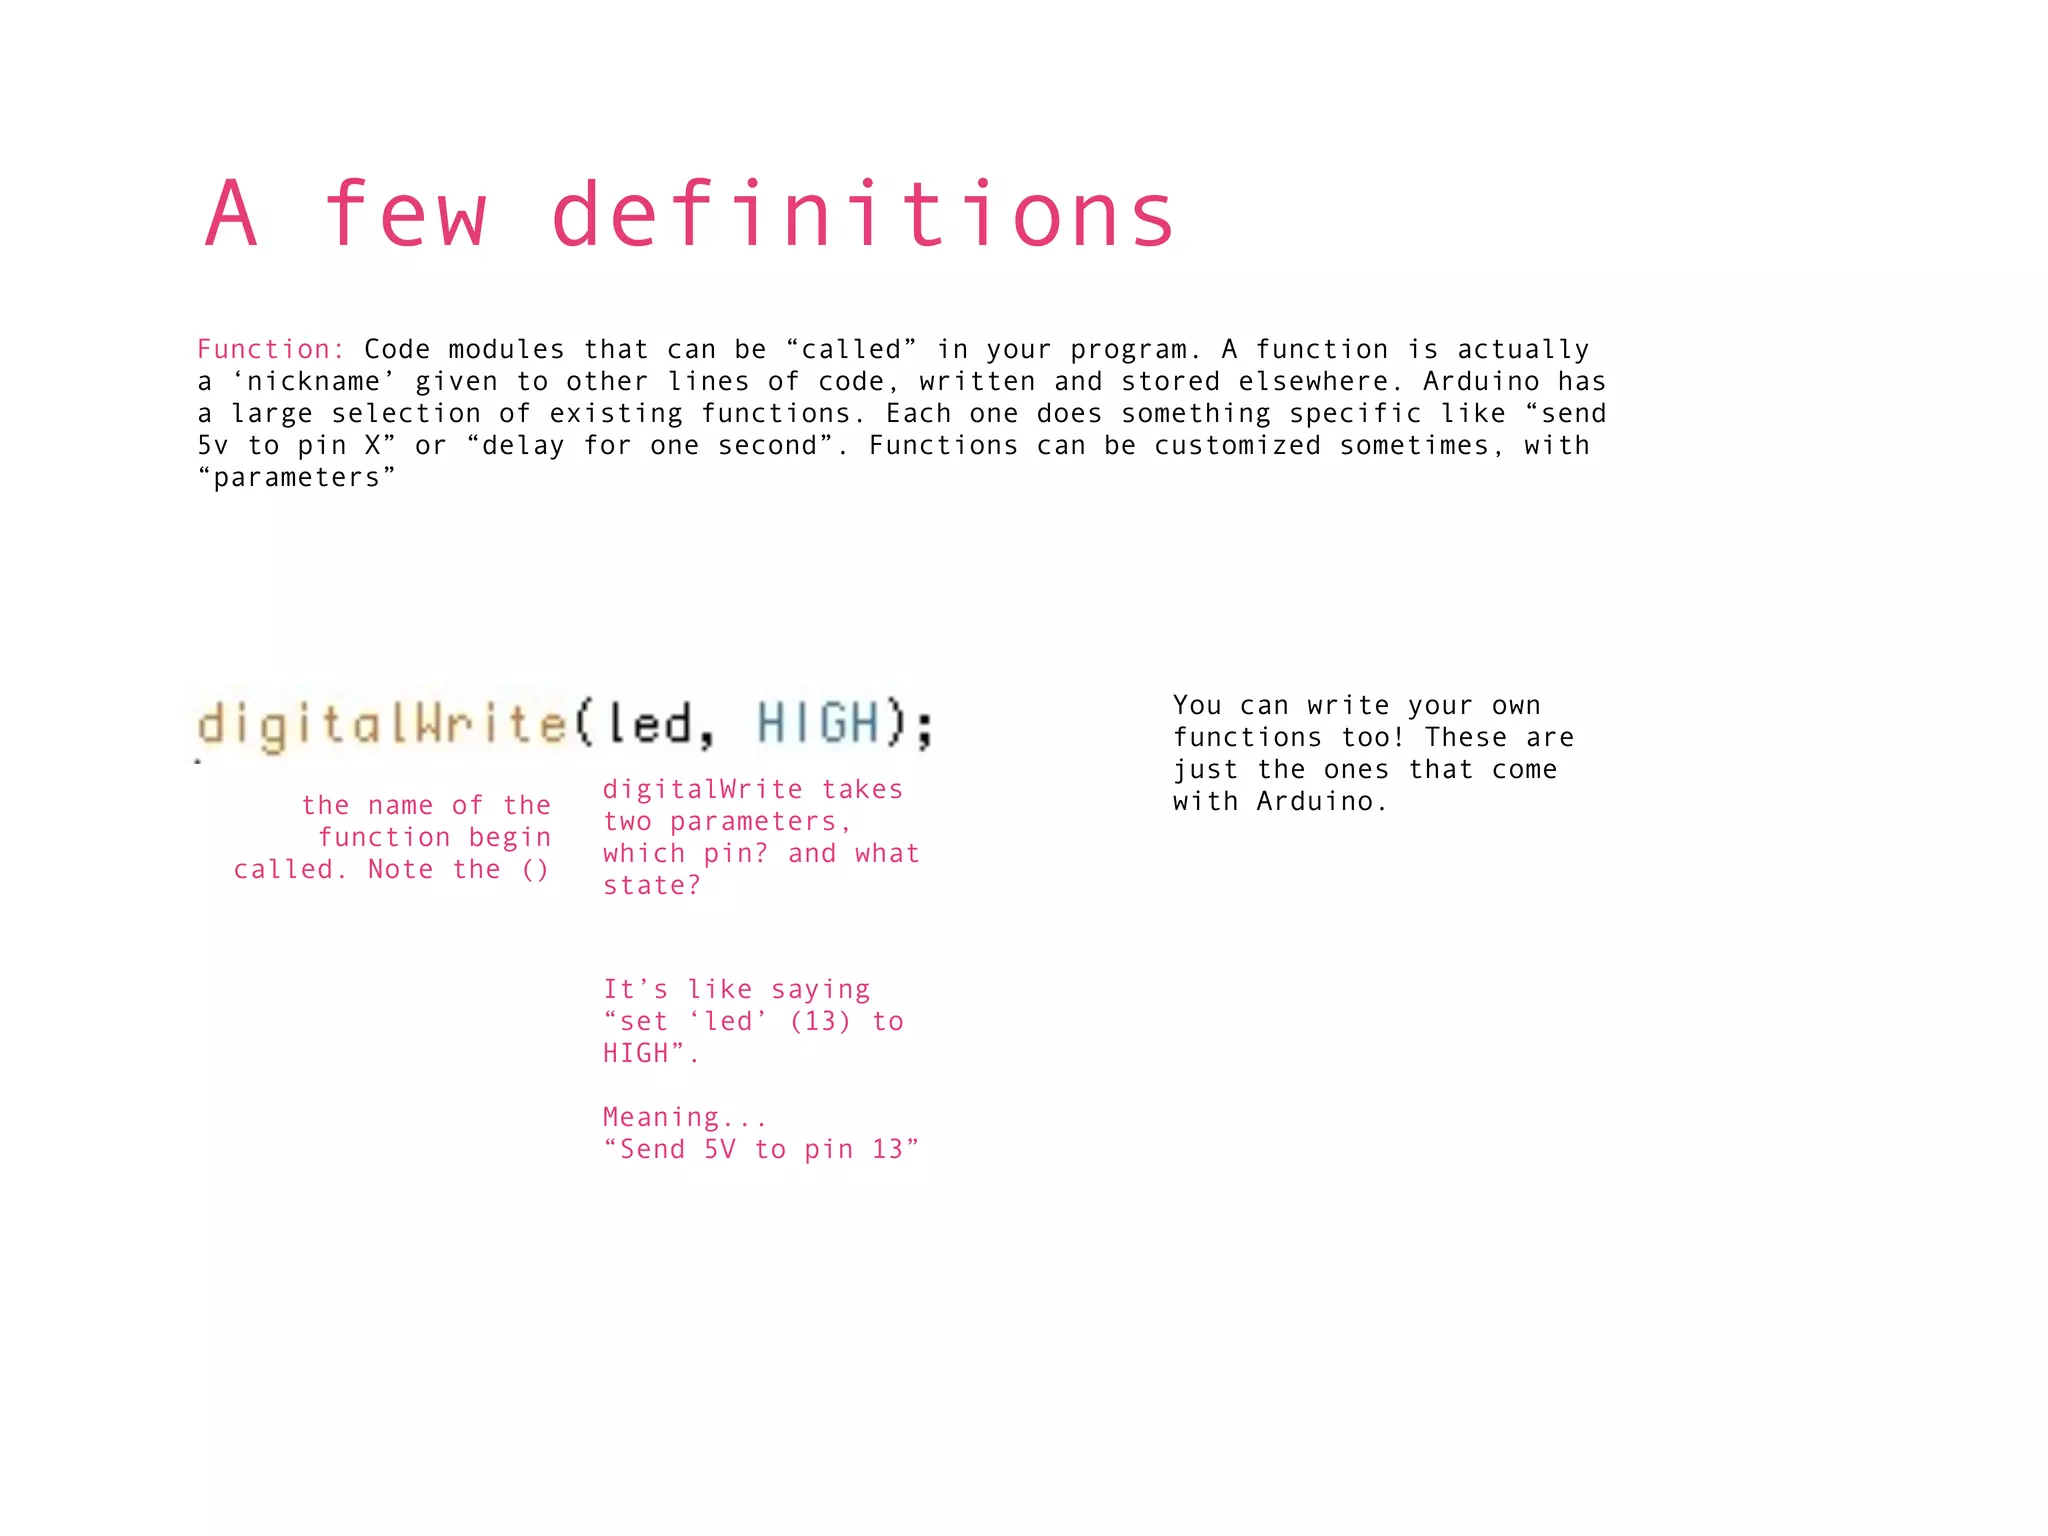
KEMBAR78
Hello Arduino. | KEY
Our methods so far:
This circuit is a “one-liner”
Not many possibilities for interaction
Circuits hard-wired for specific purposes
Making changes requires you to re-wire, snip, de-solder, etc...
What is a “microcontroller” ?
•A small, inexpensive computer. Less sophisticated than your mac...
 think calculator
•Good for taking INPUT data, processing it, OUTPUTTING something.
•Route several different inputs to outputs, one input to many outputs,
 etc...
•Many electronic devices with any “smarts” whatsoever have some
 microcontroller.
•Higher level vs. Lower lever (Arduino is mid)


 Wiring                 Gainer                BX 24            PIC micro
Where does the
microcontroller fit in?

As an input...


Count button clicks
Sense pressure
Multiple switches
How long switch is held down
As an output...

Automate the lights
Animate multiple lights in a sequence
Put em together...
Interactive Devices
The “Big 4”
Concepts

-Digital Output
-Digital Input
-Analog Output
-Analog Input
WHAT IS ARDUINO?
Arduino
-A “single board” microcontroller and a software
 suite for programming it.


-Programming language is based on WIRING
 (similar to C++)
  -IDE is based on PROCESSING, so it looks
   friendly.
-An Italian production (IVREA Institute)
-USB to Serial interface. I/O pins. Accepts
 shields and components easily. Inexpensive &
 open-source
-Loaded with Atmel AVR microcontroller chips.
 Preinstalled “bootloader” makes it easy to
 program right out of the box!
-Clones exist.
Anatomy of an Uno
- 28 pin IC (brain). ATmega168, 328 or similar.
- A variety of components, LEDs, a crystal oscillator, a 5V
  regulator, etc.
- FTDI chip that converts USB to Serial for easy
  communication with your pute.
- 14 Digital I/O pins. (0-13)
- 6 Analog In pins (0-5)
- 6 pins can be used as Analog Out (3,5,6,9,10,11)
DIGITAL I/O PINS


 USB


       5V
REGULATOR     MICROCONTROLLER

EXTERNAL
   POWER

                POWER   ANALOG IN
Each DIGITAL OUT pin acts like a mini 5V power supply.
Don’t forget about Ground!


                                           + 9V


                                              470

                      instead of...
220Ω
LED
Now we need to give the board instructions on what to do...
What is Code?
A set of instructions (“an algorithm”)
that tells the board exactly what to do,
for how long and in what order. A
procedure, a program.


Knitting a scarf:
Row 1: (RS) *K2, P2* across
Rows 2, 3 & 4: Repeat Row 1
Row 5: (RS0 *K2, P2, C8F* Repeat to last 4 sts, K2, P2
Row 6: Repeat Row 1
Repeat rows 1-6 for desired length, ending with row 4
Bind off in K2, P2 pattern
Hiking directions to Point Break


From the North:
-Follow the trail from the Nature Center
-Turn right at the Water Tower, walk up to the Old Oak Tree
-Follow directions from the Old Oak Tree.

From the South:
-From the hPicnic Grove, follow    the Botany Trail
-Turn right on the South Meadow    Trail
-Turn right on the Meadow Ranch    Trail, walk until you see the Old
Oak Tree
-Follow directions from the Old    Oak Tree.

From the Old Oak Tree:
-Follow the path under the tree
-Turn right onto the Long Hill Trail
-Follow the trail until you reach Point Break
A code snippet from PROCESSING


                                          Produces This:


* Arduino is based off ofsimilar. Don’t
  IDE. So they look very
                          Processing’s

  mix the two up though.
Anatomy of an
Arduino Program


Buttons for common tasks
                Comments
               Variables
            Setup & Loop
               Functions


            Message Area
                 Console
Structure

                               Up Top:
  “Declare” and “Assign” any variables
             you’re going to be using.


                                SETUP:
 The code in this block runs only once
              when the program begins.


                                   LOOP:
   The code in this block runs after the
         setup, 100’s of times a second.
 Each line of code runs once from top to
                                 bottom.

Once the loops is entered, we stay there
         until the Arduino is unplugged.
Breakdown
    Make a few notes to myself, so when I
return to this later, I can remember more
                                easily...


  Give the #13 a nickname so I can use it
multiple times. If I change 13 to 10 now,
     I only have to change it once, here!

Make sure Arduino knows pin 13 (nicknamed
      “led”) is going to serve as OUTPUT.


Specify some instructions for how long to
      turn the LED on/off. This part will
              repeat over and over again.


If you remove the last delay(1000); what
                                happens?

       Can you make the LED blink “SOS”?
A few definitions
 Variable: Store a value (integer, decimal number, true/false value, etc.) in
 computer memory so you can use it many times throughout the life of the program.
 Variables have two steps: declare and assign. Sometimes these happen on one line,
 like you see below.


                                                                  So this:


  Declare that that        Assign it a value of
    you’re making a        13, representing the
    variable called        pin that the LED is
 “led” of type int.        connected to!
                                                                  Is identical to this:


... gets assigned to
 what’s on the left.
                       =   What’s on the right
                           hand side of the                       As far as the Arduino
                           equals sign...                         is concerned.
A few definitions
Function: Code modules that can be “called” in your program. A function is actually
a ‘nickname’ given to other lines of code, written and stored elsewhere. Arduino has
a large selection of existing functions. Each one does something specific like “send
5v to pin X” or “delay for one second”. Functions can be customized sometimes, with
“parameters”


                                                          You can write your own
                                                          functions too! These are
                                                          just the ones that come
                        digitalWrite takes                with Arduino.
      the name of the
                        two parameters,
       function begin
                        which pin? and what
  called. Note the ()
                        state?


                        It’s like saying
                        “set ‘led’ (13) to
                        HIGH”.

                        Meaning...
                        “Send 5V to pin 13”
For more, visit the Arduino website:
arduino.cc

and check out their tutorials:
http://arduino.cc/en/Tutorial/Foundations

Hello Arduino.

  • 2.
    Our methods sofar: This circuit is a “one-liner” Not many possibilities for interaction Circuits hard-wired for specific purposes Making changes requires you to re-wire, snip, de-solder, etc...
  • 3.
    What is a“microcontroller” ? •A small, inexpensive computer. Less sophisticated than your mac... think calculator •Good for taking INPUT data, processing it, OUTPUTTING something. •Route several different inputs to outputs, one input to many outputs, etc... •Many electronic devices with any “smarts” whatsoever have some microcontroller. •Higher level vs. Lower lever (Arduino is mid) Wiring Gainer BX 24 PIC micro
  • 4.
    Where does the microcontrollerfit in? As an input... Count button clicks Sense pressure Multiple switches How long switch is held down
  • 5.
    As an output... Automatethe lights Animate multiple lights in a sequence
  • 6.
  • 7.
    The “Big 4” Concepts -DigitalOutput -Digital Input -Analog Output -Analog Input
  • 8.
  • 10.
    Arduino -A “single board”microcontroller and a software suite for programming it. -Programming language is based on WIRING (similar to C++) -IDE is based on PROCESSING, so it looks friendly. -An Italian production (IVREA Institute) -USB to Serial interface. I/O pins. Accepts shields and components easily. Inexpensive & open-source -Loaded with Atmel AVR microcontroller chips. Preinstalled “bootloader” makes it easy to program right out of the box! -Clones exist.
  • 11.
    Anatomy of anUno - 28 pin IC (brain). ATmega168, 328 or similar. - A variety of components, LEDs, a crystal oscillator, a 5V regulator, etc. - FTDI chip that converts USB to Serial for easy communication with your pute. - 14 Digital I/O pins. (0-13) - 6 Analog In pins (0-5) - 6 pins can be used as Analog Out (3,5,6,9,10,11)
  • 12.
    DIGITAL I/O PINS USB 5V REGULATOR MICROCONTROLLER EXTERNAL POWER POWER ANALOG IN
  • 14.
    Each DIGITAL OUTpin acts like a mini 5V power supply. Don’t forget about Ground! + 9V 470 instead of...
  • 15.
  • 16.
    Now we needto give the board instructions on what to do...
  • 17.
    What is Code? Aset of instructions (“an algorithm”) that tells the board exactly what to do, for how long and in what order. A procedure, a program. Knitting a scarf: Row 1: (RS) *K2, P2* across Rows 2, 3 & 4: Repeat Row 1 Row 5: (RS0 *K2, P2, C8F* Repeat to last 4 sts, K2, P2 Row 6: Repeat Row 1 Repeat rows 1-6 for desired length, ending with row 4 Bind off in K2, P2 pattern
  • 18.
    Hiking directions toPoint Break From the North: -Follow the trail from the Nature Center -Turn right at the Water Tower, walk up to the Old Oak Tree -Follow directions from the Old Oak Tree. From the South: -From the hPicnic Grove, follow the Botany Trail -Turn right on the South Meadow Trail -Turn right on the Meadow Ranch Trail, walk until you see the Old Oak Tree -Follow directions from the Old Oak Tree. From the Old Oak Tree: -Follow the path under the tree -Turn right onto the Long Hill Trail -Follow the trail until you reach Point Break
  • 19.
    A code snippetfrom PROCESSING Produces This: * Arduino is based off ofsimilar. Don’t IDE. So they look very Processing’s mix the two up though.
  • 20.
    Anatomy of an ArduinoProgram Buttons for common tasks Comments Variables Setup & Loop Functions Message Area Console
  • 21.
    Structure Up Top: “Declare” and “Assign” any variables you’re going to be using. SETUP: The code in this block runs only once when the program begins. LOOP: The code in this block runs after the setup, 100’s of times a second. Each line of code runs once from top to bottom. Once the loops is entered, we stay there until the Arduino is unplugged.
  • 22.
    Breakdown Make a few notes to myself, so when I return to this later, I can remember more easily... Give the #13 a nickname so I can use it multiple times. If I change 13 to 10 now, I only have to change it once, here! Make sure Arduino knows pin 13 (nicknamed “led”) is going to serve as OUTPUT. Specify some instructions for how long to turn the LED on/off. This part will repeat over and over again. If you remove the last delay(1000); what happens? Can you make the LED blink “SOS”?
  • 23.
    A few definitions Variable: Store a value (integer, decimal number, true/false value, etc.) in computer memory so you can use it many times throughout the life of the program. Variables have two steps: declare and assign. Sometimes these happen on one line, like you see below. So this: Declare that that Assign it a value of you’re making a 13, representing the variable called pin that the LED is “led” of type int. connected to! Is identical to this: ... gets assigned to what’s on the left. = What’s on the right hand side of the As far as the Arduino equals sign... is concerned.
  • 24.
    A few definitions Function:Code modules that can be “called” in your program. A function is actually a ‘nickname’ given to other lines of code, written and stored elsewhere. Arduino has a large selection of existing functions. Each one does something specific like “send 5v to pin X” or “delay for one second”. Functions can be customized sometimes, with “parameters” You can write your own functions too! These are just the ones that come digitalWrite takes with Arduino. the name of the two parameters, function begin which pin? and what called. Note the () state? It’s like saying “set ‘led’ (13) to HIGH”. Meaning... “Send 5V to pin 13”
  • 25.
    For more, visitthe Arduino website: arduino.cc and check out their tutorials: http://arduino.cc/en/Tutorial/Foundations

Editor's Notes

  • #2 \n
  • #3 \n
  • #4 \n
  • #5 \n
  • #6 \n
  • #7 \n
  • #8 \n
  • #9 \n
  • #10 \n
  • #11 \n
  • #12 \n
  • #13 \n
  • #14 \n
  • #15 \n
  • #16 \n
  • #17 \n
  • #18 \n
  • #19 \n
  • #20 1. There are many ways to write one given algorithm\n2. An algorithm requires certain assumptions\n3. An algorithm includes decision making\n4. A complex algorithm should be broken down into modular pieces.\n
  • #21 \n
  • #22 \n
  • #23 \n
  • #24 The computer needs to know what type of data you’re going to be storing, so it knows how much memory to set aside. ints take up less room than floats. \n
  • #25 If you forget, check the reference on the website.\n
  • #26 \n