CorelDRAW is a vector-based graphic design software developed by Corel Corporation, ideal for creating professional artwork such as logos and brochures. It offers a variety of tools and effects for efficient graphic production and features like toolboxes, menu bars, and document palettes for user convenience. The software supports both import and export options, providing a user-friendly interface for managing complex designs.
CorelDRAW is a vector-based graphics editor for creating artwork, logos, and illustrations. It is user-friendly and allows efficient production of high-quality graphics.
CorelDRAW offers easy import/export options, is user-friendly, versatile for various designs, and provides colorful options.
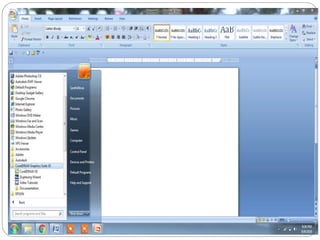
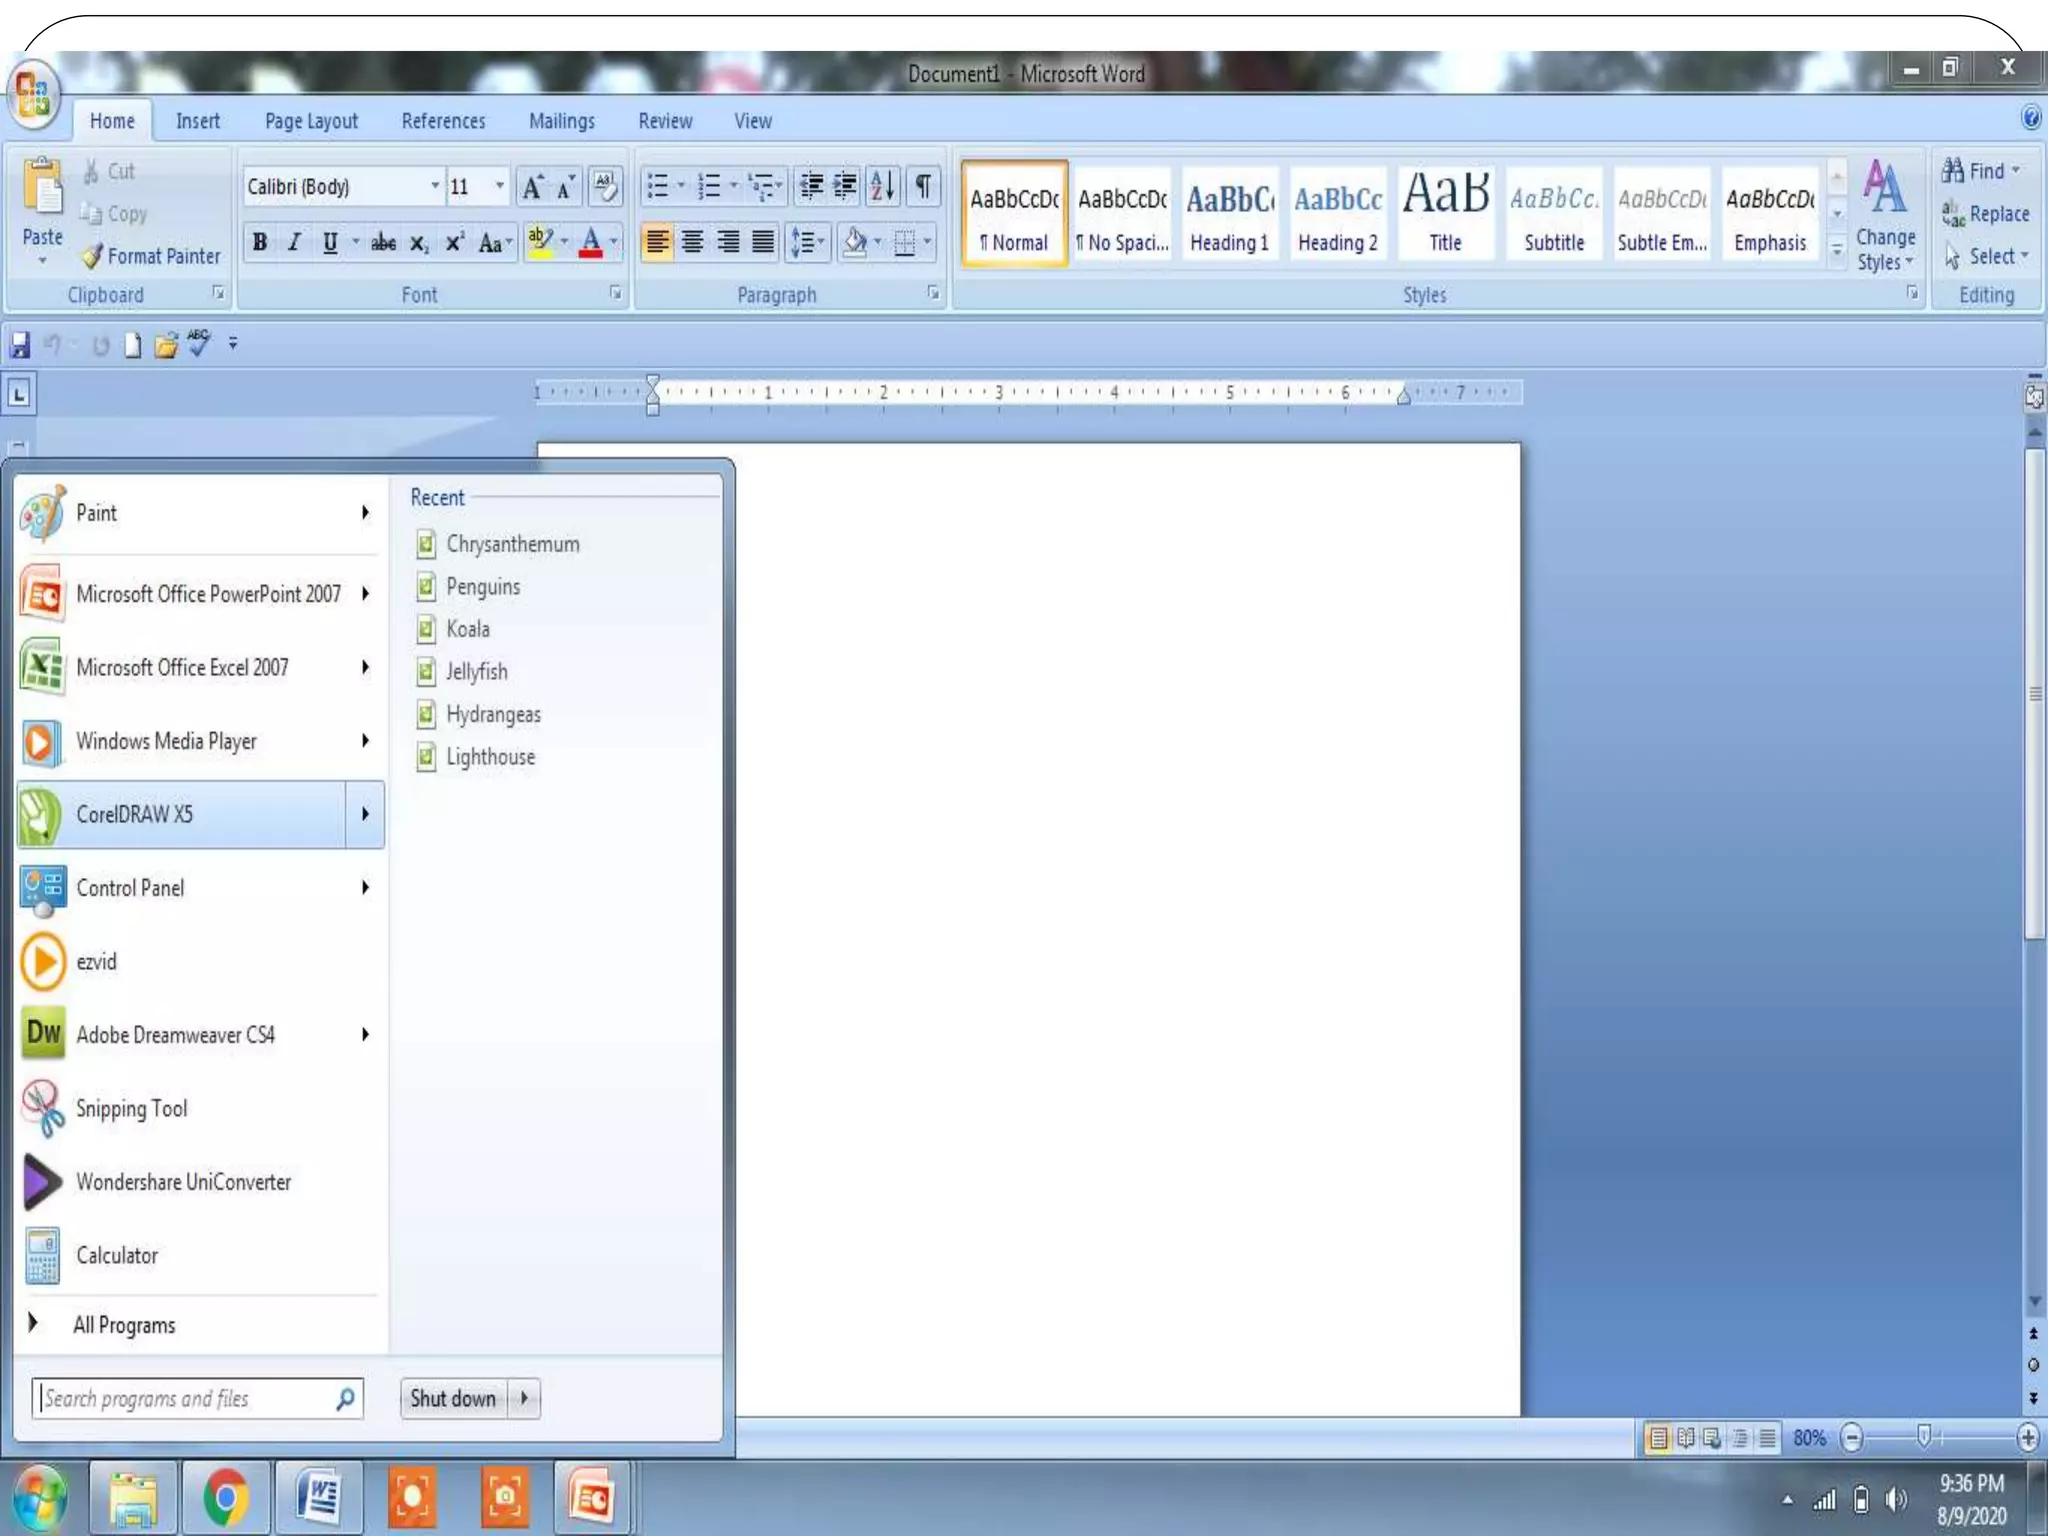
Essential steps to initiate CorelDRAW including accessing the software and understanding its components such as the toolbox, title bar, and document tabs.
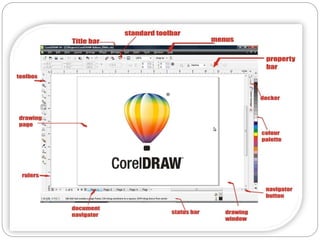
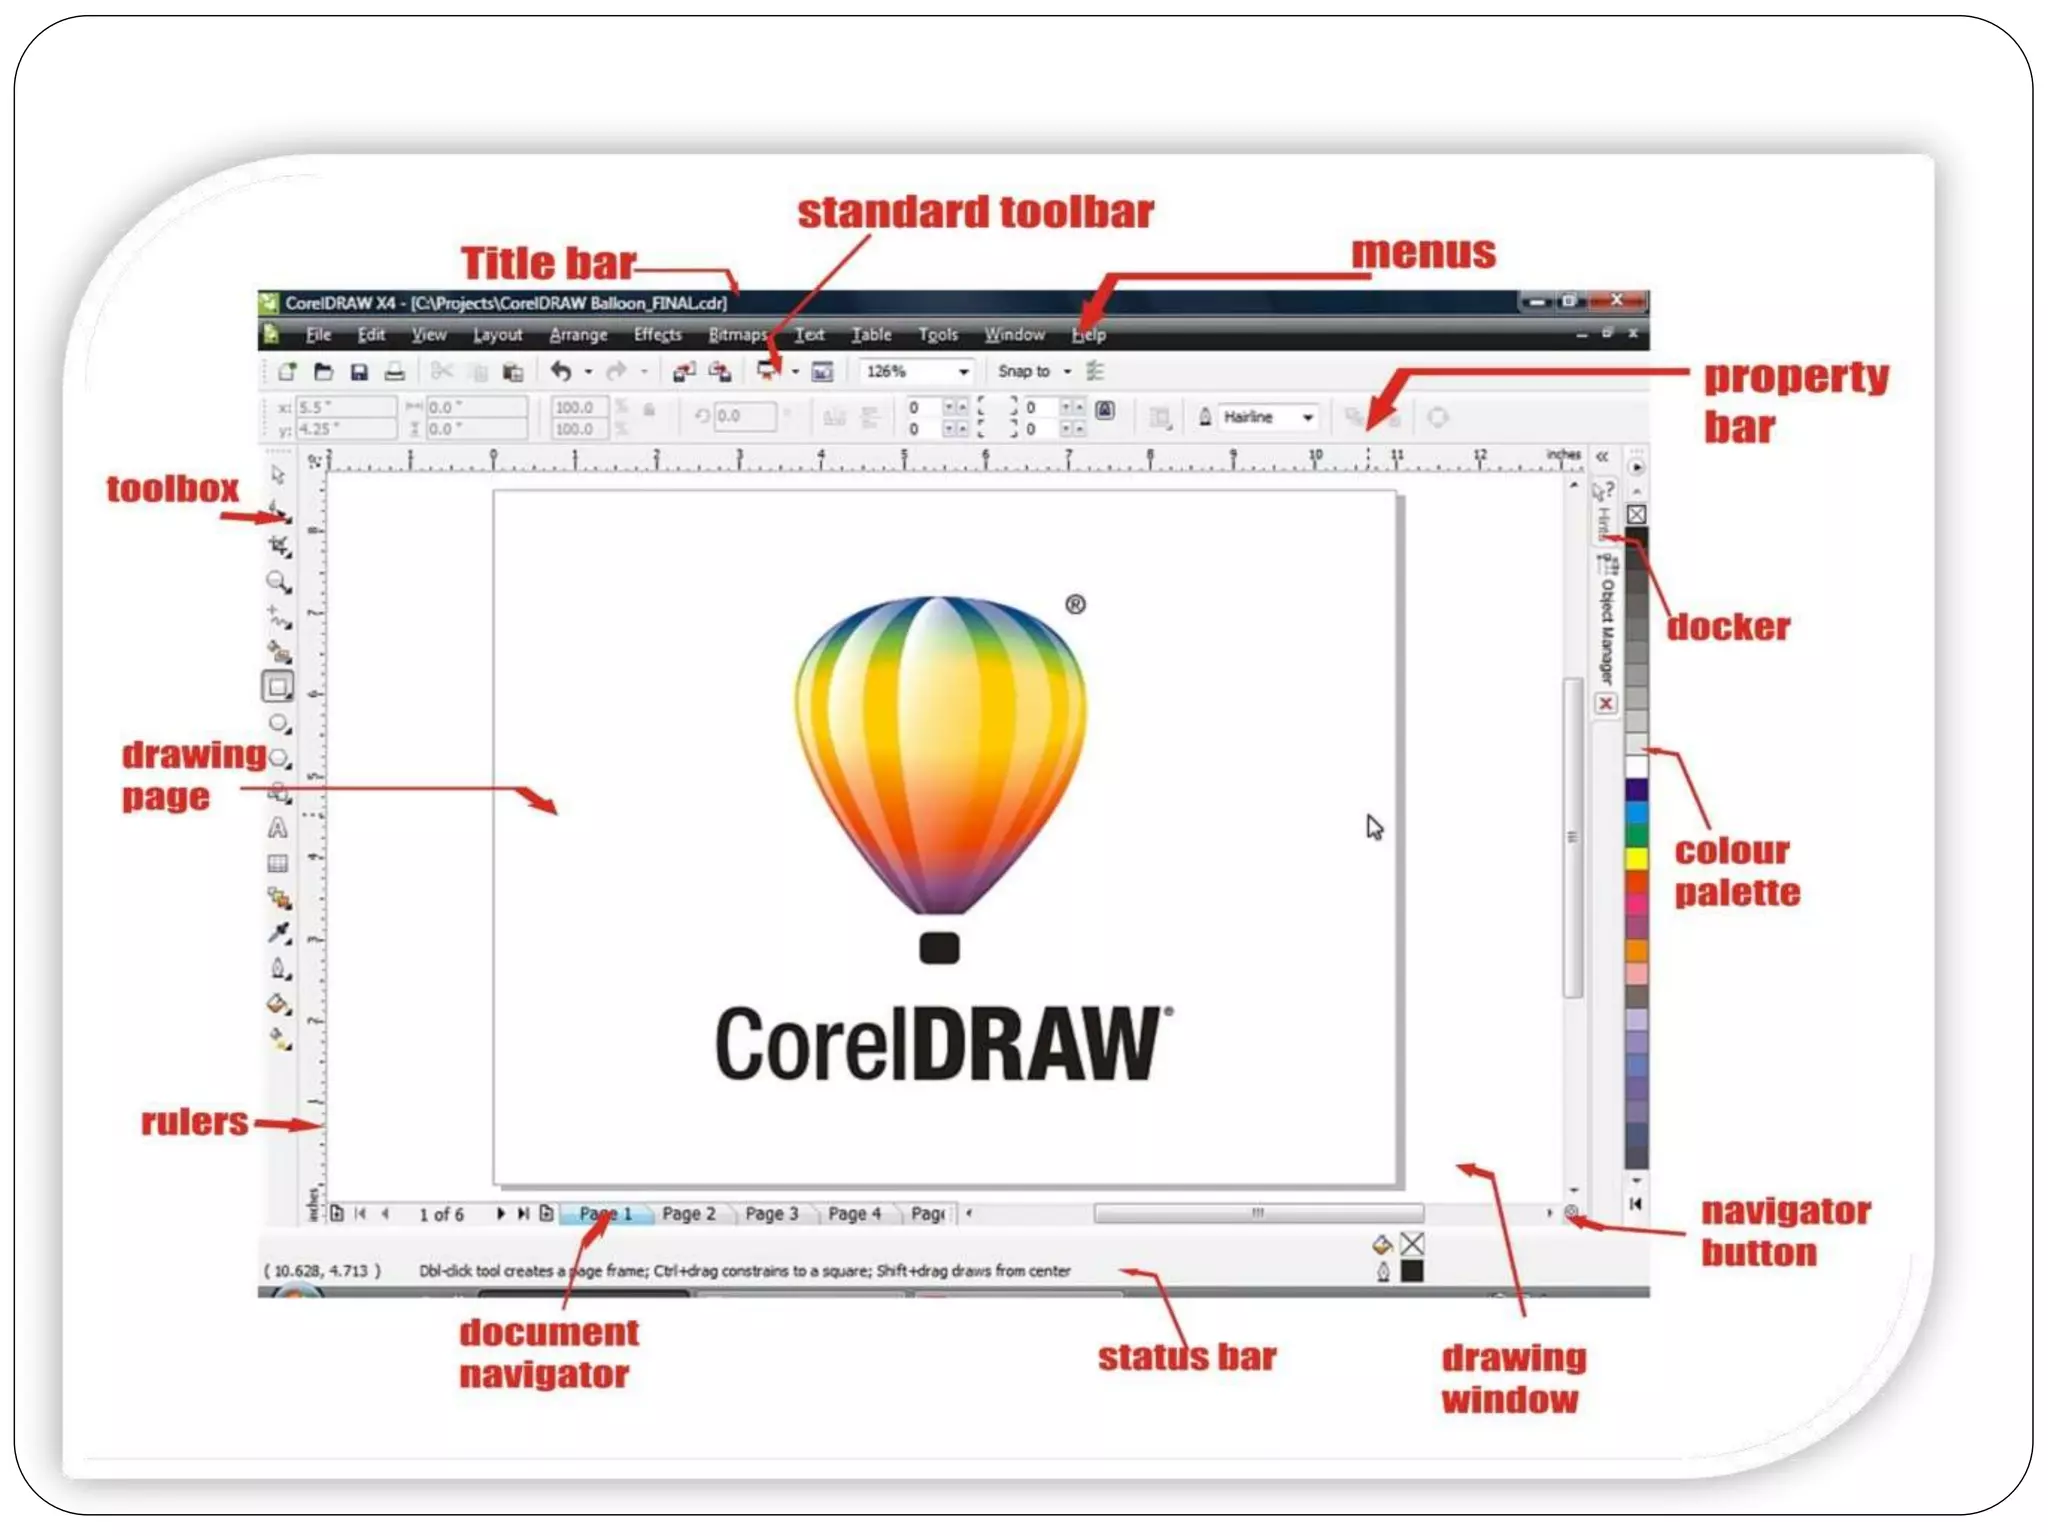
Overview of CorelDRAW's user interface components, including toolbars, docker, rulers, and document palette for effective navigation and drawing.
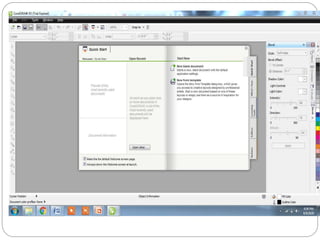
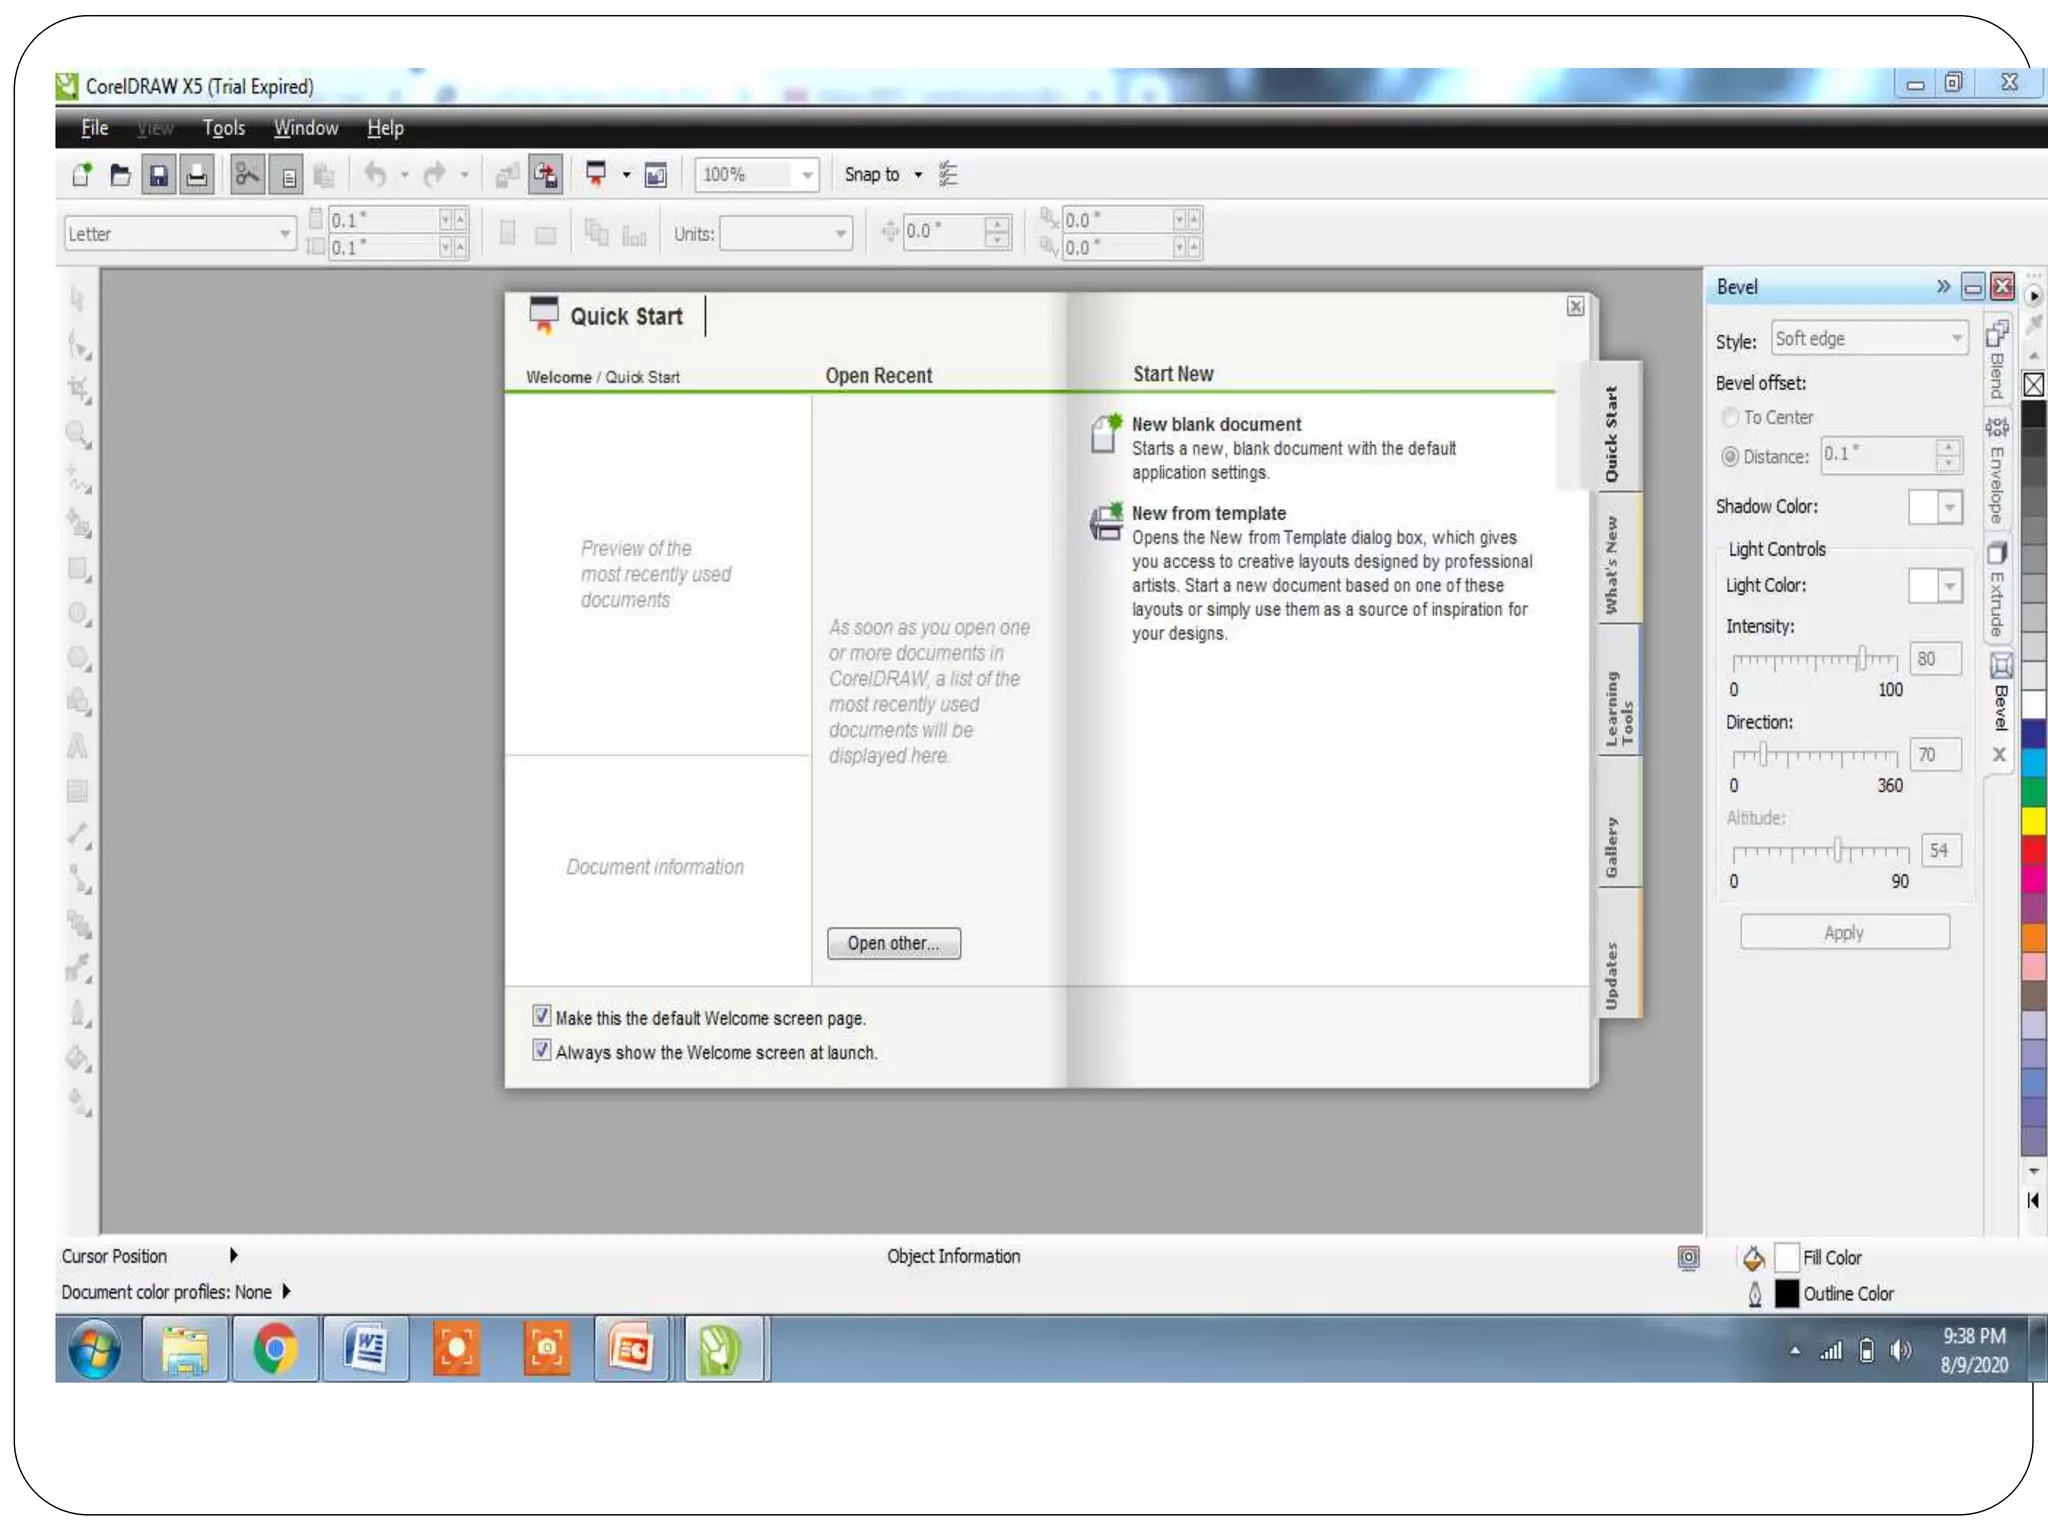
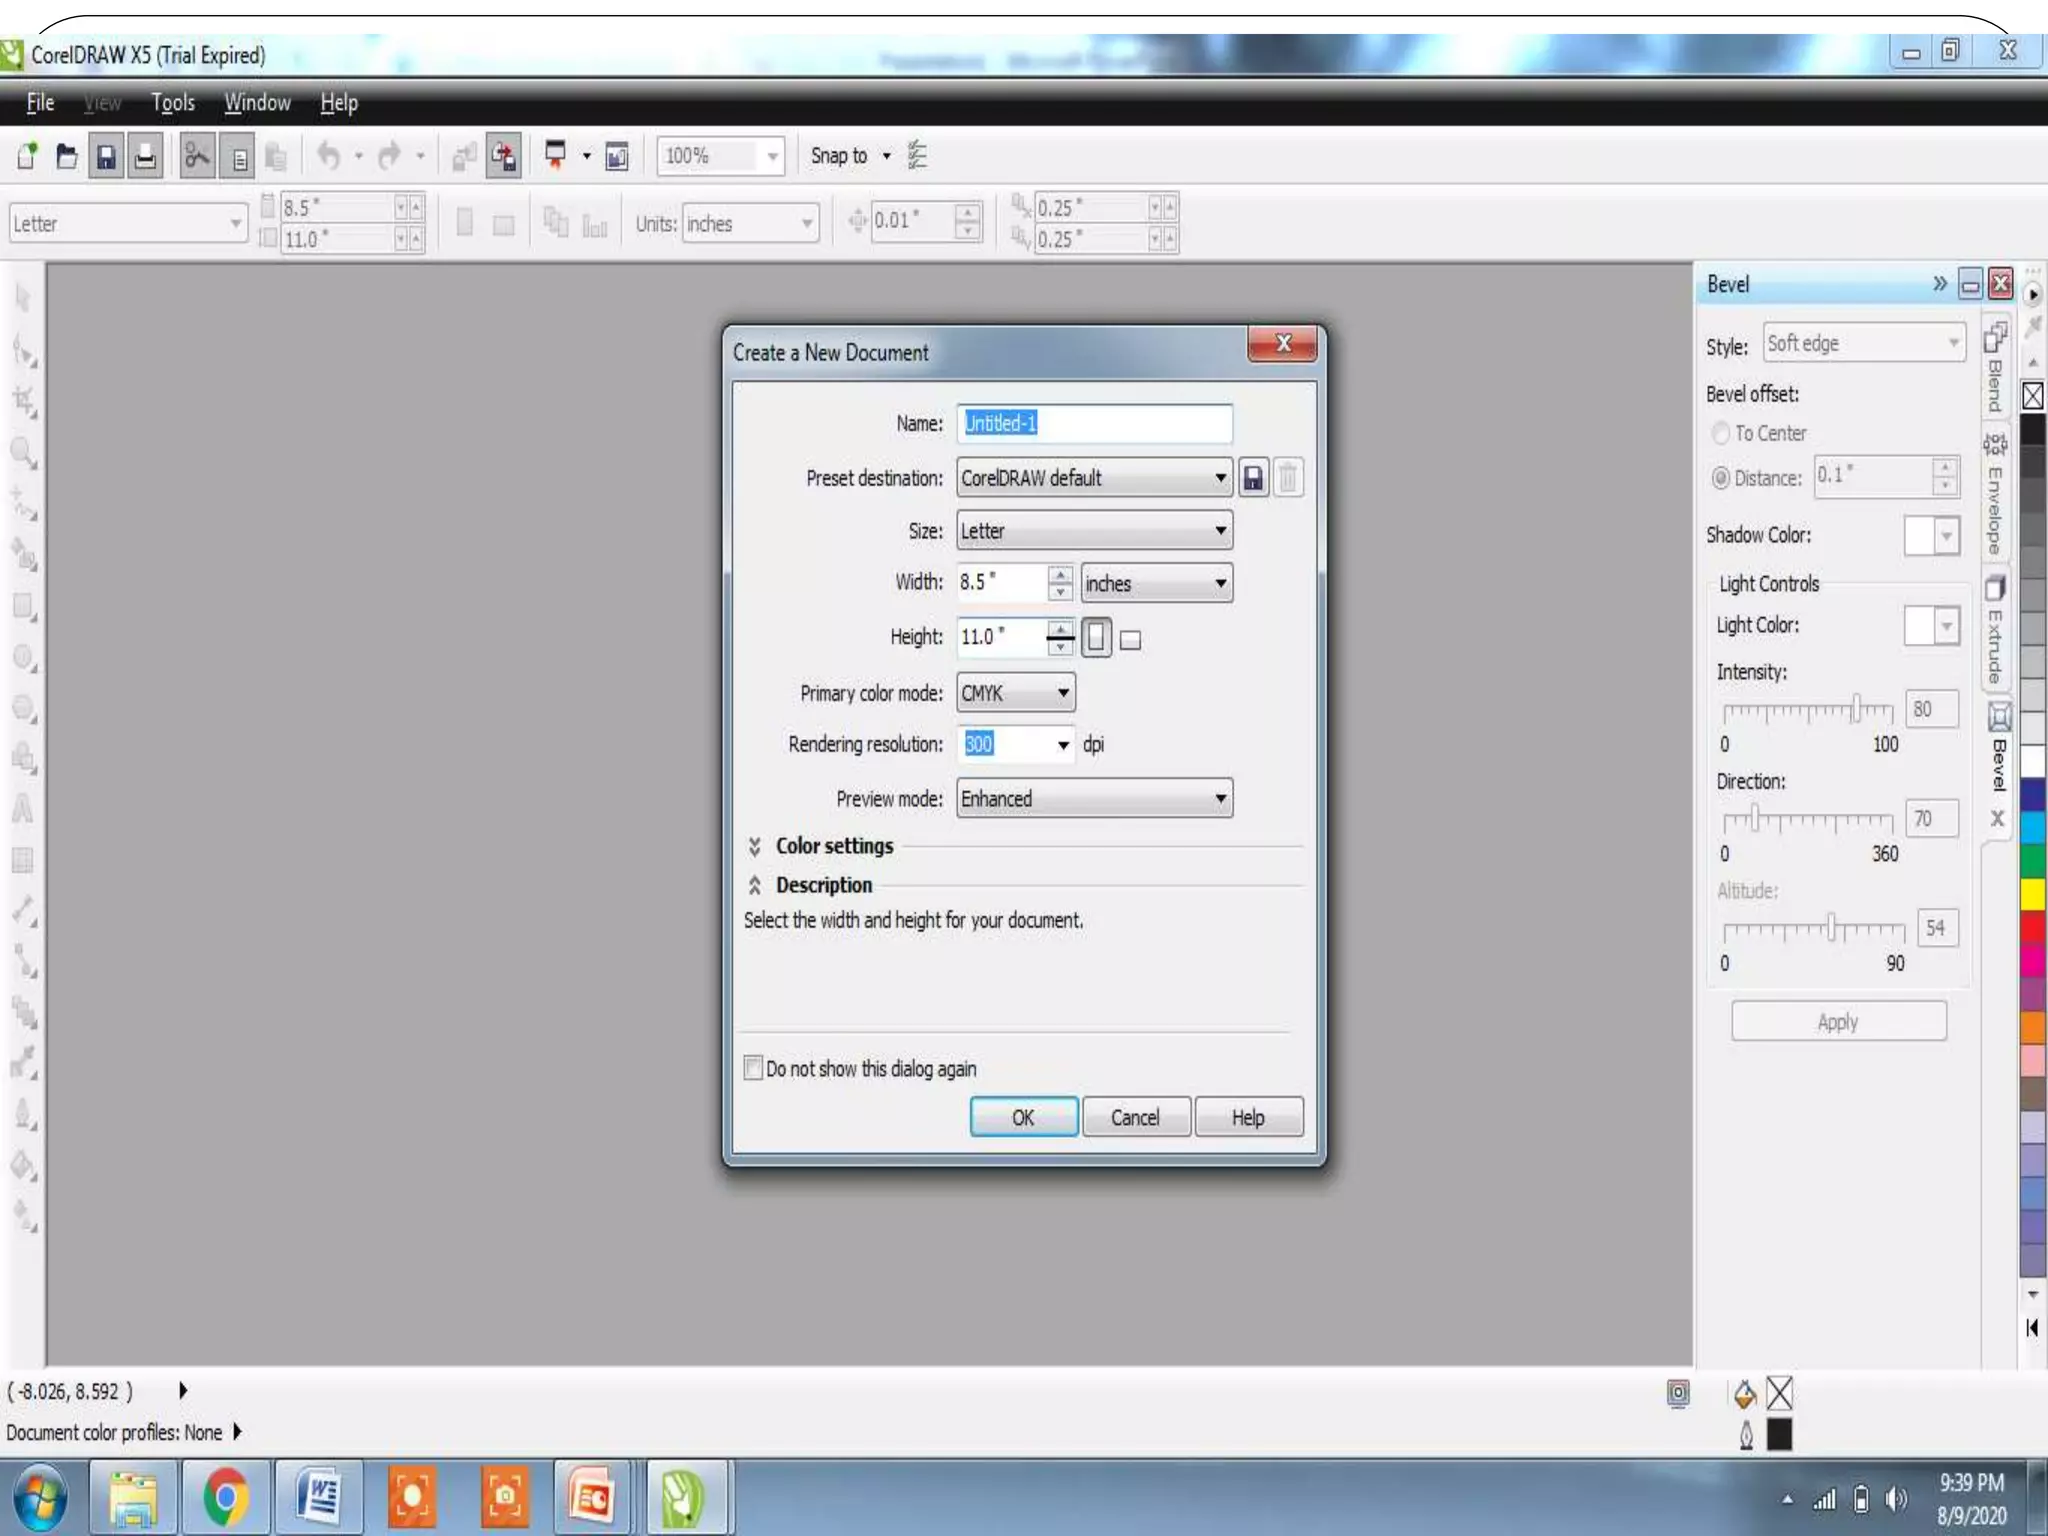
Instructions for creating a new file and detailing the functionalities of the title bar and menu bar, essential for design workflows.
A comprehensive overview of CorelDRAW tools, including selection, shape editing, cropping, and various drawing tools for effective graphic design.
Explains the interactive fill tool used for applying gradients, textures, and patterns in CorelDRAW to enhance visual design.
Outline
What isCorelDRAW
Advantages of CorelDRAW
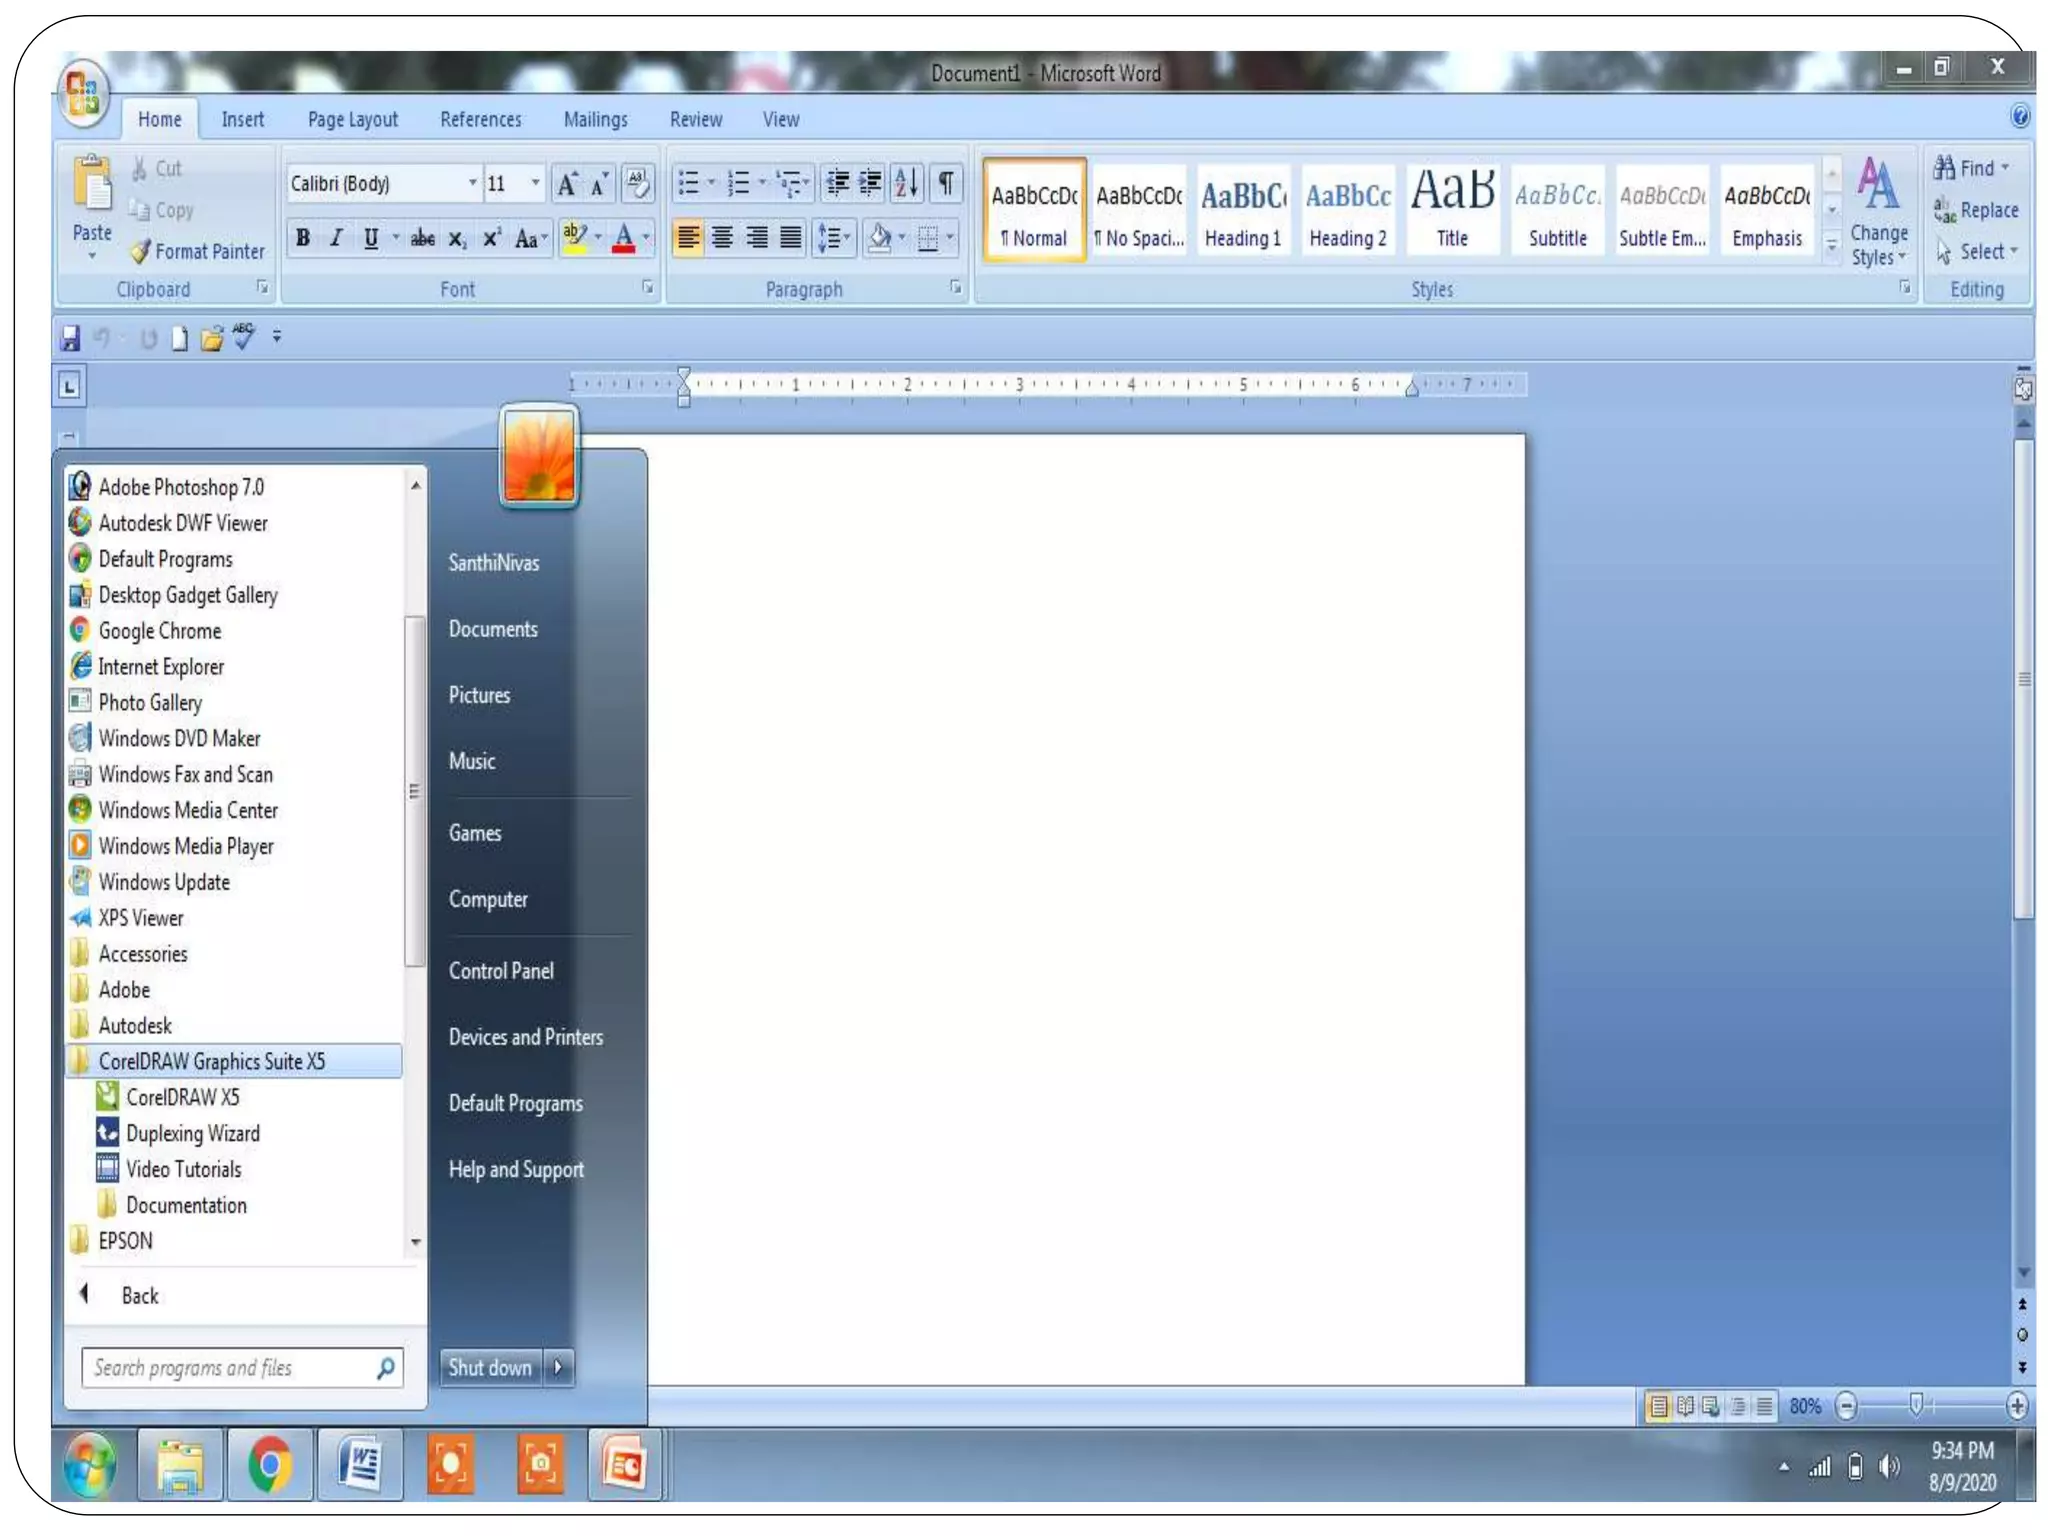
Getting Started with CorelDRAW
Components of CorelDRAW
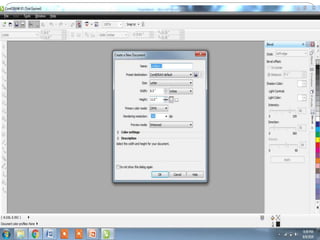
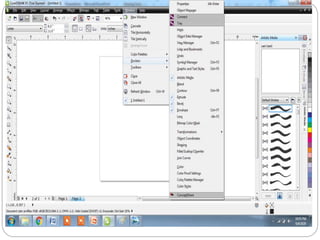
Creating a New File
Title Bar
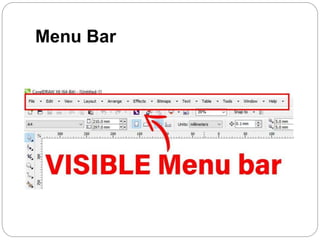
Menu Bar
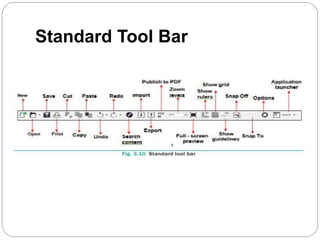
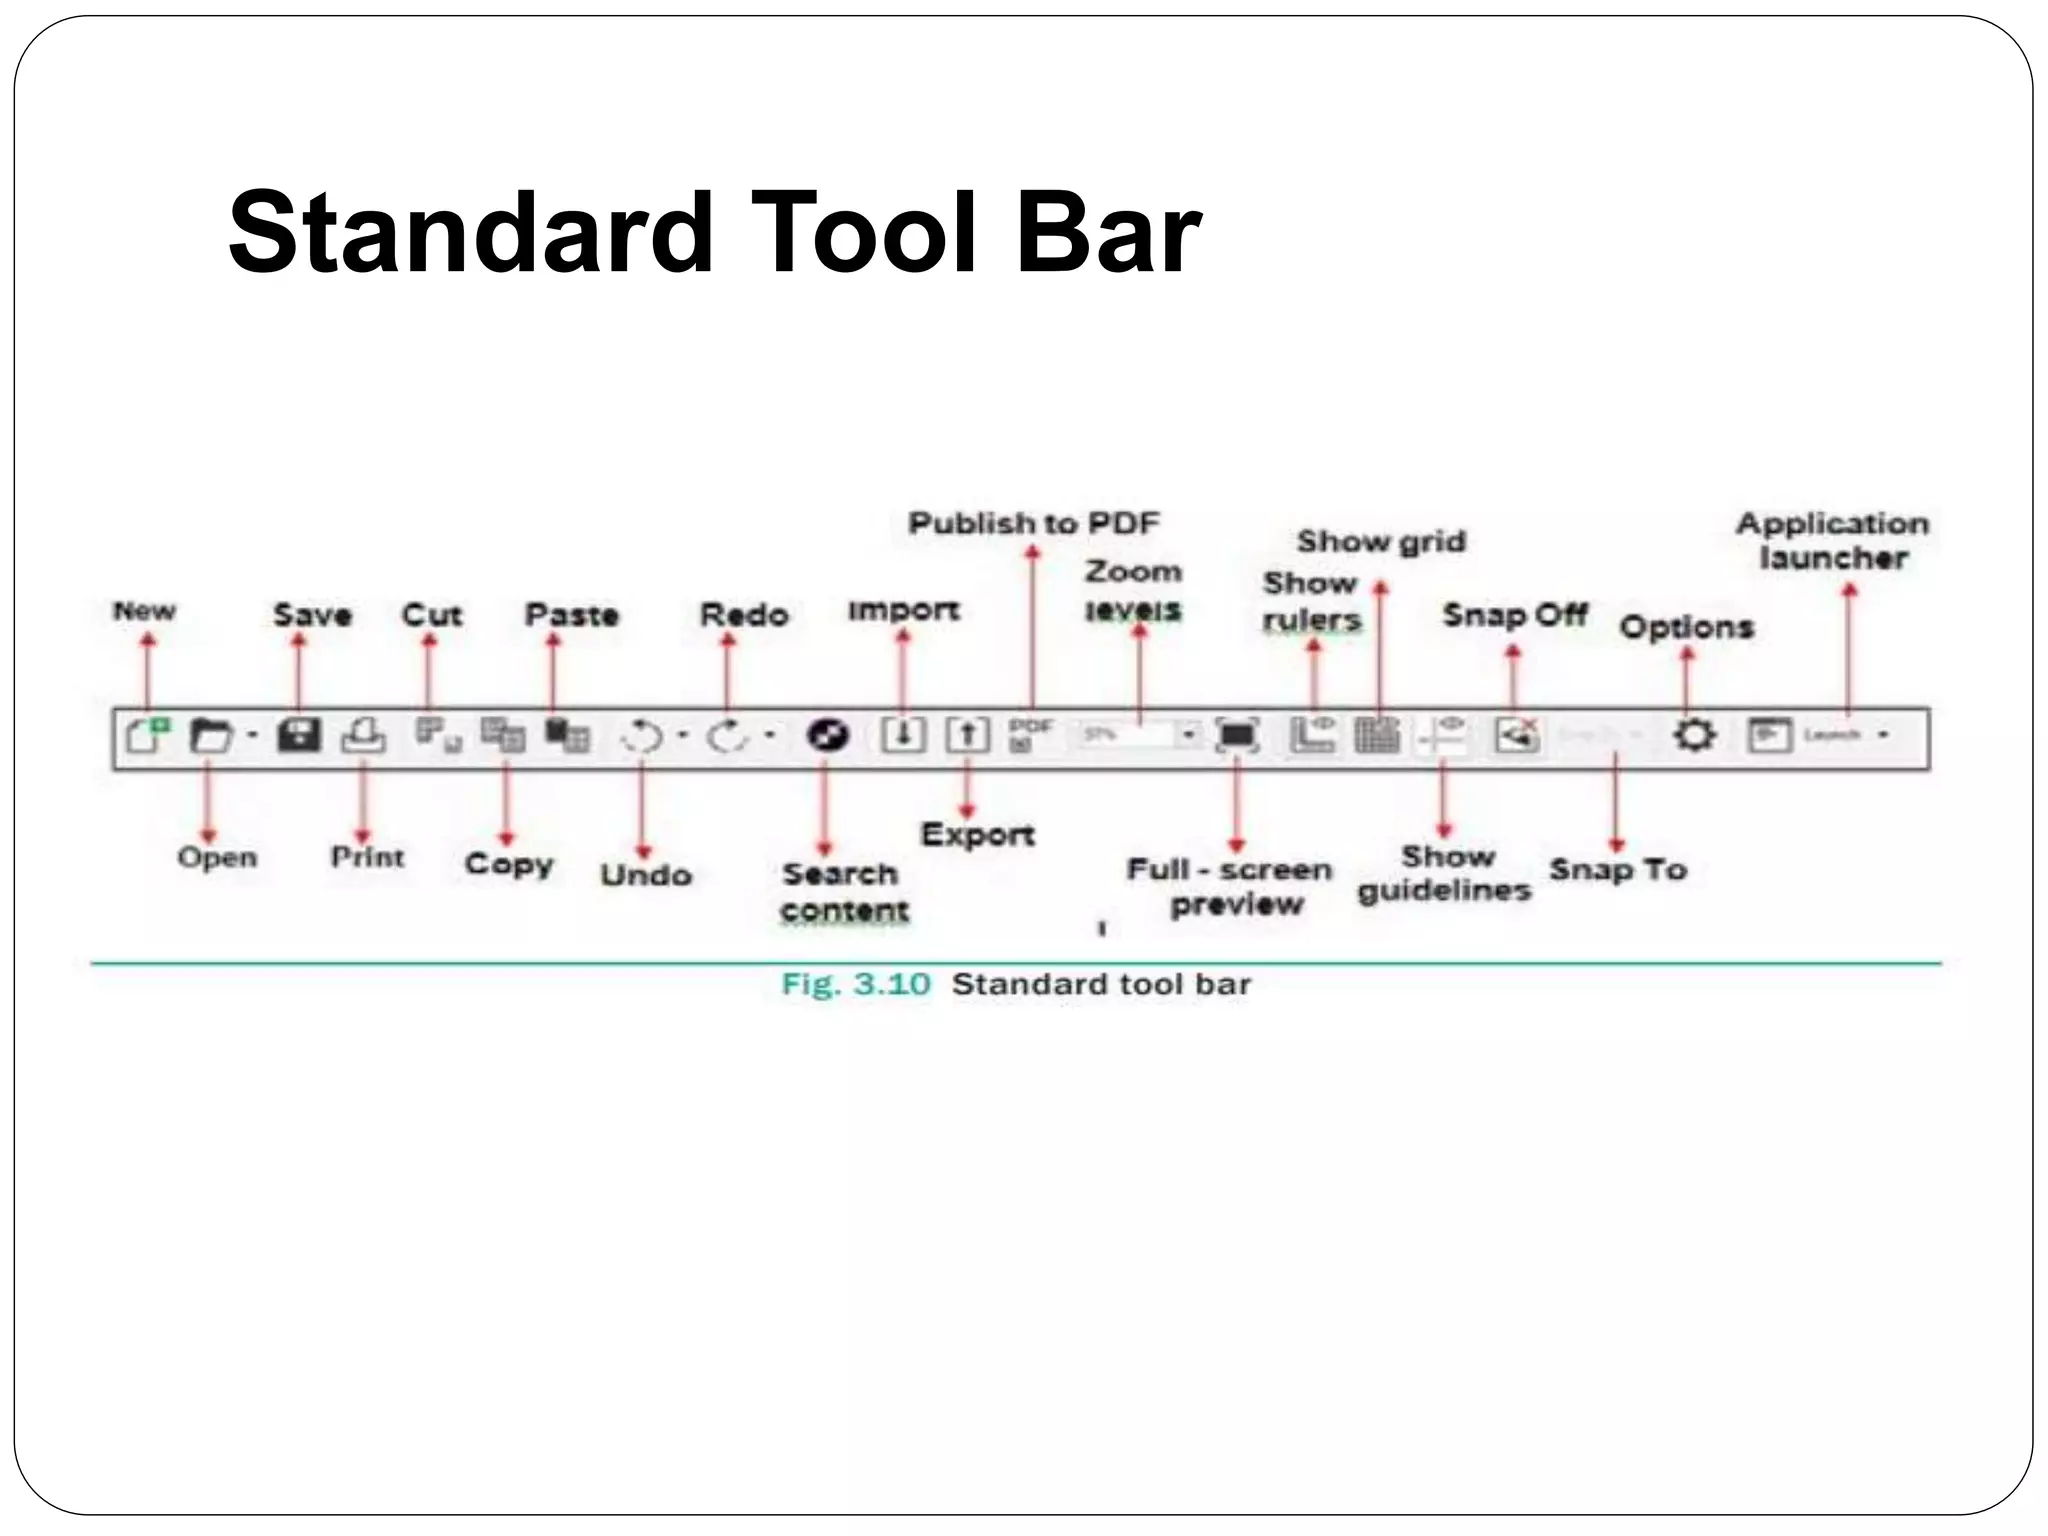
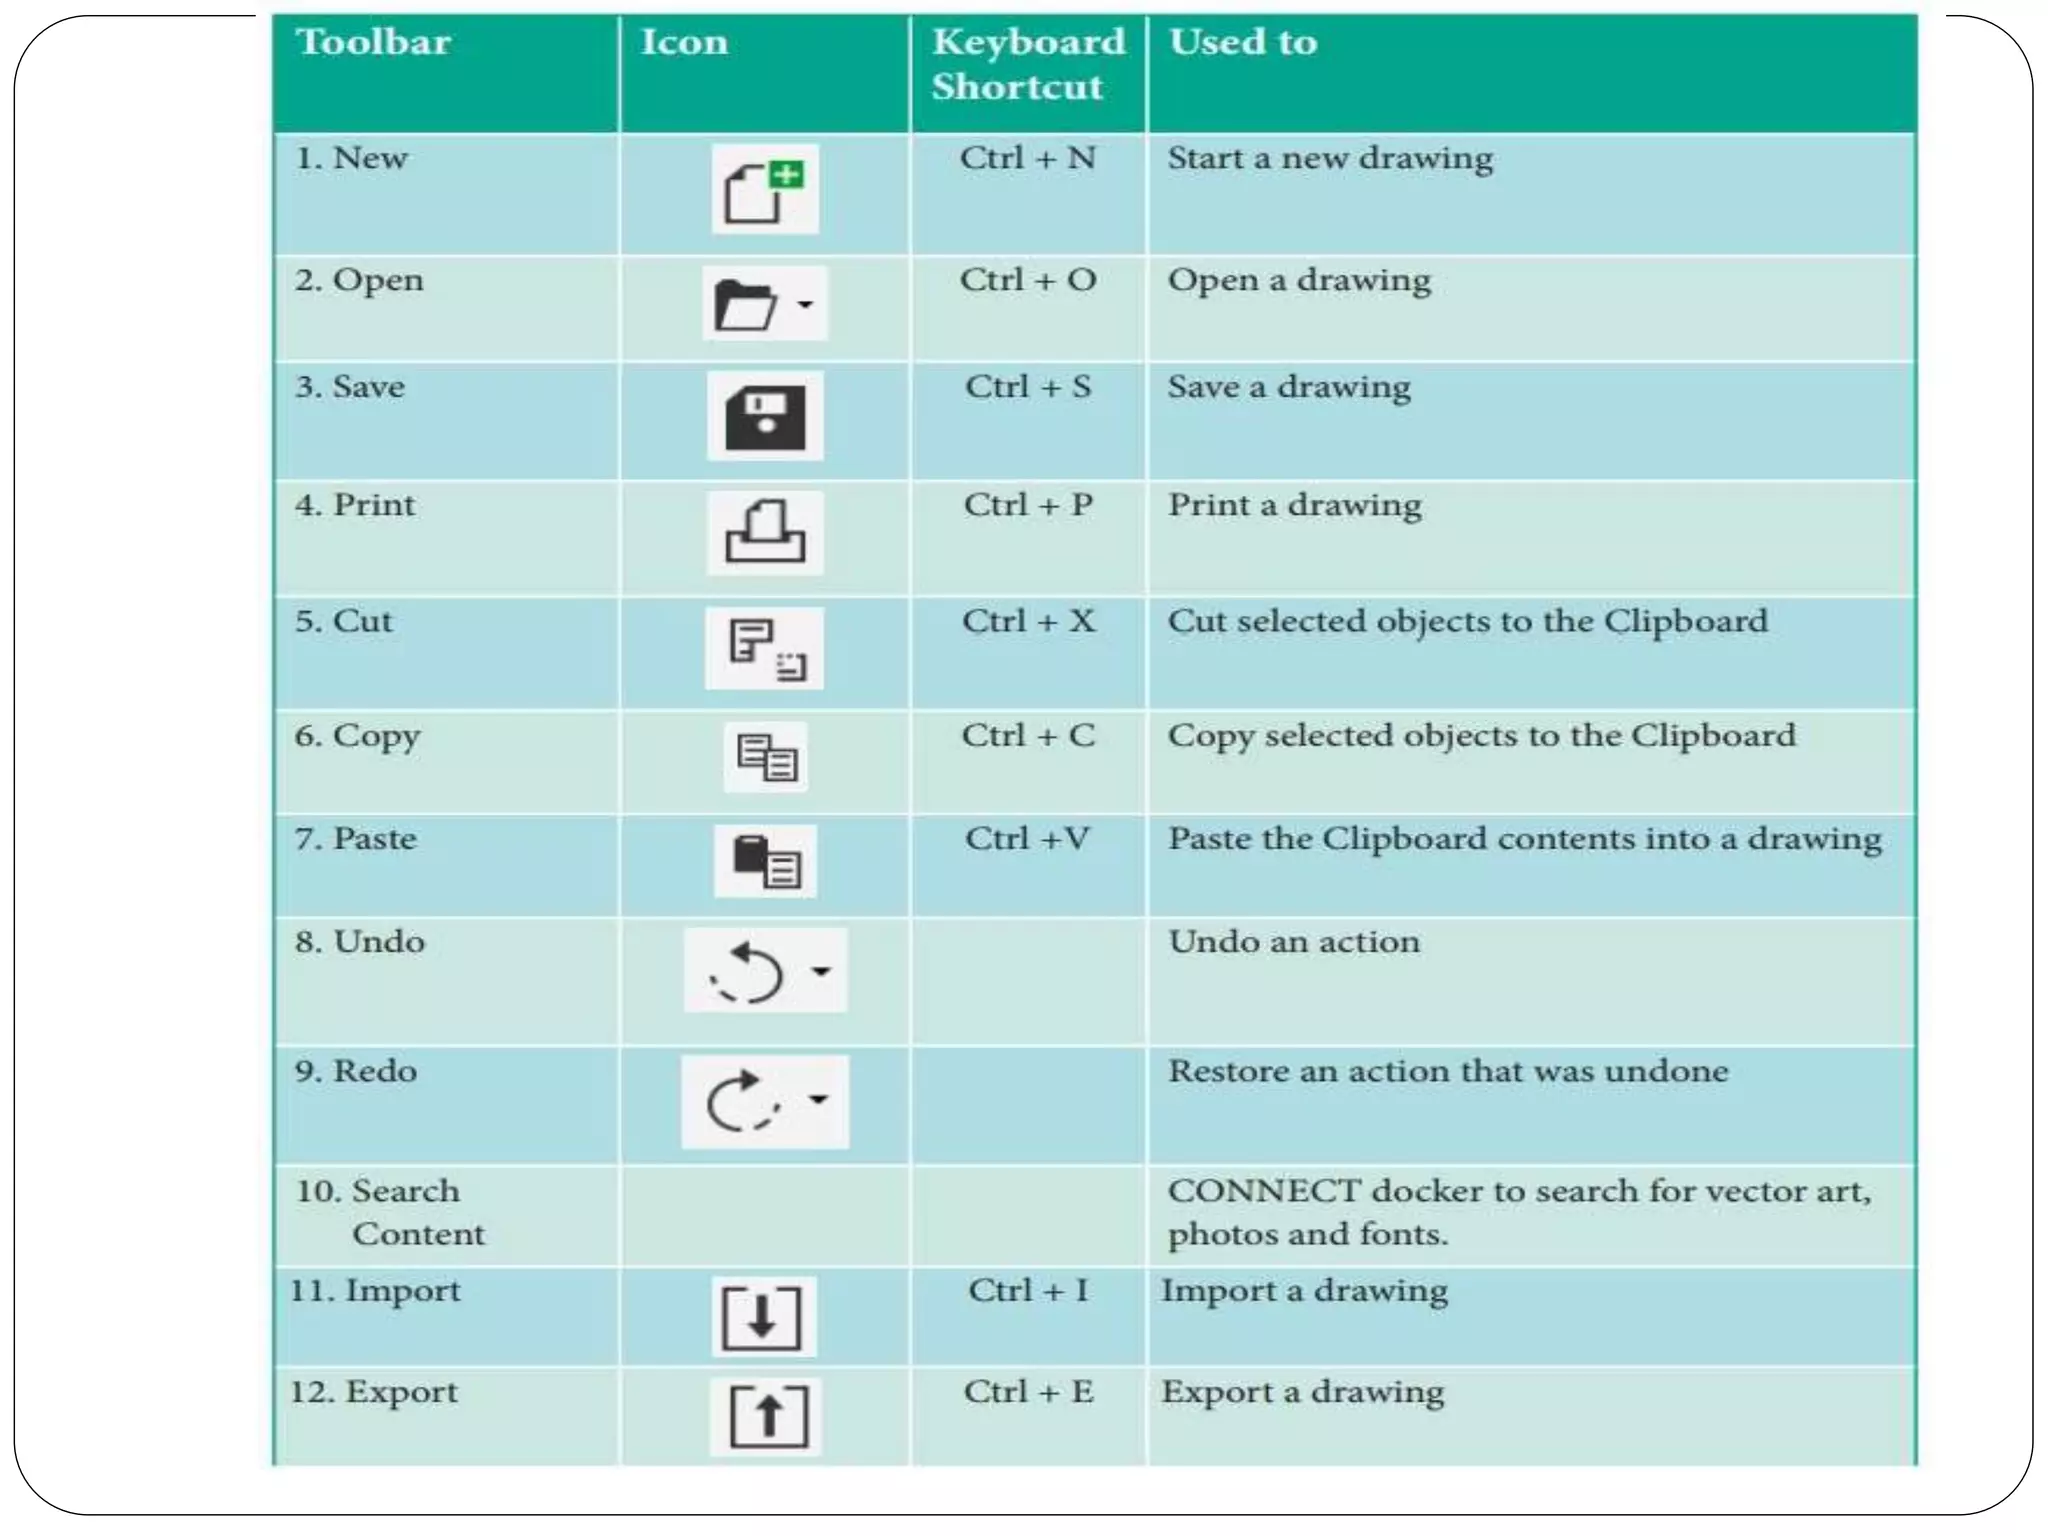
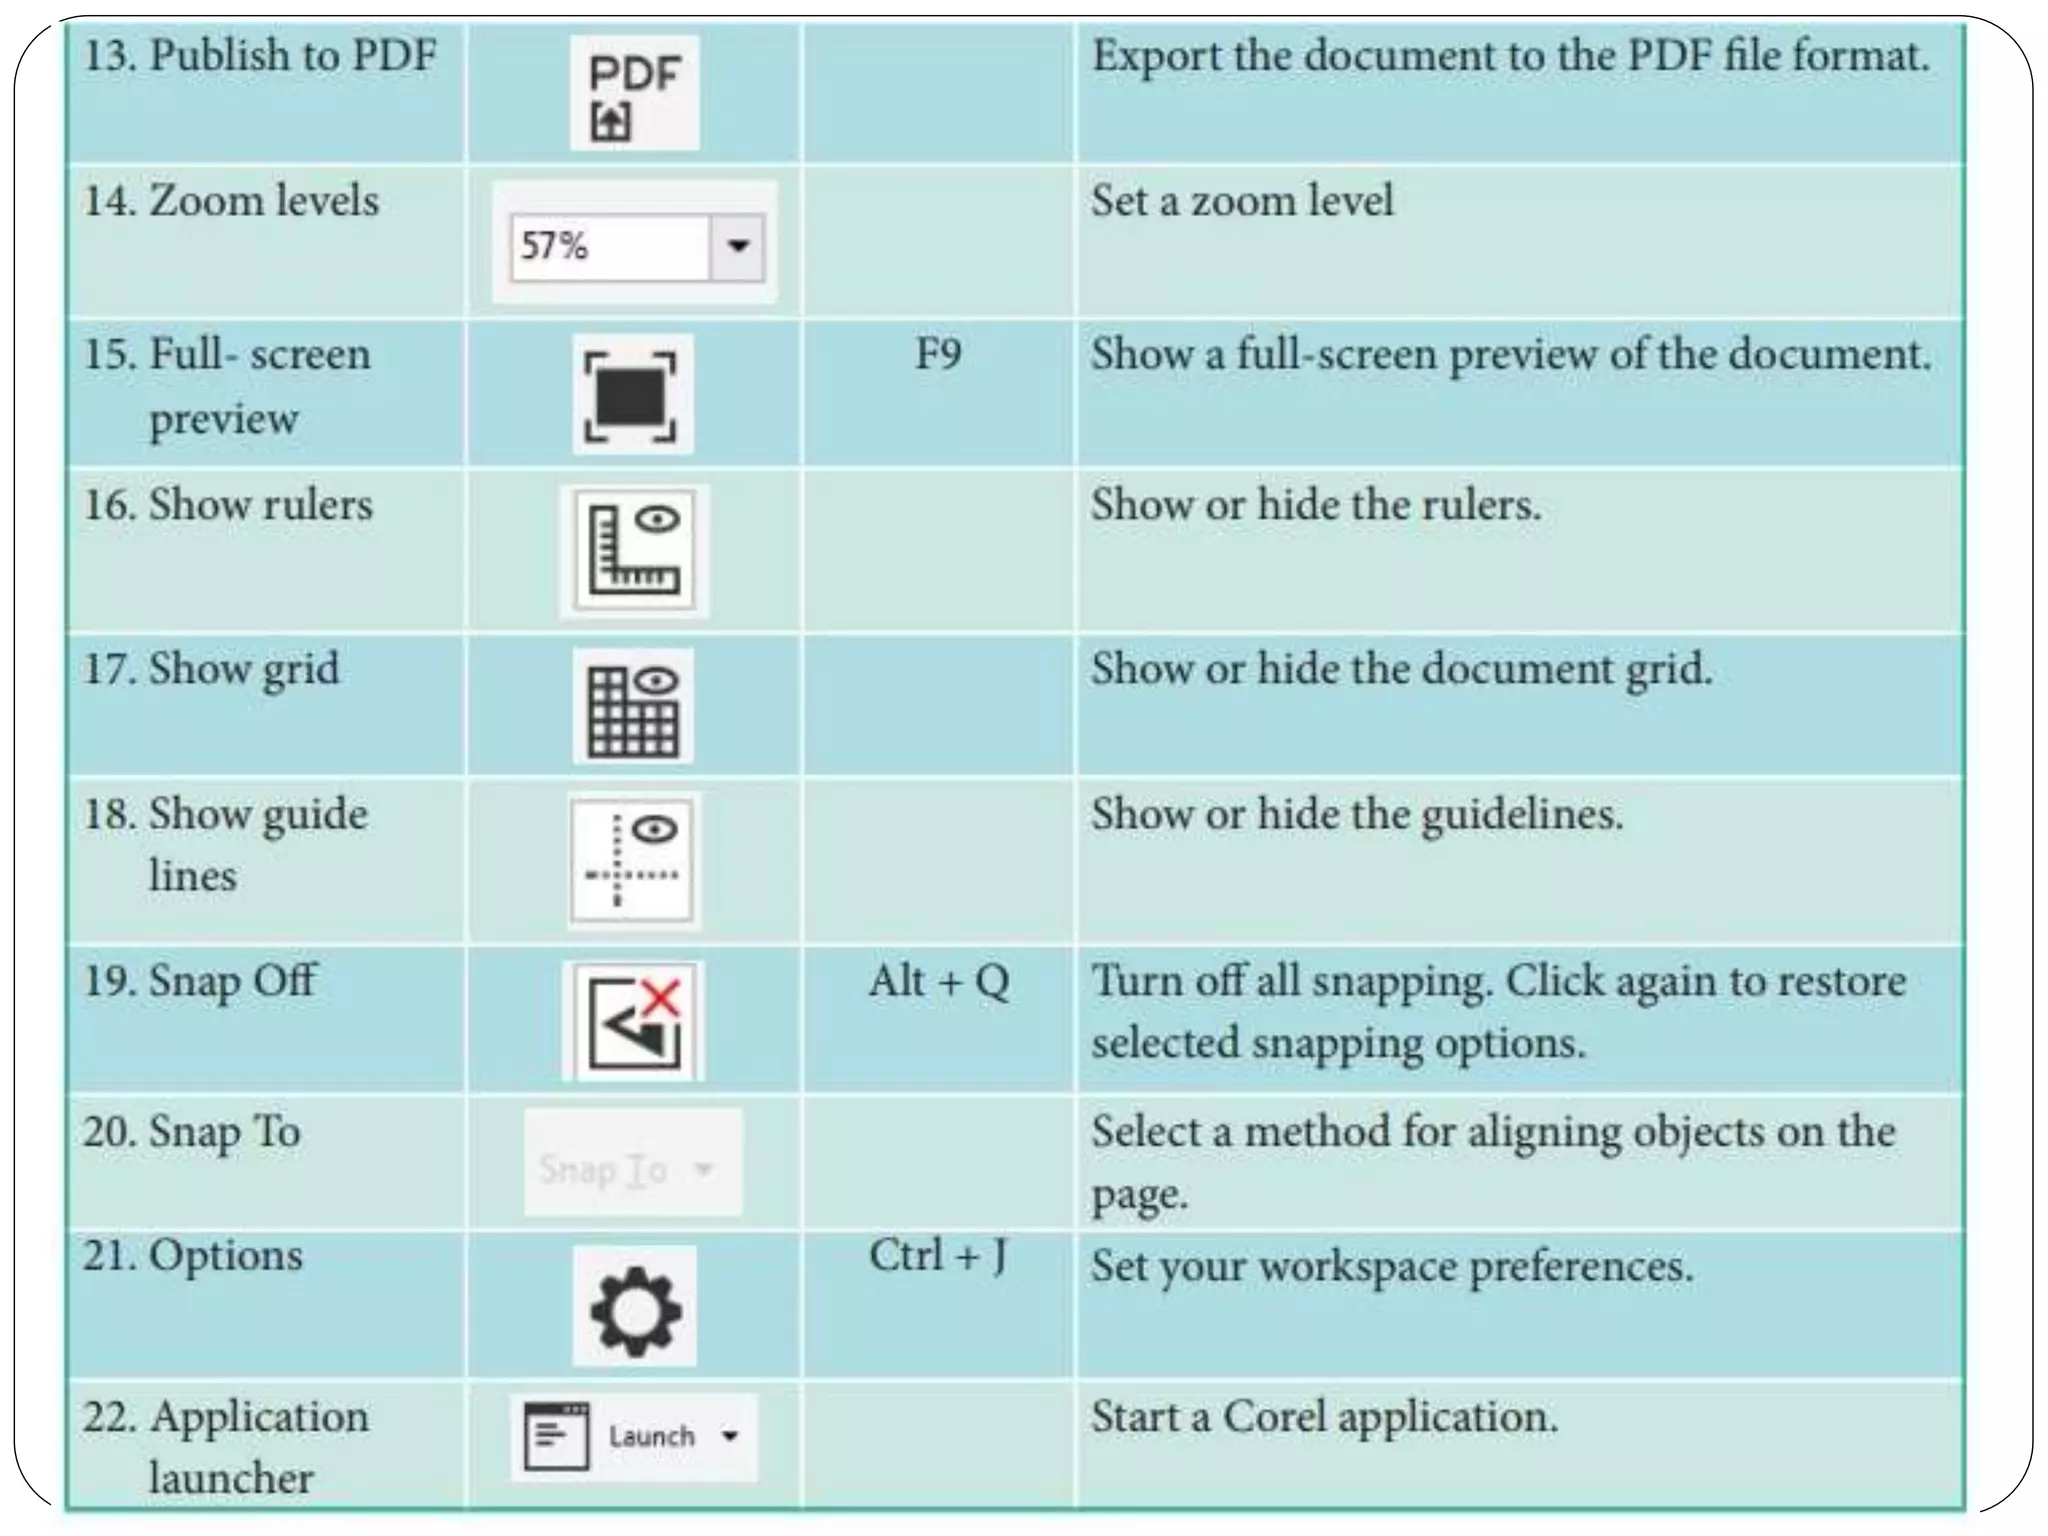
Standard Toolbar
Page Counter Bar
Dockers Window
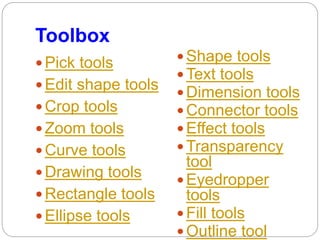
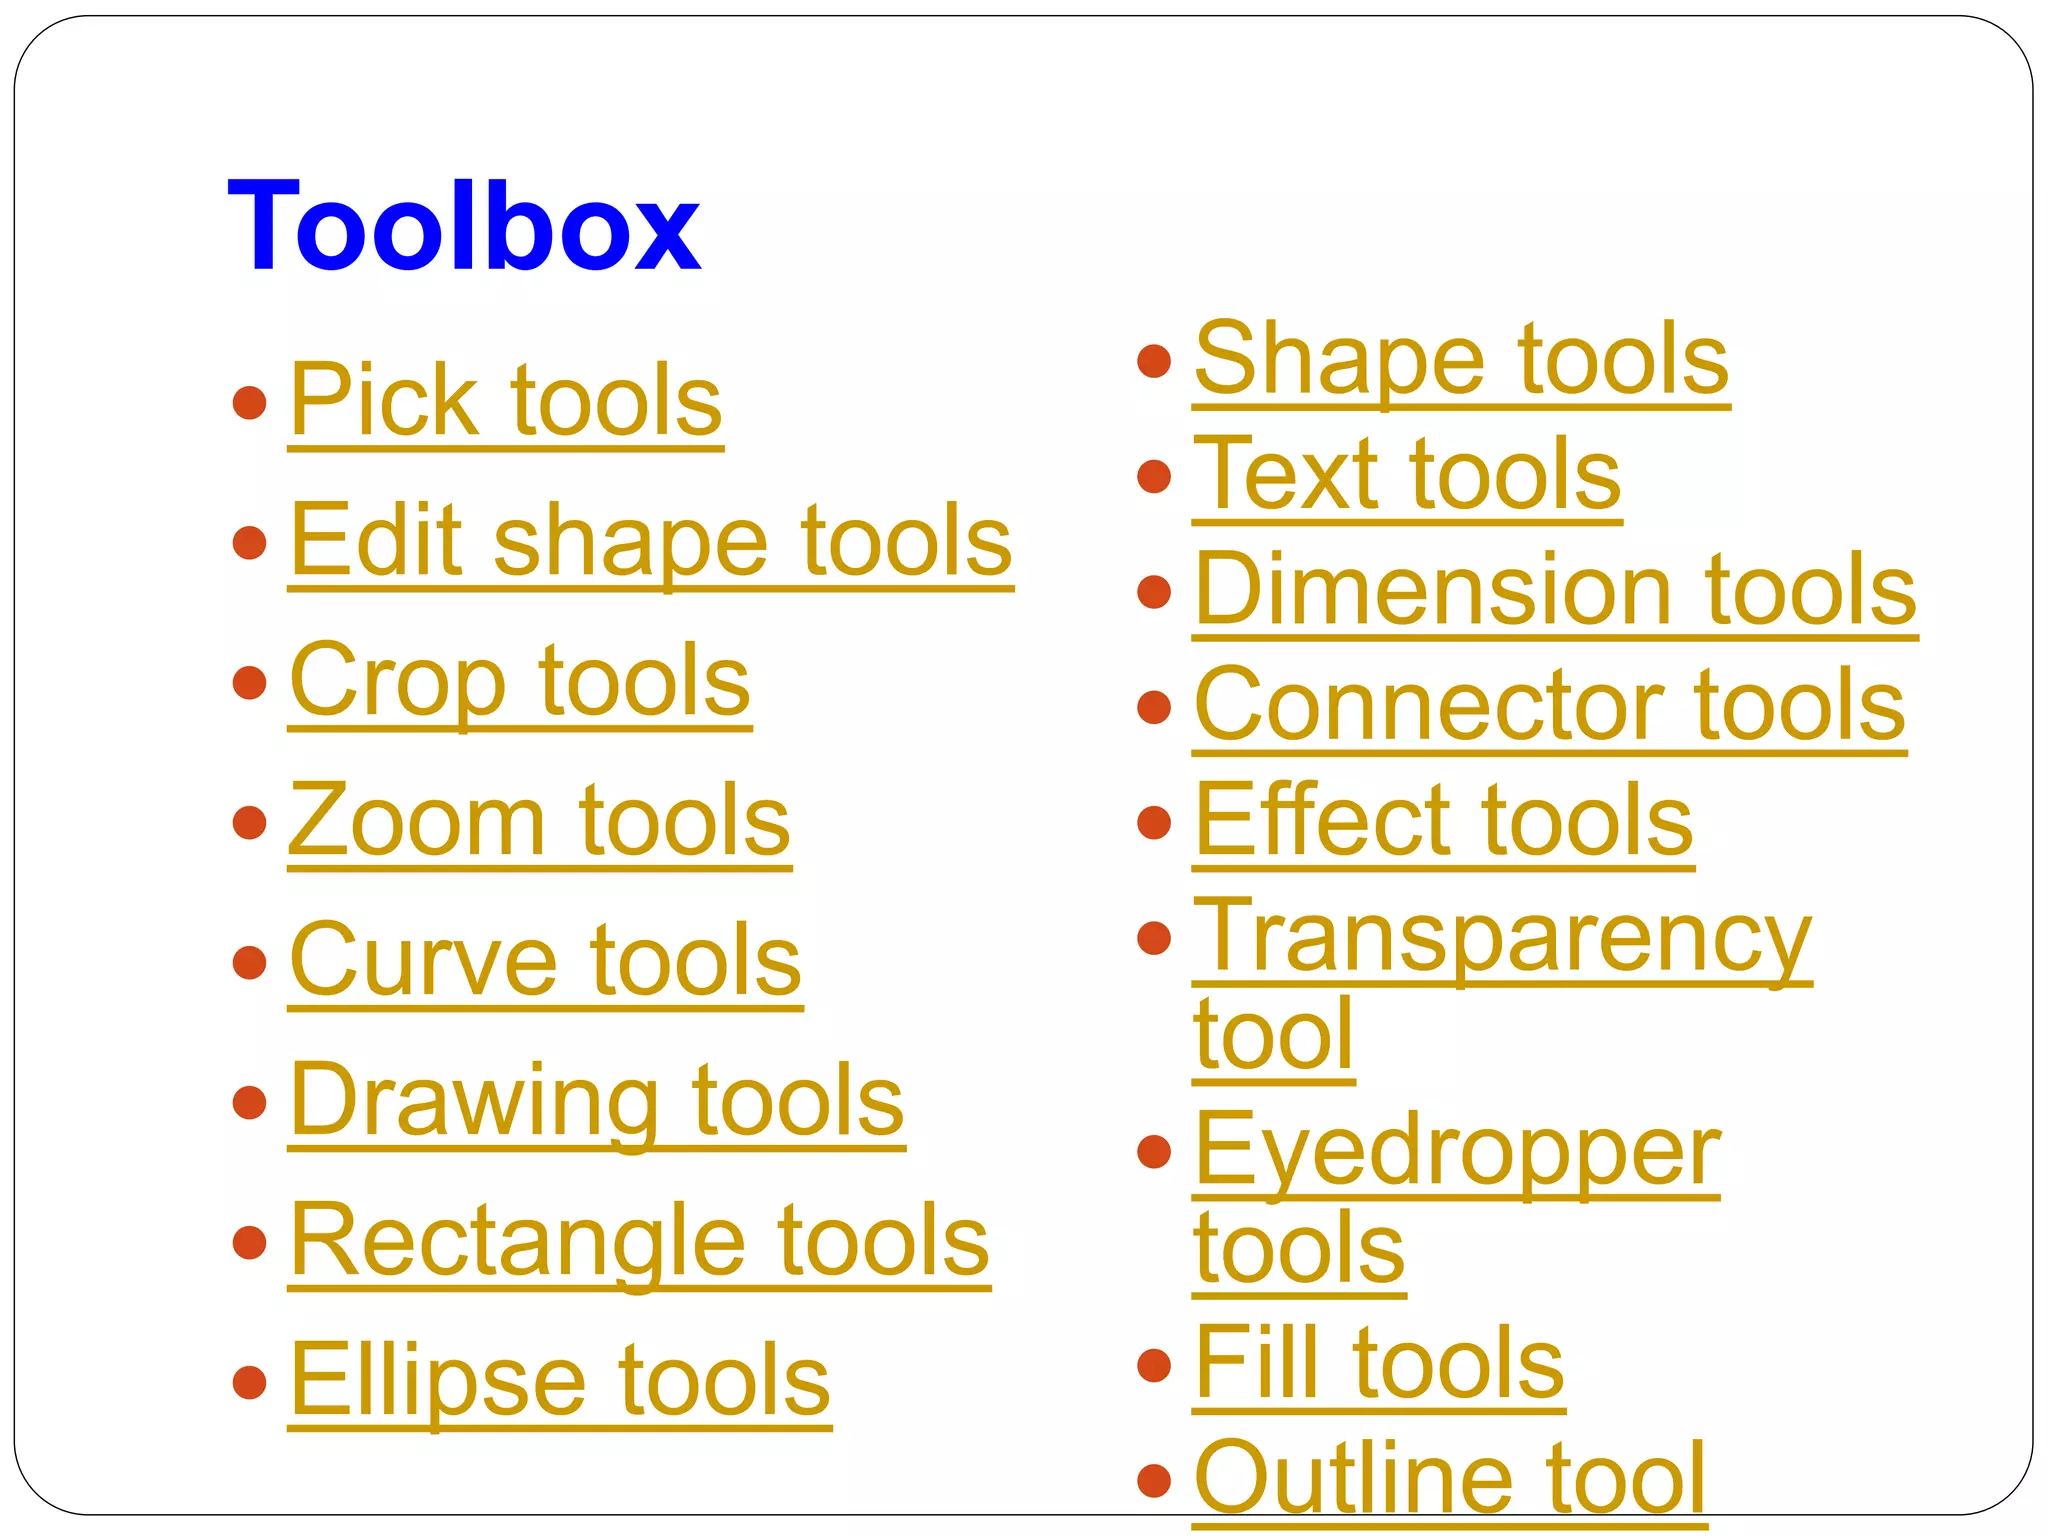
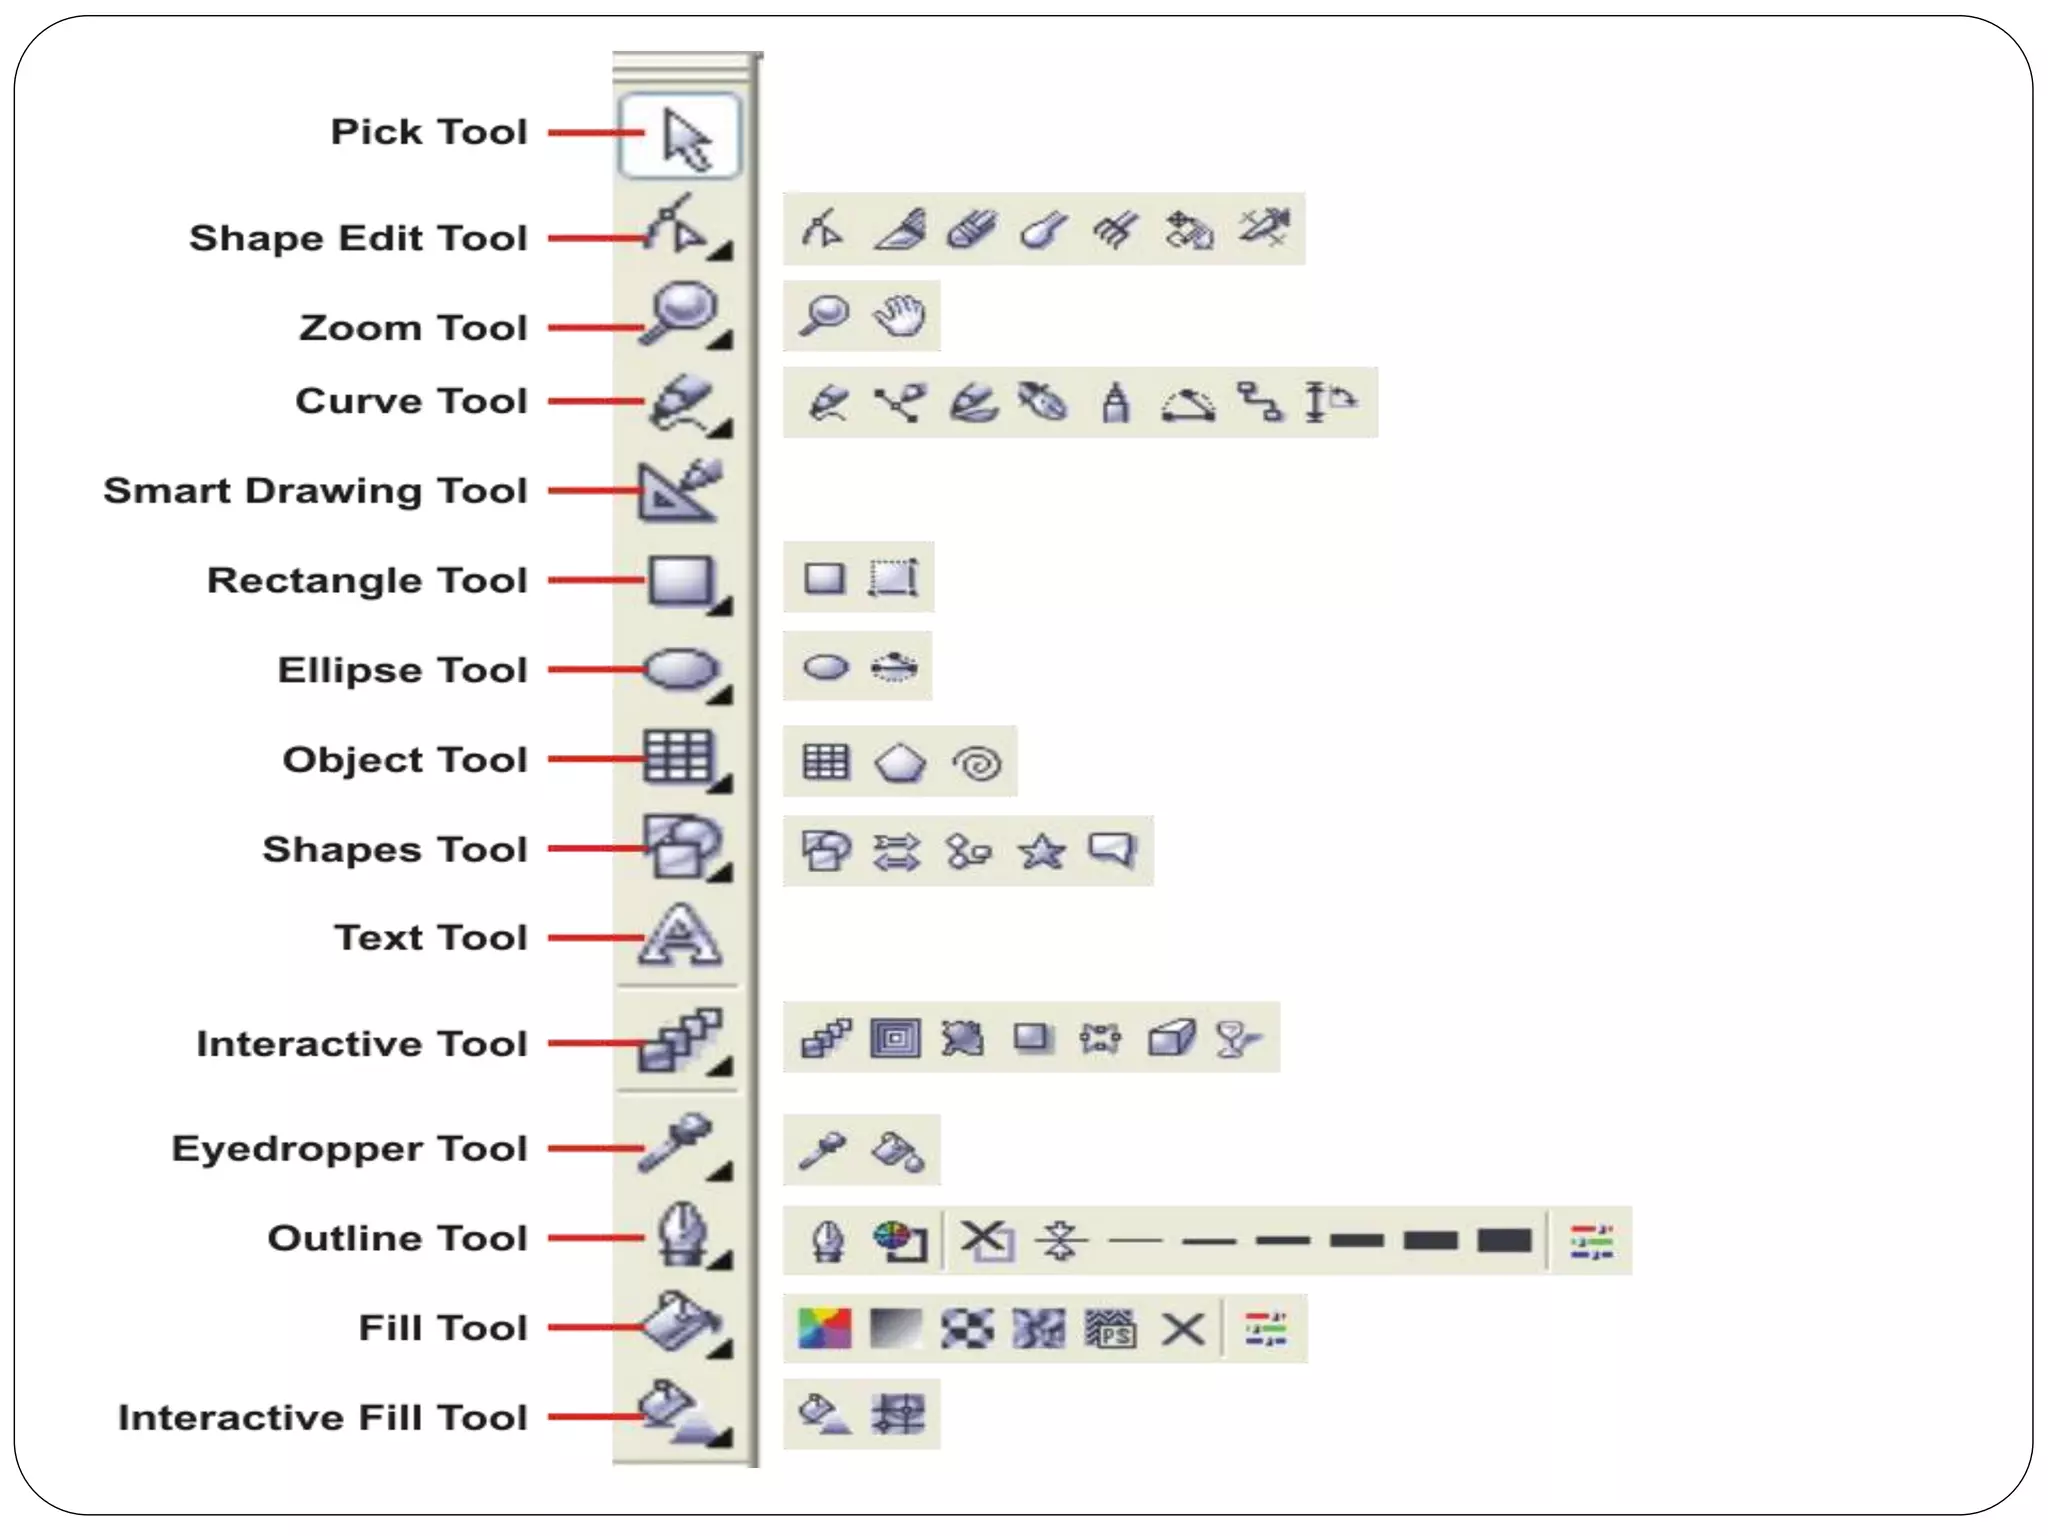
Toolbox
3.
Introduction to CorelDRAW
Corel Draw is a vector-based drawing
program(software) that makes it easy to create
professional artwork from simple logos to intricate
technical illustrations.
It provides tools and effects that make it possible
to work efficiently to produce high-quality graphics
CorelDRAW is a vector graphics editor
developed and marketed by Corel Coperation. ...
The latest version is marketed
as CorelDraw Graphics Suite 2020 (equivalent to
version 22), and was released in March,2020.
CorelDraw is designed to edit two-dimensional
images such as logos and posters.
4.
CorelDraw
Coreldraw isvector-based designing software
that is used for creating logos, flexes, brochures,
invitation cards and any kind of vector designing
based on the lining.
The main difference between the two is the
technology on which they are based
upon. Photoshop is pixel-based,
whereas CorelDraw is mainly used for vector-
based graphics
5.
Advantages of Using
CorelDRAW
Import option and export images
User friendly
Deals with any type of designing
Different types of Color Options
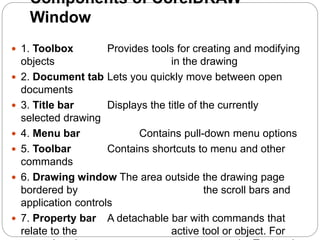
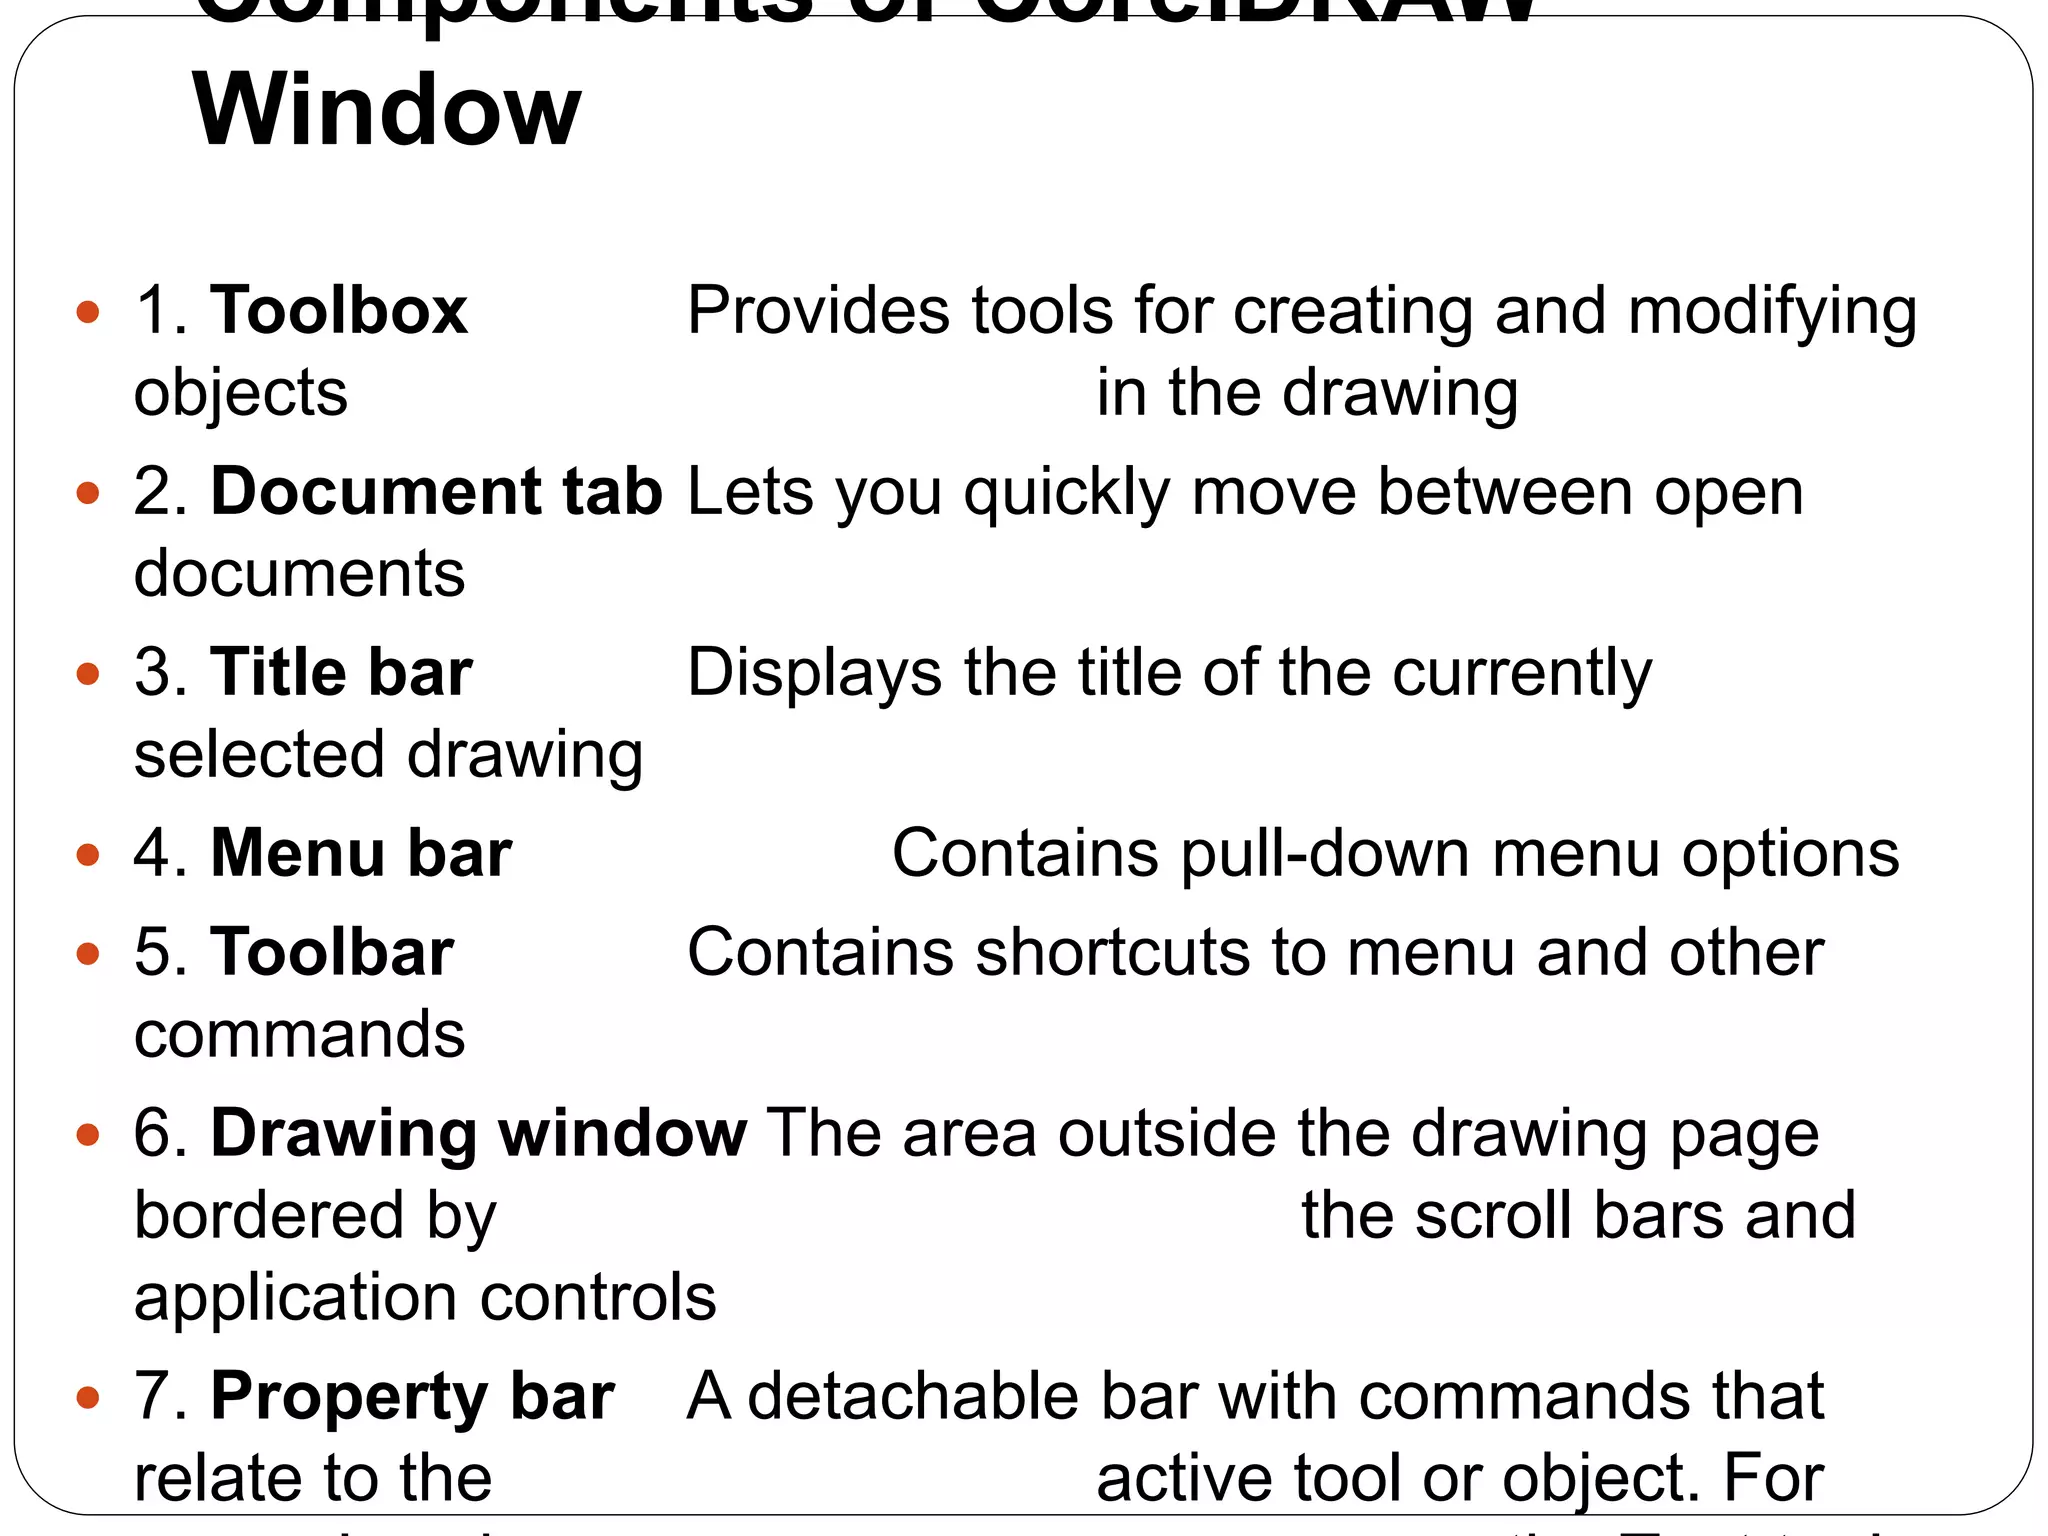
1. ToolboxProvides tools for creating and modifying
objects in the drawing
2. Document tab Lets you quickly move between open
documents
3. Title bar Displays the title of the currently
selected drawing
4. Menu bar Contains pull-down menu options
5. Toolbar Contains shortcuts to menu and other
commands
6. Drawing window The area outside the drawing page
bordered by the scroll bars and
application controls
7. Property bar A detachable bar with commands that
relate to the active tool or object. For
Components of CorelDRAW
Window
14.
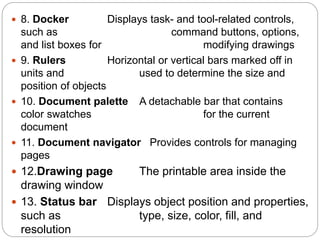
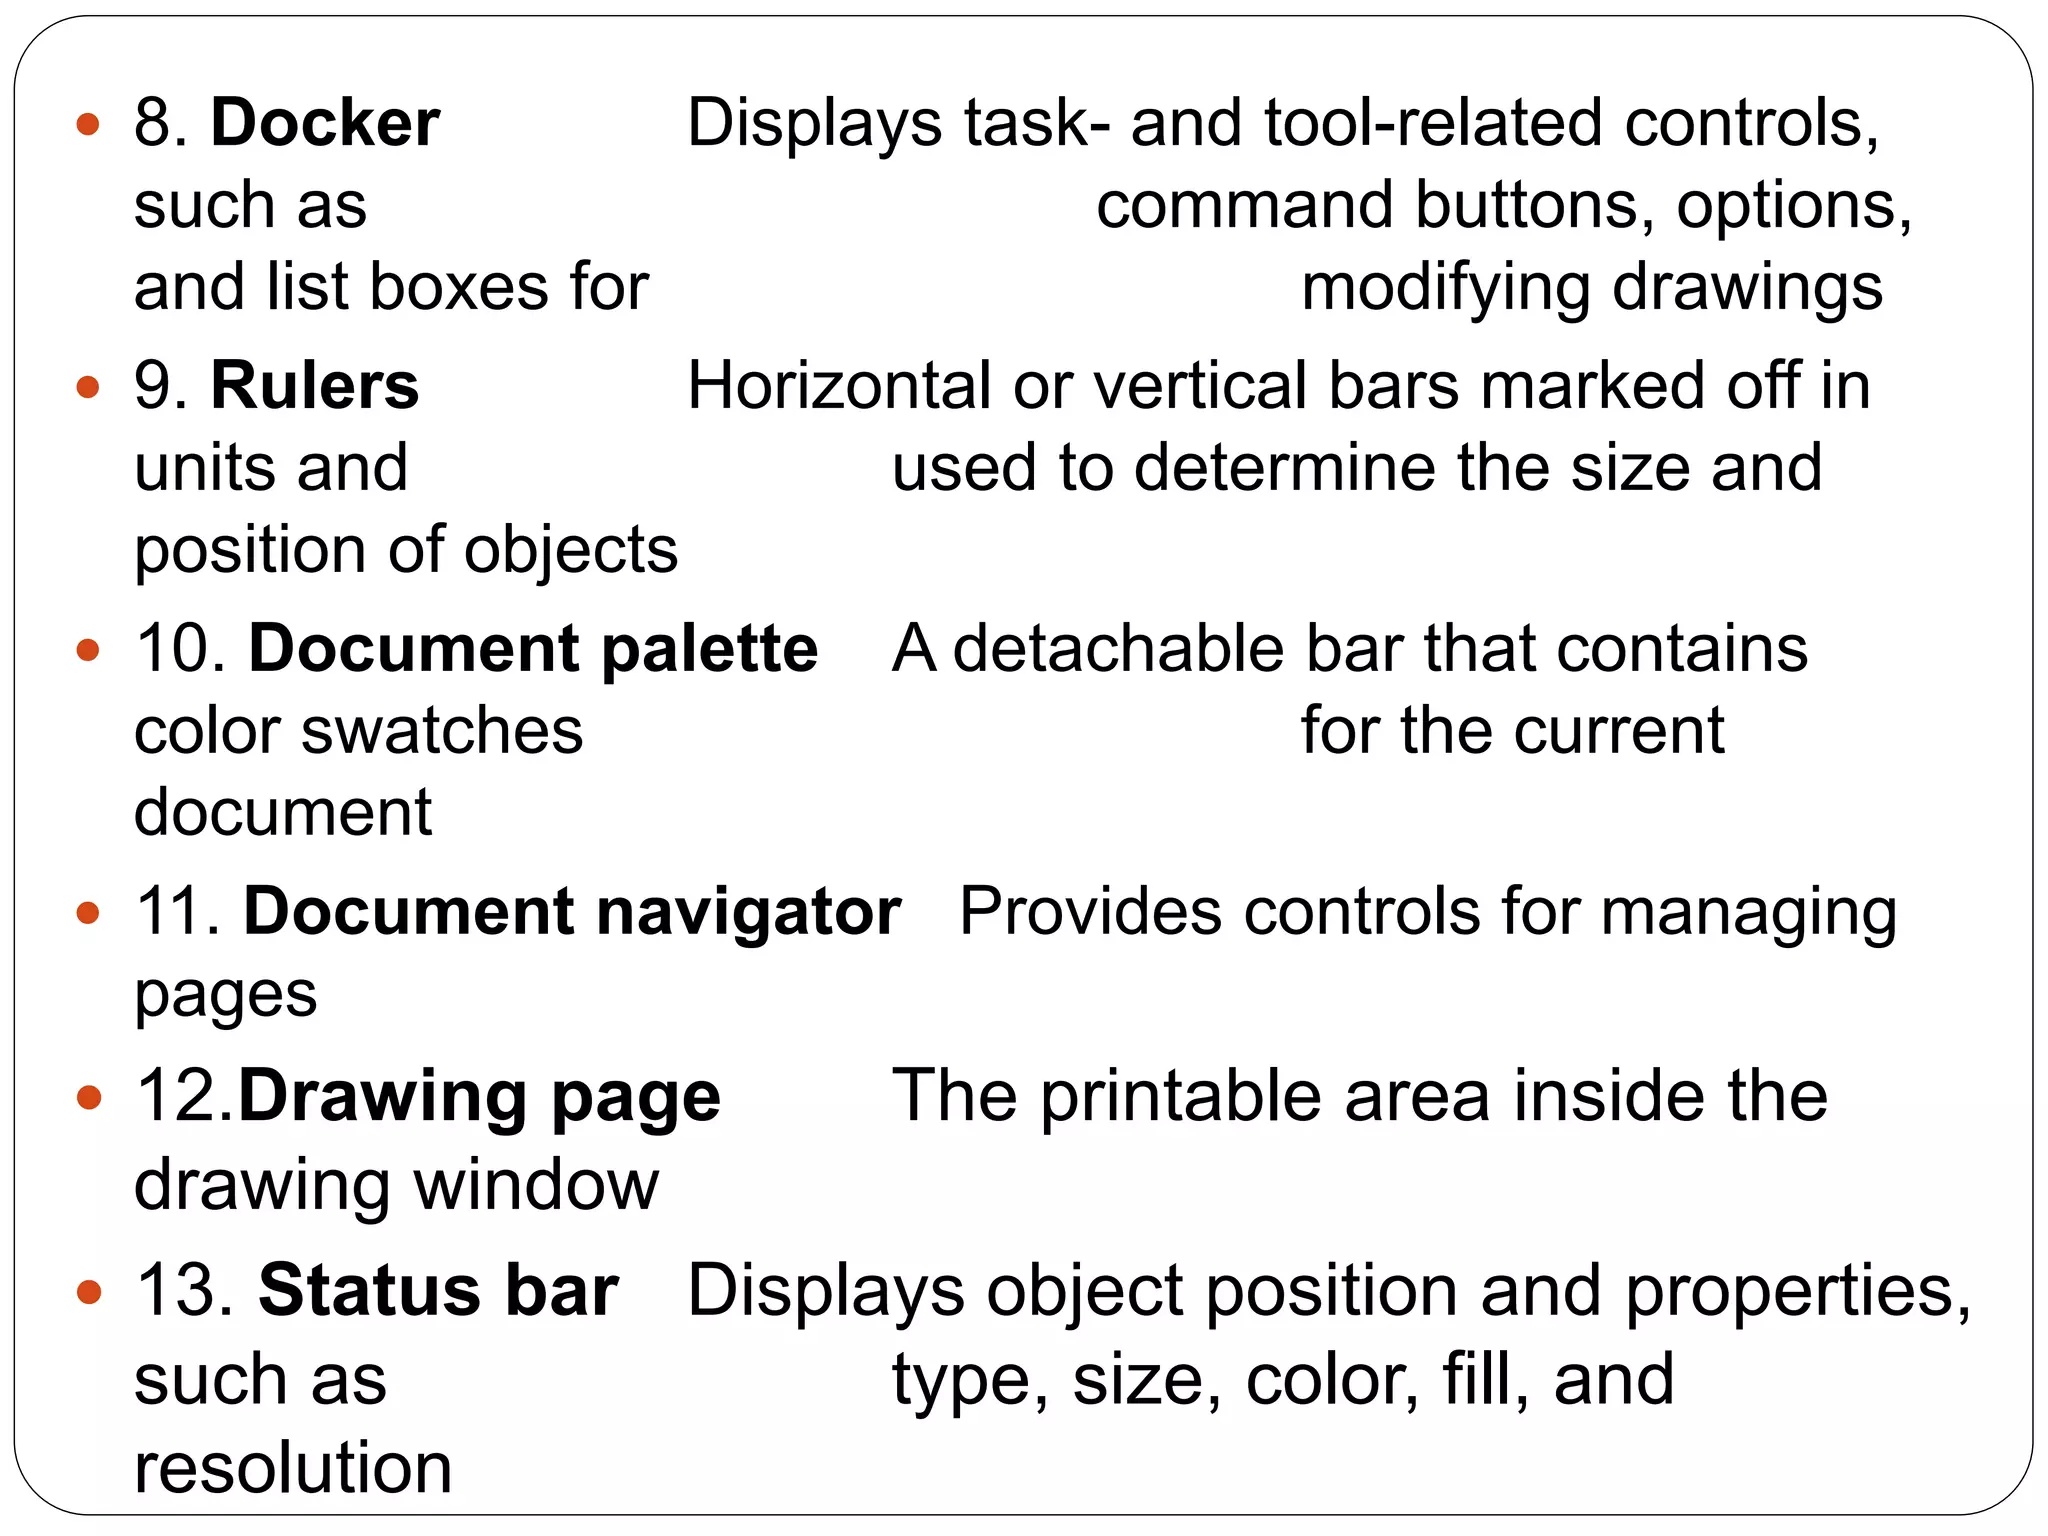
8. DockerDisplays task- and tool-related controls,
such as command buttons, options,
and list boxes for modifying drawings
9. Rulers Horizontal or vertical bars marked off in
units and used to determine the size and
position of objects
10. Document palette A detachable bar that contains
color swatches for the current
document
11. Document navigator Provides controls for managing
pages
12.Drawing page The printable area inside the
drawing window
13. Status bar Displays object position and properties,
such as type, size, color, fill, and
resolution
15.
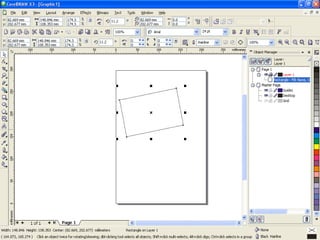
Creating a NewFile
Steps:
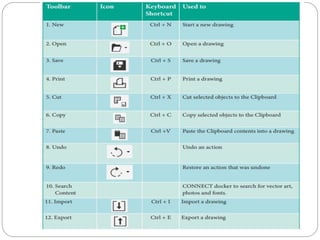
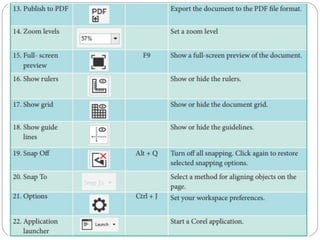
1. Click New icon Displays CorelDRAW Screen
17.
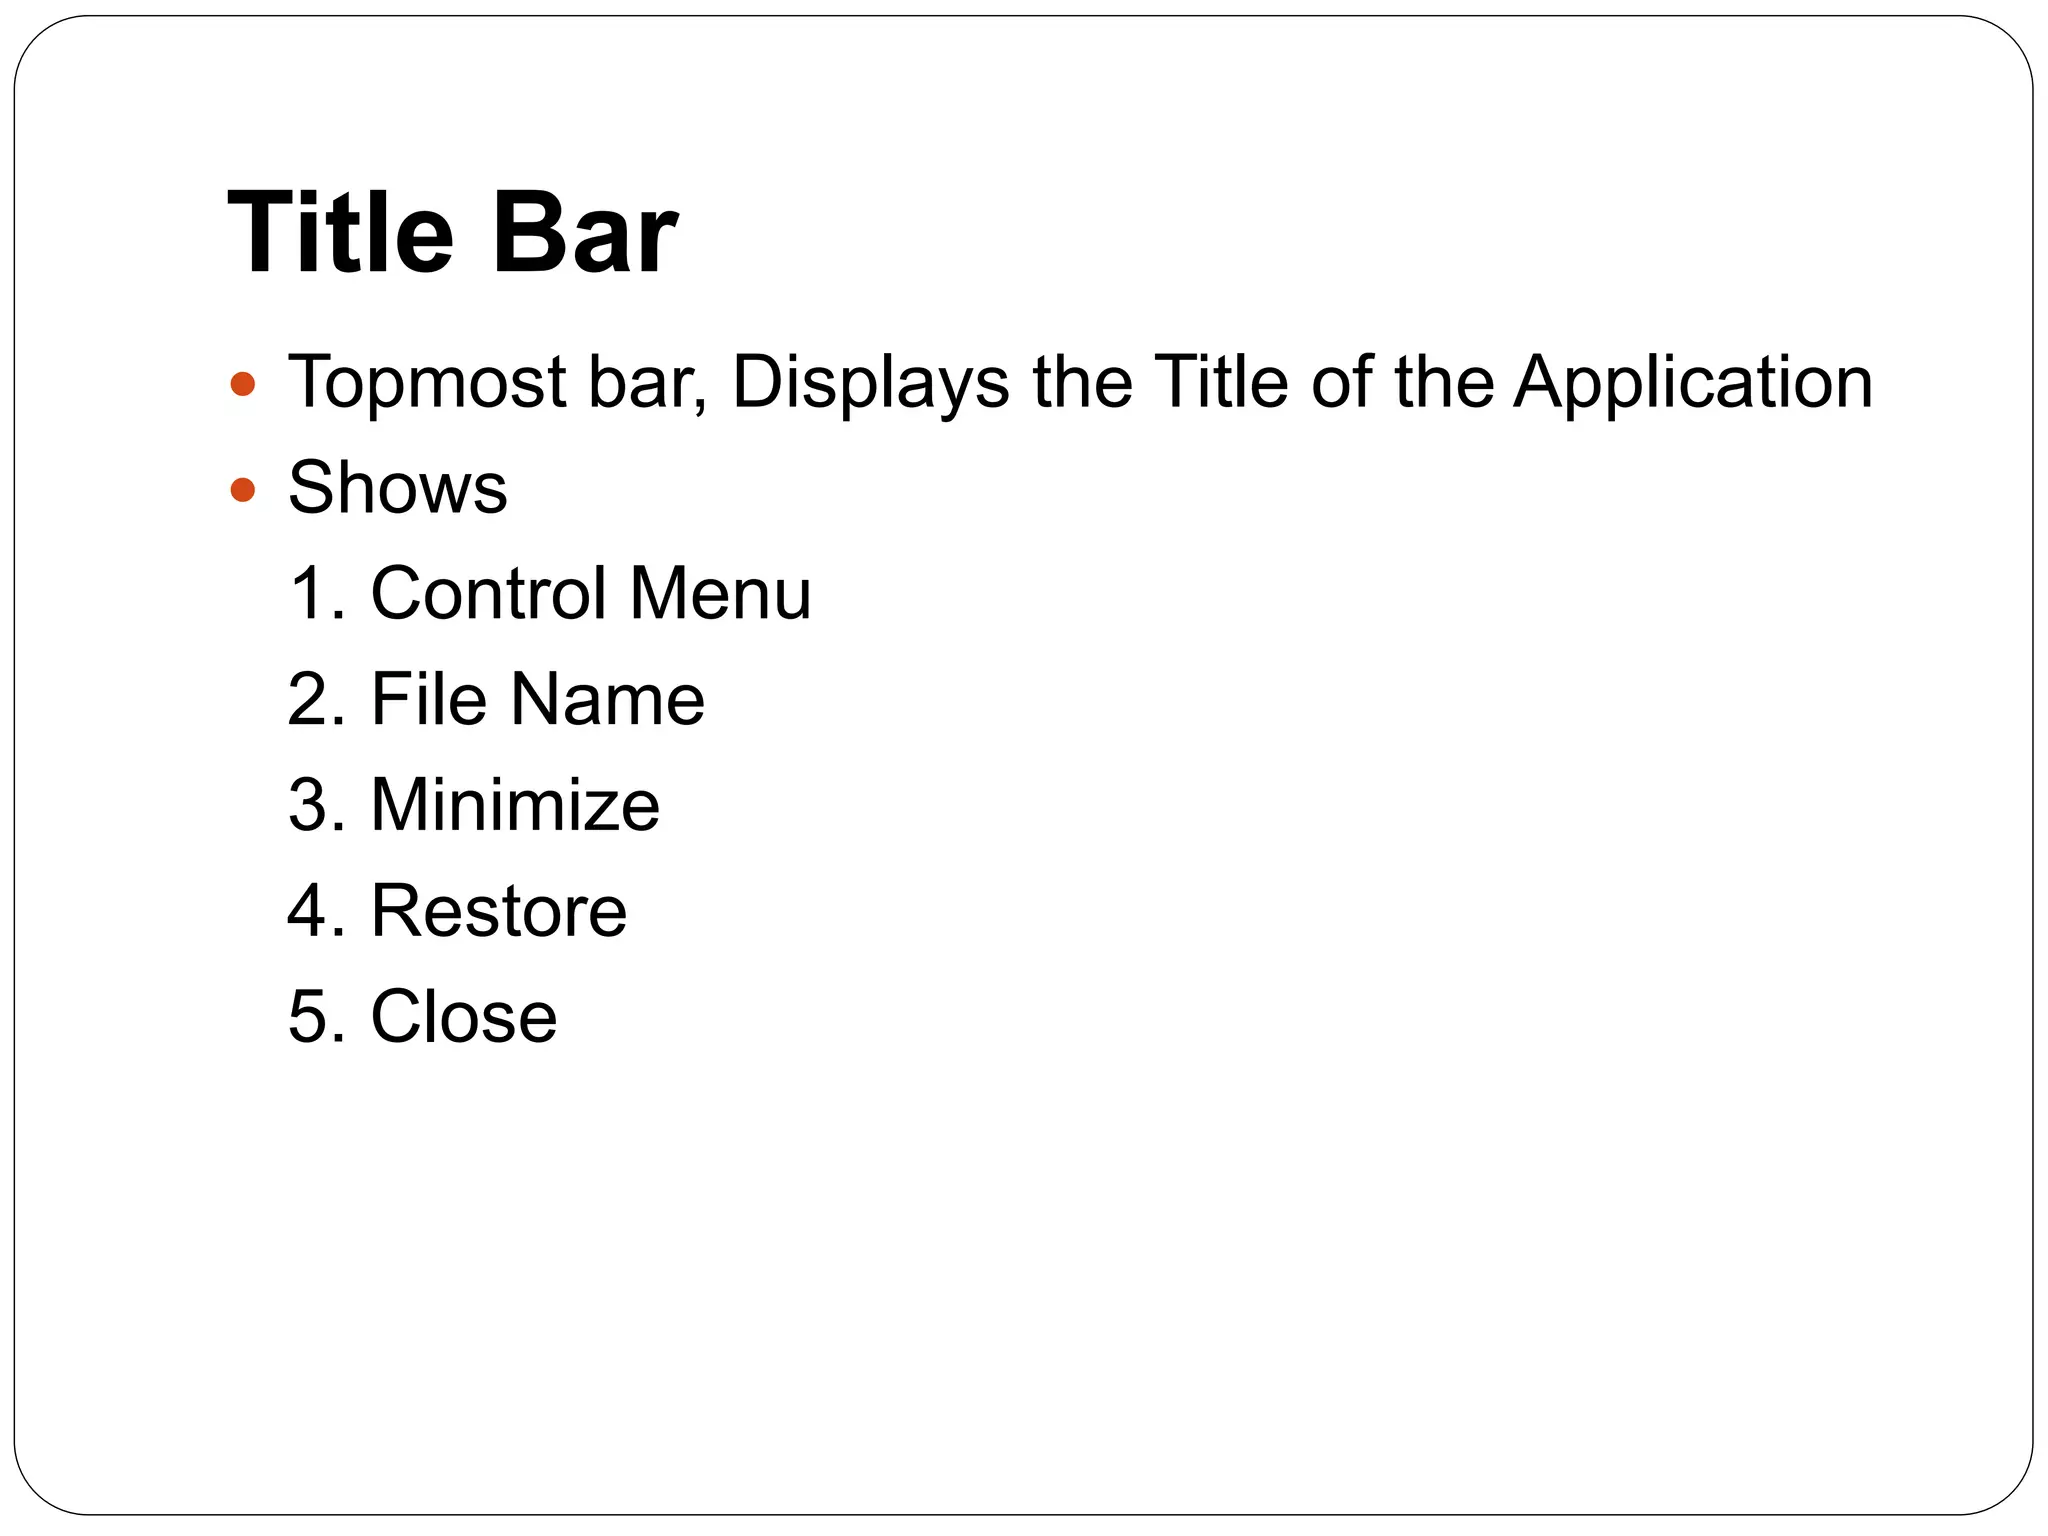
Title Bar
Topmostbar, Displays the Title of the Application
Shows
1. Control Menu
2. File Name
3. Minimize
4. Restore
5. Close
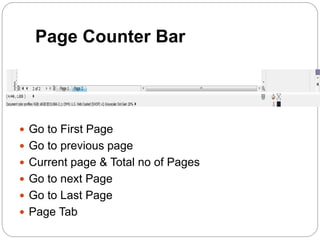
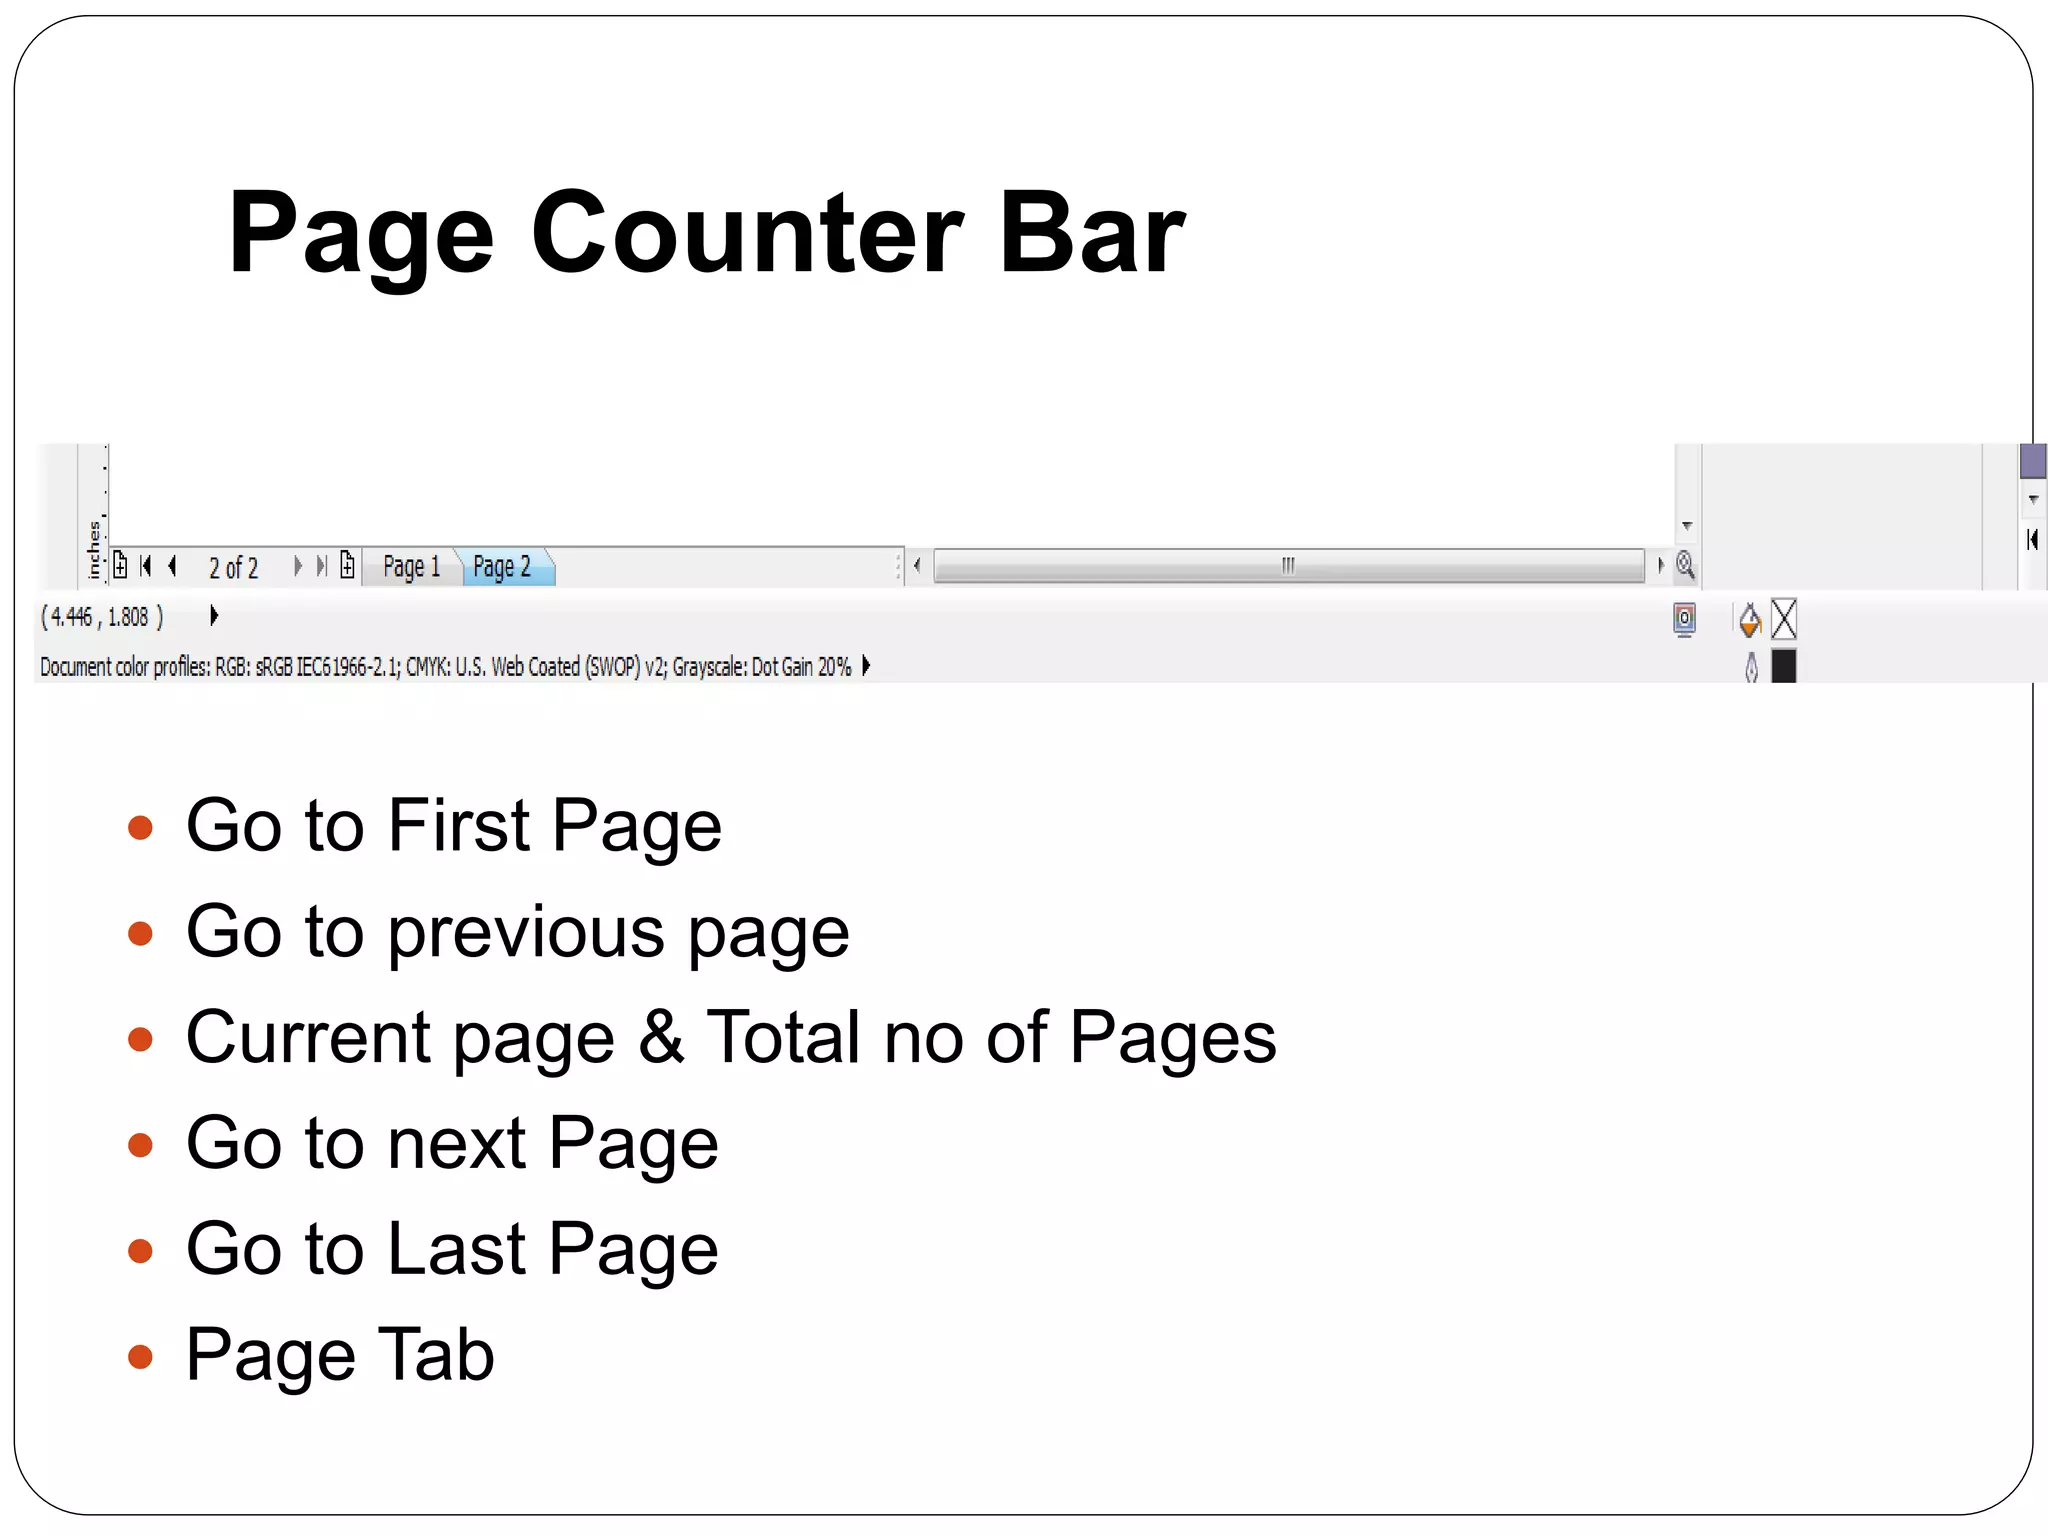
Page Counter Bar
Go to First Page
Go to previous page
Current page & Total no of Pages
Go to next Page
Go to Last Page
Page Tab
23.
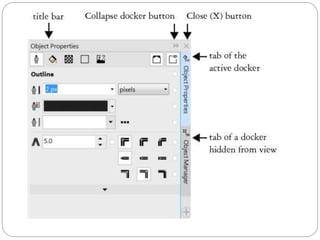
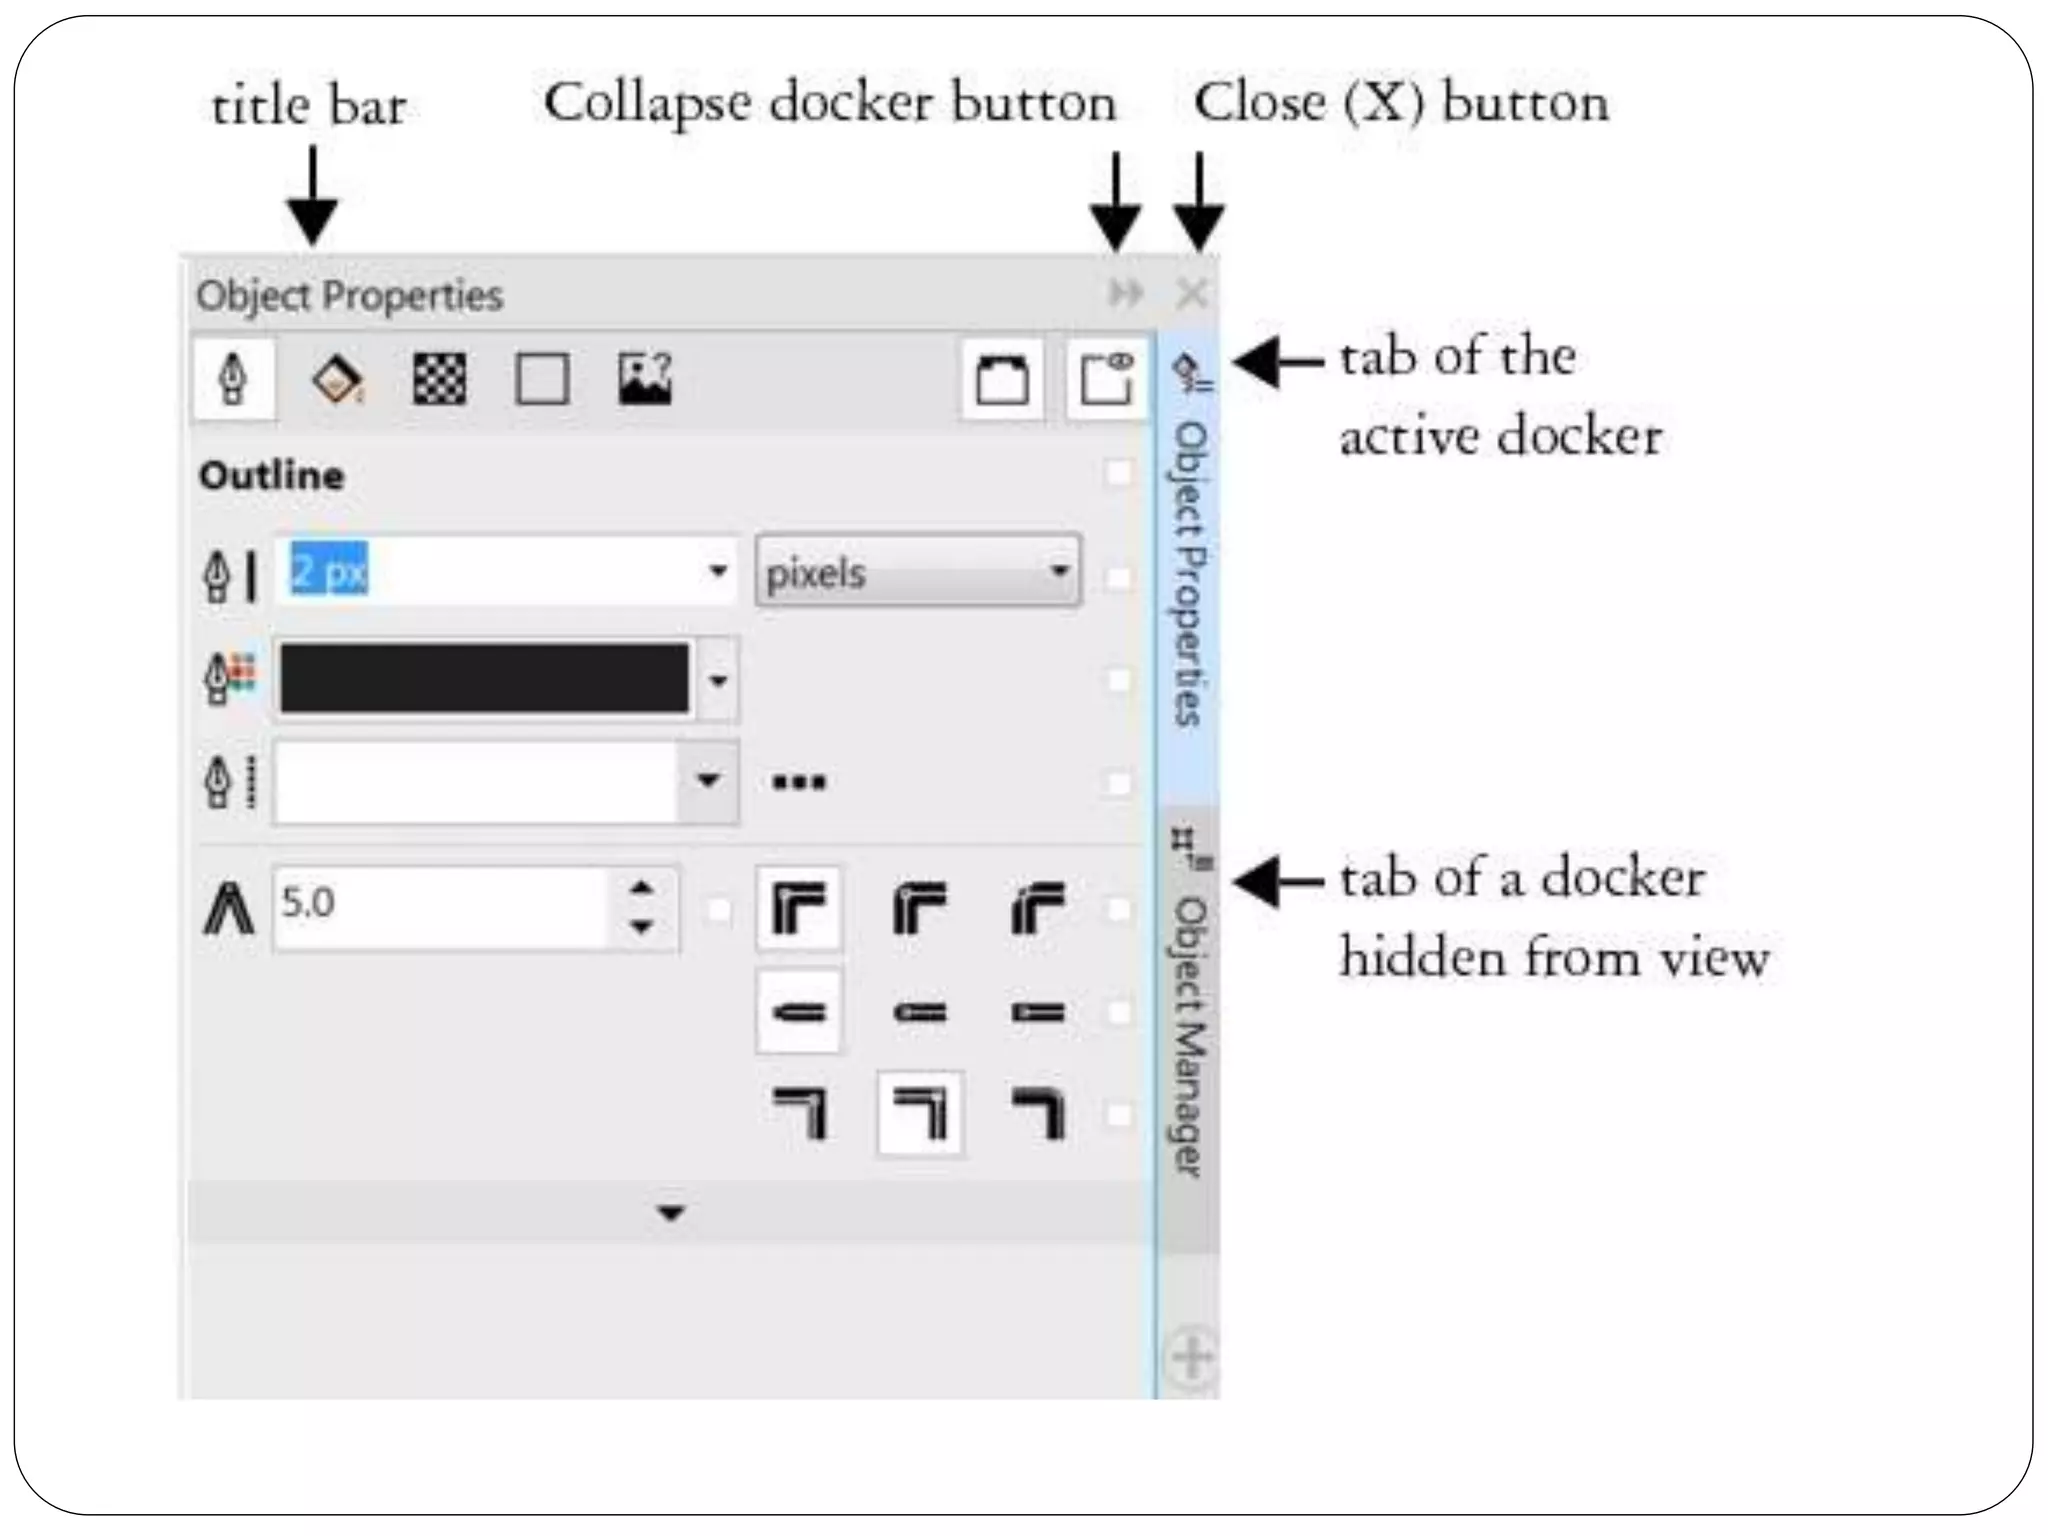
Dockers Window
Dockersdisplay the same types of controls as a dialog
box, such as command buttons, options, and list
boxes. Unlike most dialog boxes, you can keep
dockers open while working on a document, so you
can readily access the commands to experiment with
different effects. Dockers have features similar to
palettes in other graphics programs.
Dockers can be either docked or floating. A docked
docker is attached to the edge of the application
window, a toolbar, or a palette.
A floating docker is not attached to a workspace
element. If you open several dockers, they usually
appear nested, with only one docker fully displayed.
You can quickly display a docker hidden from view by
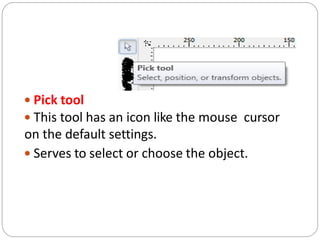
Pick tool
This tool has an icon like the mouse cursor
on the default settings.
Serves to select or choose the object.
29.
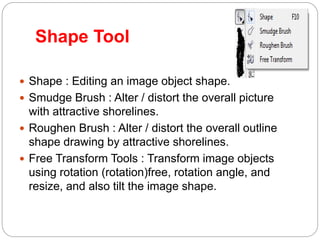
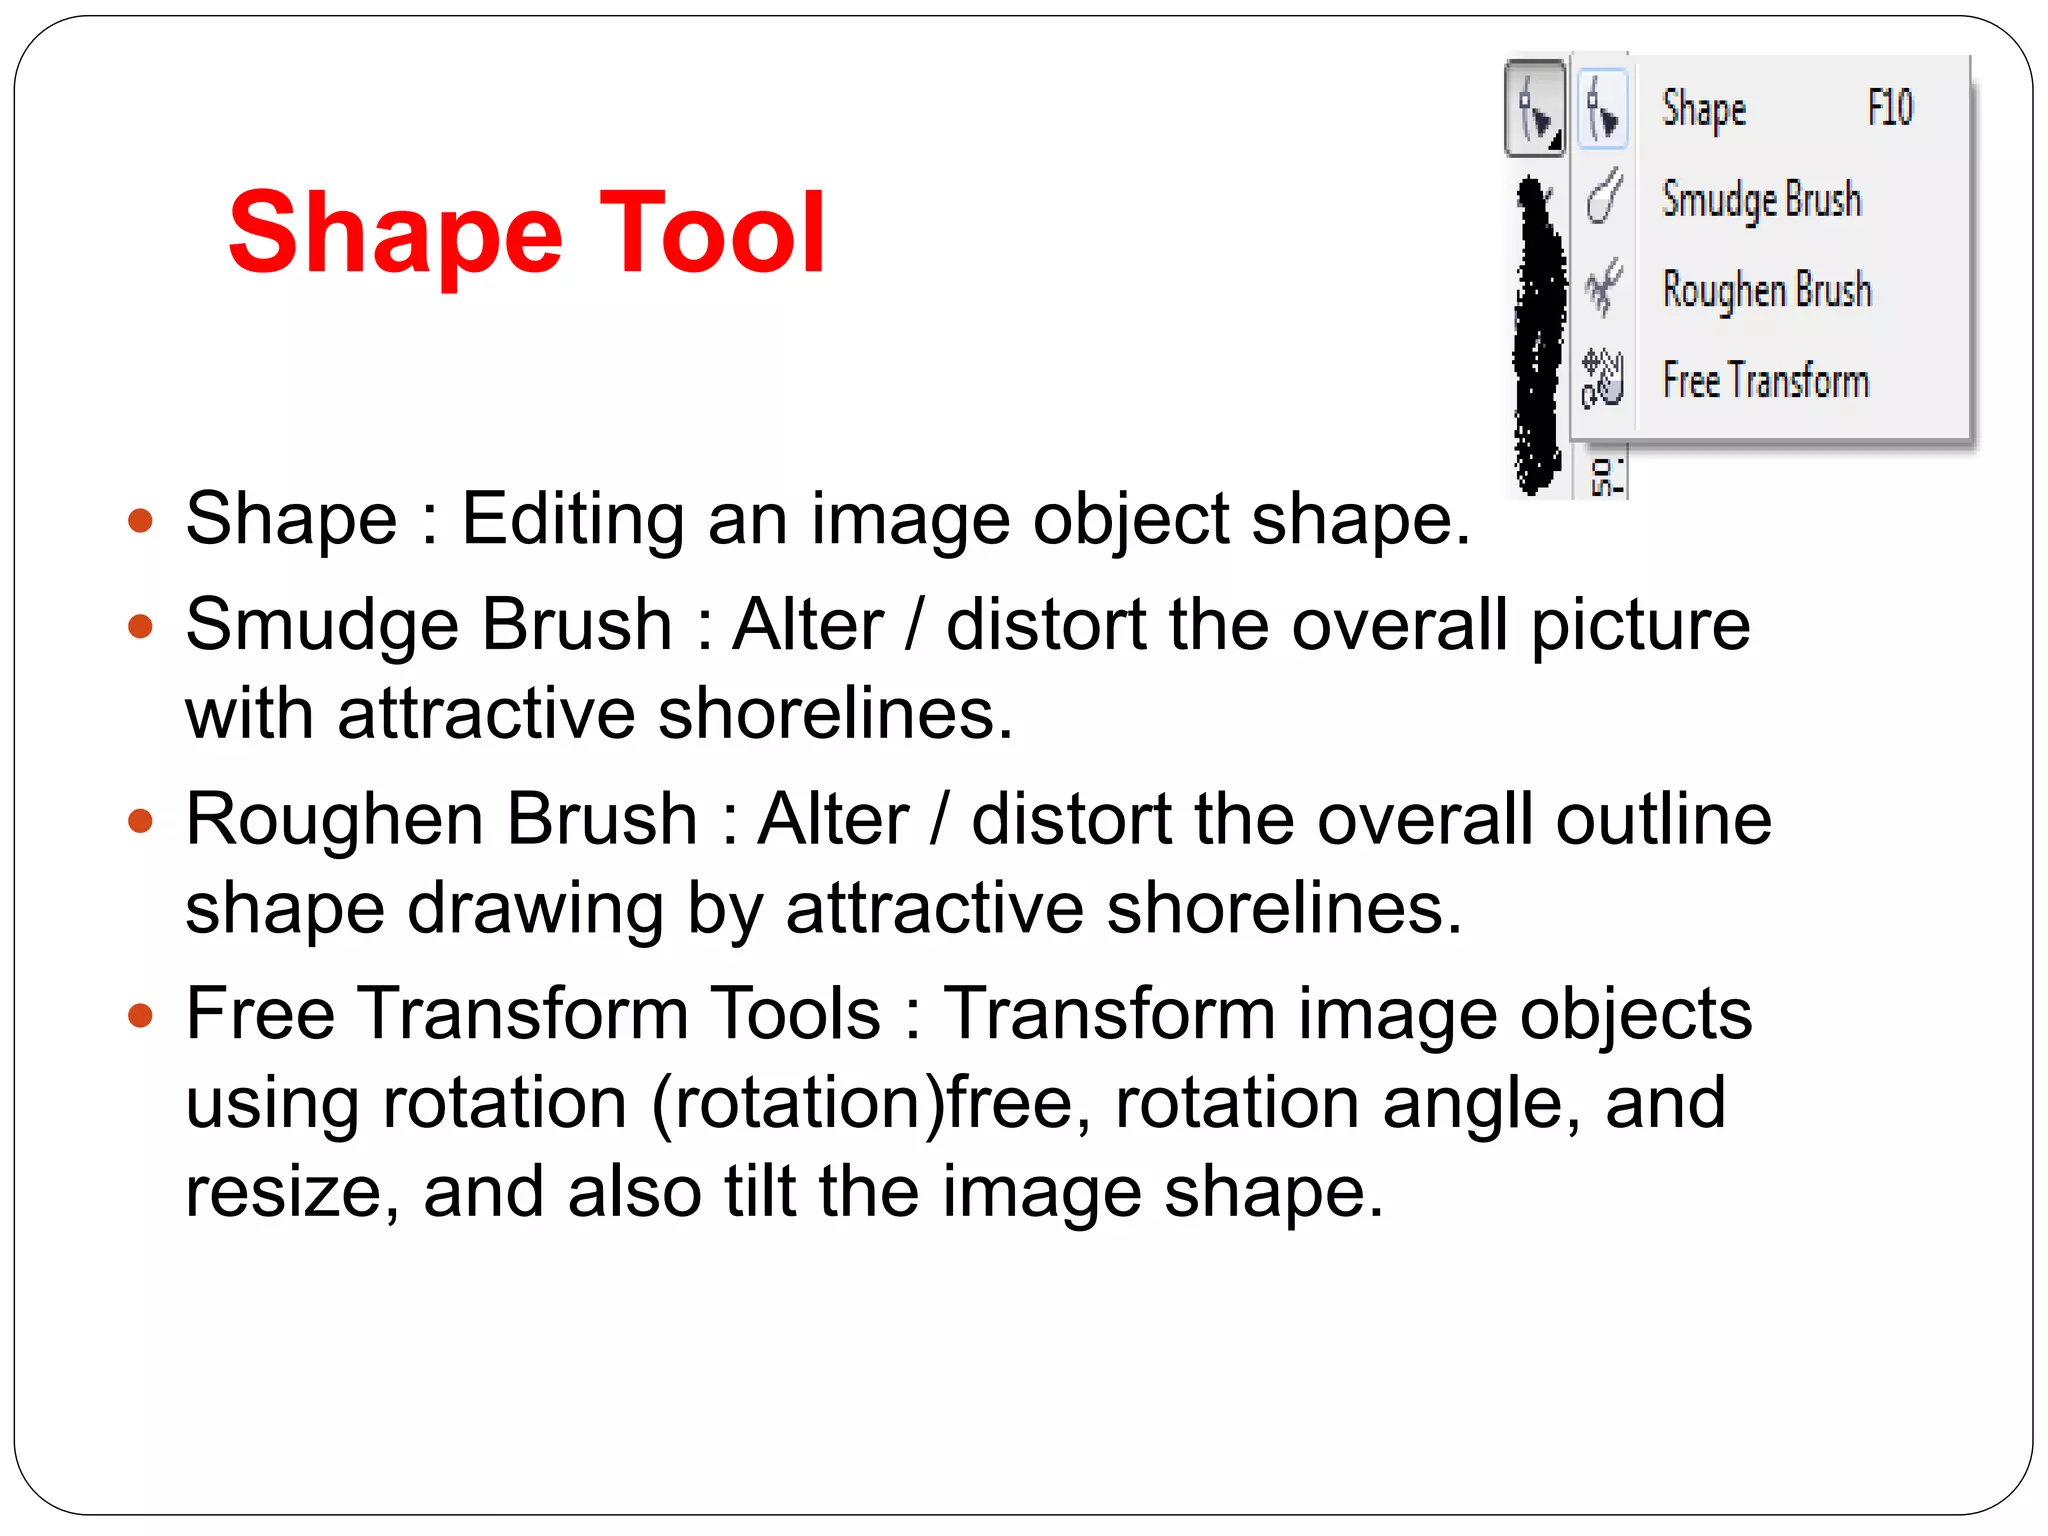
Shape Tool
Shape: Editing an image object shape.
Smudge Brush : Alter / distort the overall picture
with attractive shorelines.
Roughen Brush : Alter / distort the overall outline
shape drawing by attractive shorelines.
Free Transform Tools : Transform image objects
using rotation (rotation)free, rotation angle, and
resize, and also tilt the image shape.
30.
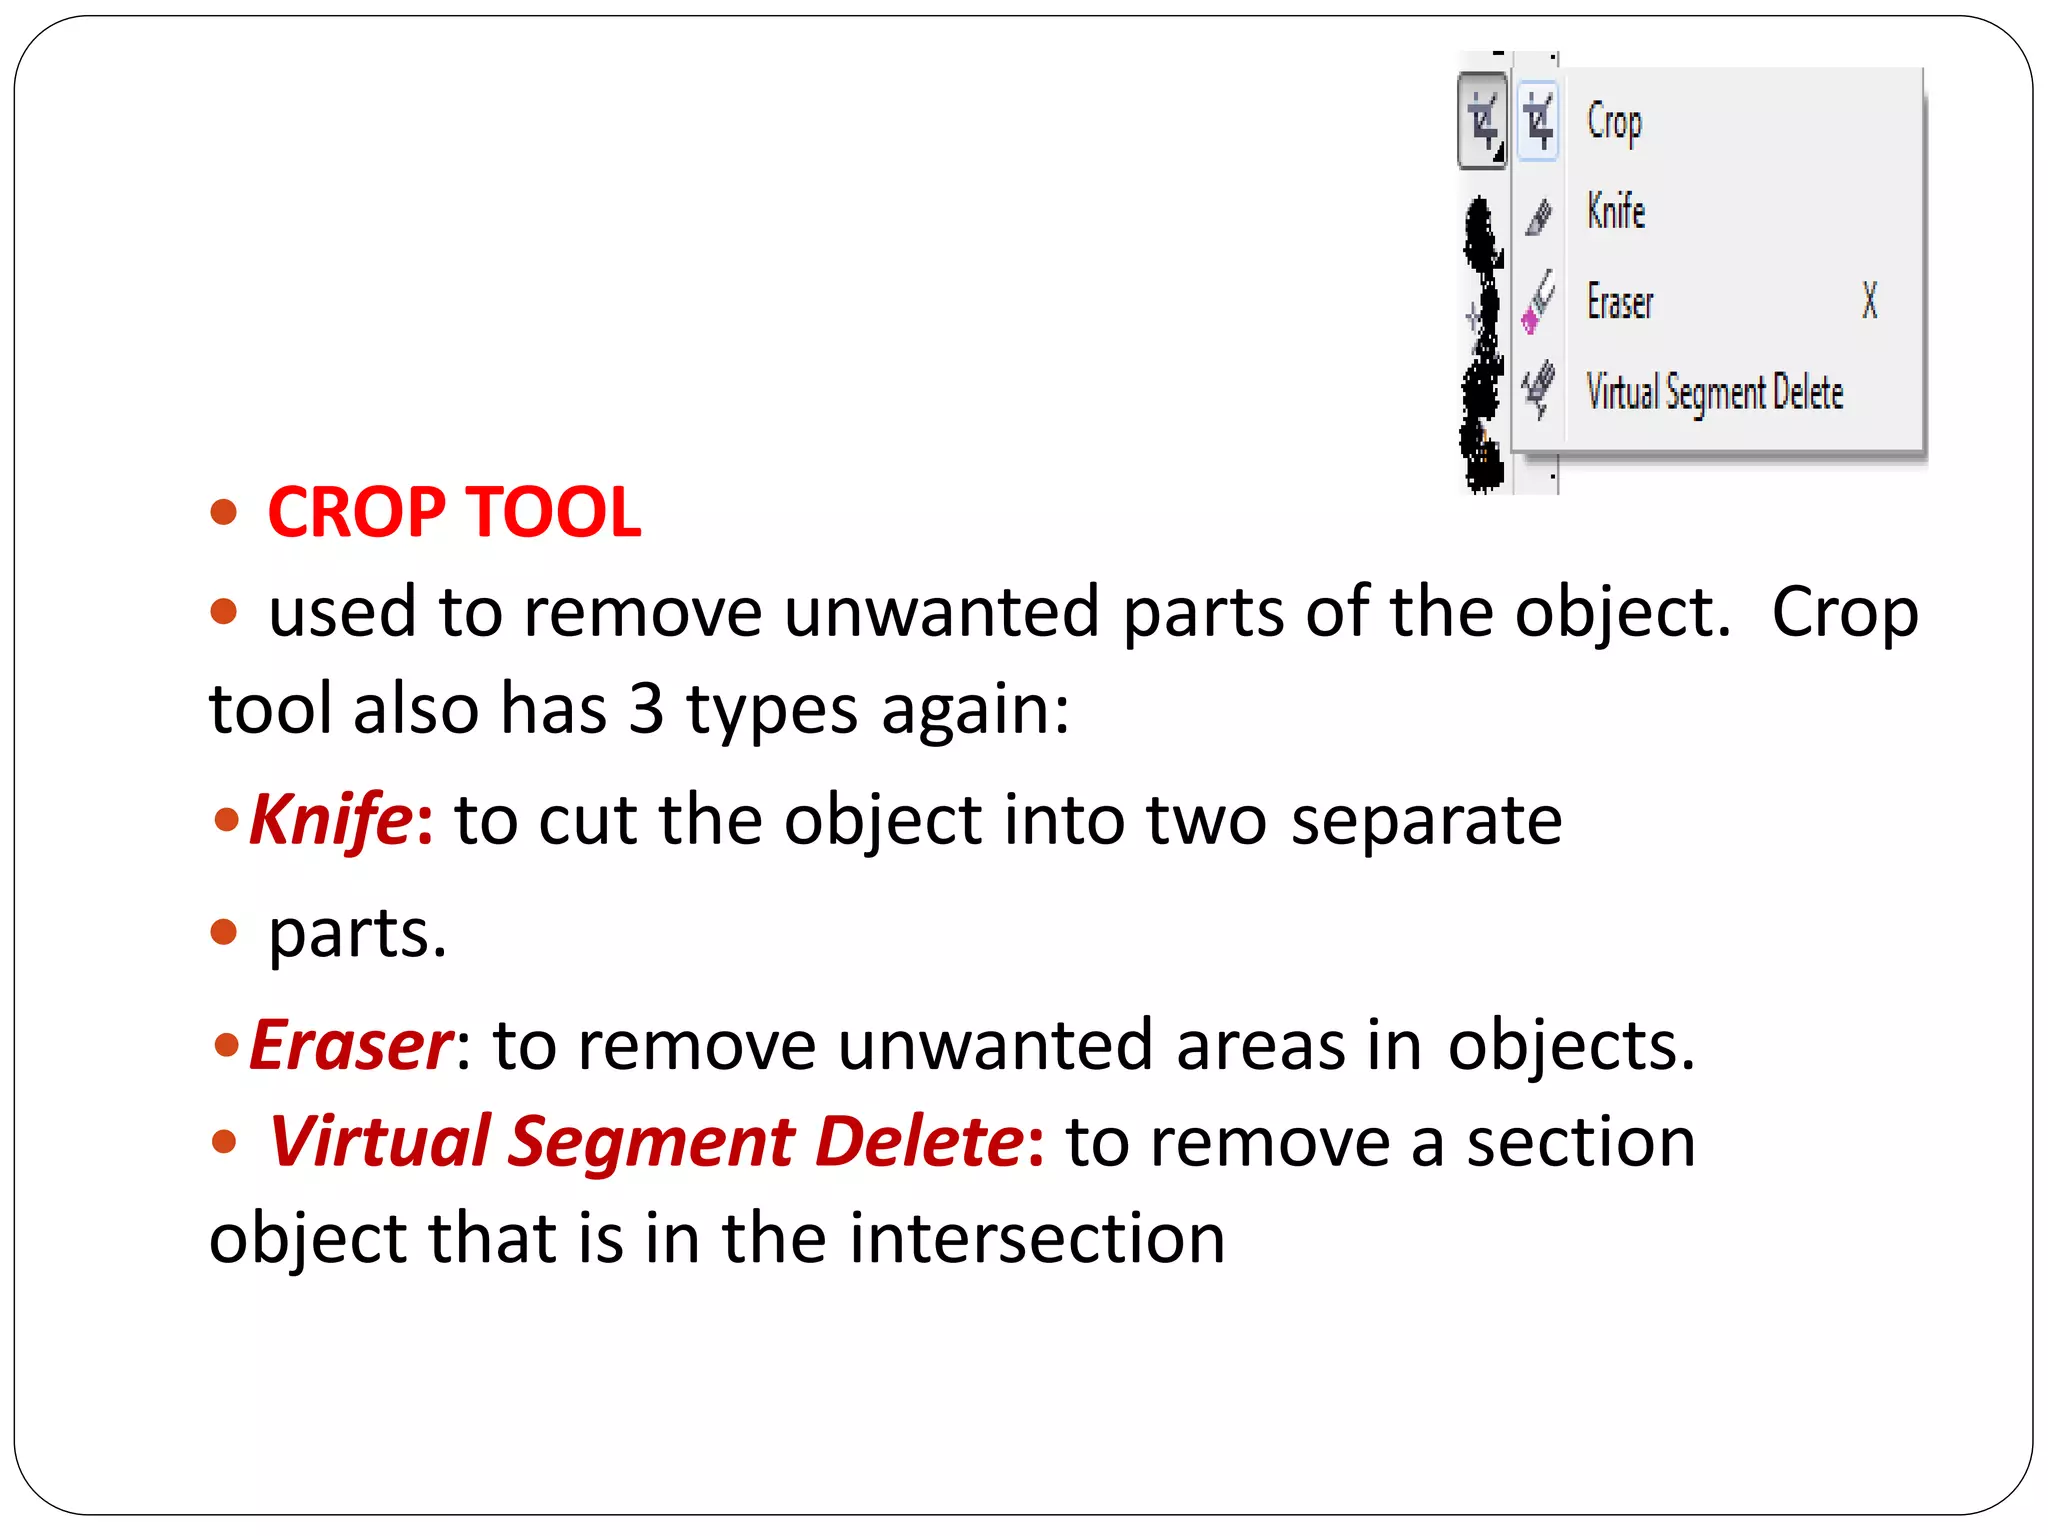
CROP TOOL
used to remove unwanted parts of the object. Crop
tool also has 3 types again:
•Knife: to cut the object into two separate
parts.
•Eraser: to remove unwanted areas in objects.
• Virtual Segment Delete: to remove a section
object that is in the intersection
31.
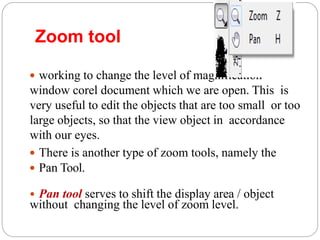
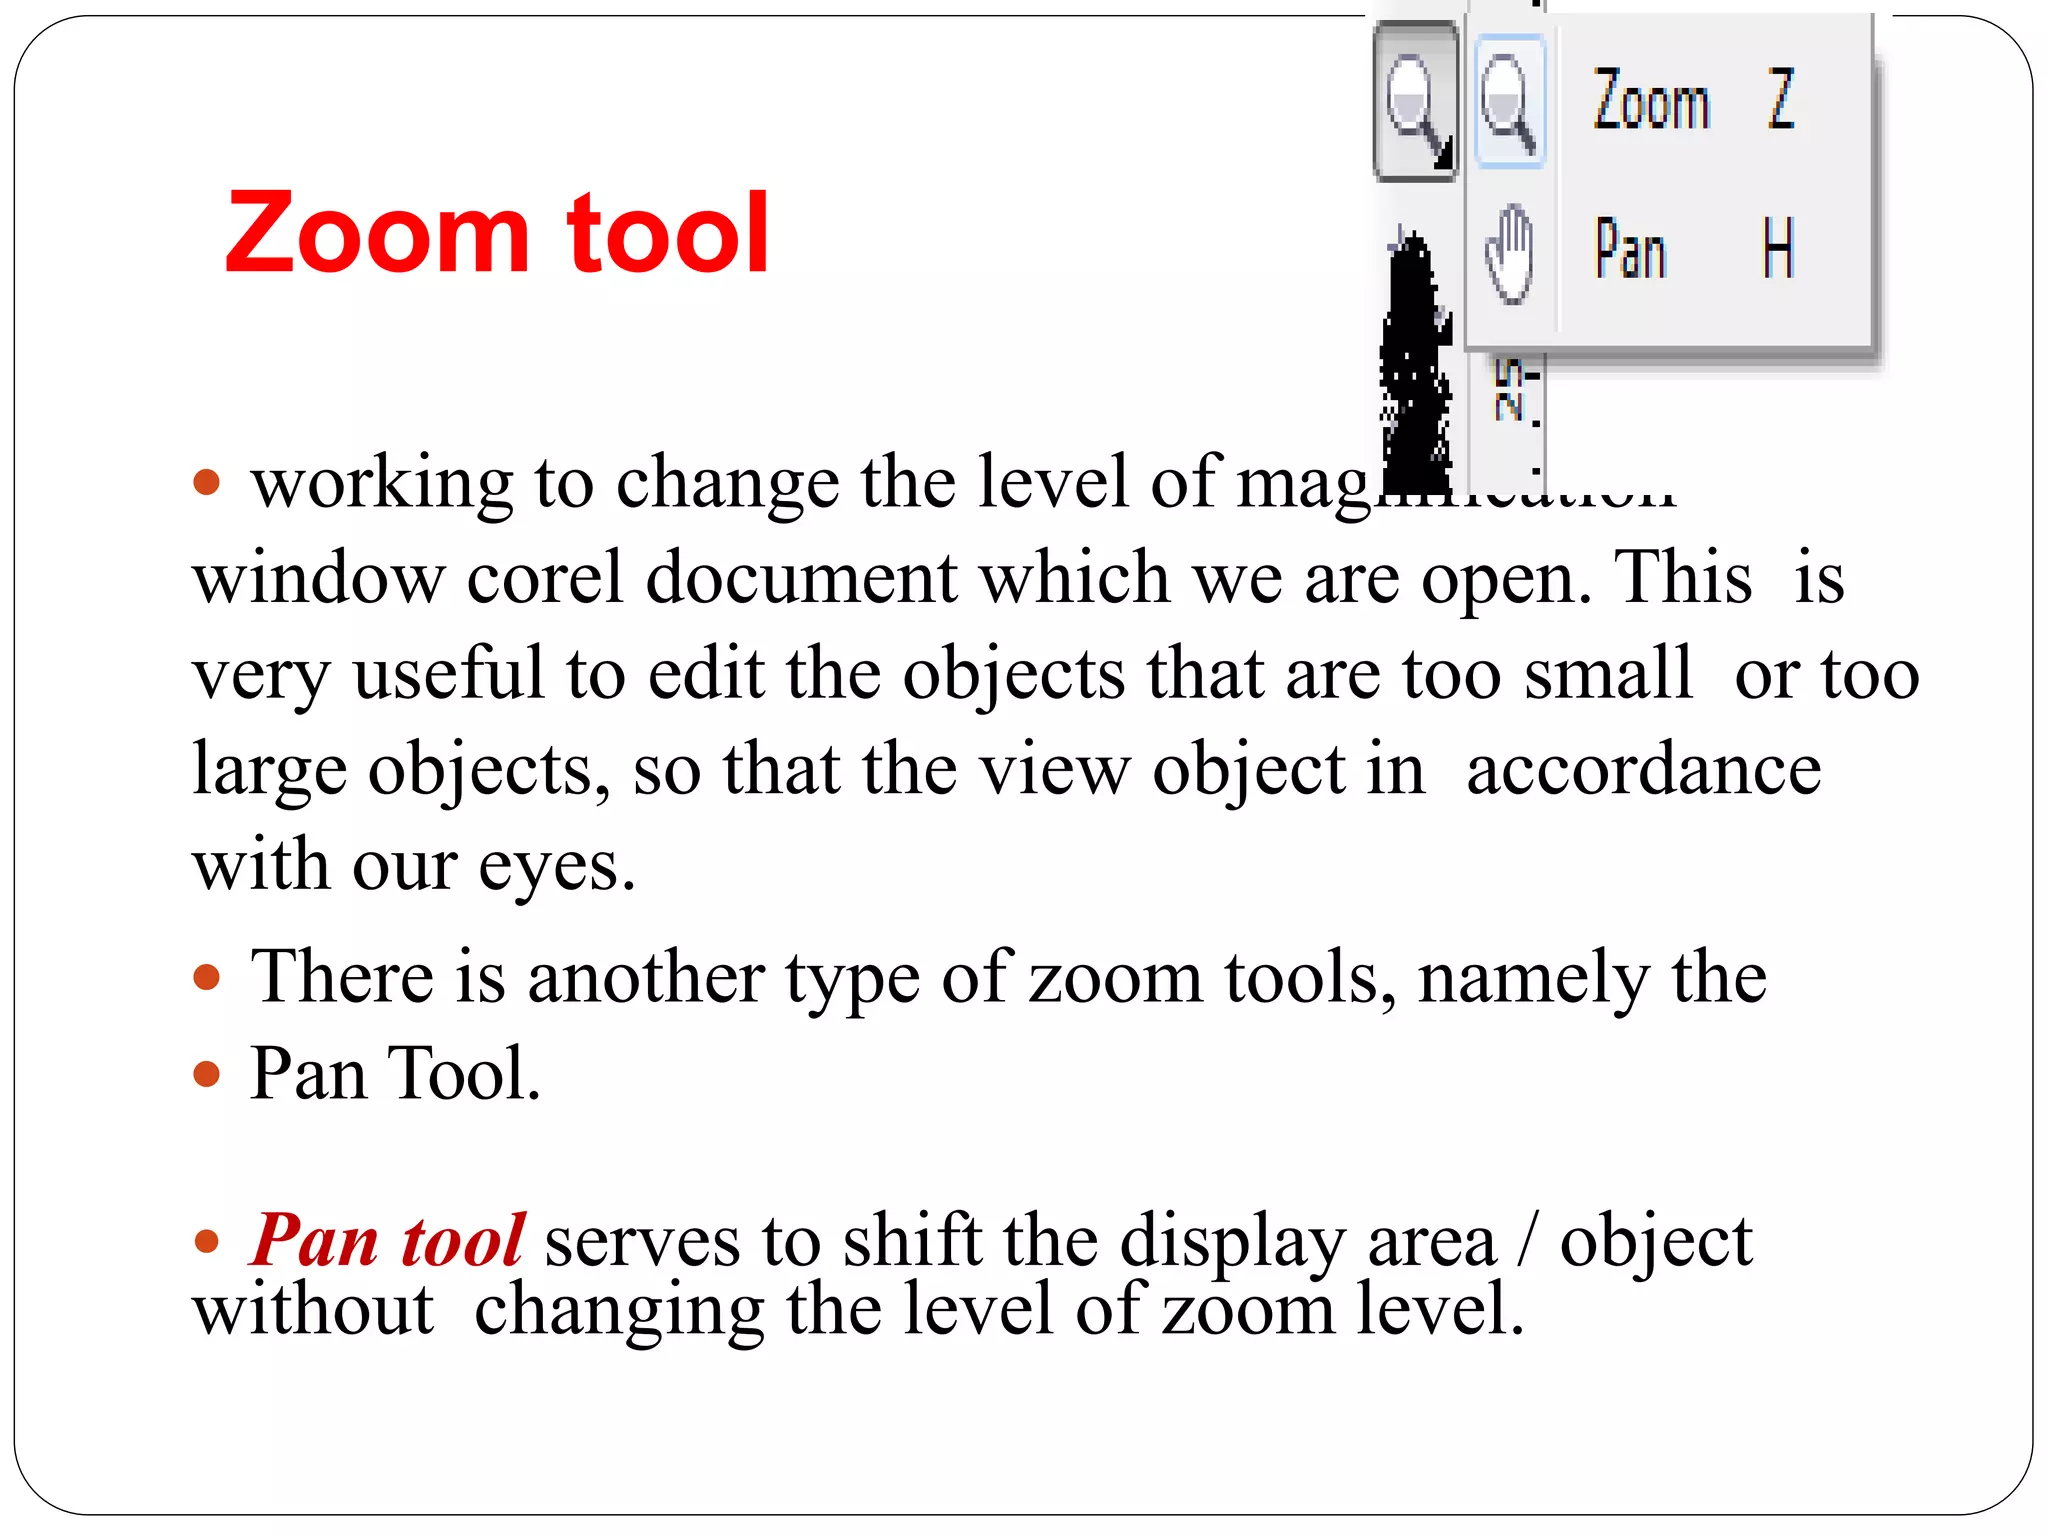
Zoom tool
workingto change the level of magnification
window corel document which we are open. This is
very useful to edit the objects that are too small or too
large objects, so that the view object in accordance
with our eyes.
There is another type of zoom tools, namely the
Pan Tool.
• Pan tool serves to shift the display area / object
without changing the level of zoom level.
32.
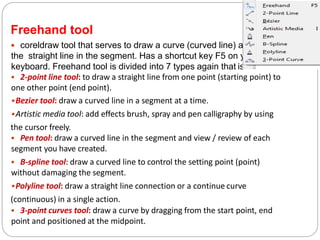
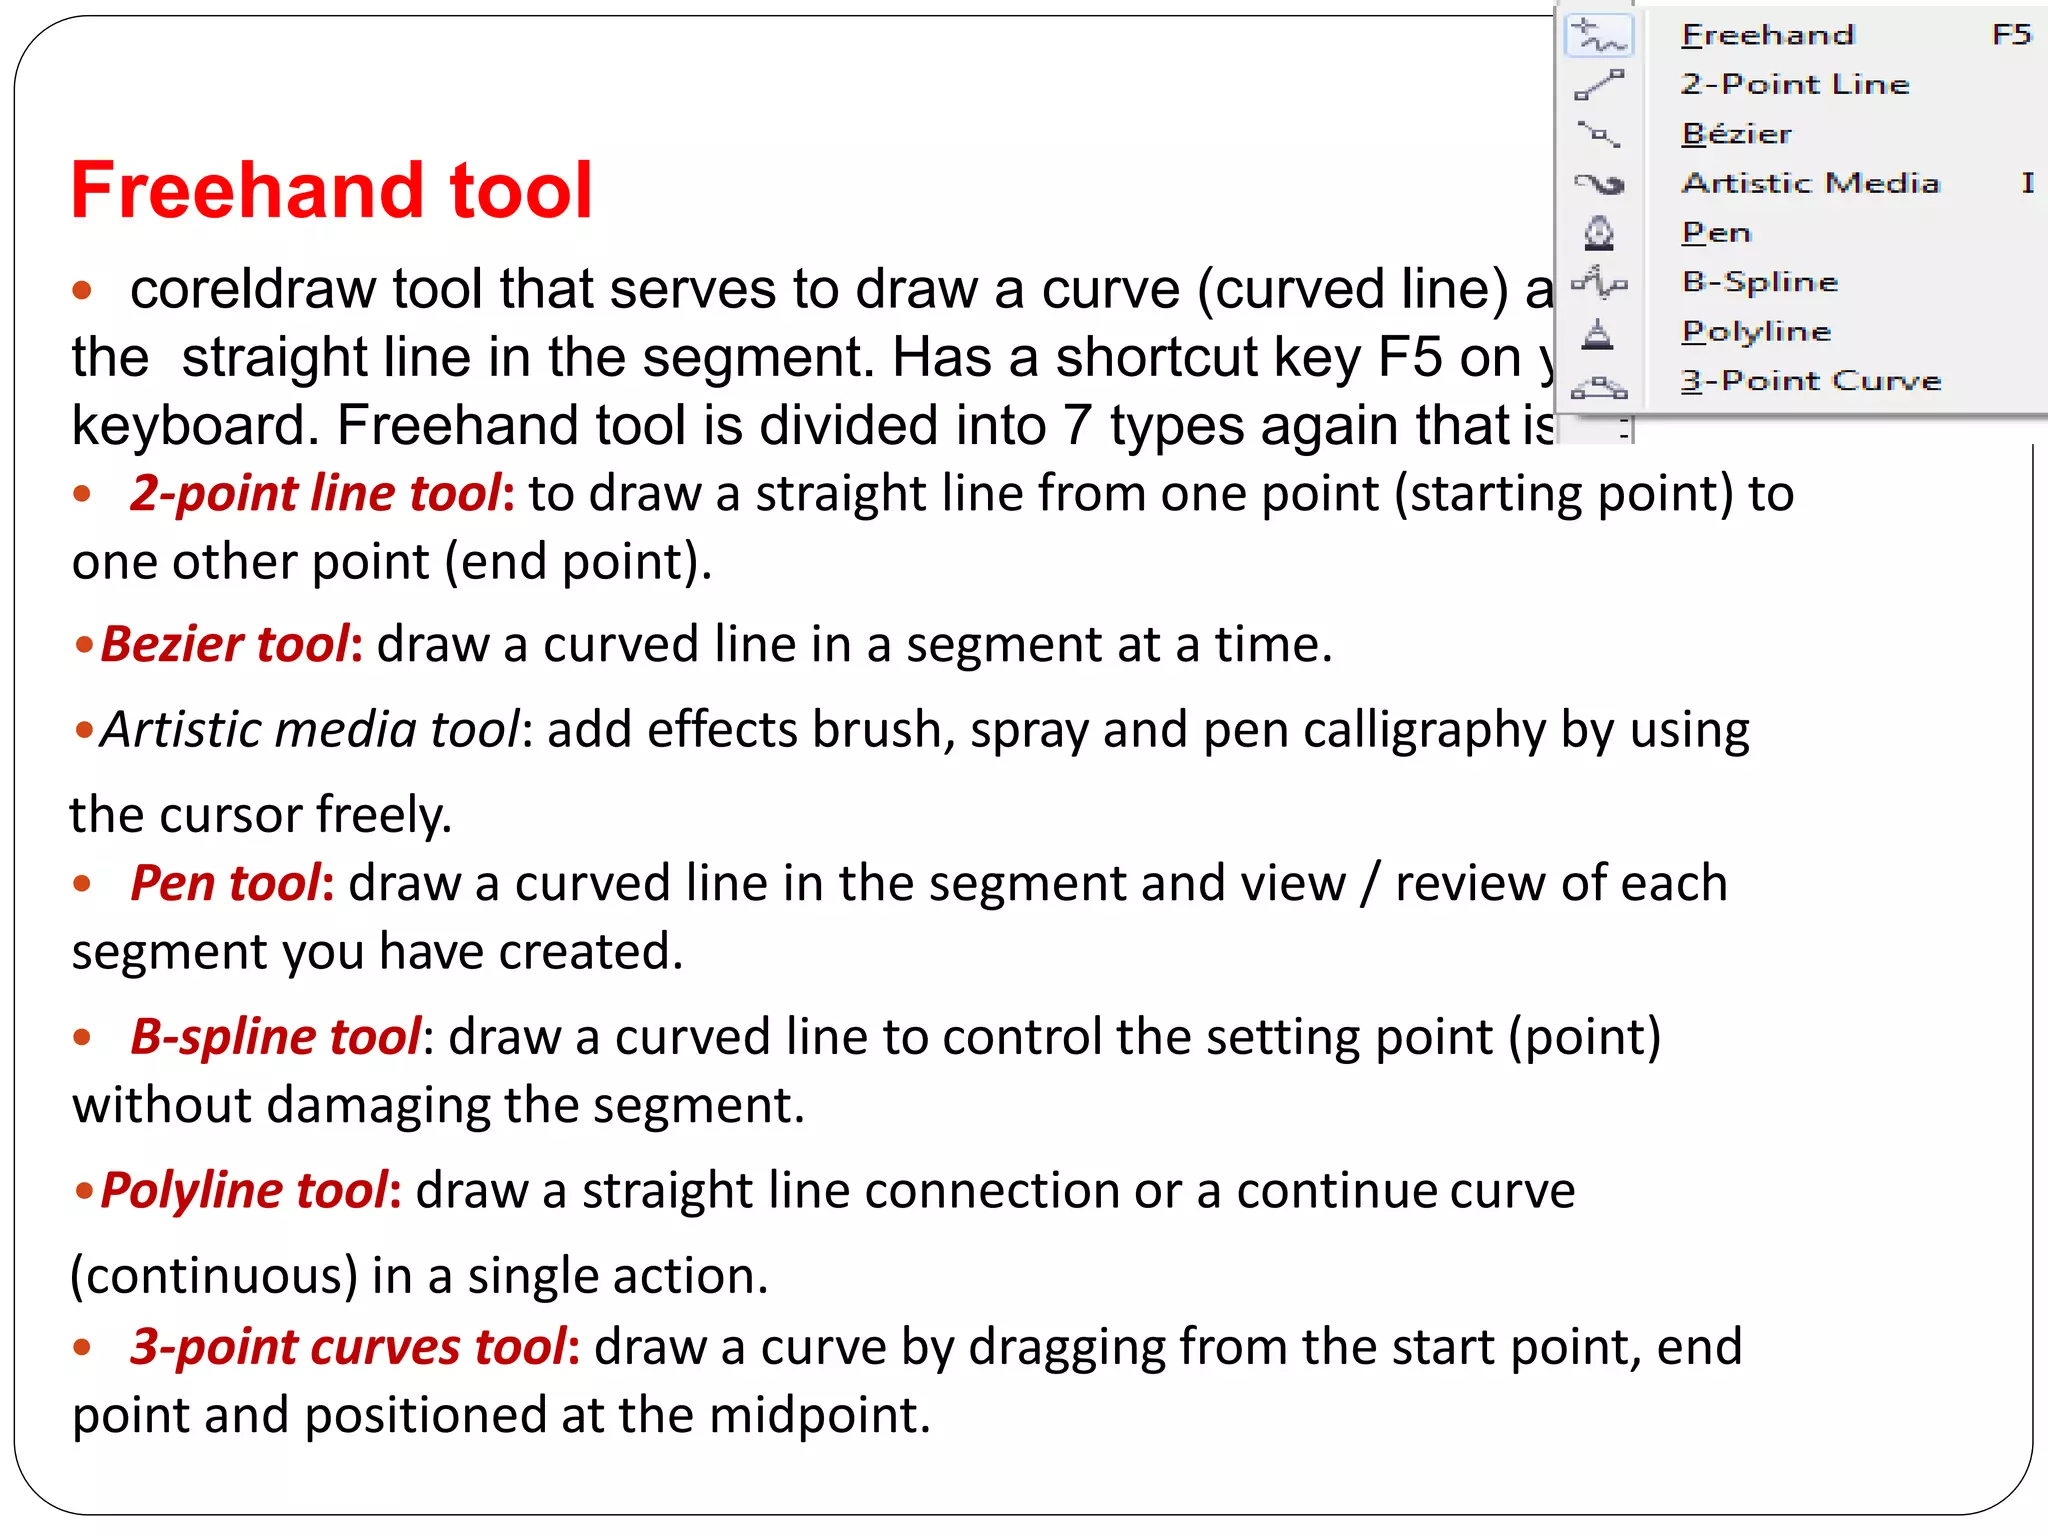
Freehand tool
coreldrawtool that serves to draw a curve (curved line) and
the straight line in the segment. Has a shortcut key F5 on your
keyboard. Freehand tool is divided into 7 types again that is:
• 2-point line tool: to draw a straight line from one point (starting point) to
one other point (end point).
•Bezier tool: draw a curved line in a segment at a time.
•Artistic media tool: add effects brush, spray and pen calligraphy by using
the cursor freely.
• Pen tool: draw a curved line in the segment and view / review of each
segment you have created.
• B-spline tool: draw a curved line to control the setting point (point)
without damaging the segment.
•Polyline tool: draw a straight line connection or a continue curve
(continuous) in a single action.
• 3-point curves tool: draw a curve by dragging from the start point, end
point and positioned at the midpoint.
33.
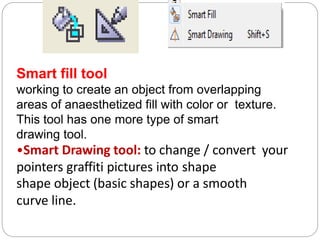
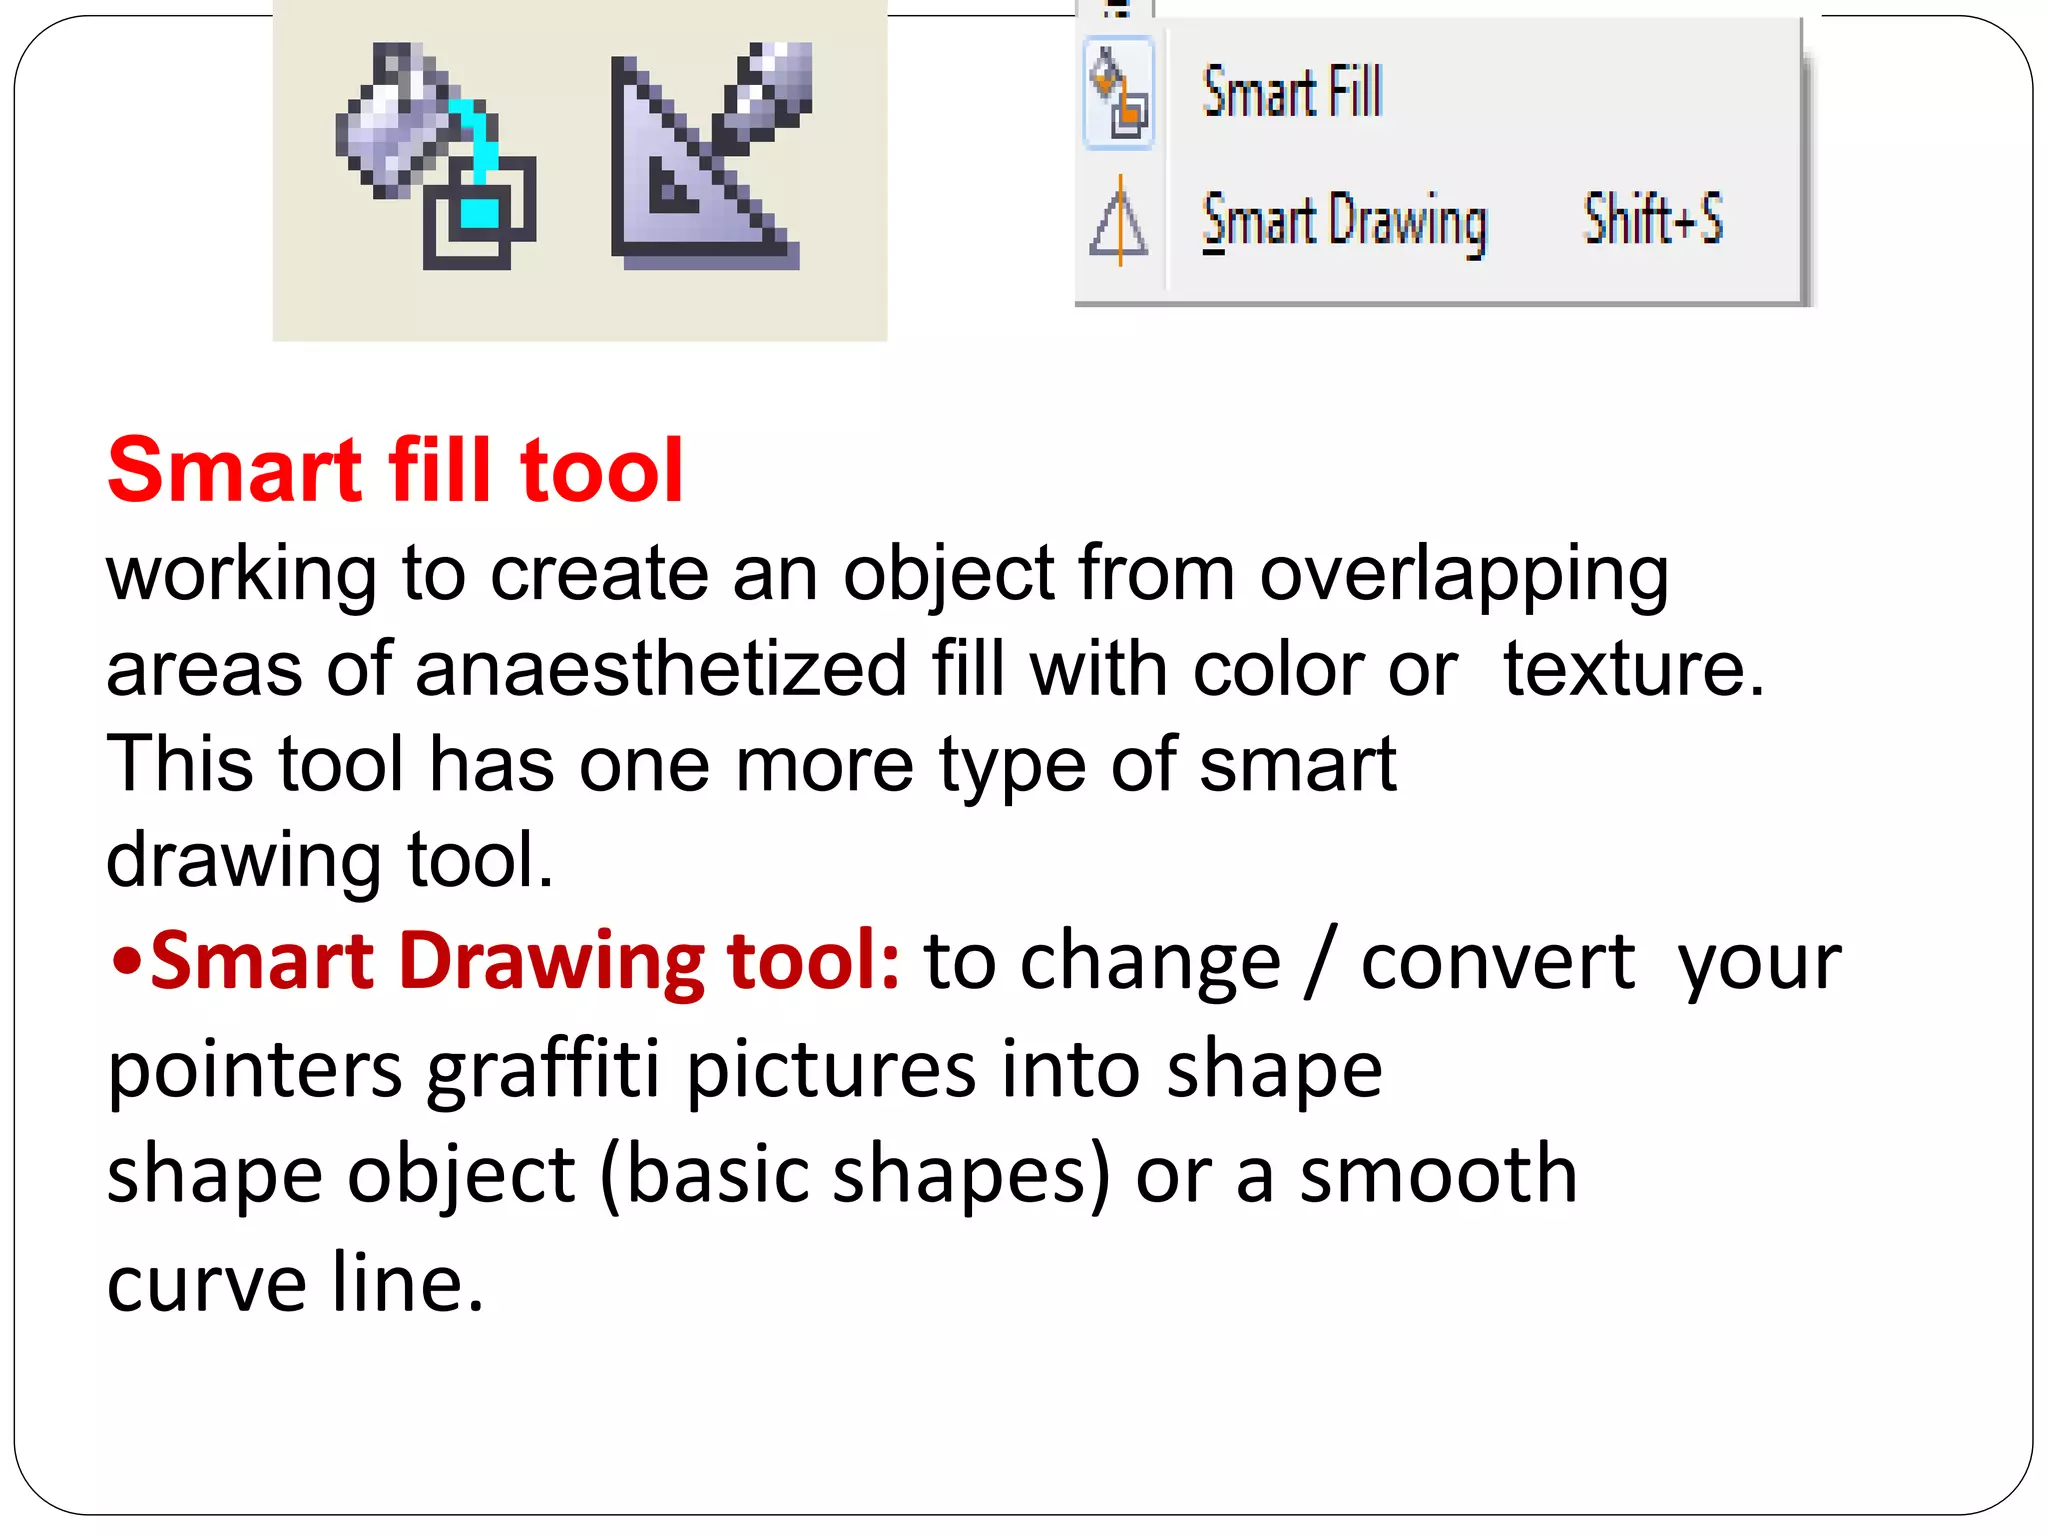
Smart fill tool
workingto create an object from overlapping
areas of anaesthetized fill with color or texture.
This tool has one more type of smart
drawing tool.
•Smart Drawing tool: to change / convert your
pointers graffiti pictures into shape
shape object (basic shapes) or a smooth
curve line.
34.
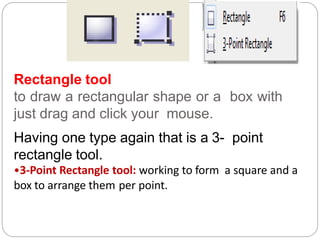
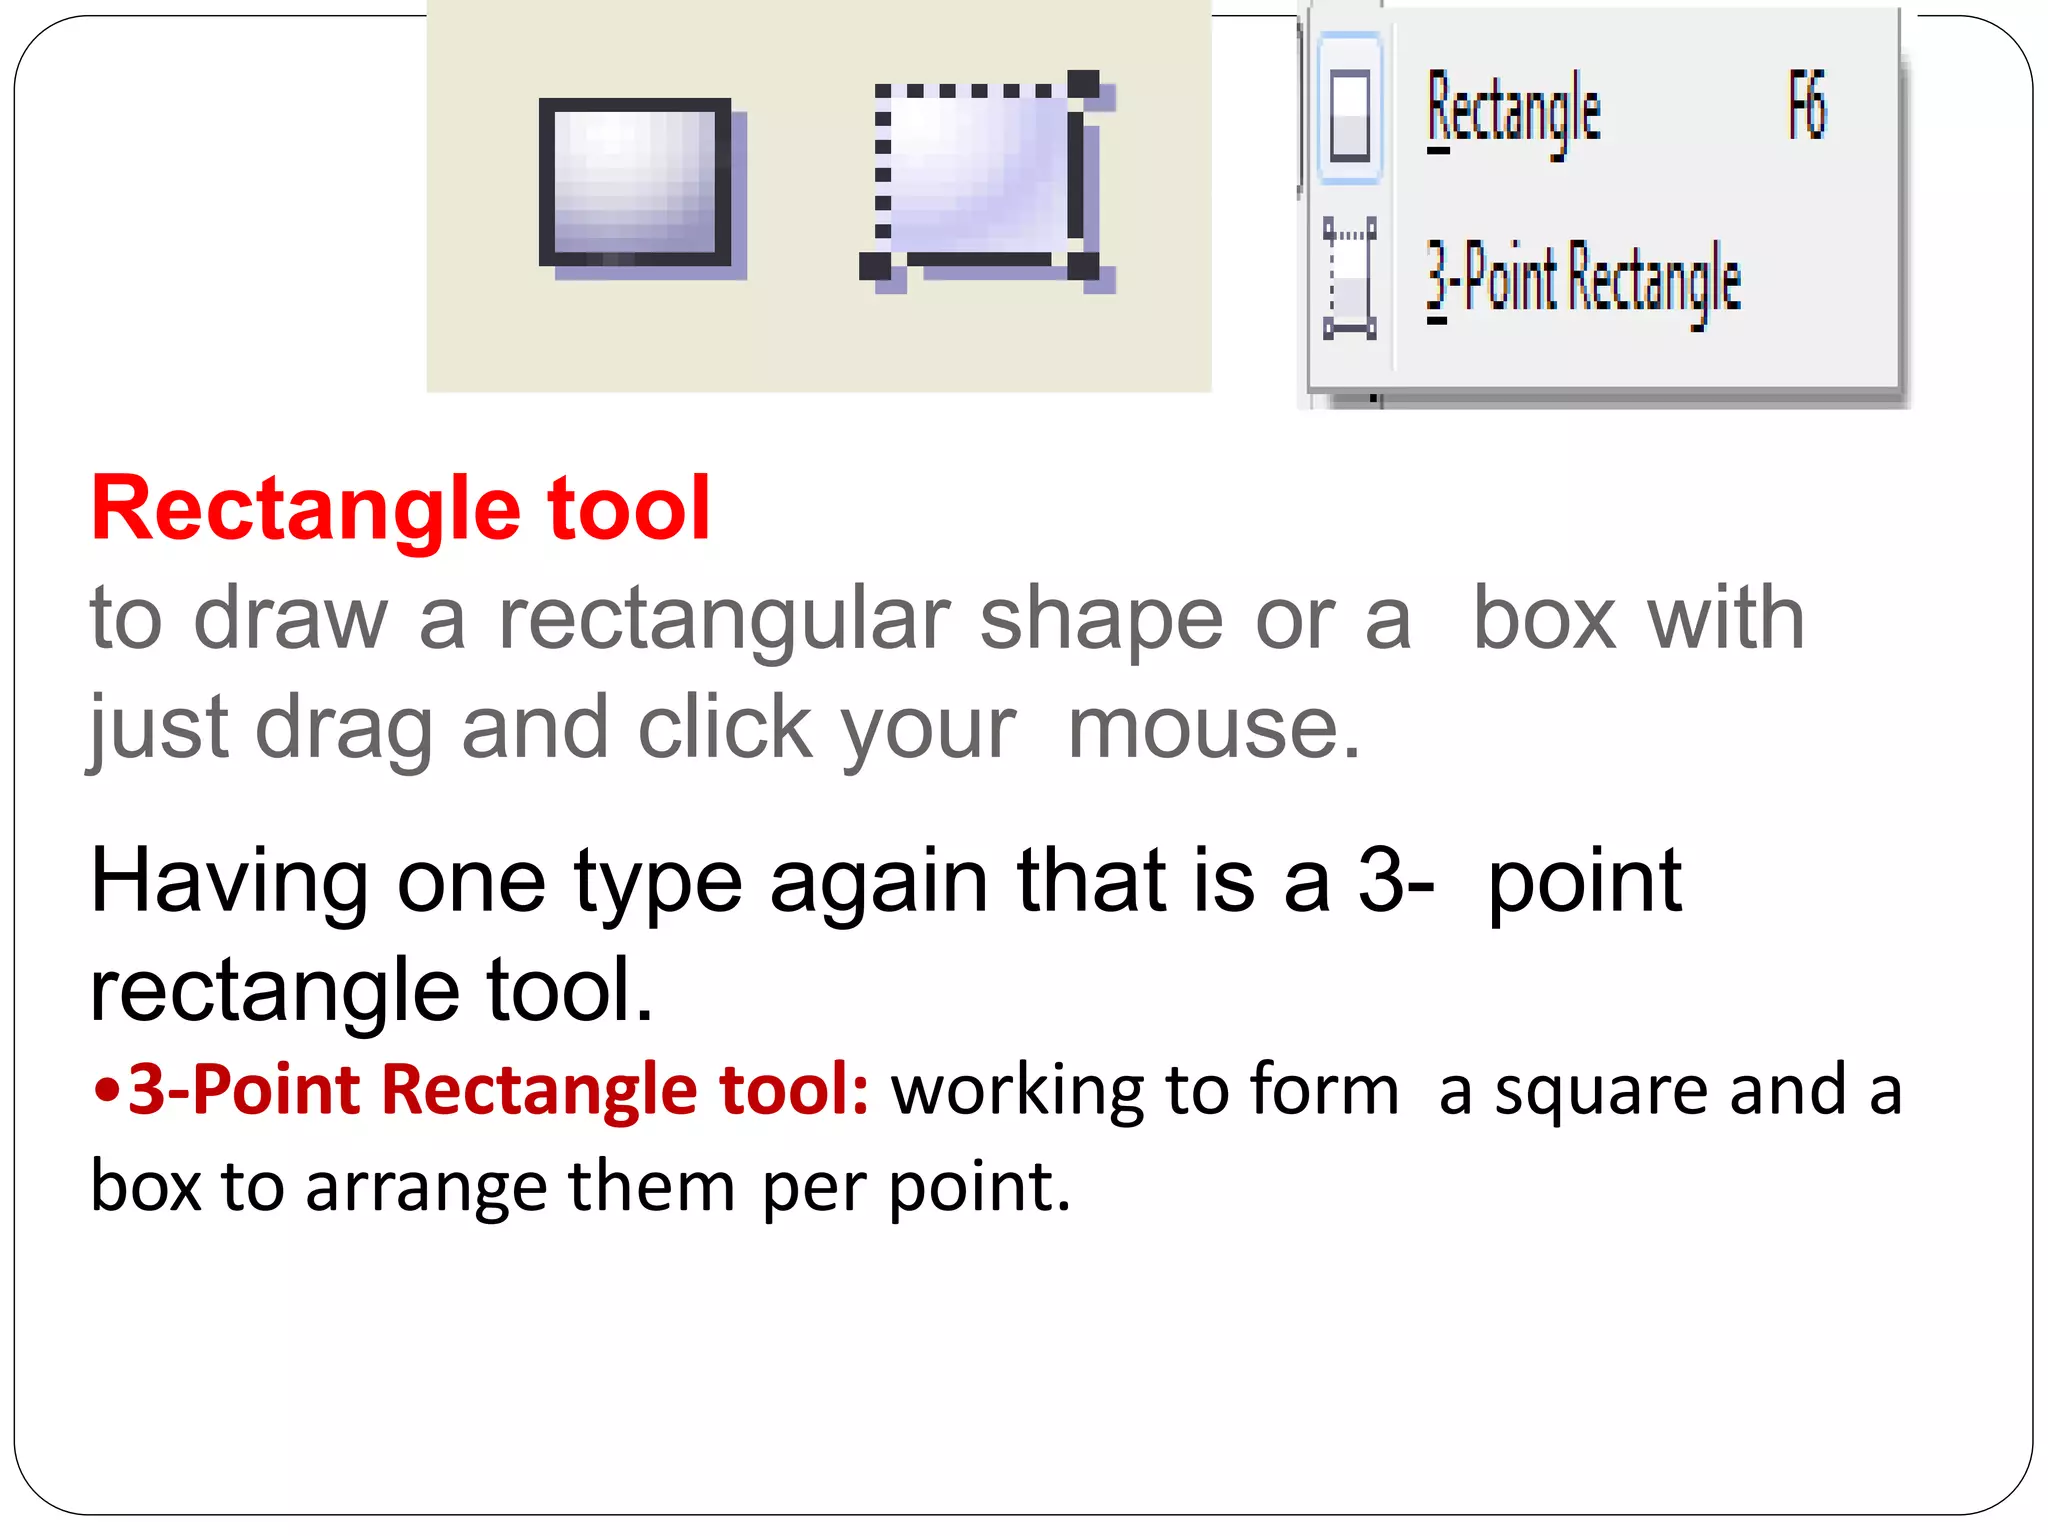
Rectangle tool
to drawa rectangular shape or a box with
just drag and click your mouse.
Having one type again that is a 3- point
rectangle tool.
•3-Point Rectangle tool: working to form a square and a
box to arrange them per point.
35.
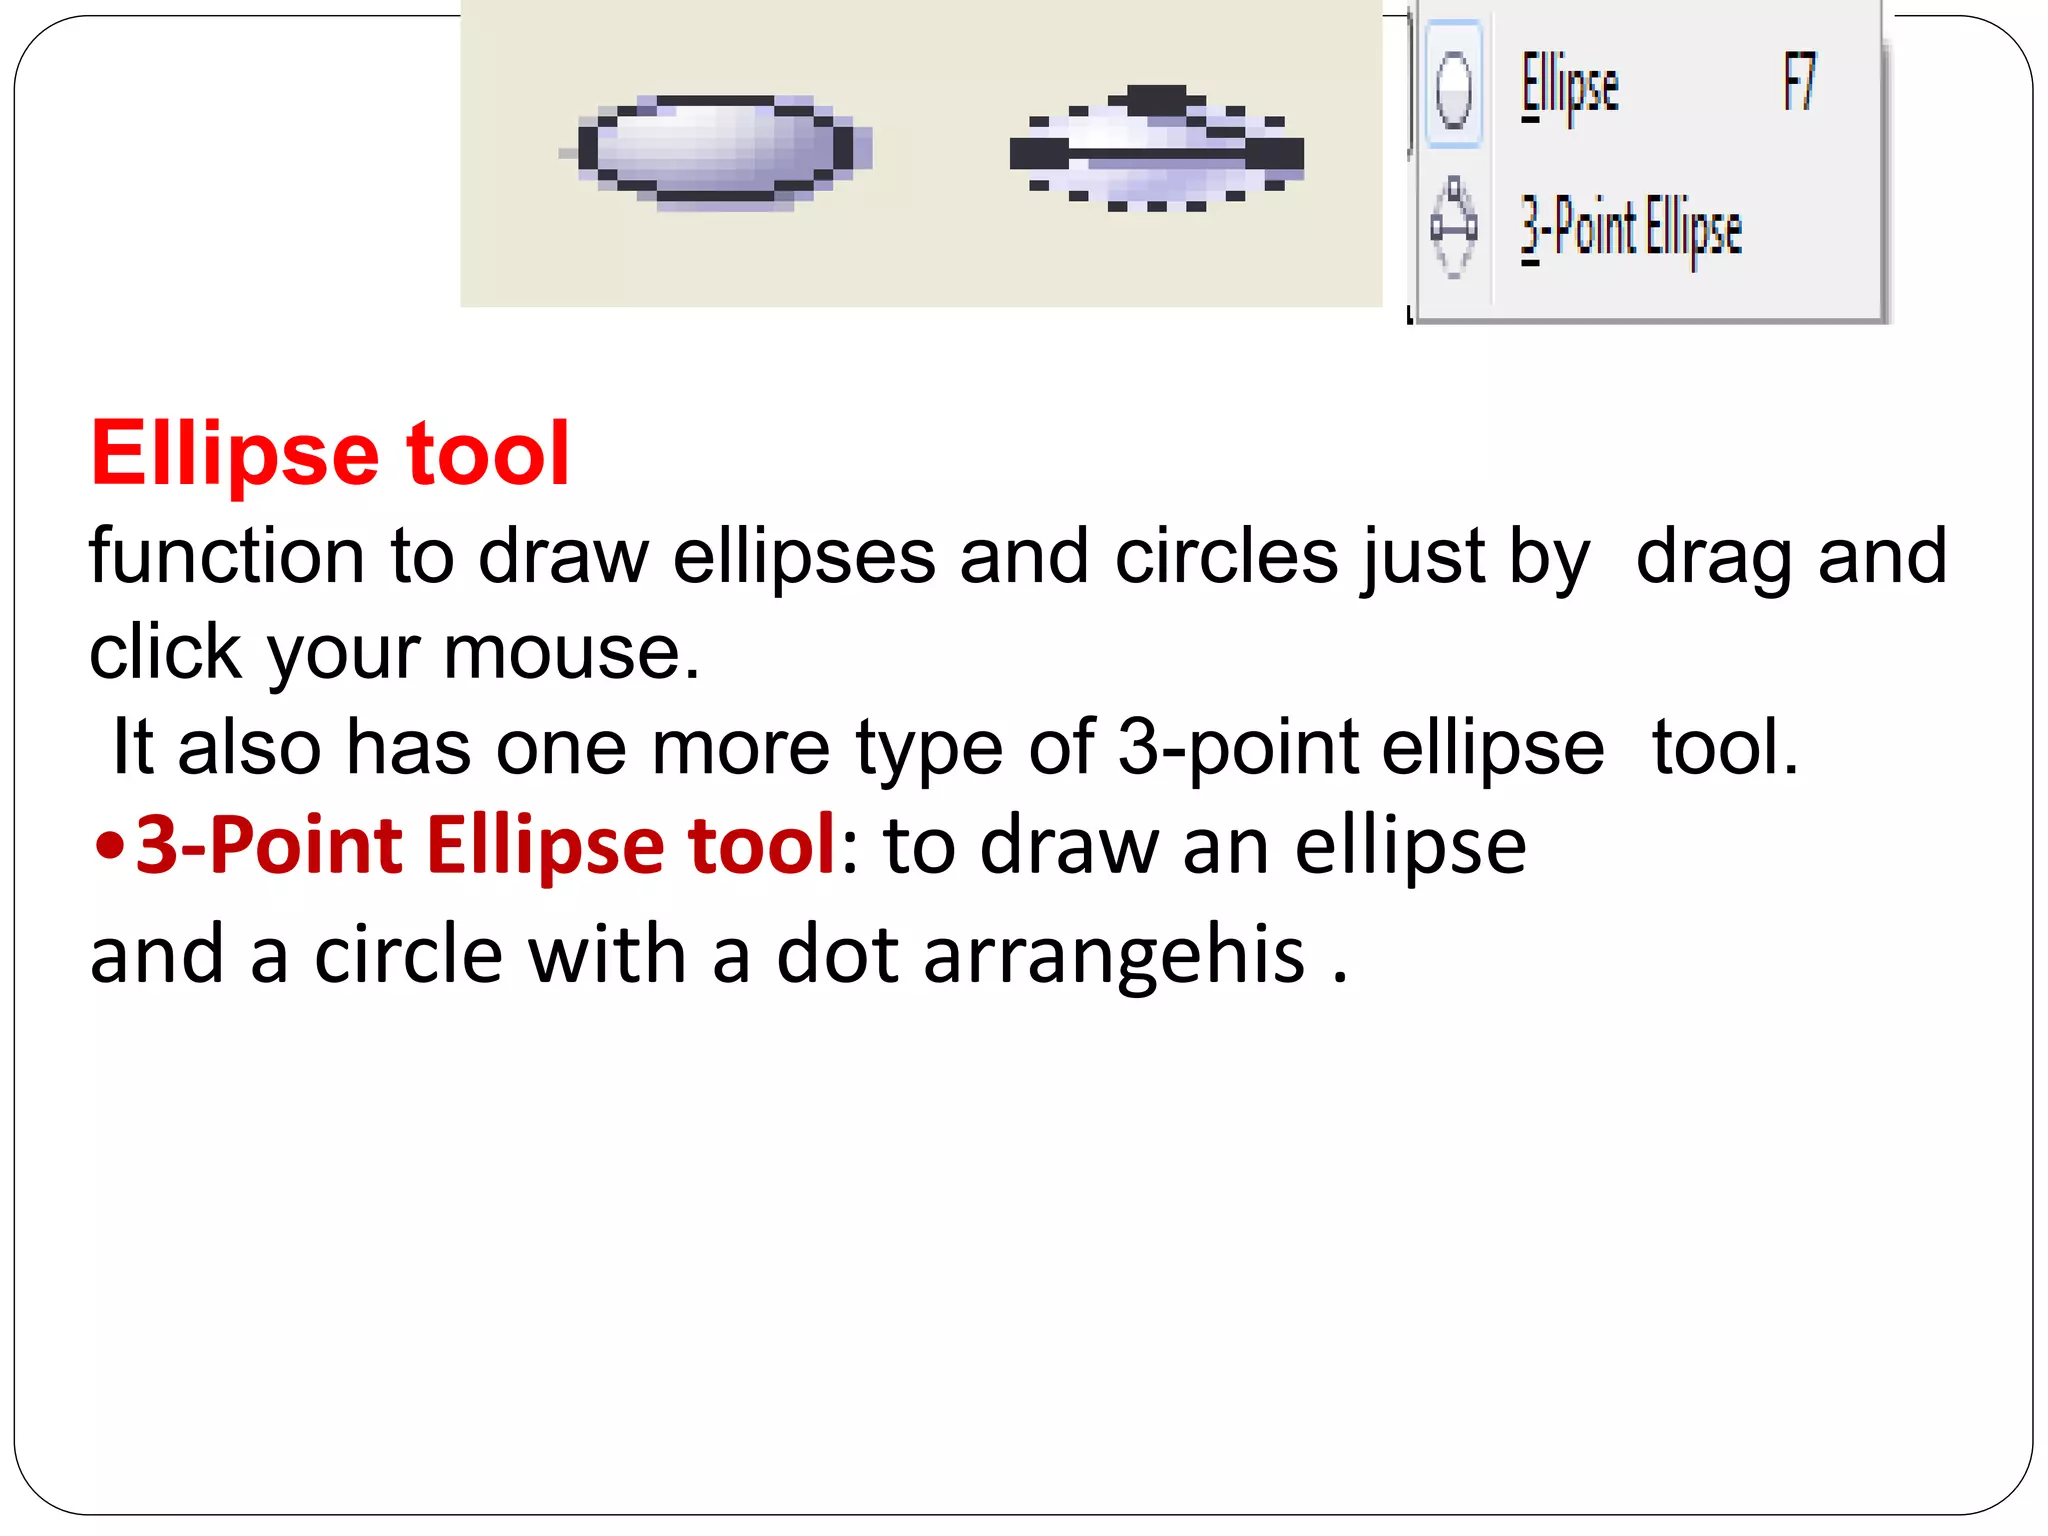
Ellipse tool
function todraw ellipses and circles just by drag and
click your mouse.
It also has one more type of 3-point ellipse tool.
•3-Point Ellipse tool: to draw an ellipse
and a circle with a dot arrangehis .
36.
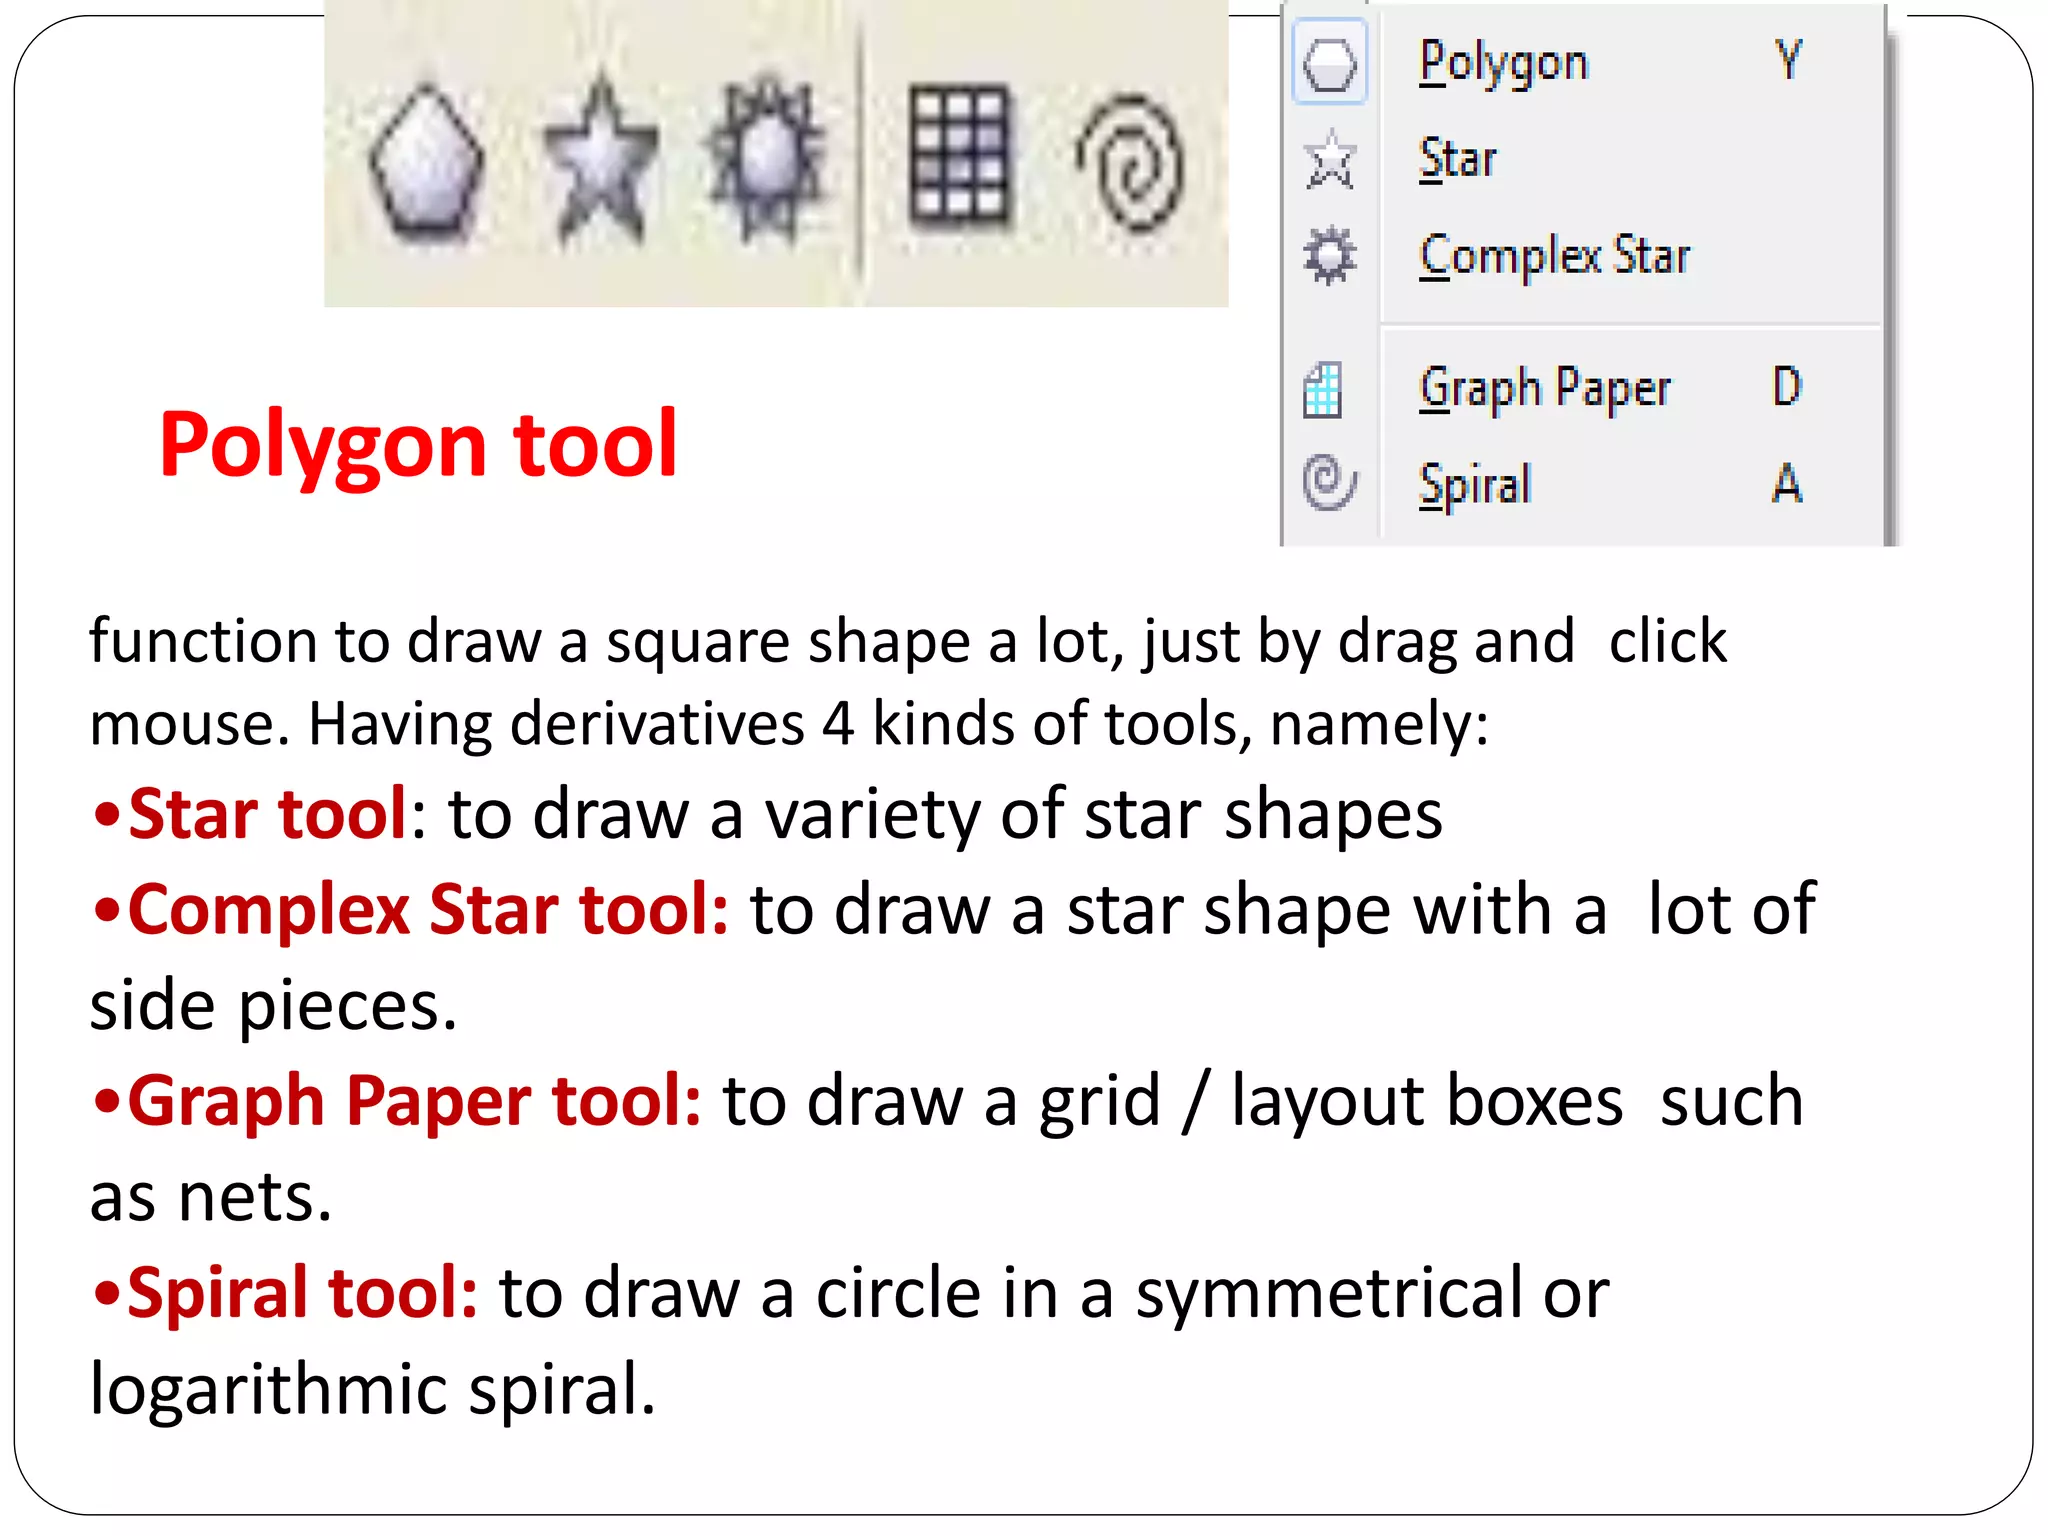
Polygon tool
function todraw a square shape a lot, just by drag and click
mouse. Having derivatives 4 kinds of tools, namely:
•Star tool: to draw a variety of star shapes
•Complex Star tool: to draw a star shape with a lot of
side pieces.
•Graph Paper tool: to draw a grid / layout boxes such
as nets.
•Spiral tool: to draw a circle in a symmetrical or
logarithmic spiral.
37.
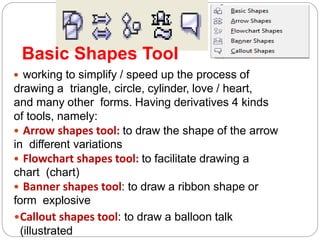
working tosimplify / speed up the process of
drawing a triangle, circle, cylinder, love / heart,
and many other forms. Having derivatives 4 kinds
of tools, namely:
• Arrow shapes tool: to draw the shape of the arrow
in different variations
• Flowchart shapes tool: to facilitate drawing a
chart (chart)
• Banner shapes tool: to draw a ribbon shape or
form explosive
•Callout shapes tool: to draw a balloon talk
(illustrated
Basic Shapes Tool
38.
Text tool
to makethe writing on the
image area serves as both
artistic and written
descriptions.
39.
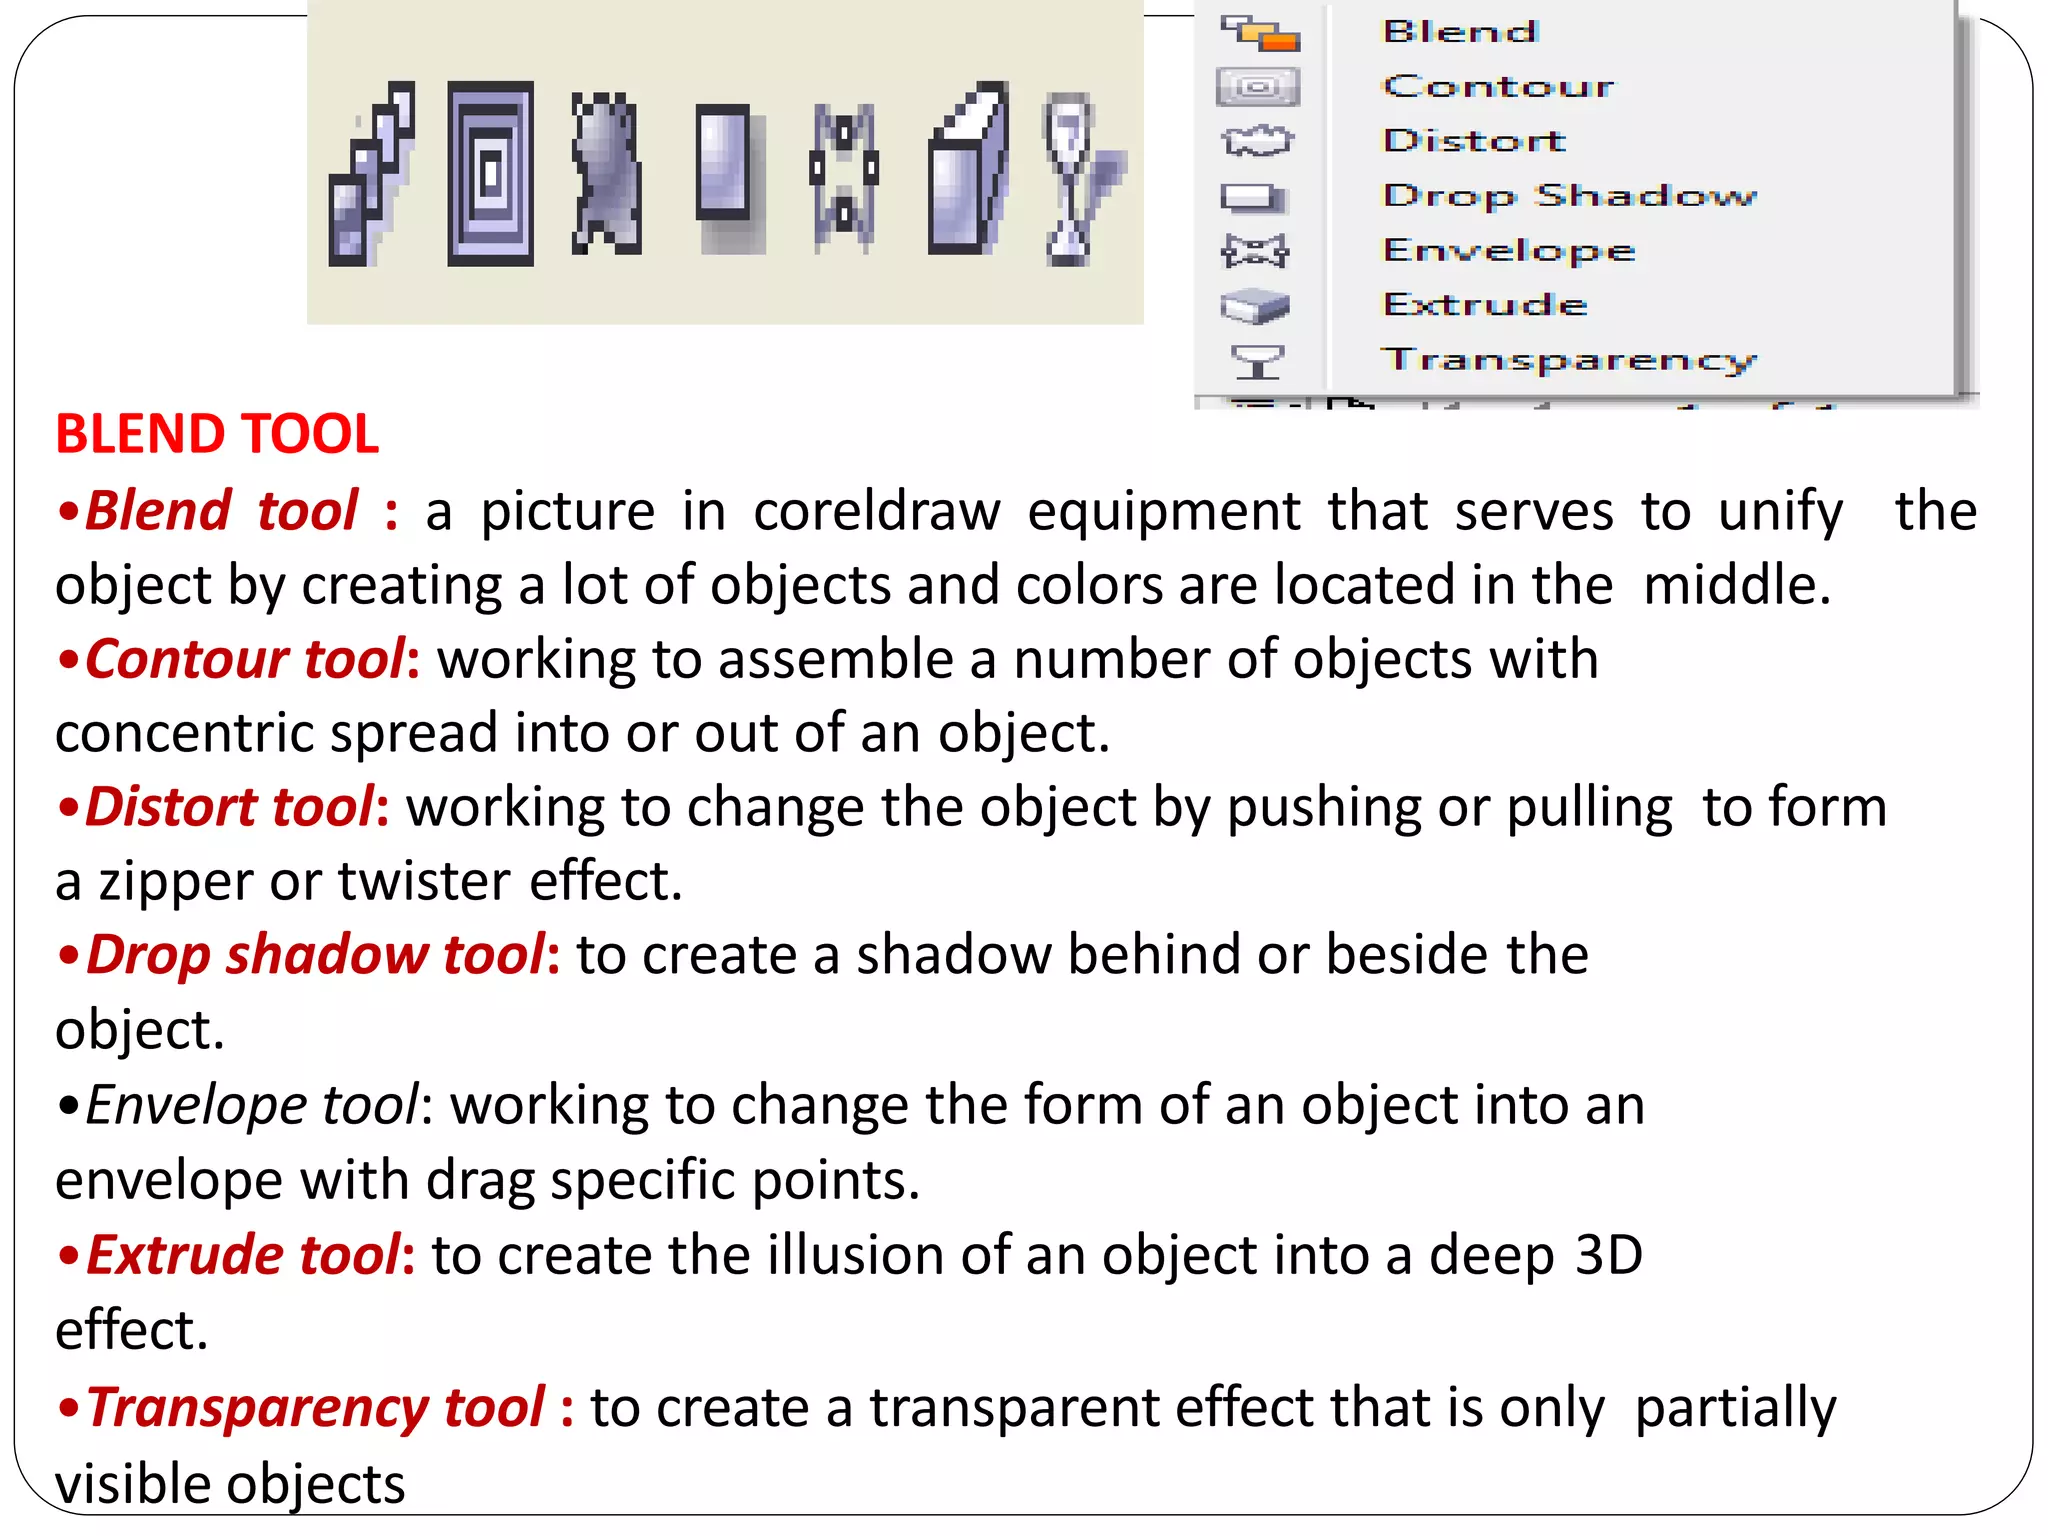
BLEND TOOL
•Blend tool: a picture in coreldraw equipment that serves to unify the
object by creating a lot of objects and colors are located in the middle.
•Contour tool: working to assemble a number of objects with
concentric spread into or out of an object.
•Distort tool: working to change the object by pushing or pulling to form
a zipper or twister effect.
•Drop shadow tool: to create a shadow behind or beside the
object.
•Envelope tool: working to change the form of an object into an
envelope with drag specific points.
•Extrude tool: to create the illusion of an object into a deep 3D
effect.
•Transparency tool : to create a transparent effect that is only partially
visible objects
40.
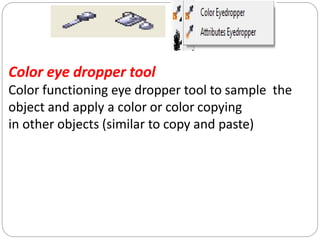
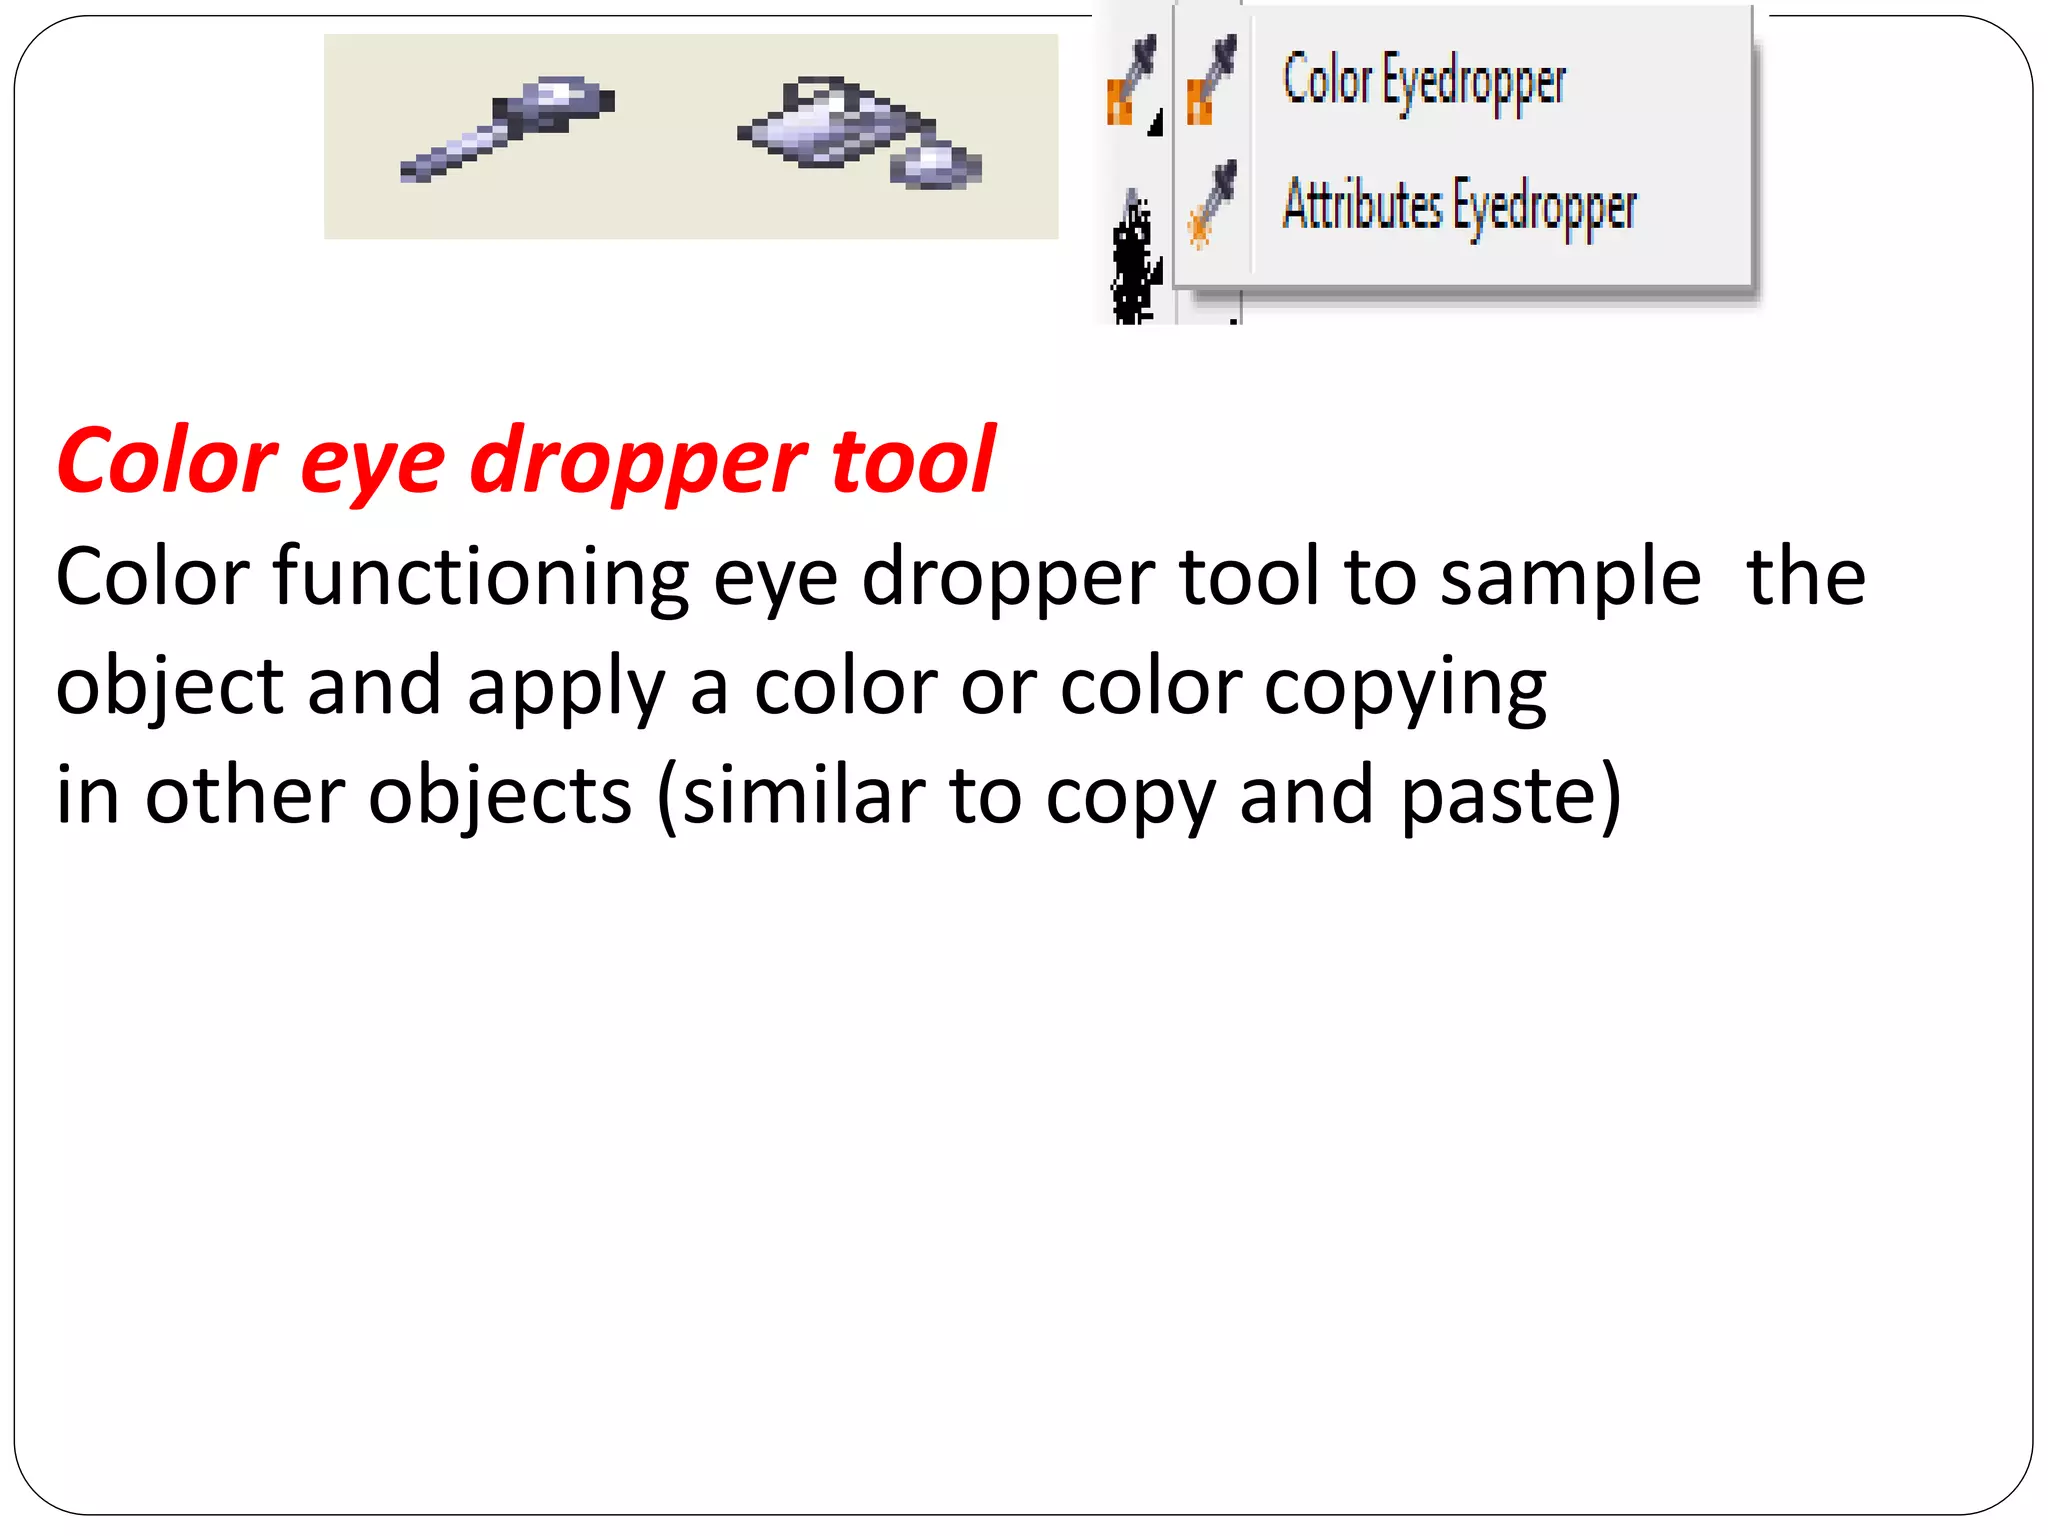
Color eye droppertool
Color functioning eye dropper tool to sample the
object and apply a color or color copying
in other objects (similar to copy and paste)
41.
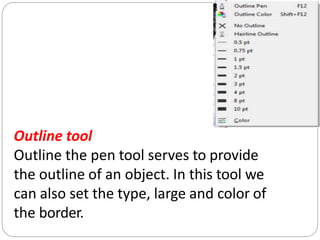
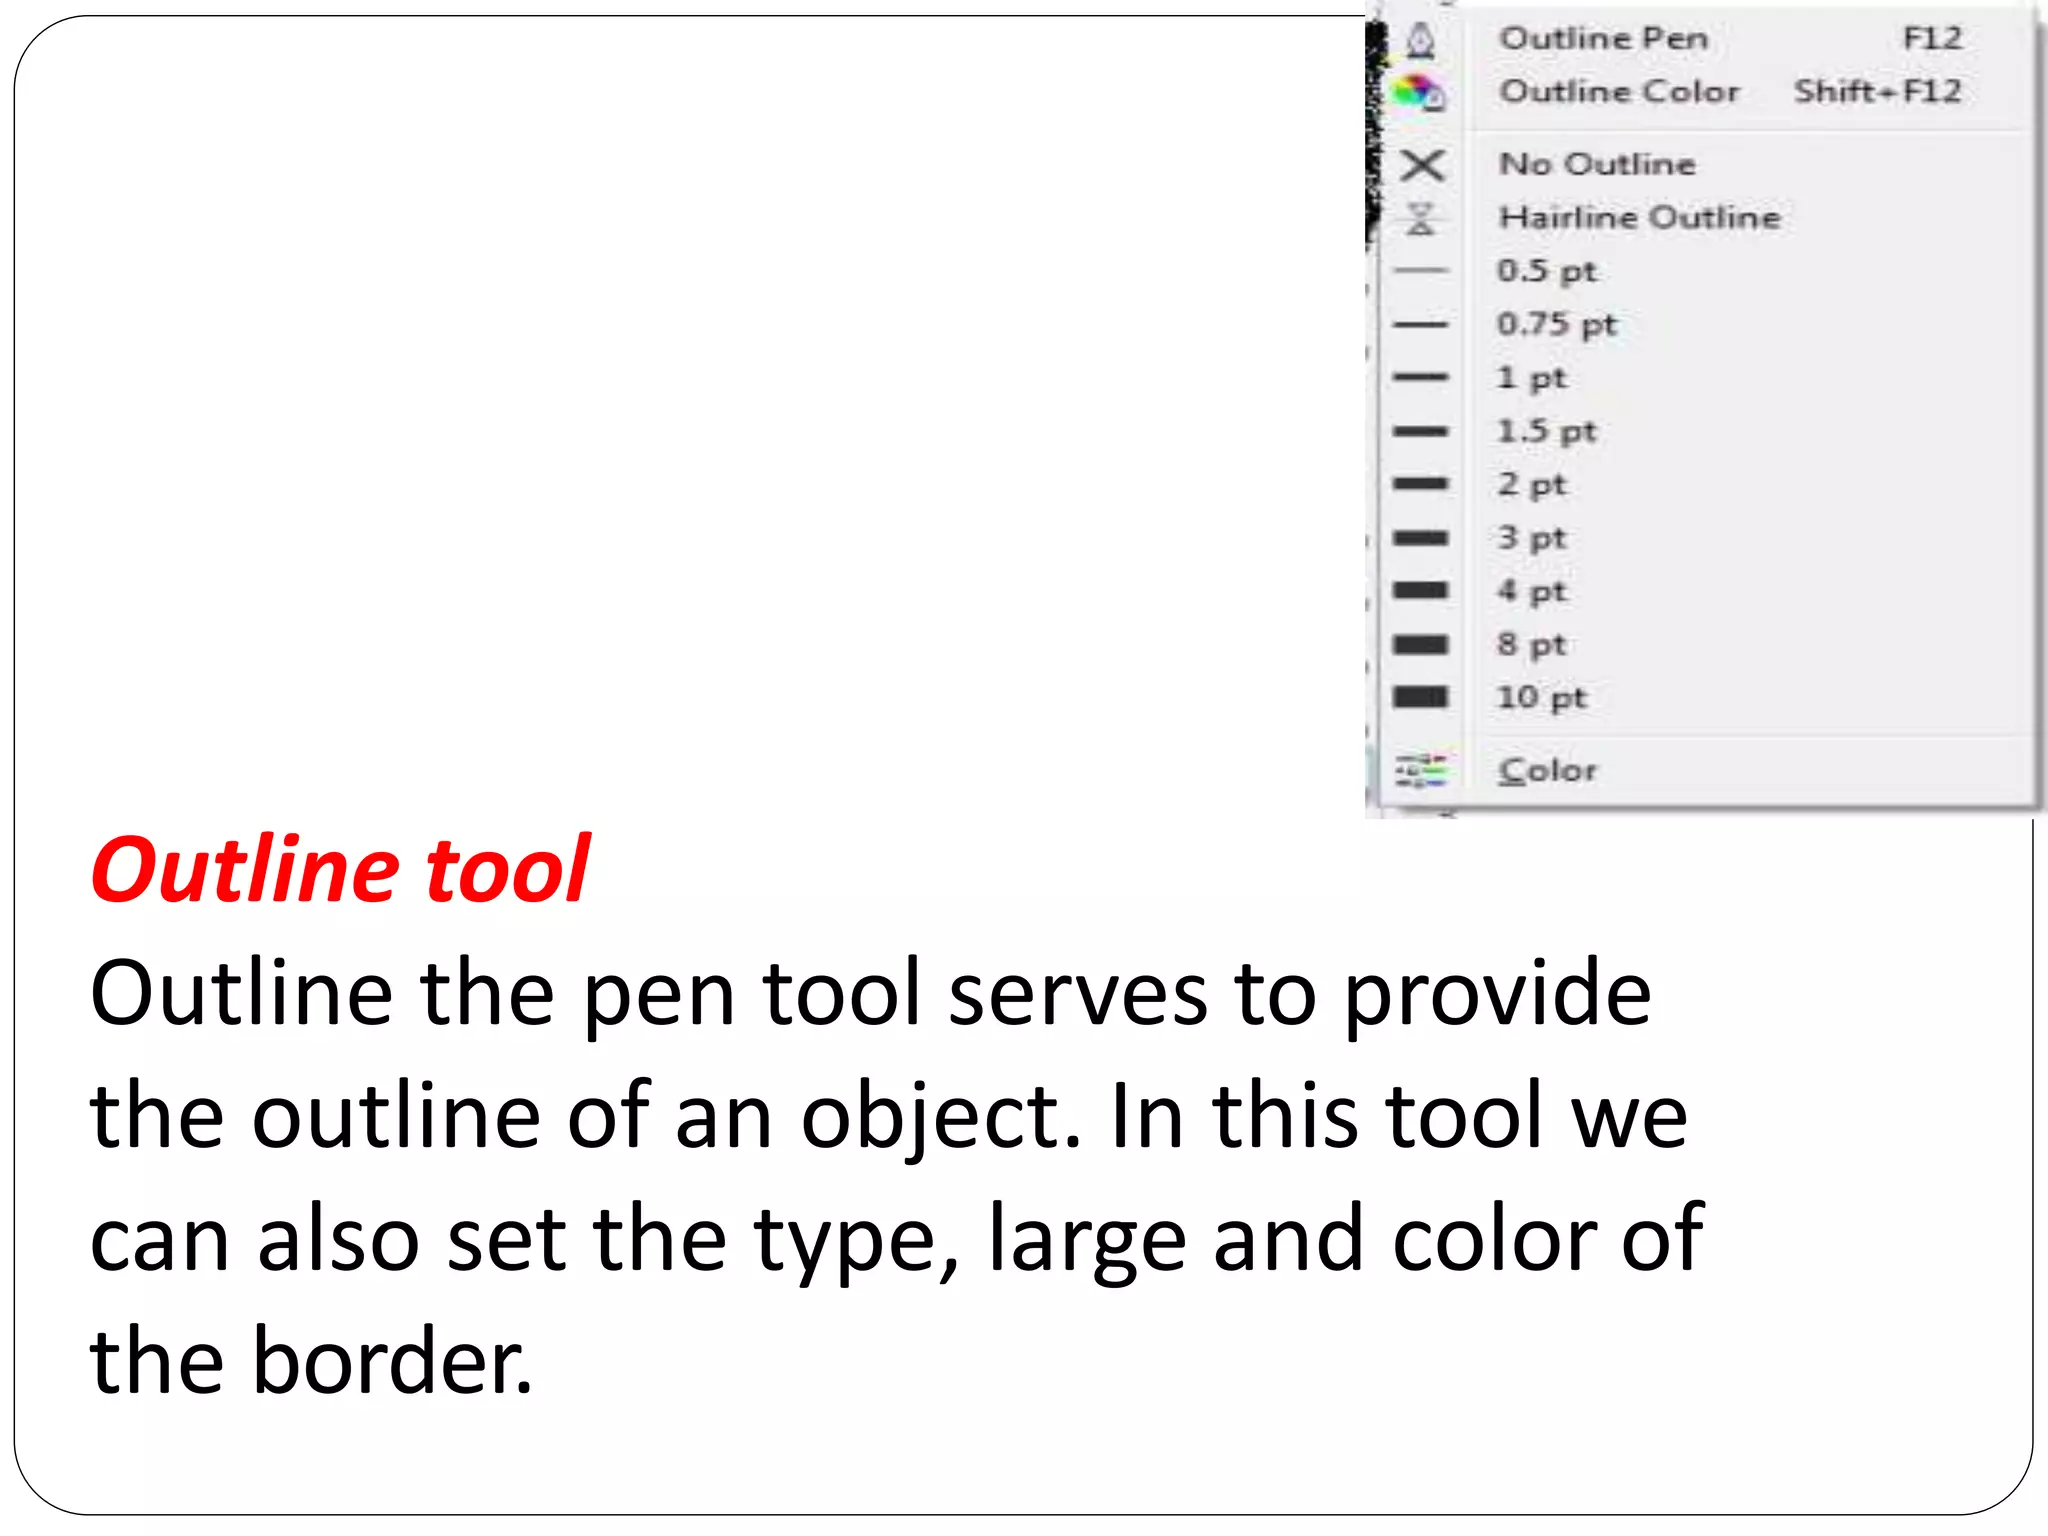
Outline tool
Outline thepen tool serves to provide
the outline of an object. In this tool we
can also set the type, large and color of
the border.
42.
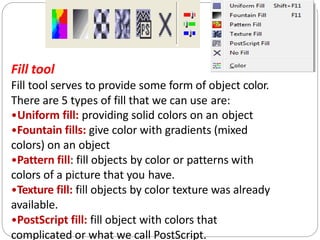
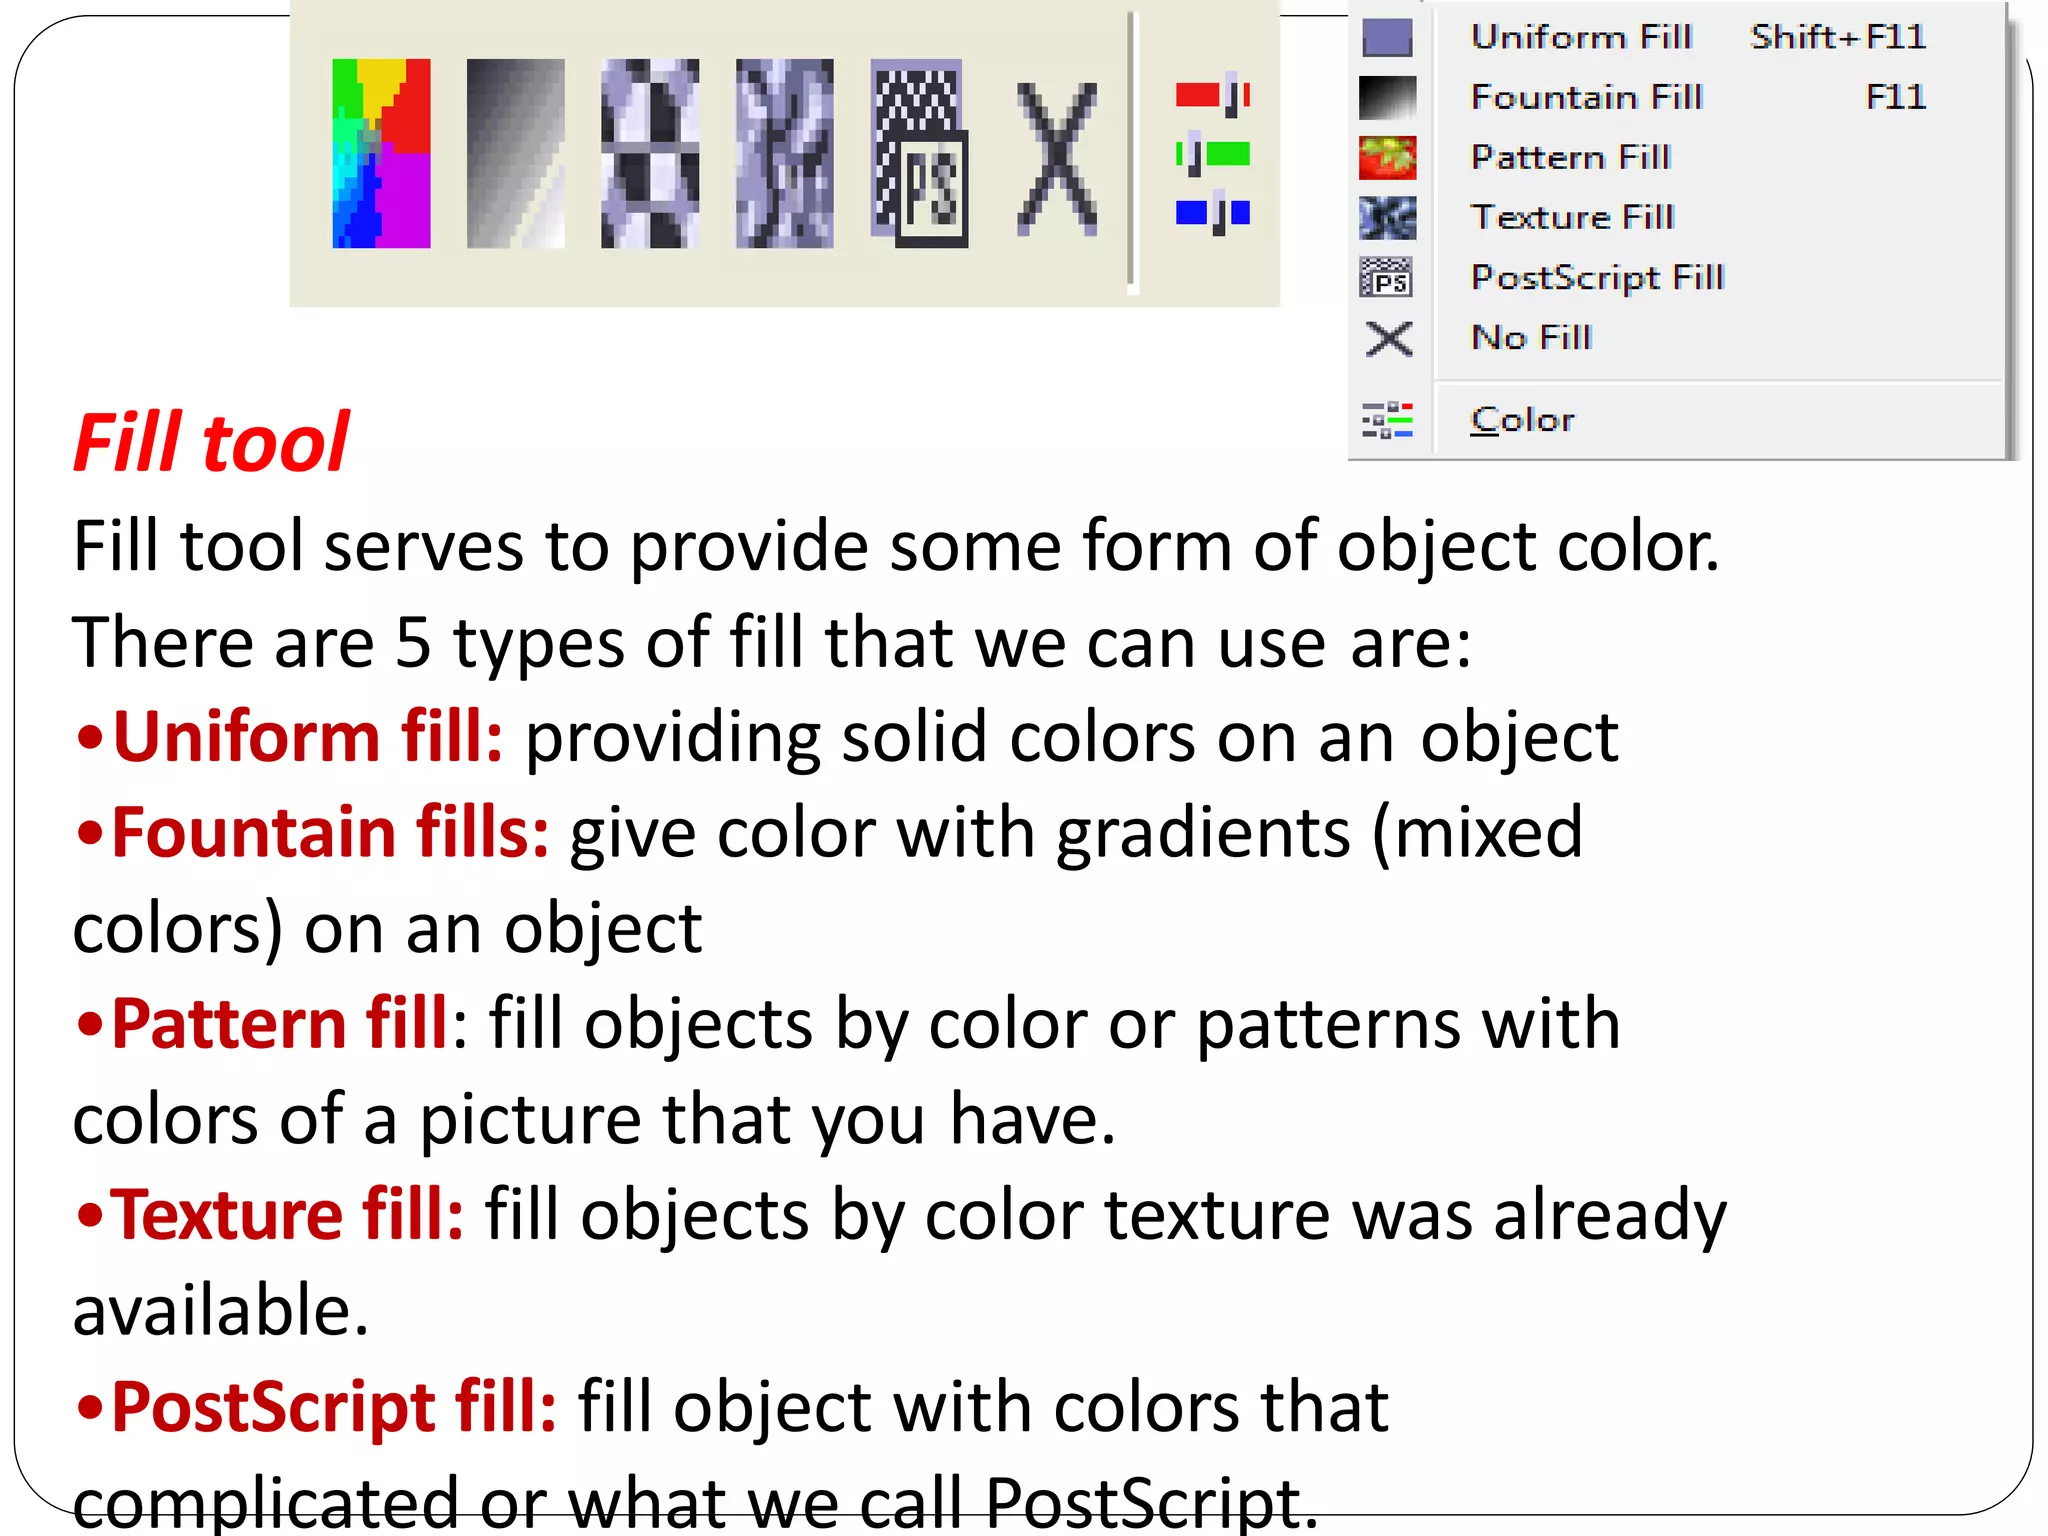
Fill tool
Fill toolserves to provide some form of object color.
There are 5 types of fill that we can use are:
•Uniform fill: providing solid colors on an object
•Fountain fills: give color with gradients (mixed
colors) on an object
•Pattern fill: fill objects by color or patterns with
colors of a picture that you have.
•Texture fill: fill objects by color texture was already
available.
•PostScript fill: fill object with colors that
complicated or what we call PostScript.
43.
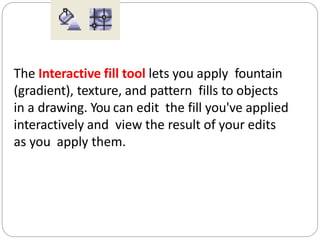
The Interactive filltool lets you apply fountain
(gradient), texture, and pattern fills to objects
in a drawing. You can edit the fill you've applied
interactively and view the result of your edits
as you apply them.