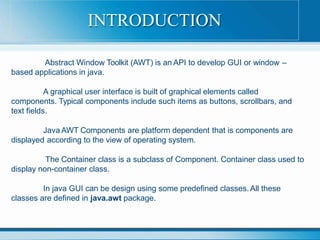
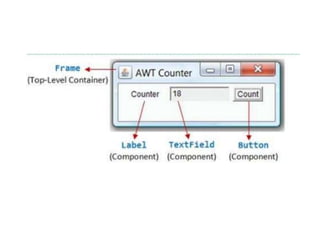
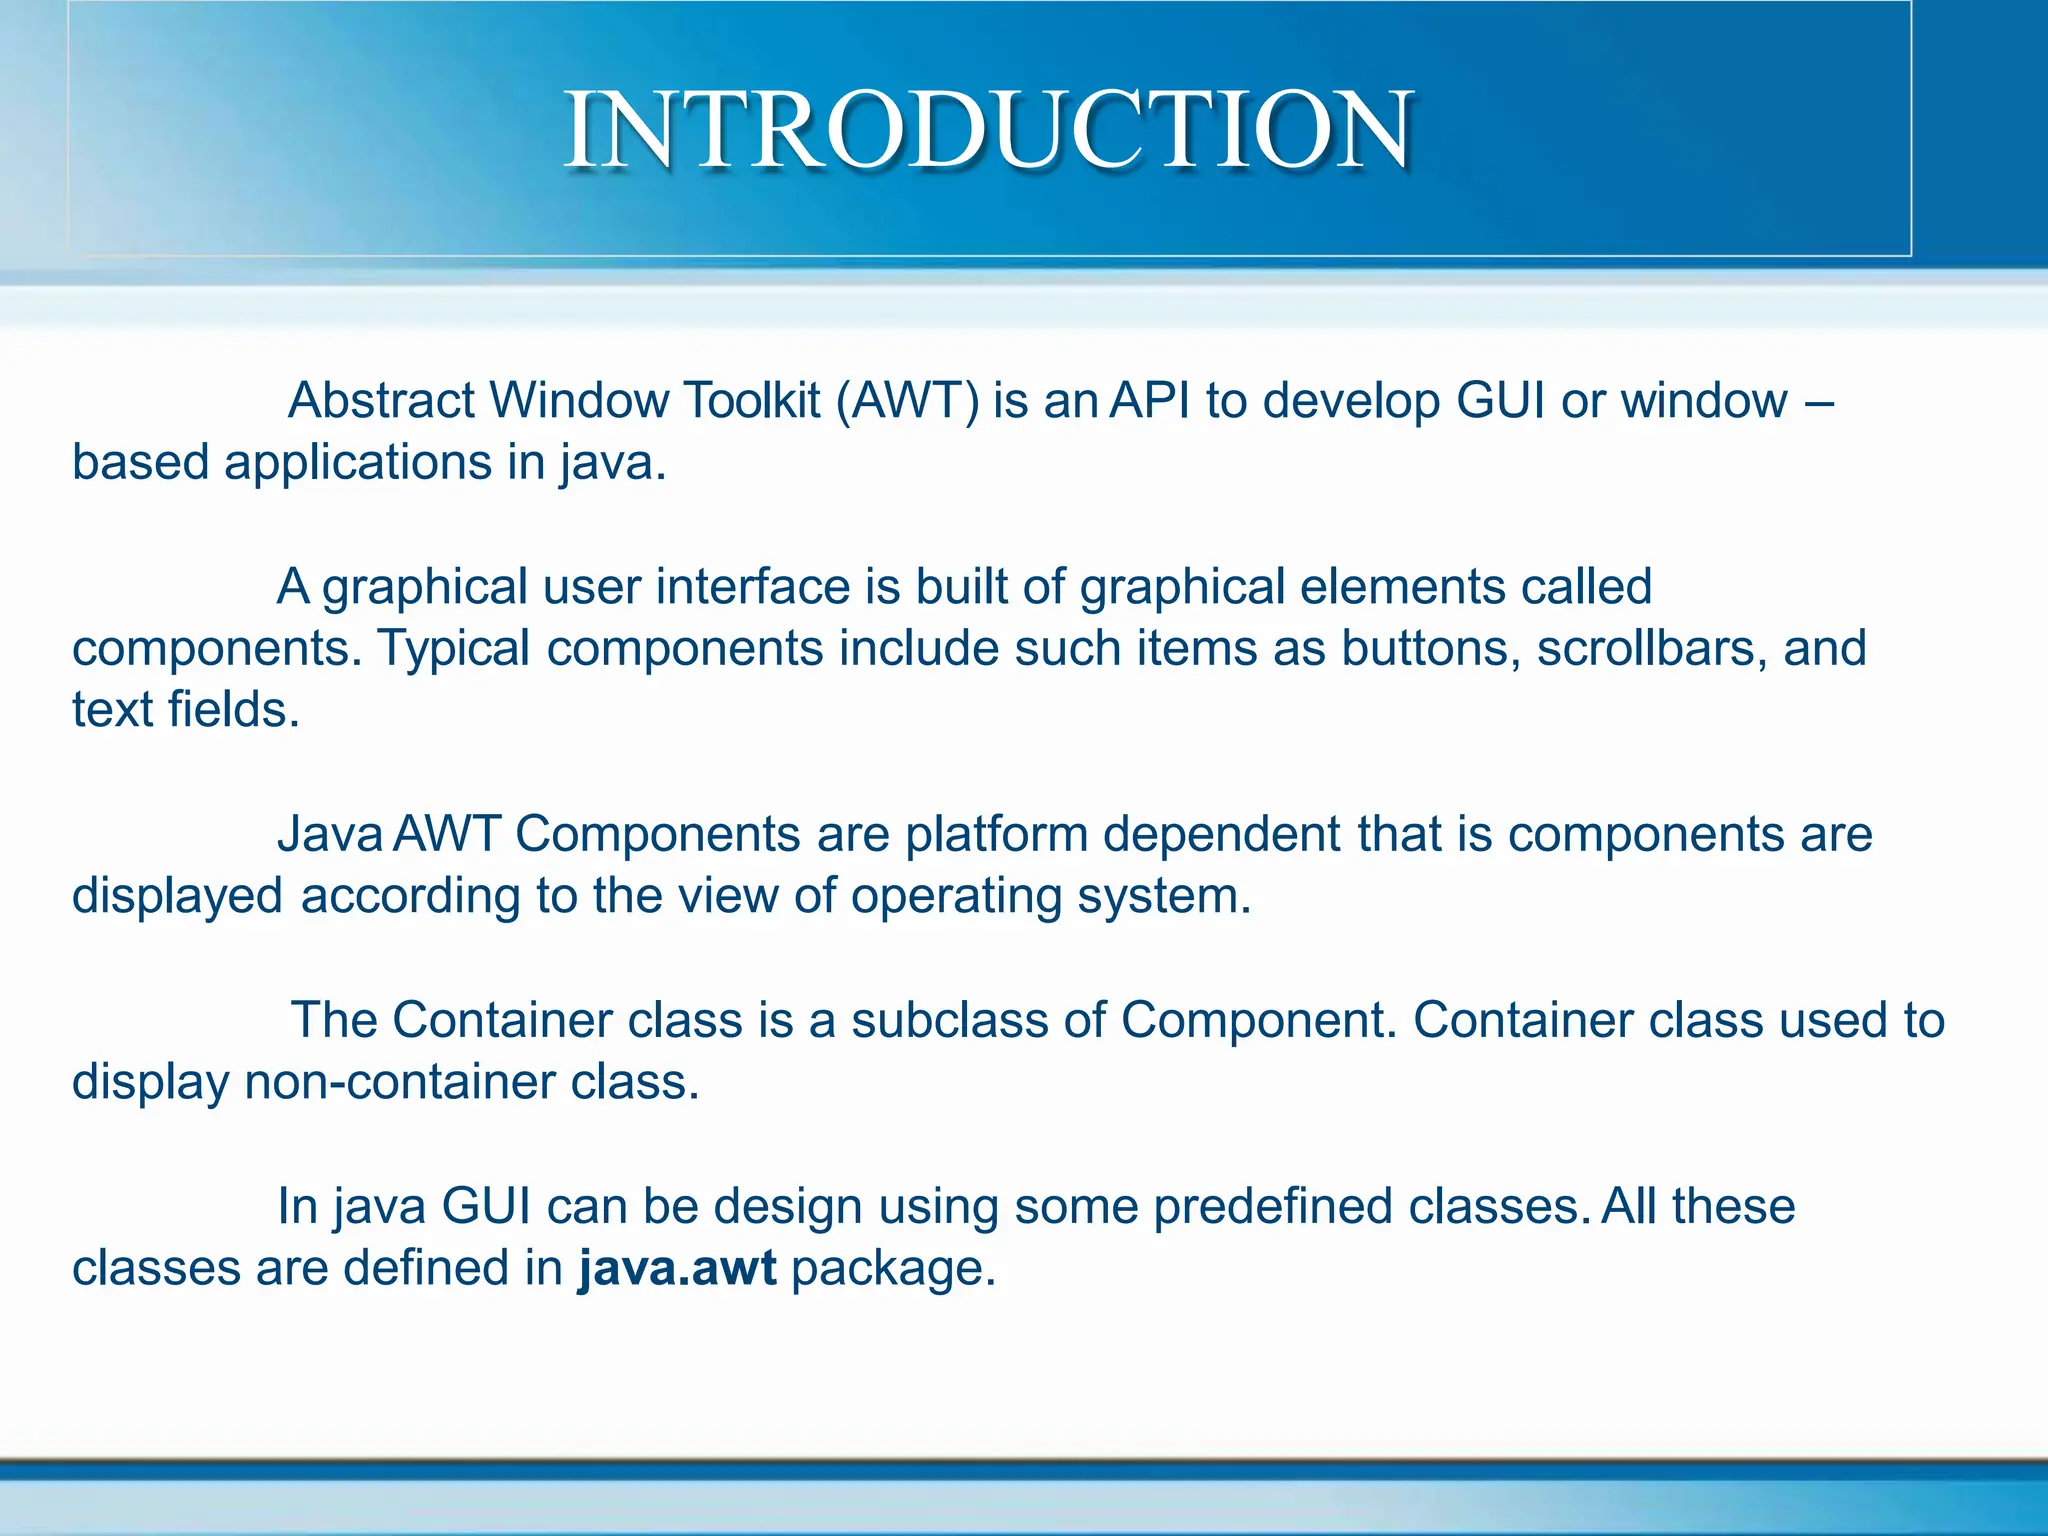
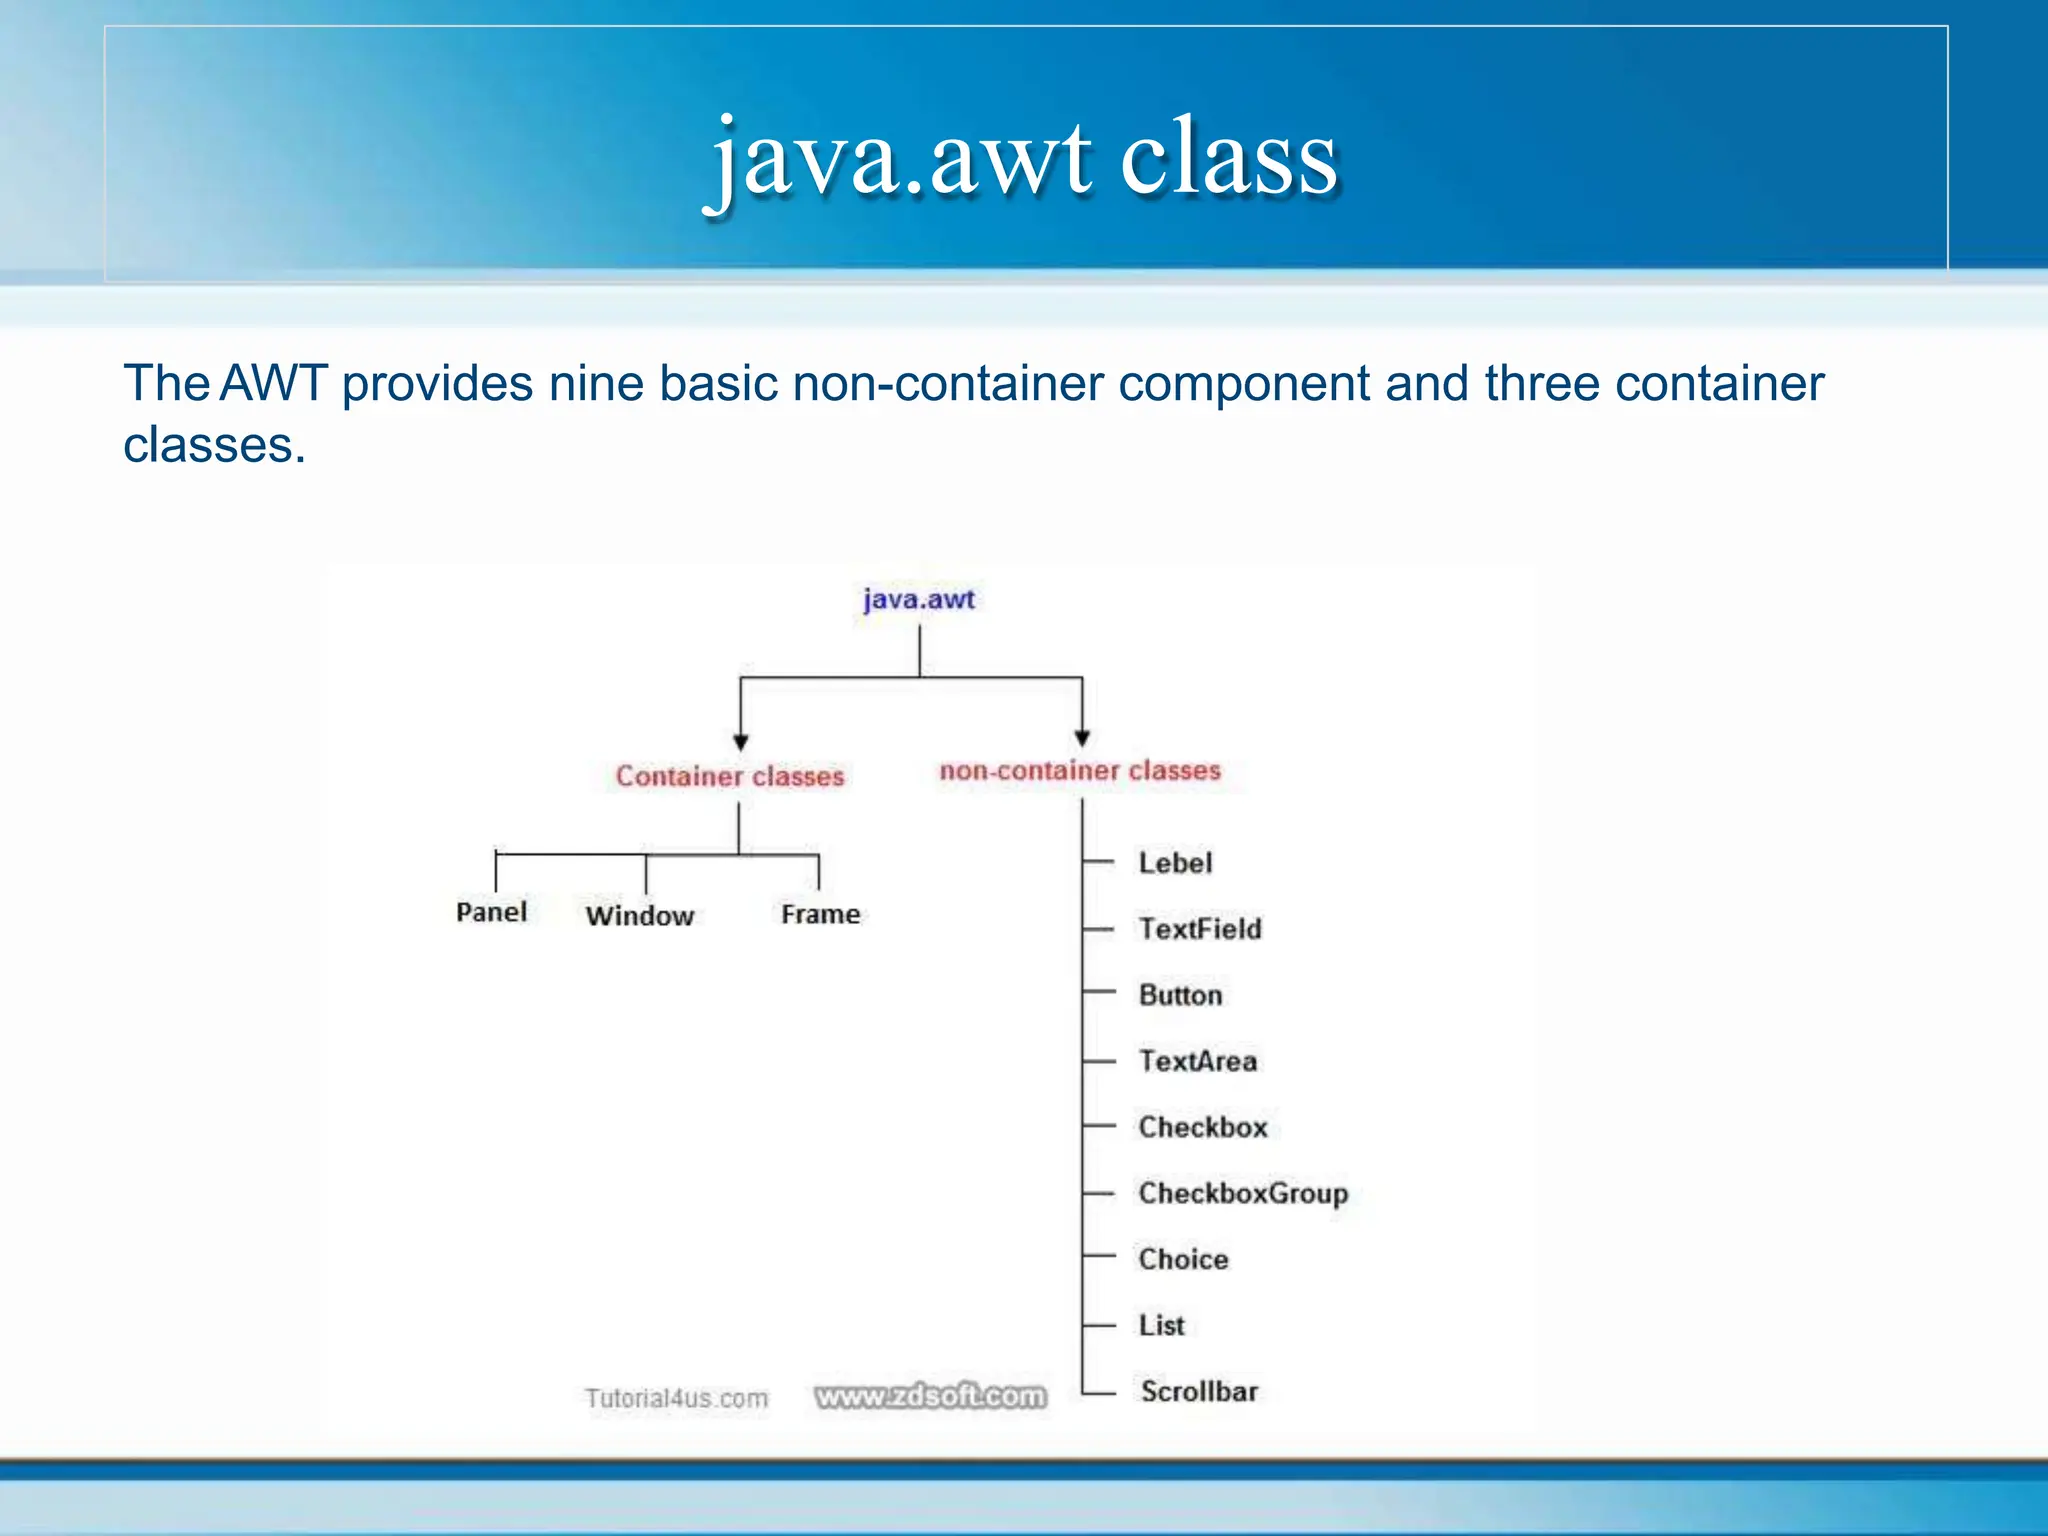
The document provides a comprehensive overview of the Abstract Window Toolkit (AWT) in Java, detailing its role as an API for creating graphical user interfaces. It discusses various components, such as containers, buttons, text fields, and their properties, as well as outlines methods for event handling and graphics programming. Additionally, it explains how to create and manage frames, handle input events, and use Java's color and font features.


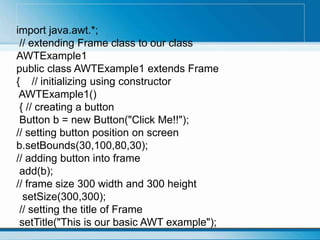
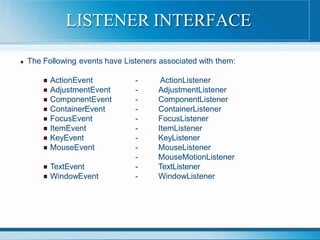
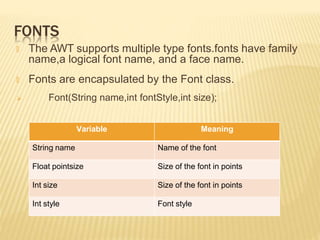
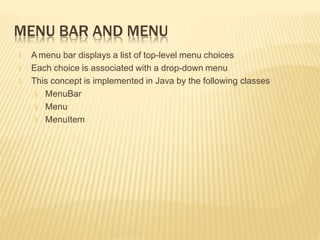
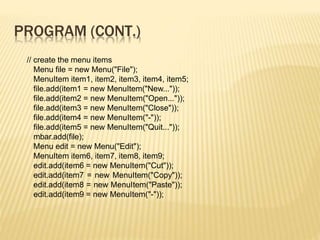
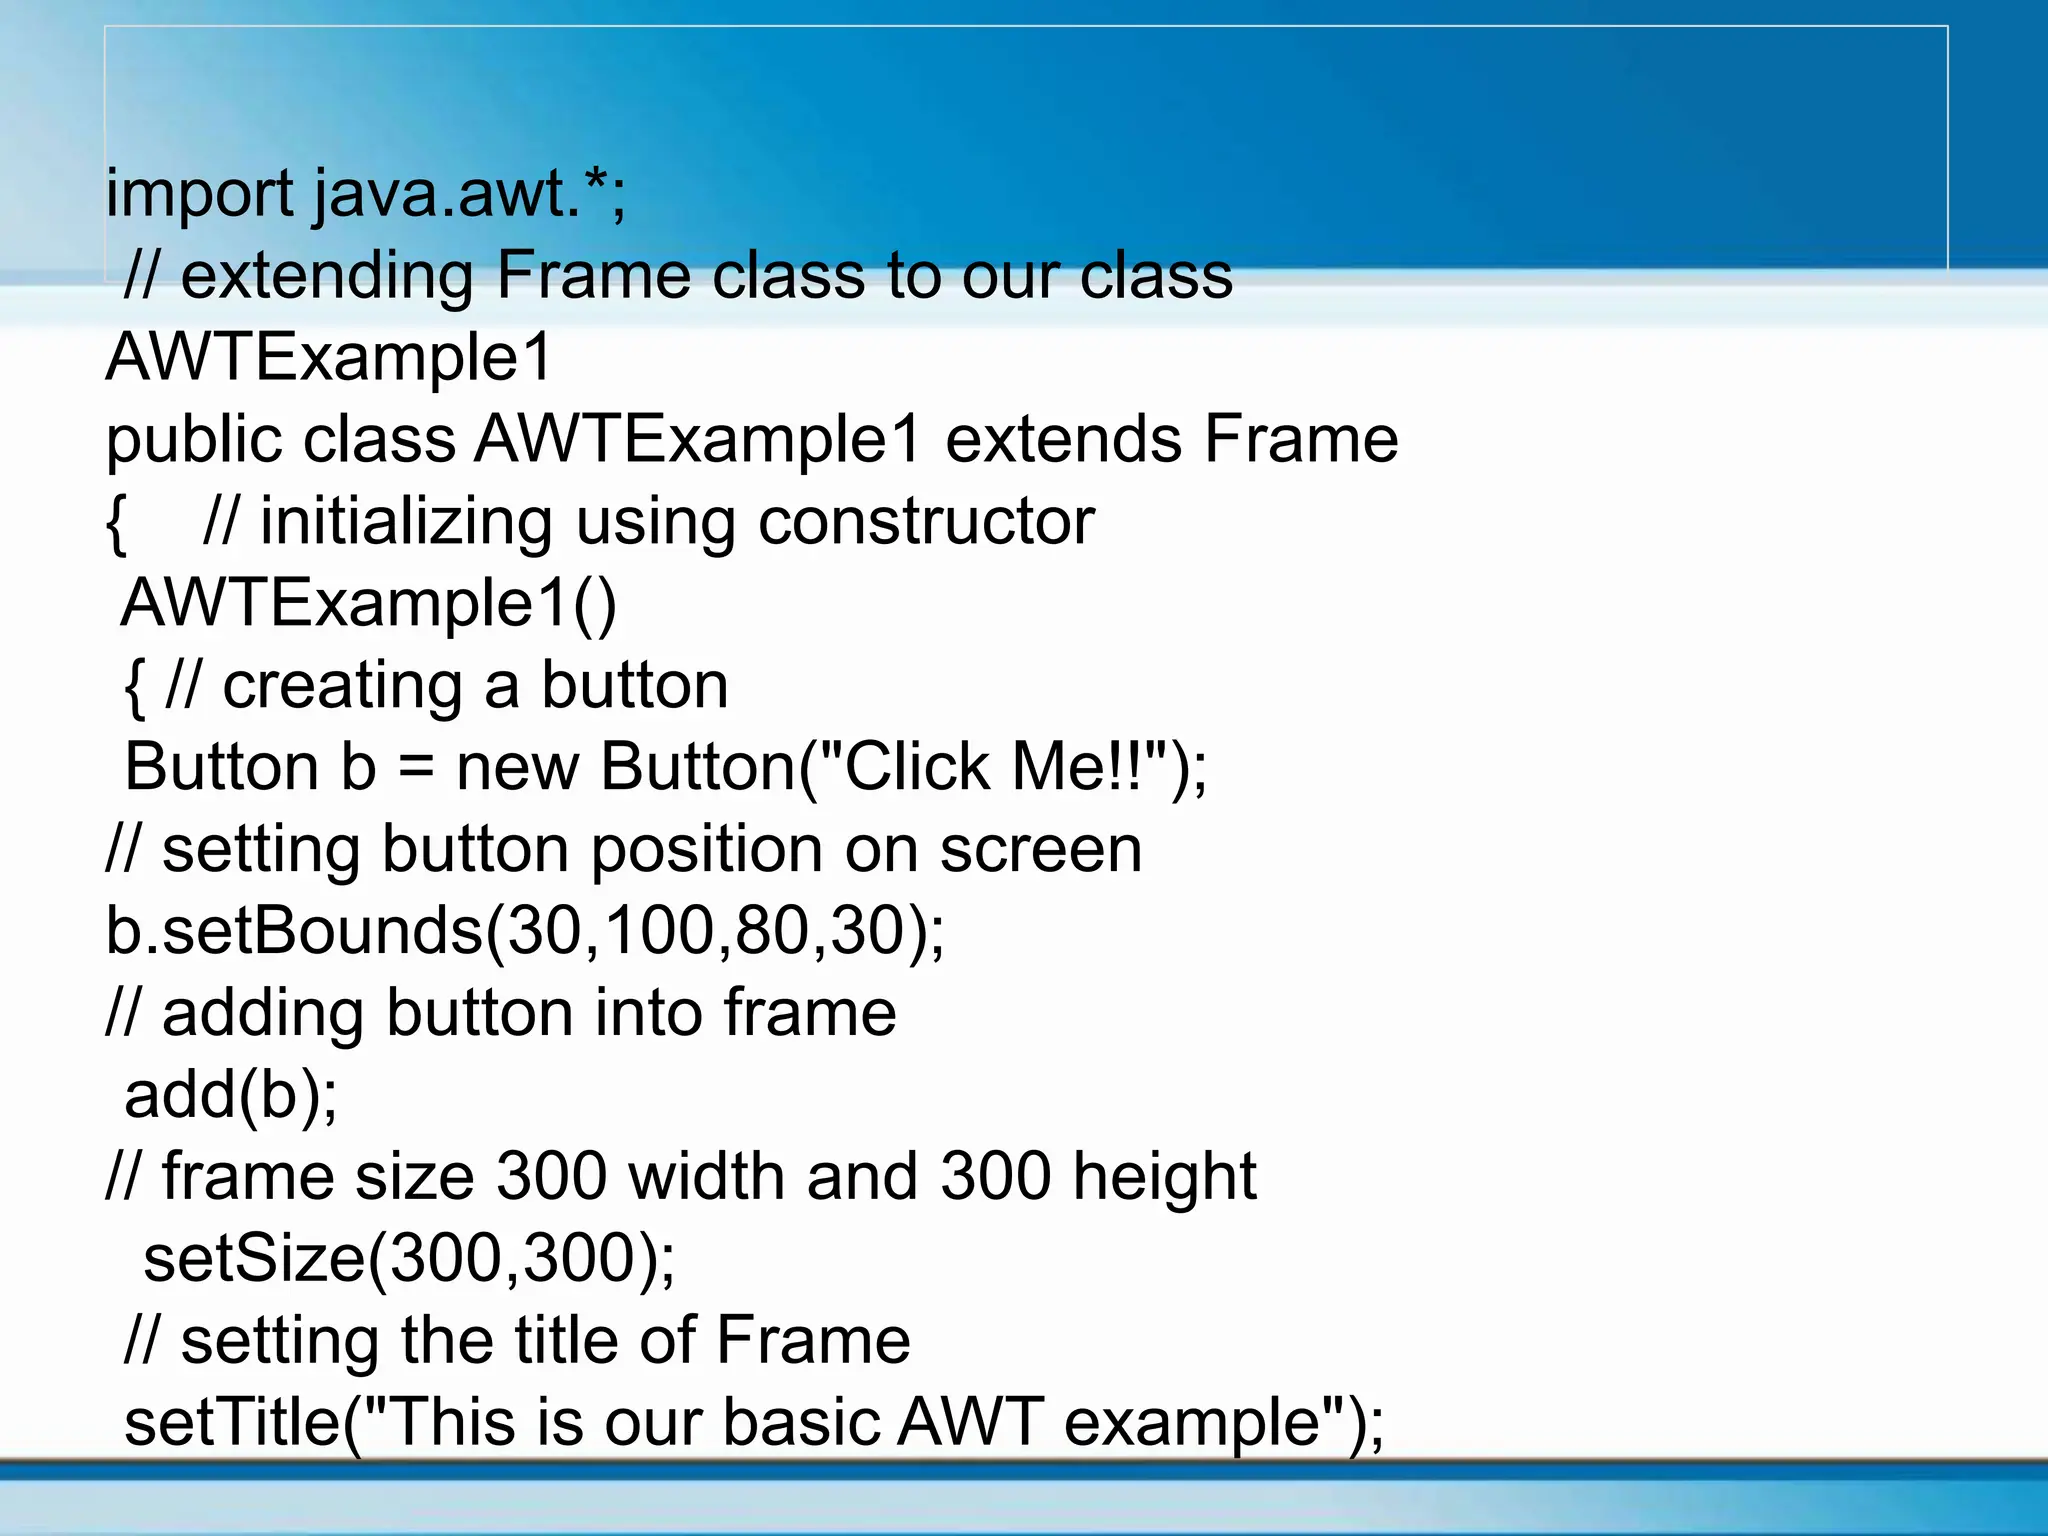
![// no layout manager
setLayout(null);
// now frame will be visible, by default it is not
visible
setVisible(true);
}
// main method
public static void main(String args[]) {
// creating instance of Frame class
AWTExample1 f = new AWTExample1();
}
}](https://image.slidesharecdn.com/java-pptframe-240611071240-36a291f9/85/javaprogramming-framework-ppt-frame-pptx-12-320.jpg)

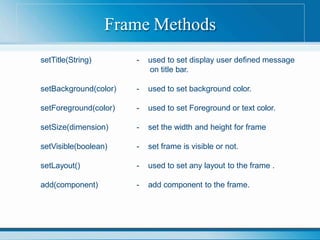
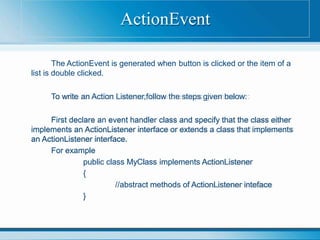
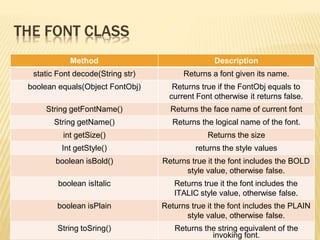
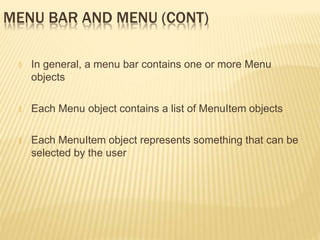
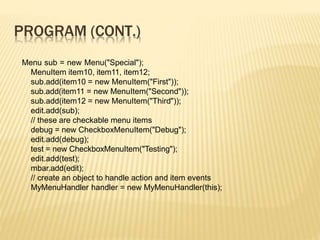
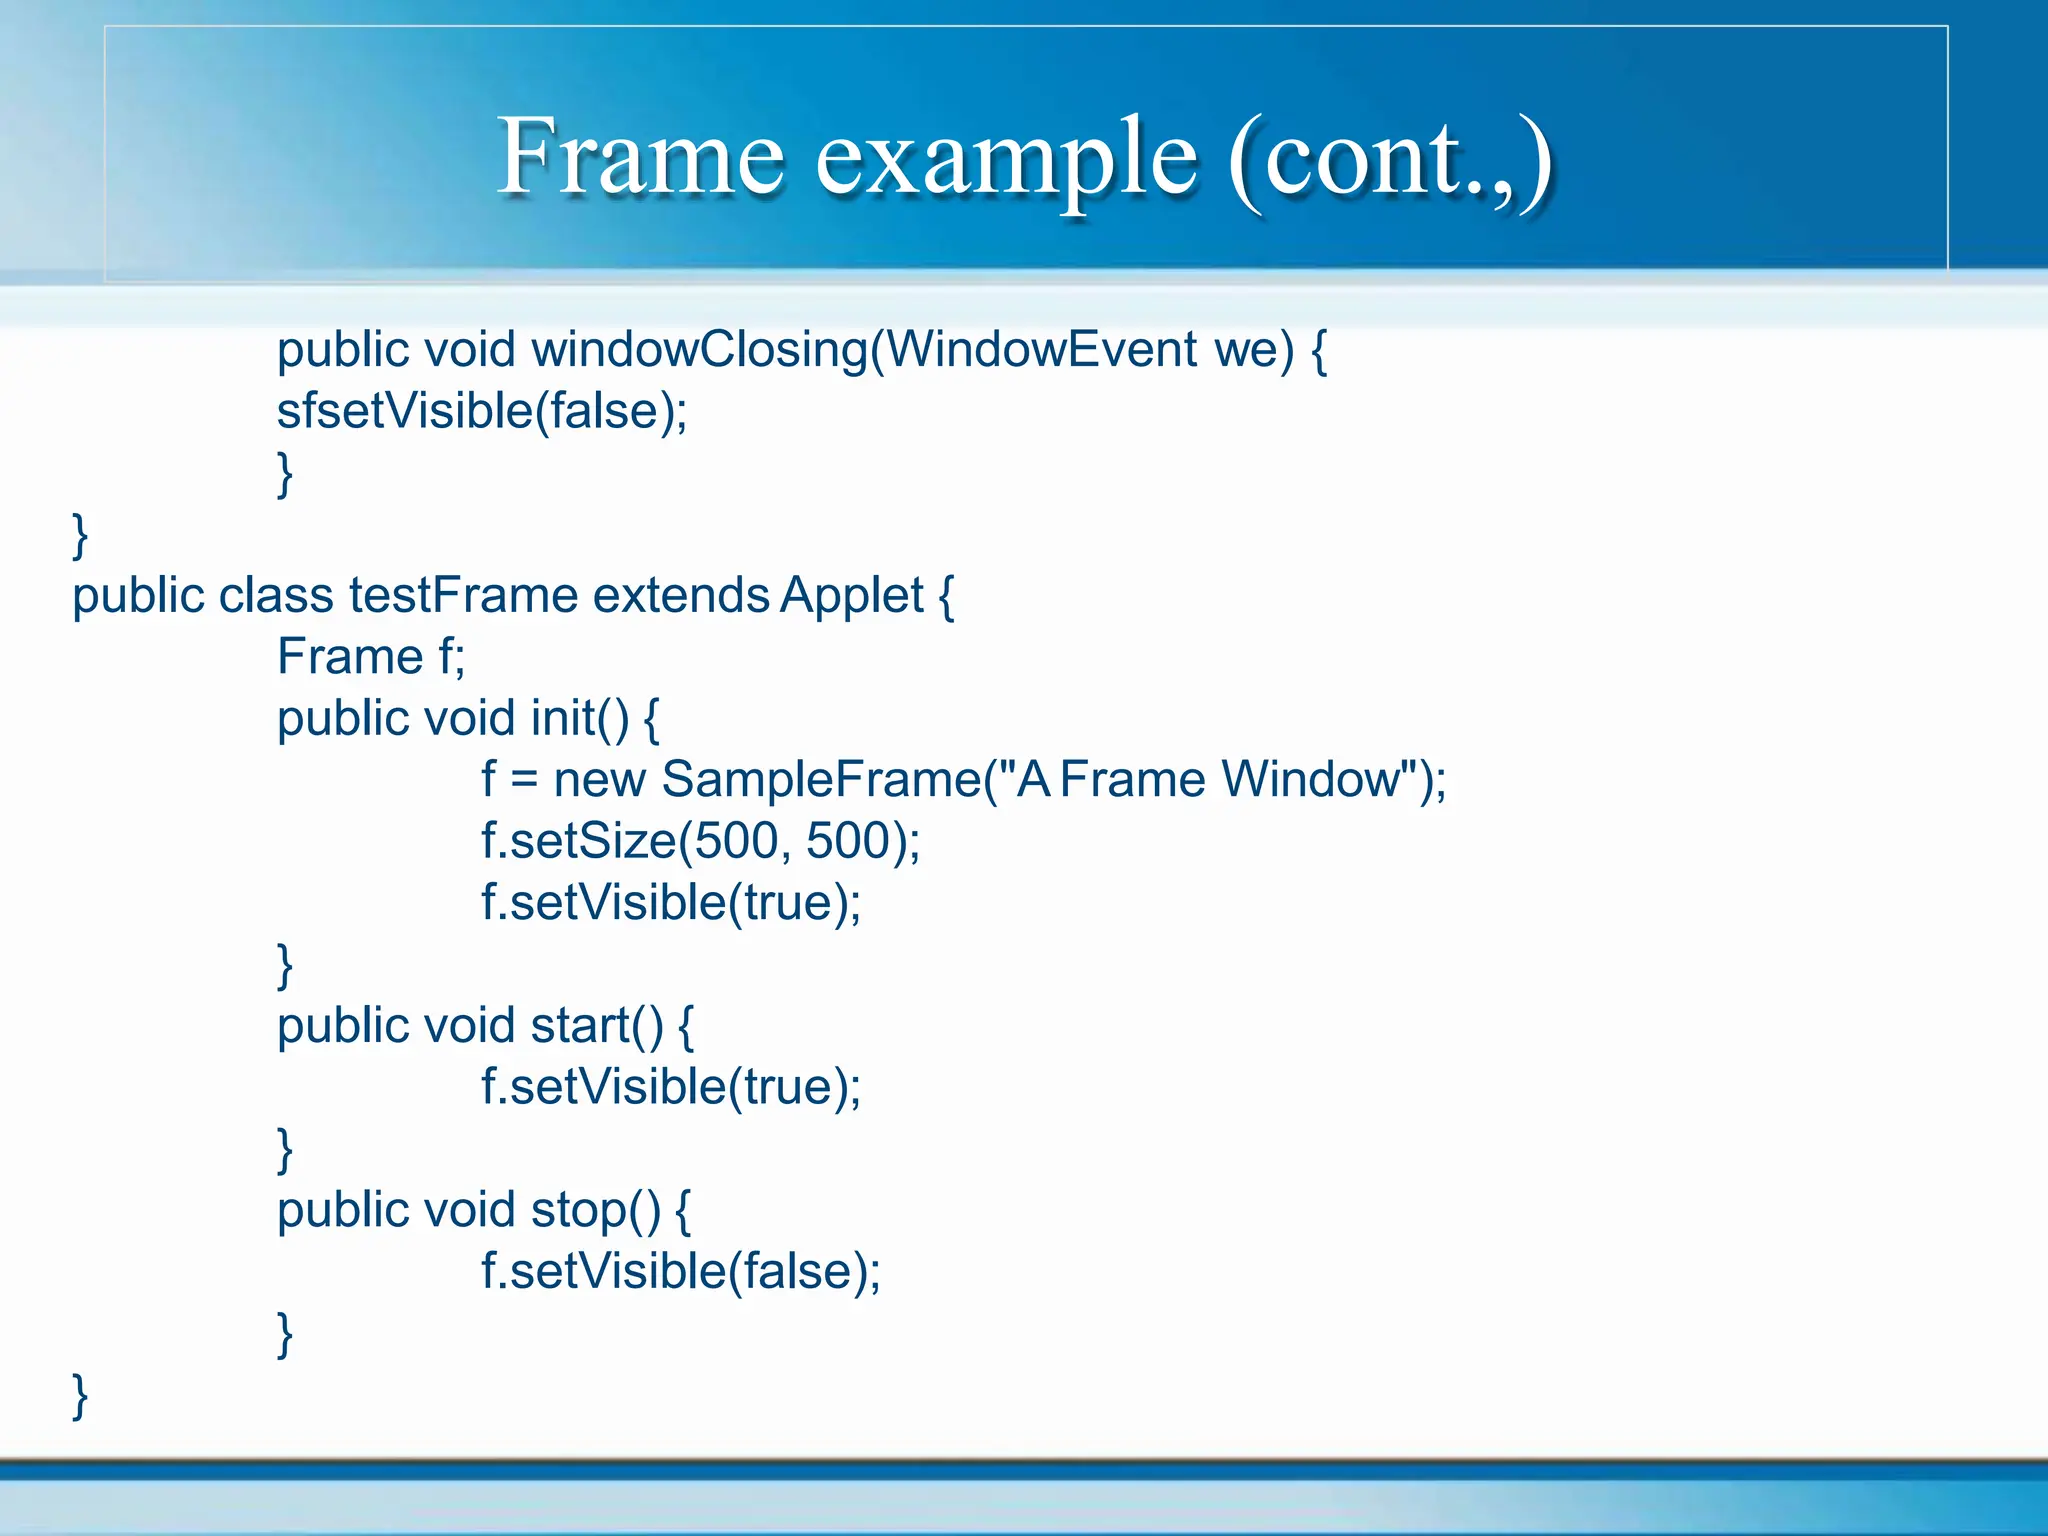
![Frame example1
import java.awt.*;
public class AwtExample
{
public static void main(String[] args)
{
Frame f=new Frame(); f.setSize(400,400);
f.setLayout(null);
f.setVisible(true);
f.setTitle("Simple Example");
}
}](https://image.slidesharecdn.com/java-pptframe-240611071240-36a291f9/85/javaprogramming-framework-ppt-frame-pptx-15-320.jpg)
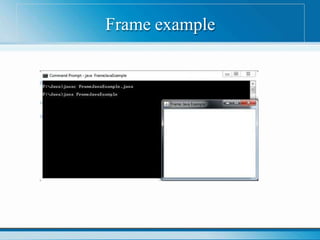
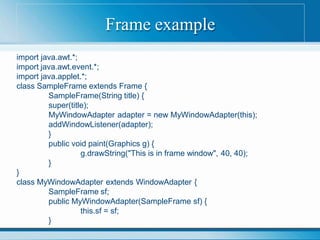
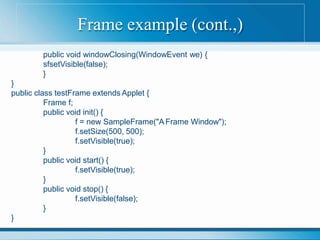
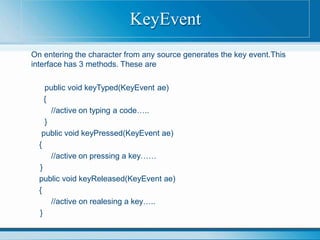
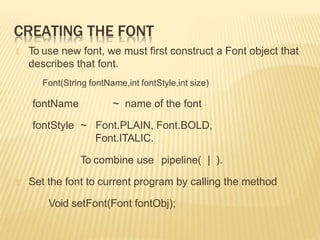
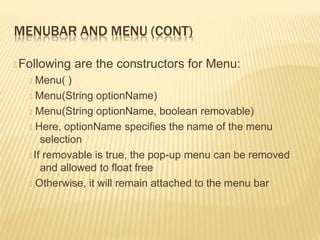
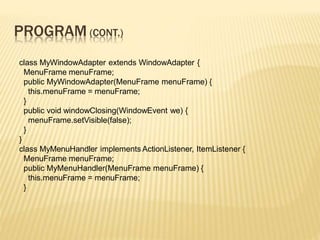
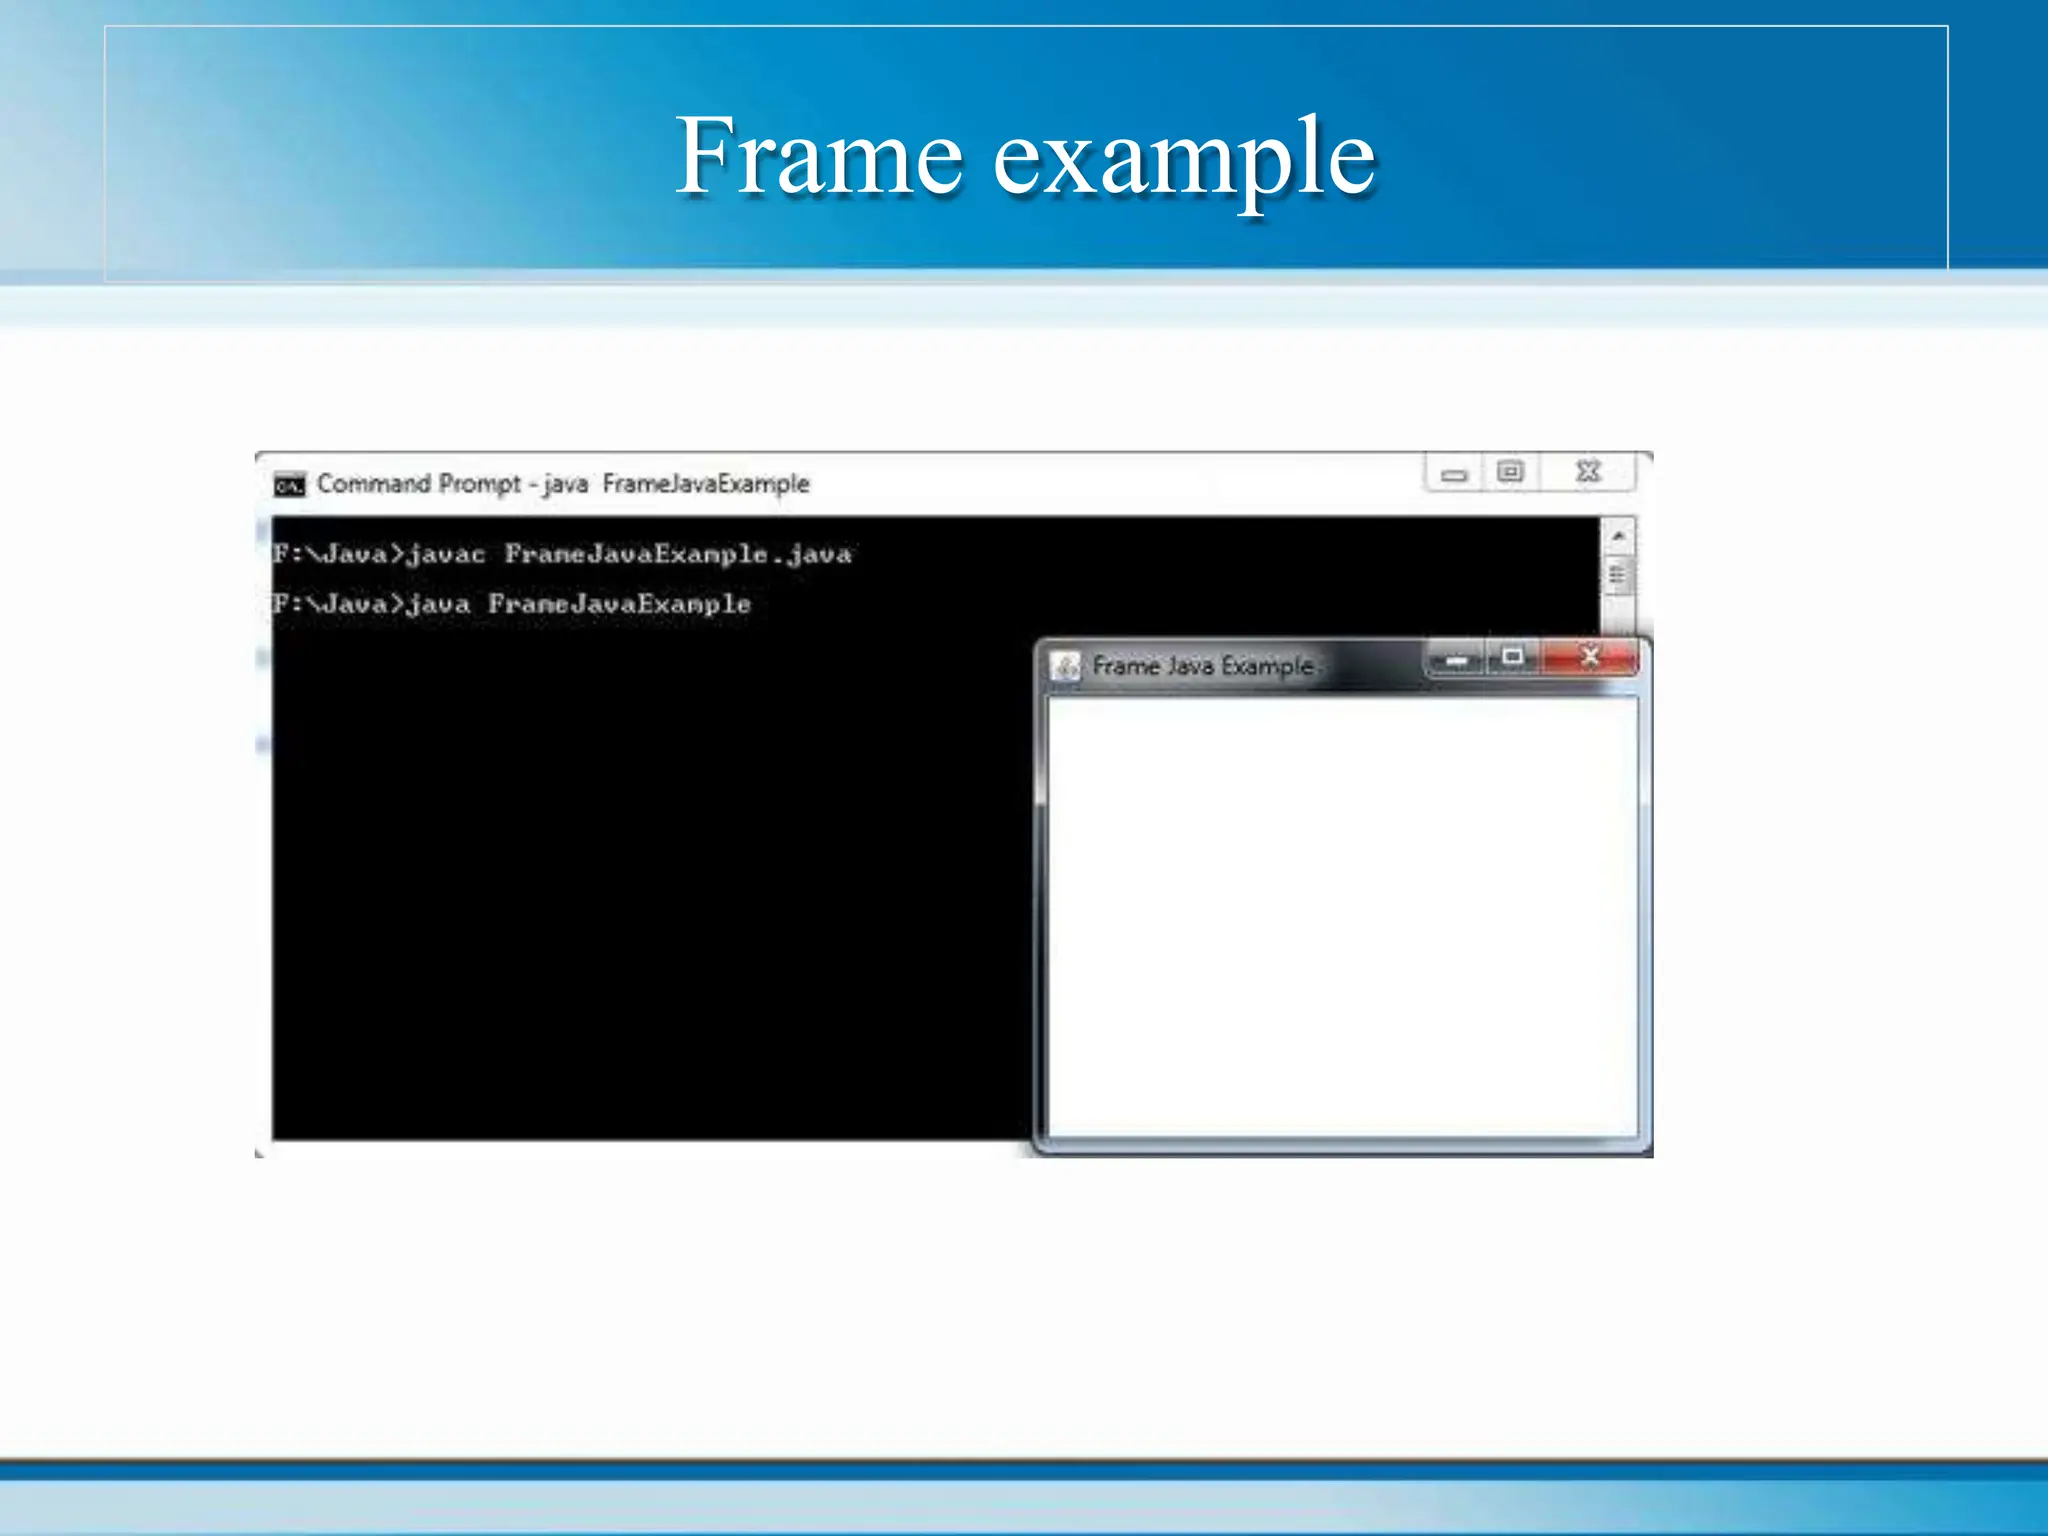
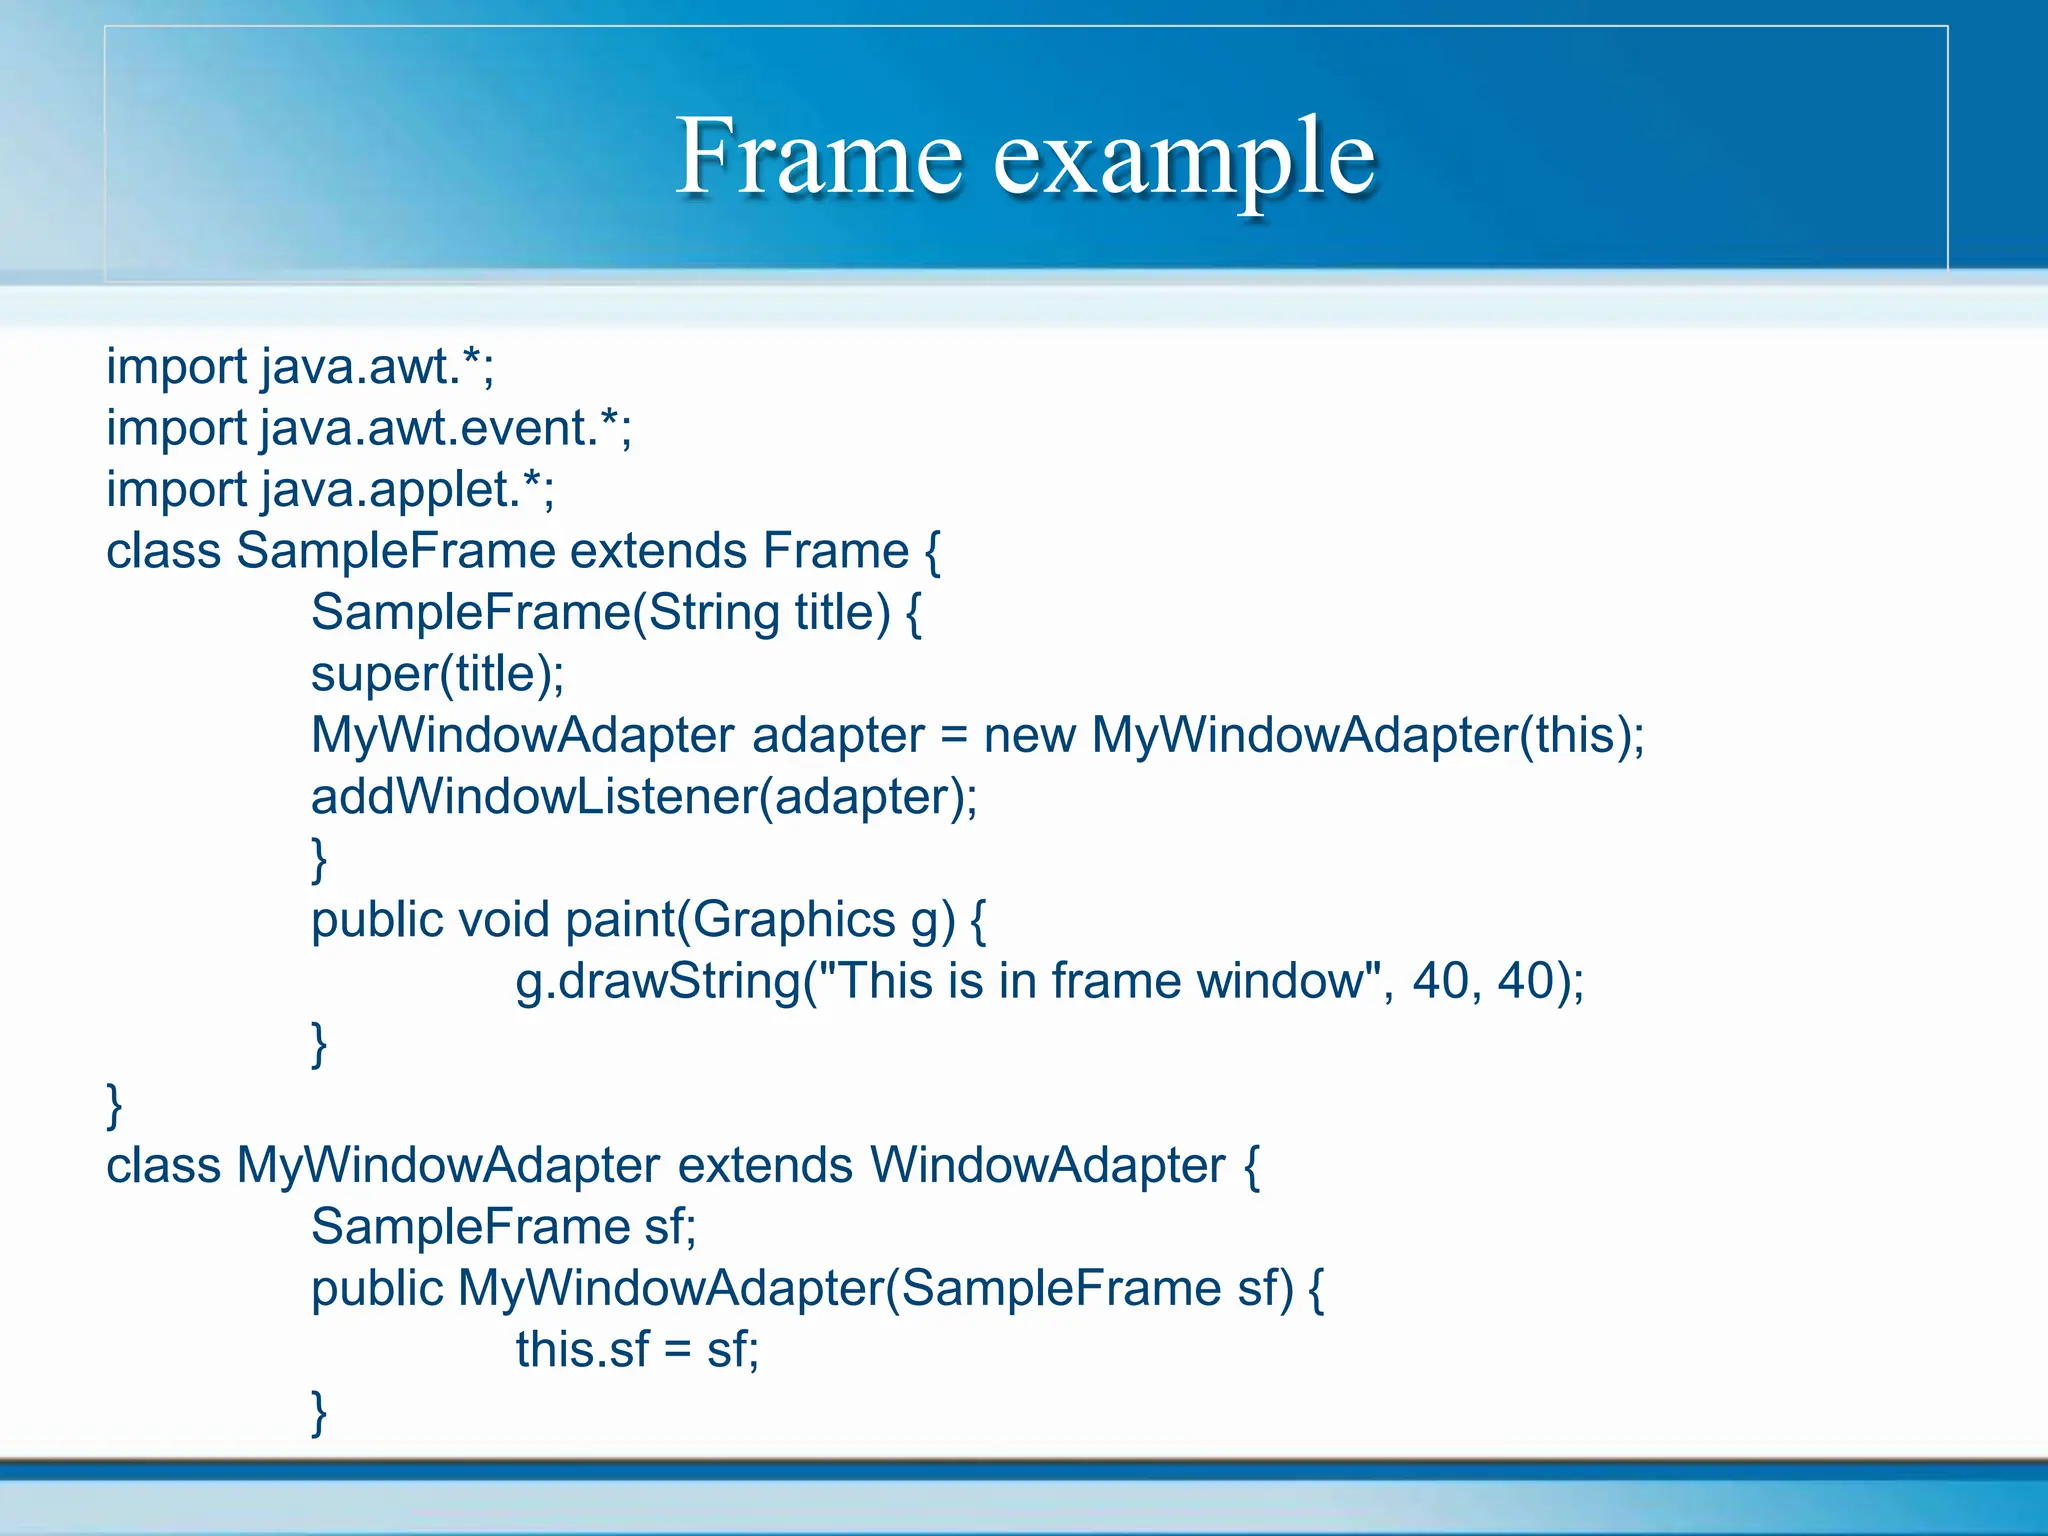
![Frame example
import java.awt.*;
import java.awt.event.*;
Class FrameJavaExample
{
public static void main (String args[])
{
Frame frame = new Frame("Frame Java Example");
//set the size of the frame
frame.setSize(300,250);
frame.addWindowListener(new WindowAdapter()
{
public void windowClosing(WindowEvent e)
{
System.exit(0);
}
});
frame.setVisible(true);
}
}](https://image.slidesharecdn.com/java-pptframe-240611071240-36a291f9/85/javaprogramming-framework-ppt-frame-pptx-16-320.jpg)
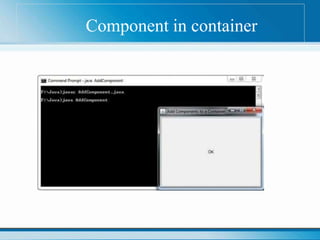
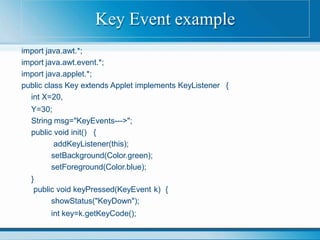
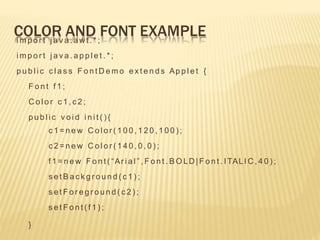
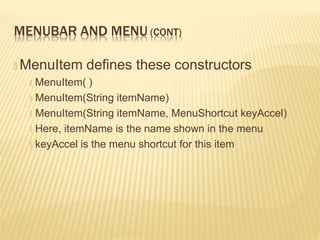
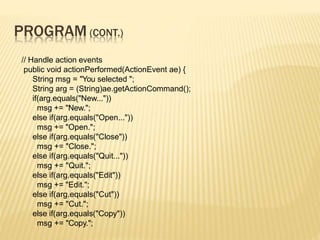
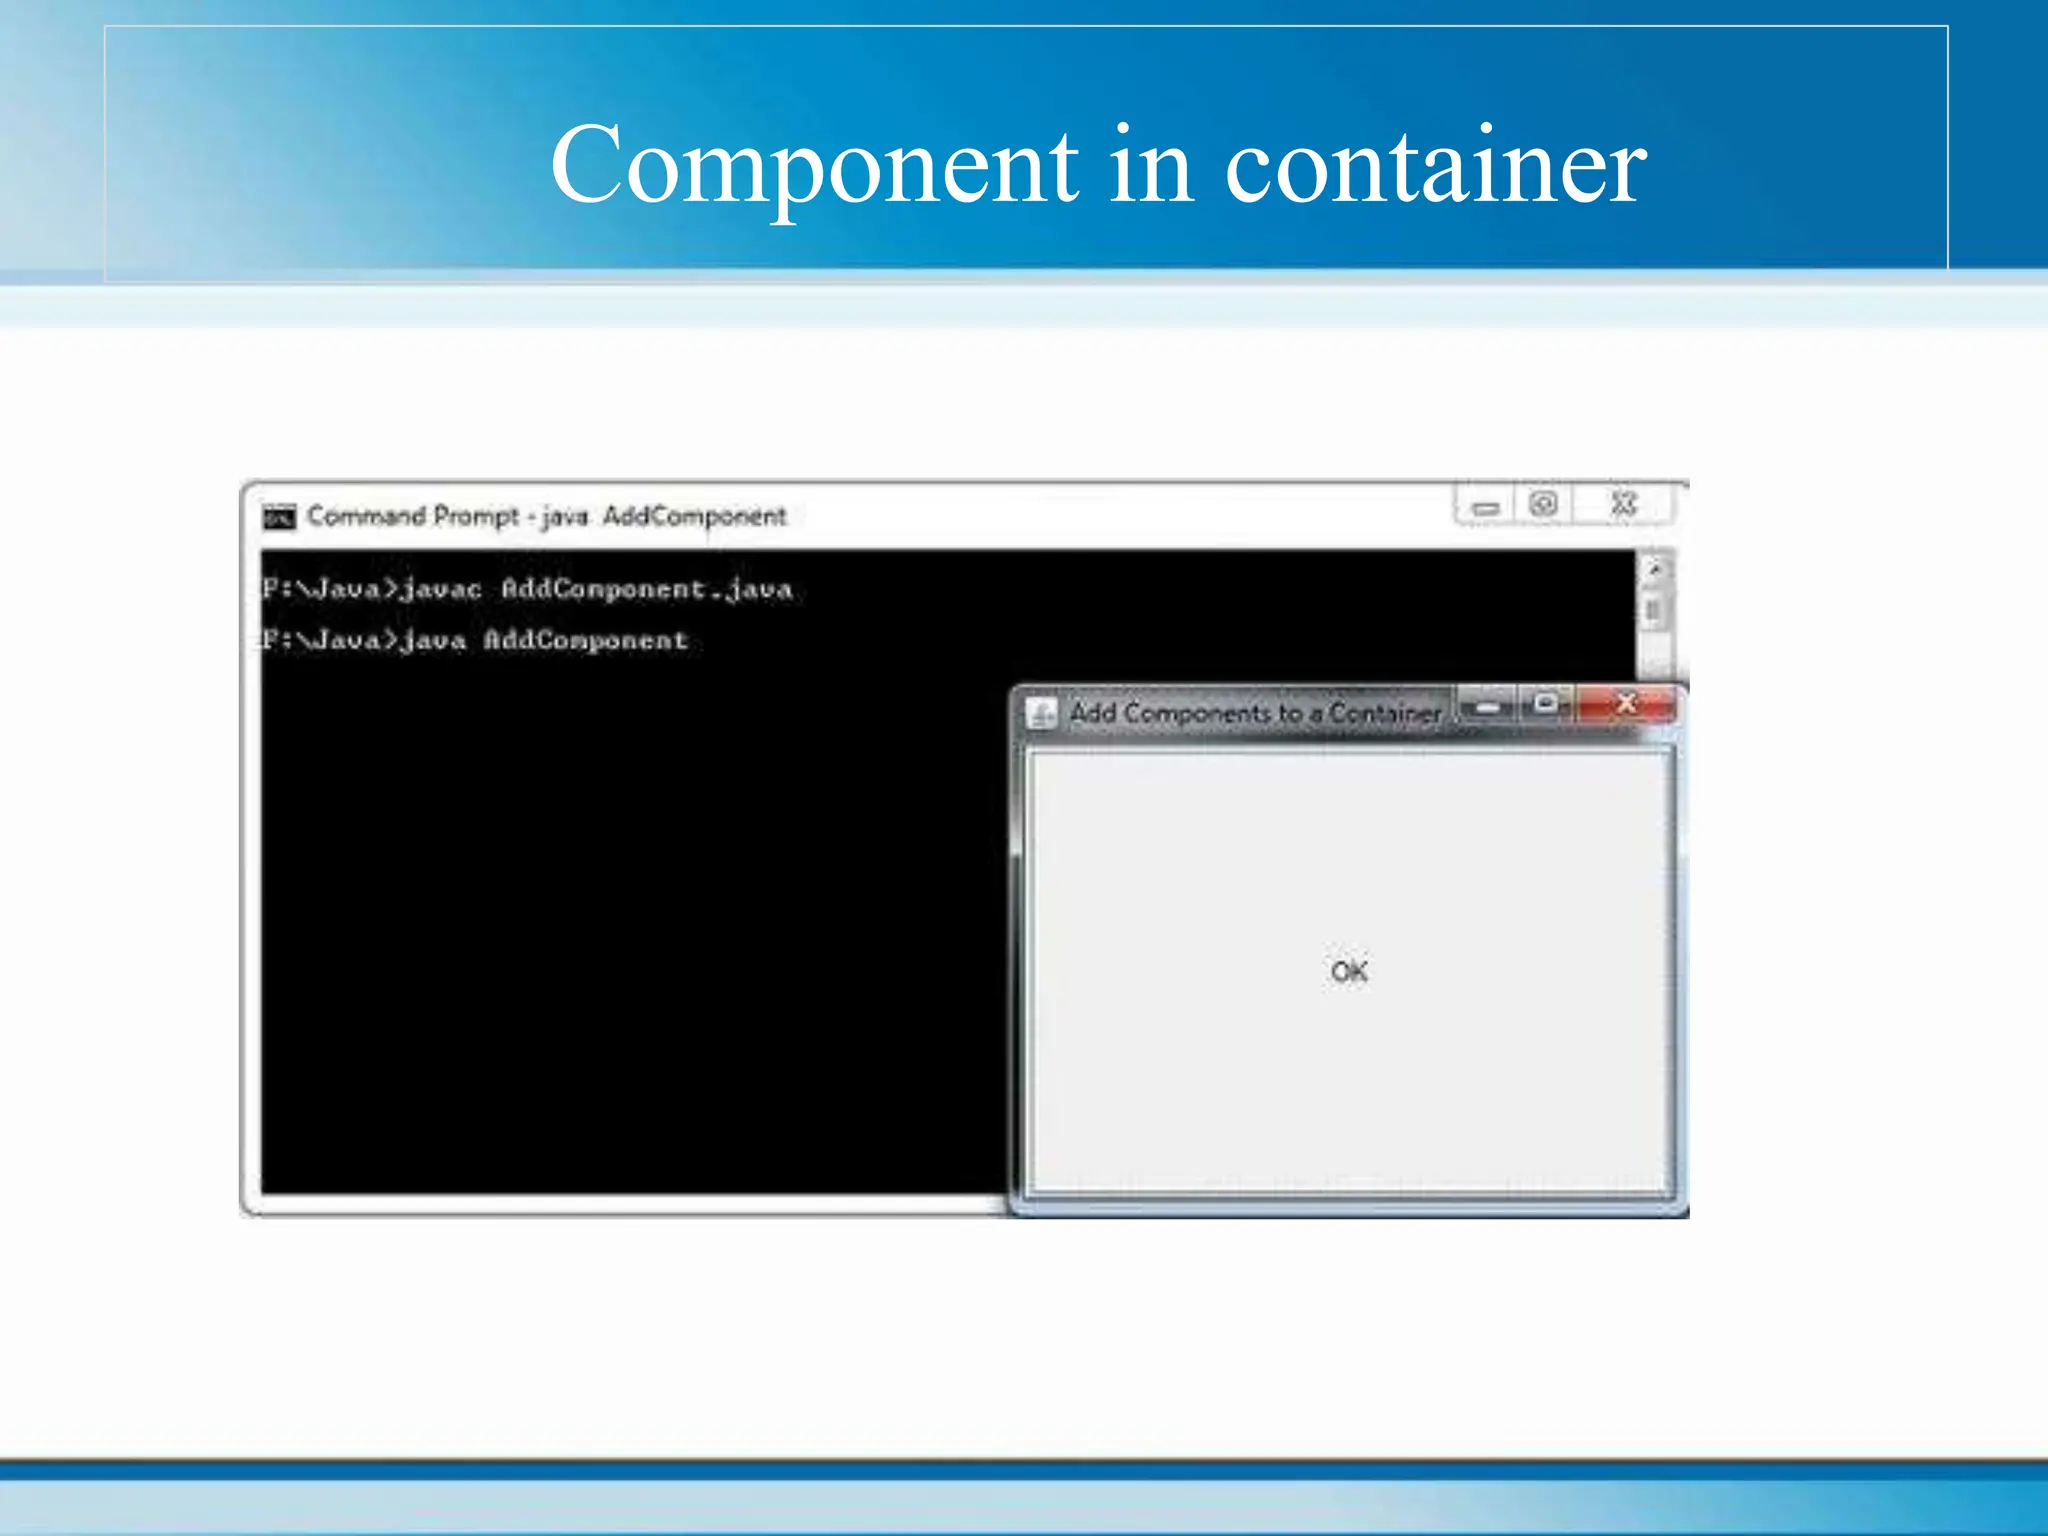
![Add component to a Container
import java.awt.*;
class AddComponent
{
public static void main(String args[])
{
Frame frame = new Frame("Add Components to a Container");
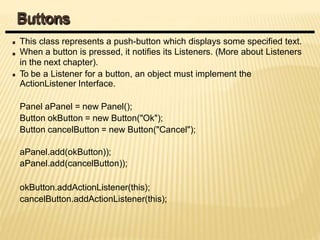
Button button = new Button("OK");
frame.add(button);
frame.setSize(300,250);
frame.setVisible(true);
}
}](https://image.slidesharecdn.com/java-pptframe-240611071240-36a291f9/85/javaprogramming-framework-ppt-frame-pptx-18-320.jpg)
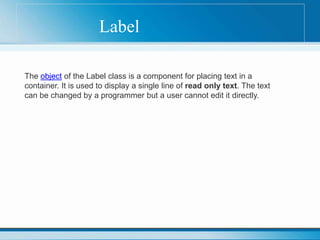


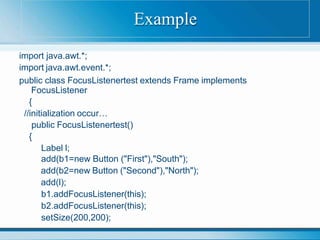


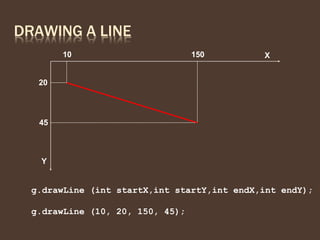

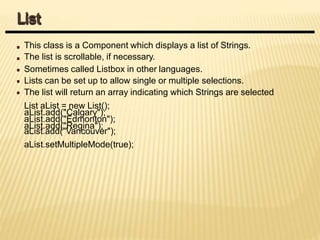
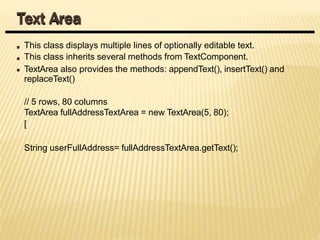
![This class displays a single line of optionally editable text.
This class inherits several methods from TextComponent.
This is one of the most commonly used Components in theAWT
TextField emailTextField = new TextField();
TextField passwordTextField = new TextField();
passwordTextField.setEchoChar("*");
[…]
String userEmail = emailTextField.getText();
String userpassword = passwordTextField.getText();
Text Field](https://image.slidesharecdn.com/java-pptframe-240611071240-36a291f9/85/javaprogramming-framework-ppt-frame-pptx-68-320.jpg)


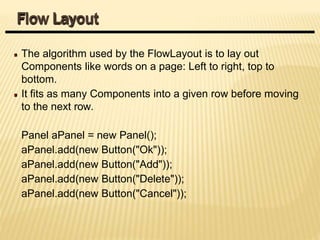


![// no layout manager
setLayout(null);
// now frame will be visible, by default it is not
visible
setVisible(true);
}
// main method
public static void main(String args[]) {
// creating instance of Frame class
AWTExample1 f = new AWTExample1();
}
}](https://image.slidesharecdn.com/java-pptframe-240611071240-36a291f9/75/javaprogramming-framework-ppt-frame-pptx-12-2048.jpg)
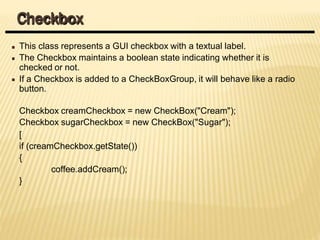
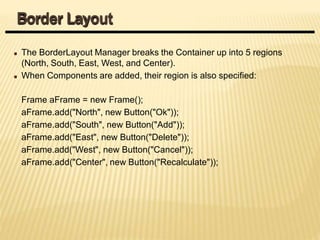
![Frame example1
import java.awt.*;
public class AwtExample
{
public static void main(String[] args)
{
Frame f=new Frame(); f.setSize(400,400);
f.setLayout(null);
f.setVisible(true);
f.setTitle("Simple Example");
}
}](https://image.slidesharecdn.com/java-pptframe-240611071240-36a291f9/75/javaprogramming-framework-ppt-frame-pptx-15-2048.jpg)
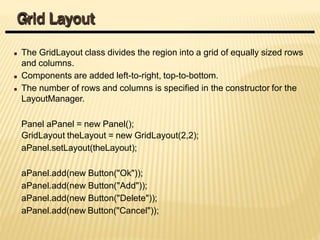
![Frame example
import java.awt.*;
import java.awt.event.*;
Class FrameJavaExample
{
public static void main (String args[])
{
Frame frame = new Frame("Frame Java Example");
//set the size of the frame
frame.setSize(300,250);
frame.addWindowListener(new WindowAdapter()
{
public void windowClosing(WindowEvent e)
{
System.exit(0);
}
});
frame.setVisible(true);
}
}](https://image.slidesharecdn.com/java-pptframe-240611071240-36a291f9/75/javaprogramming-framework-ppt-frame-pptx-16-2048.jpg)
![Add component to a Container
import java.awt.*;
class AddComponent
{
public static void main(String args[])
{
Frame frame = new Frame("Add Components to a Container");
Button button = new Button("OK");
frame.add(button);
frame.setSize(300,250);
frame.setVisible(true);
}
}](https://image.slidesharecdn.com/java-pptframe-240611071240-36a291f9/75/javaprogramming-framework-ppt-frame-pptx-18-2048.jpg)


![This class displays a single line of optionally editable text.
This class inherits several methods from TextComponent.
This is one of the most commonly used Components in theAWT
TextField emailTextField = new TextField();
TextField passwordTextField = new TextField();
passwordTextField.setEchoChar("*");
[…]
String userEmail = emailTextField.getText();
String userpassword = passwordTextField.getText();
Text Field](https://image.slidesharecdn.com/java-pptframe-240611071240-36a291f9/75/javaprogramming-framework-ppt-frame-pptx-68-2048.jpg)


![RTP_AR_Basic_Learners' Workbook_KS2 [FOR REPRODUCTION] (1).pdf](https://cdn.slidesharecdn.com/ss_thumbnails/rtparbasiclearnersworkbookks2forreproduction1-251016024943-e51a16ac-thumbnail.jpg?width=600ounds&width=560&fit=bounds)