• Multithreaded Programming:Introduction, Threads and Processes,
Python Threads, the Global Interpreter Lock, Thread Module,
Threading Module.
• GUI Programming: Introduction, Tkinter and Python Programming,
Brief Tour of Other GUIs, Related Modules and Other GUIs.
TOPIC : 1THREAD AND PROCESS
• A Thread represent a separate path of execution of a group of
statements.
• A program can be divided into multiple subprograms and each
subprogram is called thread.
• if We write a group of statements then these statements are
executed by python virtual machine(PVM) is always a thread
running internally which is appointed by the PVM to execute the
program statements called main thread.
5.
•A Process isa program in execution.
•Each process has its own address space memory a data
stack and is also called as heavyweight process.
•Why Thread are called light weight
•Threads are light-weight because they utilize
minimum resources of the system.
•This means they take less memory and less process
time.
6.
Difference between threadand Process:
• THREAD:
• 1.Thread is a light weight process
• 2.It is a separate flow of execution statements
• 3.Threads do not require separate address space for its
execution.
• It runs in the address space of the process to which it belongs to.
7.
• PROCESS:
• 1.Processis heavy weight
• 2. It is a programming in execution
• 3. Each process requires separate address space to execute.
8.
• Uses ofthreads:
• 1) Threads are mainly used in server-side programs
to serve the needs of multiple clients on a network or internet.
• 2) On internet a server machine has to serve the
needs of thousands of clients at a time .For this purpose if we use
threads in the server they can do various jobs at a time thus they can
handle several clients.
• 3) Threads are also used to create games and animation.
• 4)In many games generally we have to perform more than one
• task simultaneously.
9.
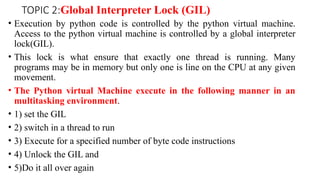
TOPIC 2:Global InterpreterLock (GIL)
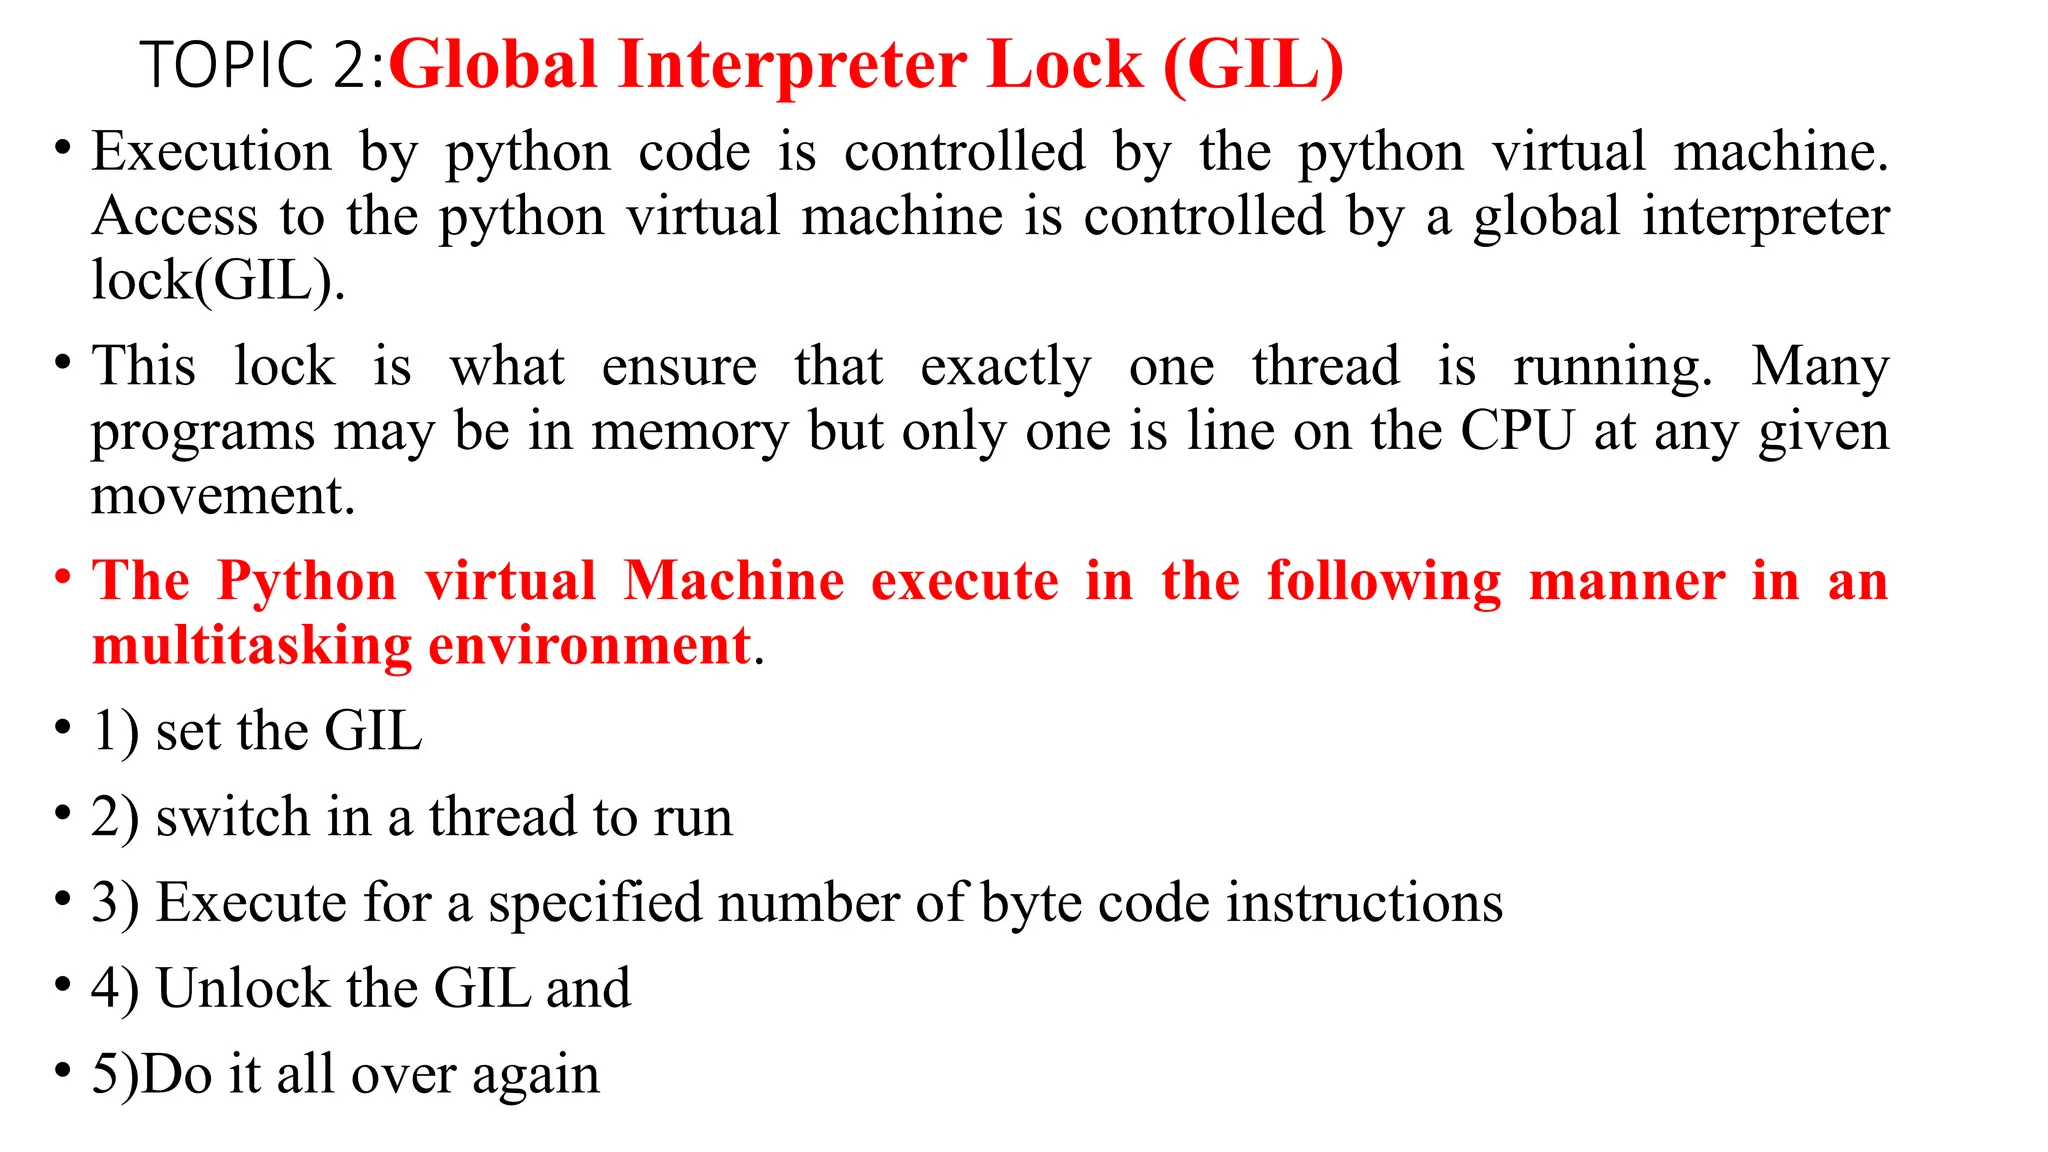
• Execution by python code is controlled by the python virtual machine.
Access to the python virtual machine is controlled by a global interpreter
lock(GIL).
• This lock is what ensure that exactly one thread is running. Many
programs may be in memory but only one is line on the CPU at any given
movement.
• The Python virtual Machine execute in the following manner in an
multitasking environment.
• 1) set the GIL
• 2) switch in a thread to run
• 3) Execute for a specified number of byte code instructions
• 4) Unlock the GIL and
• 5)Do it all over again
10.
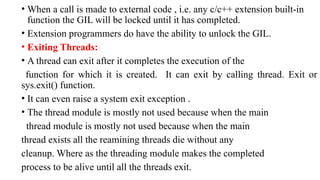
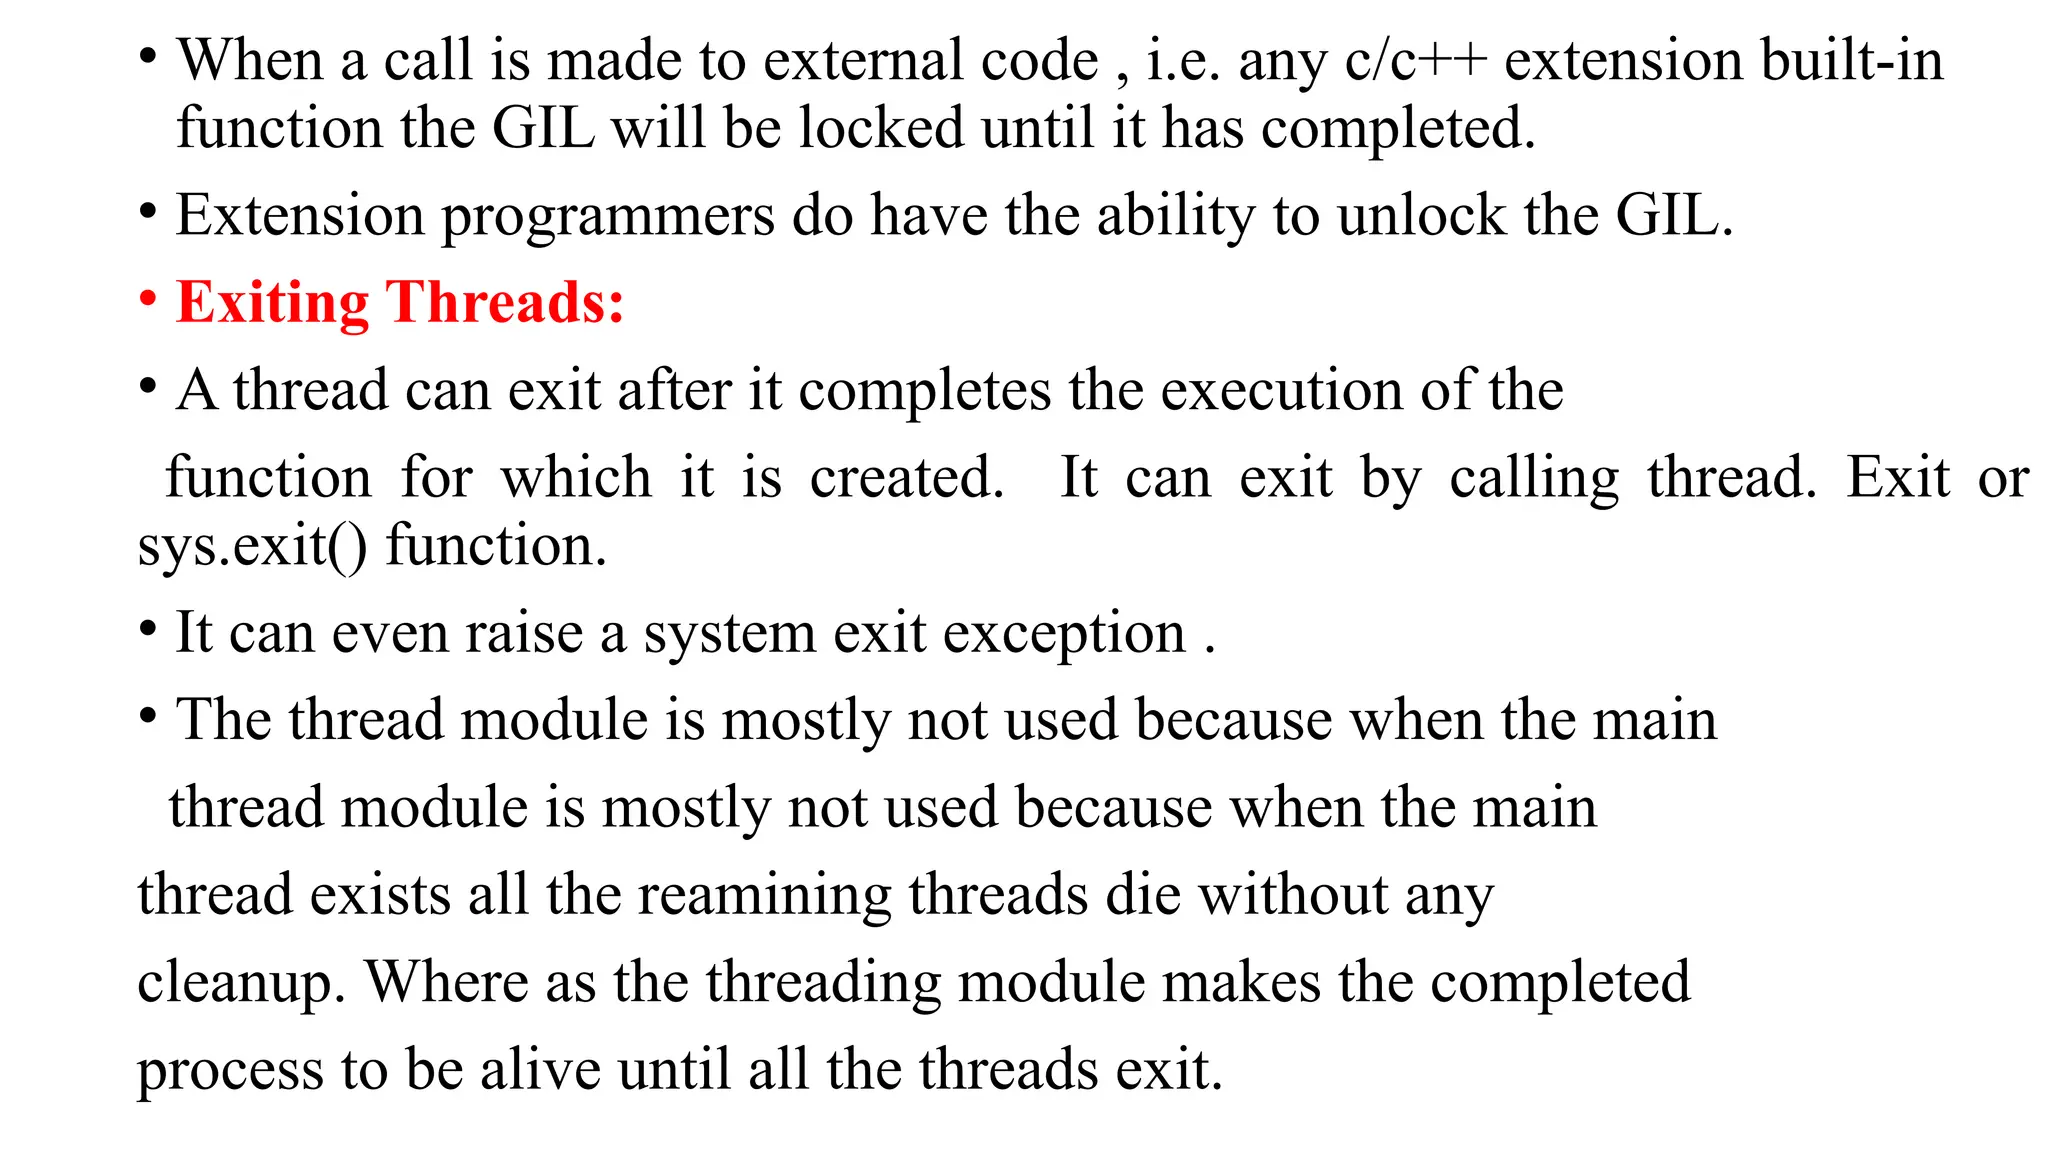
• When acall is made to external code , i.e. any c/c++ extension built-in
function the GIL will be locked until it has completed.
• Extension programmers do have the ability to unlock the GIL.
• Exiting Threads:
• A thread can exit after it completes the execution of the
function for which it is created. It can exit by calling thread. Exit or
sys.exit() function.
• It can even raise a system exit exception .
• The thread module is mostly not used because when the main
thread module is mostly not used because when the main
thread exists all the reamining threads die without any
cleanup. Where as the threading module makes the completed
process to be alive until all the threads exit.
11.
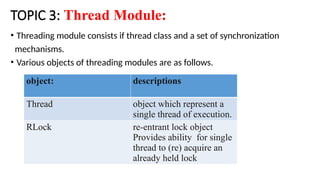
TOPIC 3: ThreadModule:
• Threading module consists if thread class and a set of synchronization
mechanisms.
• Various objects of threading modules are as follows.
object: descriptions
Thread object which represent a
single thread of execution.
RLock re-entrant lock object
Provides ability for single
thread to (re) acquire an
already held lock
12.
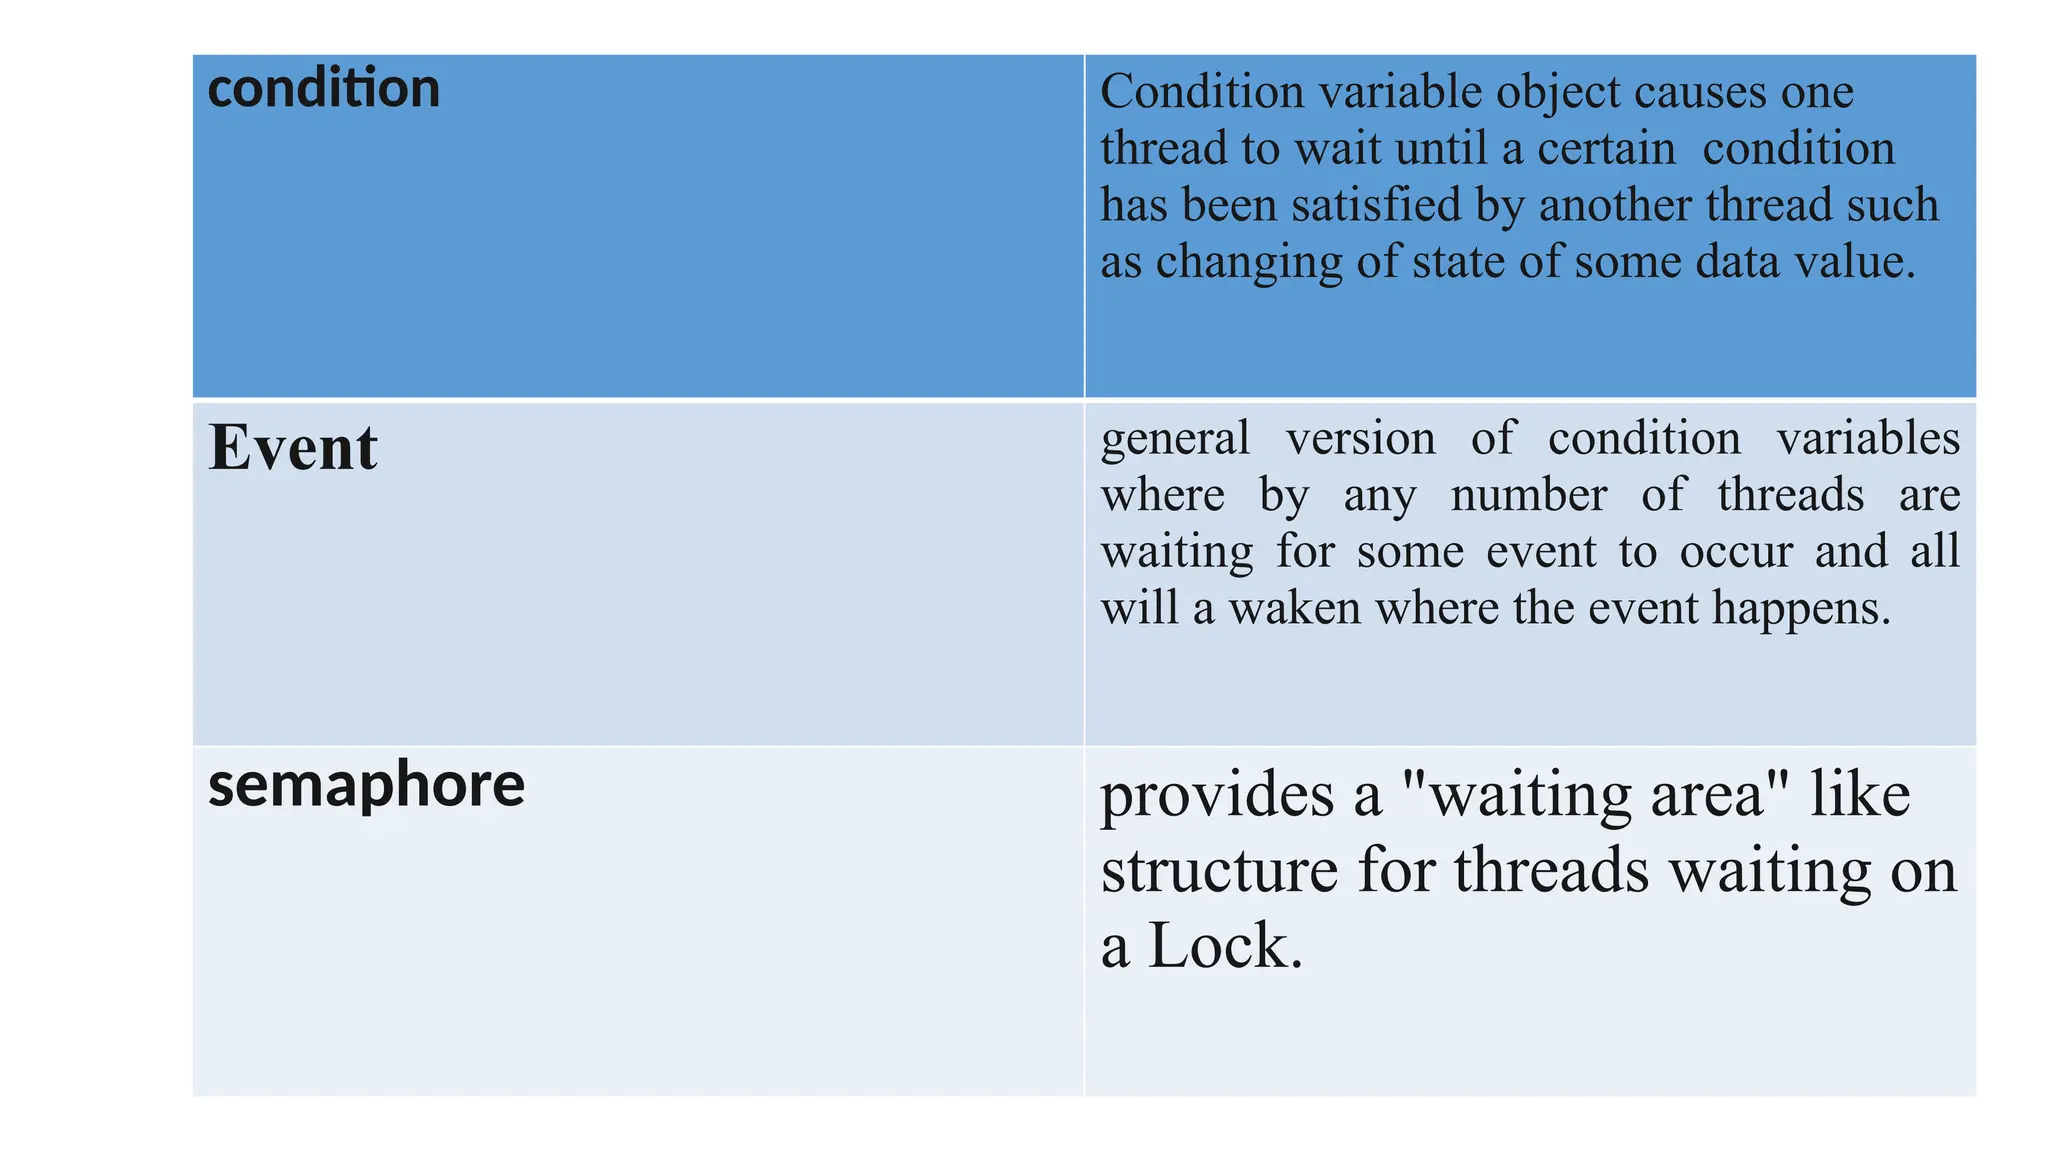
condition Condition variableobject causes one
thread to wait until a certain condition
has been satisfied by another thread such
as changing of state of some data value.
Event general version of condition variables
where by any number of threads are
waiting for some event to occur and all
will a waken where the event happens.
semaphore provides a "waiting area" like
structure for threads waiting on
a Lock.
13.
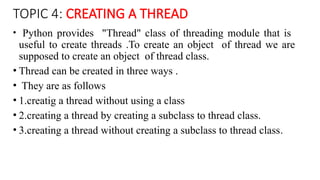
TOPIC 4: CREATINGA THREAD
• Python provides "Thread" class of threading module that is
useful to create threads .To create an object of thread we are
supposed to create an object of thread class.
• Thread can be created in three ways .
• They are as follows
• 1.creatig a thread without using a class
• 2.creating a thread by creating a subclass to thread class.
• 3.creating a thread without creating a subclass to thread class.
14.
1.creating a threadwithout using a class:
• The purpose of a thread is to execute a group of statement like a function. So
we can class and pass the function name as target for the thread as:
• t=Thread(target=function name,[args=(arg1,arg2,---)])
• Here we are creating the thread class object
• 't' that represents our thread.
• The 'target' represents the function on which the thread will act. "args"
• to the function.
• Once the thread is created like this it should be started by calling the start()
methods.
• t.start()
• Then the Thread 't' will jump into the target function and executes the code
inside function.
15.
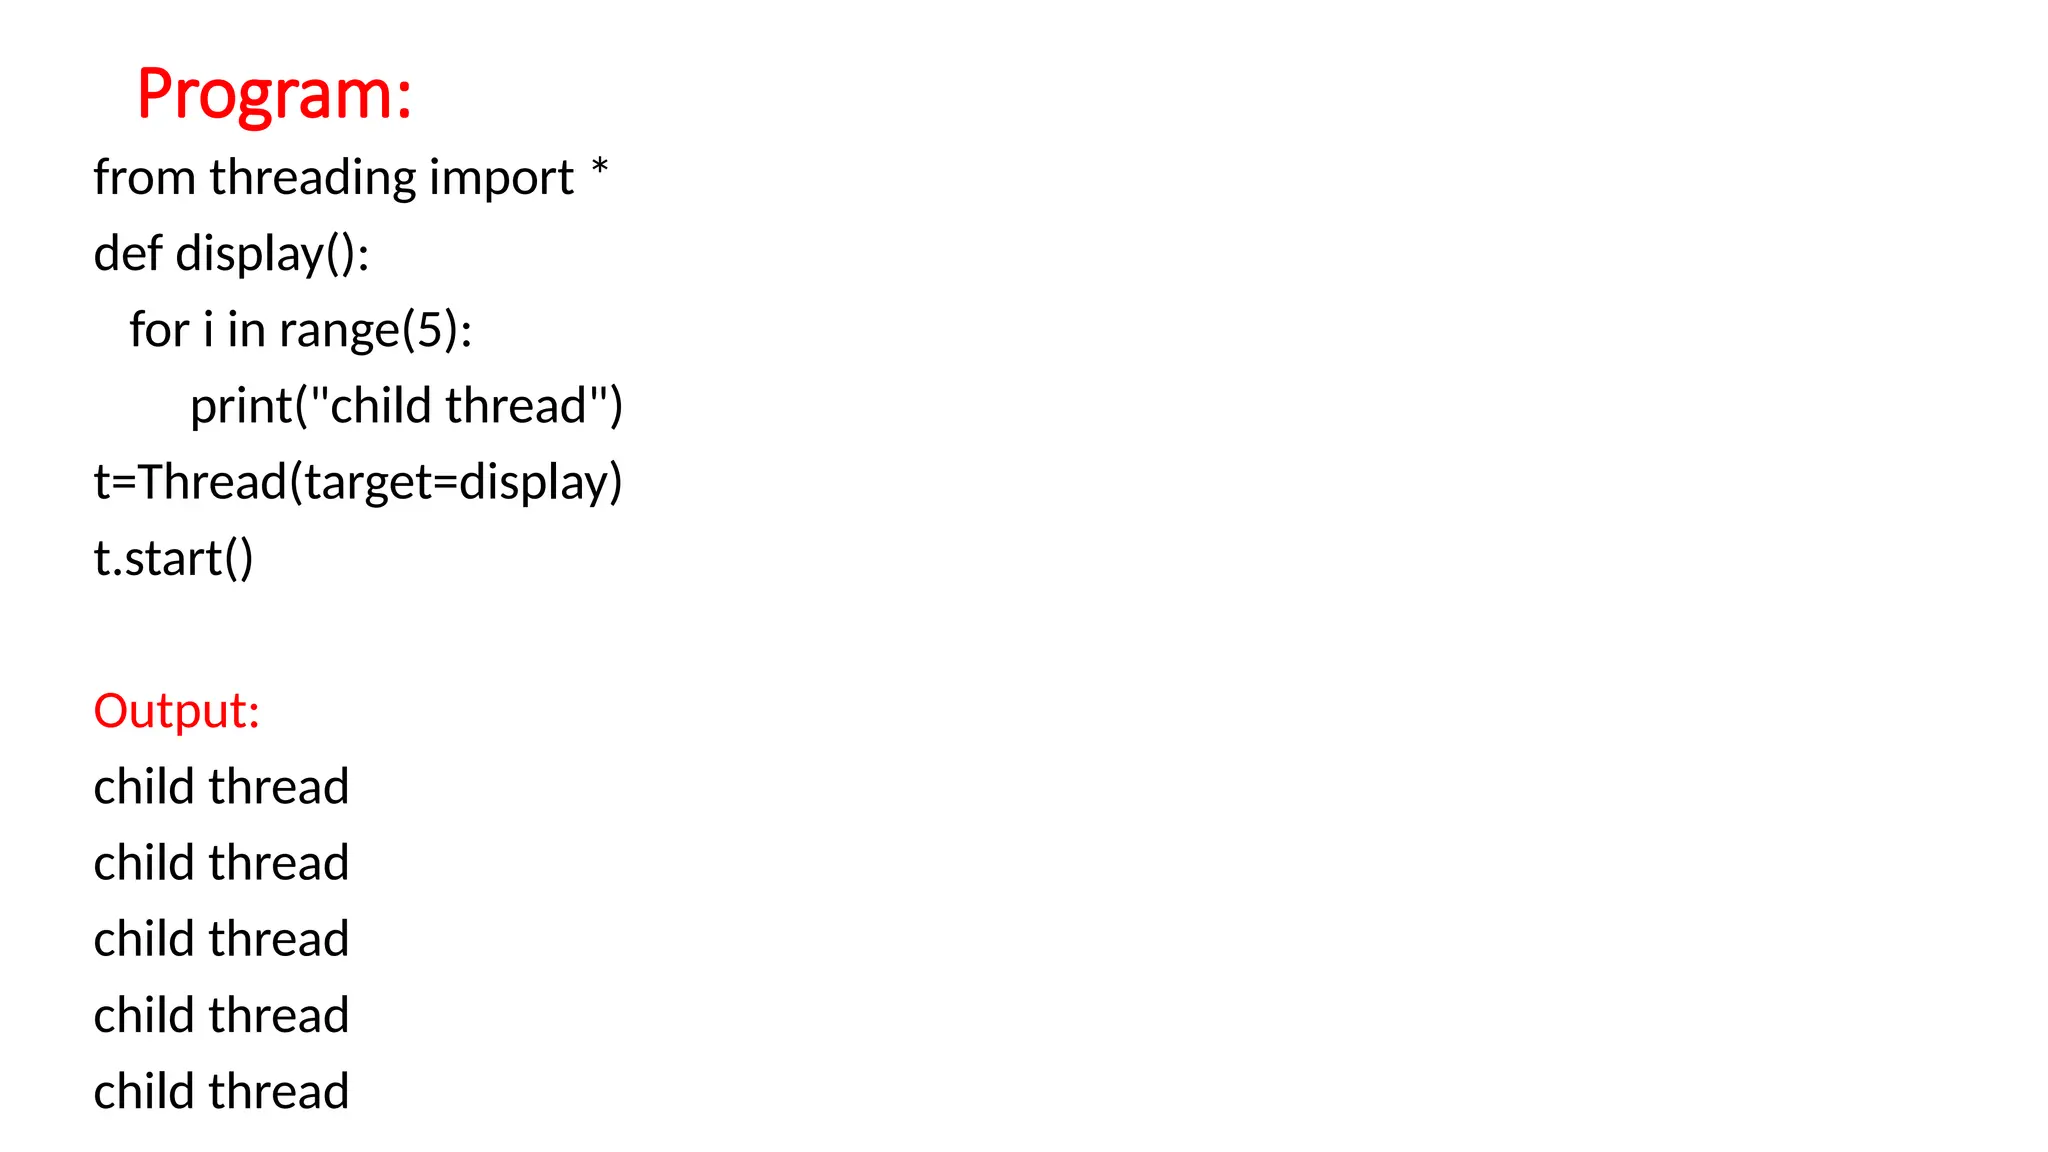
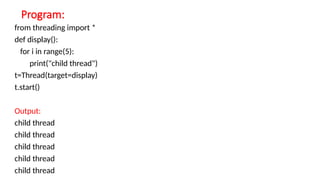
Program:
from threading import*
def display():
for i in range(5):
print("child thread")
t=Thread(target=display)
t.start()
Output:
child thread
child thread
child thread
child thread
child thread
16.
2) creating athread by creating a subclass to Thread
class:
• We can make our class as subclass to Thread class so that we can
inherit the functionality of the Thread class.
• class MyThread(Thread):
• Here 'MyThread' represents the sub class of "Thread" class.
• Now any methods of Thread class are also available to our sub class.
• The "Thread class" has the run() method which is also available to our
sub class.
• i.e to 'MyThread" class.
• We have to override the run() method according to our need.
17.
• The nextstep is to create the object of the "MyThread'
• class which contains a copy of the super class i.e "Thread" class.
• t1=MyThread()
• Here t1 is the object of 'MyThread' class which represents our thread.
Now we can run this Thread by calling the start() method as:
• t1.start()
• Now the Thread will jump in to the run() method of 'MyThread' class
and executes the code available inside it.
18.
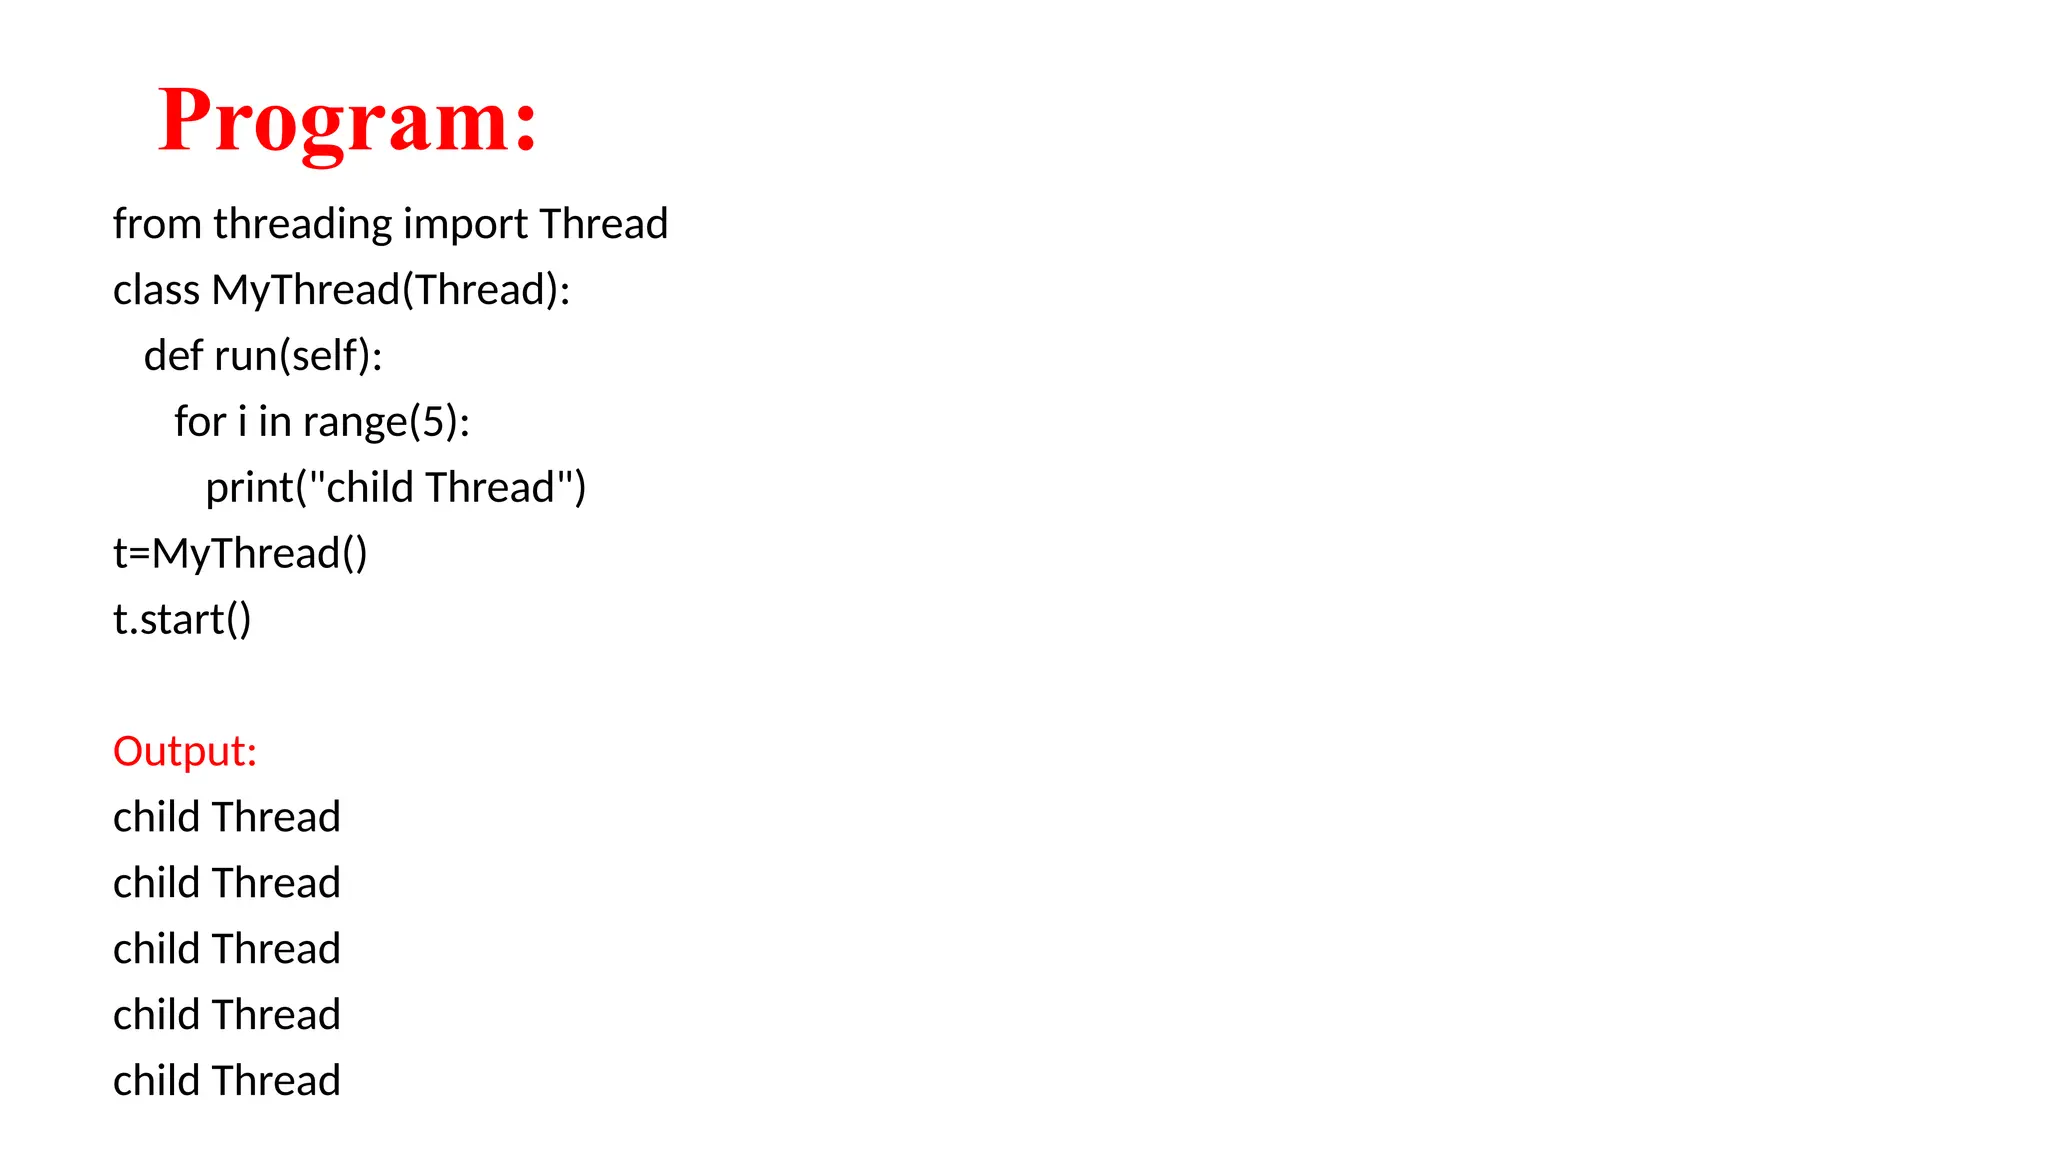
Program:
from threading importThread
class MyThread(Thread):
def run(self):
for i in range(5):
print("child Thread")
t=MyThread()
t.start()
Output:
child Thread
child Thread
child Thread
child Thread
child Thread
19.
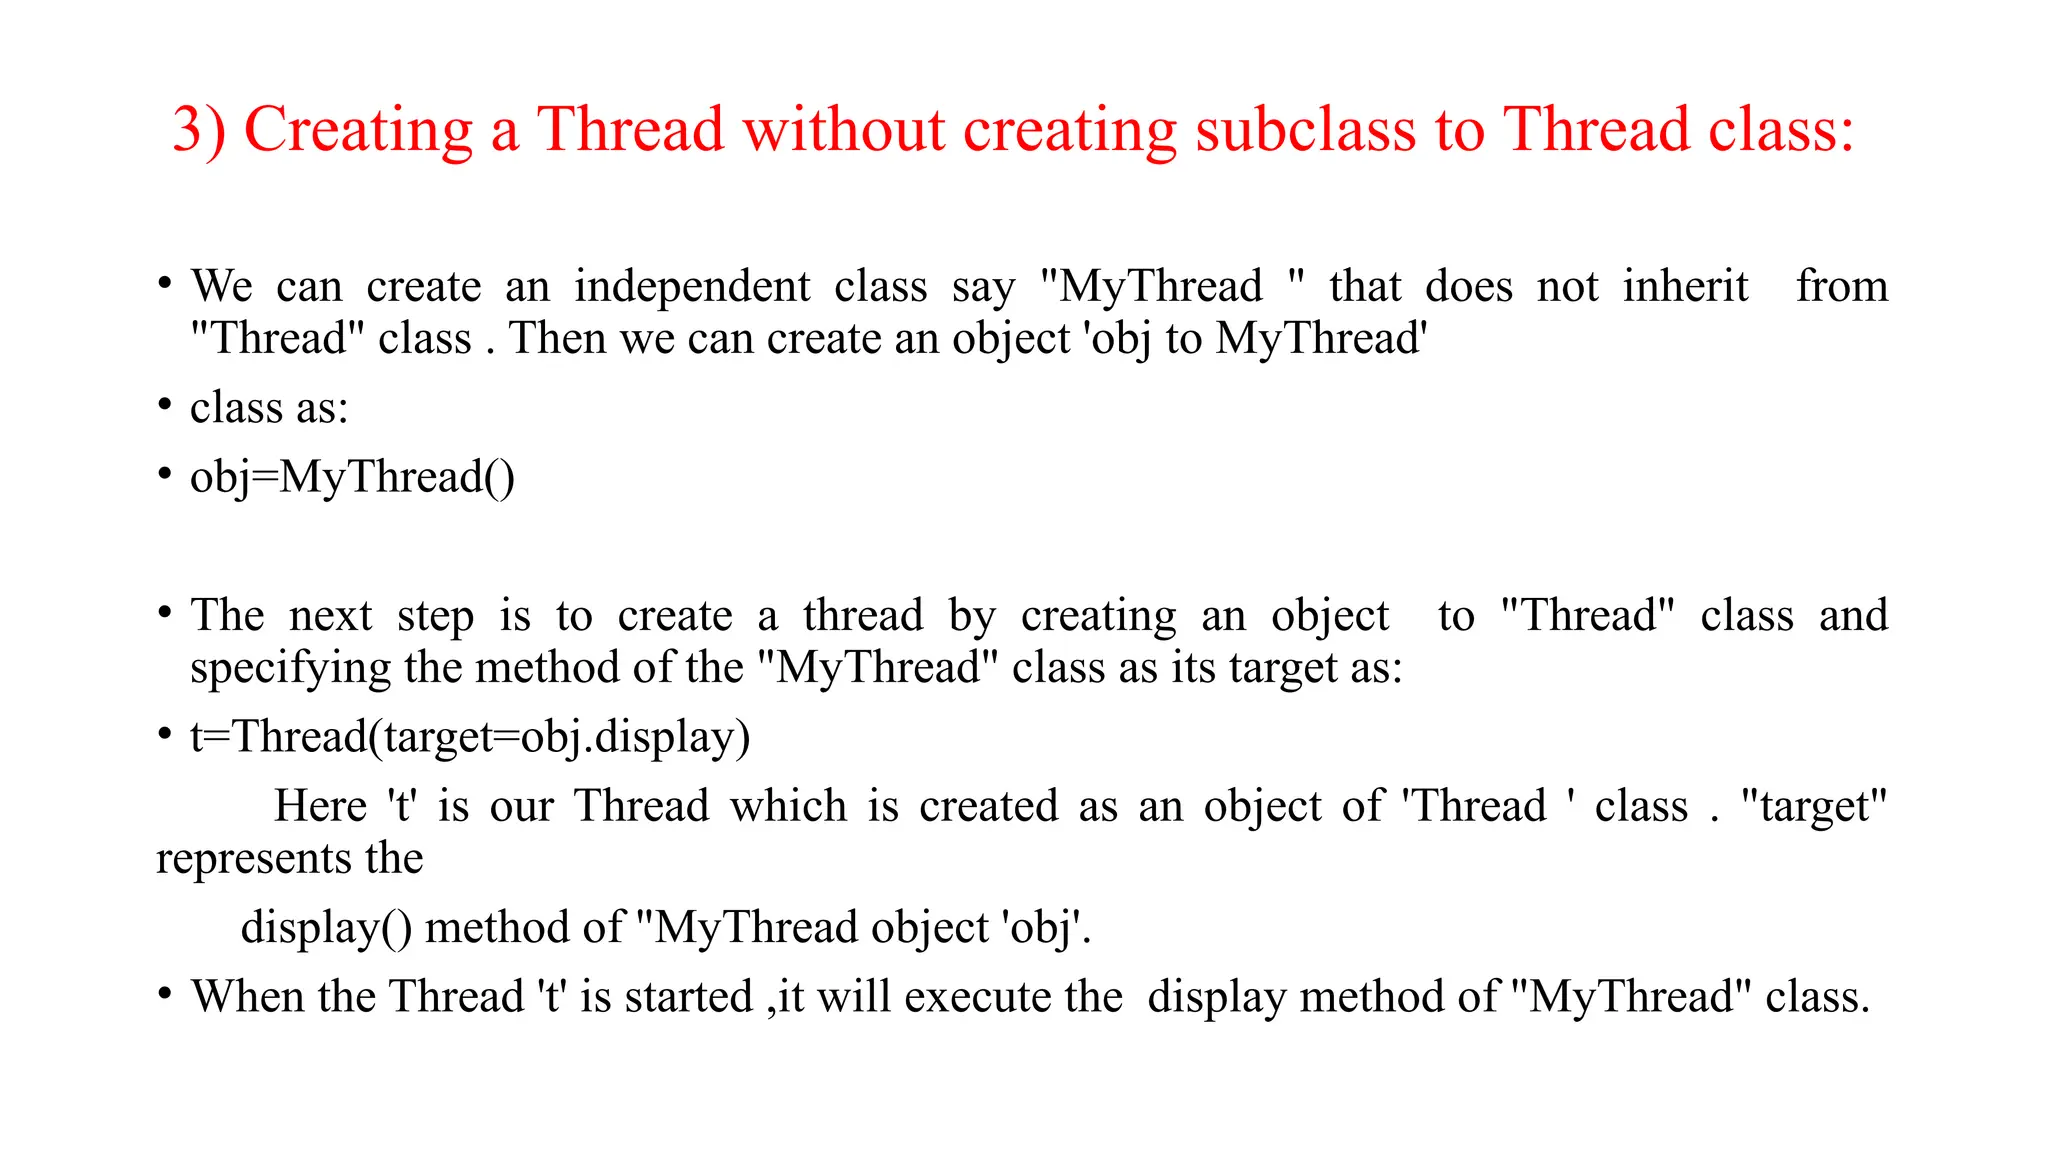
3) Creating aThread without creating subclass to Thread class:
• We can create an independent class say "MyThread " that does not inherit from
"Thread" class . Then we can create an object 'obj to MyThread'
• class as:
• obj=MyThread()
• The next step is to create a thread by creating an object to "Thread" class and
specifying the method of the "MyThread" class as its target as:
• t=Thread(target=obj.display)
Here 't' is our Thread which is created as an object of 'Thread ' class . "target"
represents the
display() method of "MyThread object 'obj'.
• When the Thread 't' is started ,it will execute the display method of "MyThread" class.
20.
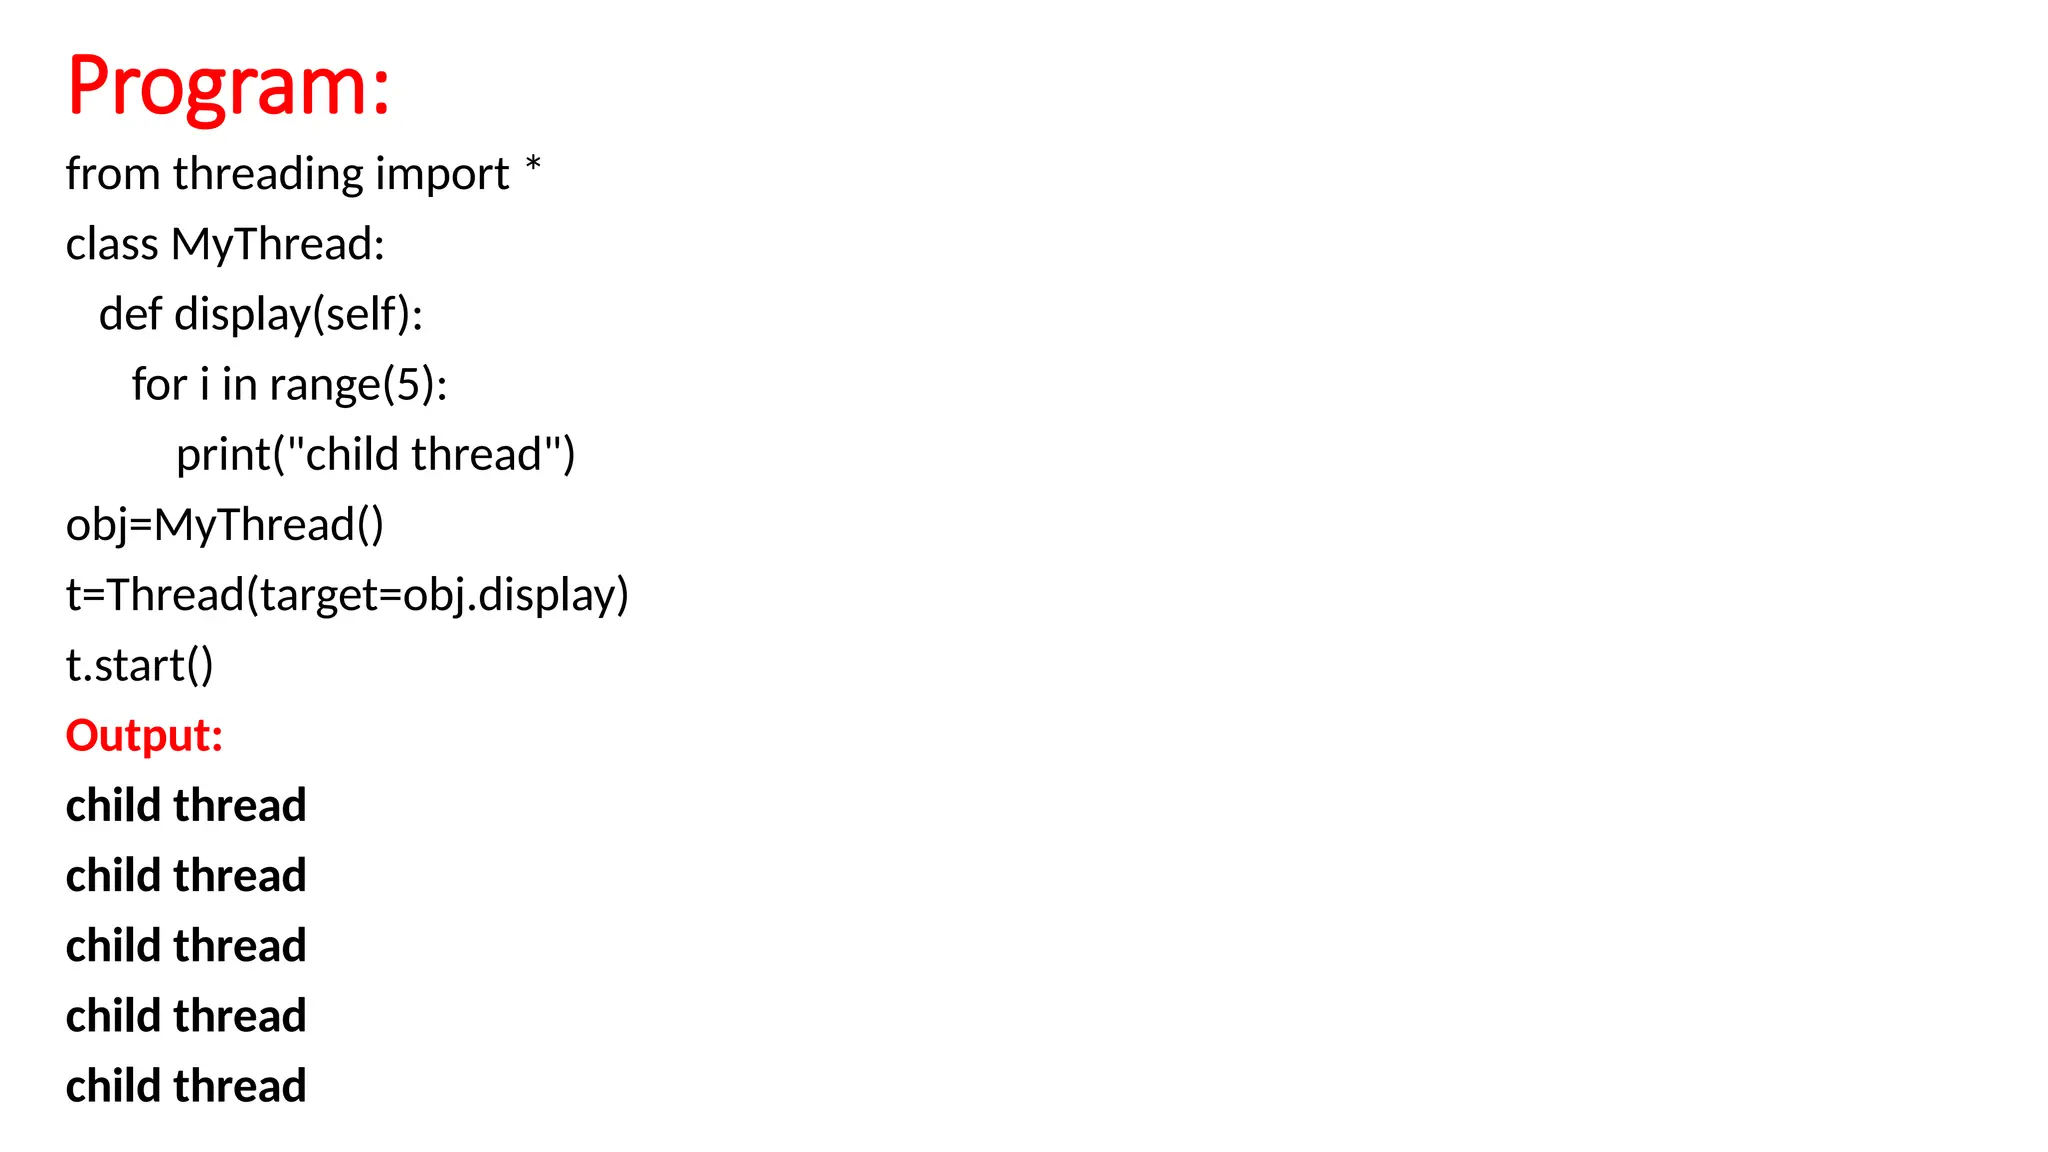
Program:
from threading import*
class MyThread:
def display(self):
for i in range(5):
print("child thread")
obj=MyThread()
t=Thread(target=obj.display)
t.start()
Output:
child thread
child thread
child thread
child thread
child thread
21.
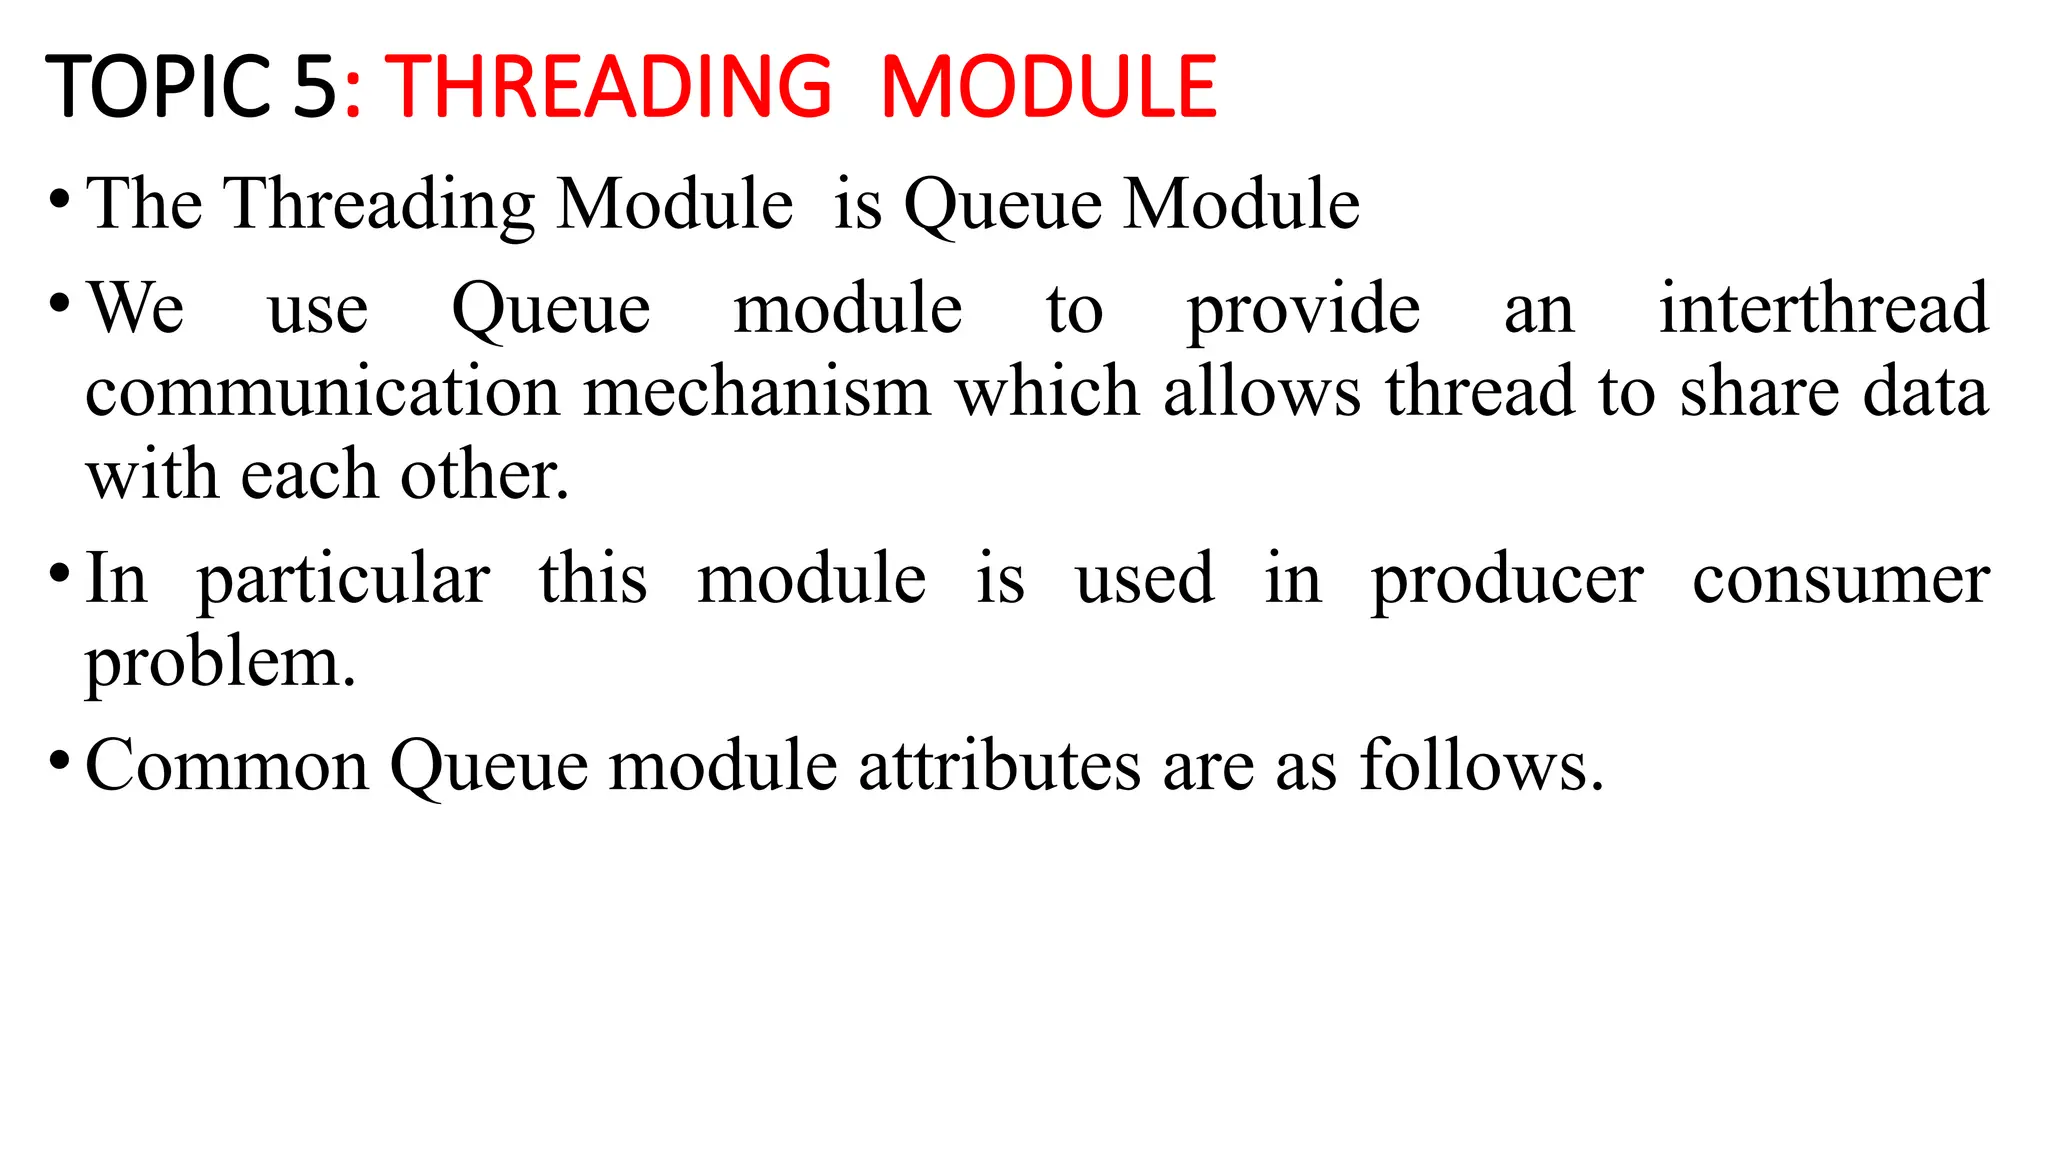
TOPIC 5: THREADINGMODULE
•The Threading Module is Queue Module
•We use Queue module to provide an interthread
communication mechanism which allows thread to share data
with each other.
•In particular this module is used in producer consumer
problem.
•Common Queue module attributes are as follows.
22.
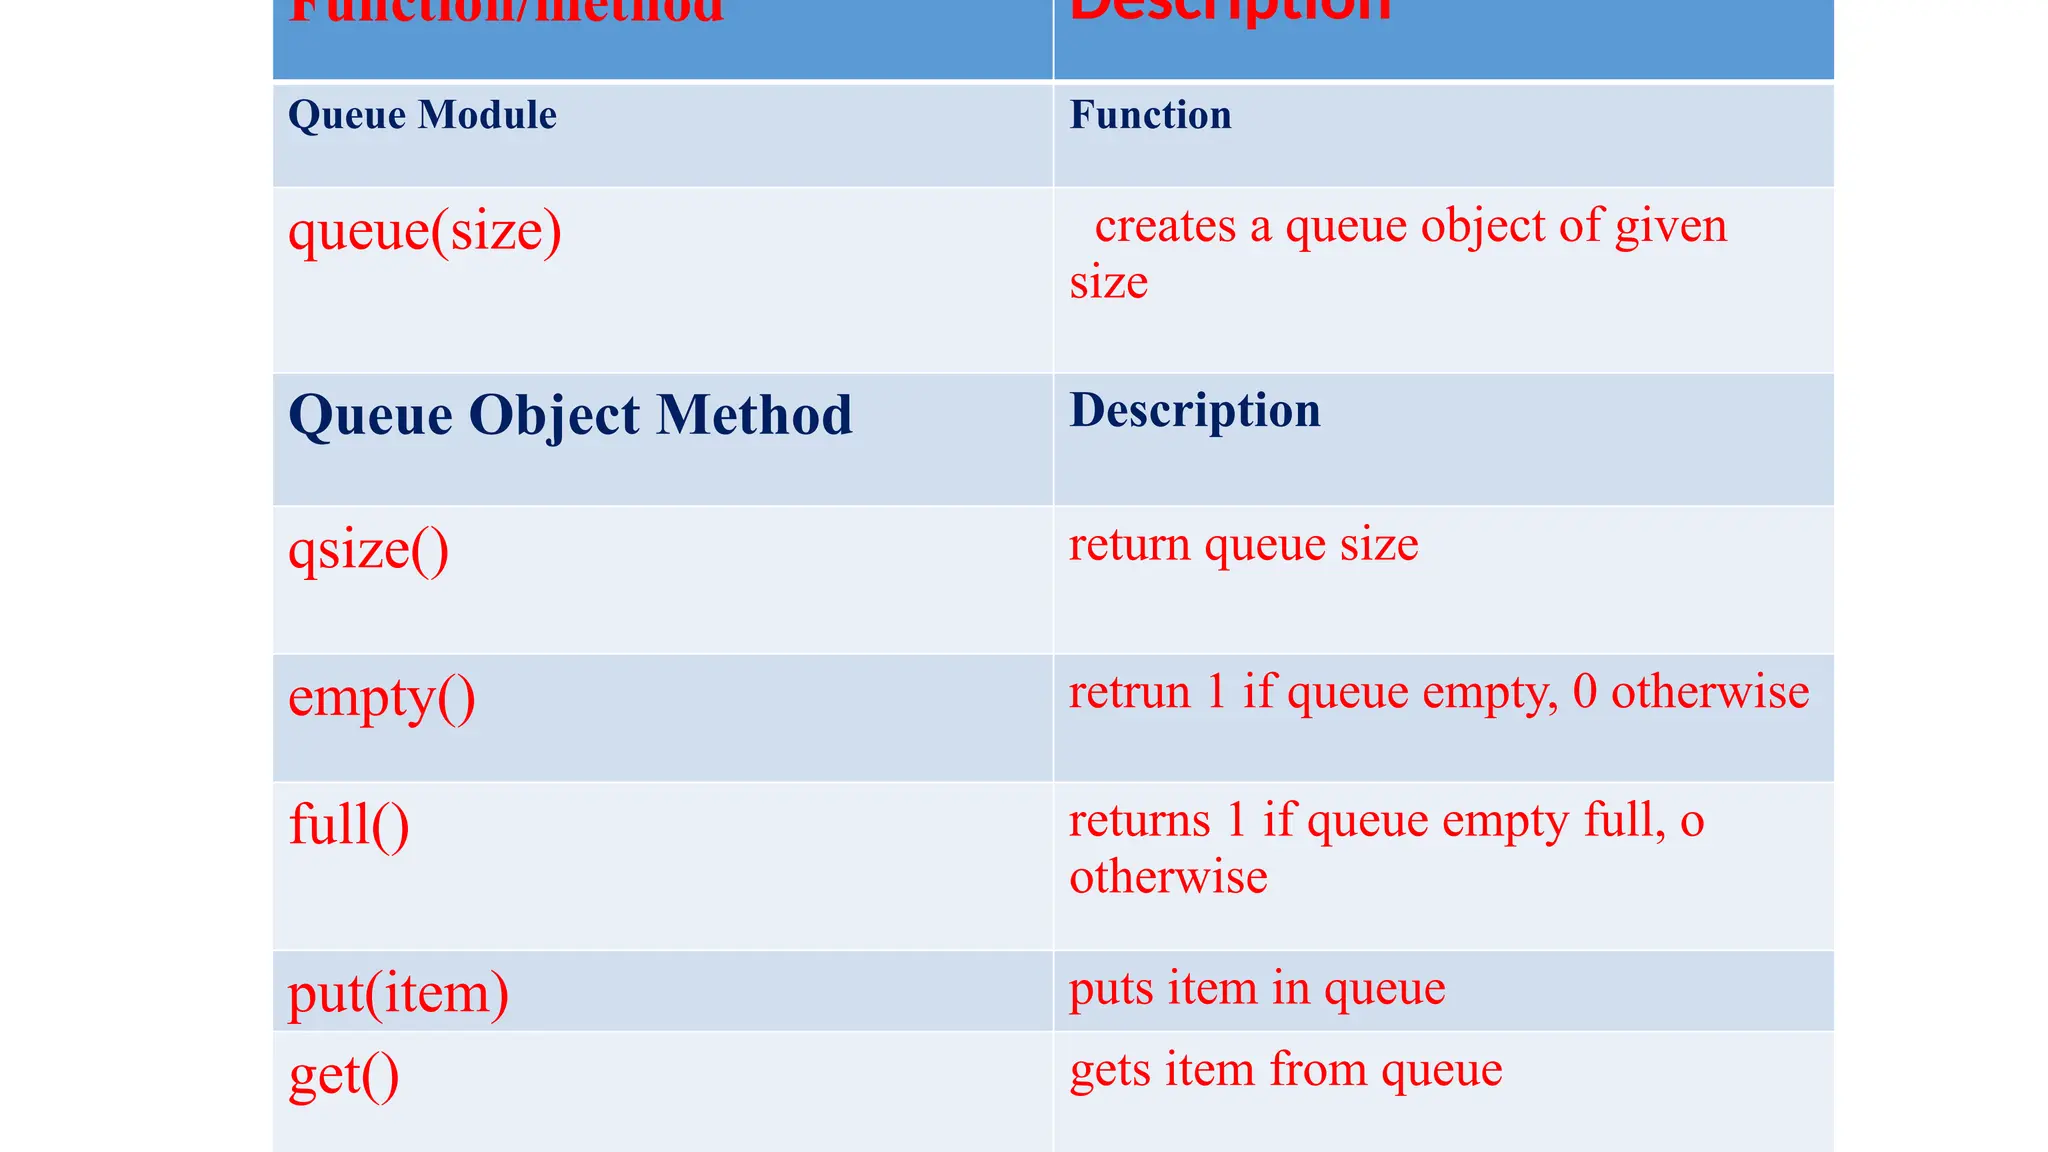
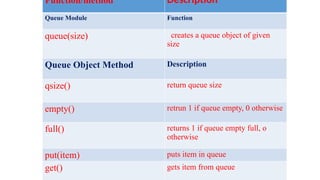
Function/method Description
Queue ModuleFunction
queue(size) creates a queue object of given
size
Queue Object Method Description
qsize() return queue size
empty() retrun 1 if queue empty, 0 otherwise
full() returns 1 if queue empty full, o
otherwise
put(item) puts item in queue
get() gets item from queue
23.
Producer Consumer Problem:
•The Producer is responsible for creating goods and storing in a data
structure called queue.
• The time in between producing the goods as we as consuming these
goods is said to be non deterministic.
• The queue module that enables the threads to share data among
them.
24.
• A Queueclass of queue module is useful to create a queue that holds
the data produced by the producer . The data can be taken from the
queue and utilized by the consumer.
25.
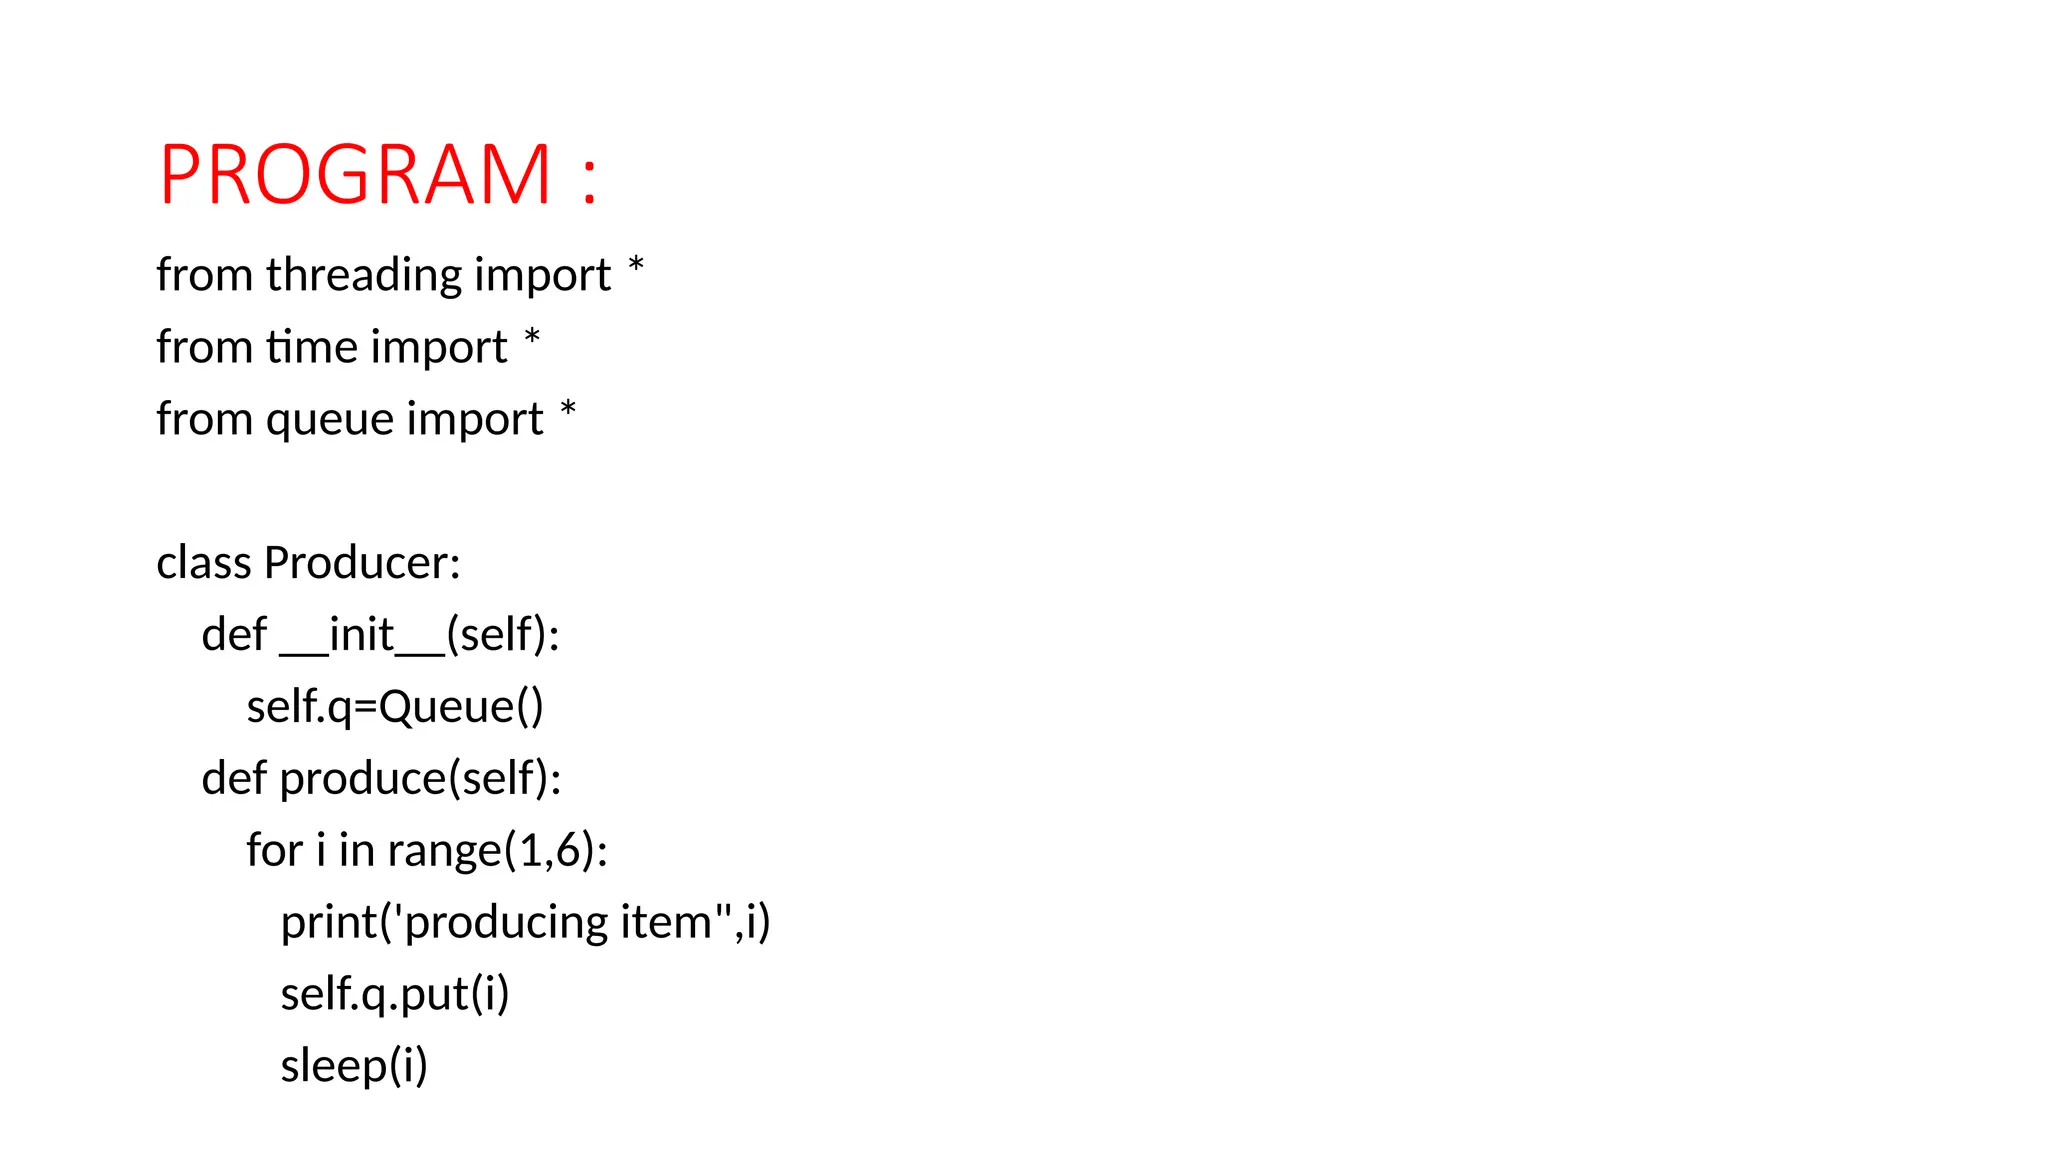
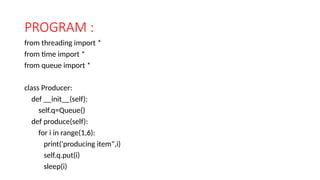
PROGRAM :
from threadingimport *
from time import *
from queue import *
class Producer:
def __init__(self):
self.q=Queue()
def produce(self):
for i in range(1,6):
print('producing item",i)
self.q.put(i)
sleep(i)
26.
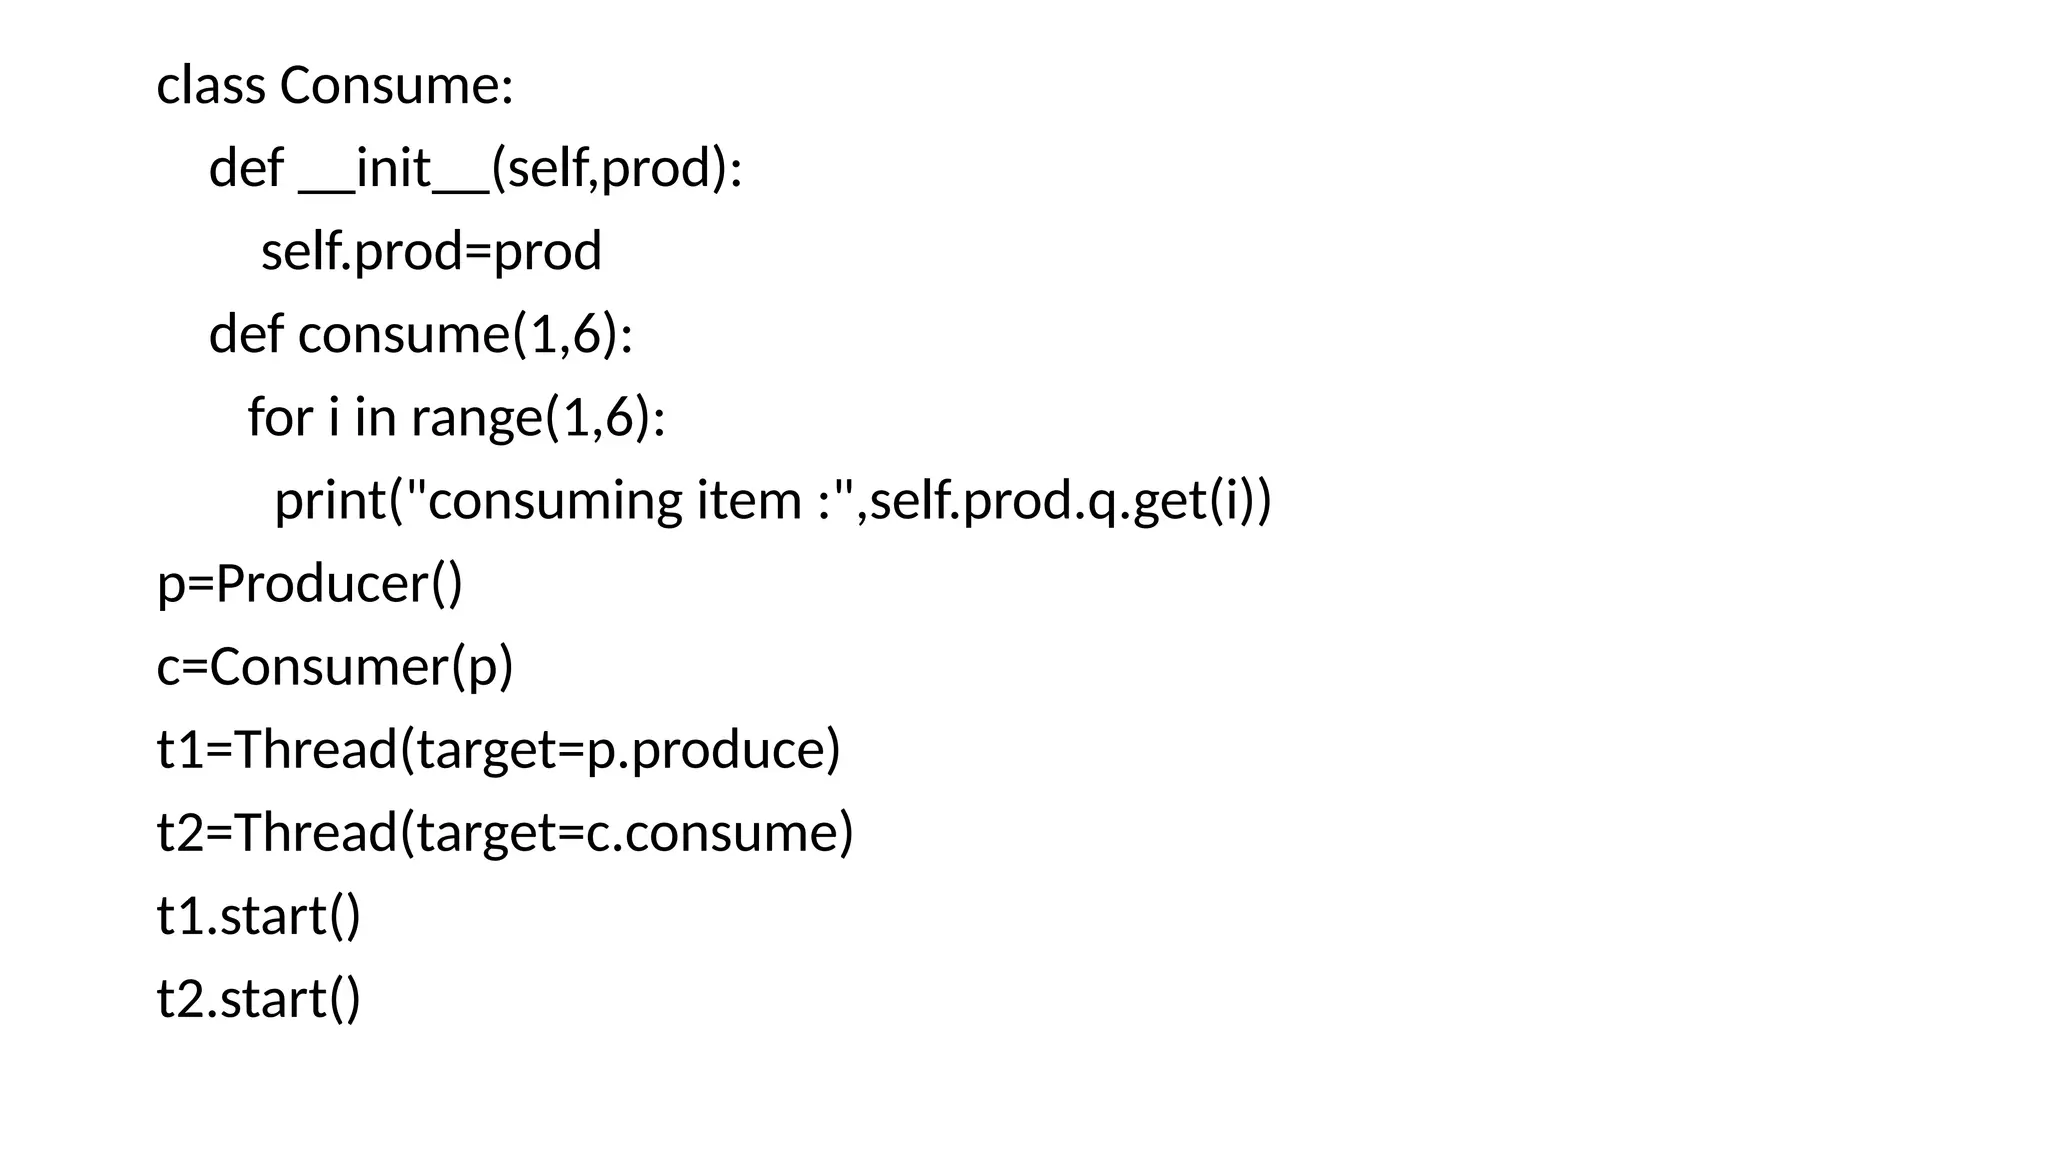
class Consume:
def __init__(self,prod):
self.prod=prod
defconsume(1,6):
for i in range(1,6):
print("consuming item :",self.prod.q.get(i))
p=Producer()
c=Consumer(p)
t1=Thread(target=p.produce)
t2=Thread(target=c.consume)
t1.start()
t2.start()
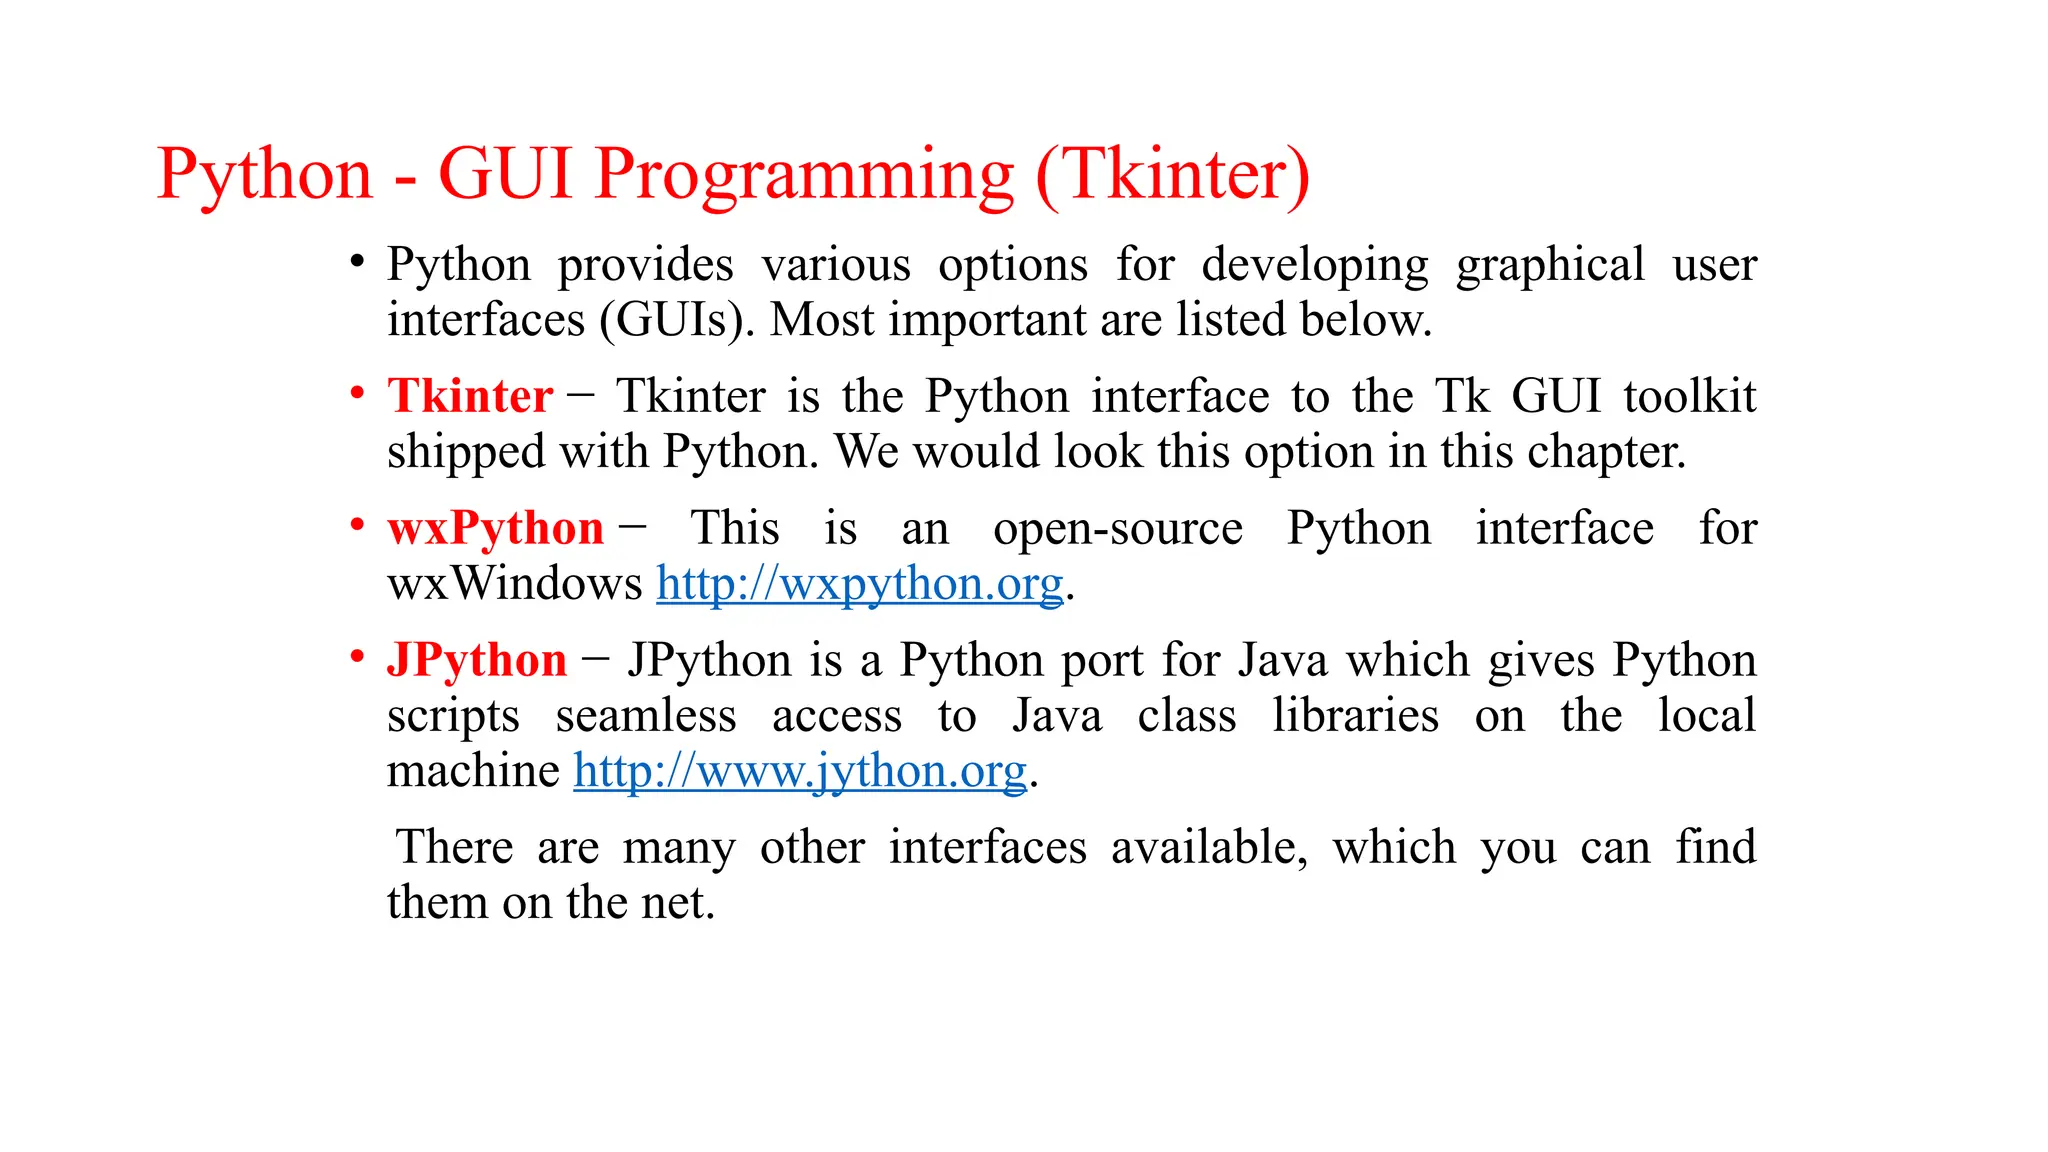
Python - GUIProgramming (Tkinter)
• Python provides various options for developing graphical user
interfaces (GUIs). Most important are listed below.
• Tkinter − Tkinter is the Python interface to the Tk GUI toolkit
shipped with Python. We would look this option in this chapter.
• wxPython − This is an open-source Python interface for
wxWindows http://wxpython.org.
• JPython − JPython is a Python port for Java which gives Python
scripts seamless access to Java class libraries on the local
machine http://www.jython.org.
There are many other interfaces available, which you can find
them on the net.
30.
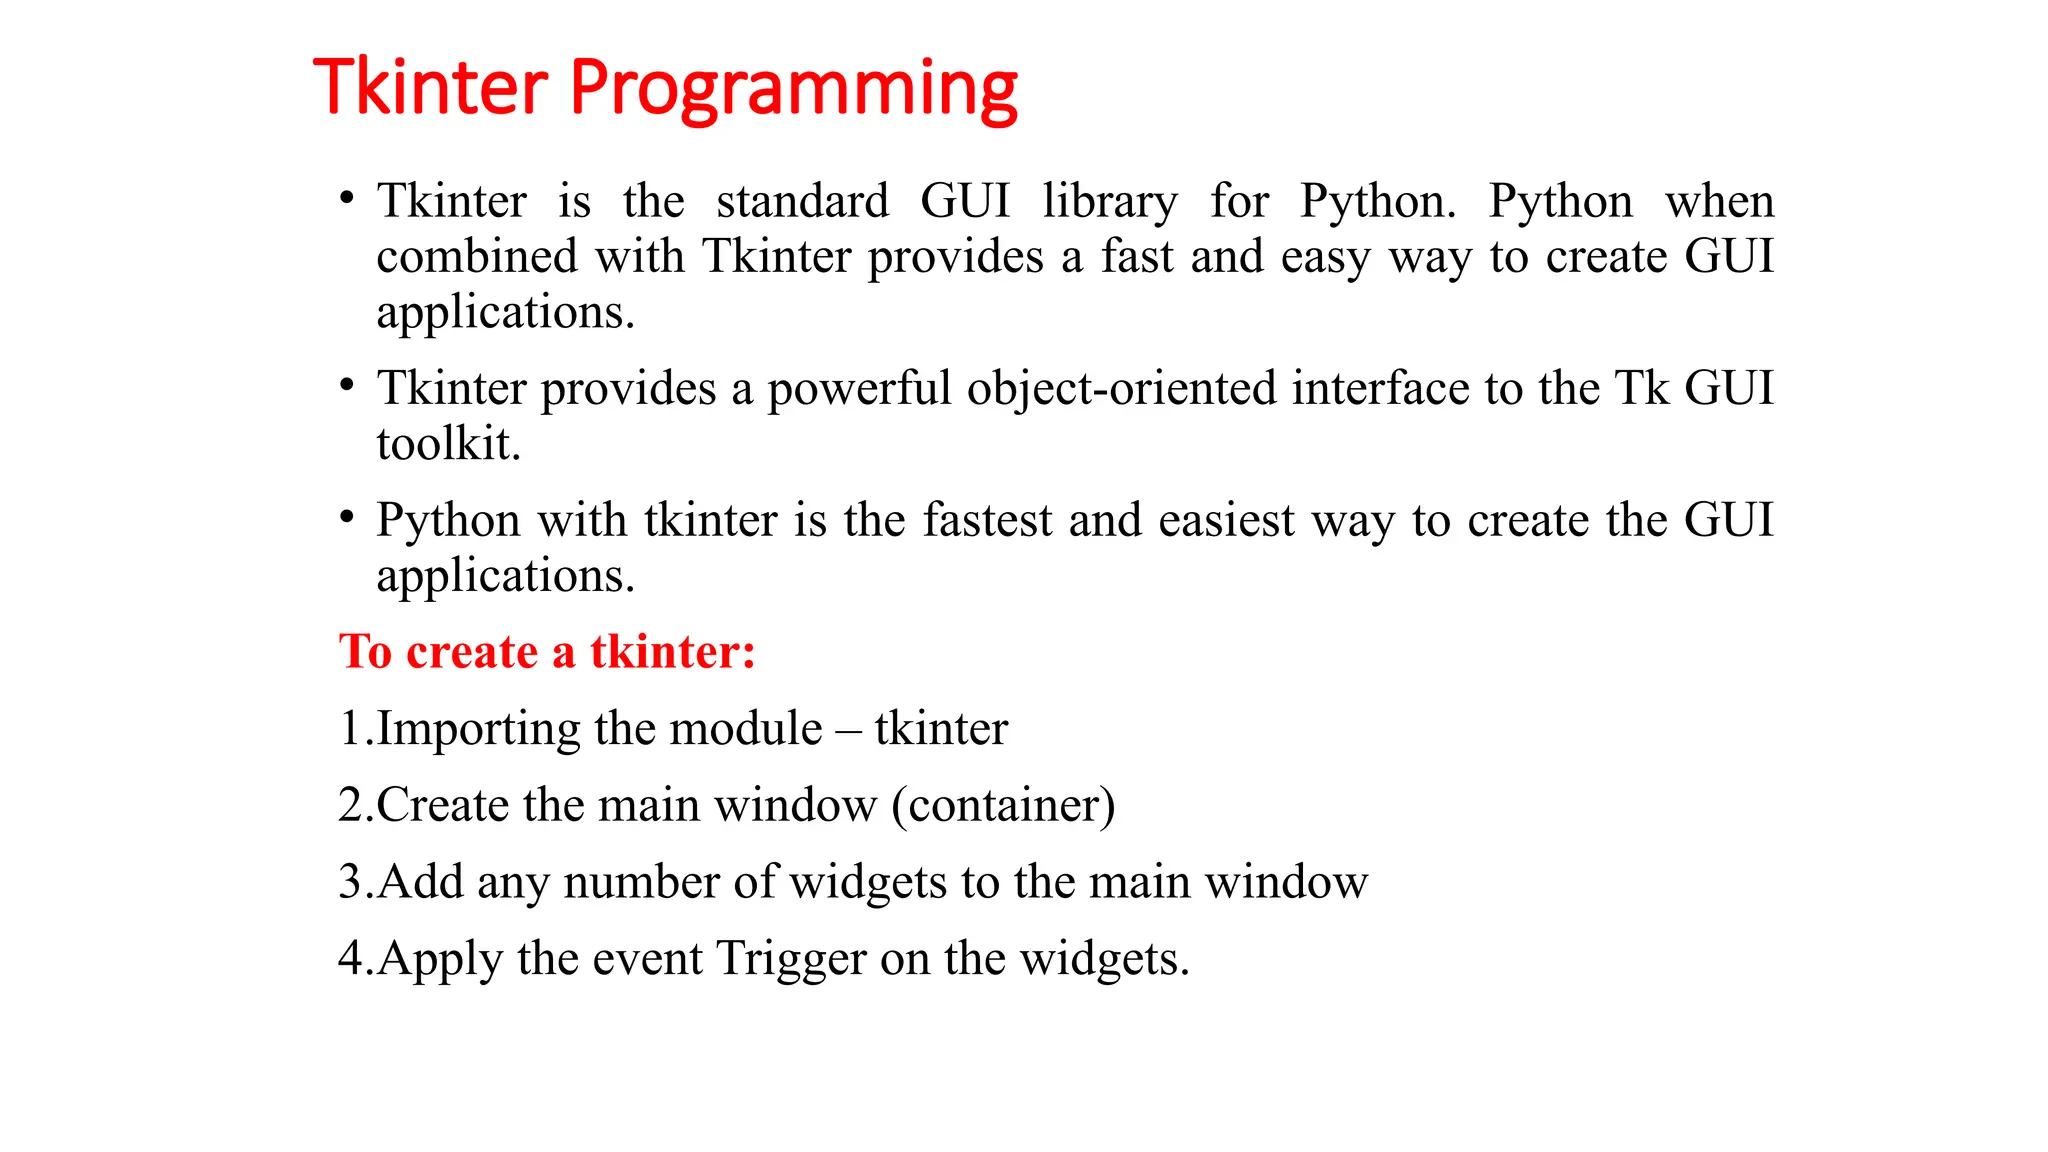
Tkinter Programming
• Tkinteris the standard GUI library for Python. Python when
combined with Tkinter provides a fast and easy way to create GUI
applications.
• Tkinter provides a powerful object-oriented interface to the Tk GUI
toolkit.
• Python with tkinter is the fastest and easiest way to create the GUI
applications.
To create a tkinter:
1.Importing the module – tkinter
2.Create the main window (container)
3.Add any number of widgets to the main window
4.Apply the event Trigger on the widgets.
31.
• Importing tkinteris same as importing any other
module in the Python code.
• Note that the name of the module in Python 2.x is
‘Tkinter’ and in Python 3.x it is ‘tkinter’.
import tkinter
There are two main methods used which the user needs
to remember while creating the Python application
with GUI.
1.Tk()
2.mainloop()
32.
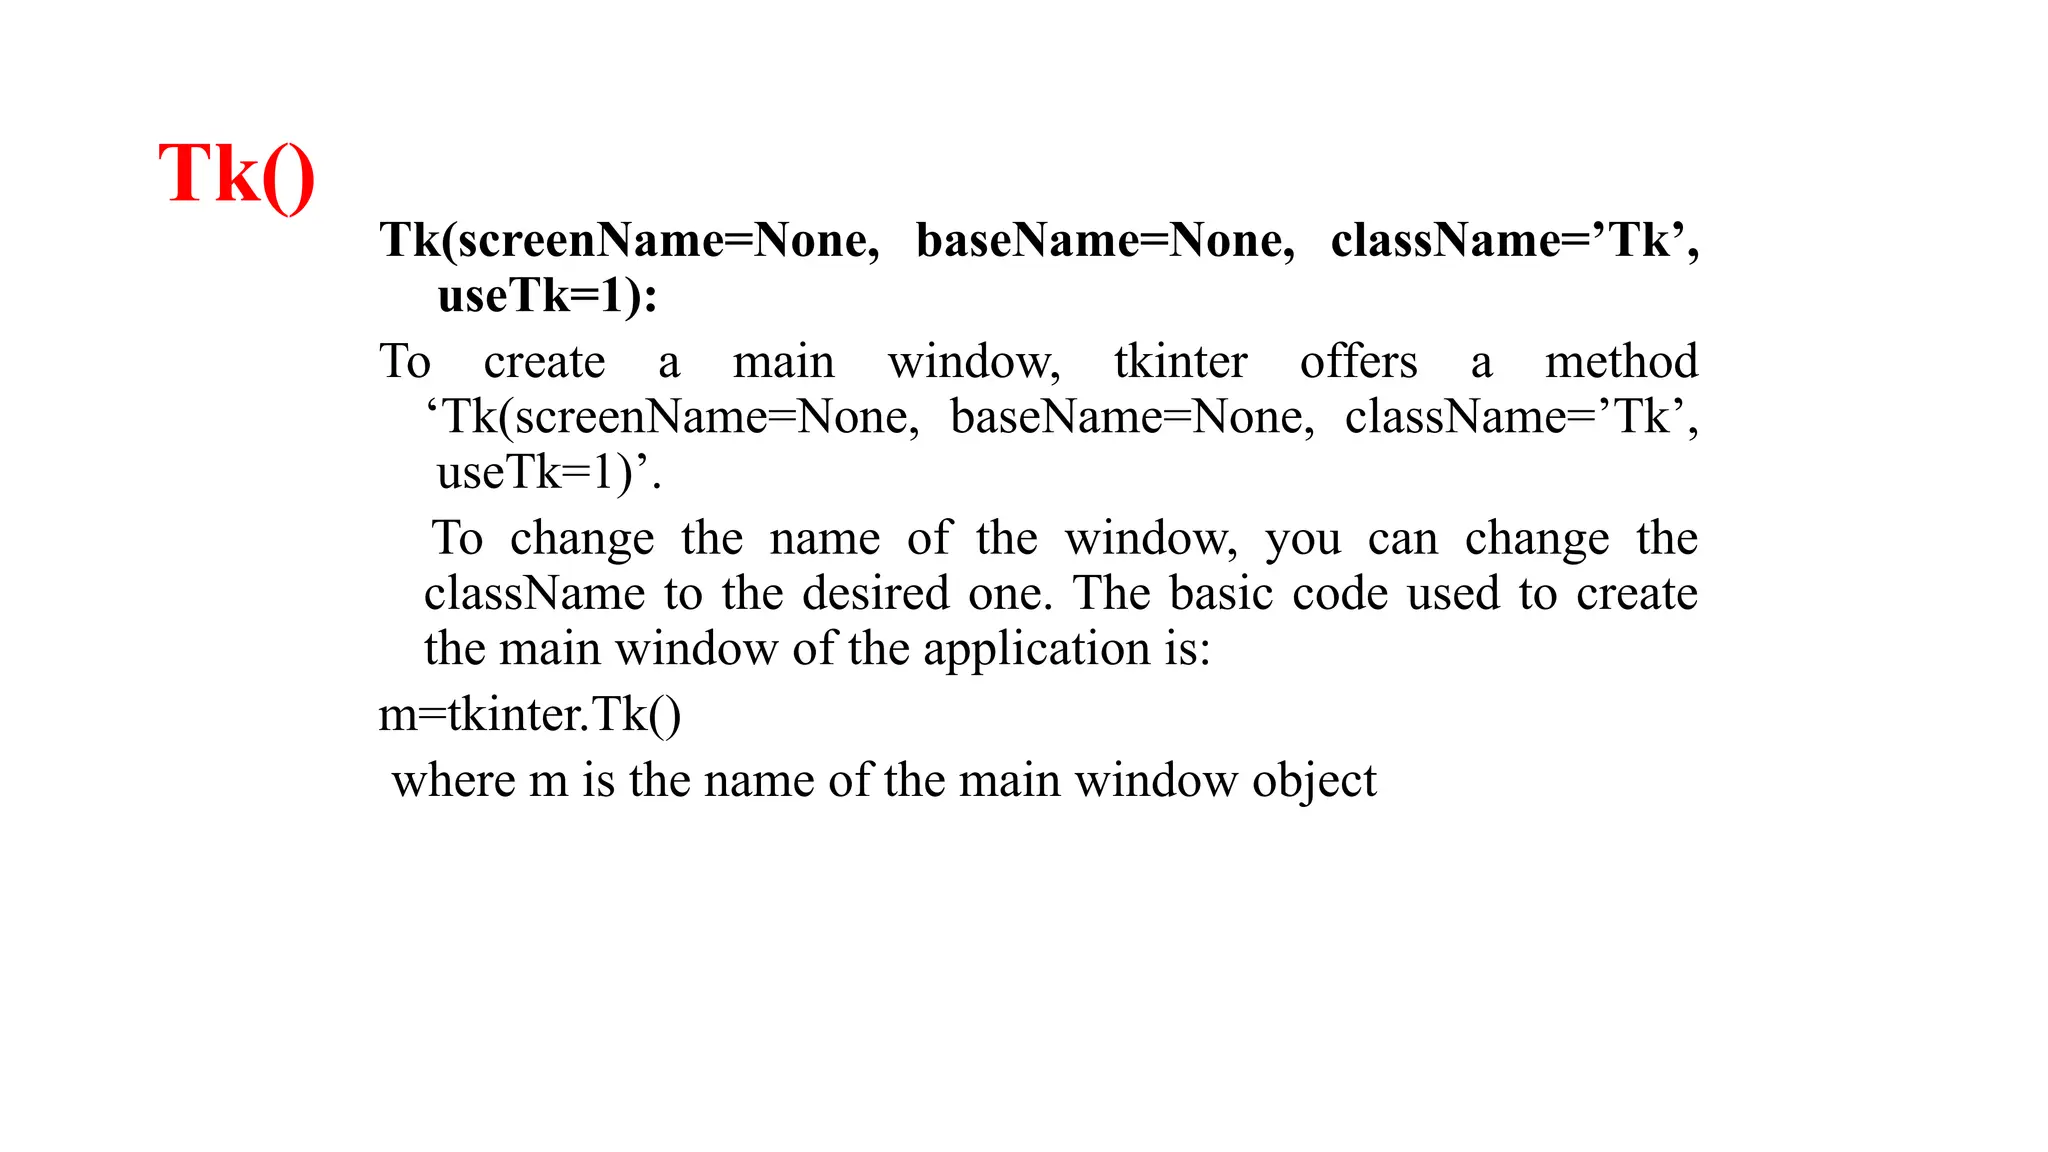
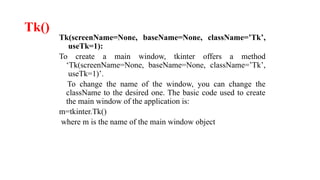
Tk()
Tk(screenName=None, baseName=None, className=’Tk’,
useTk=1):
Tocreate a main window, tkinter offers a method
‘Tk(screenName=None, baseName=None, className=’Tk’,
useTk=1)’.
To change the name of the window, you can change the
className to the desired one. The basic code used to create
the main window of the application is:
m=tkinter.Tk()
where m is the name of the main window object
33.
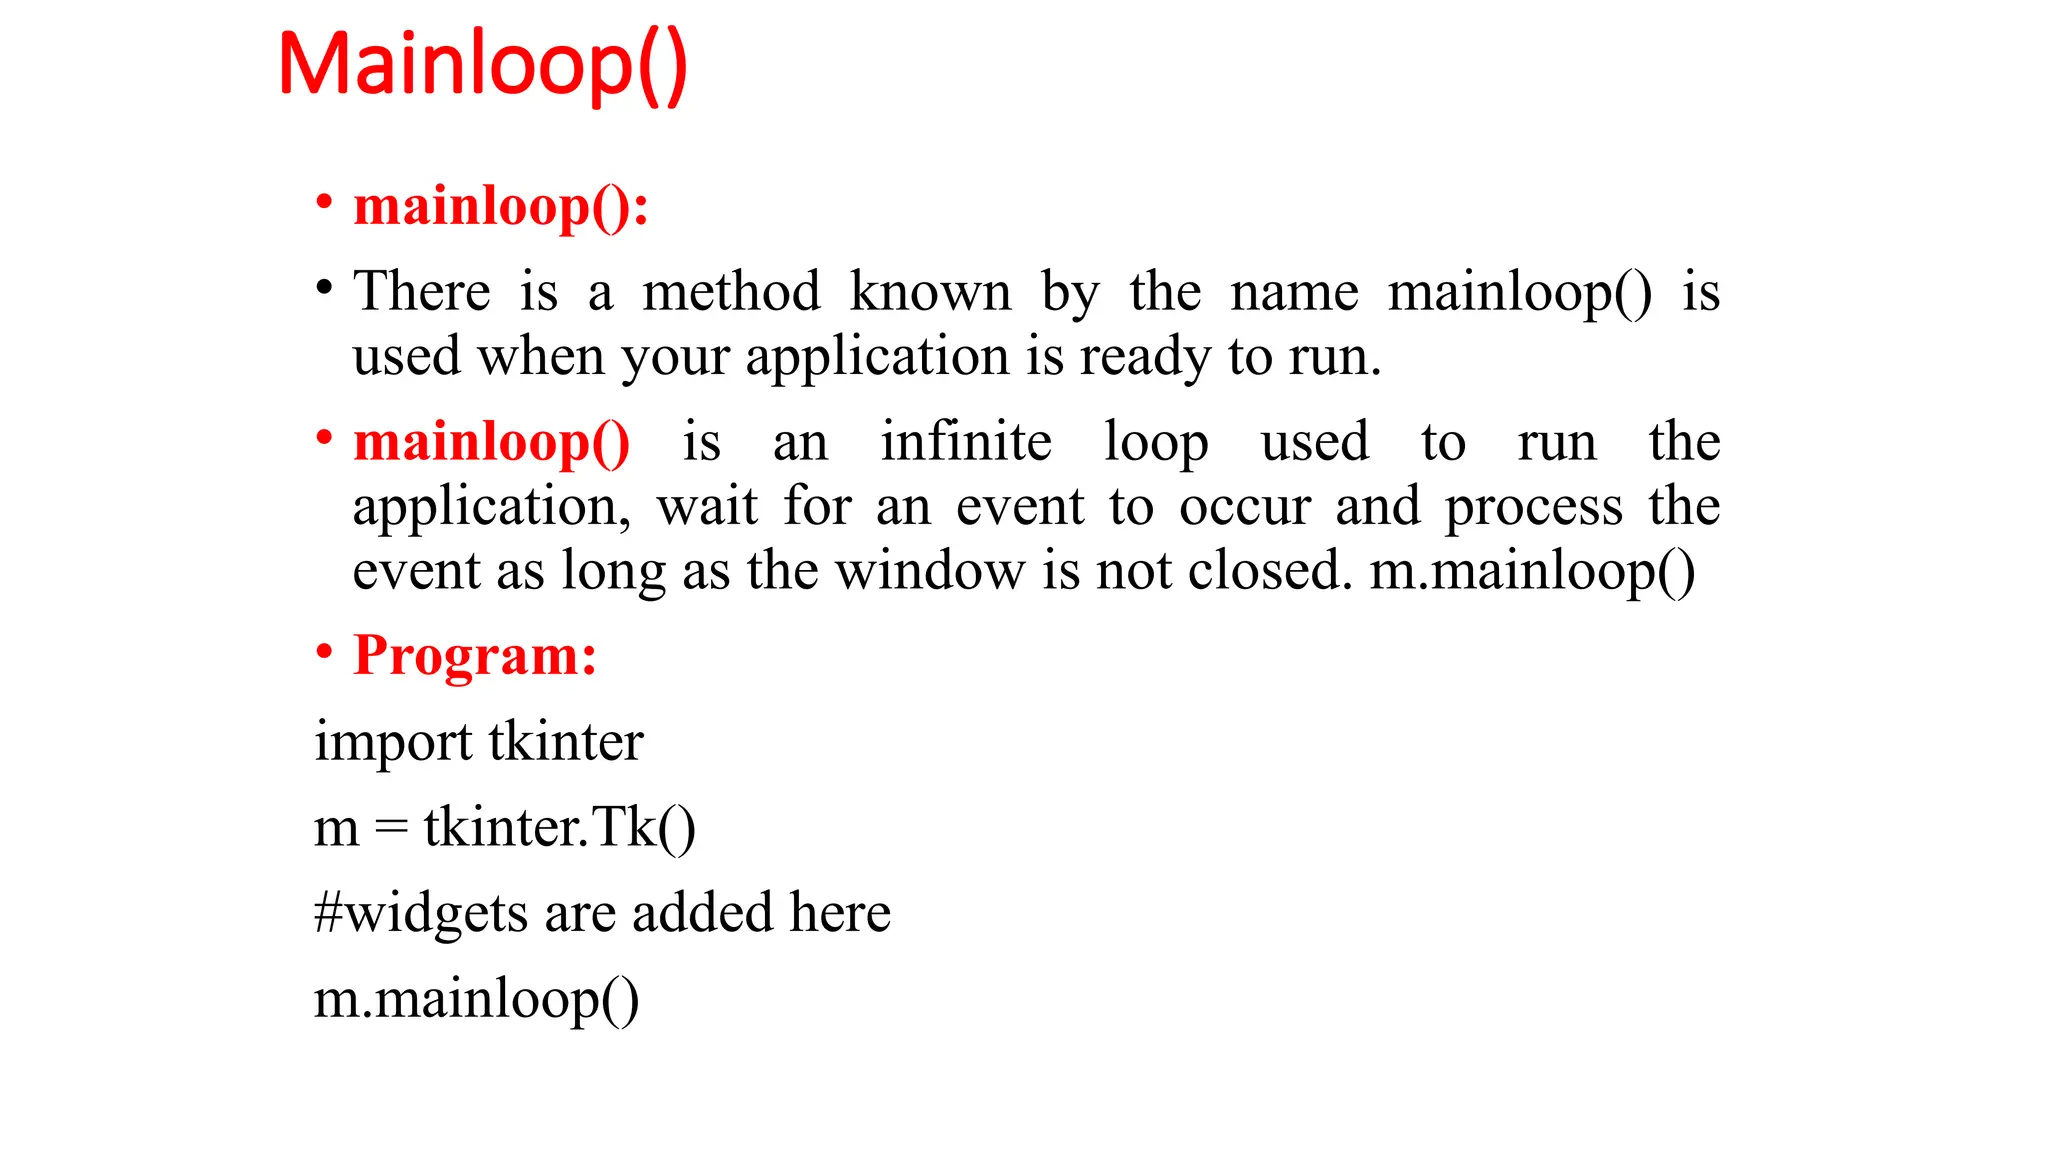
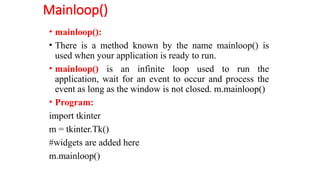
Mainloop()
• mainloop():
• Thereis a method known by the name mainloop() is
used when your application is ready to run.
• mainloop() is an infinite loop used to run the
application, wait for an event to occur and process the
event as long as the window is not closed. m.mainloop()
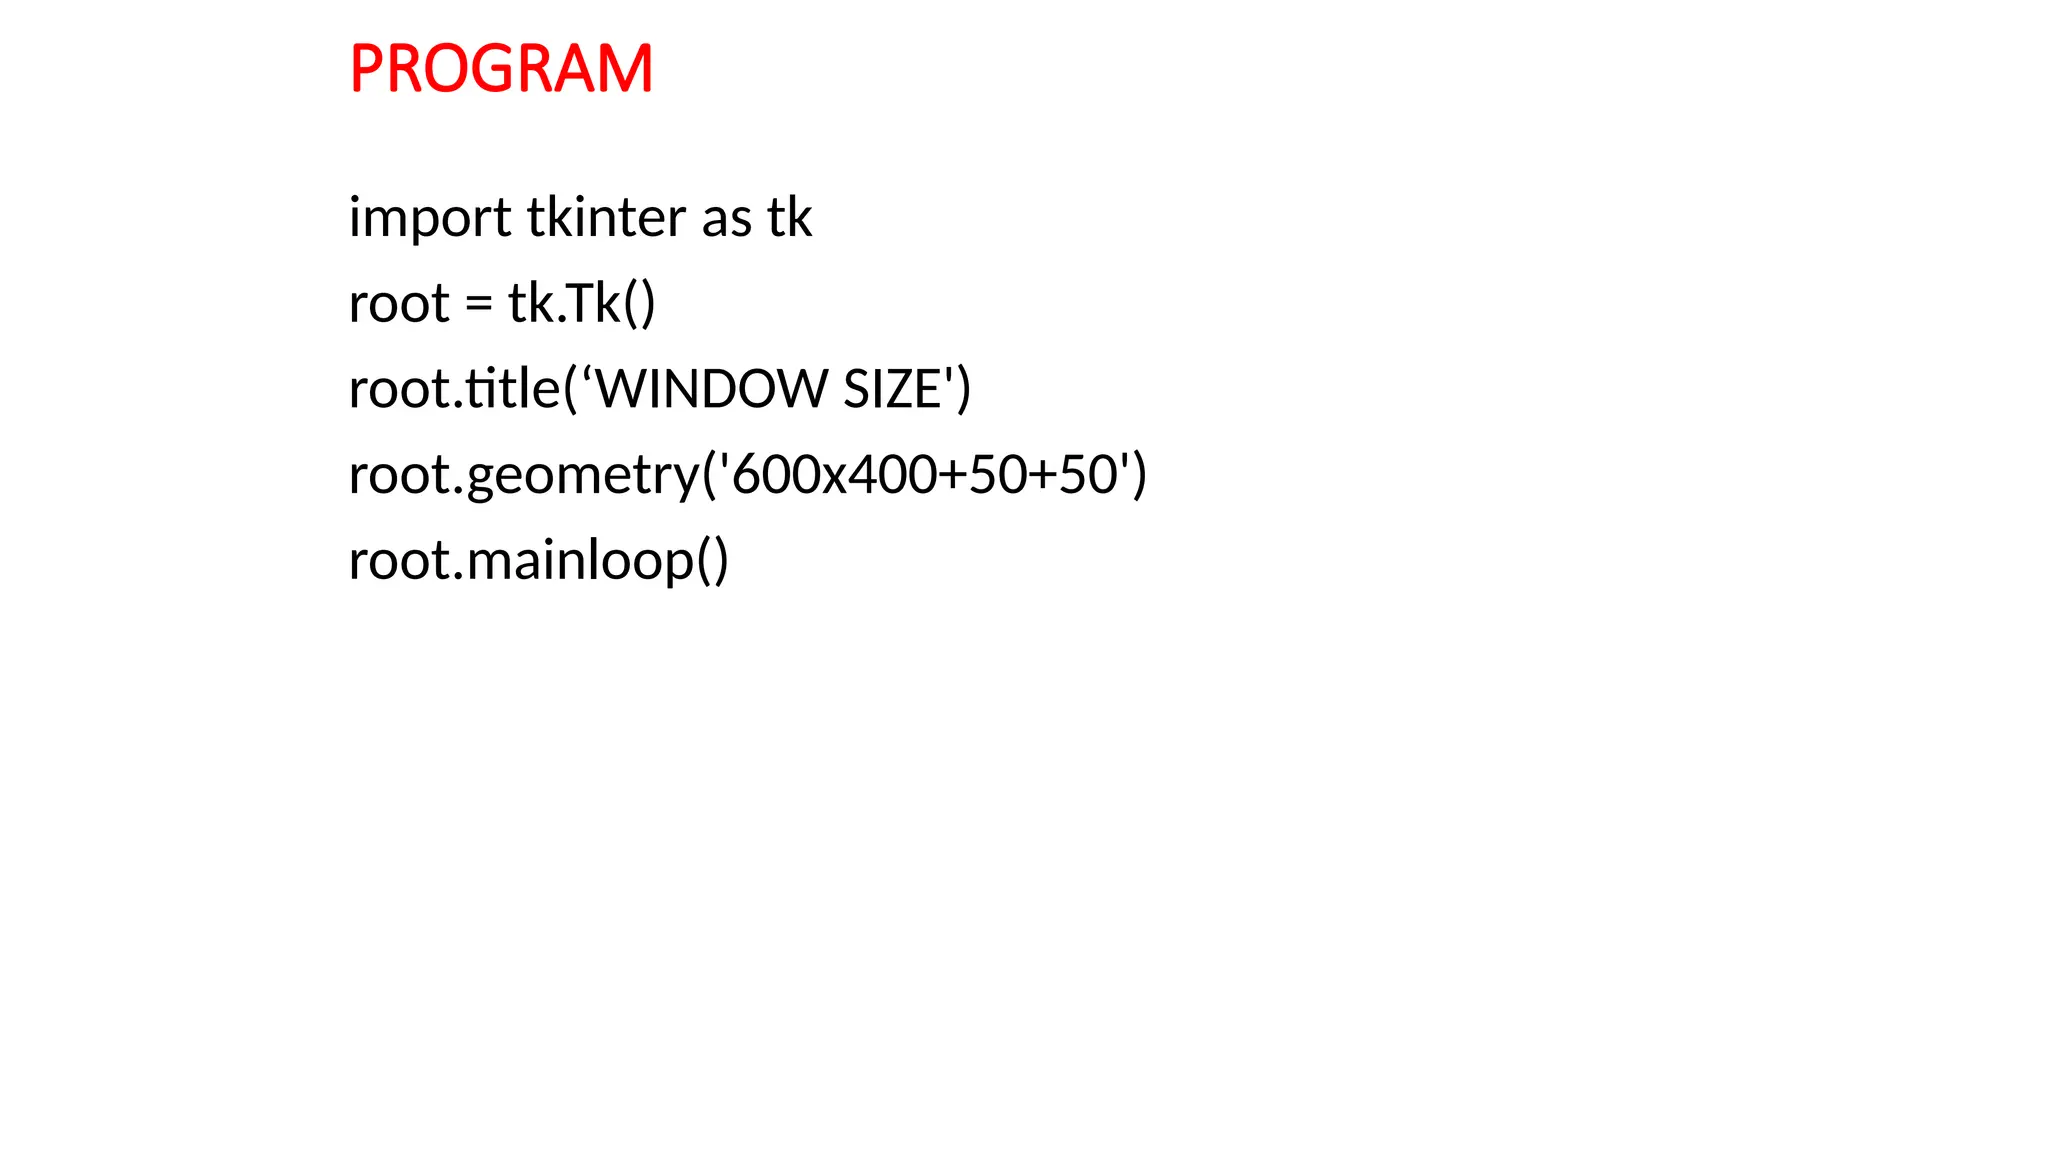
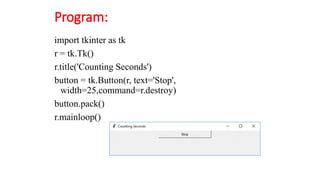
• Program:
import tkinter
m = tkinter.Tk()
#widgets are added here
m.mainloop()
34.
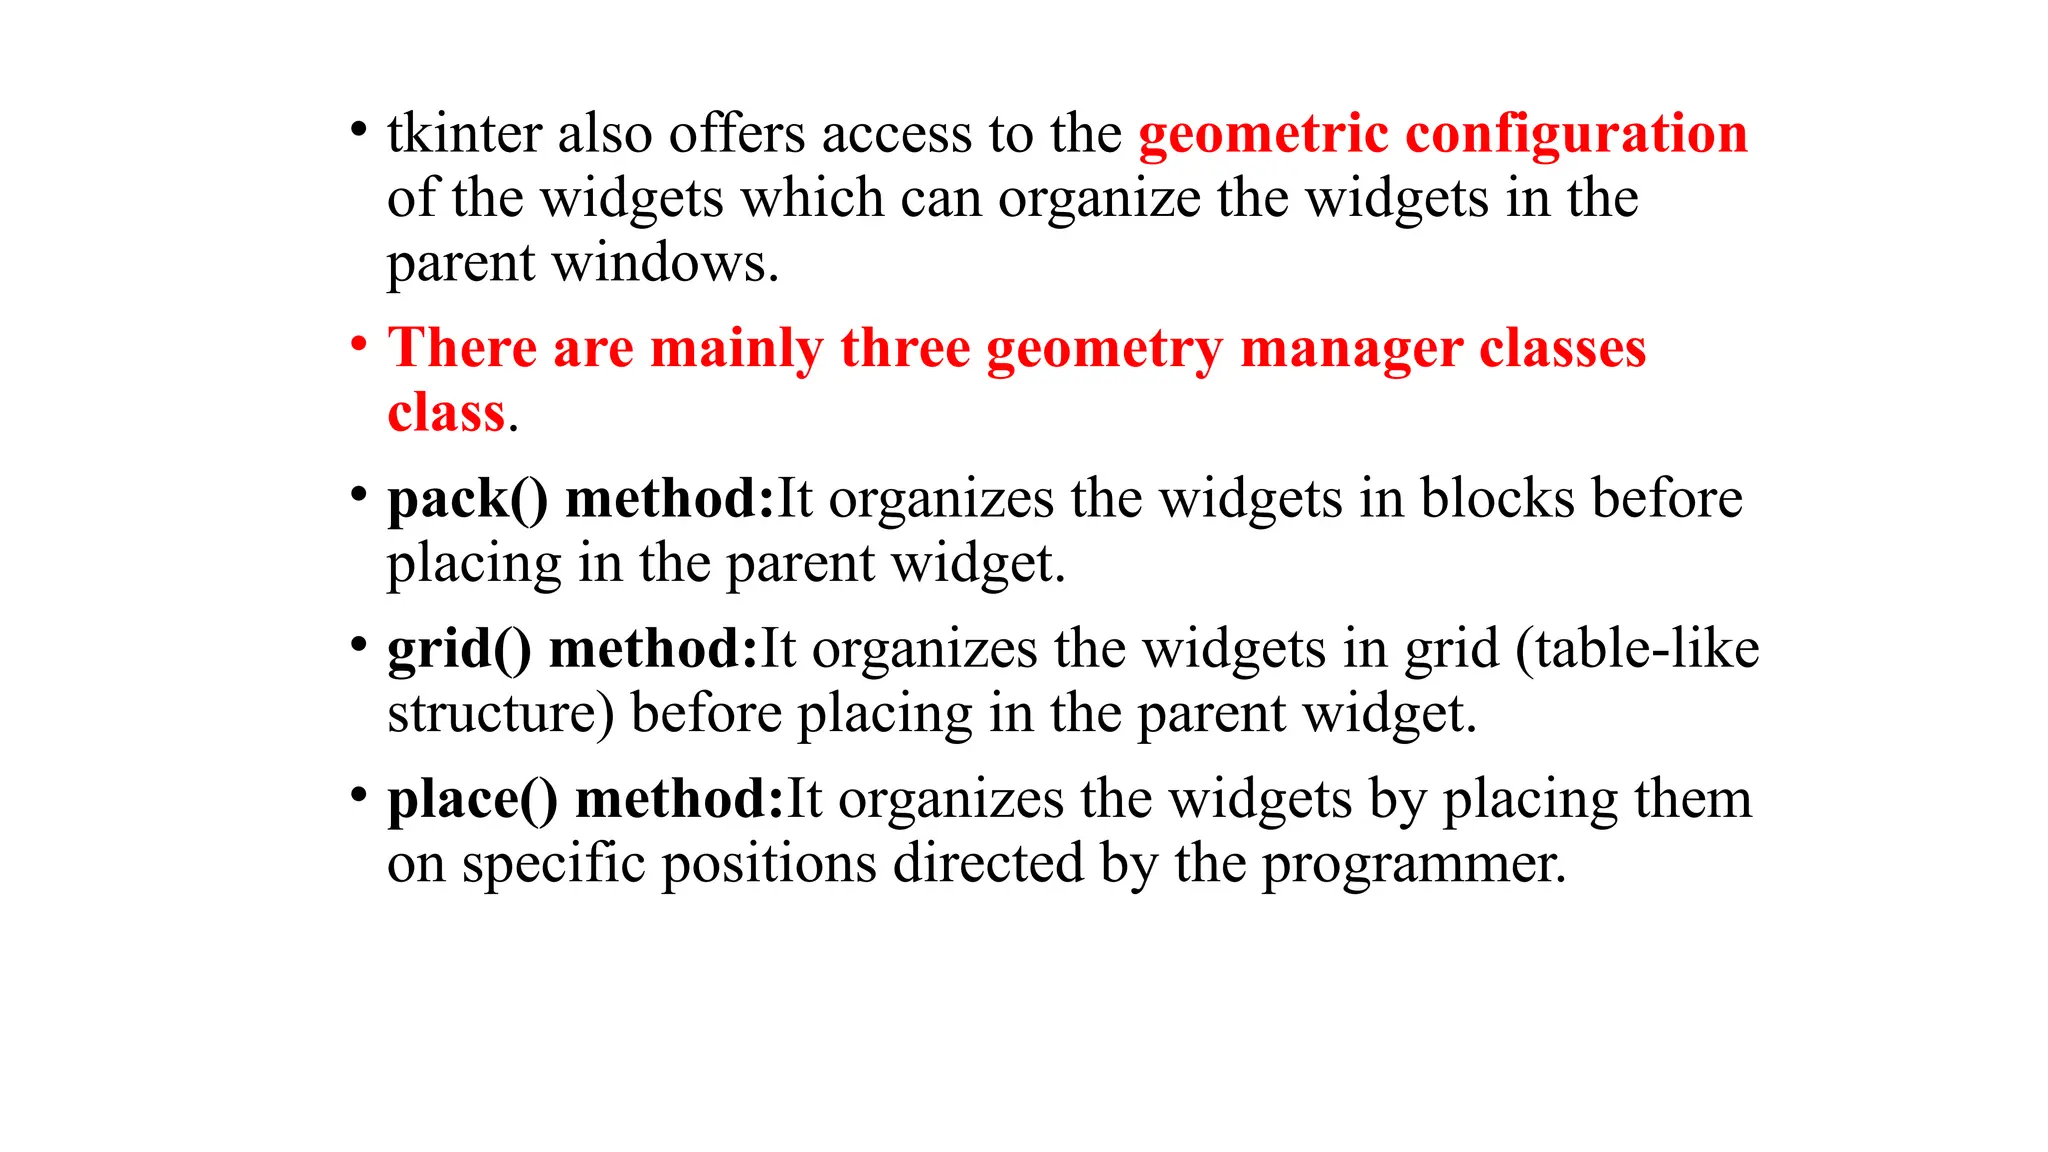
• tkinter alsooffers access to the geometric configuration
of the widgets which can organize the widgets in the
parent windows.
• There are mainly three geometry manager classes
class.
• pack() method:It organizes the widgets in blocks before
placing in the parent widget.
• grid() method:It organizes the widgets in grid (table-like
structure) before placing in the parent widget.
• place() method:It organizes the widgets by placing them
on specific positions directed by the programmer.
35.
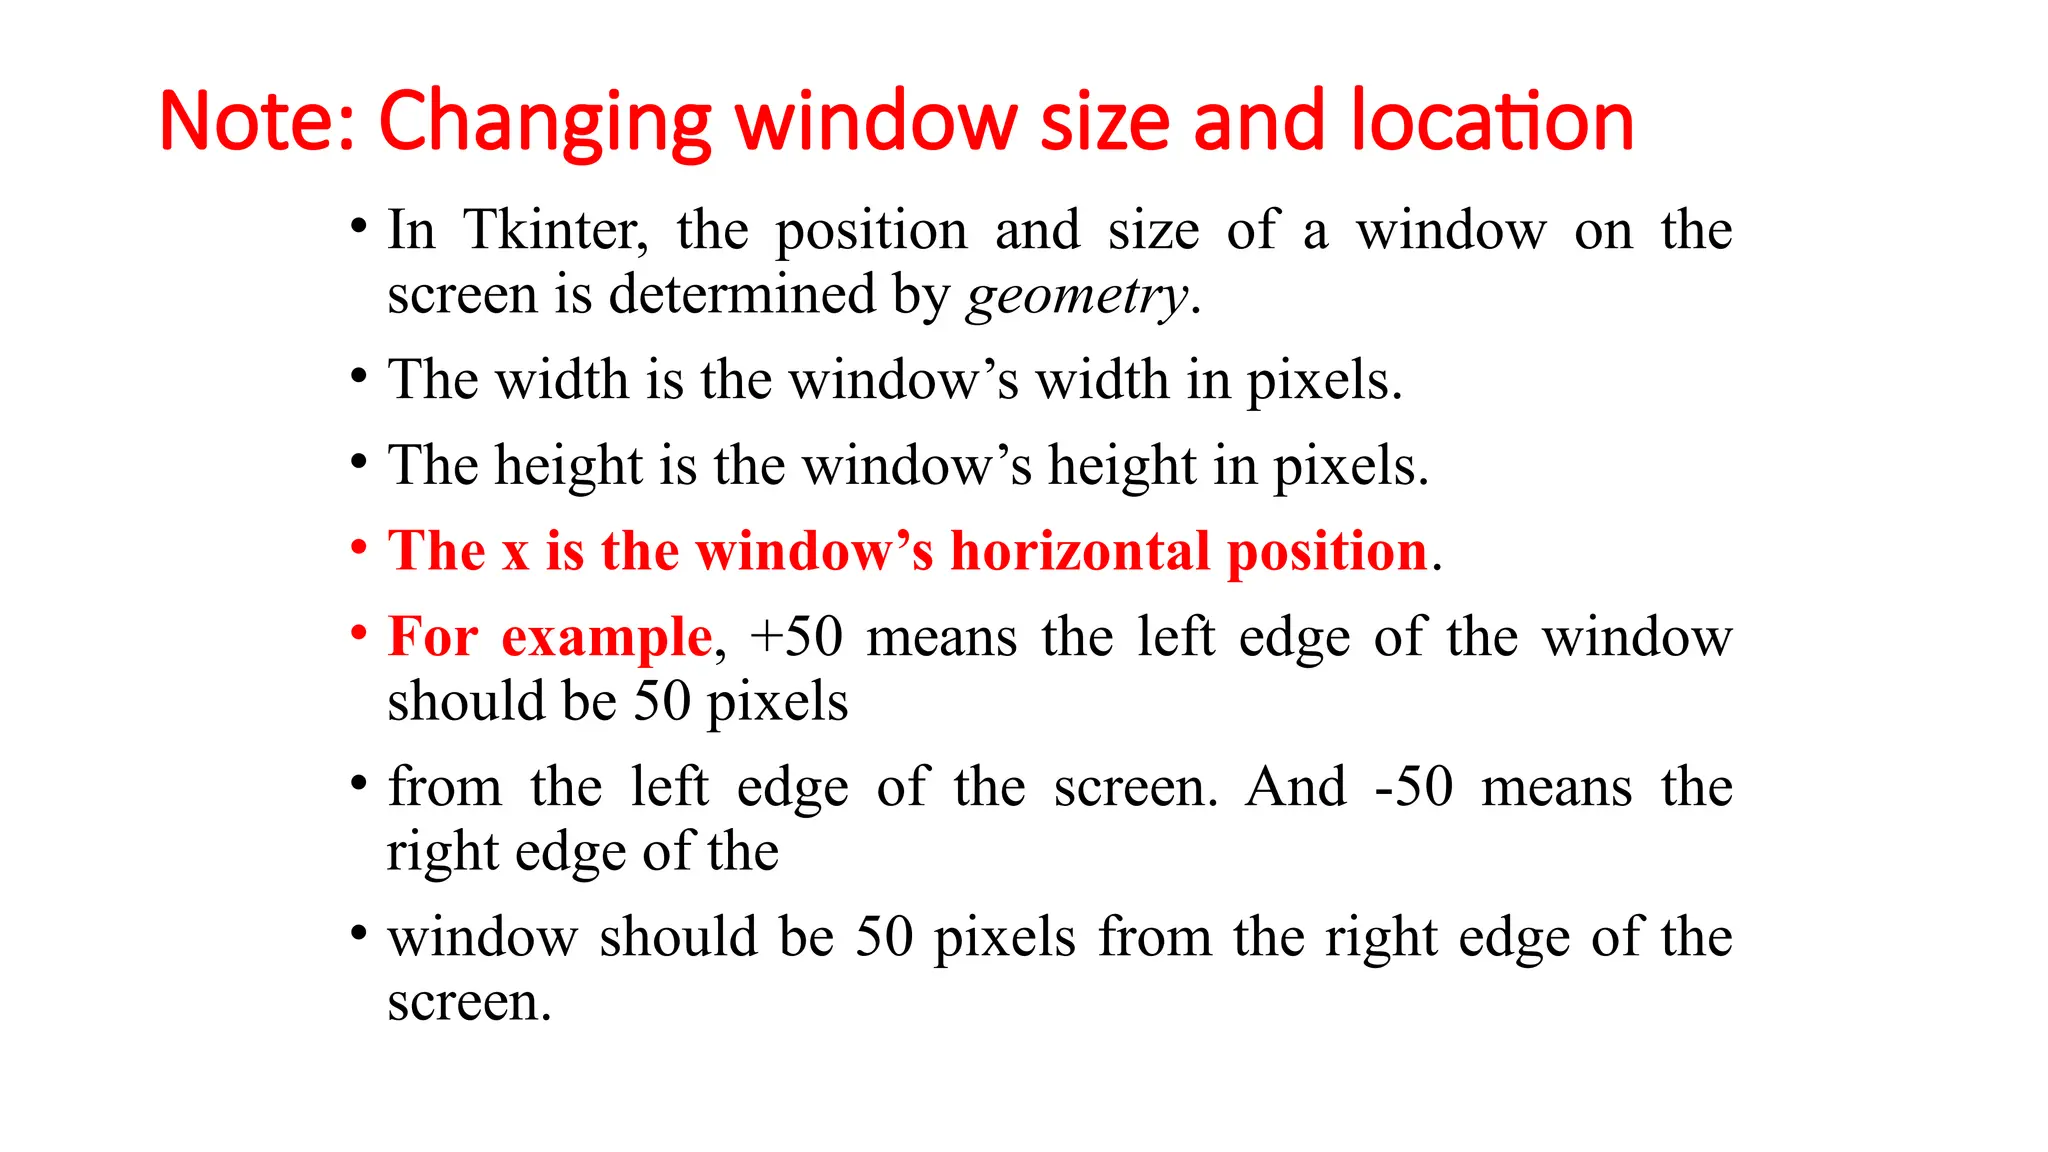
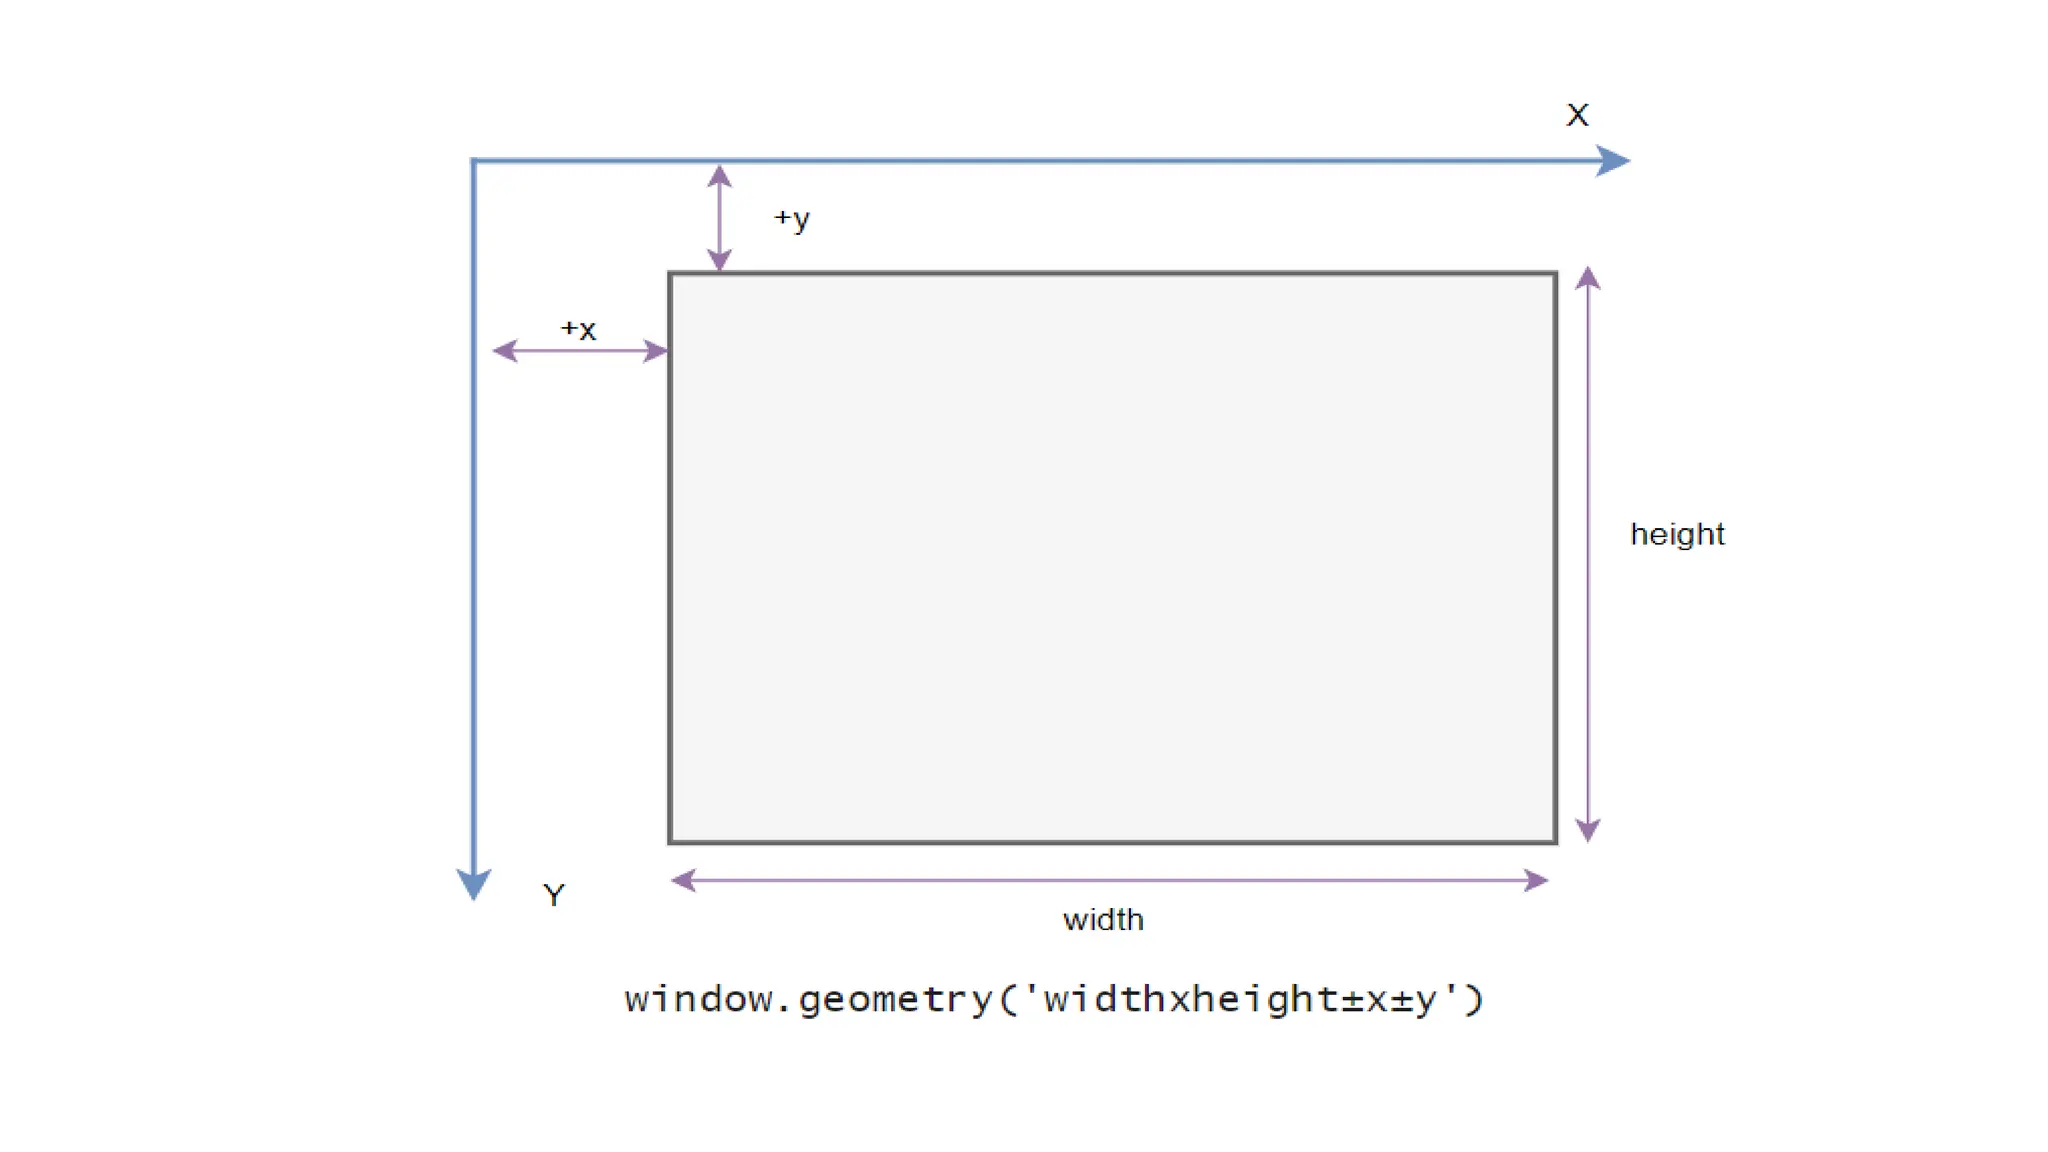
Note: Changing windowsize and location
• In Tkinter, the position and size of a window on the
screen is determined by geometry.
• The width is the window’s width in pixels.
• The height is the window’s height in pixels.
• The x is the window’s horizontal position.
• For example, +50 means the left edge of the window
should be 50 pixels
• from the left edge of the screen. And -50 means the
right edge of the
• window should be 50 pixels from the right edge of the
screen.
36.
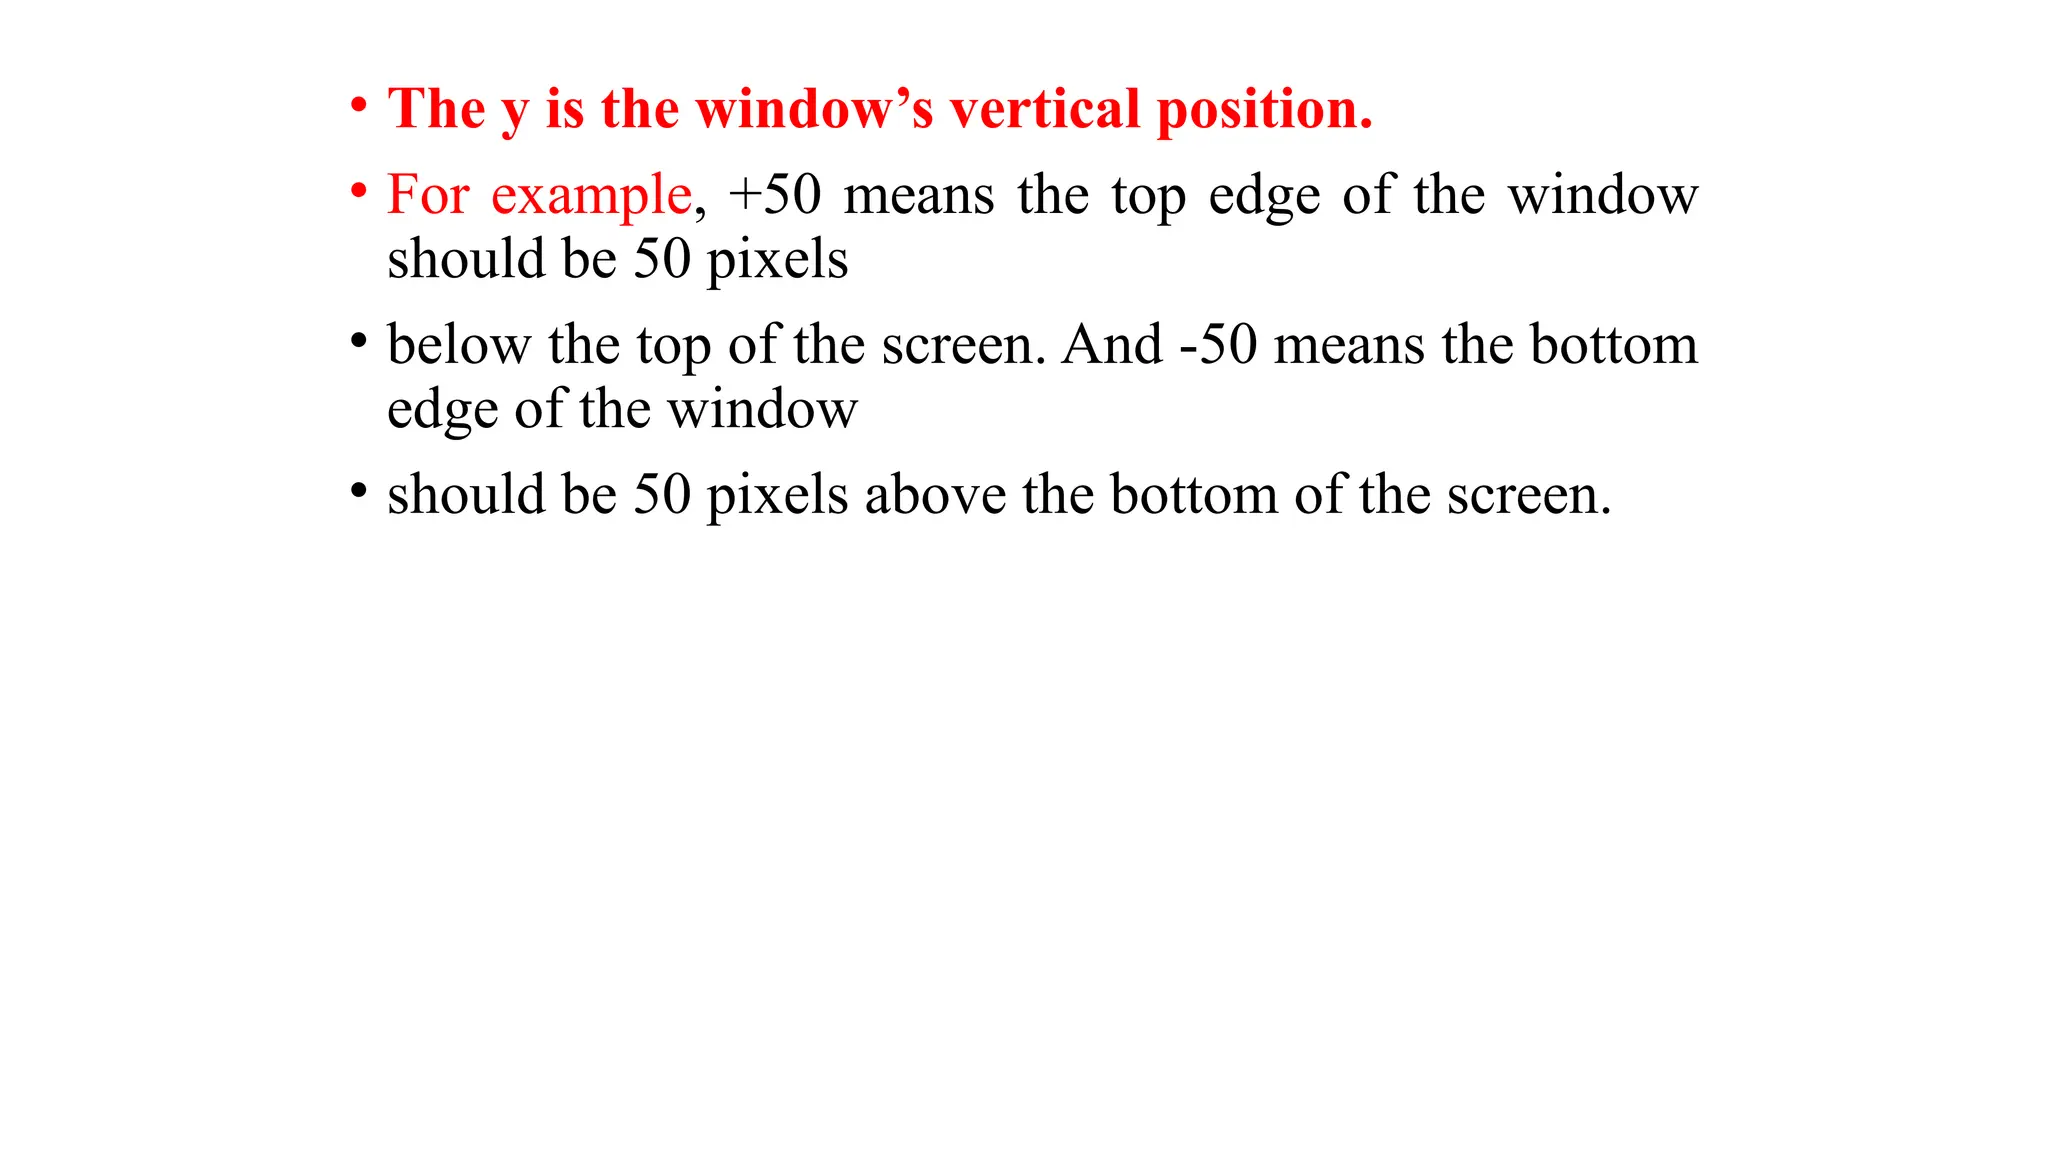
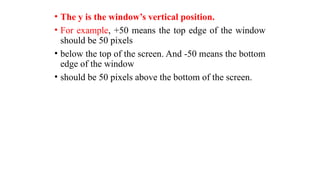
• The yis the window’s vertical position.
• For example, +50 means the top edge of the window
should be 50 pixels
• below the top of the screen. And -50 means the bottom
edge of the window
• should be 50 pixels above the bottom of the screen.
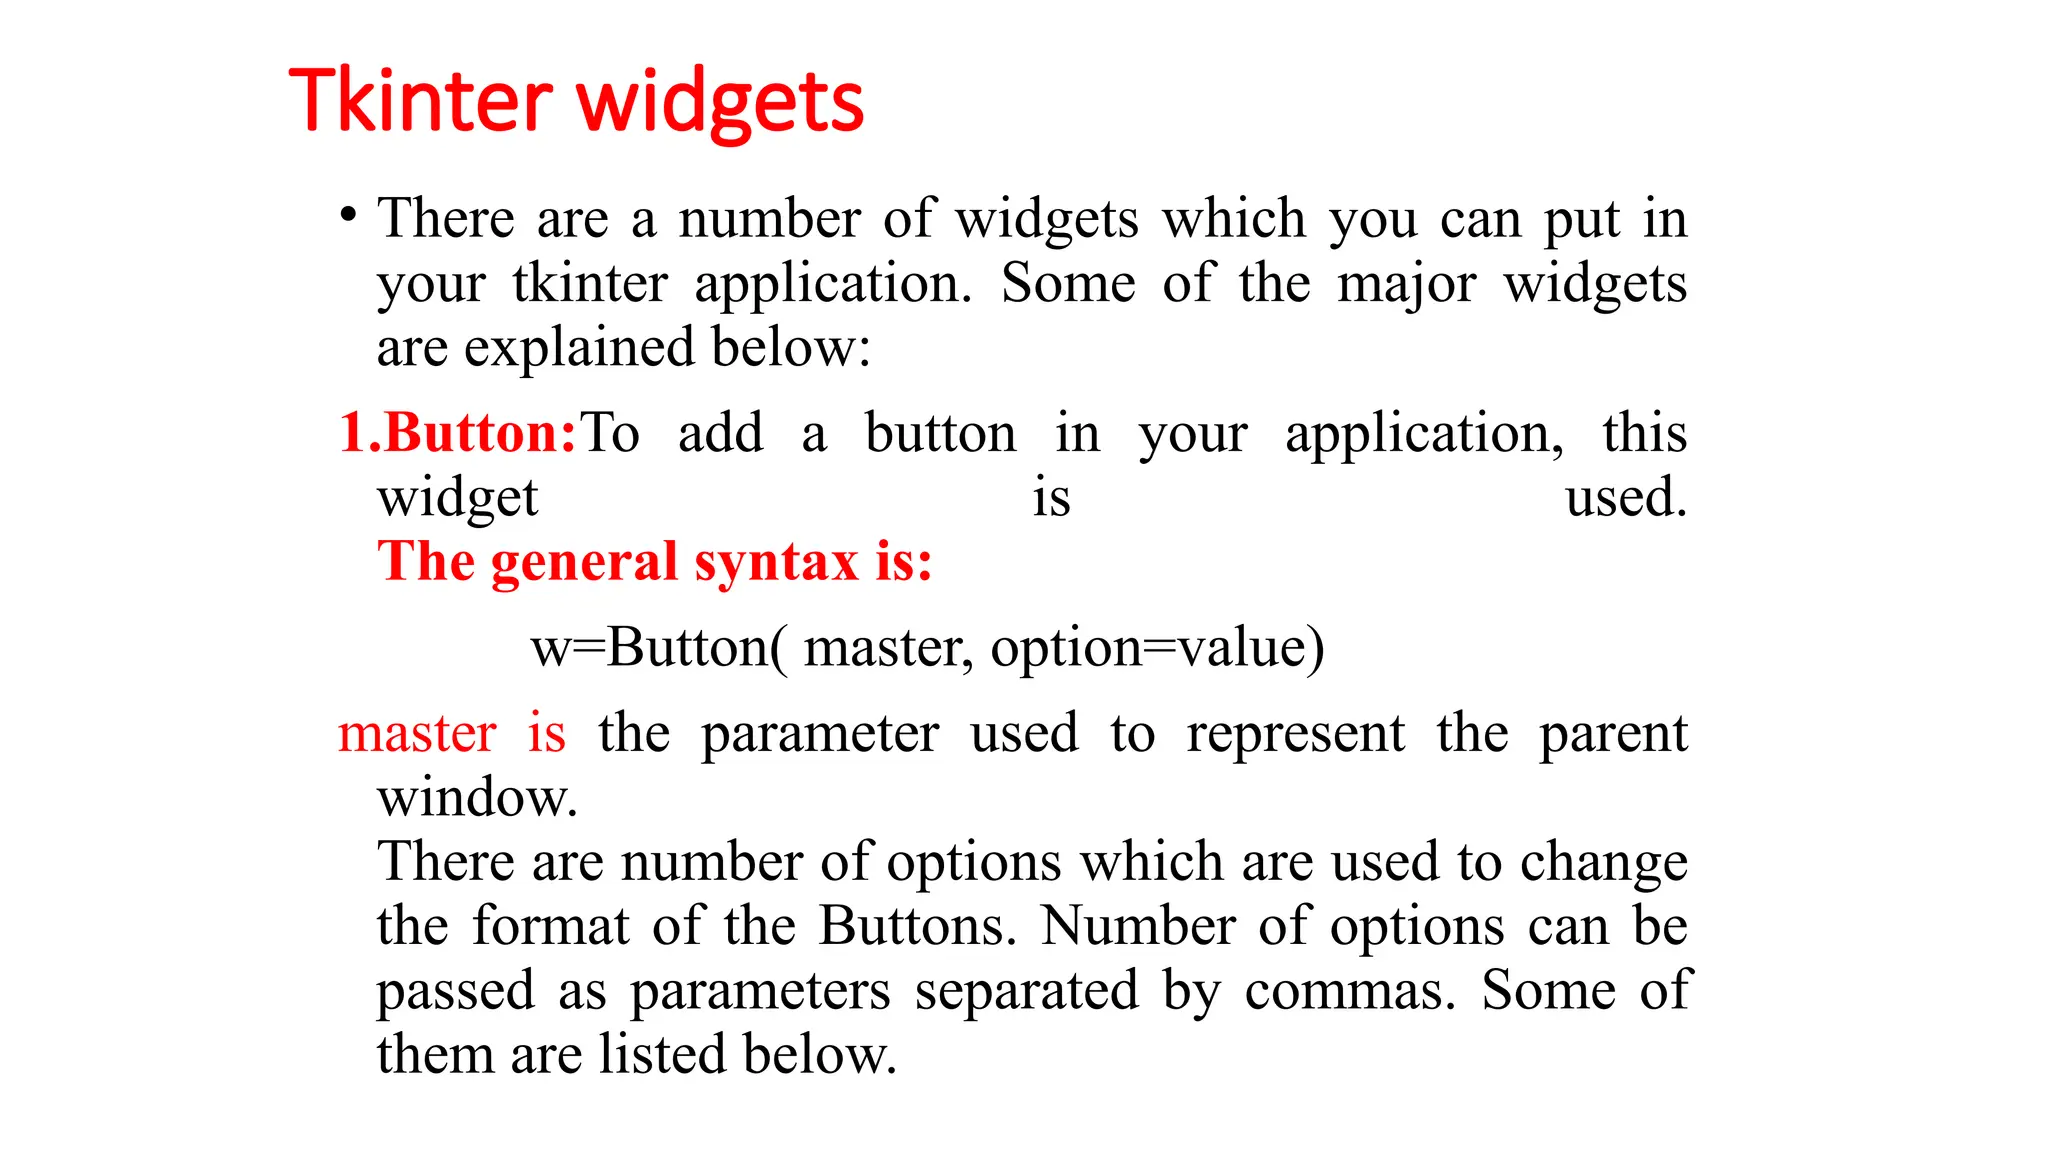
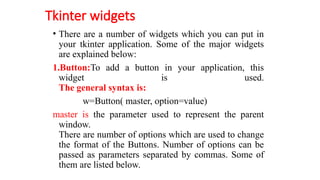
Tkinter widgets
• Thereare a number of widgets which you can put in
your tkinter application. Some of the major widgets
are explained below:
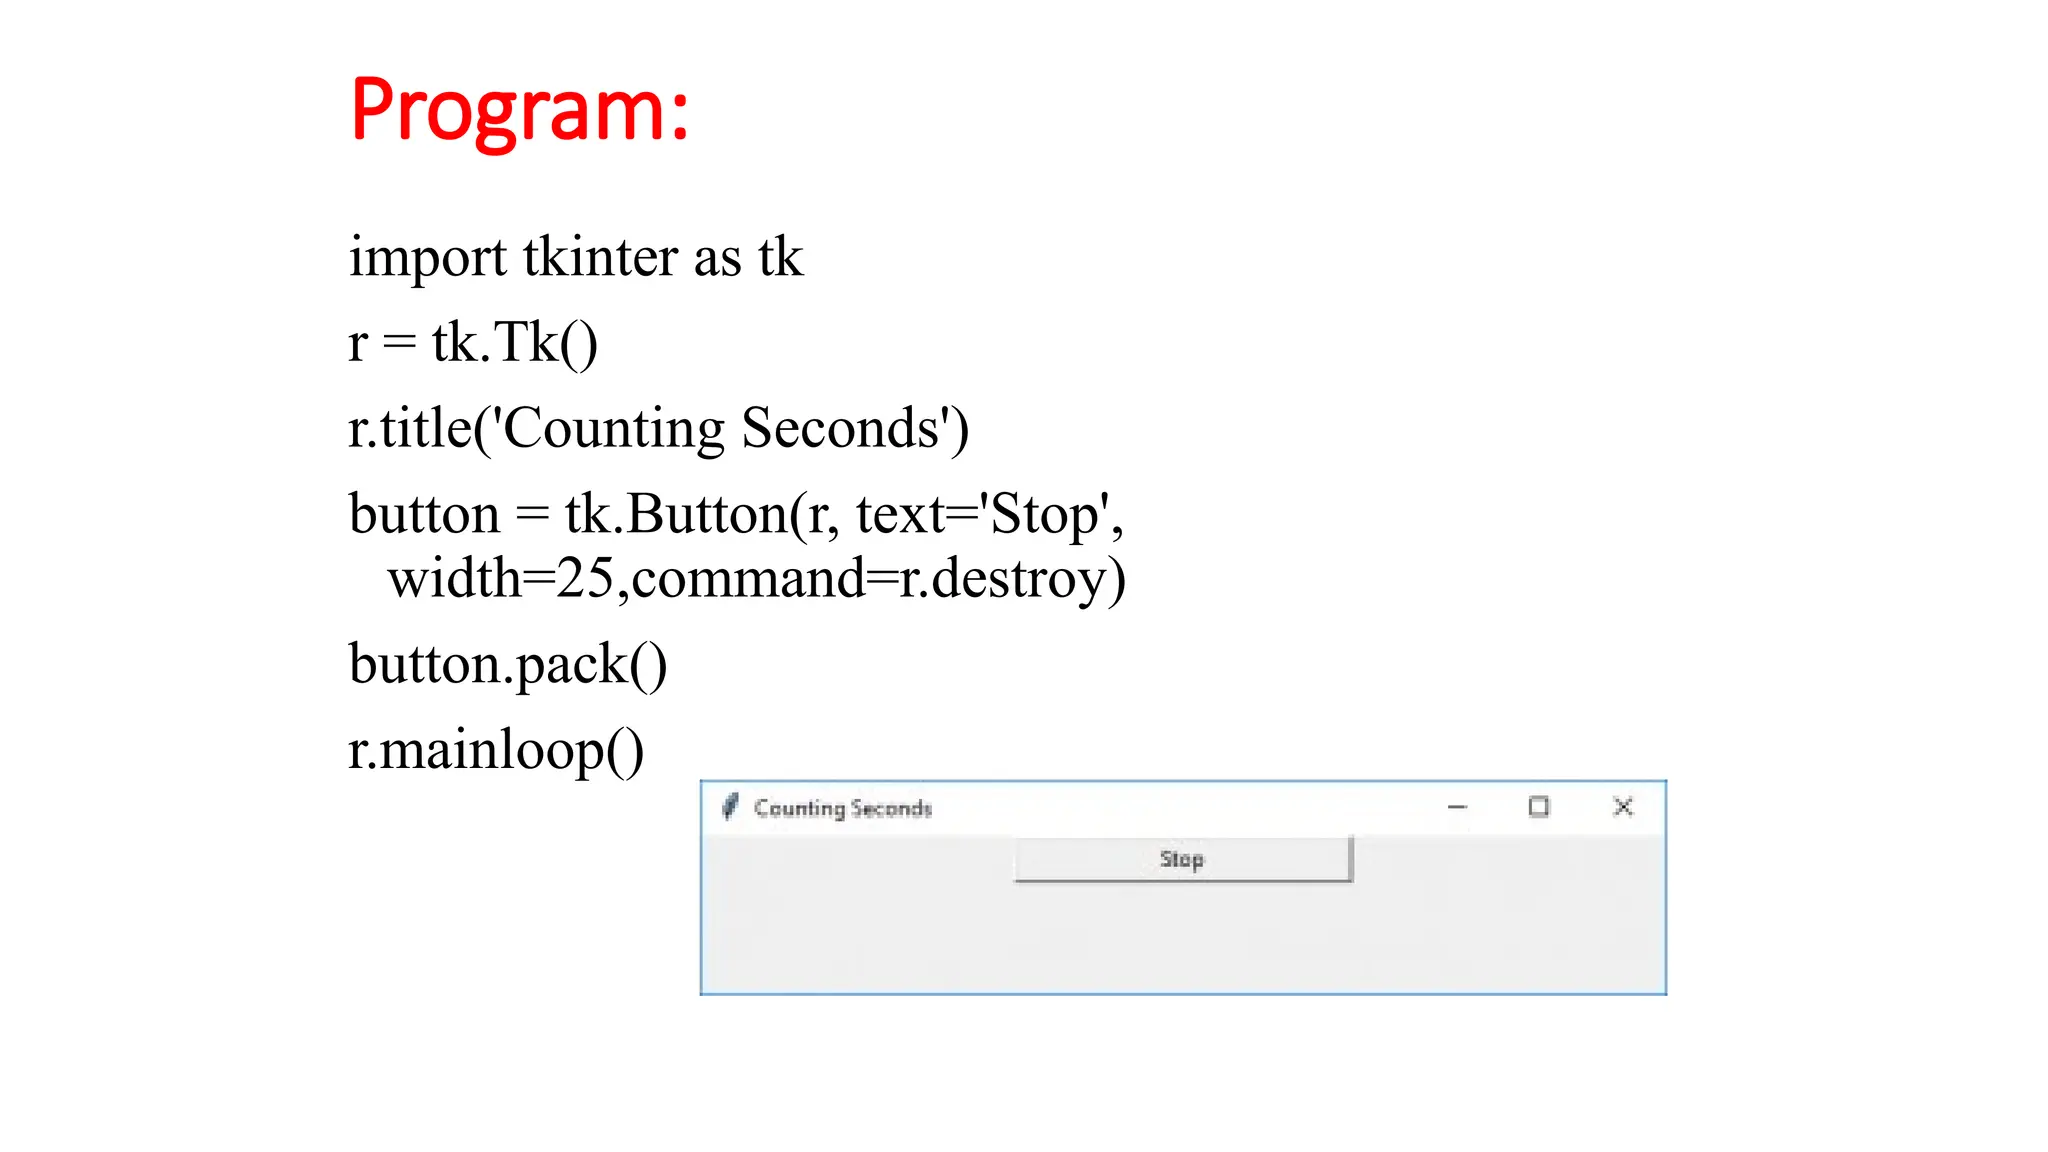
1.Button:To add a button in your application, this
widget is used.
The general syntax is:
w=Button( master, option=value)
master is the parameter used to represent the parent
window.
There are number of options which are used to change
the format of the Buttons. Number of options can be
passed as parameters separated by commas. Some of
them are listed below.
40.
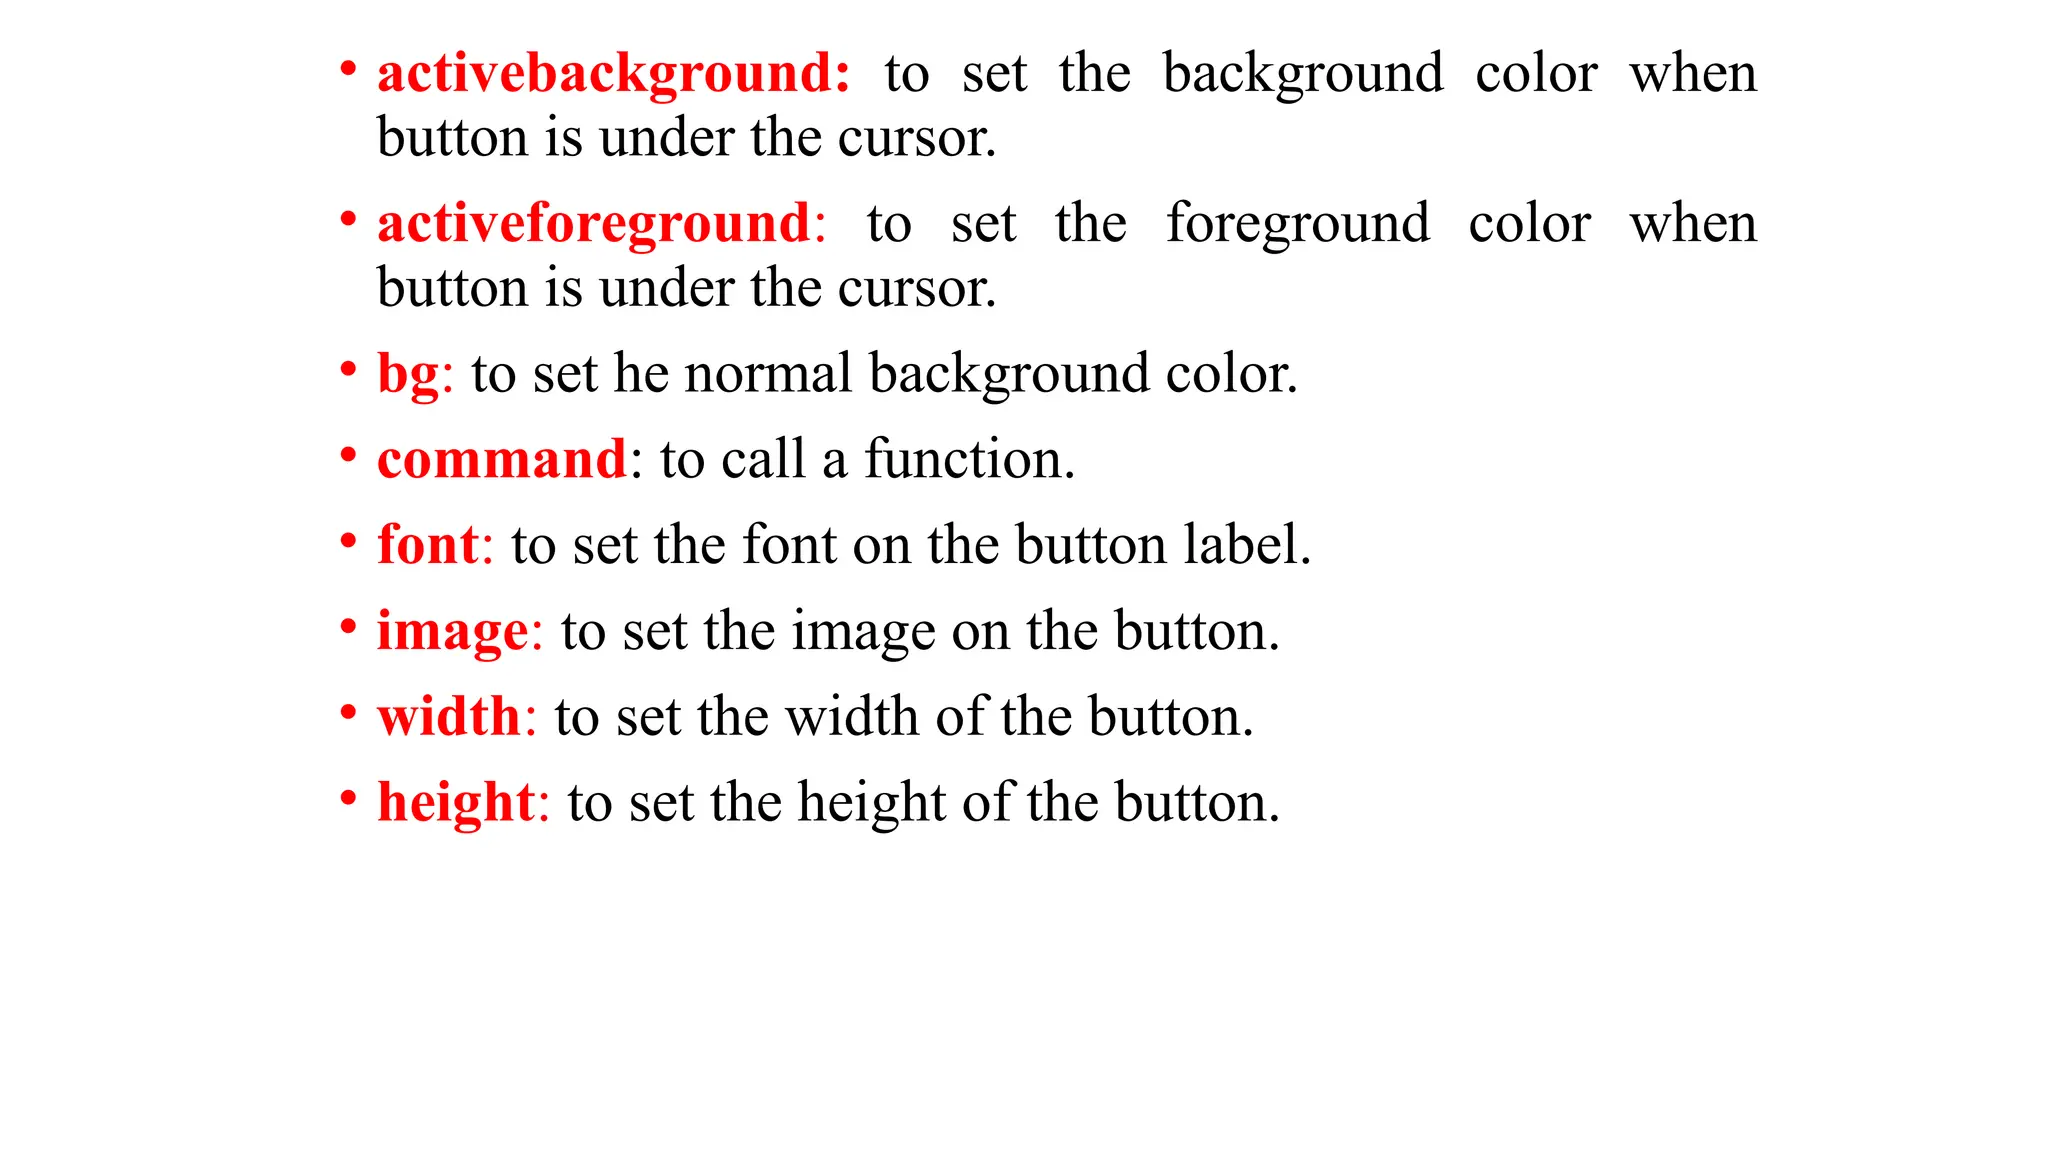
• activebackground: toset the background color when
button is under the cursor.
• activeforeground: to set the foreground color when
button is under the cursor.
• bg: to set he normal background color.
• command: to call a function.
• font: to set the font on the button label.
• image: to set the image on the button.
• width: to set the width of the button.
• height: to set the height of the button.
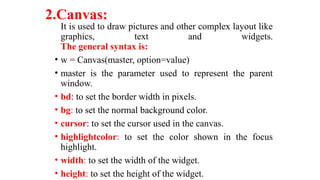
2.Canvas:
It is usedto draw pictures and other complex layout like
graphics, text and widgets.
The general syntax is:
• w = Canvas(master, option=value)
• master is the parameter used to represent the parent
window.
• bd: to set the border width in pixels.
• bg: to set the normal background color.
• cursor: to set the cursor used in the canvas.
• highlightcolor: to set the color shown in the focus
highlight.
• width: to set the width of the widget.
• height: to set the height of the widget.
43.
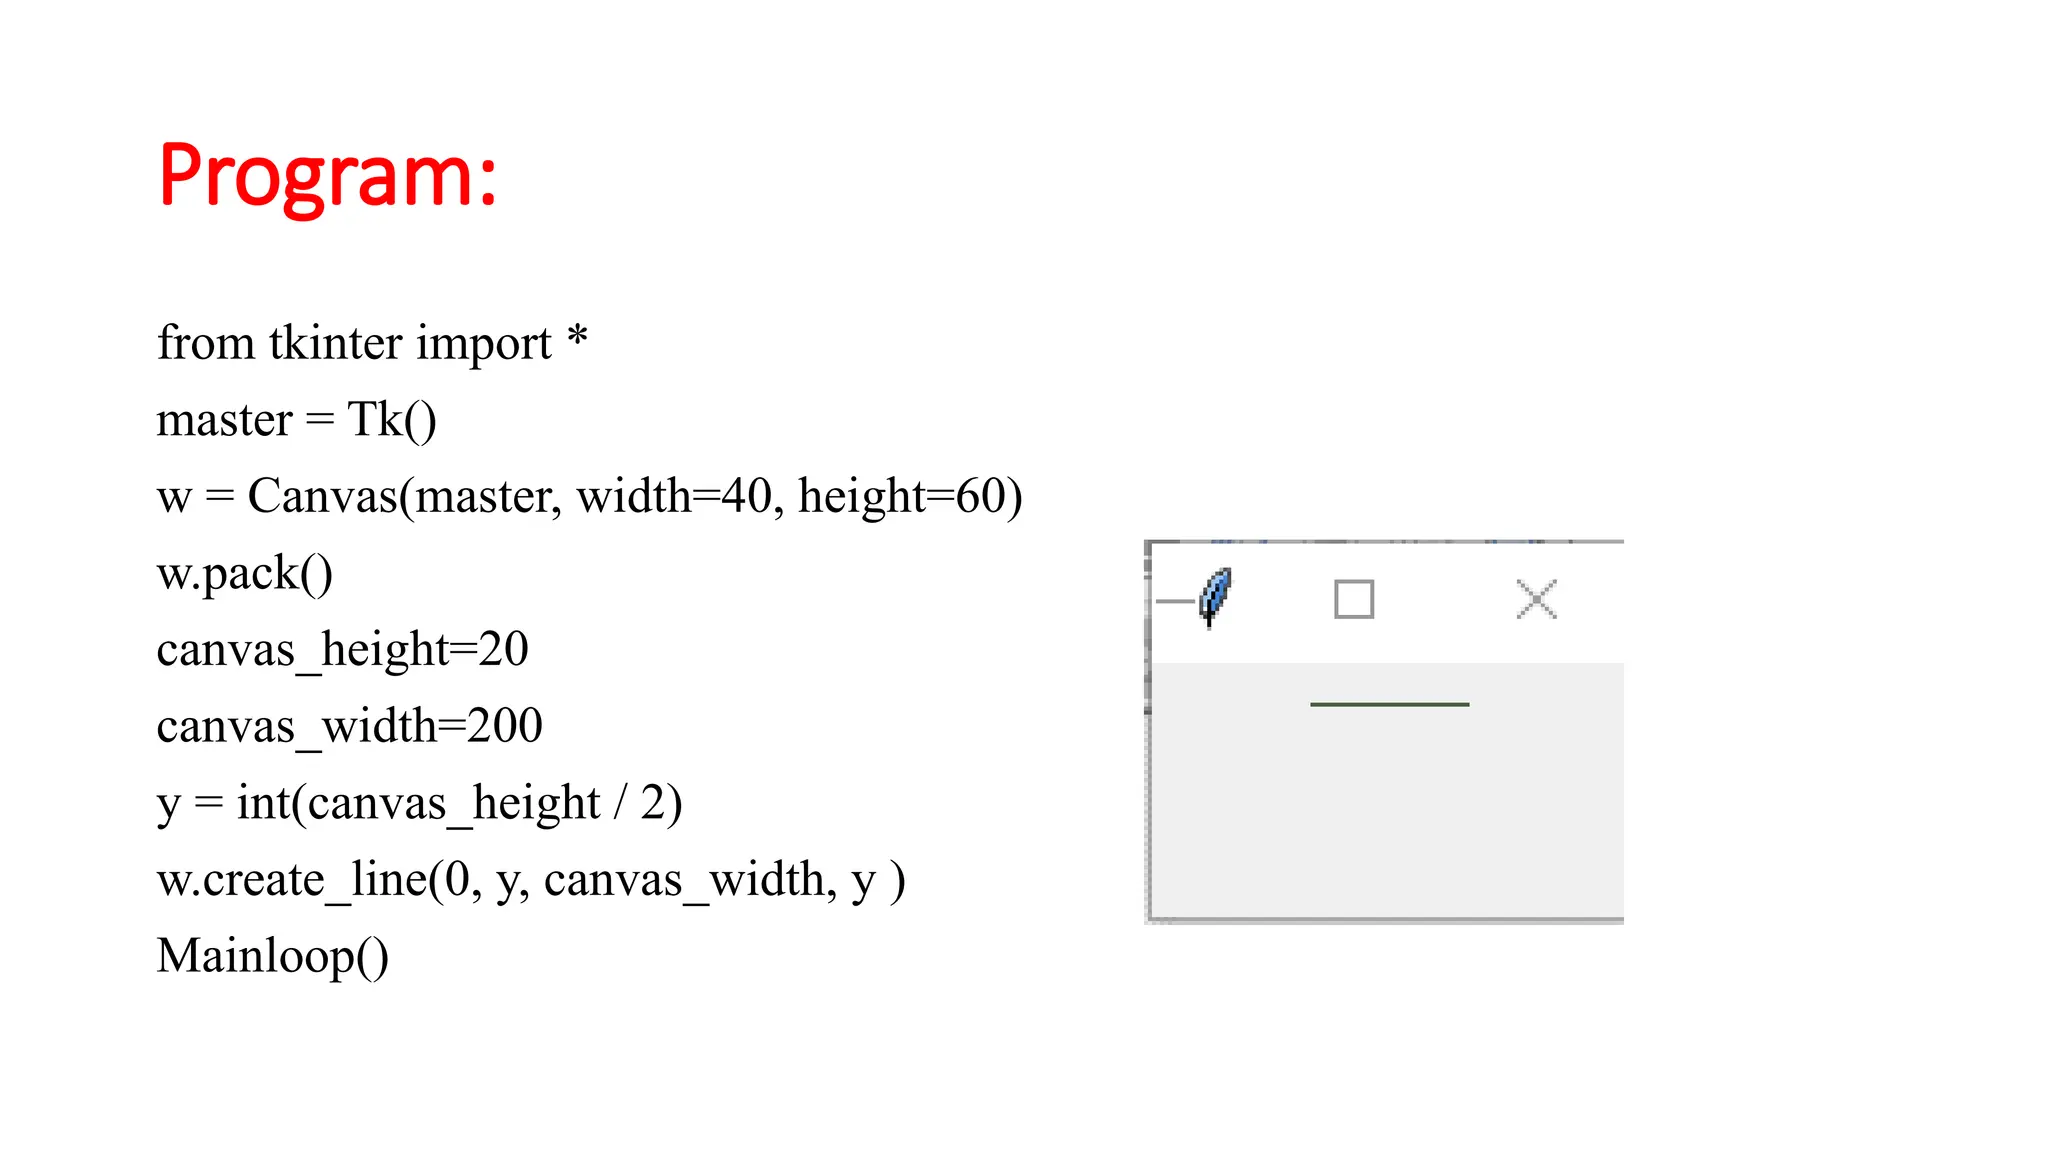
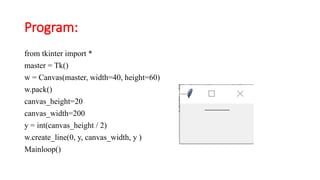
Program:
from tkinter import*
master = Tk()
w = Canvas(master, width=40, height=60)
w.pack()
canvas_height=20
canvas_width=200
y = int(canvas_height / 2)
w.create_line(0, y, canvas_width, y )
Mainloop()
44.
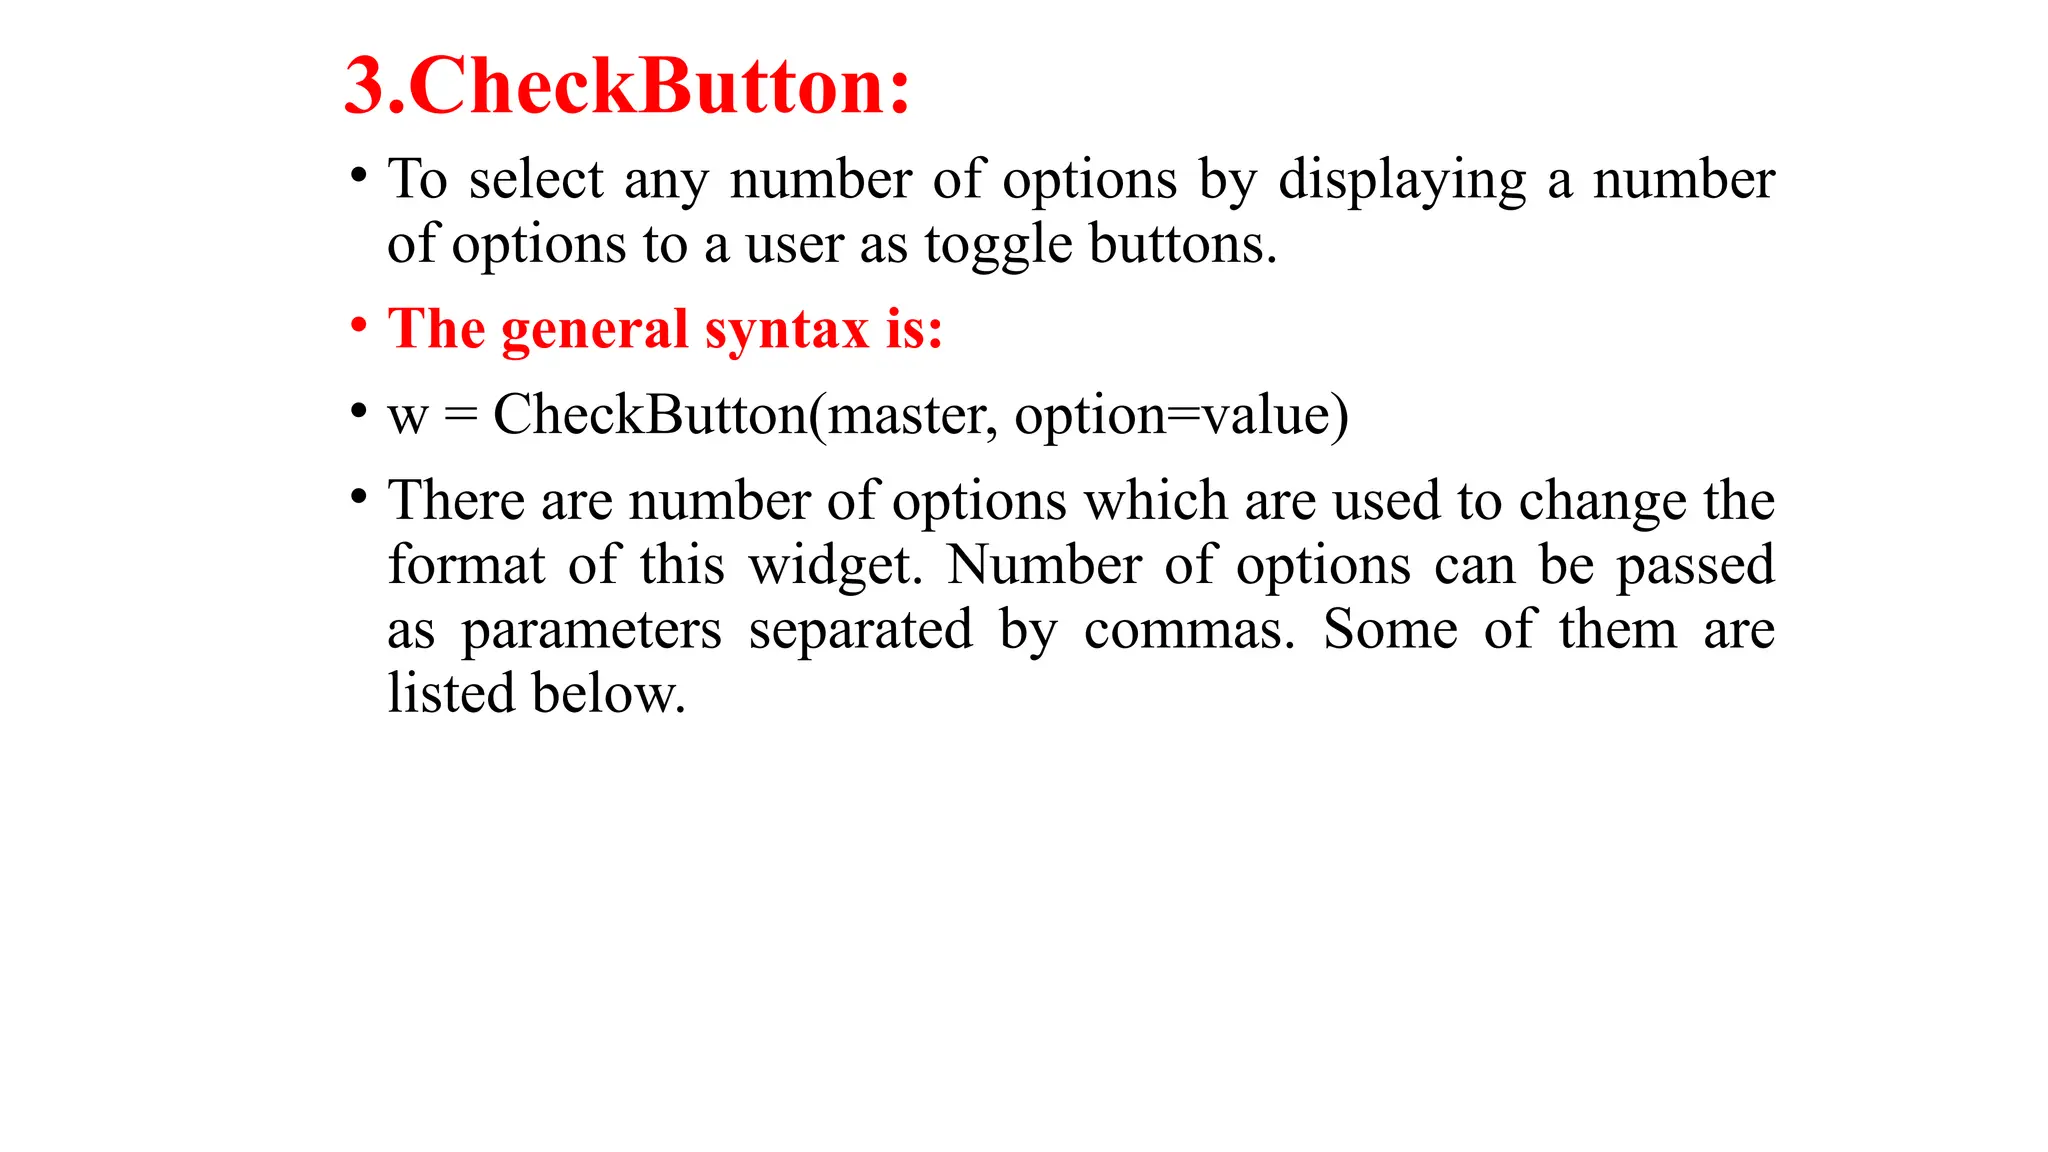
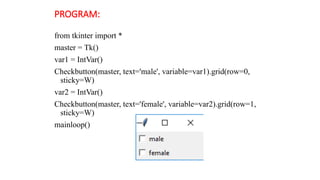
3.CheckButton:
• To selectany number of options by displaying a number
of options to a user as toggle buttons.
• The general syntax is:
• w = CheckButton(master, option=value)
• There are number of options which are used to change the
format of this widget. Number of options can be passed
as parameters separated by commas. Some of them are
listed below.
45.
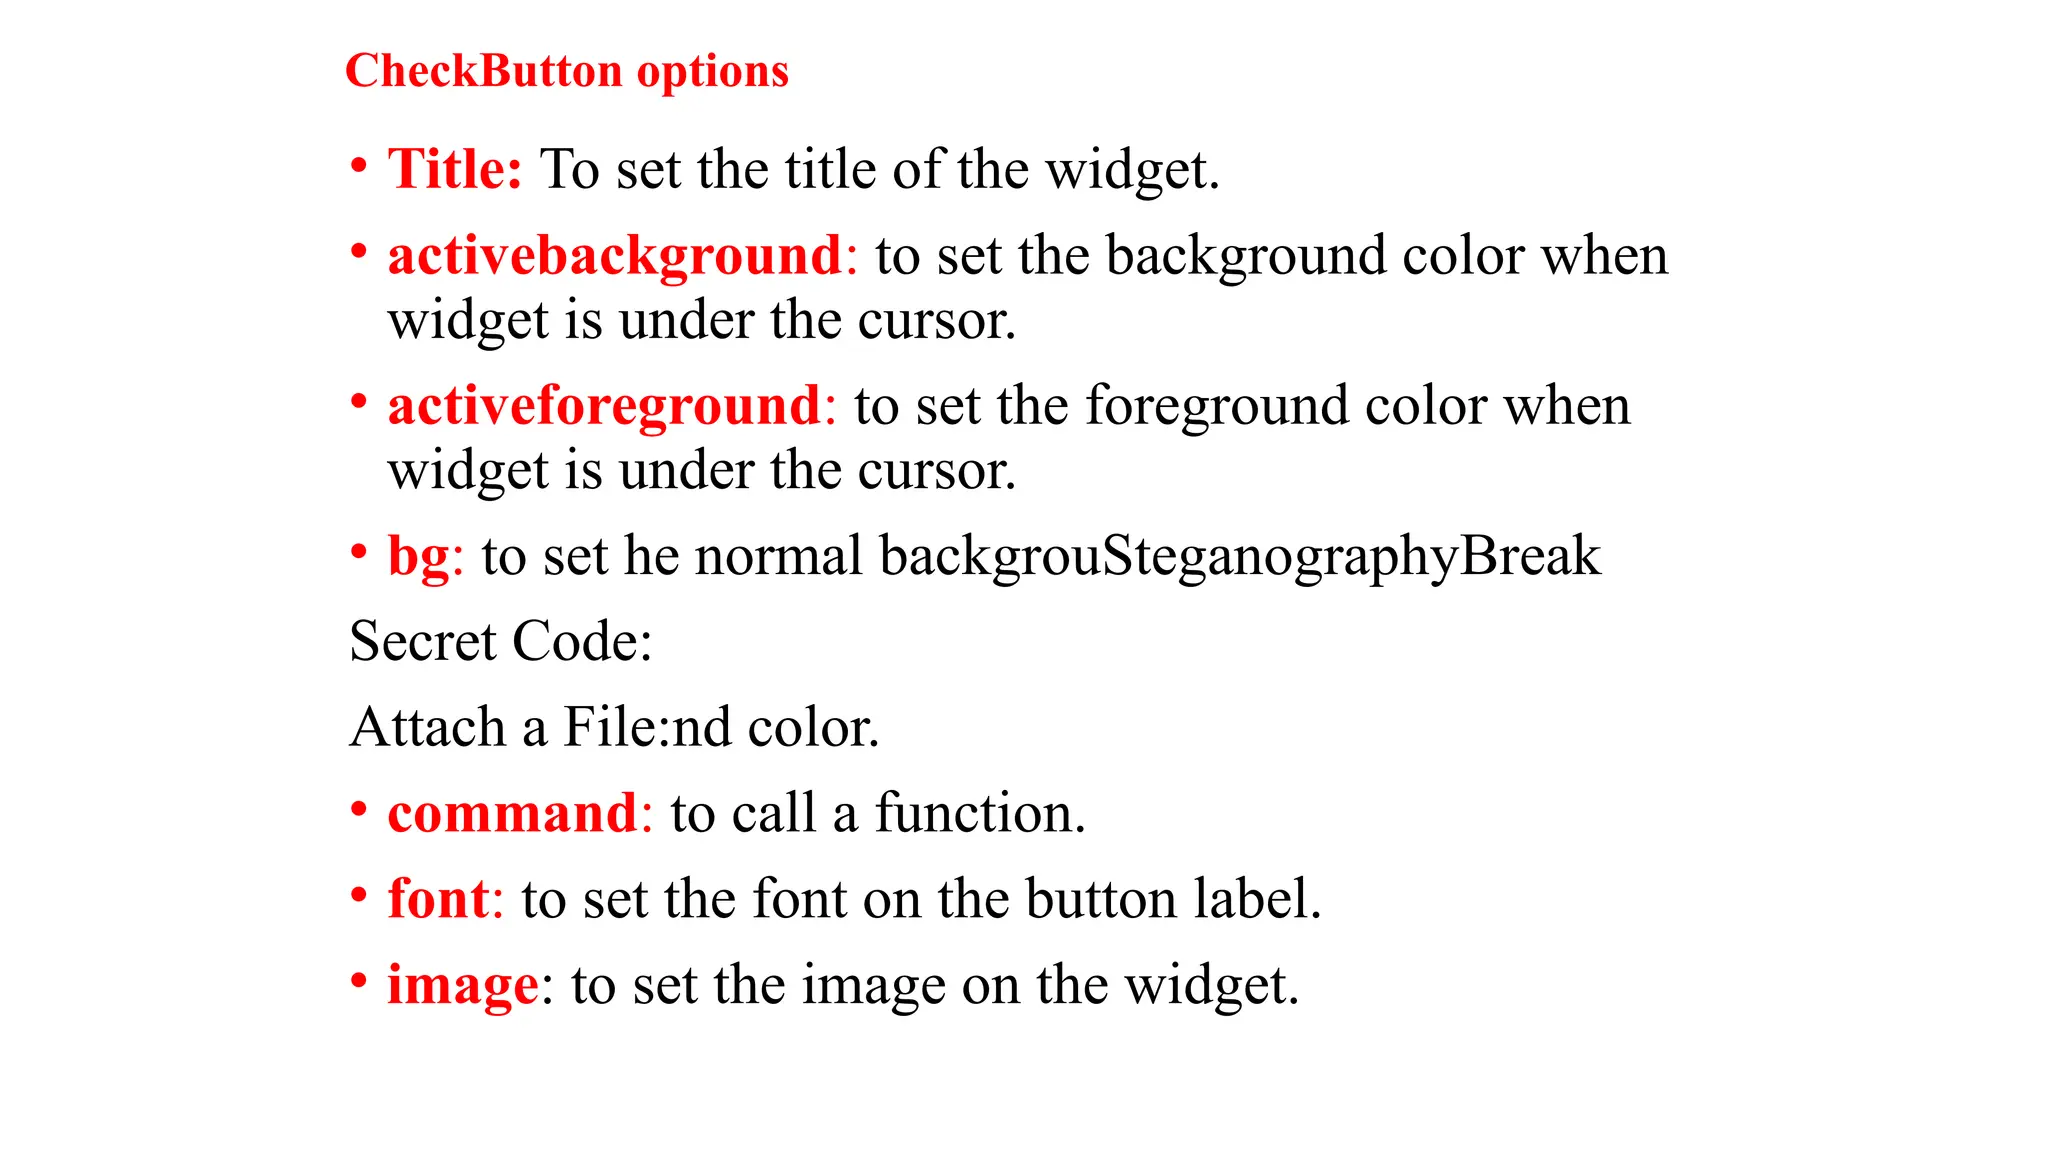
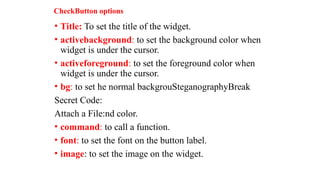
CheckButton options
• Title:To set the title of the widget.
• activebackground: to set the background color when
widget is under the cursor.
• activeforeground: to set the foreground color when
widget is under the cursor.
• bg: to set he normal backgrouSteganographyBreak
Secret Code:
Attach a File:nd color.
• command: to call a function.
• font: to set the font on the button label.
• image: to set the image on the widget.
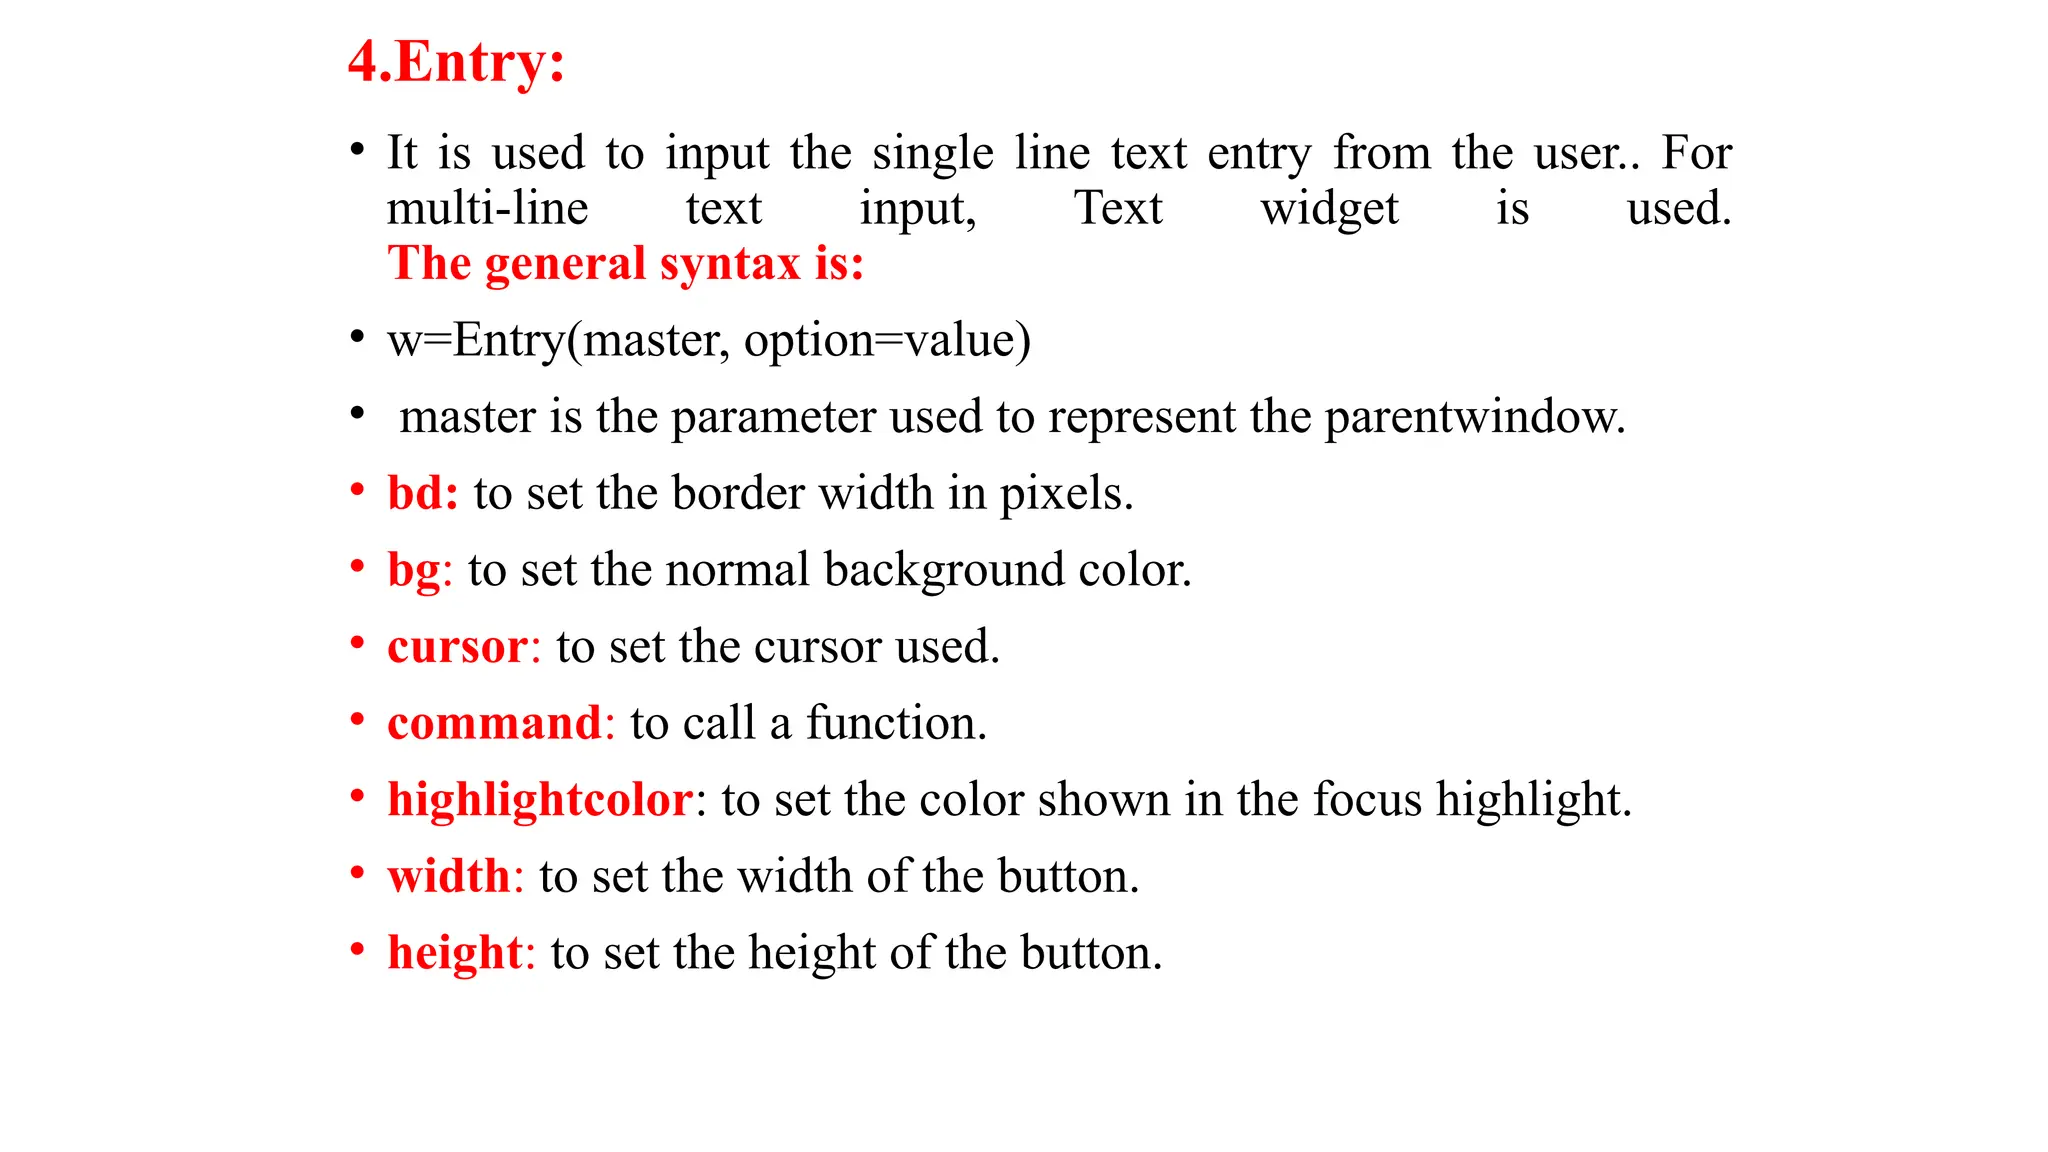
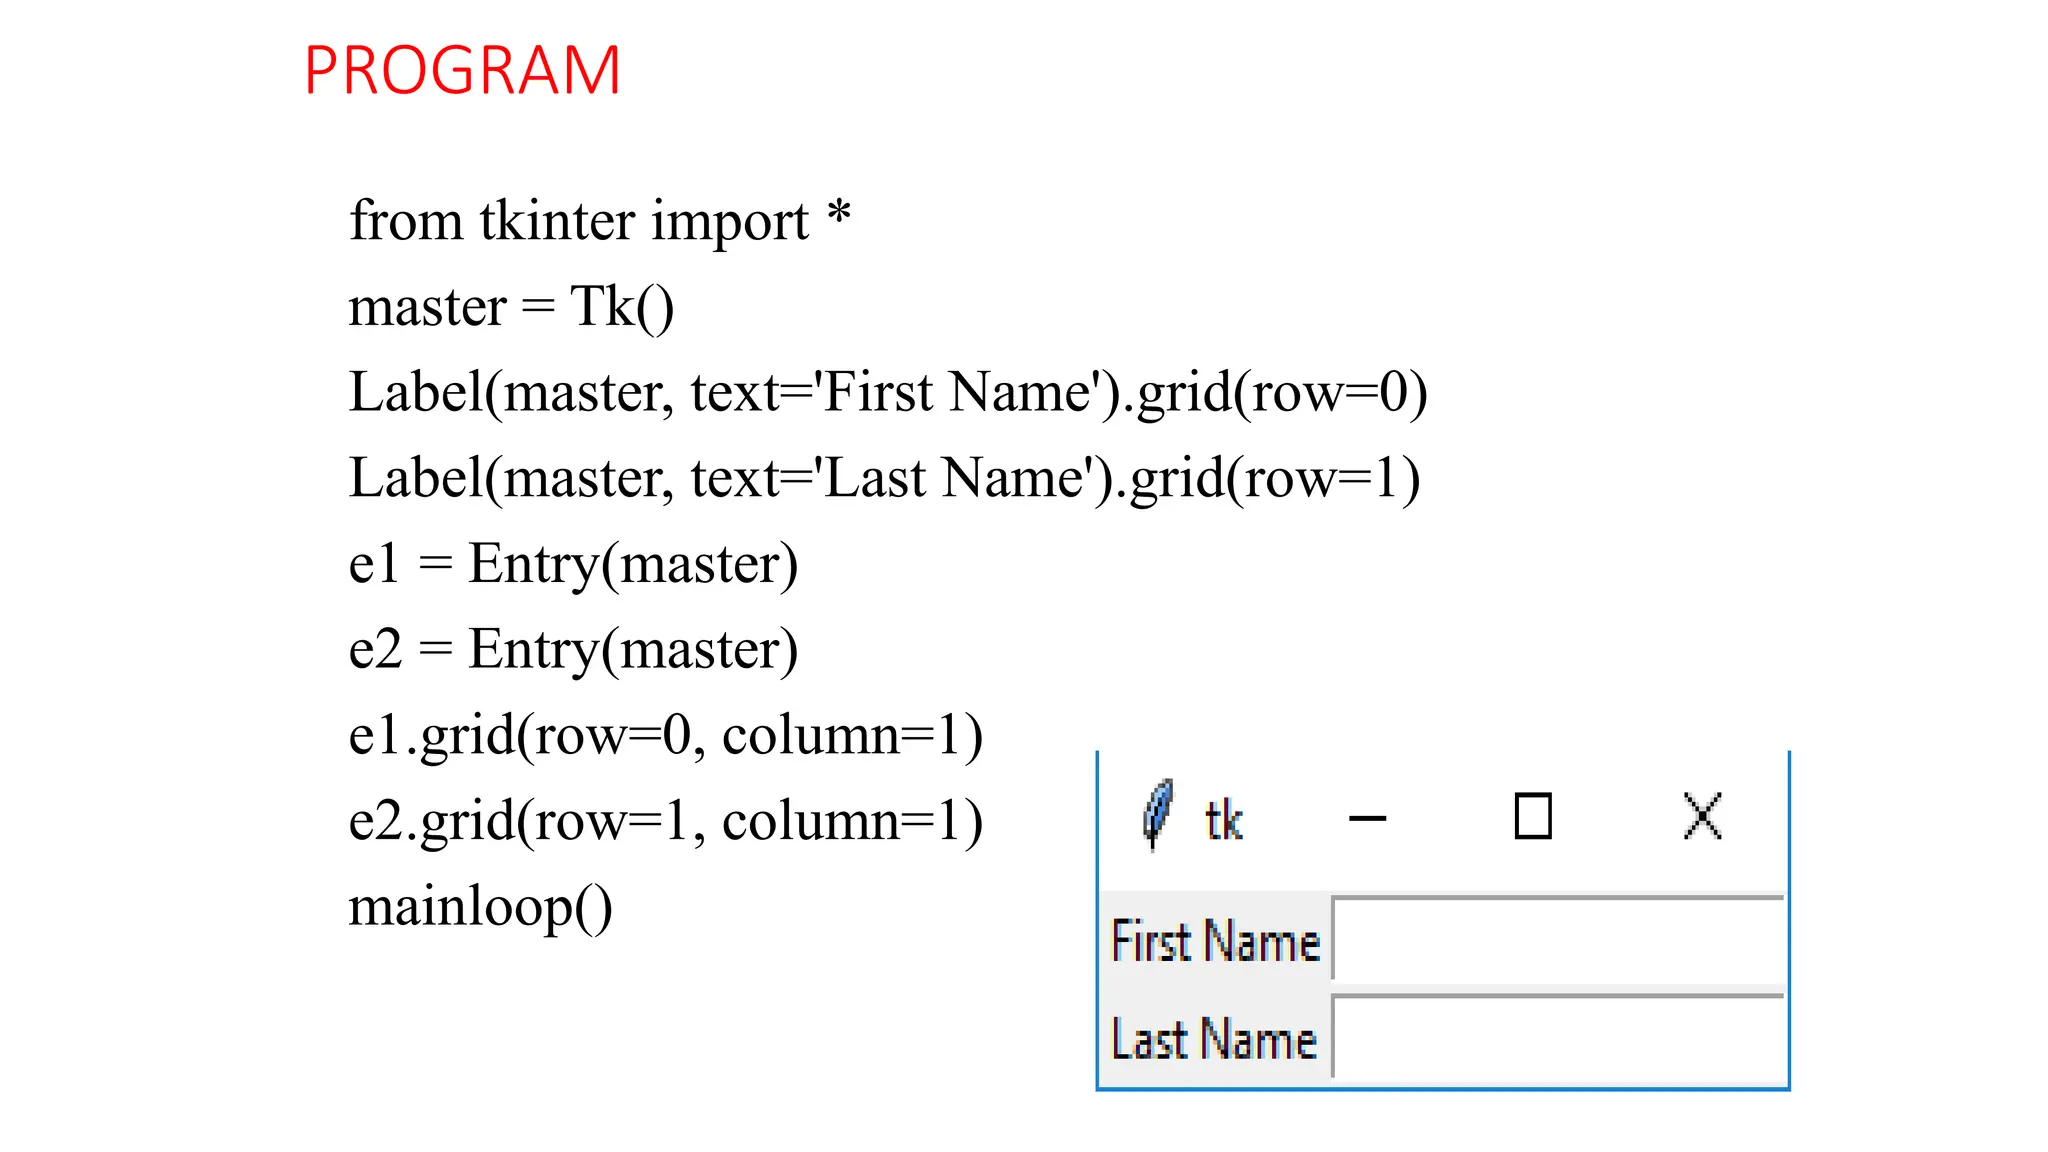
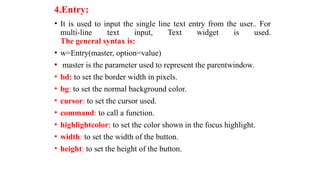
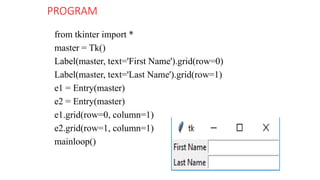
4.Entry:
• It isused to input the single line text entry from the user.. For
multi-line text input, Text widget is used.
The general syntax is:
• w=Entry(master, option=value)
• master is the parameter used to represent the parentwindow.
• bd: to set the border width in pixels.
• bg: to set the normal background color.
• cursor: to set the cursor used.
• command: to call a function.
• highlightcolor: to set the color shown in the focus highlight.
• width: to set the width of the button.
• height: to set the height of the button.
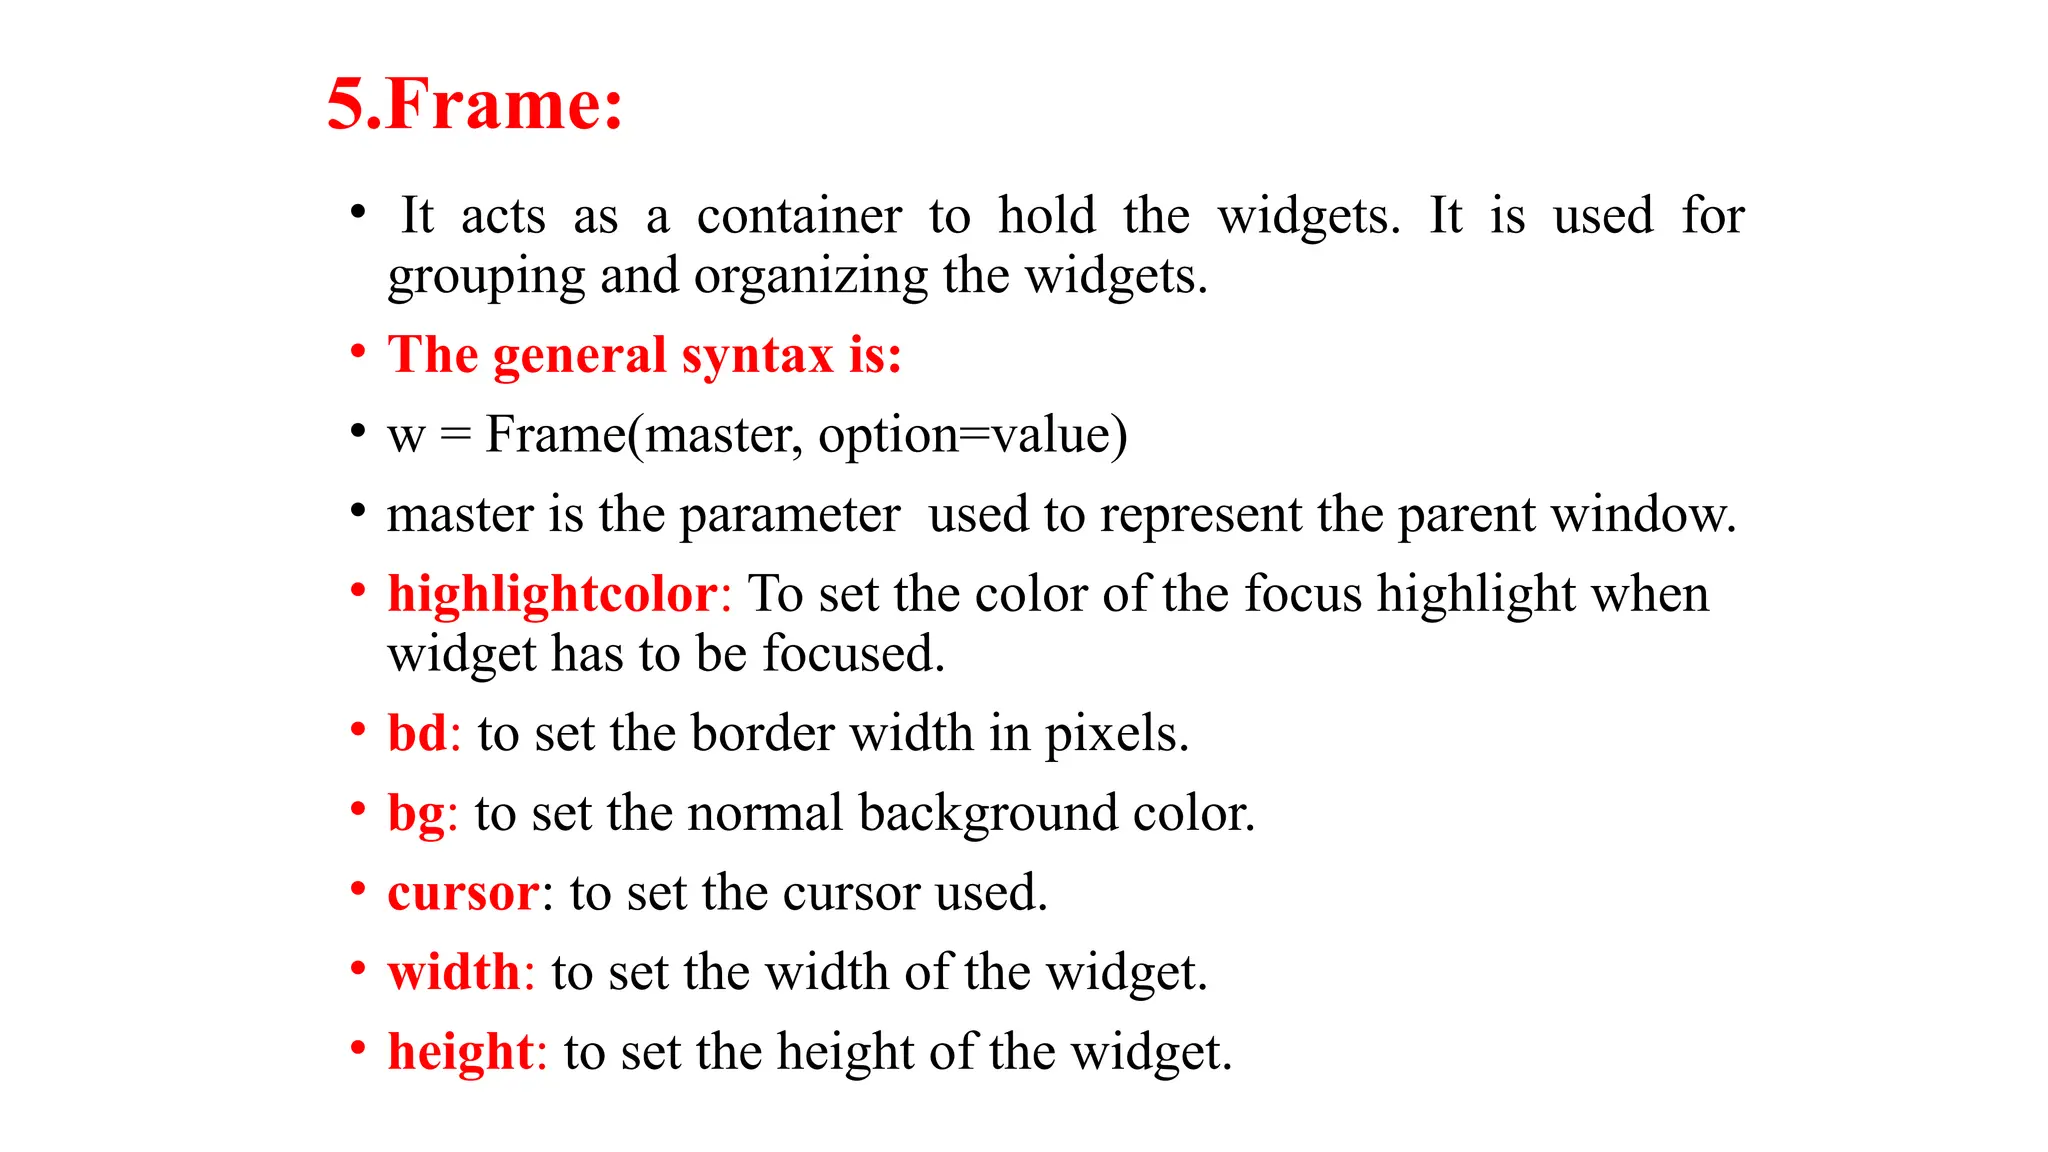
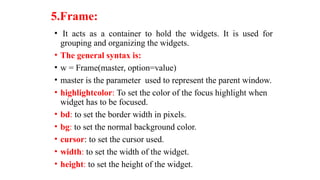
5.Frame:
• It actsas a container to hold the widgets. It is used for
grouping and organizing the widgets.
• The general syntax is:
• w = Frame(master, option=value)
• master is the parameter used to represent the parent window.
• highlightcolor: To set the color of the focus highlight when
widget has to be focused.
• bd: to set the border width in pixels.
• bg: to set the normal background color.
• cursor: to set the cursor used.
• width: to set the width of the widget.
• height: to set the height of the widget.
50.
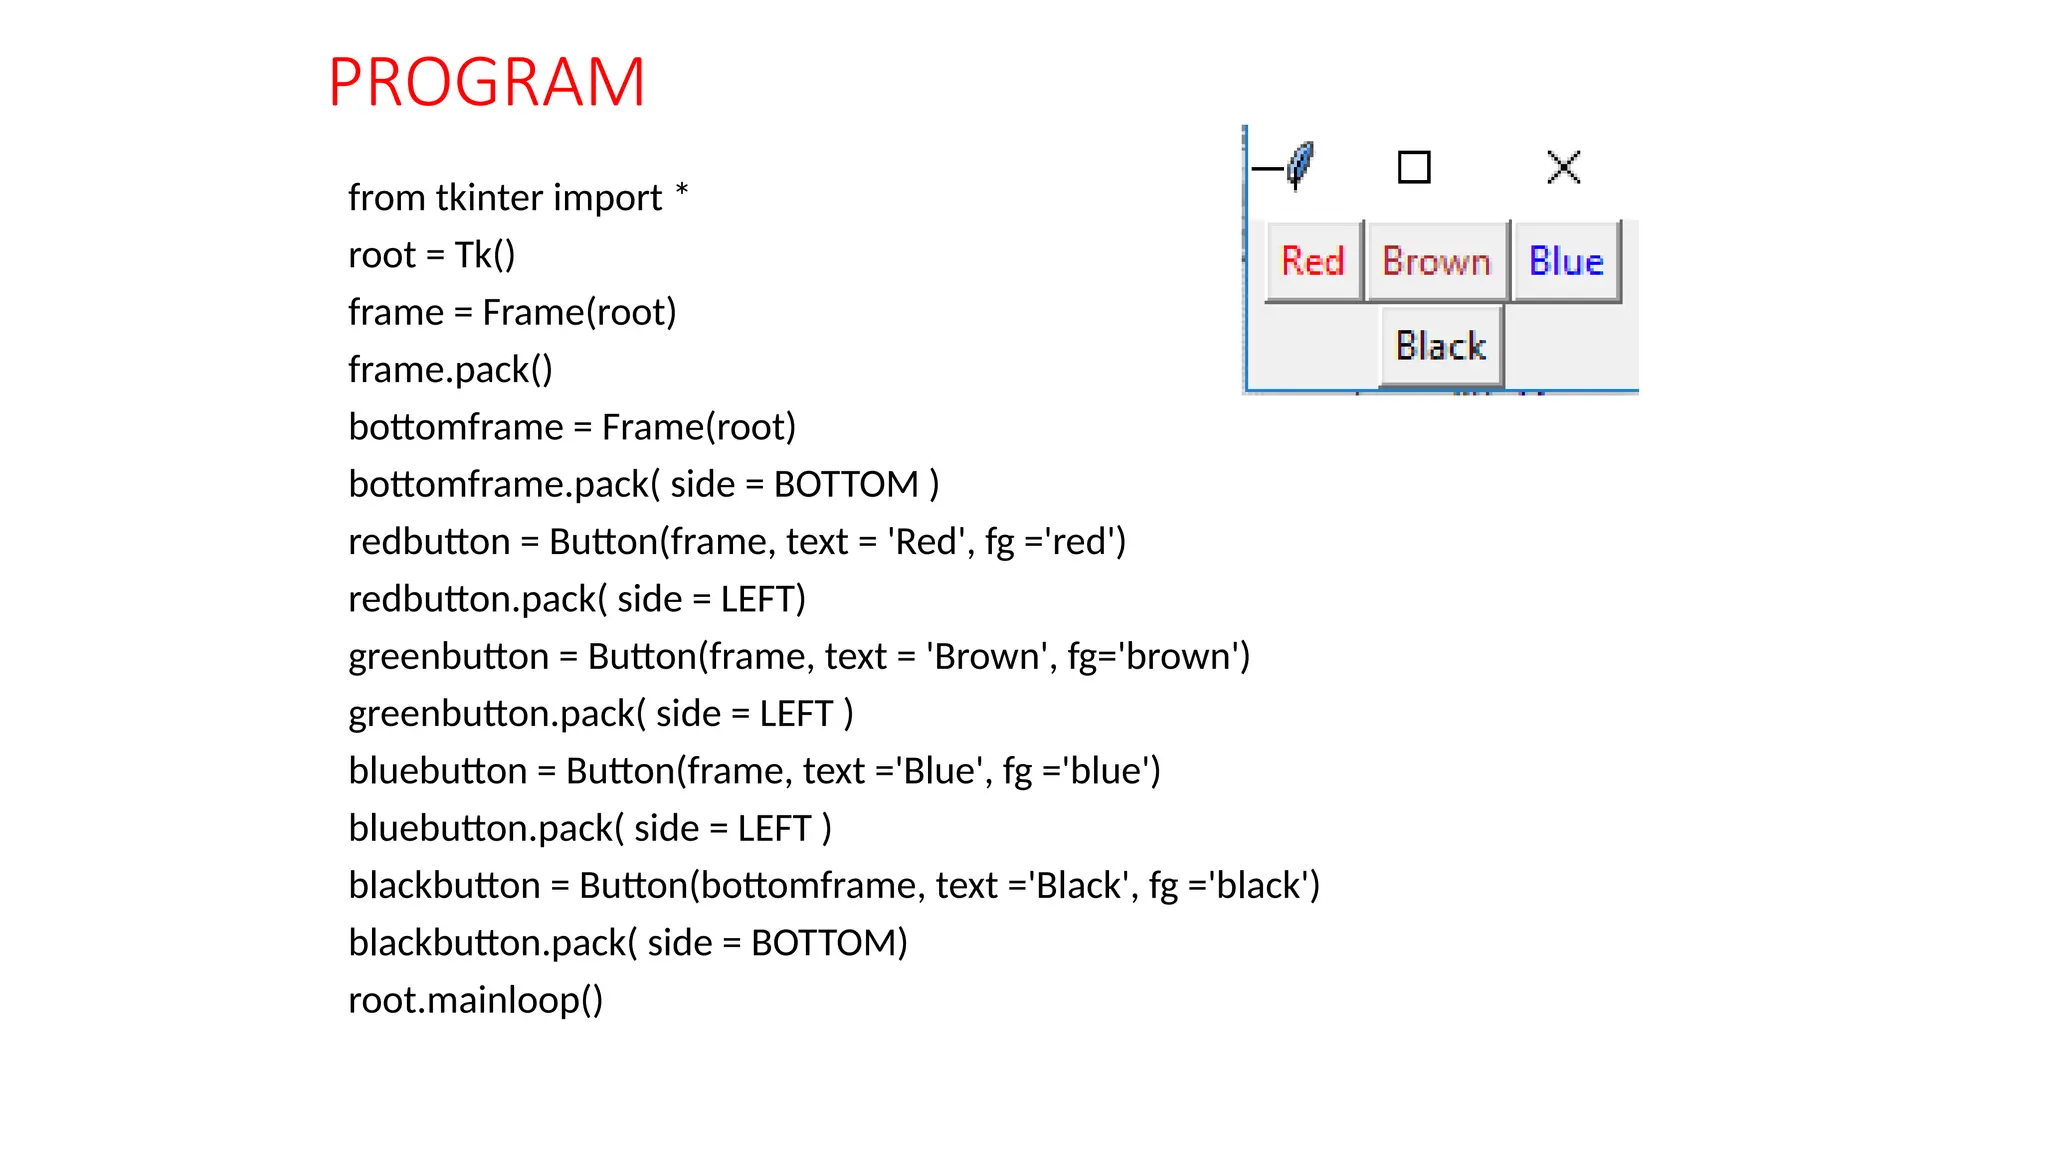
PROGRAM
from tkinter import*
root = Tk()
frame = Frame(root)
frame.pack()
bottomframe = Frame(root)
bottomframe.pack( side = BOTTOM )
redbutton = Button(frame, text = 'Red', fg ='red')
redbutton.pack( side = LEFT)
greenbutton = Button(frame, text = 'Brown', fg='brown')
greenbutton.pack( side = LEFT )
bluebutton = Button(frame, text ='Blue', fg ='blue')
bluebutton.pack( side = LEFT )
blackbutton = Button(bottomframe, text ='Black', fg ='black')
blackbutton.pack( side = BOTTOM)
root.mainloop()
51.
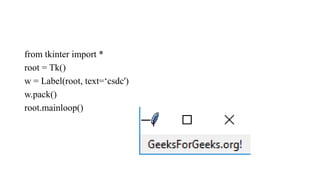
6.Label:
• It refersto the display box where you can put any text or
image which can be updated any time as per the code.
The general syntax is:
w=Label(master, option=value)
• master is the parameter used to represent the parent
window.
• bg: to set he normal background color.
• command: to call a function.
• font: to set the font on the button label.
• image: to set the image on the button.
• width: to set the width of the button.
• Height: to set the height of the button.
52.
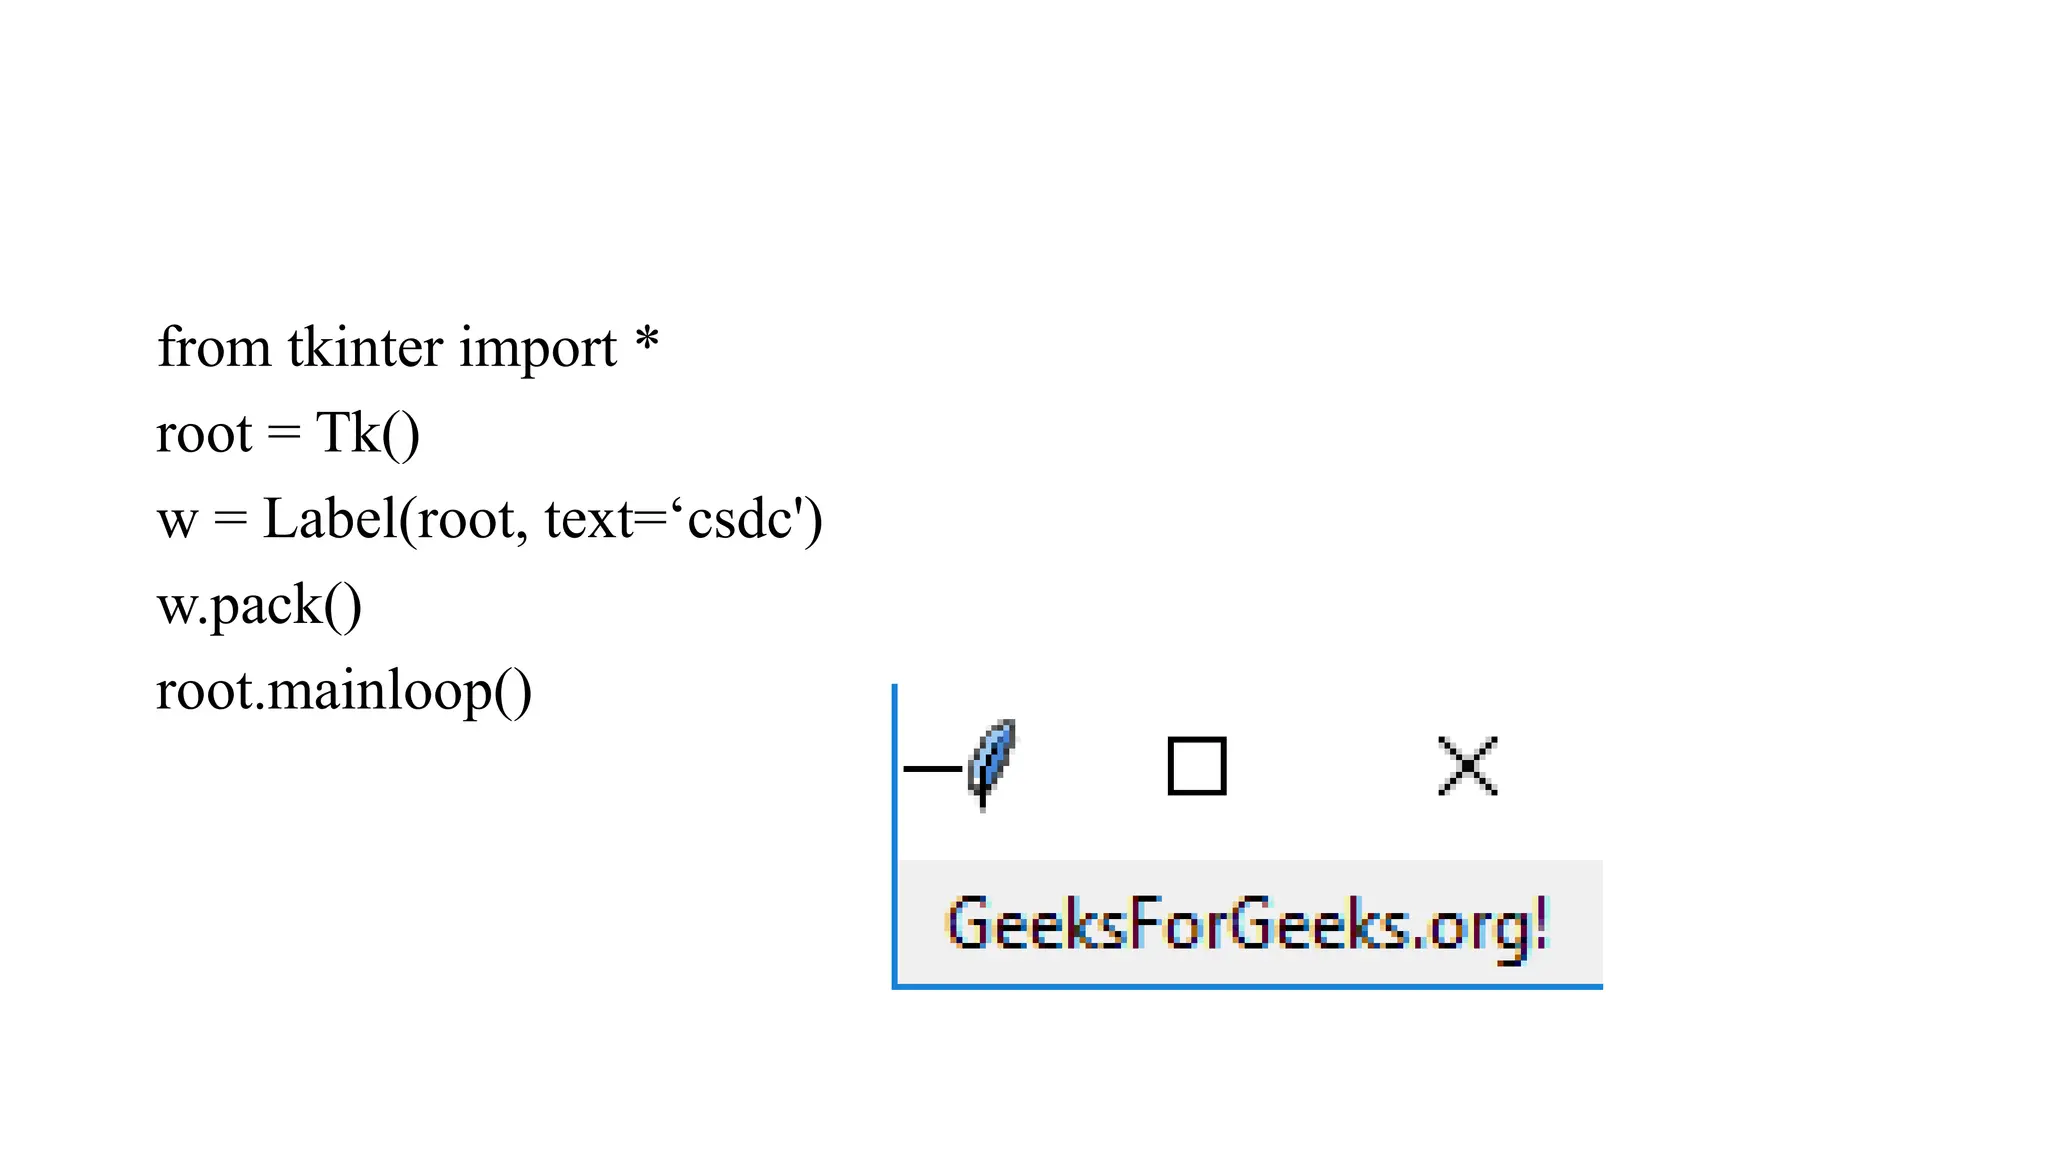
from tkinter import*
root = Tk()
w = Label(root, text=‘csdc')
w.pack()
root.mainloop()
53.
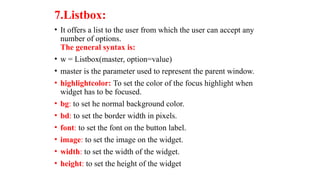
7.Listbox:
• It offersa list to the user from which the user can accept any
number of options.
The general syntax is:
• w = Listbox(master, option=value)
• master is the parameter used to represent the parent window.
• highlightcolor: To set the color of the focus highlight when
widget has to be focused.
• bg: to set he normal background color.
• bd: to set the border width in pixels.
• font: to set the font on the button label.
• image: to set the image on the widget.
• width: to set the width of the widget.
• height: to set the height of the widget
54.
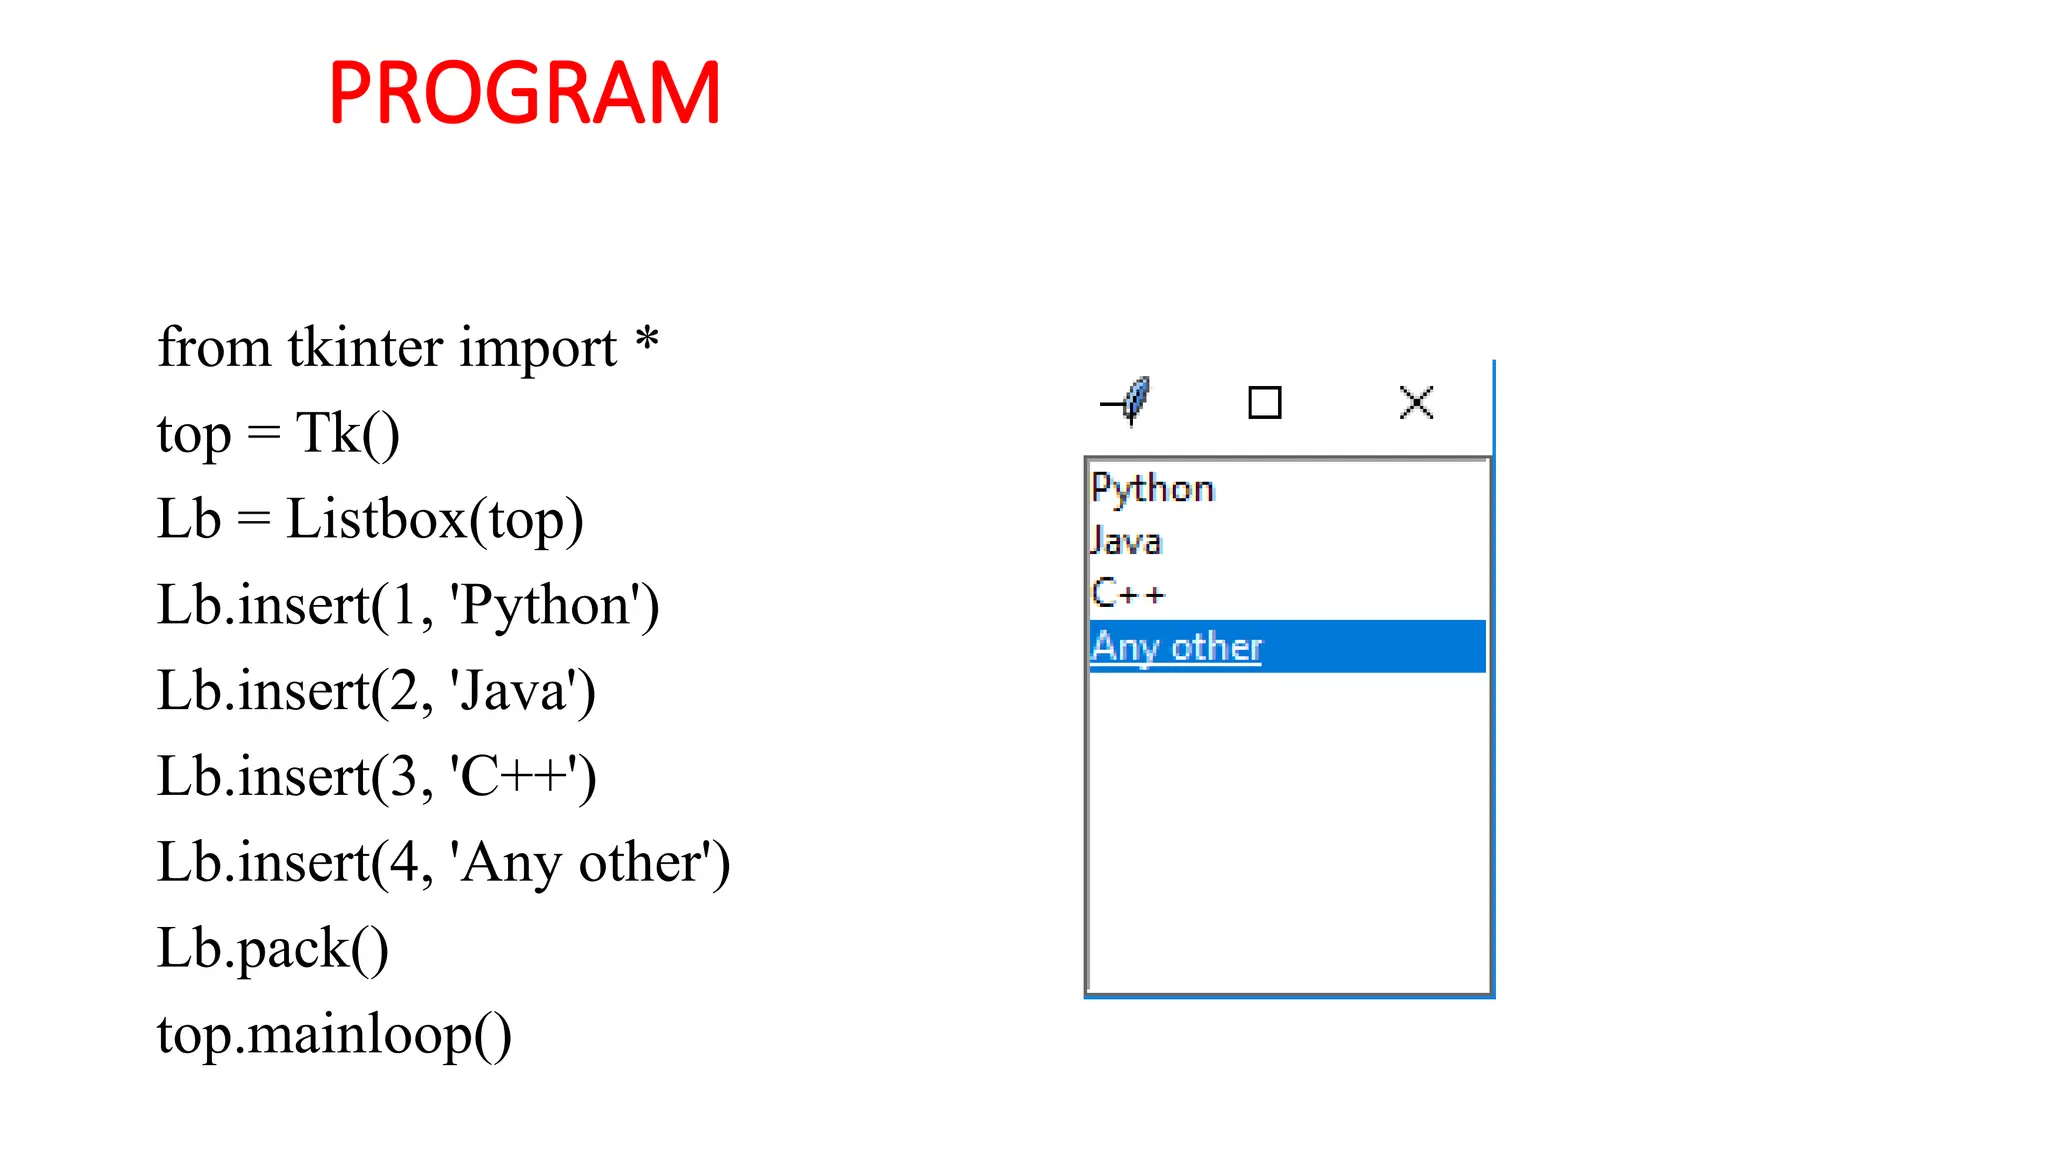
PROGRAM
from tkinter import*
top = Tk()
Lb = Listbox(top)
Lb.insert(1, 'Python')
Lb.insert(2, 'Java')
Lb.insert(3, 'C++')
Lb.insert(4, 'Any other')
Lb.pack()
top.mainloop()
55.
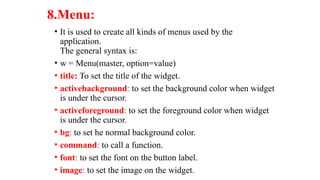
8.Menu:
• It isused to create all kinds of menus used by the
application.
The general syntax is:
• w = Menu(master, option=value)
• title: To set the title of the widget.
• activebackground: to set the background color when widget
is under the cursor.
• activeforeground: to set the foreground color when widget
is under the cursor.
• bg: to set he normal background color.
• command: to call a function.
• font: to set the font on the button label.
• image: to set the image on the widget.
56.
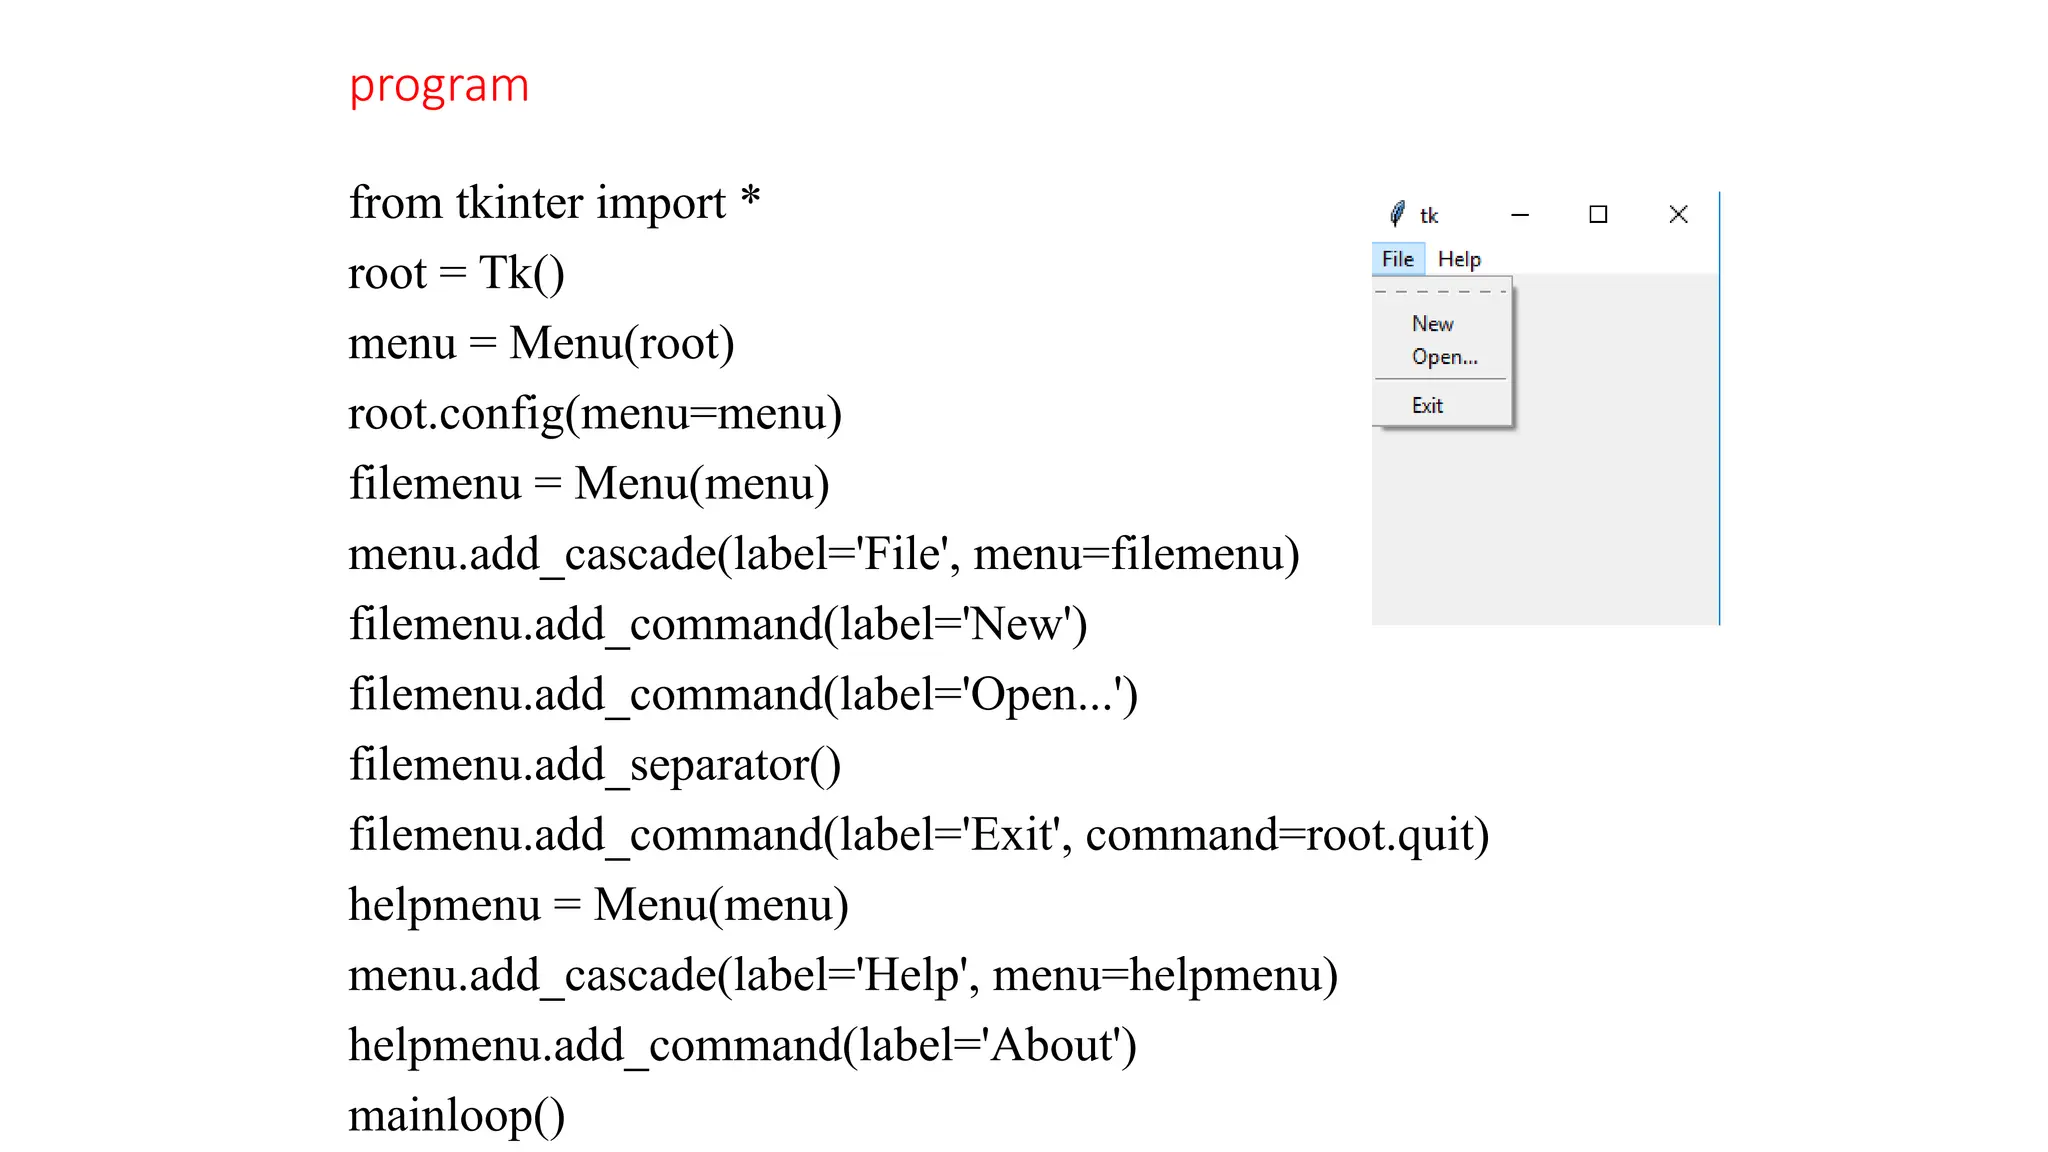
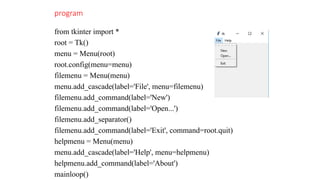
program
from tkinter import*
root = Tk()
menu = Menu(root)
root.config(menu=menu)
filemenu = Menu(menu)
menu.add_cascade(label='File', menu=filemenu)
filemenu.add_command(label='New')
filemenu.add_command(label='Open...')
filemenu.add_separator()
filemenu.add_command(label='Exit', command=root.quit)
helpmenu = Menu(menu)
menu.add_cascade(label='Help', menu=helpmenu)
helpmenu.add_command(label='About')
mainloop()
57.
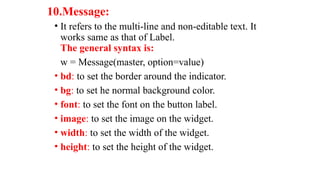
10.Message:
• It refersto the multi-line and non-editable text. It
works same as that of Label.
The general syntax is:
w = Message(master, option=value)
• bd: to set the border around the indicator.
• bg: to set he normal background color.
• font: to set the font on the button label.
• image: to set the image on the widget.
• width: to set the width of the widget.
• height: to set the height of the widget.
58.
PROGRAM
from tkinter import*
main = Tk()
ourMessage ='This is our Message'
messageVar = Message(main, text = ourMessage)
messageVar.config(bg='lightgreen')
messageVar.pack( )
main.mainloop( )
59.
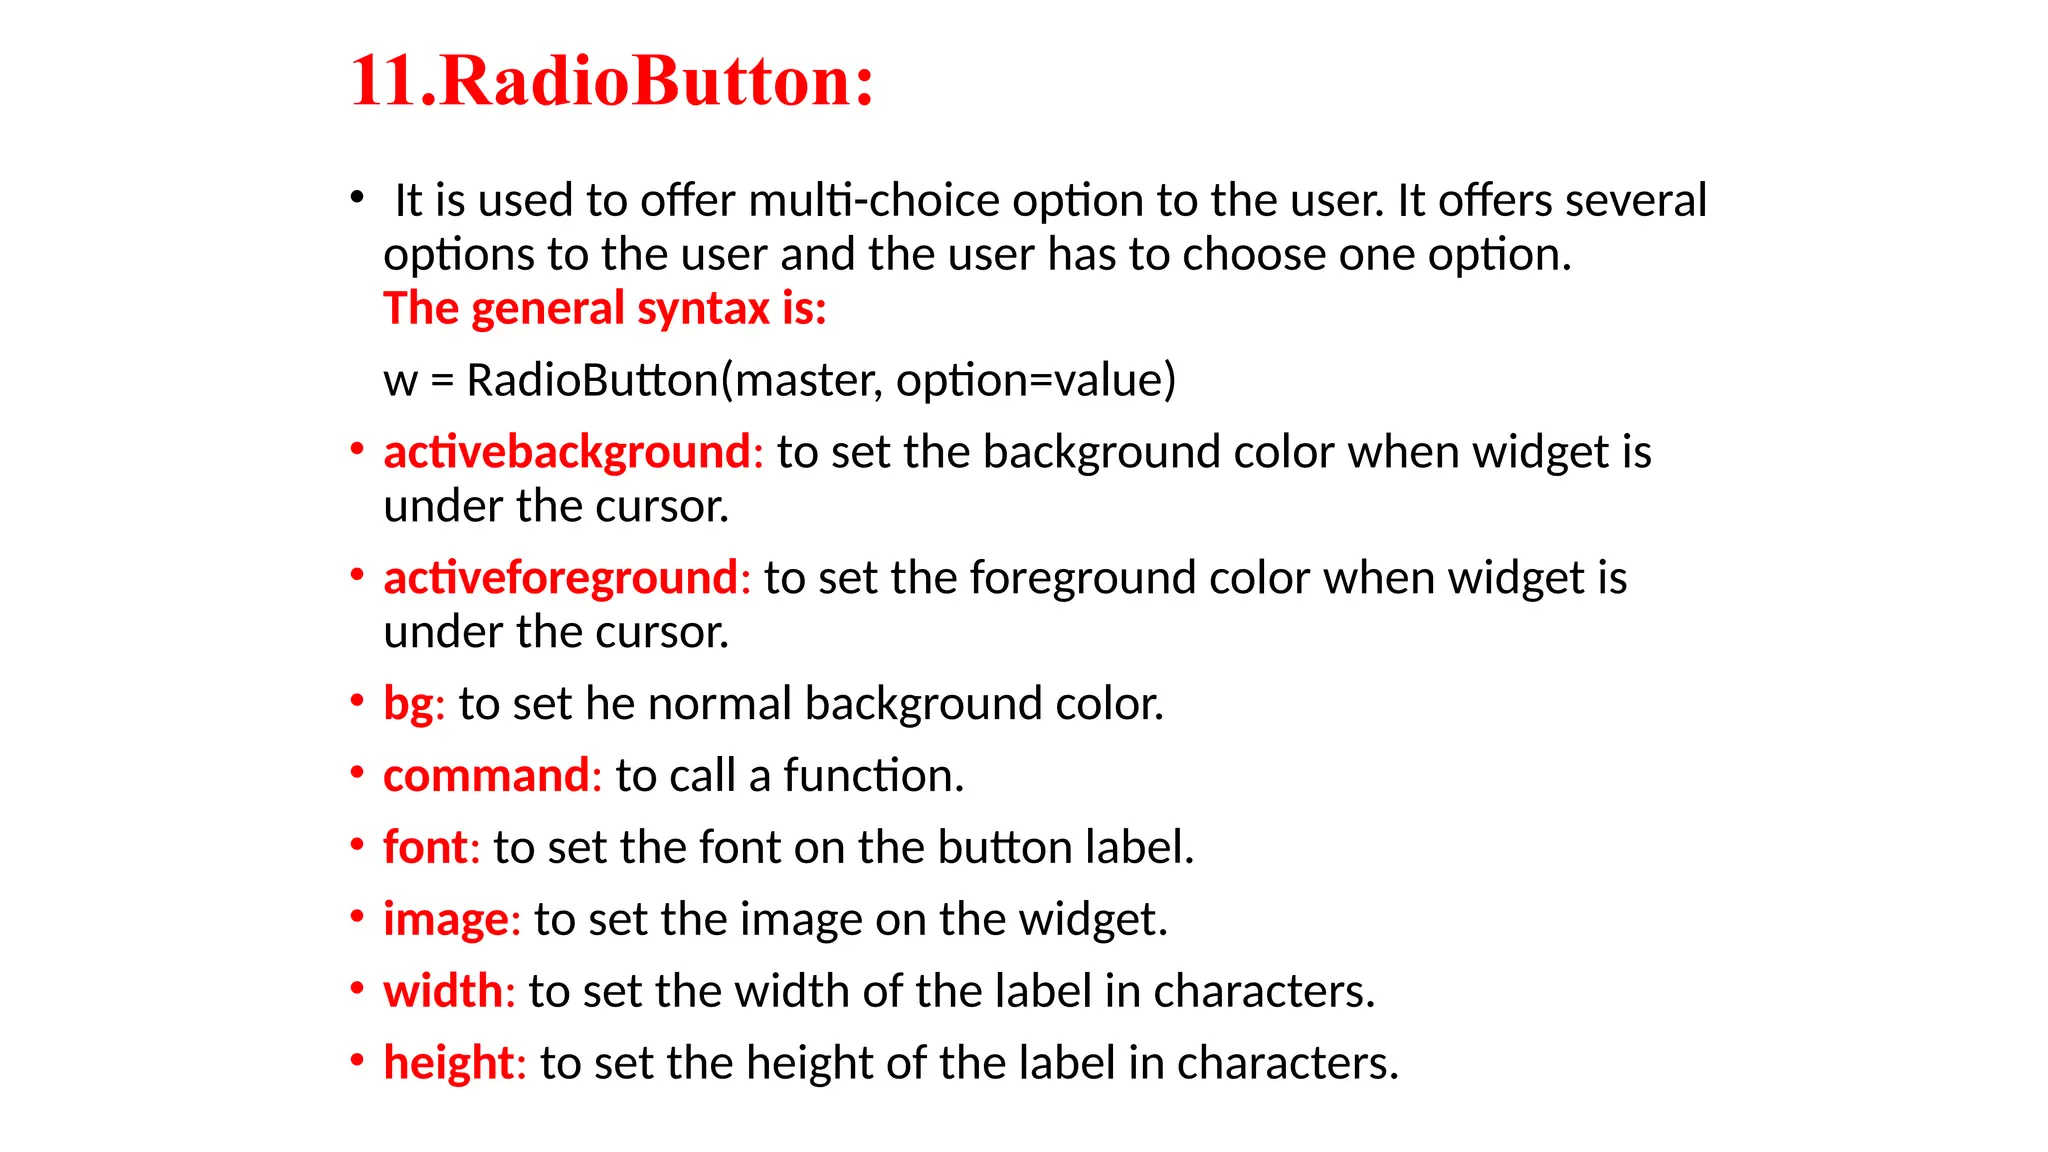
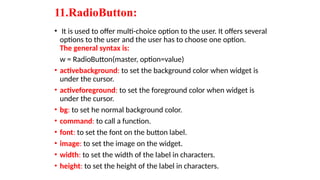
11.RadioButton:
• It isused to offer multi-choice option to the user. It offers several
options to the user and the user has to choose one option.
The general syntax is:
w = RadioButton(master, option=value)
• activebackground: to set the background color when widget is
under the cursor.
• activeforeground: to set the foreground color when widget is
under the cursor.
• bg: to set he normal background color.
• command: to call a function.
• font: to set the font on the button label.
• image: to set the image on the widget.
• width: to set the width of the label in characters.
• height: to set the height of the label in characters.
60.
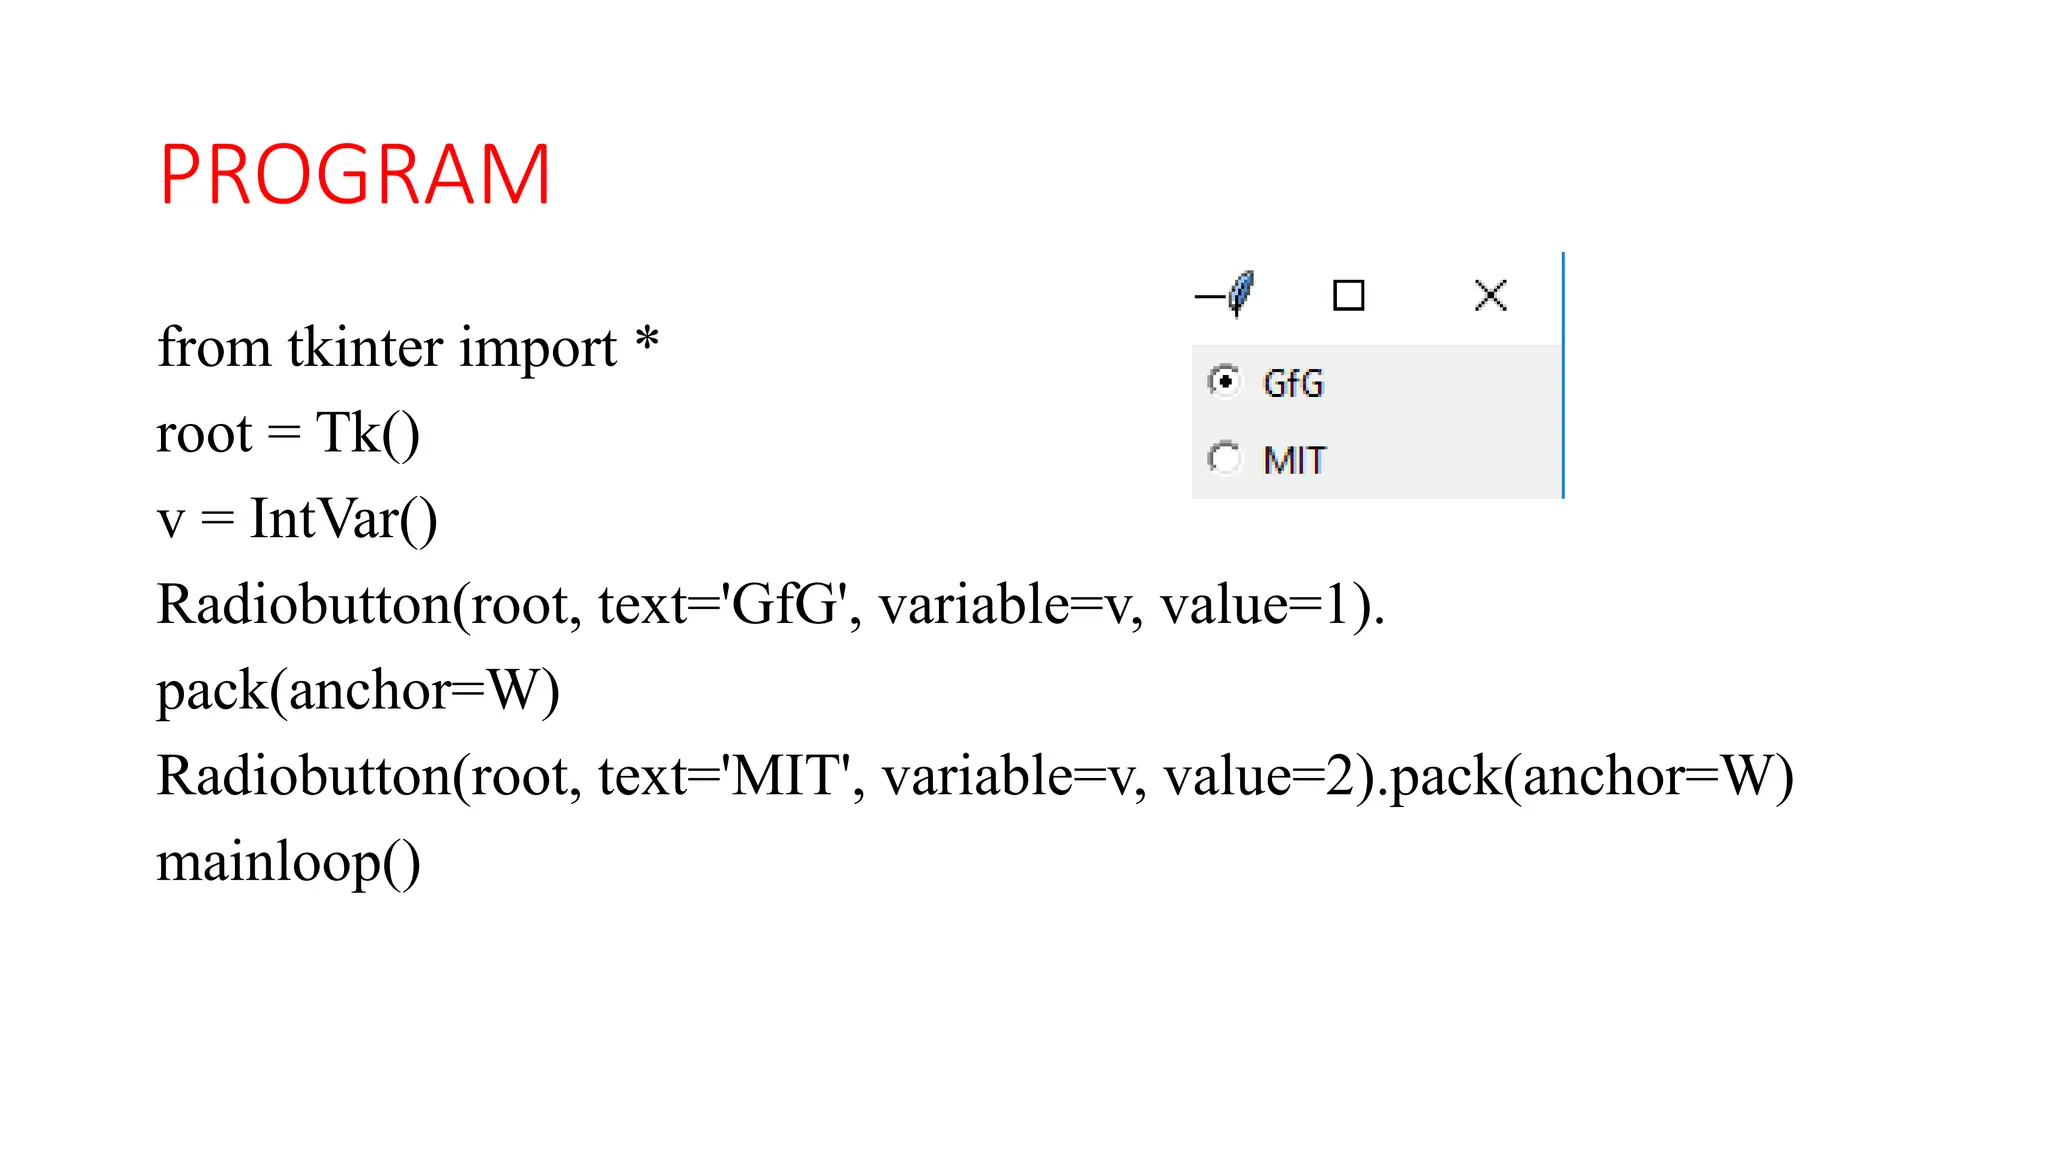
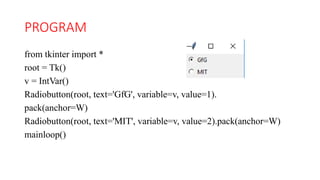
PROGRAM
from tkinter import*
root = Tk()
v = IntVar()
Radiobutton(root, text='GfG', variable=v, value=1).
pack(anchor=W)
Radiobutton(root, text='MIT', variable=v, value=2).pack(anchor=W)
mainloop()


![1.creating a thread without using a class:
• The purpose of a thread is to execute a group of statement like a function. So
we can class and pass the function name as target for the thread as:
• t=Thread(target=function name,[args=(arg1,arg2,---)])
• Here we are creating the thread class object
• 't' that represents our thread.
• The 'target' represents the function on which the thread will act. "args"
• to the function.
• Once the thread is created like this it should be started by calling the start()
methods.
• t.start()
• Then the Thread 't' will jump into the target function and executes the code
inside function.](https://image.slidesharecdn.com/unit-iv-250611160350-e3ba1aaa/85/Python-UNIT-IV-Multi-Threading-B-Tech-CSE-14-320.jpg)


![1.creating a thread without using a class:
• The purpose of a thread is to execute a group of statement like a function. So
we can class and pass the function name as target for the thread as:
• t=Thread(target=function name,[args=(arg1,arg2,---)])
• Here we are creating the thread class object
• 't' that represents our thread.
• The 'target' represents the function on which the thread will act. "args"
• to the function.
• Once the thread is created like this it should be started by calling the start()
methods.
• t.start()
• Then the Thread 't' will jump into the target function and executes the code
inside function.](https://image.slidesharecdn.com/unit-iv-250611160350-e3ba1aaa/75/Python-UNIT-IV-Multi-Threading-B-Tech-CSE-14-2048.jpg)