KEMBAR78
SAP ABAP Dialog Programming A Deep Dive.pptx
Dialog Programming: A
Deep Dive
This presentation explores the fundamentals of dialog programming in
the SAP environment. We will examine its key components, explore the
tools used for development, and delve into the intricacies of updating
the database. We will also discuss how these elements work together to
build interactive, user-friendly applications. This presentation assumes a
basic understanding of ABAP programming concepts.
Understanding Dialog Programs
Key Components
Dialog programs differ from reports by encompassing
multiple objects that function as a single entity. These
objects, including screens, modules, subroutines, menus,
and transaction codes, are linked hierarchically to the main
program. They work together to form a cohesive and
interactive application.
Hierarchy and Execution
These objects are executed in a specific sequence defined
by the program. Screens are processed by the dialog
processor while the ABAP/4 modules are handled by the
ABAP/4 processor. The dialog processor manages the flow
of data between these two distinct processing areas.
The Module Pool: The Heart of Logic
Modular Structure
The module pool consists of
modularized ABAP/4 code located
in include programs. These
modules are called upon by the
flow logic. They are responsible for
business logic, data processing,
and user interaction. The system
ensures efficient execution by
processing flow logic and ABAP/4
modules through separate
processors.
Global Data and Includes
Global data declarations are placed
in a top include program named
'TOP', which provides a central
repository for data accessible
throughout the program. The
module pool itself is structured
using additional include programs,
each dedicated to specific tasks,
such as processing before output
(PBO) or after input (PAI).
Modularization
For enhanced modularity,
additional include programs are
created for subroutines. These
programs are named with the last
five characters of the main
program followed by 'F' for forms,
followed by a sequential number
starting from '01'. This approach
allows for well-organized and
reusable code.
Screens: The User Interface
Screen Attributes
Screens consist of a collection of
attributes that define their behavior
and appearance. Attributes control
elements such as screen type, follow-
up screen, and hold data
functionality. These attributes are
defined during screen creation.
Screen Layout and Elements
The screen layout is defined using
screen painter. It involves arranging
and configuring screen elements,
such as fields, text labels, icons, and
buttons, to create a user-friendly
interface. Fields are linked to data
dictionary entries for data type
validation and consistency.
Flow Logic
Flow logic dictates the sequence of
events and actions that occur on a
screen. It consists of specific syntax
that handles processing before
output (PBO) and after input (PAI)
events. PBO modules manage
processing before displaying the
screen to the user, while PAI modules
handle processing after the user
interacts with the screen.
Data Transfer: Dialog Processor and ABAP/4
Processor
Synchronization
Data transfer between these
processors is crucial for seamless
operation. When processing moves
from the dialog processor to the
ABAP/4 processor, screen field values
are passed to identically named
ABAP/4 fields. This process occurs
again when control returns to the
dialog processor.
Consistent Naming
To ensure successful data transfer,
screen fields must have identical
names to their corresponding ABAP/4
fields. This naming convention ensures
that data is accurately transmitted
between the two processors.
Timing of Data Transfer
Data transfer usually occurs at the
beginning of the PBO event and
immediately after the function code is
invoked in the PAI event. Exceptions
involve the use of the FIELD statement
in the flow logic or control tables.
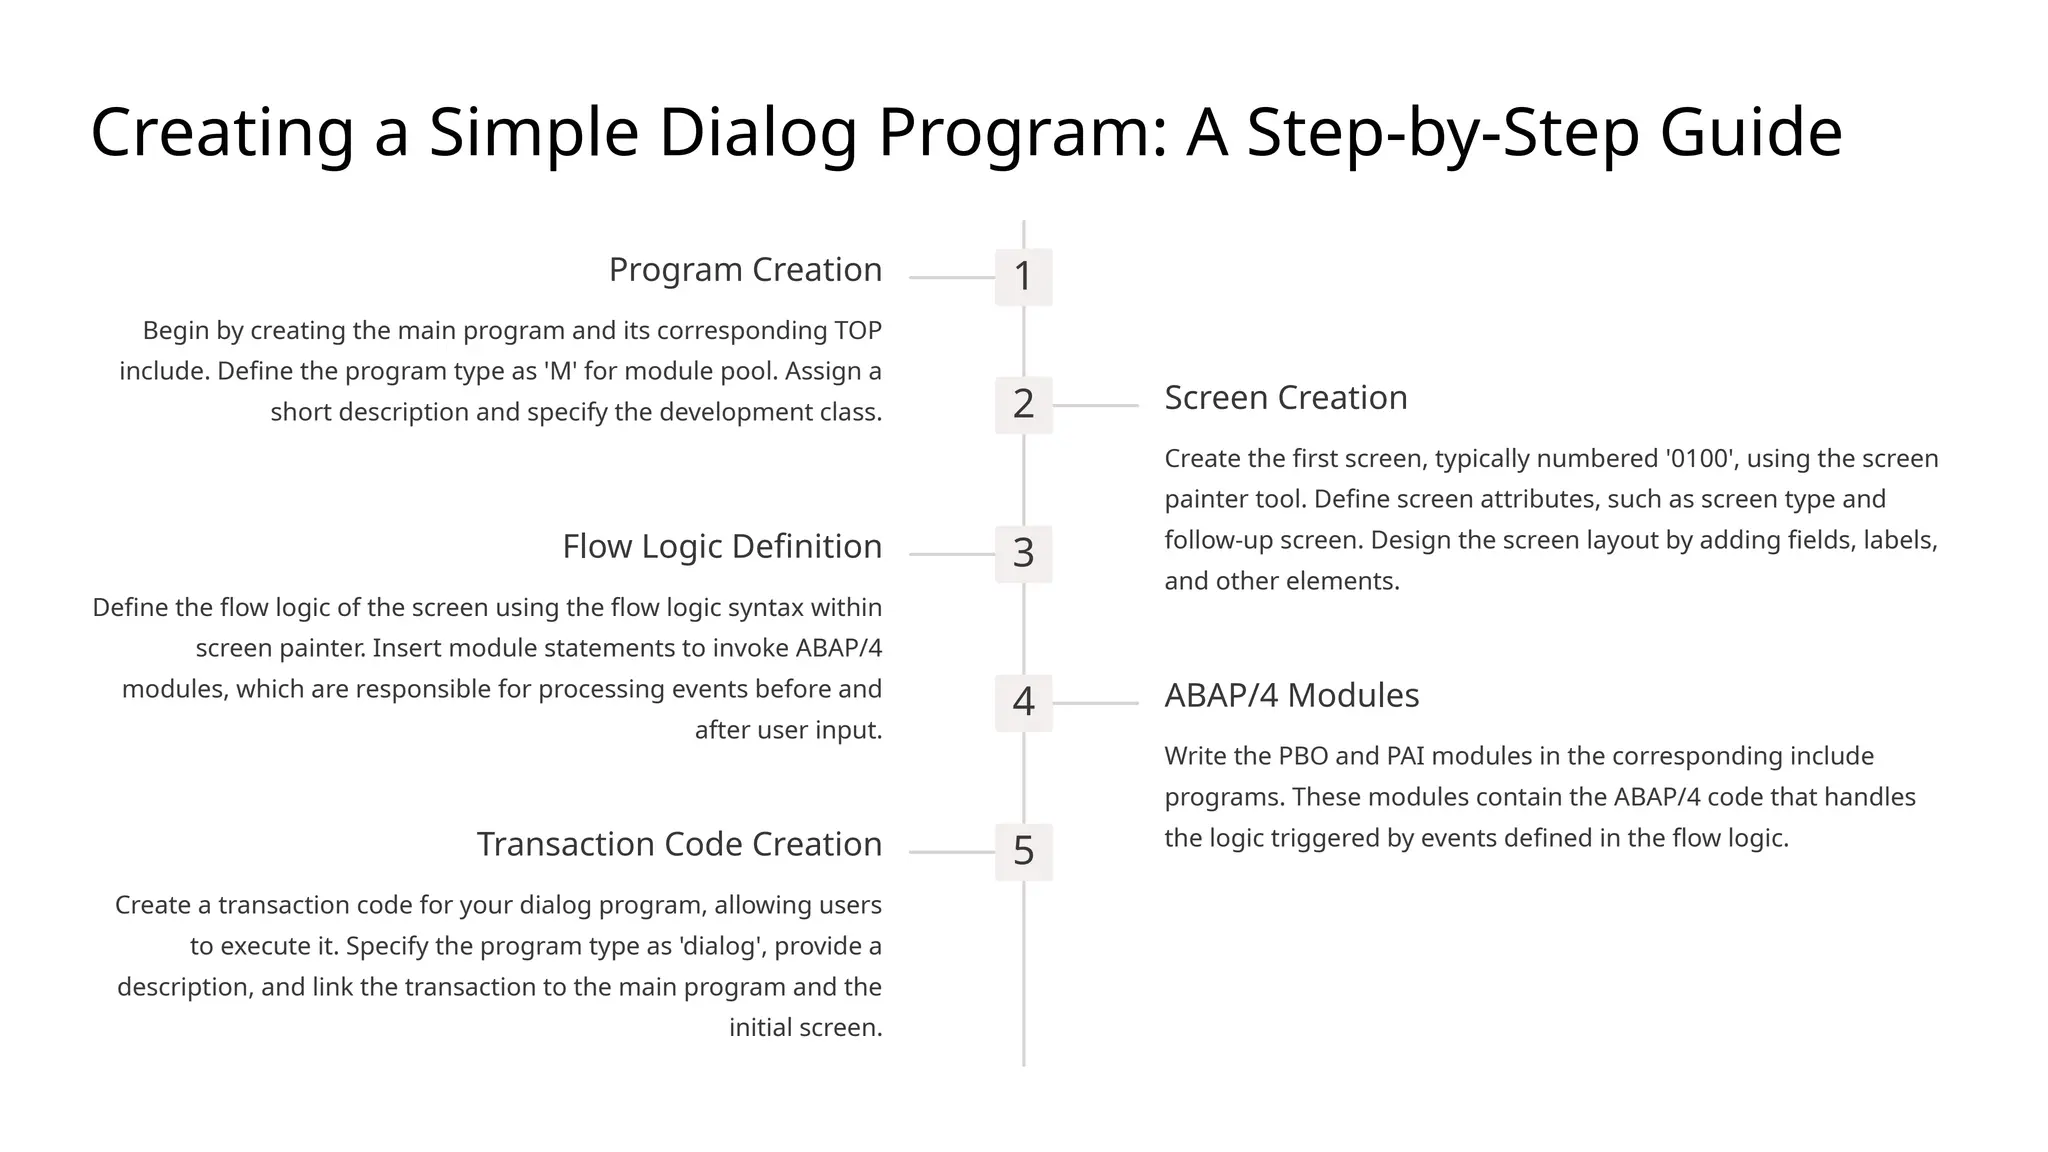
Creating a Simple Dialog Program: A Step-by-Step Guide
1
Program Creation
Begin by creating the main program and its corresponding TOP
include. Define the program type as 'M' for module pool. Assign a
short description and specify the development class. 2 Screen Creation
Create the first screen, typically numbered '0100', using the screen
painter tool. Define screen attributes, such as screen type and
follow-up screen. Design the screen layout by adding fields, labels,
and other elements.
3
Flow Logic Definition
Define the flow logic of the screen using the flow logic syntax within
screen painter. Insert module statements to invoke ABAP/4
modules, which are responsible for processing events before and
after user input.
4 ABAP/4 Modules
Write the PBO and PAI modules in the corresponding include
programs. These modules contain the ABAP/4 code that handles
the logic triggered by events defined in the flow logic.
5
Transaction Code Creation
Create a transaction code for your dialog program, allowing users
to execute it. Specify the program type as 'dialog', provide a
description, and link the transaction to the main program and the
initial screen.
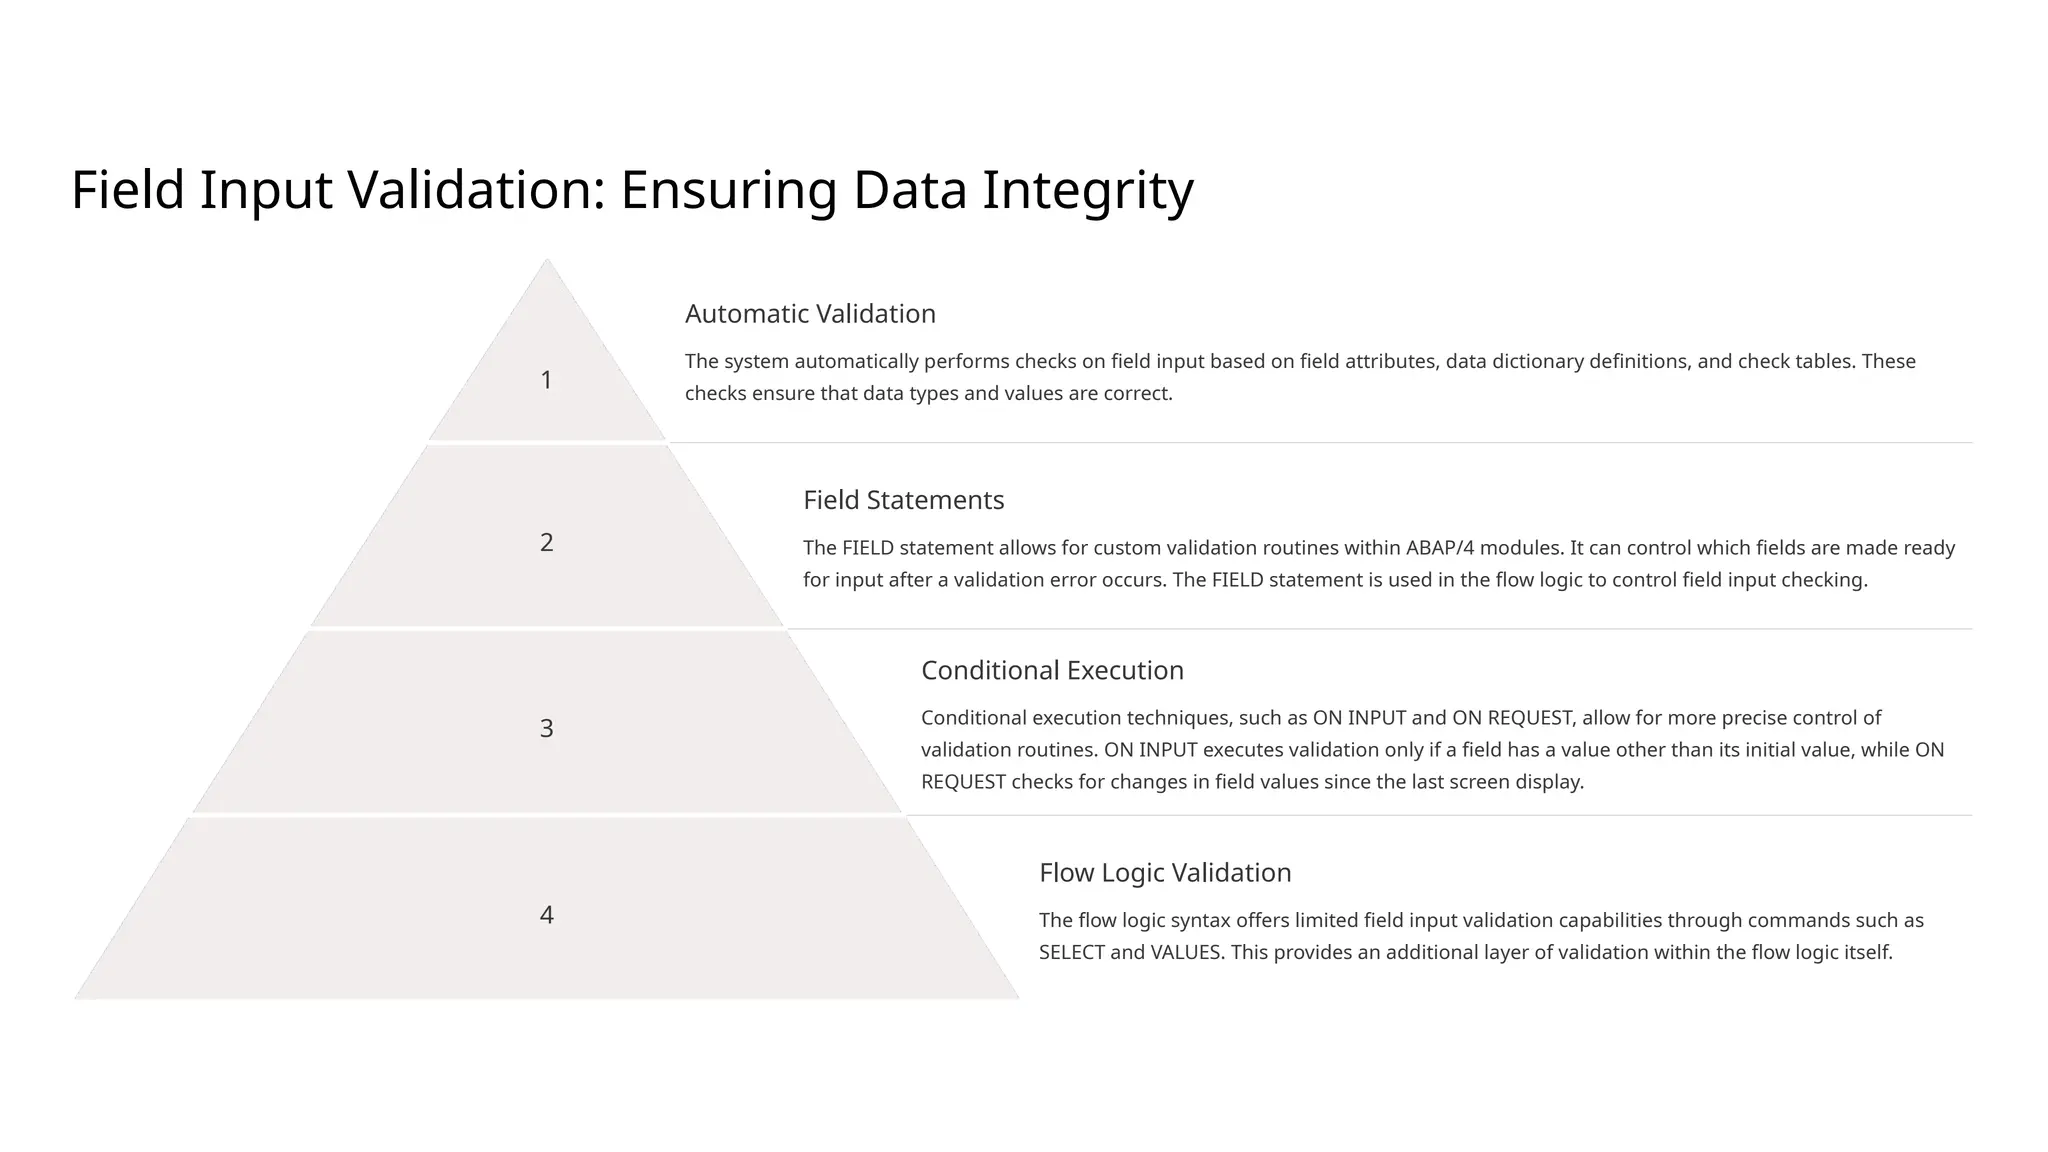
Field Input Validation: Ensuring Data Integrity
1
Automatic Validation
The system automatically performs checks on field input based on field attributes, data dictionary definitions, and check tables. These
checks ensure that data types and values are correct.
2
Field Statements
The FIELD statement allows for custom validation routines within ABAP/4 modules. It can control which fields are made ready
for input after a validation error occurs. The FIELD statement is used in the flow logic to control field input checking.
3
Conditional Execution
Conditional execution techniques, such as ON INPUT and ON REQUEST, allow for more precise control of
validation routines. ON INPUT executes validation only if a field has a value other than its initial value, while ON
REQUEST checks for changes in field values since the last screen display.
4
Flow Logic Validation
The flow logic syntax offers limited field input validation capabilities through commands such as
SELECT and VALUES. This provides an additional layer of validation within the flow logic itself.
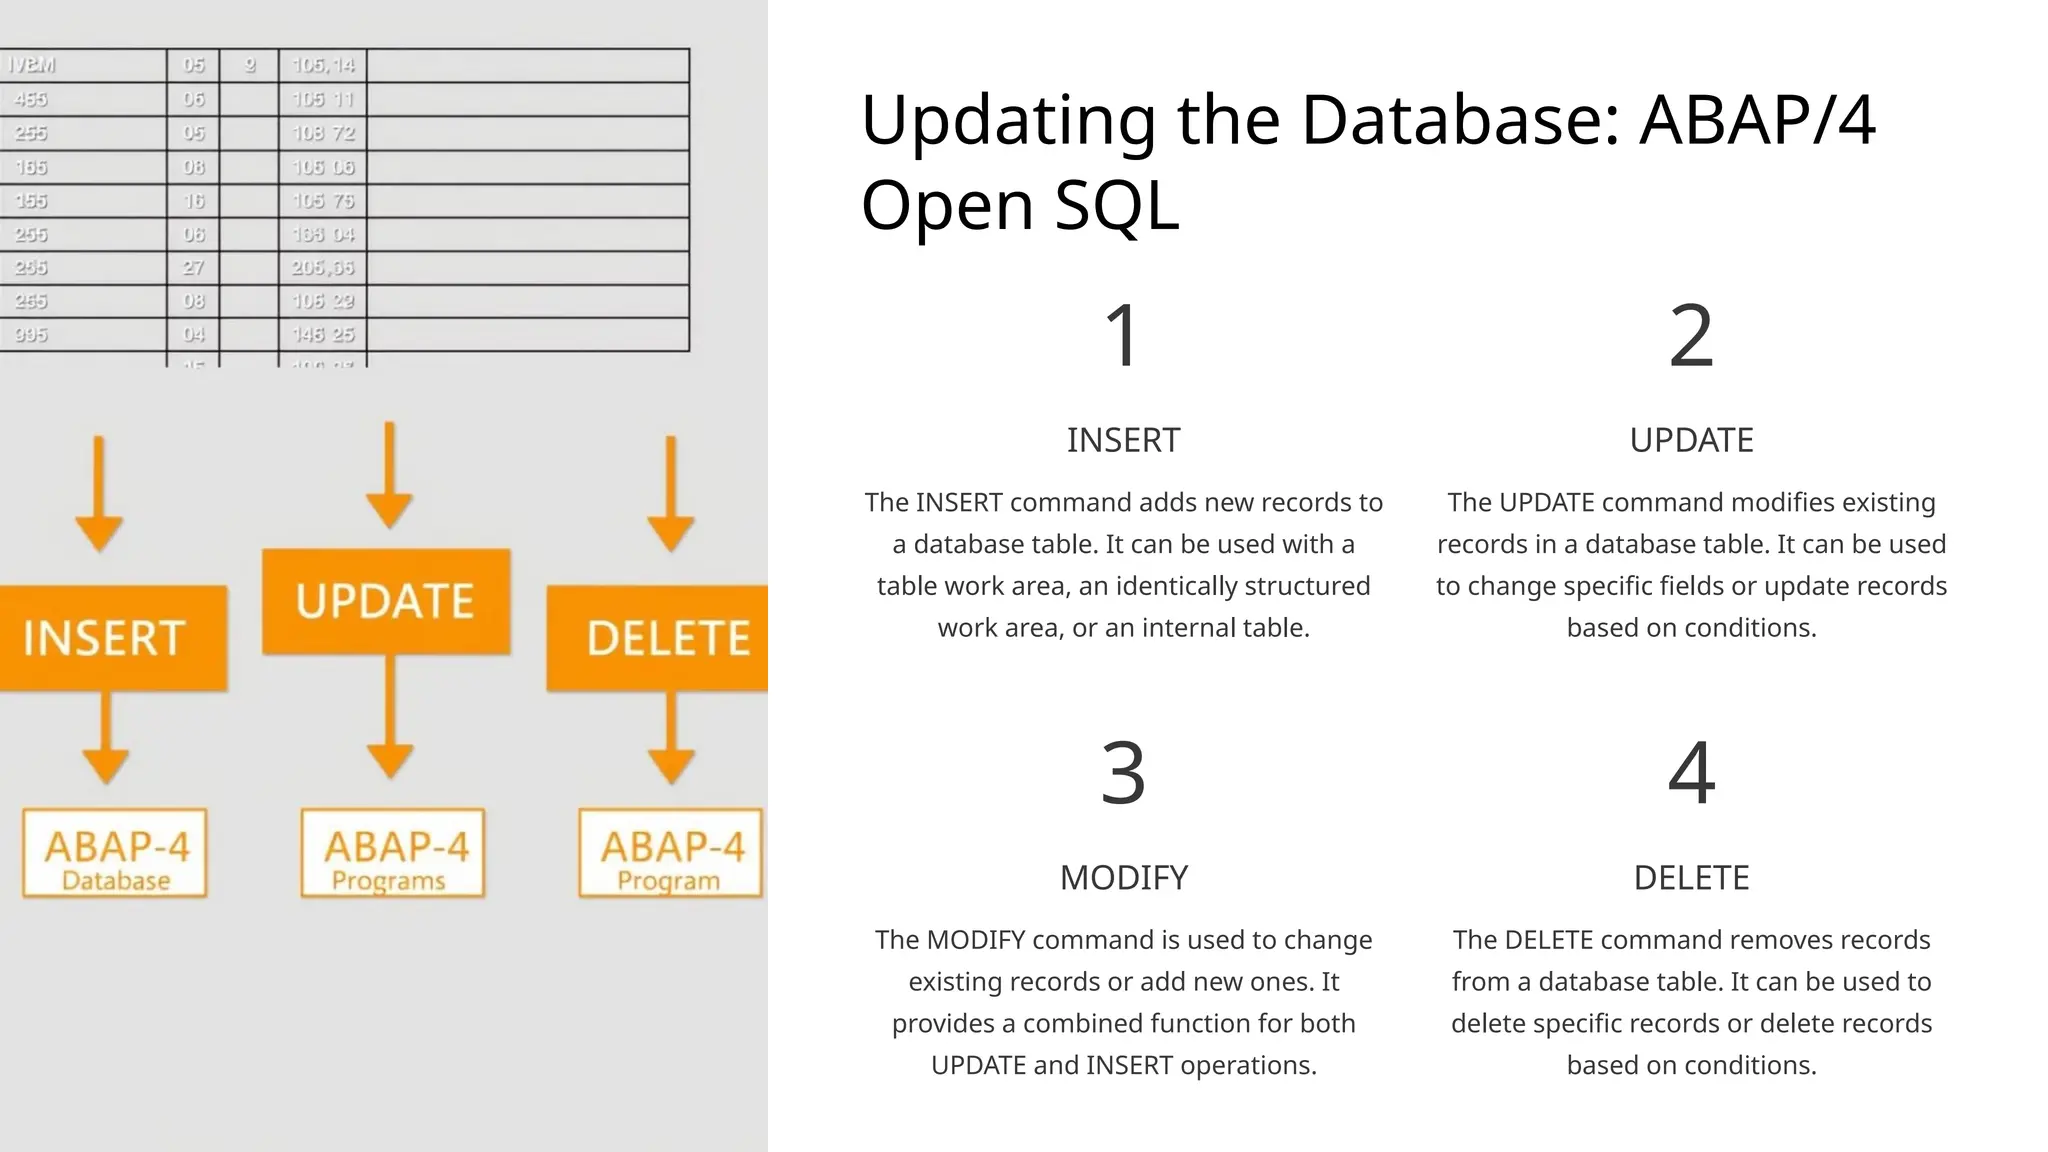
Updating the Database: ABAP/4
Open SQL
1
INSERT
The INSERT command adds new records to
a database table. It can be used with a
table work area, an identically structured
work area, or an internal table.
2
UPDATE
The UPDATE command modifies existing
records in a database table. It can be used
to change specific fields or update records
based on conditions.
3
MODIFY
The MODIFY command is used to change
existing records or add new ones. It
provides a combined function for both
UPDATE and INSERT operations.
4
DELETE
The DELETE command removes records
from a database table. It can be used to
delete specific records or delete records
based on conditions.
Conclusion and Next Steps
This presentation has provided a comprehensive overview of dialog
programming in SAP. We've covered its key components, development
tools, and methods for database interaction. By understanding these
concepts, developers can create interactive and user-friendly
applications within the SAP environment. To further enhance your
knowledge, explore advanced topics such as screen control, dialog
module processing, and error handling techniques. You can also delve
into specific scenarios and real-world examples to gain practical
experience in building dialog programs.

SAP ABAP Dialog Programming A Deep Dive.pptx

  • 1.
    Dialog Programming: A DeepDive This presentation explores the fundamentals of dialog programming in the SAP environment. We will examine its key components, explore the tools used for development, and delve into the intricacies of updating the database. We will also discuss how these elements work together to build interactive, user-friendly applications. This presentation assumes a basic understanding of ABAP programming concepts.
  • 2.
    Understanding Dialog Programs KeyComponents Dialog programs differ from reports by encompassing multiple objects that function as a single entity. These objects, including screens, modules, subroutines, menus, and transaction codes, are linked hierarchically to the main program. They work together to form a cohesive and interactive application. Hierarchy and Execution These objects are executed in a specific sequence defined by the program. Screens are processed by the dialog processor while the ABAP/4 modules are handled by the ABAP/4 processor. The dialog processor manages the flow of data between these two distinct processing areas.
  • 3.
    The Module Pool:The Heart of Logic Modular Structure The module pool consists of modularized ABAP/4 code located in include programs. These modules are called upon by the flow logic. They are responsible for business logic, data processing, and user interaction. The system ensures efficient execution by processing flow logic and ABAP/4 modules through separate processors. Global Data and Includes Global data declarations are placed in a top include program named 'TOP', which provides a central repository for data accessible throughout the program. The module pool itself is structured using additional include programs, each dedicated to specific tasks, such as processing before output (PBO) or after input (PAI). Modularization For enhanced modularity, additional include programs are created for subroutines. These programs are named with the last five characters of the main program followed by 'F' for forms, followed by a sequential number starting from '01'. This approach allows for well-organized and reusable code.
  • 4.
    Screens: The UserInterface Screen Attributes Screens consist of a collection of attributes that define their behavior and appearance. Attributes control elements such as screen type, follow- up screen, and hold data functionality. These attributes are defined during screen creation. Screen Layout and Elements The screen layout is defined using screen painter. It involves arranging and configuring screen elements, such as fields, text labels, icons, and buttons, to create a user-friendly interface. Fields are linked to data dictionary entries for data type validation and consistency. Flow Logic Flow logic dictates the sequence of events and actions that occur on a screen. It consists of specific syntax that handles processing before output (PBO) and after input (PAI) events. PBO modules manage processing before displaying the screen to the user, while PAI modules handle processing after the user interacts with the screen.
  • 5.
    Data Transfer: DialogProcessor and ABAP/4 Processor Synchronization Data transfer between these processors is crucial for seamless operation. When processing moves from the dialog processor to the ABAP/4 processor, screen field values are passed to identically named ABAP/4 fields. This process occurs again when control returns to the dialog processor. Consistent Naming To ensure successful data transfer, screen fields must have identical names to their corresponding ABAP/4 fields. This naming convention ensures that data is accurately transmitted between the two processors. Timing of Data Transfer Data transfer usually occurs at the beginning of the PBO event and immediately after the function code is invoked in the PAI event. Exceptions involve the use of the FIELD statement in the flow logic or control tables.
  • 6.
    Creating a SimpleDialog Program: A Step-by-Step Guide 1 Program Creation Begin by creating the main program and its corresponding TOP include. Define the program type as 'M' for module pool. Assign a short description and specify the development class. 2 Screen Creation Create the first screen, typically numbered '0100', using the screen painter tool. Define screen attributes, such as screen type and follow-up screen. Design the screen layout by adding fields, labels, and other elements. 3 Flow Logic Definition Define the flow logic of the screen using the flow logic syntax within screen painter. Insert module statements to invoke ABAP/4 modules, which are responsible for processing events before and after user input. 4 ABAP/4 Modules Write the PBO and PAI modules in the corresponding include programs. These modules contain the ABAP/4 code that handles the logic triggered by events defined in the flow logic. 5 Transaction Code Creation Create a transaction code for your dialog program, allowing users to execute it. Specify the program type as 'dialog', provide a description, and link the transaction to the main program and the initial screen.
  • 7.
    Field Input Validation:Ensuring Data Integrity 1 Automatic Validation The system automatically performs checks on field input based on field attributes, data dictionary definitions, and check tables. These checks ensure that data types and values are correct. 2 Field Statements The FIELD statement allows for custom validation routines within ABAP/4 modules. It can control which fields are made ready for input after a validation error occurs. The FIELD statement is used in the flow logic to control field input checking. 3 Conditional Execution Conditional execution techniques, such as ON INPUT and ON REQUEST, allow for more precise control of validation routines. ON INPUT executes validation only if a field has a value other than its initial value, while ON REQUEST checks for changes in field values since the last screen display. 4 Flow Logic Validation The flow logic syntax offers limited field input validation capabilities through commands such as SELECT and VALUES. This provides an additional layer of validation within the flow logic itself.
  • 8.
    Updating the Database:ABAP/4 Open SQL 1 INSERT The INSERT command adds new records to a database table. It can be used with a table work area, an identically structured work area, or an internal table. 2 UPDATE The UPDATE command modifies existing records in a database table. It can be used to change specific fields or update records based on conditions. 3 MODIFY The MODIFY command is used to change existing records or add new ones. It provides a combined function for both UPDATE and INSERT operations. 4 DELETE The DELETE command removes records from a database table. It can be used to delete specific records or delete records based on conditions.
  • 9.
    Conclusion and NextSteps This presentation has provided a comprehensive overview of dialog programming in SAP. We've covered its key components, development tools, and methods for database interaction. By understanding these concepts, developers can create interactive and user-friendly applications within the SAP environment. To further enhance your knowledge, explore advanced topics such as screen control, dialog module processing, and error handling techniques. You can also delve into specific scenarios and real-world examples to gain practical experience in building dialog programs.