Downloaded 13 times

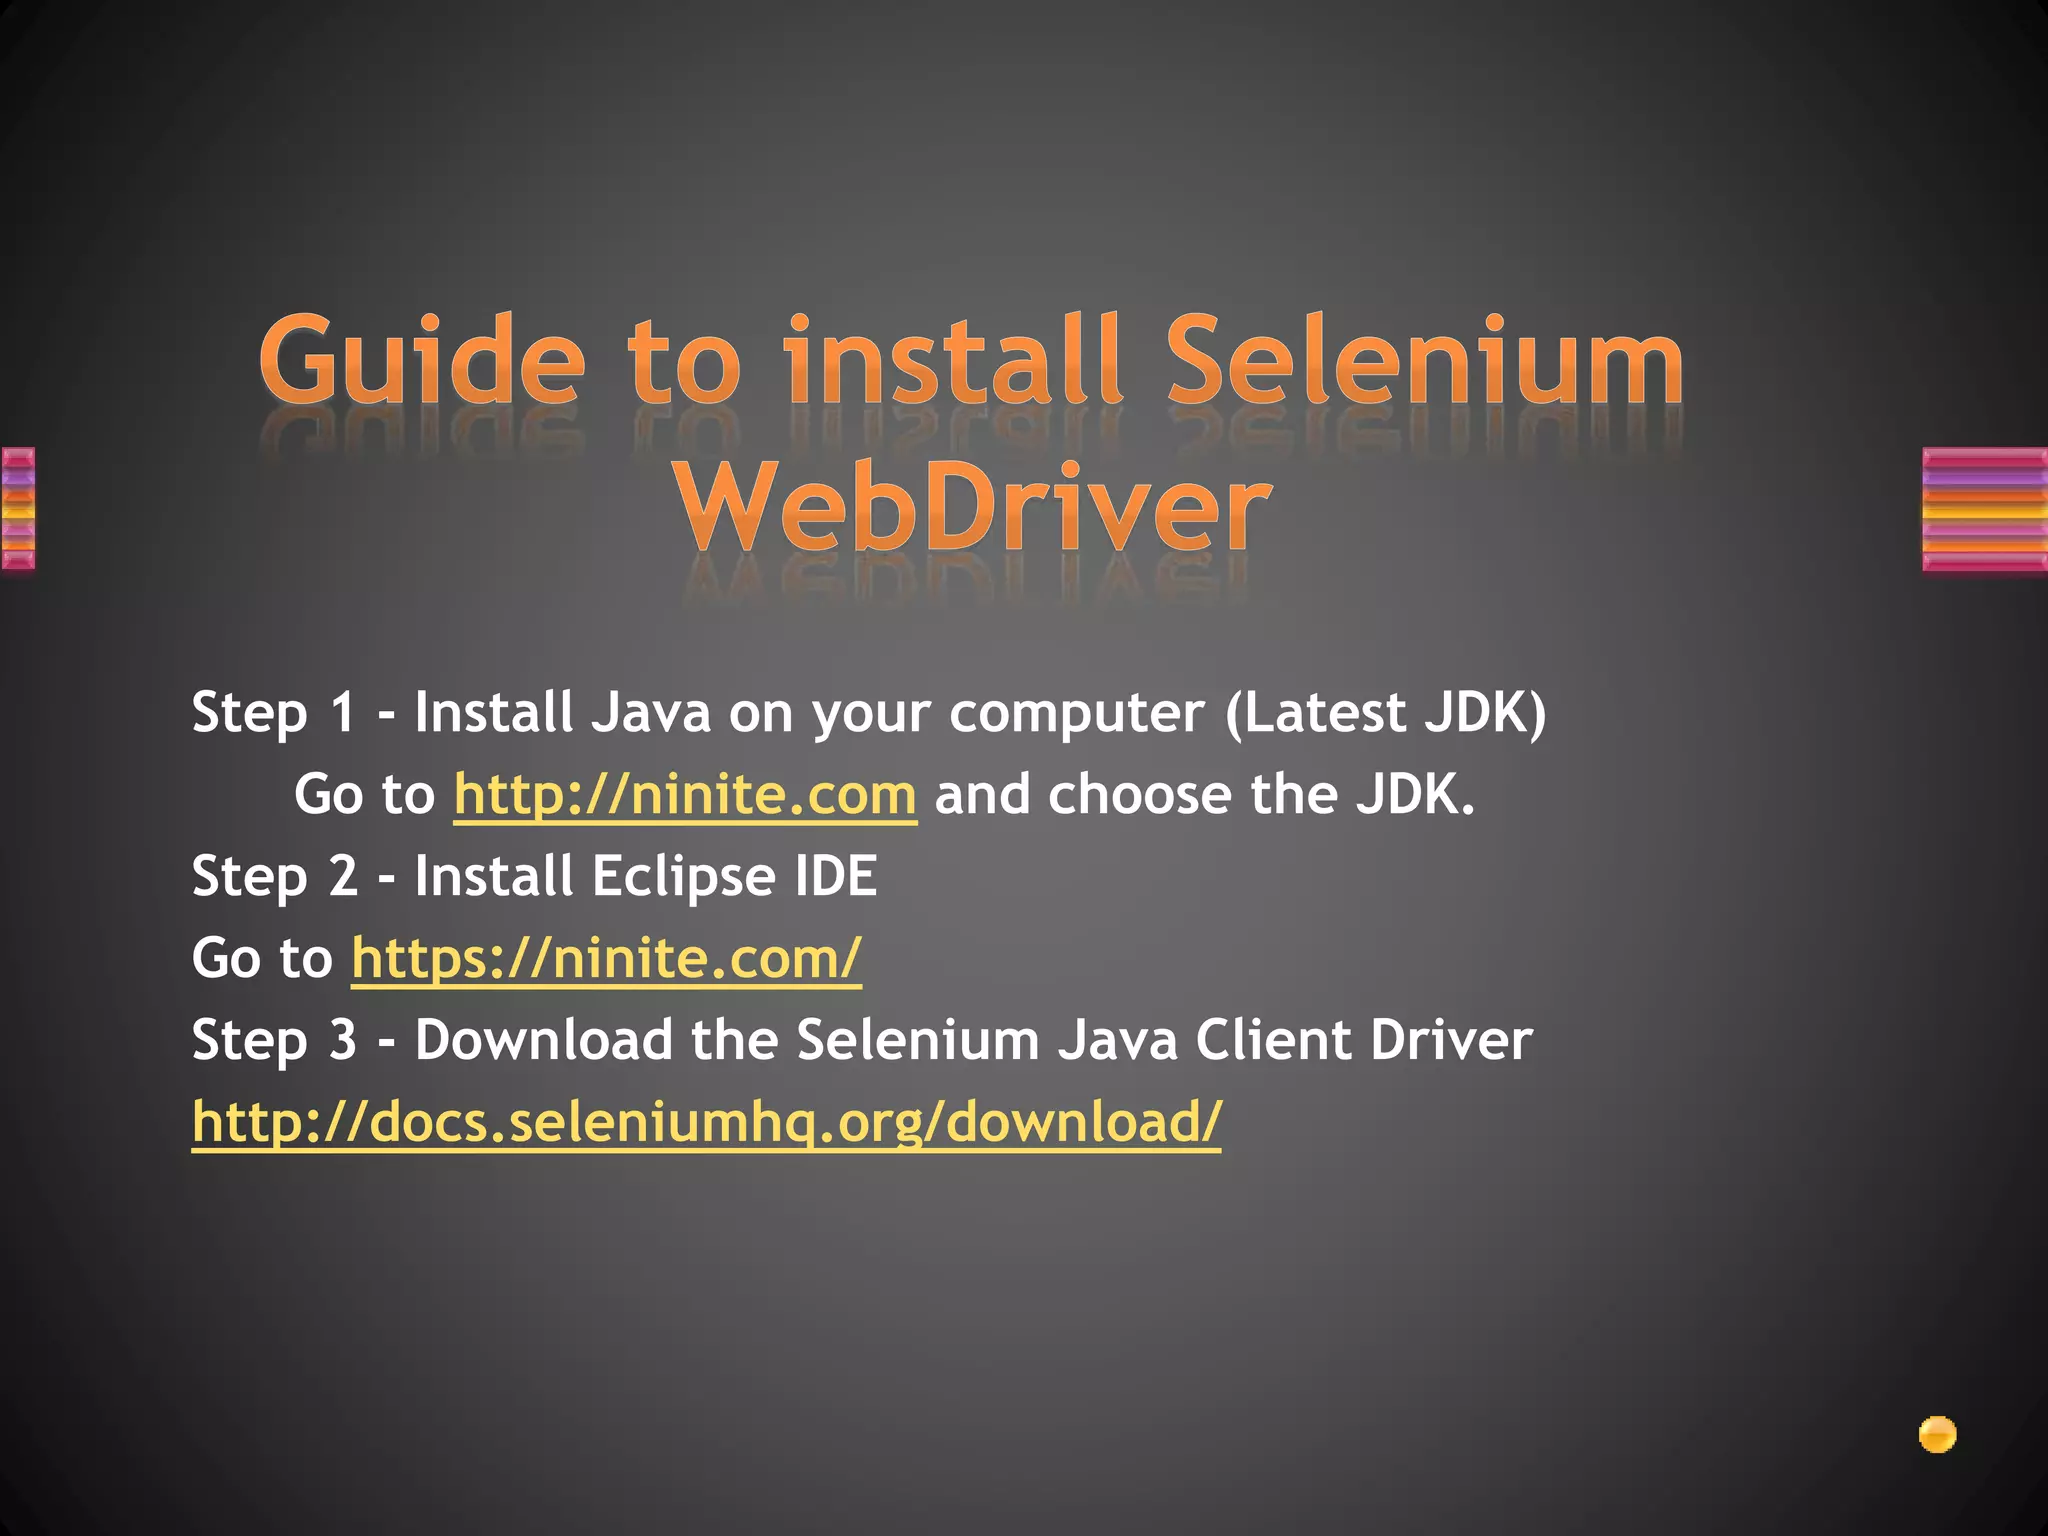
![• package mypackage;
•
• import org.openqa.selenium.WebDriver;
• import org.openqa.selenium.firefox.FirefoxDriver;
•
• public class myclass {
•
• public static void main(String[] args) {
• // declaration and instantiation of objects/variables
• WebDriver driver = new FirefoxDriver();
• String baseUrl = "http://newtours.demoaut.com";
• String expectedTitle = "Welcome: Mercury Tours";
• String actualTitle = "";
•
• // launch Firefox and direct it to the Base URL
• driver.get(baseUrl)
First Webdriver code](https://image.slidesharecdn.com/seleniumwithjava-160422173059/85/Selenium-with-java-7-320.jpg)

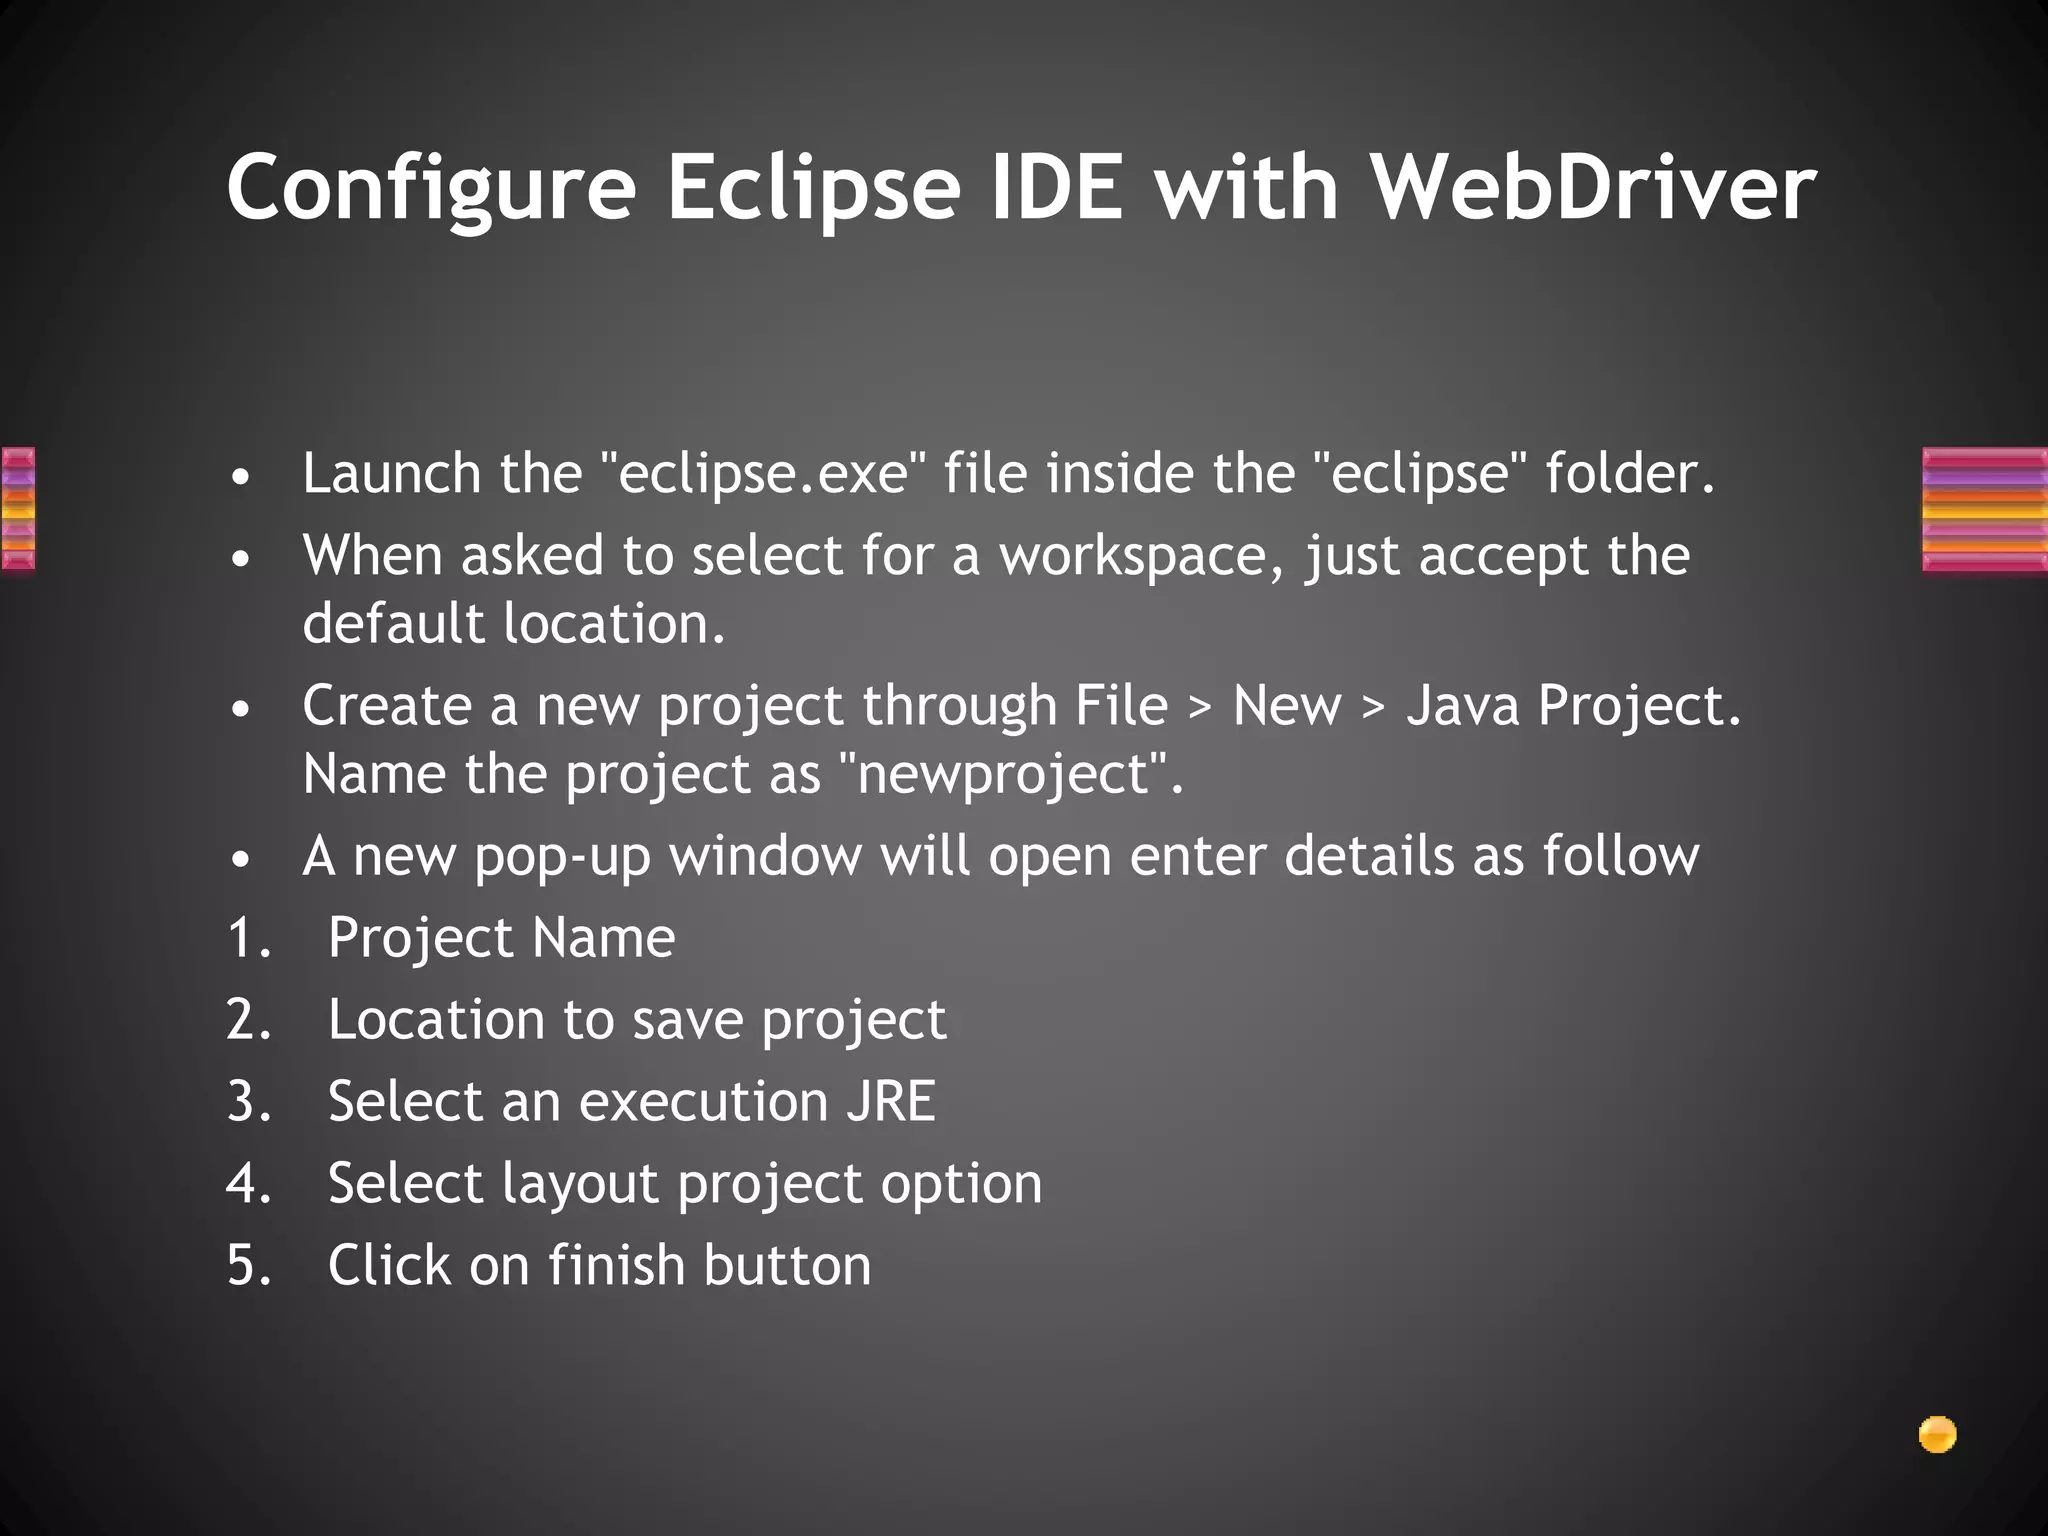
![• package mypackage;
•
• import org.openqa.selenium.WebDriver;
• import org.openqa.selenium.firefox.FirefoxDriver;
•
• public class myclass {
•
• public static void main(String[] args) {
• // declaration and instantiation of objects/variables
• WebDriver driver = new FirefoxDriver();
• String baseUrl = "http://newtours.demoaut.com";
• String expectedTitle = "Welcome: Mercury Tours";
• String actualTitle = "";
•
• // launch Firefox and direct it to the Base URL
• driver.get(baseUrl)
First Webdriver code](https://image.slidesharecdn.com/seleniumwithjava-160422173059/75/Selenium-with-java-7-2048.jpg)
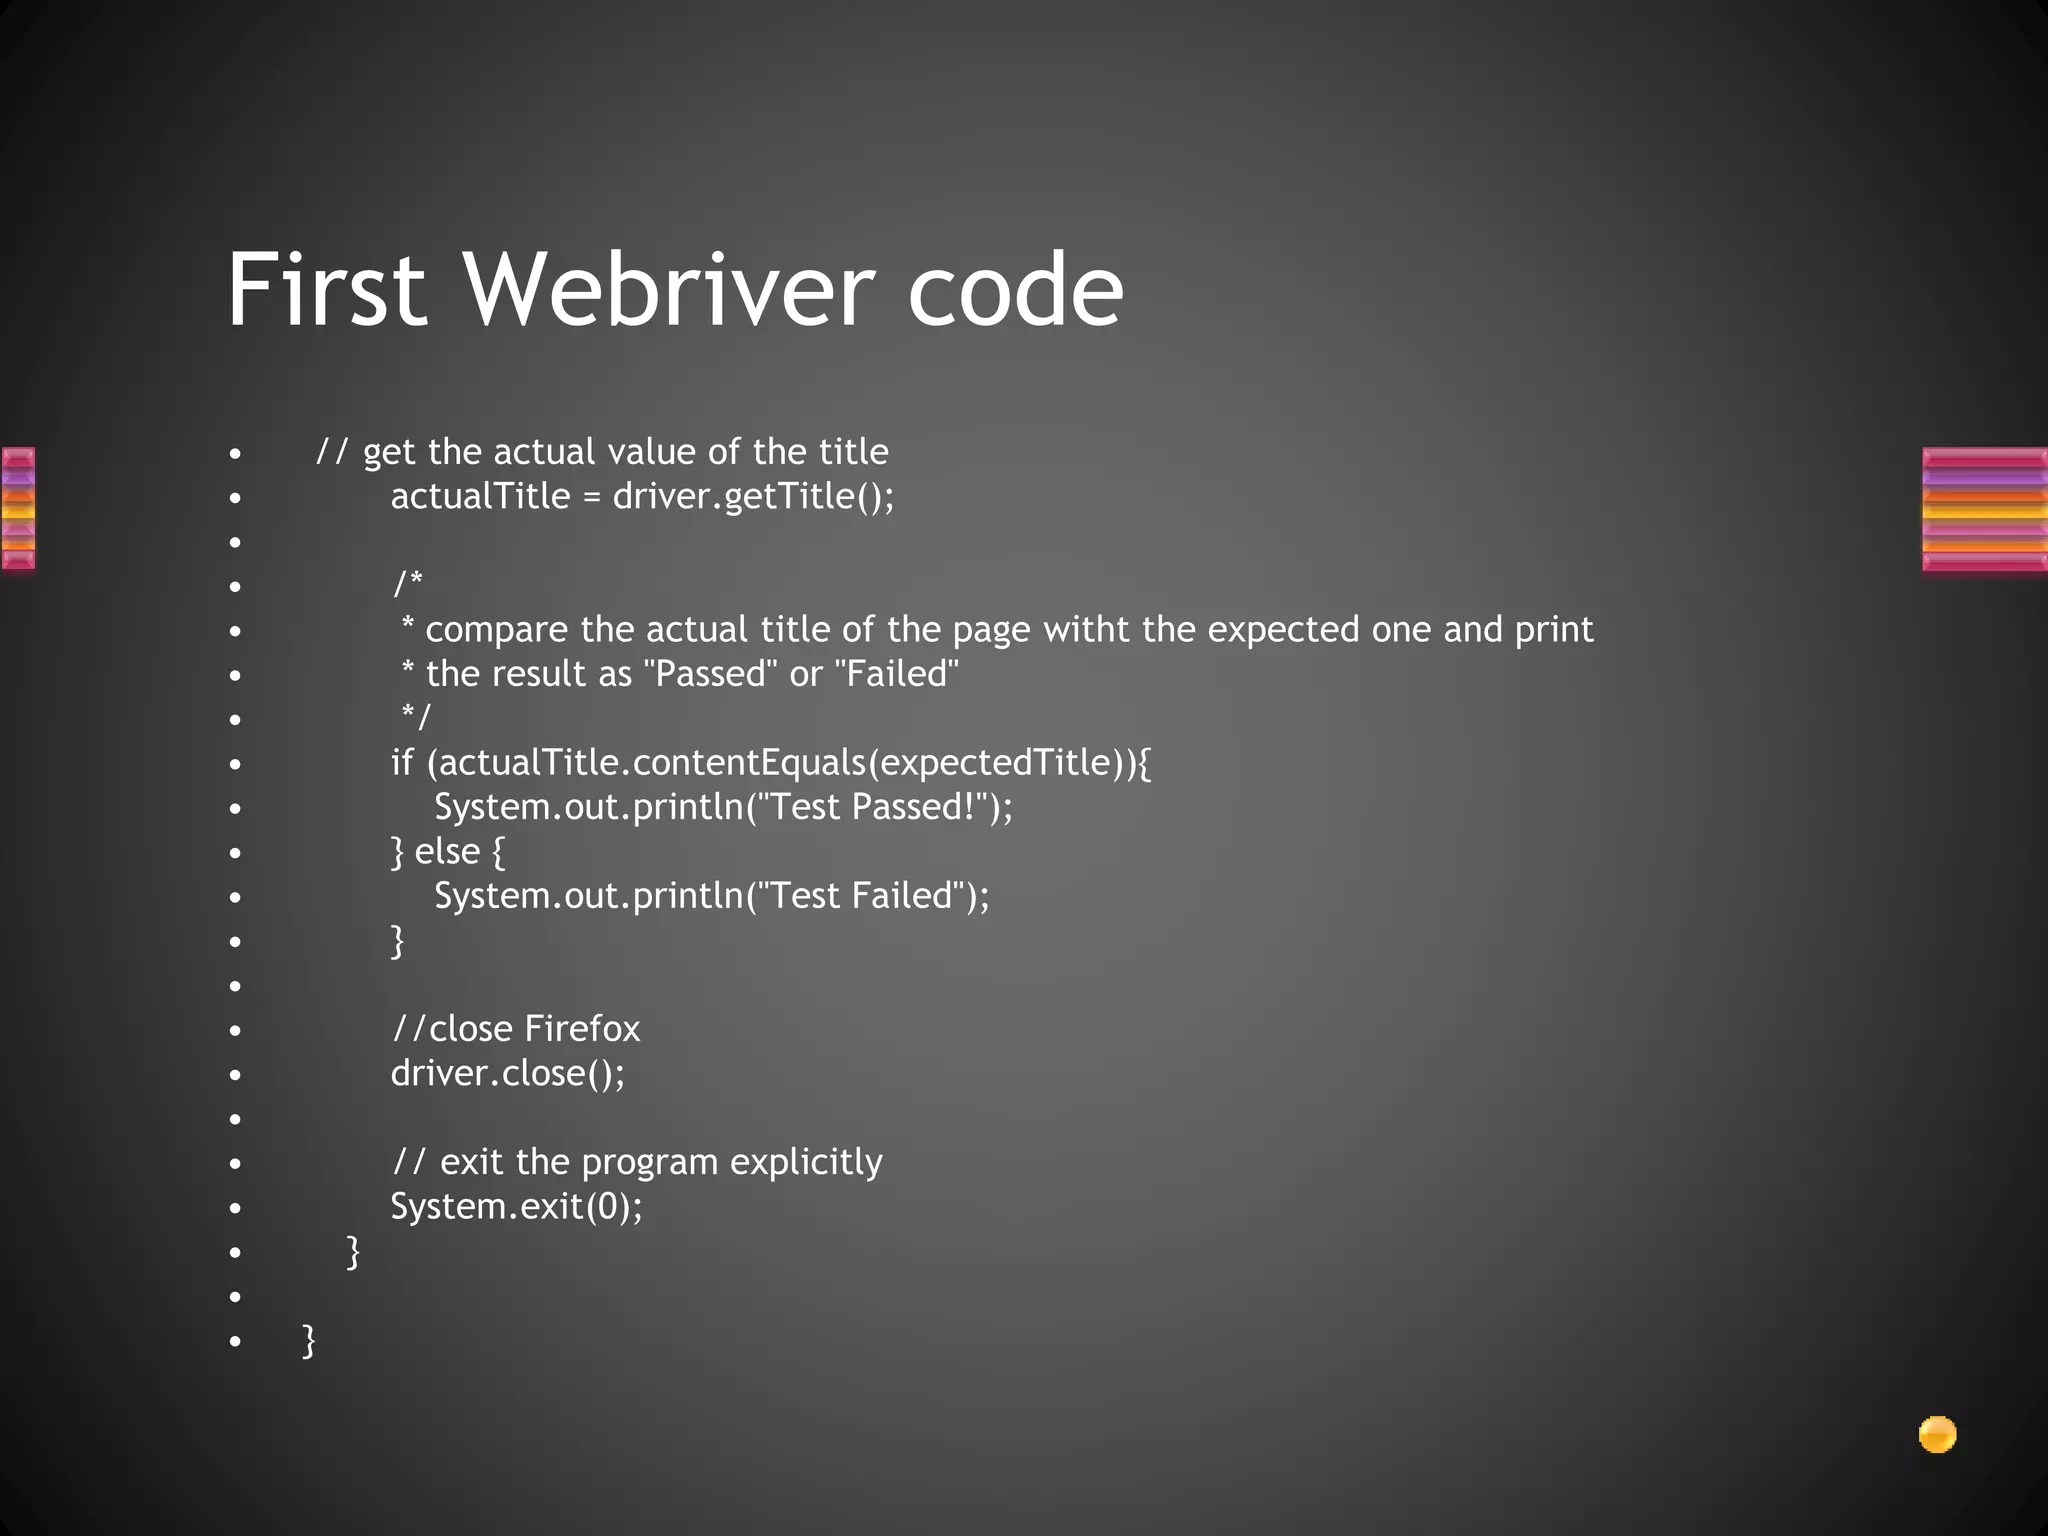
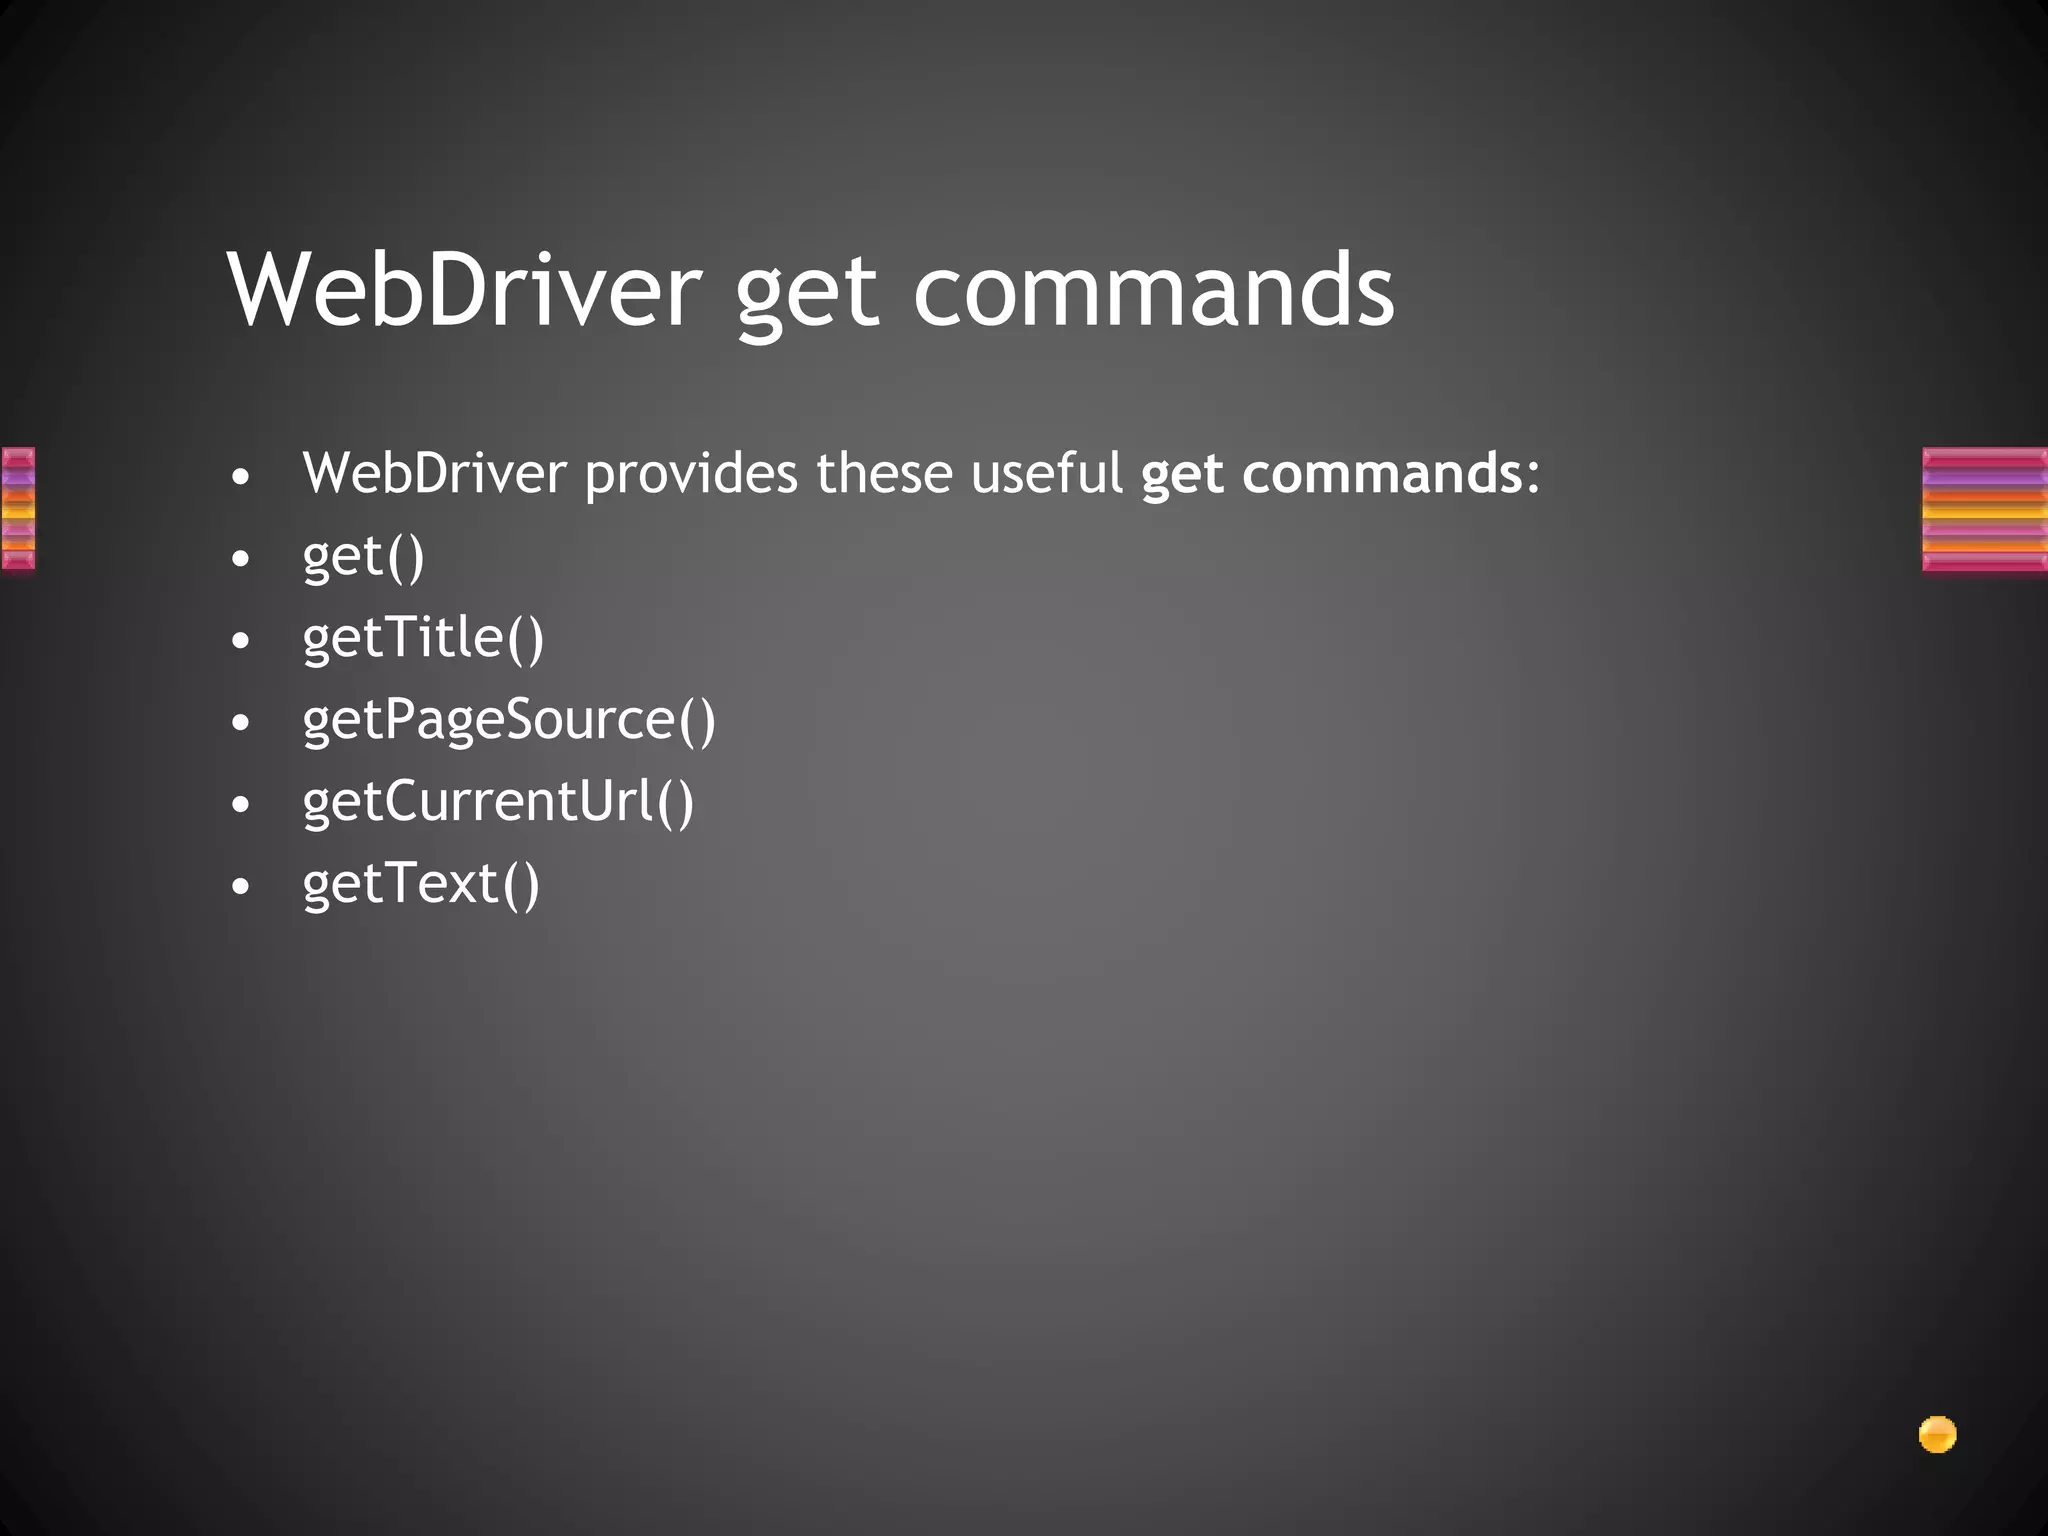

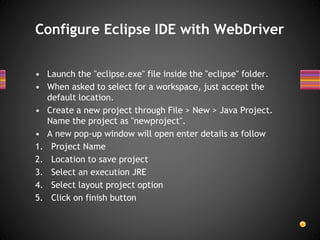
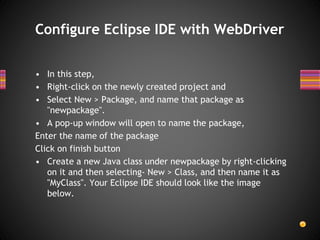
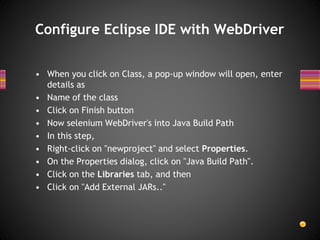
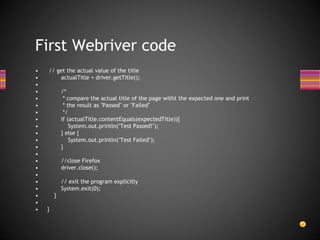
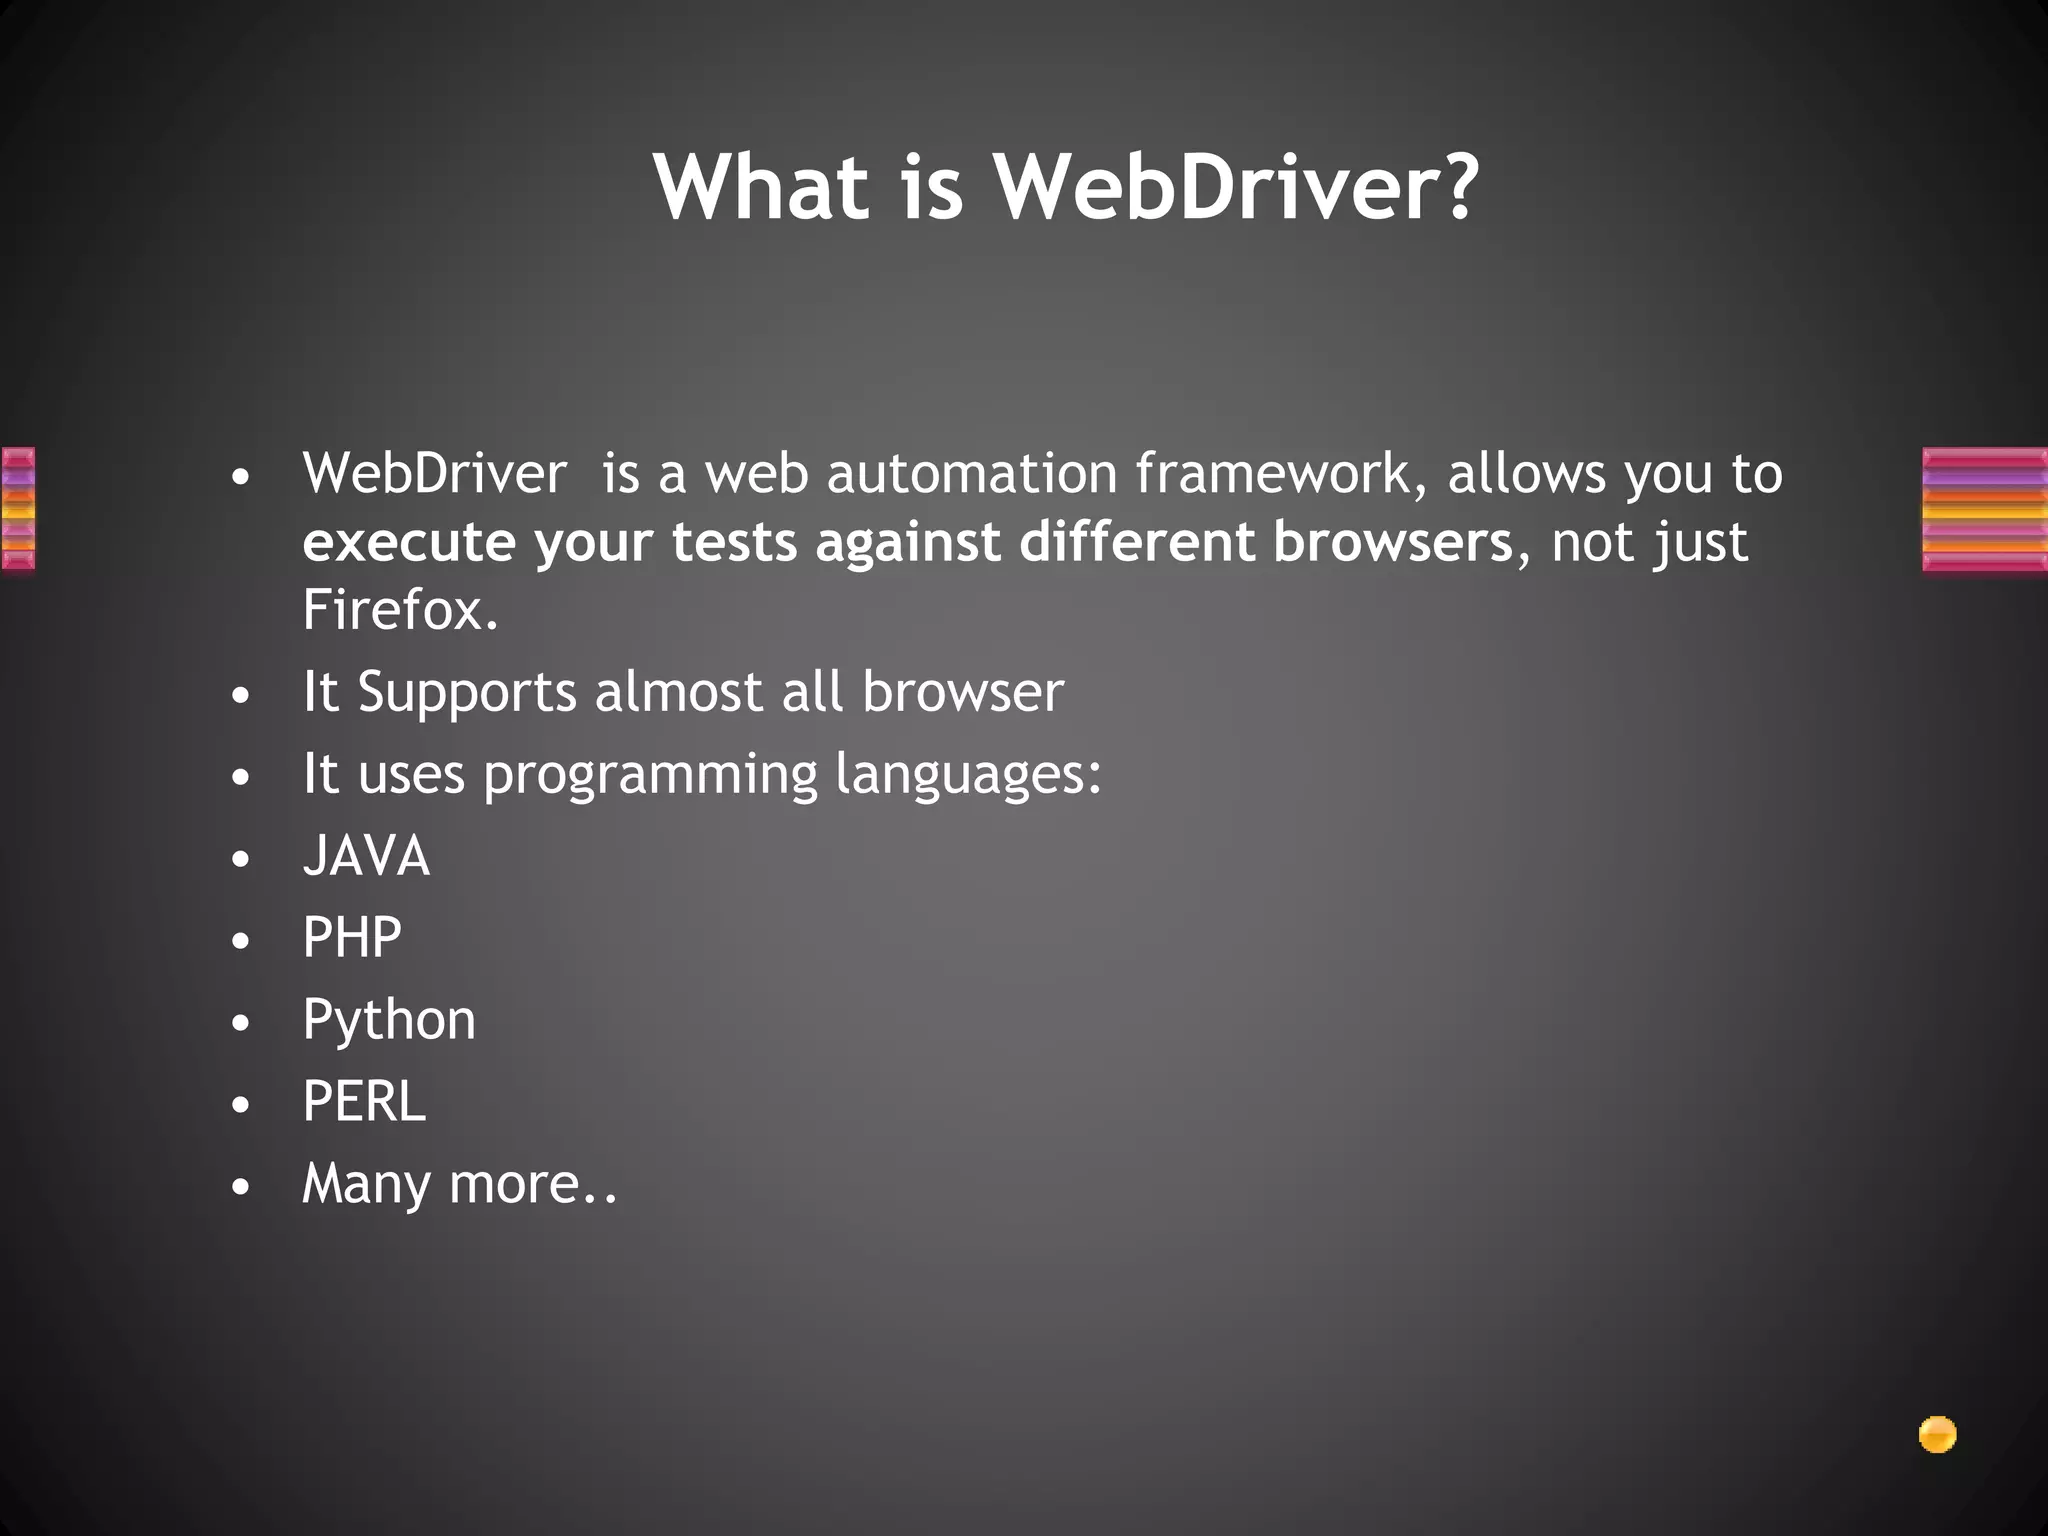
WebDriver is a web automation framework that allows testing across different browsers. It supports many programming languages like Java, PHP, Python. The document provides steps to install Java, Eclipse IDE, Selenium Java client driver and configure Eclipse to use WebDriver. It includes an example code to launch Firefox, get and verify page title, and close the browser. WebDriver provides useful get commands like get(), getTitle(), getPageSource(), getCurrentUrl(), getText().


