Downloaded 53 times

![Uploading a file with PHP
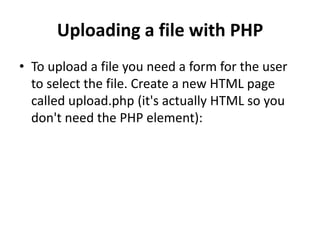
• Then create upload2.php to process the file:
echo "<pre>";
print_r($_FILES);
echo "</pre>";
$oldname=$_FILES["file01"]["name"];
$tempname=$_FILES["file01"]["tmp_name"];
move_uploaded_file($tempname, $oldname);](https://image.slidesharecdn.com/uploading-20a-20file-20with-20php-130616083240-phpapp01/85/Uploading-a-file-with-php-4-320.jpg)

![Uploading a file with PHP
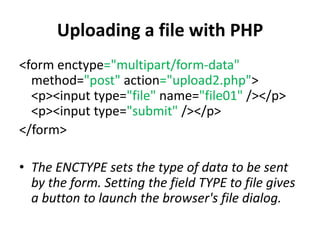
• You can improve this upload page a lot:
$type=$_FILES['file01']['type'];
$size=$_FILES['file01']['size'];
$oldname=$_FILES['file01']['name'];
$tempname=$_FILES['file01']['tmp_name'];
if($size<=50000 && $type=="text/html") {
if (move_uploaded_file($tempname, $oldname)){
echo "<p>The file was uploaded successfully</p>";
} else {
echo "<p>Sorry, no good</p>";
}
} else {
echo "<p>Sorry that file cannot be uploaded.</p>";
}](https://image.slidesharecdn.com/uploading-20a-20file-20with-20php-130616083240-phpapp01/85/Uploading-a-file-with-php-7-320.jpg)

![Uploading a file with PHP
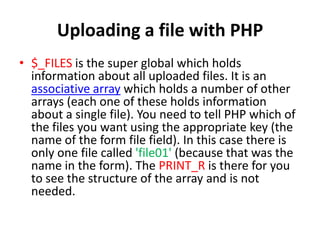
• Then create upload2.php to process the file:
echo "<pre>";
print_r($_FILES);
echo "</pre>";
$oldname=$_FILES["file01"]["name"];
$tempname=$_FILES["file01"]["tmp_name"];
move_uploaded_file($tempname, $oldname);](https://image.slidesharecdn.com/uploading-20a-20file-20with-20php-130616083240-phpapp01/75/Uploading-a-file-with-php-4-2048.jpg)
![Uploading a file with PHP
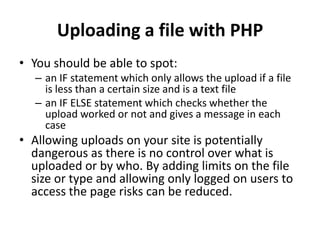
• You can improve this upload page a lot:
$type=$_FILES['file01']['type'];
$size=$_FILES['file01']['size'];
$oldname=$_FILES['file01']['name'];
$tempname=$_FILES['file01']['tmp_name'];
if($size<=50000 && $type=="text/html") {
if (move_uploaded_file($tempname, $oldname)){
echo "<p>The file was uploaded successfully</p>";
} else {
echo "<p>Sorry, no good</p>";
}
} else {
echo "<p>Sorry that file cannot be uploaded.</p>";
}](https://image.slidesharecdn.com/uploading-20a-20file-20with-20php-130616083240-phpapp01/75/Uploading-a-file-with-php-7-2048.jpg)


This document discusses how to upload files with PHP. It explains that a form with enctype="multipart/form-data" is needed for users to select a file to upload. The file information is stored in the $_FILES superglobal array. The PHP move_uploaded_file() function can then be used to move the temporary file to its permanent location. Validation checks like file size and type limits should be added to prevent potential risks from file uploads.


