Download to read offline


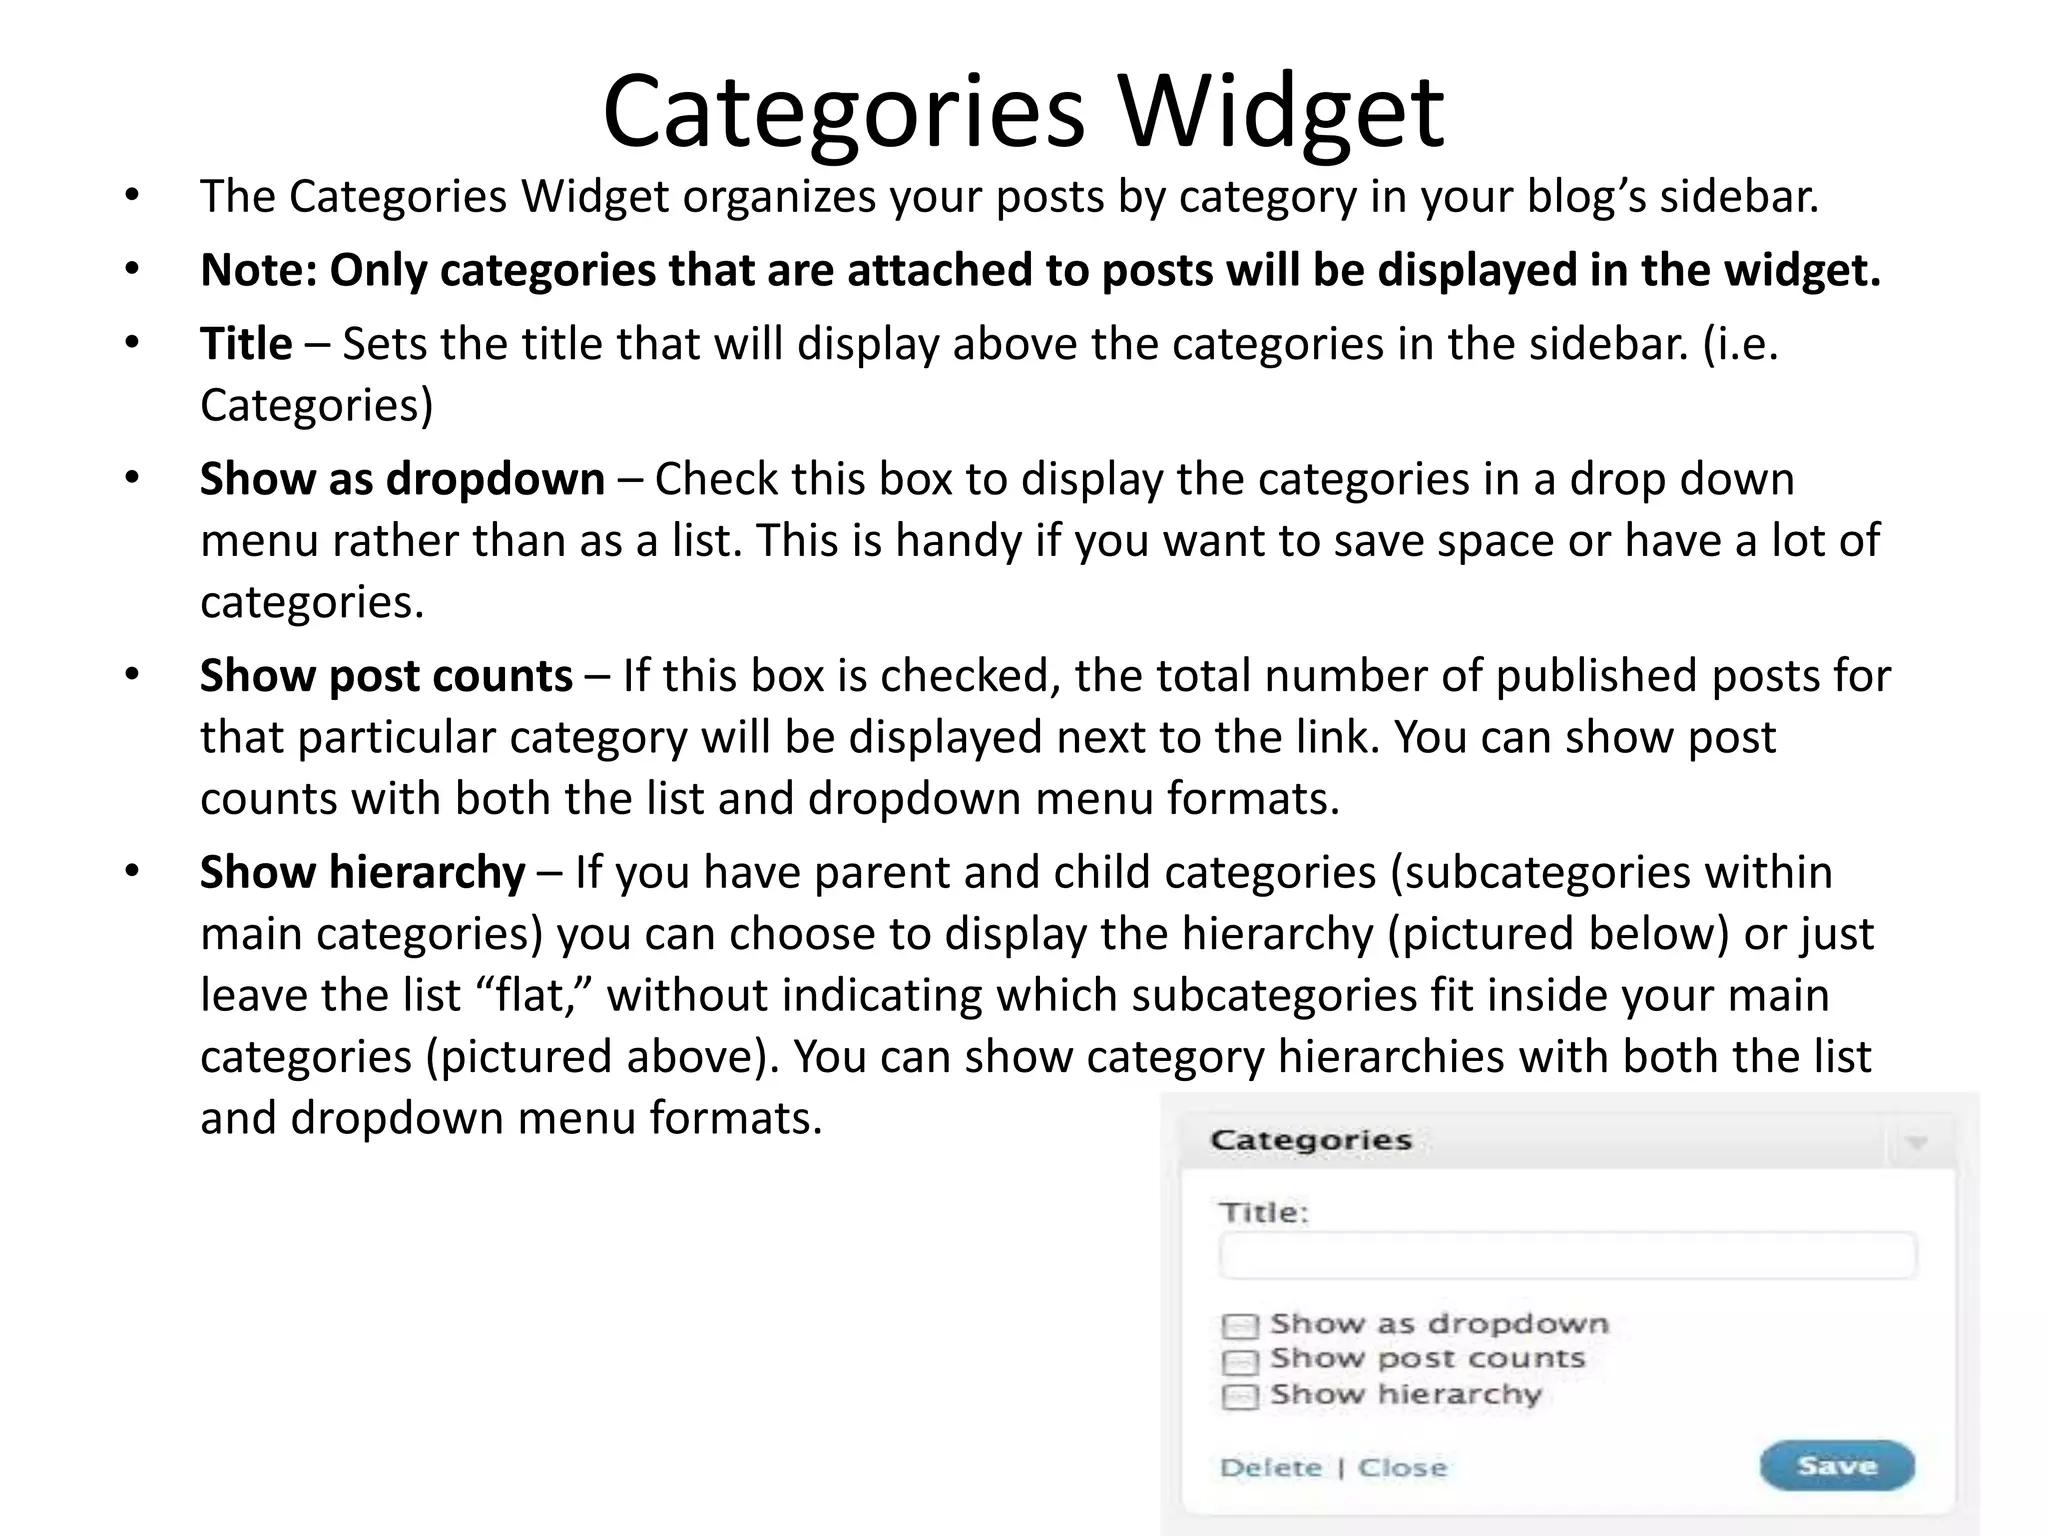

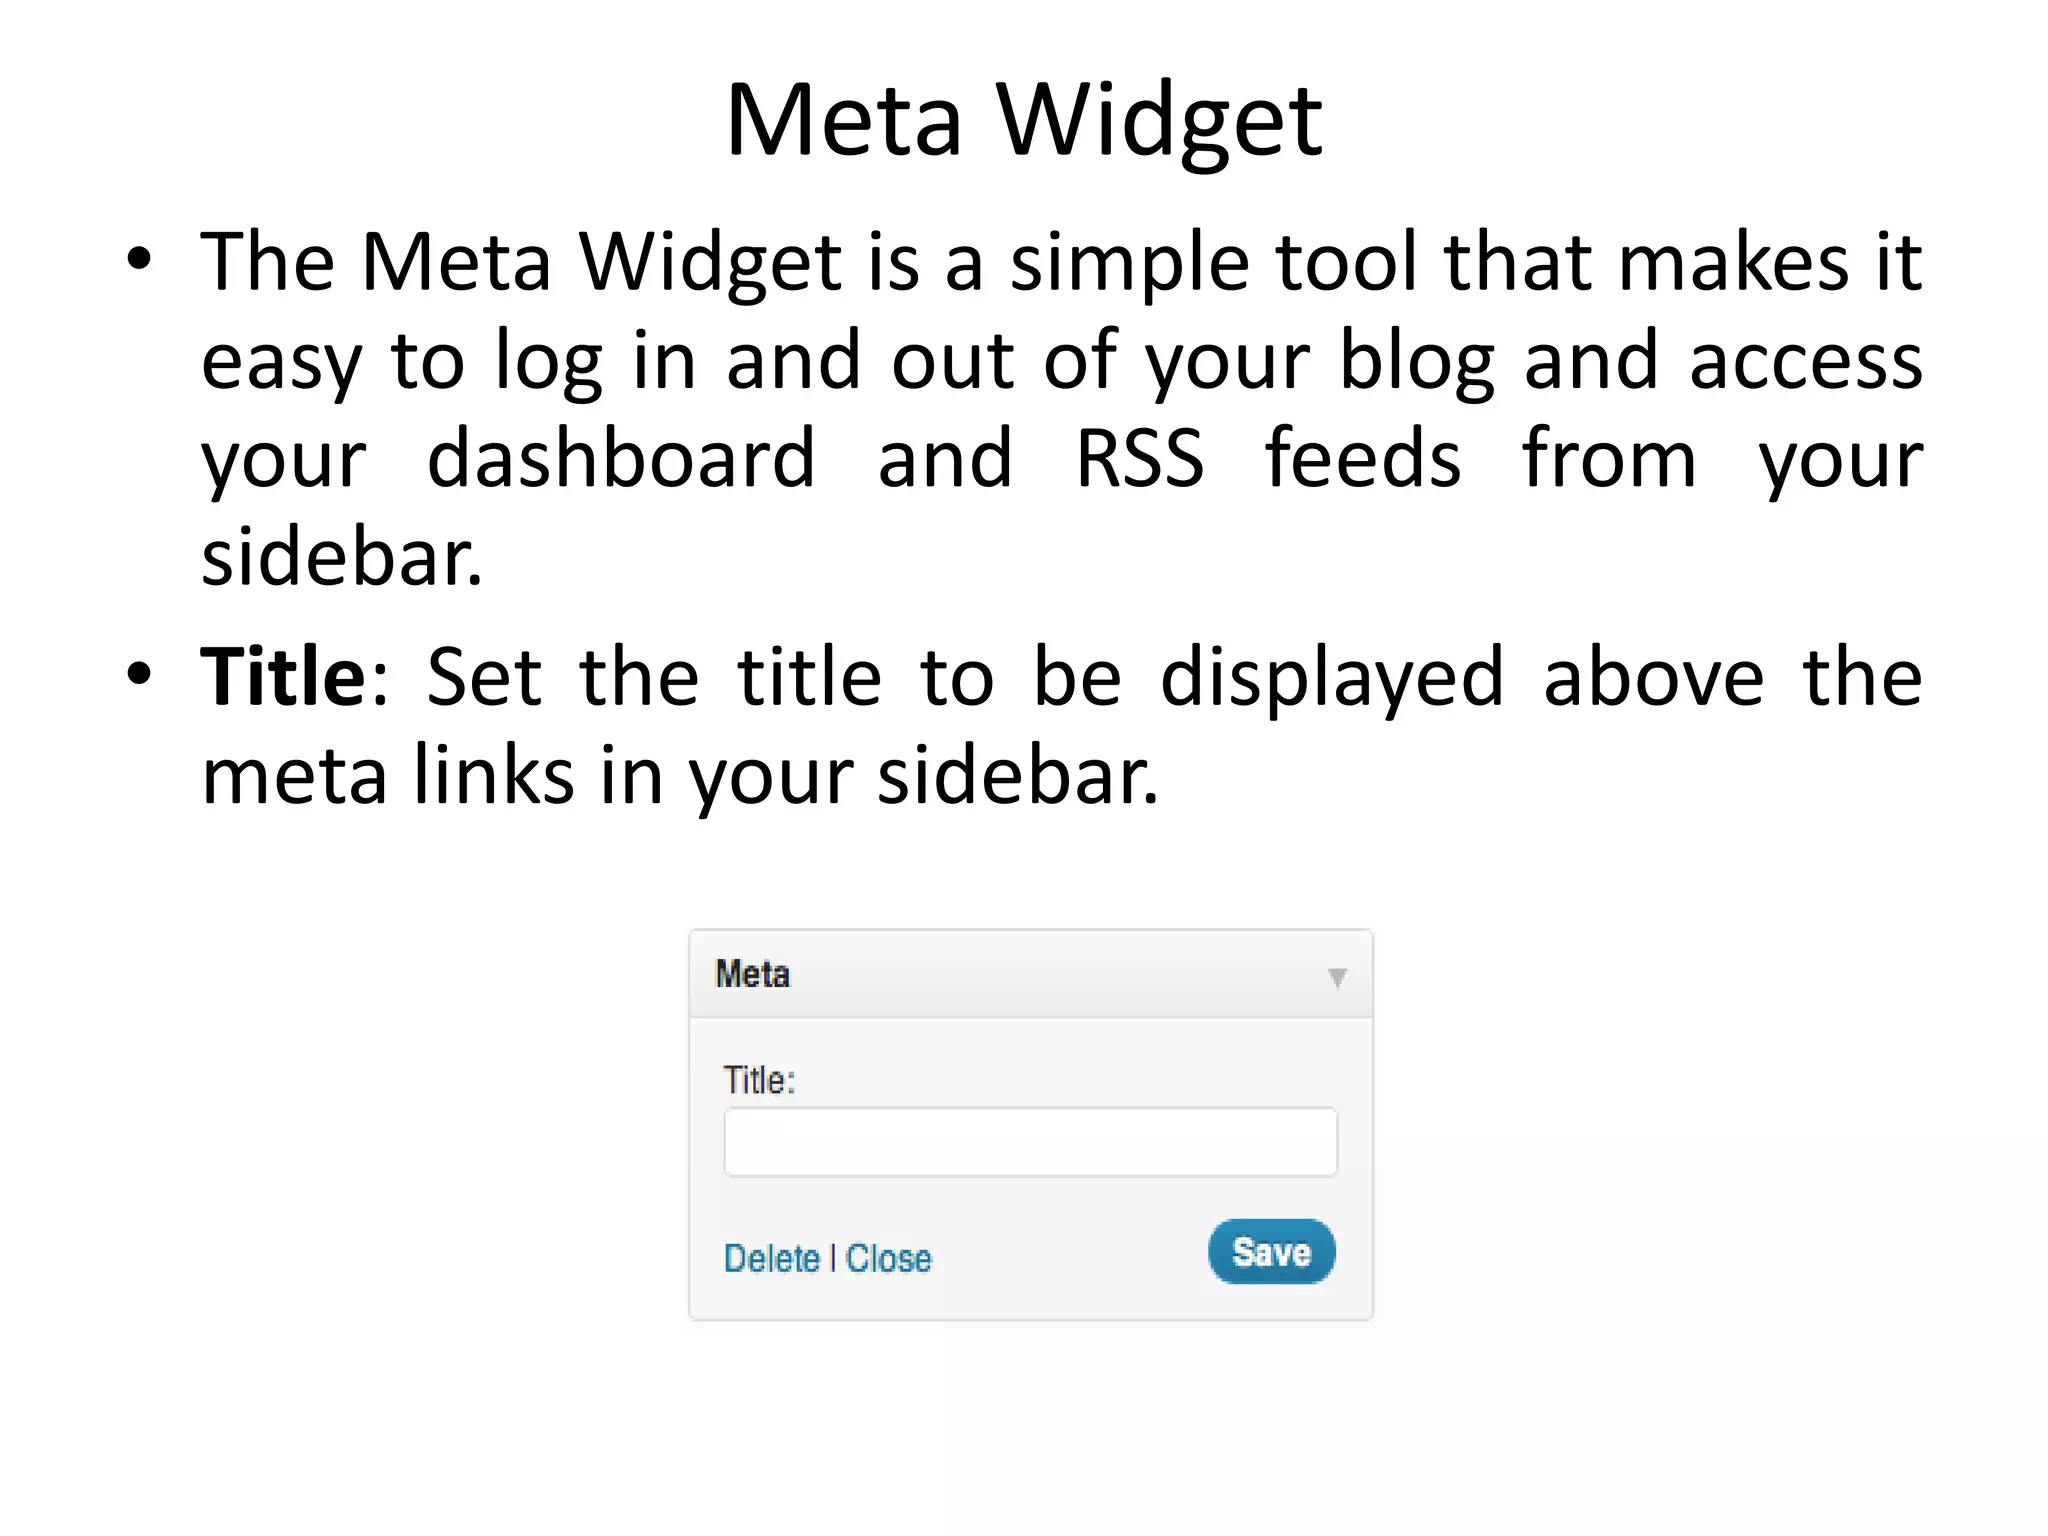
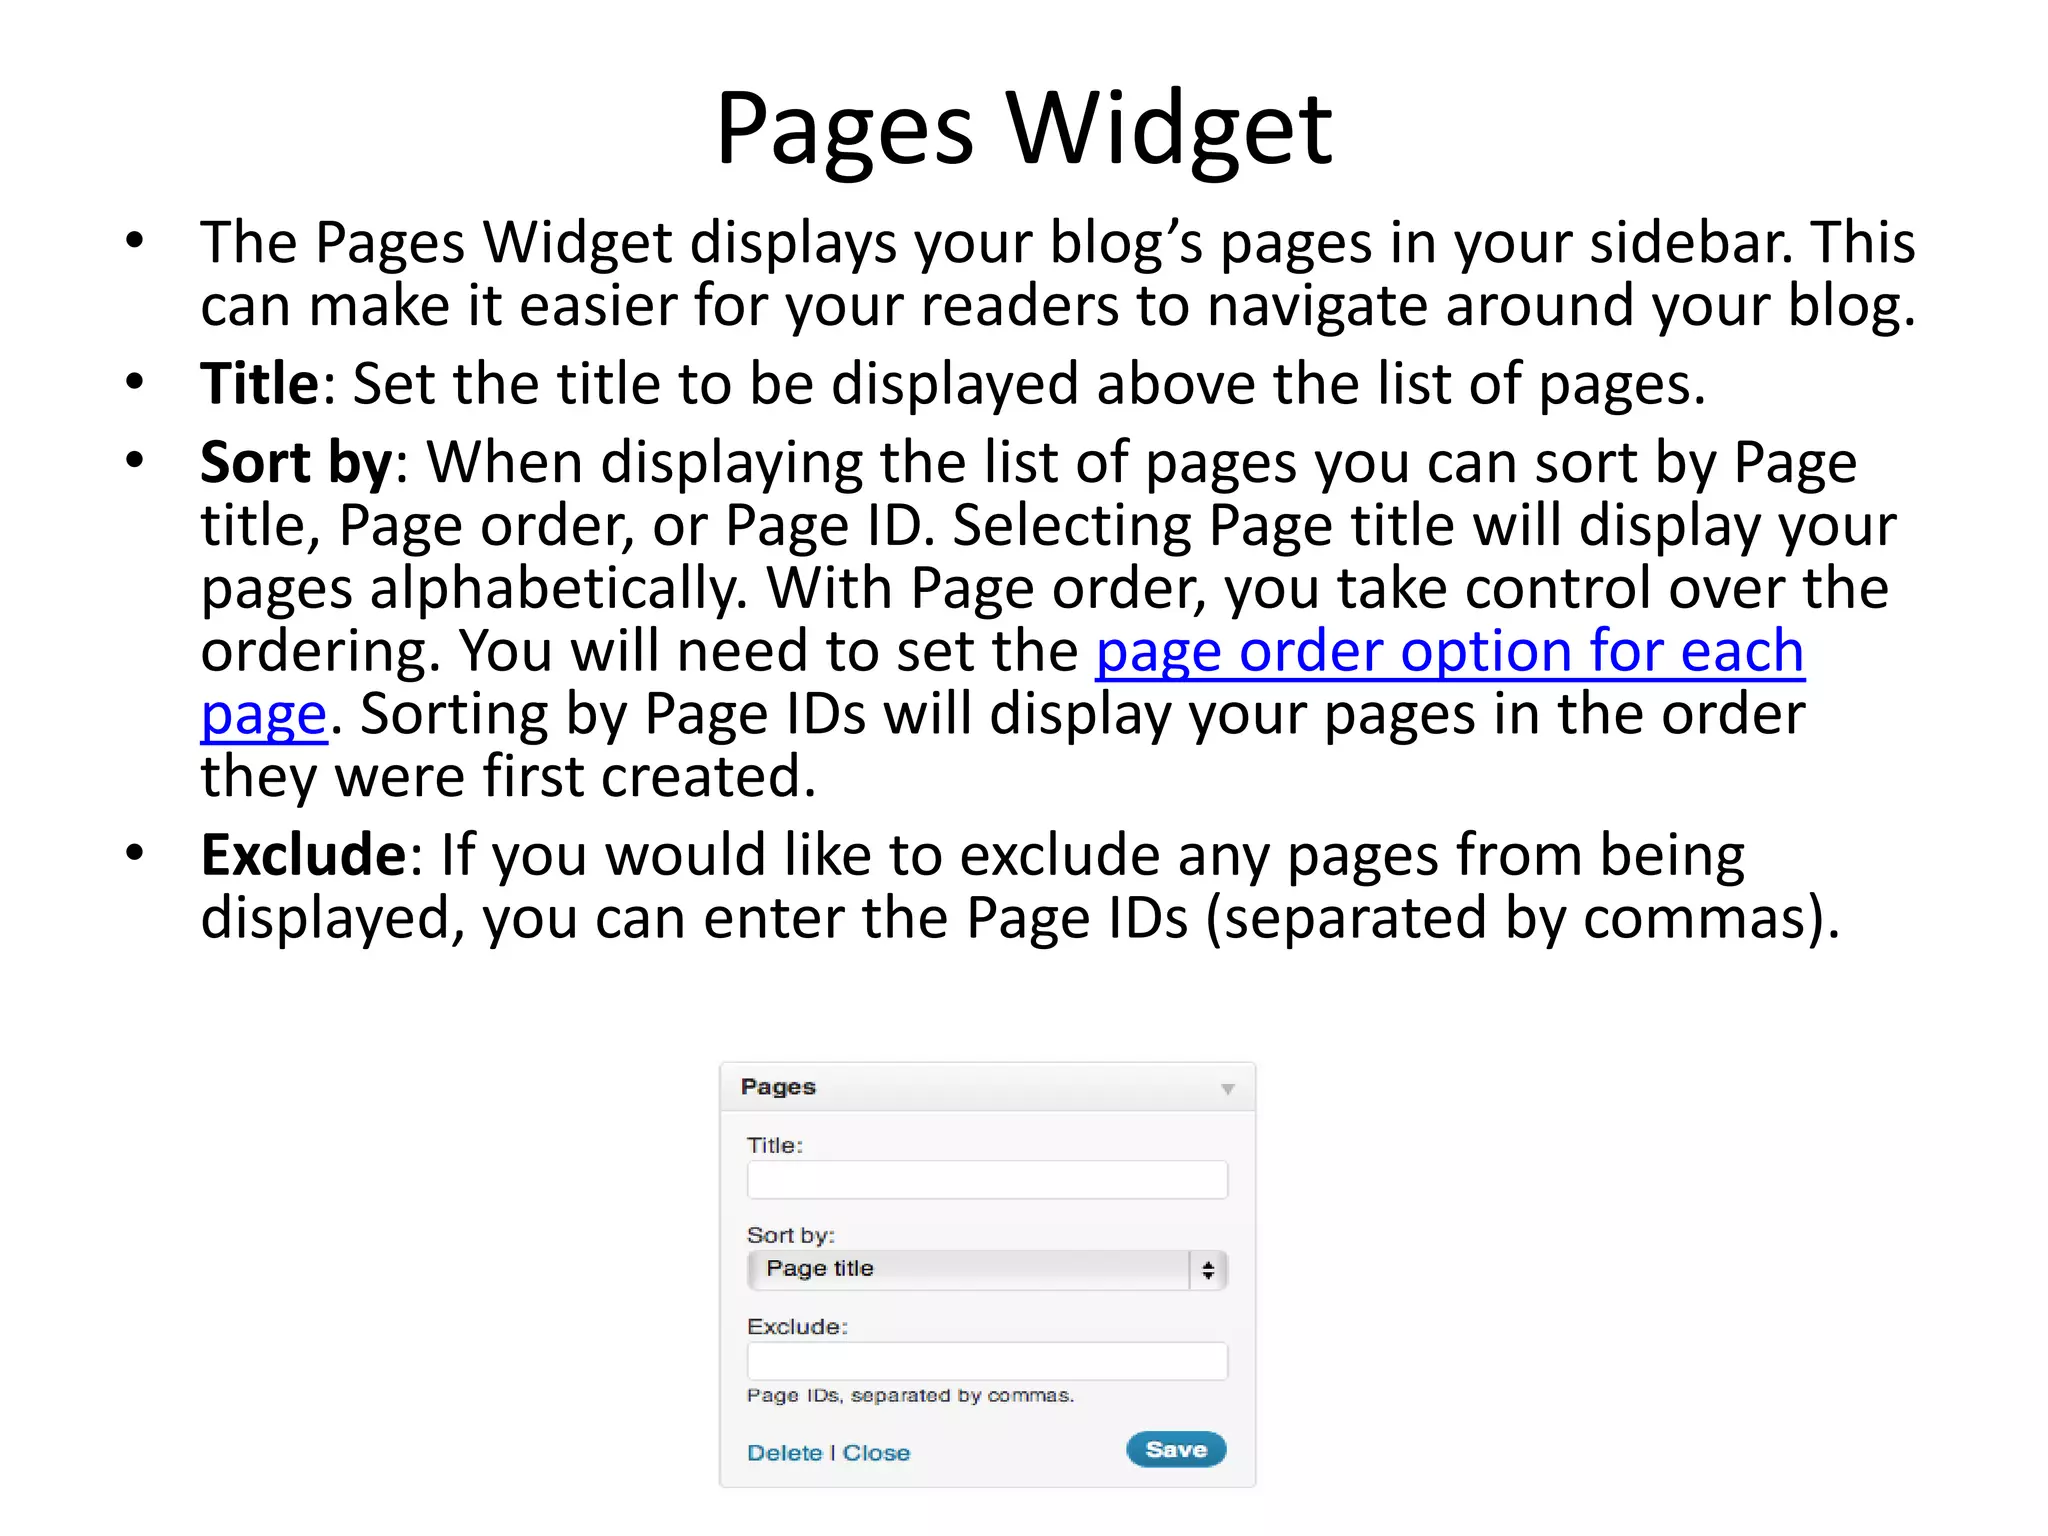
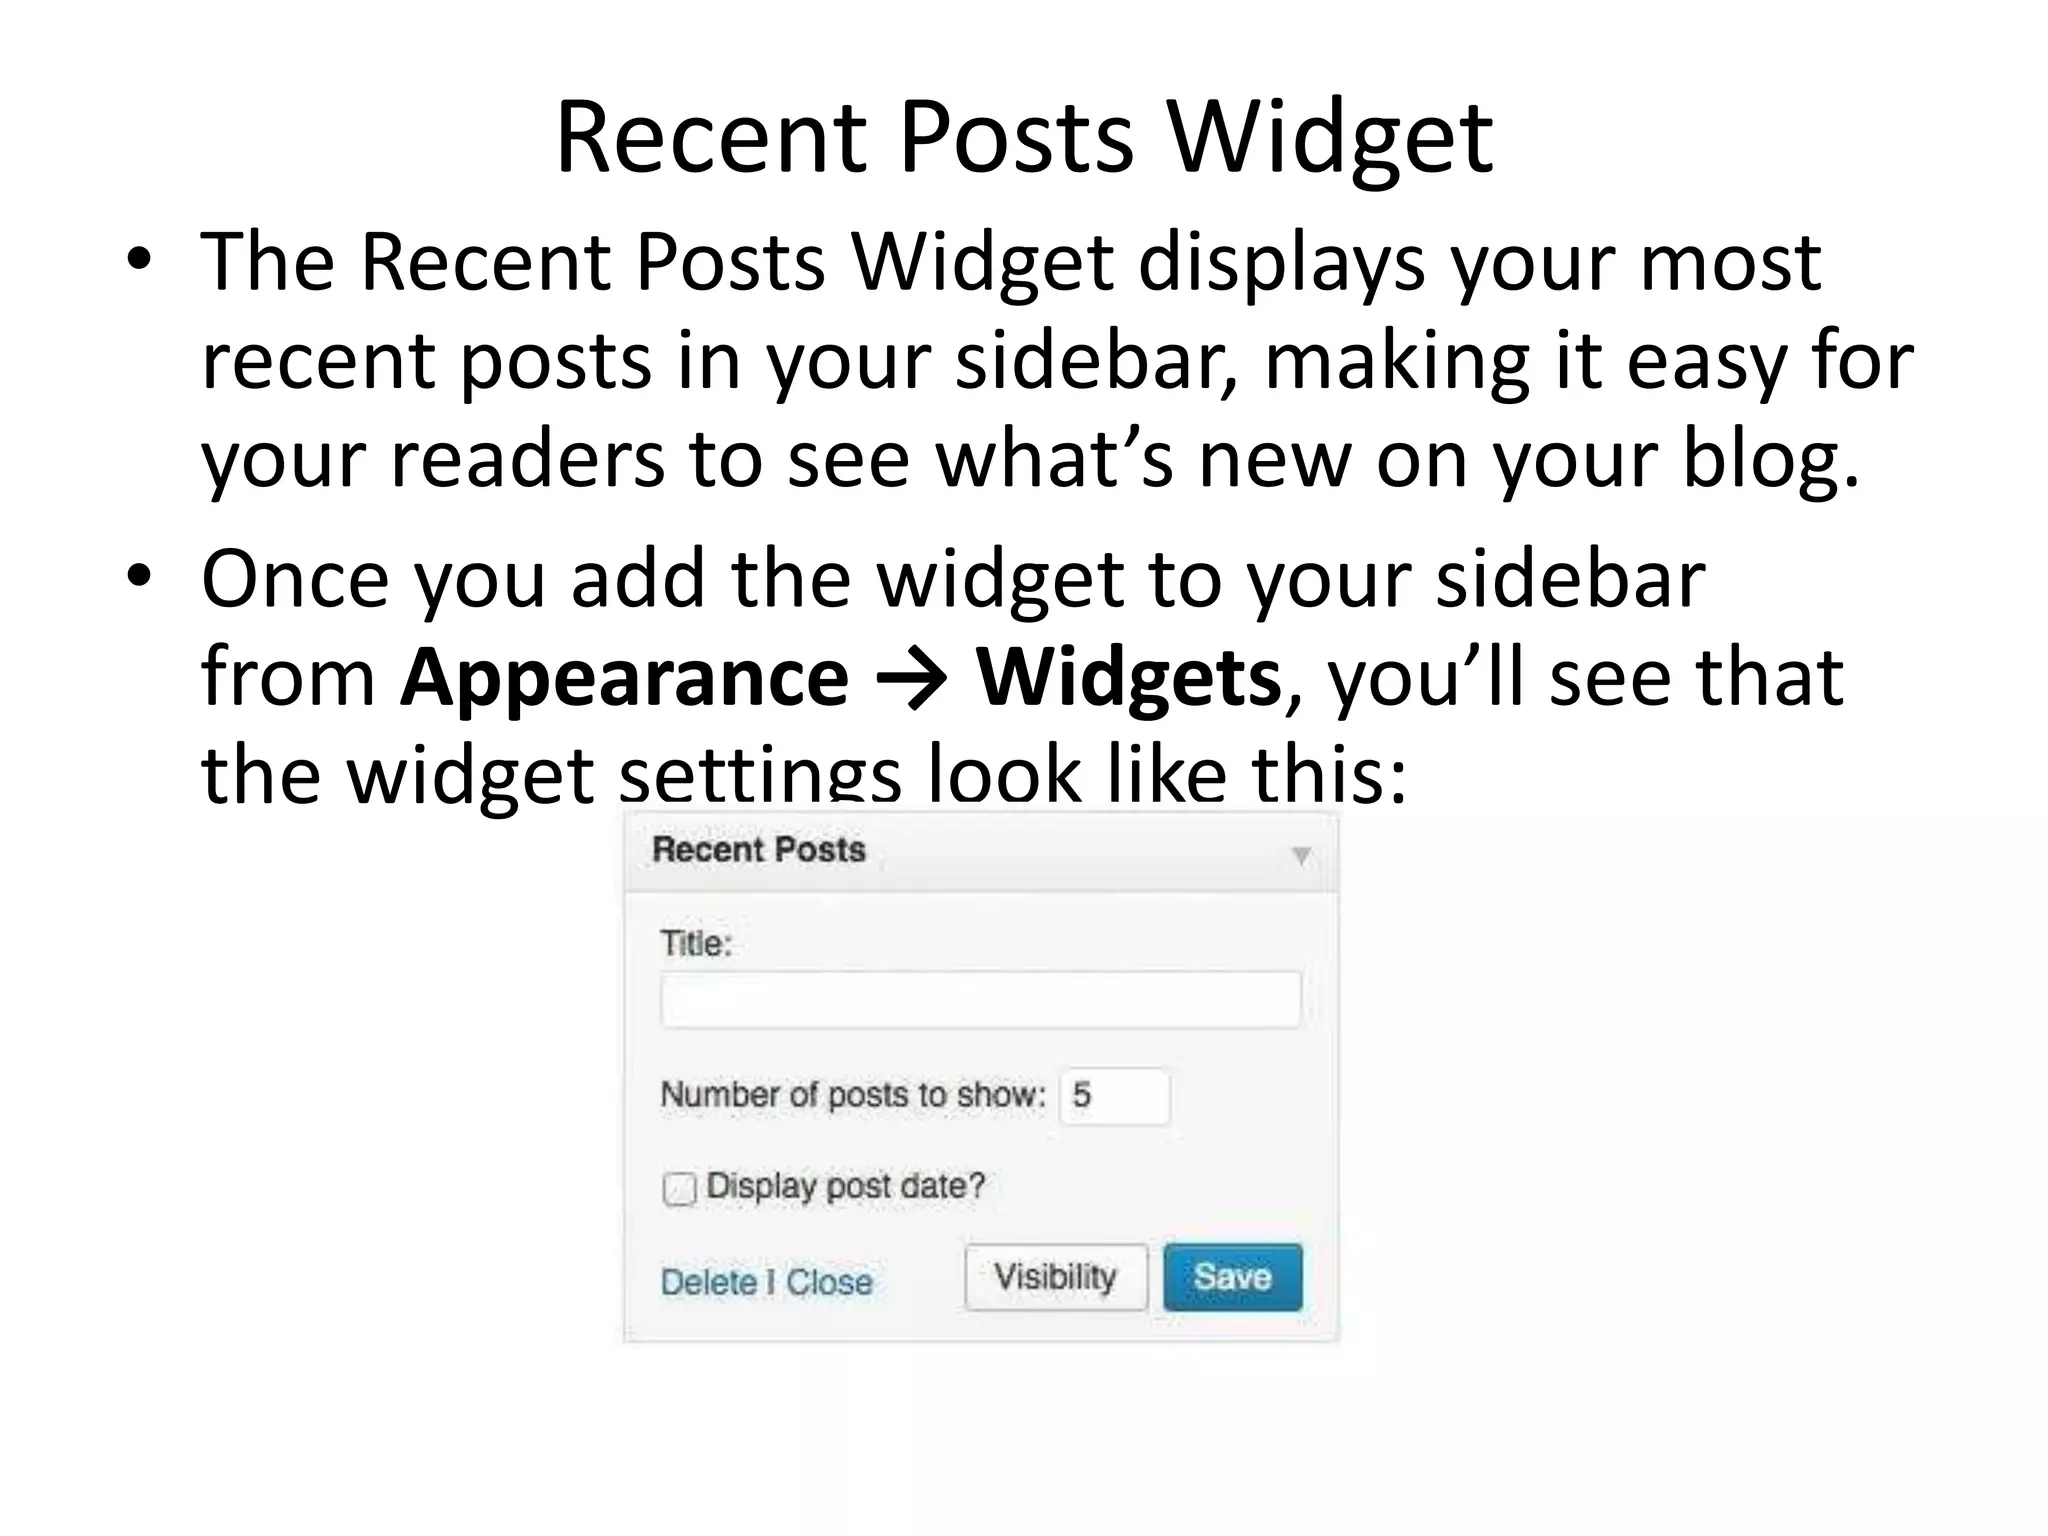

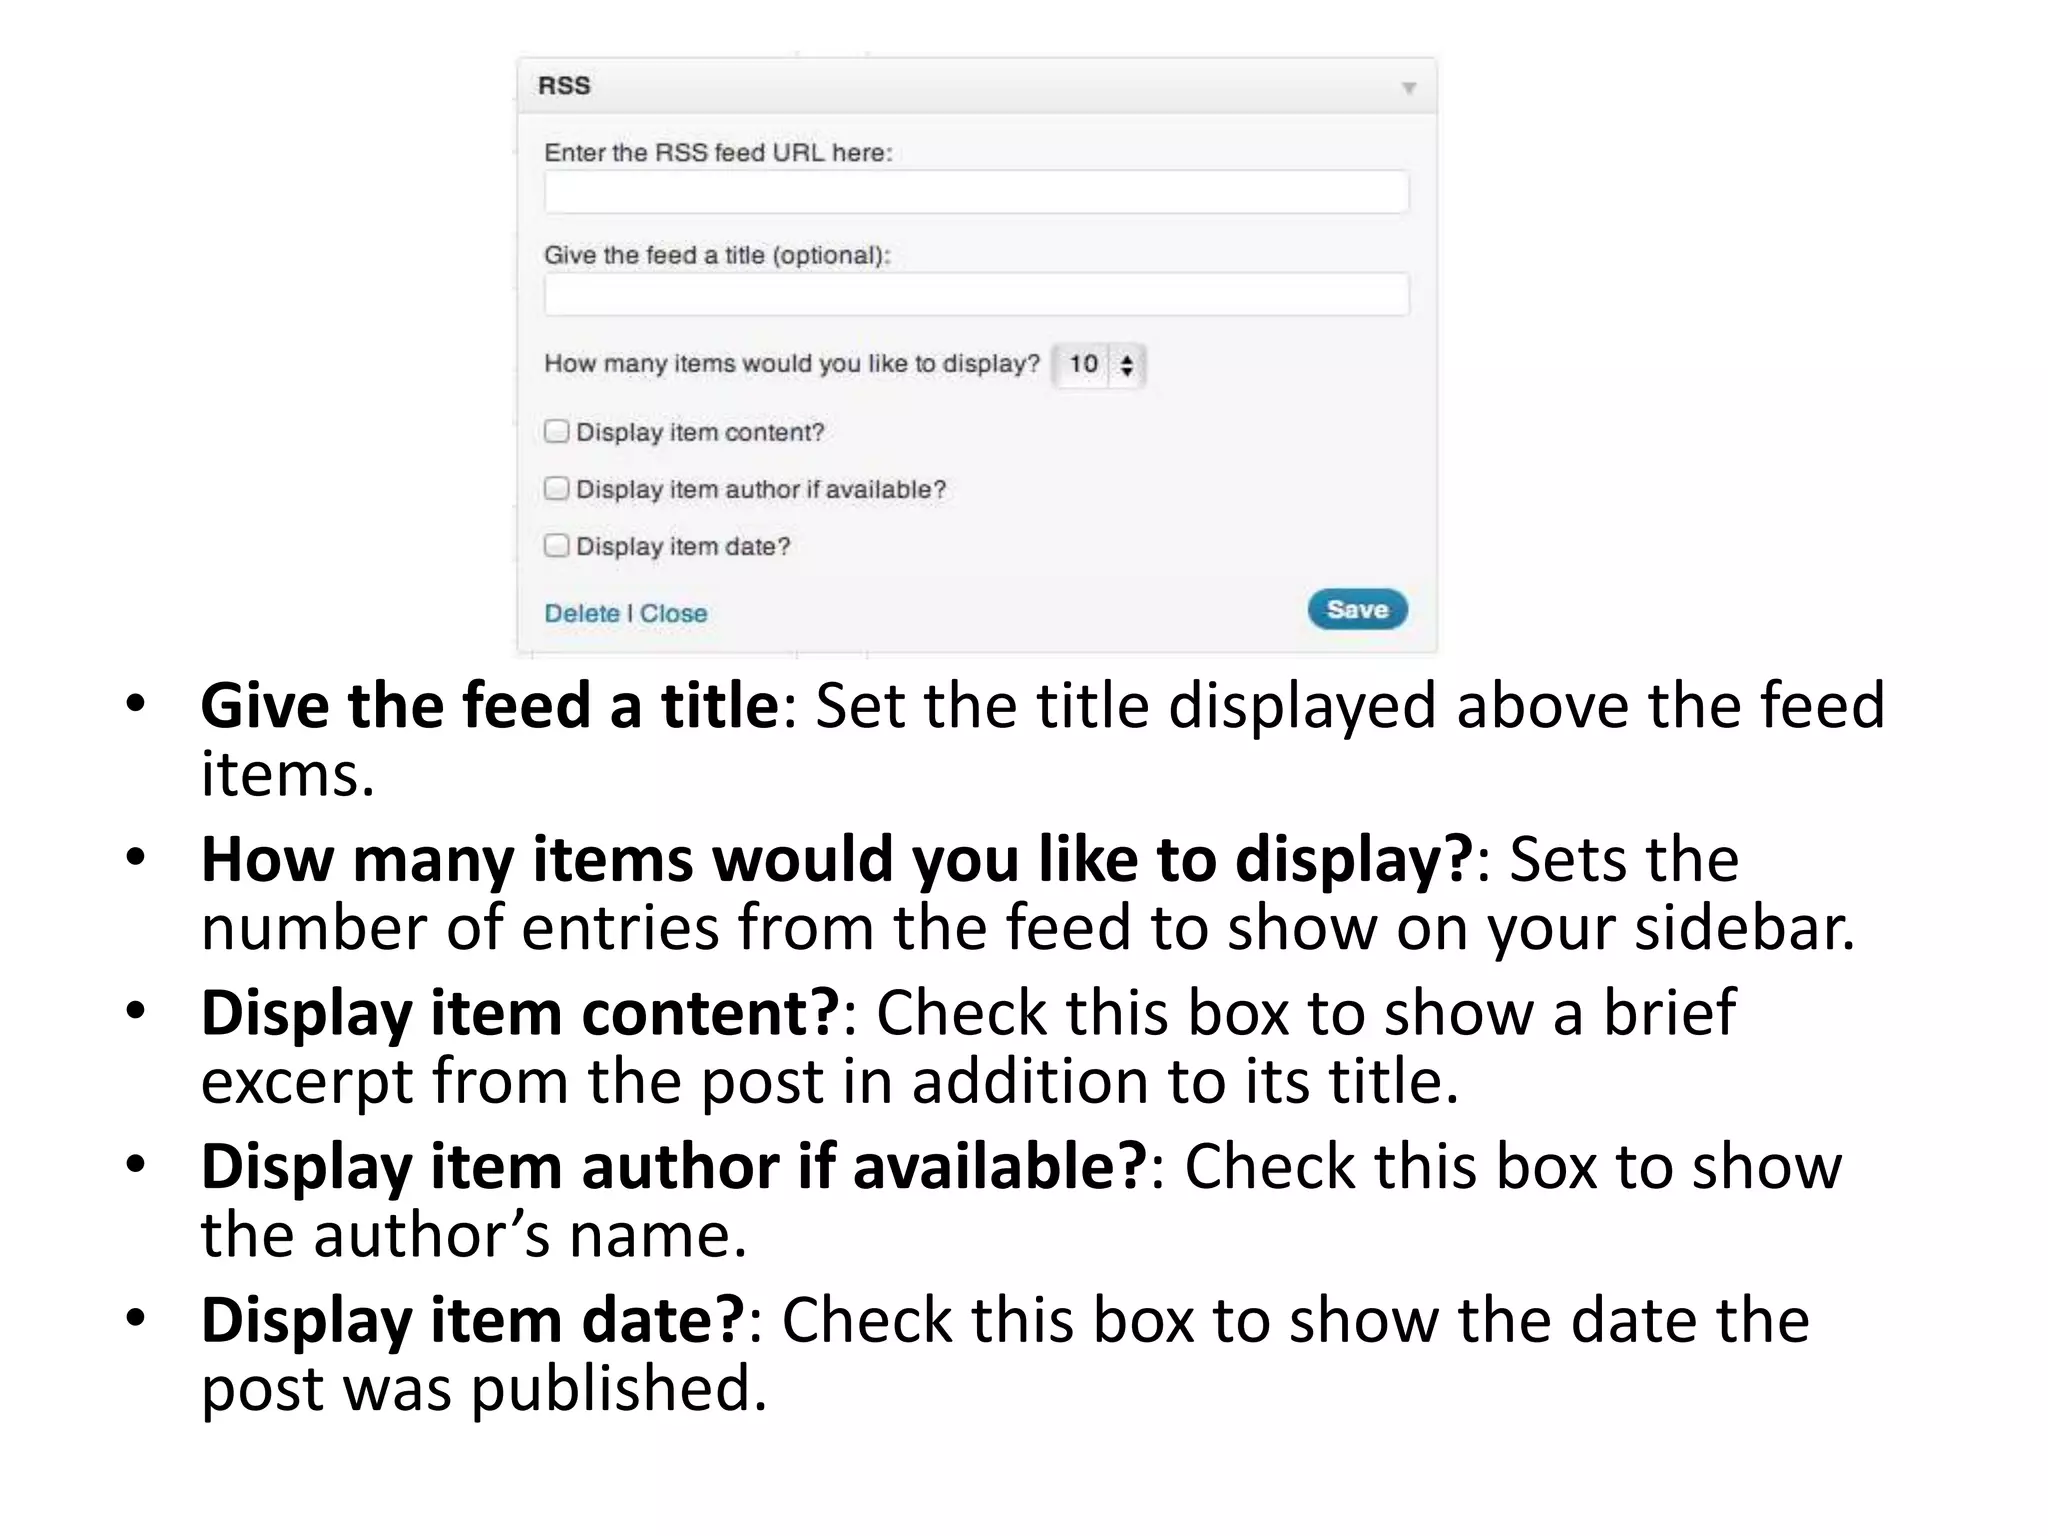
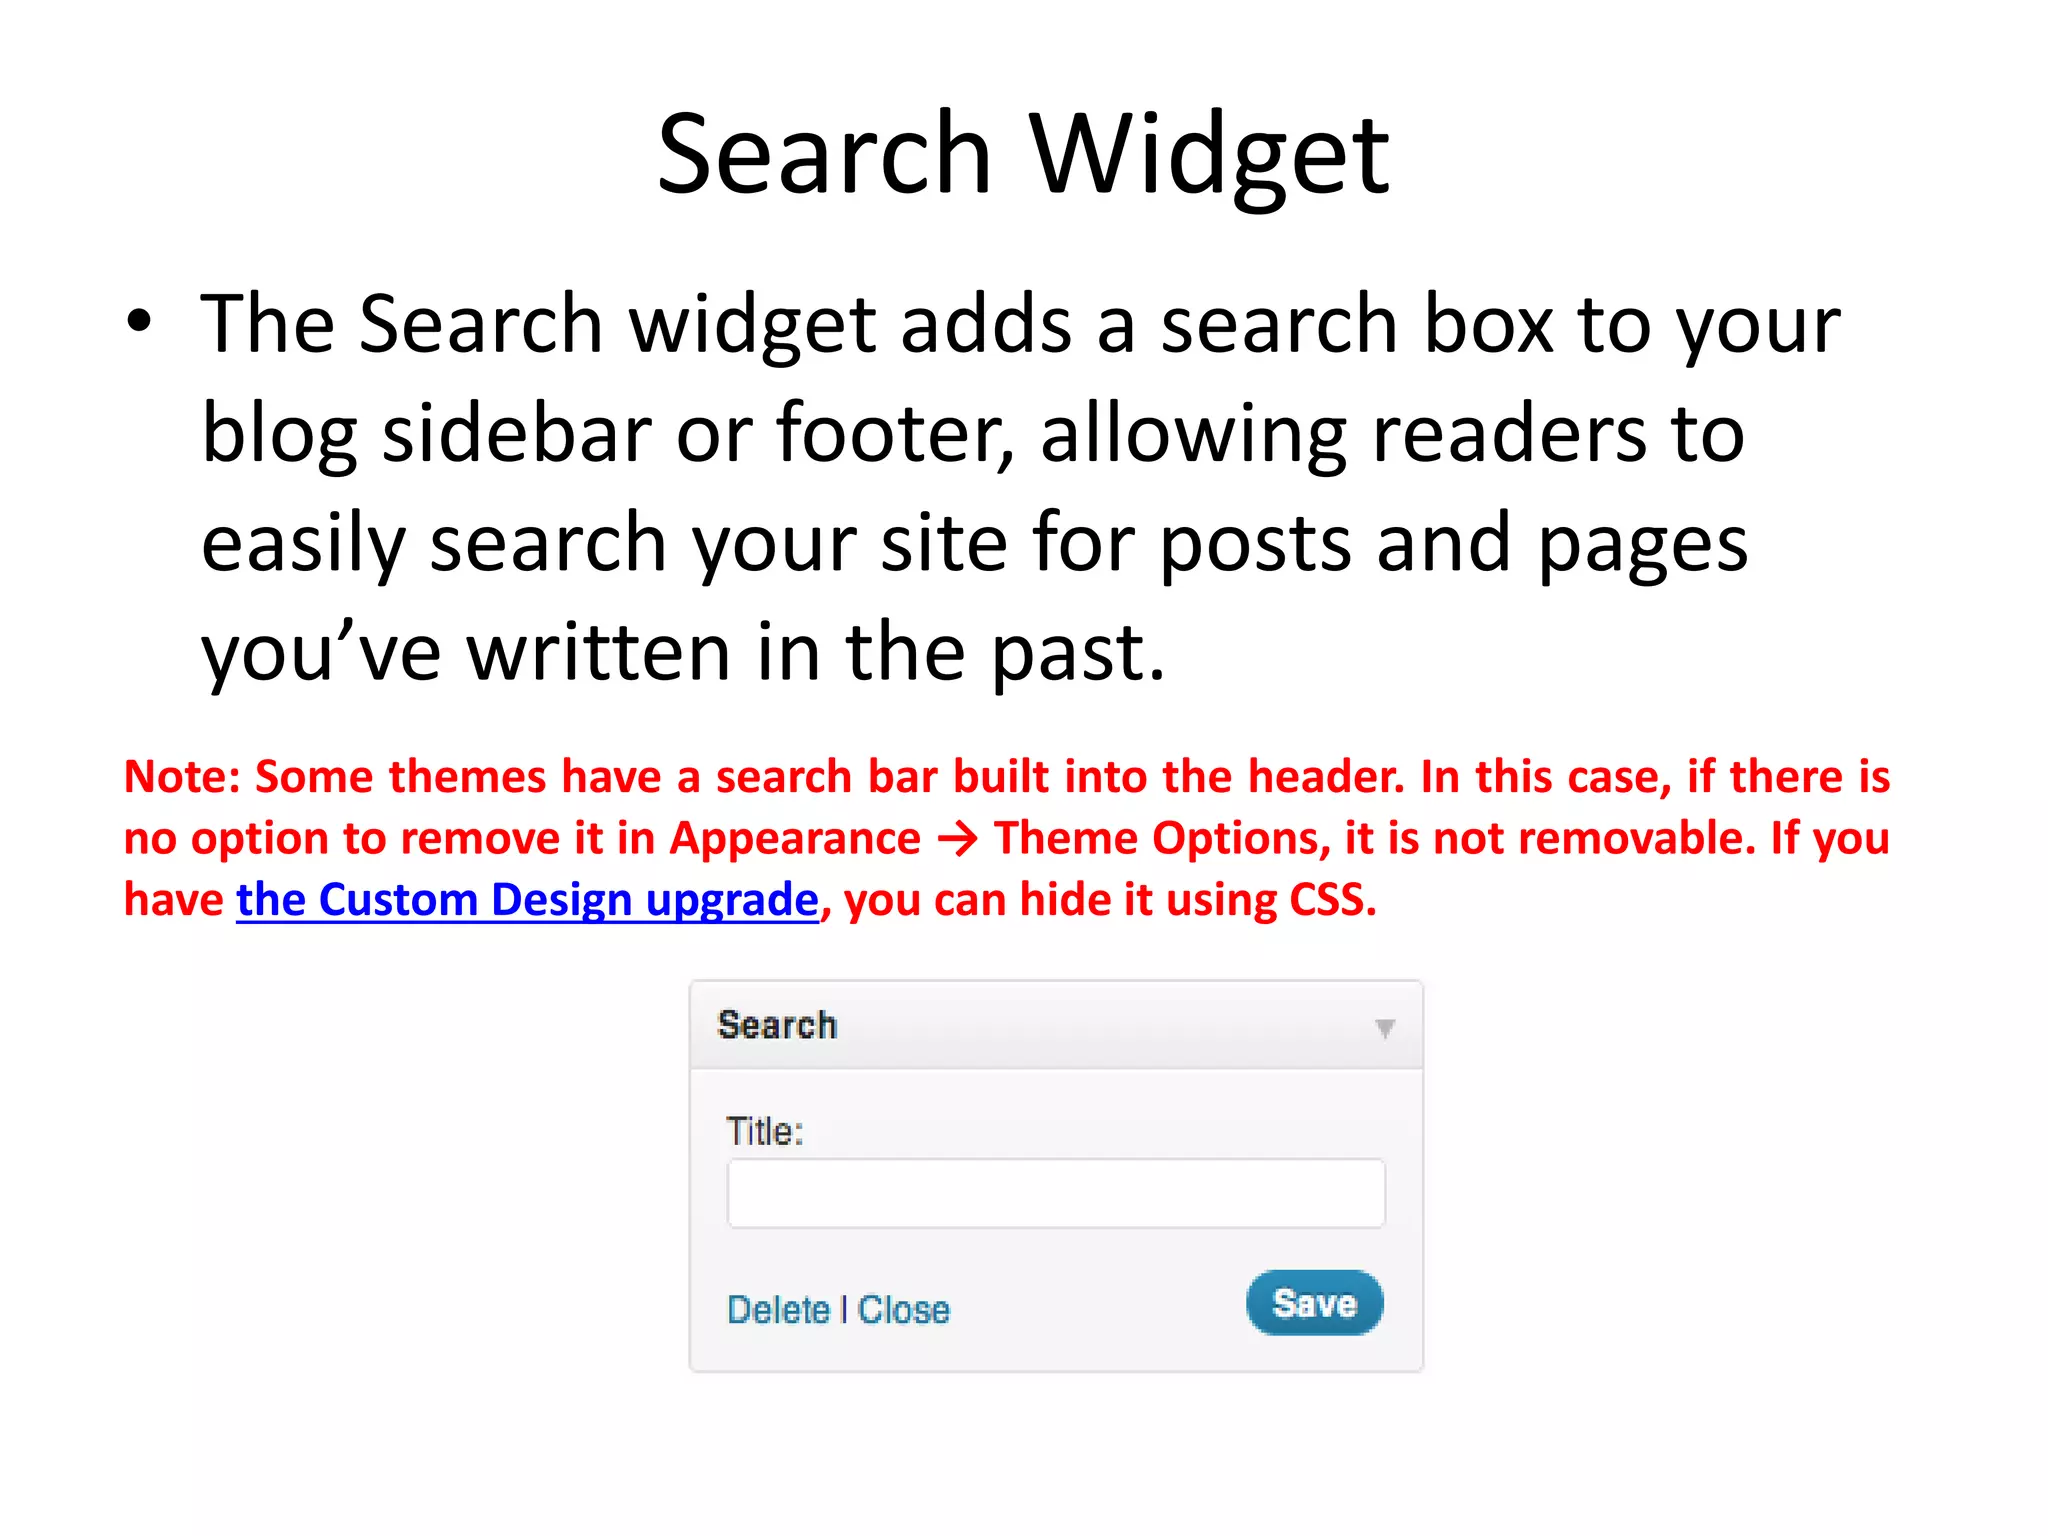
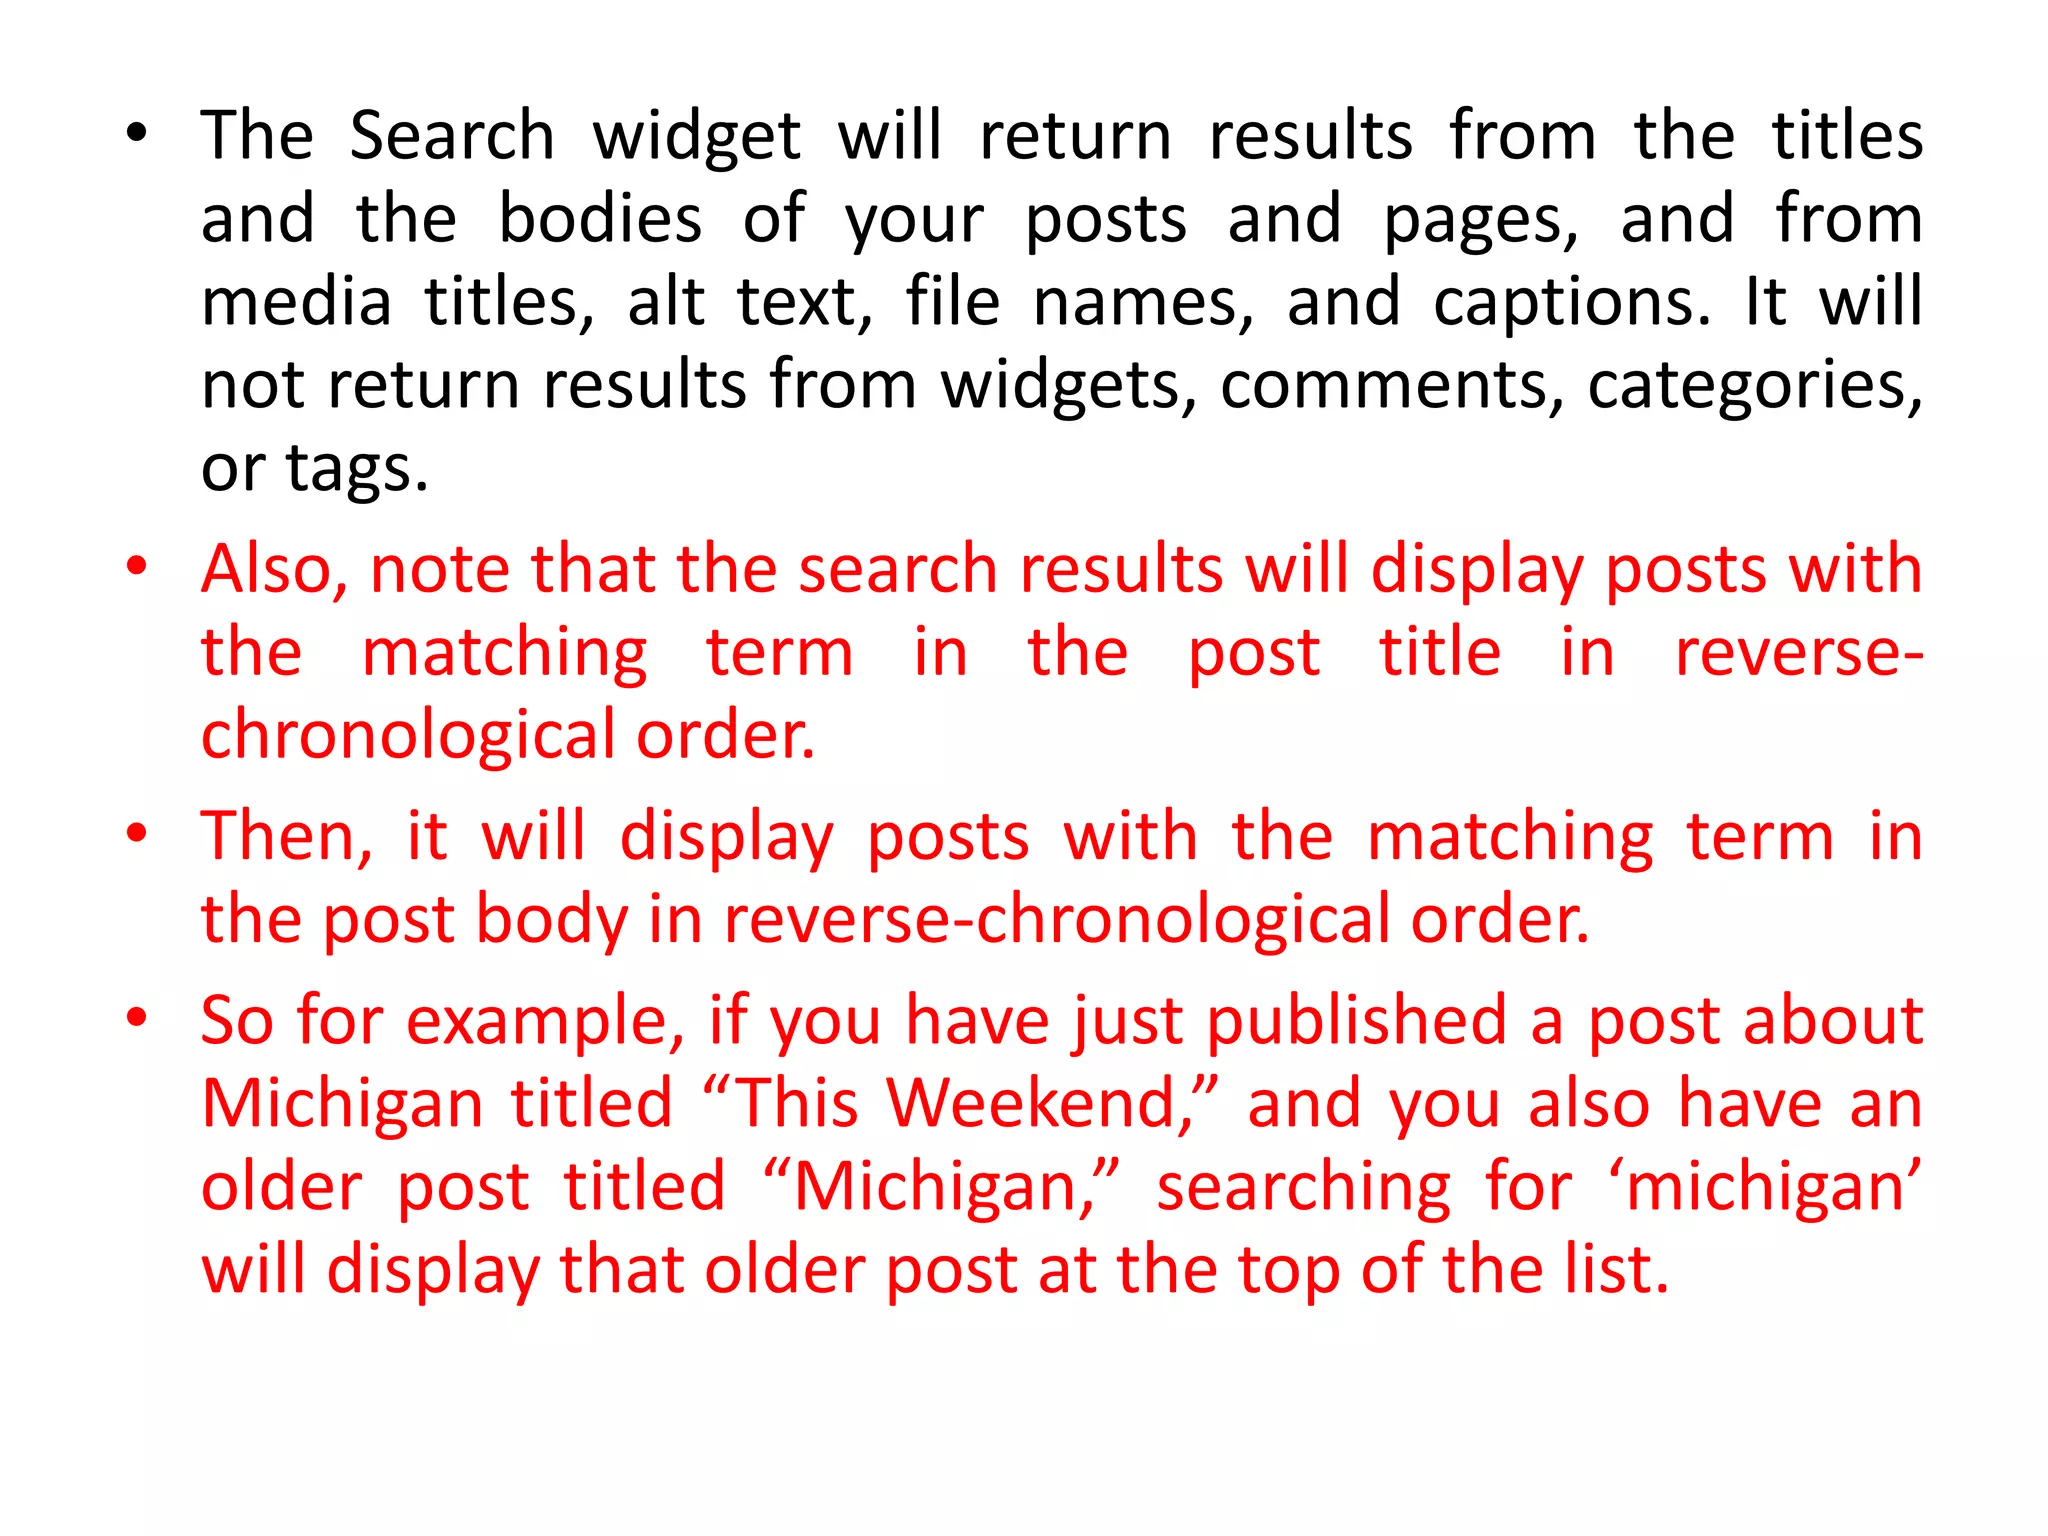
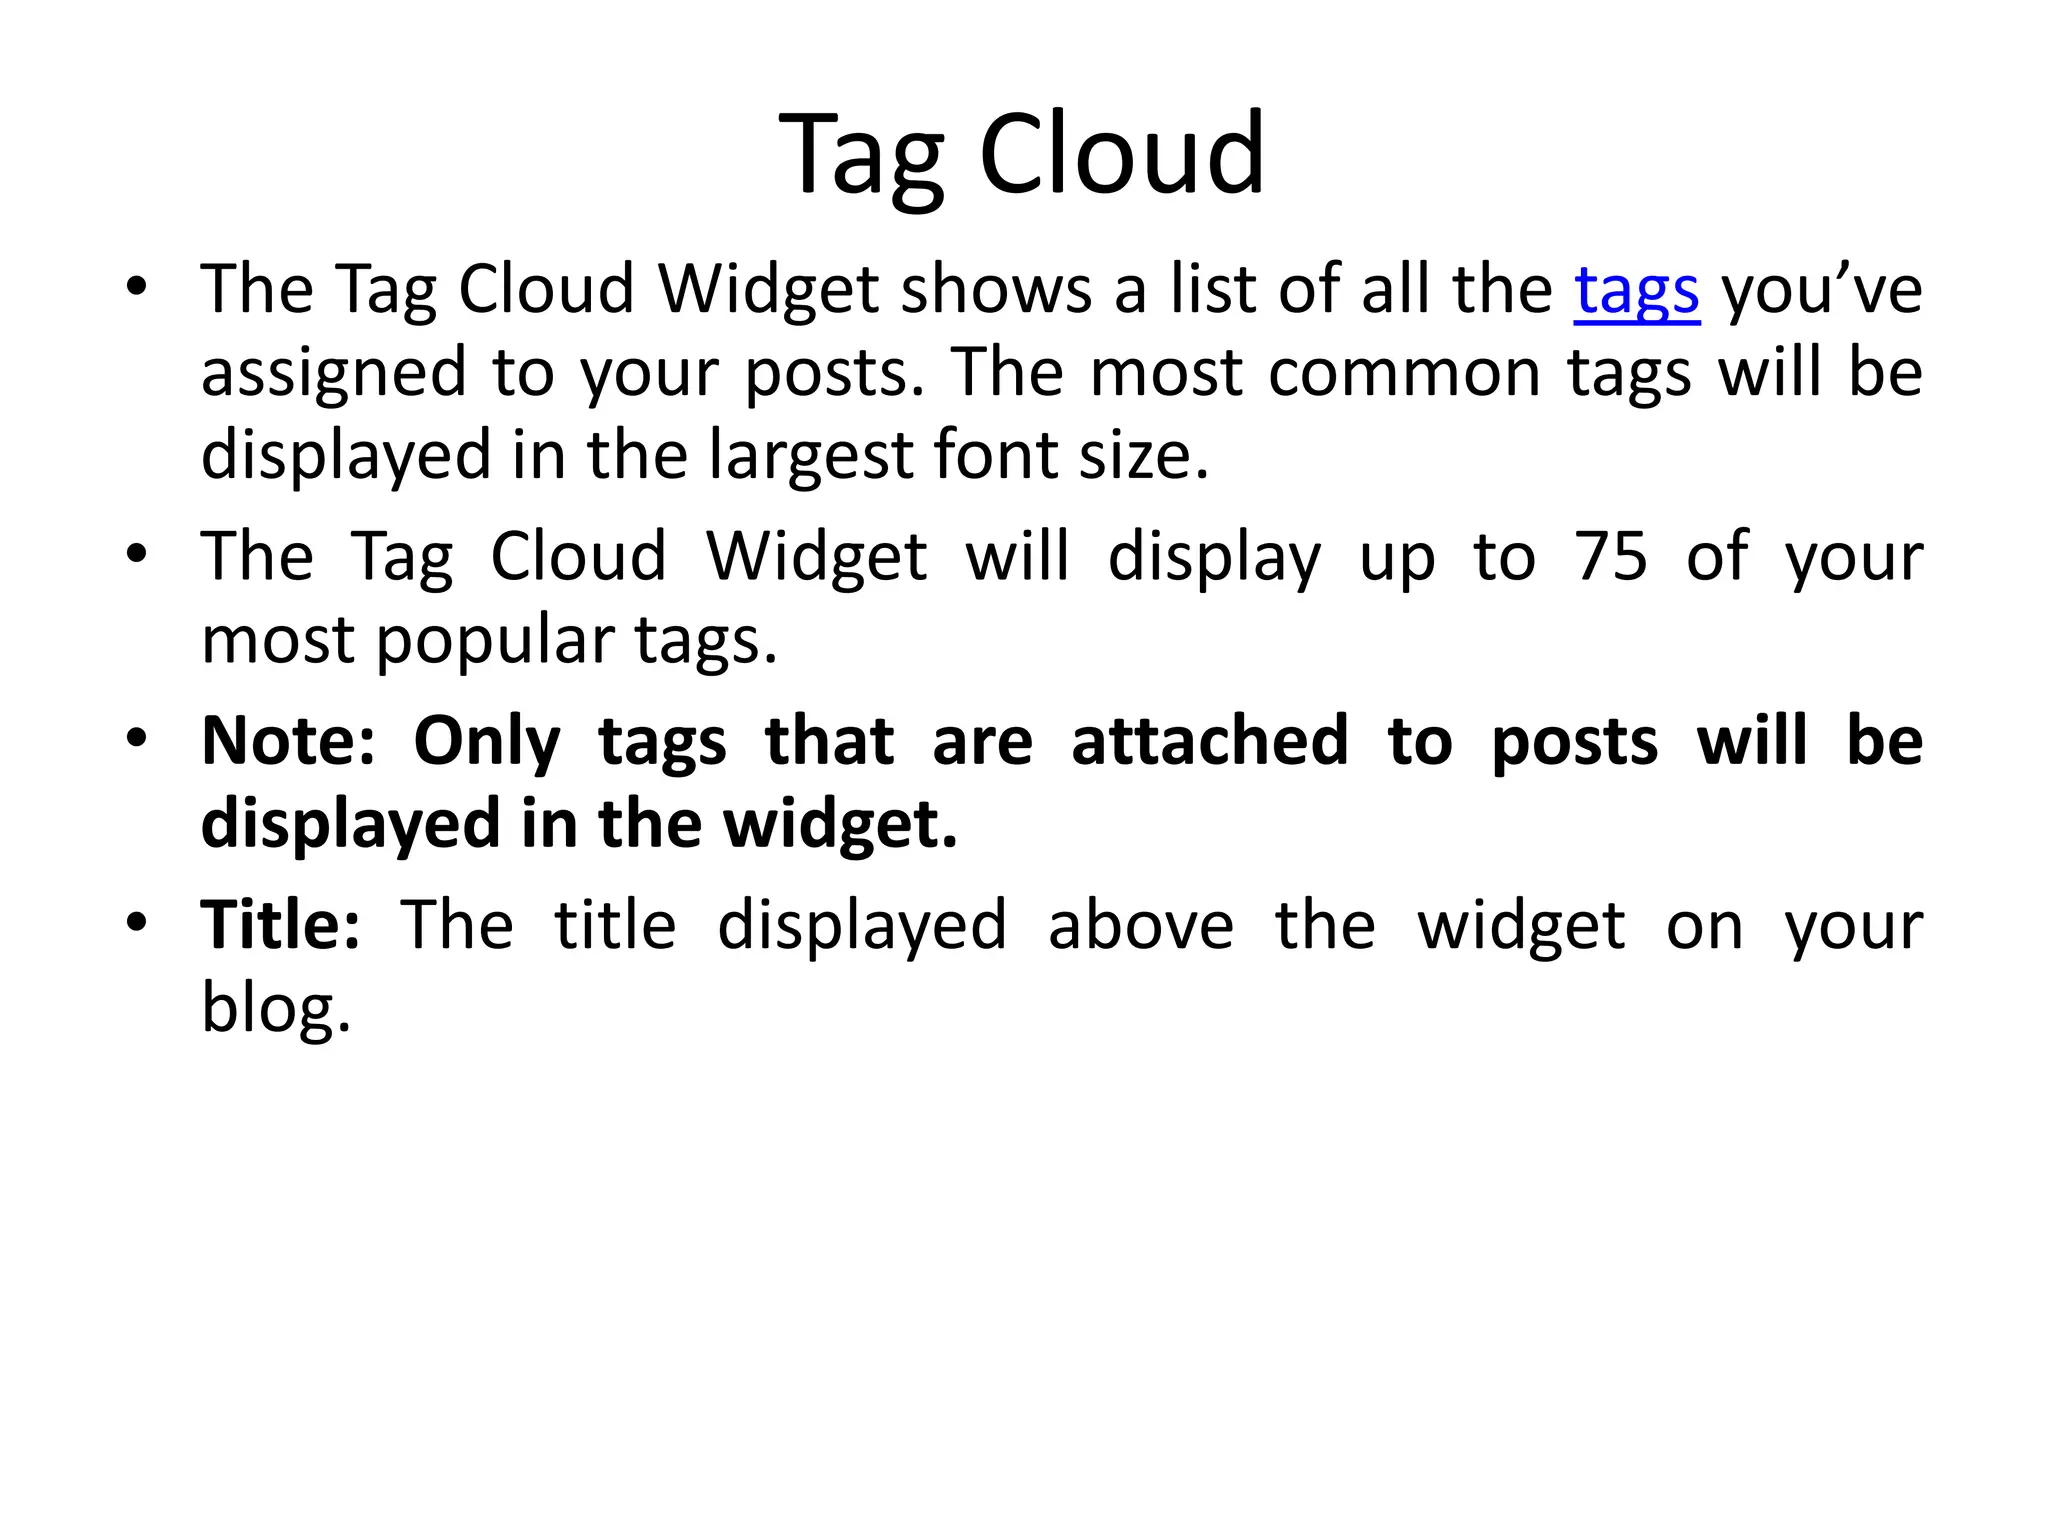
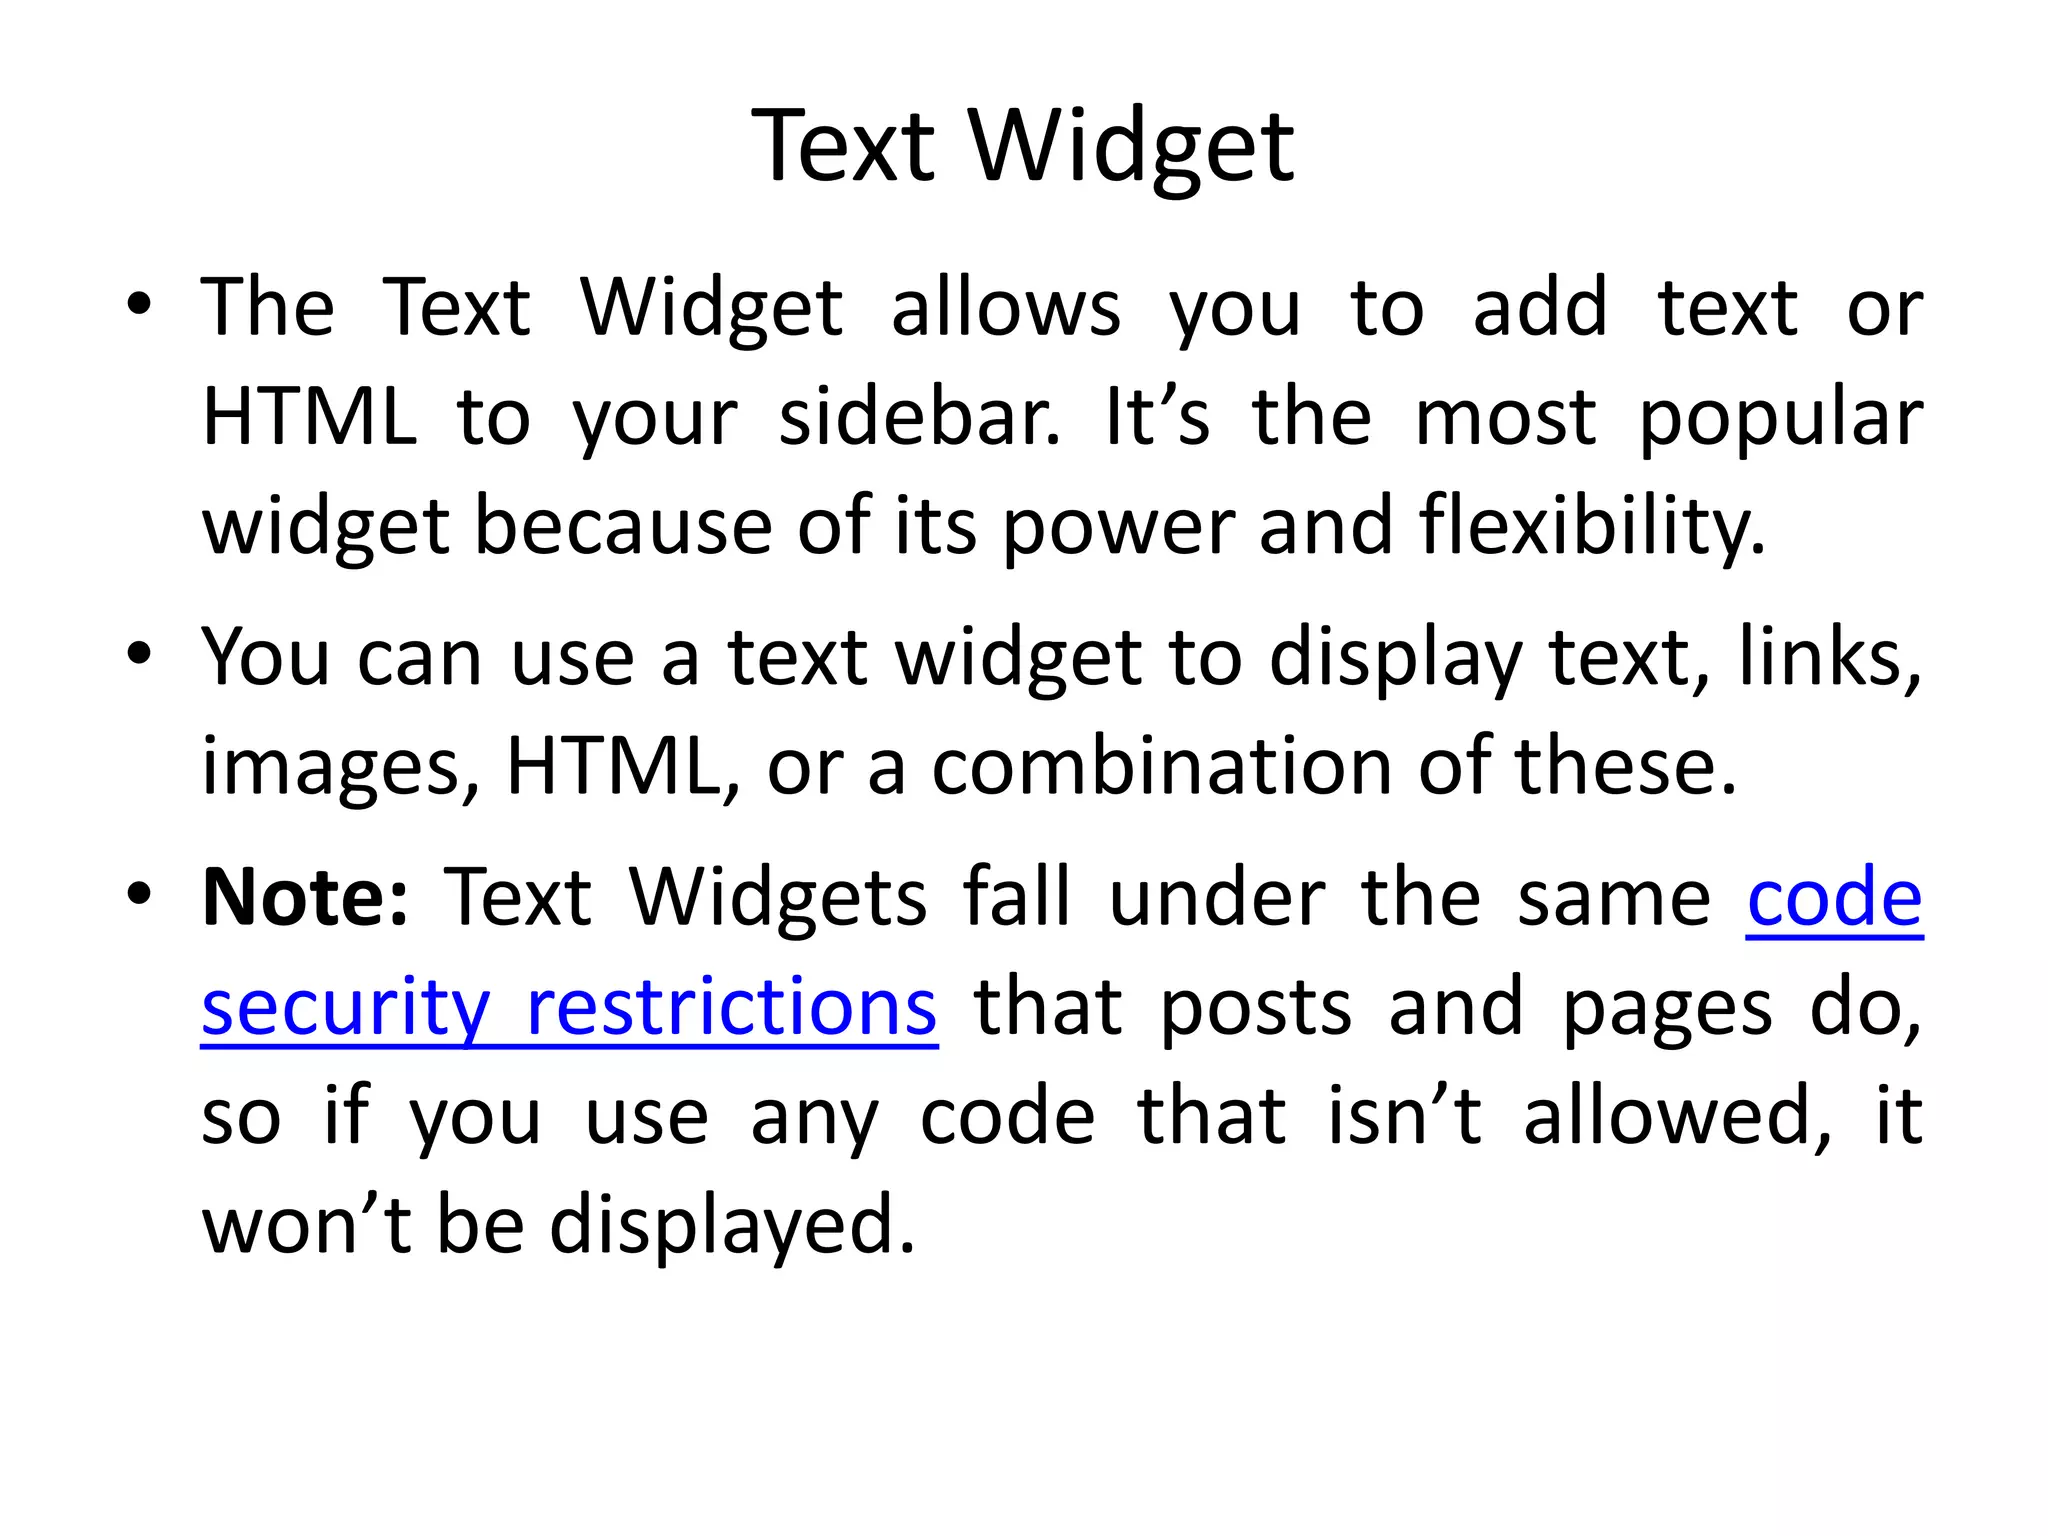

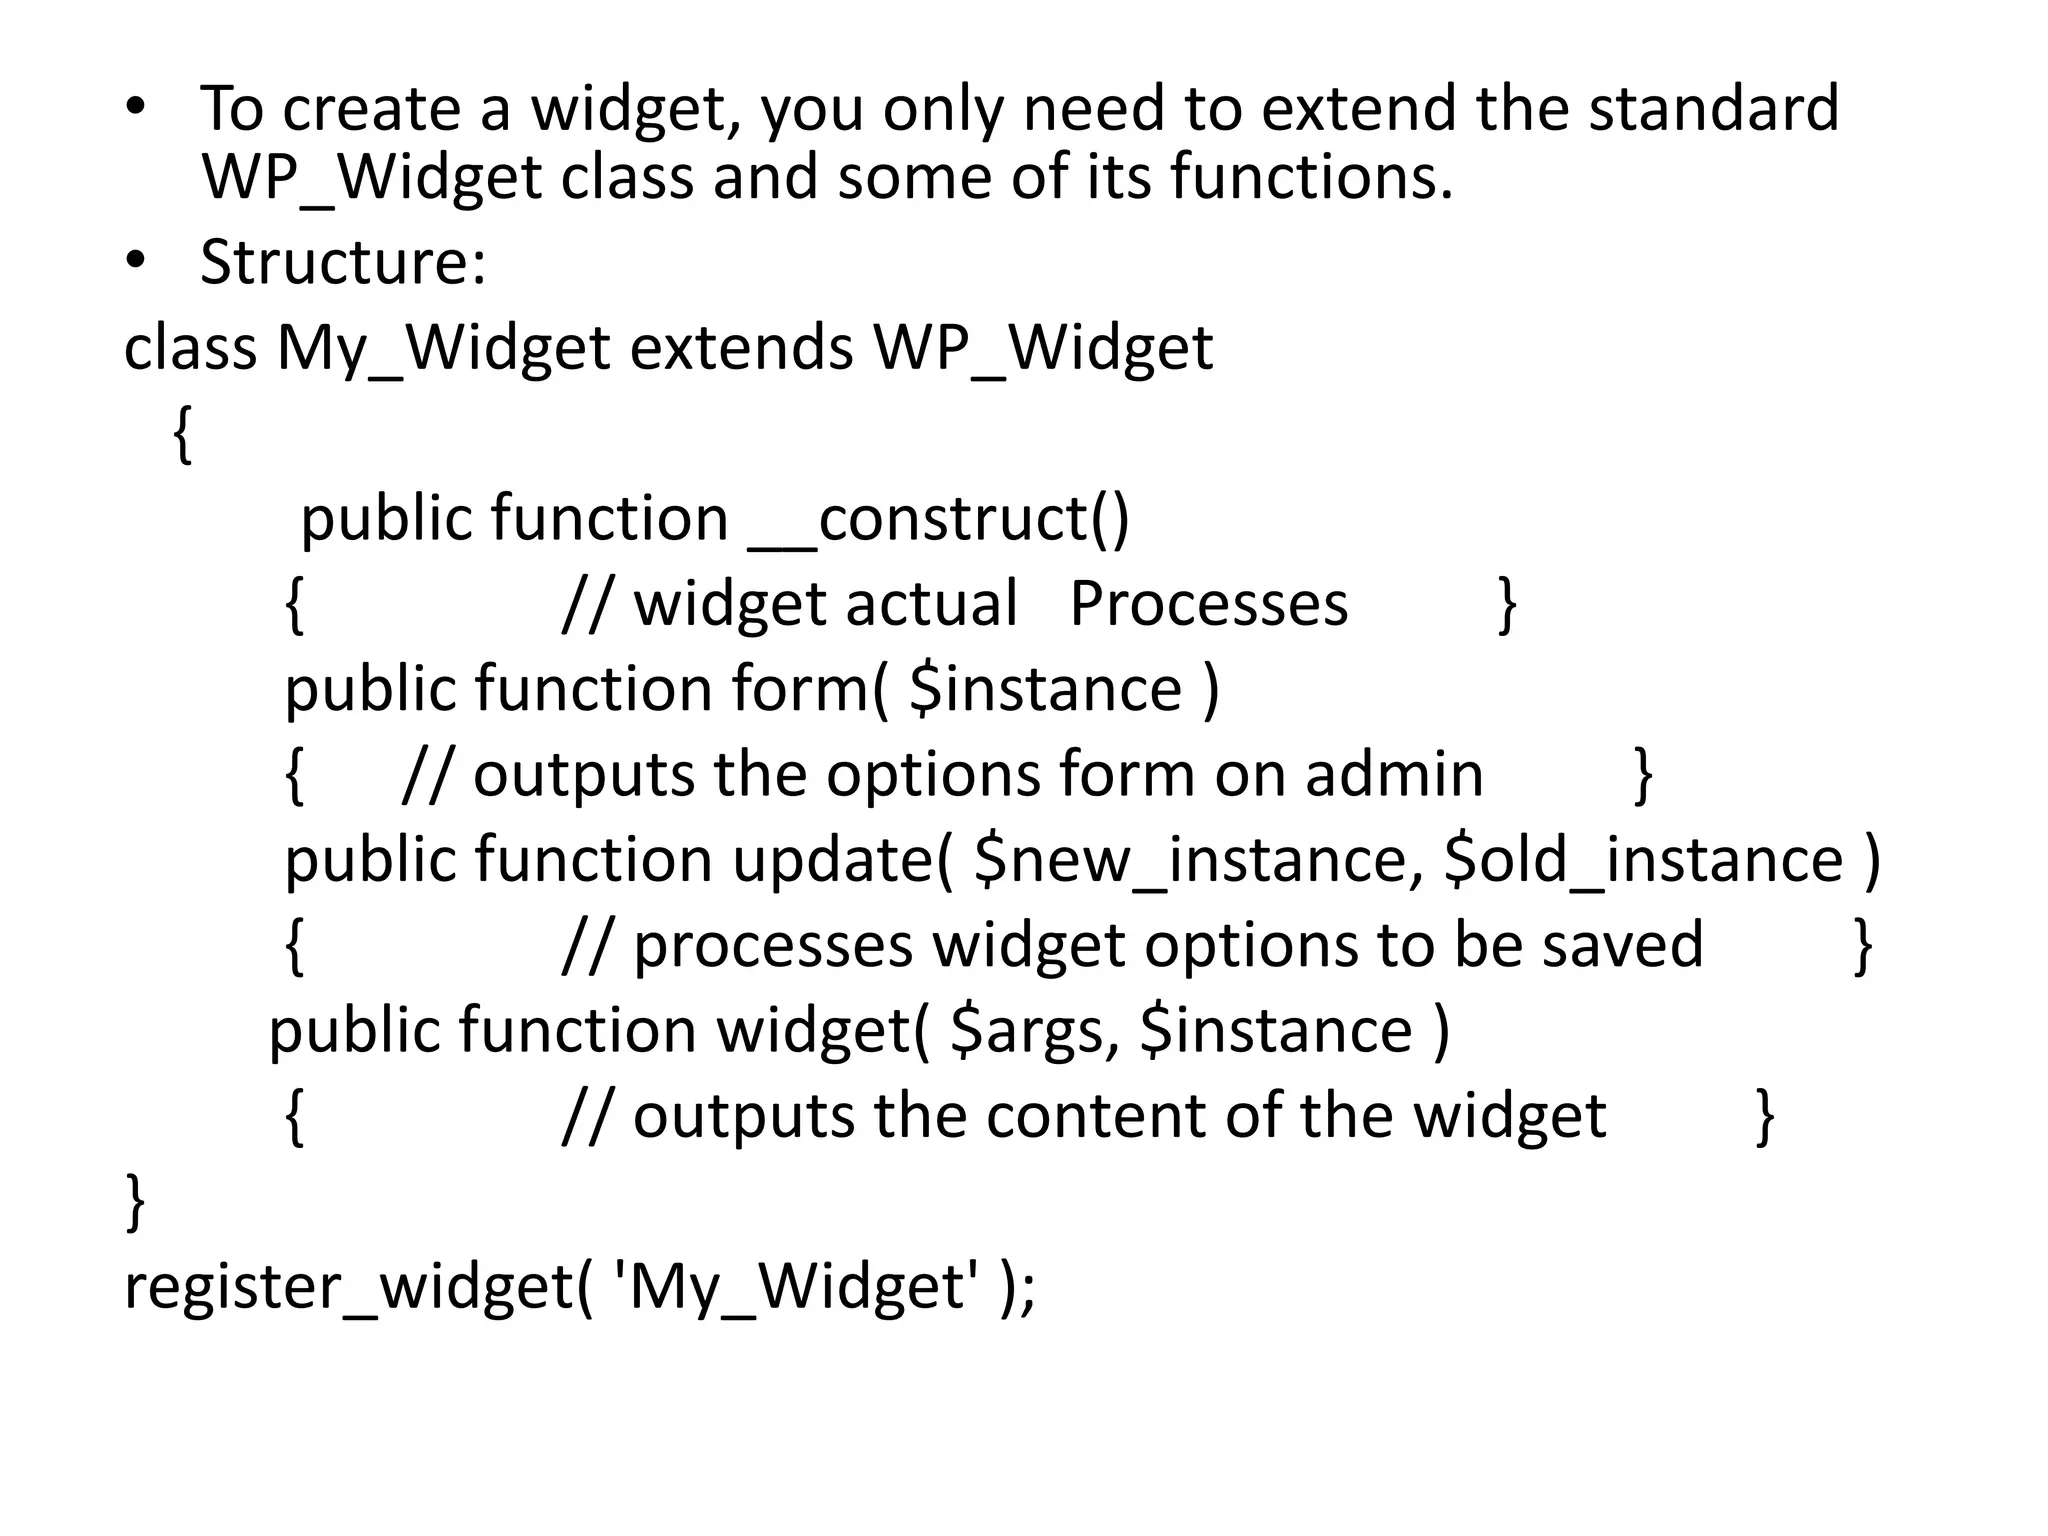


This document provides information about various widgets available in WordPress and how they work. It describes default widgets like archives, calendar, categories, custom menu, meta, pages, recent comments, recent posts, RSS, search, tag cloud, and text. It also covers how widgets are configured and displayed, and provides instructions for creating custom widgets by extending the WP_Widget class and defining required functions.


