Downloaded 105 times
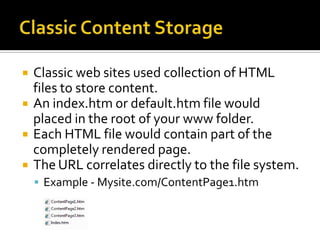
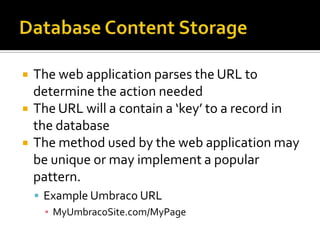

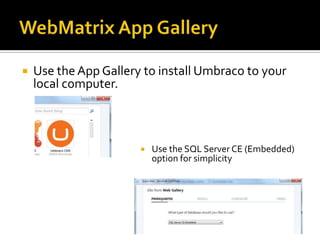


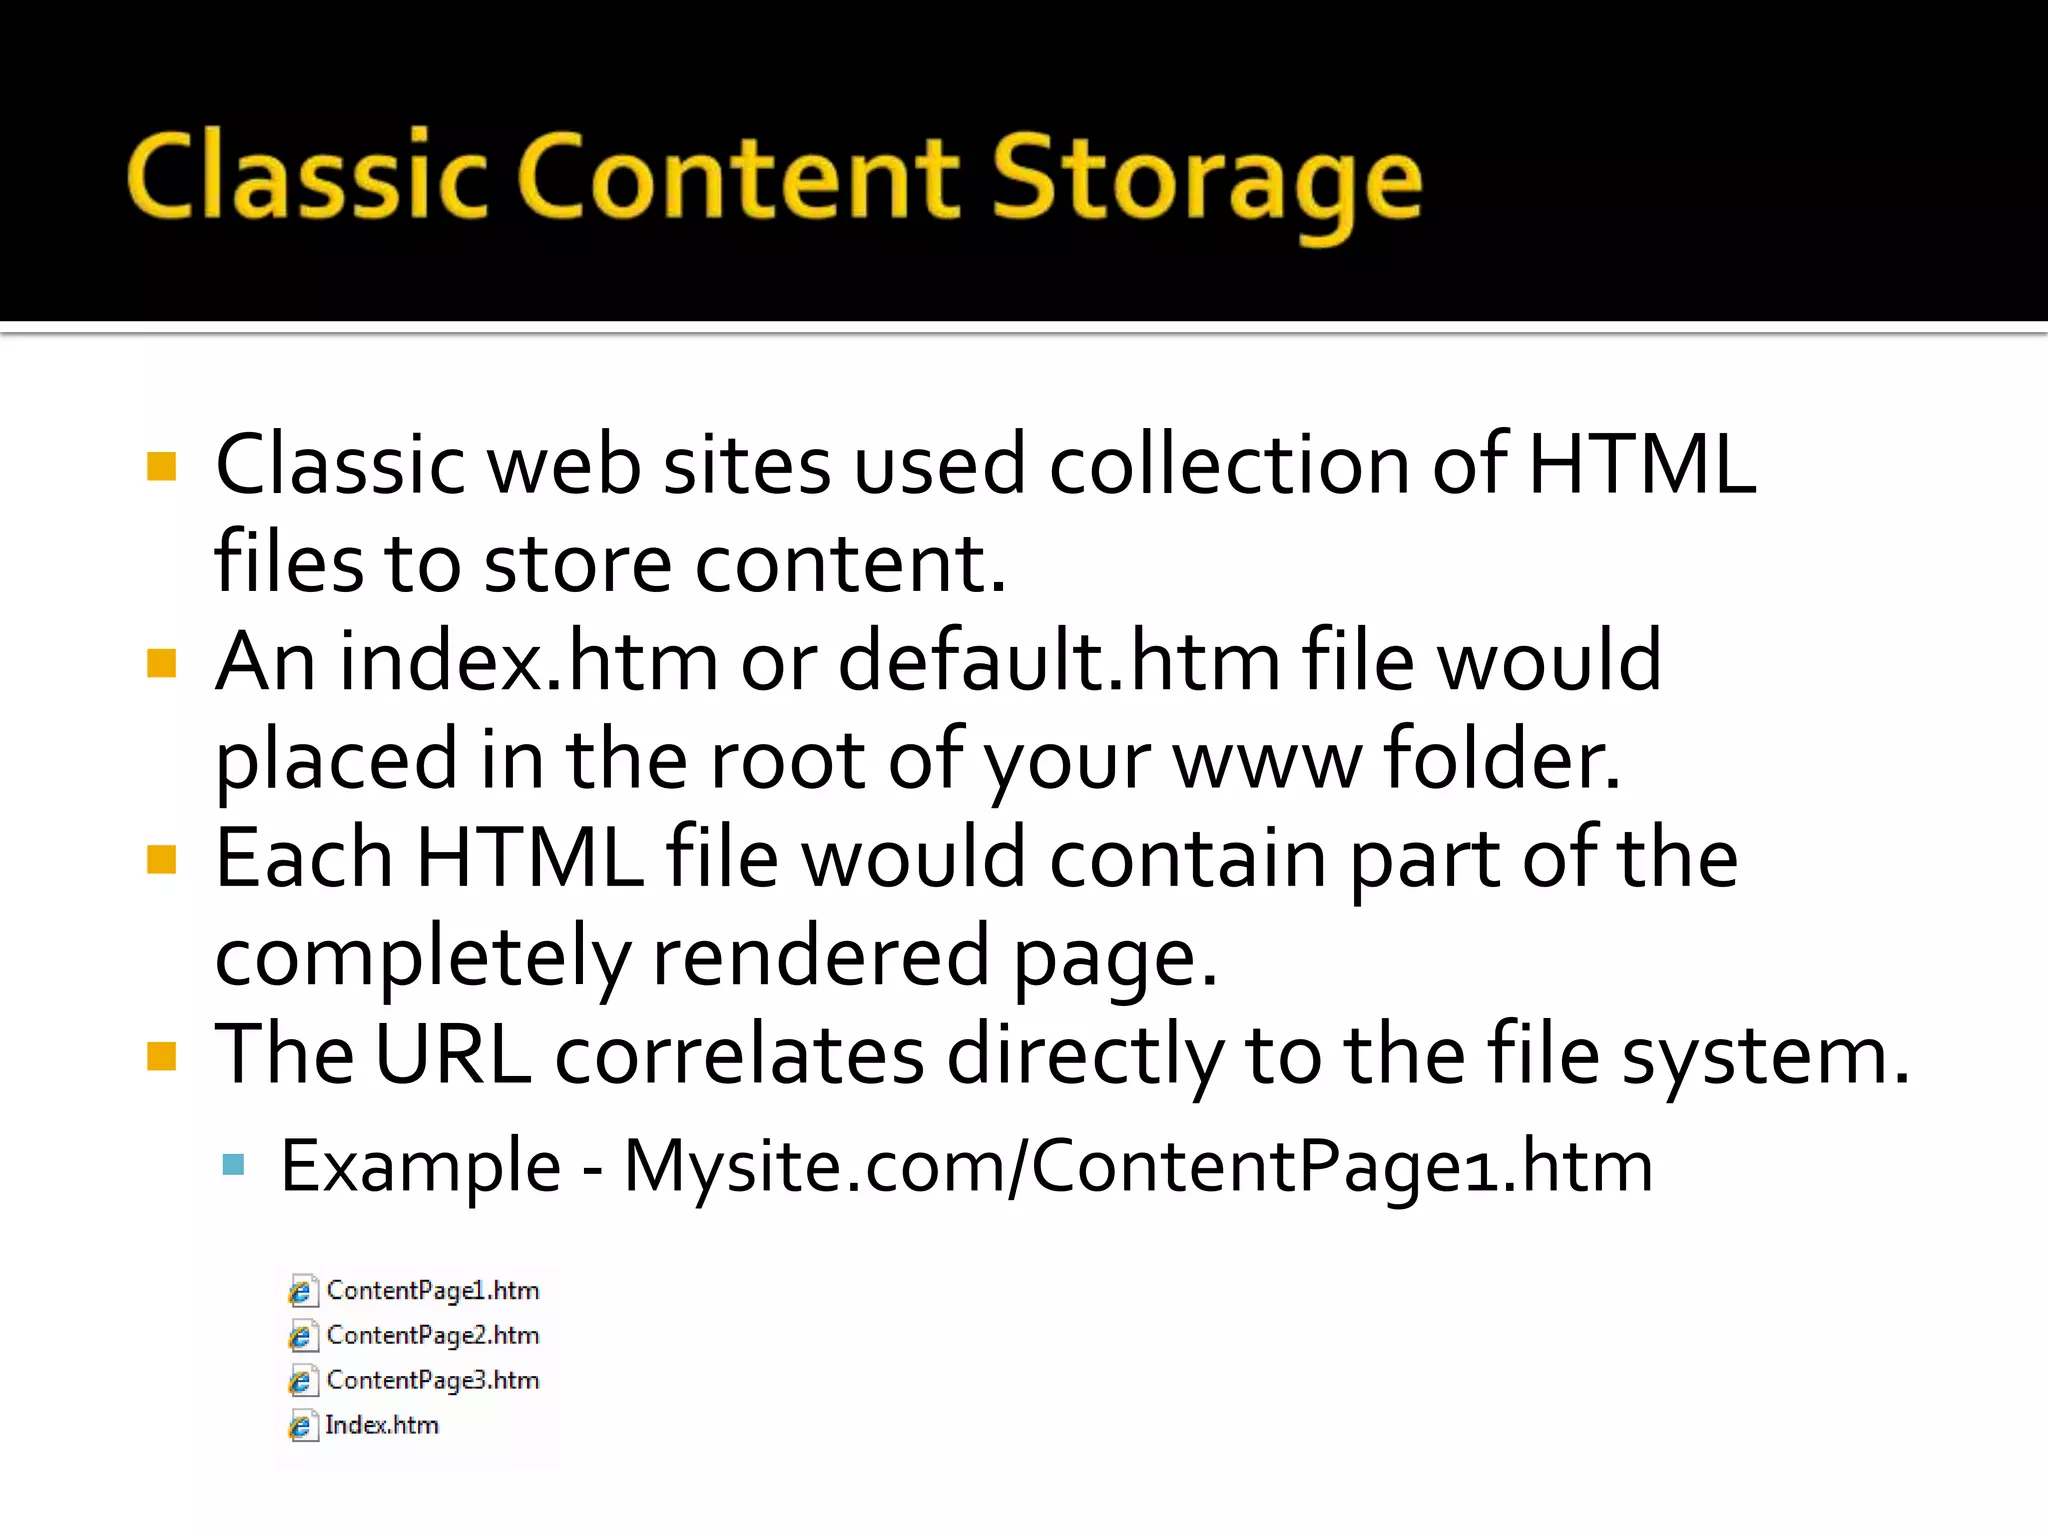


Moving from classic web development to a CMS like Umbraco: - A CMS allows editing of content directly in the browser rather than uploading files, and stores content in a database rather than HTML files. - With a CMS, the URL contains a key to the associated database record rather than directly linking to files. - For development, you interact with the CMS interface rather than directly editing files, abstracting the underlying technical details.


![UiPath Automation Suite Installation (Hands-On) [2/3]](https://cdn.slidesharecdn.com/ss_thumbnails/automationsuitecommunitysession2-251015095633-a6d862f1-thumbnail.jpg?width=600ounds&width=560&fit=bounds)
