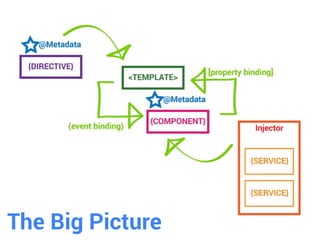
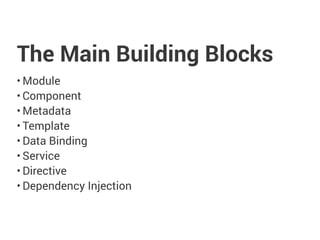
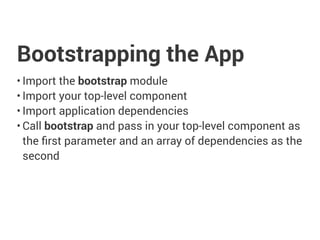
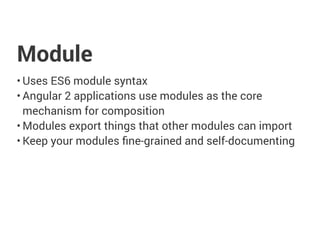
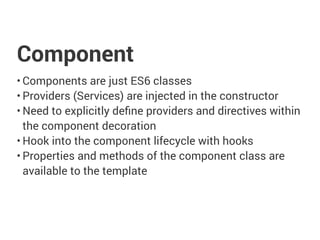
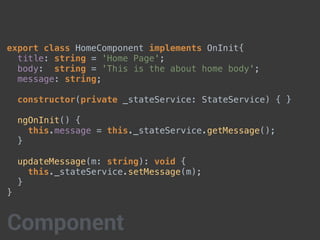
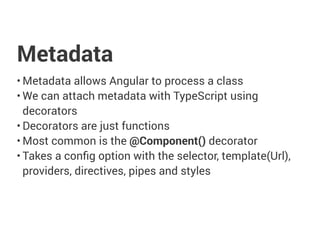
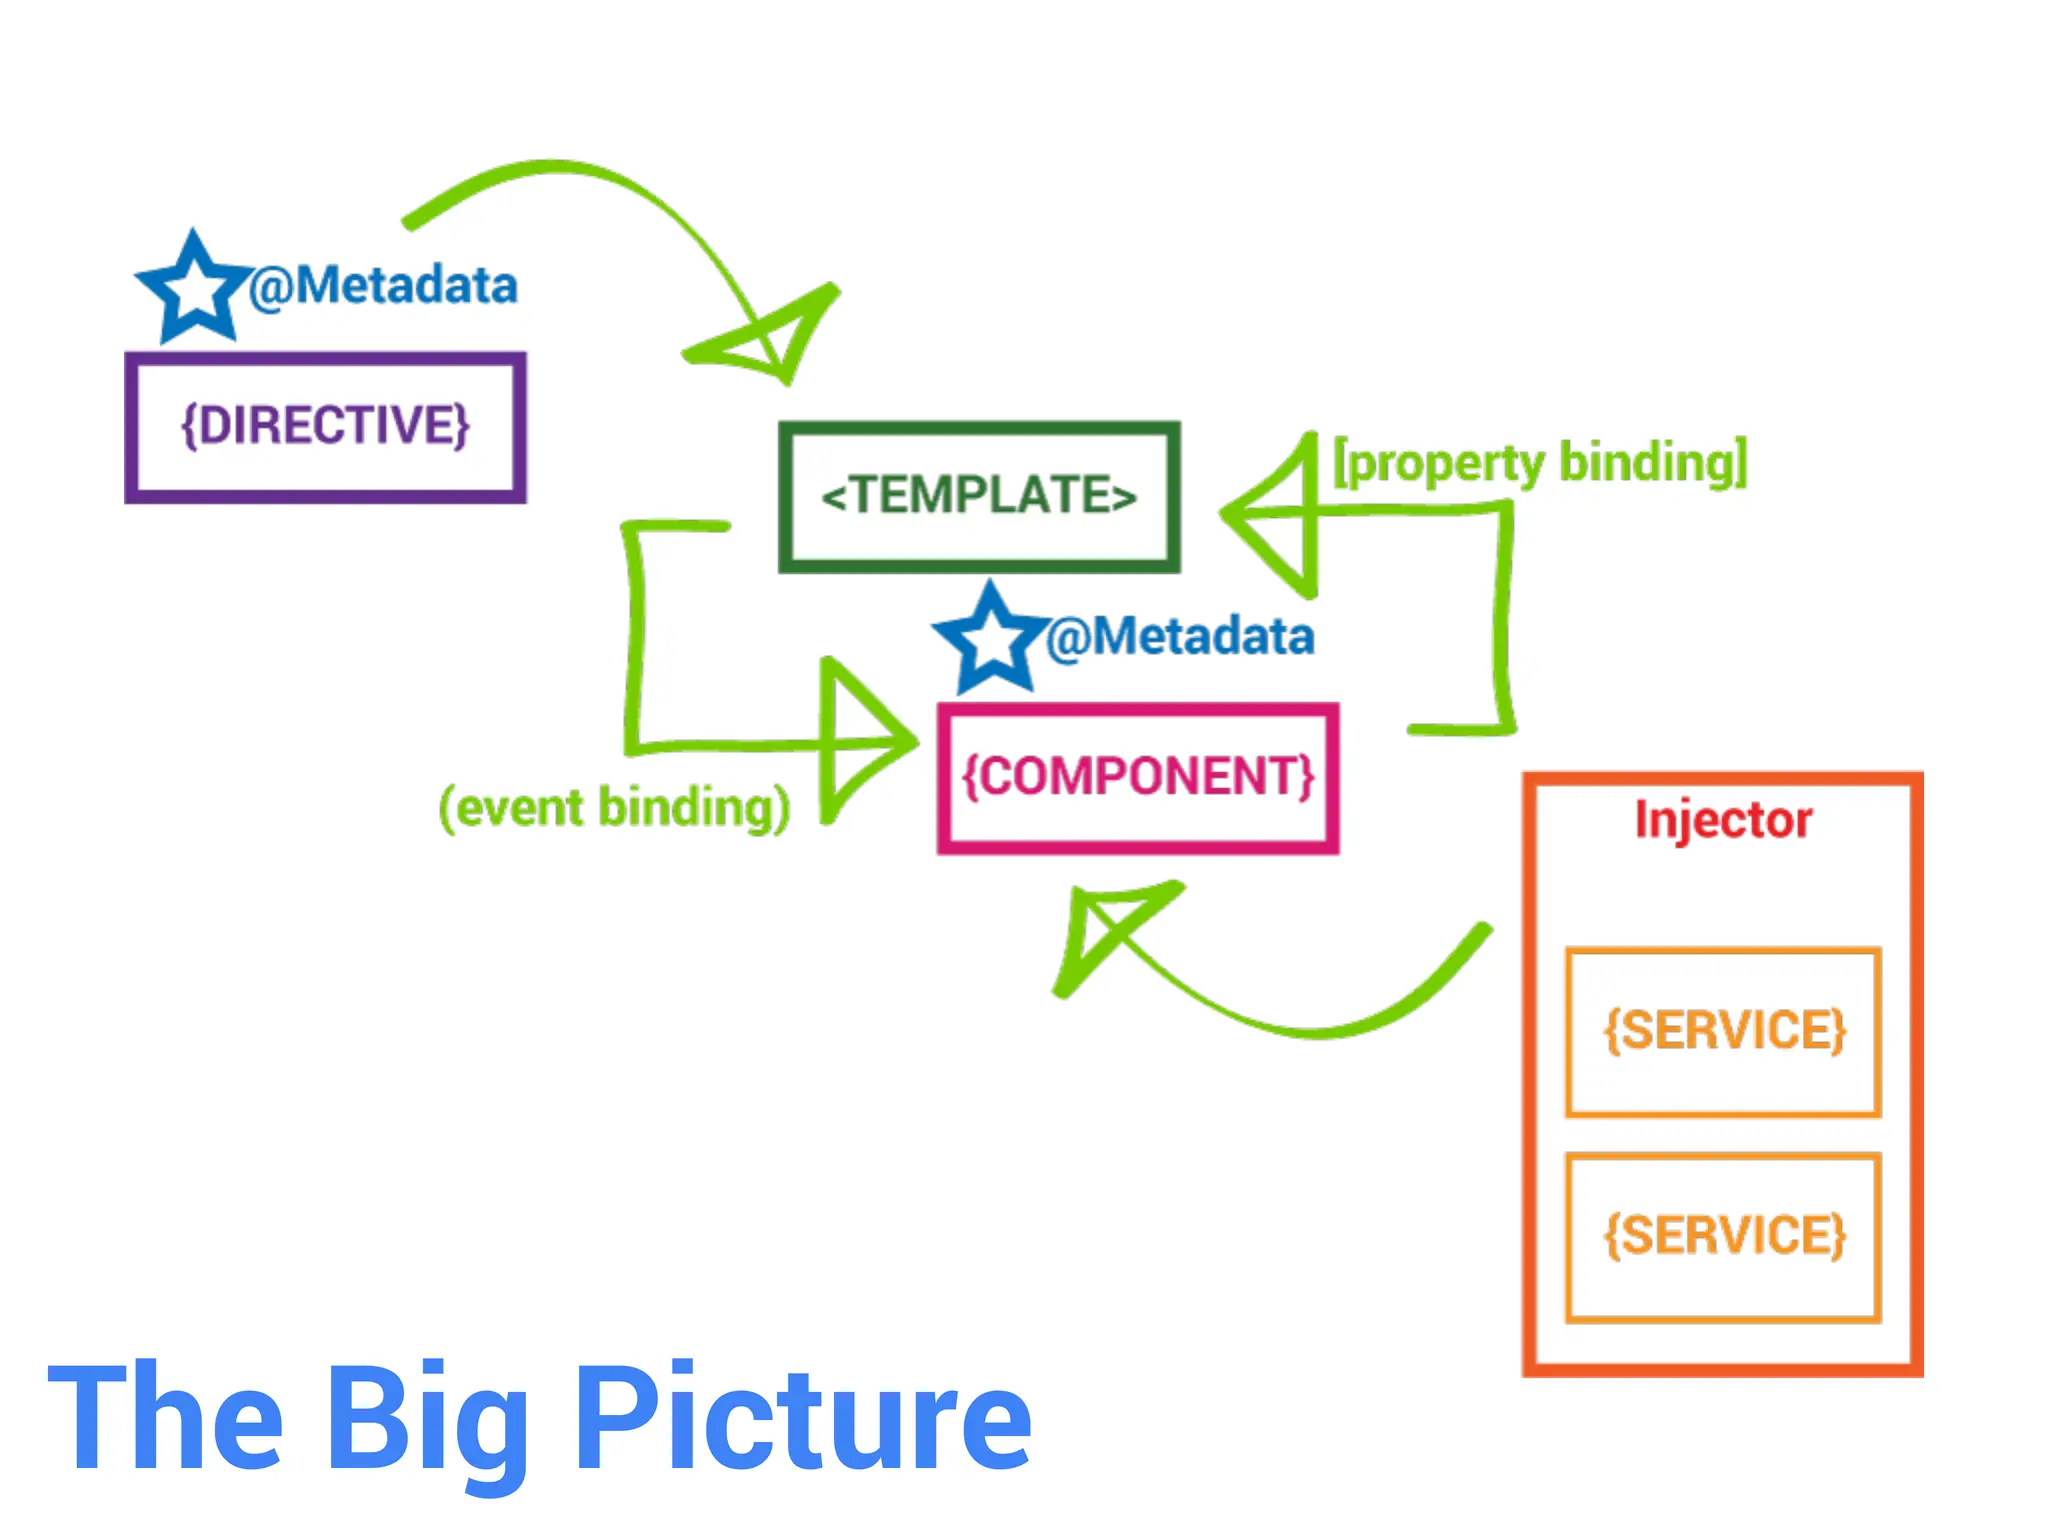
The document serves as a comprehensive guide on building applications with Angular 2, covering key concepts such as components, templates, services, and dependency injection. It emphasizes best practices for structuring applications, using ES6 and TypeScript, and utilizing features like data binding and lifecycle hooks. Additionally, it includes sample code and outlines testing and architectural strategies to enhance app development efficiency.


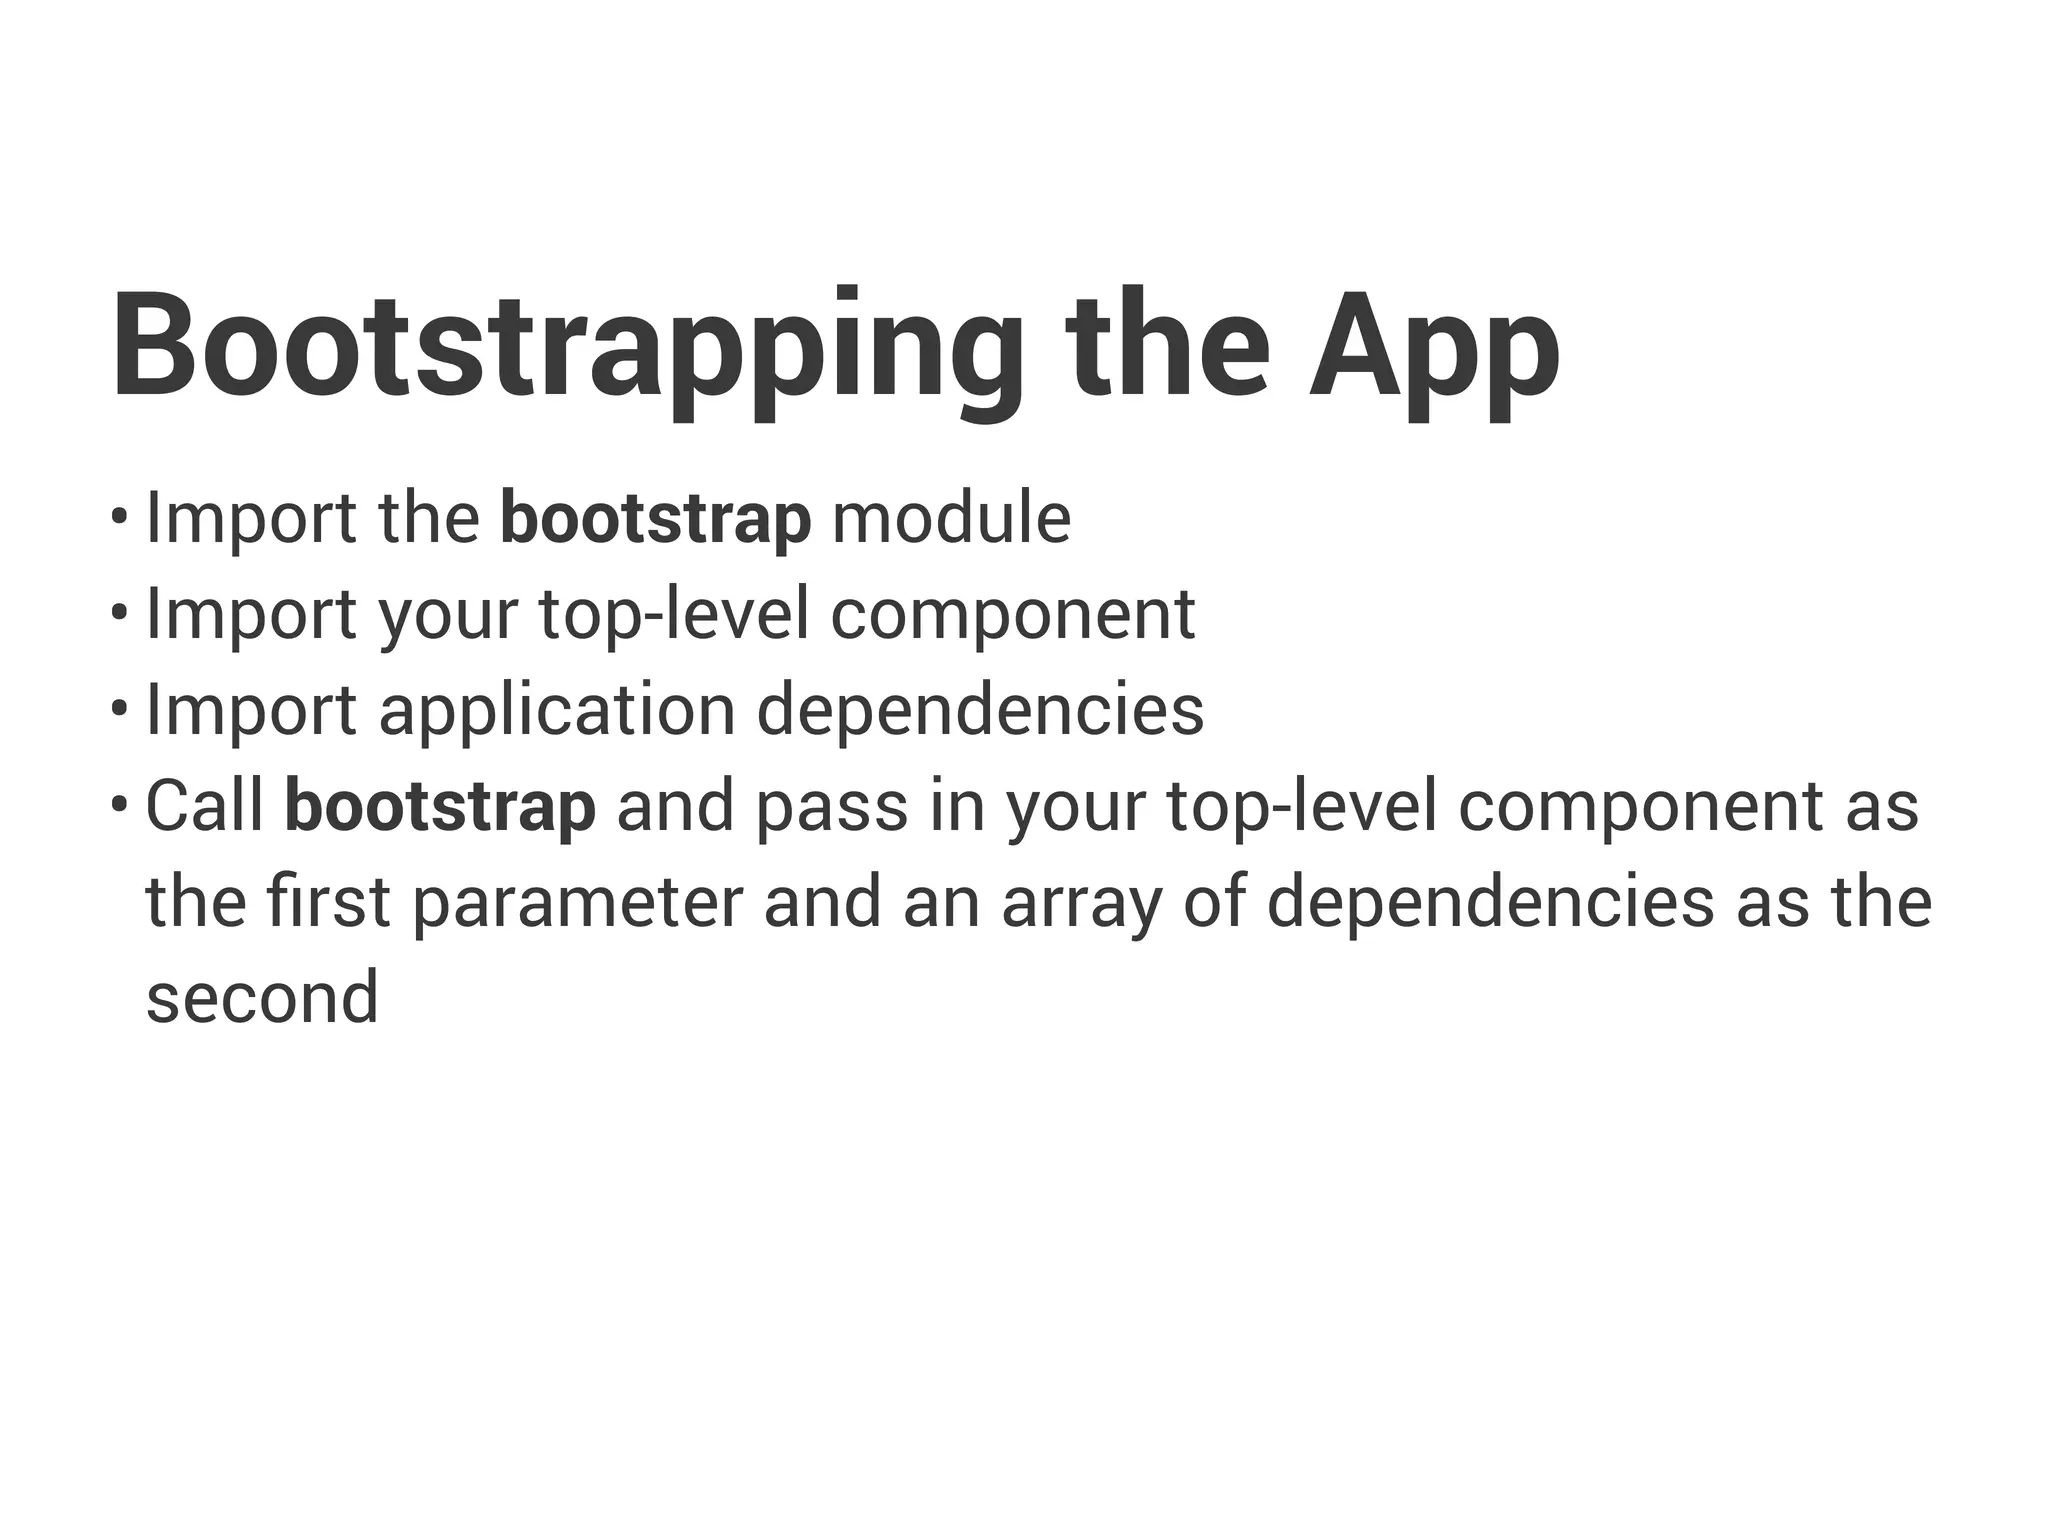
![import {bootstrap} from 'angular2/platform/browser';
import {ROUTER_PROVIDERS} from 'angular2/router';
import {AppComponent} from './app.component';
bootstrap(AppComponent, [
ROUTER_PROVIDERS
]);
Bootstrap](https://image.slidesharecdn.com/better-apps-angular-2-day1-240626152145-803bfa9e/85/better-apps-angular-2-day1-pdf-and-home-15-320.jpg)


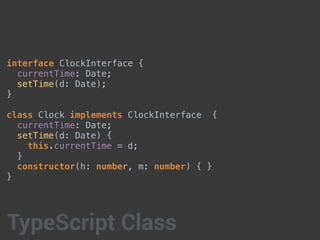
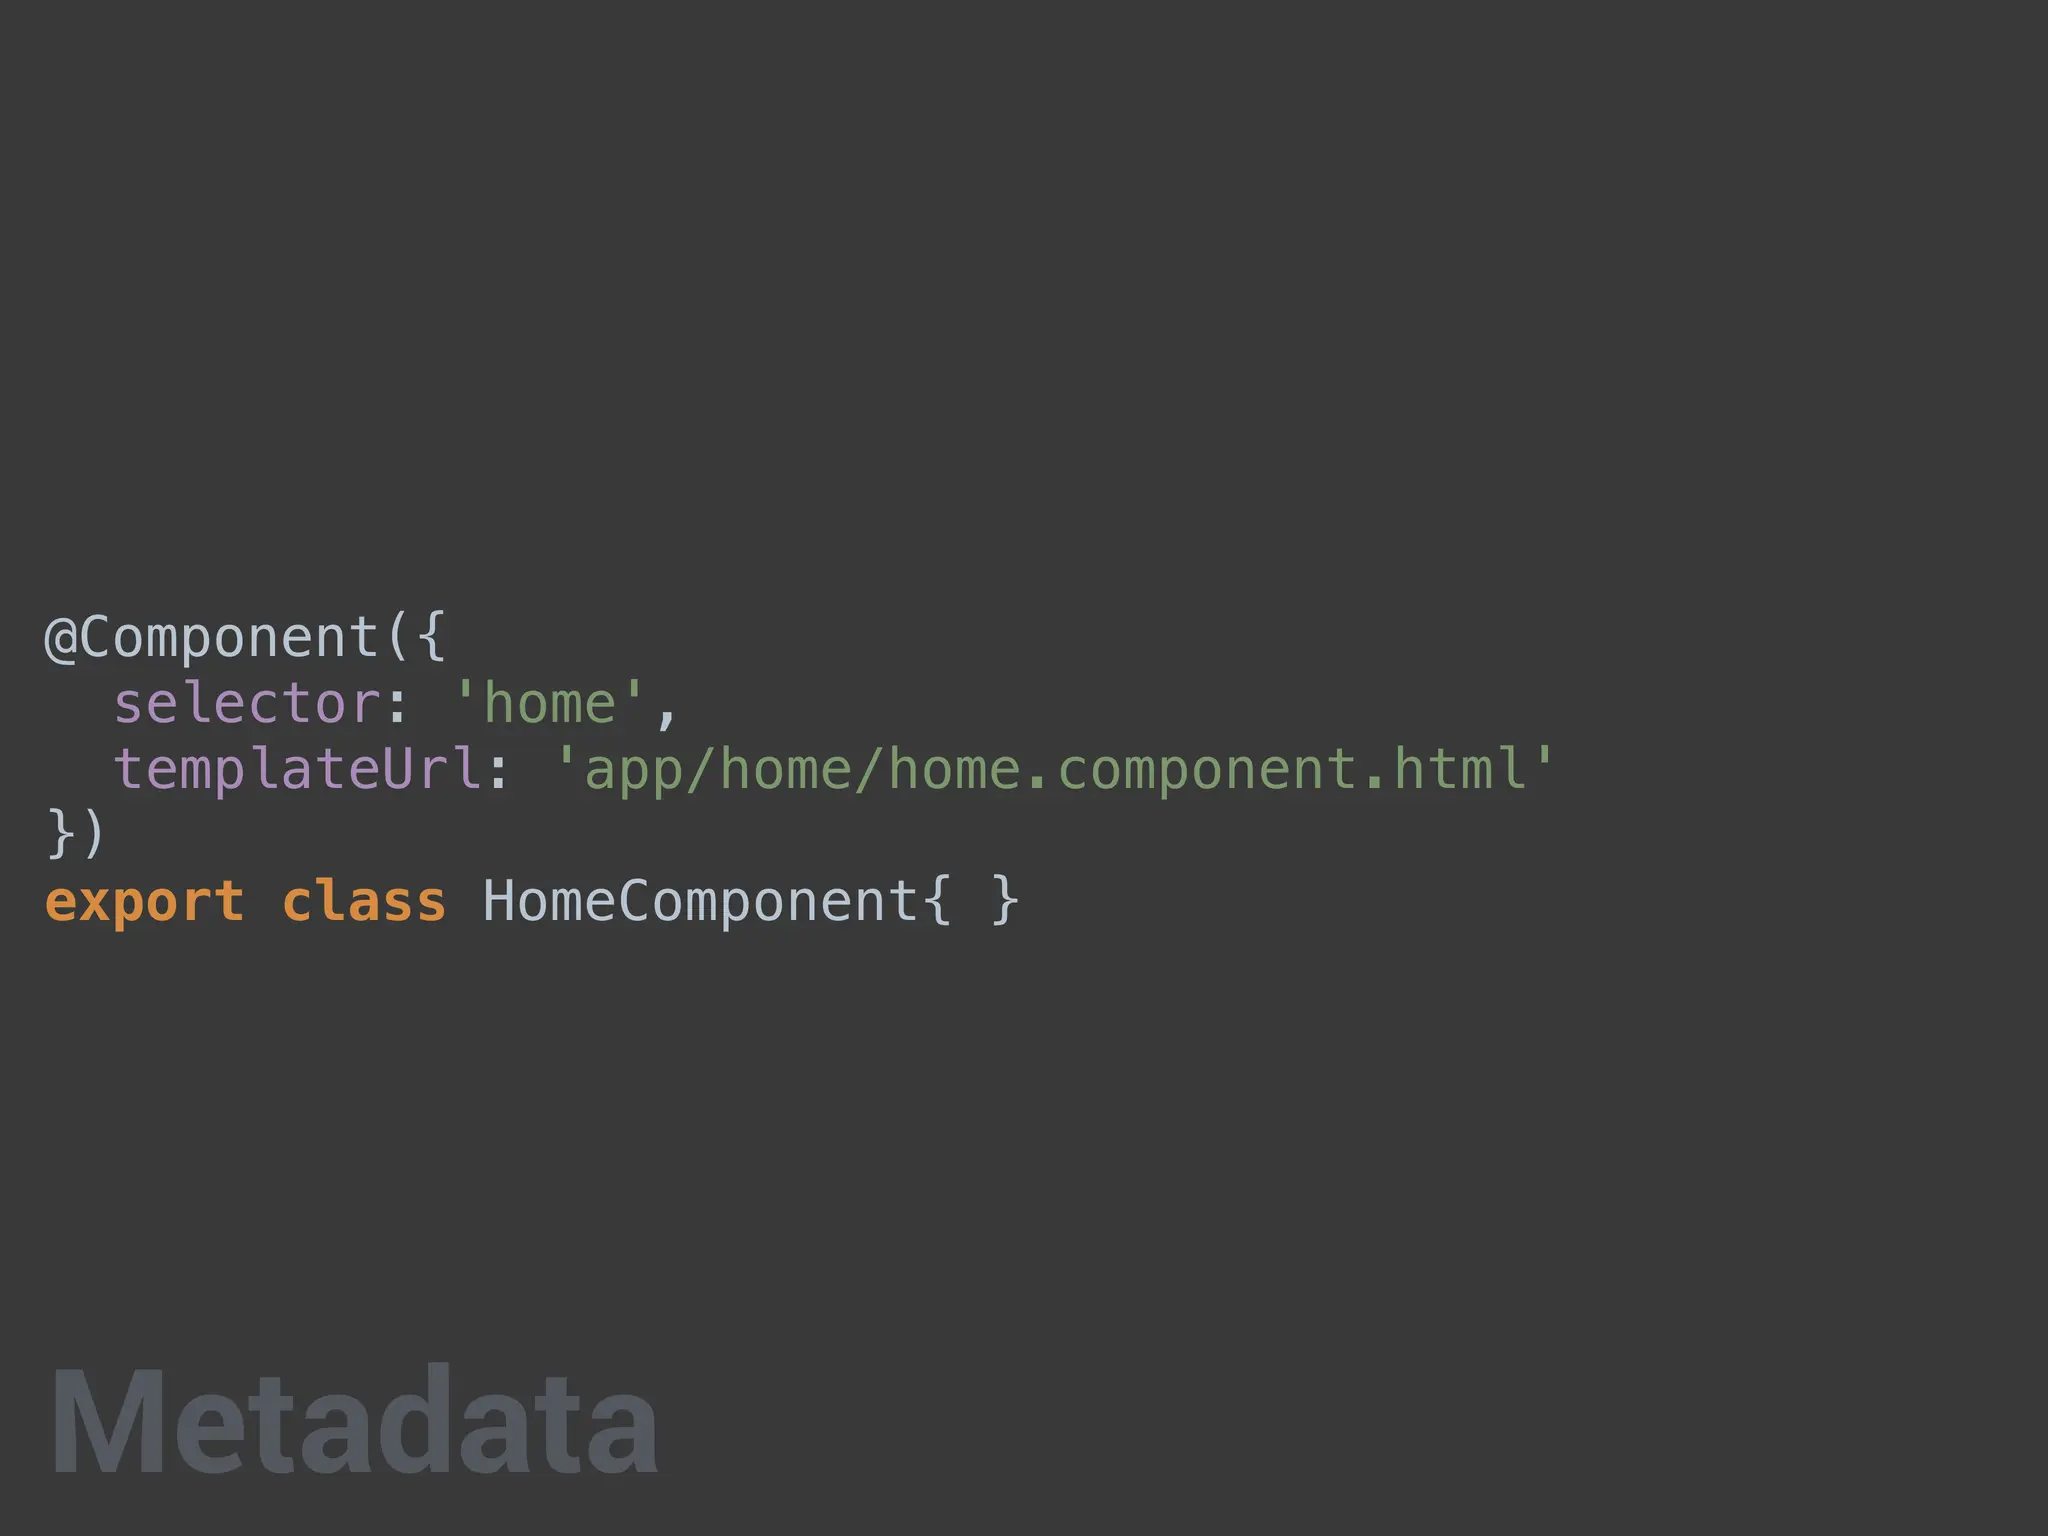
![@Component({
selector: 'experiment',
templateUrl: './experiment.detail.component.html',
styles: [`
.experiment {
cursor: pointer;
outline: 1px lightgray solid;
padding: 5px;
margin: 5px;
}
`]
})
Template](https://image.slidesharecdn.com/better-apps-angular-2-day1-240626152145-803bfa9e/85/better-apps-angular-2-day1-pdf-and-home-24-320.jpg)
![@Component({
selector: 'experiment',
template: `
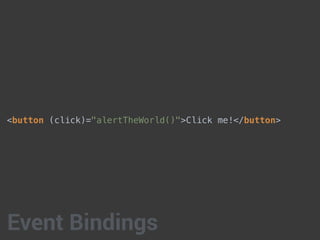
<div class="experiment" (click)="doExperiment()">
<h3>{{ experiment.name }}</h3>
<p>{{ experiment.description }}</p>
<p><strong>{{experiment.completed}}</strong></p>
</div>
`,
styles: [`
.experiment {
cursor: pointer;
outline: 1px lightgray solid;
padding: 5px;
margin: 5px;
}
`]
})
Template](https://image.slidesharecdn.com/better-apps-angular-2-day1-240626152145-803bfa9e/85/better-apps-angular-2-day1-pdf-and-home-25-320.jpg)

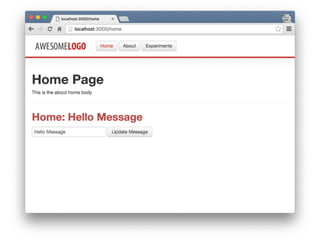
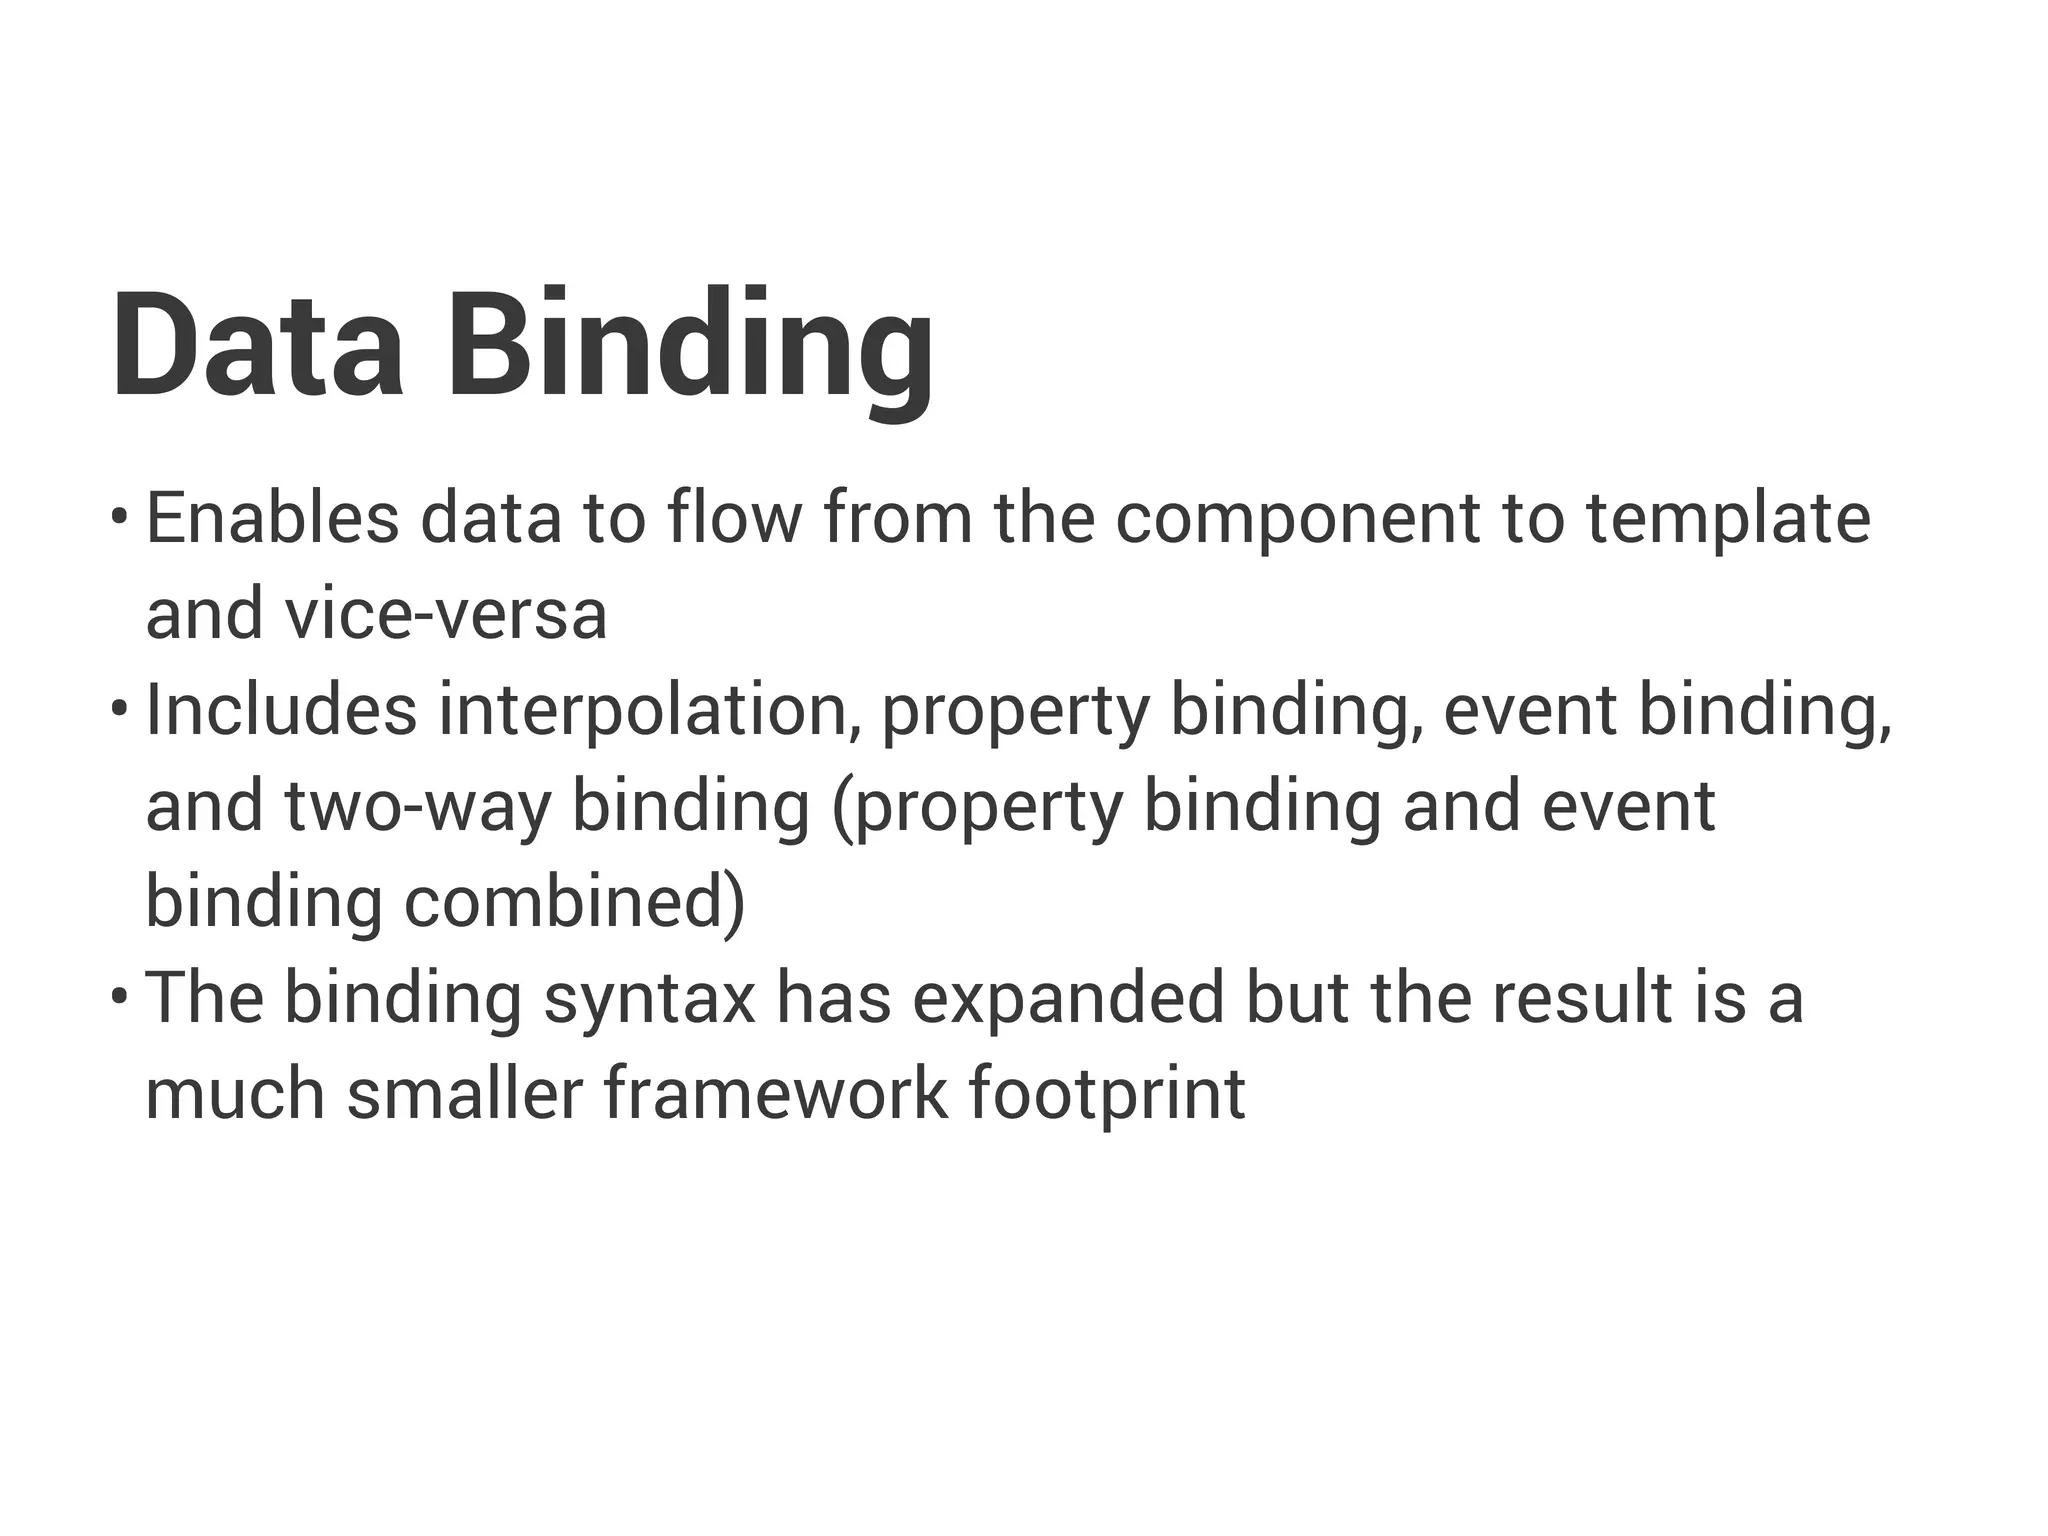
![<h1>{{title}}</h1>
<p>{{body}}</p>
<hr/>
<experiment *ngFor="#experiment of experiments"
[experiment]="experiment"></experiment>
<hr/>
<div>
<h2 class="text-error">Experiments: {{message}}</h2>
<form class="form-inline">
<input type="text"
[(ngModel)]="message" placeholder="Message">
<button type="submit" class="btn"
(click)="updateMessage(message)">Update Message
</button>
</form>
</div>
Data Binding](https://image.slidesharecdn.com/better-apps-angular-2-day1-240626152145-803bfa9e/85/better-apps-angular-2-day1-pdf-and-home-28-320.jpg)
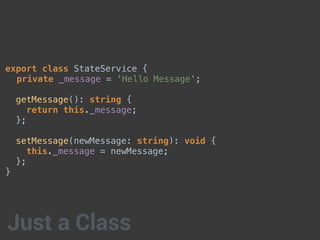
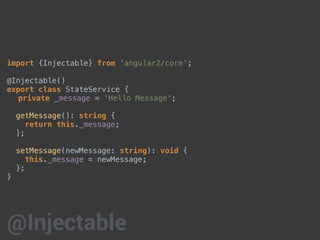
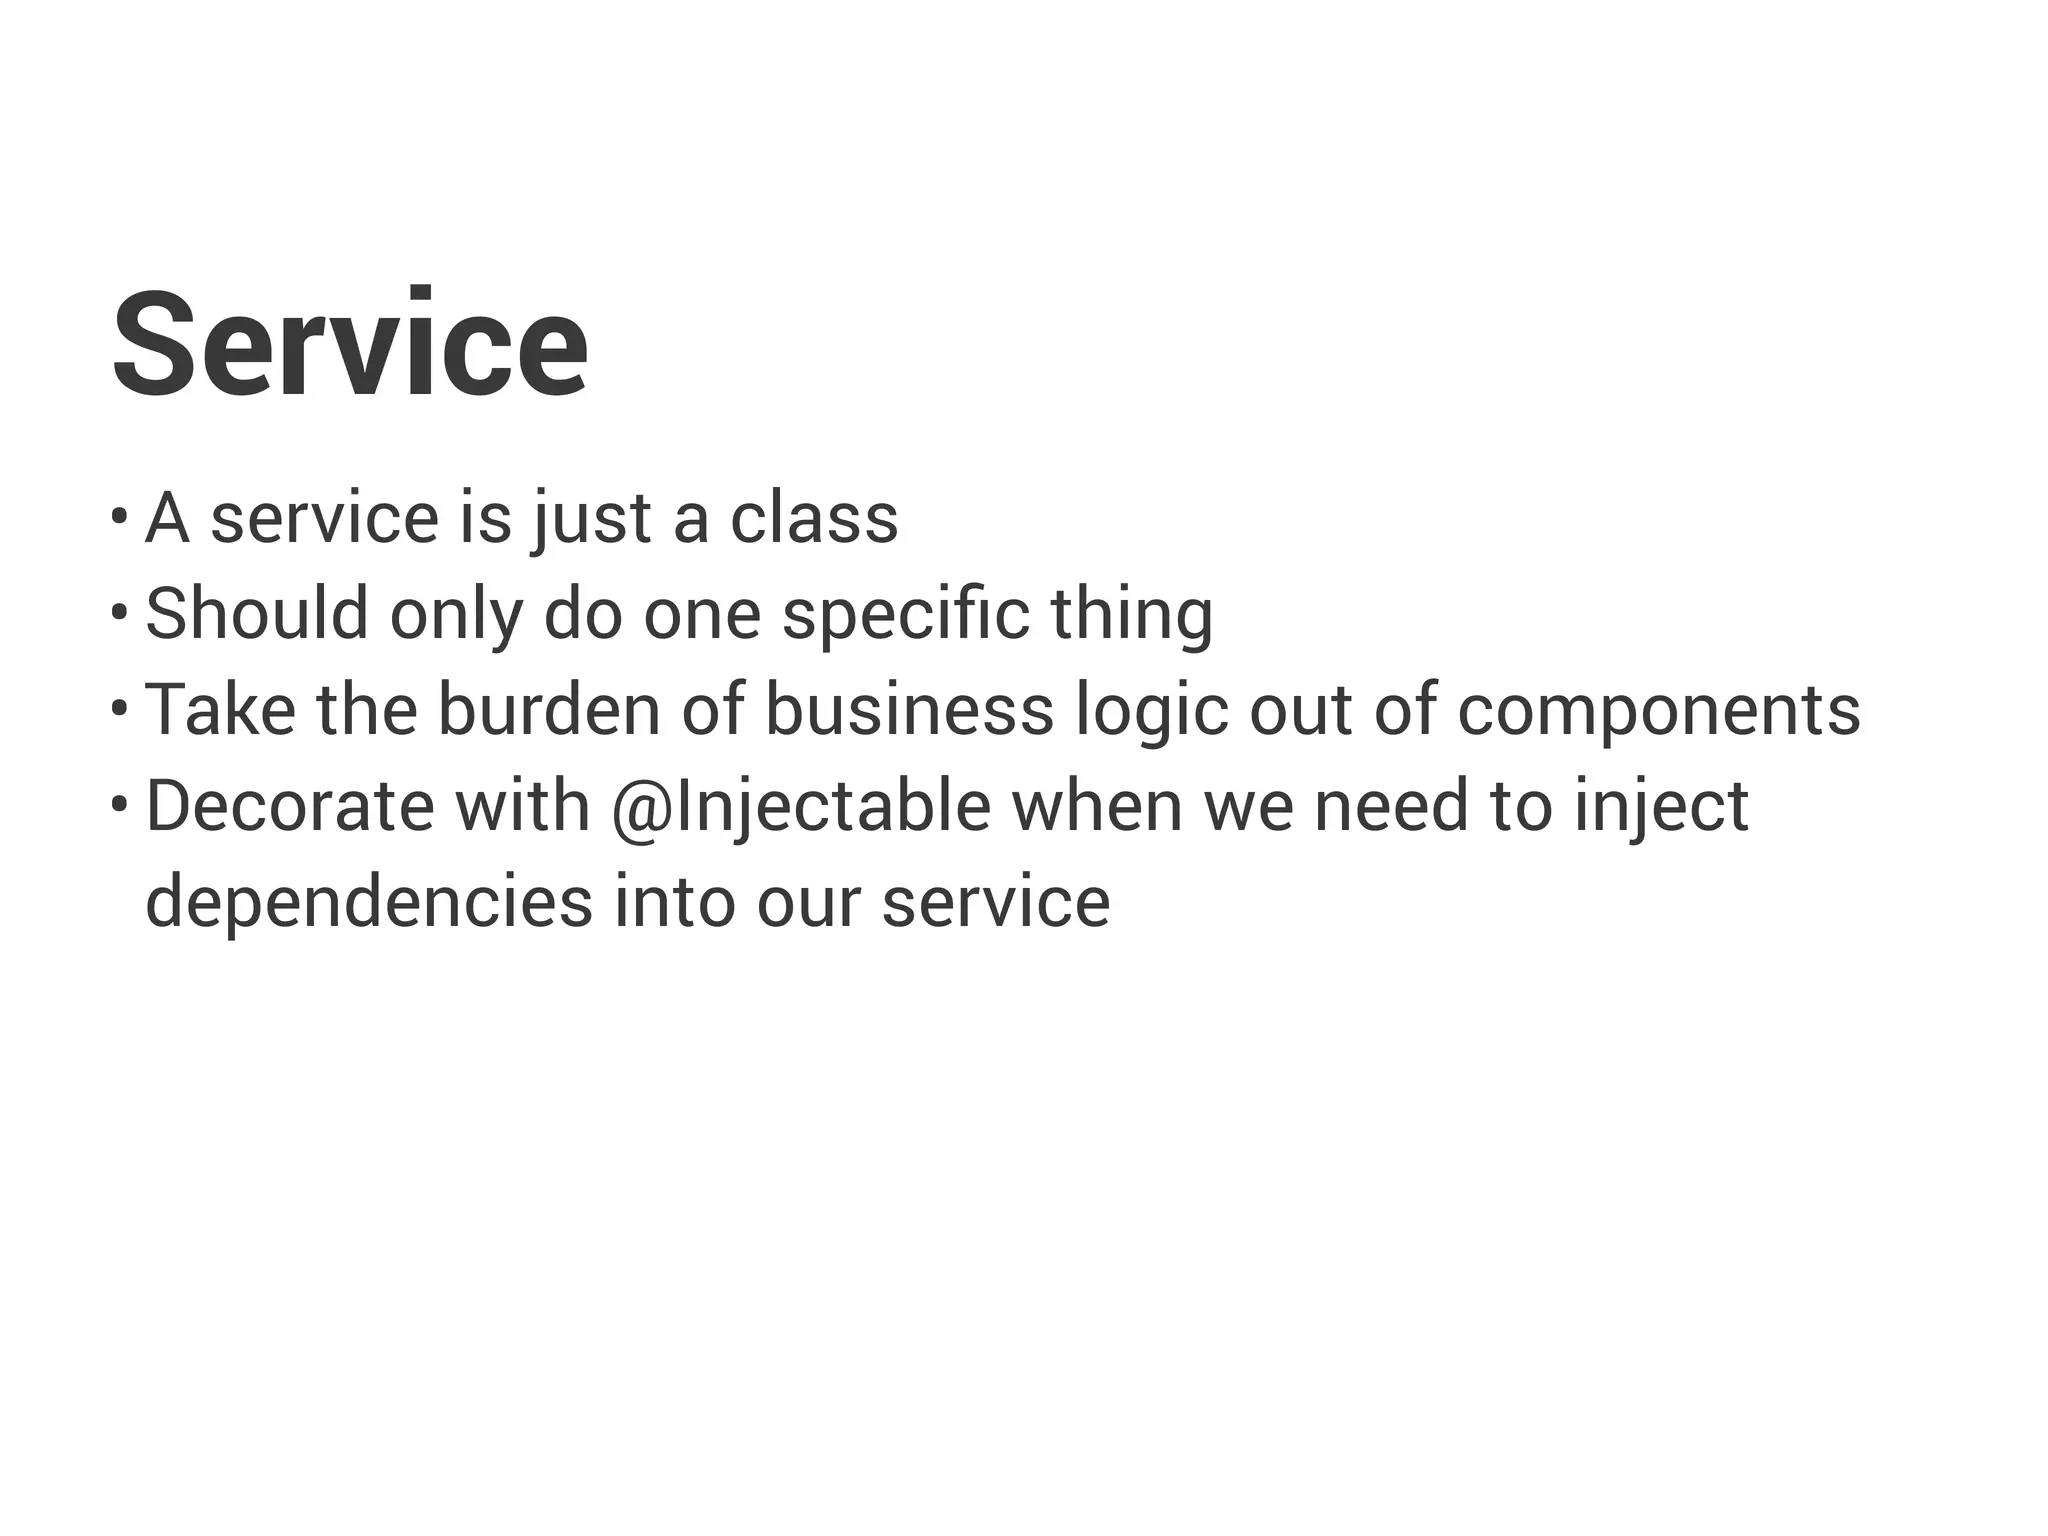
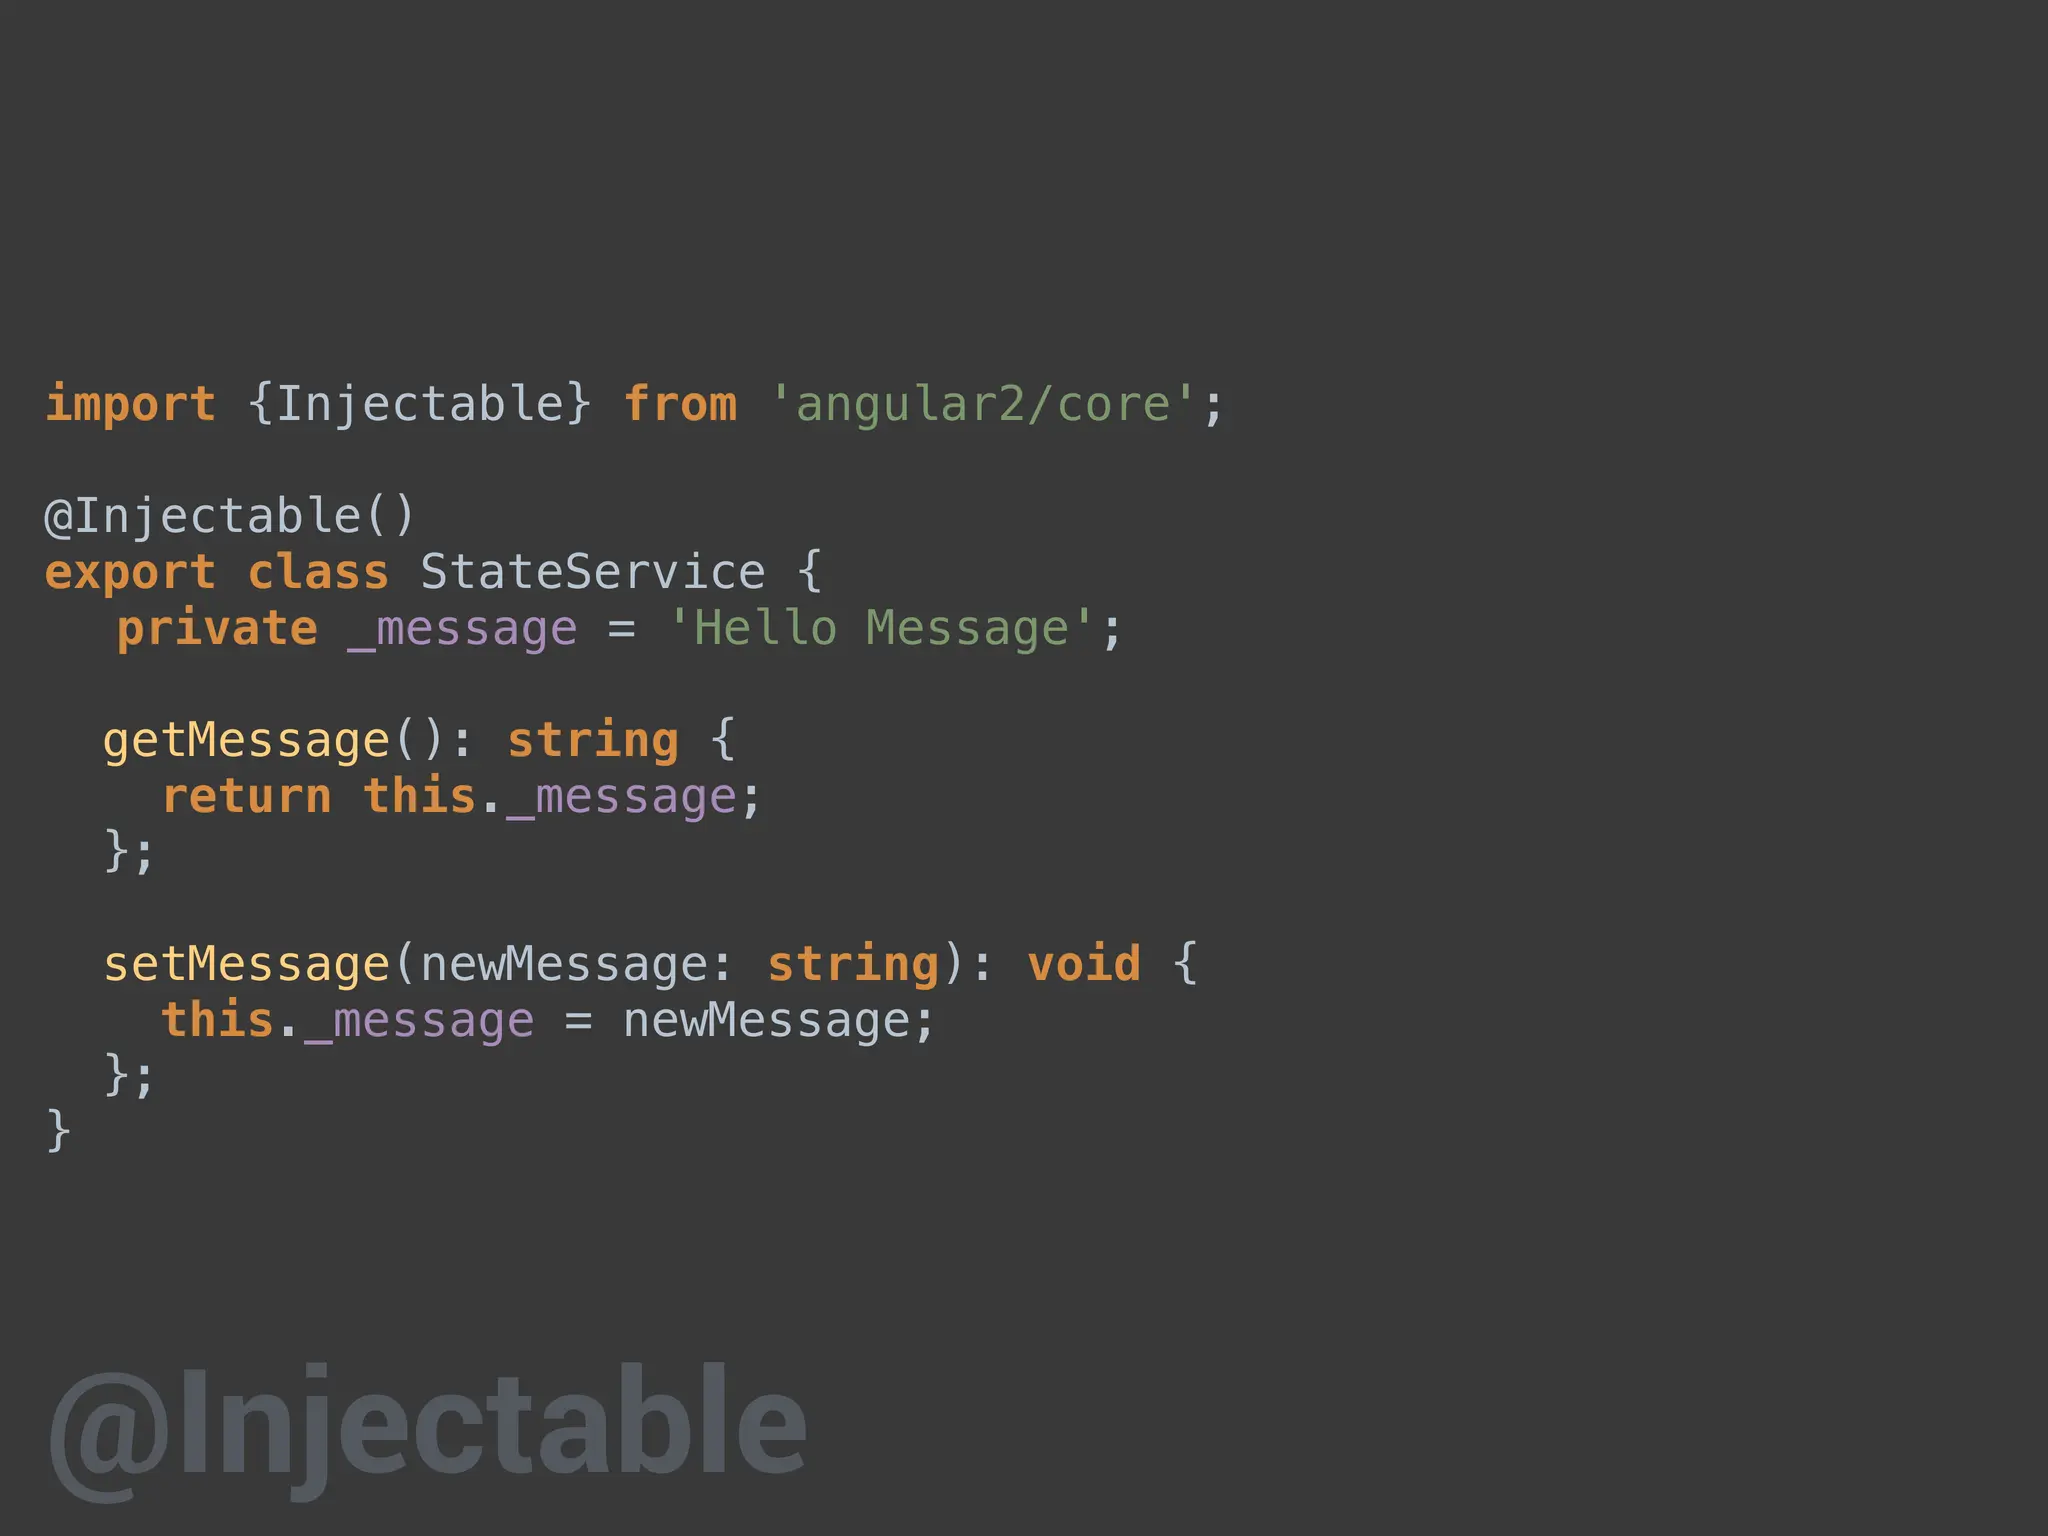
![import {Injectable} from 'angular2/core';
import {Experiment} from './experiment.model';
@Injectable()
export class ExperimentsService {
private experiments: Experiment[] = [];
getExperiments(): Experiment[] {
return this.experiments;
};
}
Service](https://image.slidesharecdn.com/better-apps-angular-2-day1-240626152145-803bfa9e/85/better-apps-angular-2-day1-pdf-and-home-30-320.jpg)

![import { Directive, ElementRef } from 'angular2/core';
@Directive({
selector: '[femBlinker]'
})
export class FemBlinker {
constructor(element: ElementRef) {
let interval = setInterval(() => {
let color = element.nativeElement.style.color;
element.nativeElement.style.color
= (color === '' || color === 'black') ? 'red' : 'black';
}, 300);
setTimeout(() => {
clearInterval(interval);
}, 10000);
}
}
Directive](https://image.slidesharecdn.com/better-apps-angular-2-day1-240626152145-803bfa9e/85/better-apps-angular-2-day1-pdf-and-home-32-320.jpg)
![export interface Item {
id: number;
name: string;
description: string;
};
export interface AppStore {
items: Item[];
selectedItem: Item;
};
Code Sample](https://image.slidesharecdn.com/better-apps-angular-2-day1-240626152145-803bfa9e/85/better-apps-angular-2-day1-pdf-and-home-36-320.jpg)
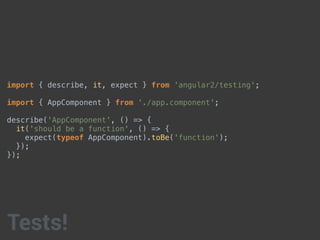
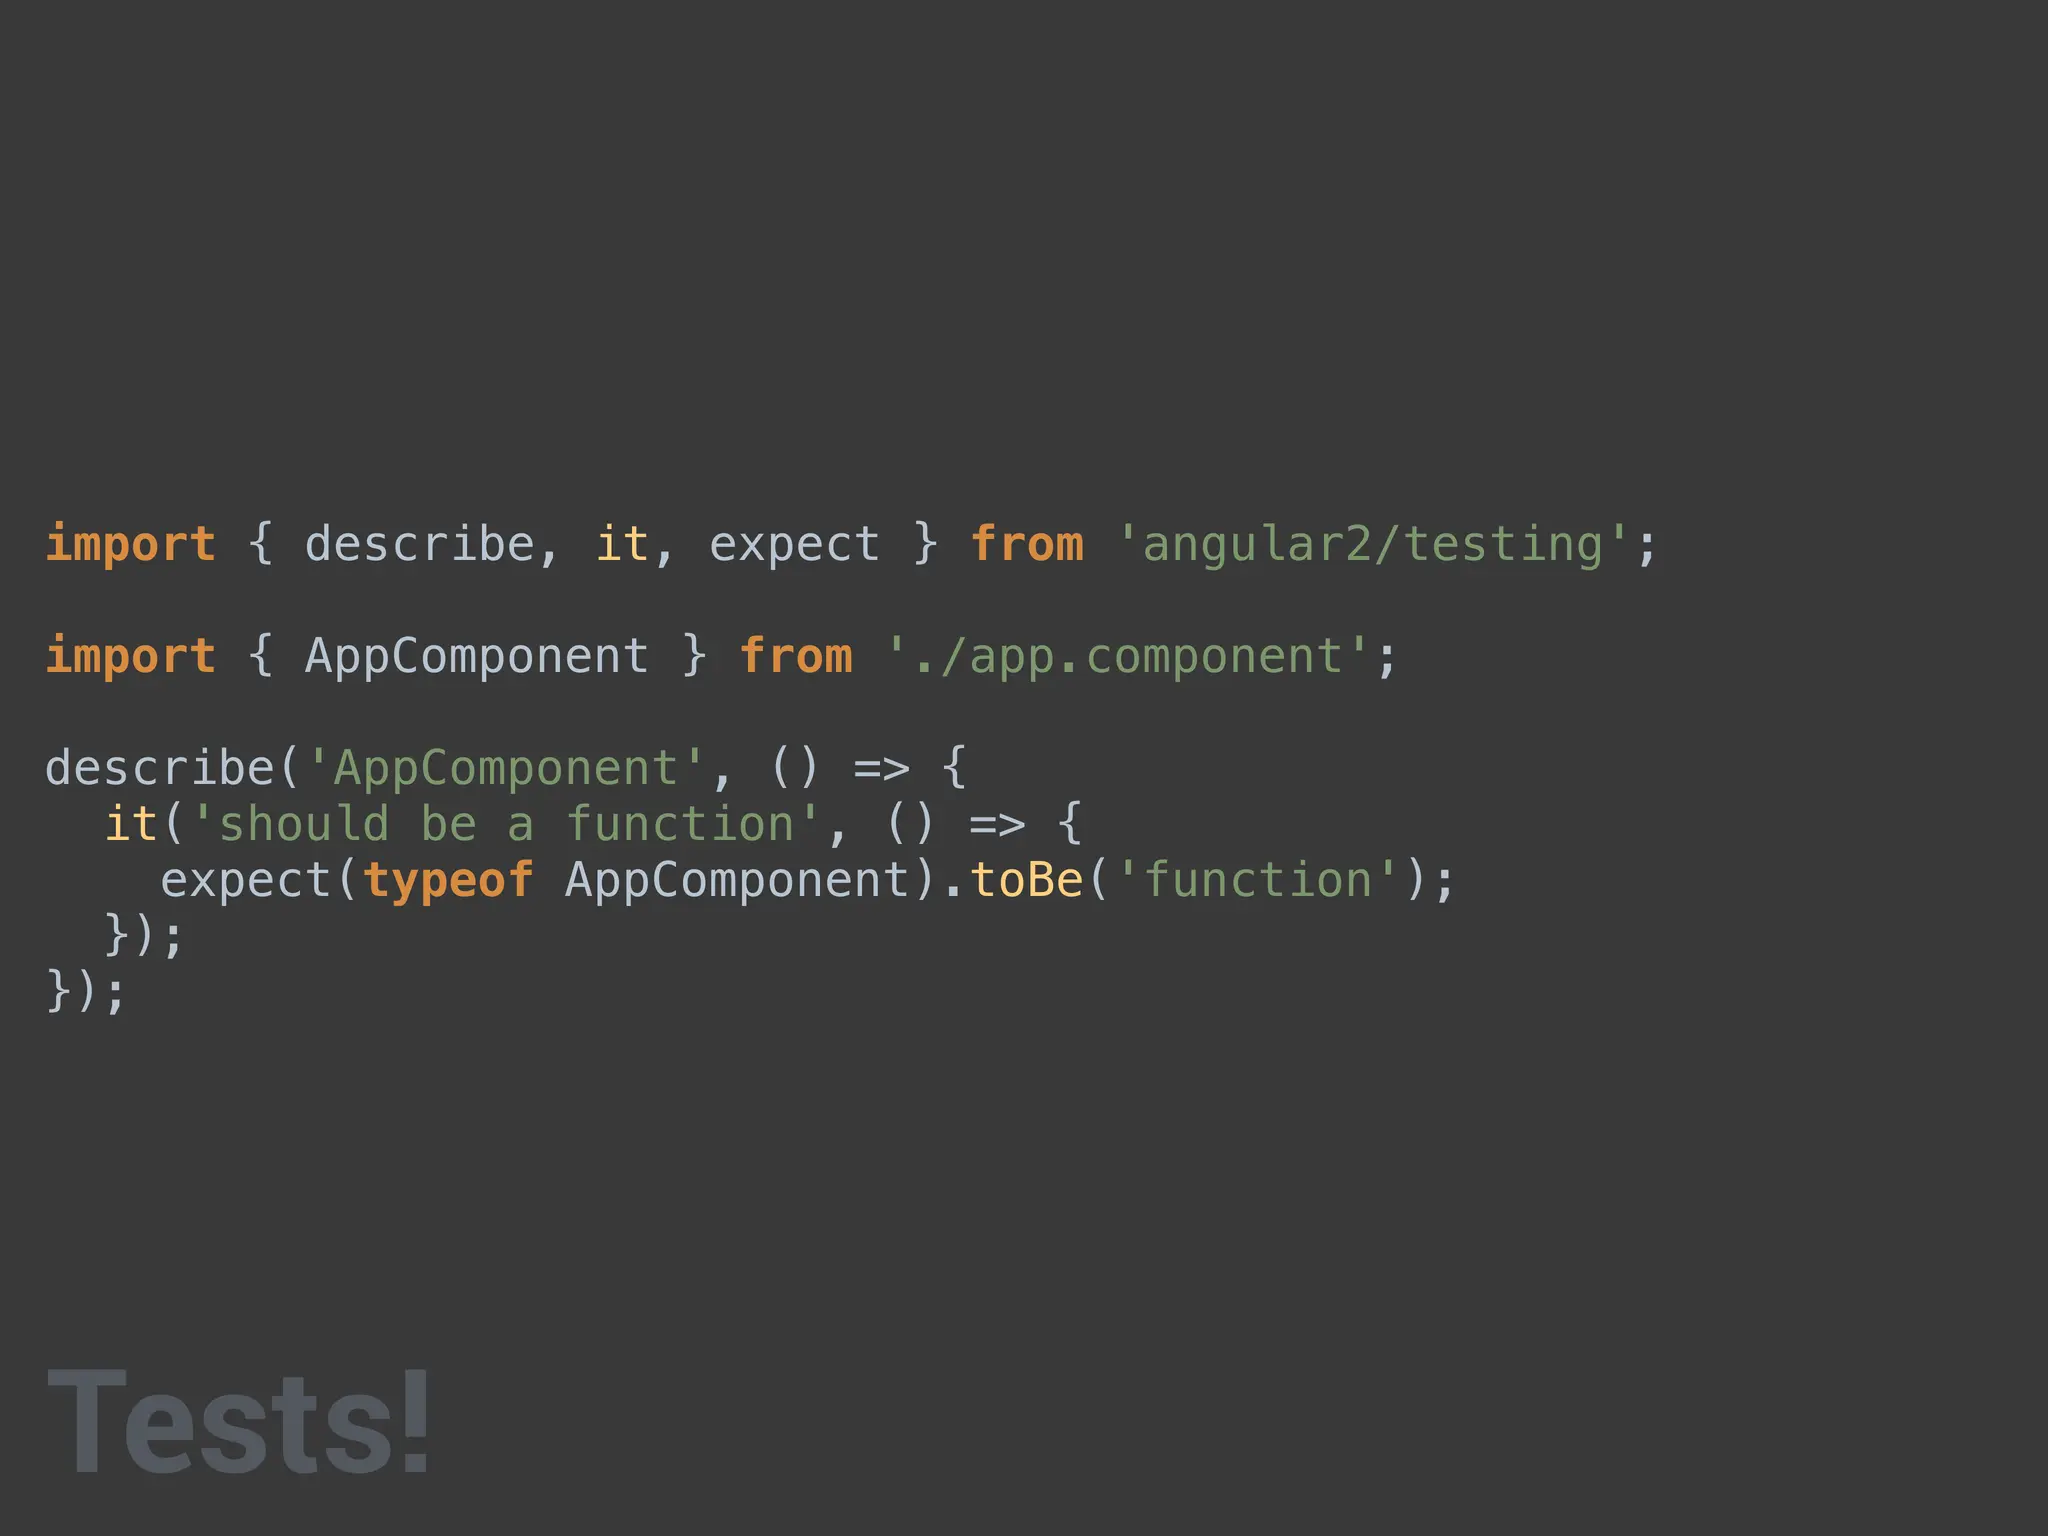
![Testing
• Angular wraps Jasmine methods
• Import all necessary Jasmine methods from angular2/
testing
• Import the classes to test
• Include providers by importing beforeEachProviders
and then calling it with a method that returns an array
of imported providers
• Inject providers by calling inject([arrayOfProviders],
(providerAliases) => {}) inside a beforeEach or it block](https://image.slidesharecdn.com/better-apps-angular-2-day1-240626152145-803bfa9e/85/better-apps-angular-2-day1-pdf-and-home-37-320.jpg)


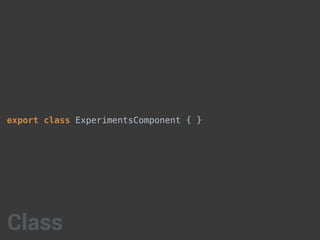

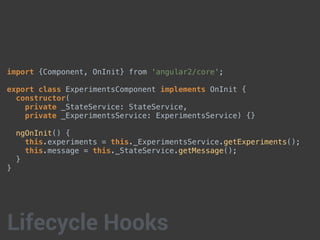
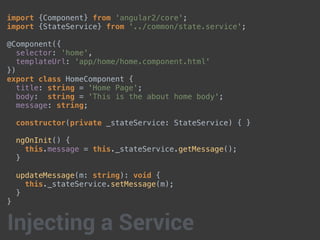
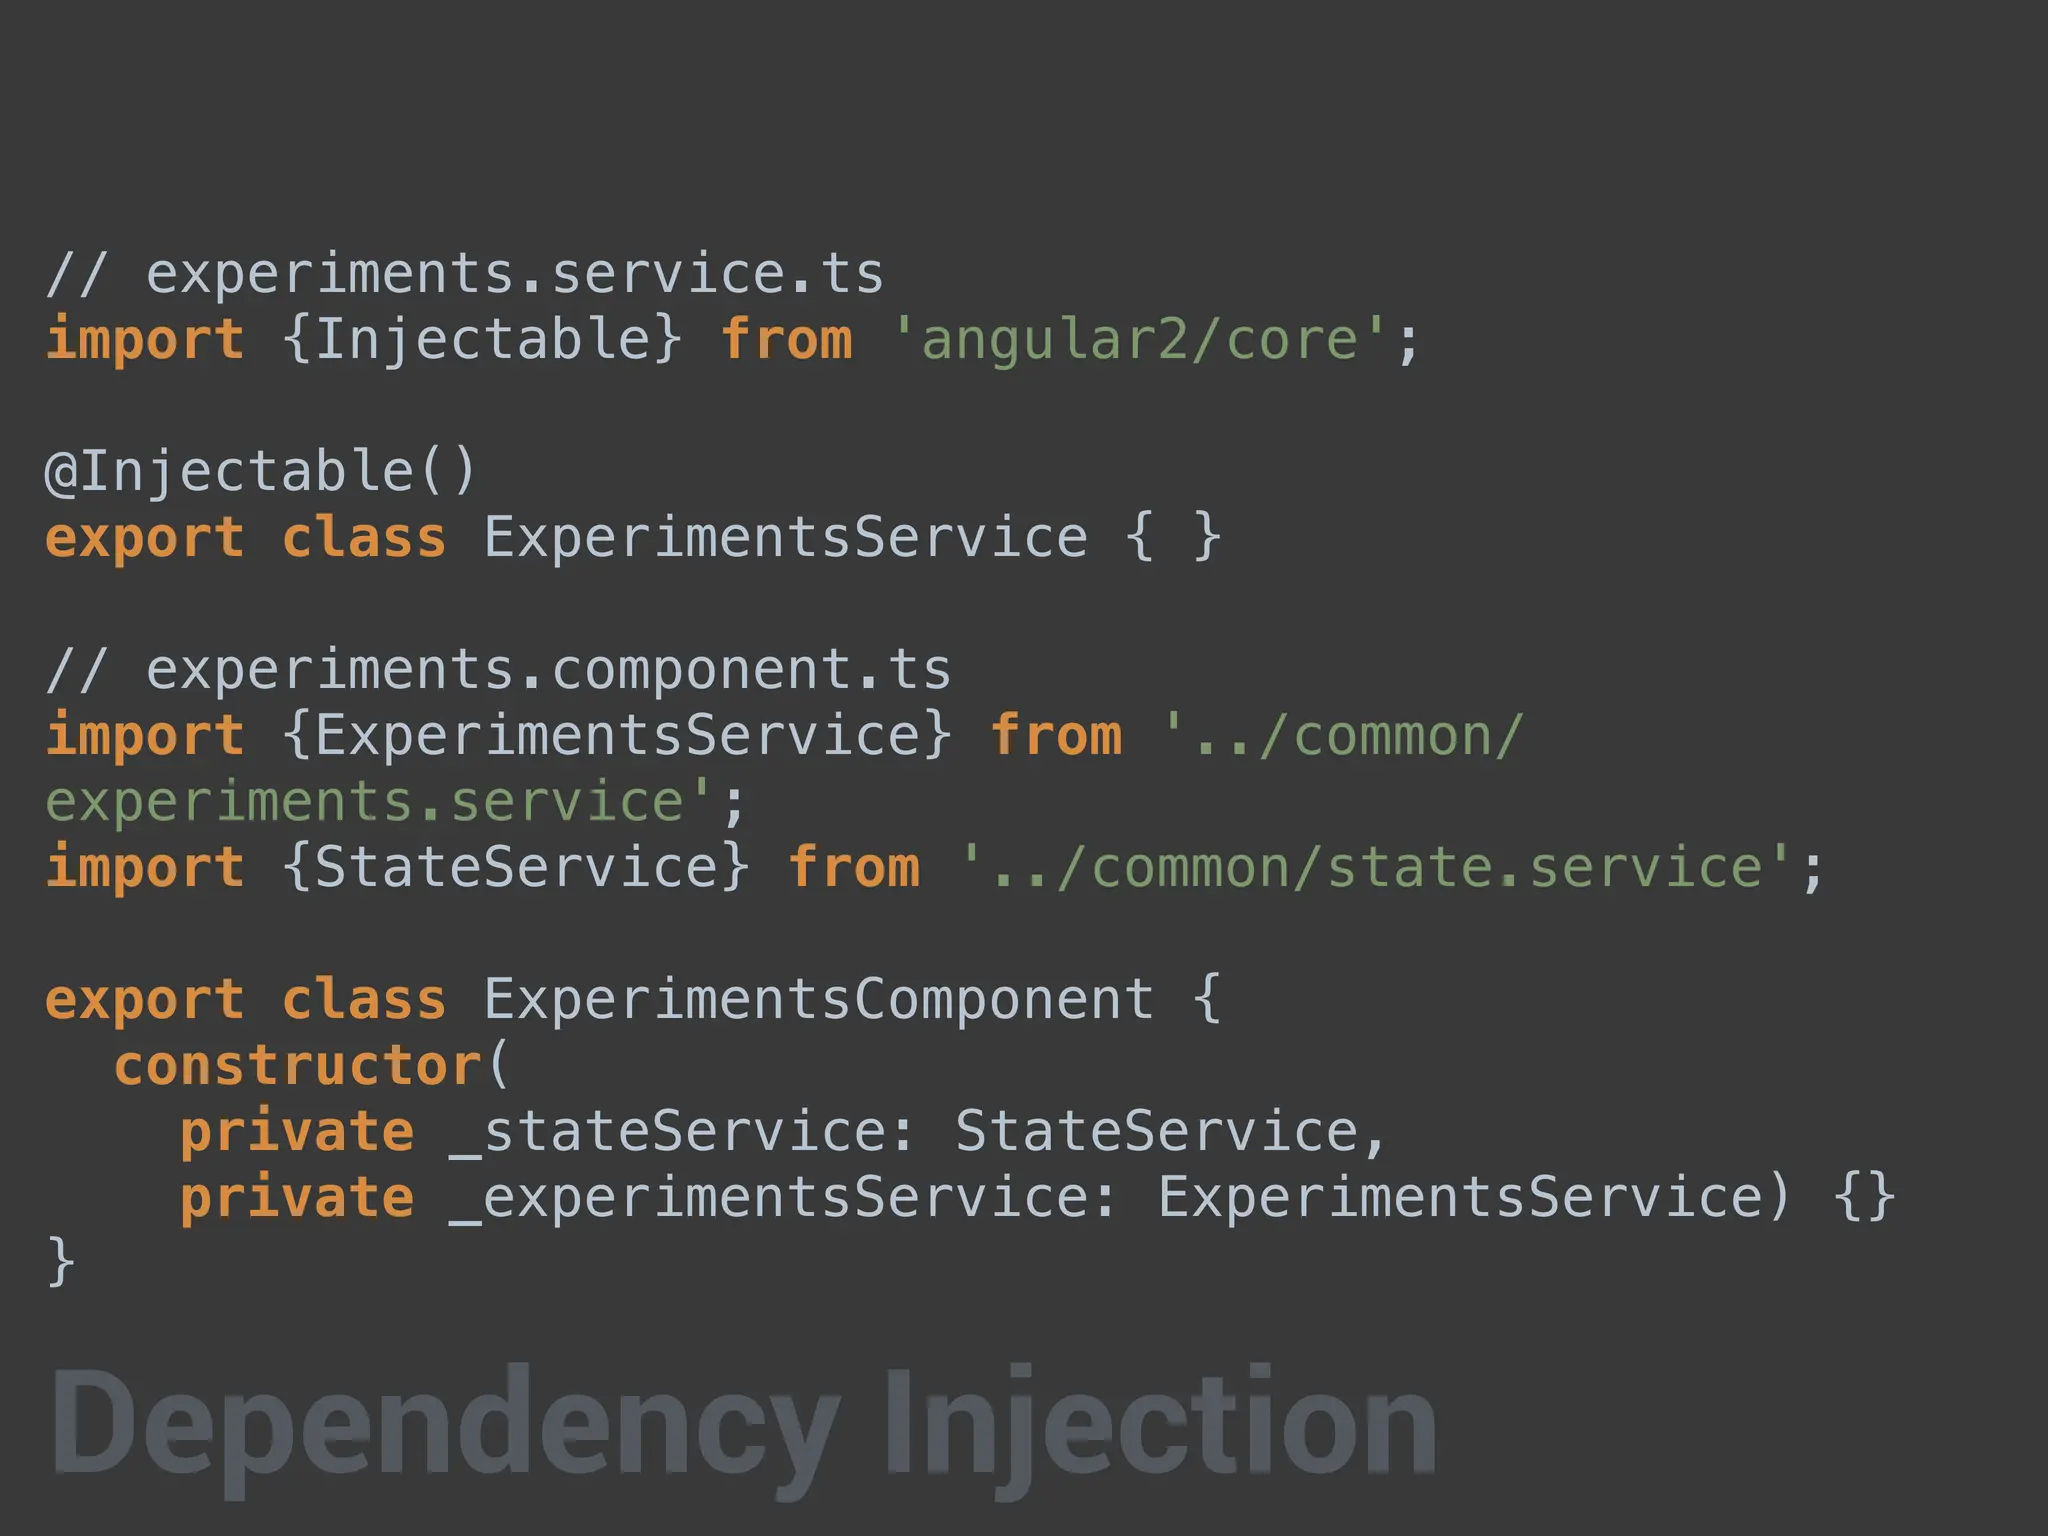
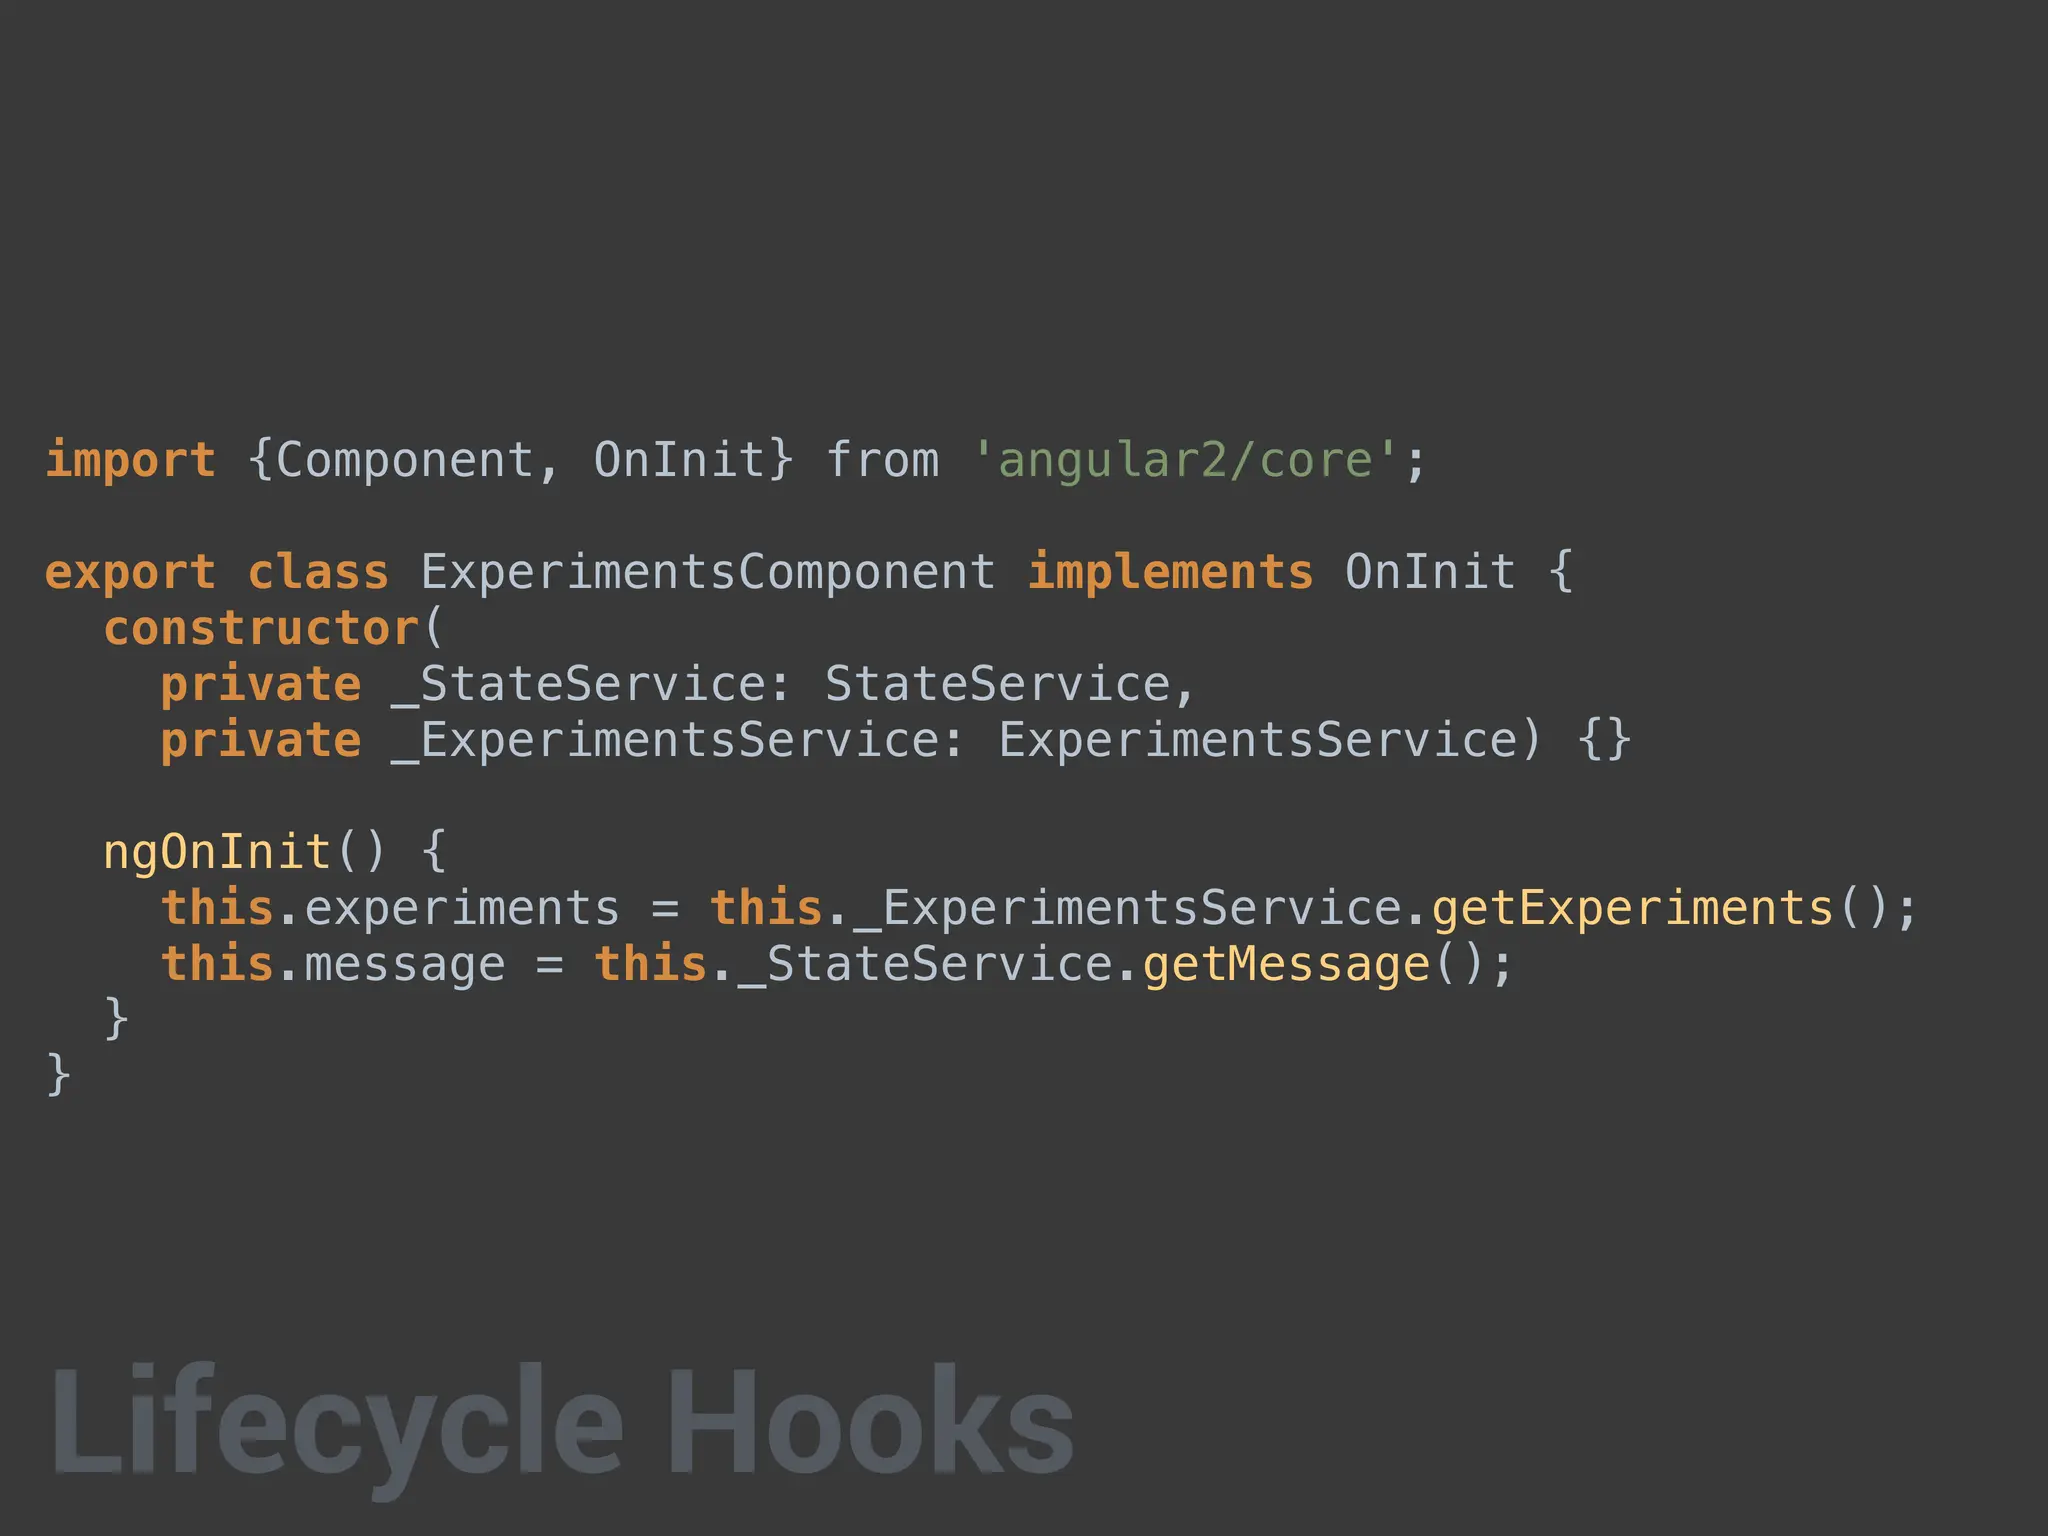
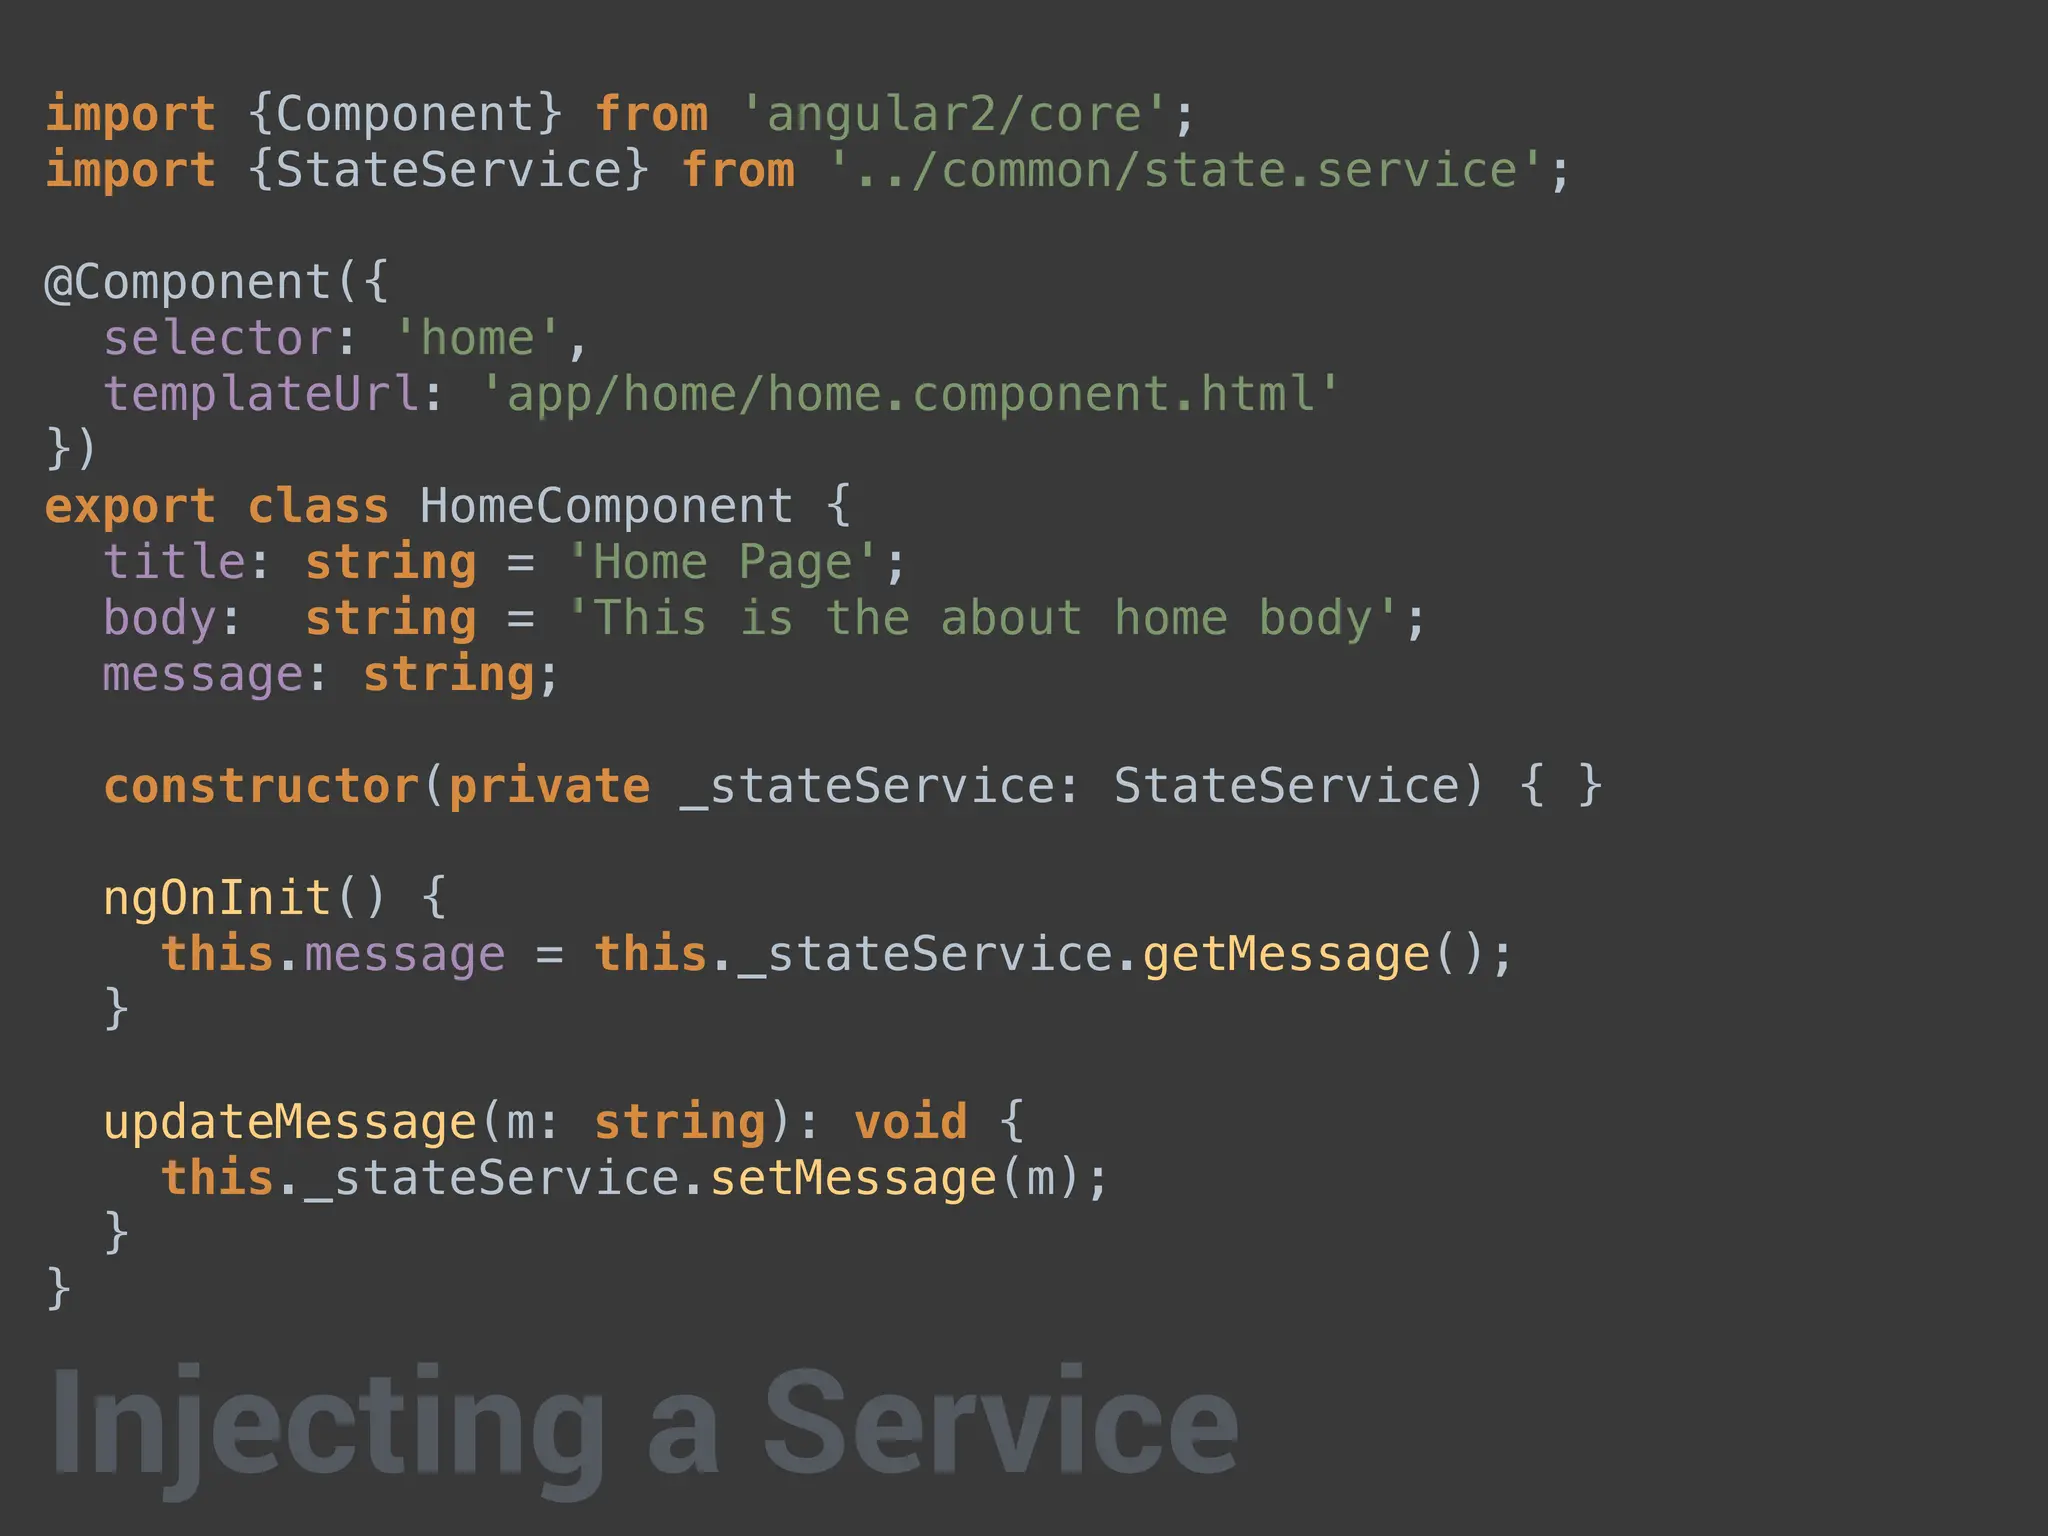
![import {Component} from 'angular2/core';
import {Experiment} from '../common/experiment.model';
import {ExperimentsService} from '../common/experiments.service';
import {StateService} from '../common/state.service';
@Component({
selector: 'experiments',
templateUrl: 'app/experiments/experiments.component.html'
})
export class ExperimentsComponent {
title: string = 'Experiments Page';
body: string = 'This is the about experiments body';
message: string;
experiments: Experiment[];
constructor(
private _StateService: StateService,
private _ExperimentsService: ExperimentsService) {}
updateMessage(m: string): void {
this._StateService.setMessage(m);
}
}
Enhance](https://image.slidesharecdn.com/better-apps-angular-2-day1-240626152145-803bfa9e/85/better-apps-angular-2-day1-pdf-and-home-69-320.jpg)
![import {ExperimentDetailComponent}
from './experiment-details/experiment.detail.component';
@Component({
selector: 'experiments',
templateUrl: 'app/experiments/experiments.component.html',
directives: [ExperimentDetailComponent]
})
export class ExperimentsComponent { }
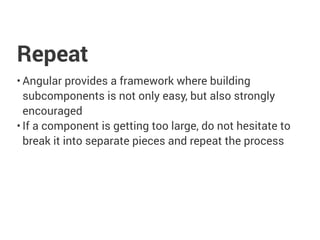
Repeat](https://image.slidesharecdn.com/better-apps-angular-2-day1-240626152145-803bfa9e/85/better-apps-angular-2-day1-pdf-and-home-71-320.jpg)


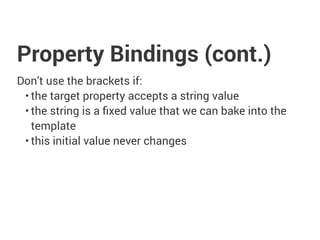
![Property Bindings
• Flows data from the component to an element
• Created with brackets <img [src]=”image.src” />
• Canonical form is bind-attribute e.g. <img bind-
src=”image.src” />
• When there is no element property, prepend with attr
e.g. [attr.colspan]](https://image.slidesharecdn.com/better-apps-angular-2-day1-240626152145-803bfa9e/85/better-apps-angular-2-day1-pdf-and-home-83-320.jpg)
![<span [style.color]="componentStyle">Some colored text!</span>
Property Bindings](https://image.slidesharecdn.com/better-apps-angular-2-day1-240626152145-803bfa9e/85/better-apps-angular-2-day1-pdf-and-home-85-320.jpg)


![<md-input-container>
<label>The awesome input</label>
<input md-input [(ngModel)]="dynamicValue"
placeholder="Watch the text update!" type="text">
</md-input-container>
<br>
<span>{{dynamicValue}}</span>
Two-way Bindings](https://image.slidesharecdn.com/better-apps-angular-2-day1-240626152145-803bfa9e/85/better-apps-angular-2-day1-pdf-and-home-89-320.jpg)

![<div *ngIf=”userIsVisible”>{{user.name}}</div>
<template [ngIf]="userIsVisible">
<div>{{user.name}}</div>
</template>
Asterisk Bindings](https://image.slidesharecdn.com/better-apps-angular-2-day1-240626152145-803bfa9e/85/better-apps-angular-2-day1-pdf-and-home-91-320.jpg)


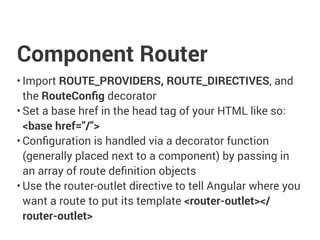
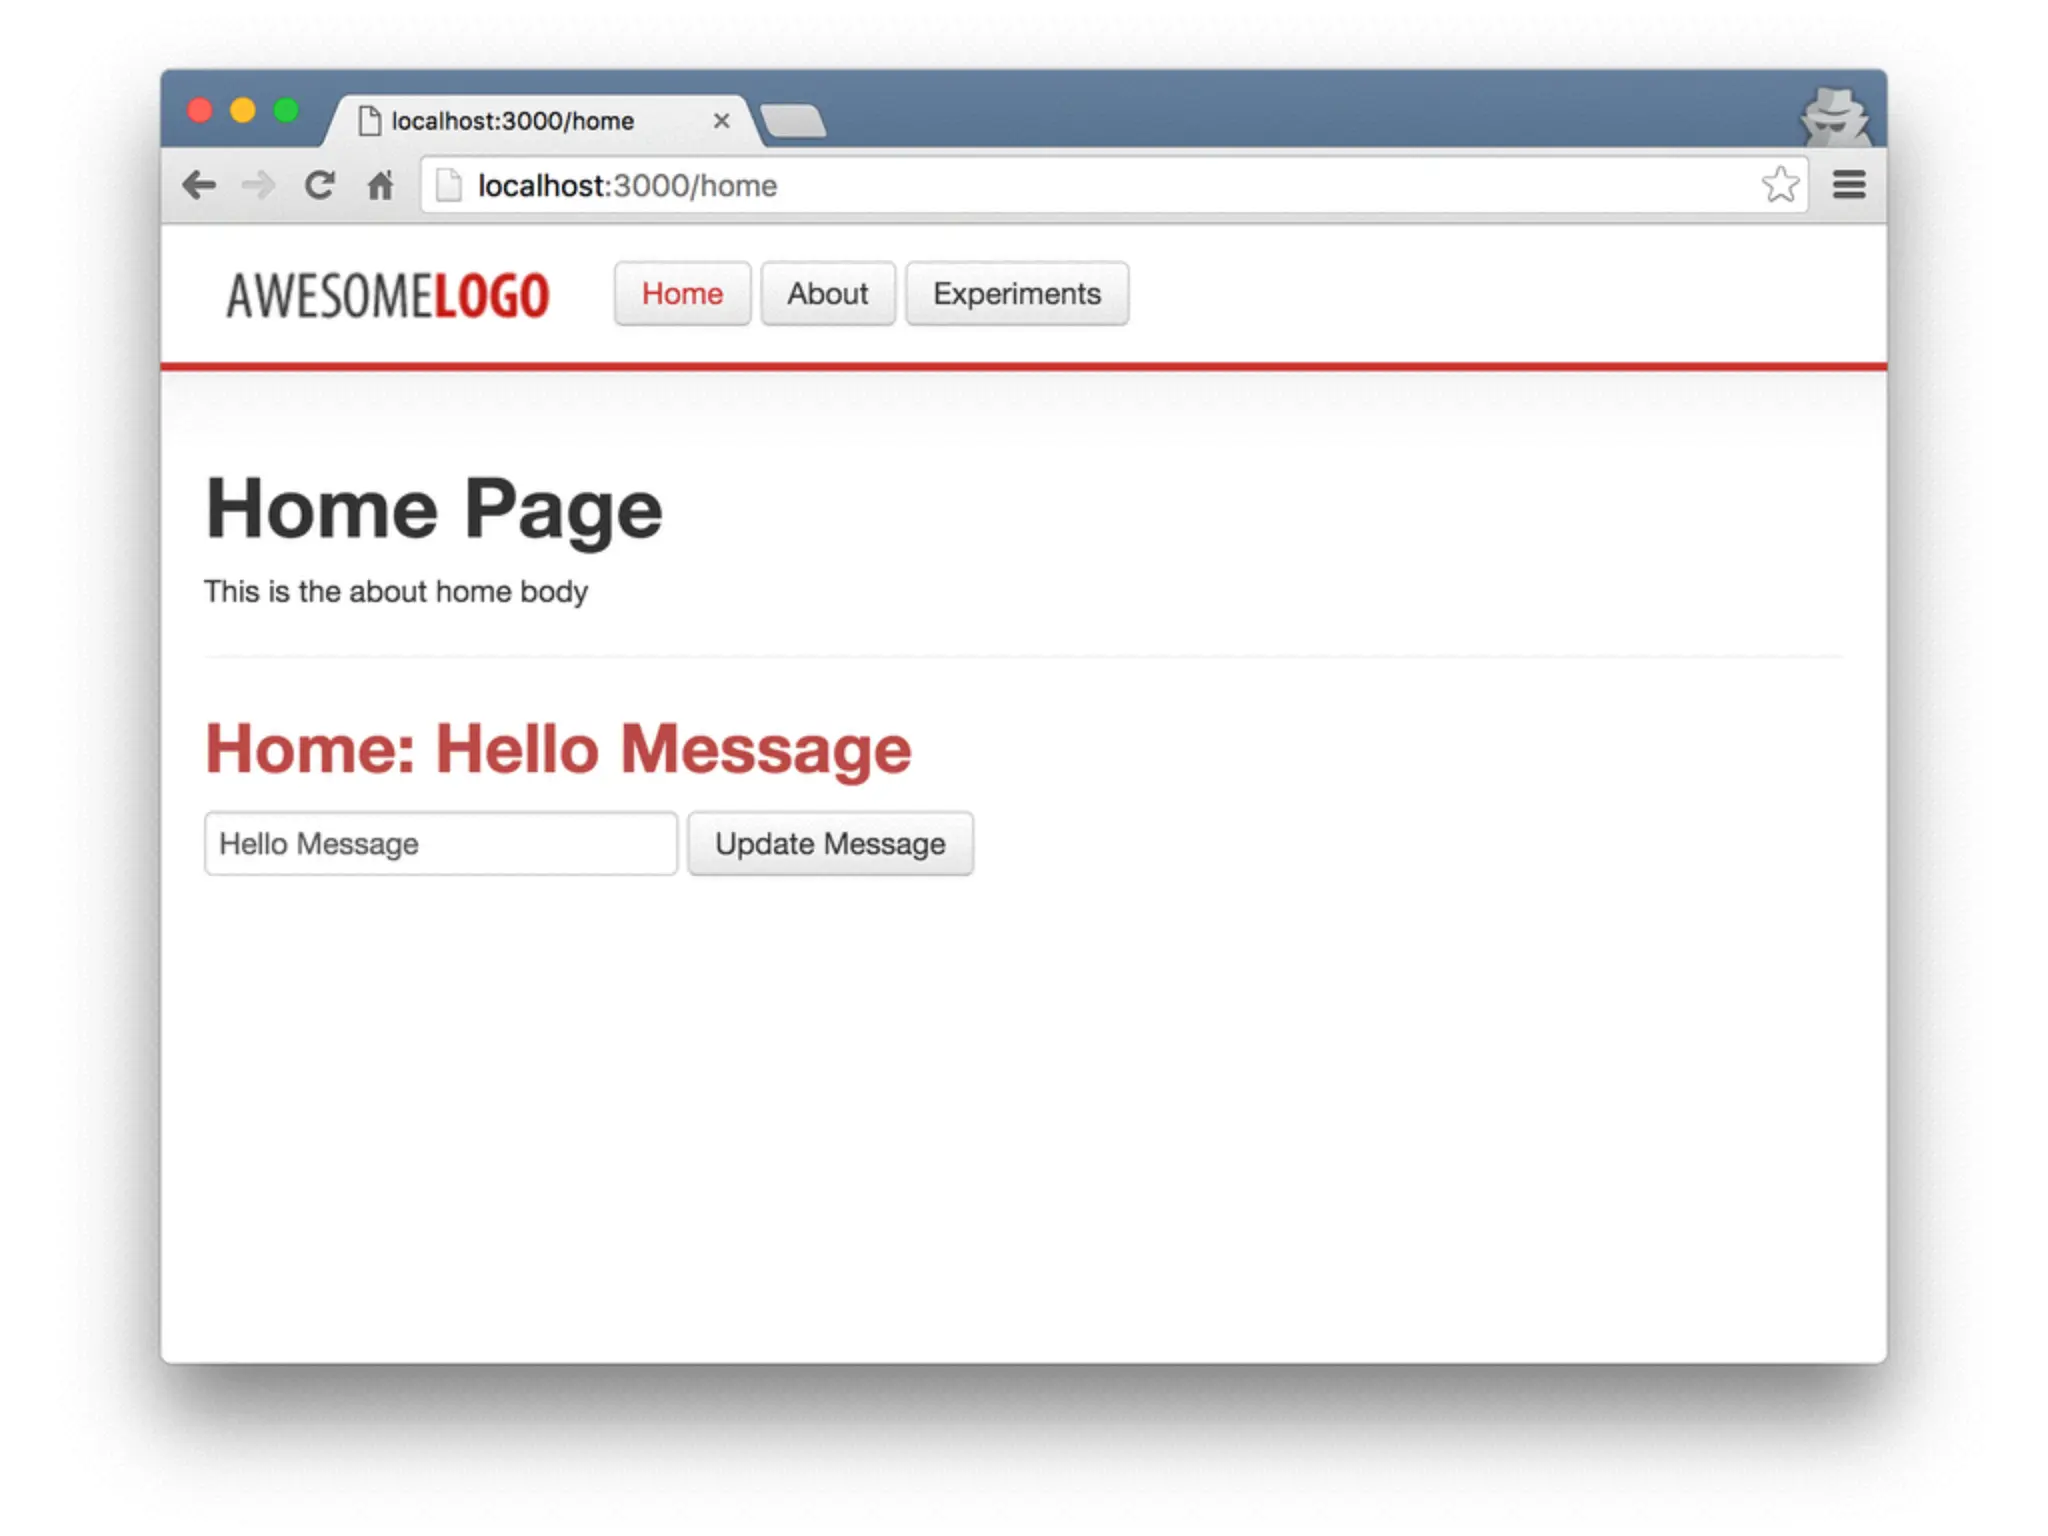
![@RouteConfig([
{path: '/home', name: 'Home', component: HomeComponent, useAsDefault: true},
{path: '/about', name: 'About', component: AboutComponent},
{path: '/experiments', name: 'Experiments', component: ExperimentsComponent}
])
export class AppComponent {}
@RouteConfig](https://image.slidesharecdn.com/better-apps-angular-2-day1-240626152145-803bfa9e/85/better-apps-angular-2-day1-pdf-and-home-111-320.jpg)
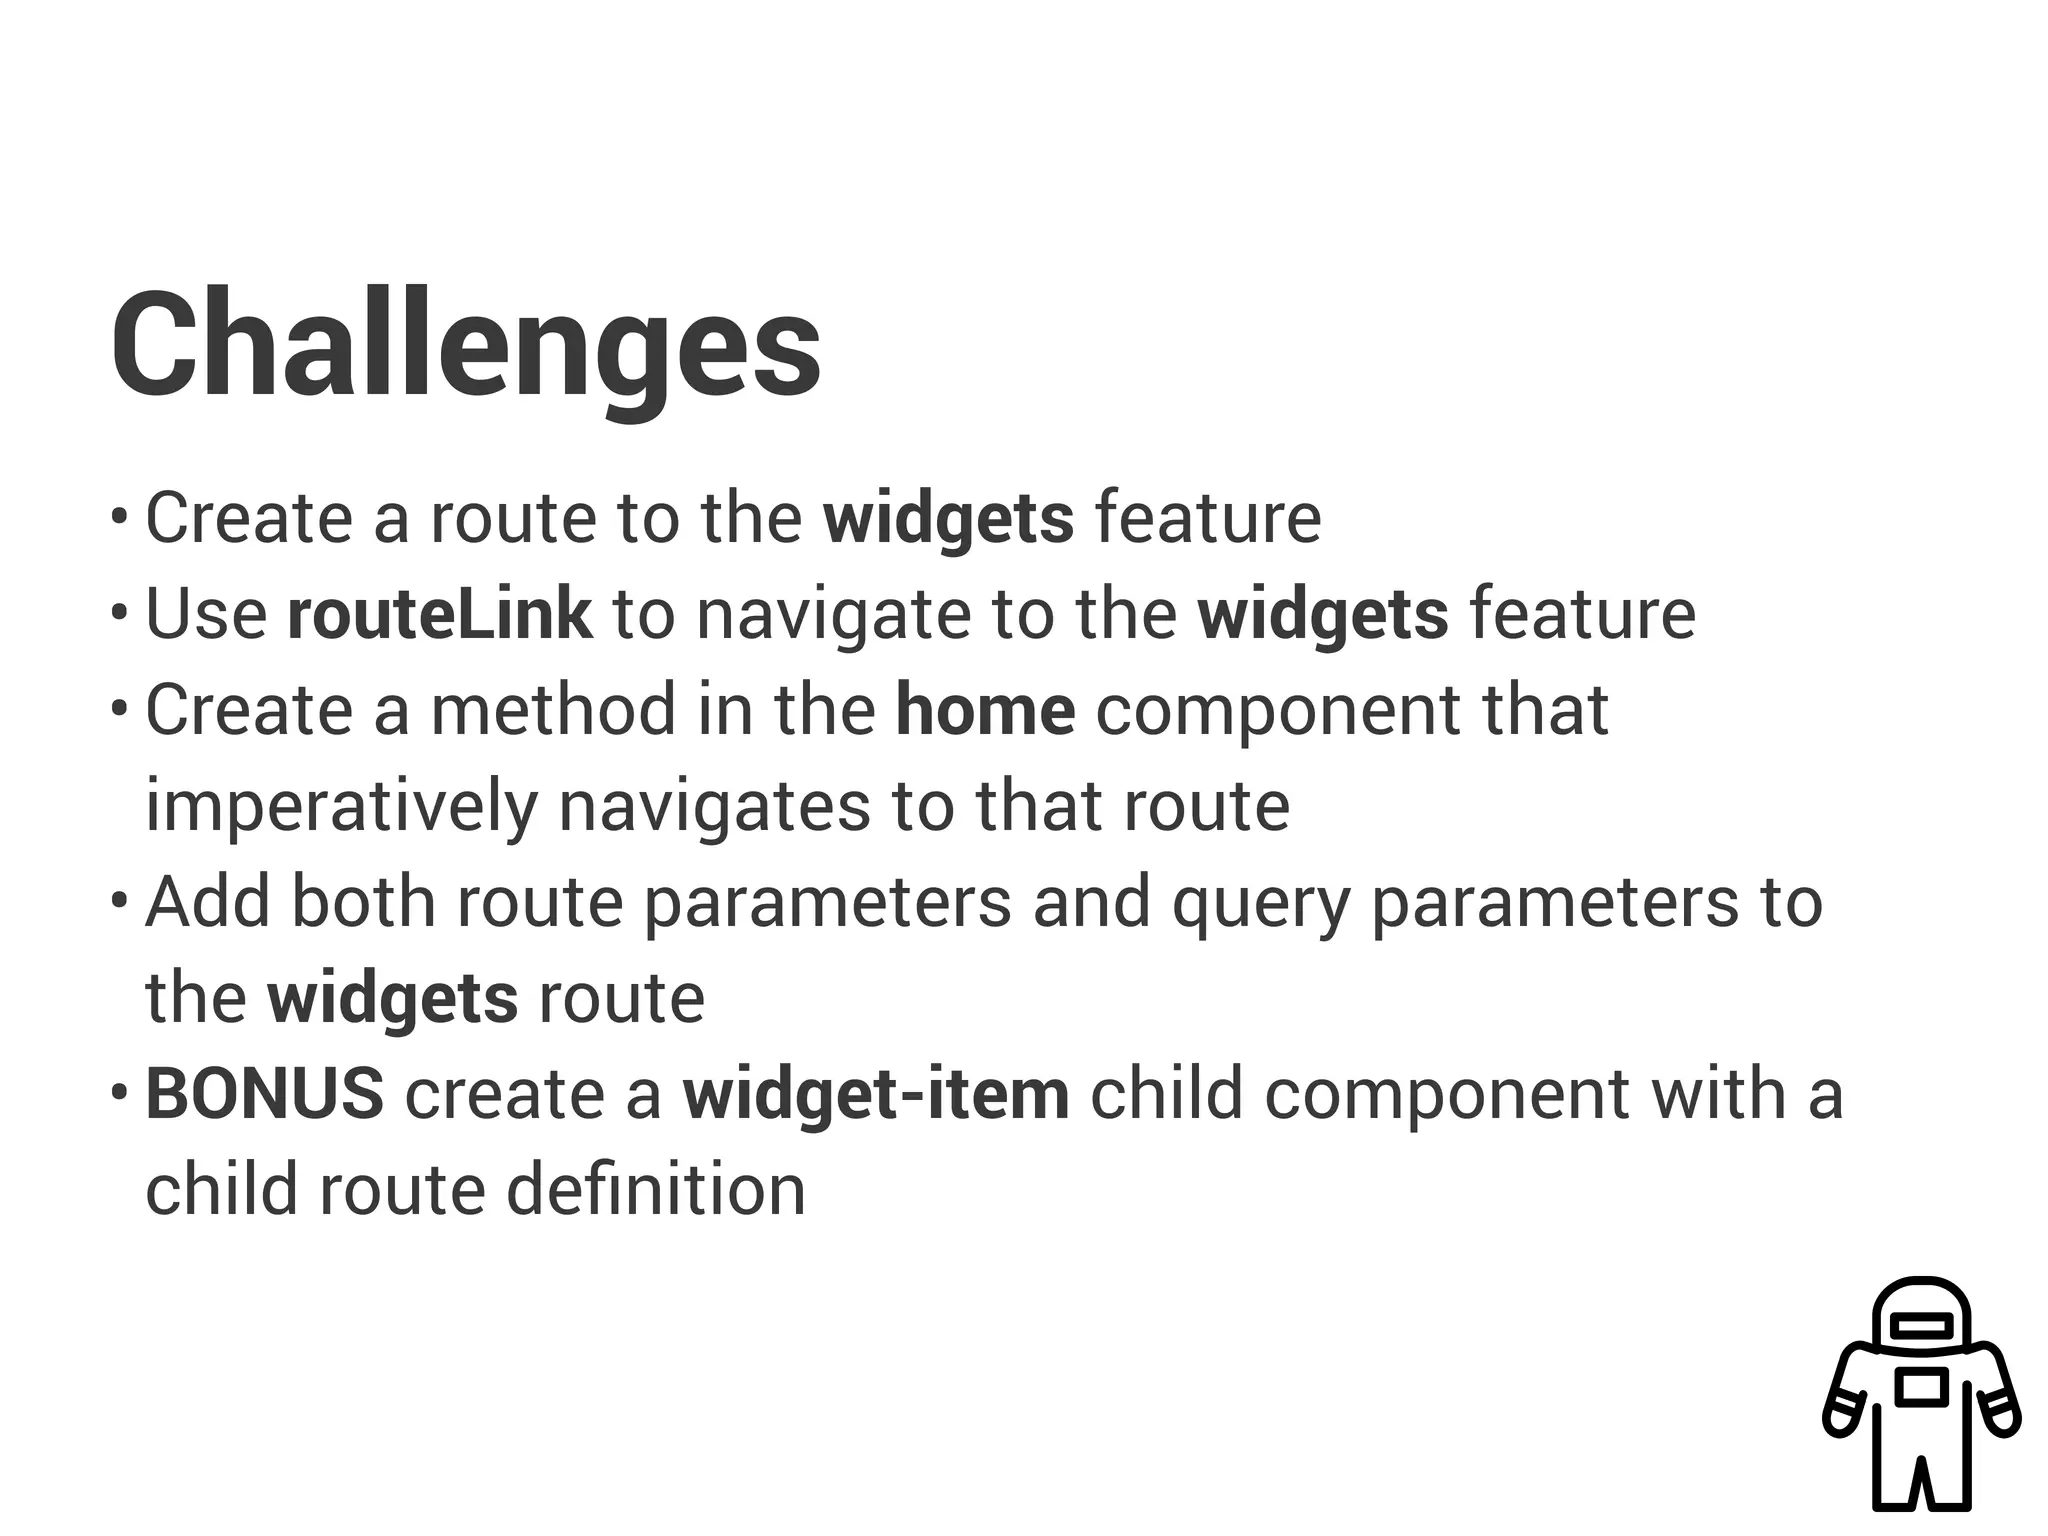
![Navigating Routes
• Add a routerLink attribute directive to an anchor tag
• Bind it to a template expression that returns an array of
route link parameters <a [routerLink]="['Users']">
Users</a>
• Navigate imperatively by importing Router, injecting it,
and then calling .navigate() from within a component
method
• We pass the same array of parameters as we would to
the routerLink directive this._router.navigate( ['Users'] );](https://image.slidesharecdn.com/better-apps-angular-2-day1-240626152145-803bfa9e/85/better-apps-angular-2-day1-pdf-and-home-113-320.jpg)
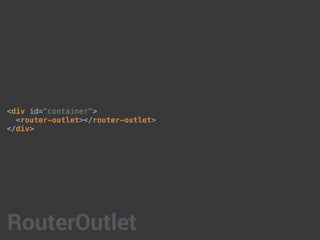
![<div id="menu">
<a [routerLink]="['/Home']" class="btn">Home</a>
<a [routerLink]="['/About']" class="btn">About</a>
<a [routerLink]="['/Experiments']" class="btn">Experiments</a>
</div>
RouterLink](https://image.slidesharecdn.com/better-apps-angular-2-day1-240626152145-803bfa9e/85/better-apps-angular-2-day1-pdf-and-home-114-320.jpg)
![export class App {
constructor(private _router: Router) {}
navigate(route) {
this._router.navigate([`/${route}`]);
}
}
Router.navigate](https://image.slidesharecdn.com/better-apps-angular-2-day1-240626152145-803bfa9e/85/better-apps-angular-2-day1-pdf-and-home-115-320.jpg)
![Query Parameters
• Denotes an optional value for a particular route
• Do not add query parameters to the route definition
{ path:'/users', name: UserDetail, component:
UserDetail }
• Add as a parameter to the routerLink template
expression just like router params: <a
[routerLink]="['Users', {id: 7}]"> {{user.name}} </a>
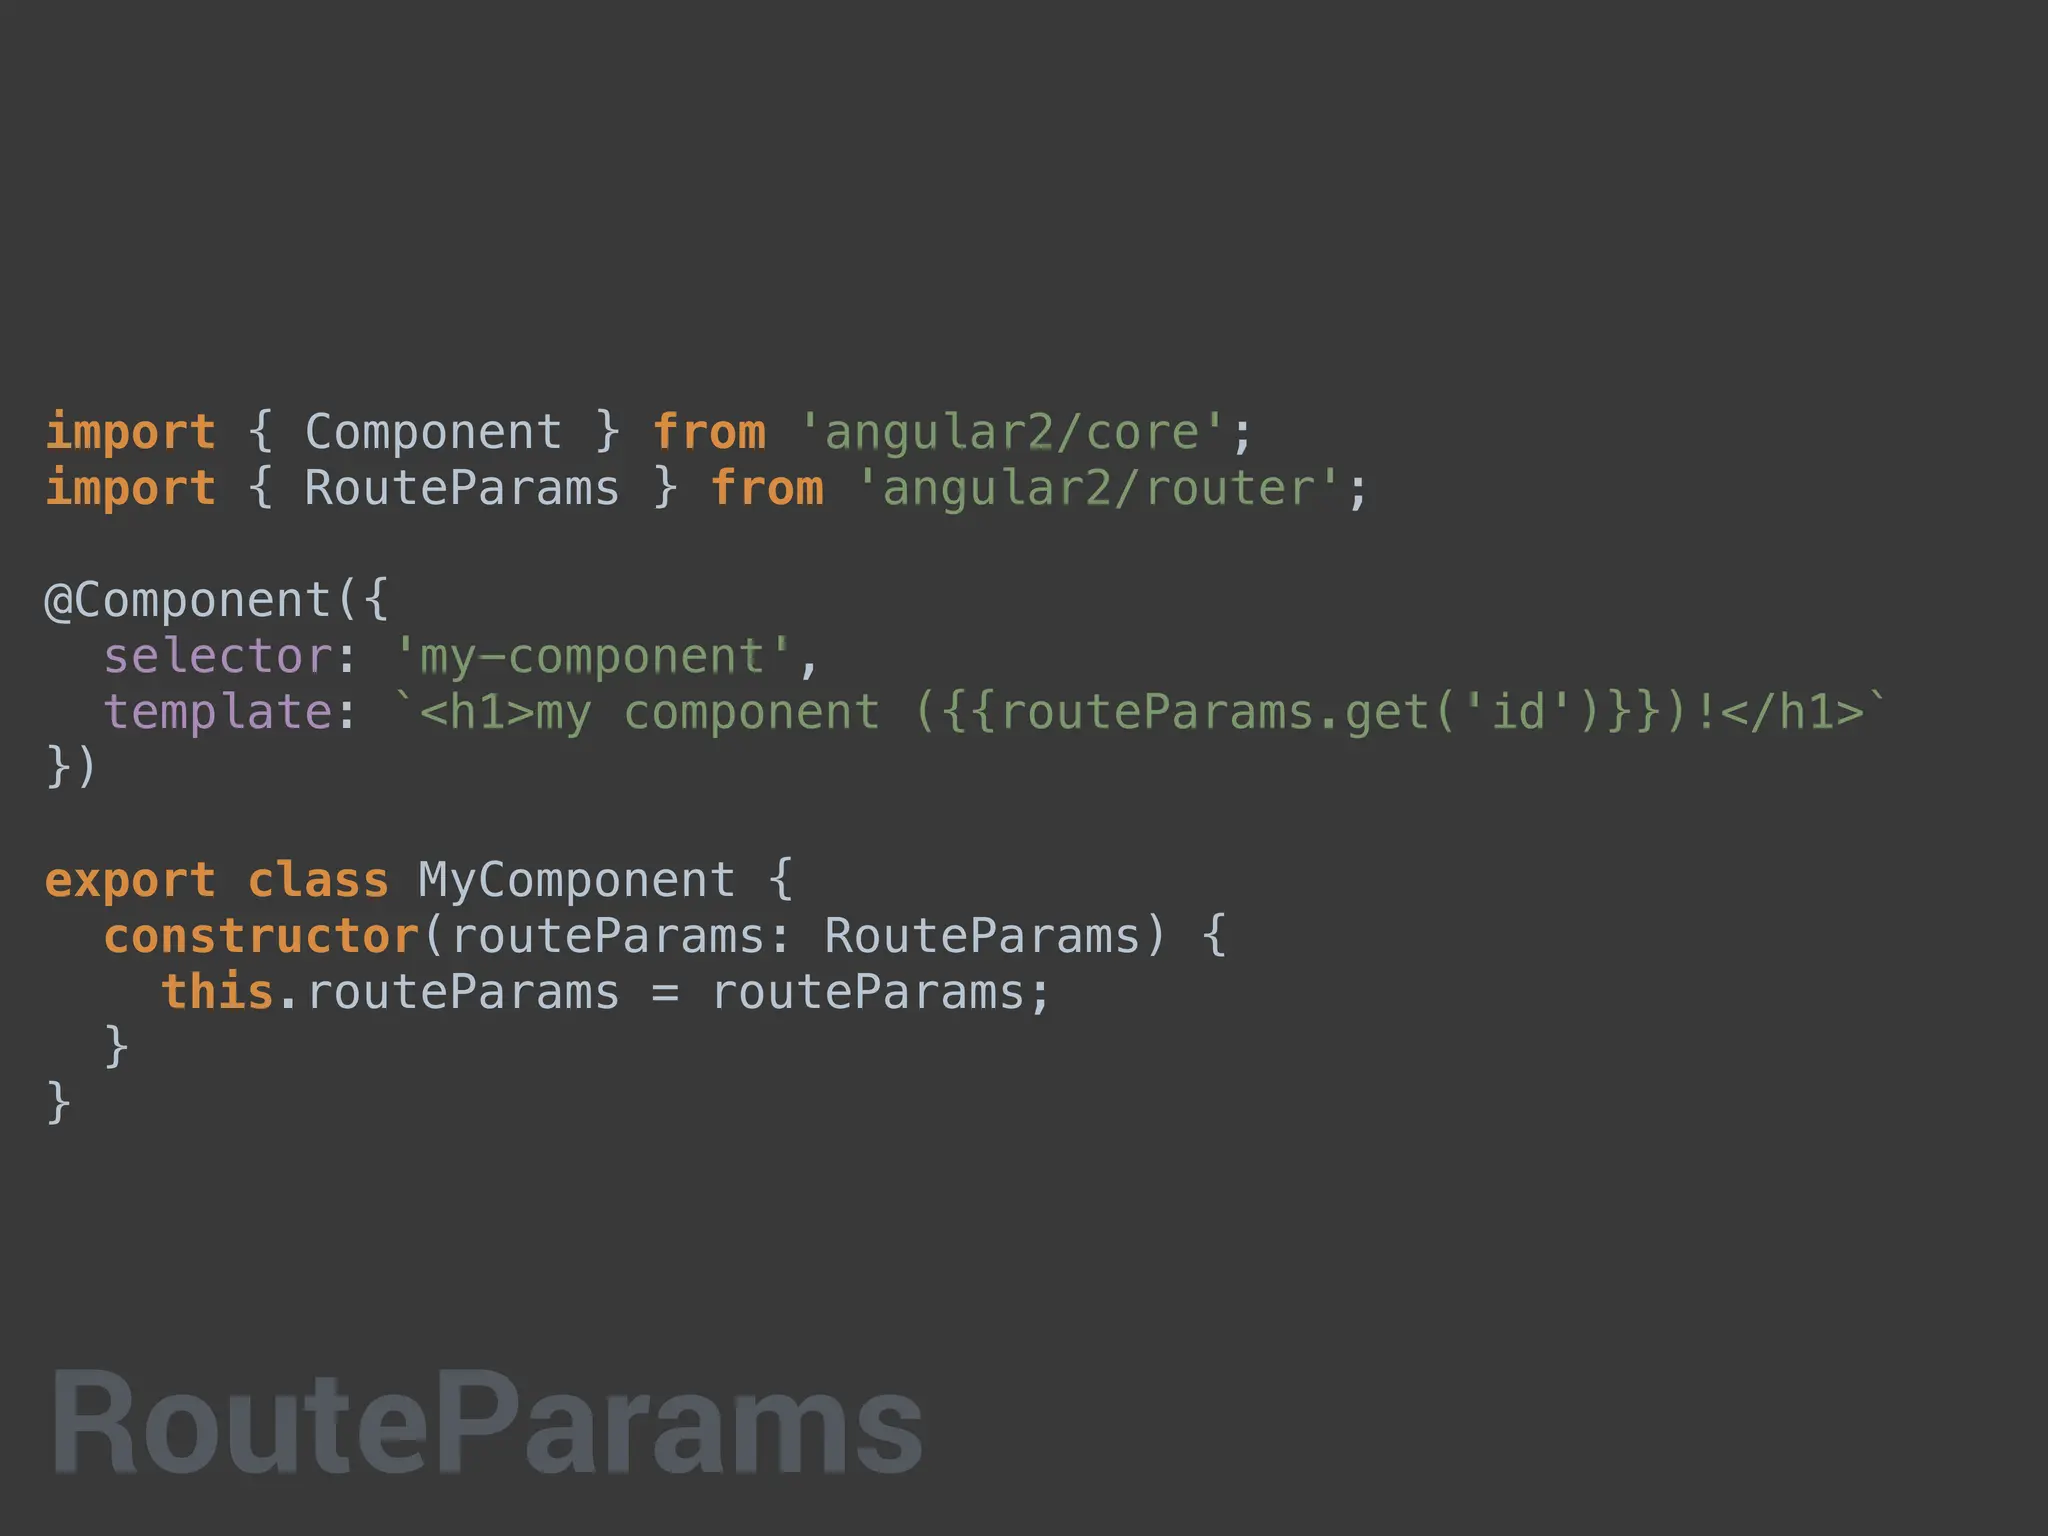
• Also accessed by injecting RouteParams into a
component](https://image.slidesharecdn.com/better-apps-angular-2-day1-240626152145-803bfa9e/85/better-apps-angular-2-day1-pdf-and-home-116-320.jpg)
![<div>
<button [routerLink]="['./MyComponent', {id: 1}]">
My Component Link</button>
<button [routerLink]="['./AnotherComponent', {queryParam: 'bar'}]">
Another Component Link</button>
</div>
QueryParam](https://image.slidesharecdn.com/better-apps-angular-2-day1-240626152145-803bfa9e/85/better-apps-angular-2-day1-pdf-and-home-117-320.jpg)


![@RouteConfig([
{
path:'/another-component/...',
name: 'AnotherComponent',
component: AnotherComponent
}
])
export class App {}
@RouteConfig([
{
path:'/first',
name: 'FirstChild',
component: FirstSubComponent
}
])
export class AnotherComponent {}
Child Routes](https://image.slidesharecdn.com/better-apps-angular-2-day1-240626152145-803bfa9e/85/better-apps-angular-2-day1-pdf-and-home-120-320.jpg)


![import {bootstrap} from 'angular2/platform/browser';
import {ROUTER_PROVIDERS} from 'angular2/router';
import {AppComponent} from './app.component';
bootstrap(AppComponent, [
ROUTER_PROVIDERS
]);
Bootstrap](https://image.slidesharecdn.com/better-apps-angular-2-day1-240626152145-803bfa9e/75/better-apps-angular-2-day1-pdf-and-home-15-2048.jpg)


![@Component({
selector: 'experiment',
templateUrl: './experiment.detail.component.html',
styles: [`
.experiment {
cursor: pointer;
outline: 1px lightgray solid;
padding: 5px;
margin: 5px;
}
`]
})
Template](https://image.slidesharecdn.com/better-apps-angular-2-day1-240626152145-803bfa9e/75/better-apps-angular-2-day1-pdf-and-home-24-2048.jpg)
![@Component({
selector: 'experiment',
template: `
<div class="experiment" (click)="doExperiment()">
<h3>{{ experiment.name }}</h3>
<p>{{ experiment.description }}</p>
<p><strong>{{experiment.completed}}</strong></p>
</div>
`,
styles: [`
.experiment {
cursor: pointer;
outline: 1px lightgray solid;
padding: 5px;
margin: 5px;
}
`]
})
Template](https://image.slidesharecdn.com/better-apps-angular-2-day1-240626152145-803bfa9e/75/better-apps-angular-2-day1-pdf-and-home-25-2048.jpg)

![<h1>{{title}}</h1>
<p>{{body}}</p>
<hr/>
<experiment *ngFor="#experiment of experiments"
[experiment]="experiment"></experiment>
<hr/>
<div>
<h2 class="text-error">Experiments: {{message}}</h2>
<form class="form-inline">
<input type="text"
[(ngModel)]="message" placeholder="Message">
<button type="submit" class="btn"
(click)="updateMessage(message)">Update Message
</button>
</form>
</div>
Data Binding](https://image.slidesharecdn.com/better-apps-angular-2-day1-240626152145-803bfa9e/75/better-apps-angular-2-day1-pdf-and-home-28-2048.jpg)
![import {Injectable} from 'angular2/core';
import {Experiment} from './experiment.model';
@Injectable()
export class ExperimentsService {
private experiments: Experiment[] = [];
getExperiments(): Experiment[] {
return this.experiments;
};
}
Service](https://image.slidesharecdn.com/better-apps-angular-2-day1-240626152145-803bfa9e/75/better-apps-angular-2-day1-pdf-and-home-30-2048.jpg)

![import { Directive, ElementRef } from 'angular2/core';
@Directive({
selector: '[femBlinker]'
})
export class FemBlinker {
constructor(element: ElementRef) {
let interval = setInterval(() => {
let color = element.nativeElement.style.color;
element.nativeElement.style.color
= (color === '' || color === 'black') ? 'red' : 'black';
}, 300);
setTimeout(() => {
clearInterval(interval);
}, 10000);
}
}
Directive](https://image.slidesharecdn.com/better-apps-angular-2-day1-240626152145-803bfa9e/75/better-apps-angular-2-day1-pdf-and-home-32-2048.jpg)


![export interface Item {
id: number;
name: string;
description: string;
};
export interface AppStore {
items: Item[];
selectedItem: Item;
};
Code Sample](https://image.slidesharecdn.com/better-apps-angular-2-day1-240626152145-803bfa9e/75/better-apps-angular-2-day1-pdf-and-home-36-2048.jpg)
![Testing
• Angular wraps Jasmine methods
• Import all necessary Jasmine methods from angular2/
testing
• Import the classes to test
• Include providers by importing beforeEachProviders
and then calling it with a method that returns an array
of imported providers
• Inject providers by calling inject([arrayOfProviders],
(providerAliases) => {}) inside a beforeEach or it block](https://image.slidesharecdn.com/better-apps-angular-2-day1-240626152145-803bfa9e/75/better-apps-angular-2-day1-pdf-and-home-37-2048.jpg)


![import {Component} from 'angular2/core';
import {Experiment} from '../common/experiment.model';
import {ExperimentsService} from '../common/experiments.service';
import {StateService} from '../common/state.service';
@Component({
selector: 'experiments',
templateUrl: 'app/experiments/experiments.component.html'
})
export class ExperimentsComponent {
title: string = 'Experiments Page';
body: string = 'This is the about experiments body';
message: string;
experiments: Experiment[];
constructor(
private _StateService: StateService,
private _ExperimentsService: ExperimentsService) {}
updateMessage(m: string): void {
this._StateService.setMessage(m);
}
}
Enhance](https://image.slidesharecdn.com/better-apps-angular-2-day1-240626152145-803bfa9e/75/better-apps-angular-2-day1-pdf-and-home-69-2048.jpg)

![import {ExperimentDetailComponent}
from './experiment-details/experiment.detail.component';
@Component({
selector: 'experiments',
templateUrl: 'app/experiments/experiments.component.html',
directives: [ExperimentDetailComponent]
})
export class ExperimentsComponent { }
Repeat](https://image.slidesharecdn.com/better-apps-angular-2-day1-240626152145-803bfa9e/75/better-apps-angular-2-day1-pdf-and-home-71-2048.jpg)


![Property Bindings
• Flows data from the component to an element
• Created with brackets <img [src]=”image.src” />
• Canonical form is bind-attribute e.g. <img bind-
src=”image.src” />
• When there is no element property, prepend with attr
e.g. [attr.colspan]](https://image.slidesharecdn.com/better-apps-angular-2-day1-240626152145-803bfa9e/75/better-apps-angular-2-day1-pdf-and-home-83-2048.jpg)

![<span [style.color]="componentStyle">Some colored text!</span>
Property Bindings](https://image.slidesharecdn.com/better-apps-angular-2-day1-240626152145-803bfa9e/75/better-apps-angular-2-day1-pdf-and-home-85-2048.jpg)

![<md-input-container>
<label>The awesome input</label>
<input md-input [(ngModel)]="dynamicValue"
placeholder="Watch the text update!" type="text">
</md-input-container>
<br>
<span>{{dynamicValue}}</span>
Two-way Bindings](https://image.slidesharecdn.com/better-apps-angular-2-day1-240626152145-803bfa9e/75/better-apps-angular-2-day1-pdf-and-home-89-2048.jpg)
![<div *ngIf=”userIsVisible”>{{user.name}}</div>
<template [ngIf]="userIsVisible">
<div>{{user.name}}</div>
</template>
Asterisk Bindings](https://image.slidesharecdn.com/better-apps-angular-2-day1-240626152145-803bfa9e/75/better-apps-angular-2-day1-pdf-and-home-91-2048.jpg)


![@RouteConfig([
{path: '/home', name: 'Home', component: HomeComponent, useAsDefault: true},
{path: '/about', name: 'About', component: AboutComponent},
{path: '/experiments', name: 'Experiments', component: ExperimentsComponent}
])
export class AppComponent {}
@RouteConfig](https://image.slidesharecdn.com/better-apps-angular-2-day1-240626152145-803bfa9e/75/better-apps-angular-2-day1-pdf-and-home-111-2048.jpg)

![Navigating Routes
• Add a routerLink attribute directive to an anchor tag
• Bind it to a template expression that returns an array of
route link parameters <a [routerLink]="['Users']">
Users</a>
• Navigate imperatively by importing Router, injecting it,
and then calling .navigate() from within a component
method
• We pass the same array of parameters as we would to
the routerLink directive this._router.navigate( ['Users'] );](https://image.slidesharecdn.com/better-apps-angular-2-day1-240626152145-803bfa9e/75/better-apps-angular-2-day1-pdf-and-home-113-2048.jpg)
![<div id="menu">
<a [routerLink]="['/Home']" class="btn">Home</a>
<a [routerLink]="['/About']" class="btn">About</a>
<a [routerLink]="['/Experiments']" class="btn">Experiments</a>
</div>
RouterLink](https://image.slidesharecdn.com/better-apps-angular-2-day1-240626152145-803bfa9e/75/better-apps-angular-2-day1-pdf-and-home-114-2048.jpg)
![export class App {
constructor(private _router: Router) {}
navigate(route) {
this._router.navigate([`/${route}`]);
}
}
Router.navigate](https://image.slidesharecdn.com/better-apps-angular-2-day1-240626152145-803bfa9e/75/better-apps-angular-2-day1-pdf-and-home-115-2048.jpg)
![Query Parameters
• Denotes an optional value for a particular route
• Do not add query parameters to the route definition
{ path:'/users', name: UserDetail, component:
UserDetail }
• Add as a parameter to the routerLink template
expression just like router params: <a
[routerLink]="['Users', {id: 7}]"> {{user.name}} </a>
• Also accessed by injecting RouteParams into a
component](https://image.slidesharecdn.com/better-apps-angular-2-day1-240626152145-803bfa9e/75/better-apps-angular-2-day1-pdf-and-home-116-2048.jpg)
![<div>
<button [routerLink]="['./MyComponent', {id: 1}]">
My Component Link</button>
<button [routerLink]="['./AnotherComponent', {queryParam: 'bar'}]">
Another Component Link</button>
</div>
QueryParam](https://image.slidesharecdn.com/better-apps-angular-2-day1-240626152145-803bfa9e/75/better-apps-angular-2-day1-pdf-and-home-117-2048.jpg)
![@RouteConfig([
{
path:'/another-component/...',
name: 'AnotherComponent',
component: AnotherComponent
}
])
export class App {}
@RouteConfig([
{
path:'/first',
name: 'FirstChild',
component: FirstSubComponent
}
])
export class AnotherComponent {}
Child Routes](https://image.slidesharecdn.com/better-apps-angular-2-day1-240626152145-803bfa9e/75/better-apps-angular-2-day1-pdf-and-home-120-2048.jpg)