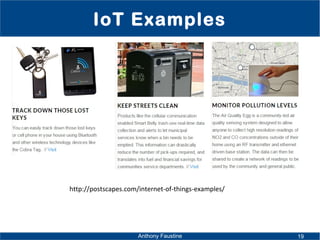
Downloaded 288 times


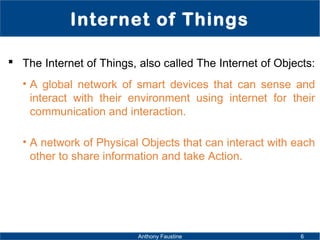

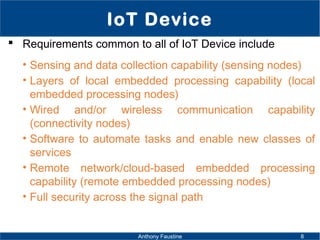


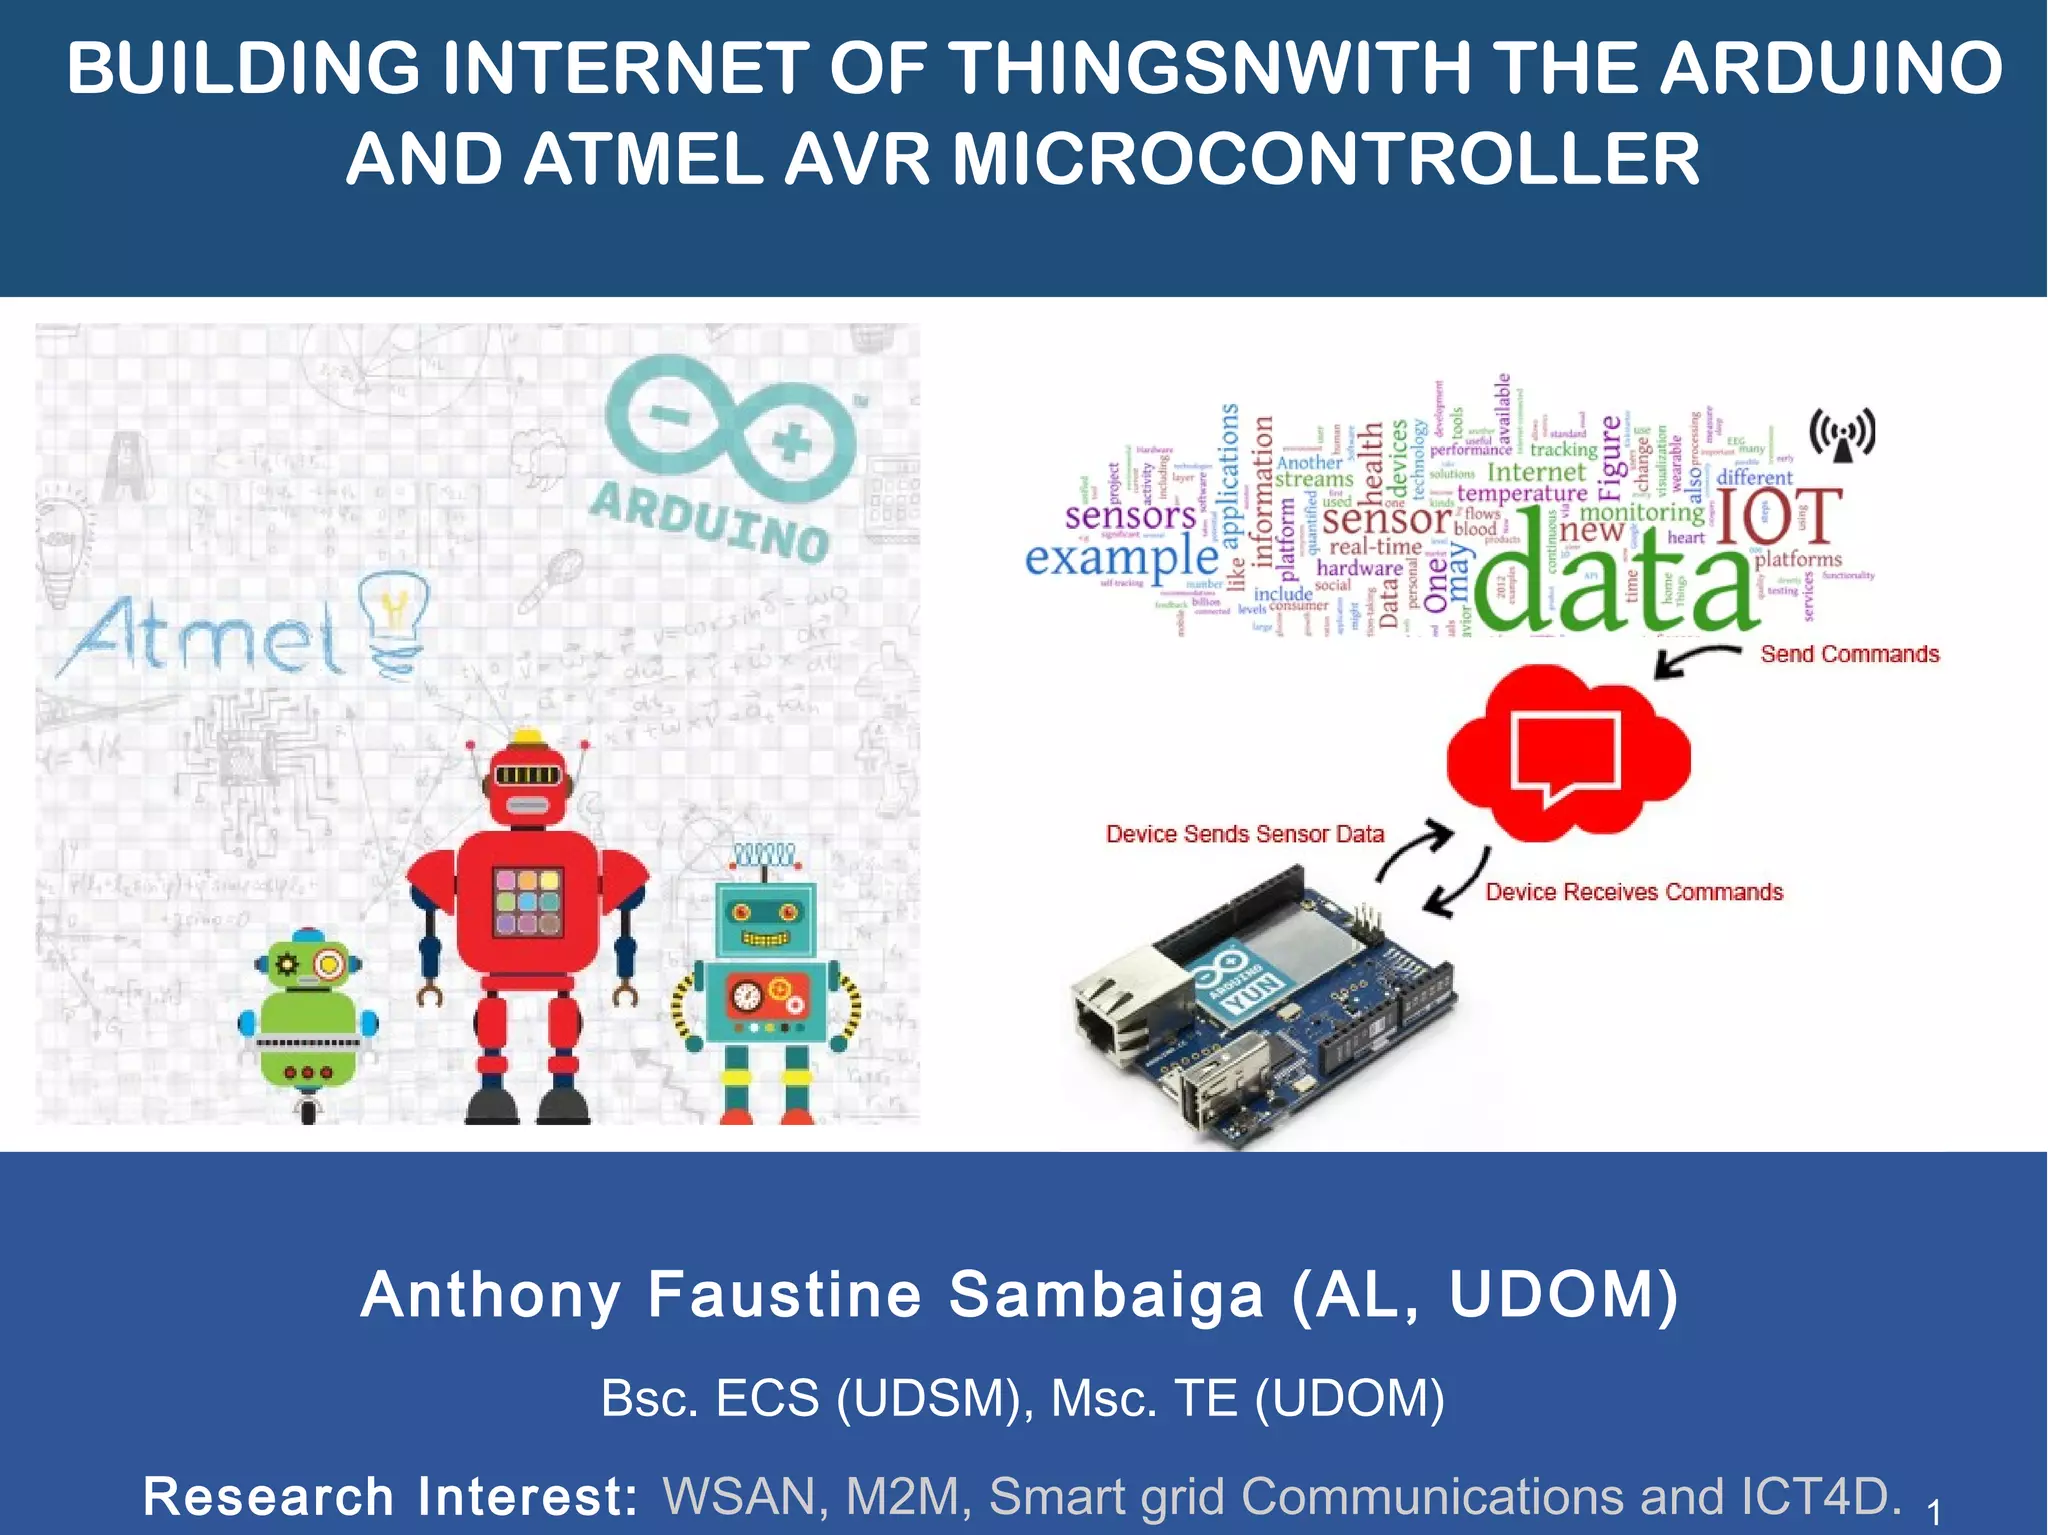


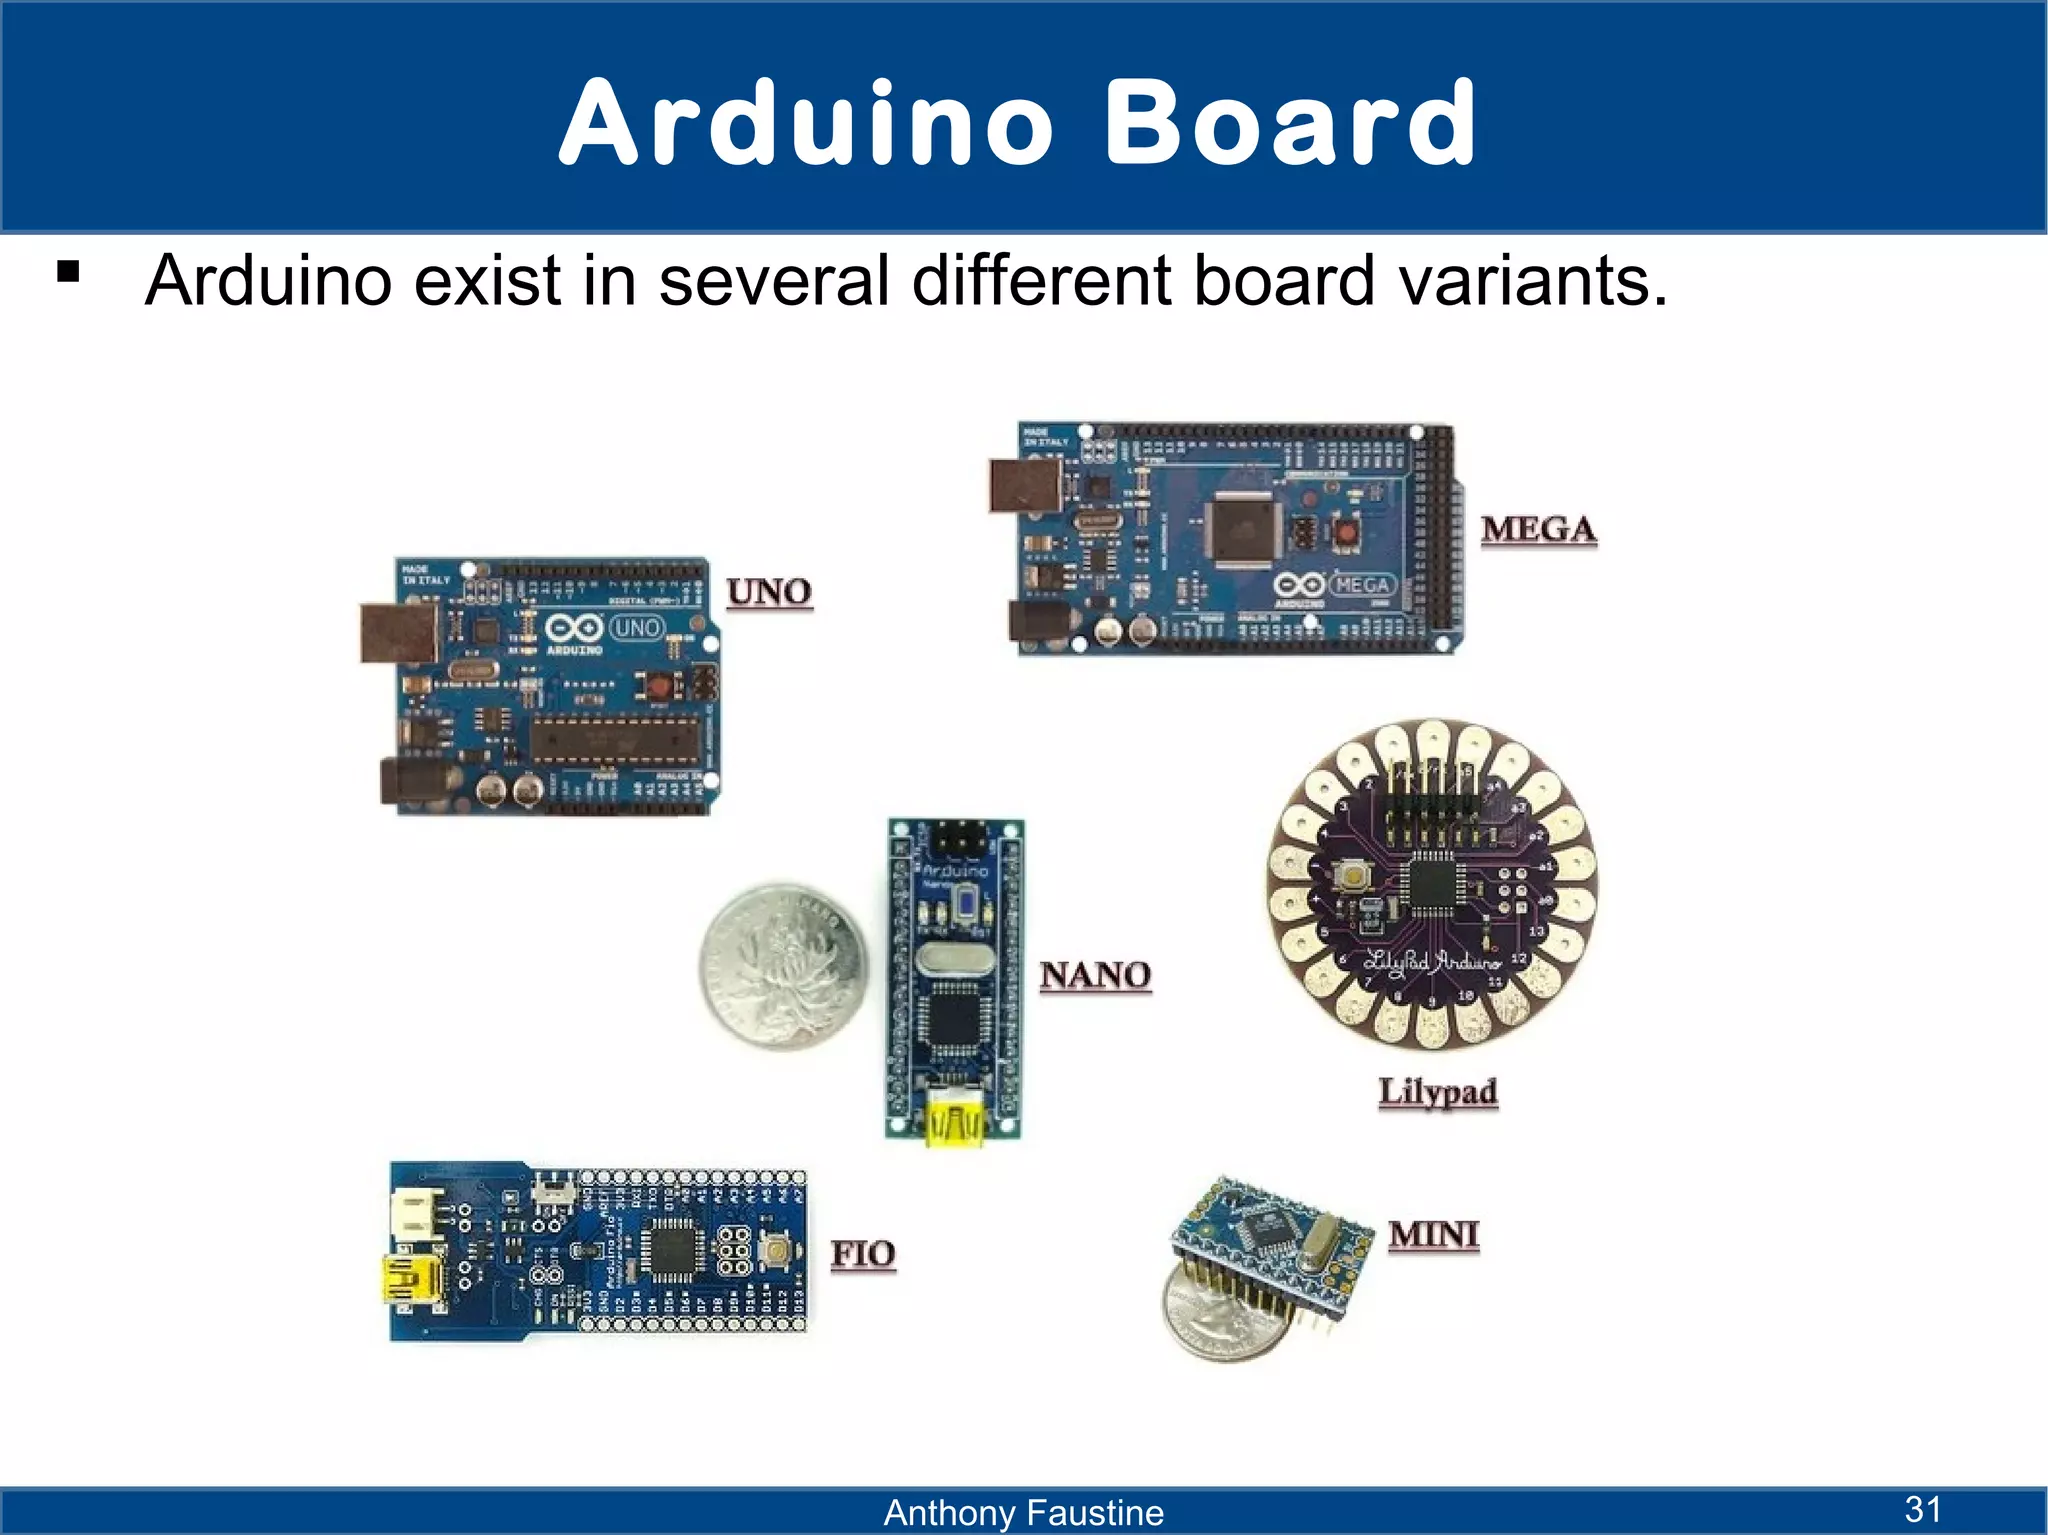
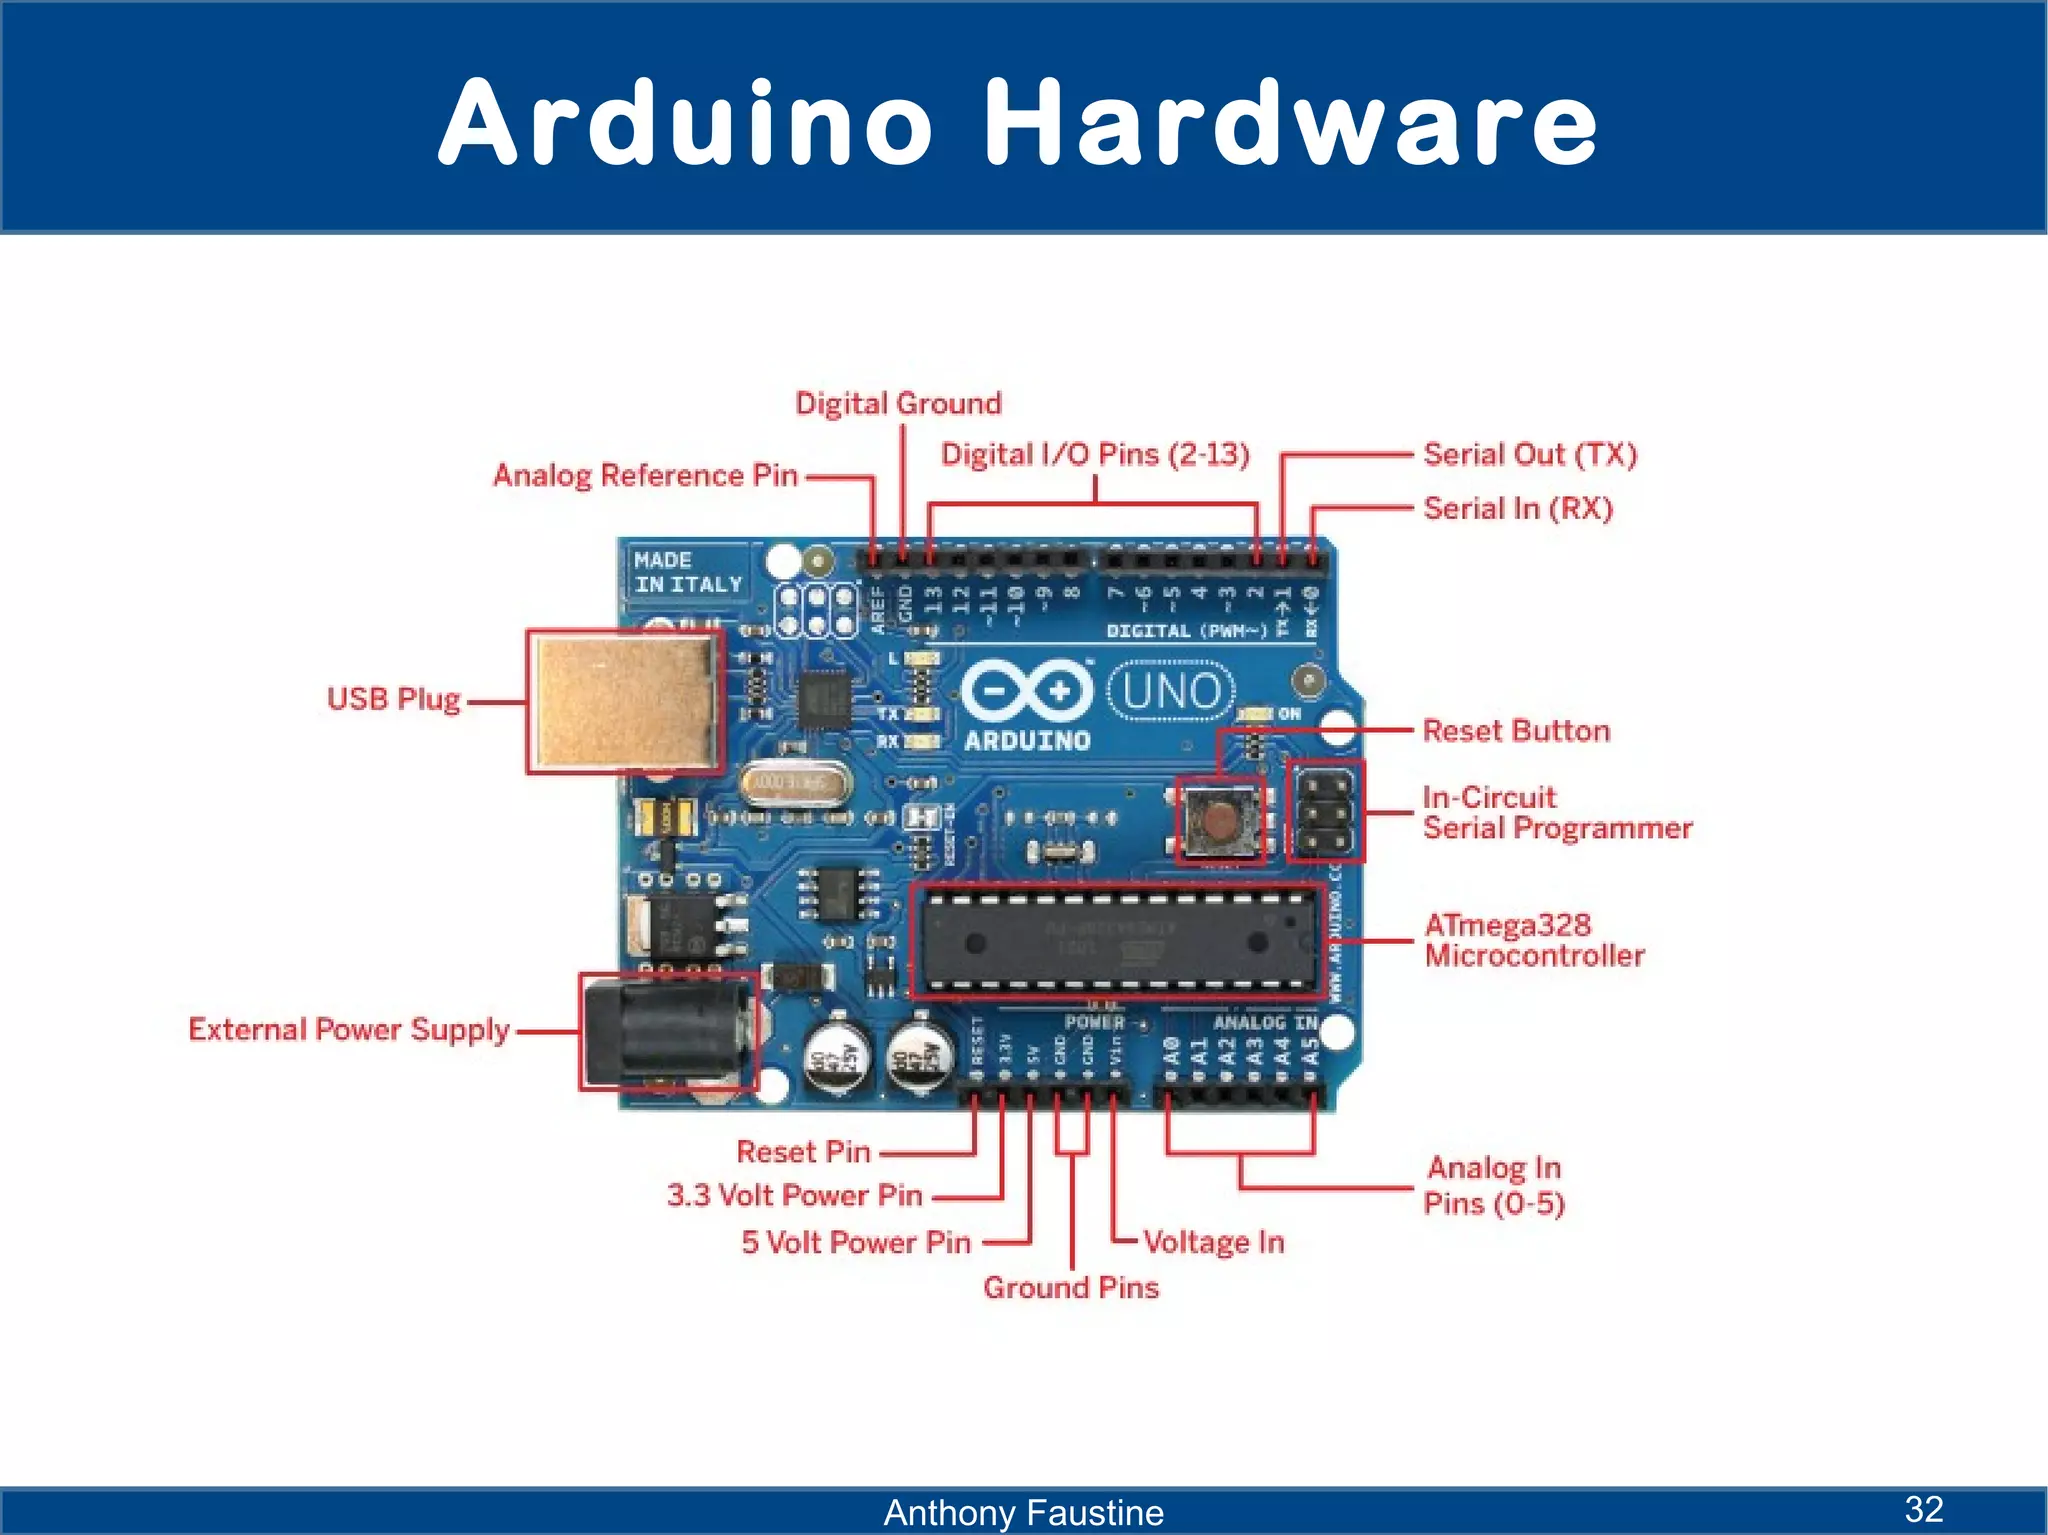
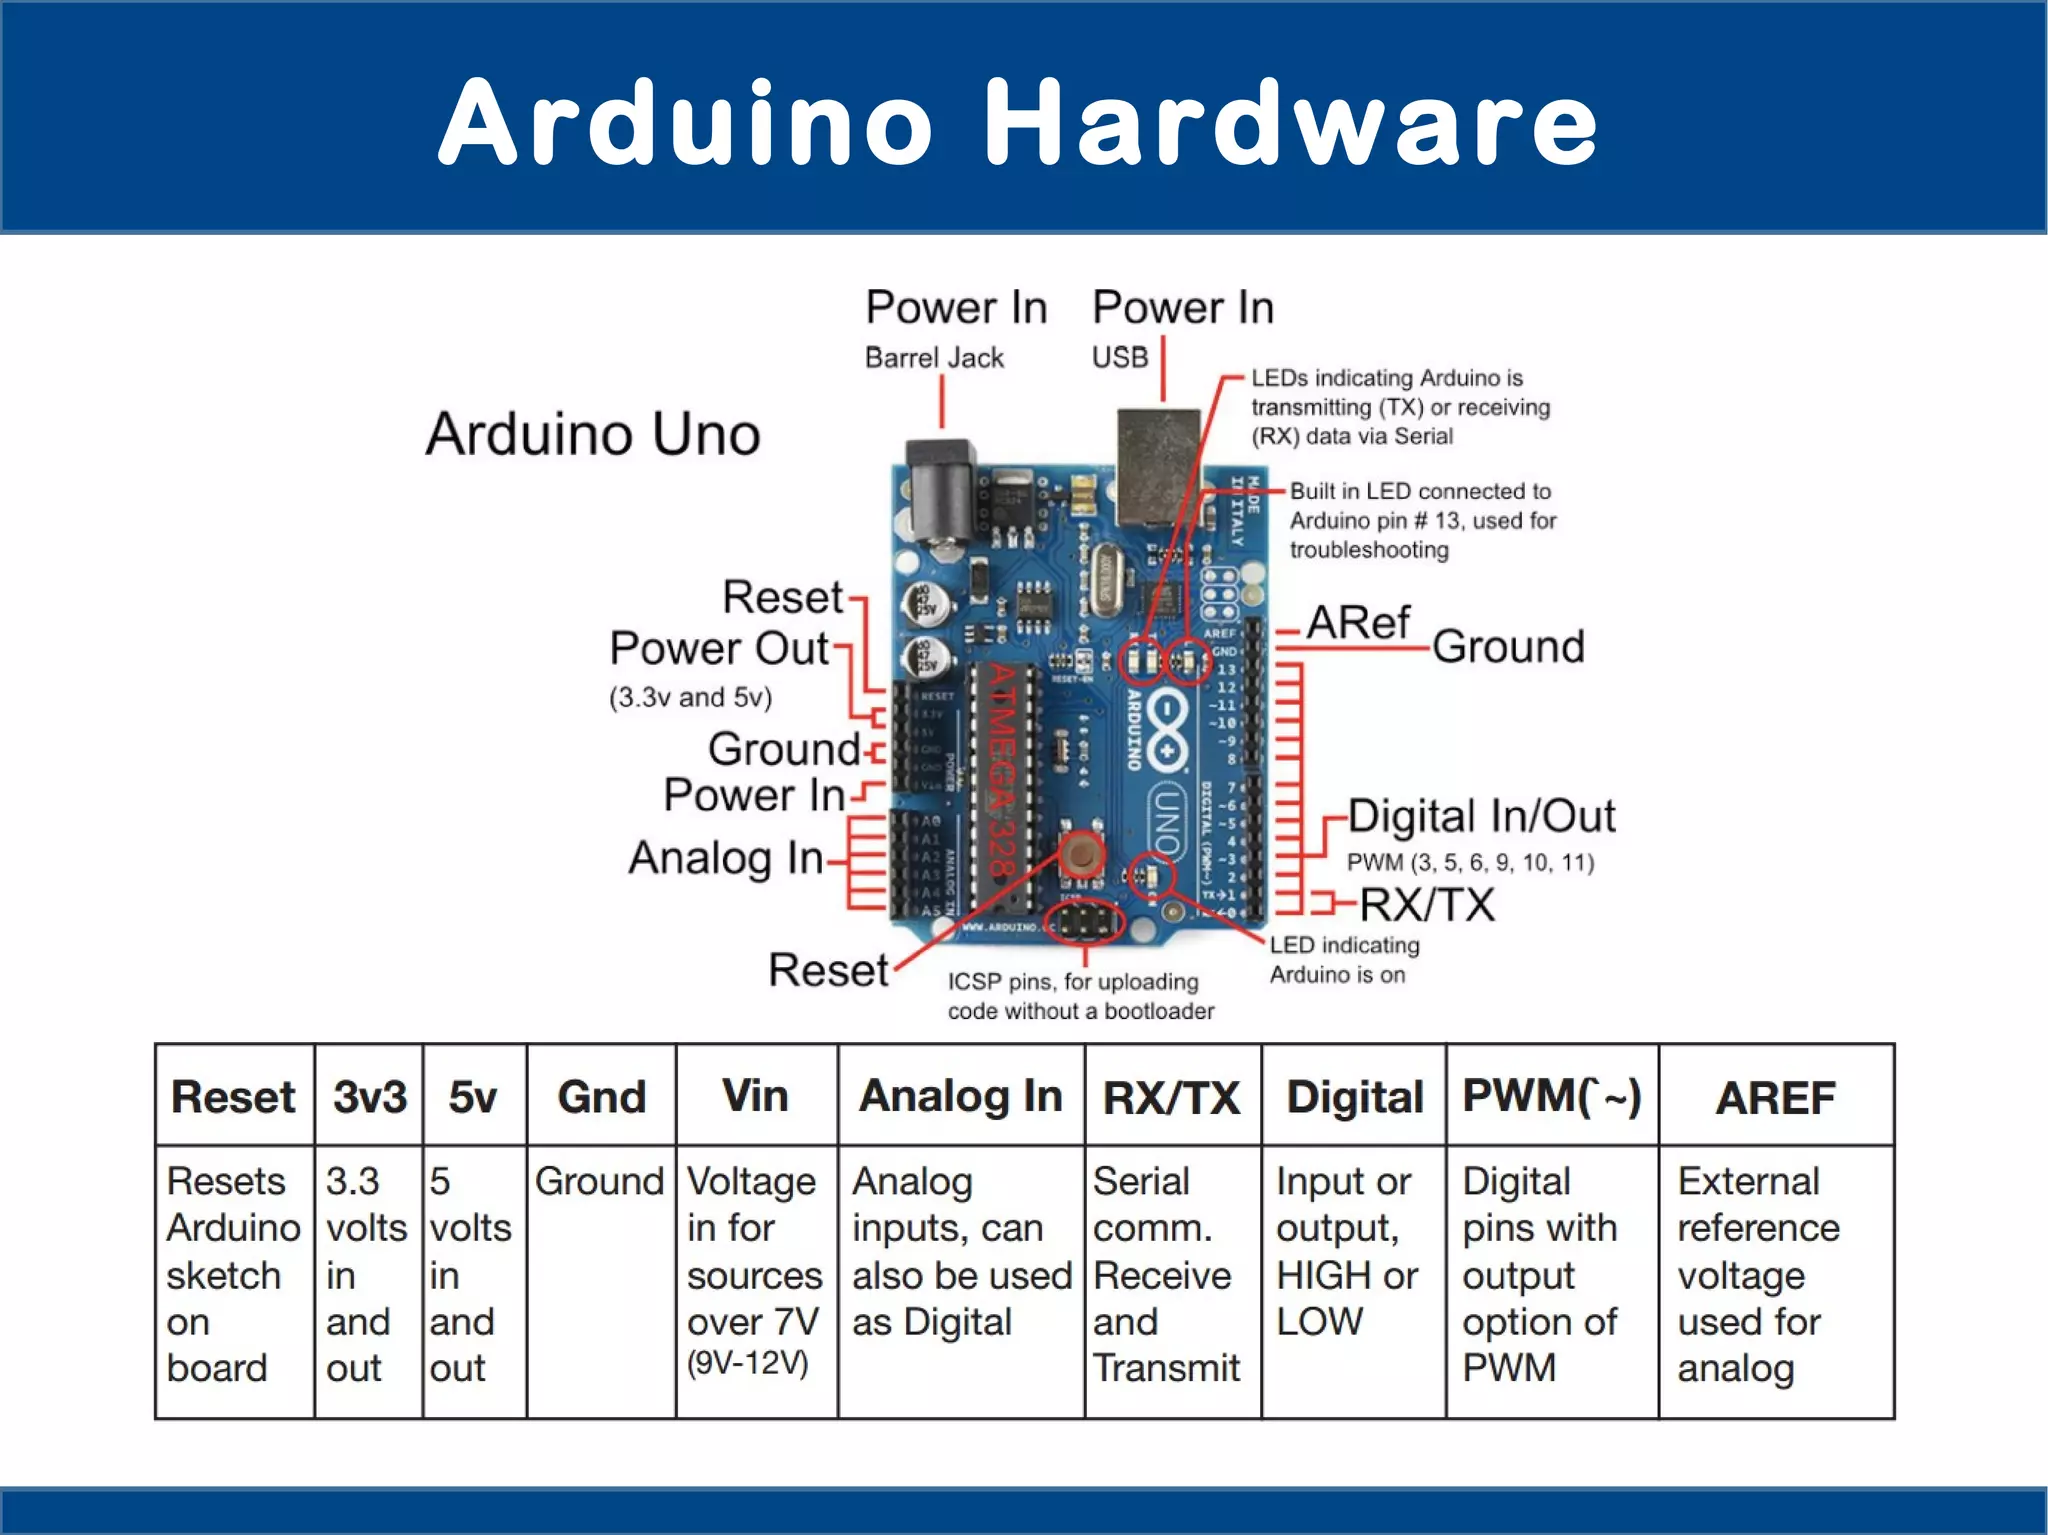
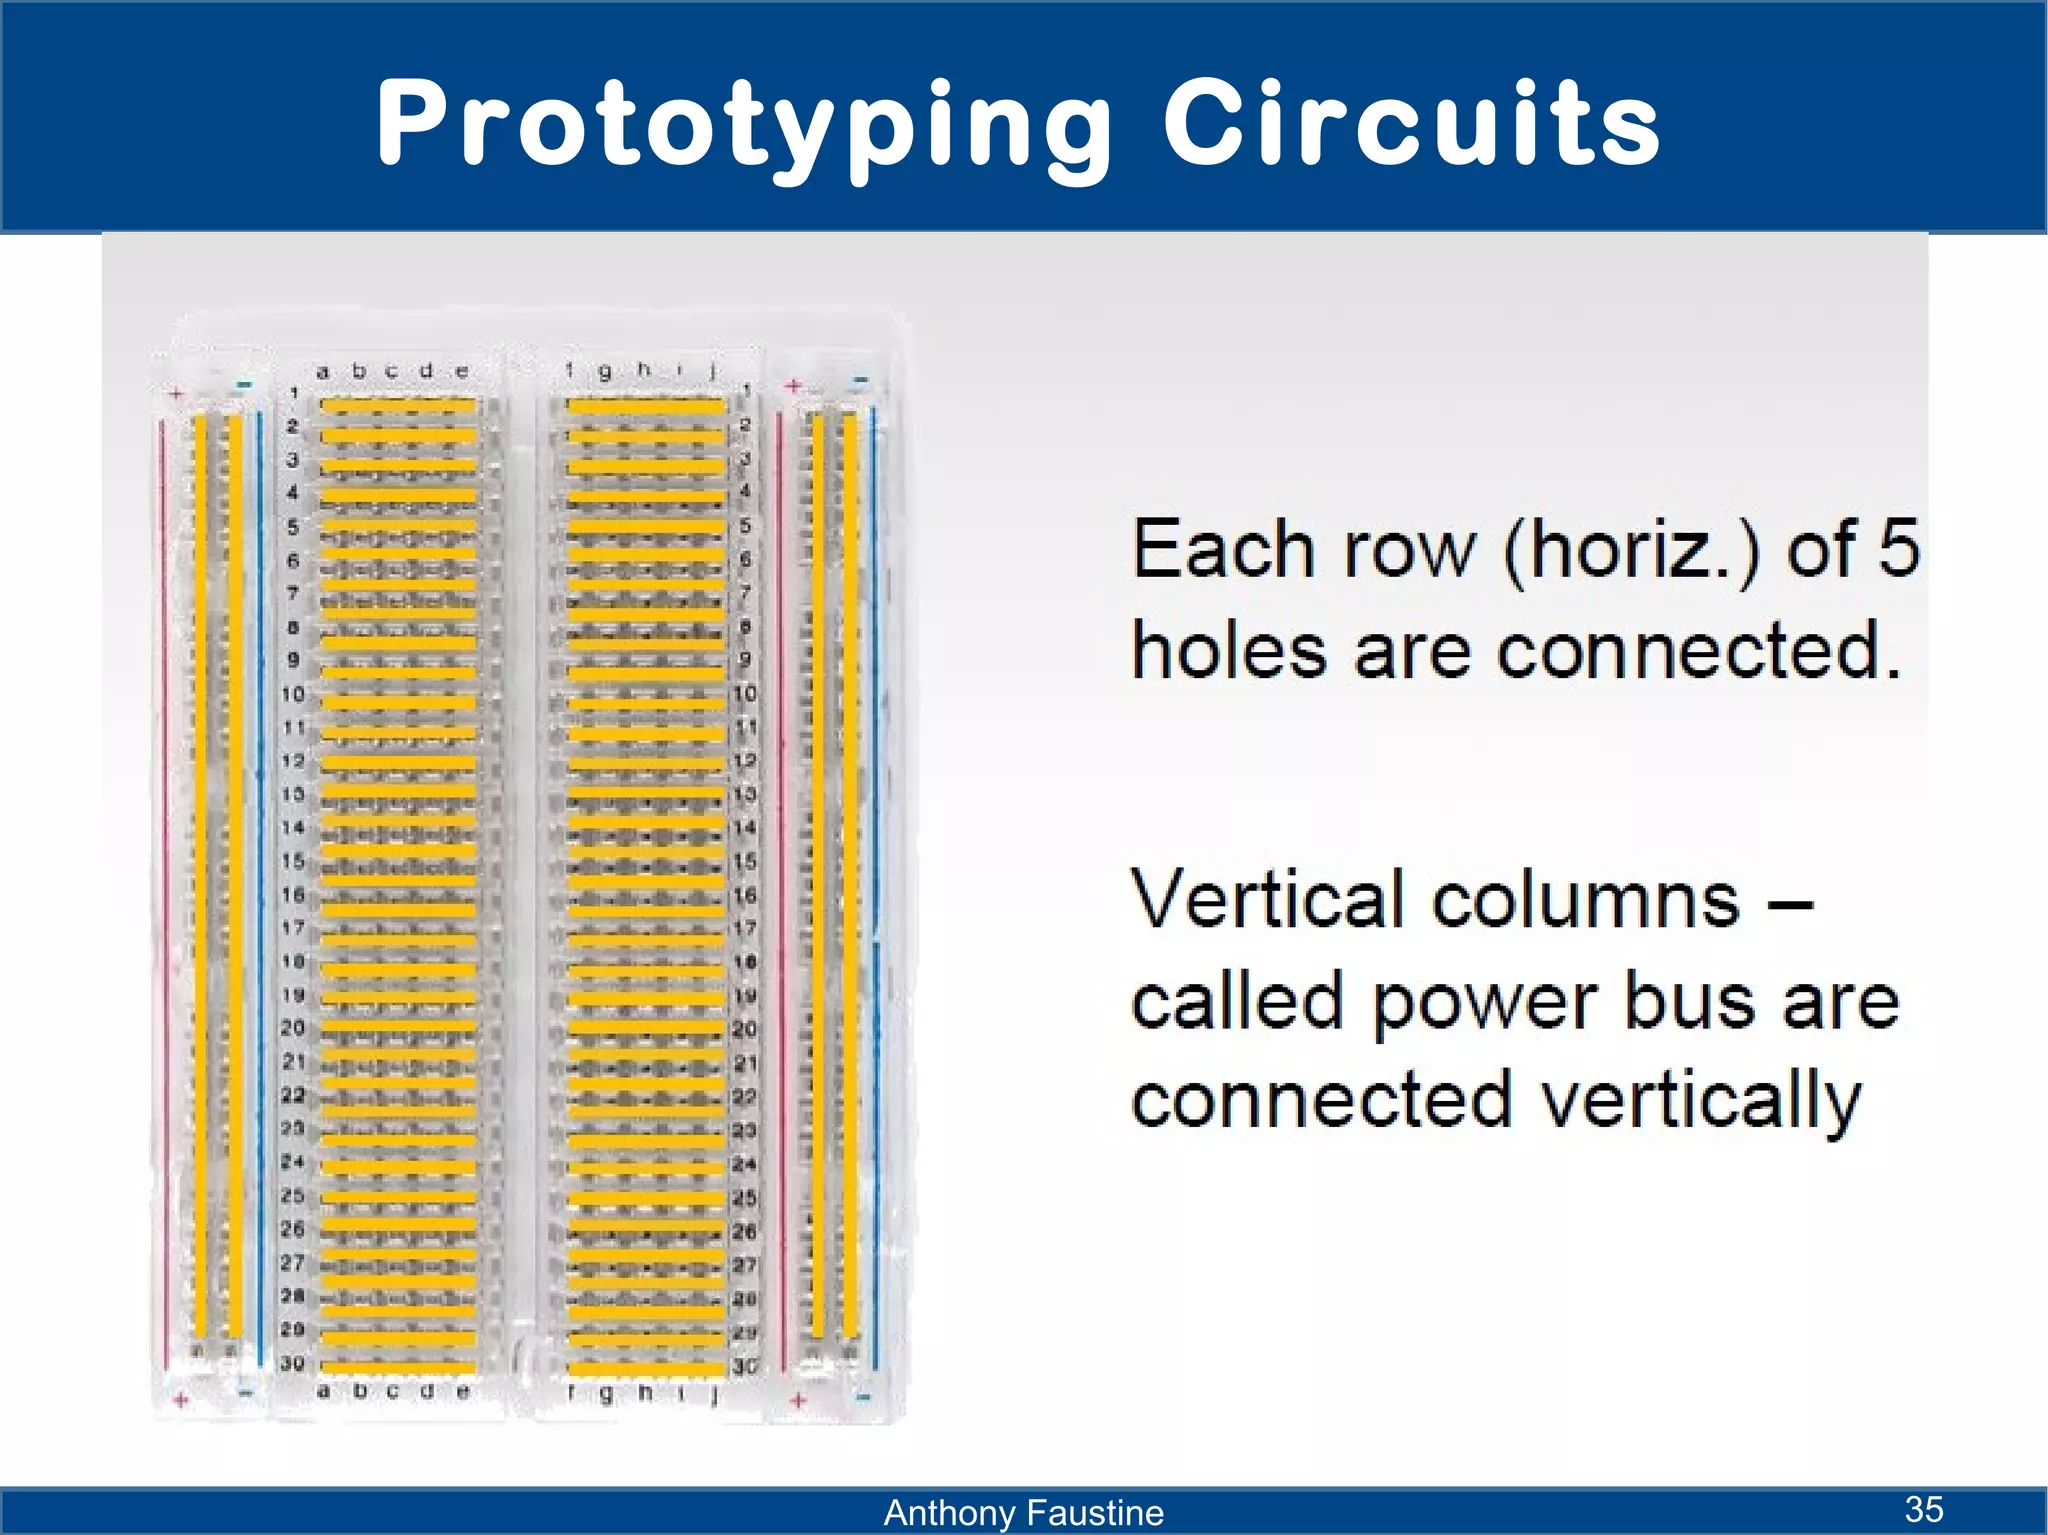
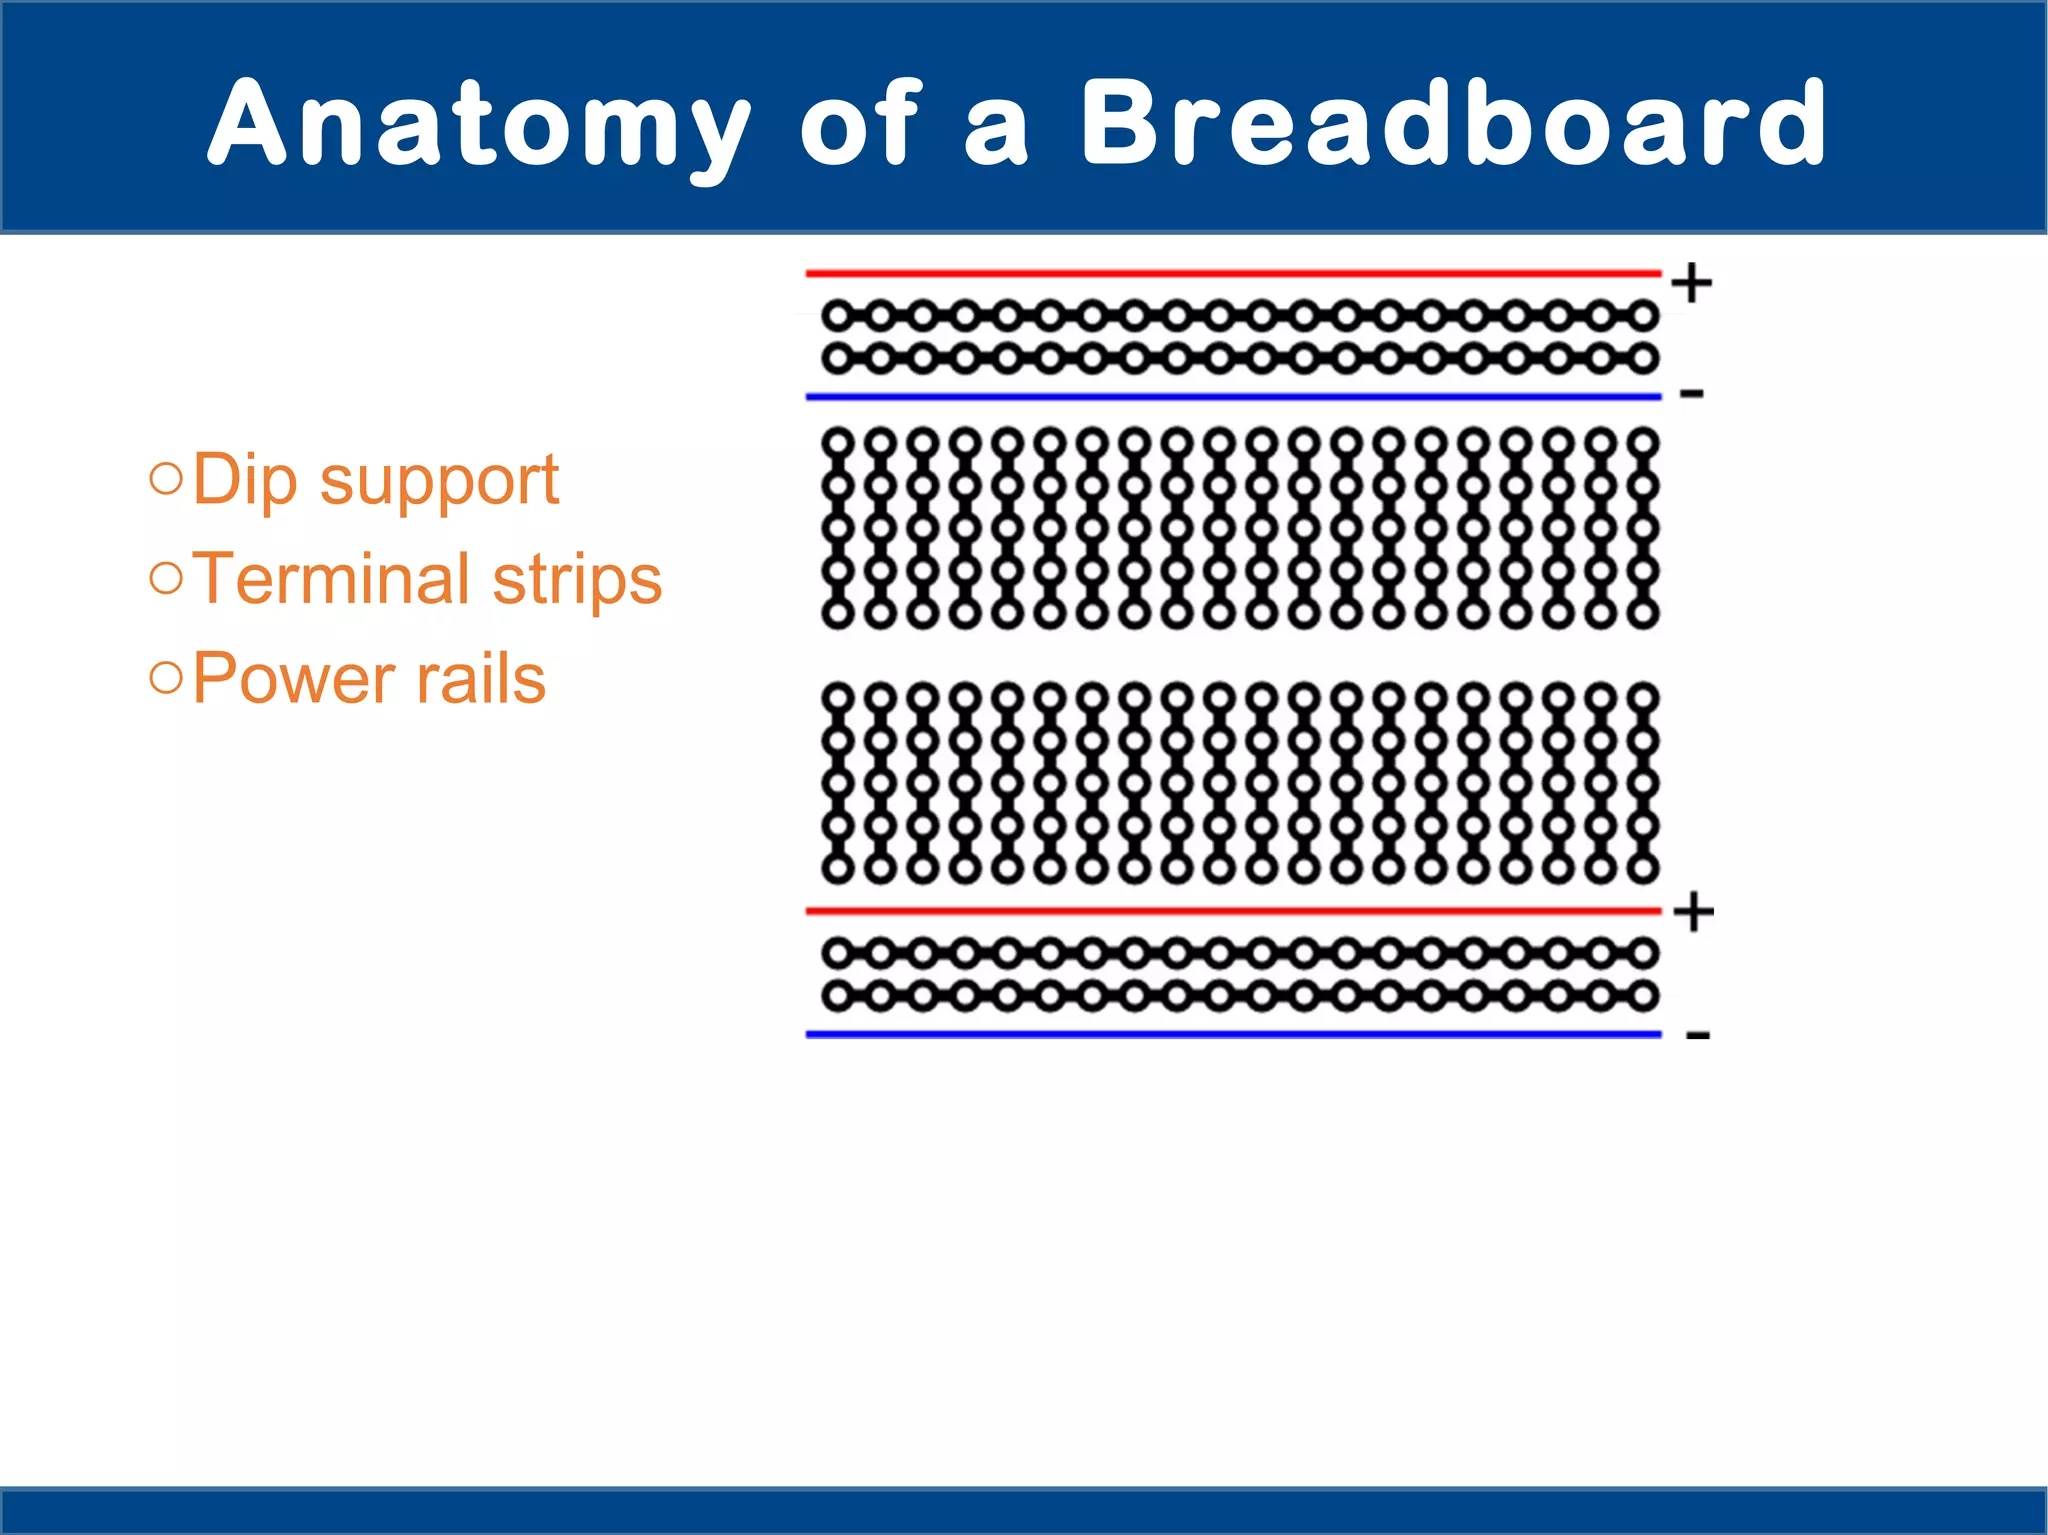
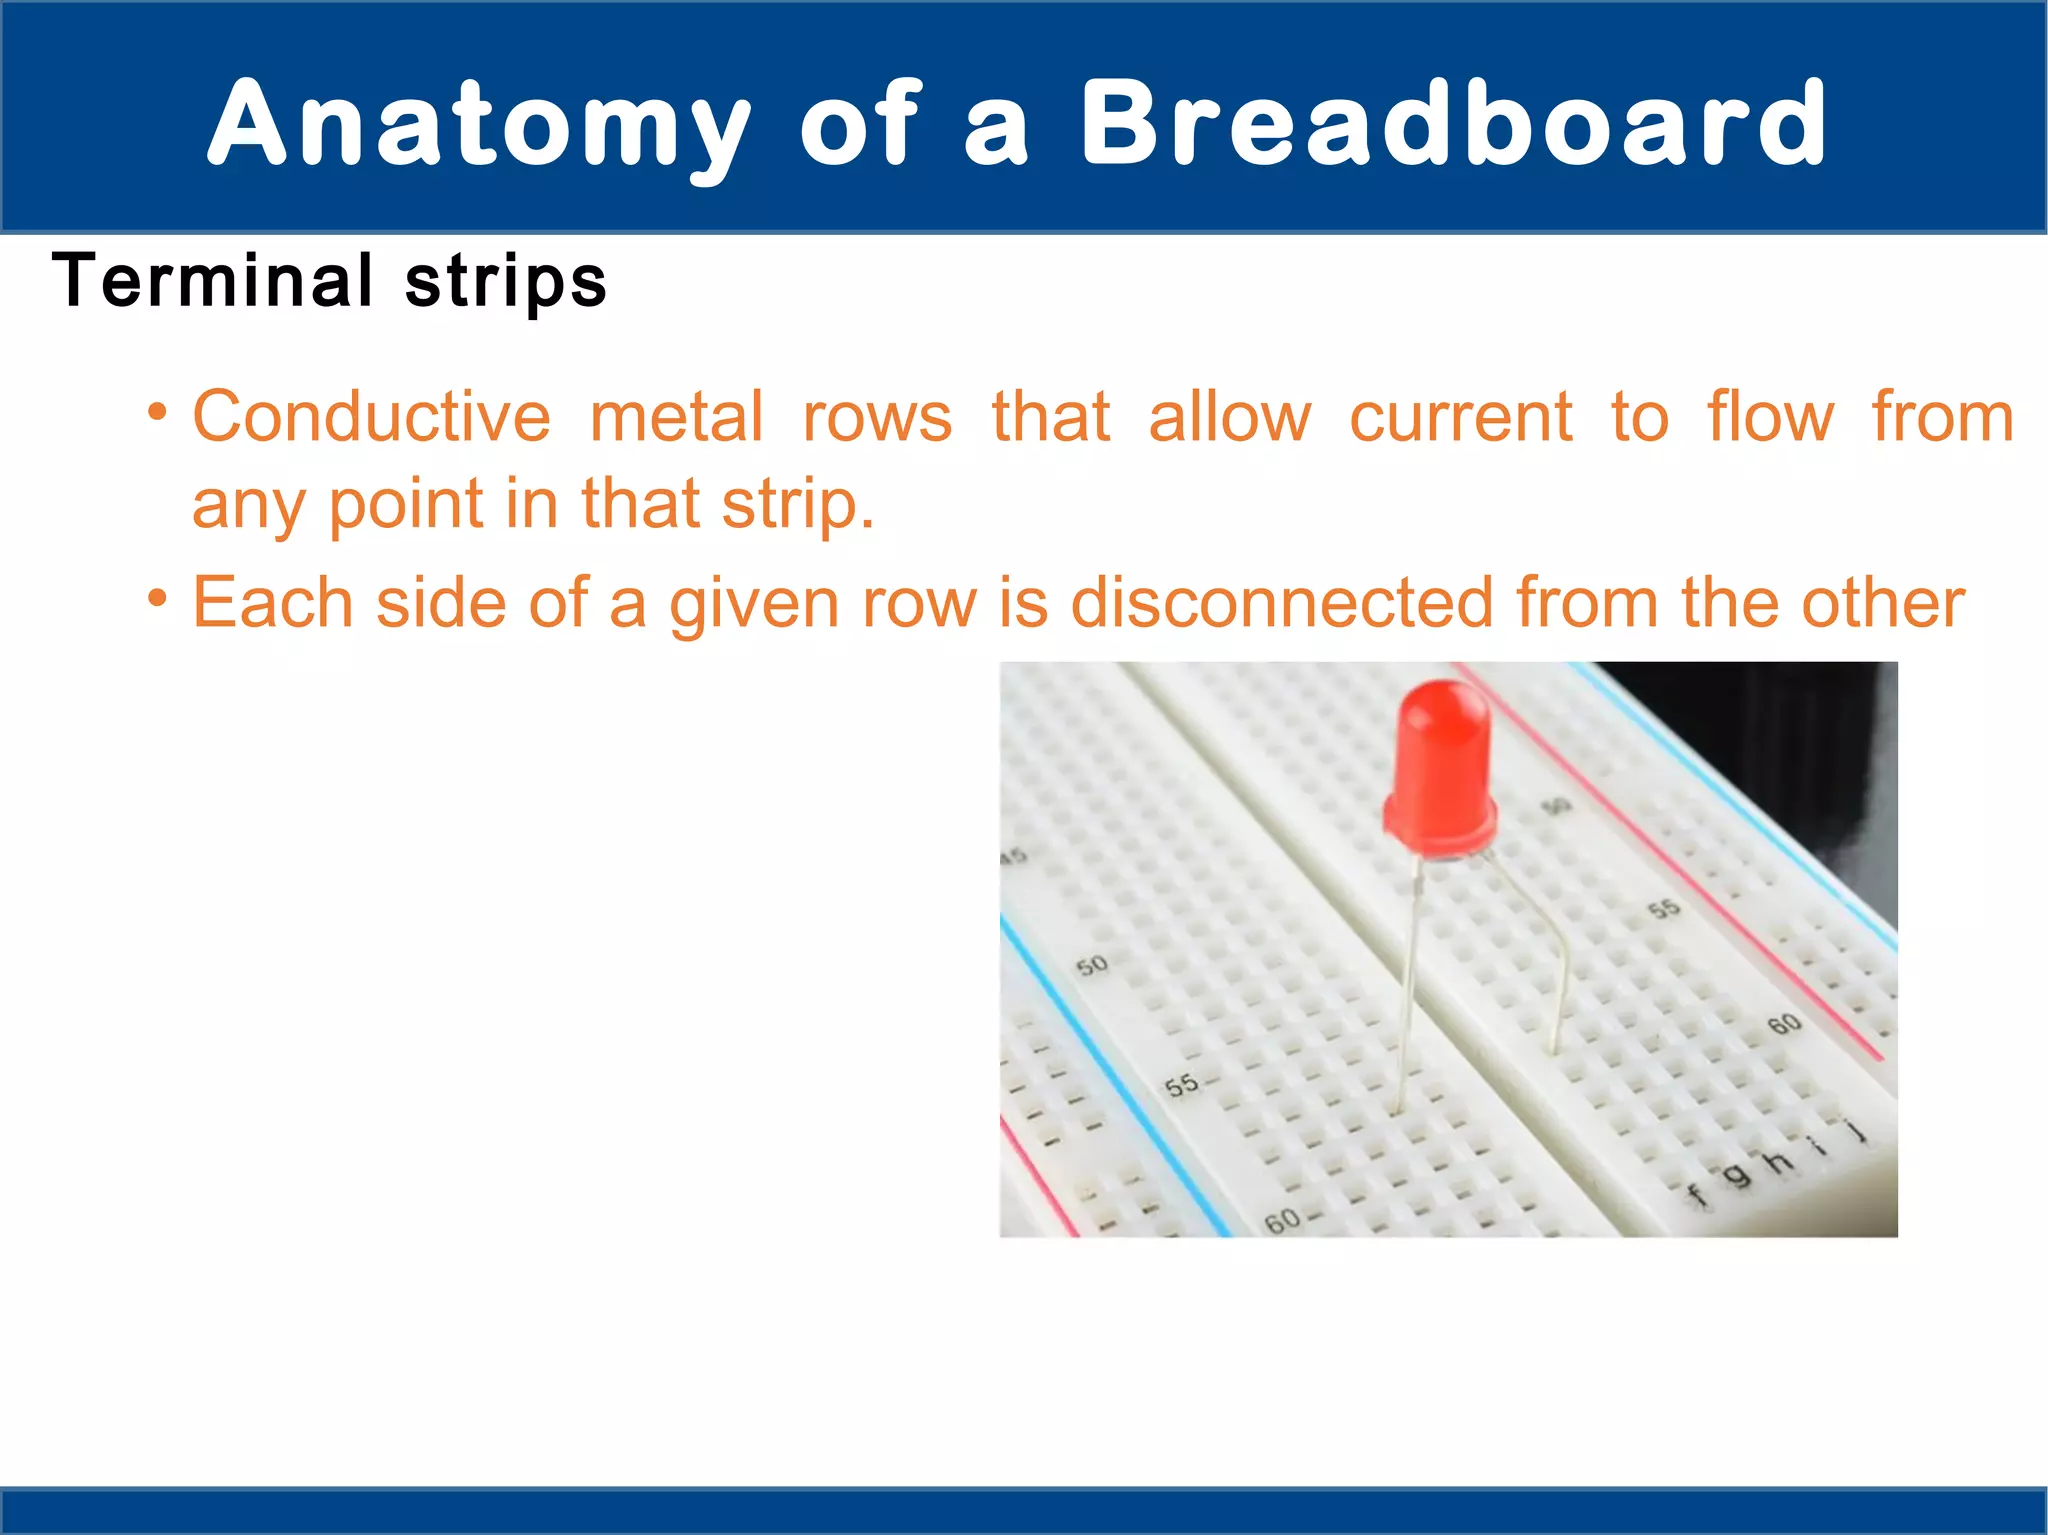
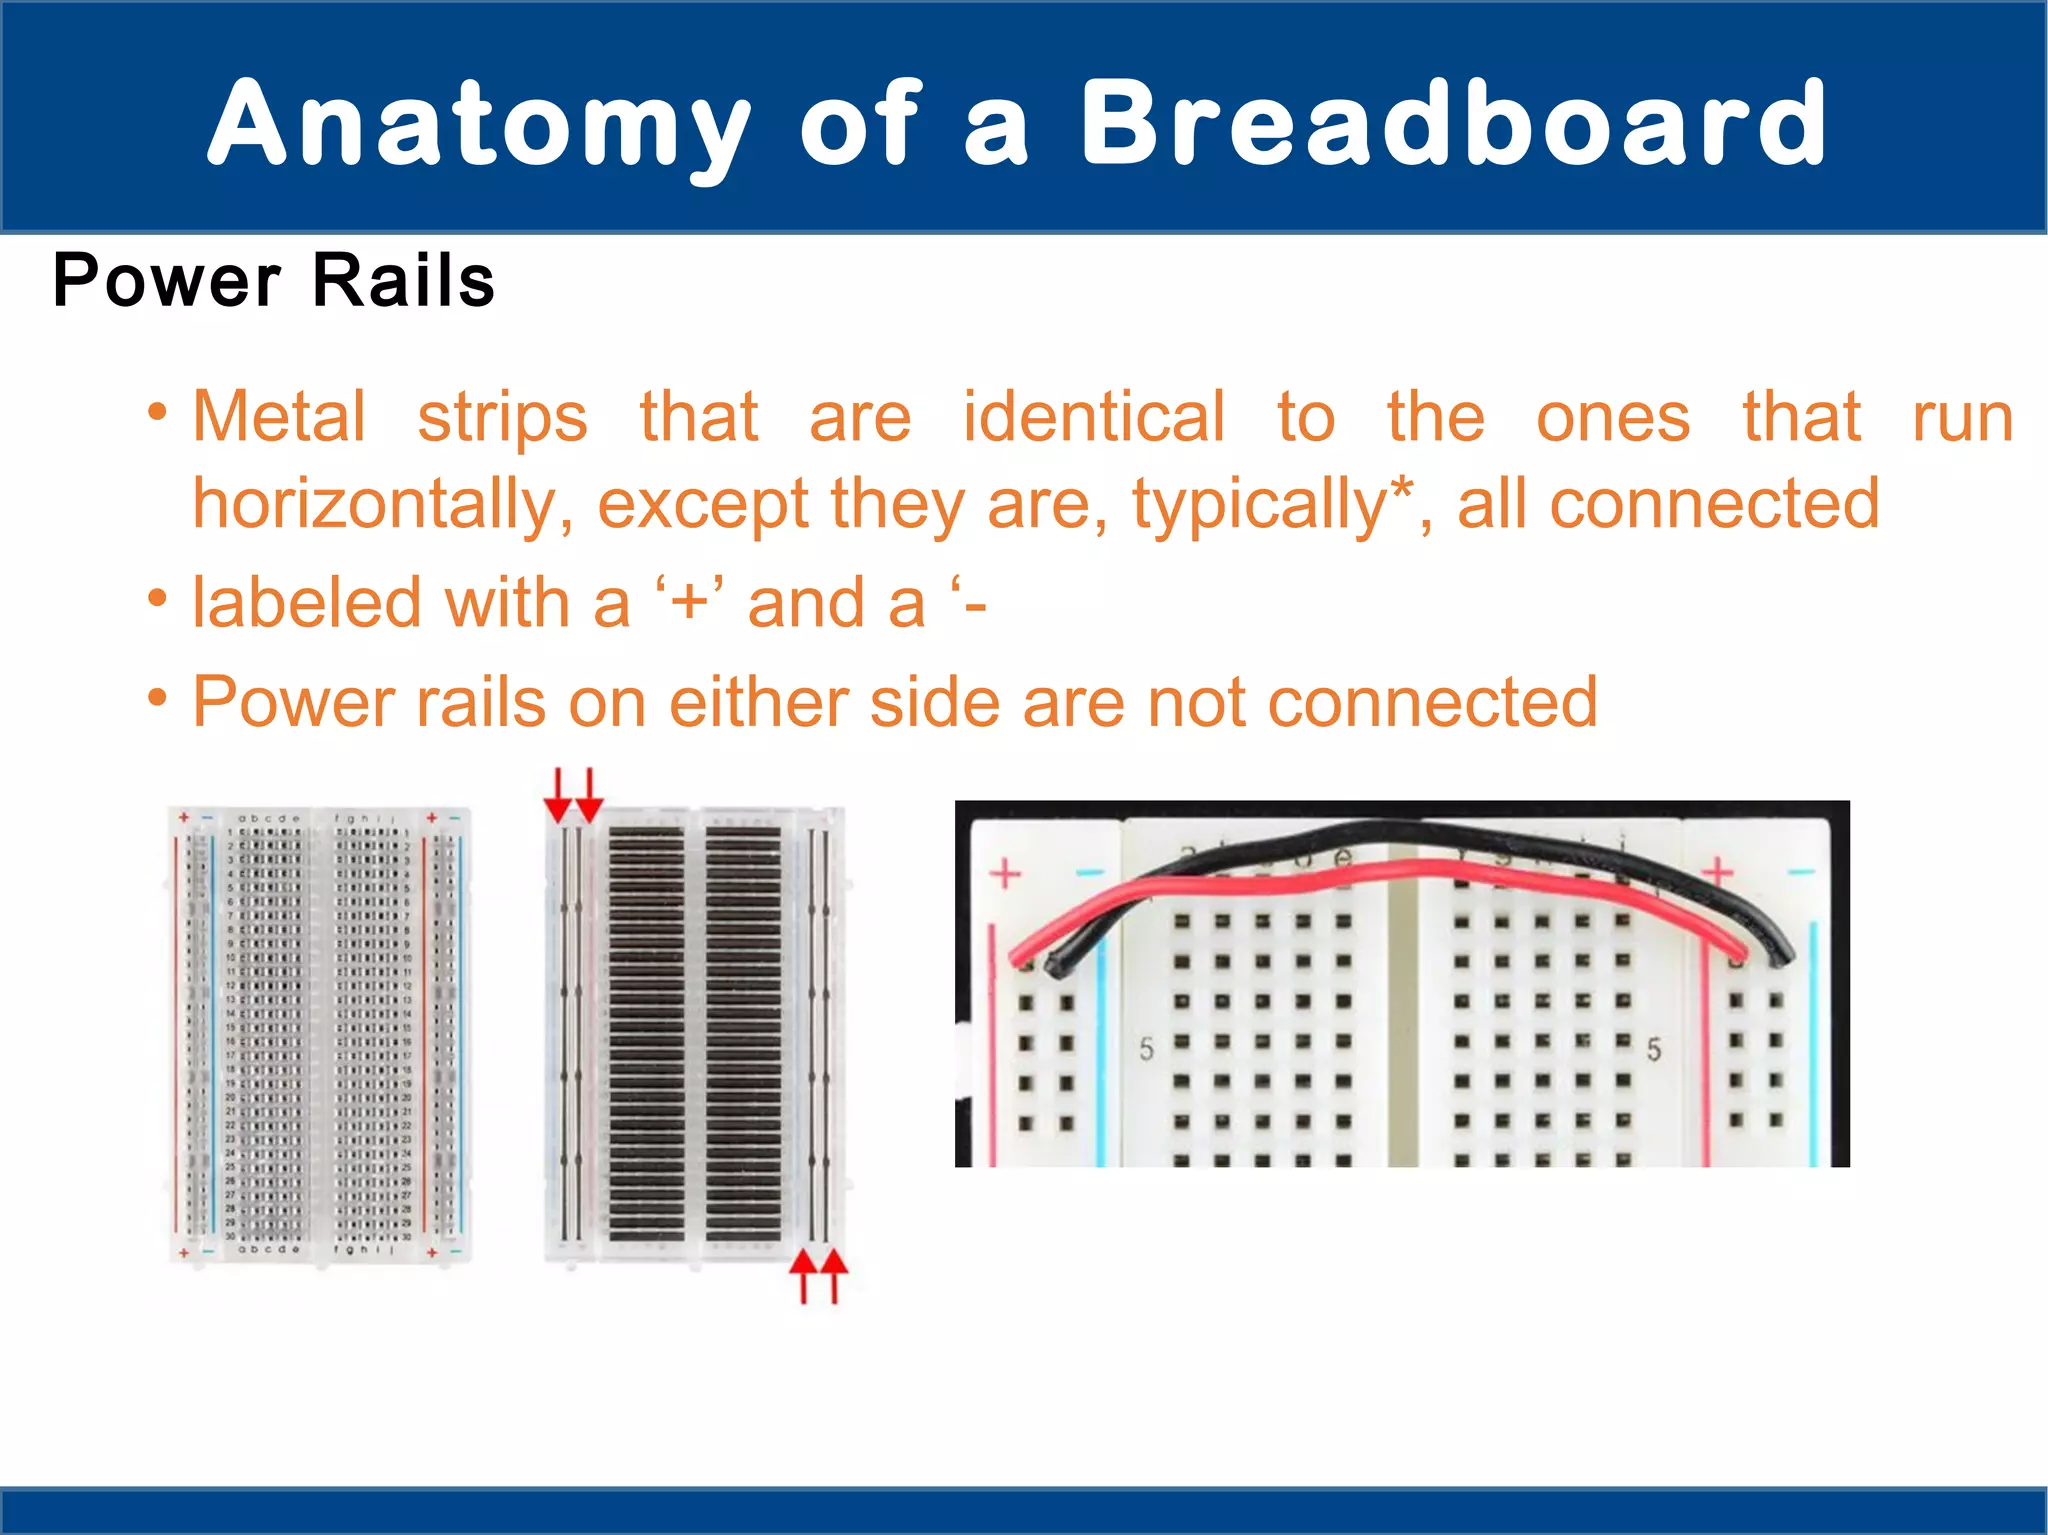
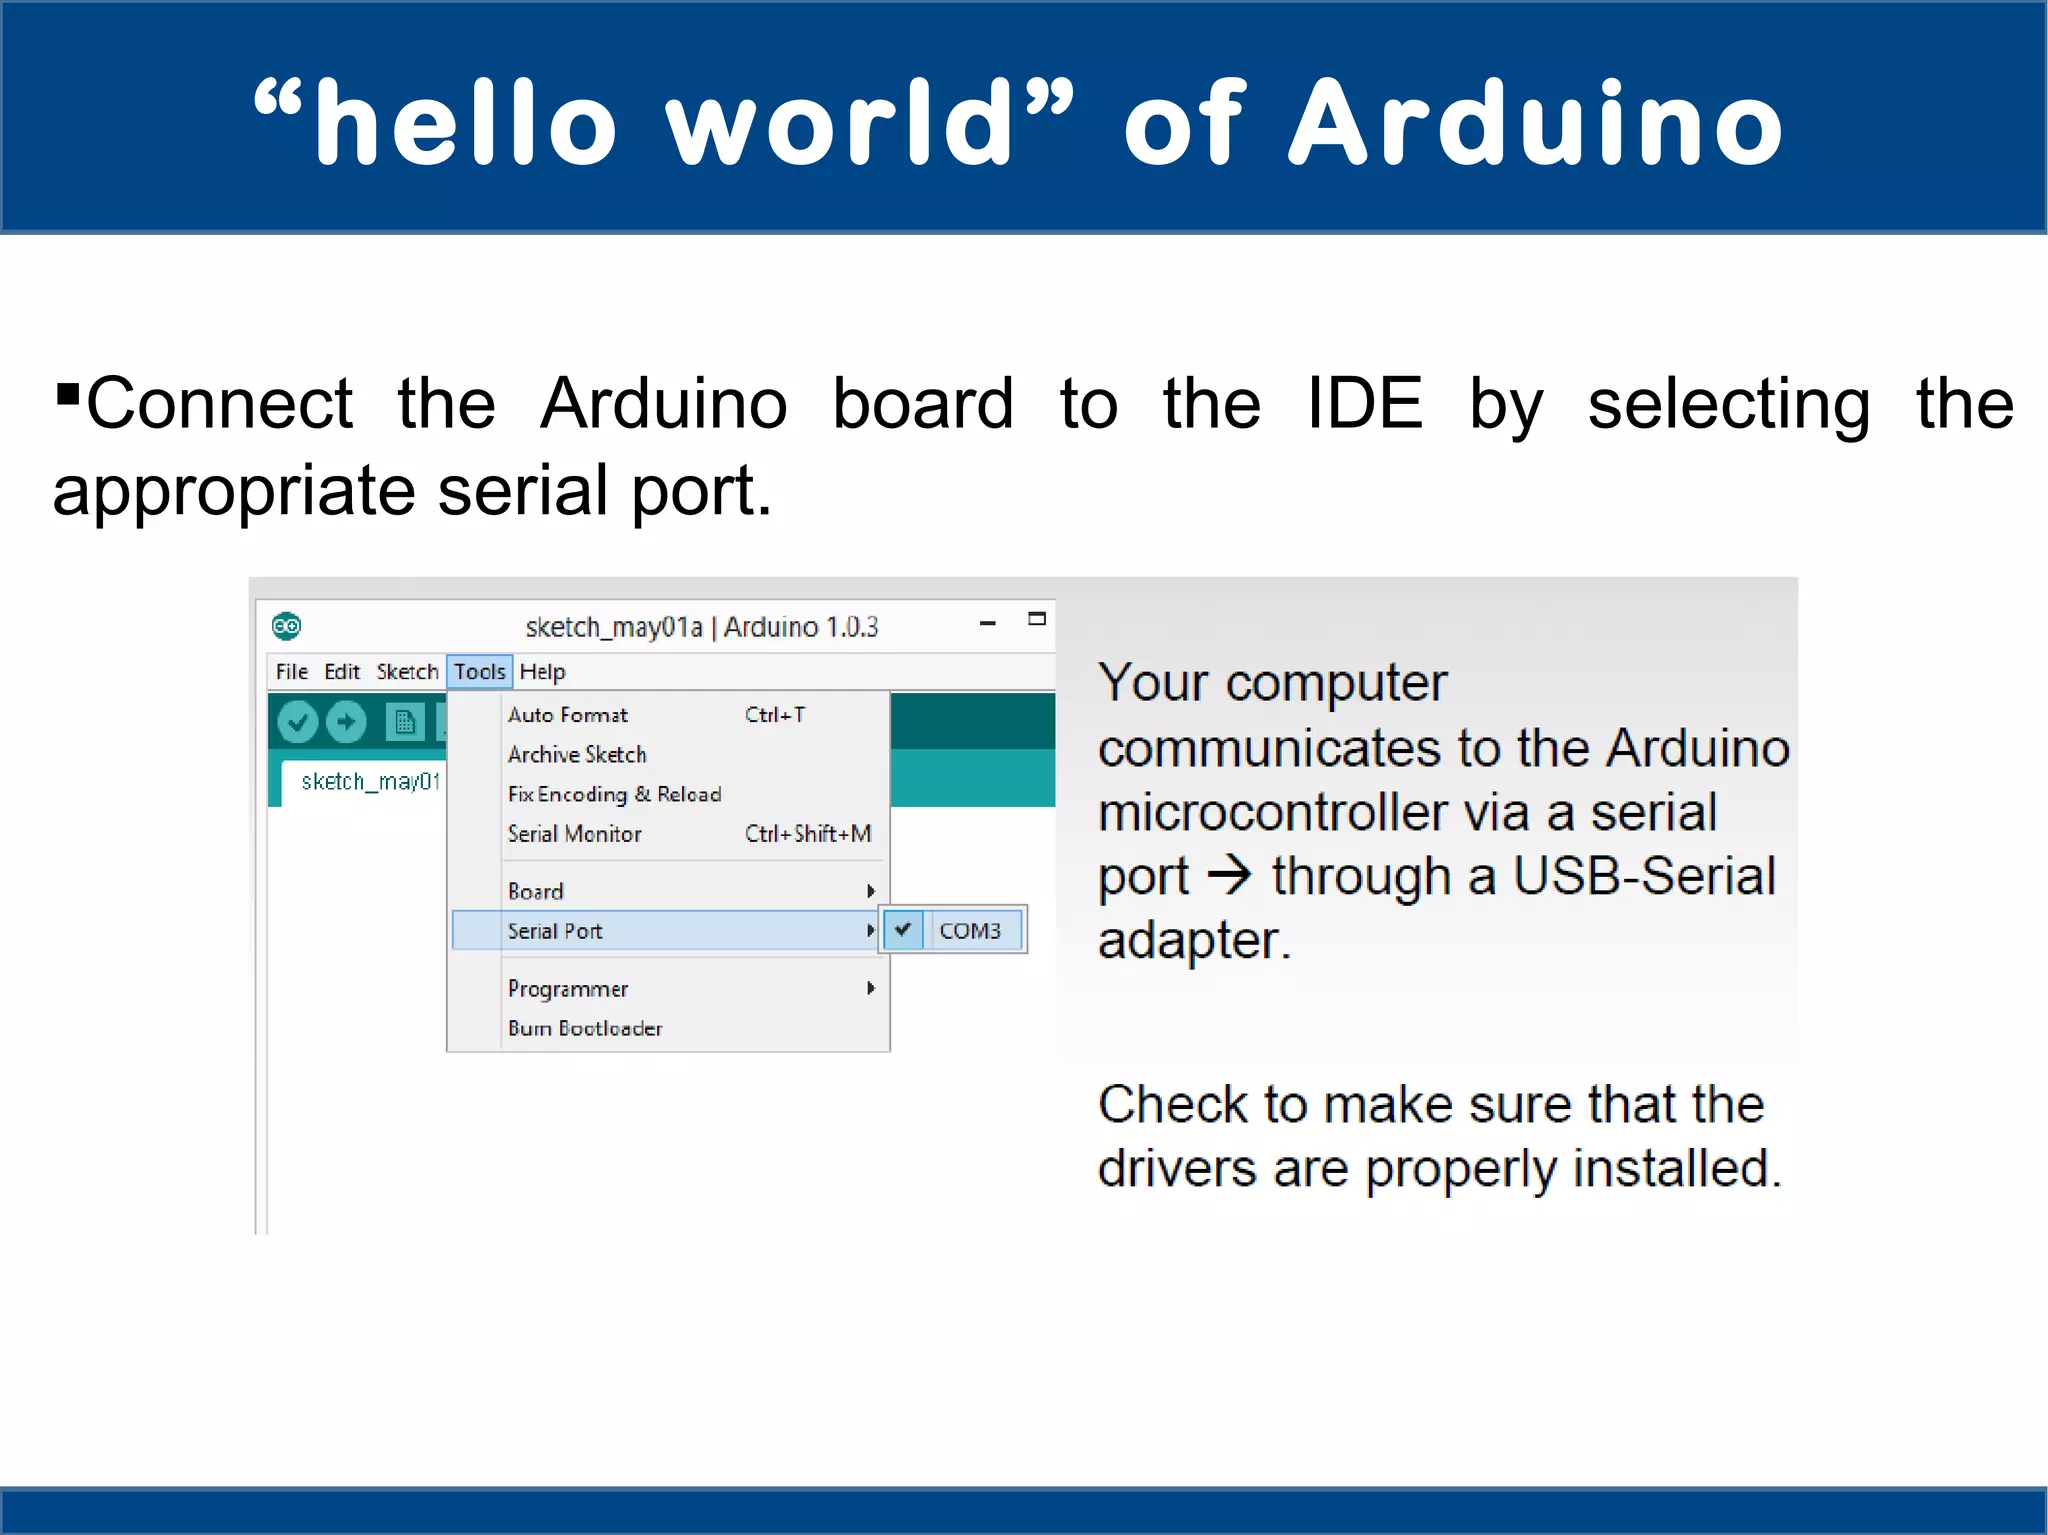
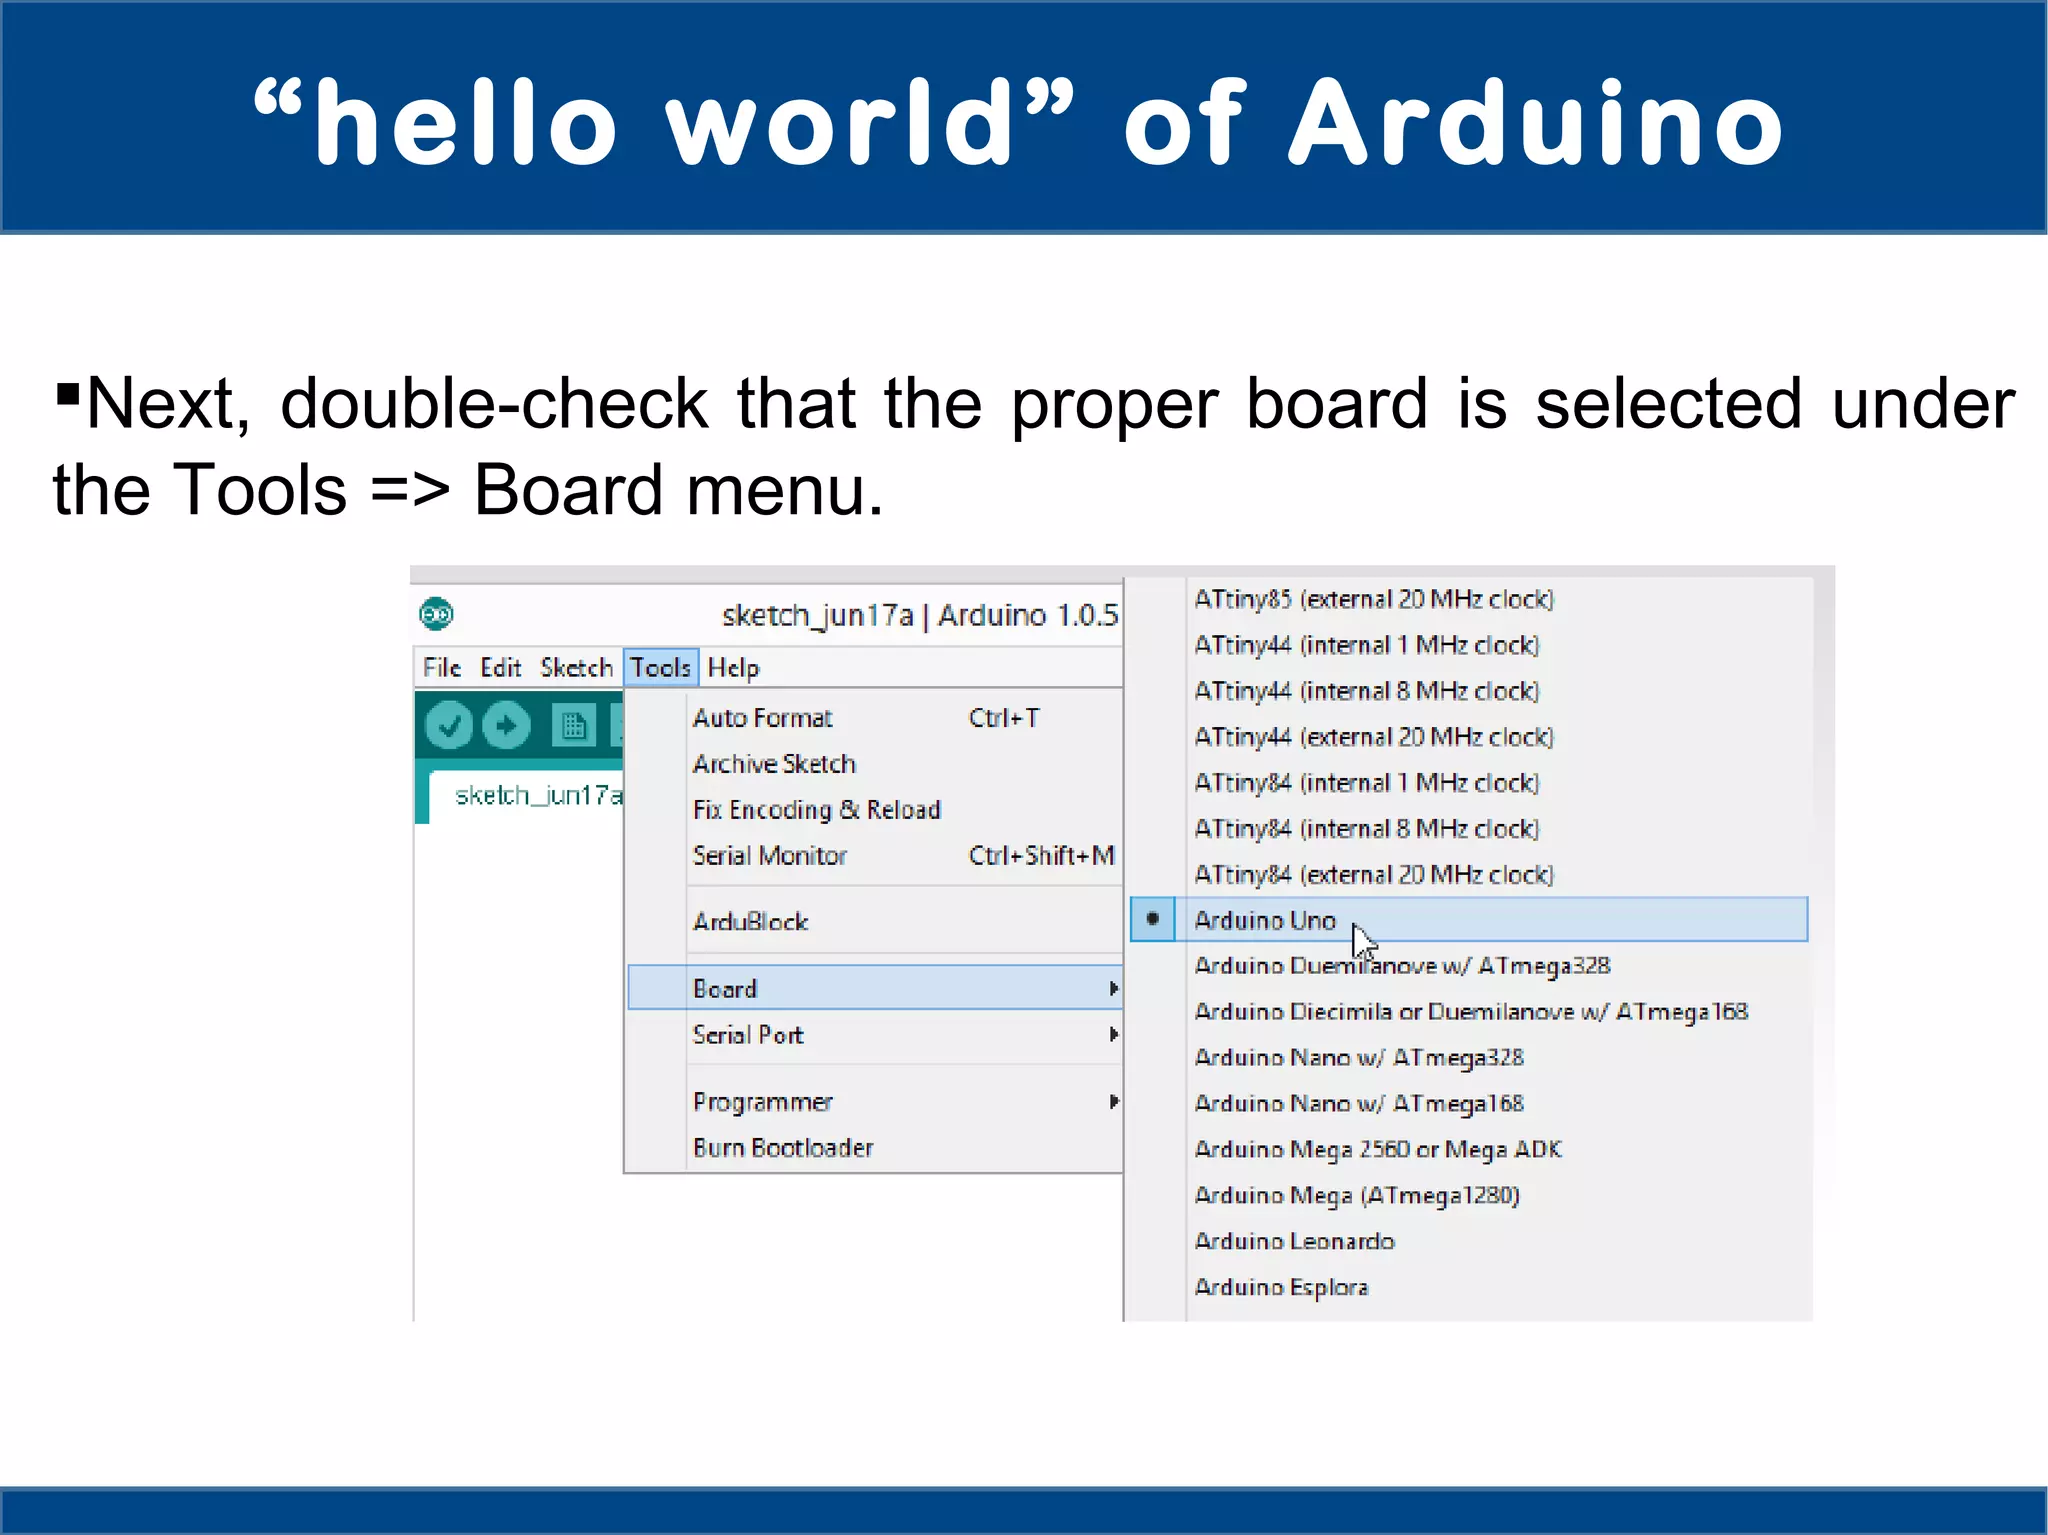


The document serves as a comprehensive introduction to building Internet of Things (IoT) applications using Arduino and Atmel AVR microcontrollers. It covers fundamental concepts of IoT, including device requirements, communication methods, and programming techniques, along with practical insights on using the Arduino platform for sensor integration and cloud connectivity. Additionally, it provides guidance on prototyping and programming, making it accessible for beginners in IoT development.


