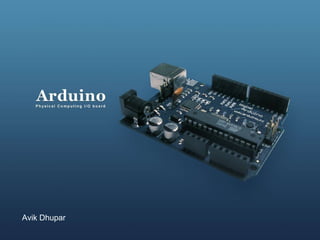
The document provides an overview of the Arduino platform, including what it is, what it is used for, and how to get started using it. Key points:
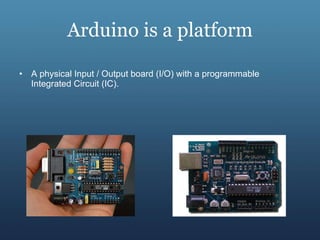
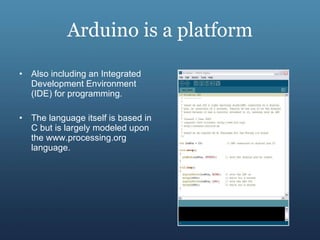
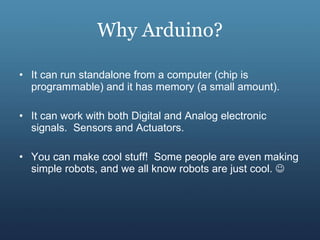
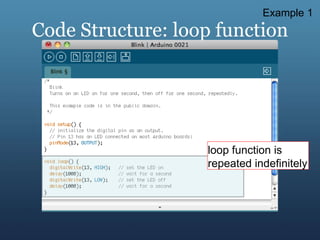
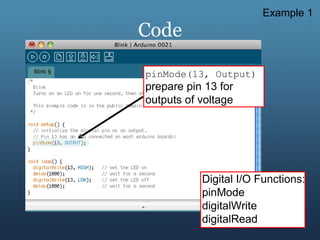
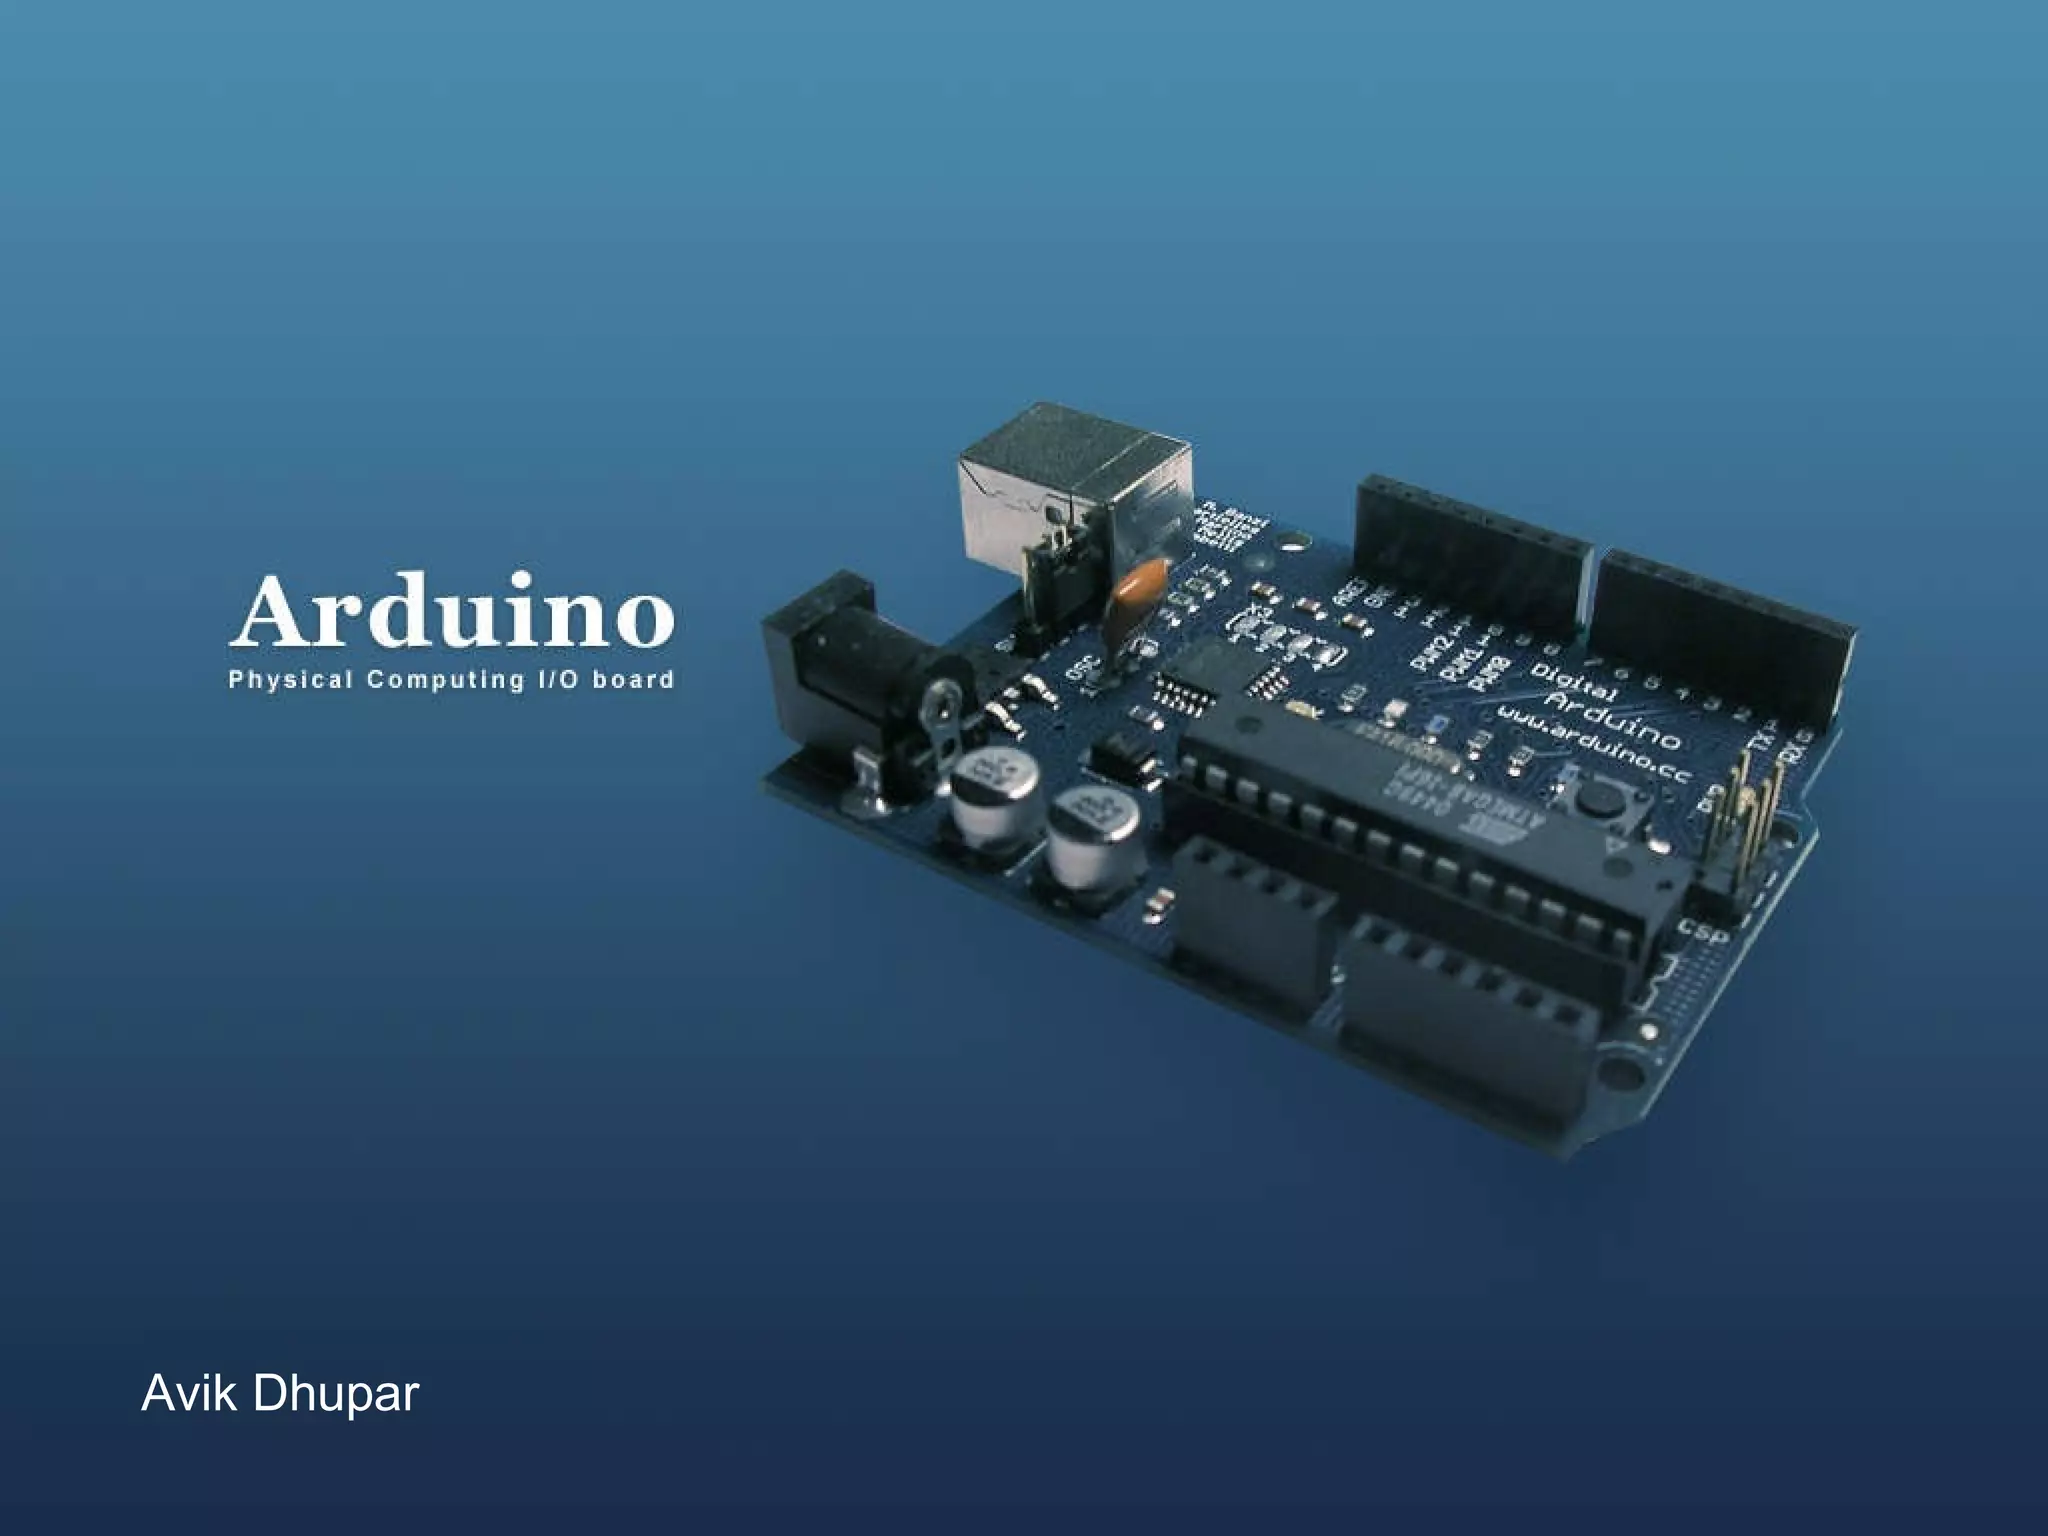
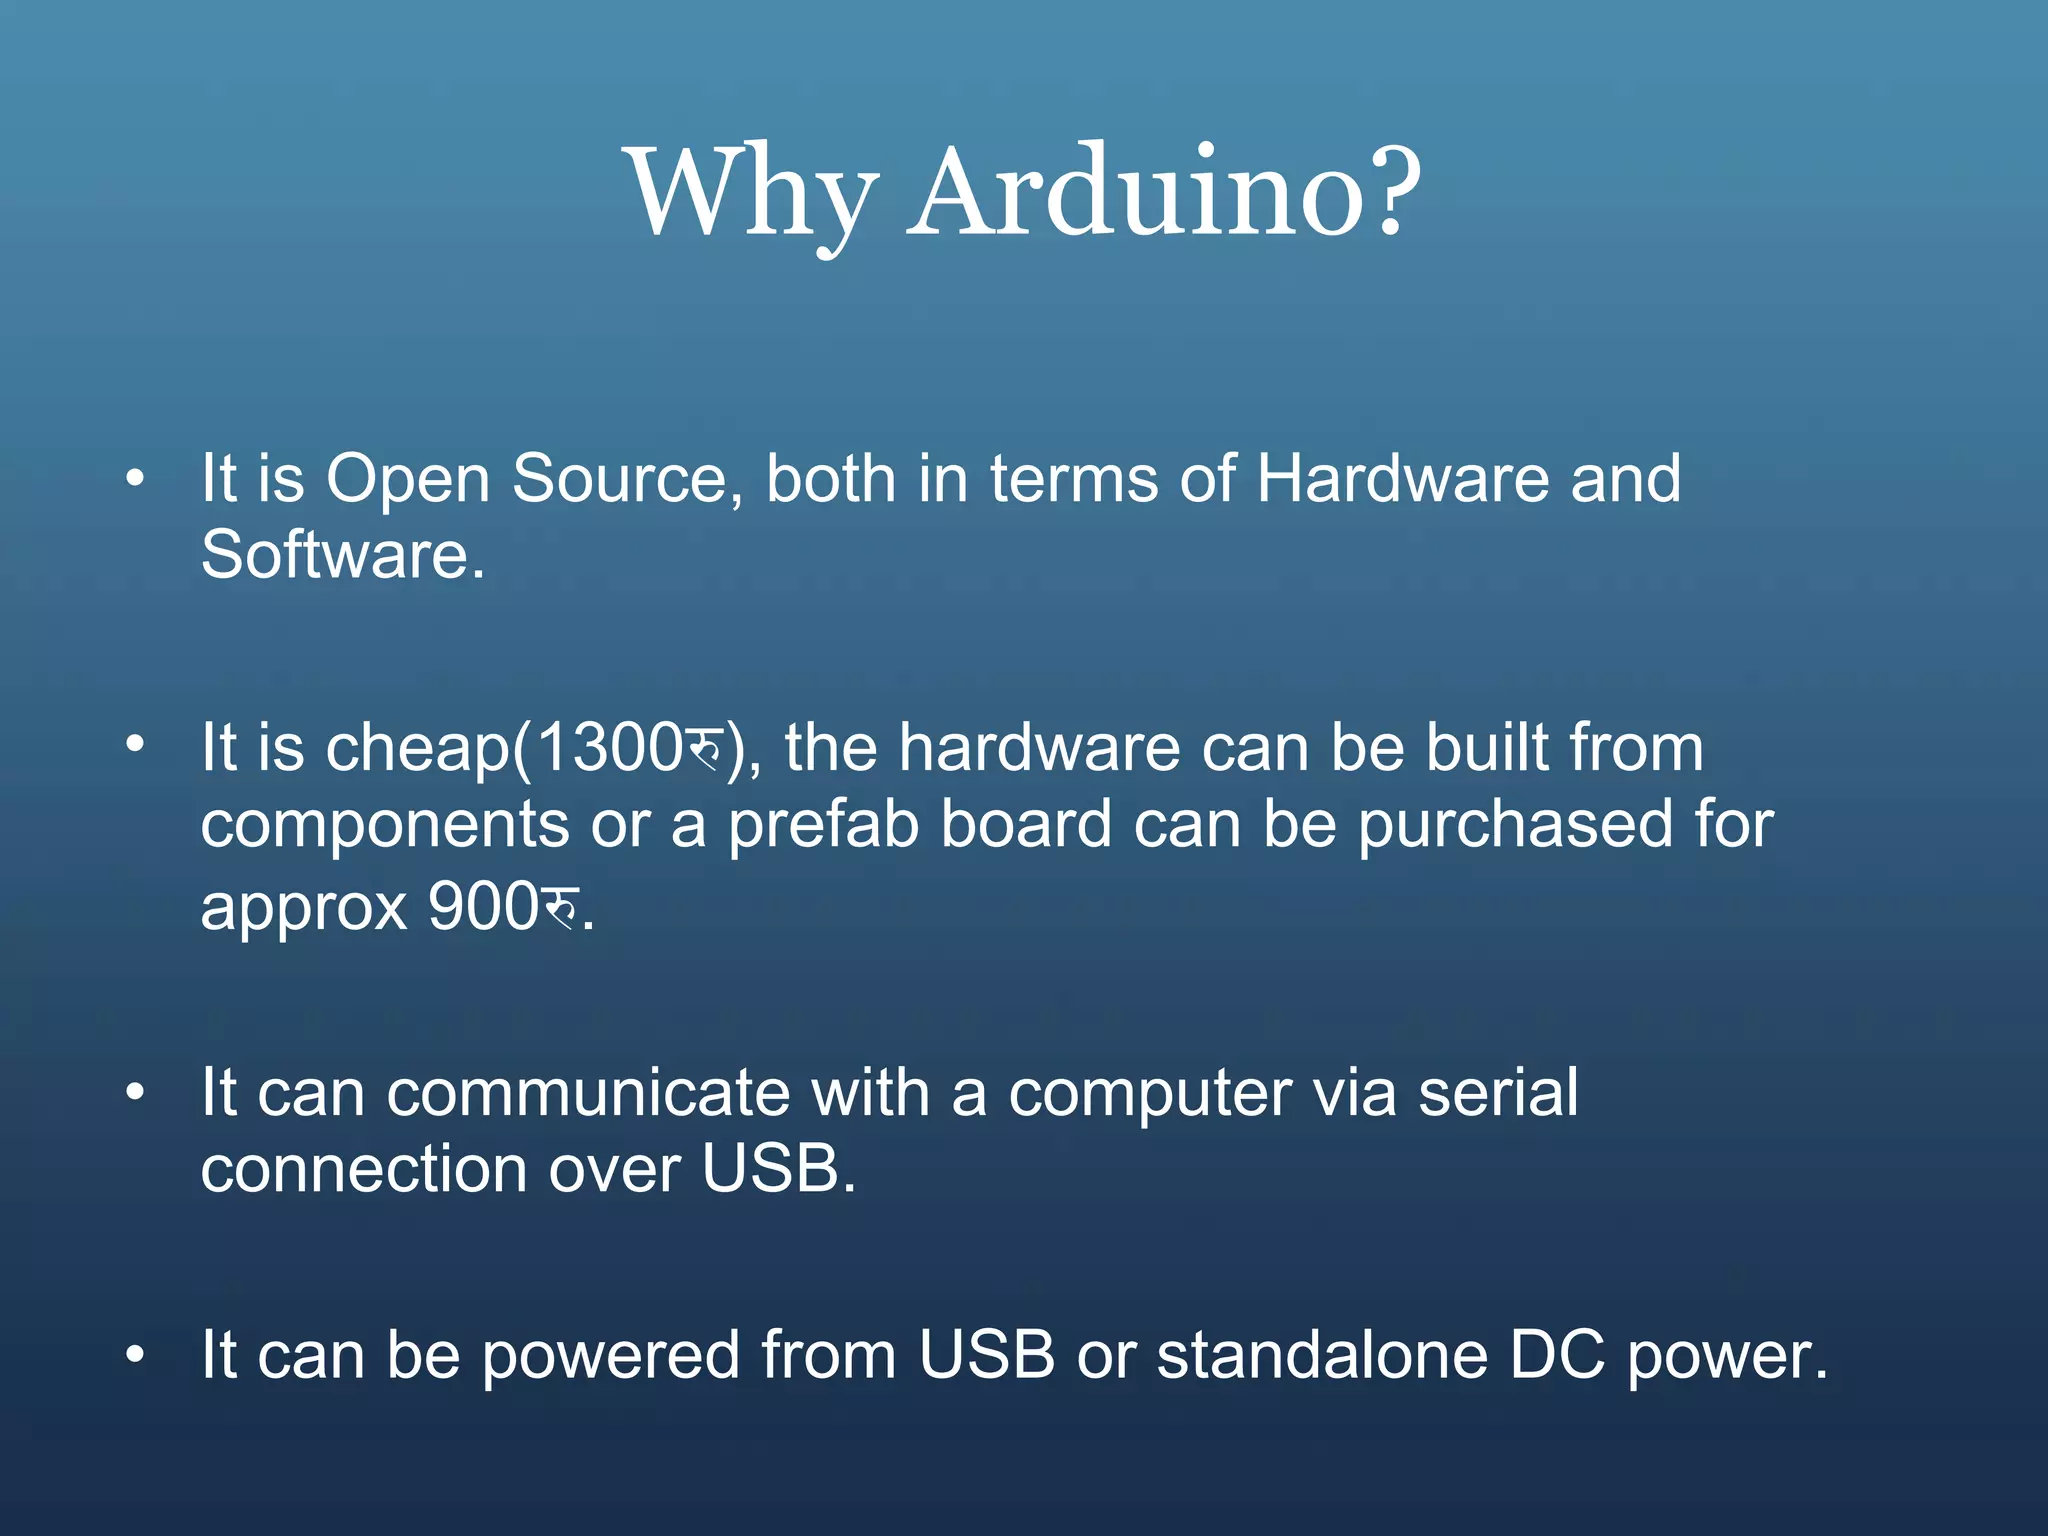
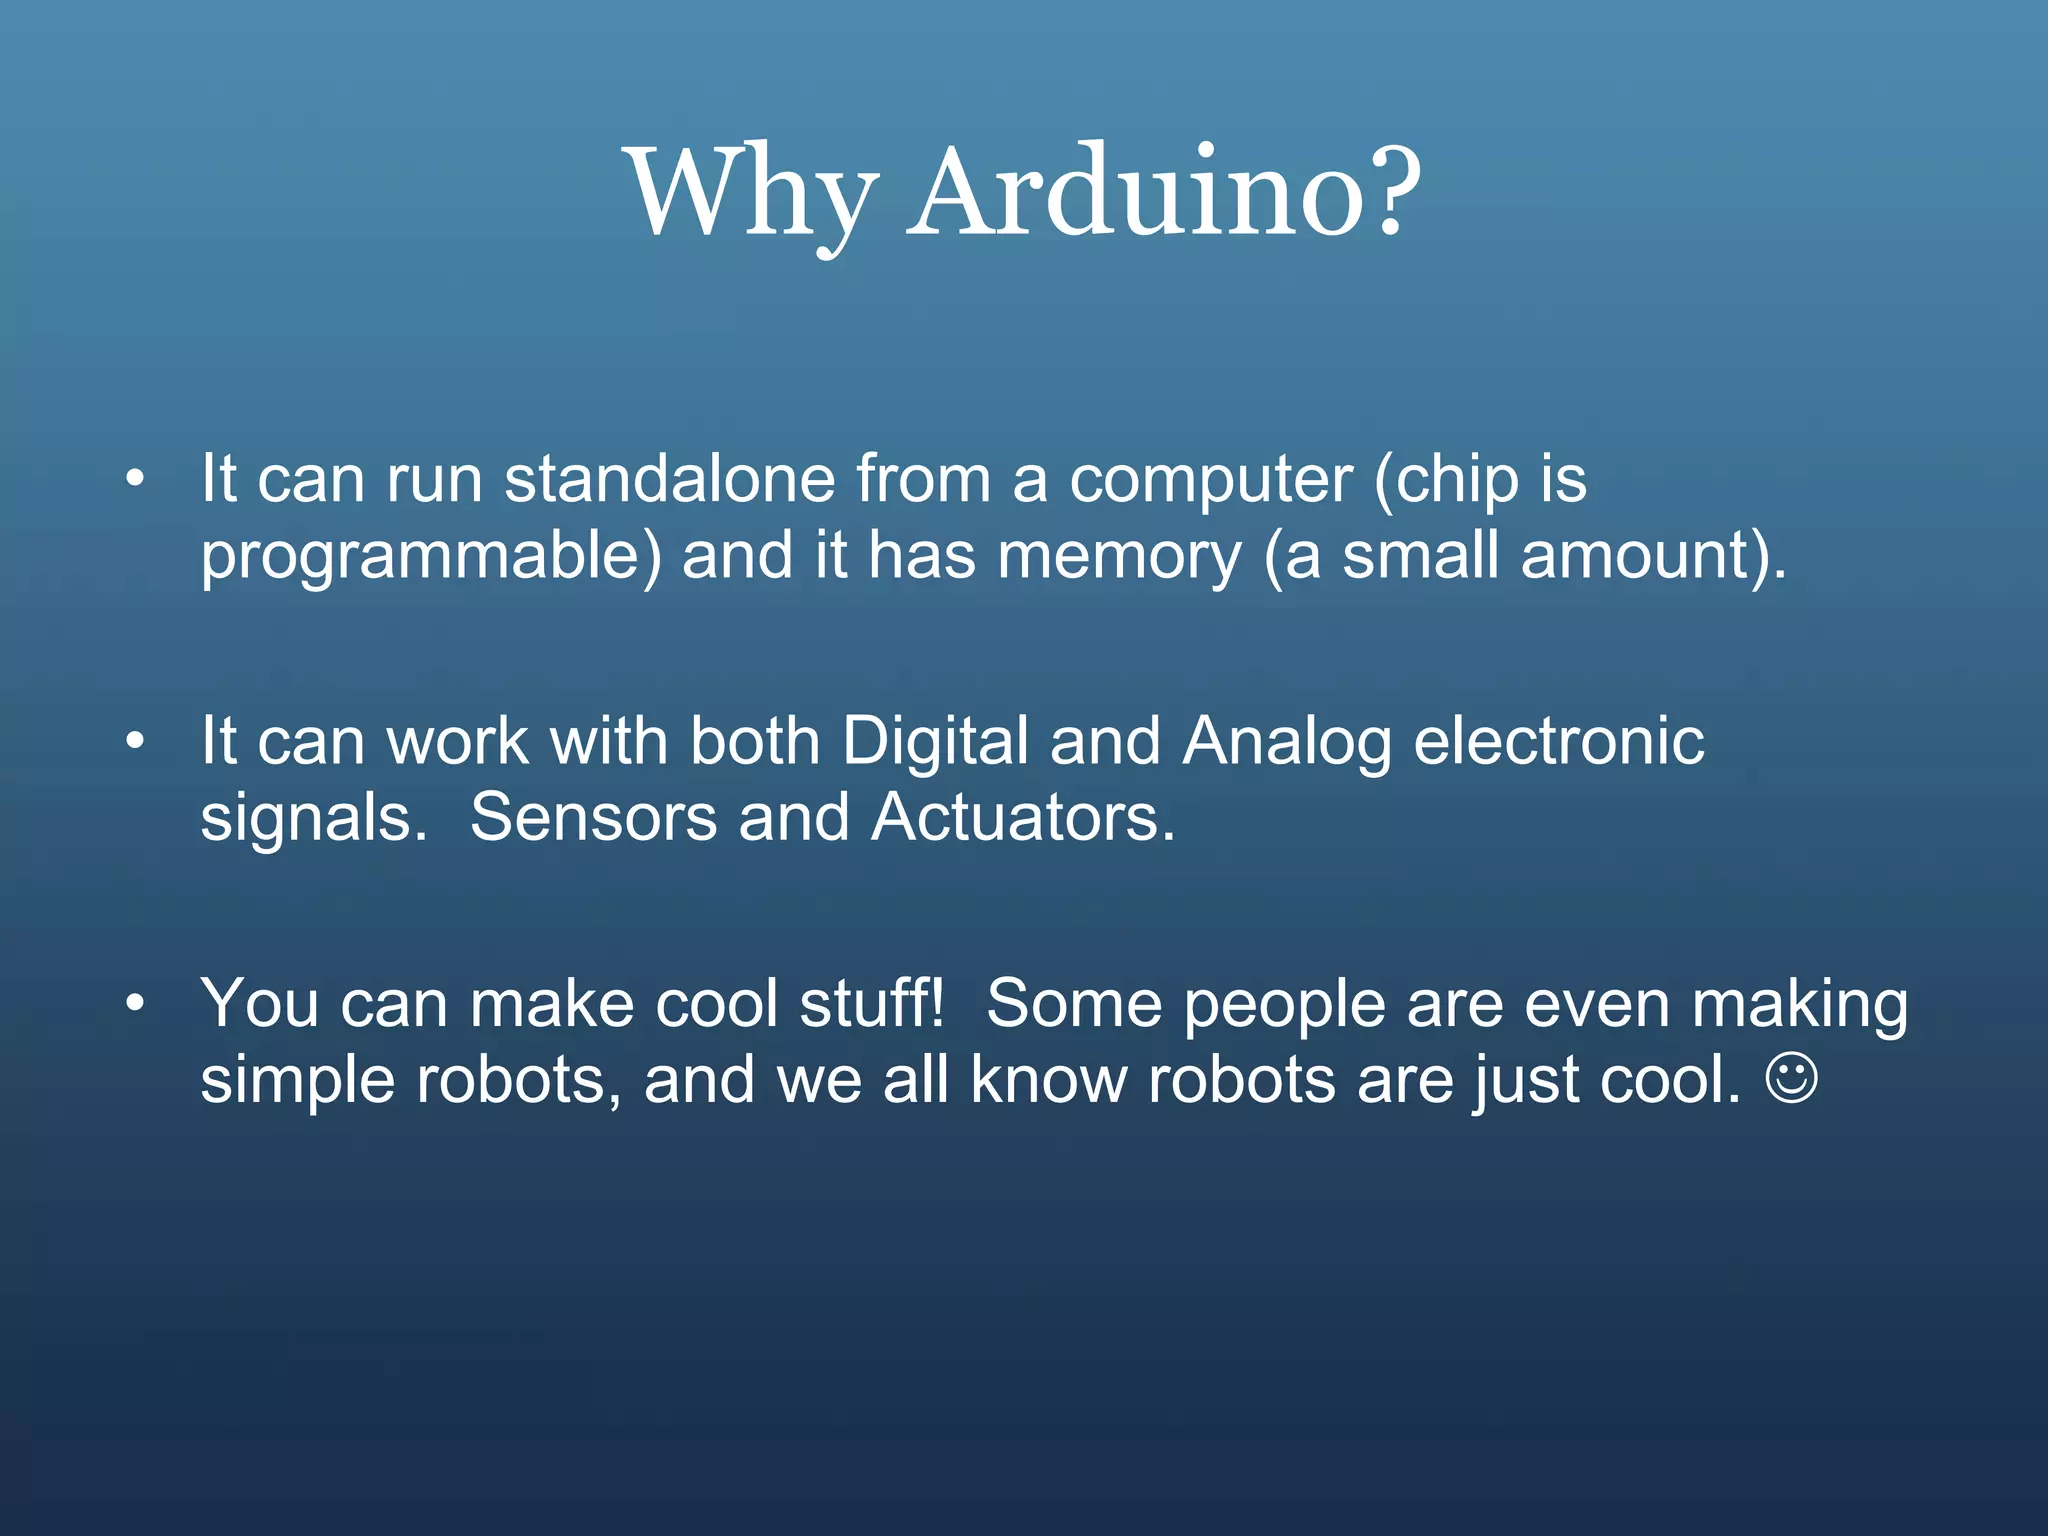
- Arduino is an open-source hardware and software platform for building interactive electronic projects through a simple programming language.
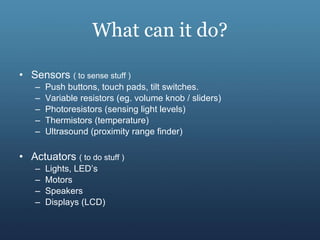
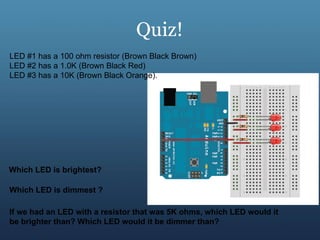
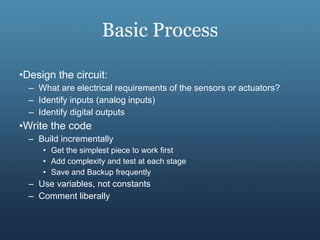
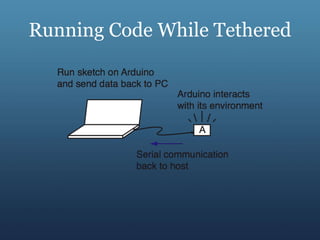
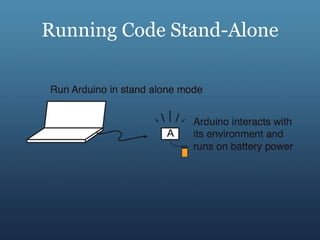
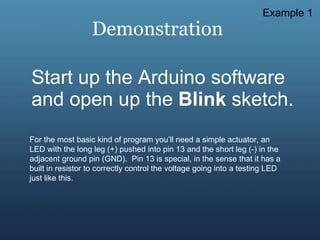
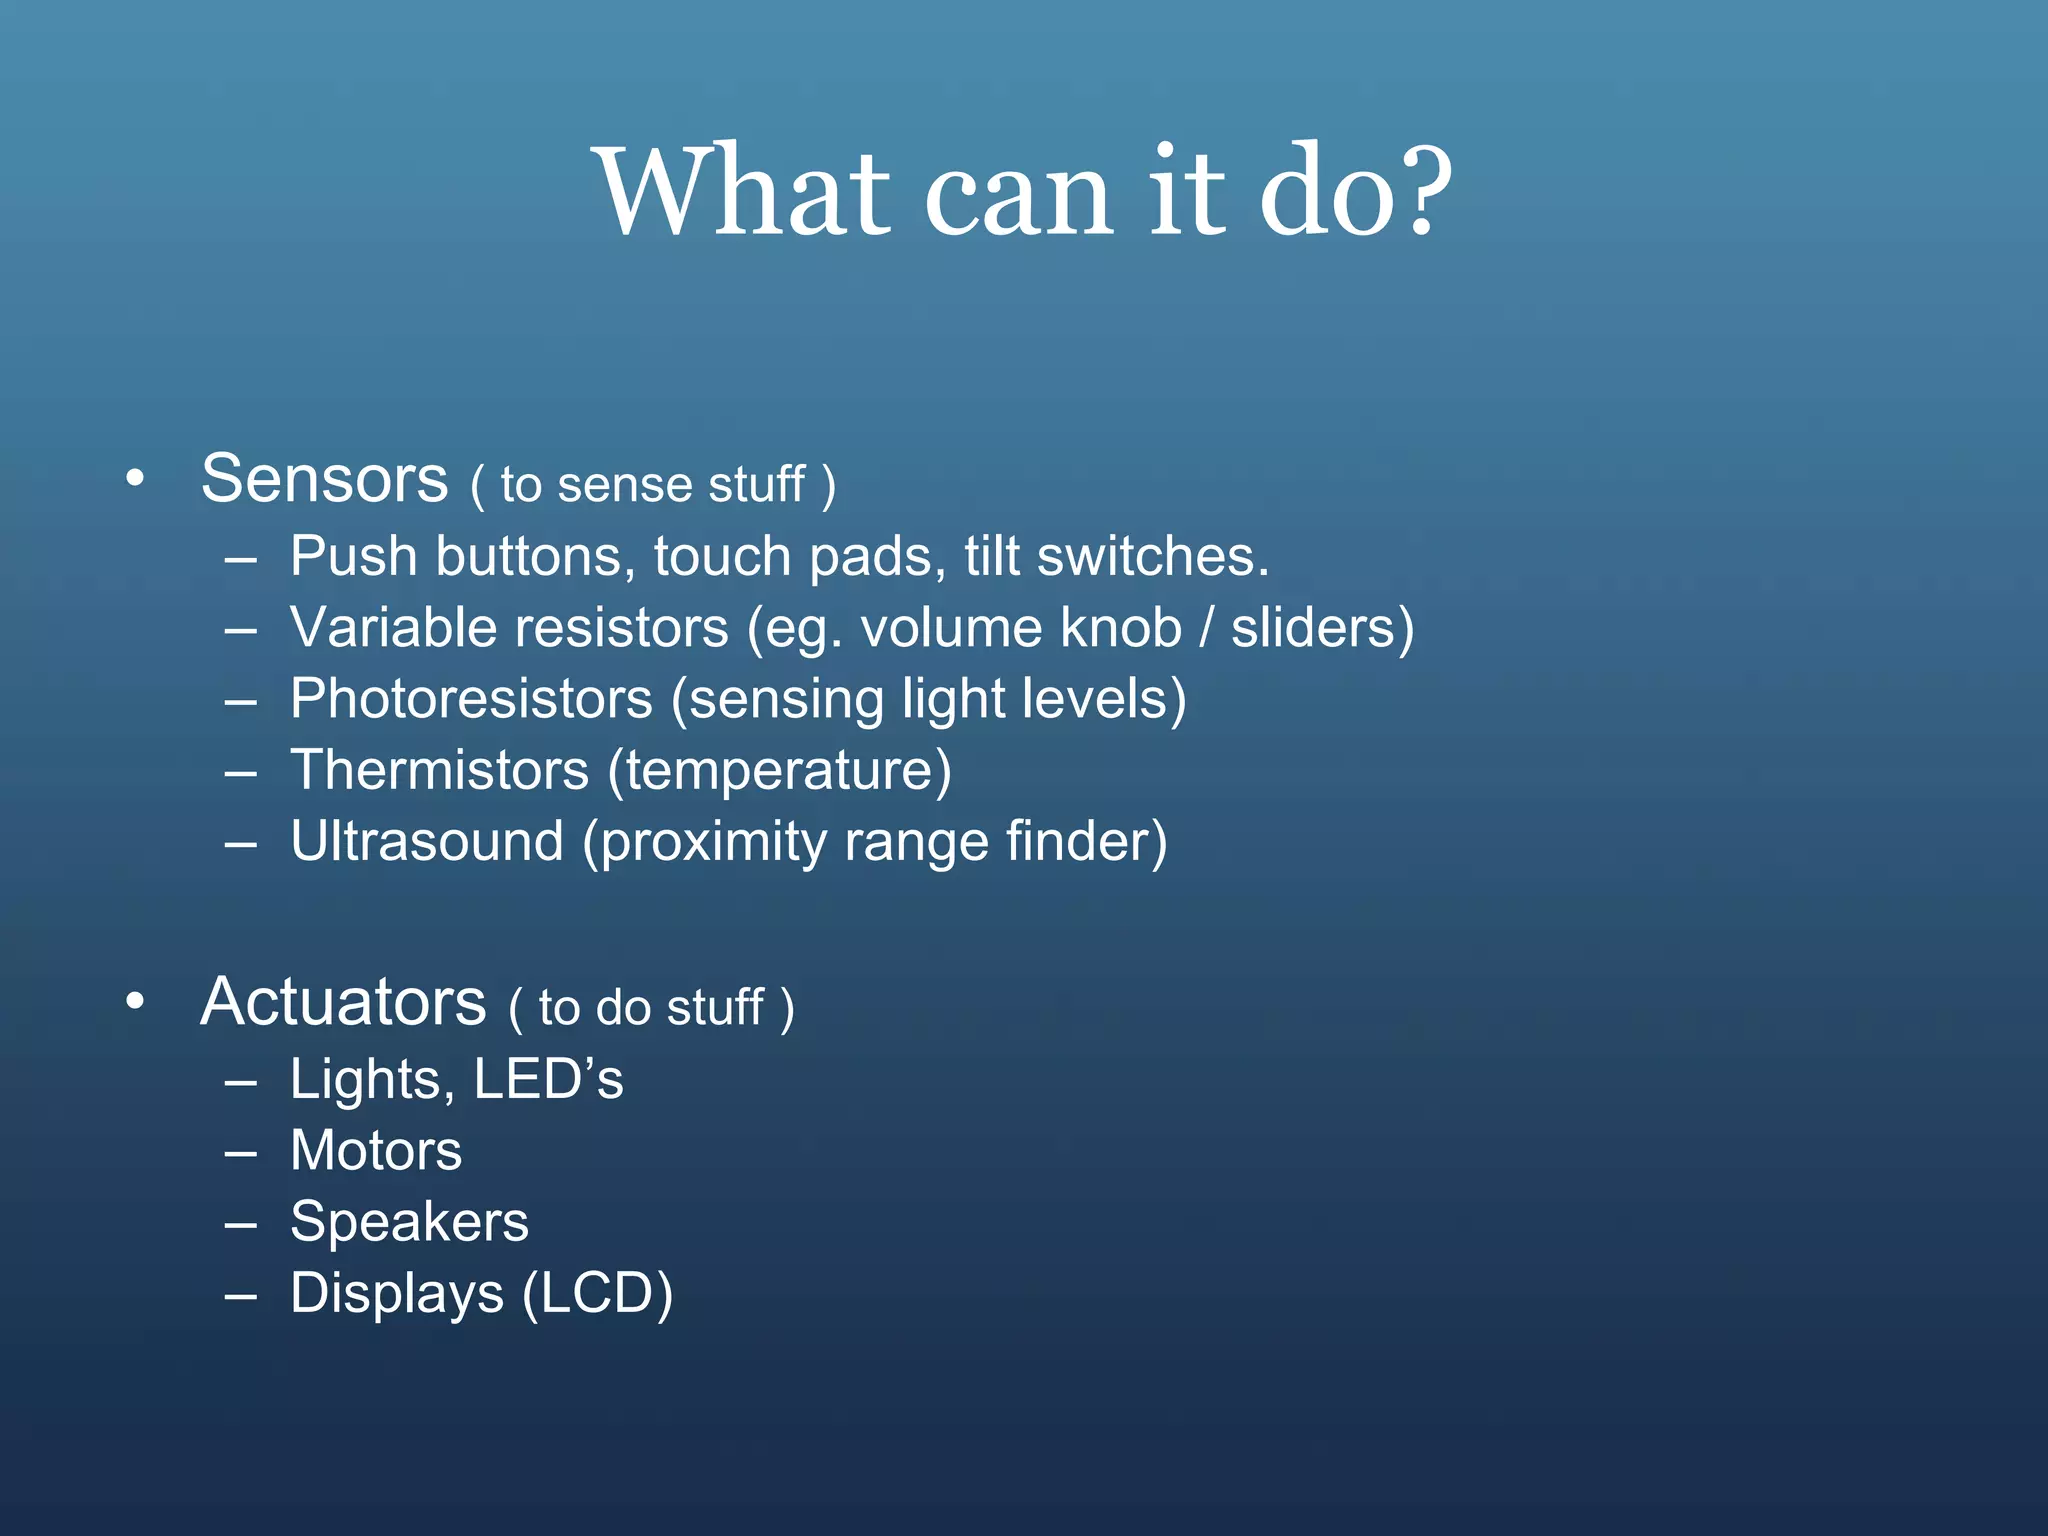
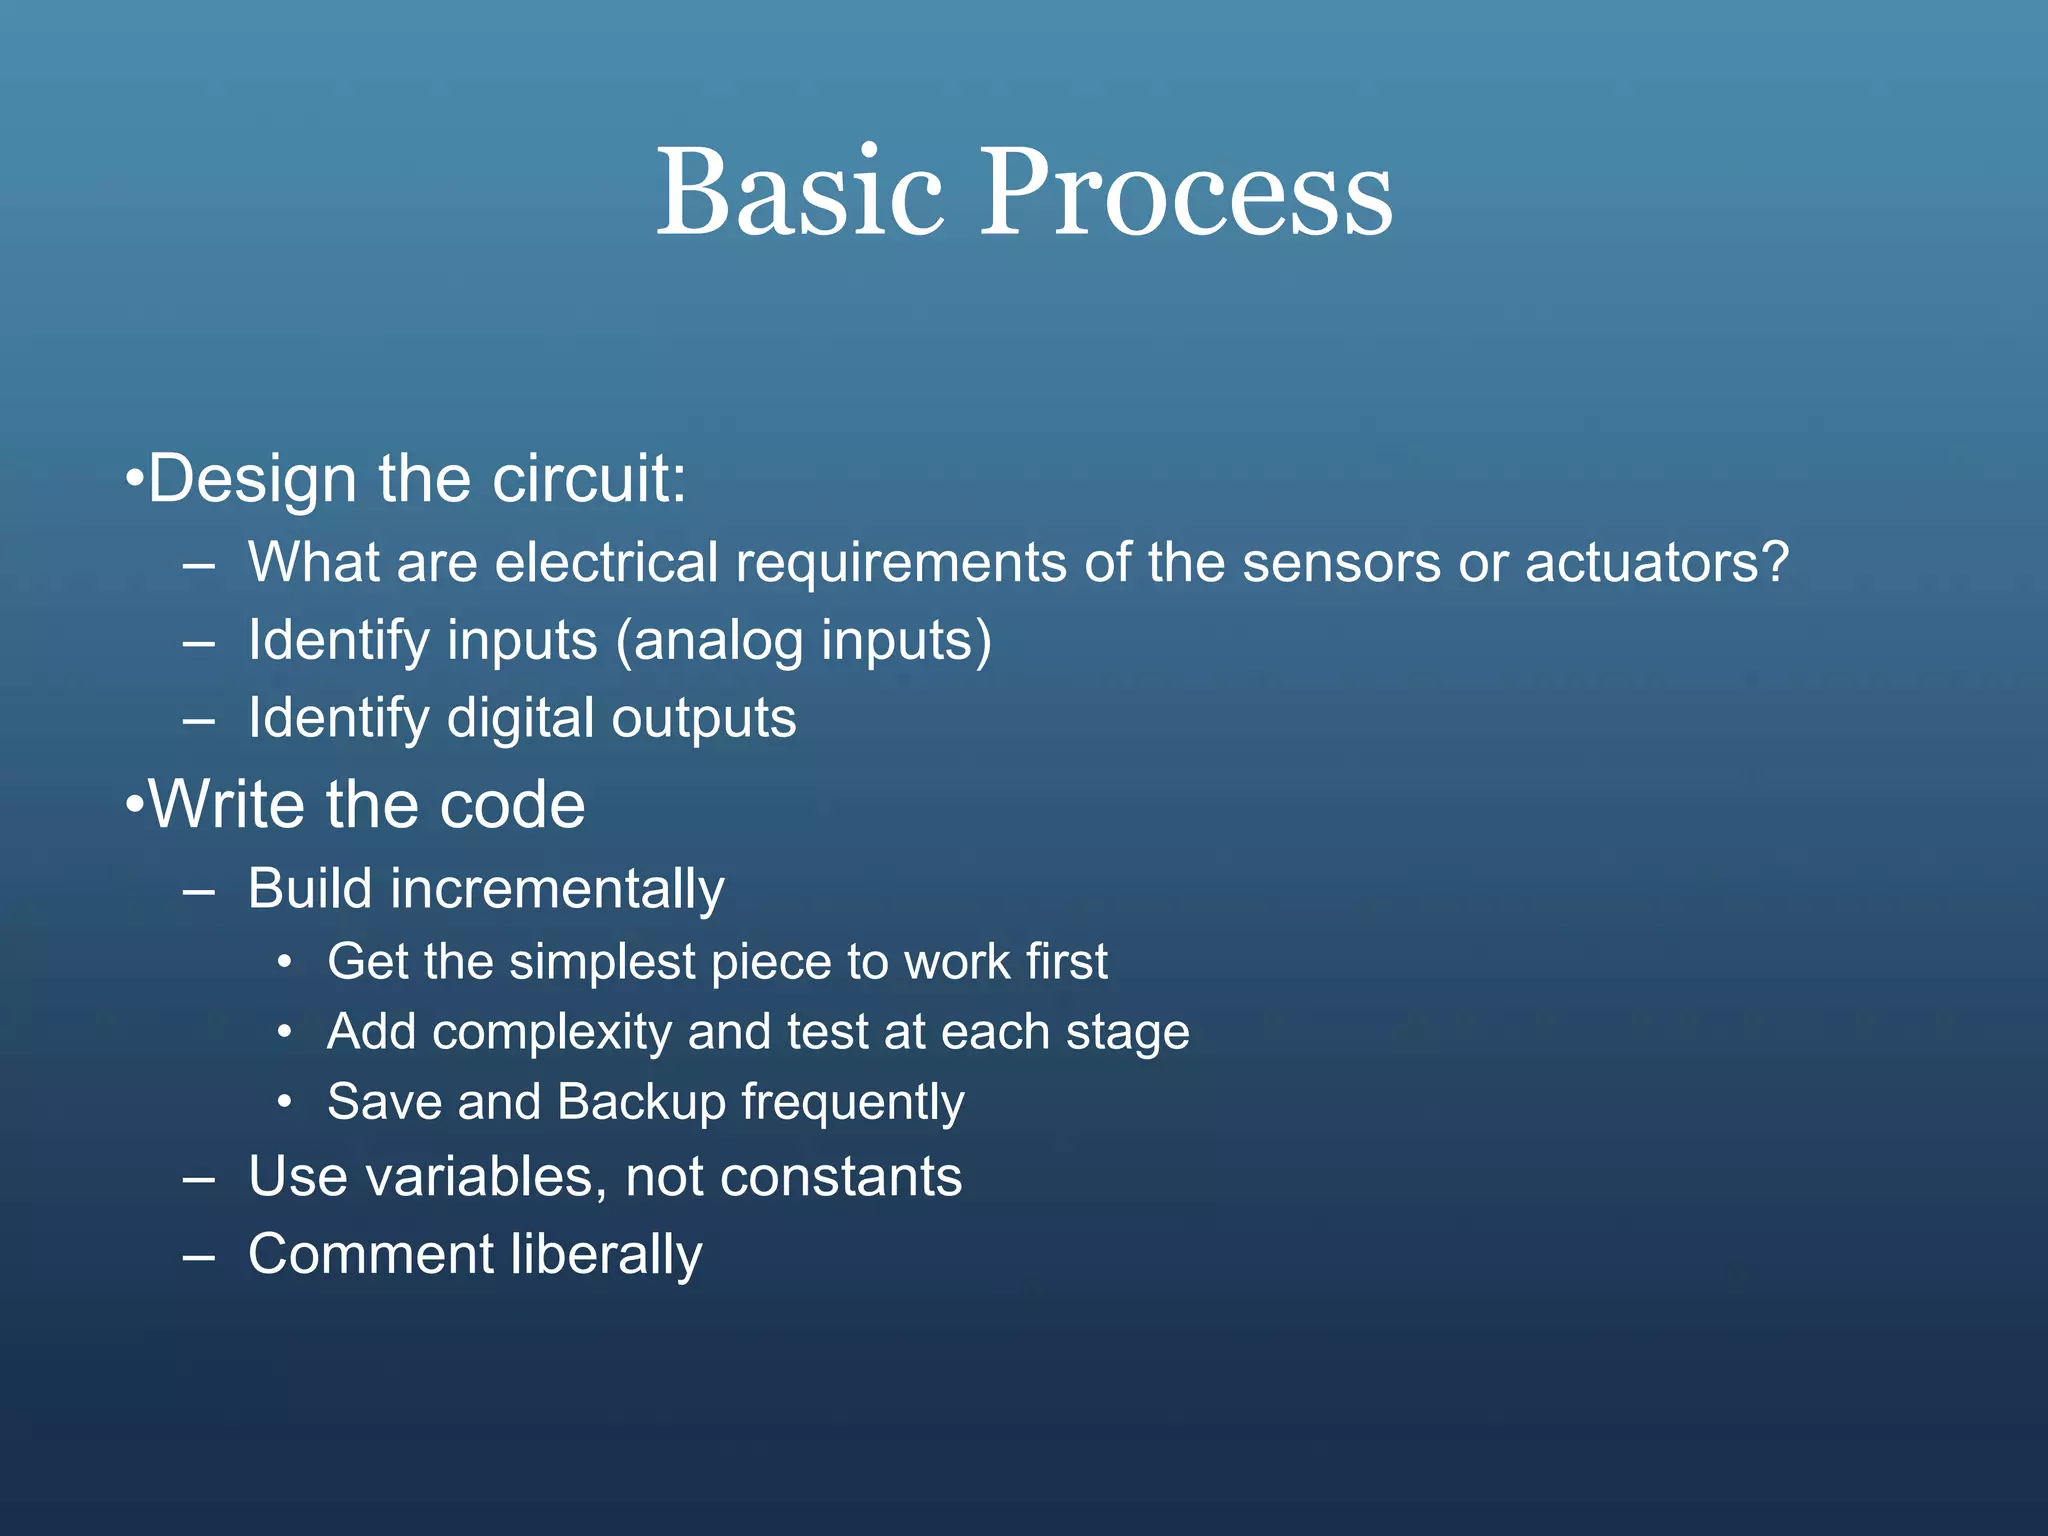
- It is used for physical computing projects, interactive installations, and rapid prototyping. Projects can include sensors and actuators.
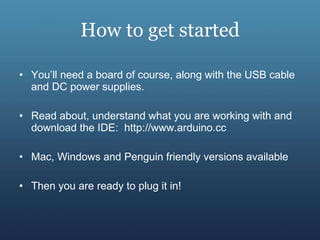
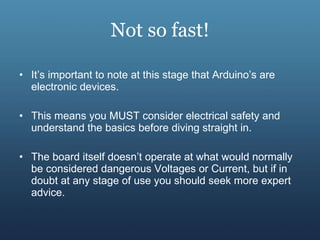
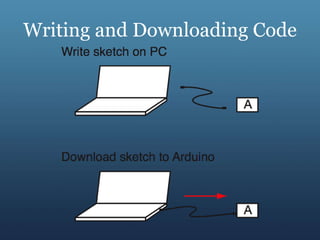
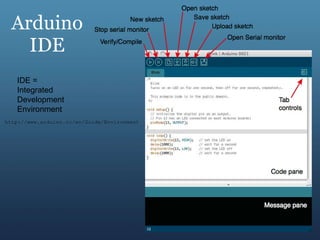
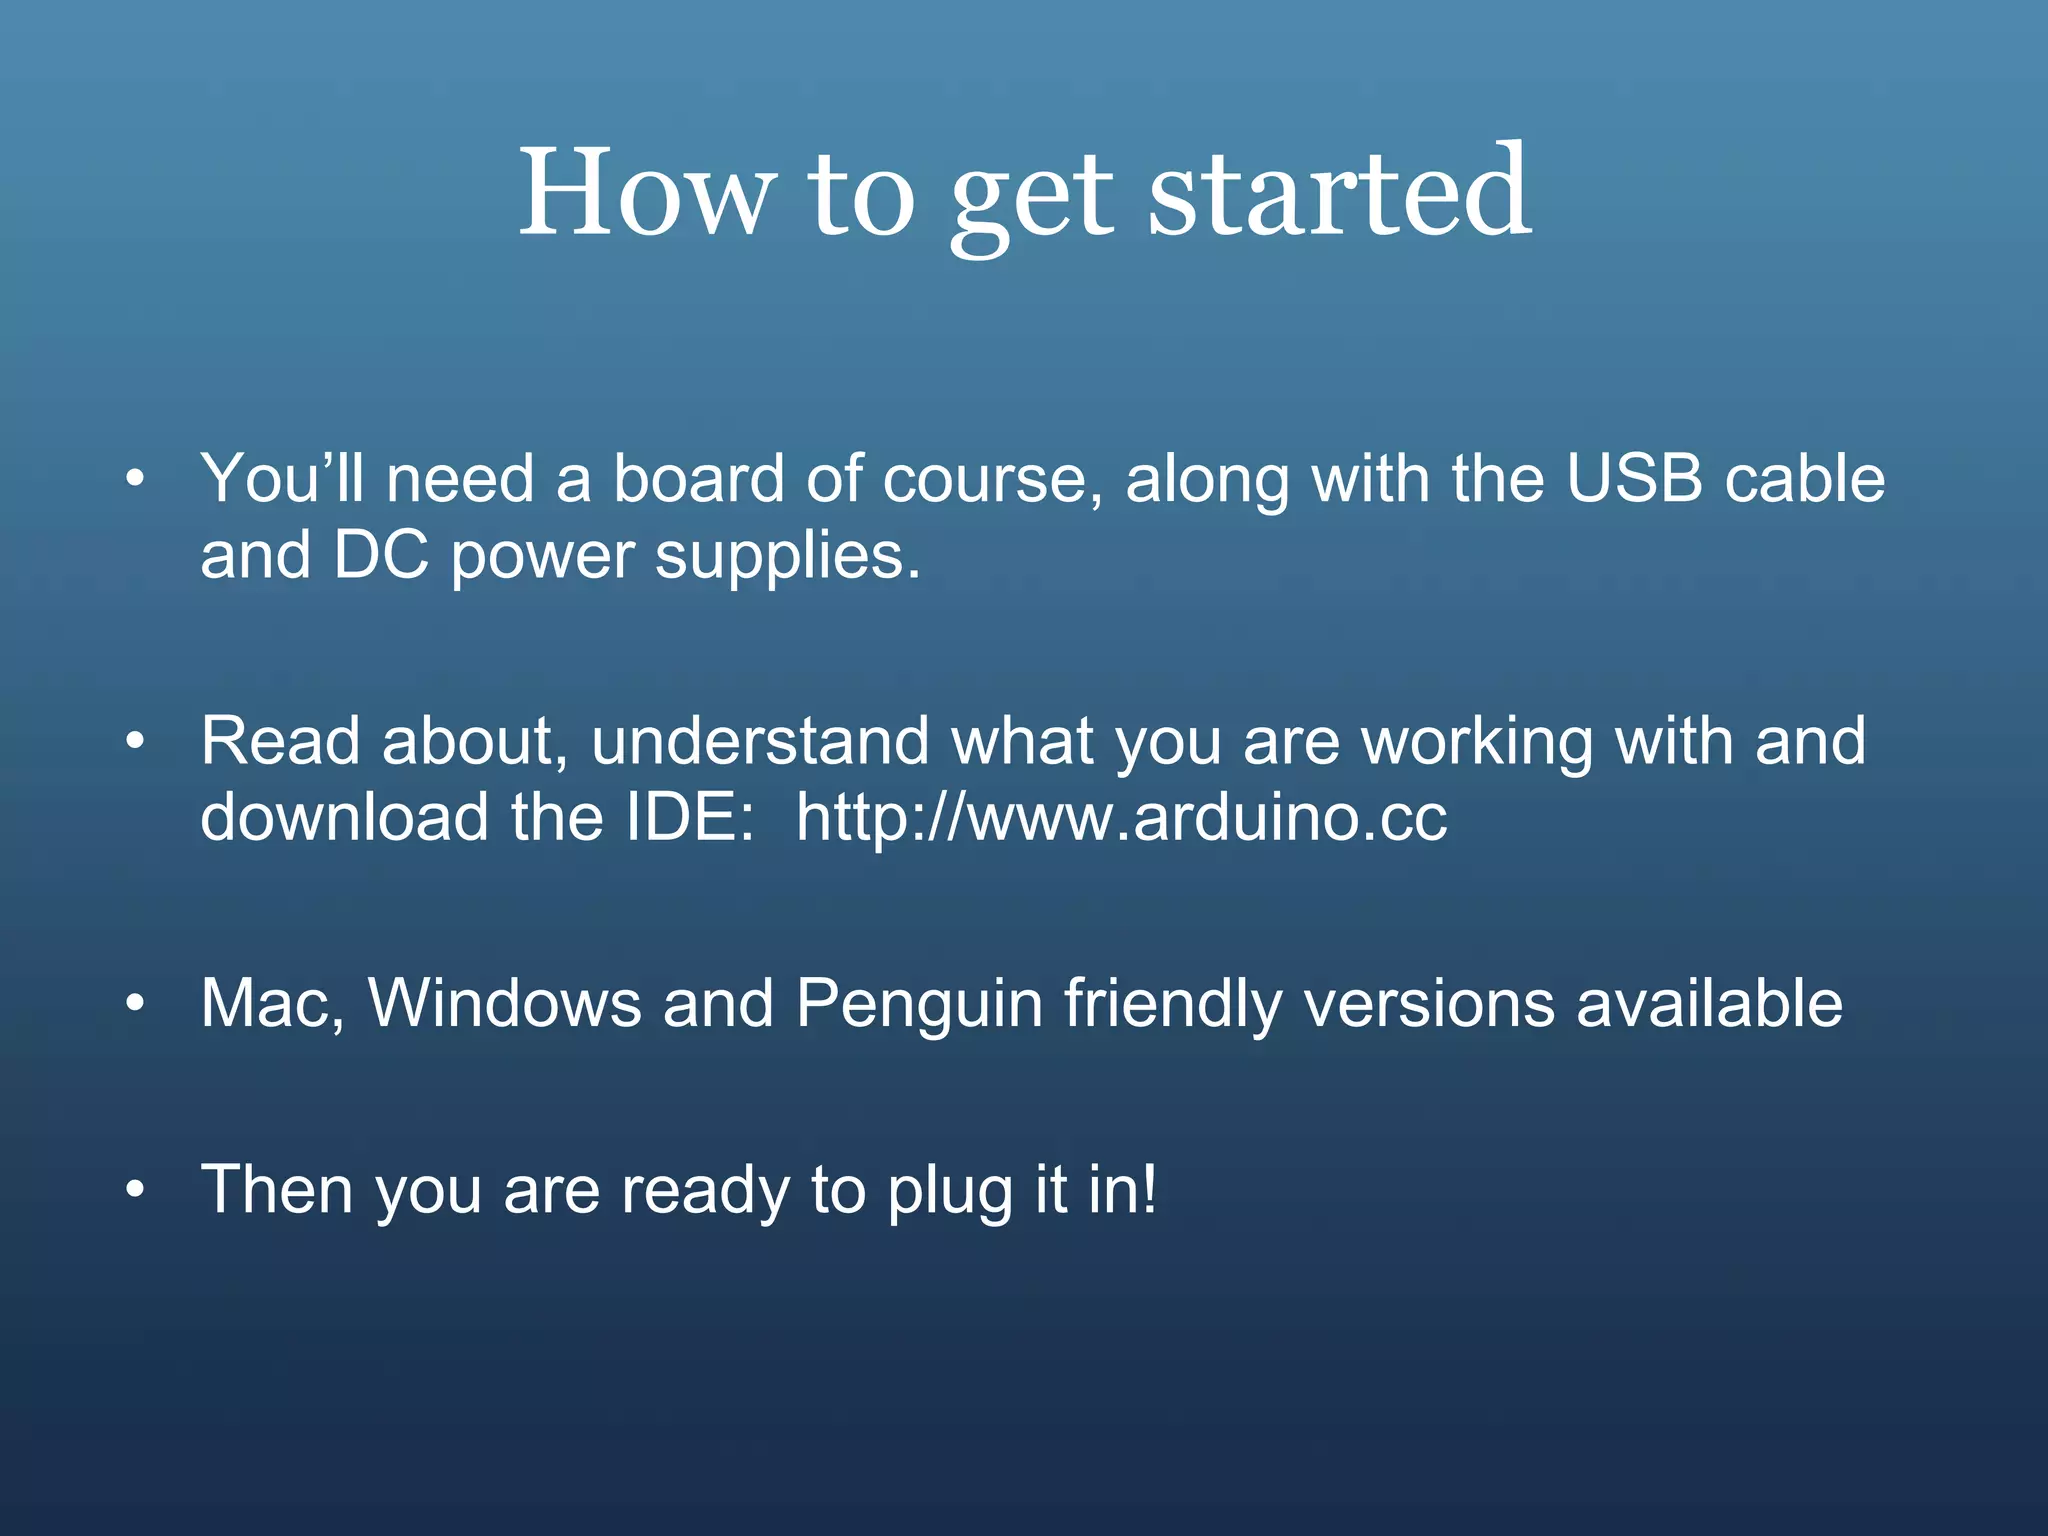
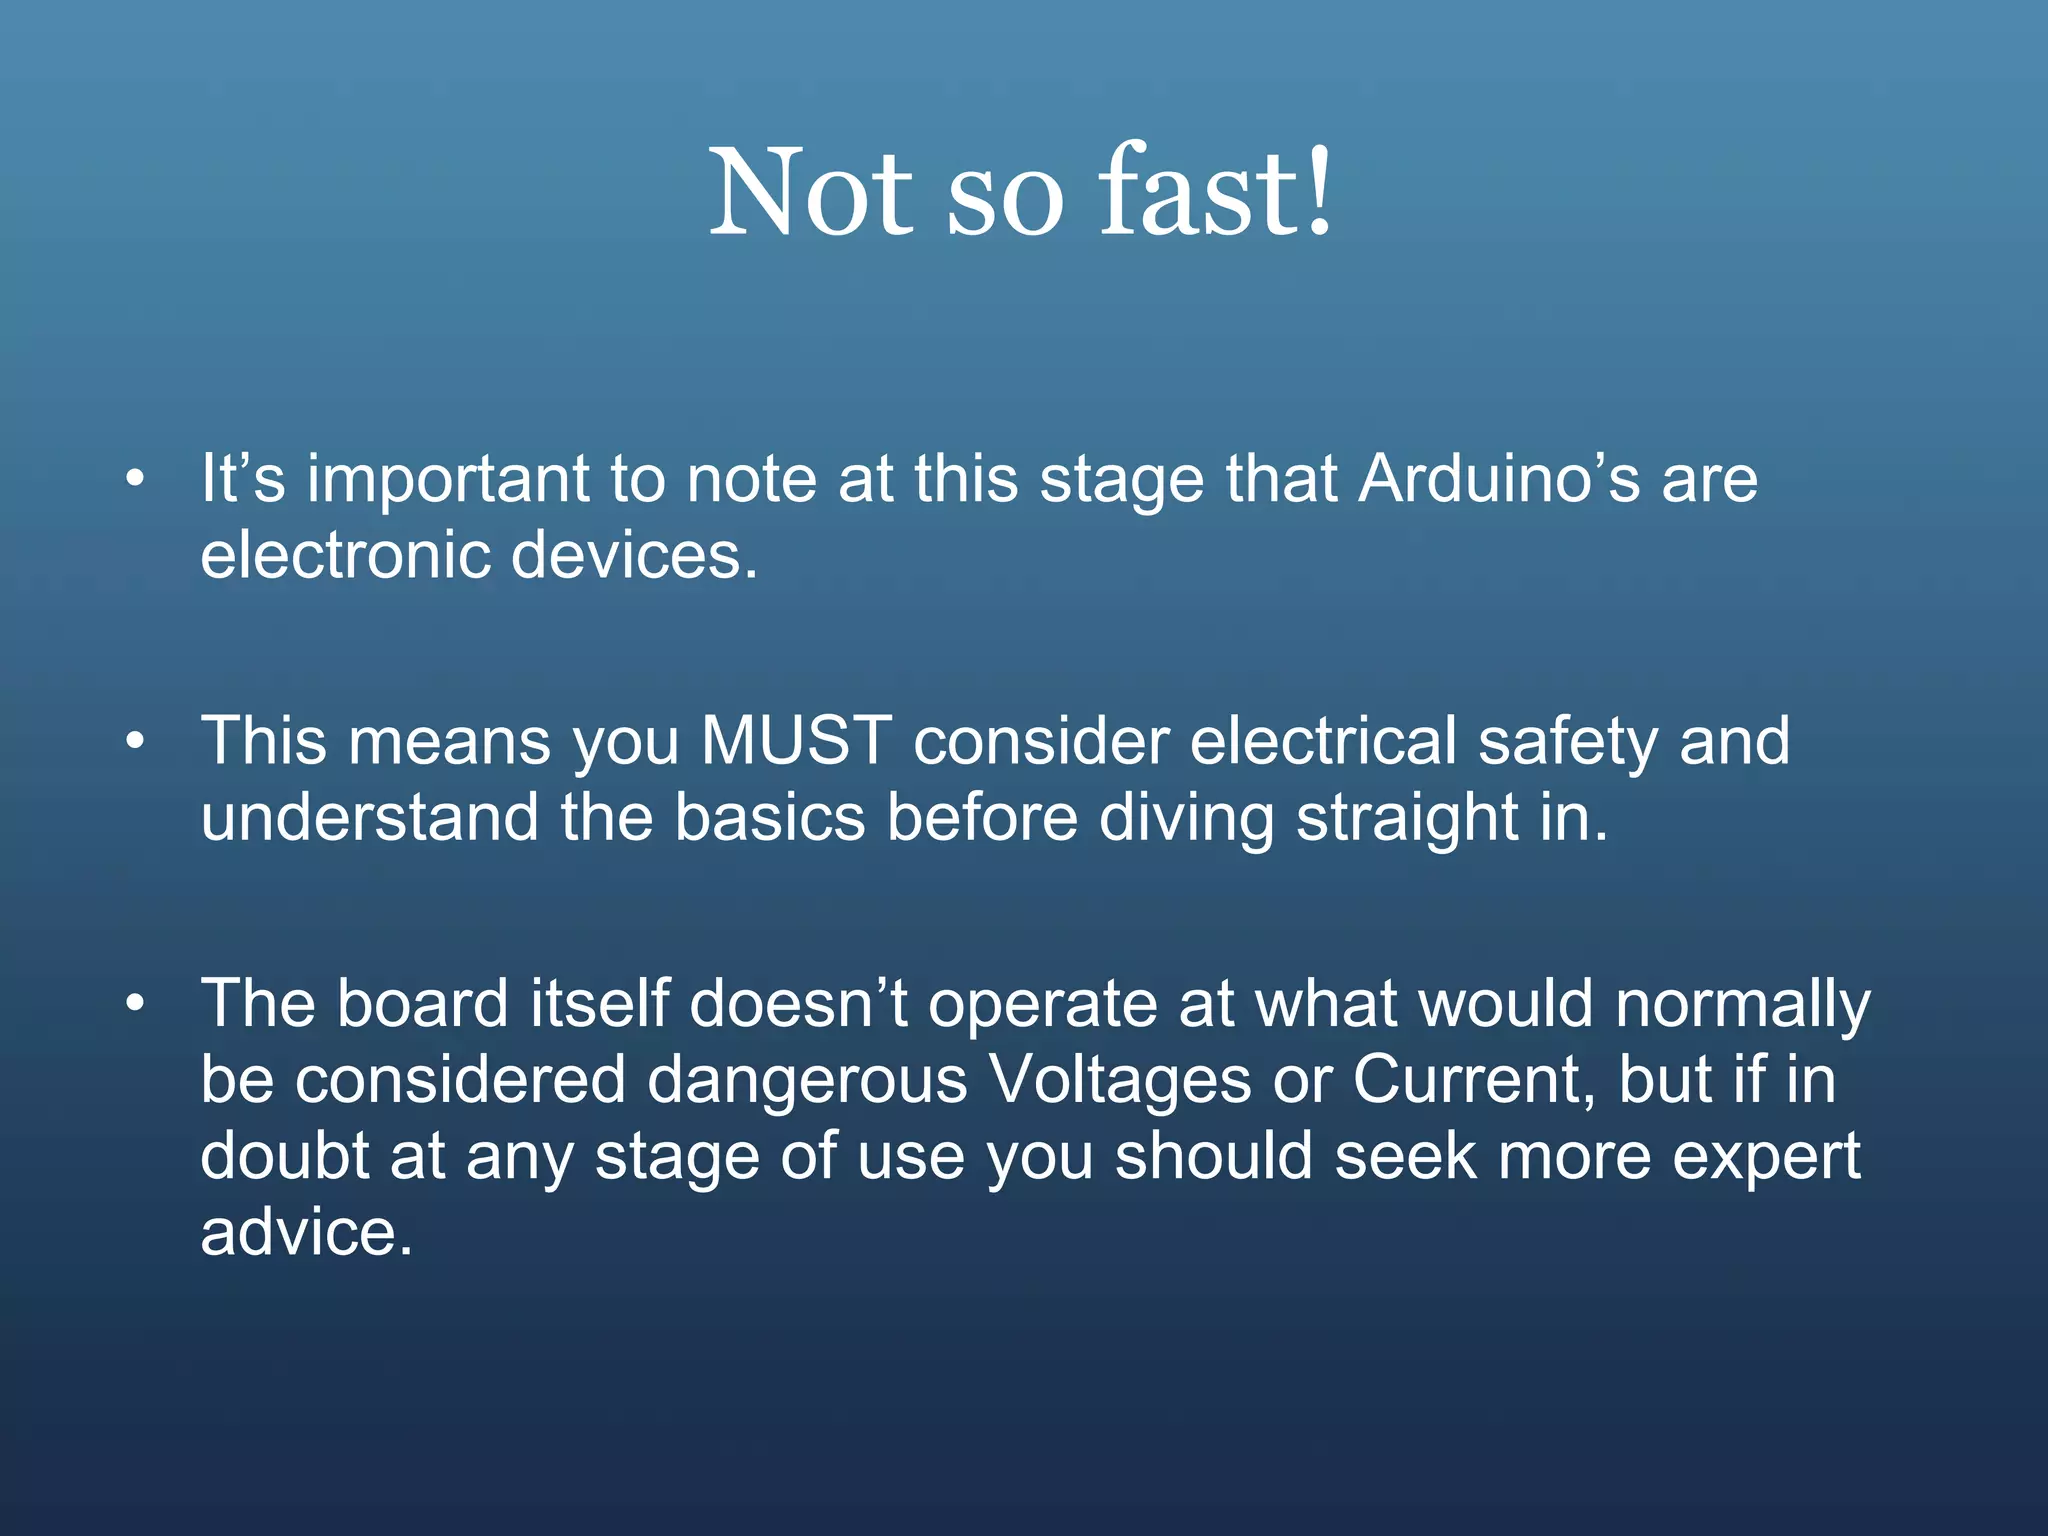
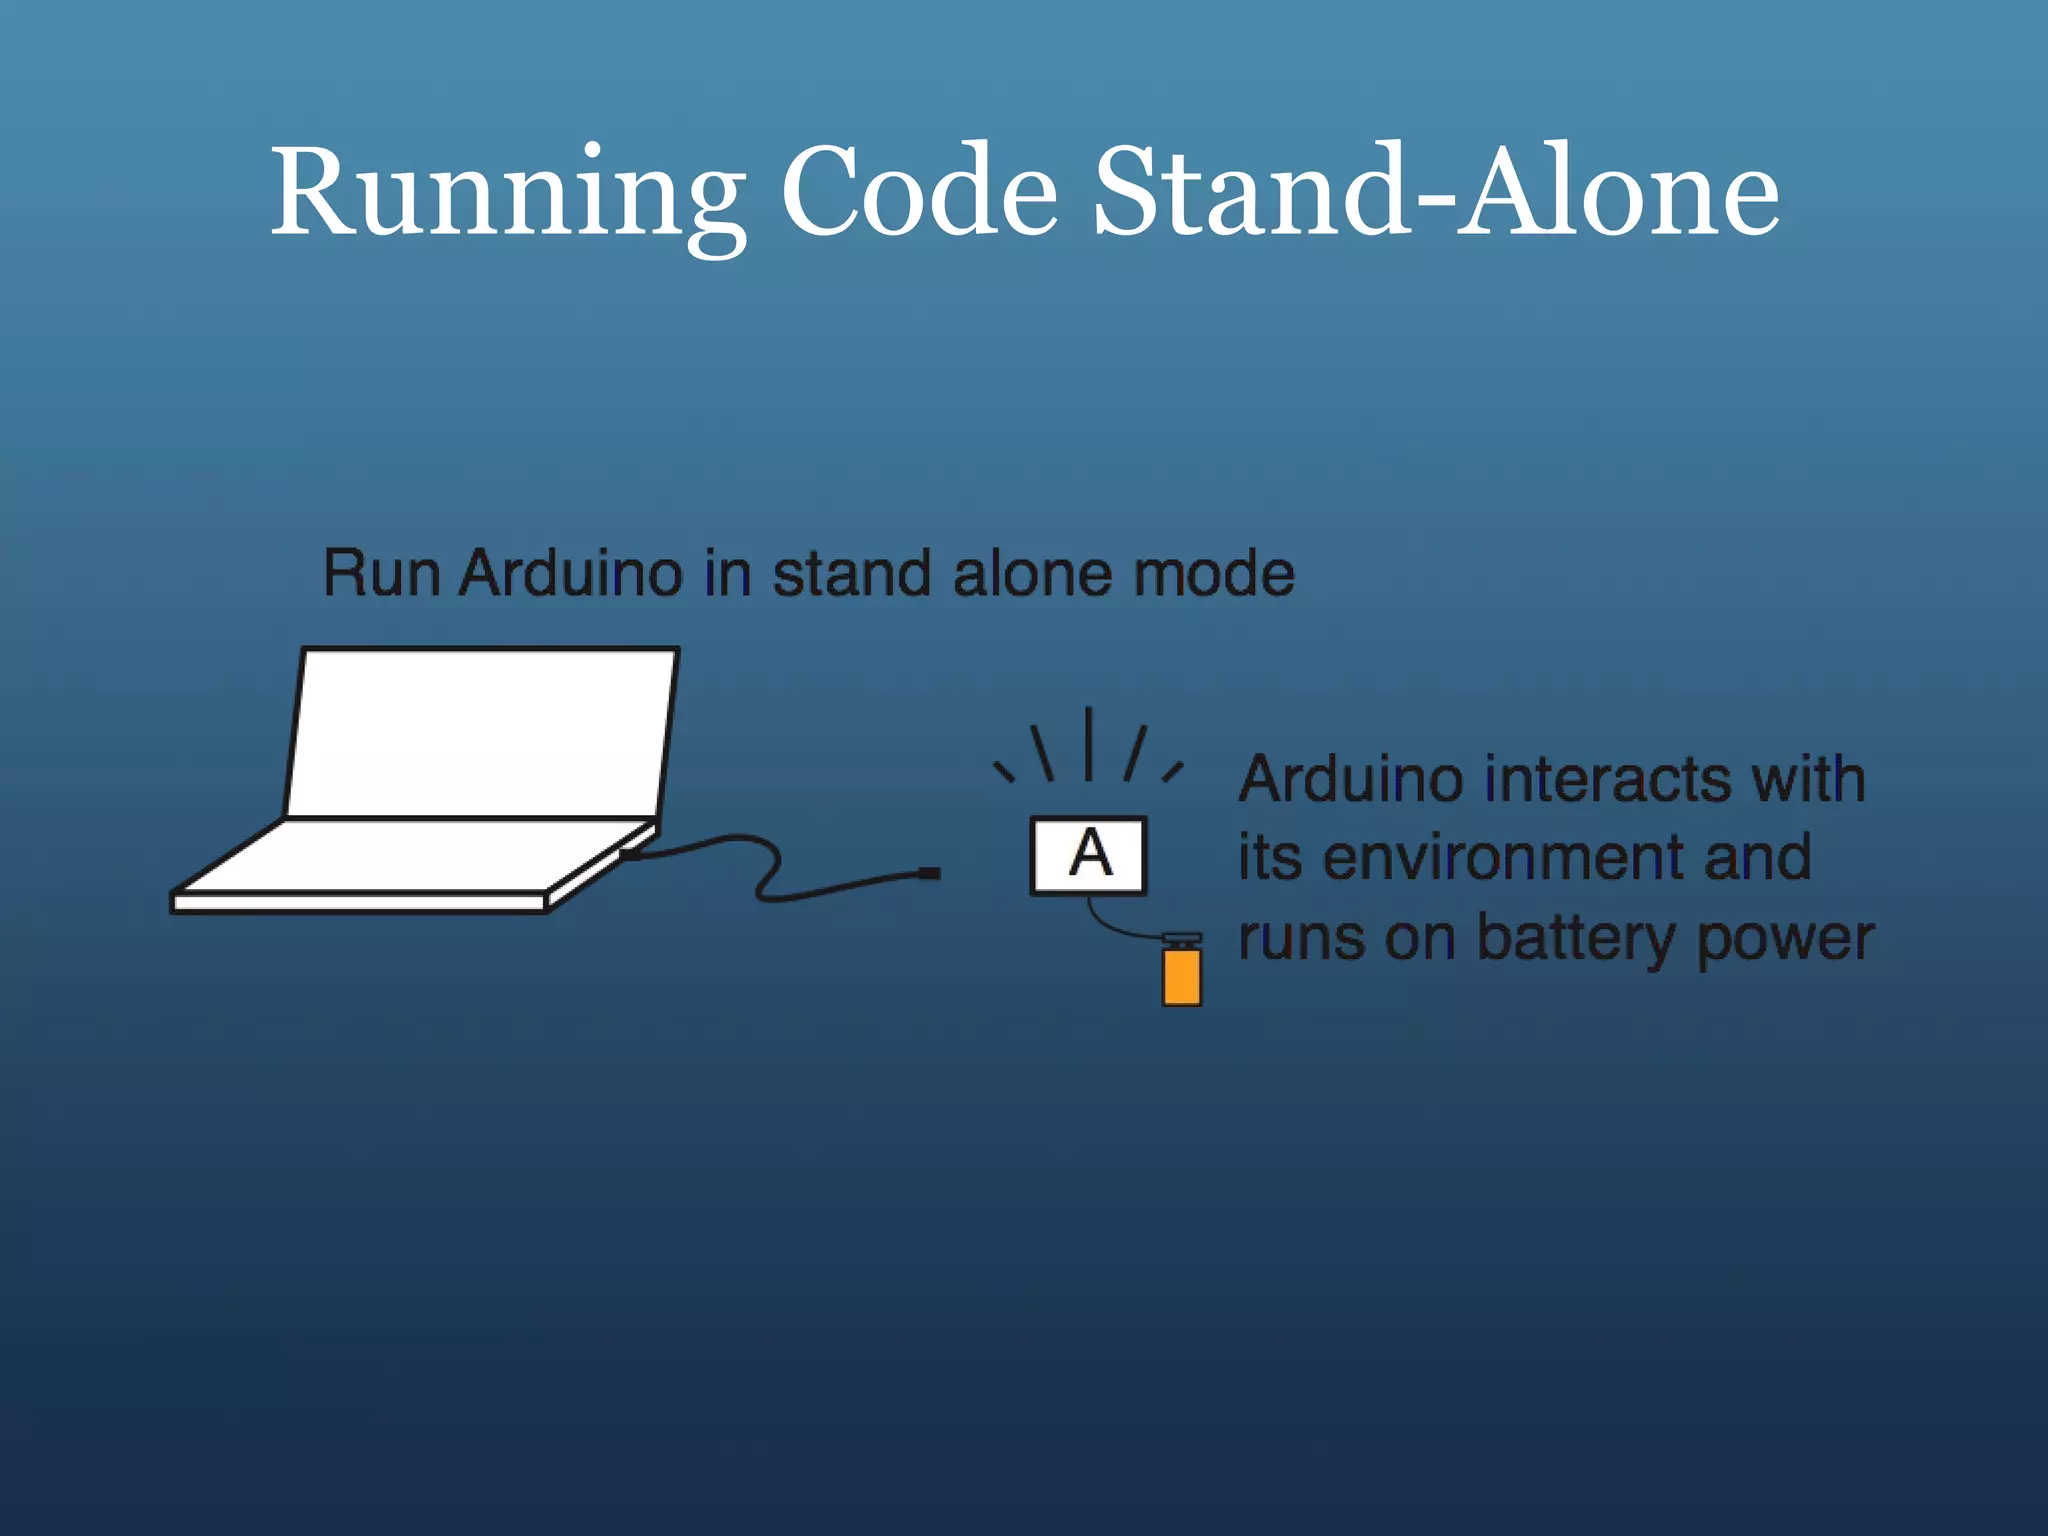
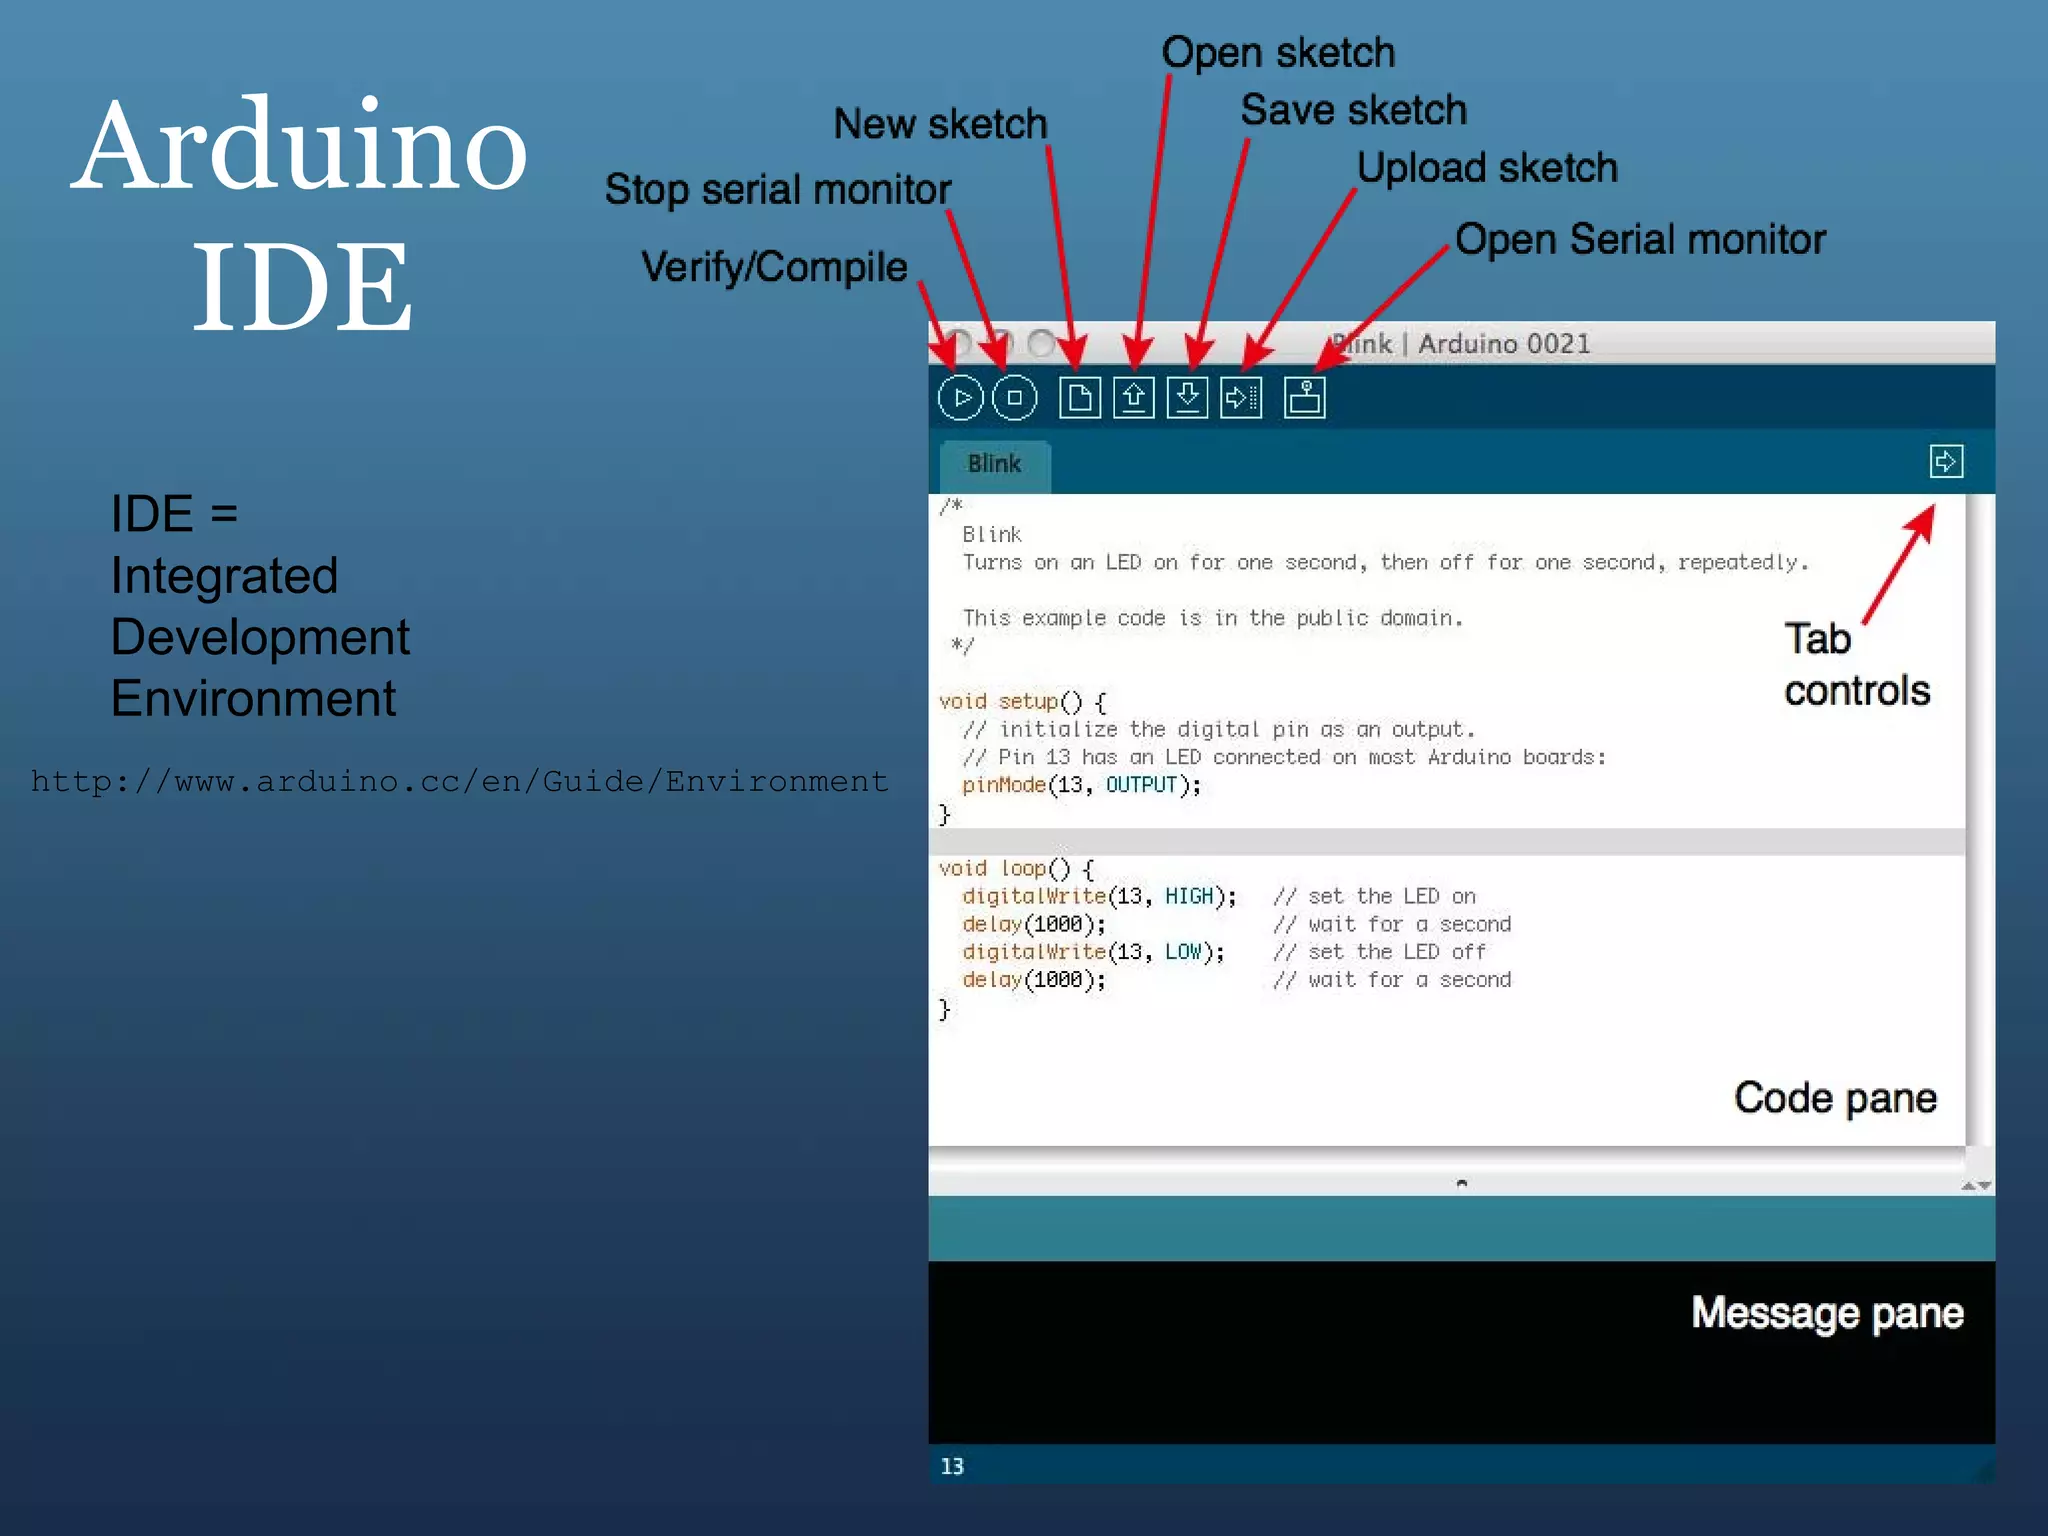
- Getting started requires an Arduino board, USB cable, power supply, and downloading the IDE (integrated development environment) to write and upload code. Basic electrical safety knowledge is also important.


![¿ Questions ? Use the website and associated forum for tutorials, code samples and general help: www.arduino.cc Find my PPTs at www.slideshare.net/avikdhupar Find me at www.facebook.com/avikd Or drop an email [email_address] Find my videos at http://vimeo.com/avikd/videos](https://image.slidesharecdn.com/arduino-110901051202-phpapp01/85/Intro-to-Arduino-40-320.jpg)


![¿ Questions ? Use the website and associated forum for tutorials, code samples and general help: www.arduino.cc Find my PPTs at www.slideshare.net/avikdhupar Find me at www.facebook.com/avikd Or drop an email [email_address] Find my videos at http://vimeo.com/avikd/videos](https://image.slidesharecdn.com/arduino-110901051202-phpapp01/75/Intro-to-Arduino-40-2048.jpg)