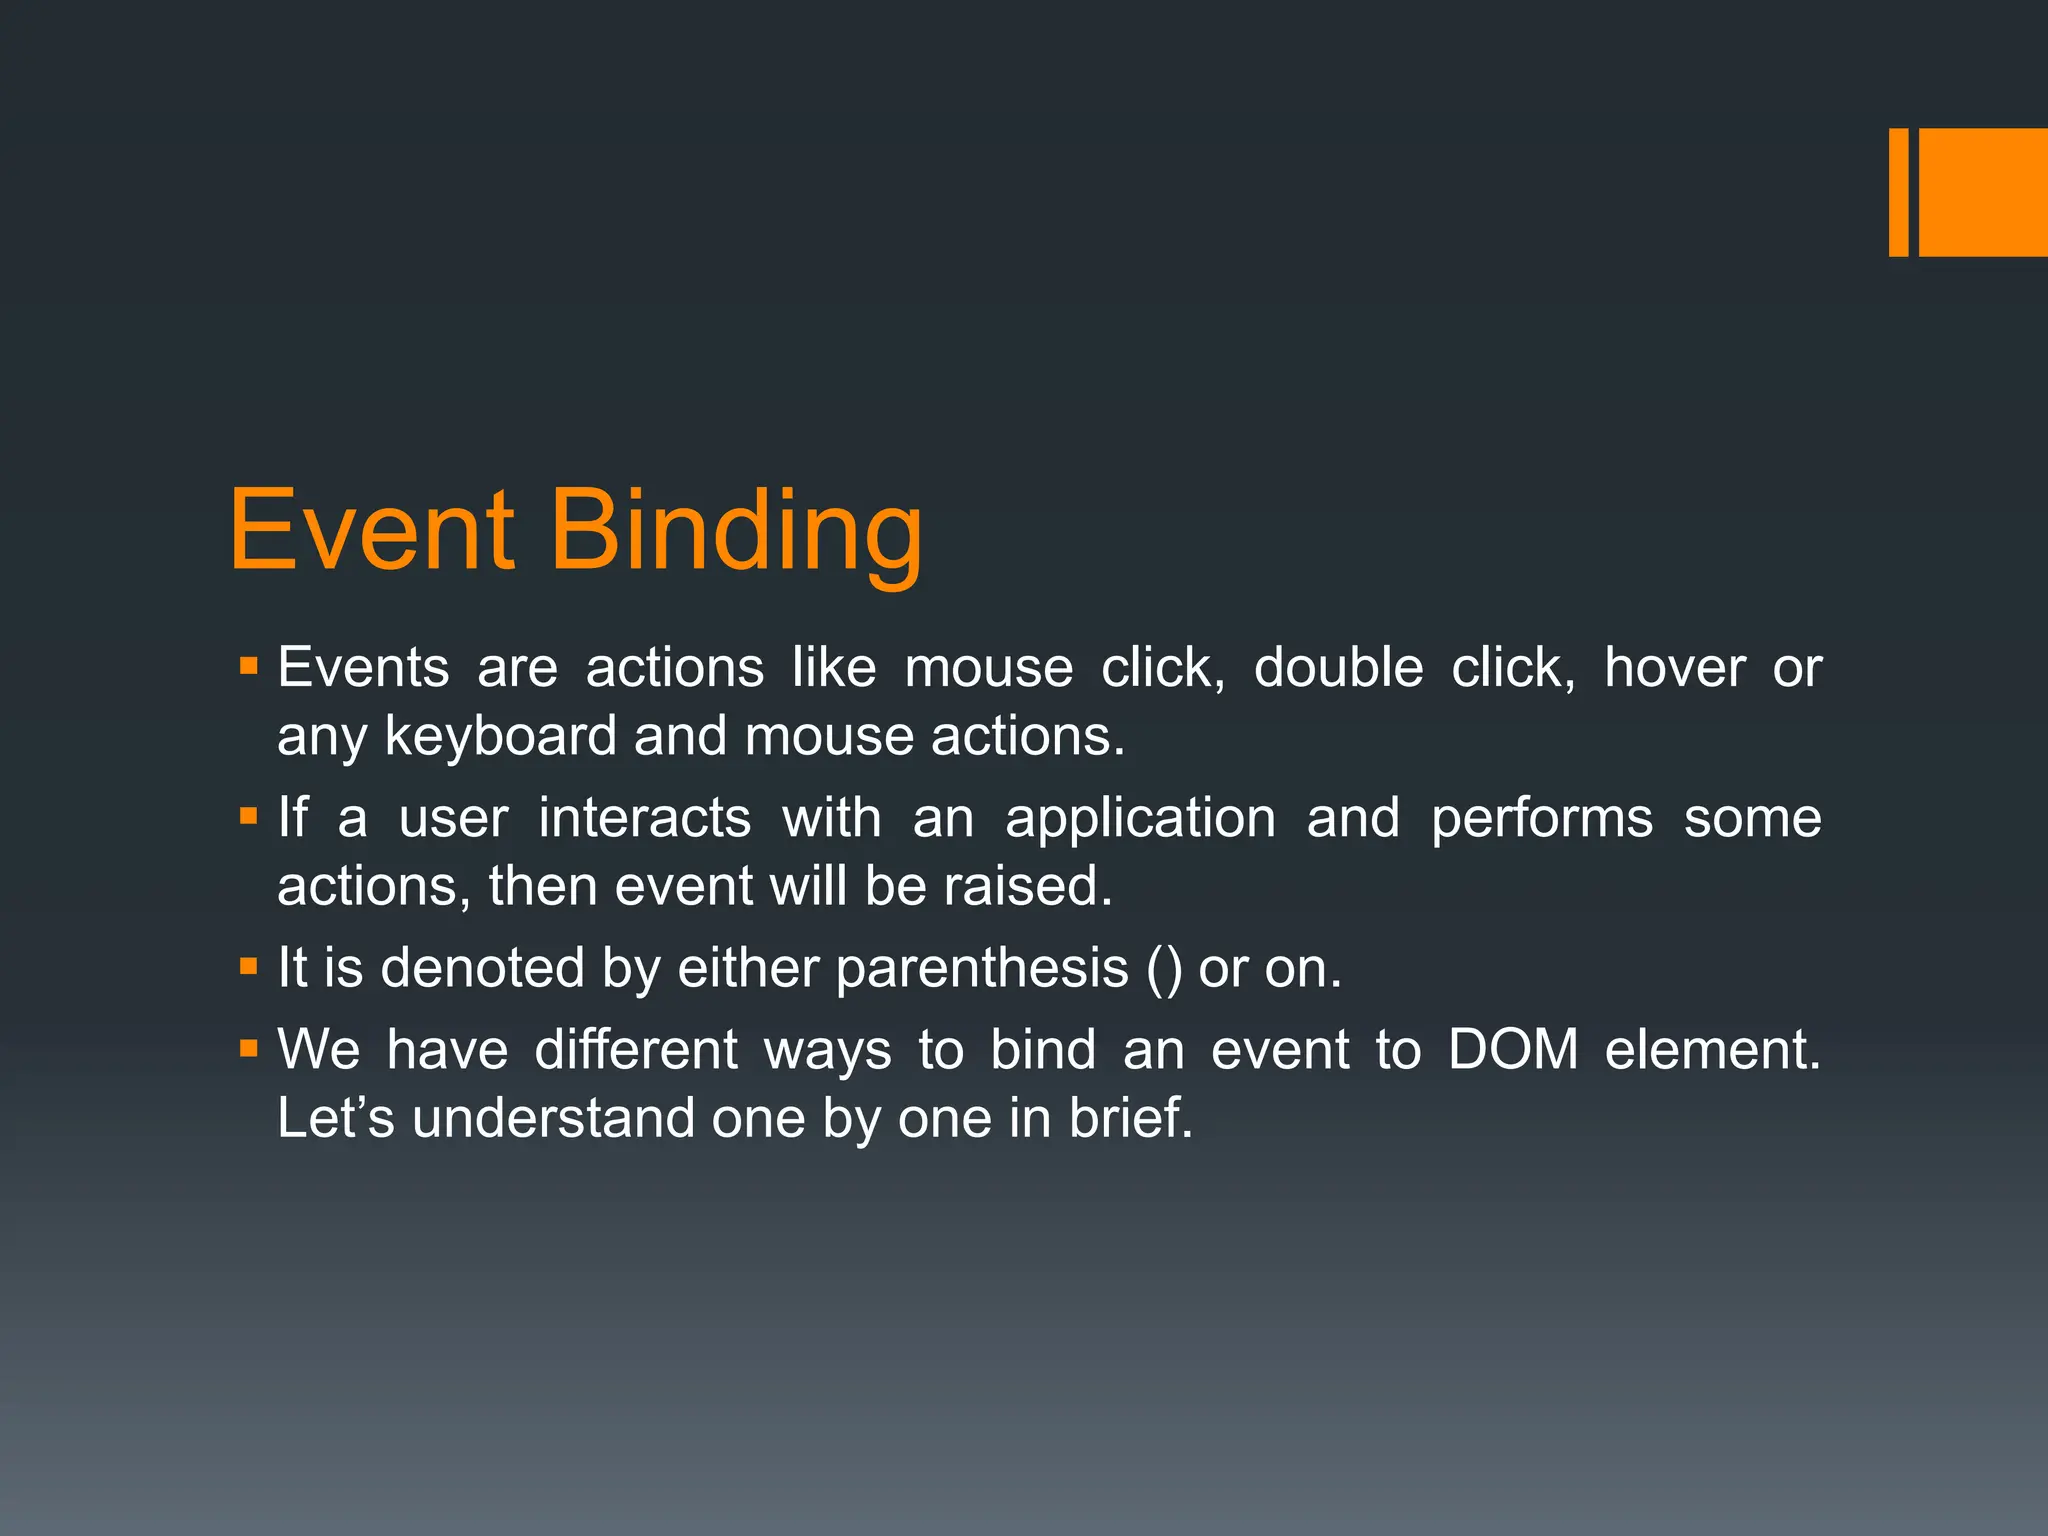
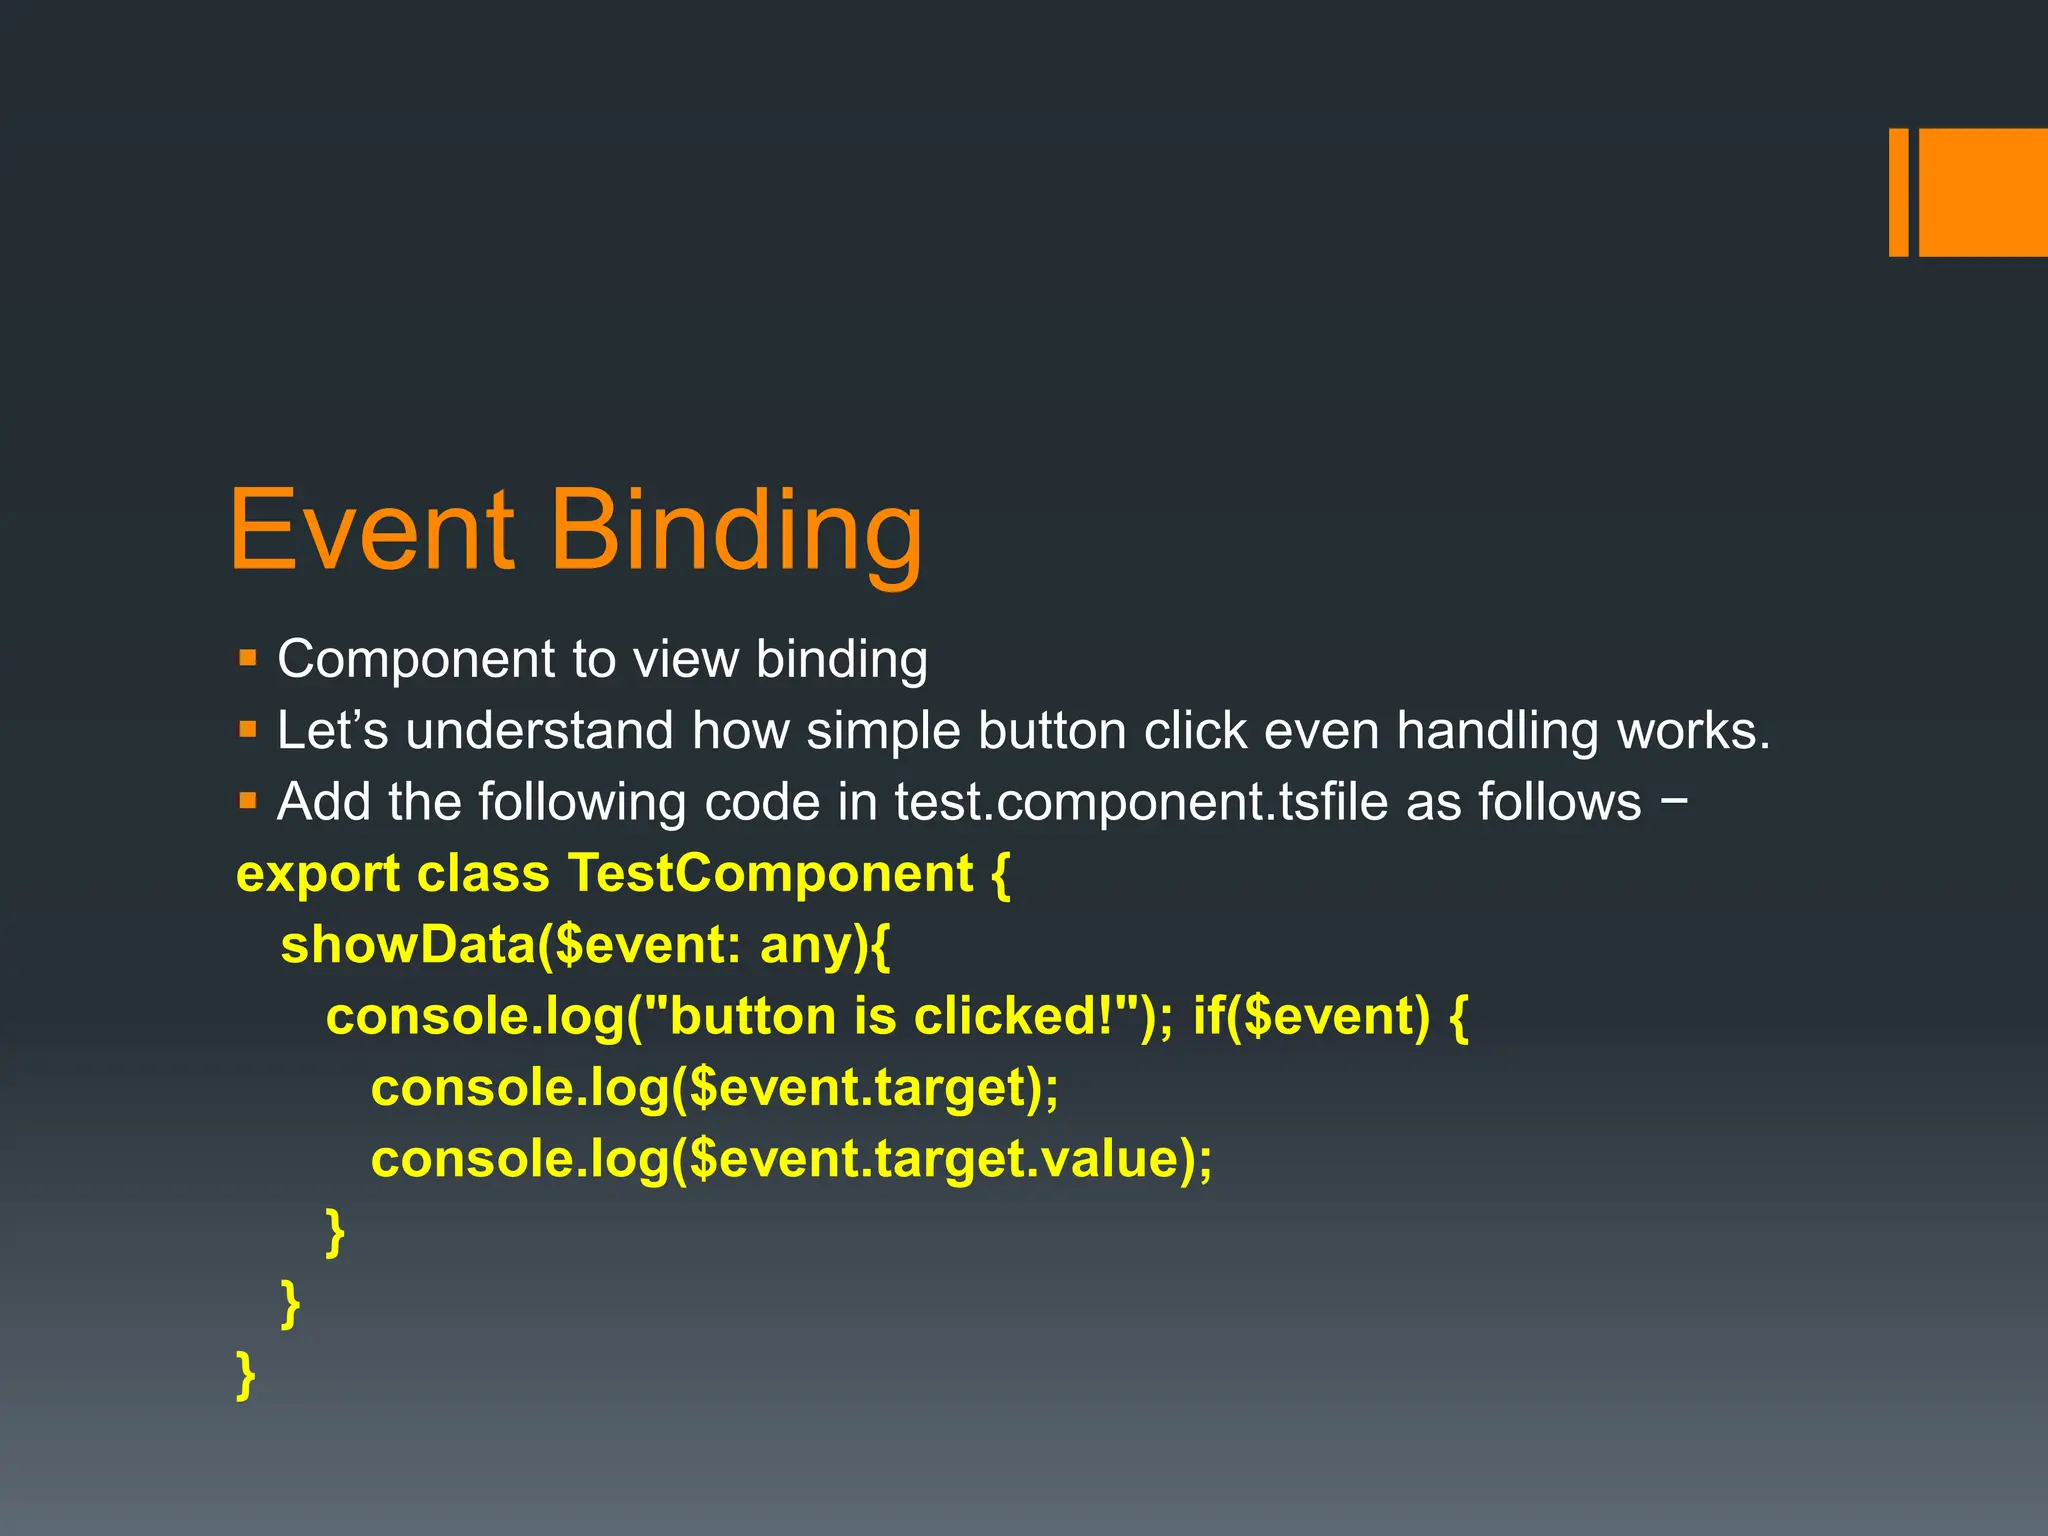
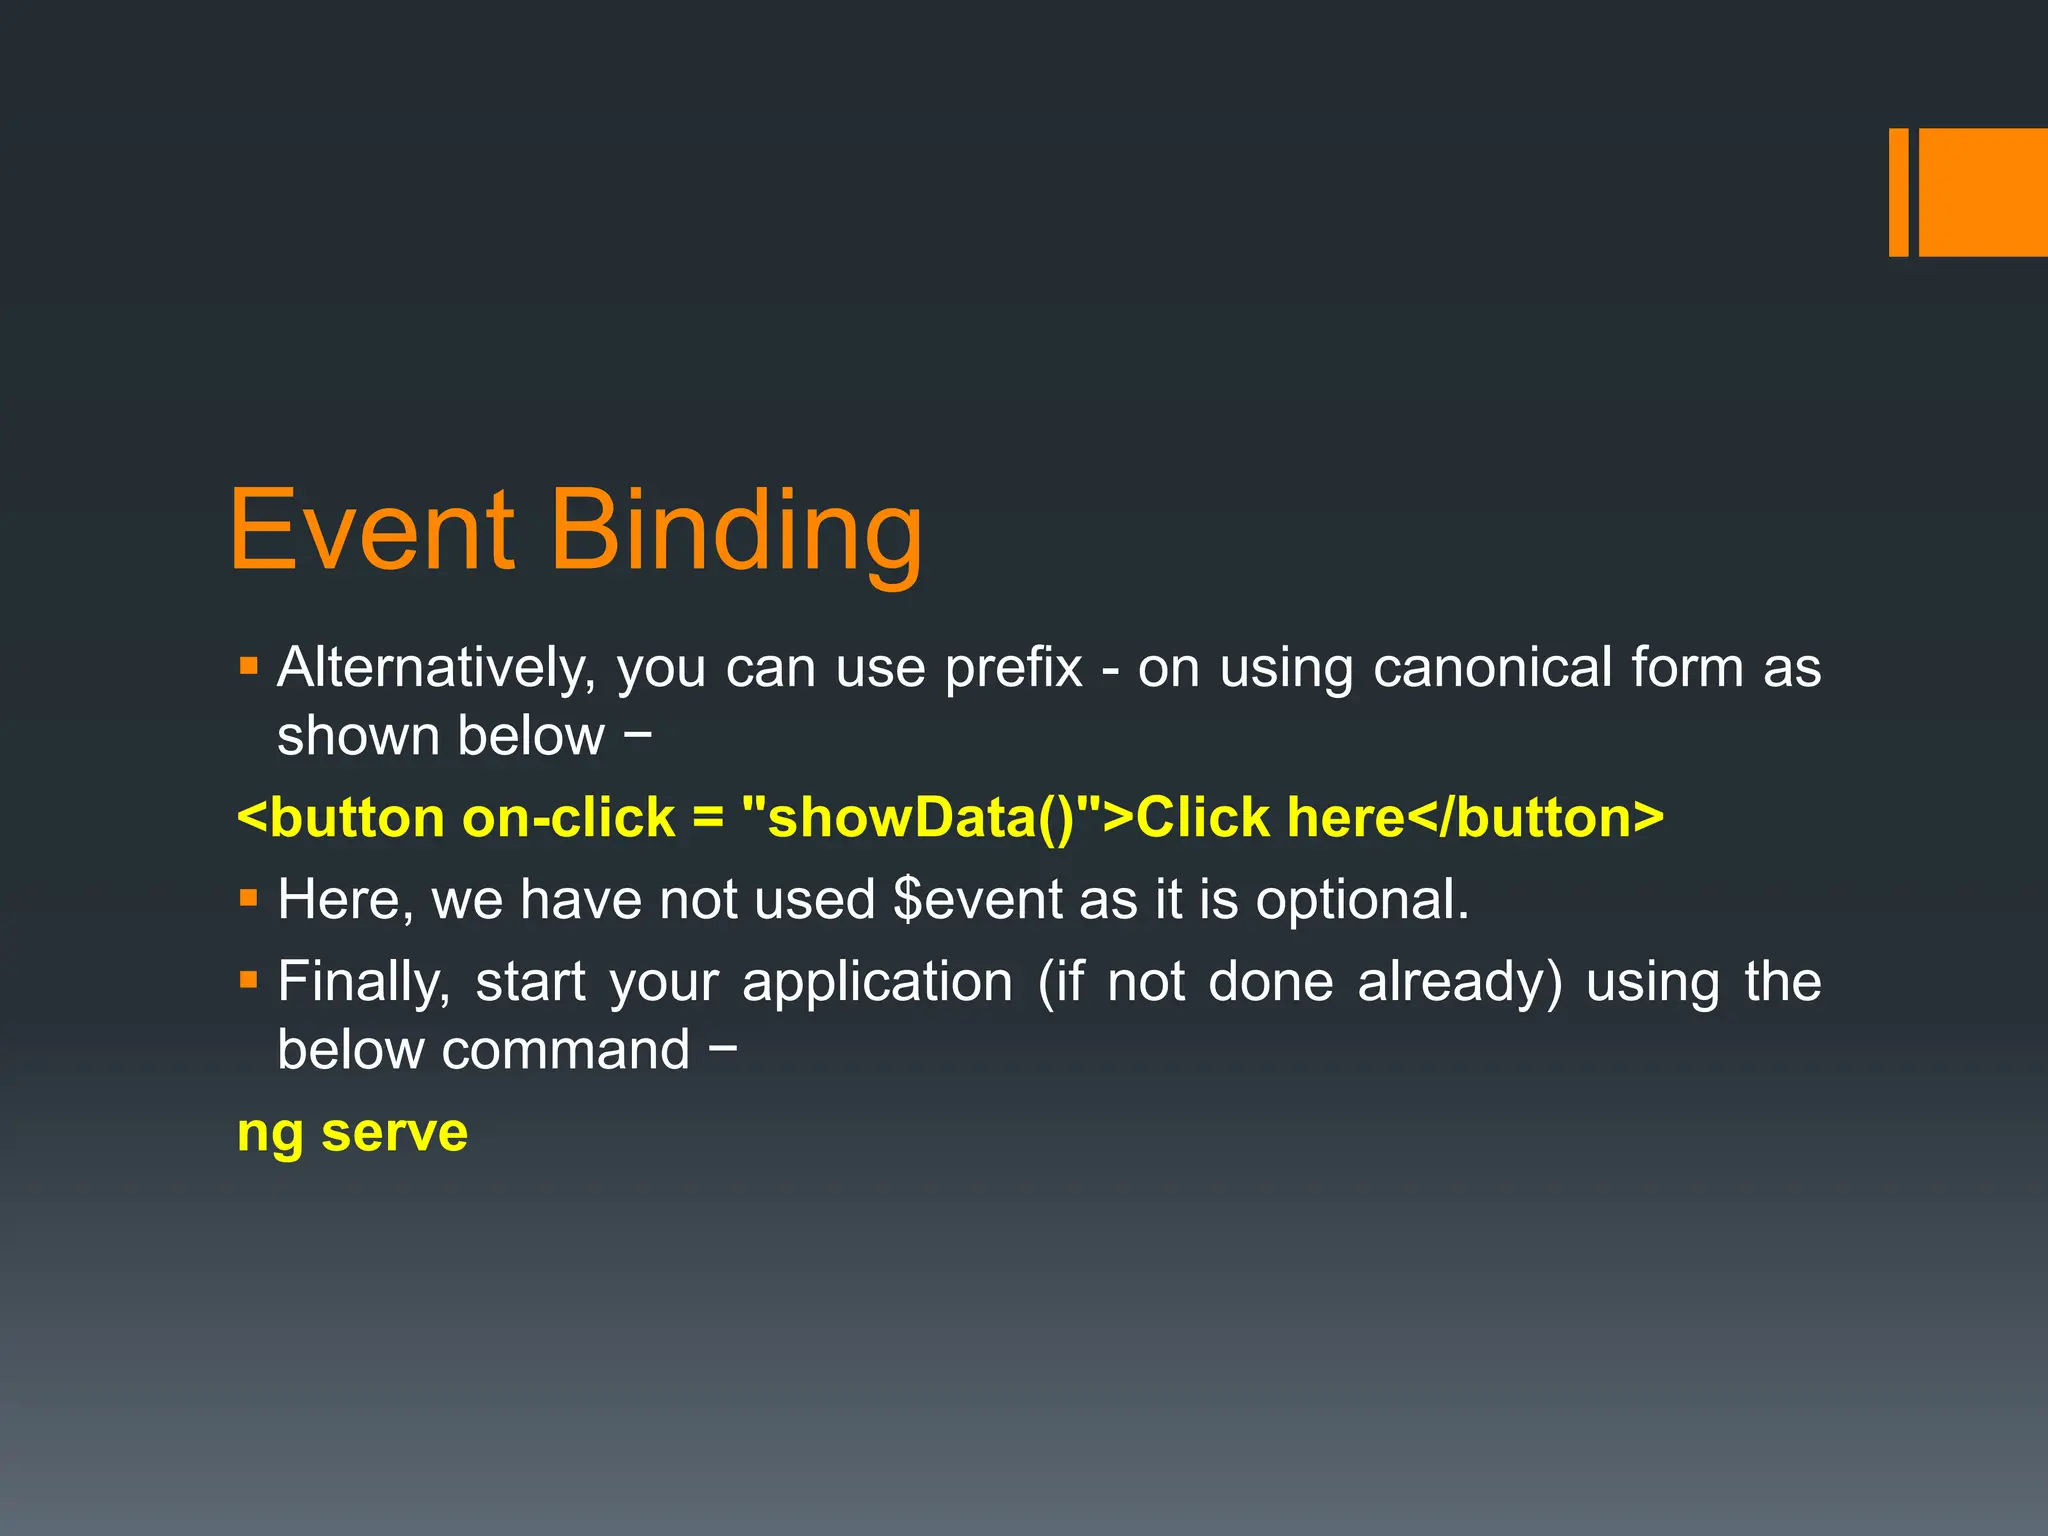
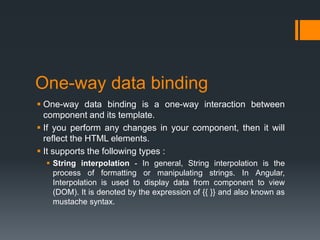
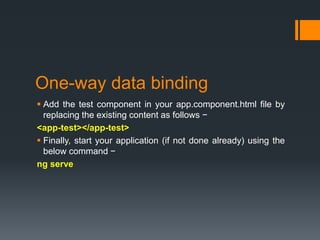
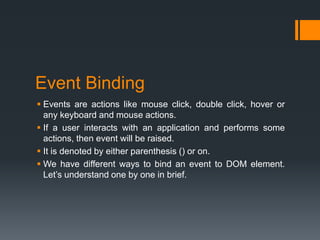
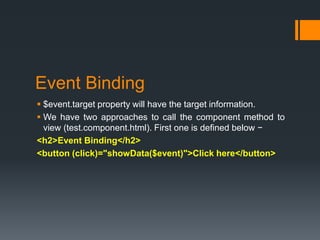
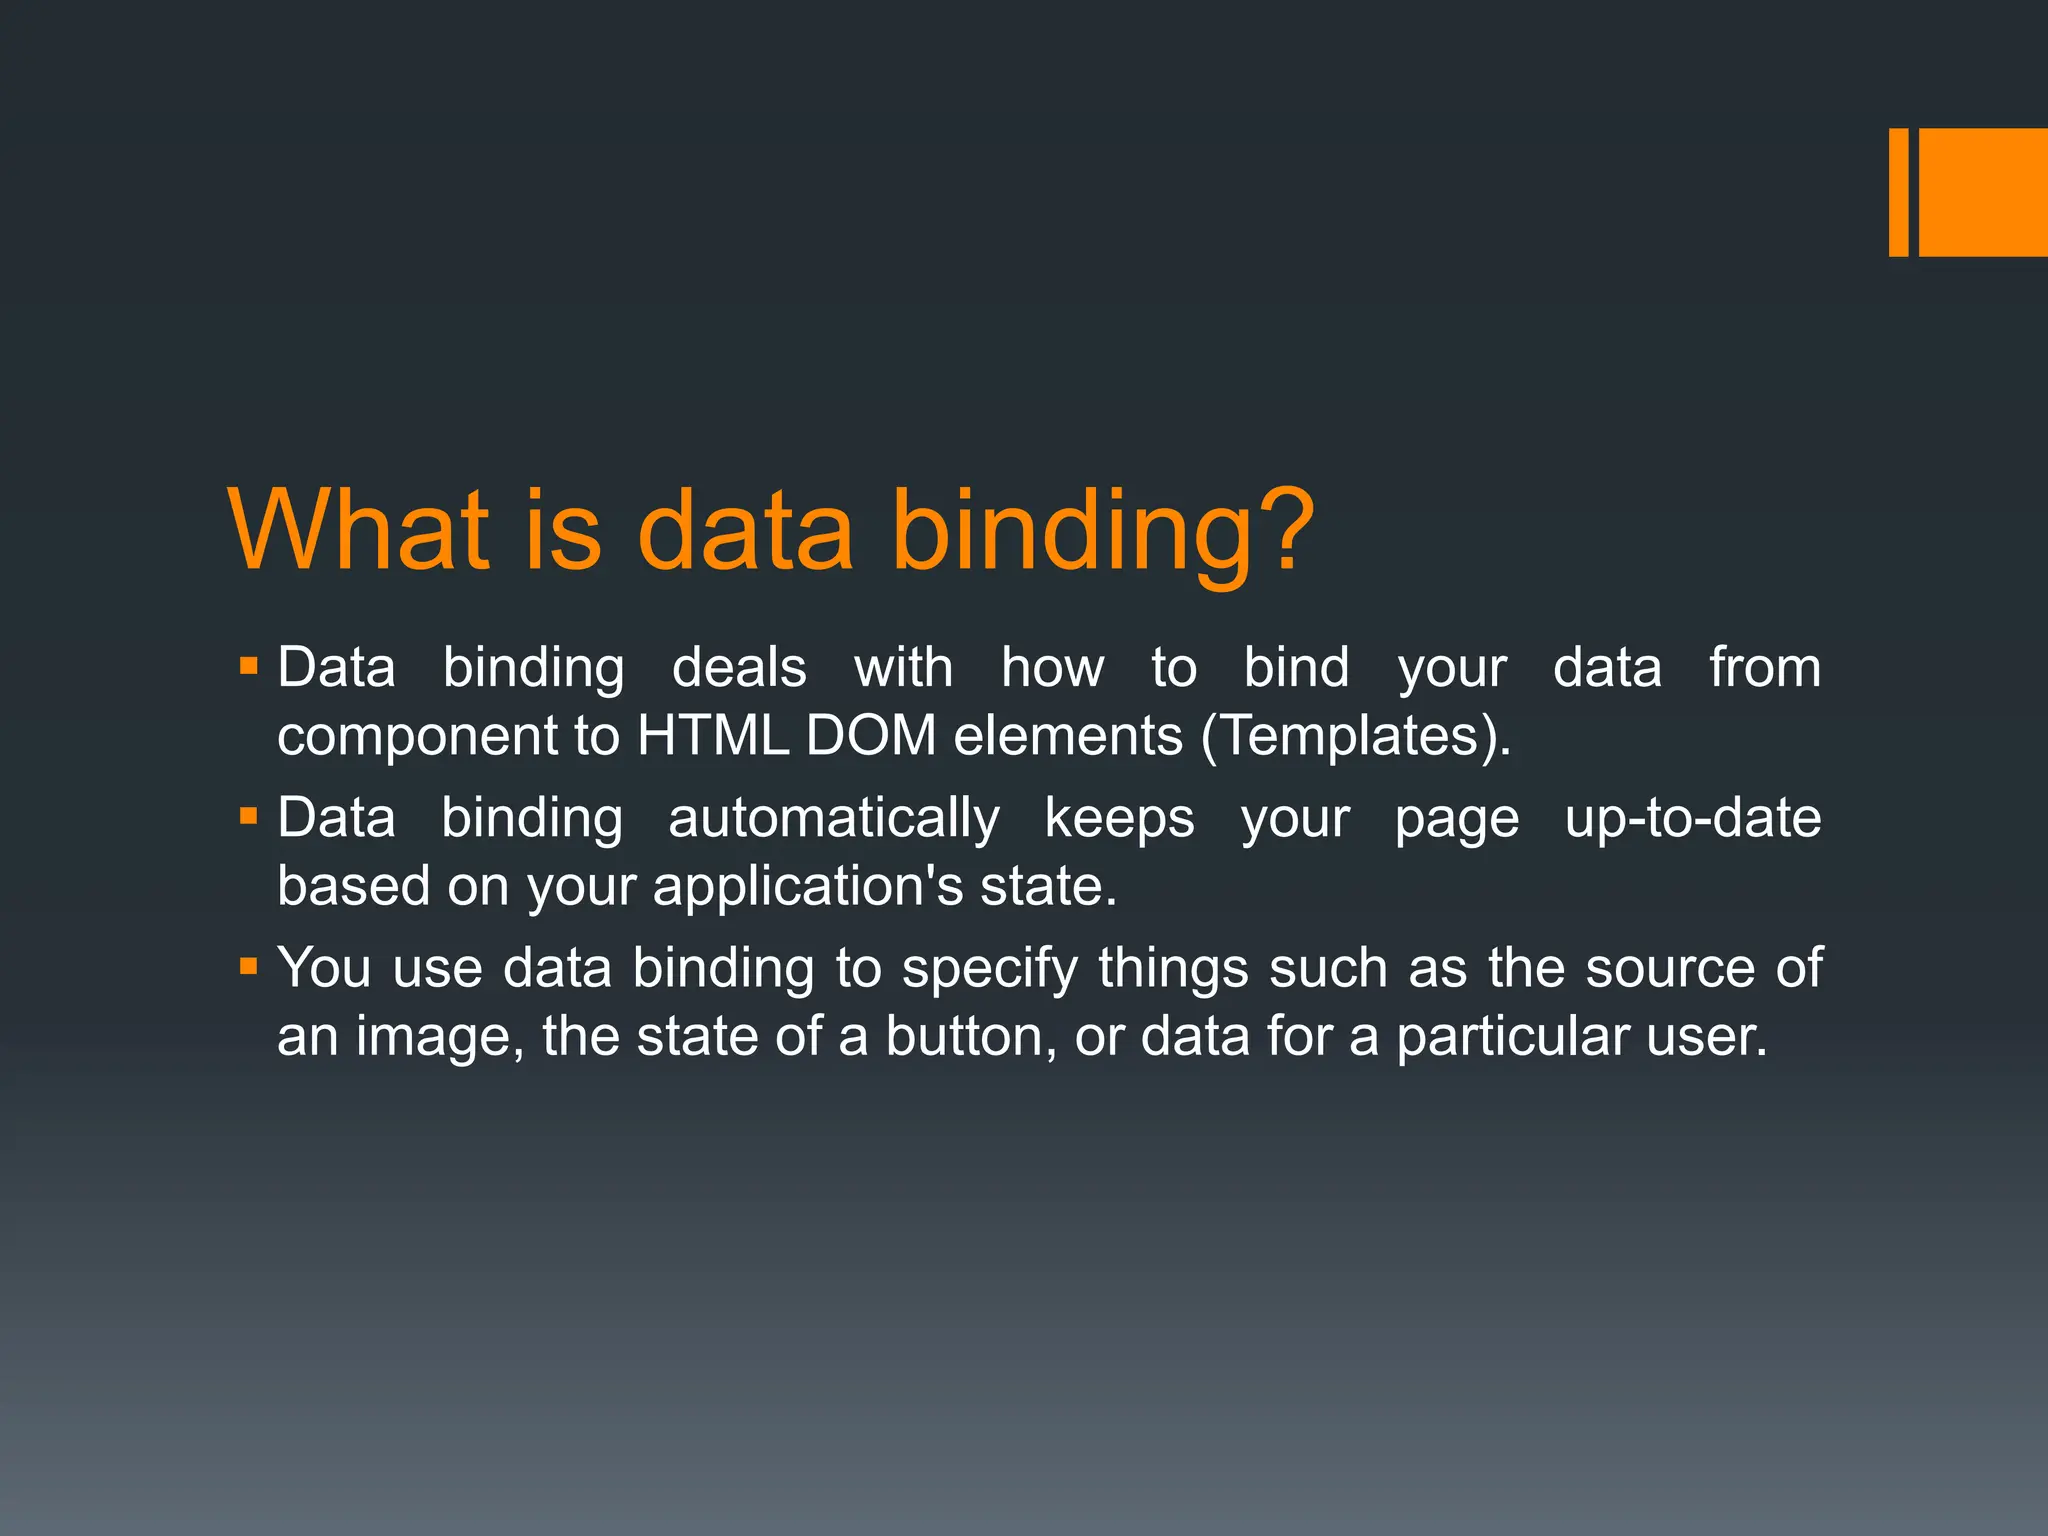
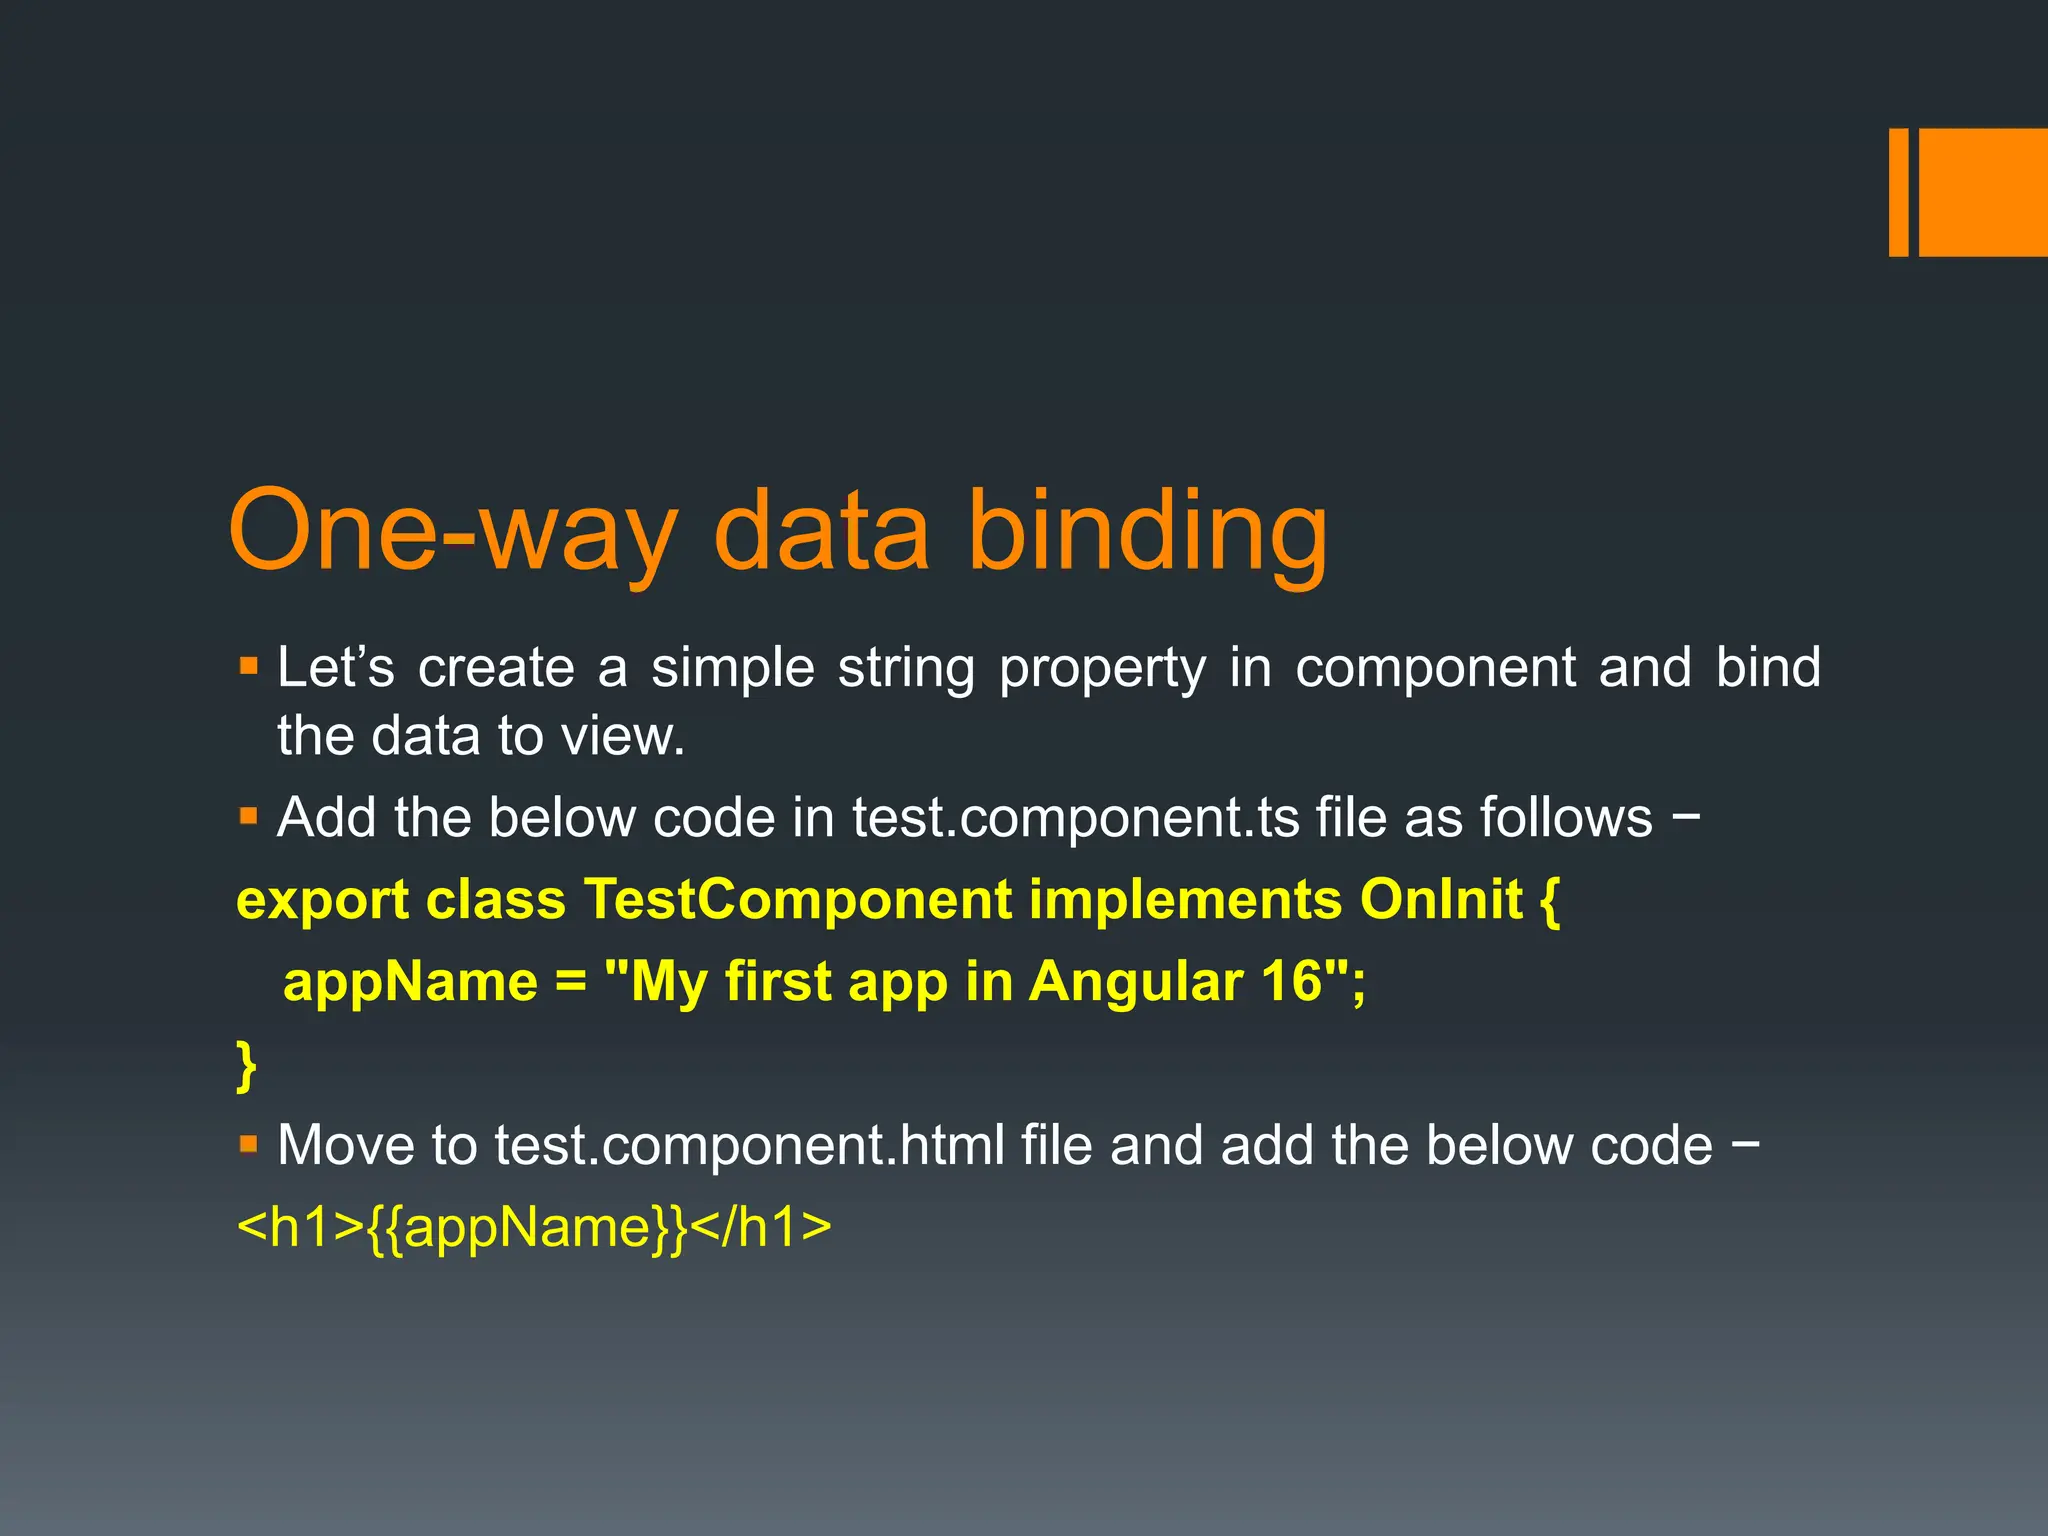
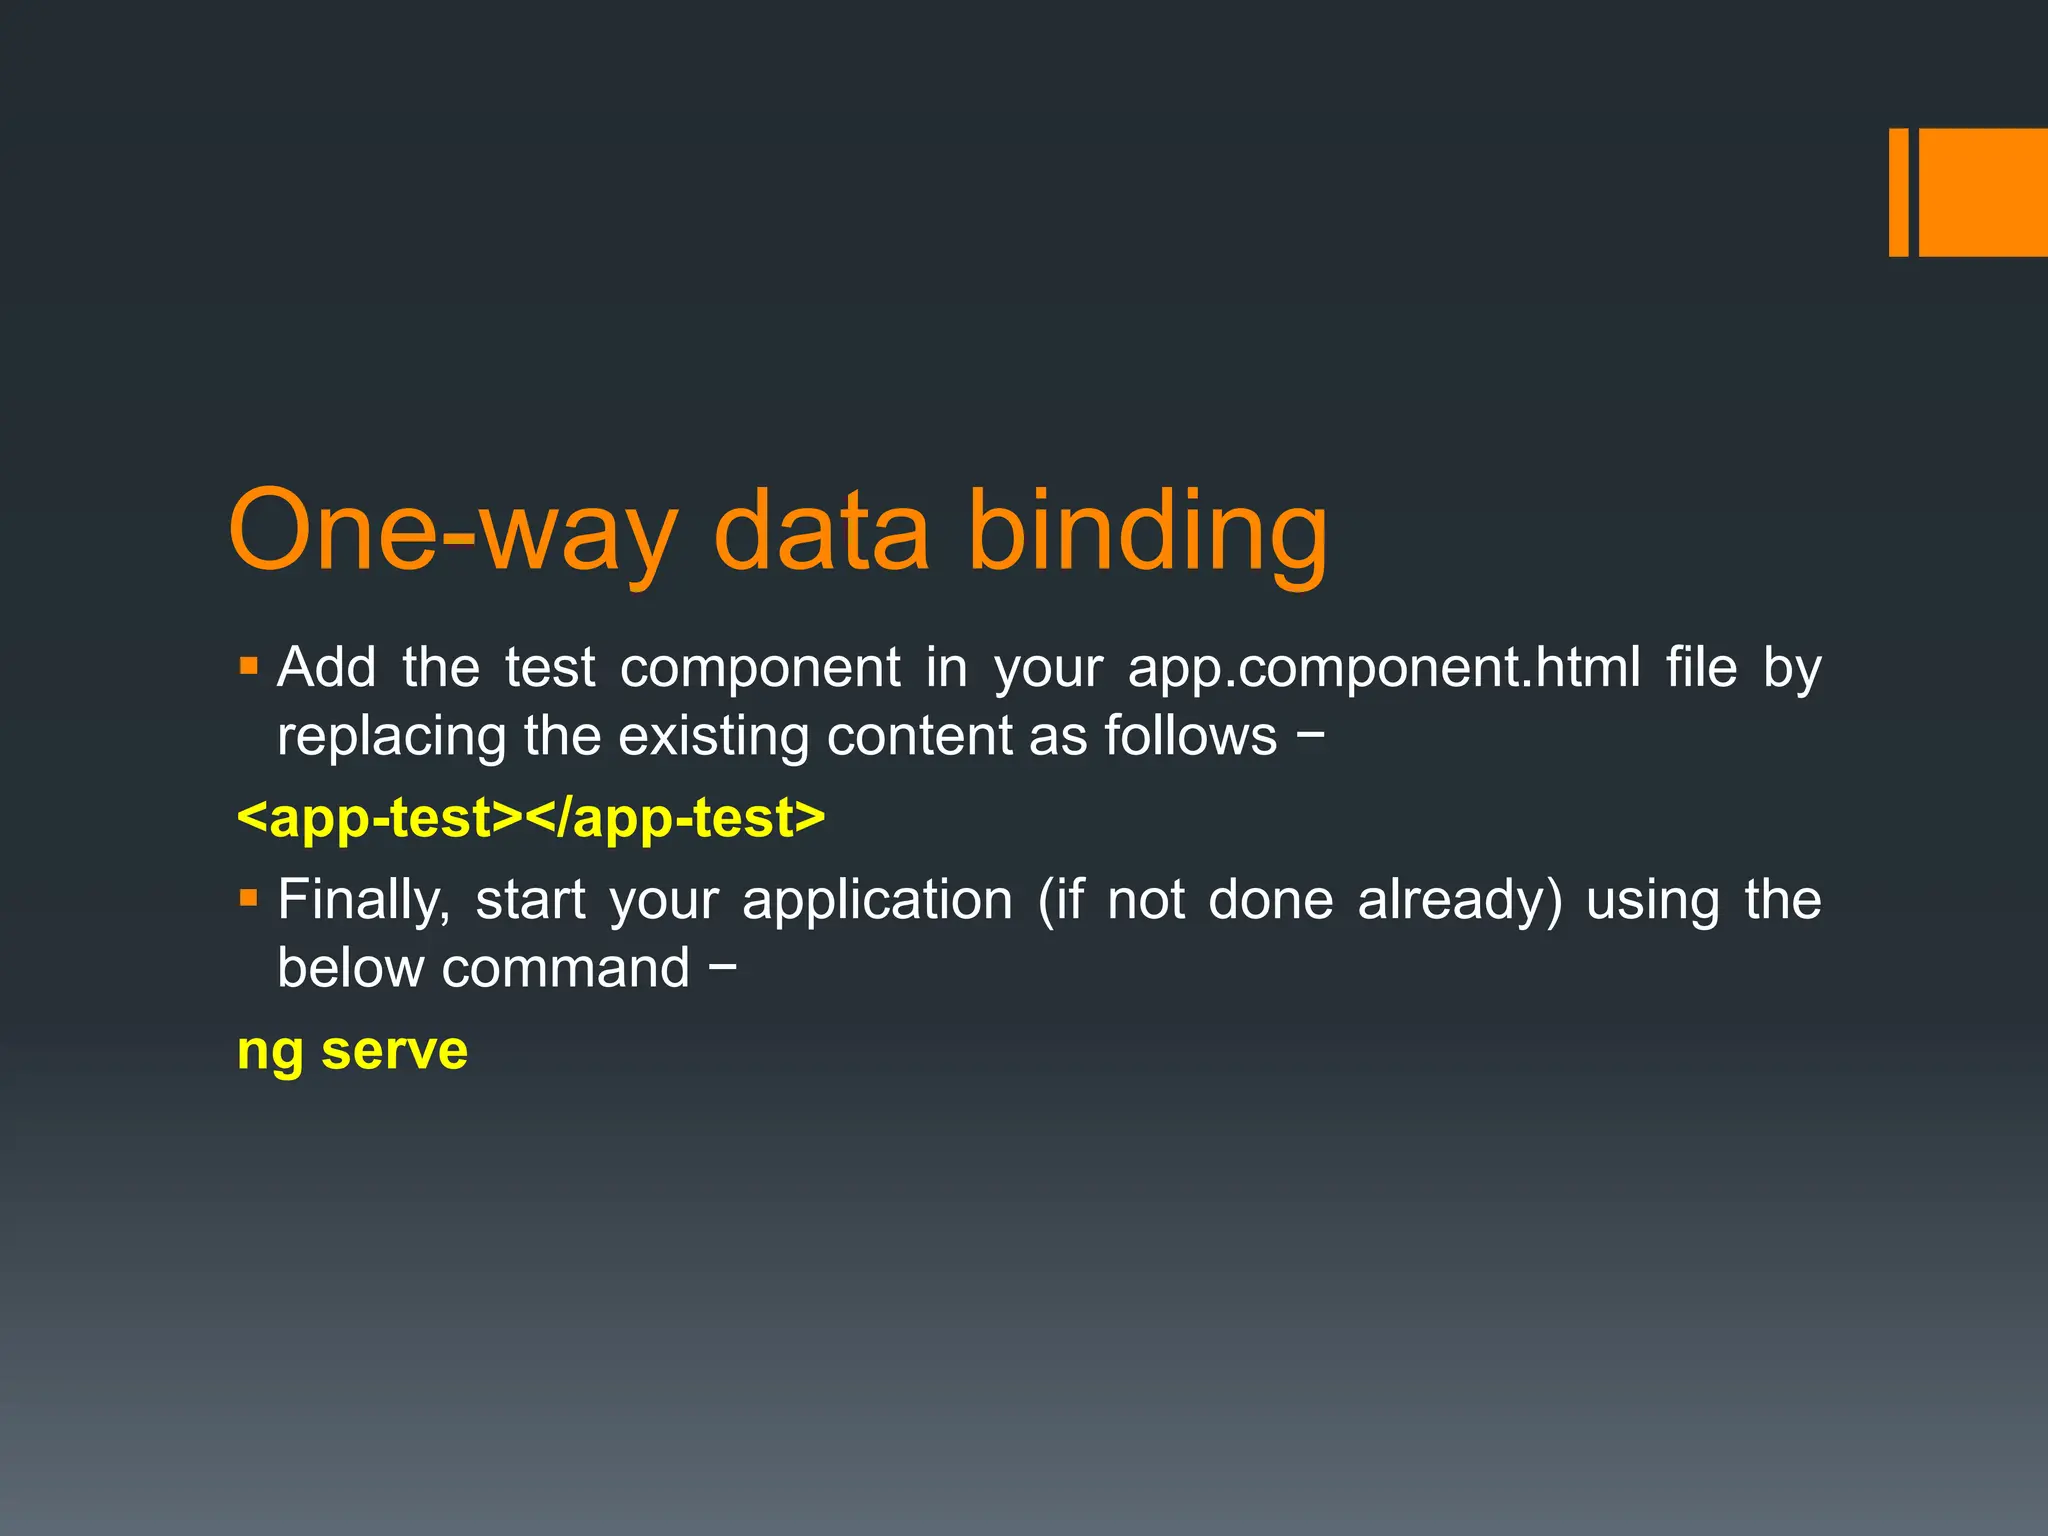
KEMBAR78
Data binding in Angular fully Explained .pptx
Data Binding
INT219
What is data binding?
 Data binding deals with how to bind your data from
component to HTML DOM elements (Templates).
 Data binding automatically keeps your page up-to-date
based on your application's state.
 You use data binding to specify things such as the source of
an image, the state of a button, or data for a particular user.
One-way data binding
 One-way data binding is a one-way interaction between
component and its template.
 If you perform any changes in your component, then it will
reflect the HTML elements.
 It supports the following types :
 String interpolation - In general, String interpolation is the
process of formatting or manipulating strings. In Angular,
Interpolation is used to display data from component to view
(DOM). It is denoted by the expression of {{ }} and also known as
mustache syntax.
One-way data binding
 Let’s create a simple string property in component and bind
the data to view.
 Add the below code in test.component.ts file as follows −
export class TestComponent implements OnInit {
appName = "My first app in Angular 16";
}
 Move to test.component.html file and add the below code −
<h1>{{appName}}</h1>
One-way data binding
 Add the test component in your app.component.html file by
replacing the existing content as follows −
<app-test></app-test>
 Finally, start your application (if not done already) using the
below command −
ng serve
Property Binding
 Property binding is used to bind the data from property of a
component to DOM elements. It is denoted by [].
 Let’s understand with a simple example.
 Add the below code in test.component.ts file.
export class TestComponent {
userName:string = "Peter";
}
Property Binding
 Add the below changes in view test.component.html,
 <input type="text" [value]="userName">
 Here, userName property is bind to an attribute of a DOM
element <input> tag.
 Finally, start your application (if not done already) using the
below command −
ng serve
Event Binding
 Events are actions like mouse click, double click, hover or
any keyboard and mouse actions.
 If a user interacts with an application and performs some
actions, then event will be raised.
 It is denoted by either parenthesis () or on.
 We have different ways to bind an event to DOM element.
Let’s understand one by one in brief.
Event Binding
 Component to view binding
 Let’s understand how simple button click even handling works.
 Add the following code in test.component.tsfile as follows −
export class TestComponent {
showData($event: any){
console.log("button is clicked!"); if($event) {
console.log($event.target);
console.log($event.target.value);
}
}
}
Event Binding
 $event.target property will have the target information.
 We have two approaches to call the component method to
view (test.component.html). First one is defined below −
<h2>Event Binding</h2>
<button (click)="showData($event)">Click here</button>
Event Binding
 Alternatively, you can use prefix - on using canonical form as
shown below −
<button on-click = "showData()">Click here</button>
 Here, we have not used $event as it is optional.
 Finally, start your application (if not done already) using the
below command −
ng serve

Data binding in Angular fully Explained .pptx

  • 1.
  • 2.
    What is databinding?  Data binding deals with how to bind your data from component to HTML DOM elements (Templates).  Data binding automatically keeps your page up-to-date based on your application's state.  You use data binding to specify things such as the source of an image, the state of a button, or data for a particular user.
  • 3.
    One-way data binding One-way data binding is a one-way interaction between component and its template.  If you perform any changes in your component, then it will reflect the HTML elements.  It supports the following types :  String interpolation - In general, String interpolation is the process of formatting or manipulating strings. In Angular, Interpolation is used to display data from component to view (DOM). It is denoted by the expression of {{ }} and also known as mustache syntax.
  • 4.
    One-way data binding Let’s create a simple string property in component and bind the data to view.  Add the below code in test.component.ts file as follows − export class TestComponent implements OnInit { appName = "My first app in Angular 16"; }  Move to test.component.html file and add the below code − <h1>{{appName}}</h1>
  • 5.
    One-way data binding Add the test component in your app.component.html file by replacing the existing content as follows − <app-test></app-test>  Finally, start your application (if not done already) using the below command − ng serve
  • 6.
    Property Binding  Propertybinding is used to bind the data from property of a component to DOM elements. It is denoted by [].  Let’s understand with a simple example.  Add the below code in test.component.ts file. export class TestComponent { userName:string = "Peter"; }
  • 7.
    Property Binding  Addthe below changes in view test.component.html,  <input type="text" [value]="userName">  Here, userName property is bind to an attribute of a DOM element <input> tag.  Finally, start your application (if not done already) using the below command − ng serve
  • 8.
    Event Binding  Eventsare actions like mouse click, double click, hover or any keyboard and mouse actions.  If a user interacts with an application and performs some actions, then event will be raised.  It is denoted by either parenthesis () or on.  We have different ways to bind an event to DOM element. Let’s understand one by one in brief.
  • 9.
    Event Binding  Componentto view binding  Let’s understand how simple button click even handling works.  Add the following code in test.component.tsfile as follows − export class TestComponent { showData($event: any){ console.log("button is clicked!"); if($event) { console.log($event.target); console.log($event.target.value); } } }
  • 10.
    Event Binding  $event.targetproperty will have the target information.  We have two approaches to call the component method to view (test.component.html). First one is defined below − <h2>Event Binding</h2> <button (click)="showData($event)">Click here</button>
  • 11.
    Event Binding  Alternatively,you can use prefix - on using canonical form as shown below − <button on-click = "showData()">Click here</button>  Here, we have not used $event as it is optional.  Finally, start your application (if not done already) using the below command − ng serve