Download as PDF, PPTX

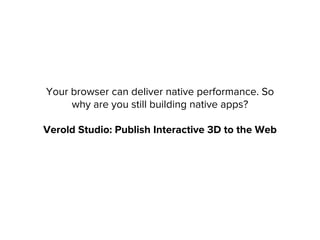


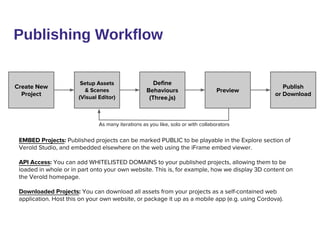


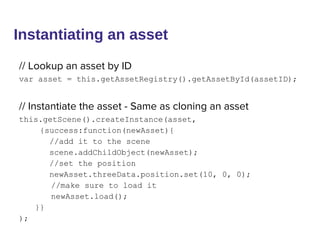
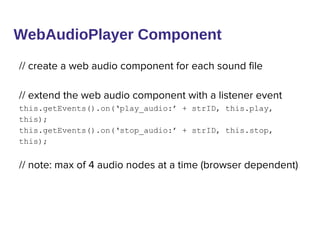


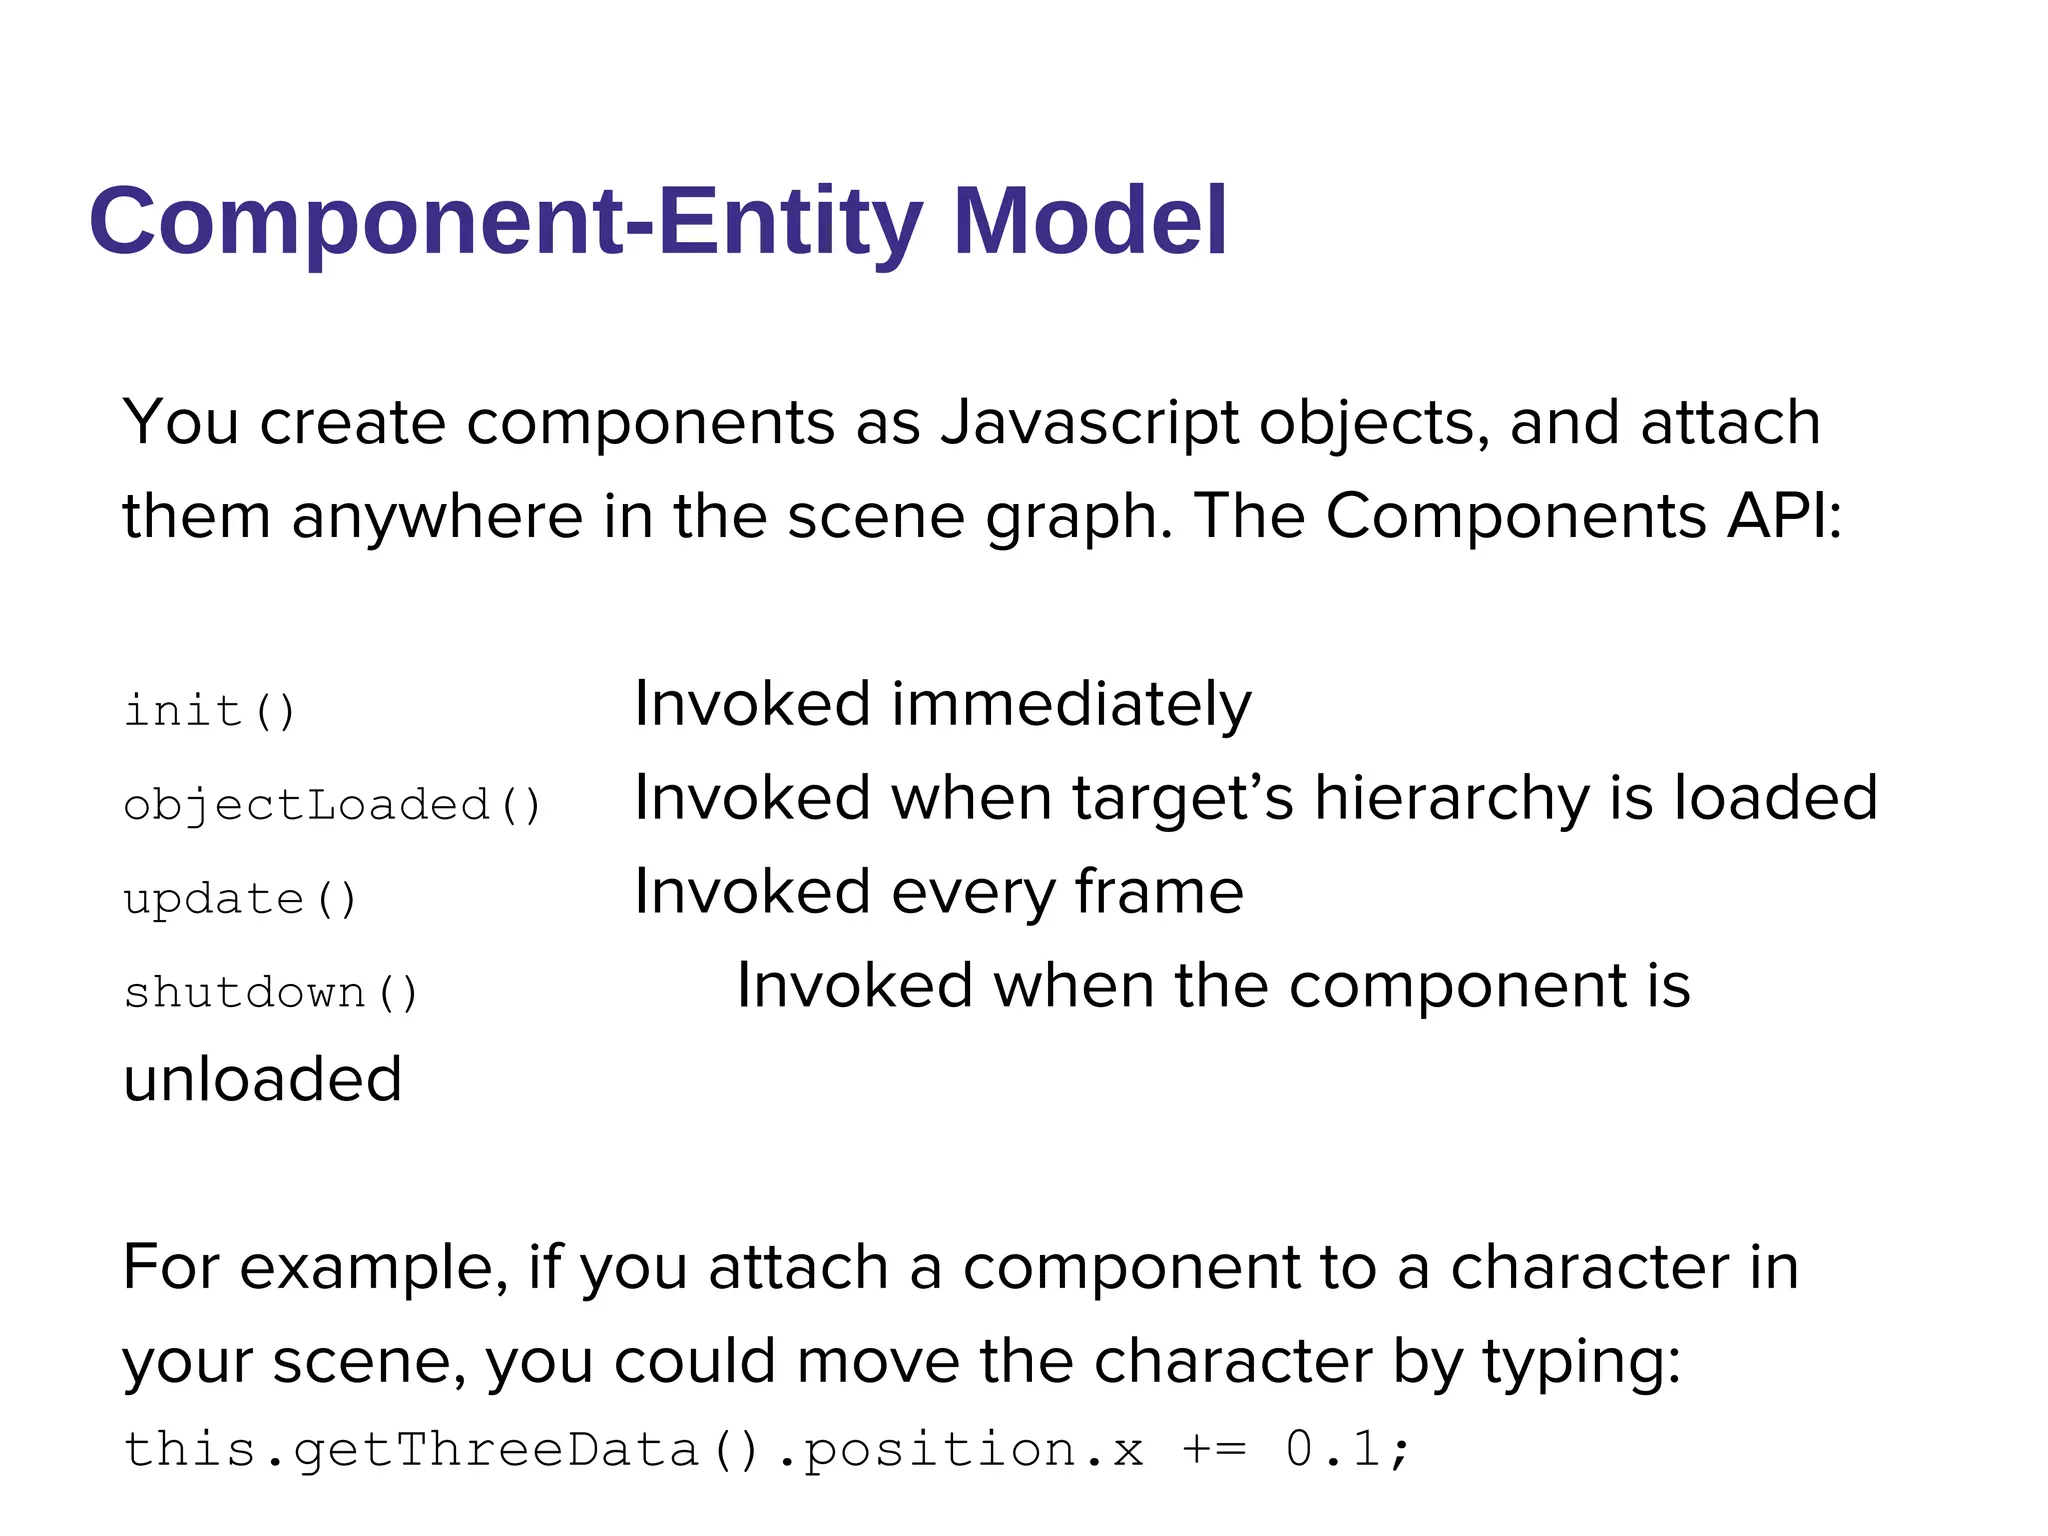
![Collision Detection
-Player object has a low resolution sphere mesh attached to
it
-Collidable objects have a cube mesh attached to them
-Player Sphere Mesh is used to cast a ray from it’s origin to
each of its vertices
-[Low Resolution] If the distance between player and a
collidable is met do [Hi Res]
-[High Resolution]If the face of any of the Collidable objects
is intersected by the ray, it returns a collision event!
-This is a common but low performance version of collision
detection](https://image.slidesharecdn.com/gettingstartedwithveroldandthree-140314104714-phpapp02/85/Getting-started-with-Verold-and-Three-js-31-320.jpg)

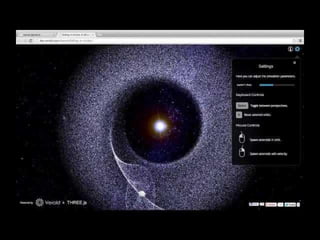
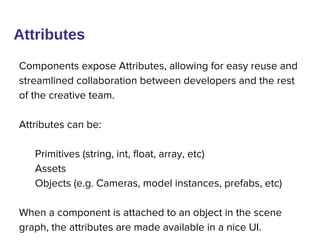
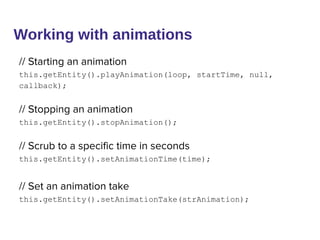
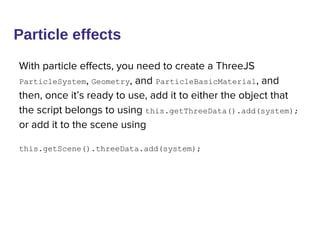
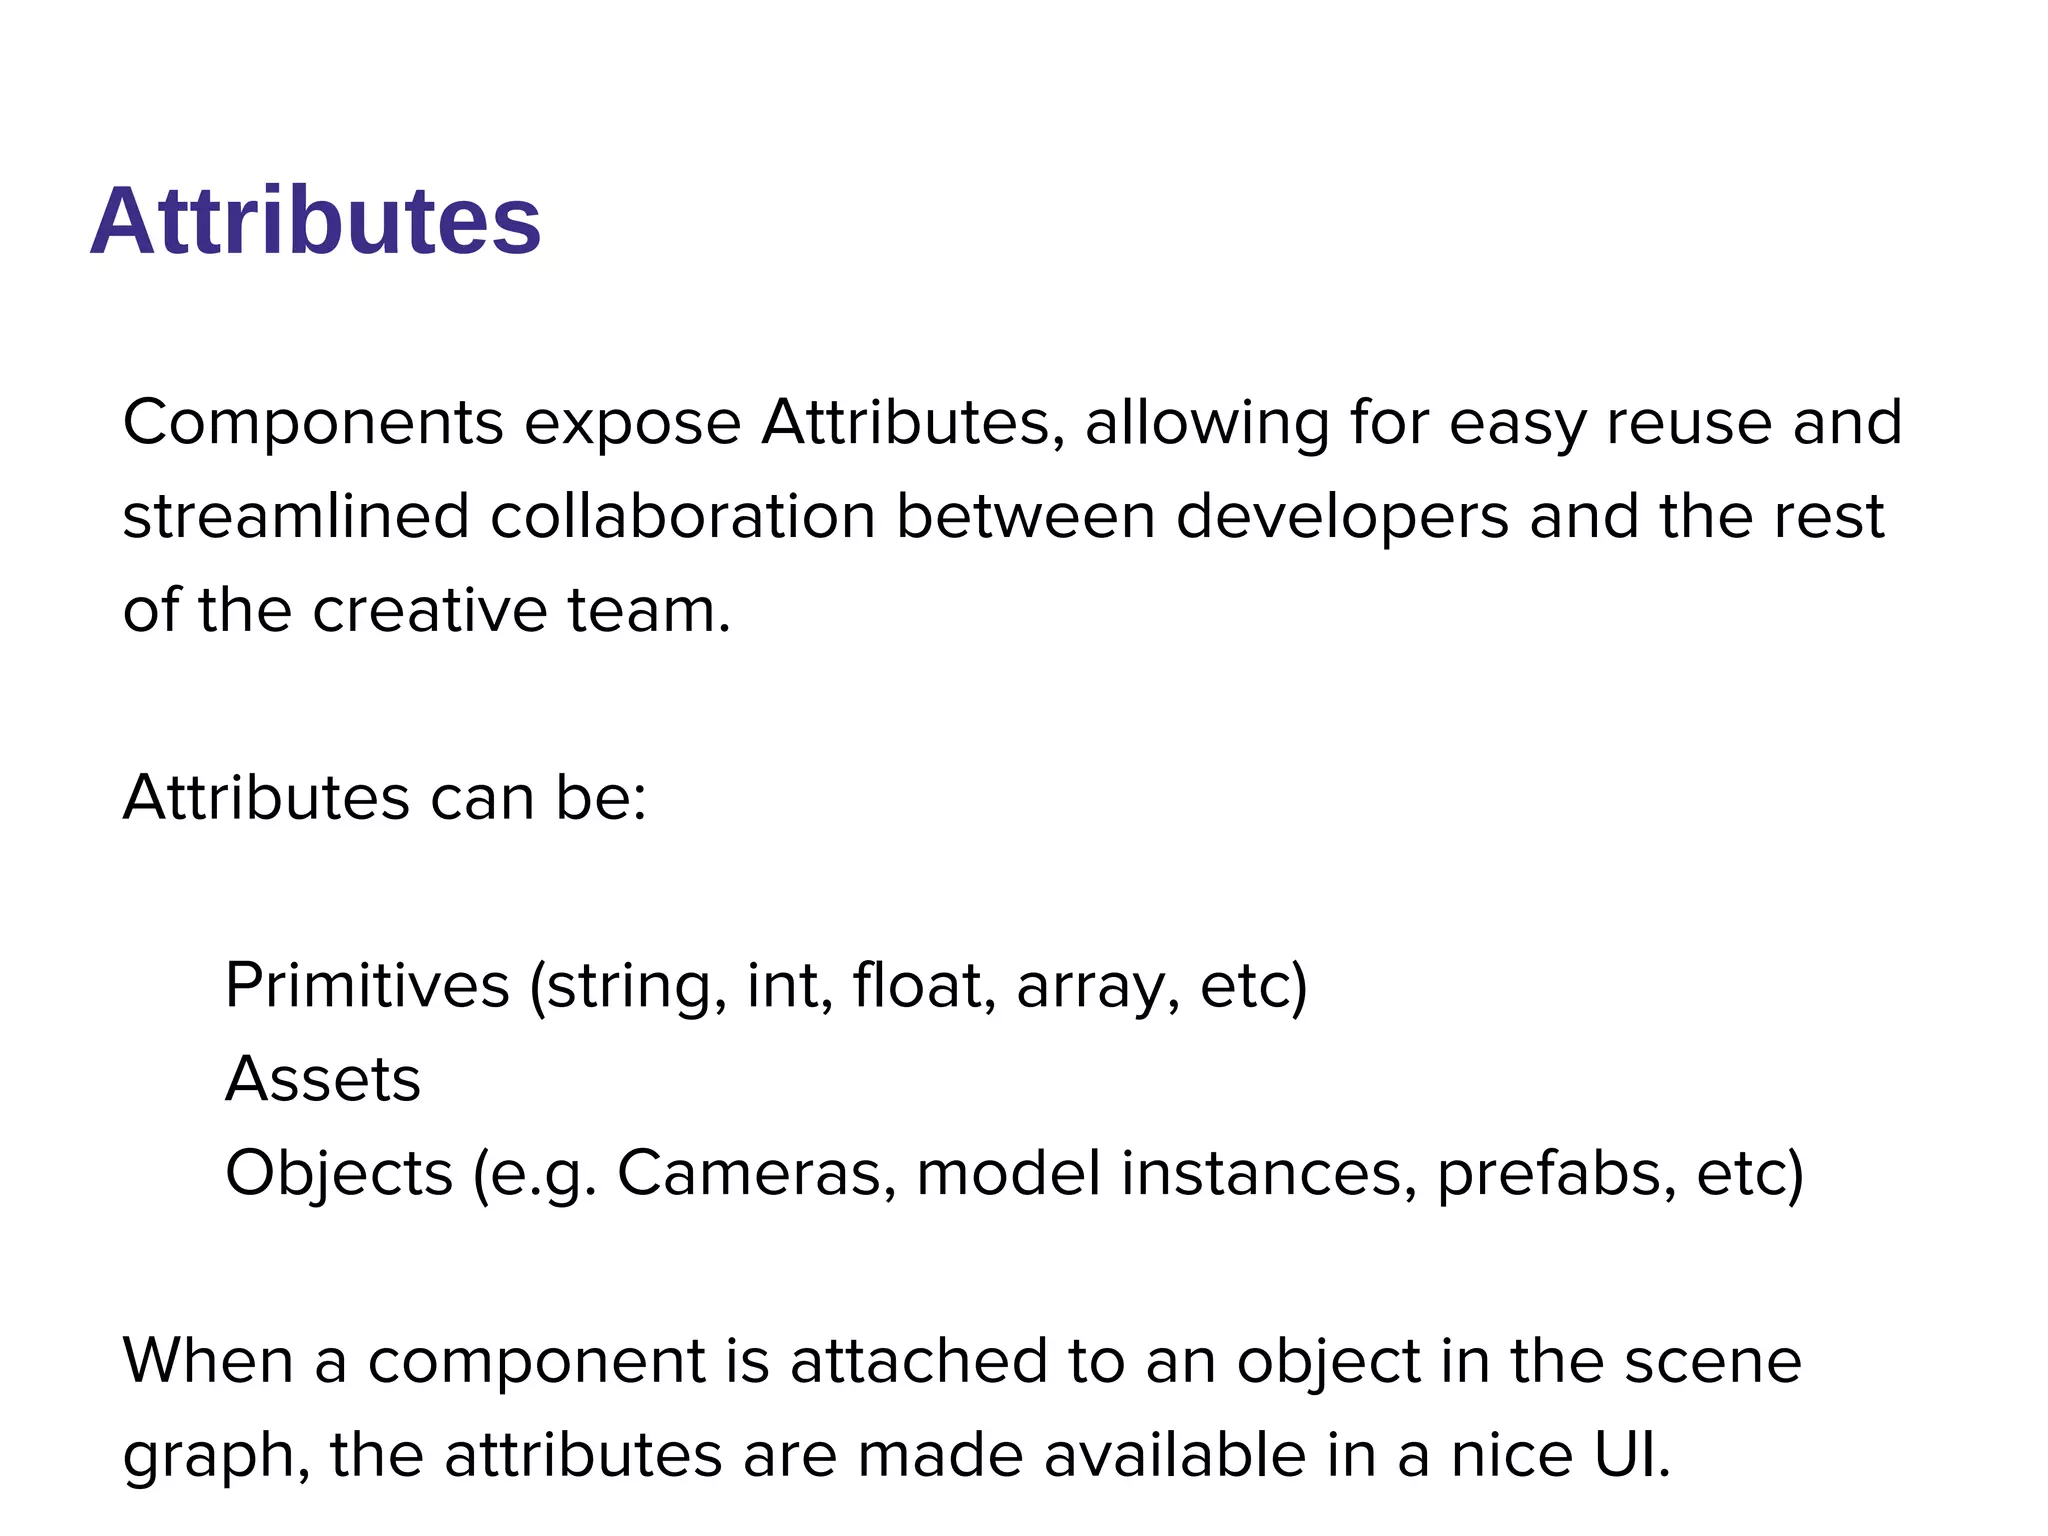
![Environment
-More BitGem3D!
-Create Empty Objects, put models in them!
-Align them all so that they go from origin Left, so that origin
can be used for bounds checking and removal/readdition in
scrolling
-[Performance] Remove all shadows, enable per-vertex
lighting, reference as few materials as possible](https://image.slidesharecdn.com/gettingstartedwithveroldandthree-140314104714-phpapp02/85/Getting-started-with-Verold-and-Three-js-34-320.jpg)


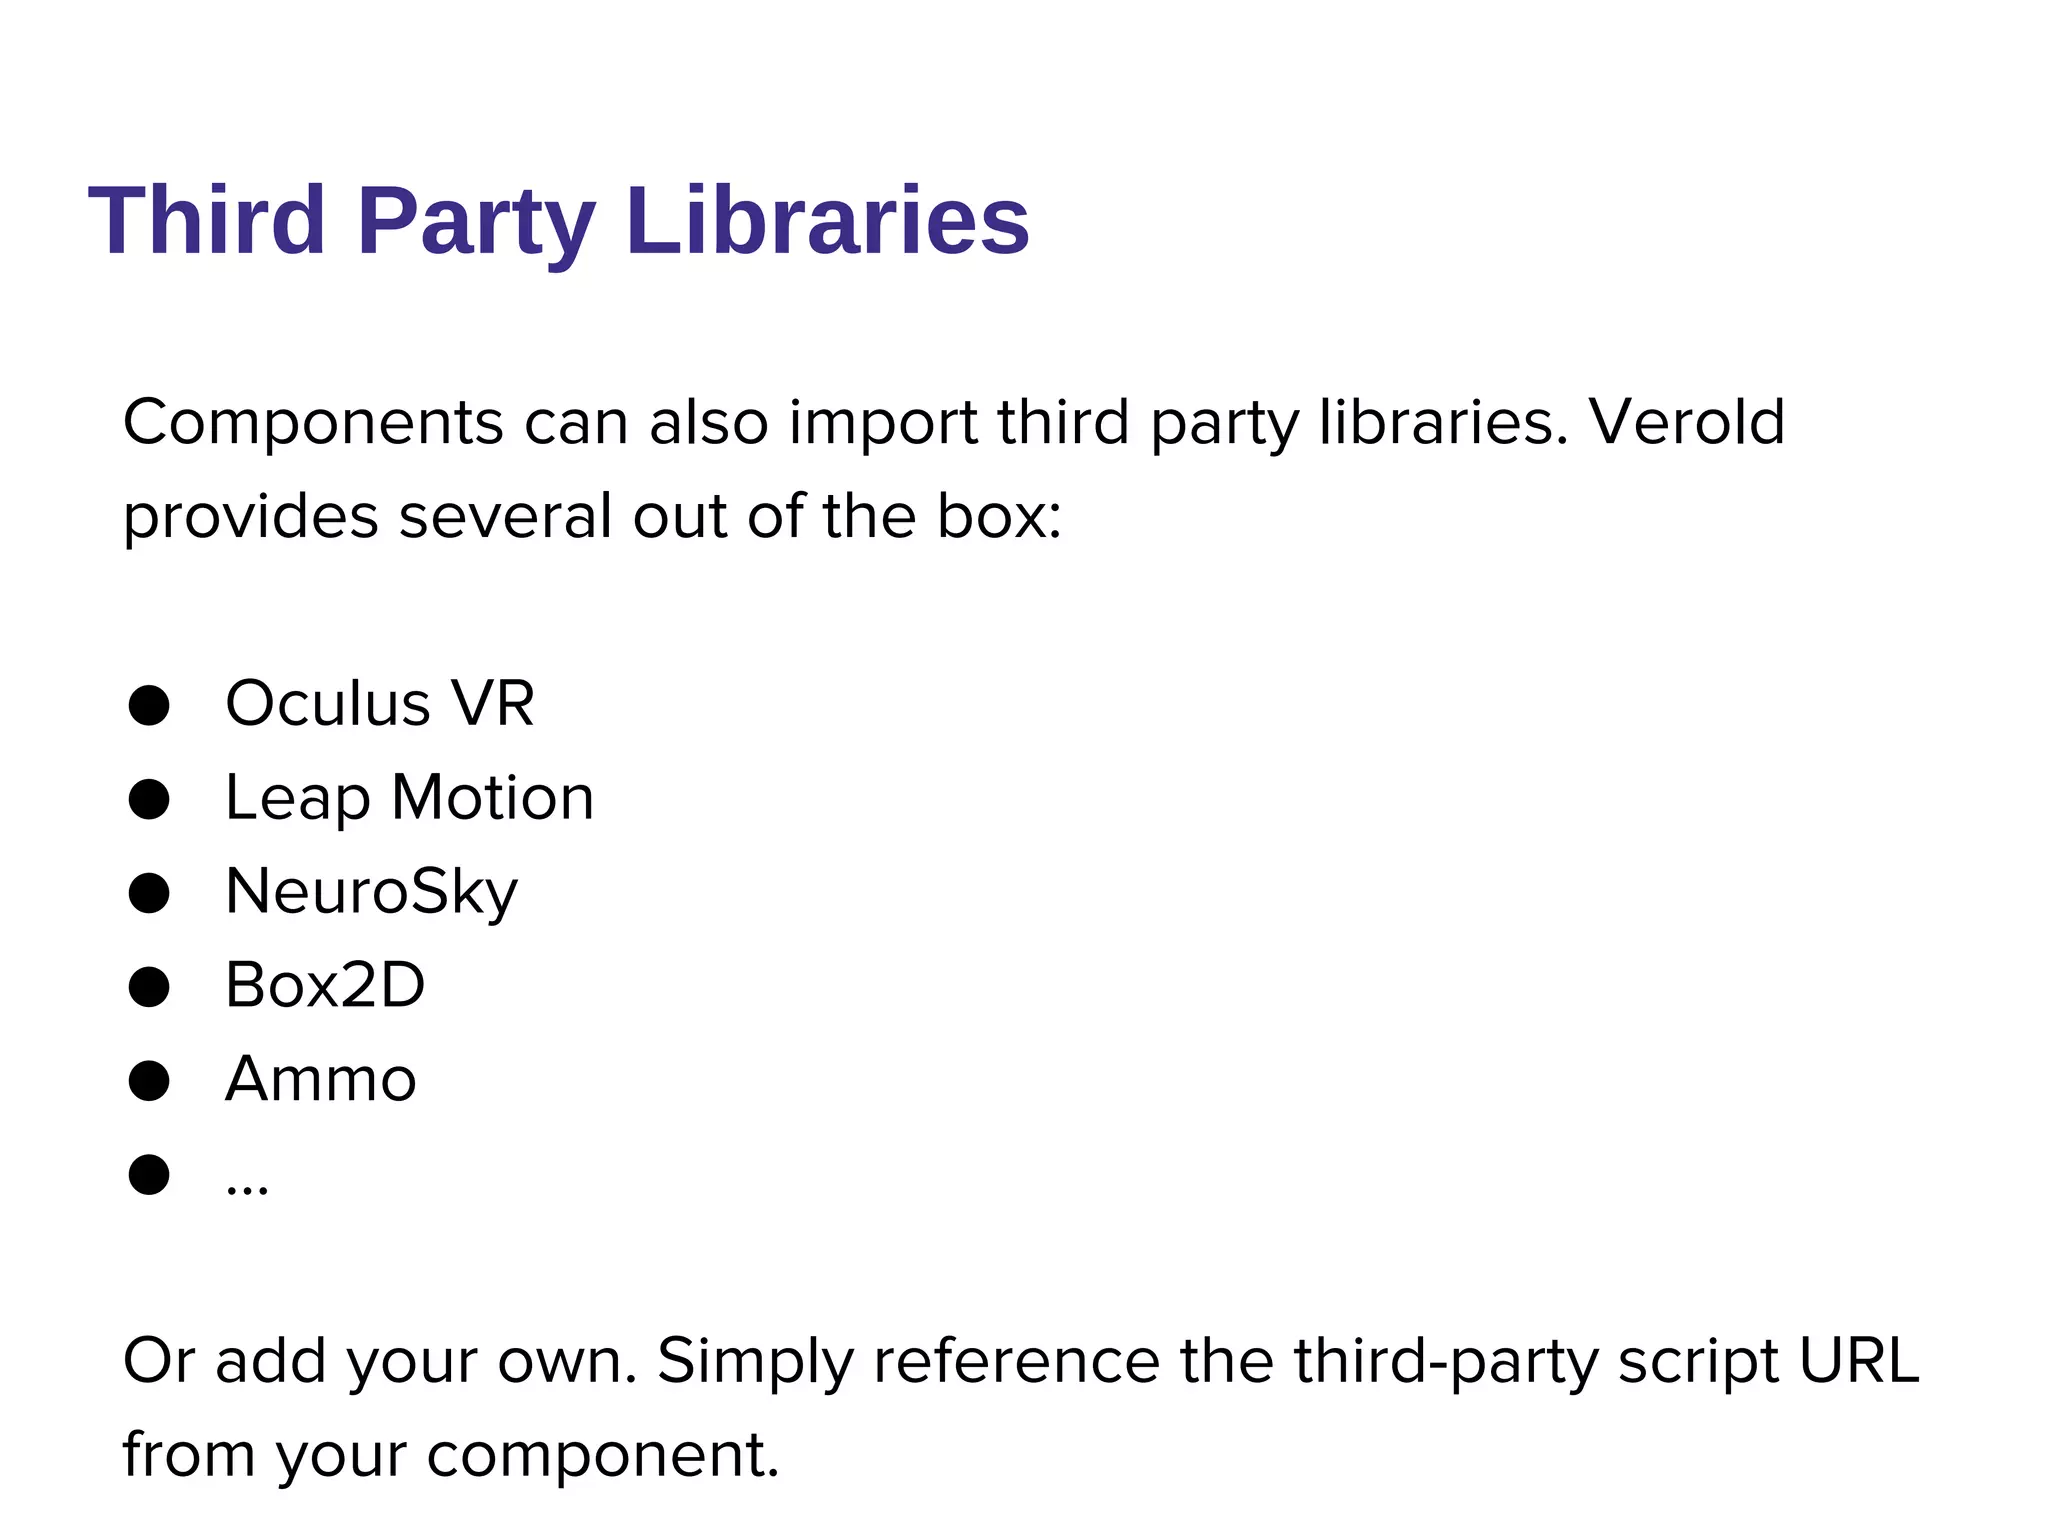


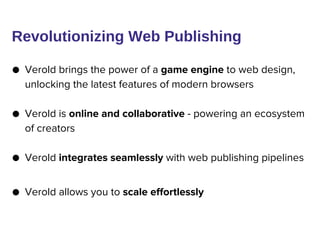
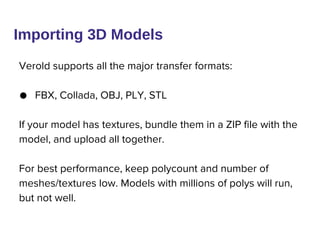
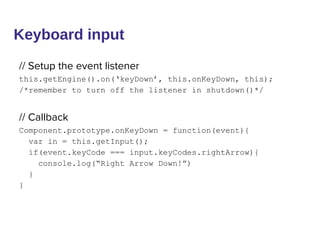
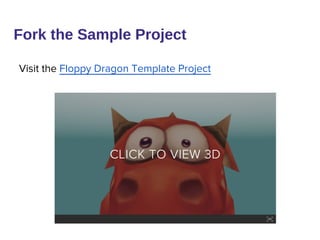
![Collision Detection
-Player object has a low resolution sphere mesh attached to
it
-Collidable objects have a cube mesh attached to them
-Player Sphere Mesh is used to cast a ray from it’s origin to
each of its vertices
-[Low Resolution] If the distance between player and a
collidable is met do [Hi Res]
-[High Resolution]If the face of any of the Collidable objects
is intersected by the ray, it returns a collision event!
-This is a common but low performance version of collision
detection](https://image.slidesharecdn.com/gettingstartedwithveroldandthree-140314104714-phpapp02/75/Getting-started-with-Verold-and-Three-js-31-2048.jpg)


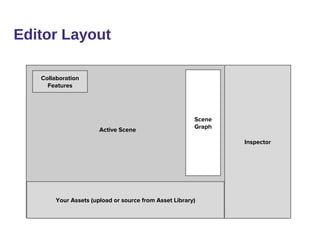
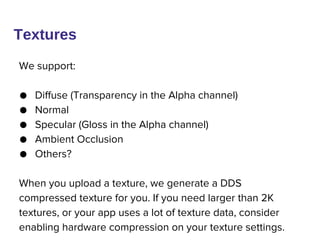
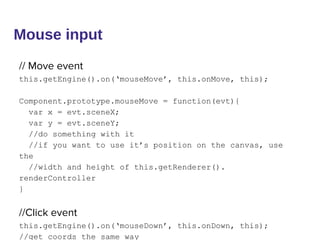
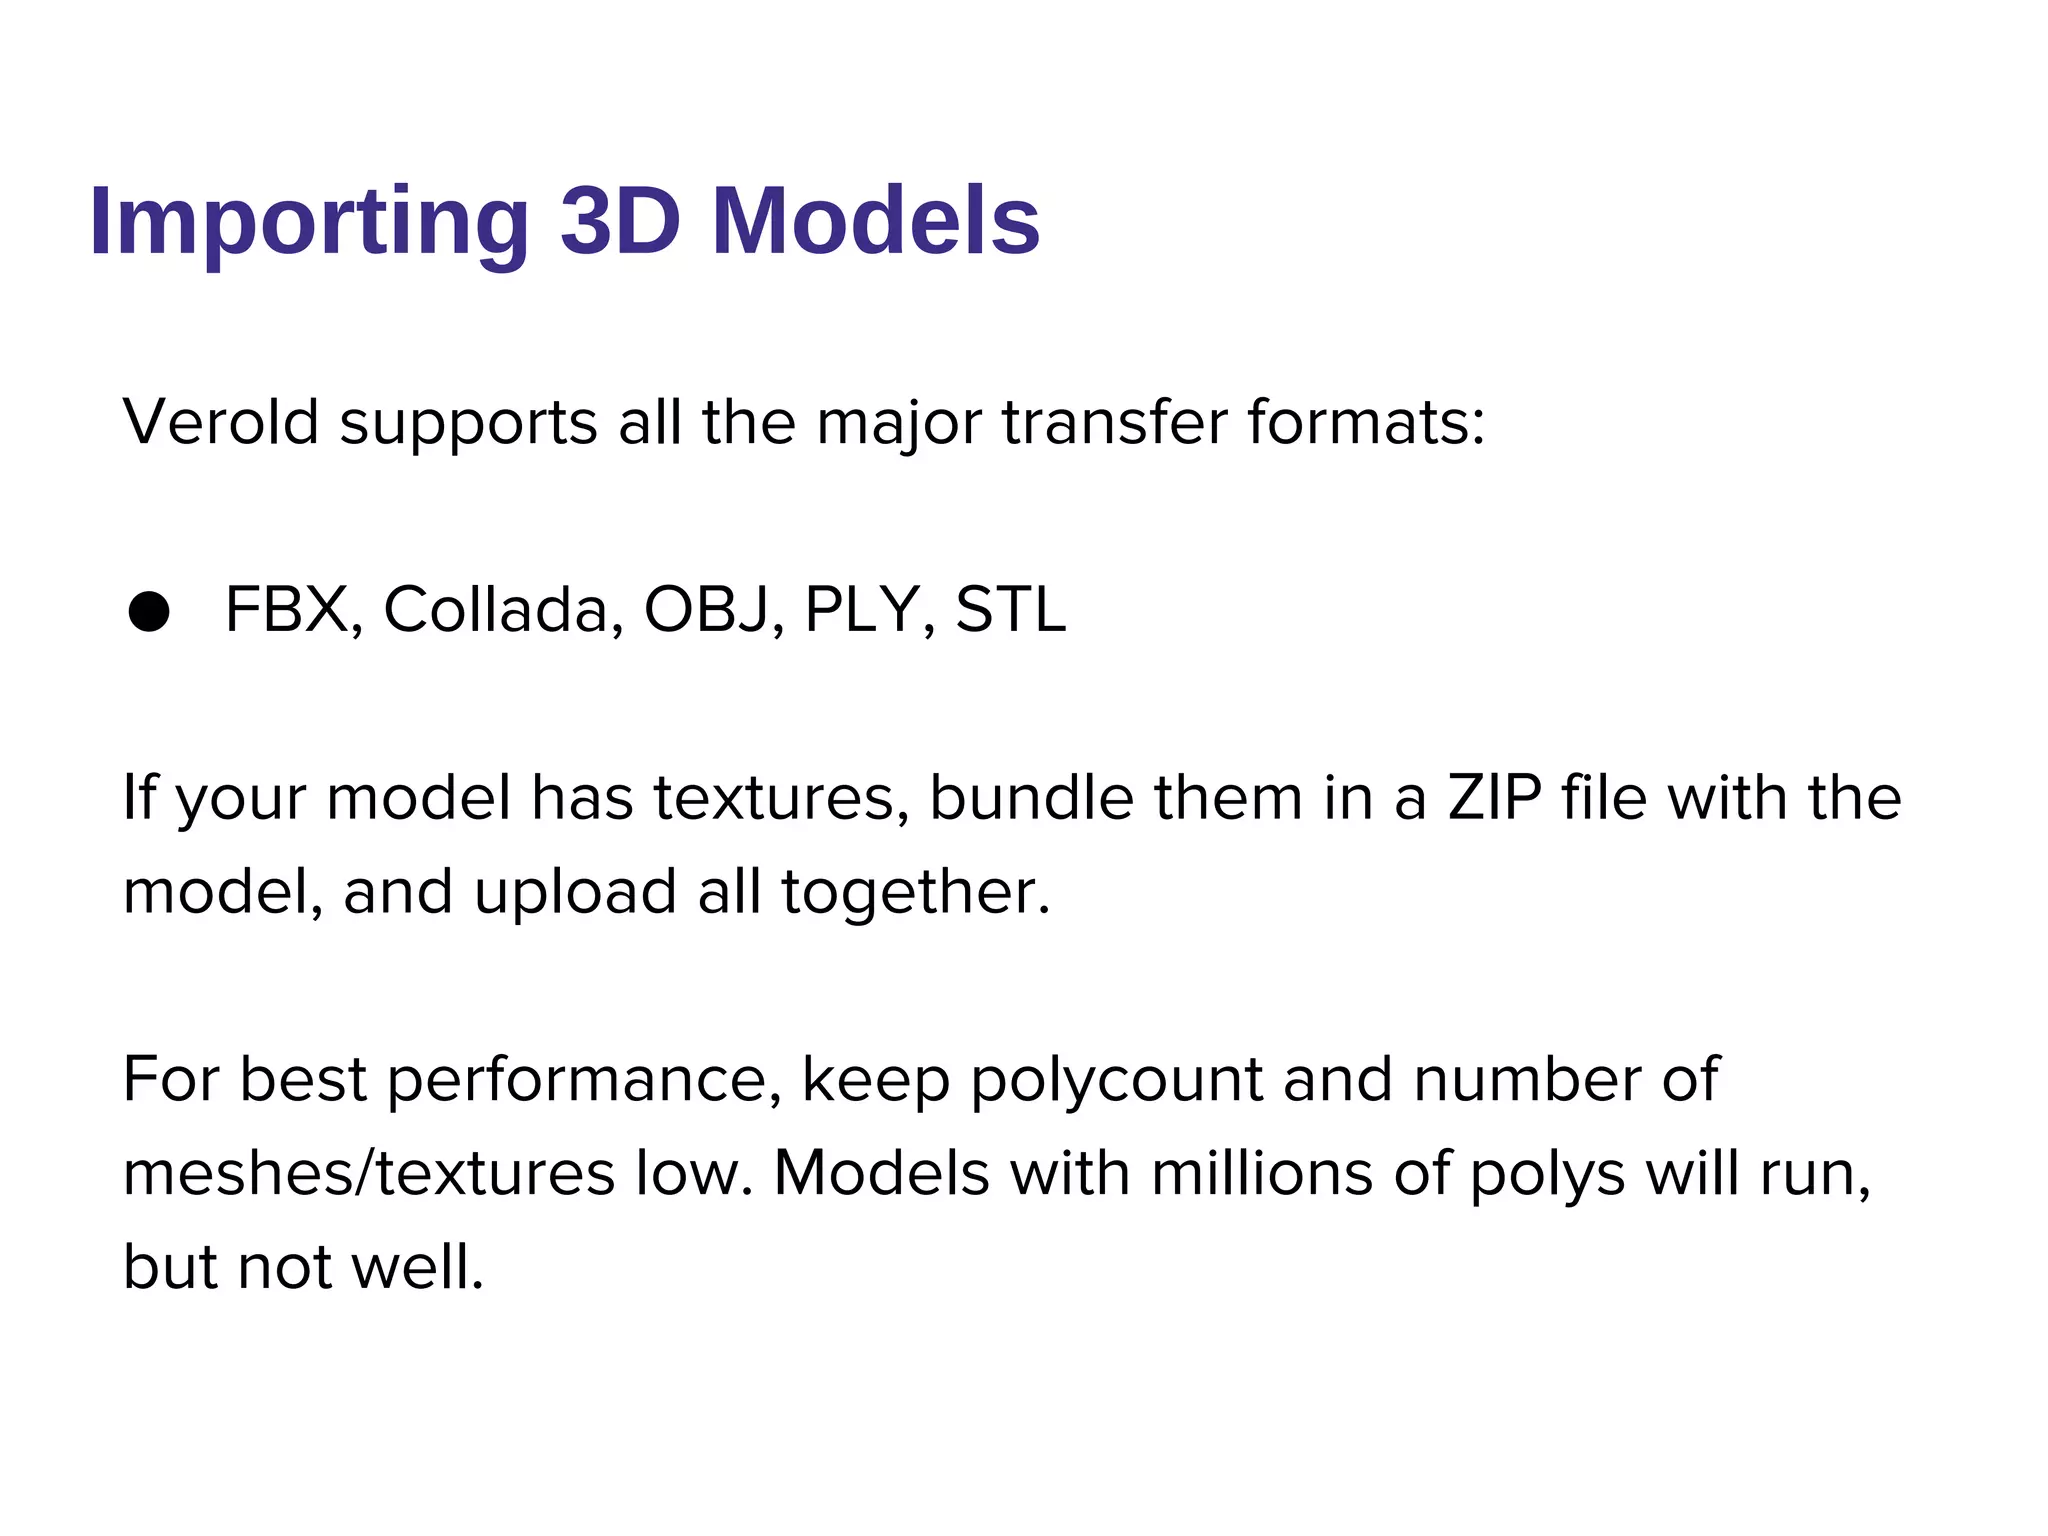
![Environment
-More BitGem3D!
-Create Empty Objects, put models in them!
-Align them all so that they go from origin Left, so that origin
can be used for bounds checking and removal/readdition in
scrolling
-[Performance] Remove all shadows, enable per-vertex
lighting, reference as few materials as possible](https://image.slidesharecdn.com/gettingstartedwithveroldandthree-140314104714-phpapp02/75/Getting-started-with-Verold-and-Three-js-34-2048.jpg)


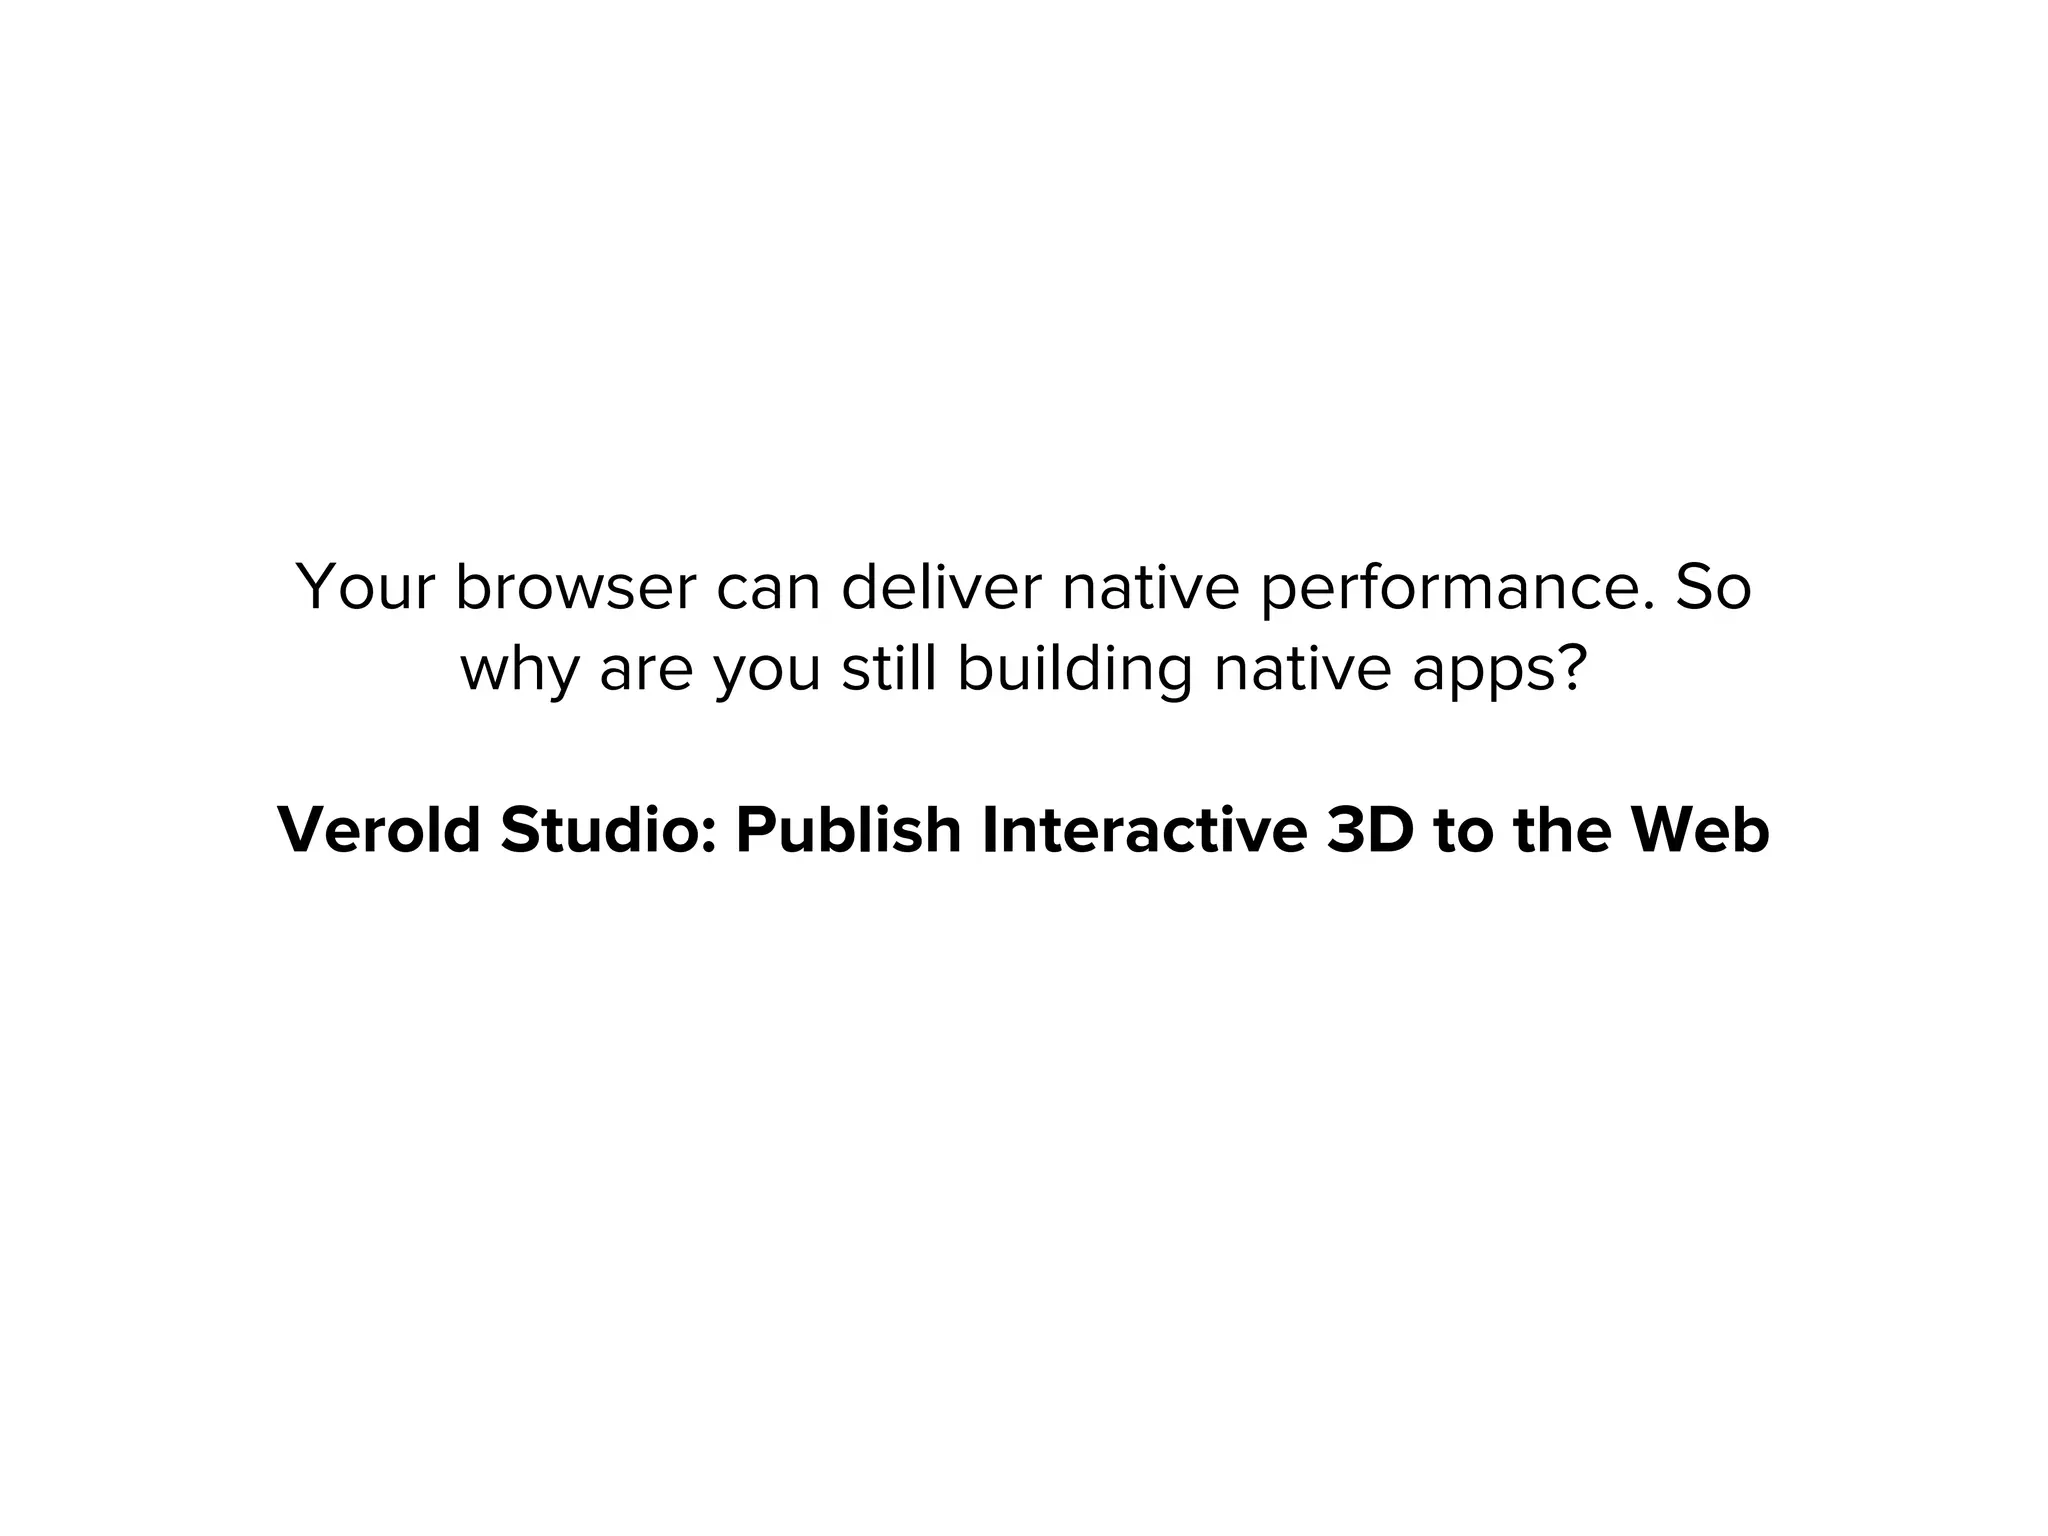
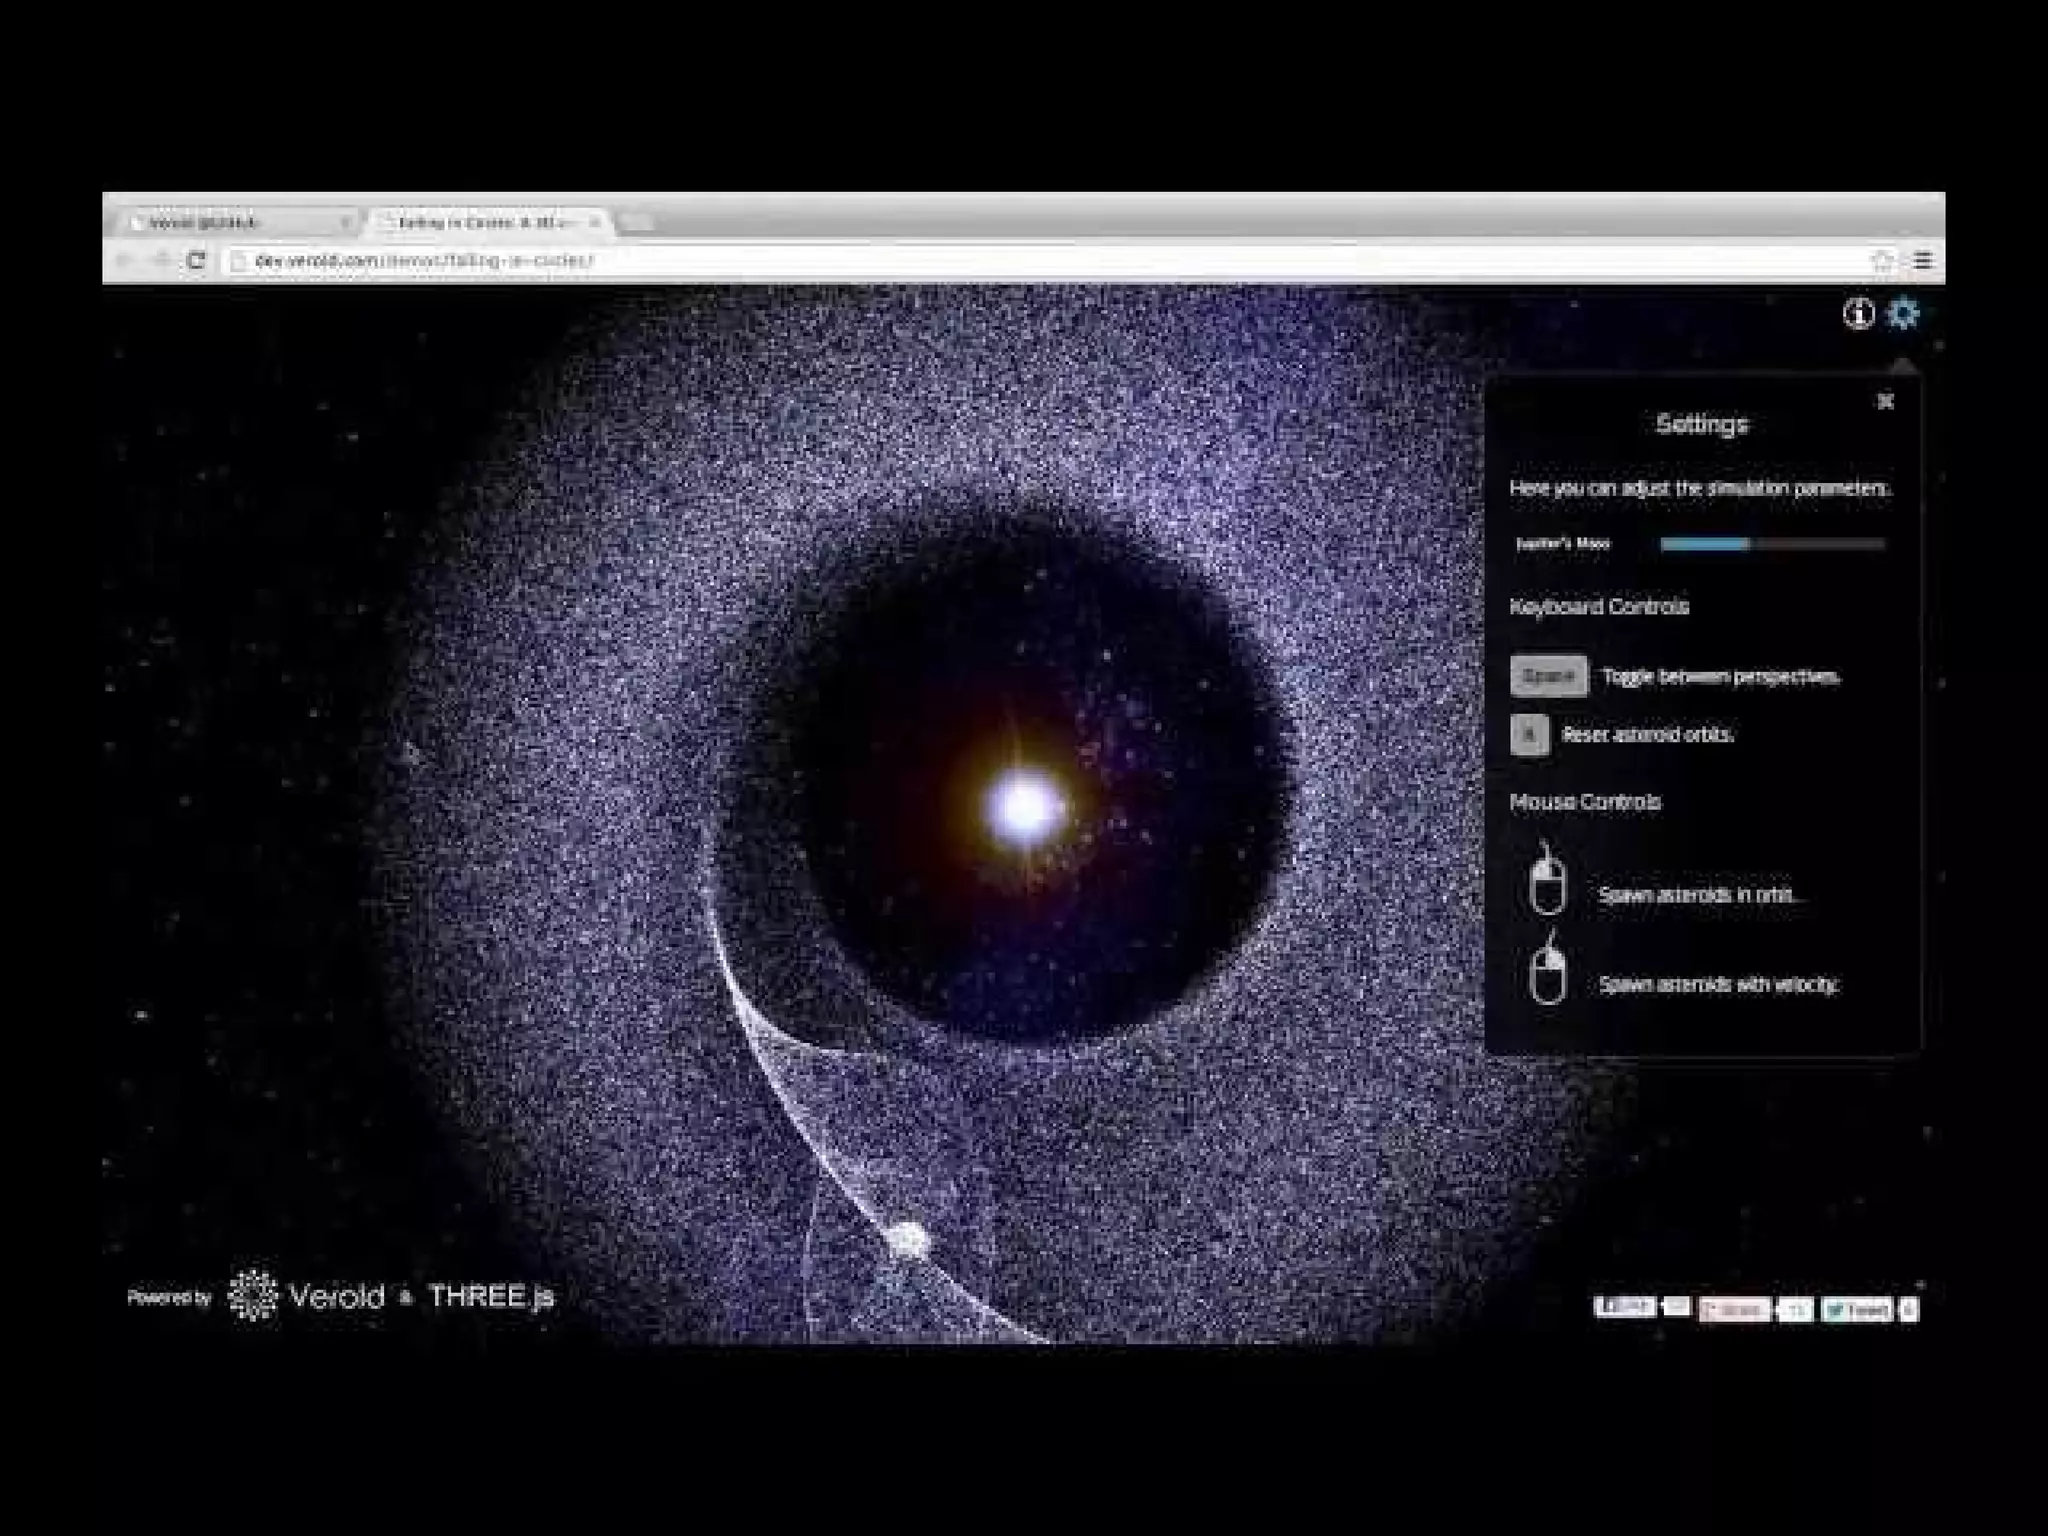
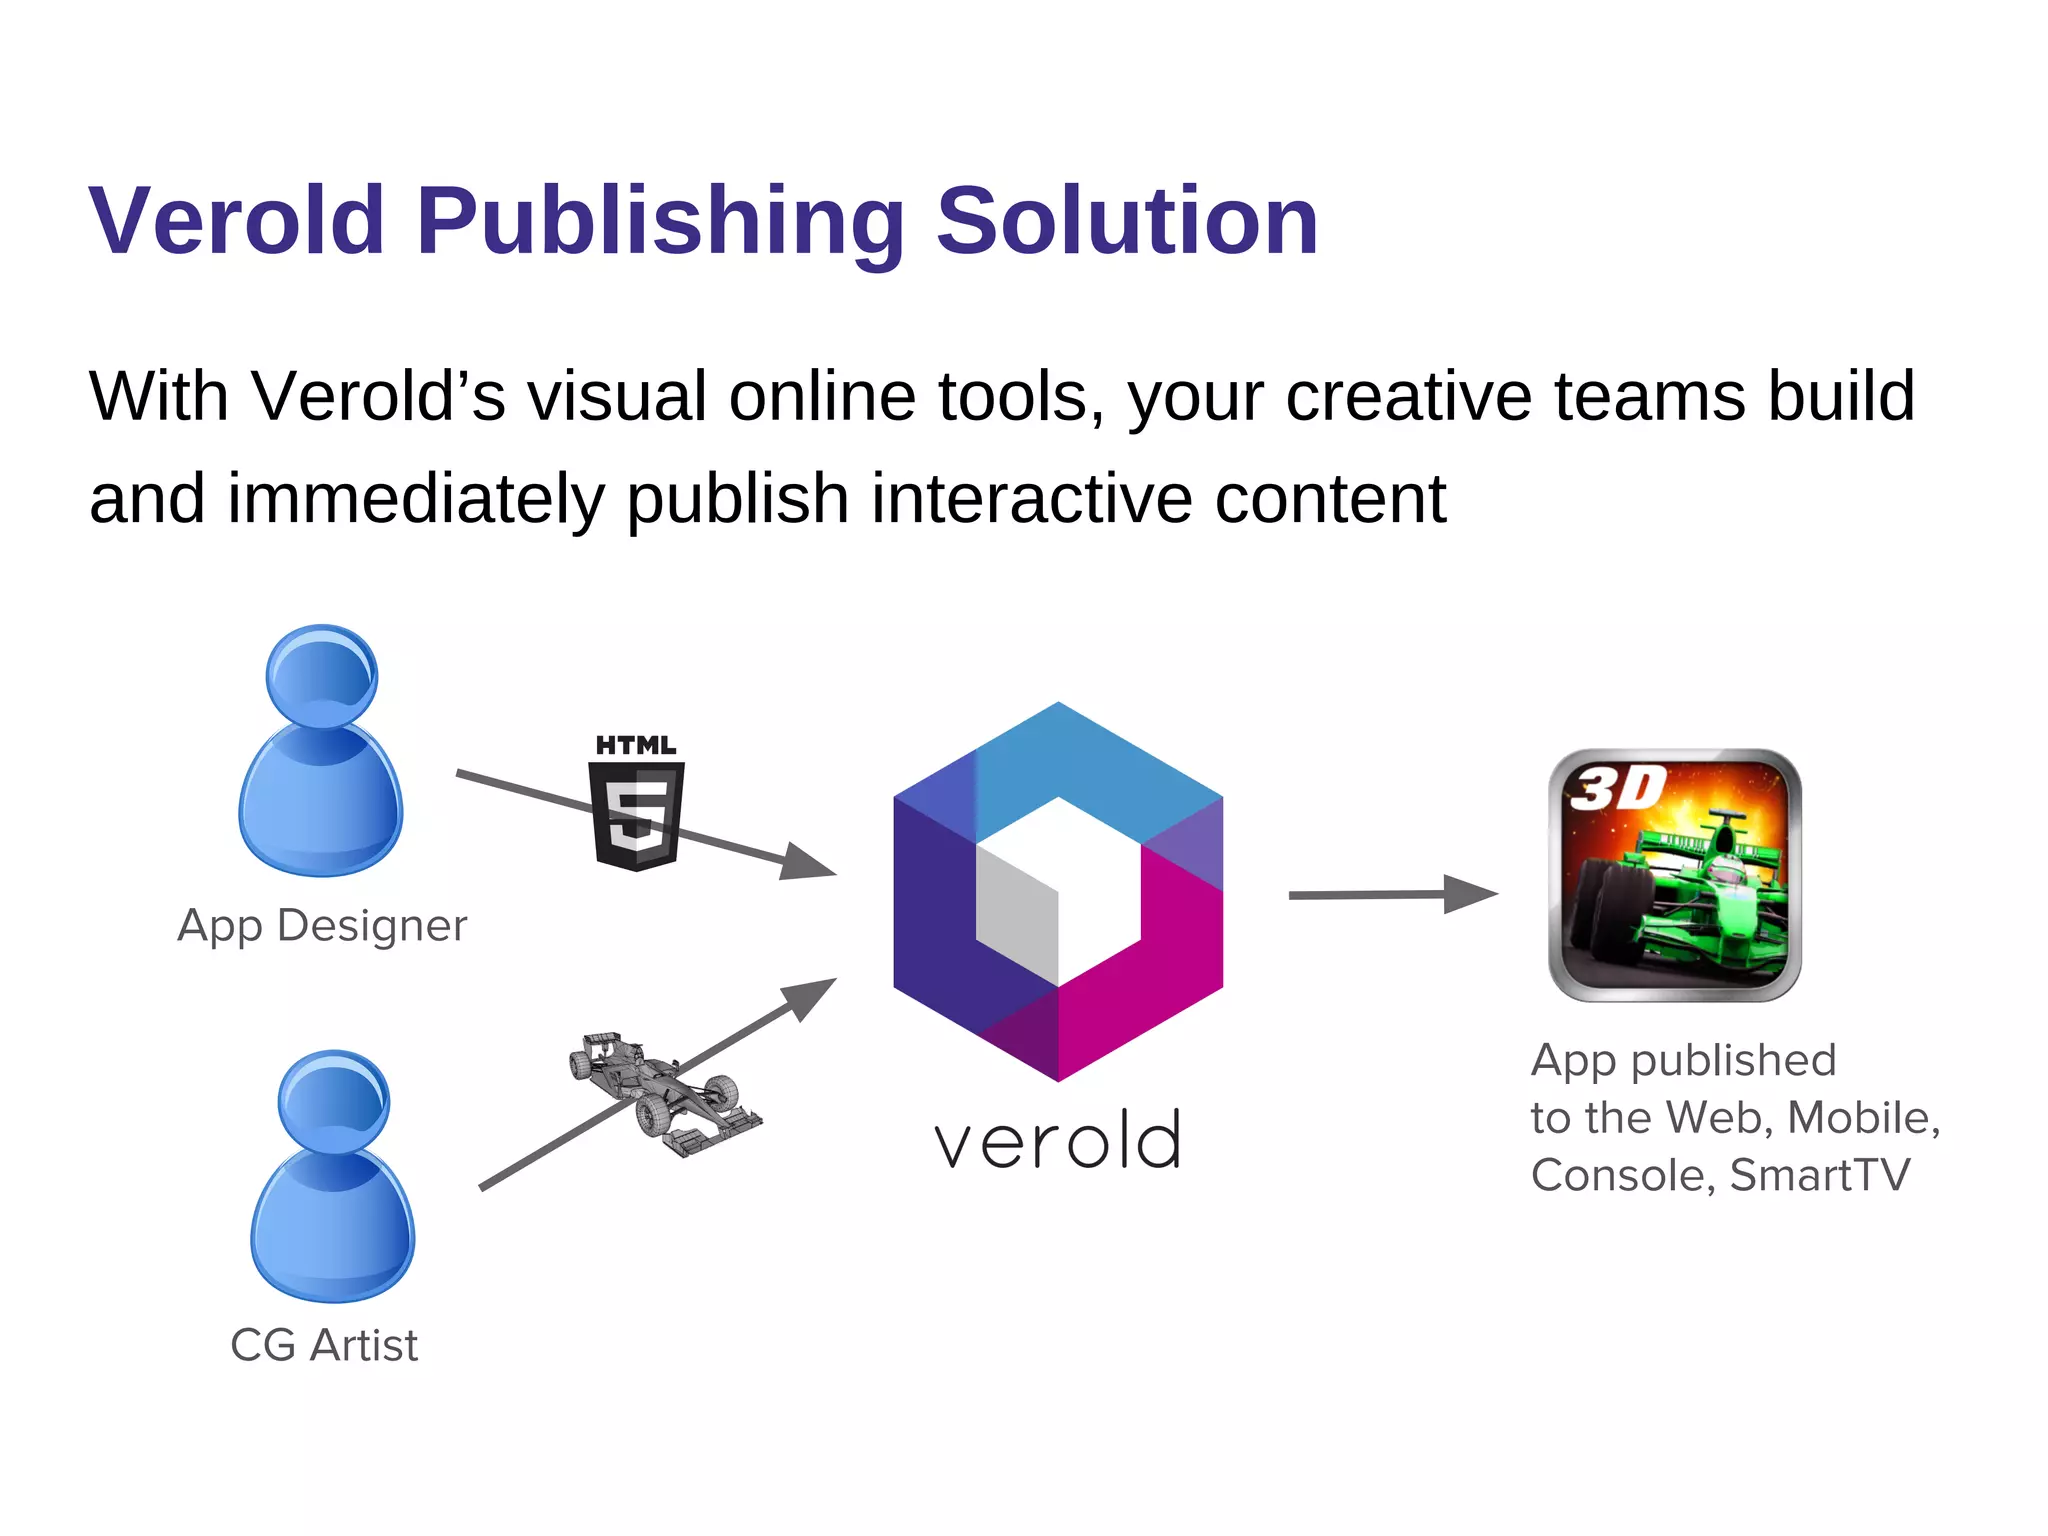
Verold Studio allows users to build and publish interactive 3D content to the web without coding. It provides visual tools for designers and artists to create scenes and define behaviors. Developers can customize projects using HTML/CSS/JavaScript and Three.js. The editor supports collaboration, importing 3D models and textures, animations, and publishing projects to be embedded on websites or downloaded as standalone apps. Components can be created to add interactivity and integrate third party libraries.


![UiPath Automation Suite Installation (Hands-On) [2/3]](https://cdn.slidesharecdn.com/ss_thumbnails/automationsuitecommunitysession2-251015095633-a6d862f1-thumbnail.jpg?width=600ounds&width=560&fit=bounds)


