Download as ODP, PPTX


![Regular Expressions
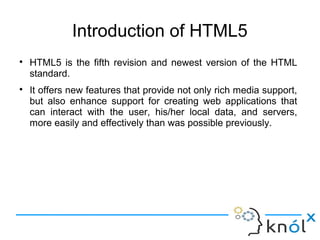
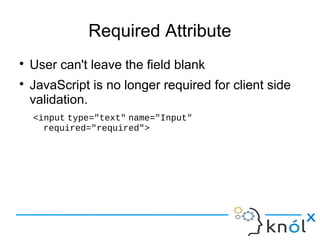
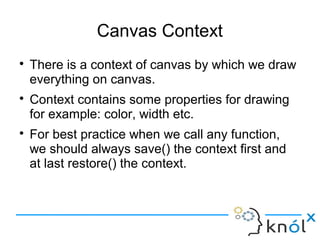
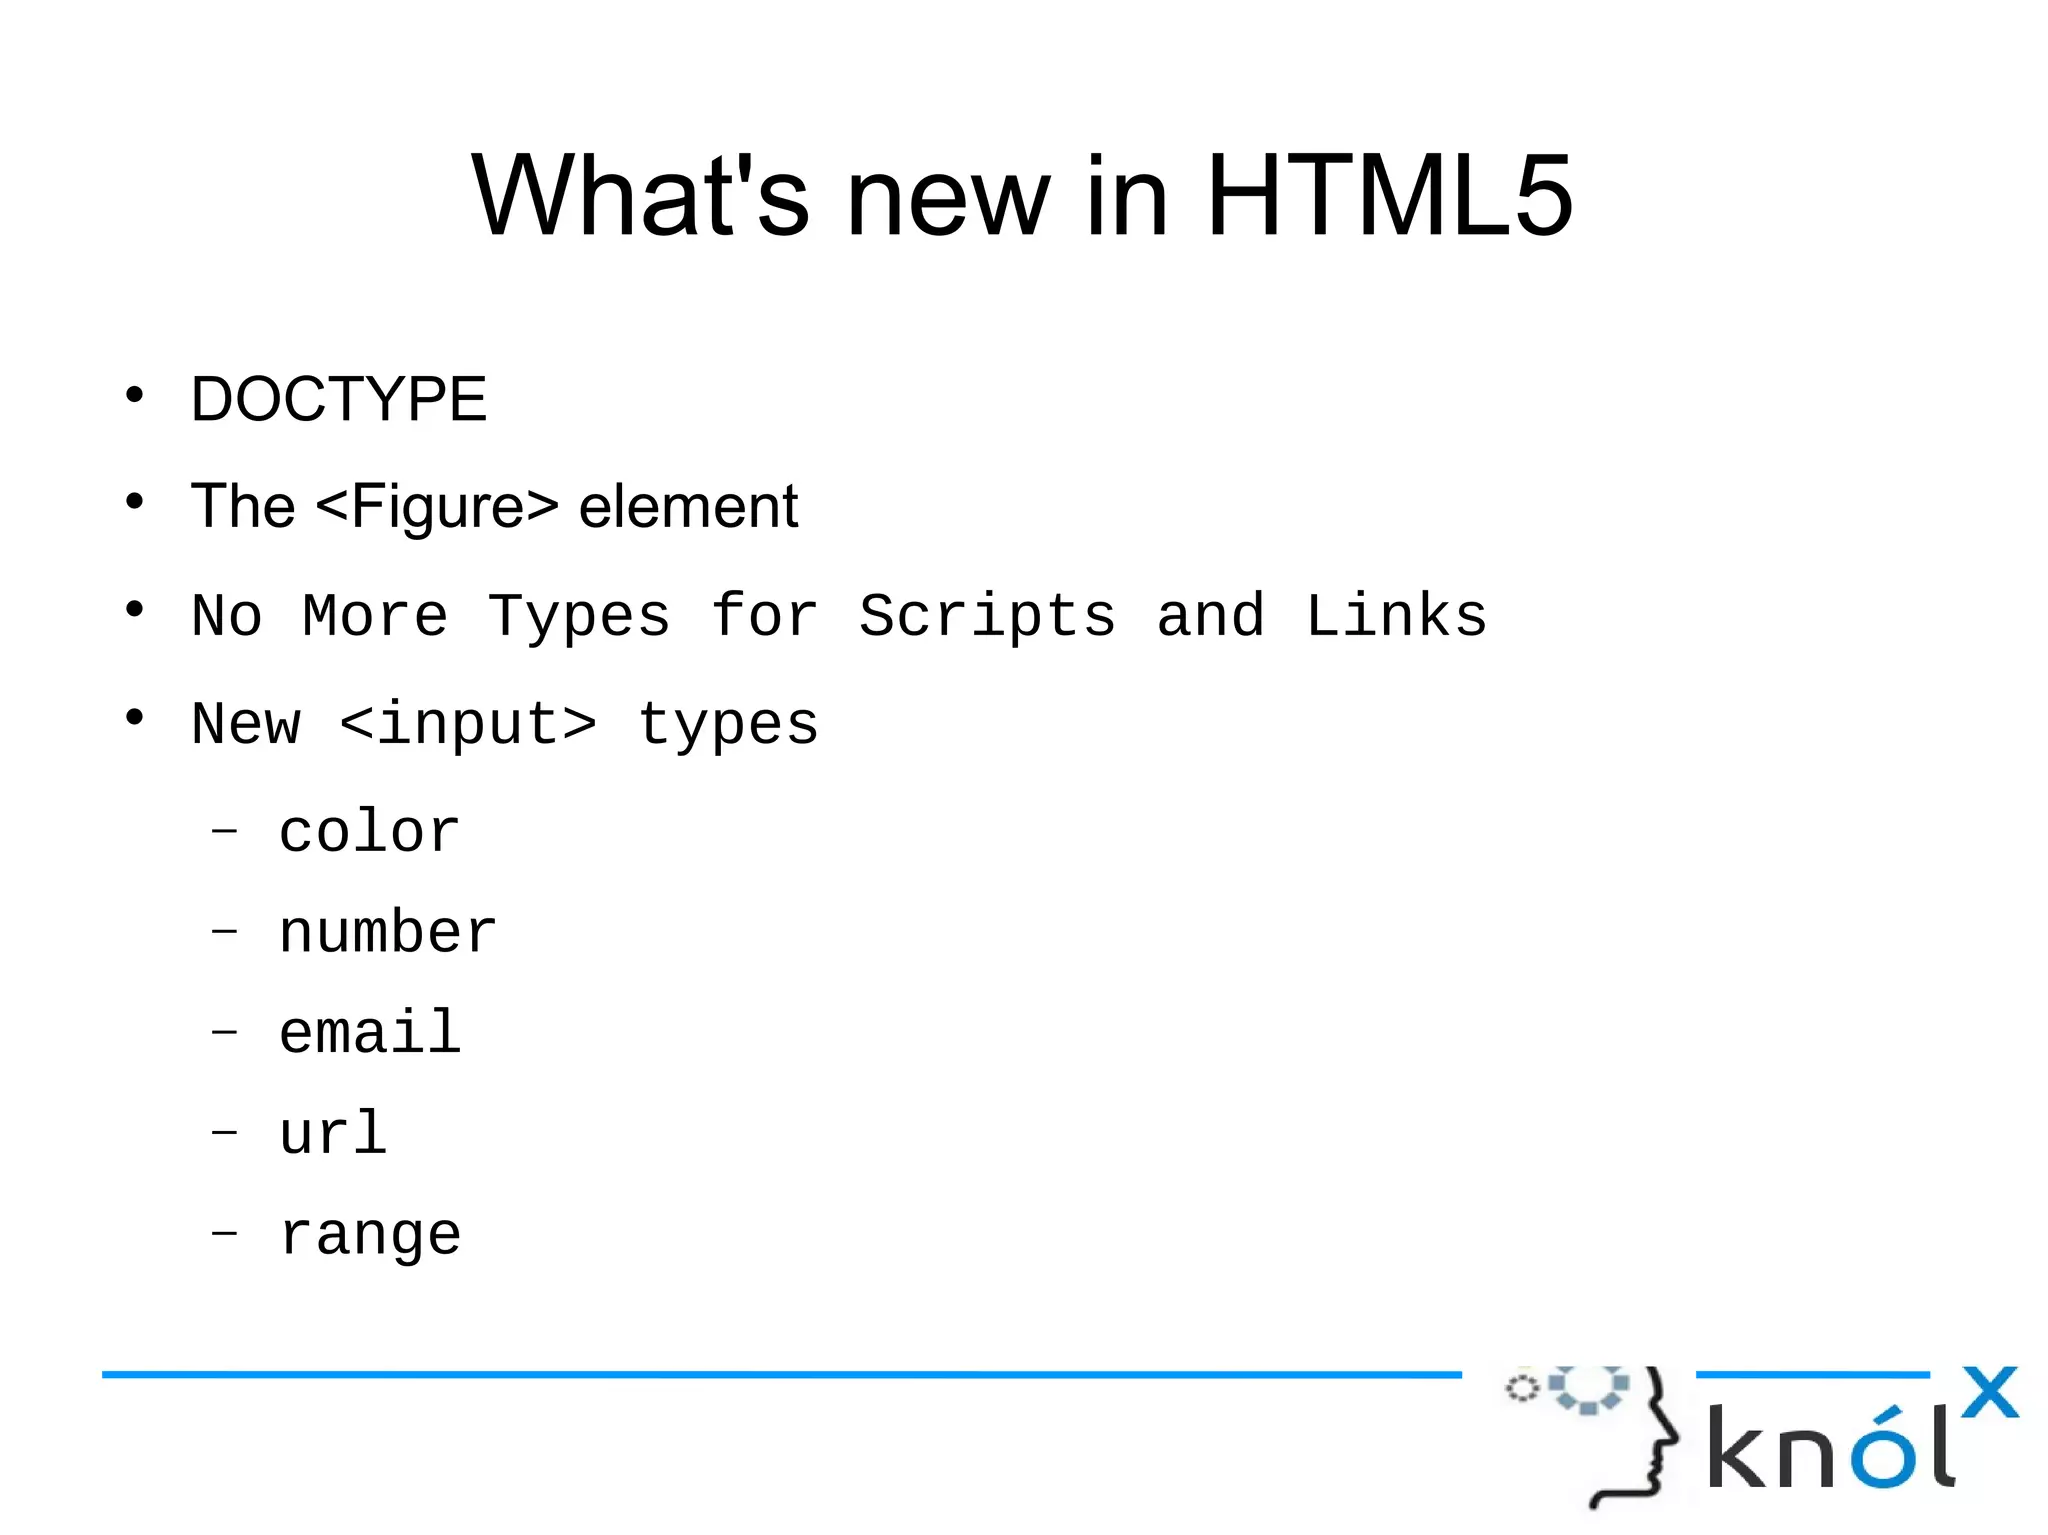
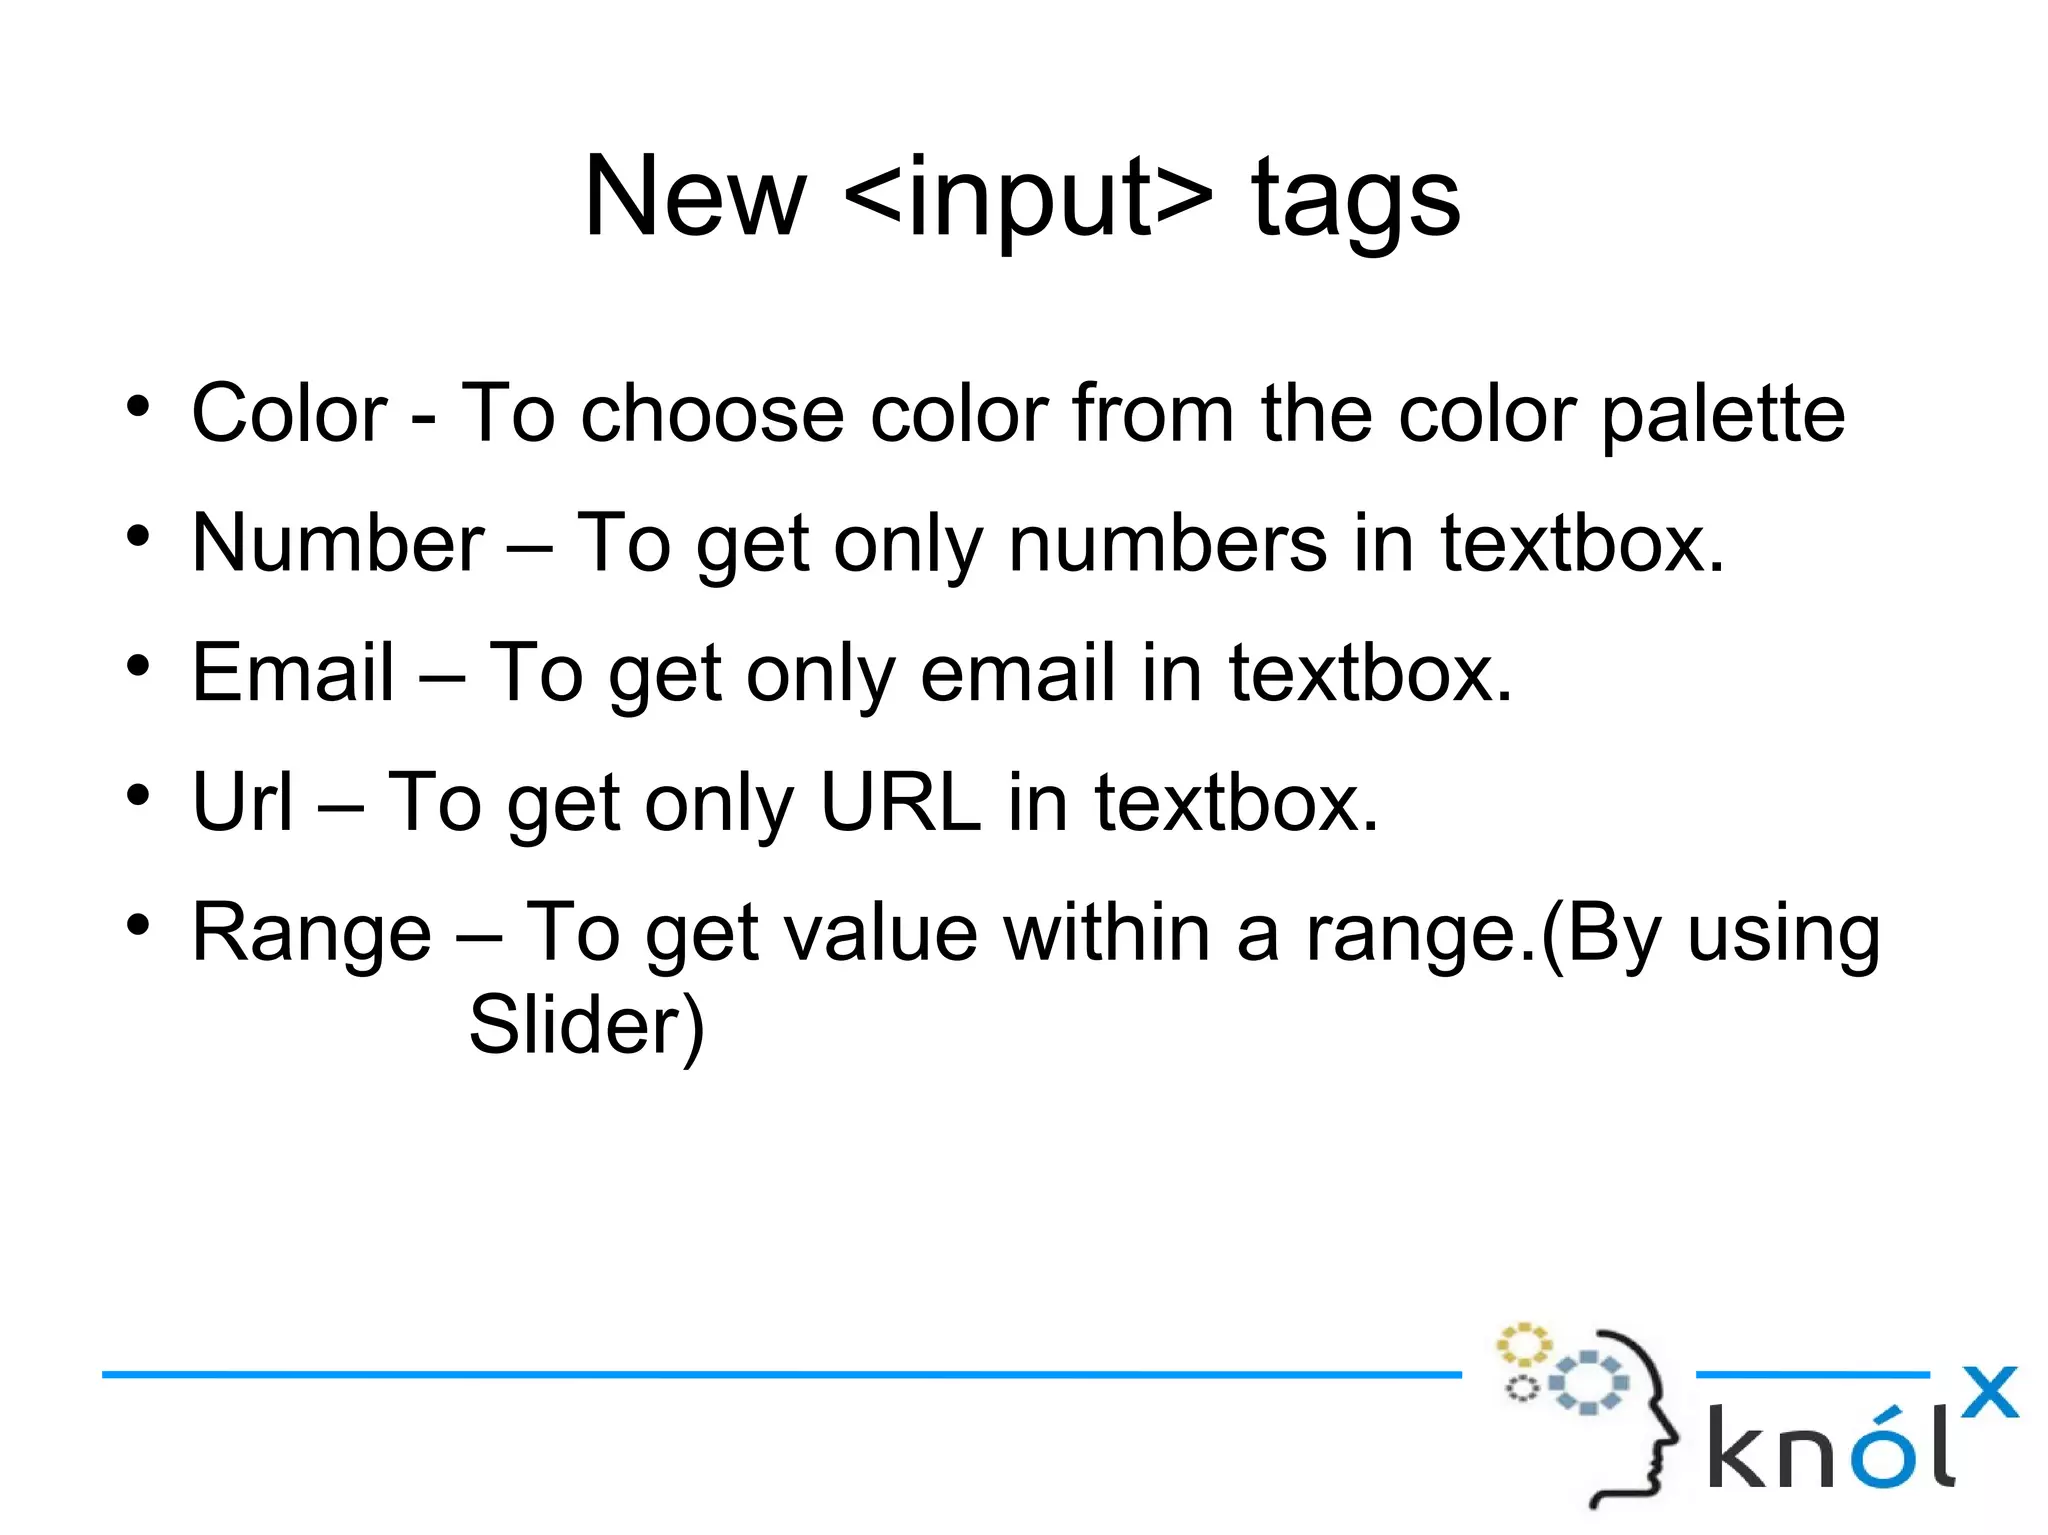
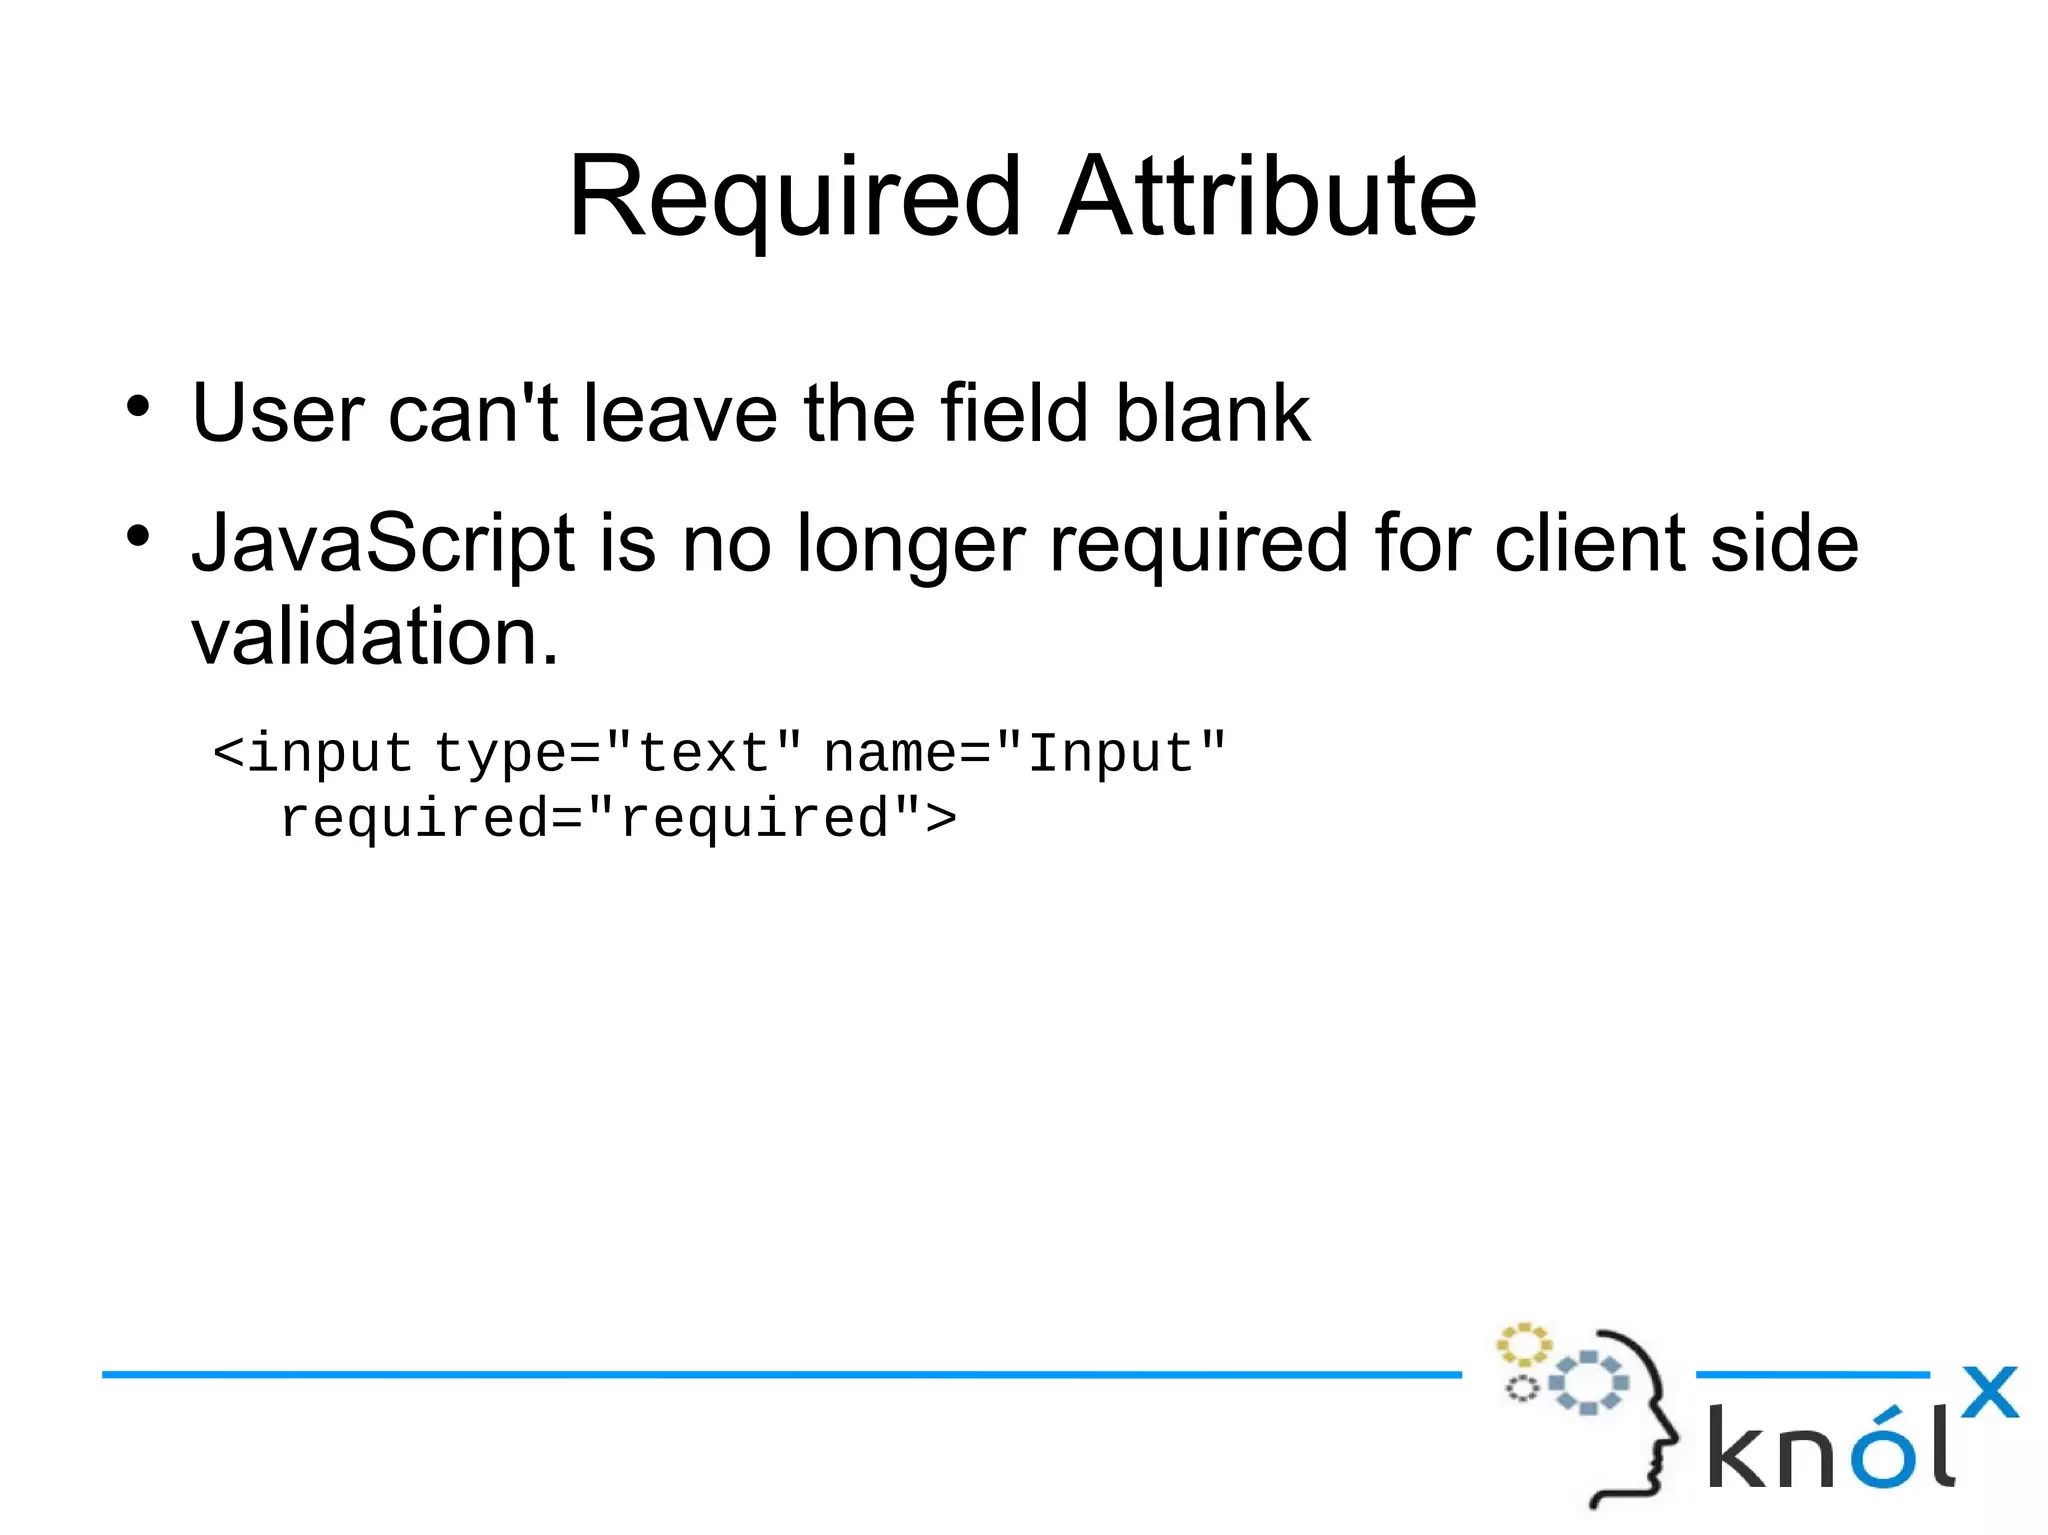
● We can add regular expressions to <input> tags for
validation, There is no JavaScript required.
<form action="" method="post">
<label for="username">Create a Username: </label>
<input type="text"
name="username"
id="username"
placeholder="4 <> 10"
pattern="[A-Za-z]{4,10}"
autofocus
required>
<button type="submit">Go </button>
</form>](https://image.slidesharecdn.com/html5-150715135855-lva1-app6891/85/Graphics-Animation-with-HTML5-14-320.jpg)


![Rendering Text
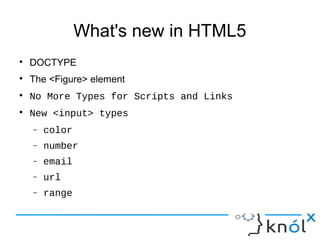
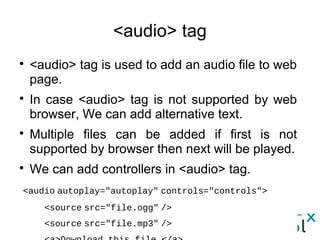
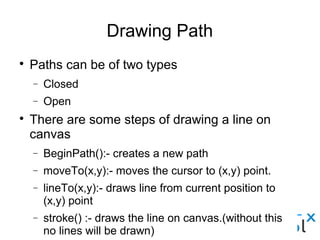
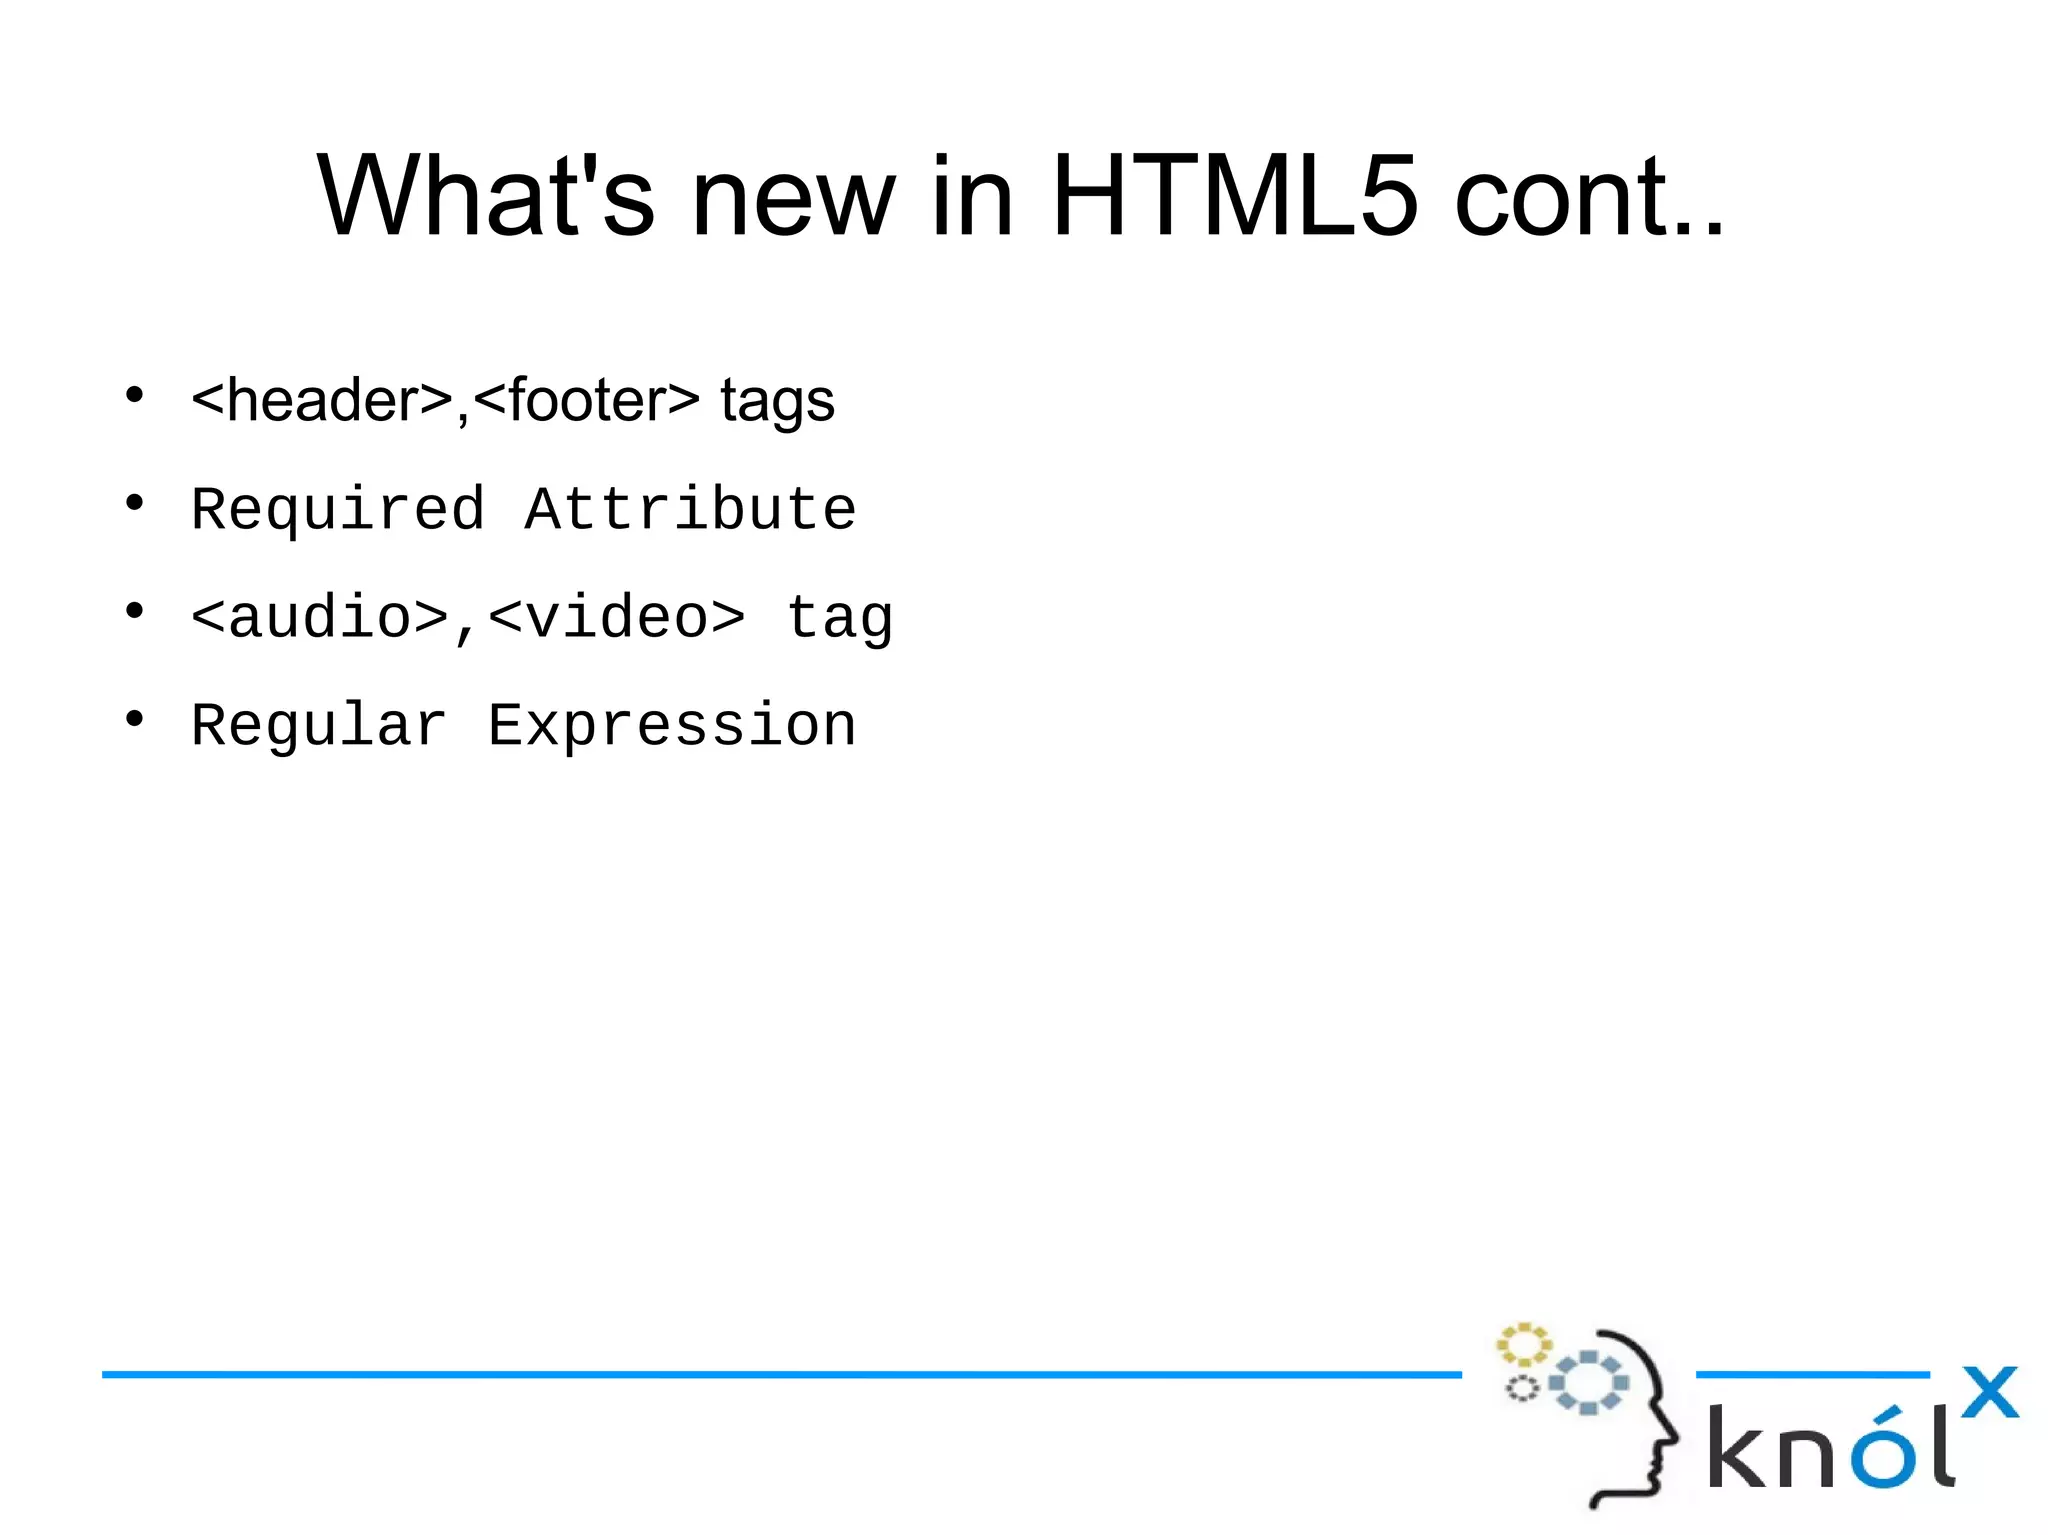
● We can fill text or make outline of text by using
fillText(text, x, y, [maxWidth]) and strokeText(text,x,y,
[maxWidth]) here maxWidth is optional.
function draw(){
var ctx = document.getElementById('canvas').getContext('2d');
ctx.font = “48px serif”;
ctx.fillText(“Hello world”, 10, 50);
ctx.stroke(“Hello world”,50, 50);
}](https://image.slidesharecdn.com/html5-150715135855-lva1-app6891/85/Graphics-Animation-with-HTML5-22-320.jpg)


![Regular Expressions
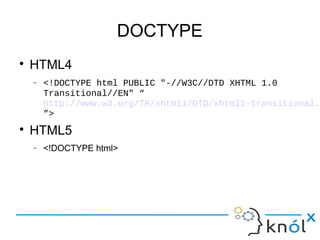
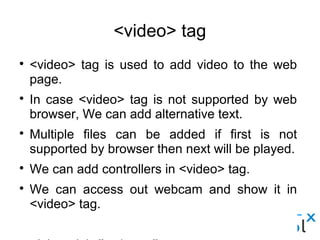
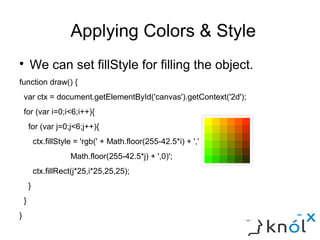
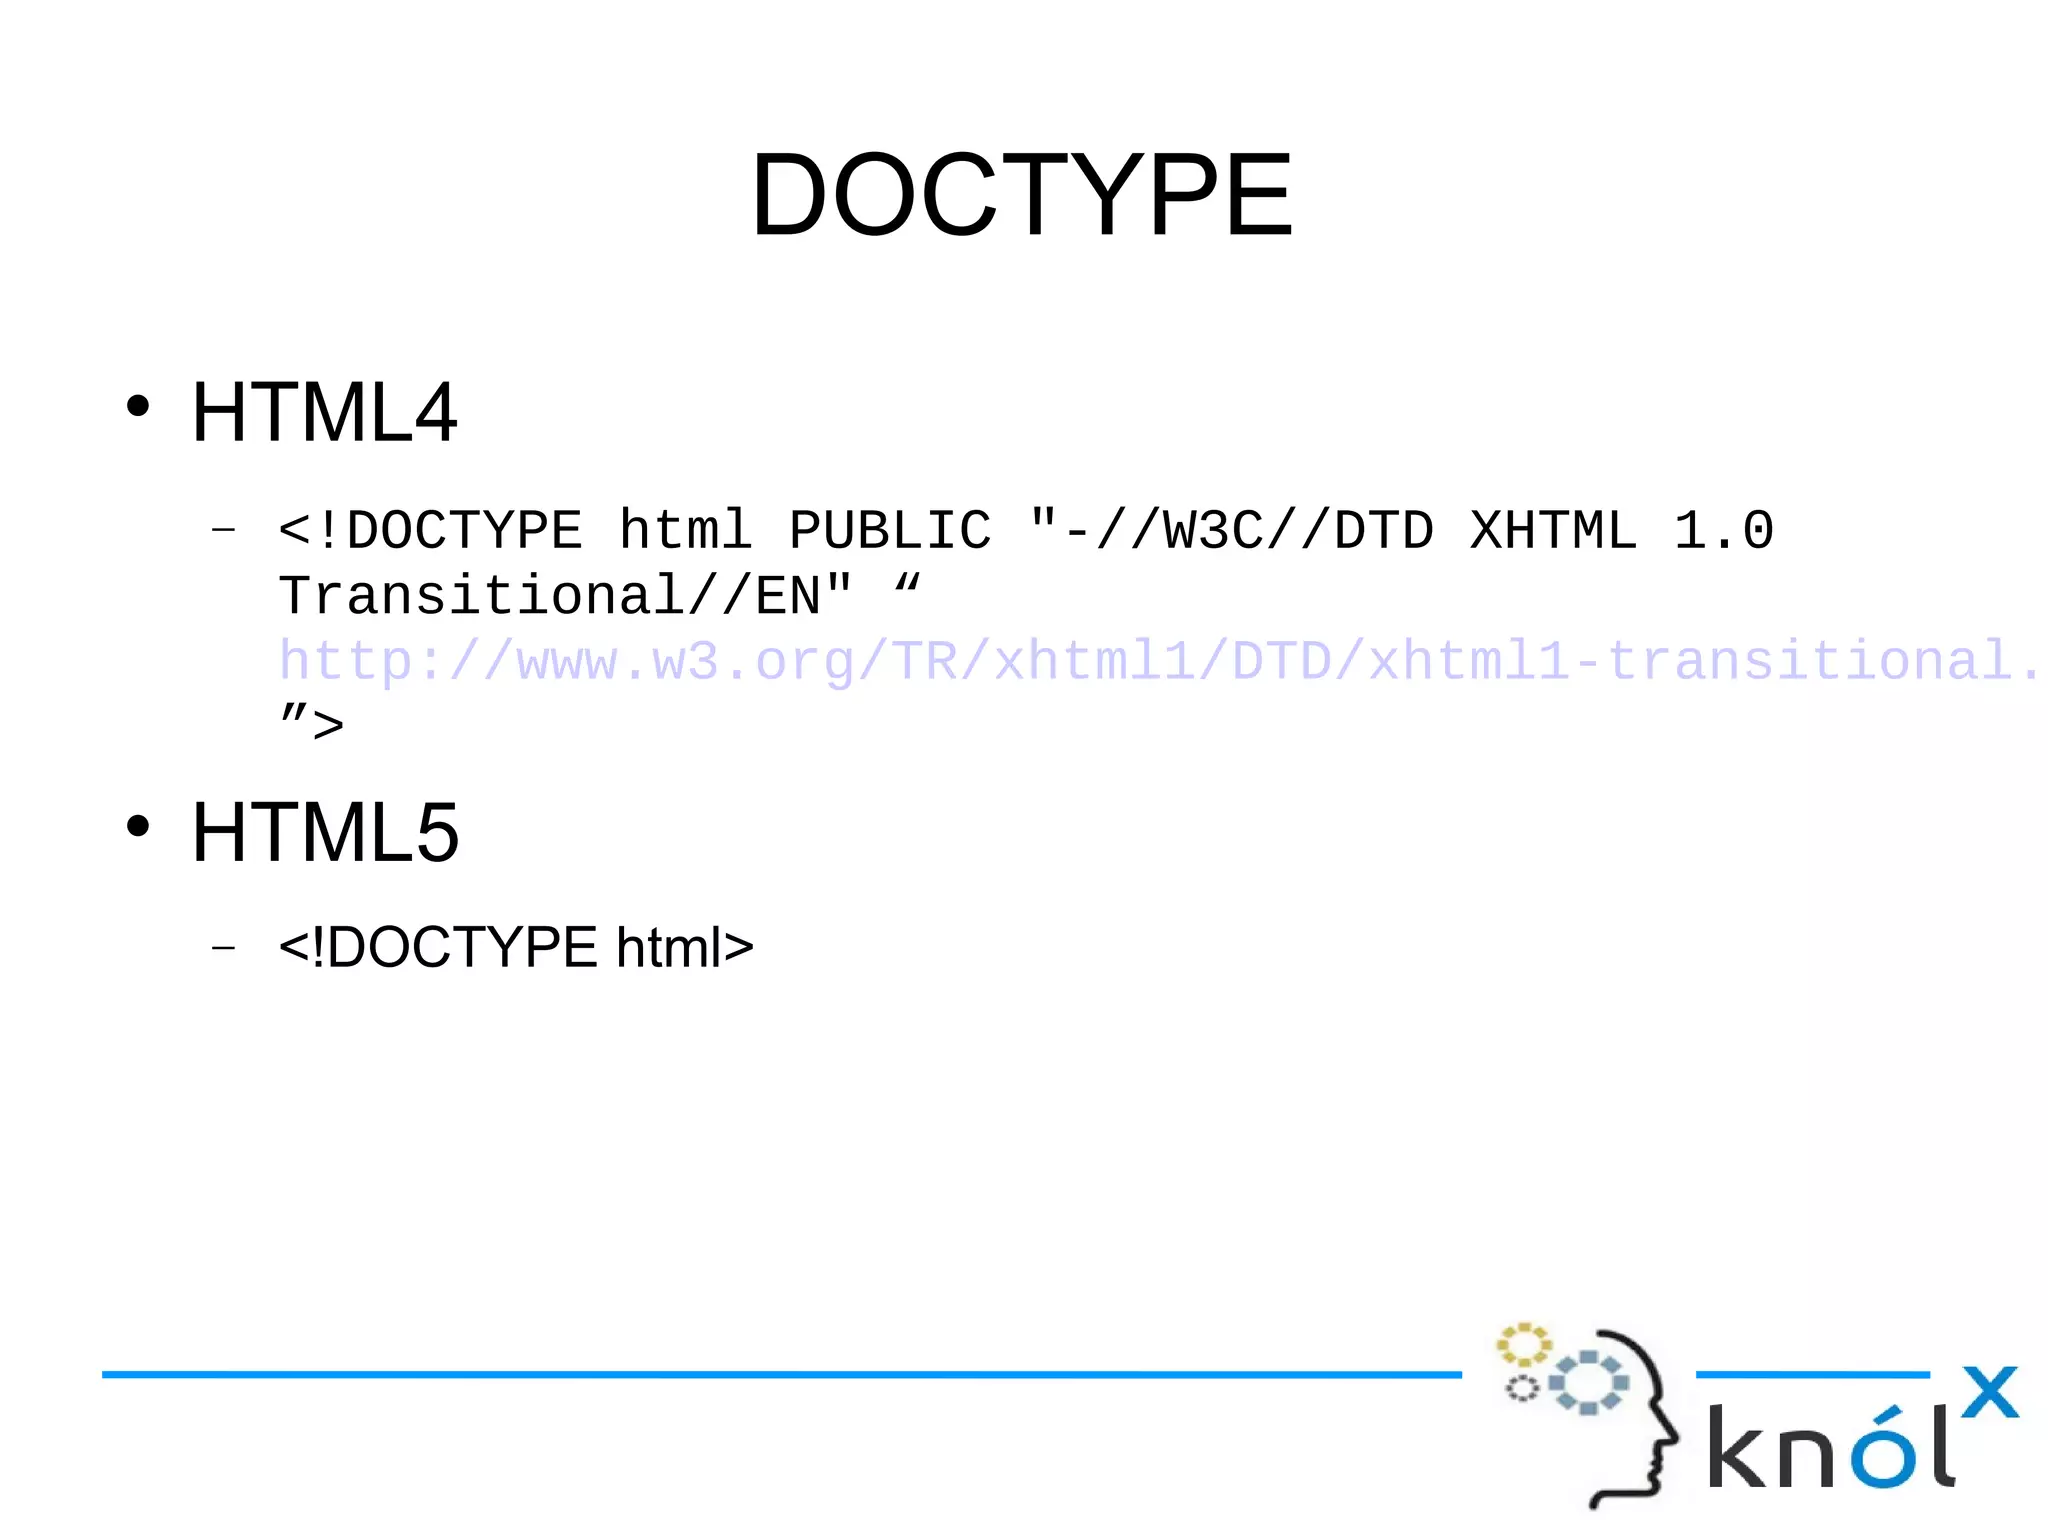
● We can add regular expressions to <input> tags for
validation, There is no JavaScript required.
<form action="" method="post">
<label for="username">Create a Username: </label>
<input type="text"
name="username"
id="username"
placeholder="4 <> 10"
pattern="[A-Za-z]{4,10}"
autofocus
required>
<button type="submit">Go </button>
</form>](https://image.slidesharecdn.com/html5-150715135855-lva1-app6891/75/Graphics-Animation-with-HTML5-14-2048.jpg)


![Rendering Text
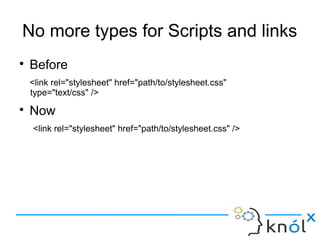
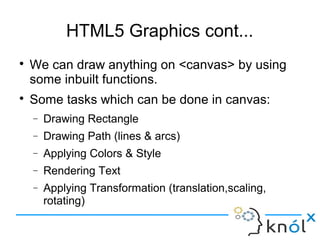
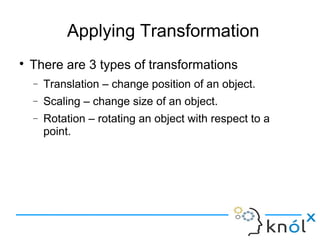
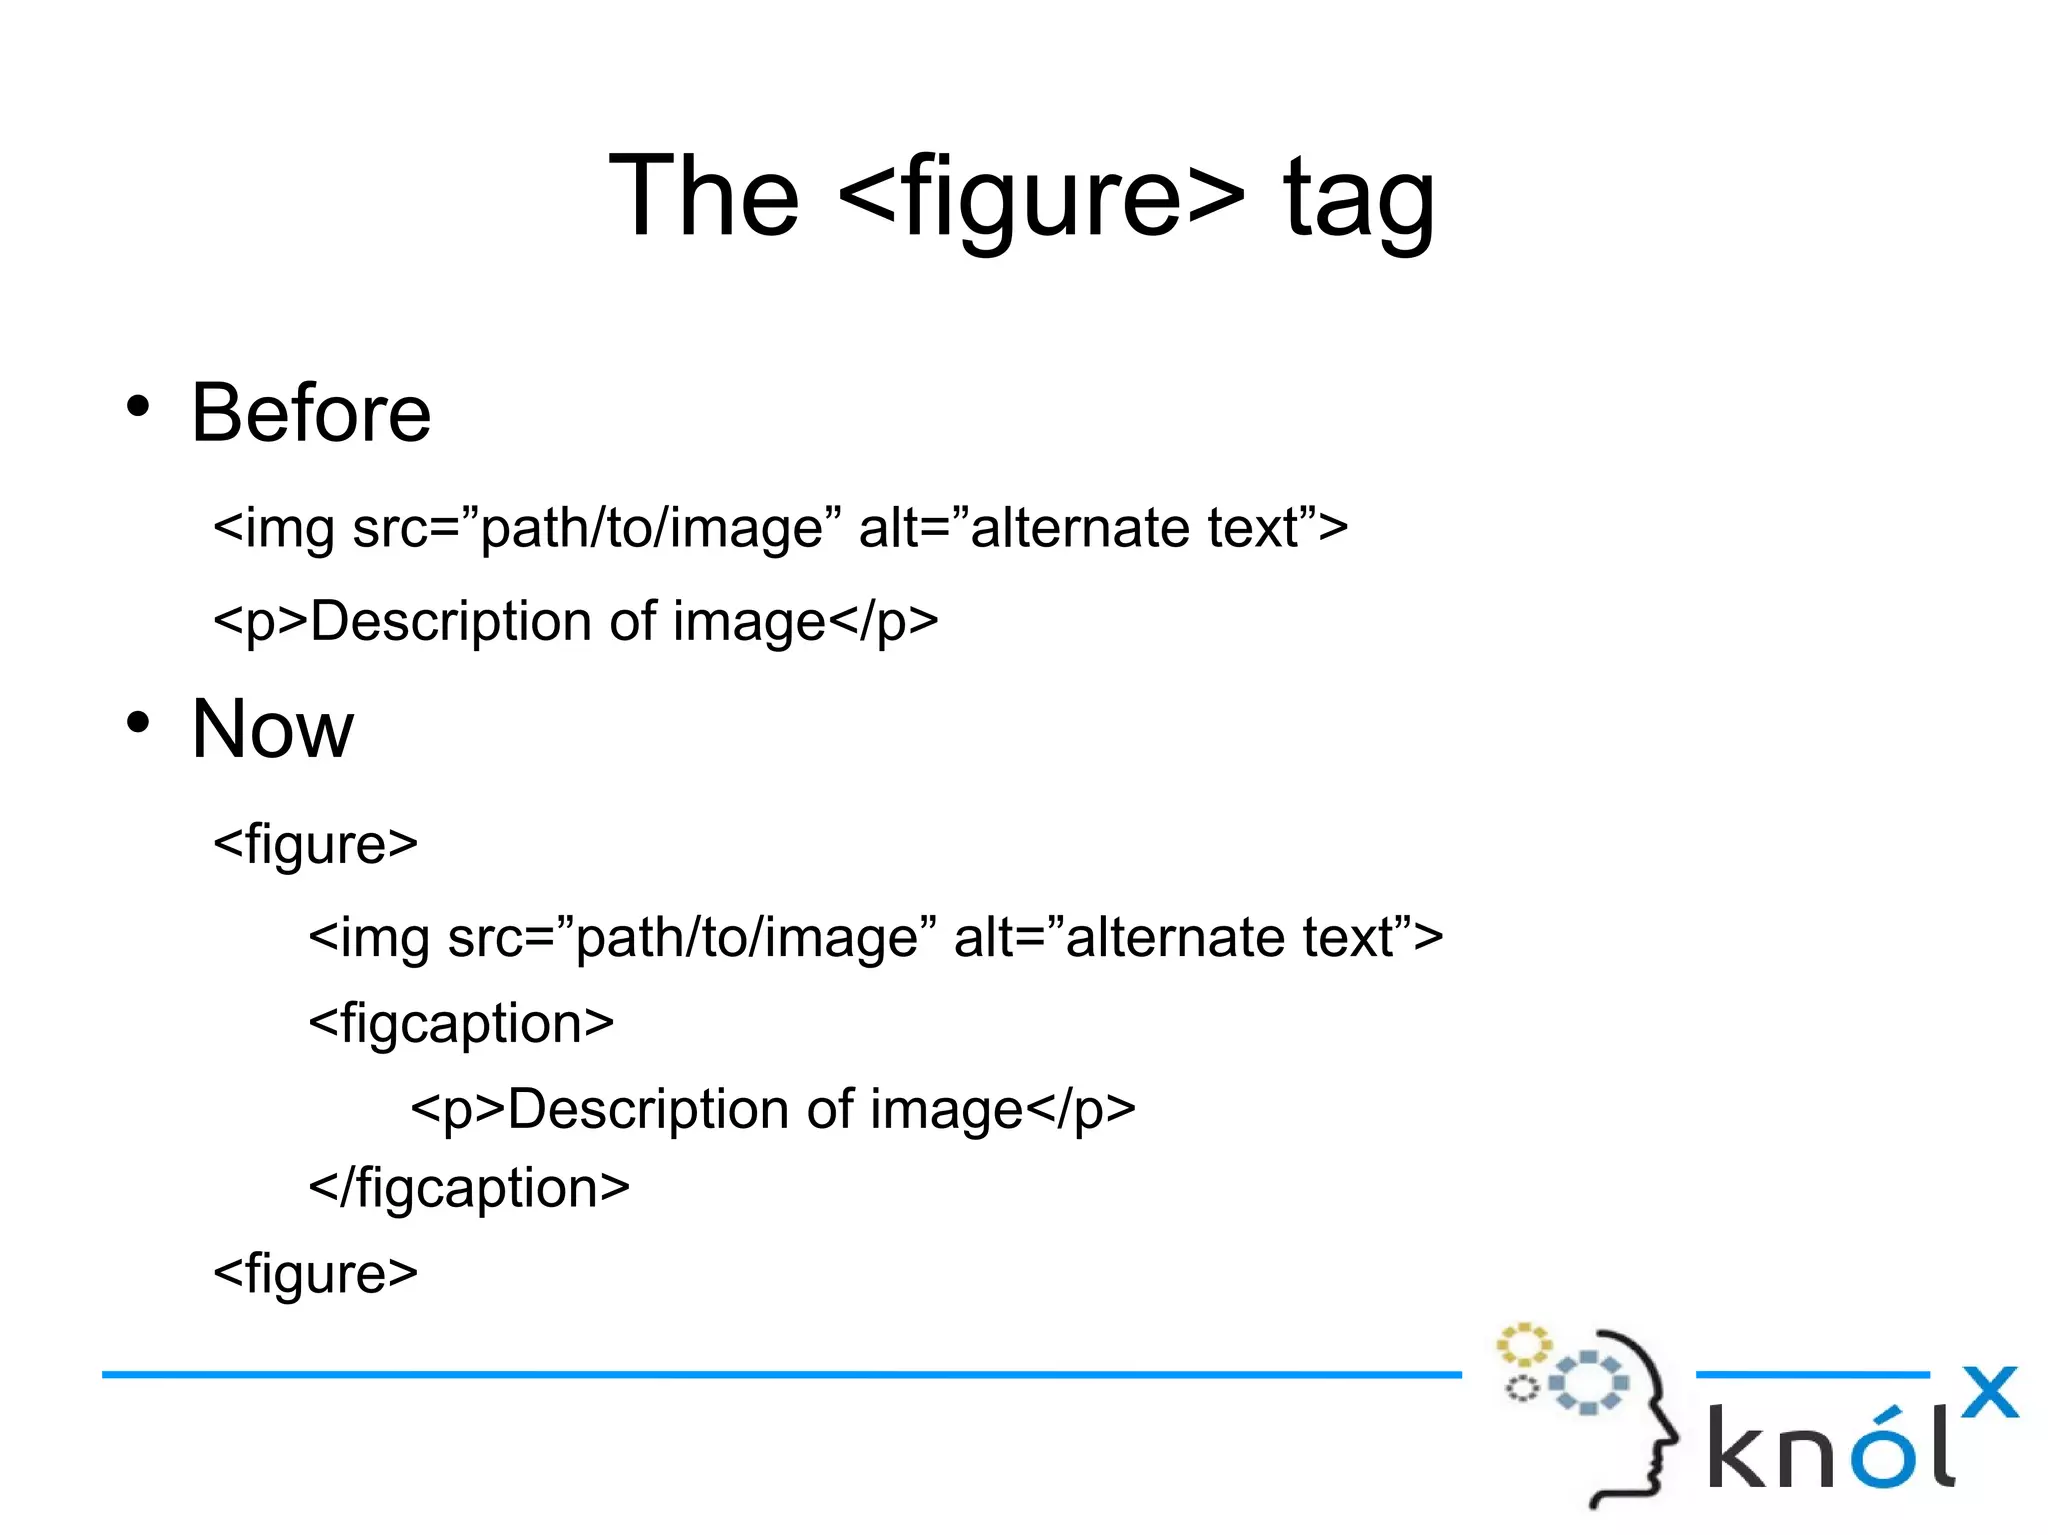
● We can fill text or make outline of text by using
fillText(text, x, y, [maxWidth]) and strokeText(text,x,y,
[maxWidth]) here maxWidth is optional.
function draw(){
var ctx = document.getElementById('canvas').getContext('2d');
ctx.font = “48px serif”;
ctx.fillText(“Hello world”, 10, 50);
ctx.stroke(“Hello world”,50, 50);
}](https://image.slidesharecdn.com/html5-150715135855-lva1-app6891/75/Graphics-Animation-with-HTML5-22-2048.jpg)


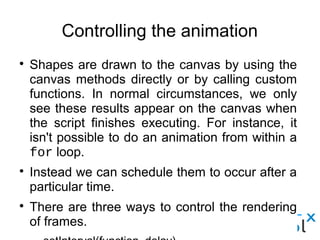
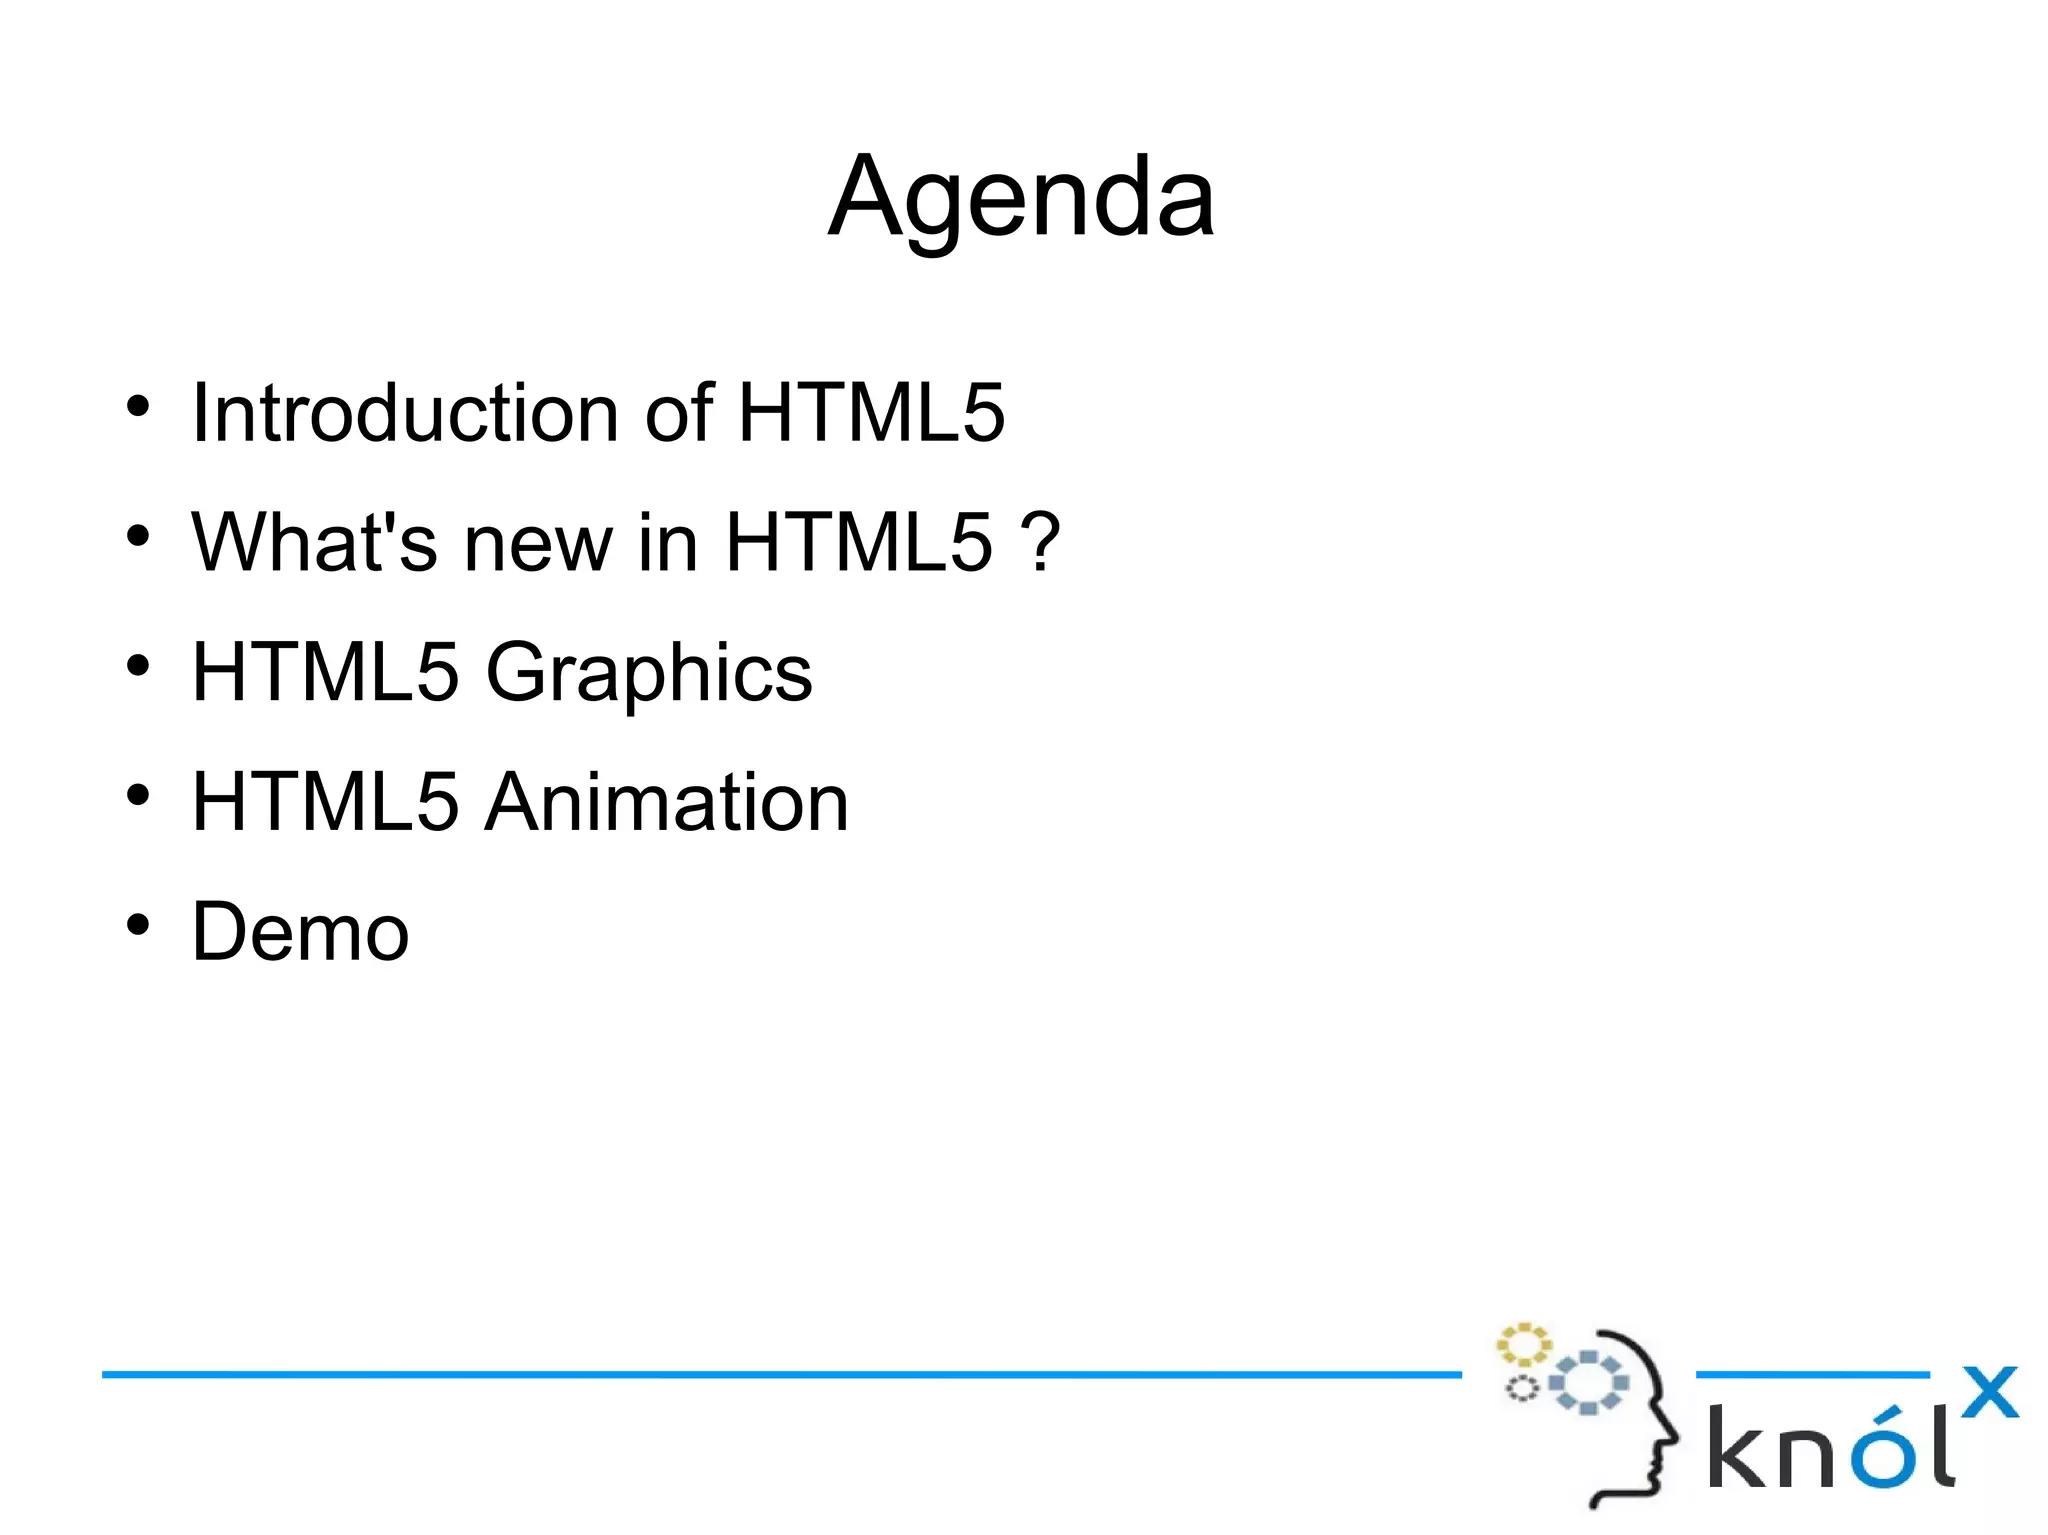
The document provides an overview of HTML5, highlighting its new features such as enhanced media support, new input types, and structural elements like <header> and <footer>. It discusses HTML5 graphics using <canvas> for drawing and rendering, along with techniques for animation. It emphasizes the methods for controlling animations and includes demo links for practical understanding.
Introduction to HTML5 and its significance, emphasizing new features for rich media and web application support.
Several new features introduced in HTML5 including new elements, attributes, and multimedia support with examples.
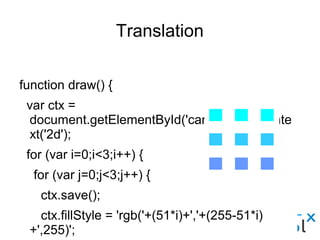
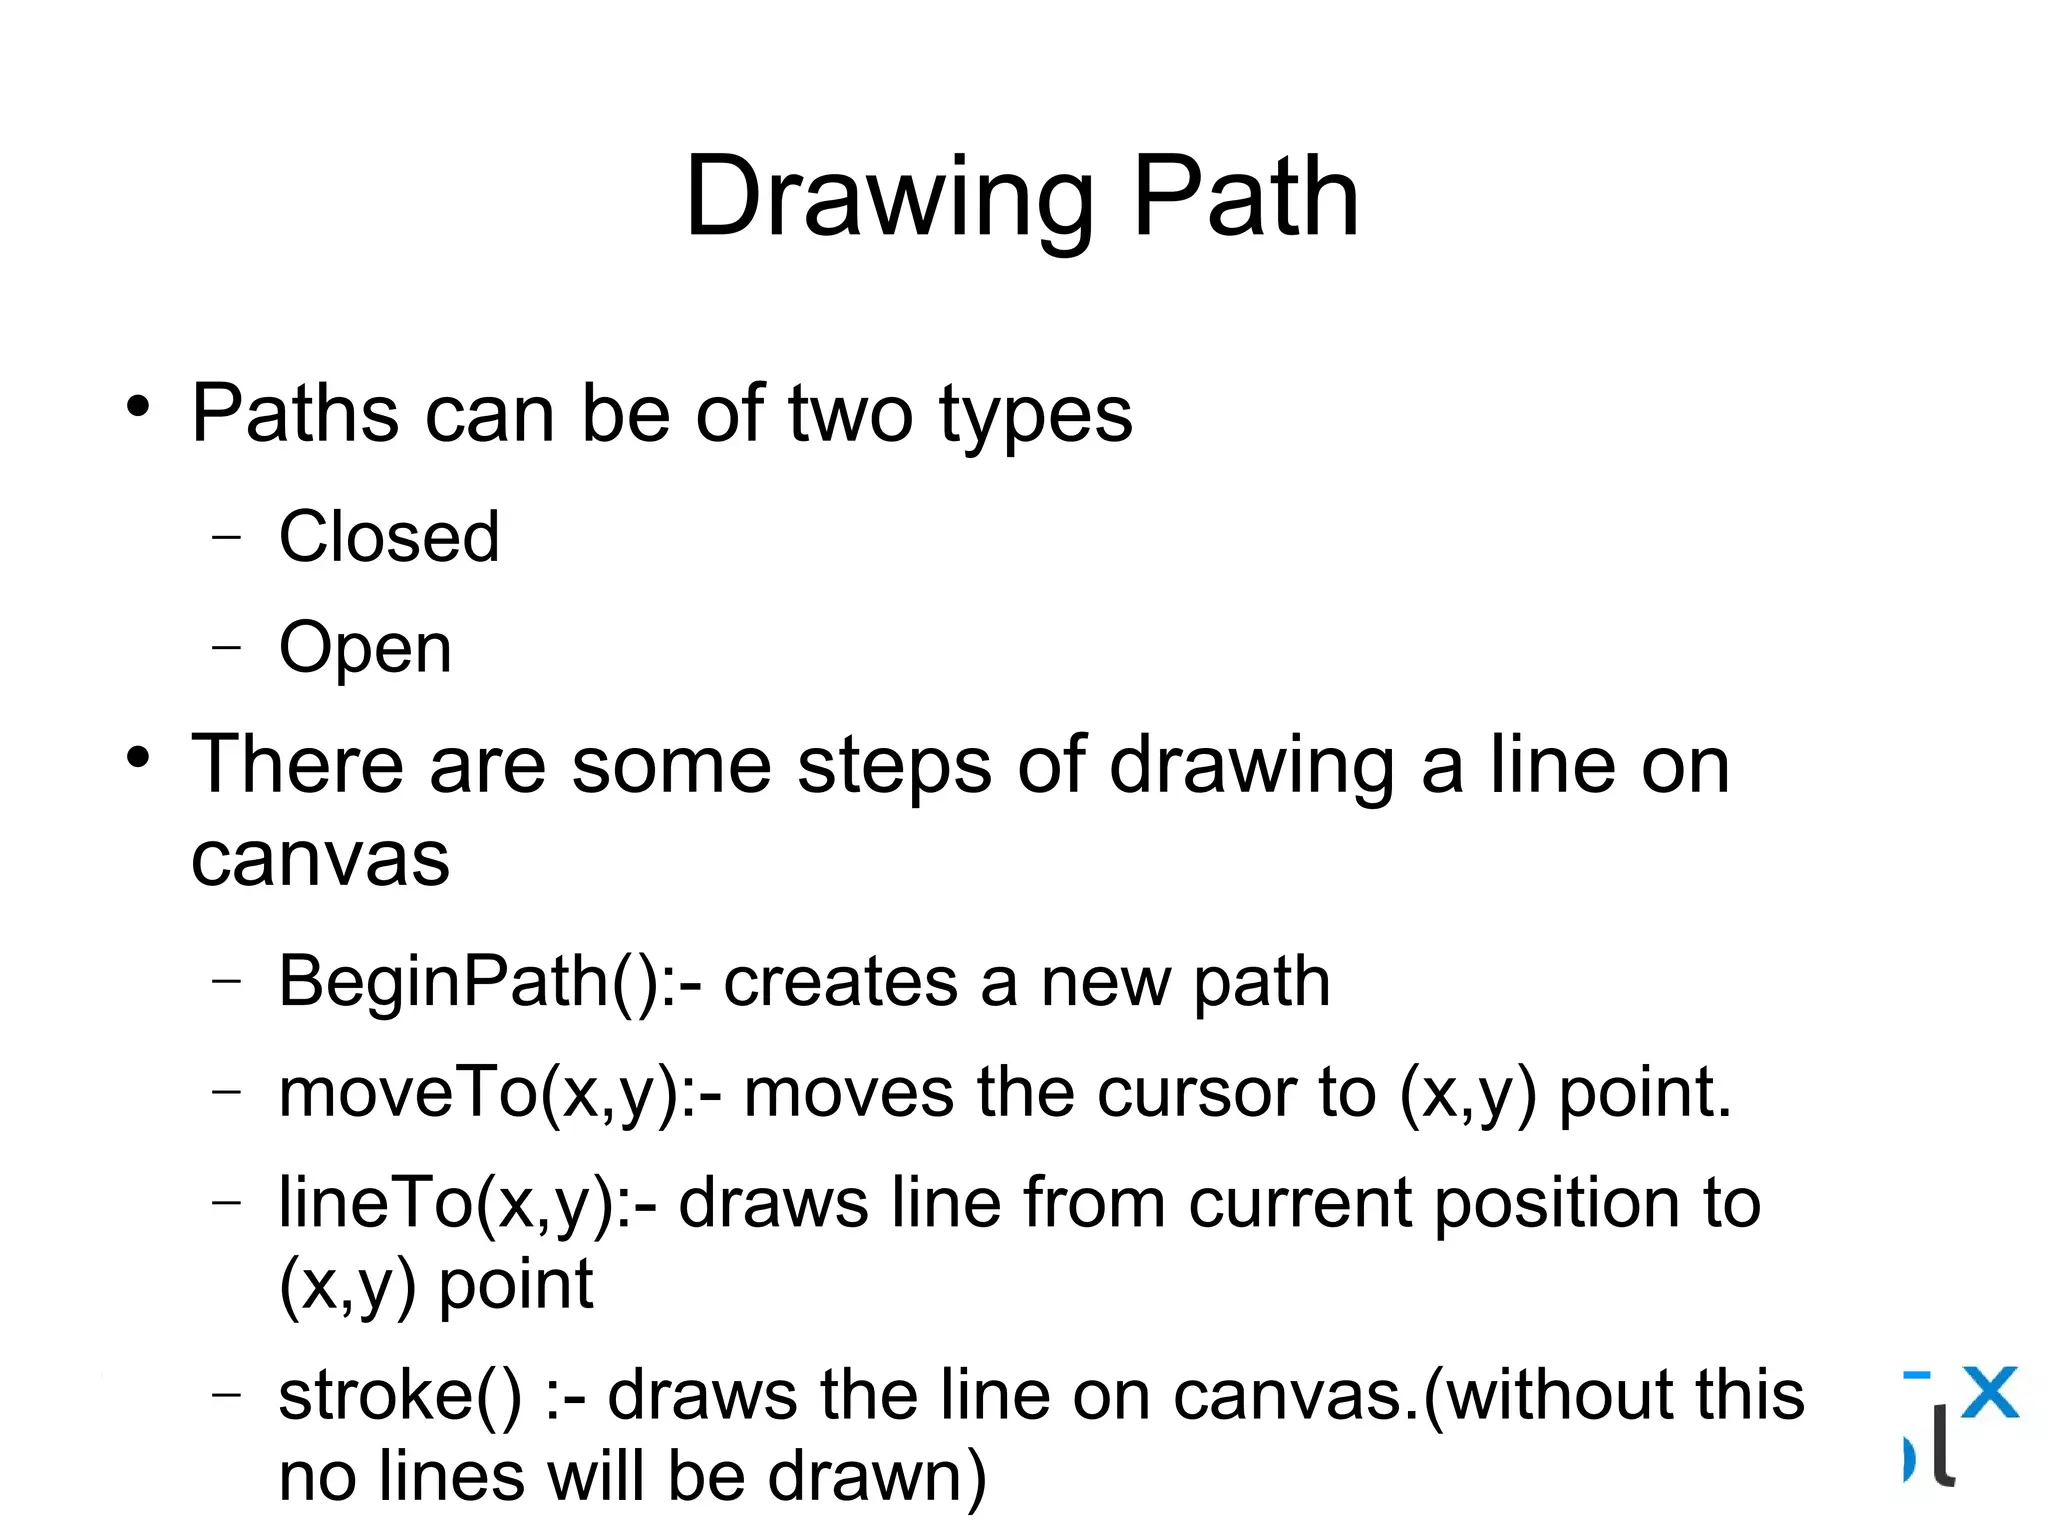
Introduction to HTML5 graphics using <canvas>, drawing shapes and paths, and context manipulation.
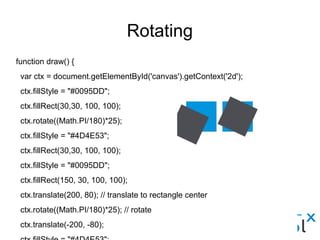
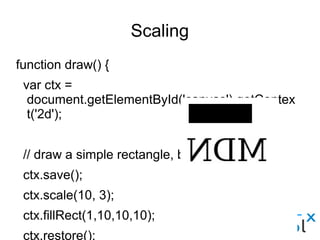
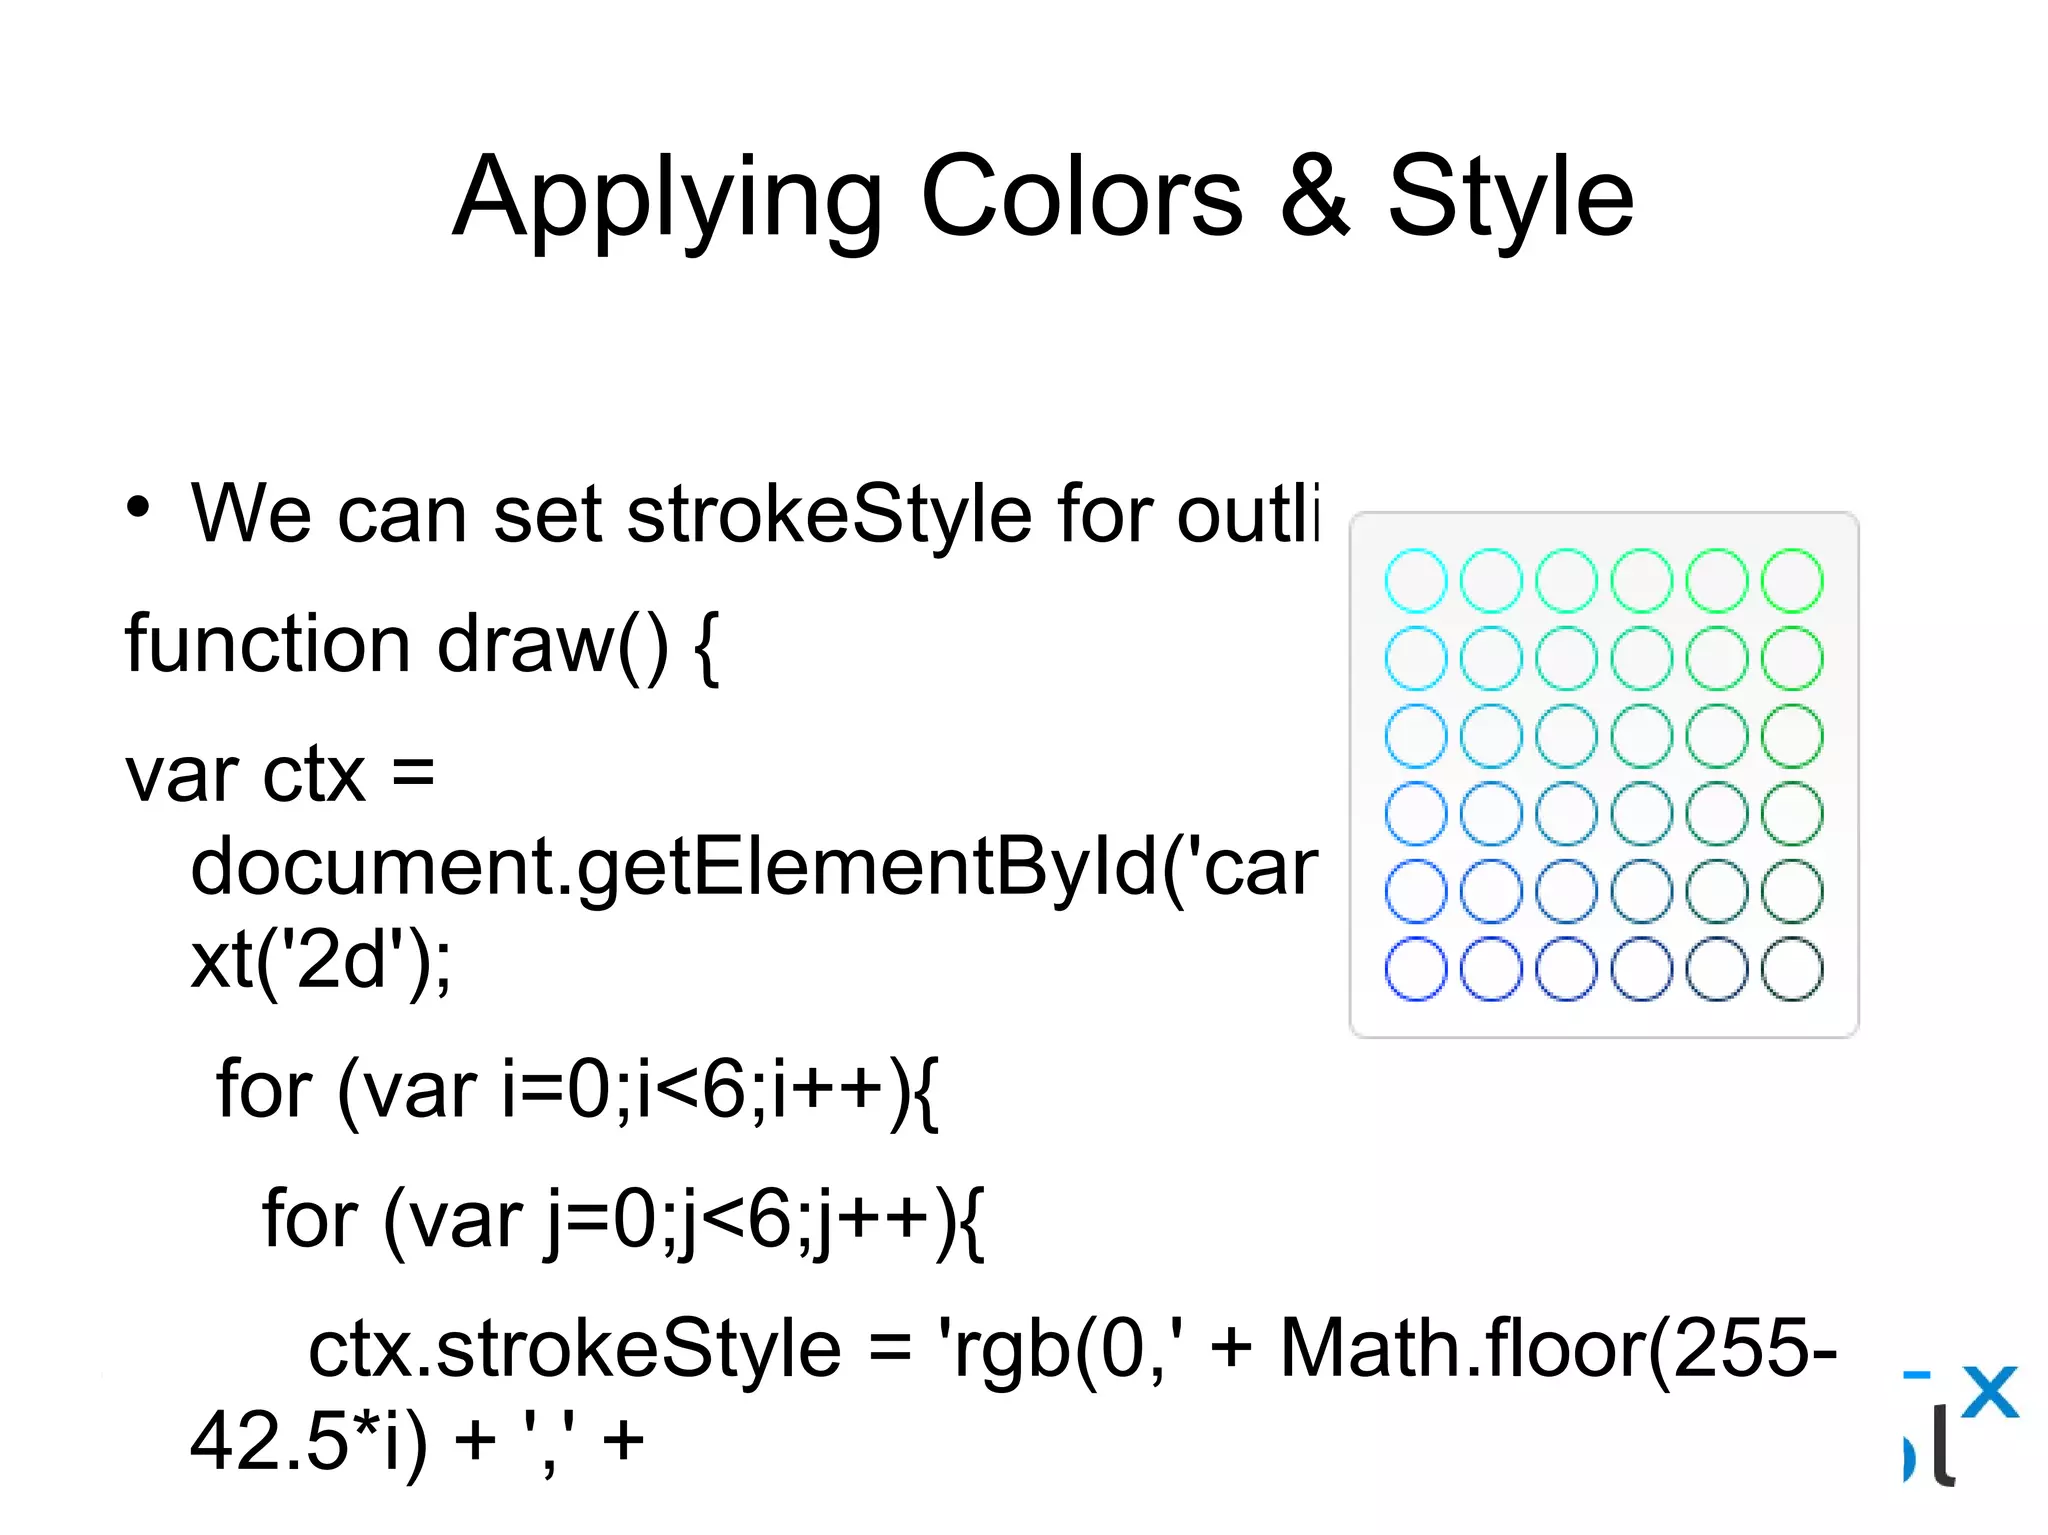
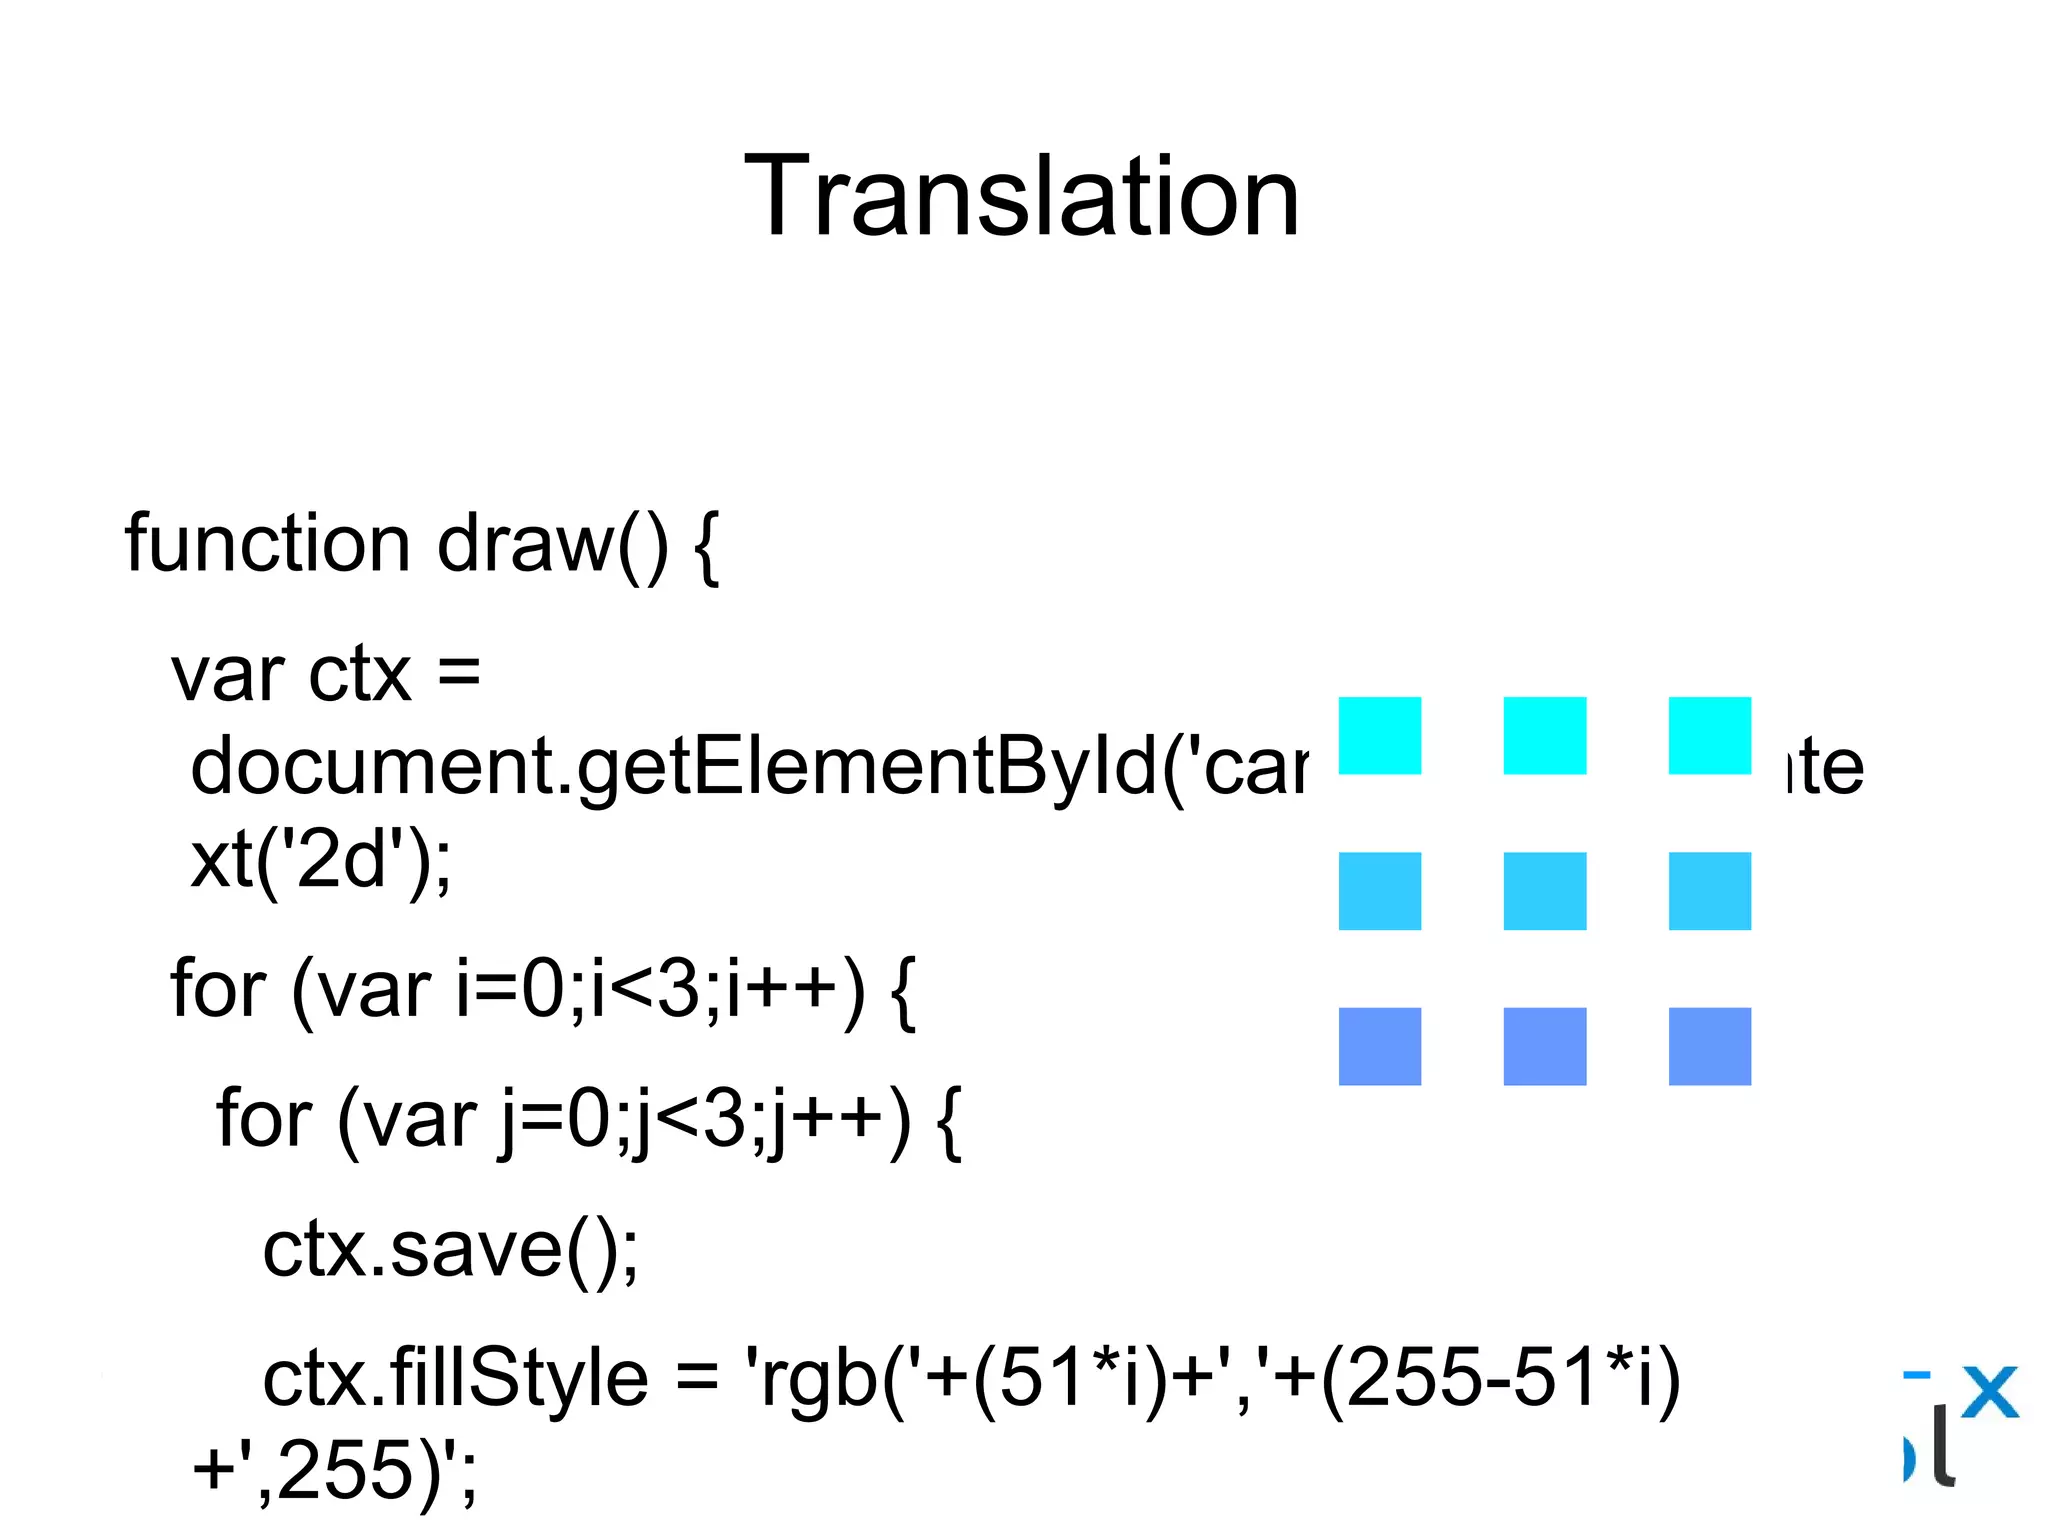
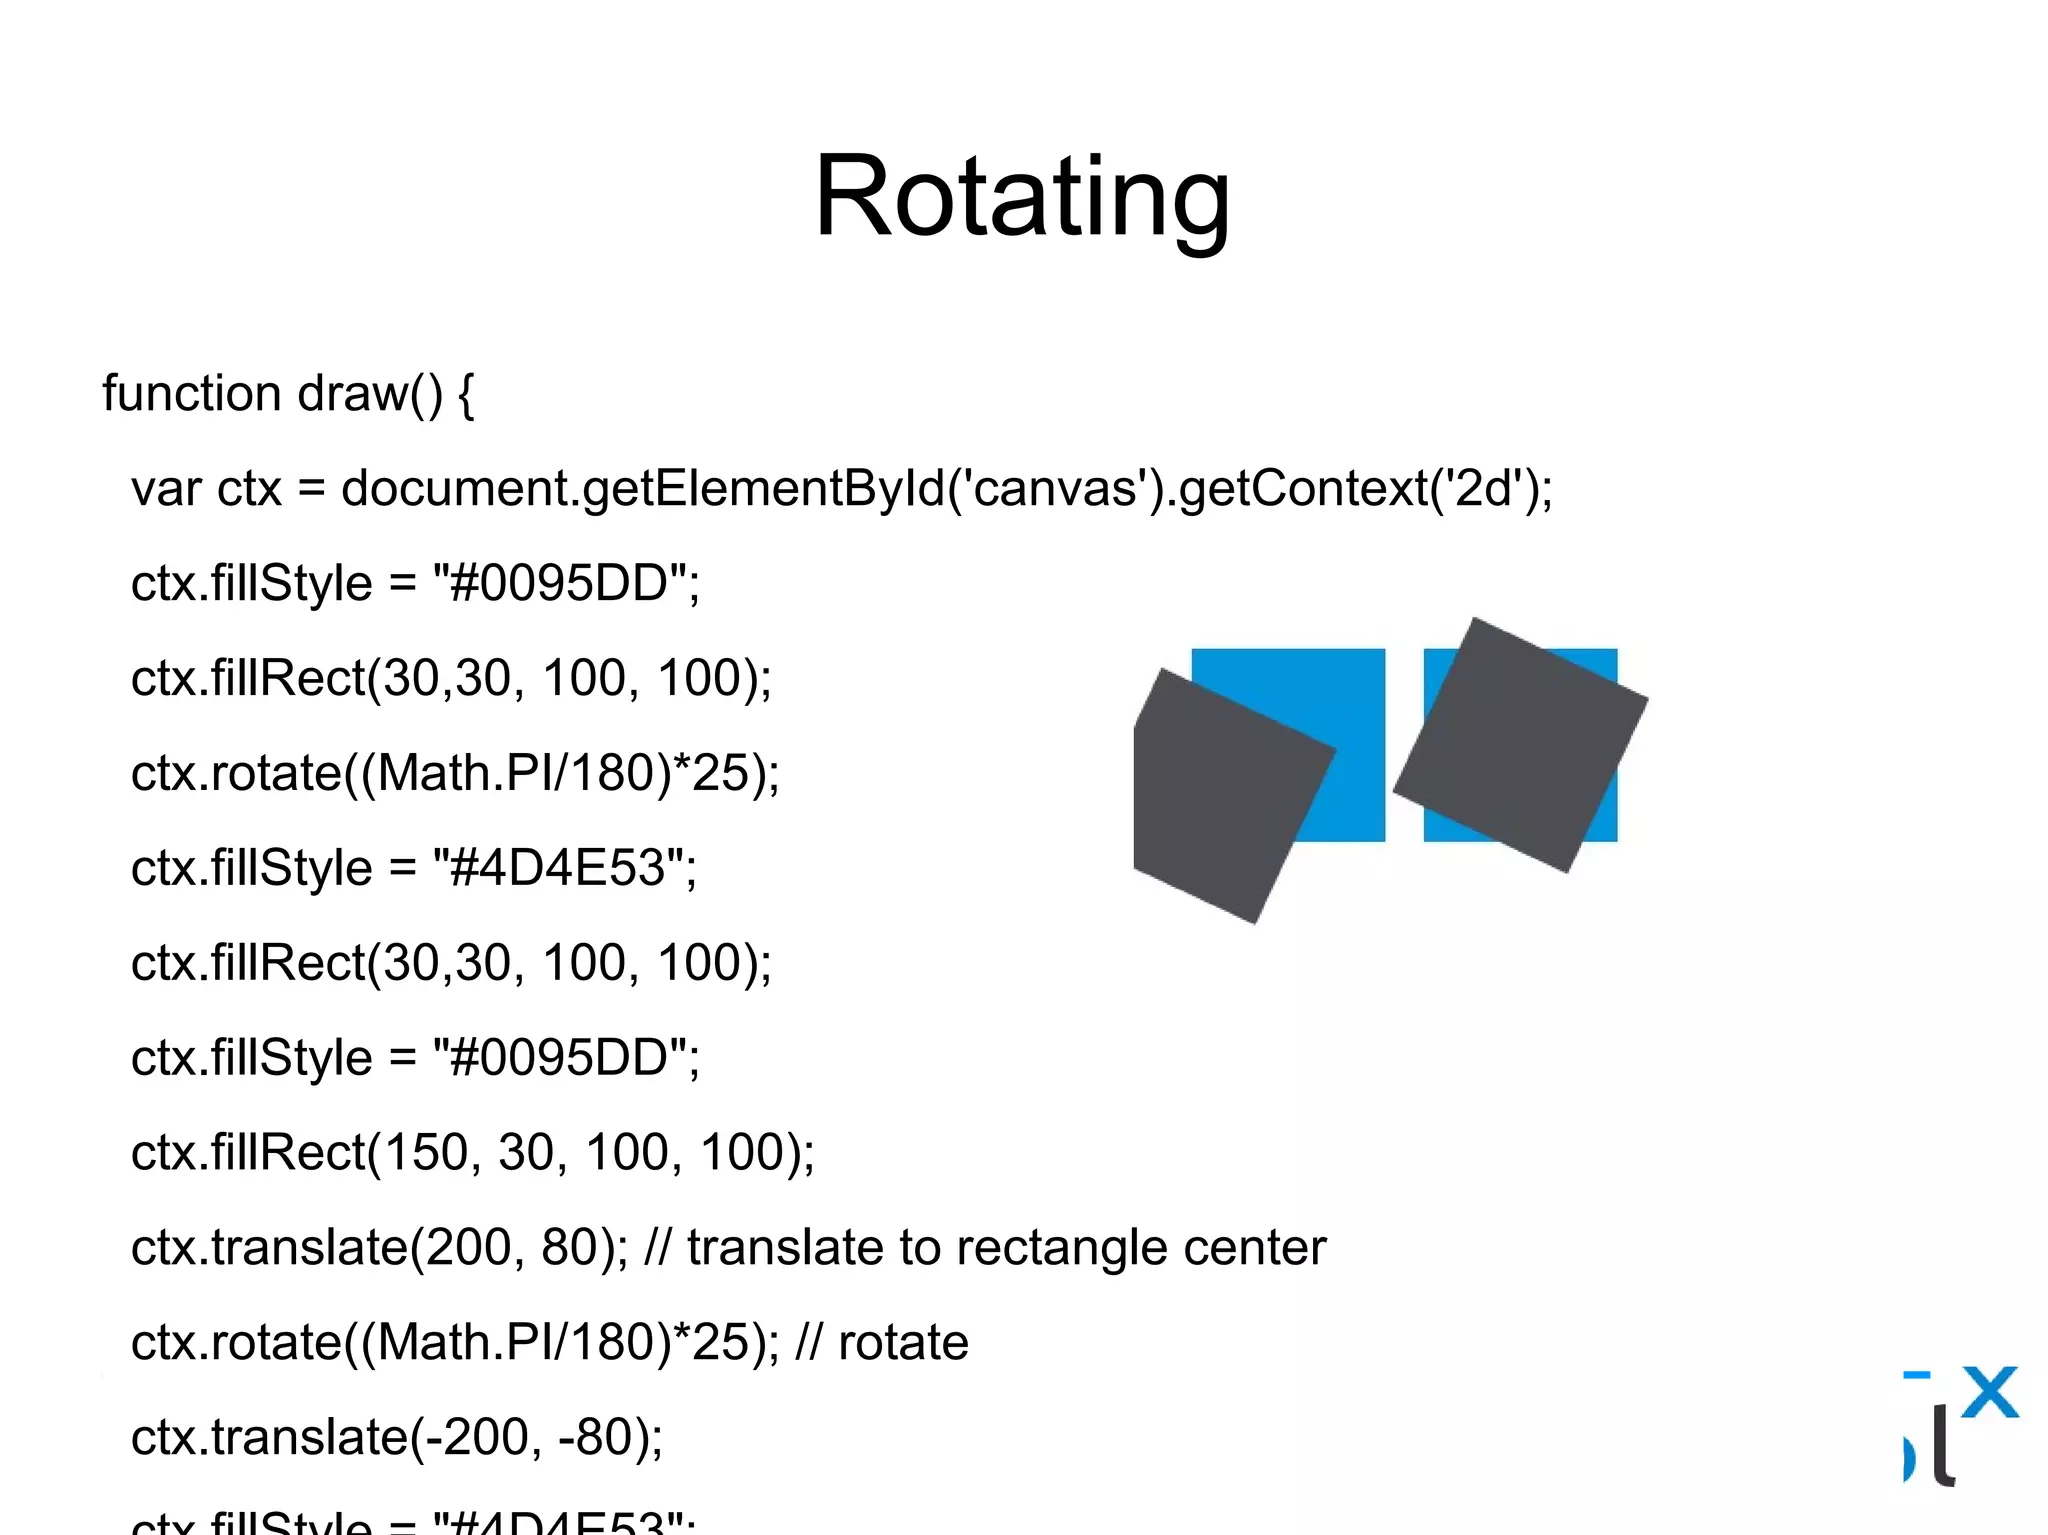
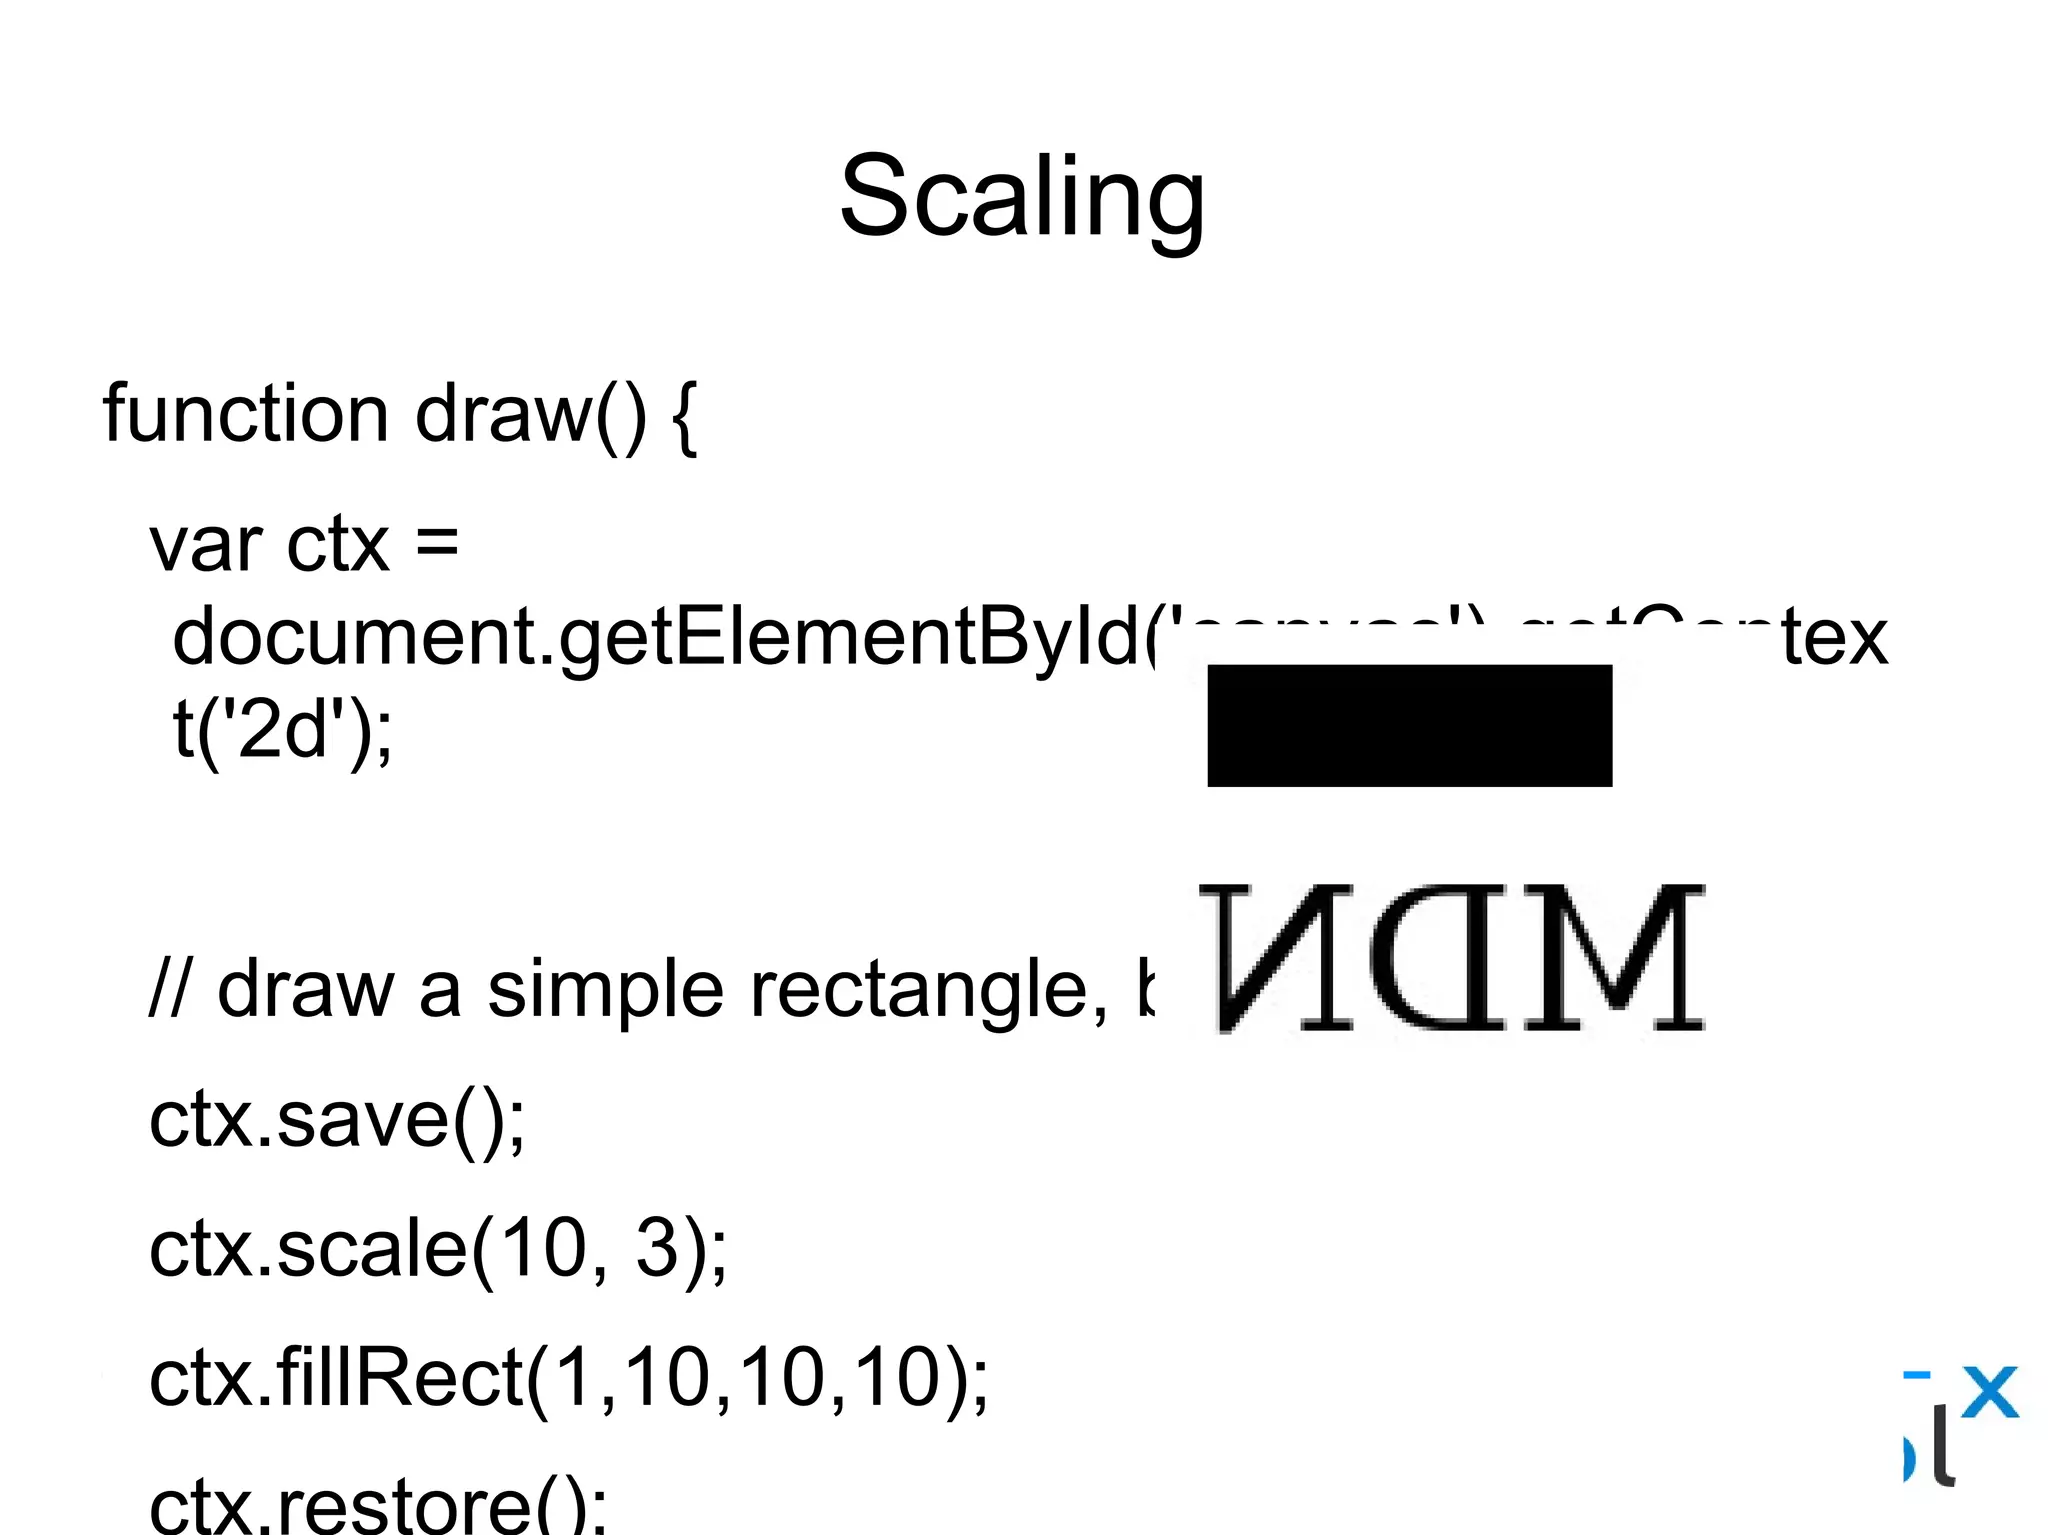
Details on colors, styles, text rendering and transformations like translation, scaling, and rotation on canvas.
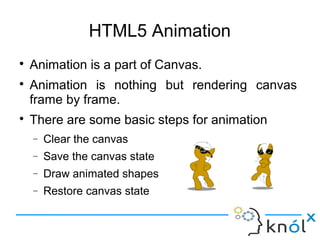
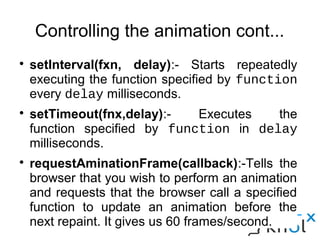
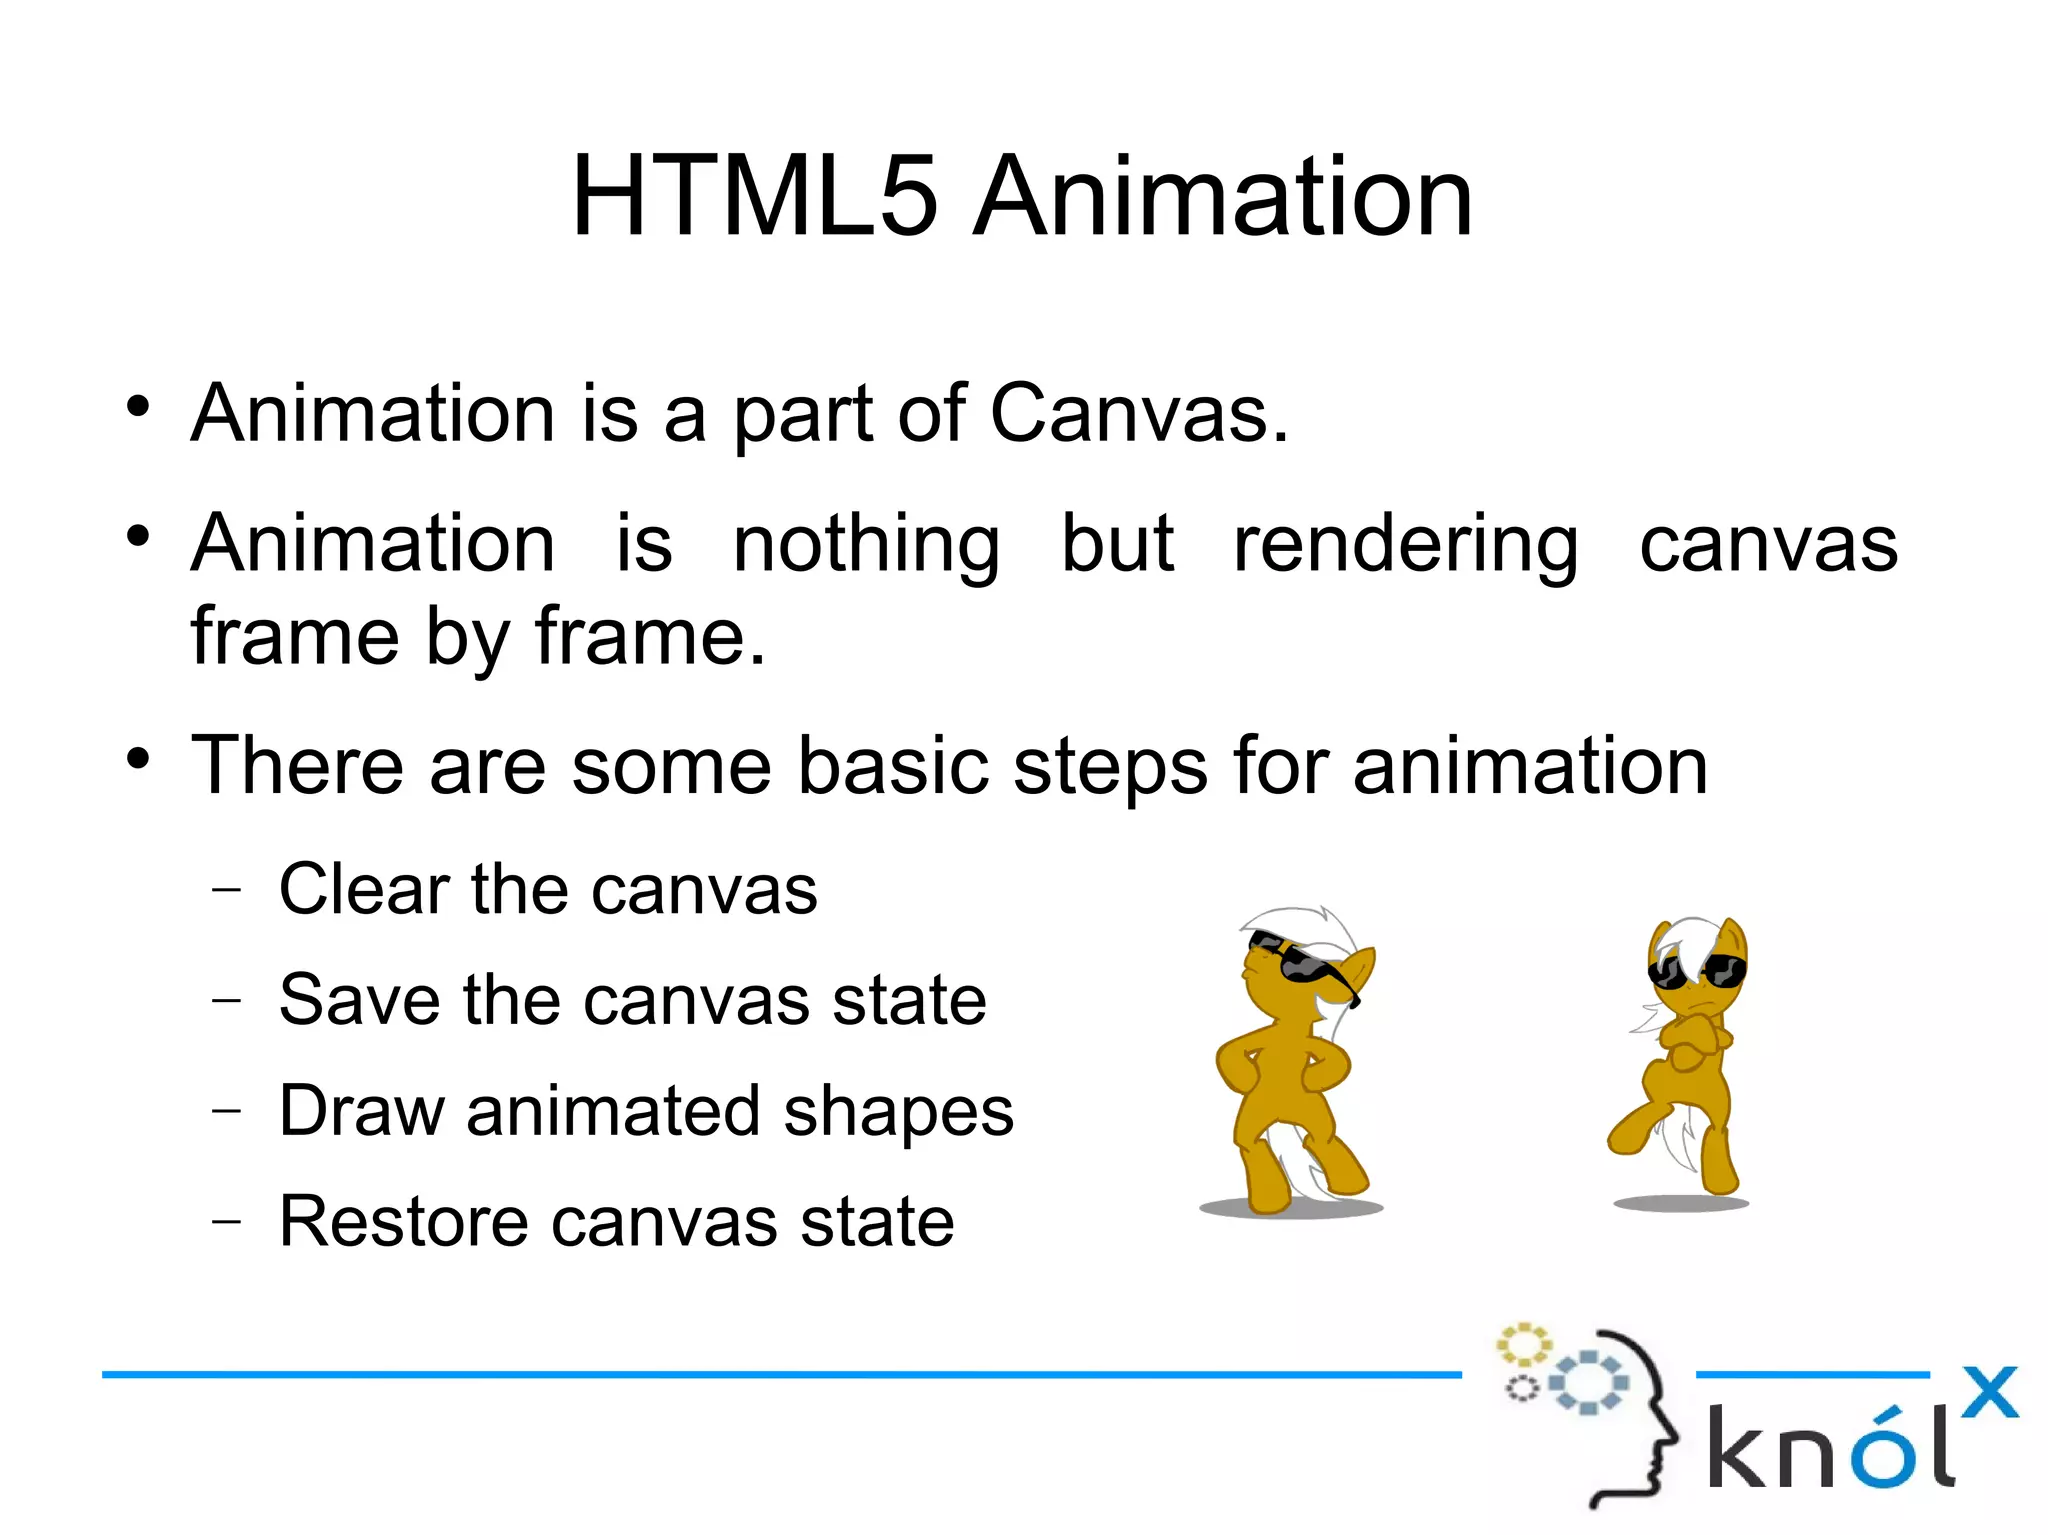
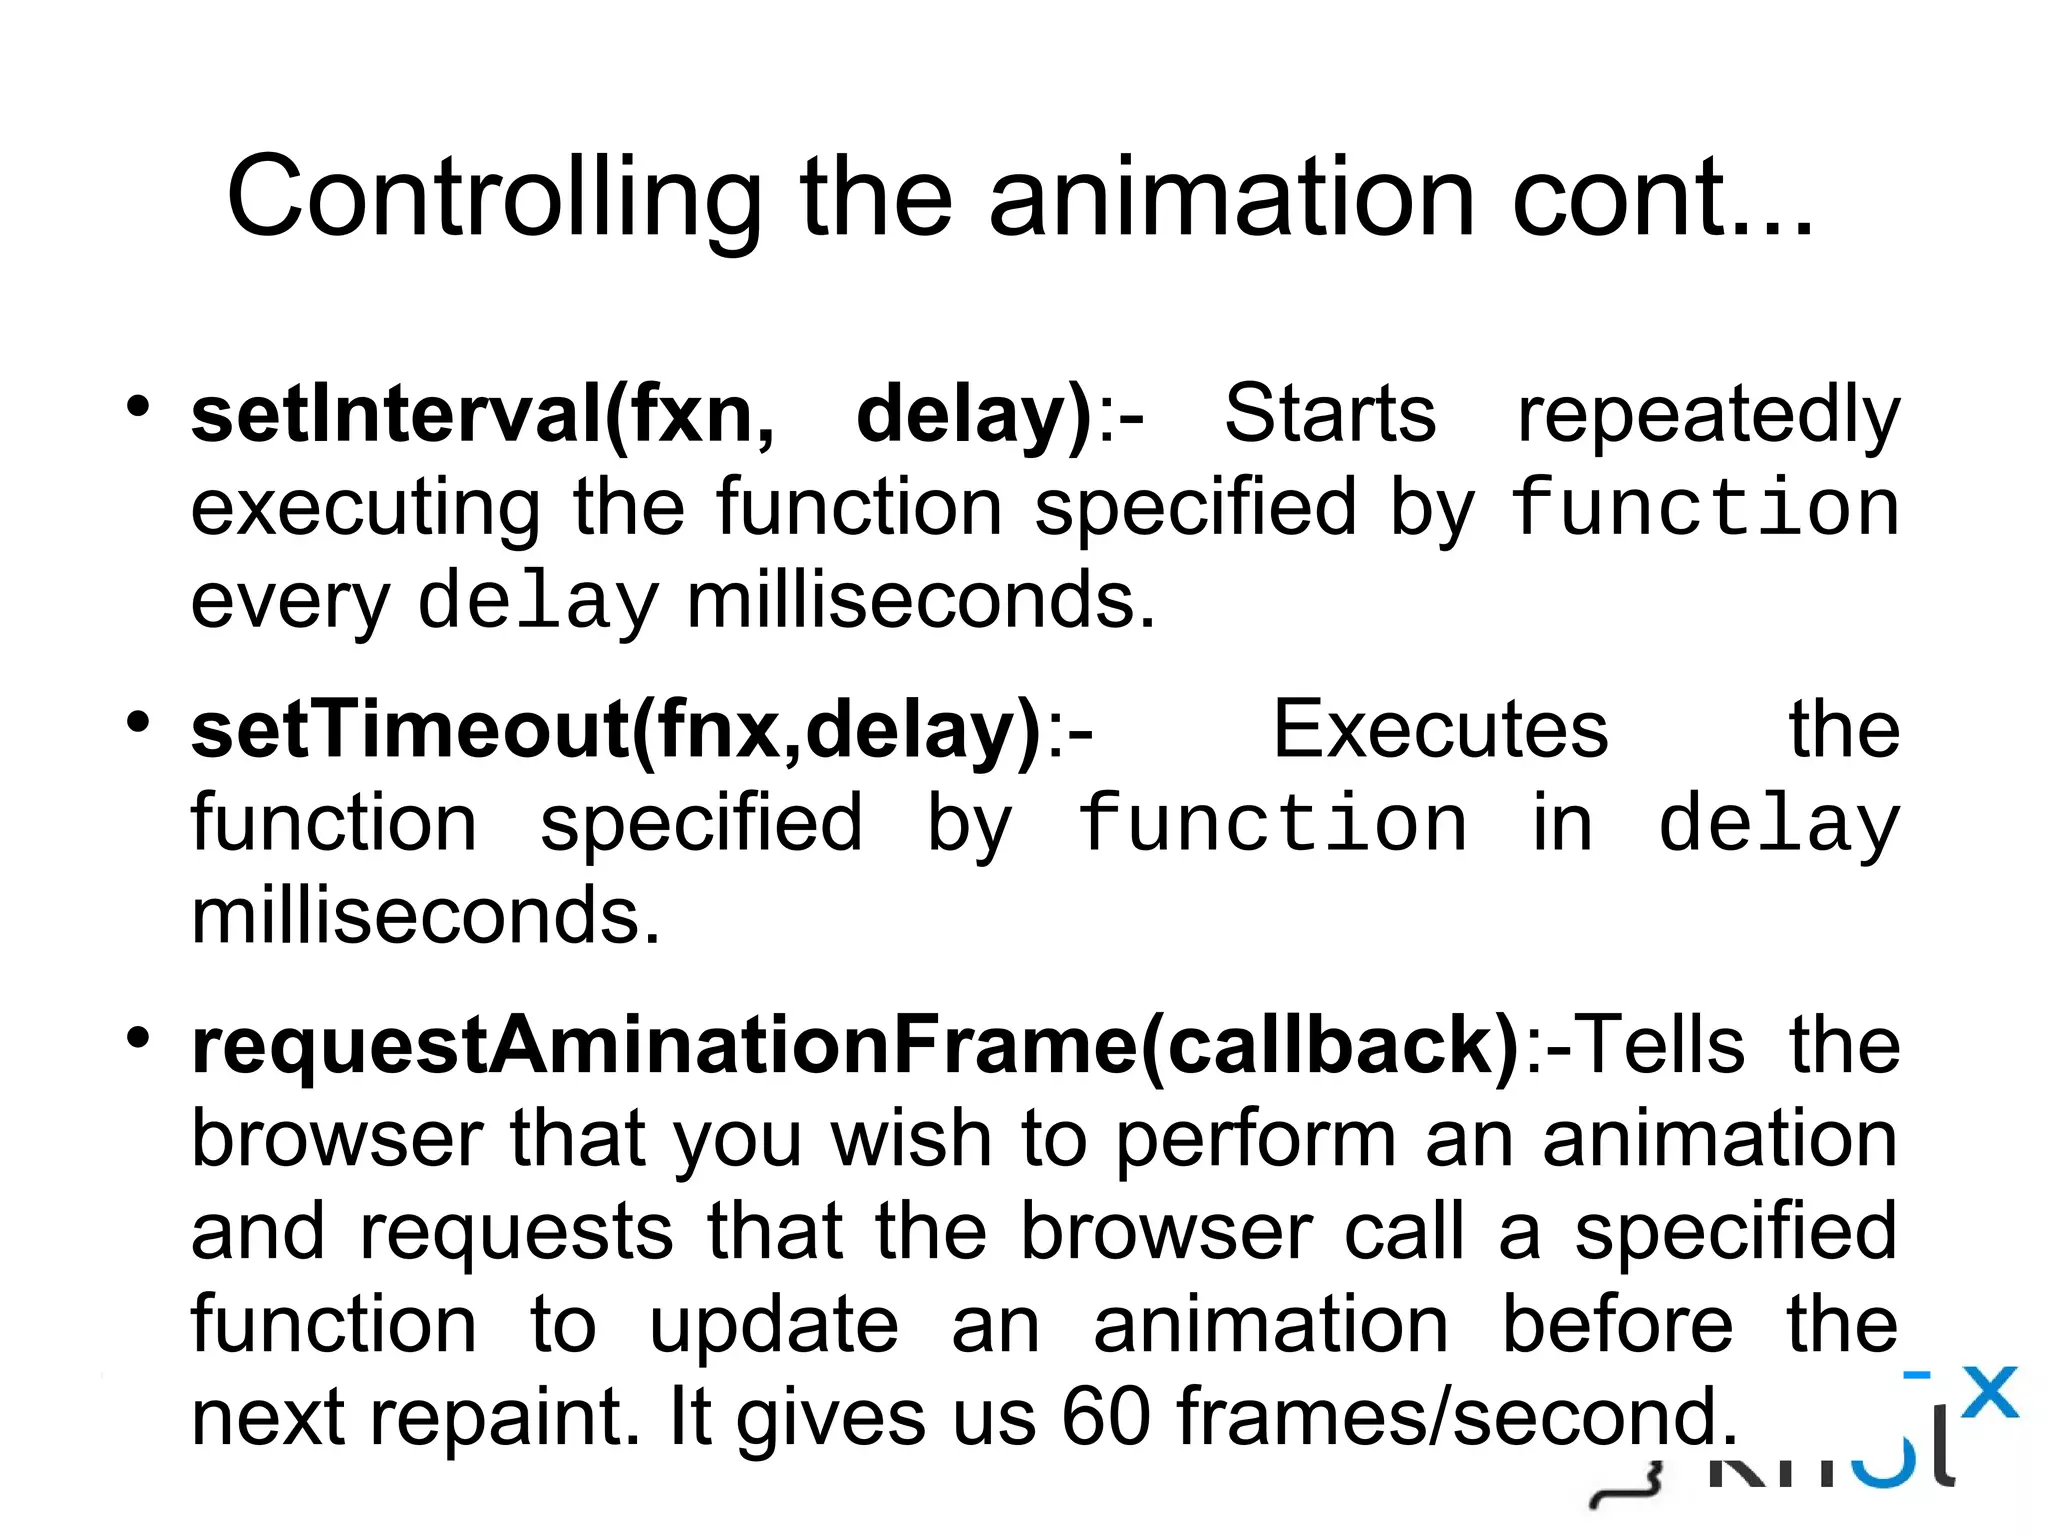
Basic concepts of animation in HTML5, frame rendering methods, and demo presentations of graphics and animation.


