This document outlines a home automation system using an Arduino board. The key components are an Arduino Uno, HC-05 Bluetooth module, 8-channel relay module, jumper wires, and programming cable. An Android app is connected to the Bluetooth module to control appliances. When buttons in the app are pressed, variables are sent to the Arduino via serial communication. The Arduino then controls appliances like lights through the relay module based on the received variables and programmed conditions. Diagrams illustrate the system's circuit and block diagrams. Benefits include remote access, convenience and increased safety, while disadvantages are complex installation and compatibility concerns.
There is anincreasing demand for smart for homes, where appliances
react automatically to changing environmental conditions and can be
easily controlled through one common device.
This project presents a possible solution whereby the user controls devices
by using their existing mobile phone, where control is communicated to
the microcontroller from a mobile phone through its Bluetooth interface.
INTRODUCTION
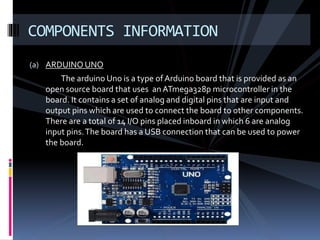
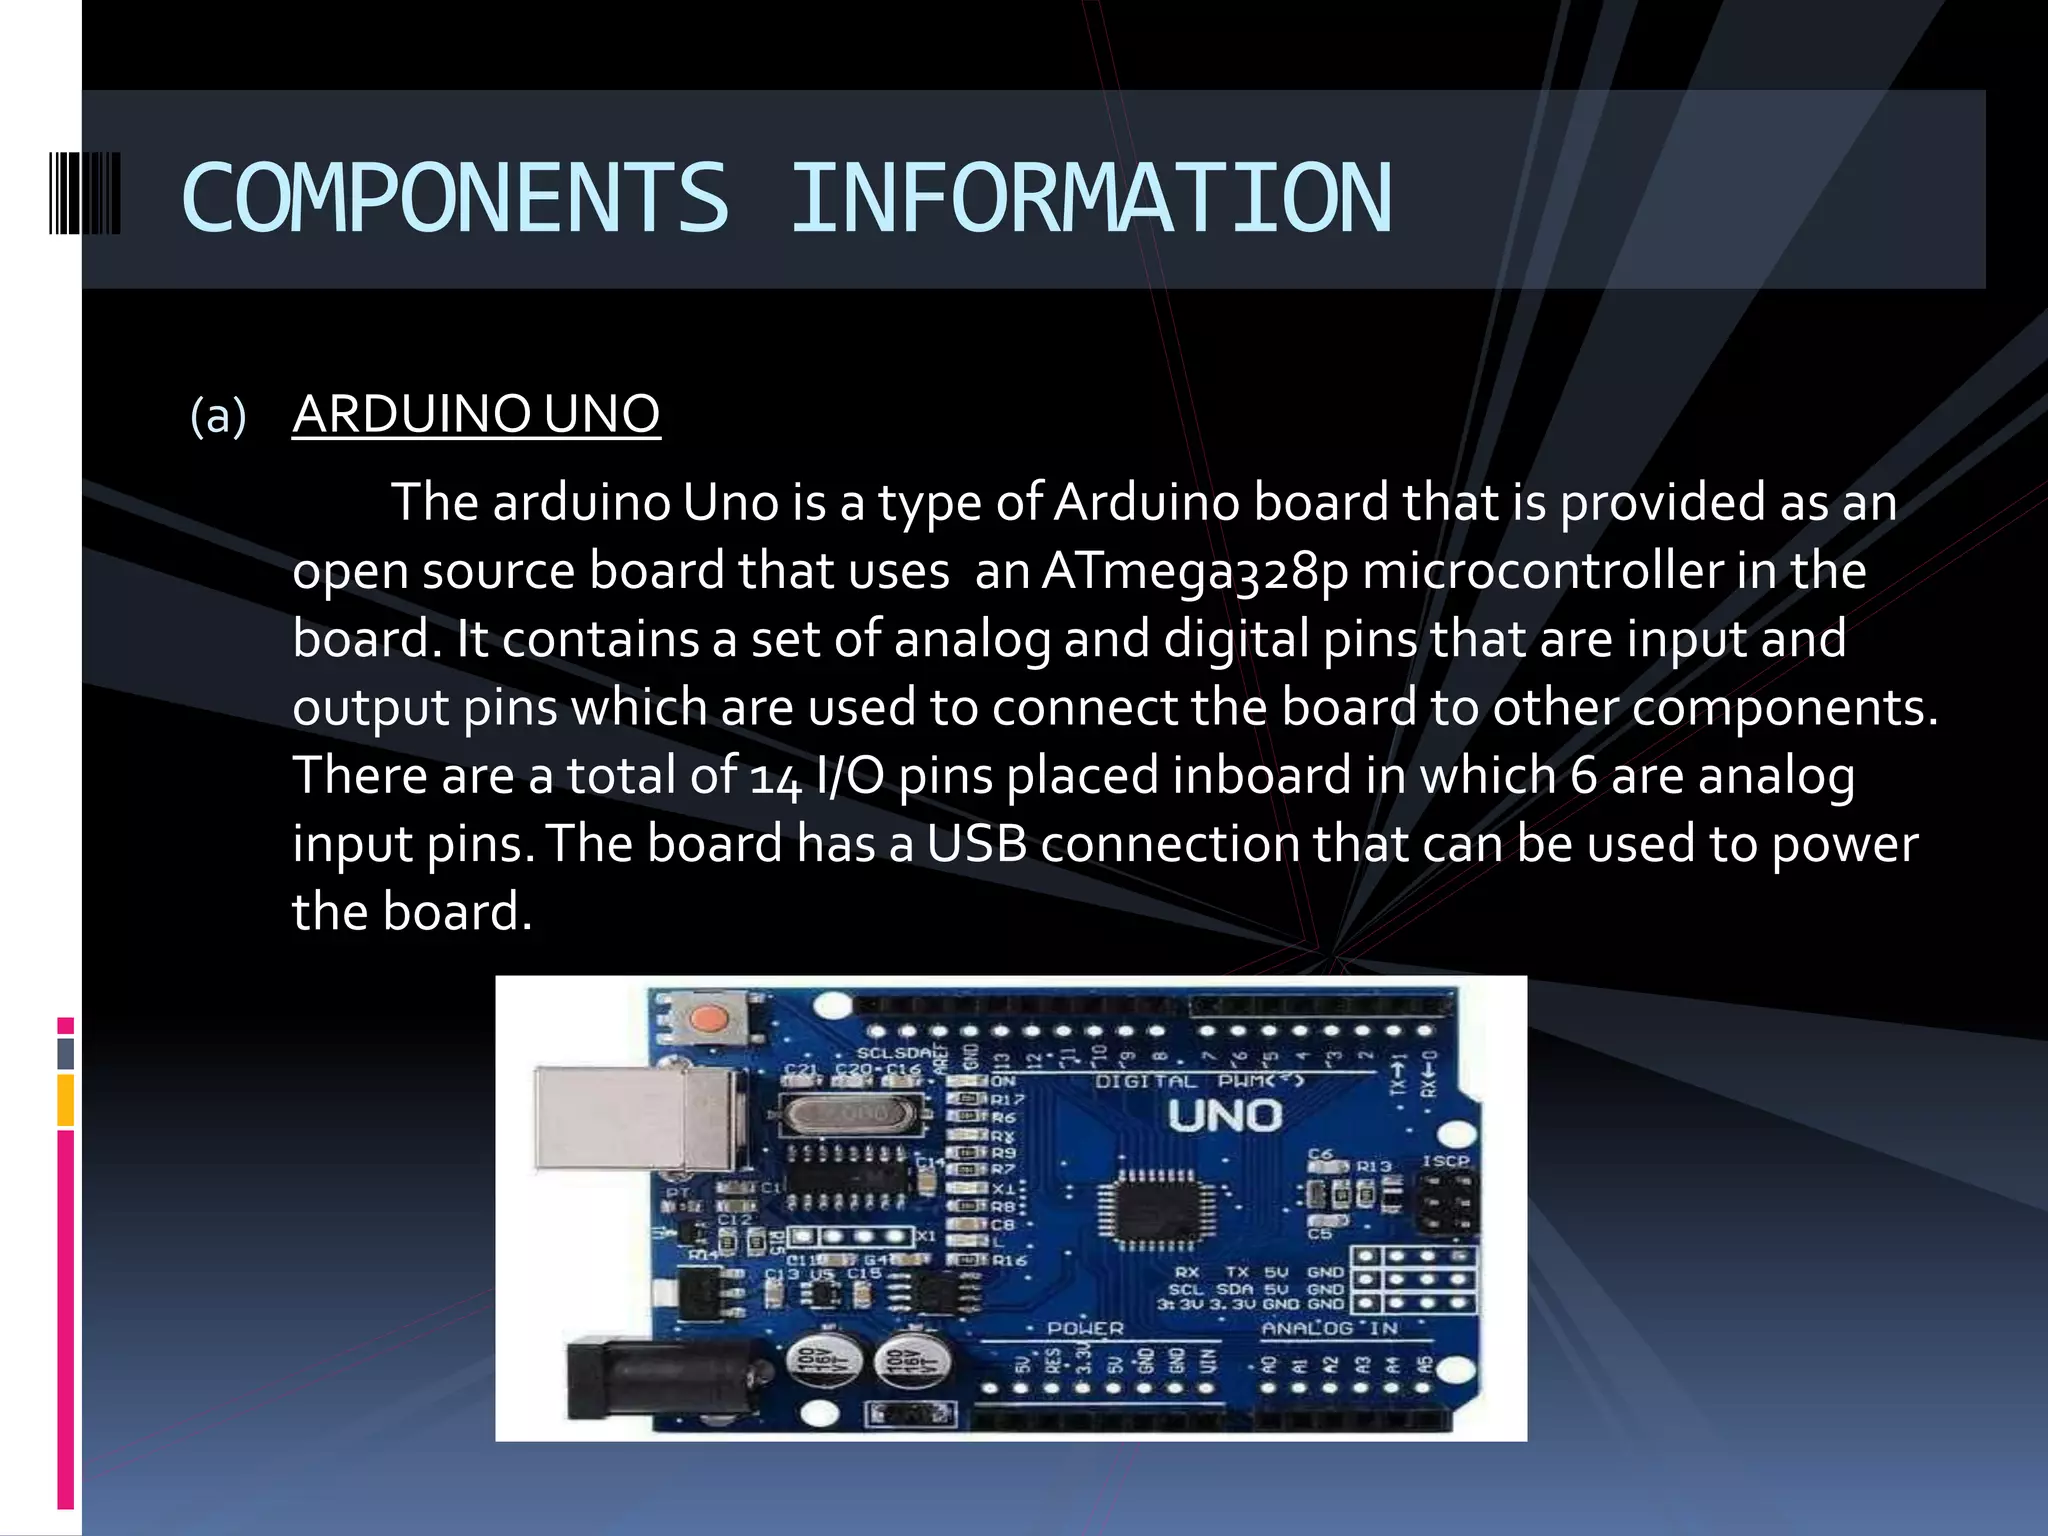
(a) ARDUINO UNO
Thearduino Uno is a type of Arduino board that is provided as an
open source board that uses anATmega328p microcontroller in the
board. It contains a set of analog and digital pins that are input and
output pins which are used to connect the board to other components.
There are a total of 14 I/O pins placed inboard in which 6 are analog
input pins.The board has a USB connection that can be used to power
the board.
COMPONENTS INFORMATION
6.
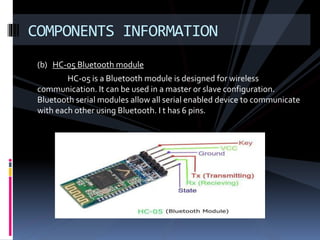
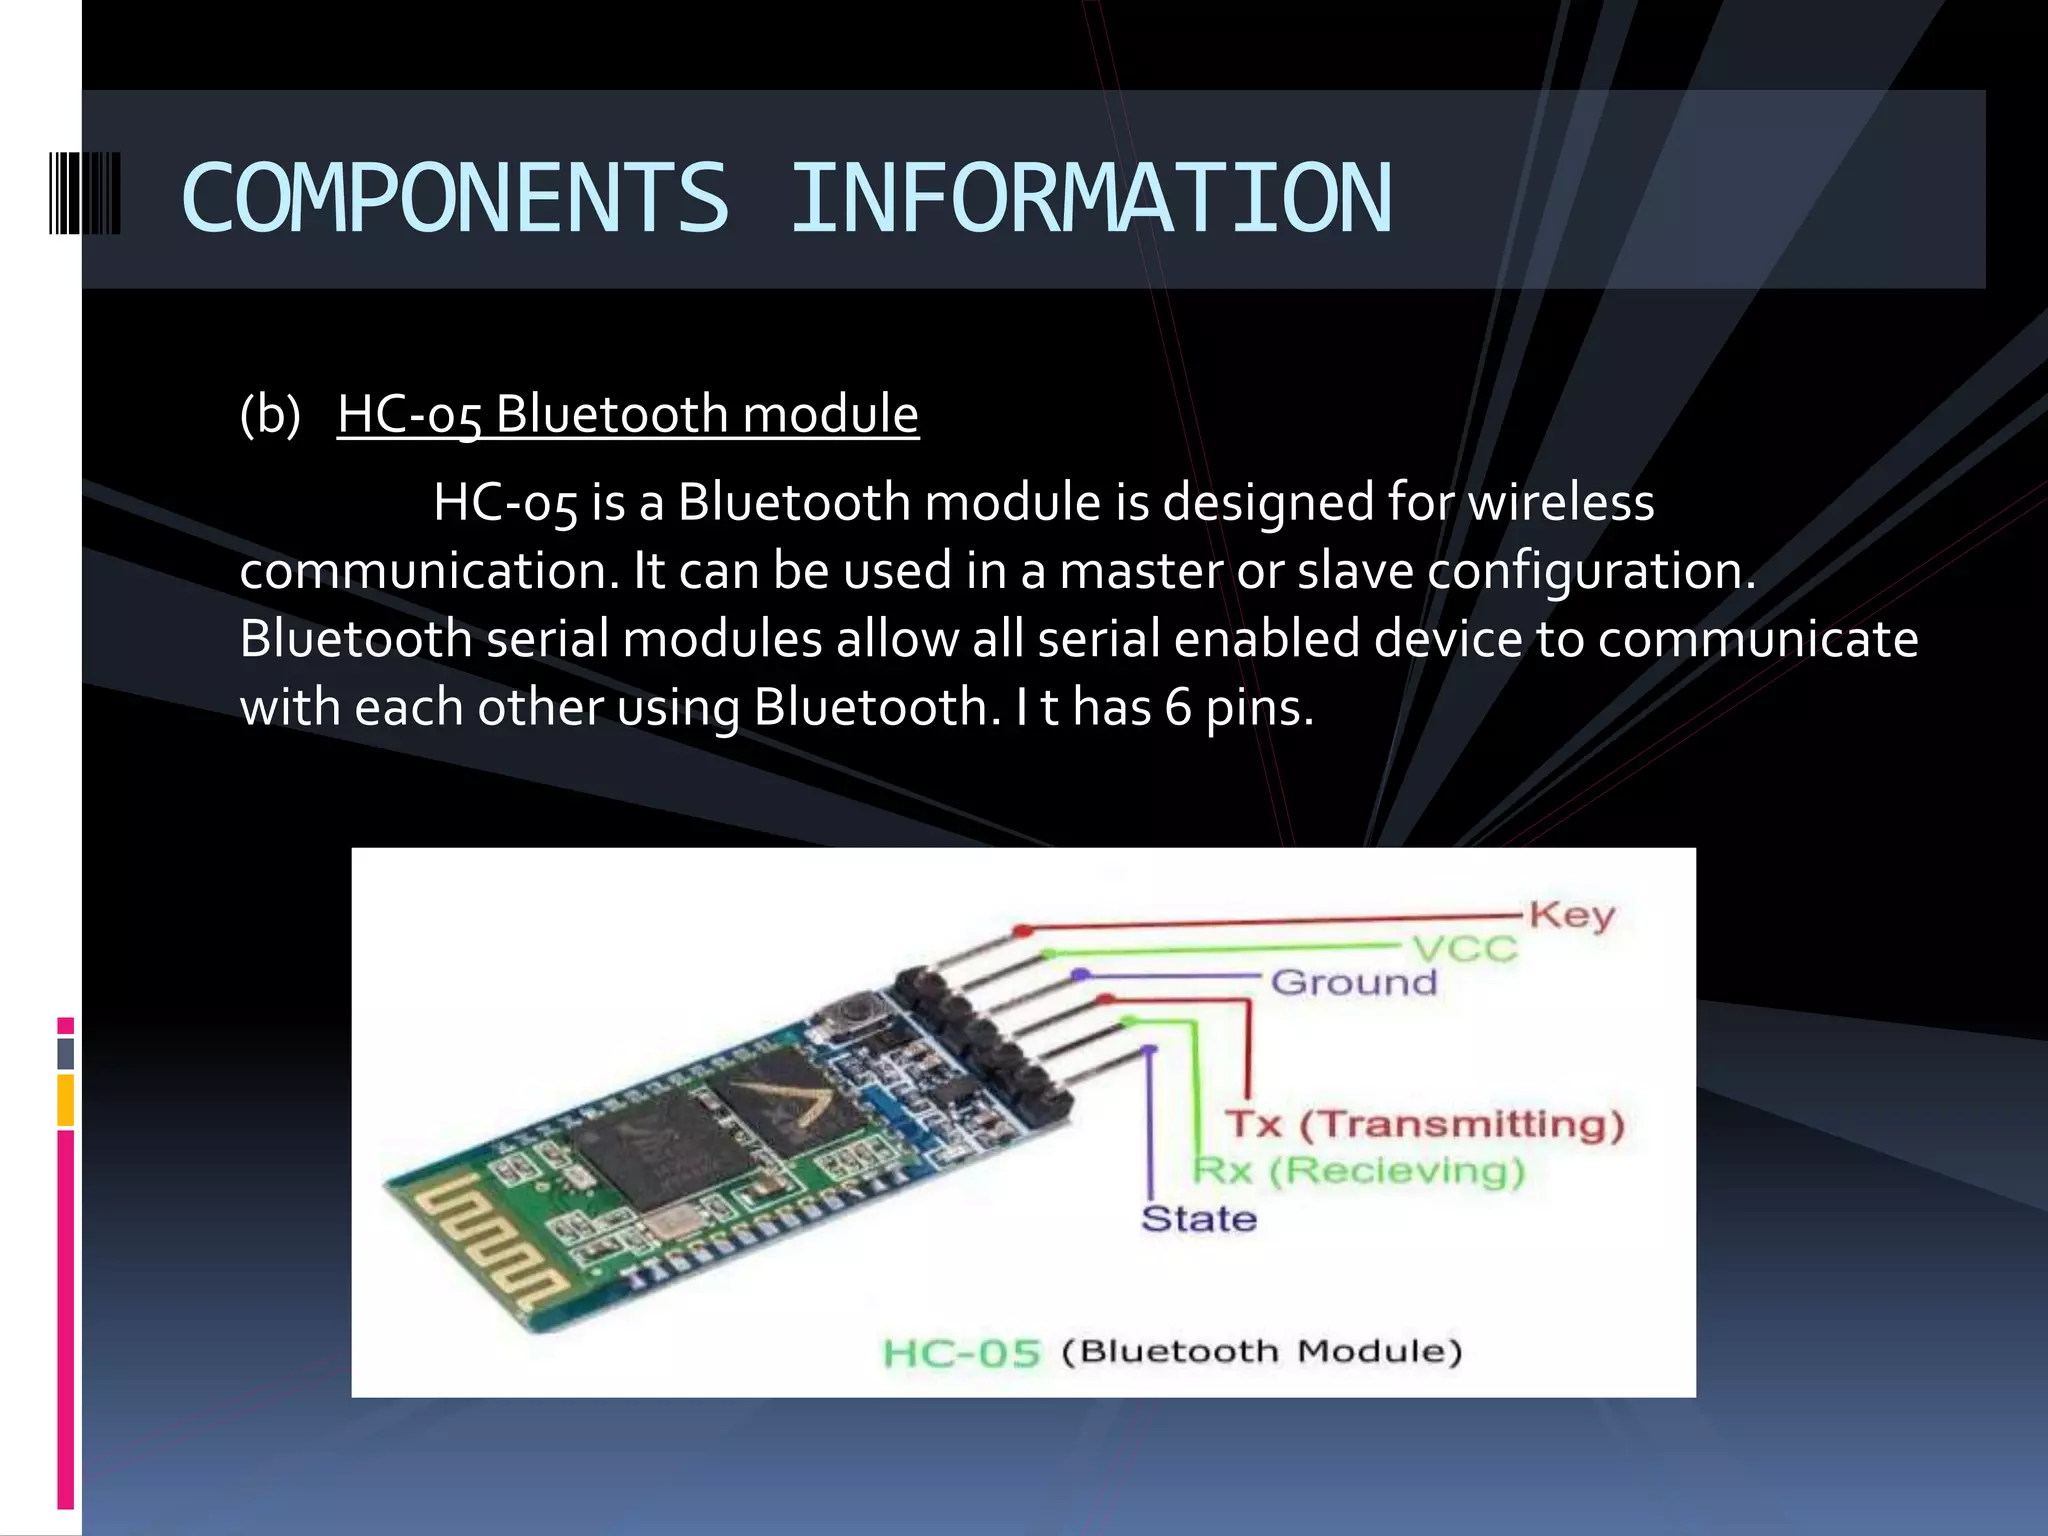
(b) HC-05 Bluetoothmodule
HC-05 is a Bluetooth module is designed for wireless
communication. It can be used in a master or slave configuration.
Bluetooth serial modules allow all serial enabled device to communicate
with each other using Bluetooth. I t has 6 pins.
COMPONENTS INFORMATION
7.
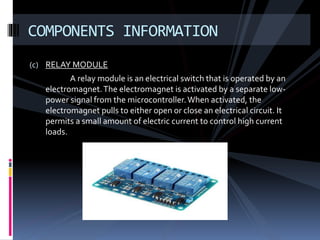
(c) RELAY MODULE
Arelay module is an electrical switch that is operated by an
electromagnet.The electromagnet is activated by a separate low-
power signal from the microcontroller.When activated, the
electromagnet pulls to either open or close an electrical circuit. It
permits a small amount of electric current to control high current
loads.
COMPONENTS INFORMATION
8.
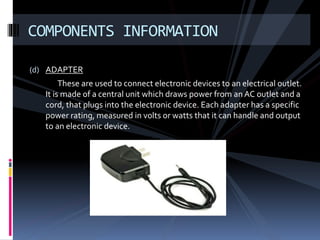
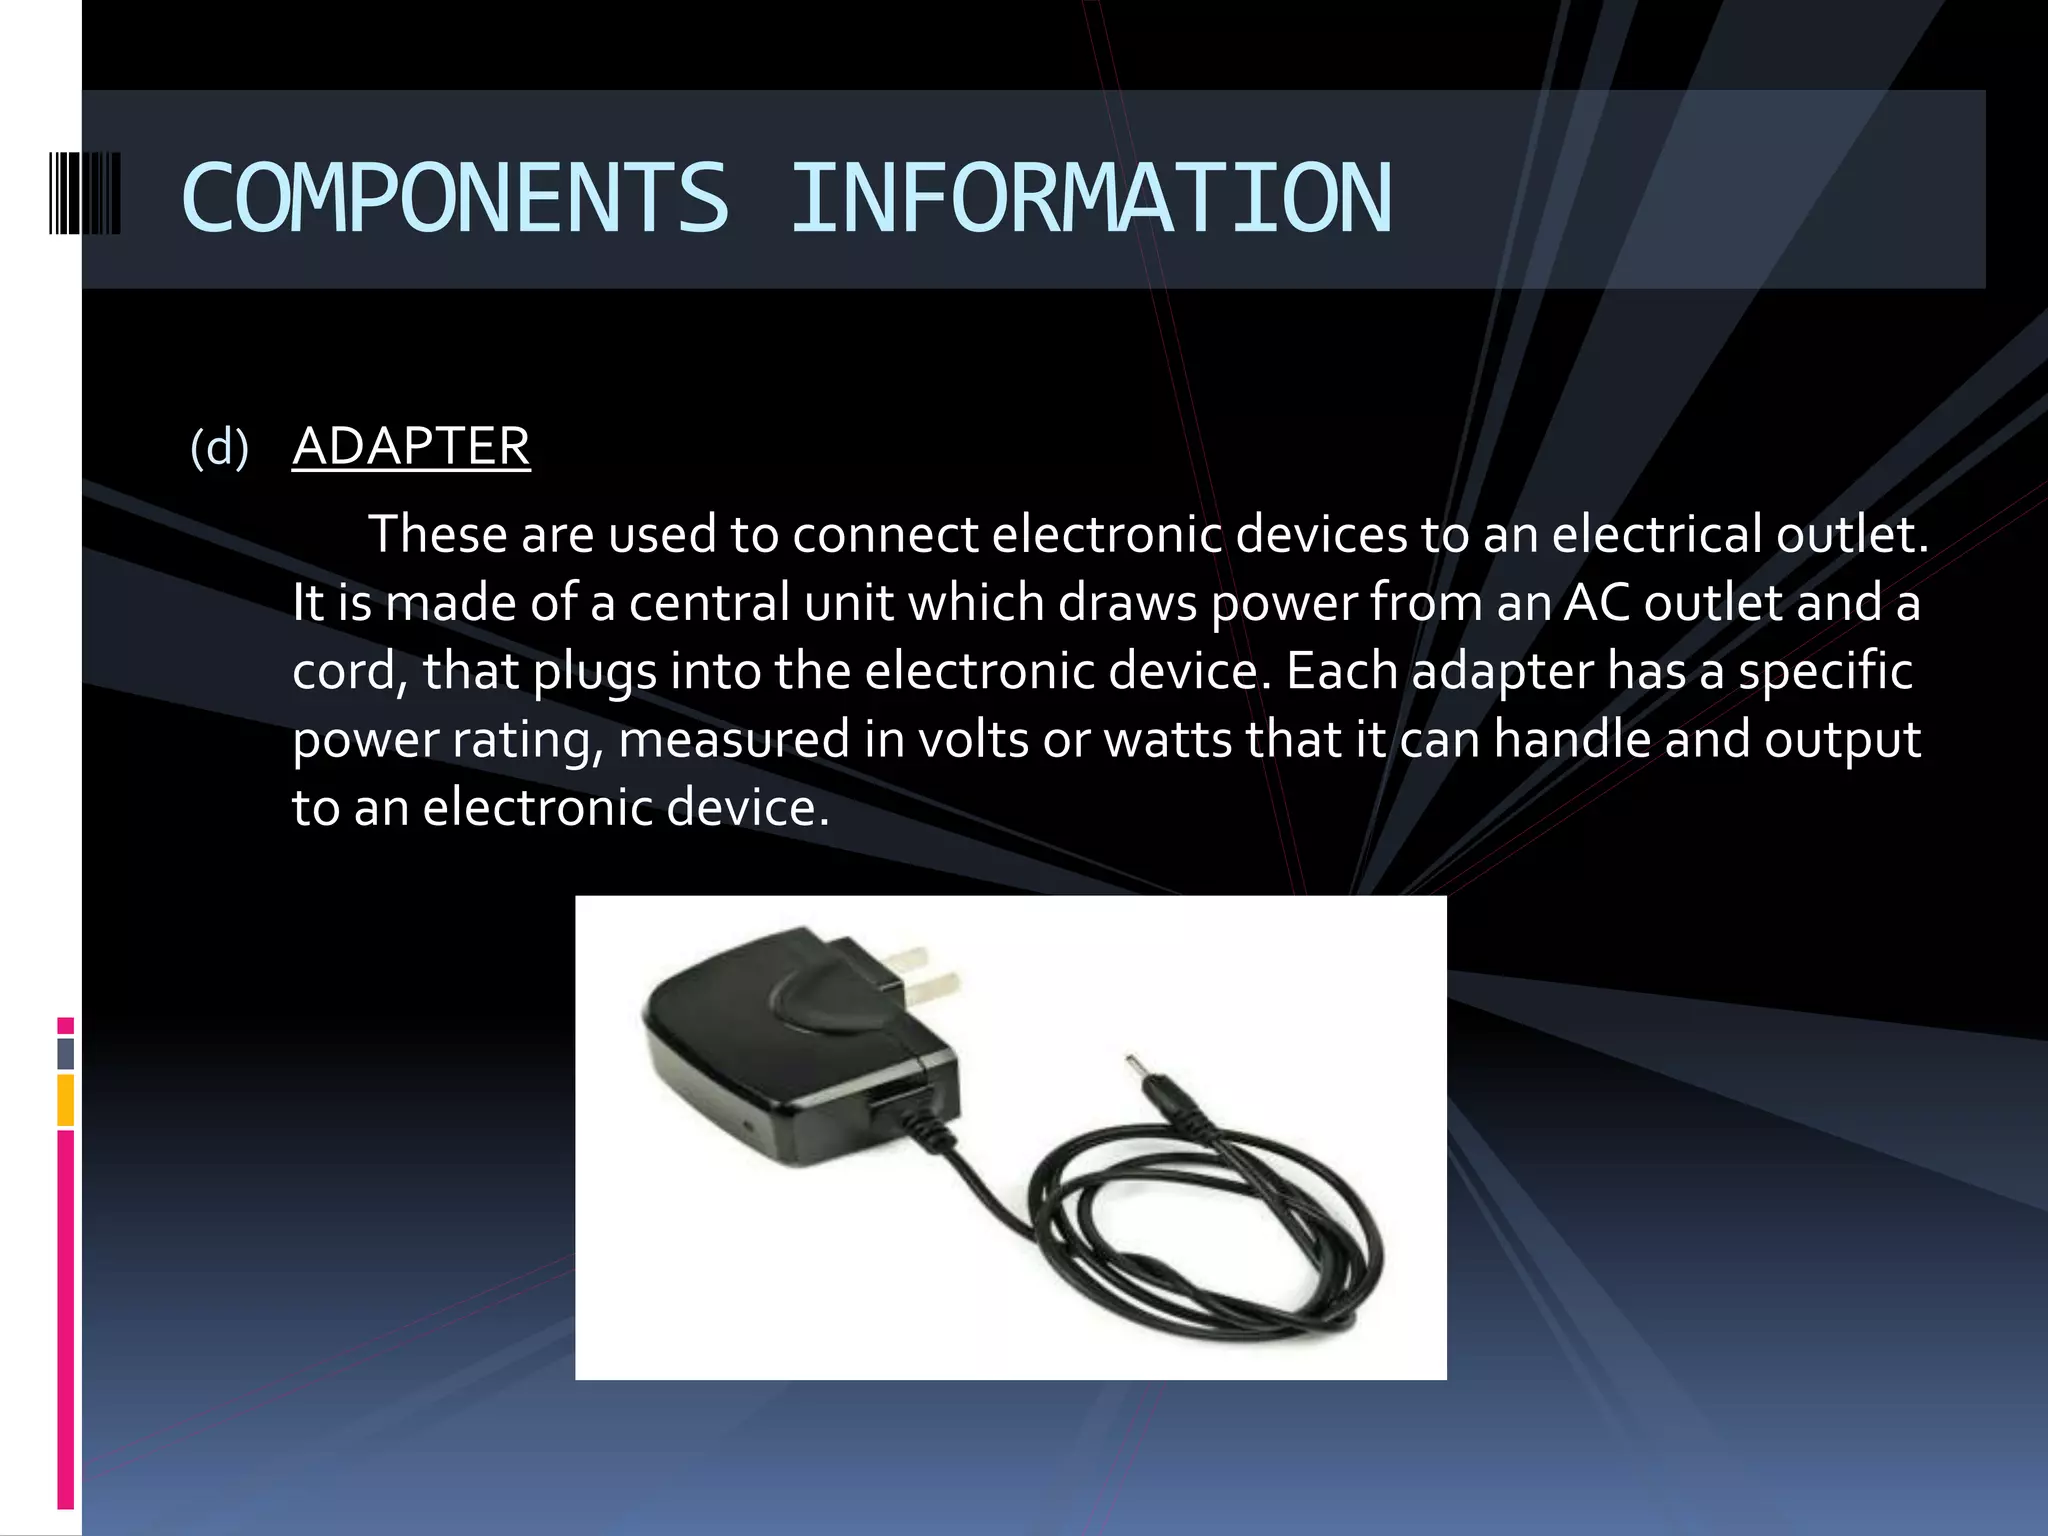
(d) ADAPTER
These areused to connect electronic devices to an electrical outlet.
It is made of a central unit which draws power from an AC outlet and a
cord, that plugs into the electronic device. Each adapter has a specific
power rating, measured in volts or watts that it can handle and output
to an electronic device.
COMPONENTS INFORMATION
9.
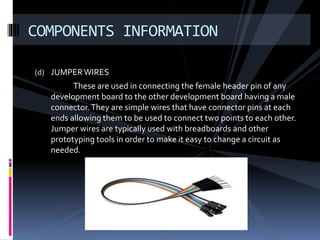
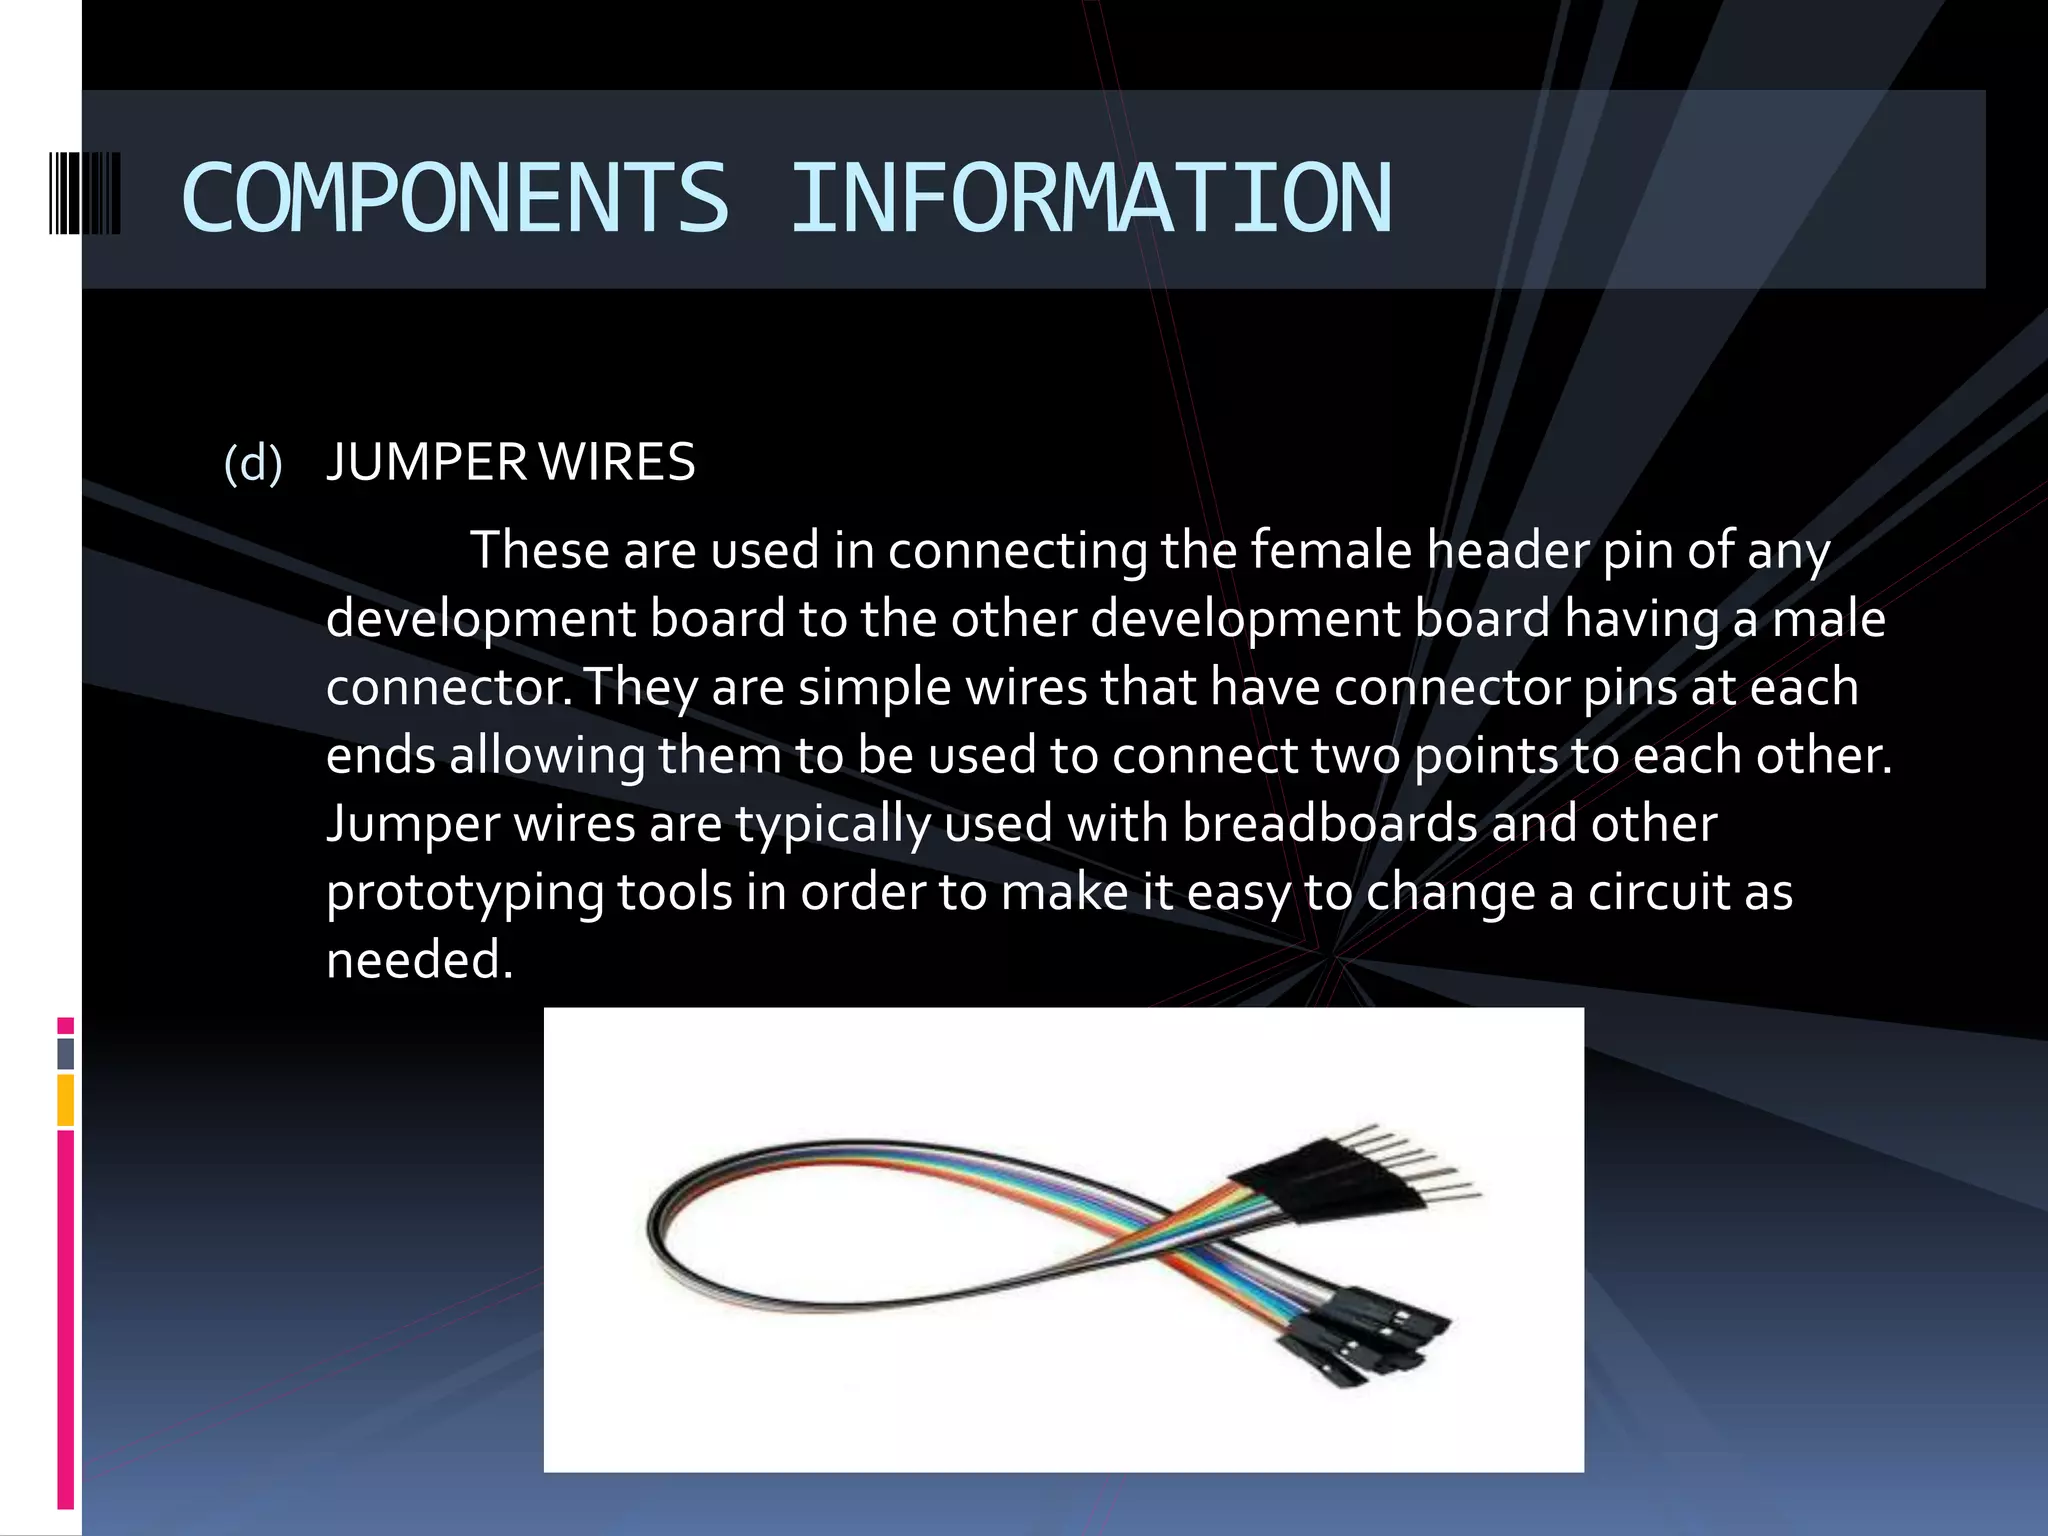
(d) JUMPERWIRES
These areused in connecting the female header pin of any
development board to the other development board having a male
connector.They are simple wires that have connector pins at each
ends allowing them to be used to connect two points to each other.
Jumper wires are typically used with breadboards and other
prototyping tools in order to make it easy to change a circuit as
needed.
COMPONENTS INFORMATION
10.
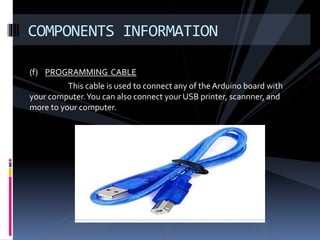
(f) PROGRAMMING CABLE
Thiscable is used to connect any of the Arduino board with
your computer.You can also connect your USB printer, scannner, and
more to your computer.
COMPONENTS INFORMATION
11.
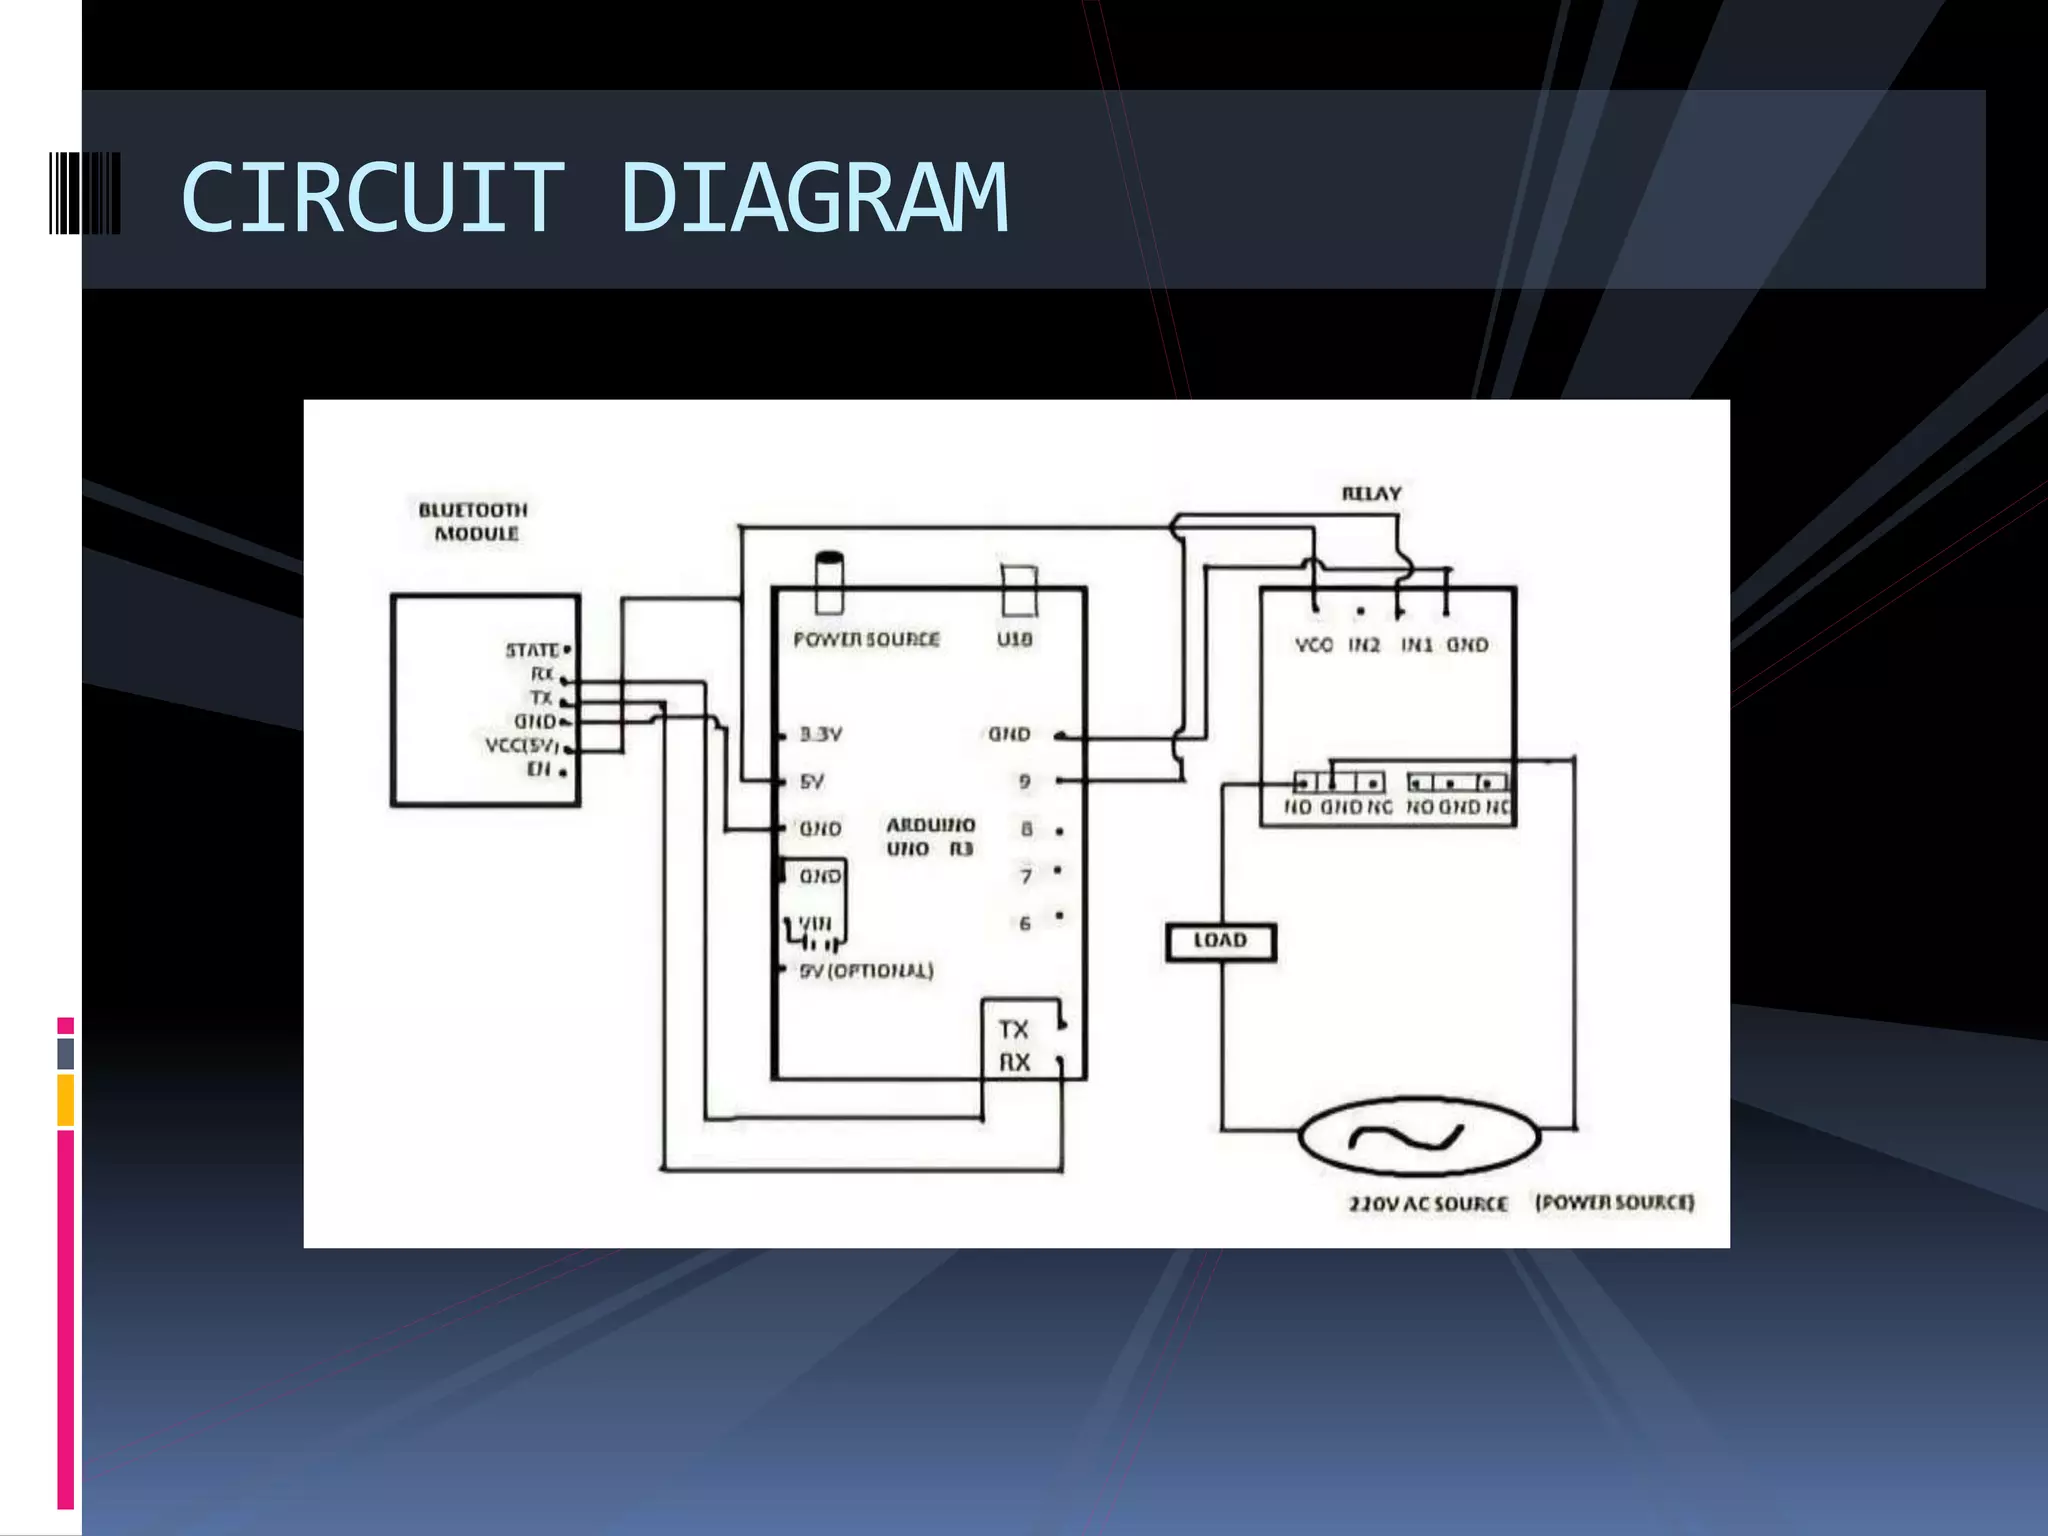
Bluetooth HC -05will be connected to an android app, from which it
receives data. There are buttons in the app which sends some variables.,
when we press those buttons. Now, Bluetooth module receives and
sends data to the Arduino by serial communication.Arduino starts to
compare this data with the Database and there are many conditions for
the different bulbs. If any conditions finds true , then associate bulb will
starts to glow. Here HC-05 act as a recipient and Arduino is like a
controller. With the Arduino, we are also using the relay module, so that
we can interface the electronic appliance with the Arduino.
WORKING