Download as PDF, PPTX
![Lua introduction - I
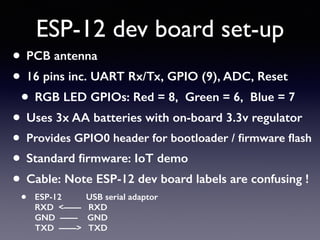
• http://www.lua.org/start.html
• print(1 + 2); print(“hello”); print(node.heap())
• Variables: boolean, numbers, strings, tables
• Global by default, but can use “local” keyword
• Variable type declarations are not required
• colour = {}; colour[“red”] = 1; colour[“blue”] = 2
• Functions are first-class values
• function name(parameters)
return value - - Can return multiple values
end](https://image.slidesharecdn.com/esp8266workshop1-150315214812-conversion-gate01/85/NodeMCU-ESP8266-workshop-1-14-320.jpg)

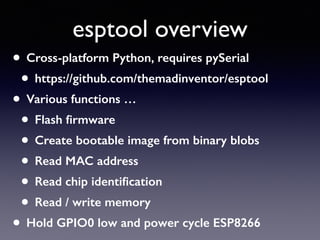
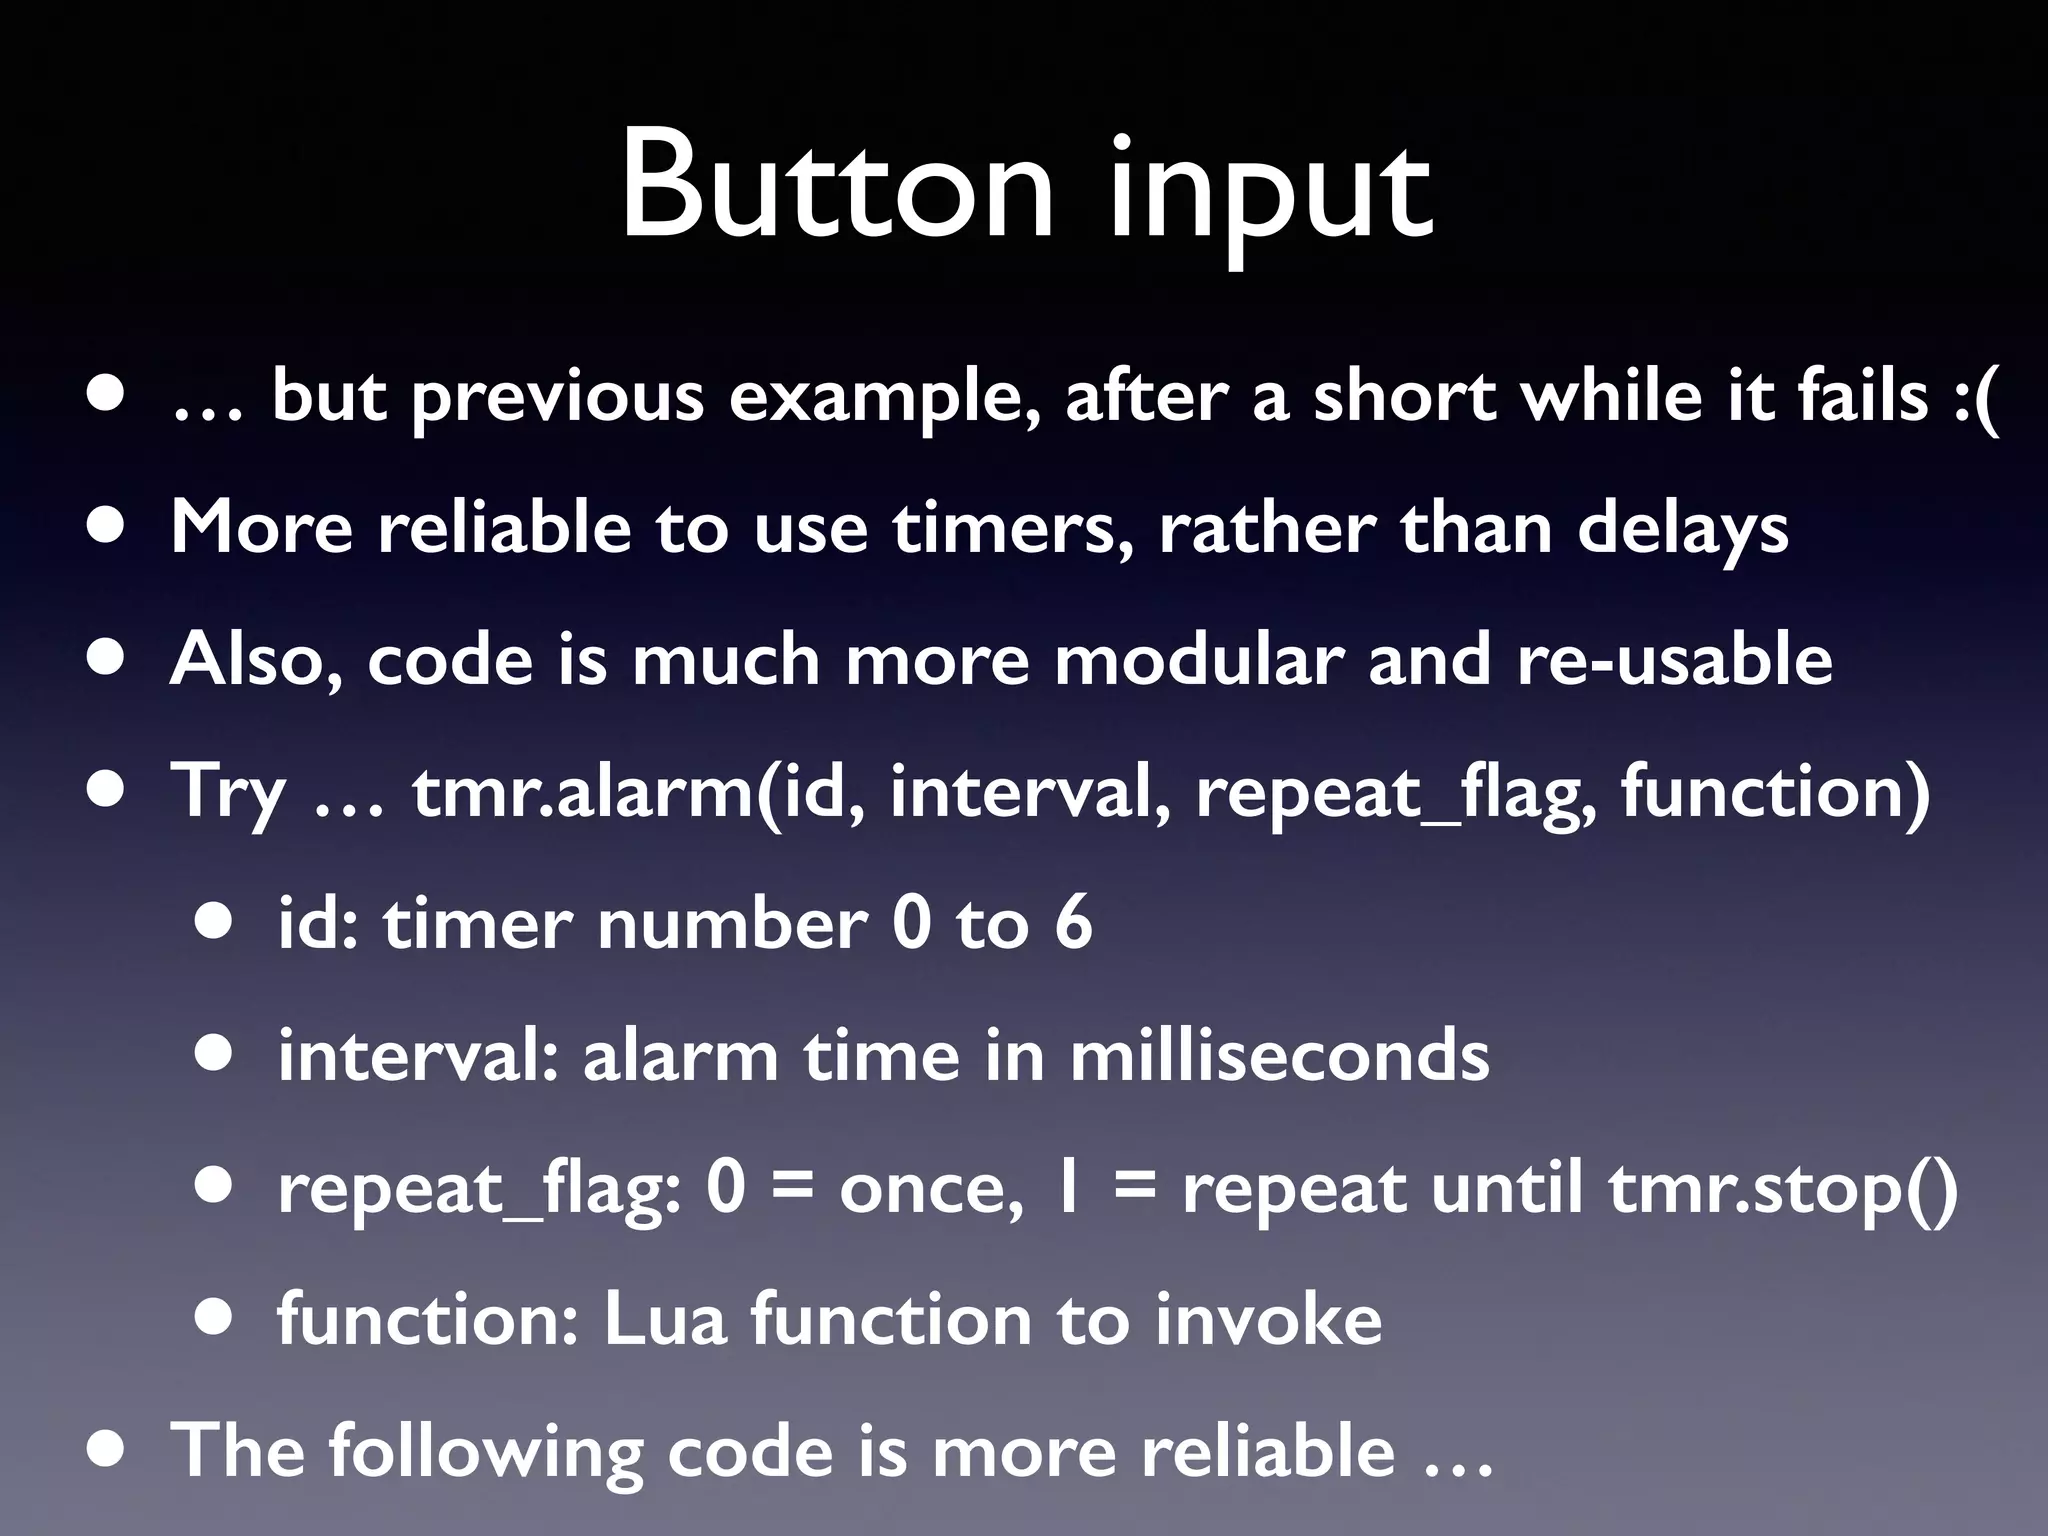
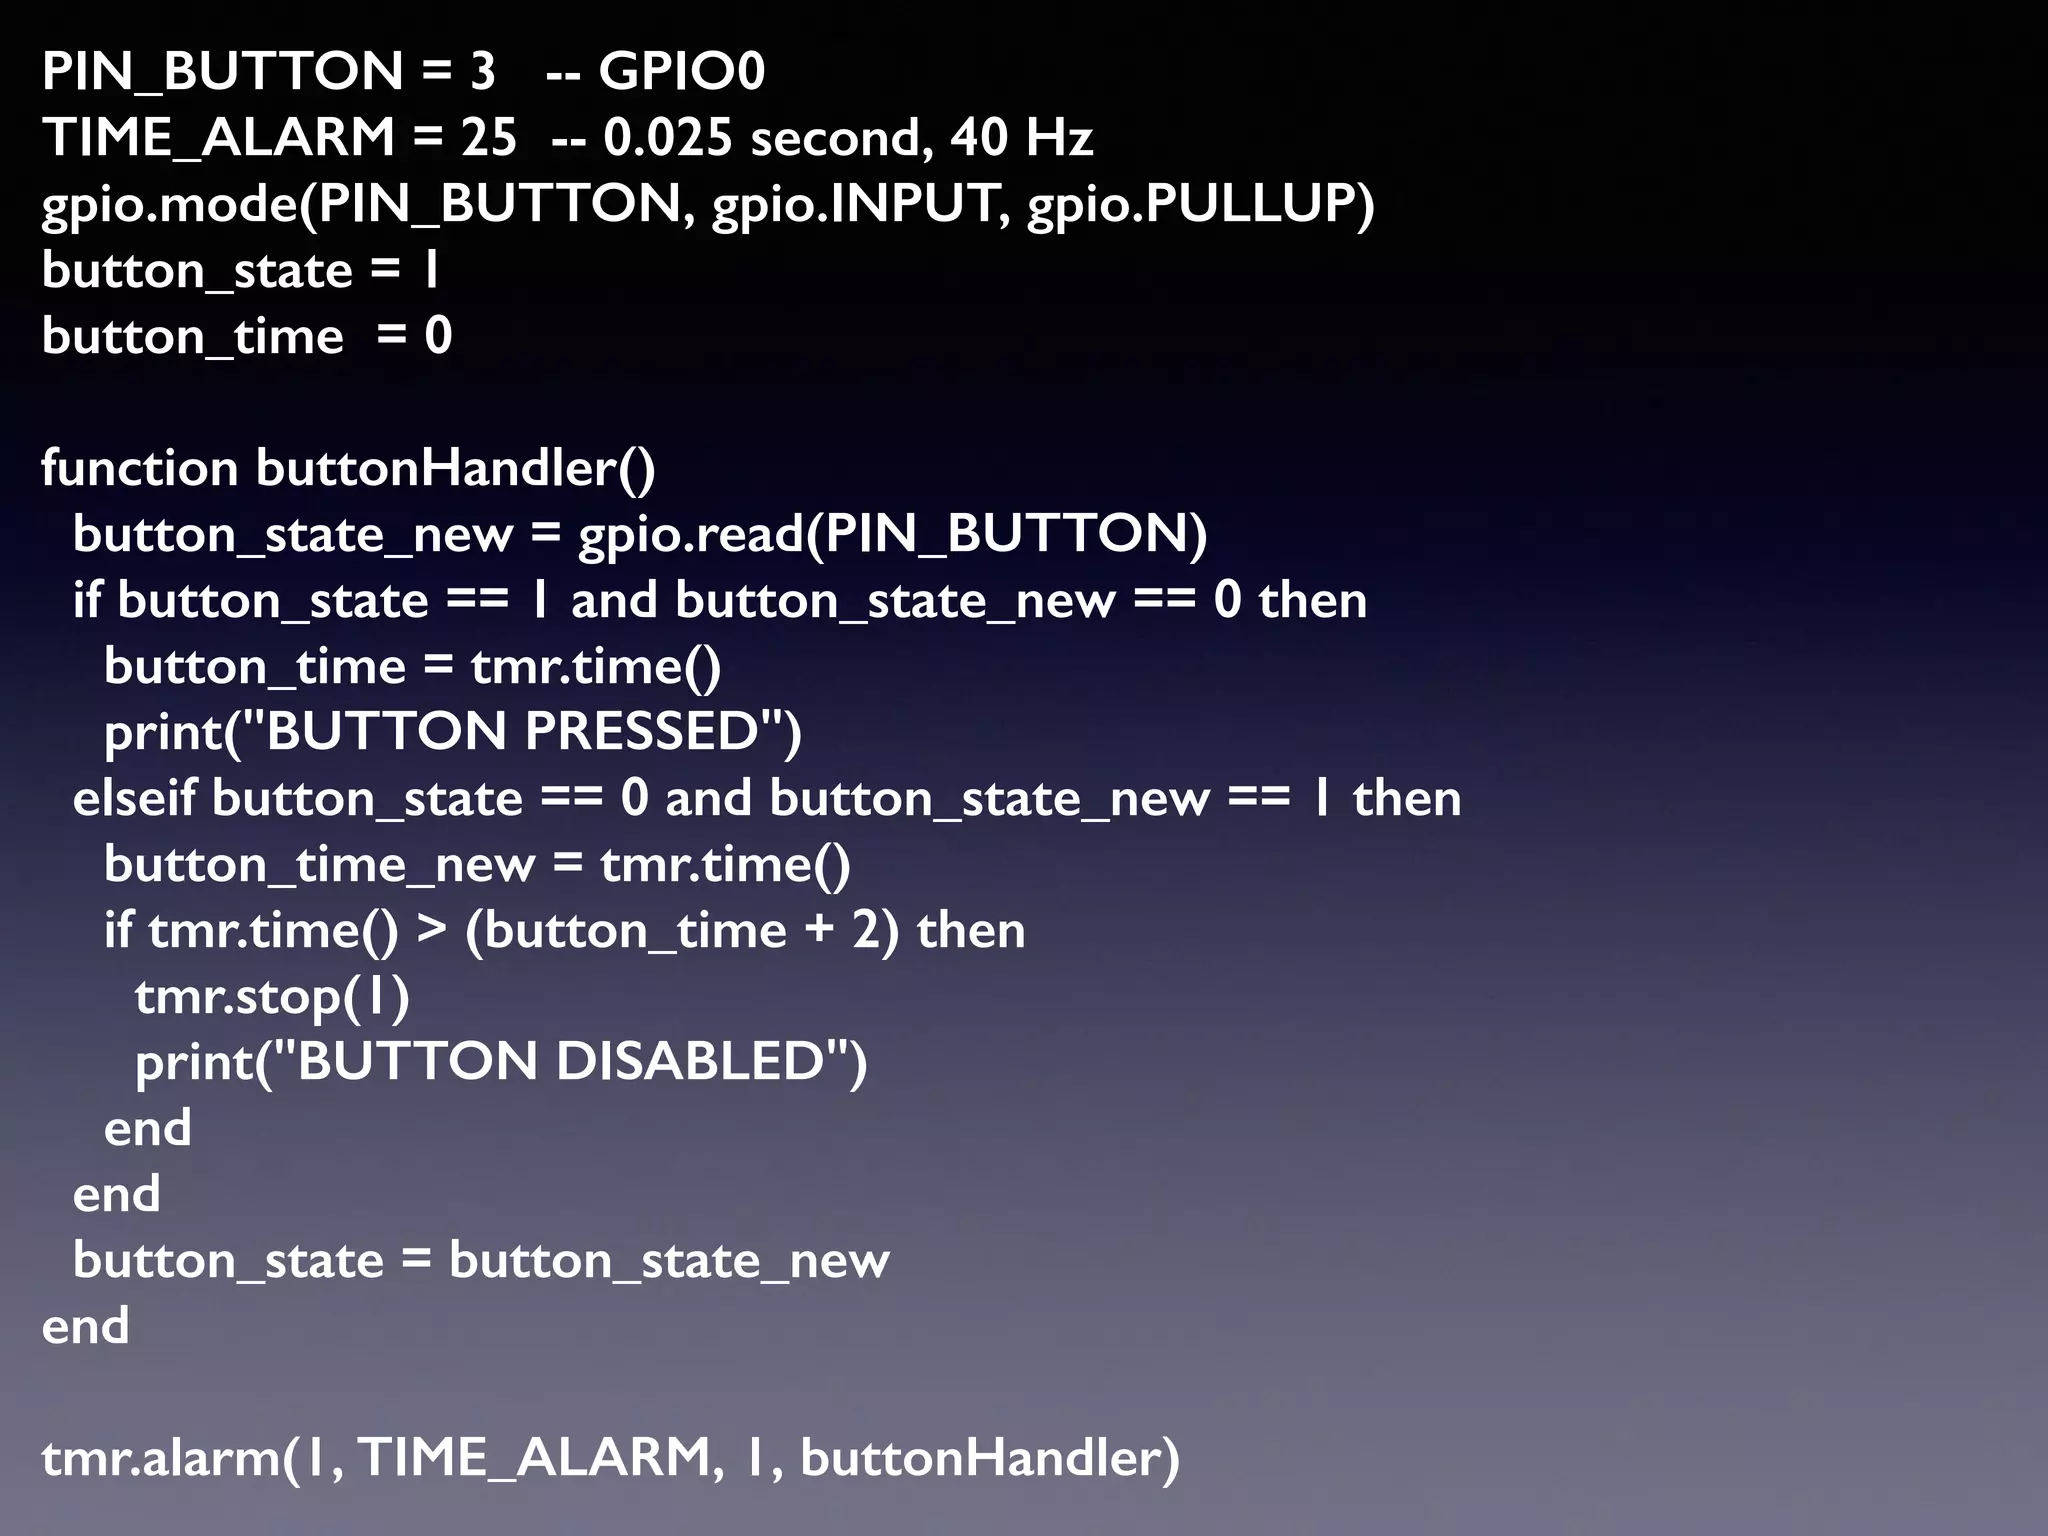
![Button input
• Connect button between GPIO0 and Ground
• Example code …
• https://github.com/geekscape/esp8266_nodemcu_examples/blob/master/
examples/button.lua
• Load into ESPlorer IDE: File -> Open
• Save to ESP8266: [Save to ESP]
• Run script: [Do File]
• ESP-12 bonus: Try to use LDR and adc.read()](https://image.slidesharecdn.com/esp8266workshop1-150315214812-conversion-gate01/85/NodeMCU-ESP8266-workshop-1-20-320.jpg)

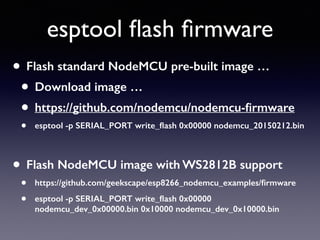
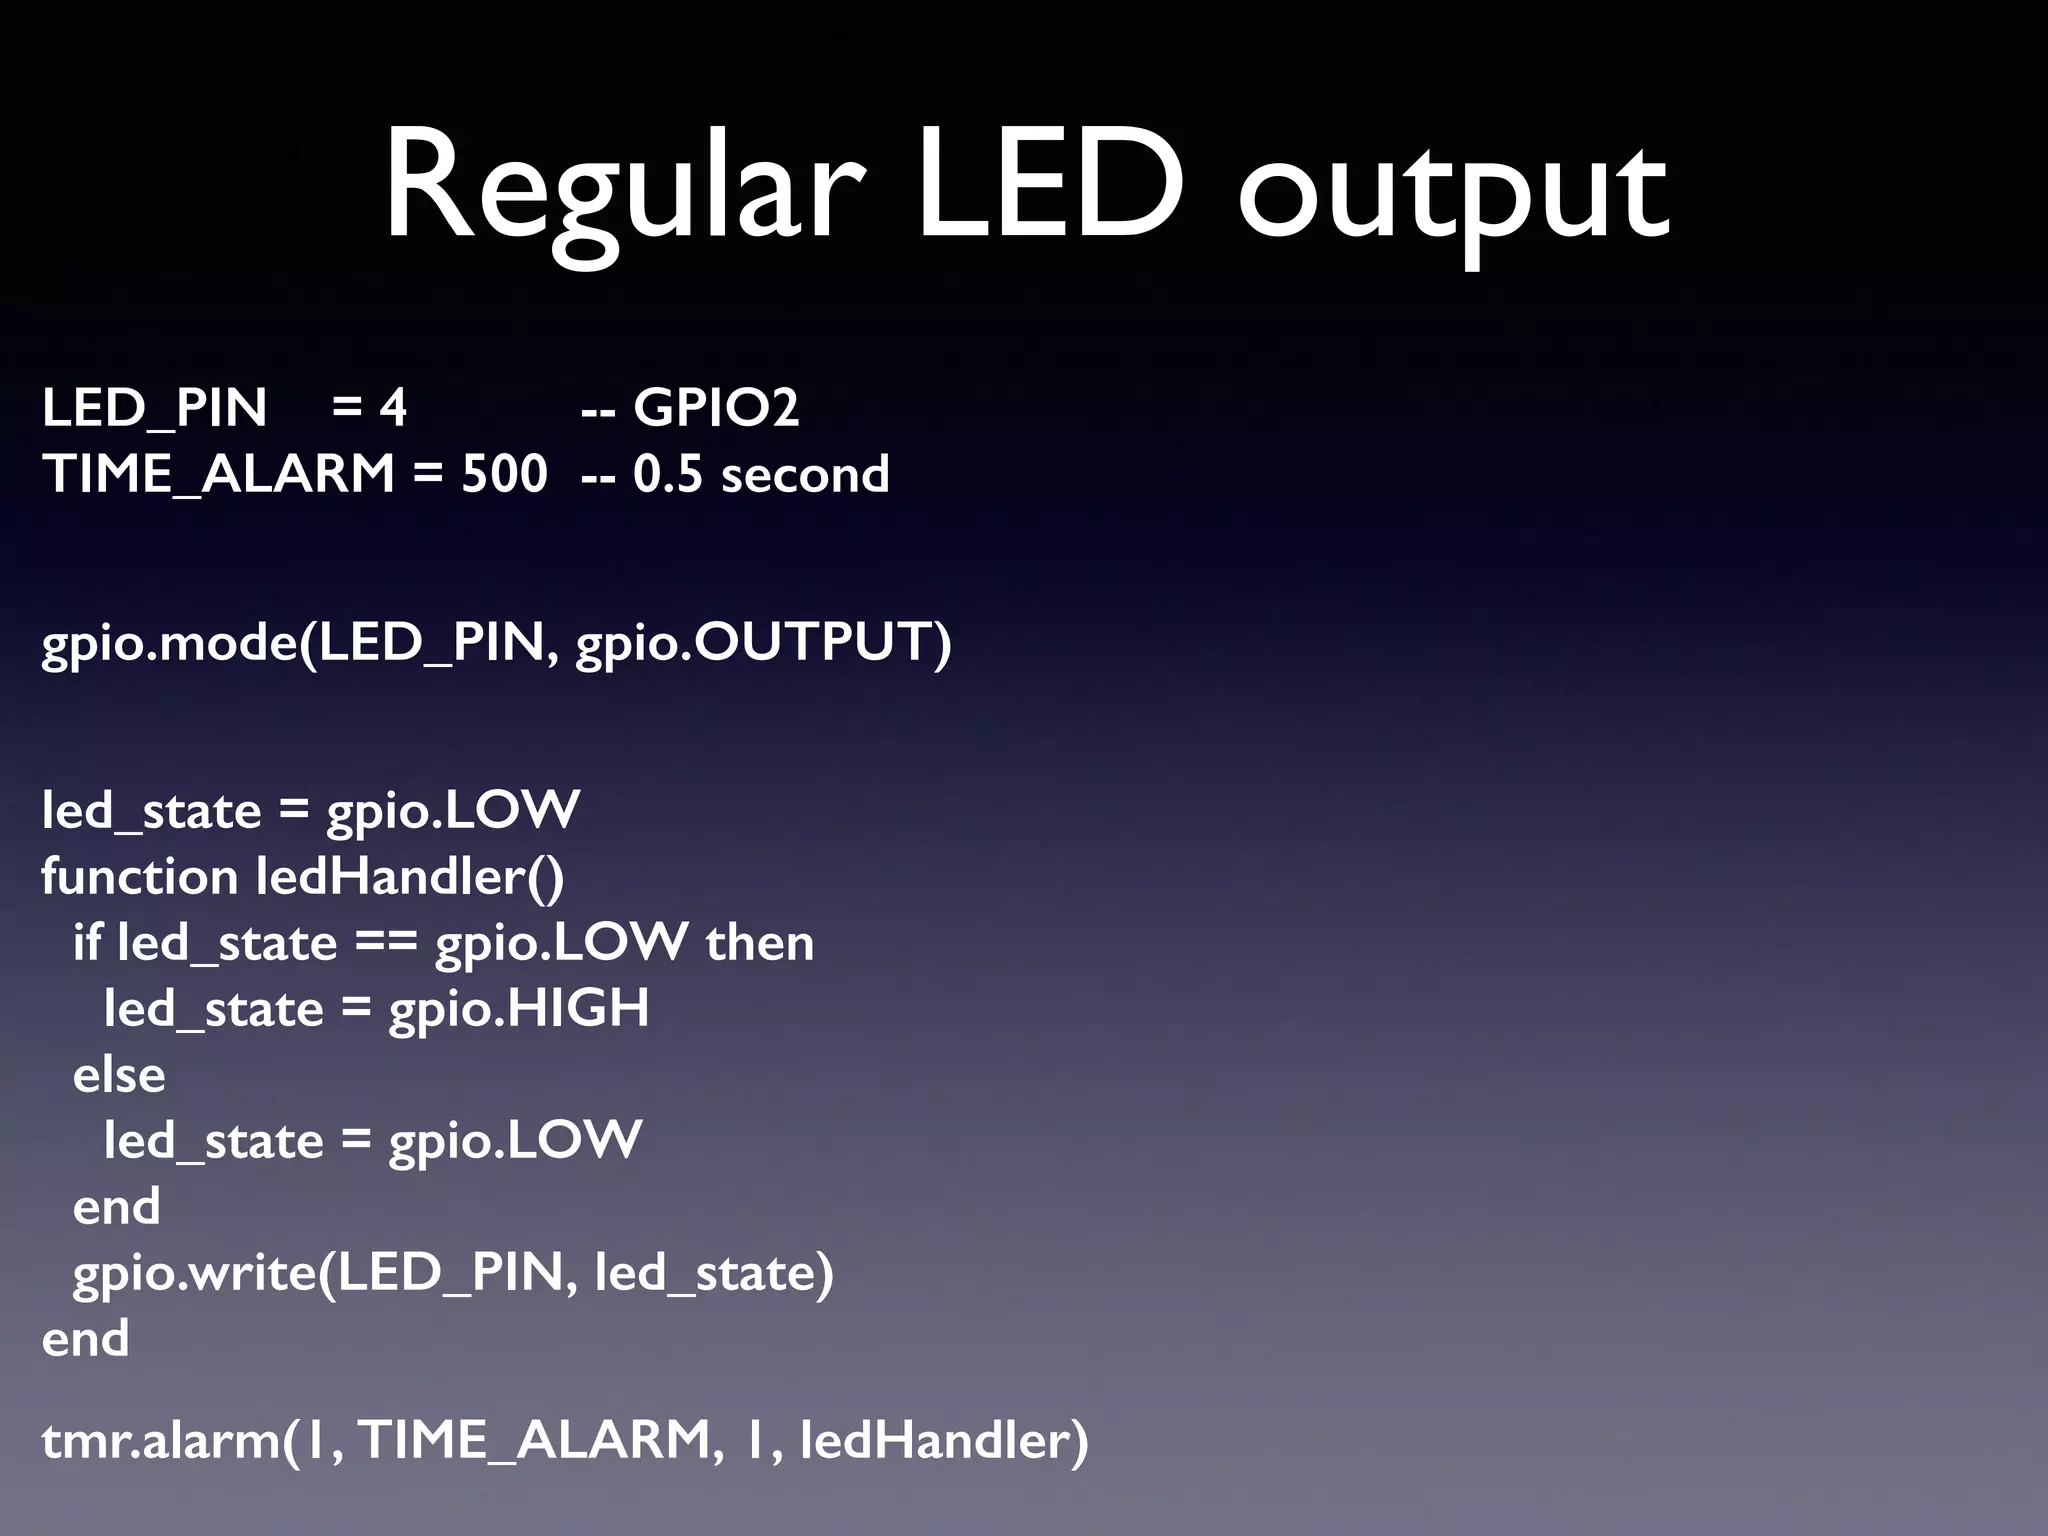
![Regular LED output
• Connect LED and current limiting resistor between
GPIO2 and Ground
• Example code …
• https://github.com/geekscape/esp8266_nodemcu_examples/blob/master/
examples/led.lua
• Load into ESPlorer IDE: File -> Open
• Save to ESP8266: [Save to ESP]
• Run script: [Do File]
• Try … init.lua: dofile('led.lua')](https://image.slidesharecdn.com/esp8266workshop1-150315214812-conversion-gate01/85/NodeMCU-ESP8266-workshop-1-24-320.jpg)
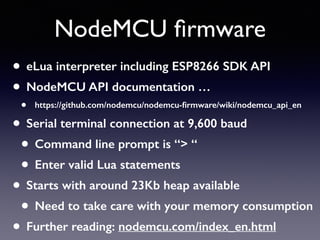
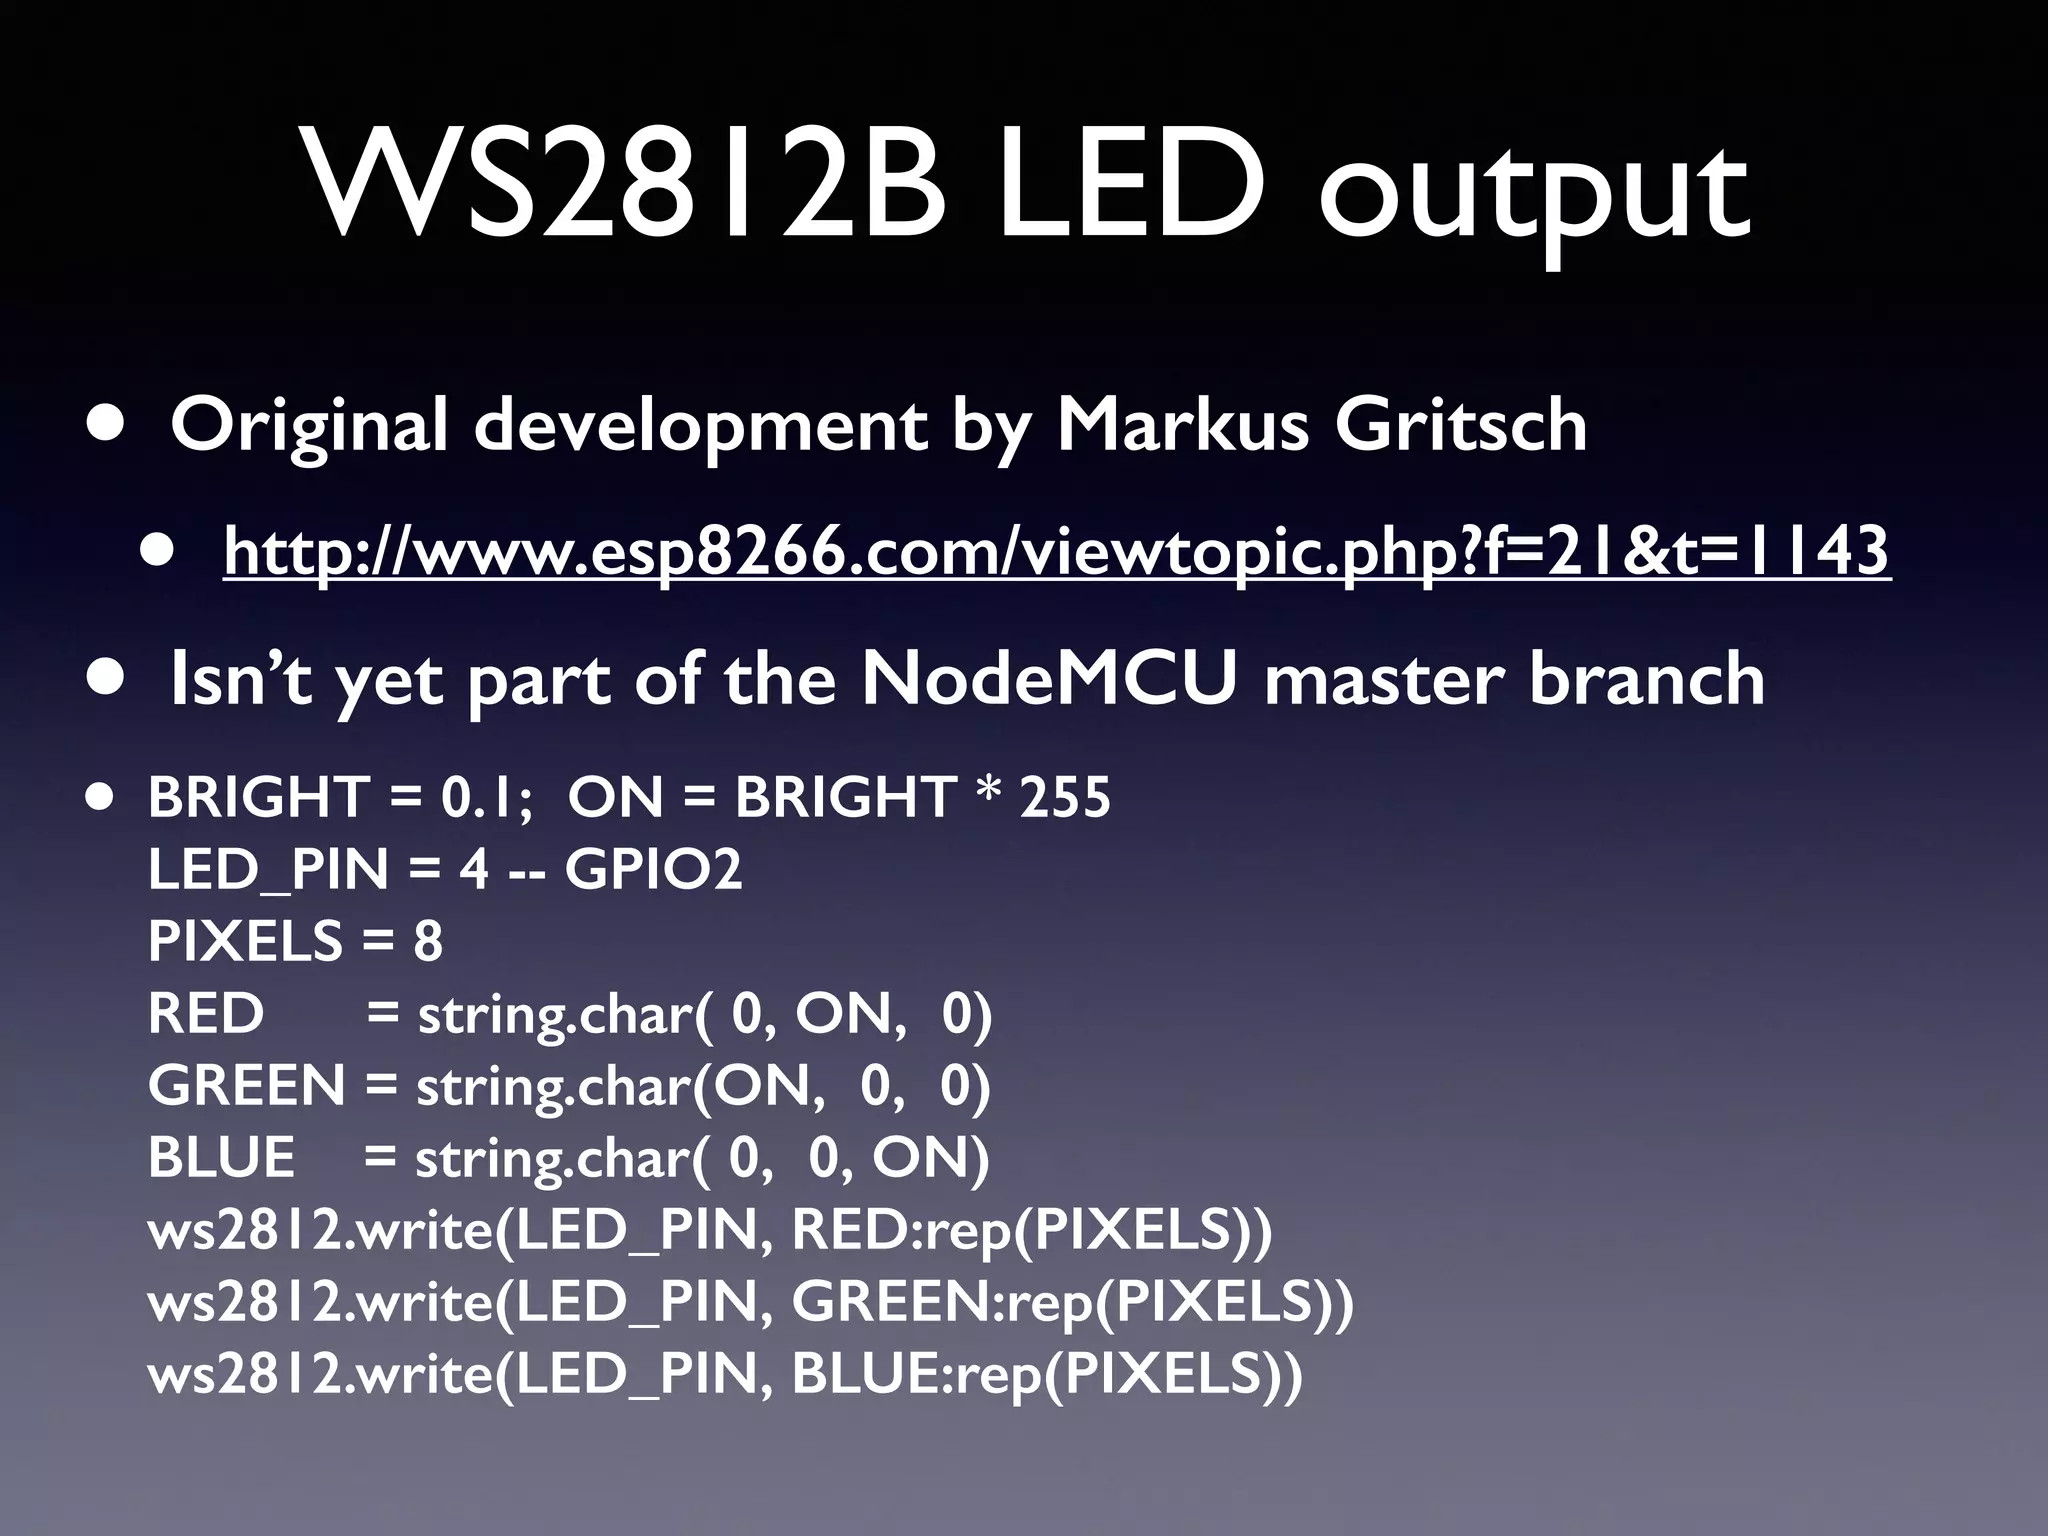
![WS2812B LED example
• Connect WS2812B to GPIO2
• Example code …
• https://github.com/geekscape/esp8266_nodemcu_examples/blob/master/
examples/ws2812.lua
• Load into ESPlorer IDE: File -> Open
• Save to ESP8266: [Save to ESP]
• Run script: [Do File]
• Try … init.lua: dofile('ws2812.lua')](https://image.slidesharecdn.com/esp8266workshop1-150315214812-conversion-gate01/85/NodeMCU-ESP8266-workshop-1-27-320.jpg)
![• wifi.sta.getap(wifi_start)
• module.SSID = {}
module.SSID["SSID1"] = "passphrase1"
module.SSID["SSID2"] = "passphrase2"
• local function wifi_start(aps)
for key,value in pairs(aps) do
if config.SSID and config.SSID[key] then
wifi.setmode(wifi.STATION);
wifi.sta.config(key, config.SSID[key])
wifi.sta.connect()
tmr.alarm(1, 2500, 1, wifi_wait_ip)
end
end
end
• local function wifi_wait_ip()
if wifi.sta.getip() then
tmr.stop(1)
end
end](https://image.slidesharecdn.com/esp8266workshop1-150315214812-conversion-gate01/85/NodeMCU-ESP8266-workshop-1-29-320.jpg)
![• Modular, flexible, timer-based application skeleton
• Example code …
• https://github.com/geekscape/esp8266_nodemcu_examples/tree/master/
skeleton
• Load into ESPlorer IDE: File -> Open
• Save to ESP8266: [Save to ESP]
• Reset ESP8266
• print(wifi.sta.getip())
Wi-Fi client example - 1](https://image.slidesharecdn.com/esp8266workshop1-150315214812-conversion-gate01/85/NodeMCU-ESP8266-workshop-1-30-320.jpg)


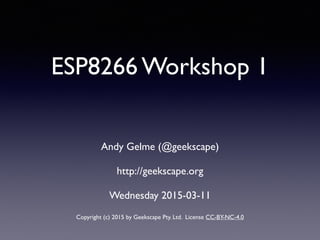
![Lua introduction - I
• http://www.lua.org/start.html
• print(1 + 2); print(“hello”); print(node.heap())
• Variables: boolean, numbers, strings, tables
• Global by default, but can use “local” keyword
• Variable type declarations are not required
• colour = {}; colour[“red”] = 1; colour[“blue”] = 2
• Functions are first-class values
• function name(parameters)
return value - - Can return multiple values
end](https://image.slidesharecdn.com/esp8266workshop1-150315214812-conversion-gate01/75/NodeMCU-ESP8266-workshop-1-14-2048.jpg)
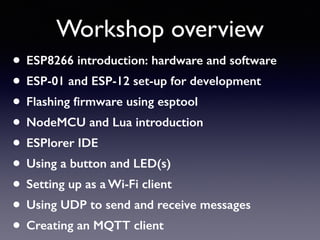
![Button input
• Connect button between GPIO0 and Ground
• Example code …
• https://github.com/geekscape/esp8266_nodemcu_examples/blob/master/
examples/button.lua
• Load into ESPlorer IDE: File -> Open
• Save to ESP8266: [Save to ESP]
• Run script: [Do File]
• ESP-12 bonus: Try to use LDR and adc.read()](https://image.slidesharecdn.com/esp8266workshop1-150315214812-conversion-gate01/75/NodeMCU-ESP8266-workshop-1-20-2048.jpg)
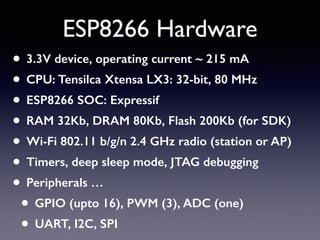
![Regular LED output
• Connect LED and current limiting resistor between
GPIO2 and Ground
• Example code …
• https://github.com/geekscape/esp8266_nodemcu_examples/blob/master/
examples/led.lua
• Load into ESPlorer IDE: File -> Open
• Save to ESP8266: [Save to ESP]
• Run script: [Do File]
• Try … init.lua: dofile('led.lua')](https://image.slidesharecdn.com/esp8266workshop1-150315214812-conversion-gate01/75/NodeMCU-ESP8266-workshop-1-24-2048.jpg)
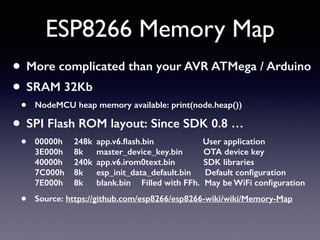
![WS2812B LED example
• Connect WS2812B to GPIO2
• Example code …
• https://github.com/geekscape/esp8266_nodemcu_examples/blob/master/
examples/ws2812.lua
• Load into ESPlorer IDE: File -> Open
• Save to ESP8266: [Save to ESP]
• Run script: [Do File]
• Try … init.lua: dofile('ws2812.lua')](https://image.slidesharecdn.com/esp8266workshop1-150315214812-conversion-gate01/75/NodeMCU-ESP8266-workshop-1-27-2048.jpg)
![• wifi.sta.getap(wifi_start)
• module.SSID = {}
module.SSID["SSID1"] = "passphrase1"
module.SSID["SSID2"] = "passphrase2"
• local function wifi_start(aps)
for key,value in pairs(aps) do
if config.SSID and config.SSID[key] then
wifi.setmode(wifi.STATION);
wifi.sta.config(key, config.SSID[key])
wifi.sta.connect()
tmr.alarm(1, 2500, 1, wifi_wait_ip)
end
end
end
• local function wifi_wait_ip()
if wifi.sta.getip() then
tmr.stop(1)
end
end](https://image.slidesharecdn.com/esp8266workshop1-150315214812-conversion-gate01/75/NodeMCU-ESP8266-workshop-1-29-2048.jpg)
![• Modular, flexible, timer-based application skeleton
• Example code …
• https://github.com/geekscape/esp8266_nodemcu_examples/tree/master/
skeleton
• Load into ESPlorer IDE: File -> Open
• Save to ESP8266: [Save to ESP]
• Reset ESP8266
• print(wifi.sta.getip())
Wi-Fi client example - 1](https://image.slidesharecdn.com/esp8266workshop1-150315214812-conversion-gate01/75/NodeMCU-ESP8266-workshop-1-30-2048.jpg)

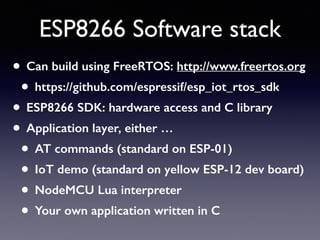
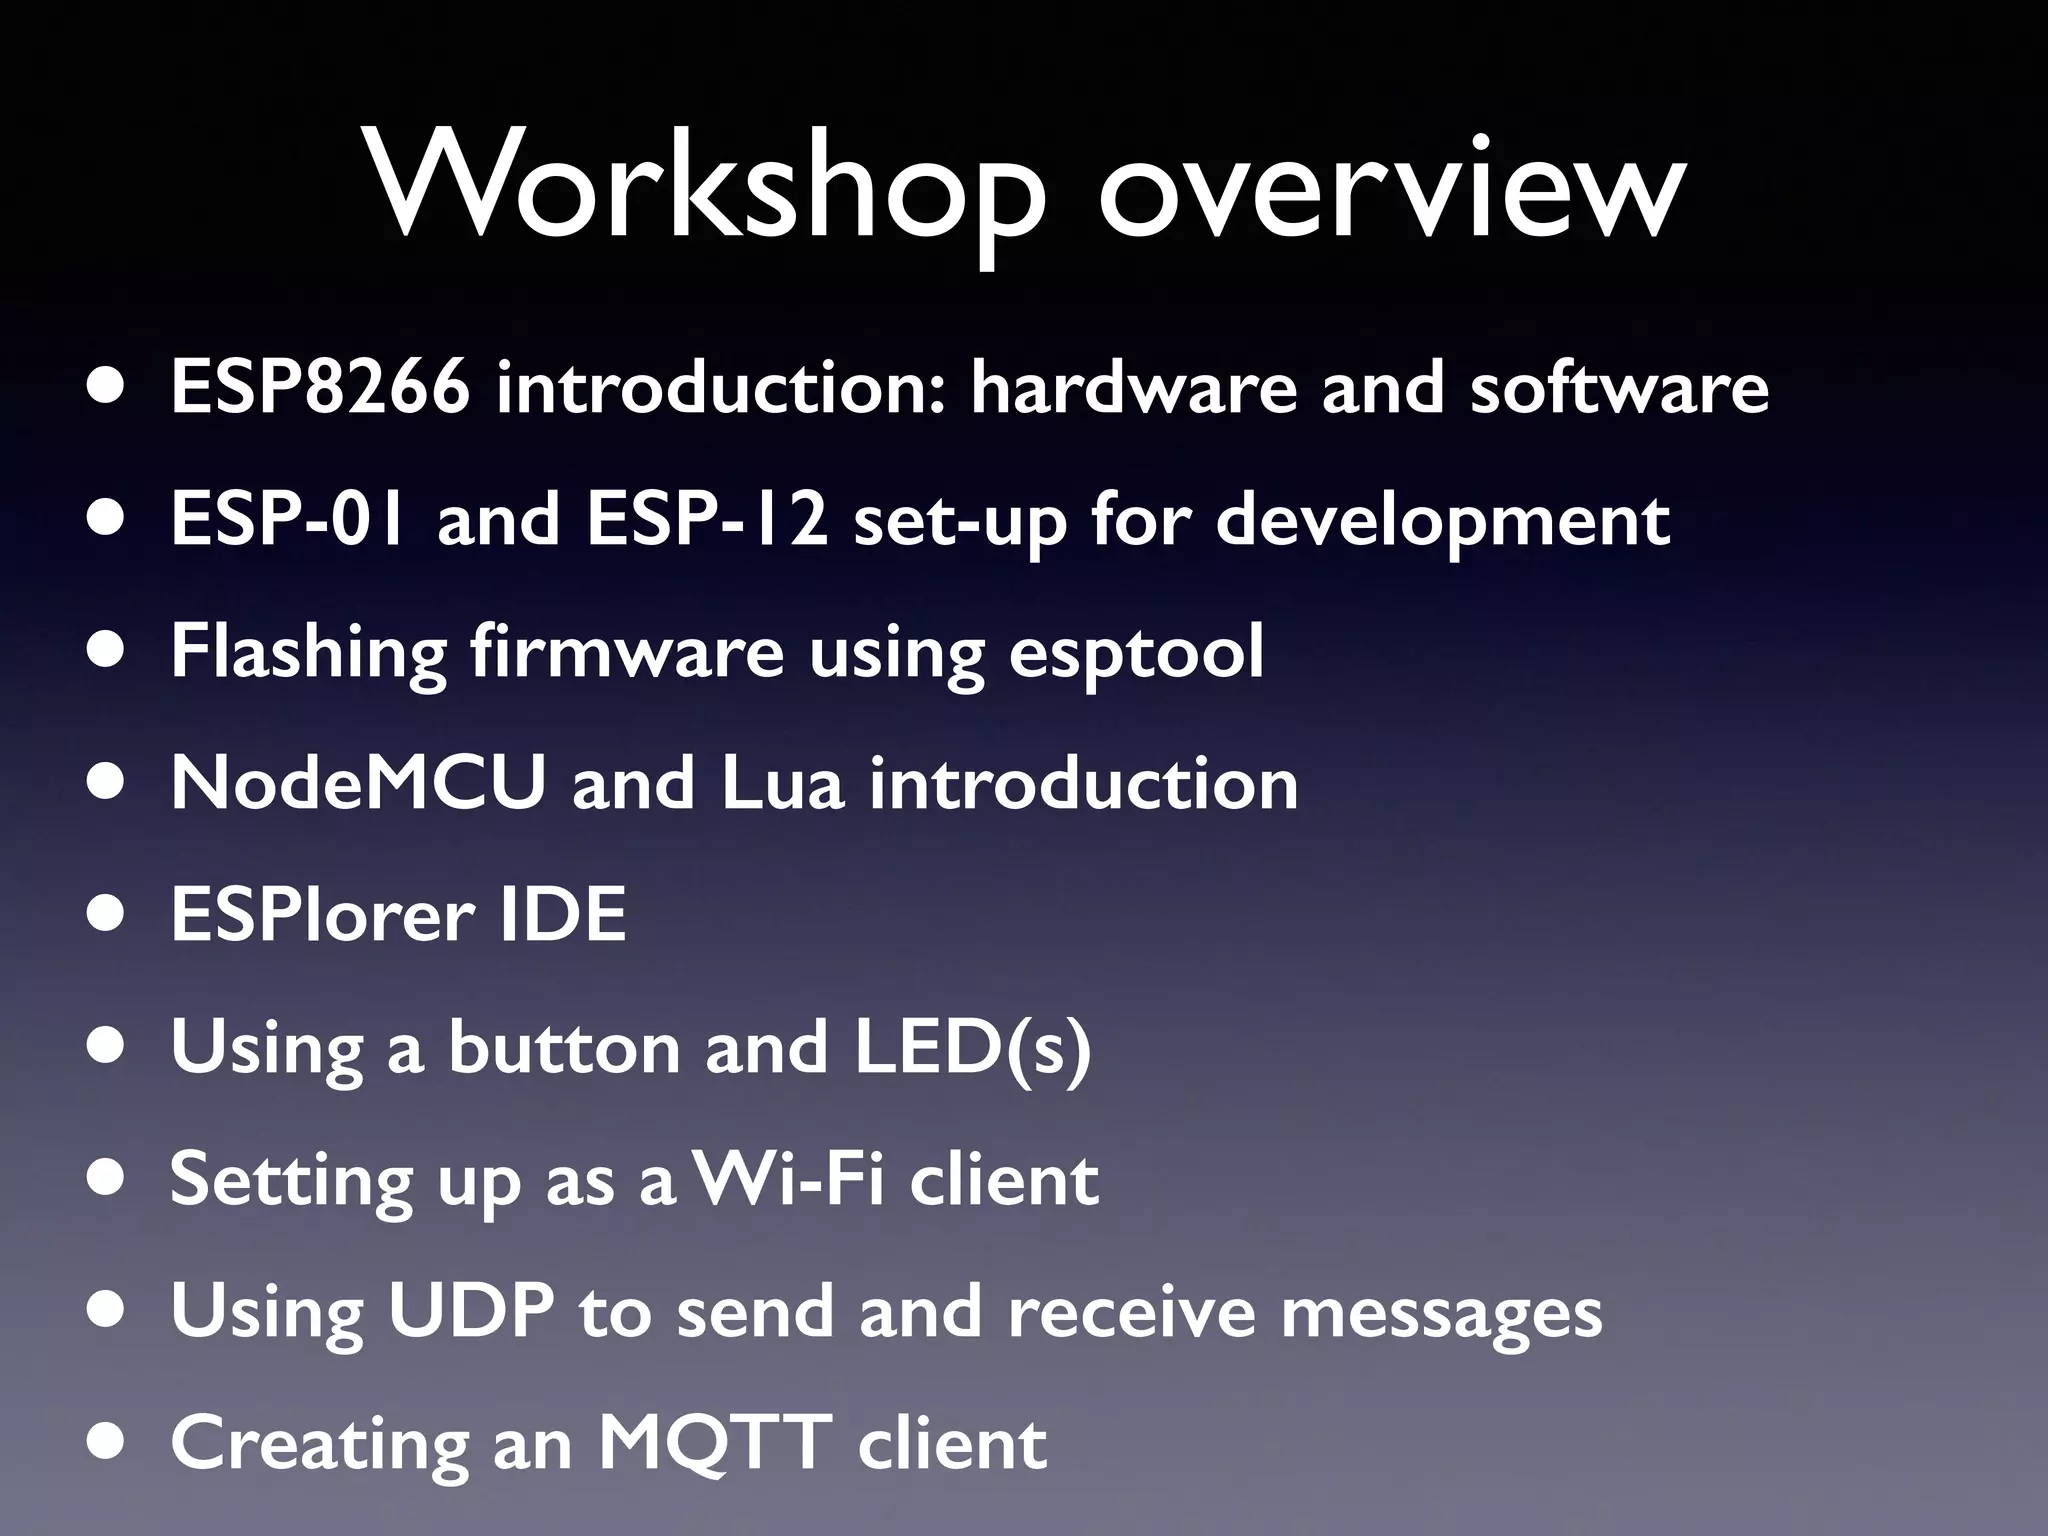
This document provides a summary of an ESP8266 workshop covering: - Introduction to the ESP8266 hardware and software - Setting up ESP-01 and ESP-12 modules for development - Flashing firmware using esptool - Introduction to NodeMCU and Lua - Using the ESPlorer IDE - Examples of using buttons, LEDs, WiFi, UDP, and MQTT with the ESP8266
Introduction to the ESP8266 workshop hosted by Andy Gelme, covering various elements of development.
Overview of workshop topics including hardware, software, firmware flashing, and NodeMCU programming.
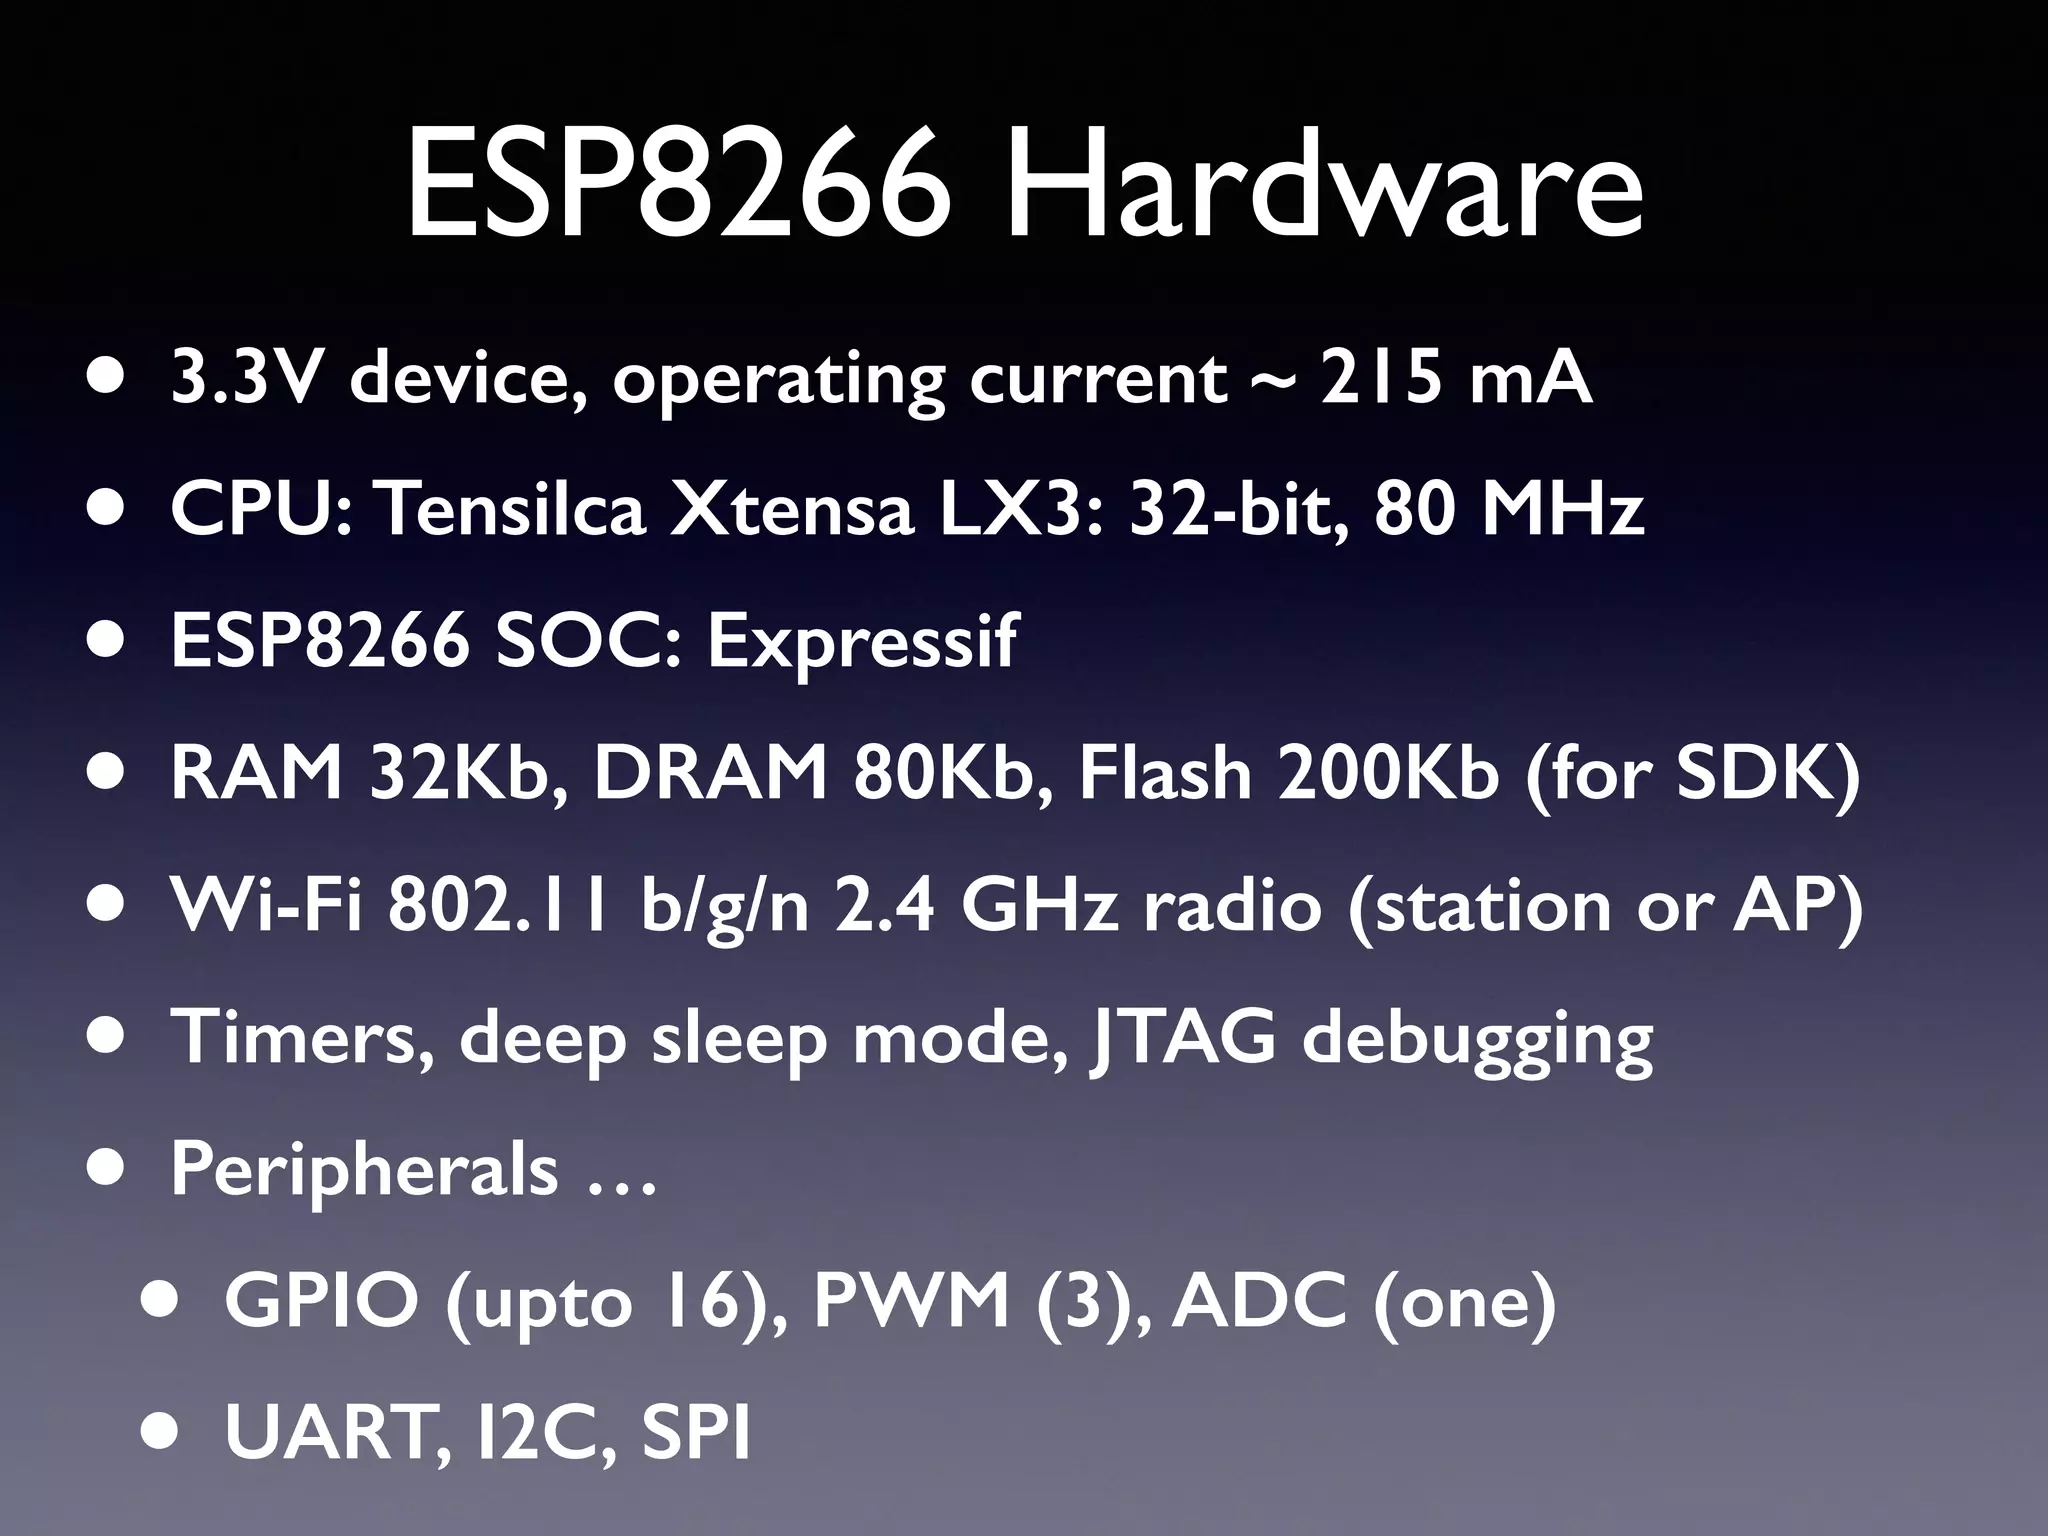
Specifications of ESP8266 hardware including operational current, CPU, memory, Wi-Fi capabilities, and peripherals.
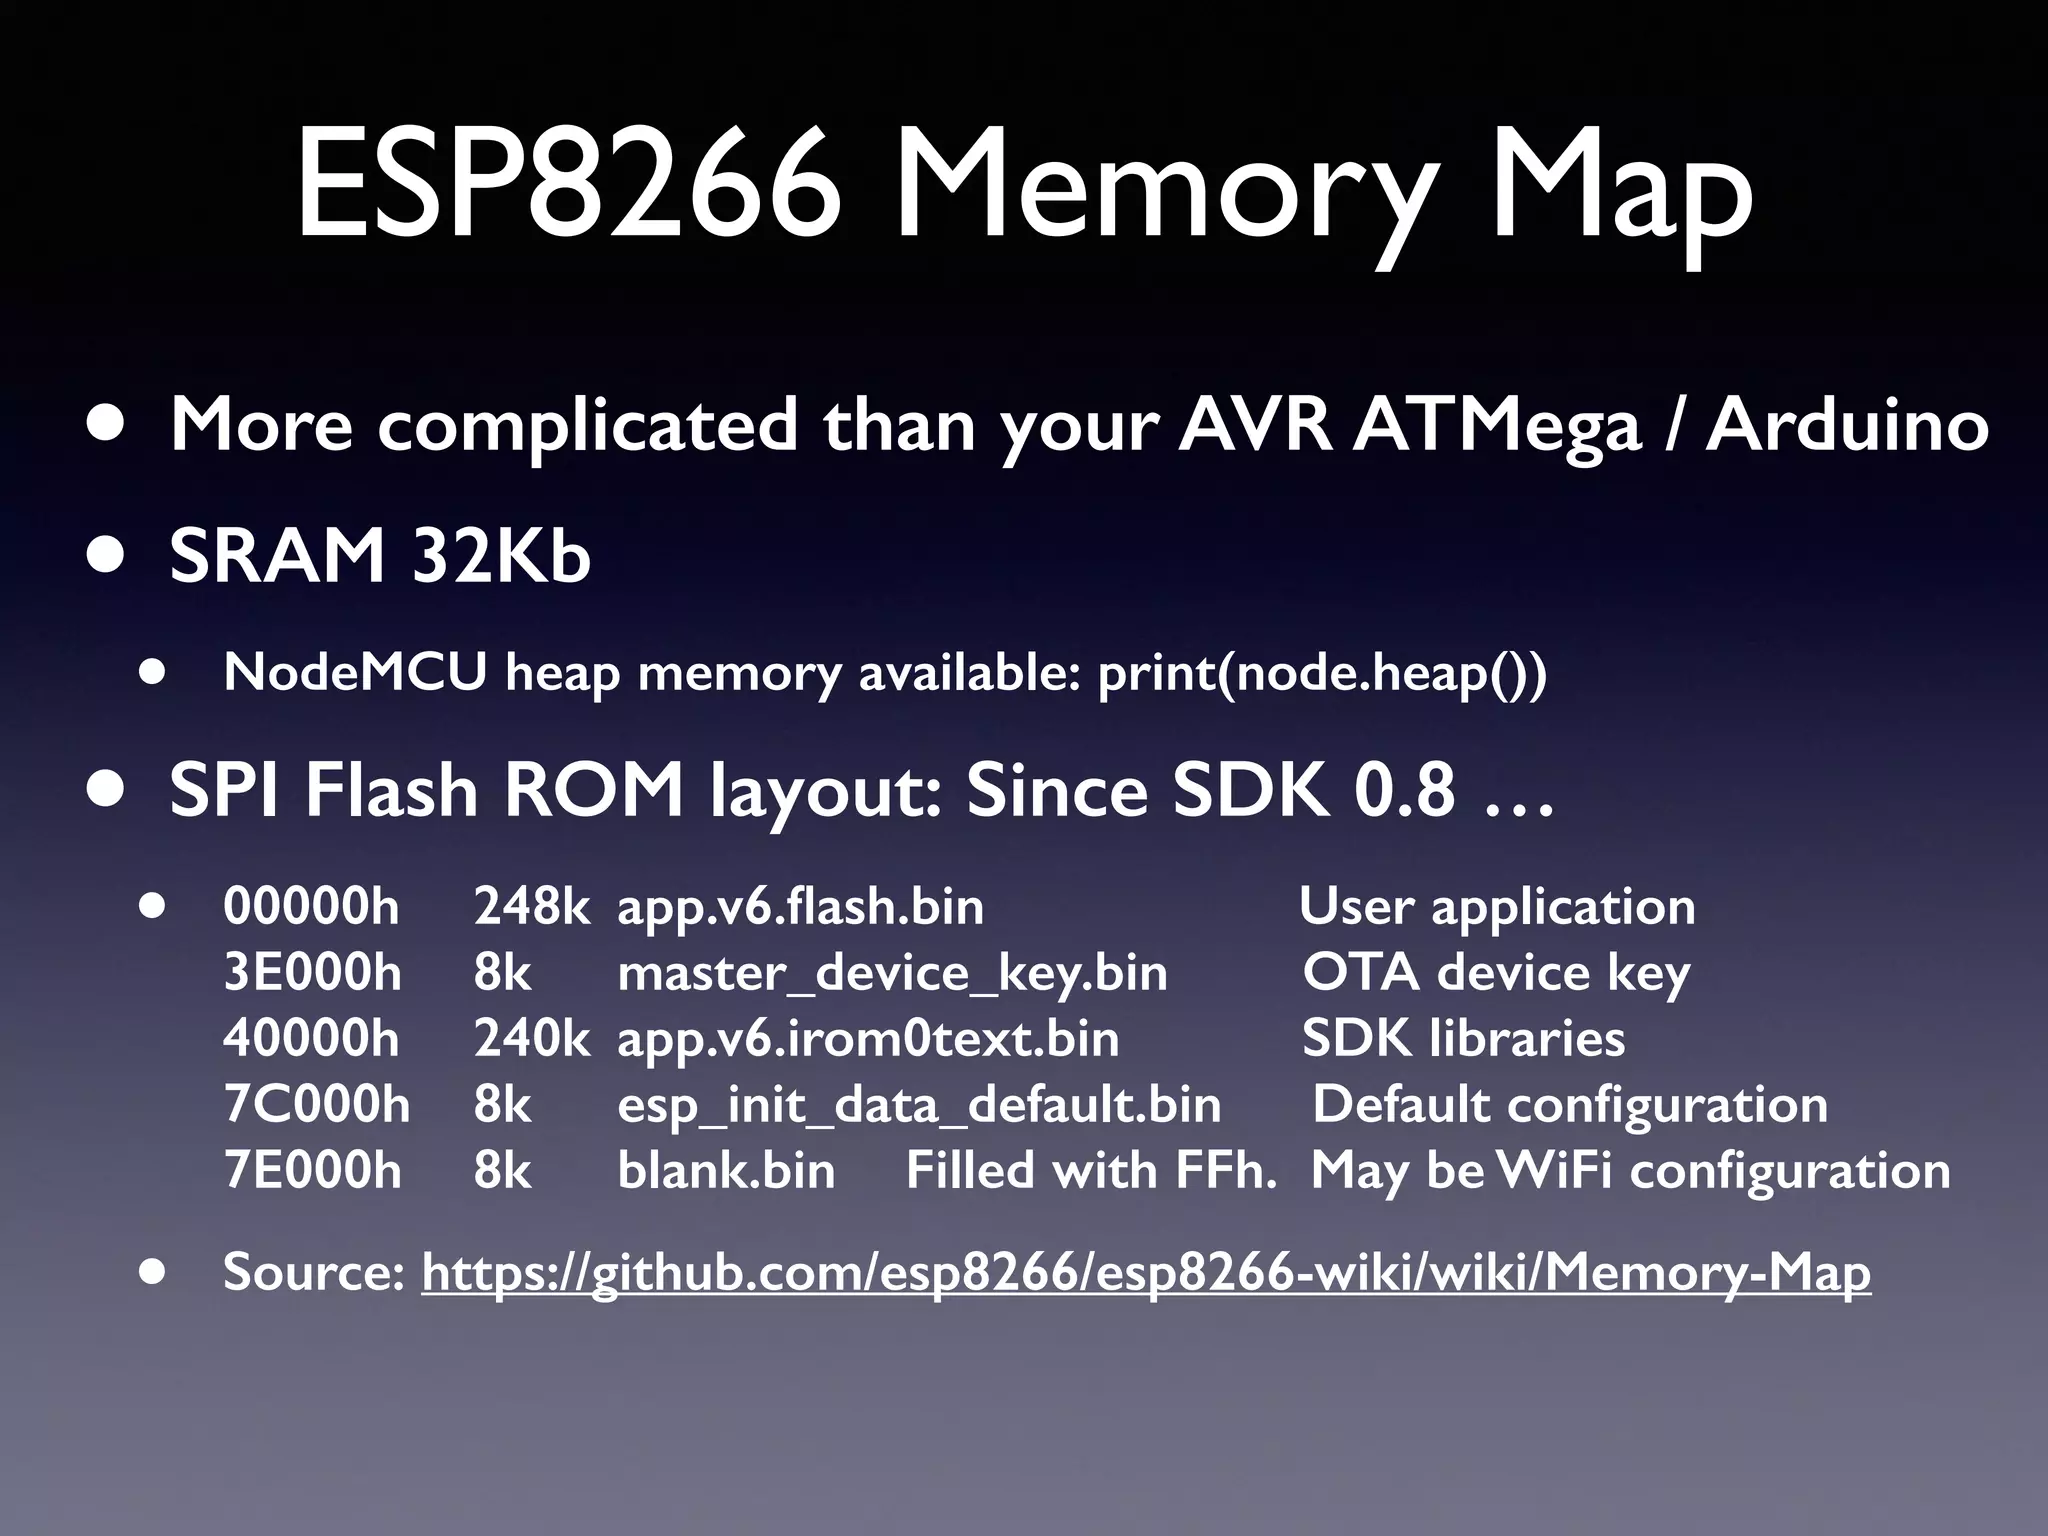
Detailed memory layout of ESP8266, including different memory regions and their uses.
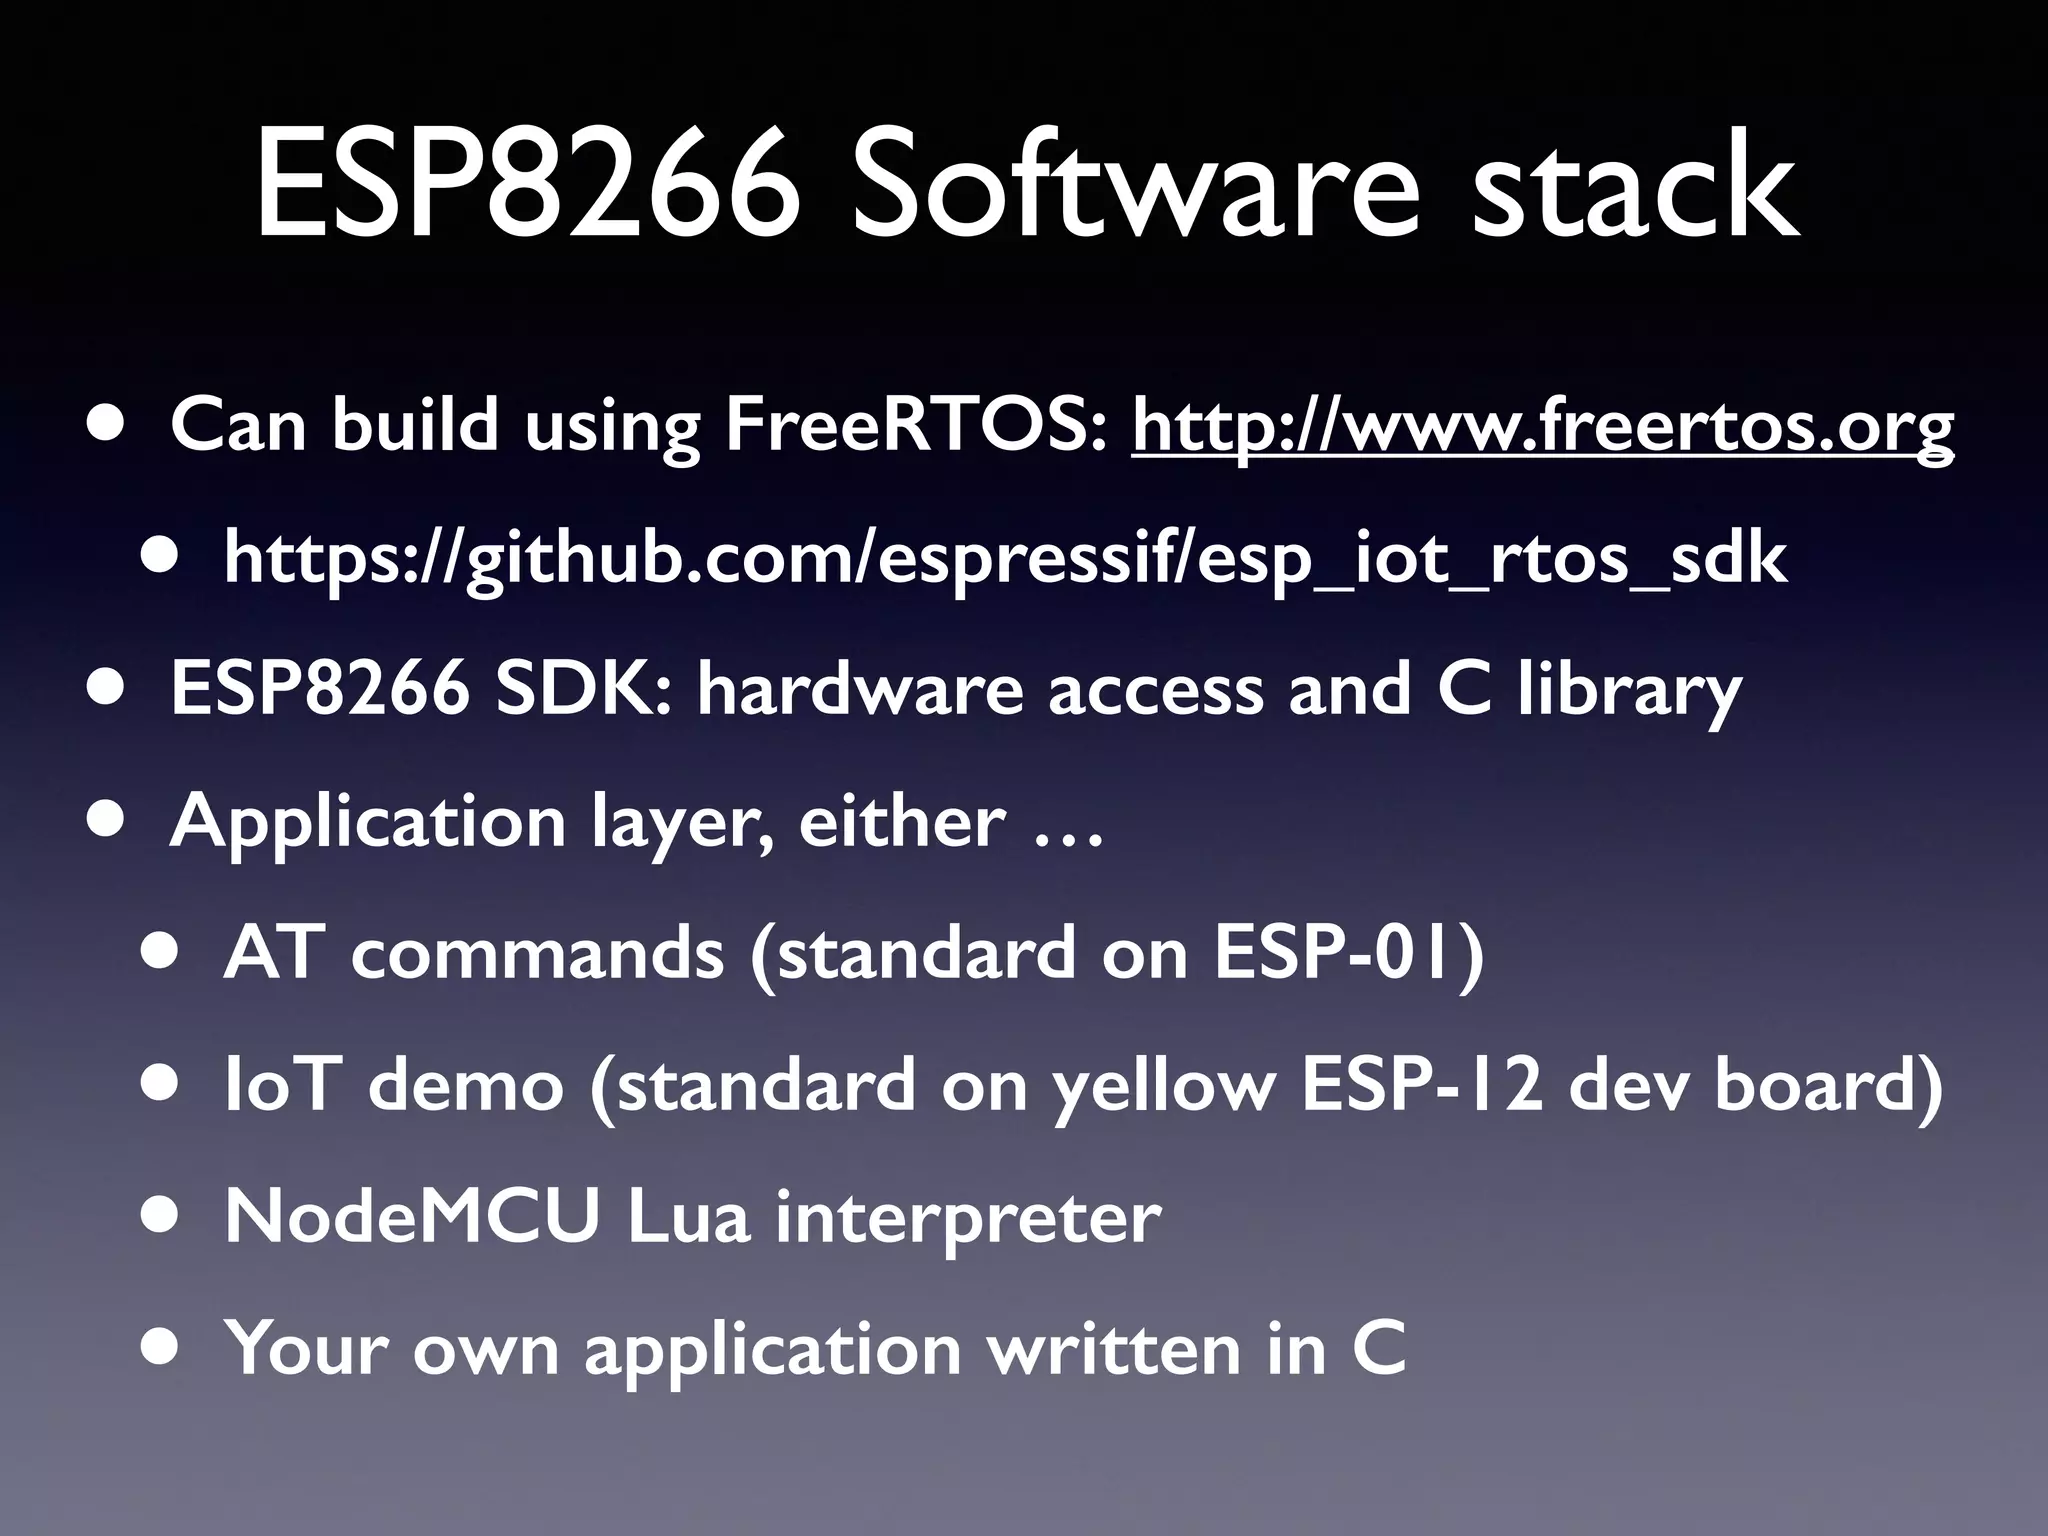
Software stack options for ESP8266, including FreeRTOS, SDK, and various application layers.
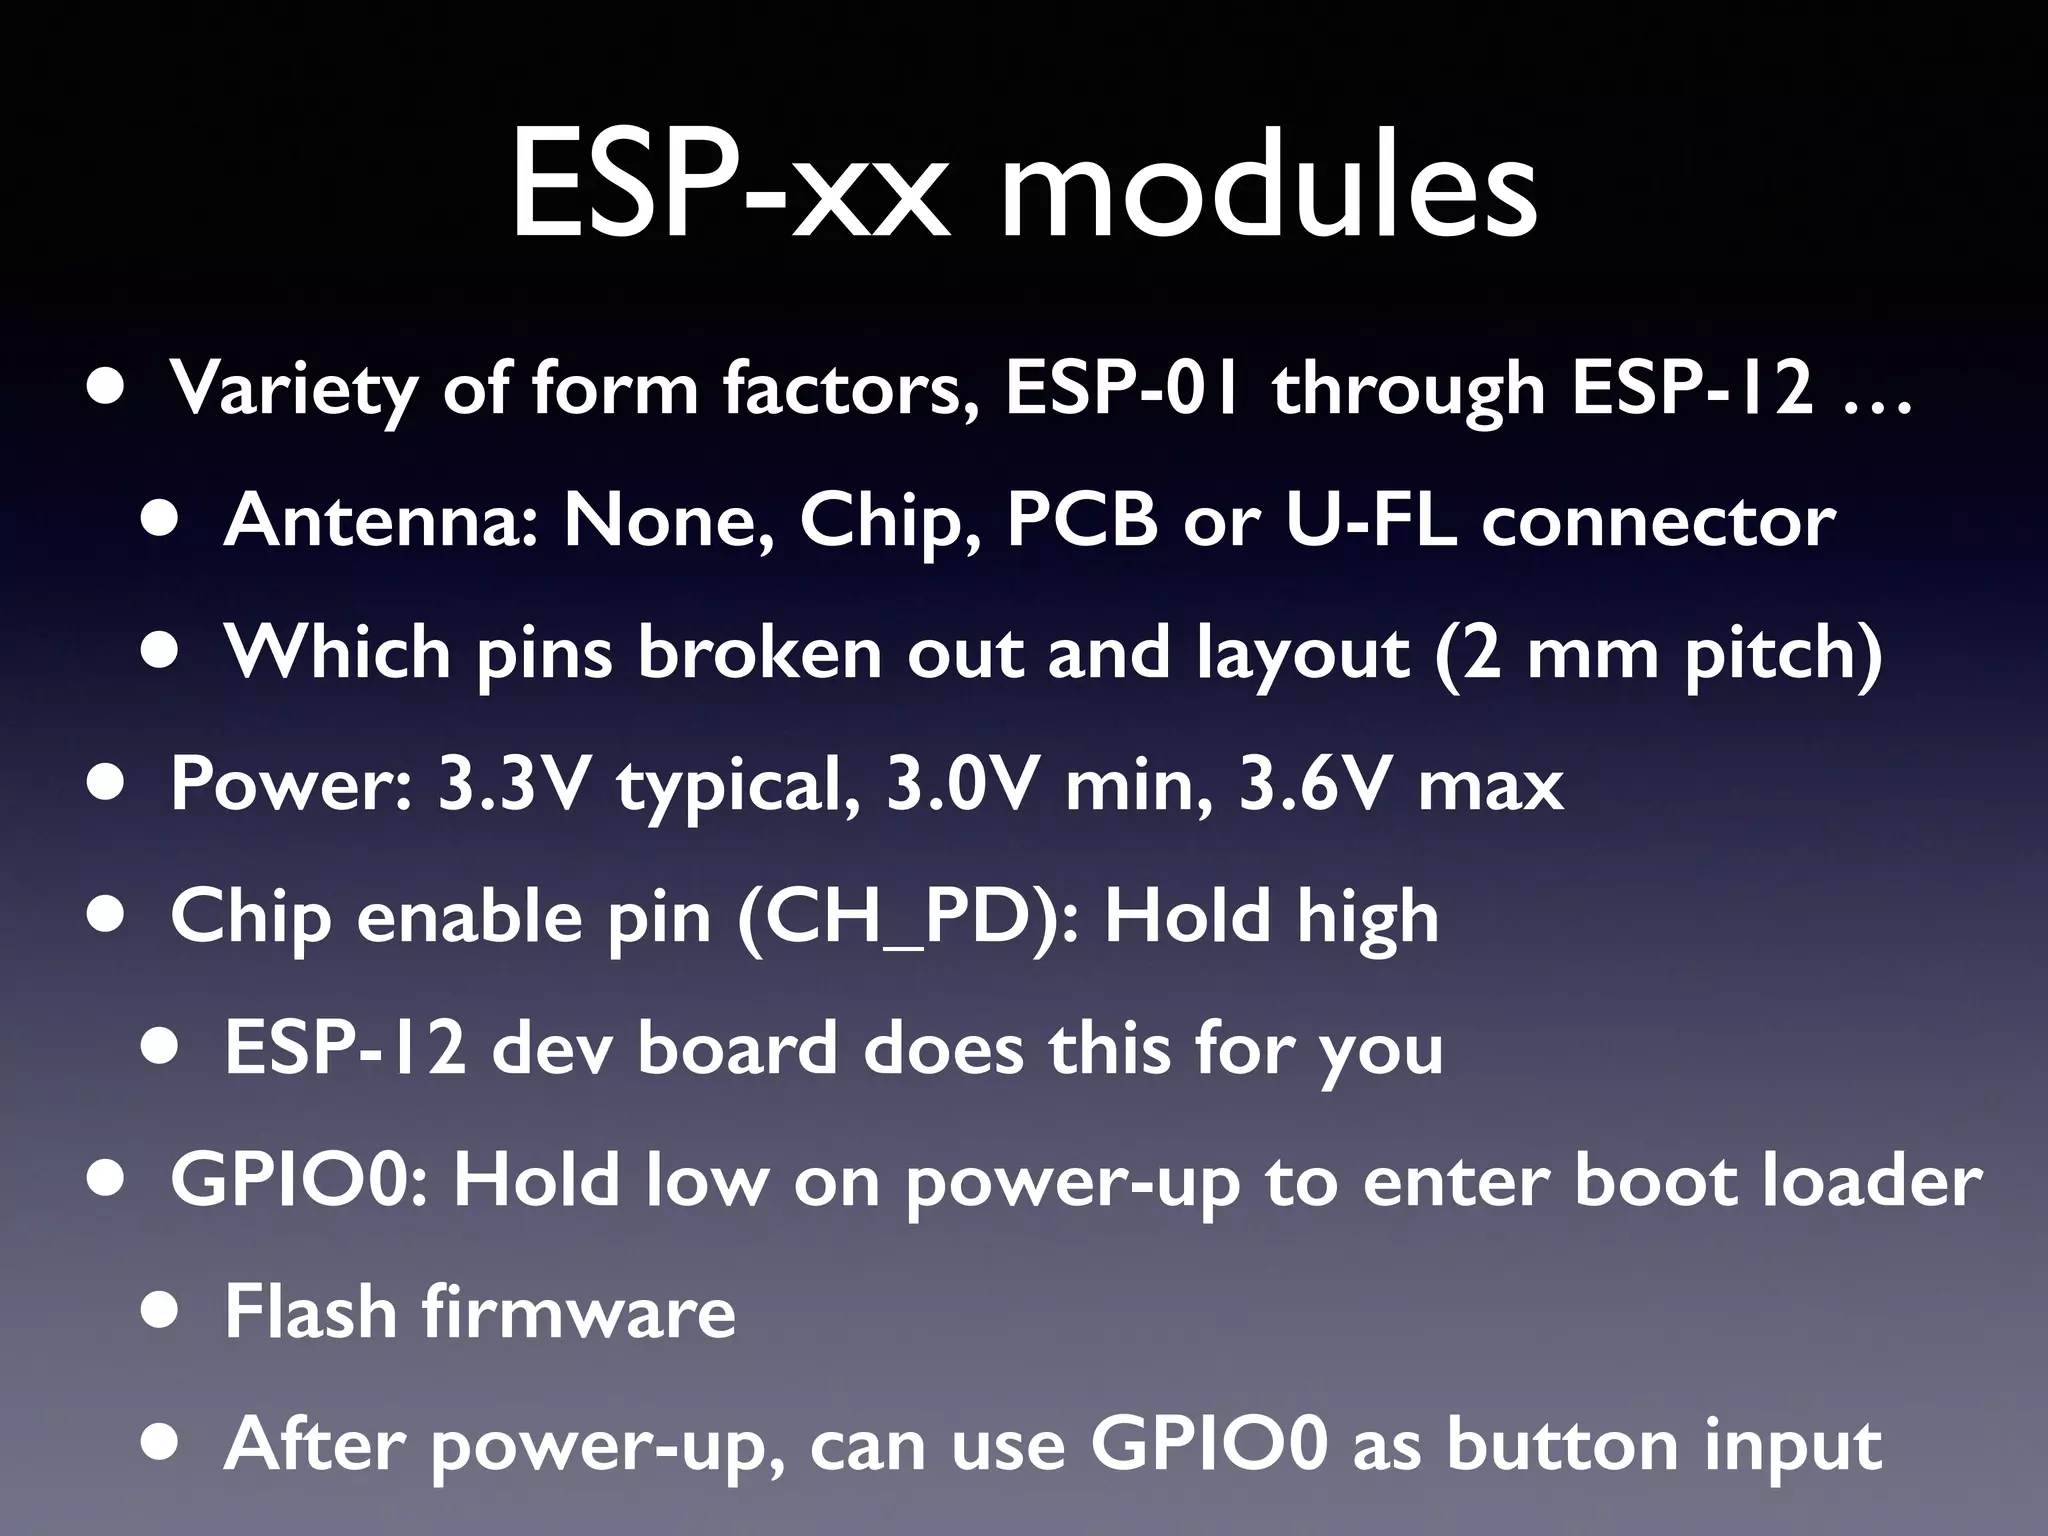
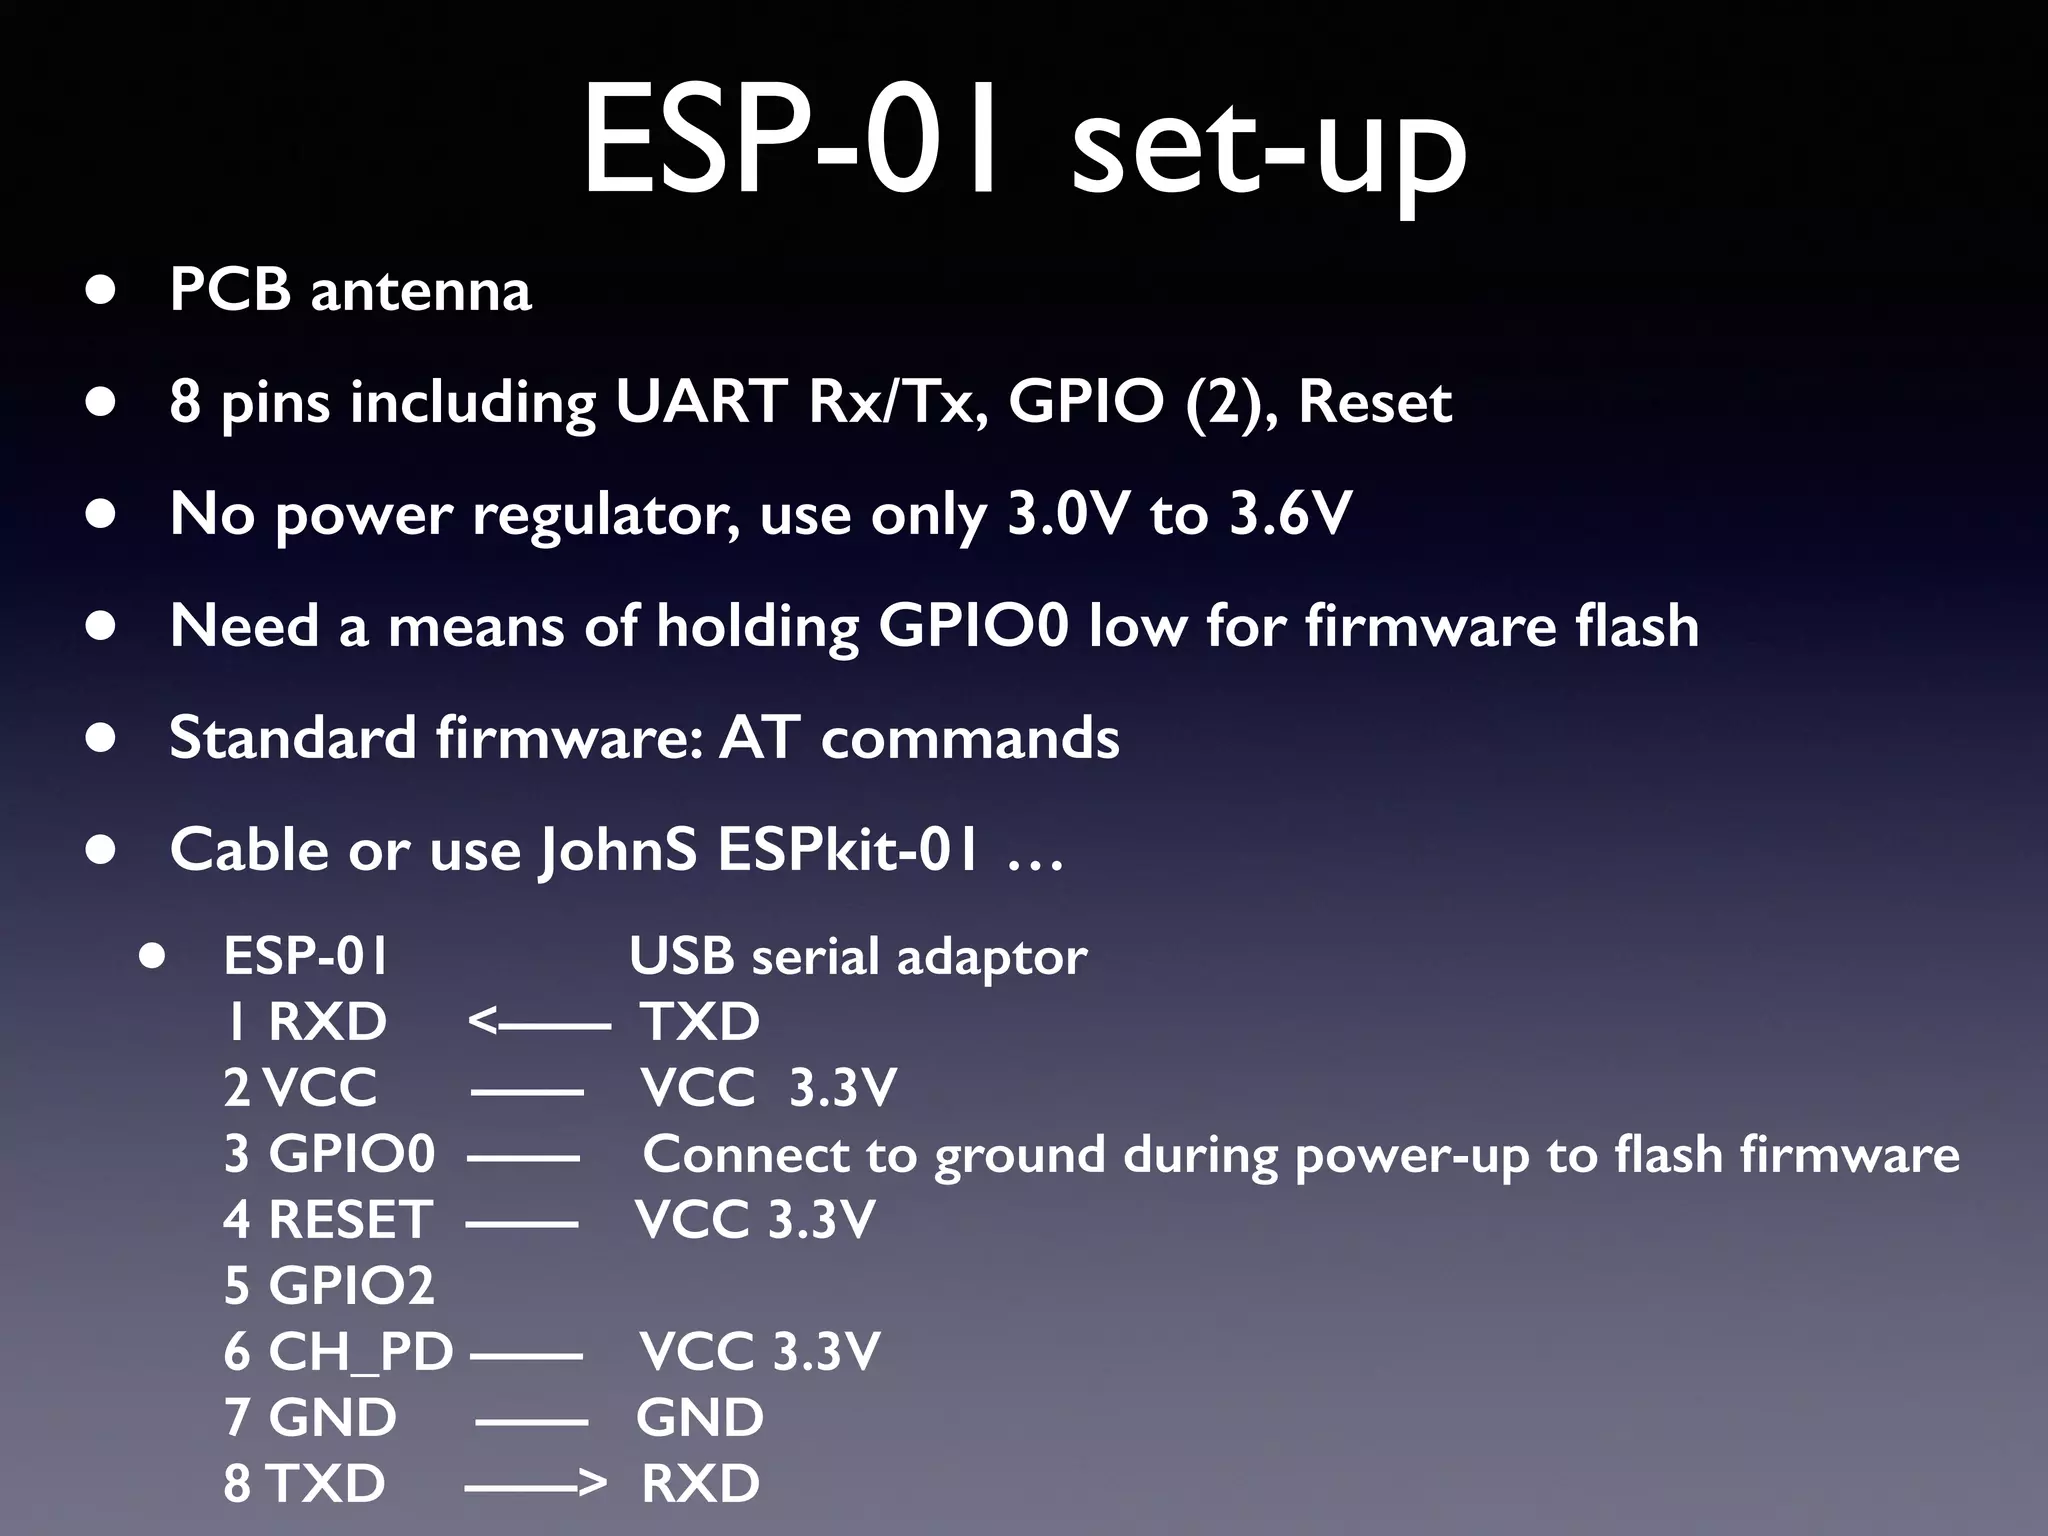
Different ESP8266 module variants, their features, pin layouts, and power requirements.
Detailed setup instructions for ESP-01, including pin connections and firmware options.
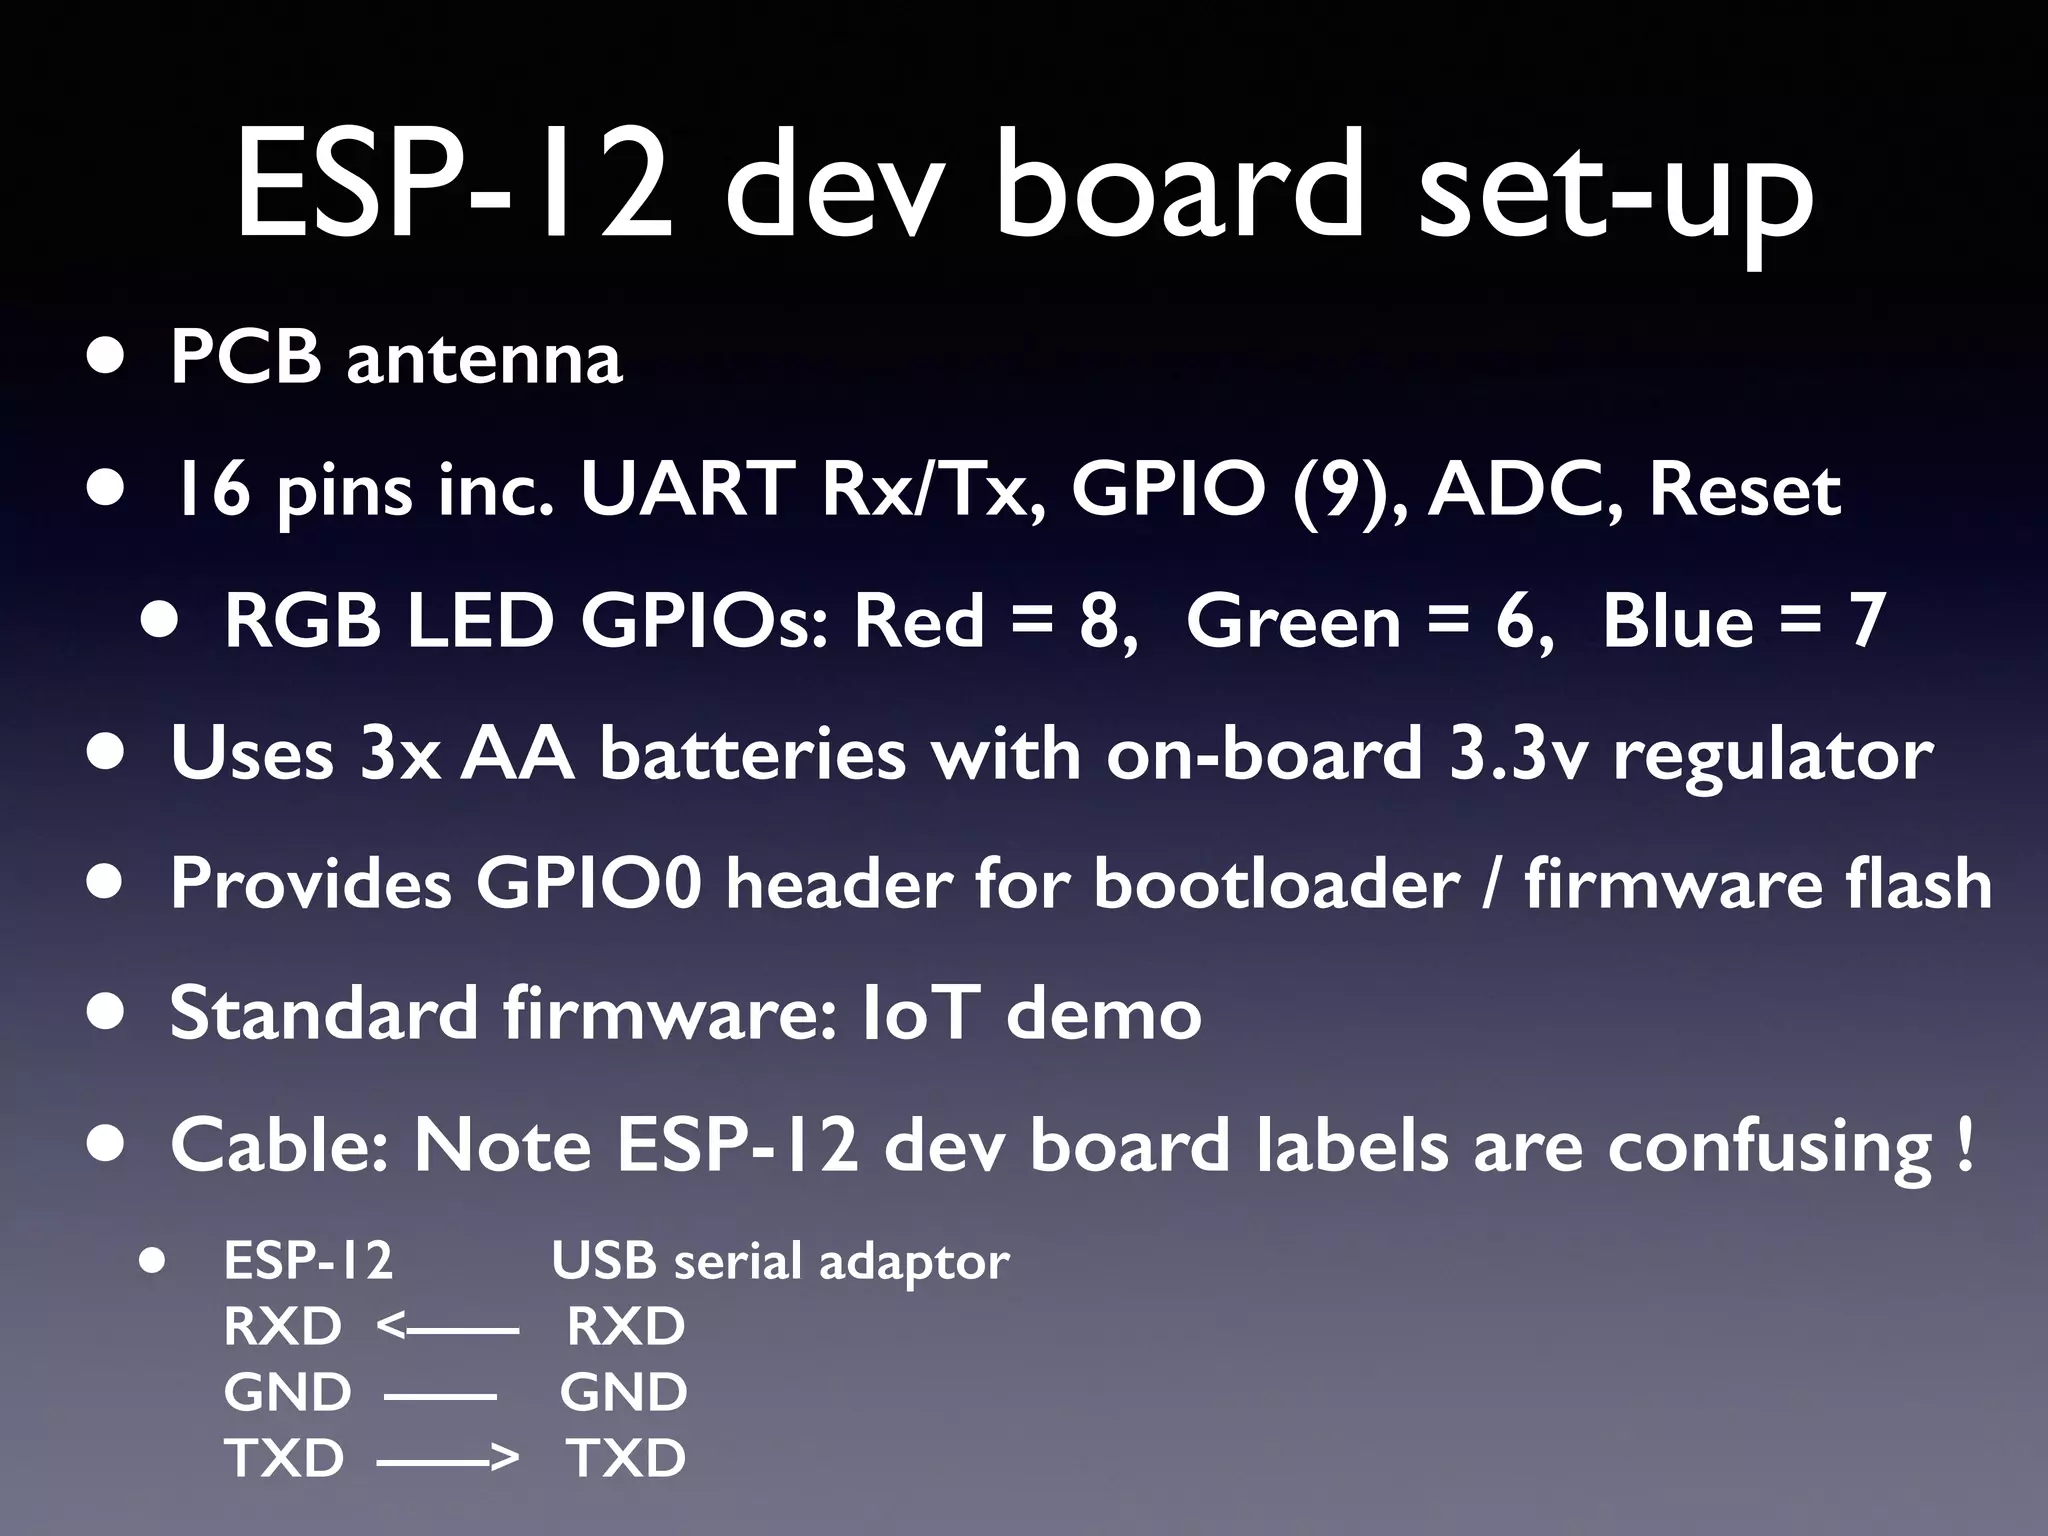
Setup instructions for the ESP-12 development board, including pin definitions and power configurations.
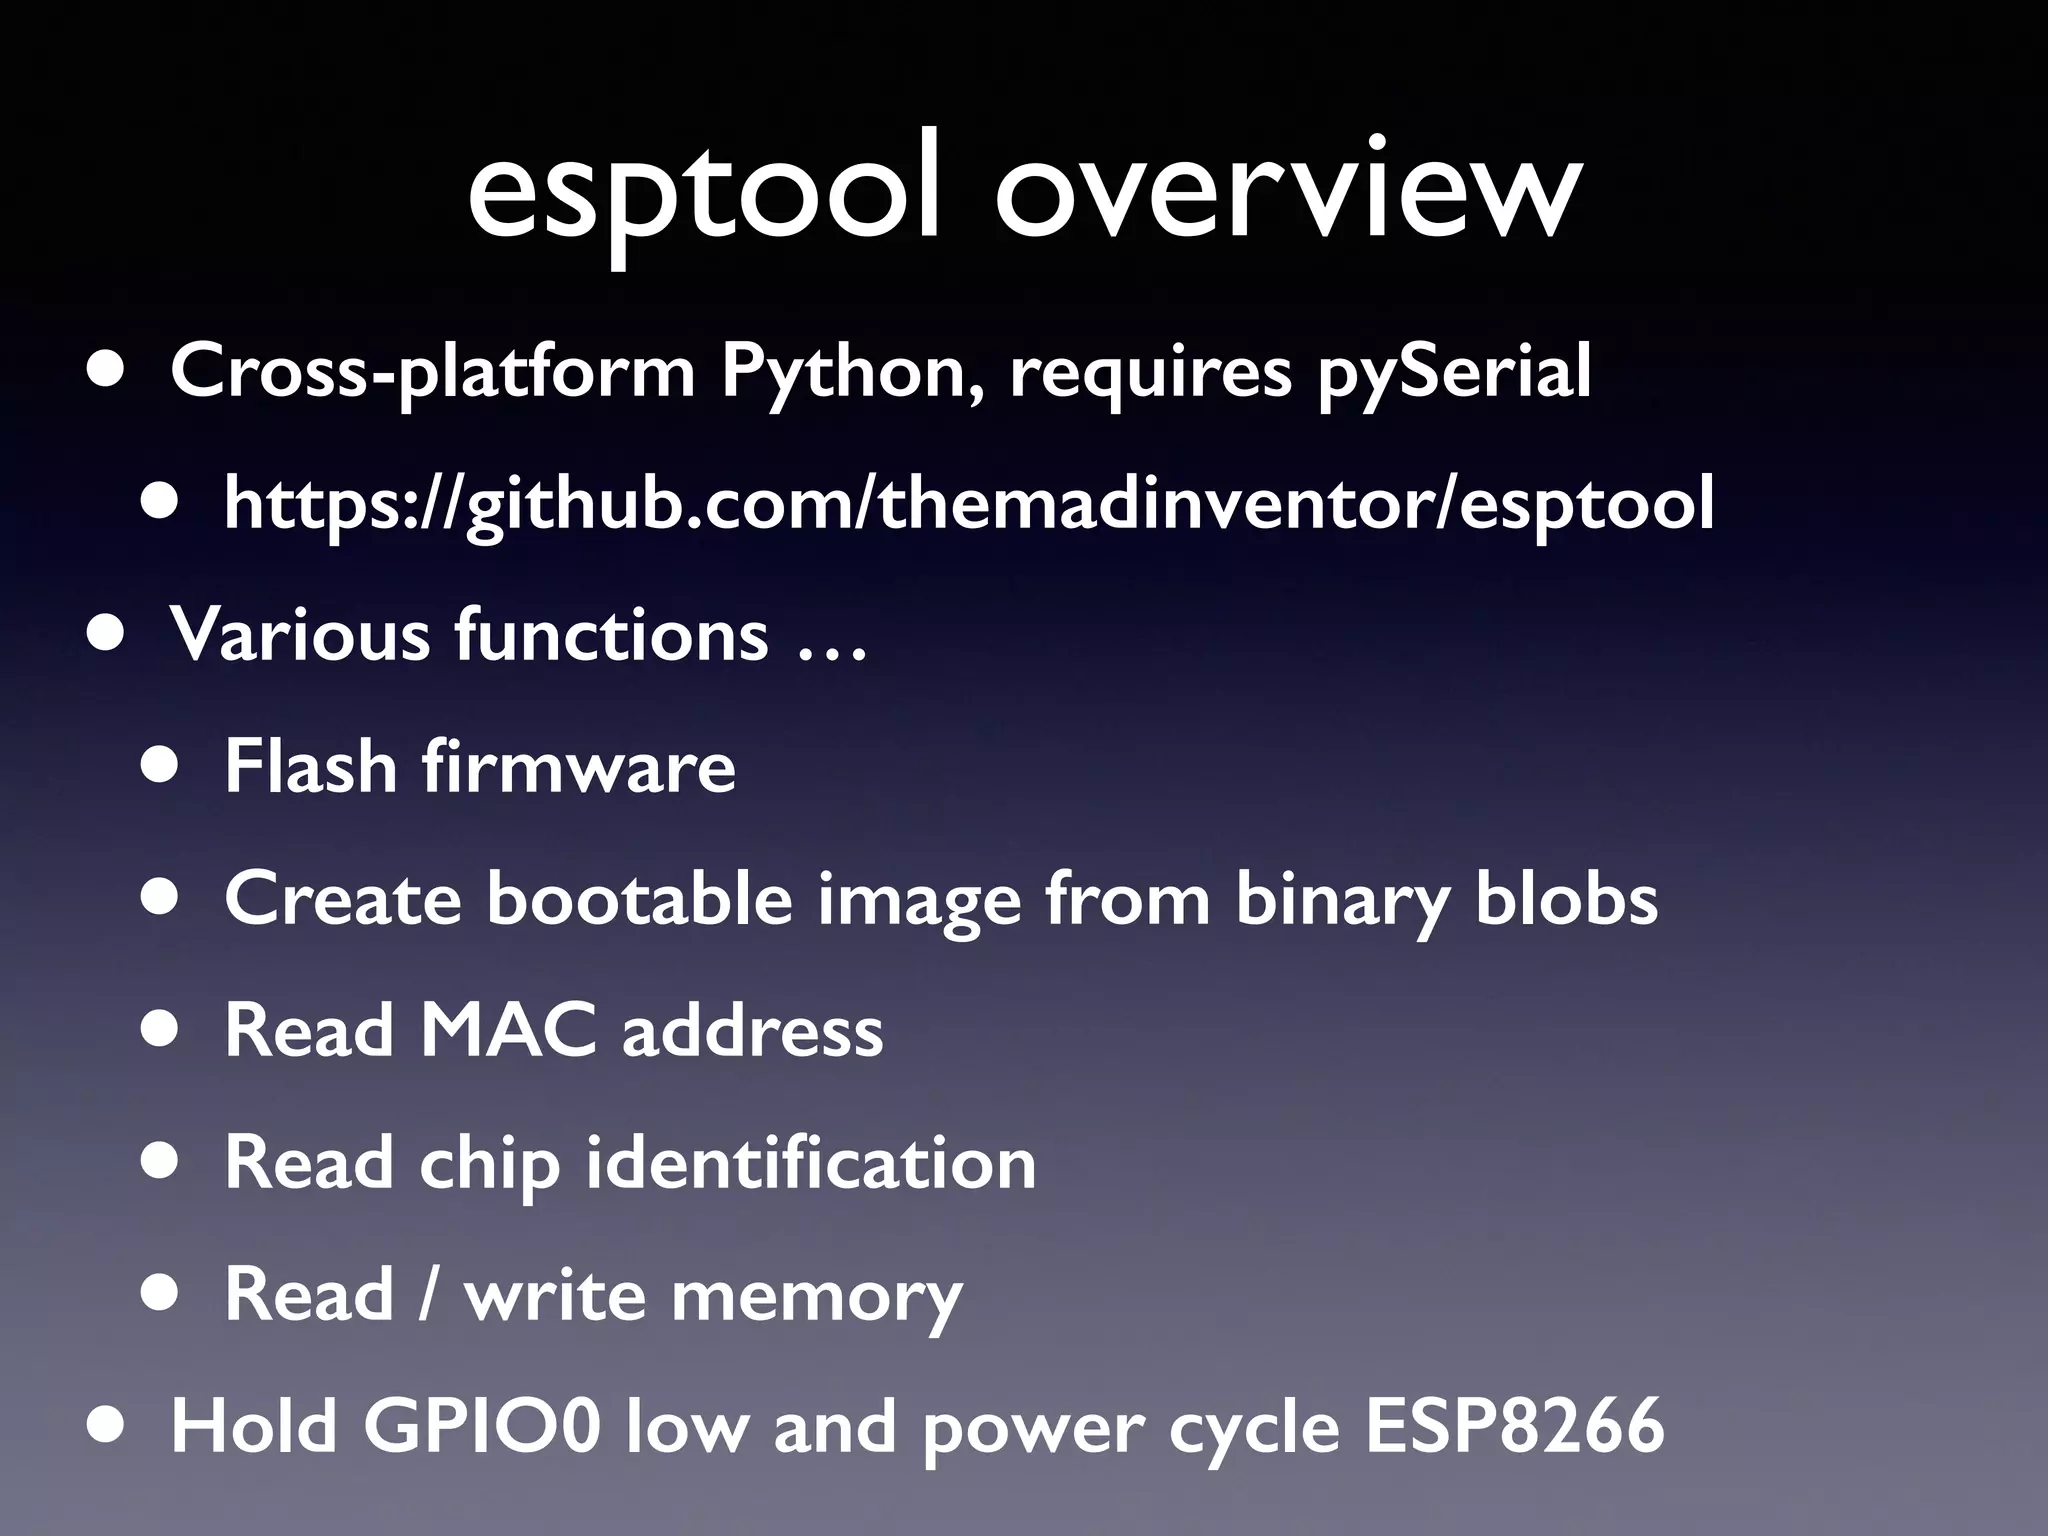
Overview of esptool, a cross-platform utility for flashing firmware and managing ESP8266 parameters.
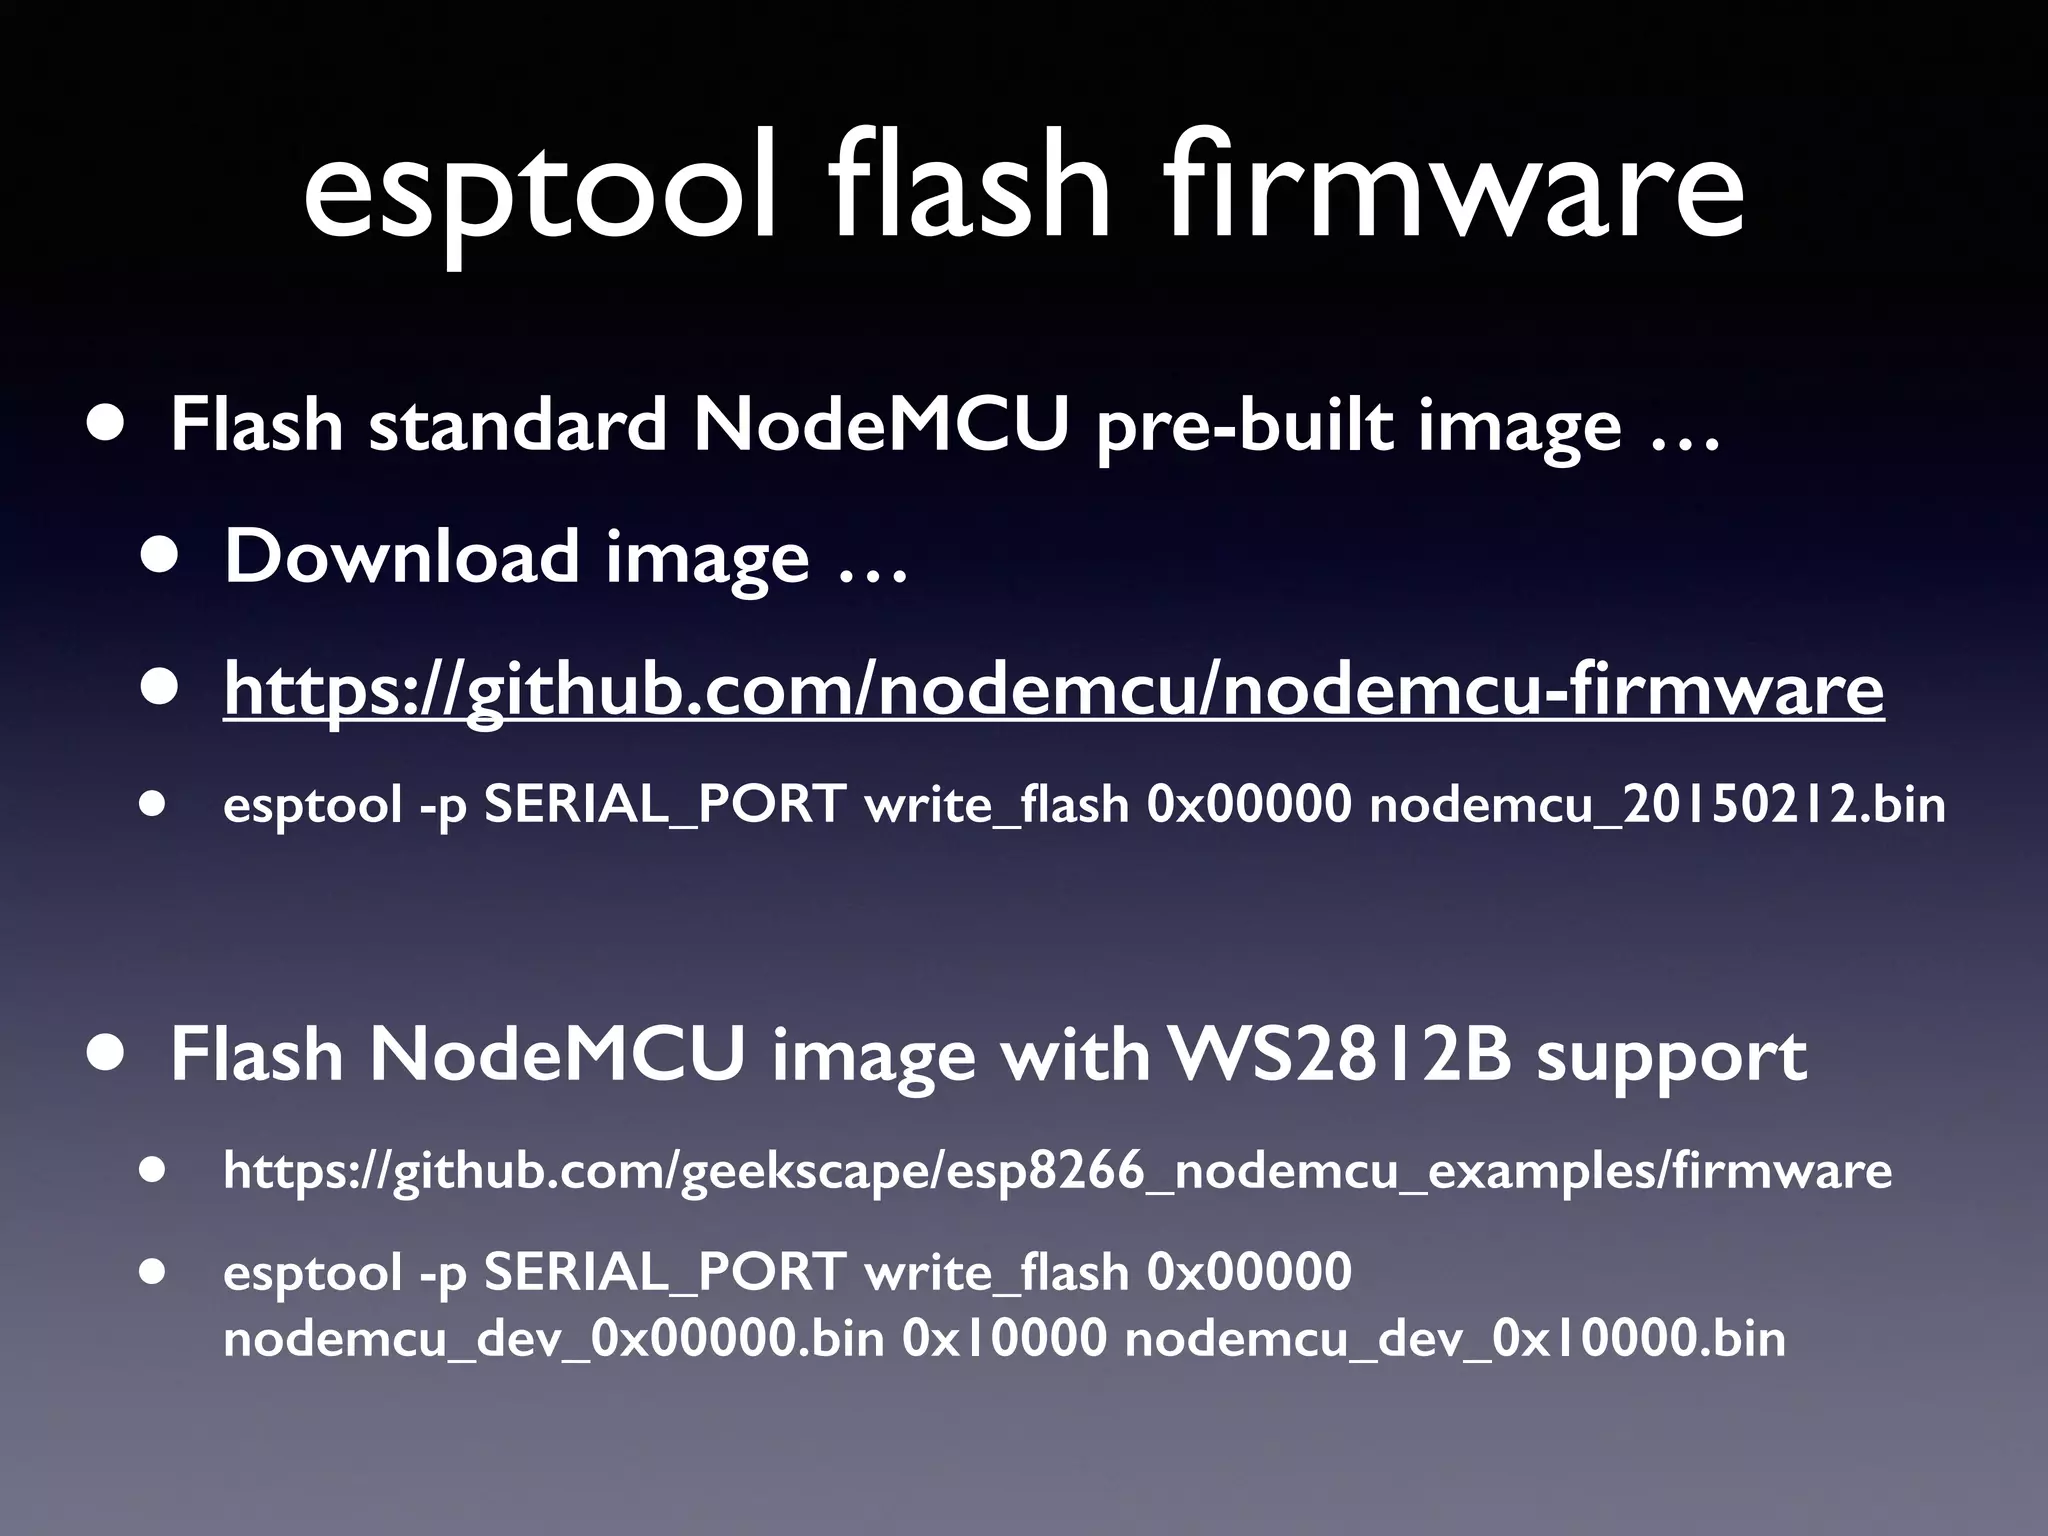
Instructions to flash NodeMCU firmware to ESP8266 using esptool with command details.
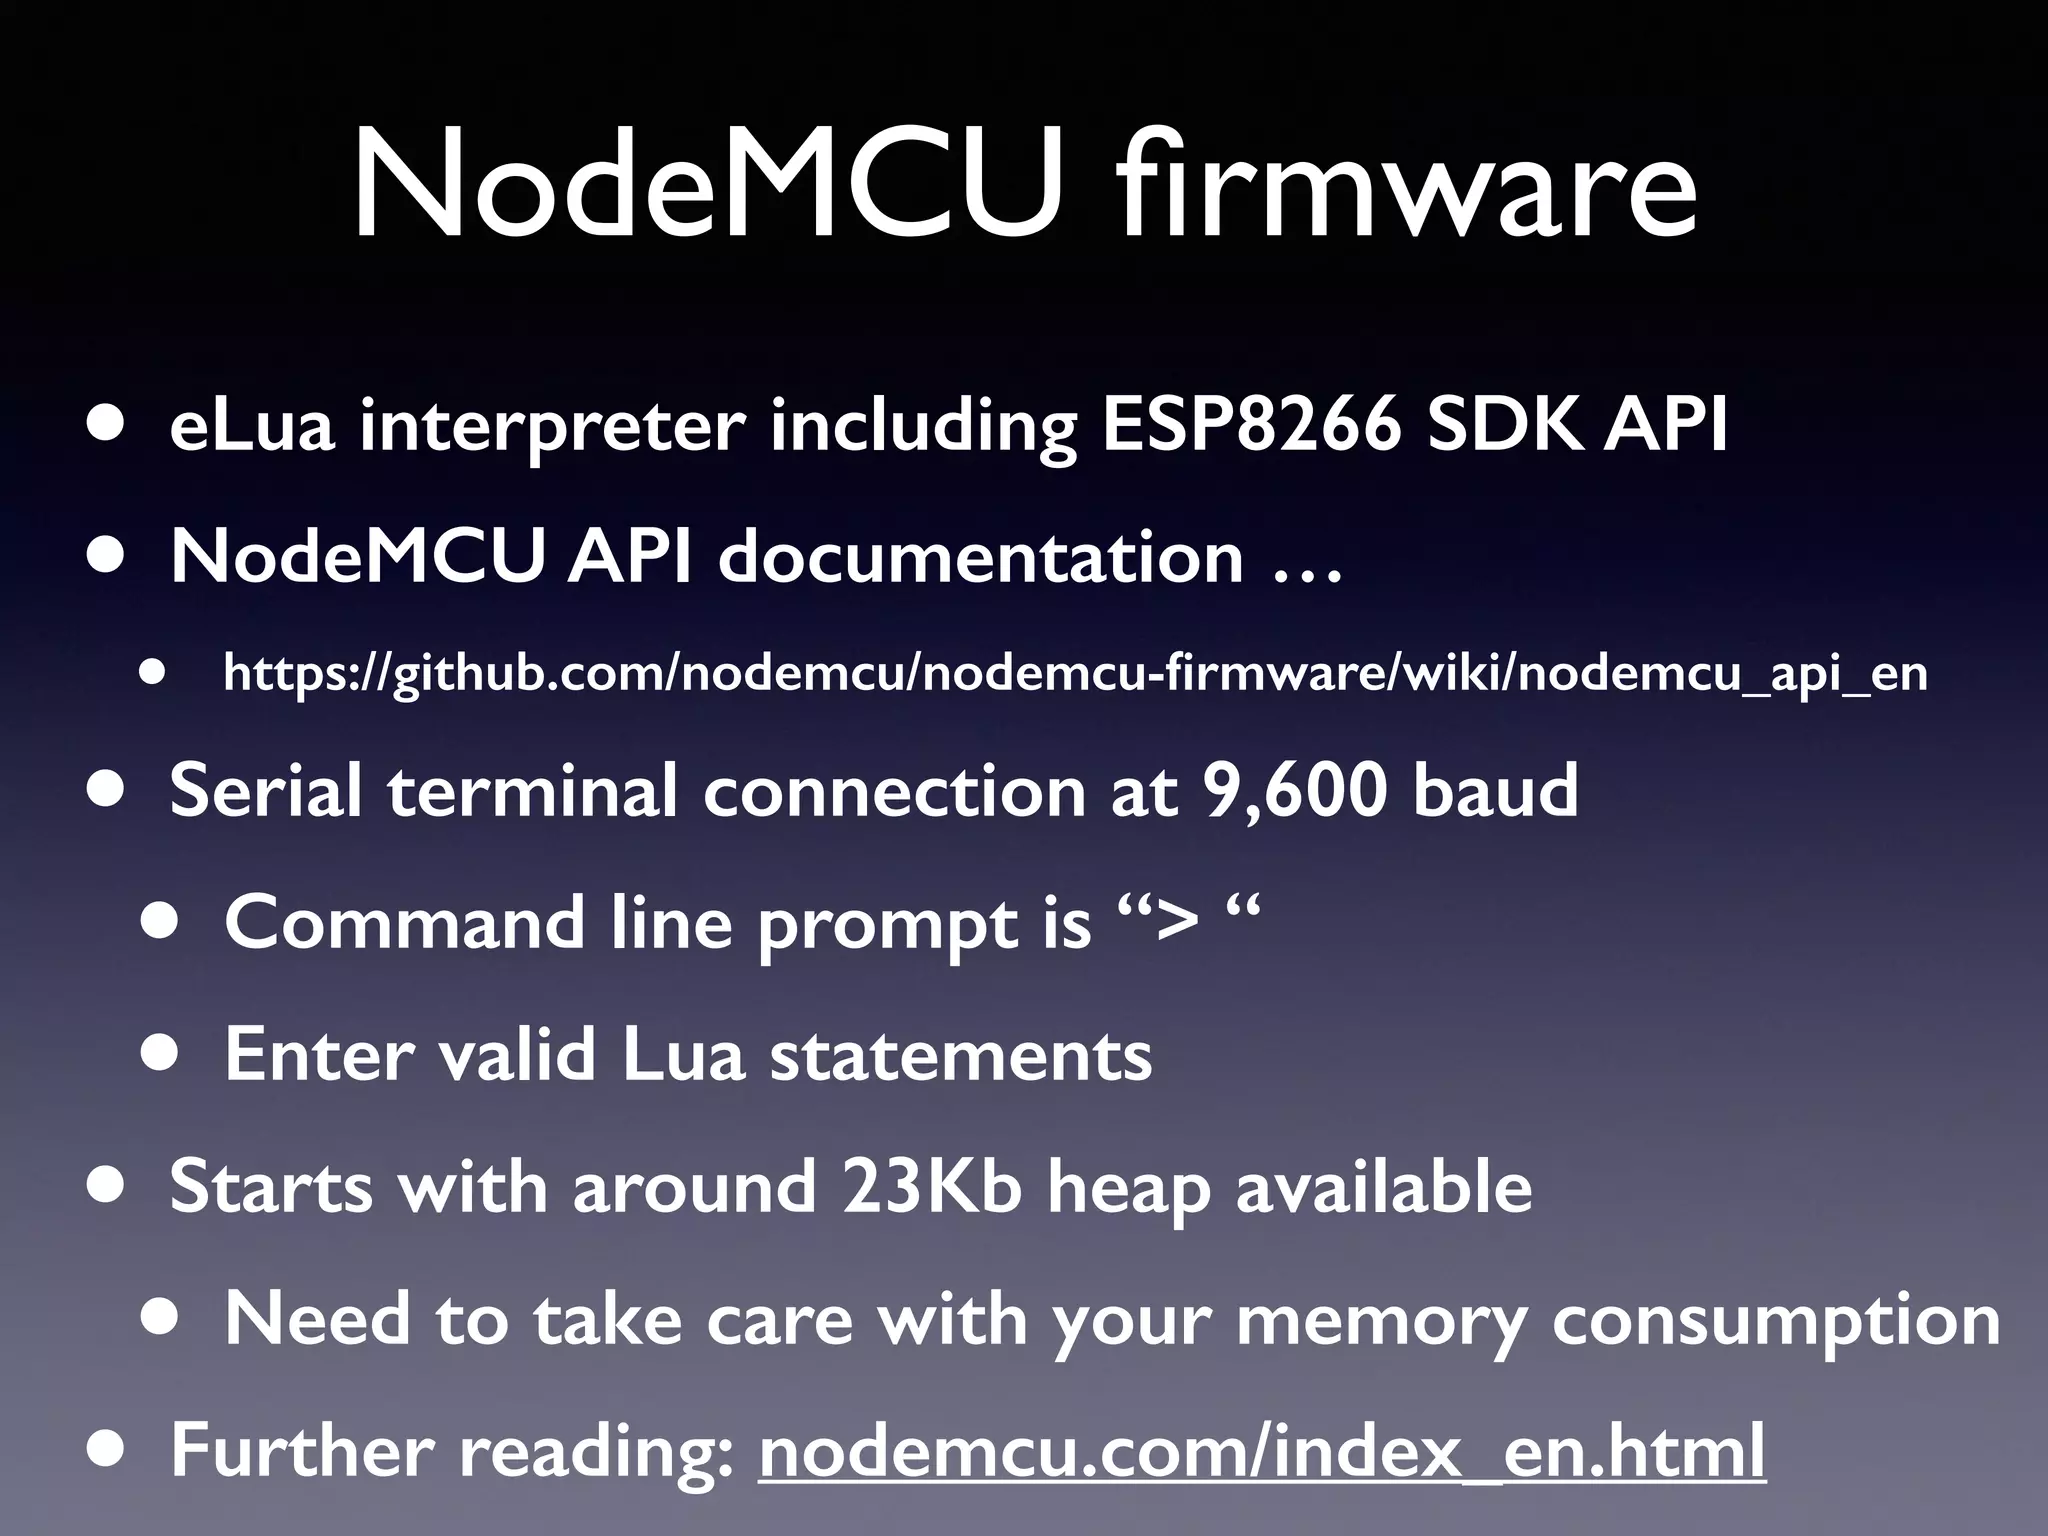
Description of NodeMCU firmware including eLua interpreter, memory management, and usage.
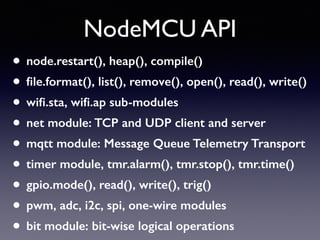
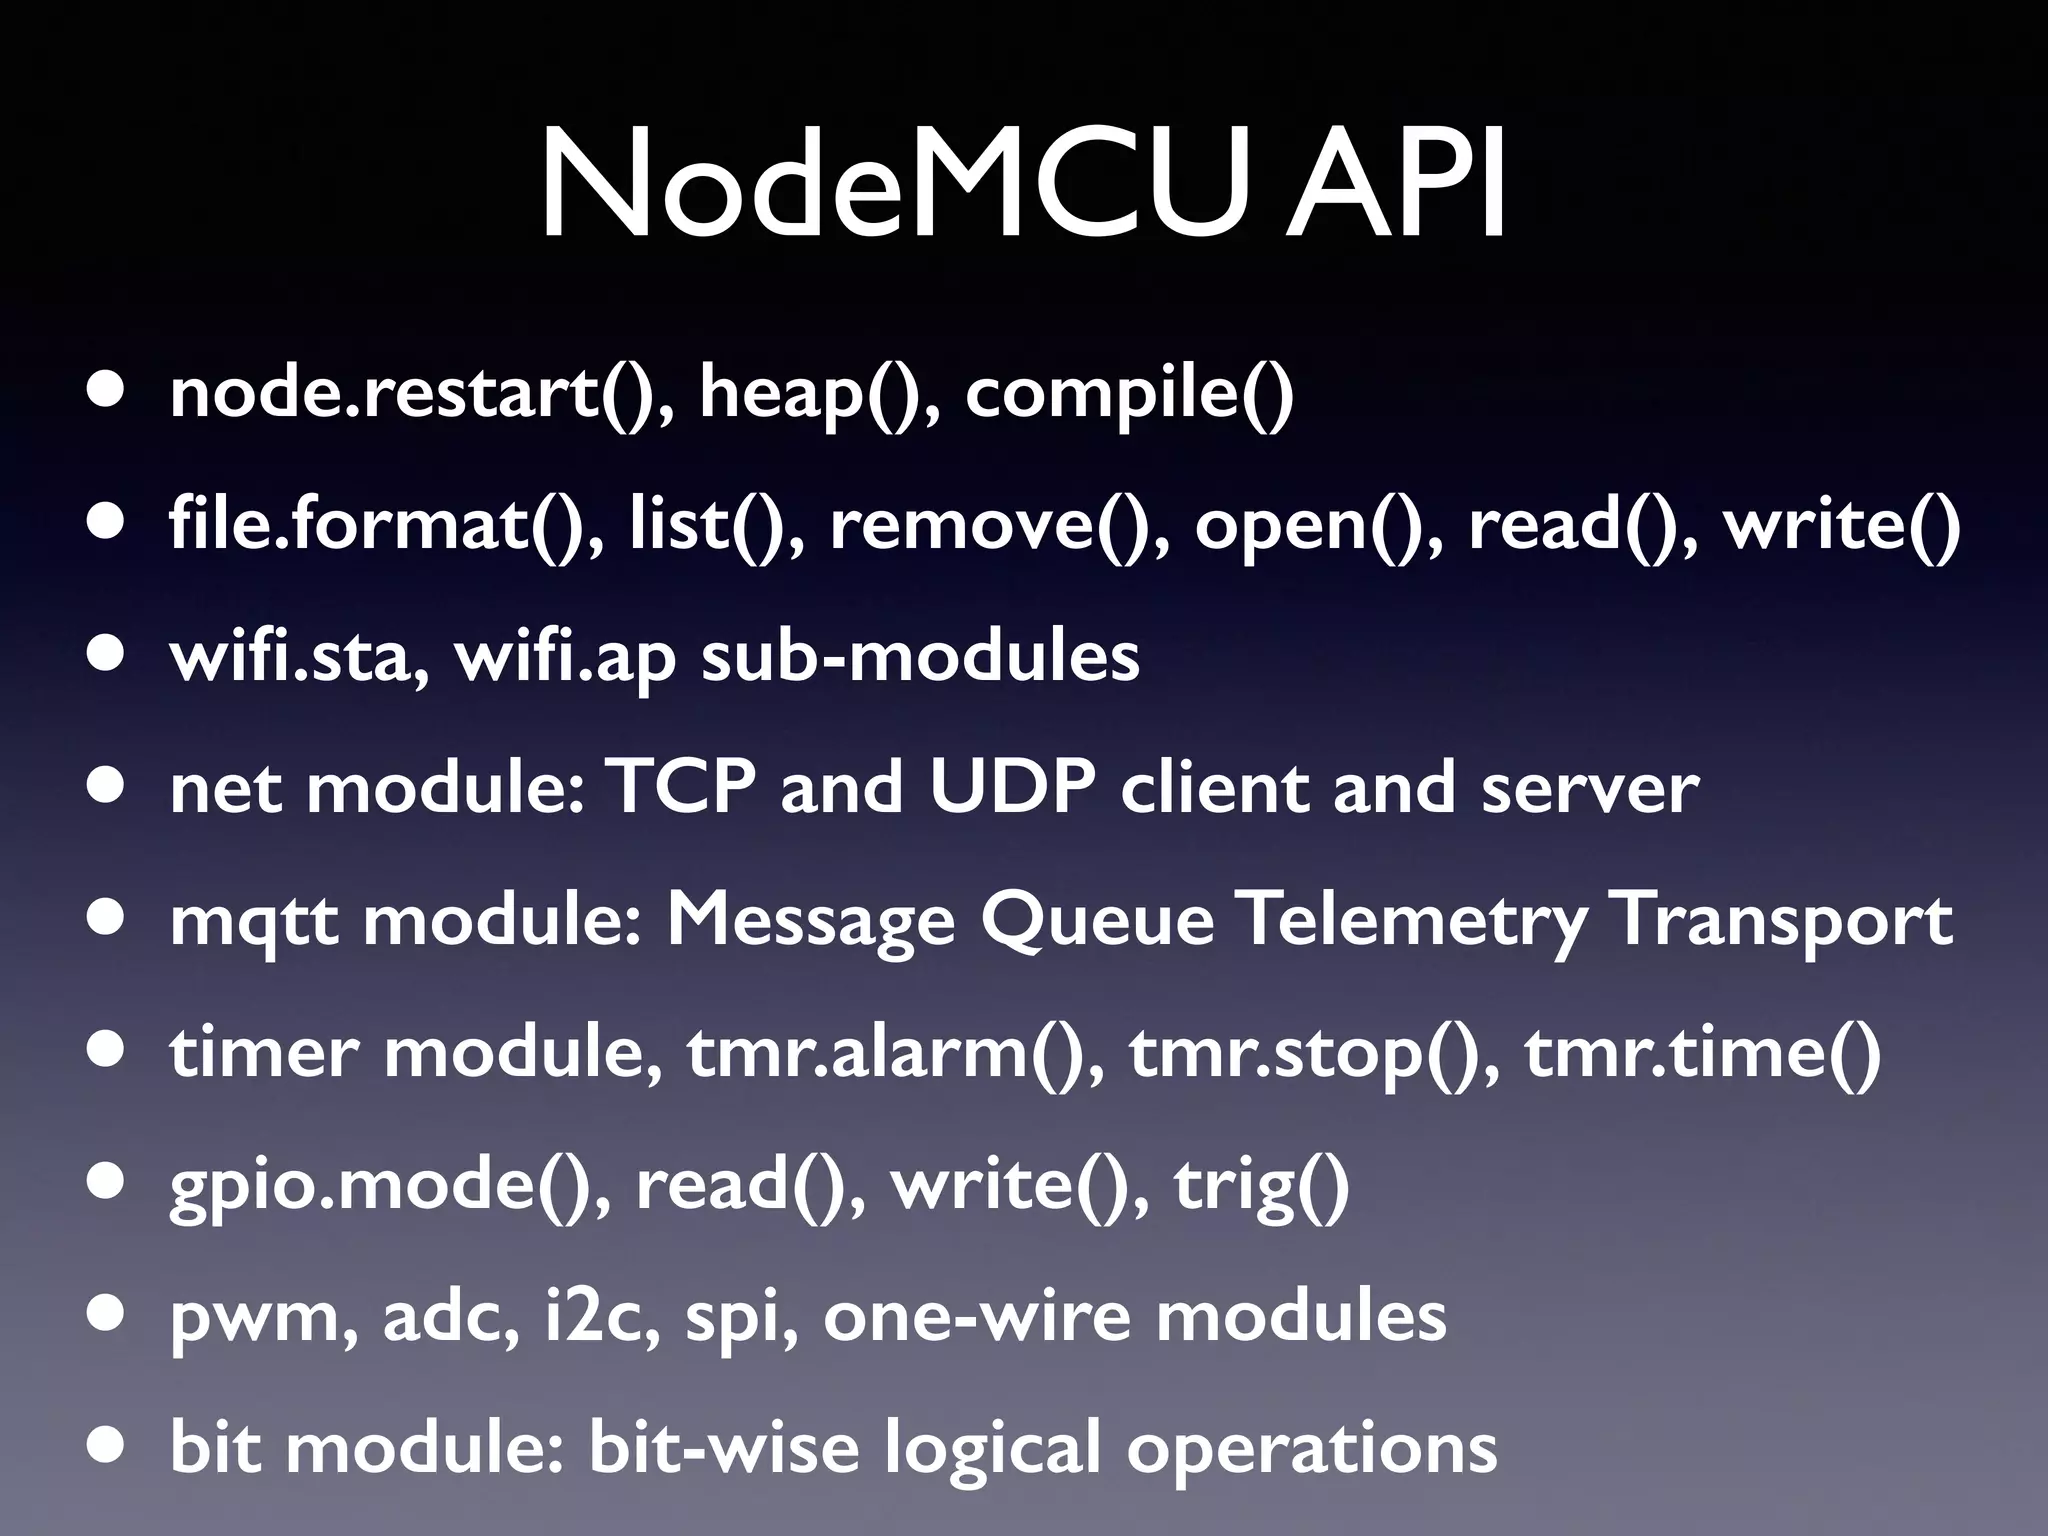
Overview of NodeMCU API features including functions for networking, timers, and GPIO.
Basic concepts of Lua programming including data types, variable declaration, and function usage.
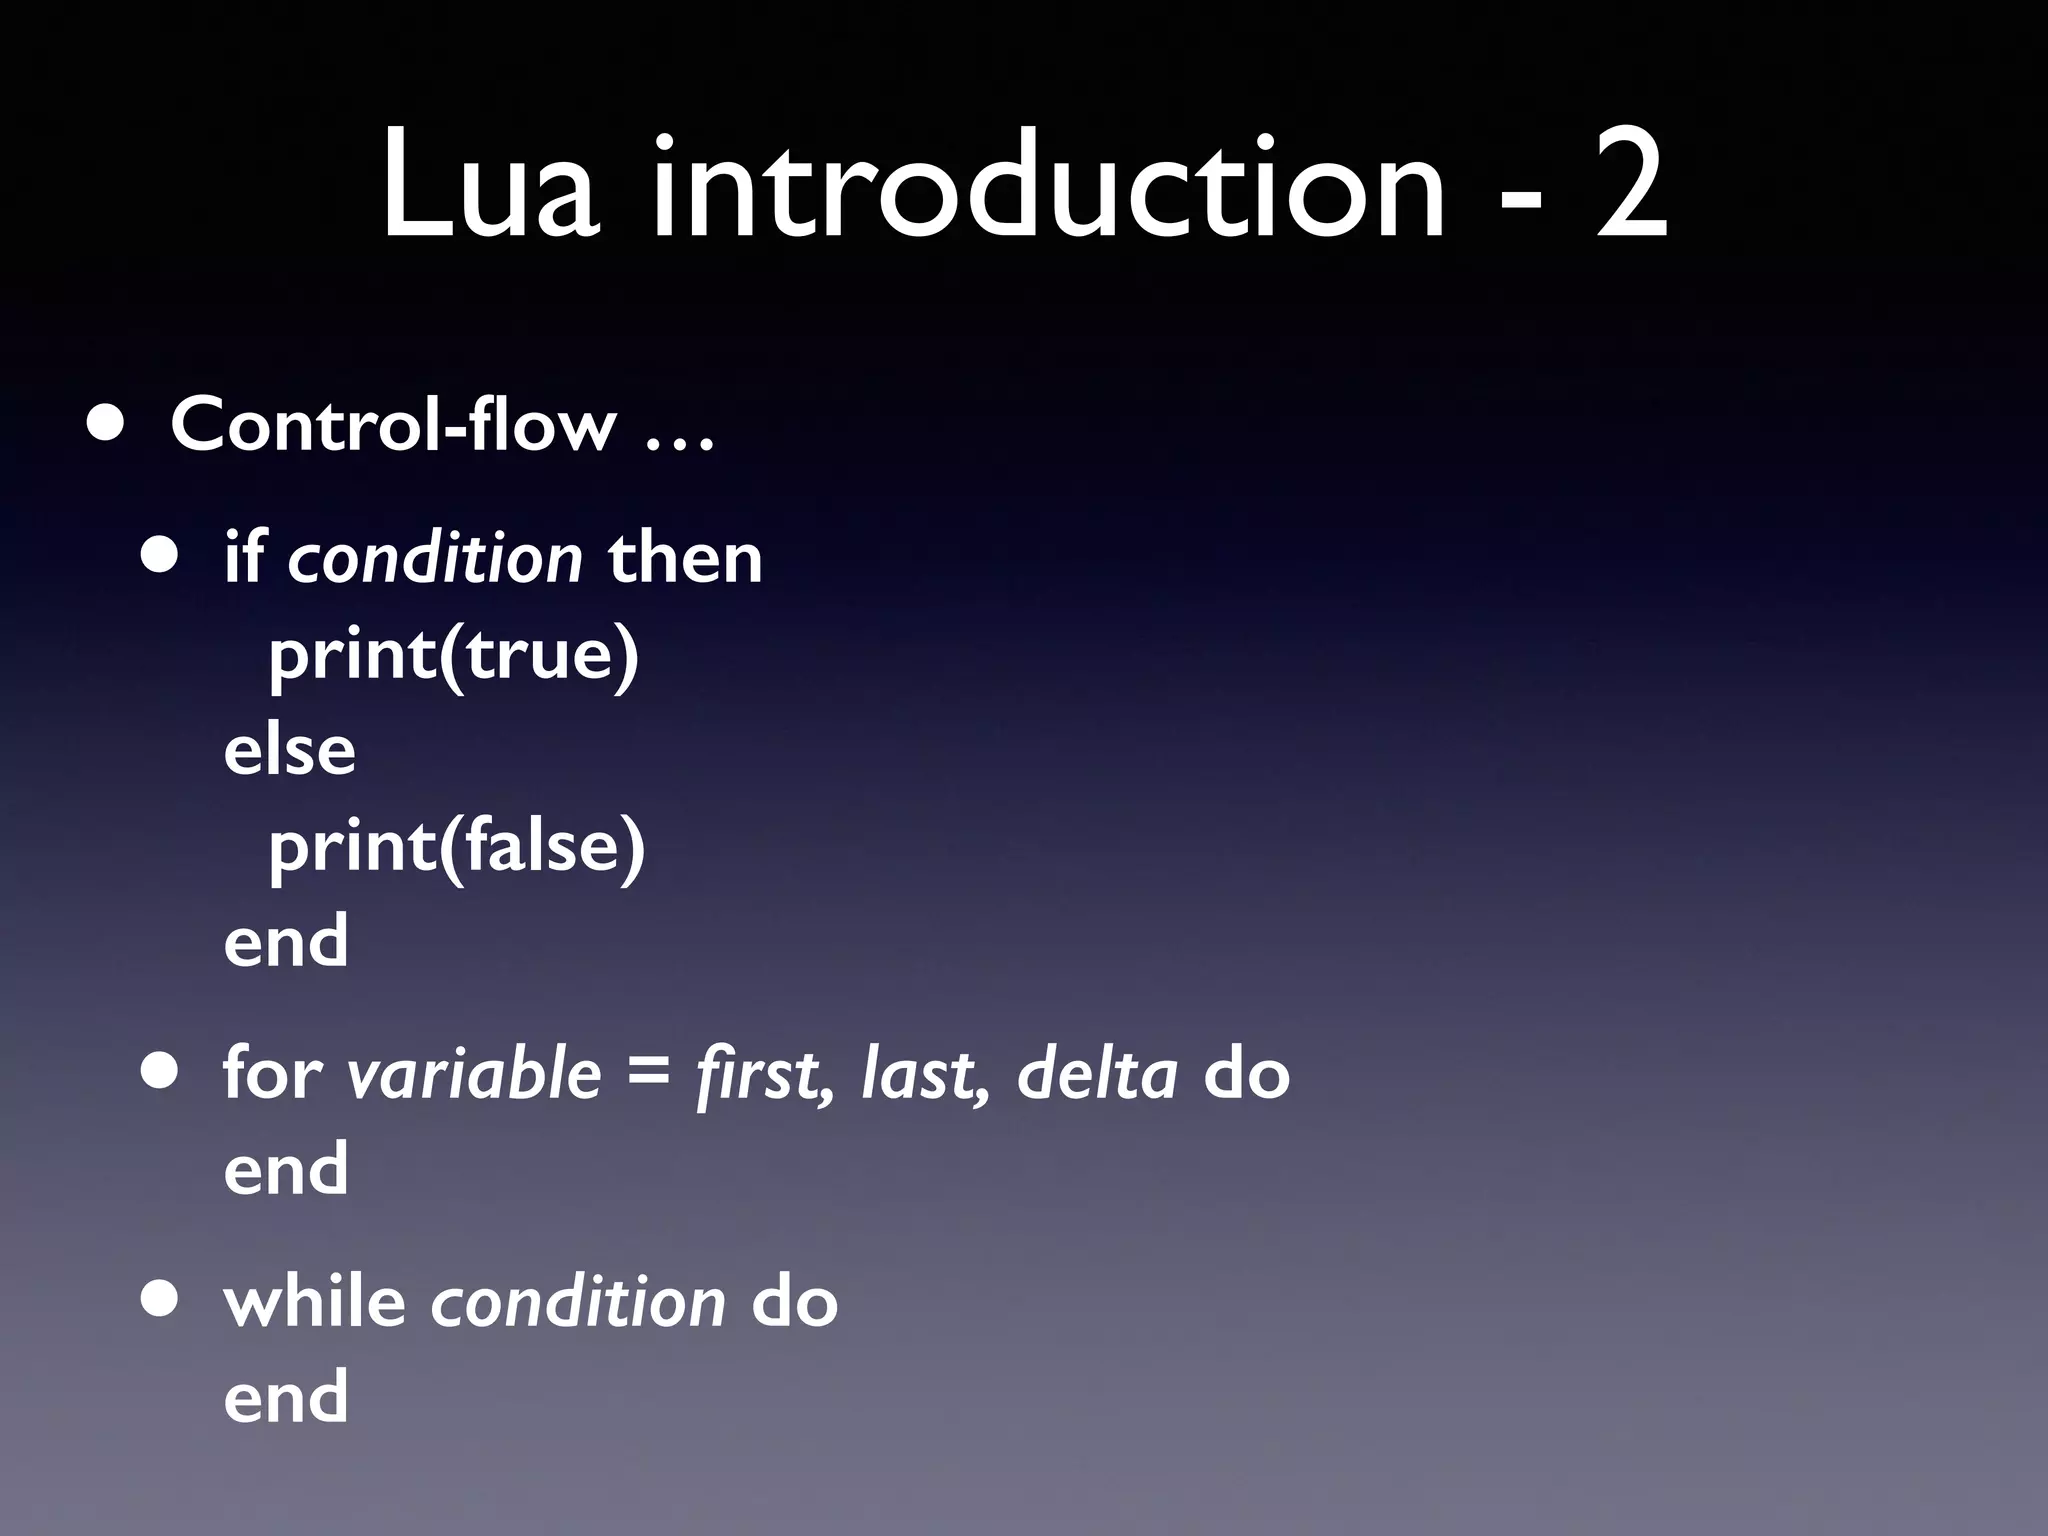
Control flow in Lua with structure for if-else statements and loops.
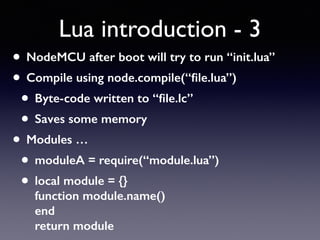
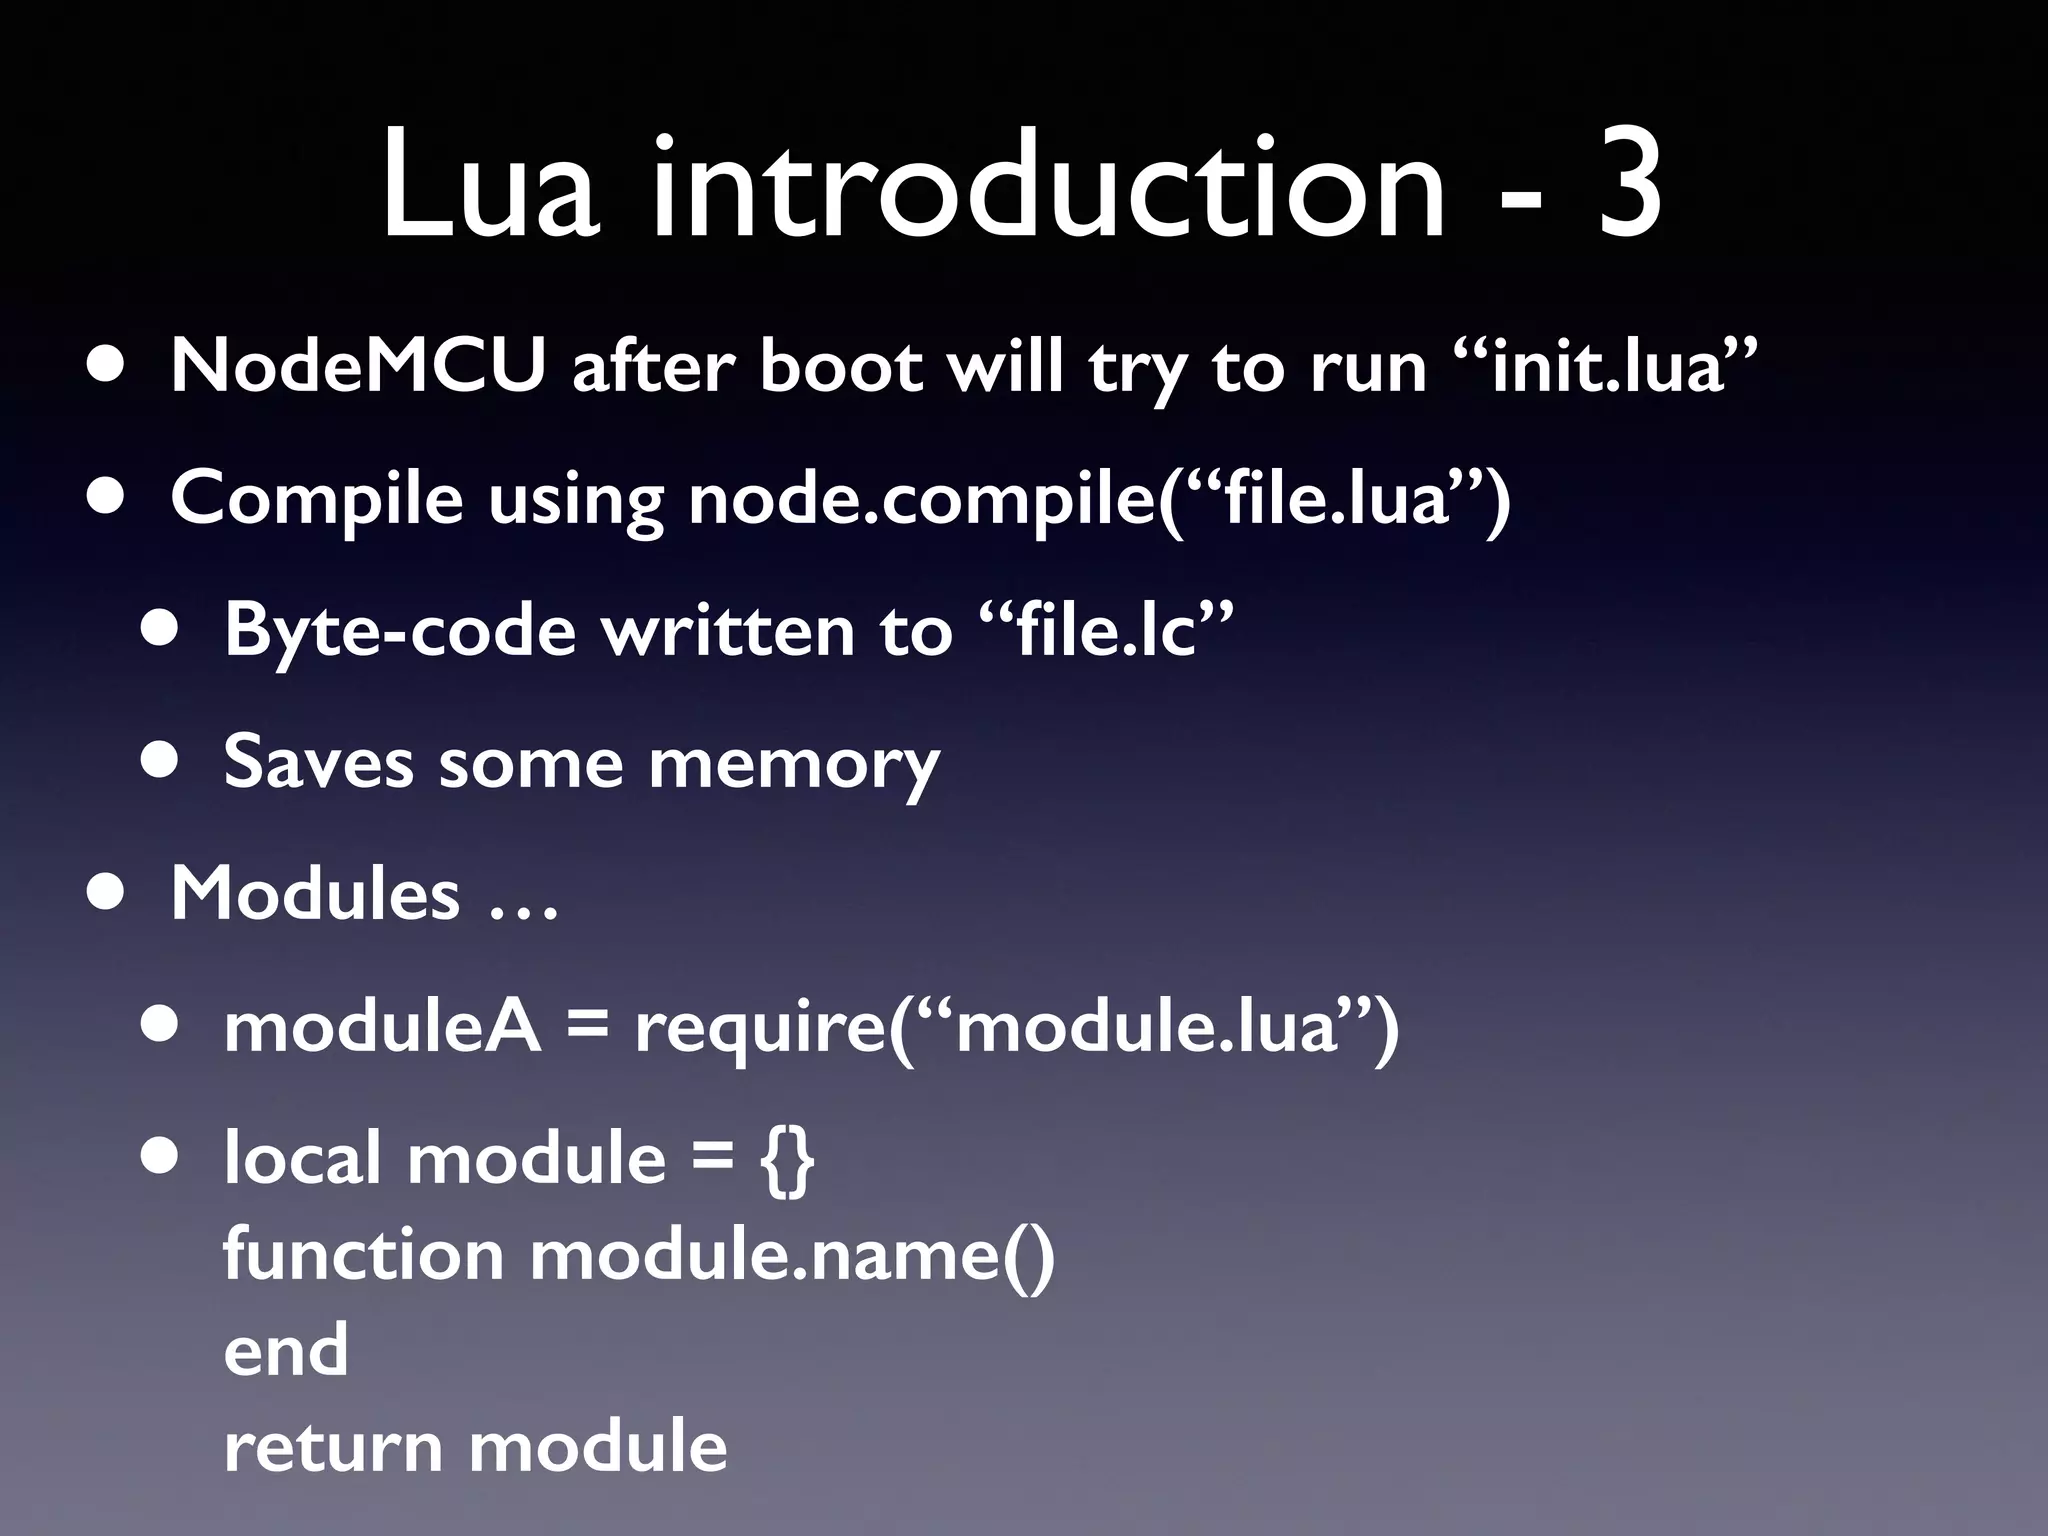
Compiling Lua scripts in NodeMCU and usage of modules for memory efficiency.
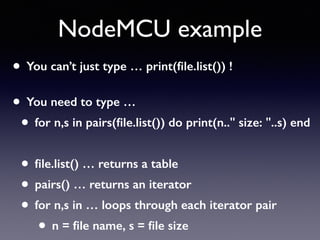
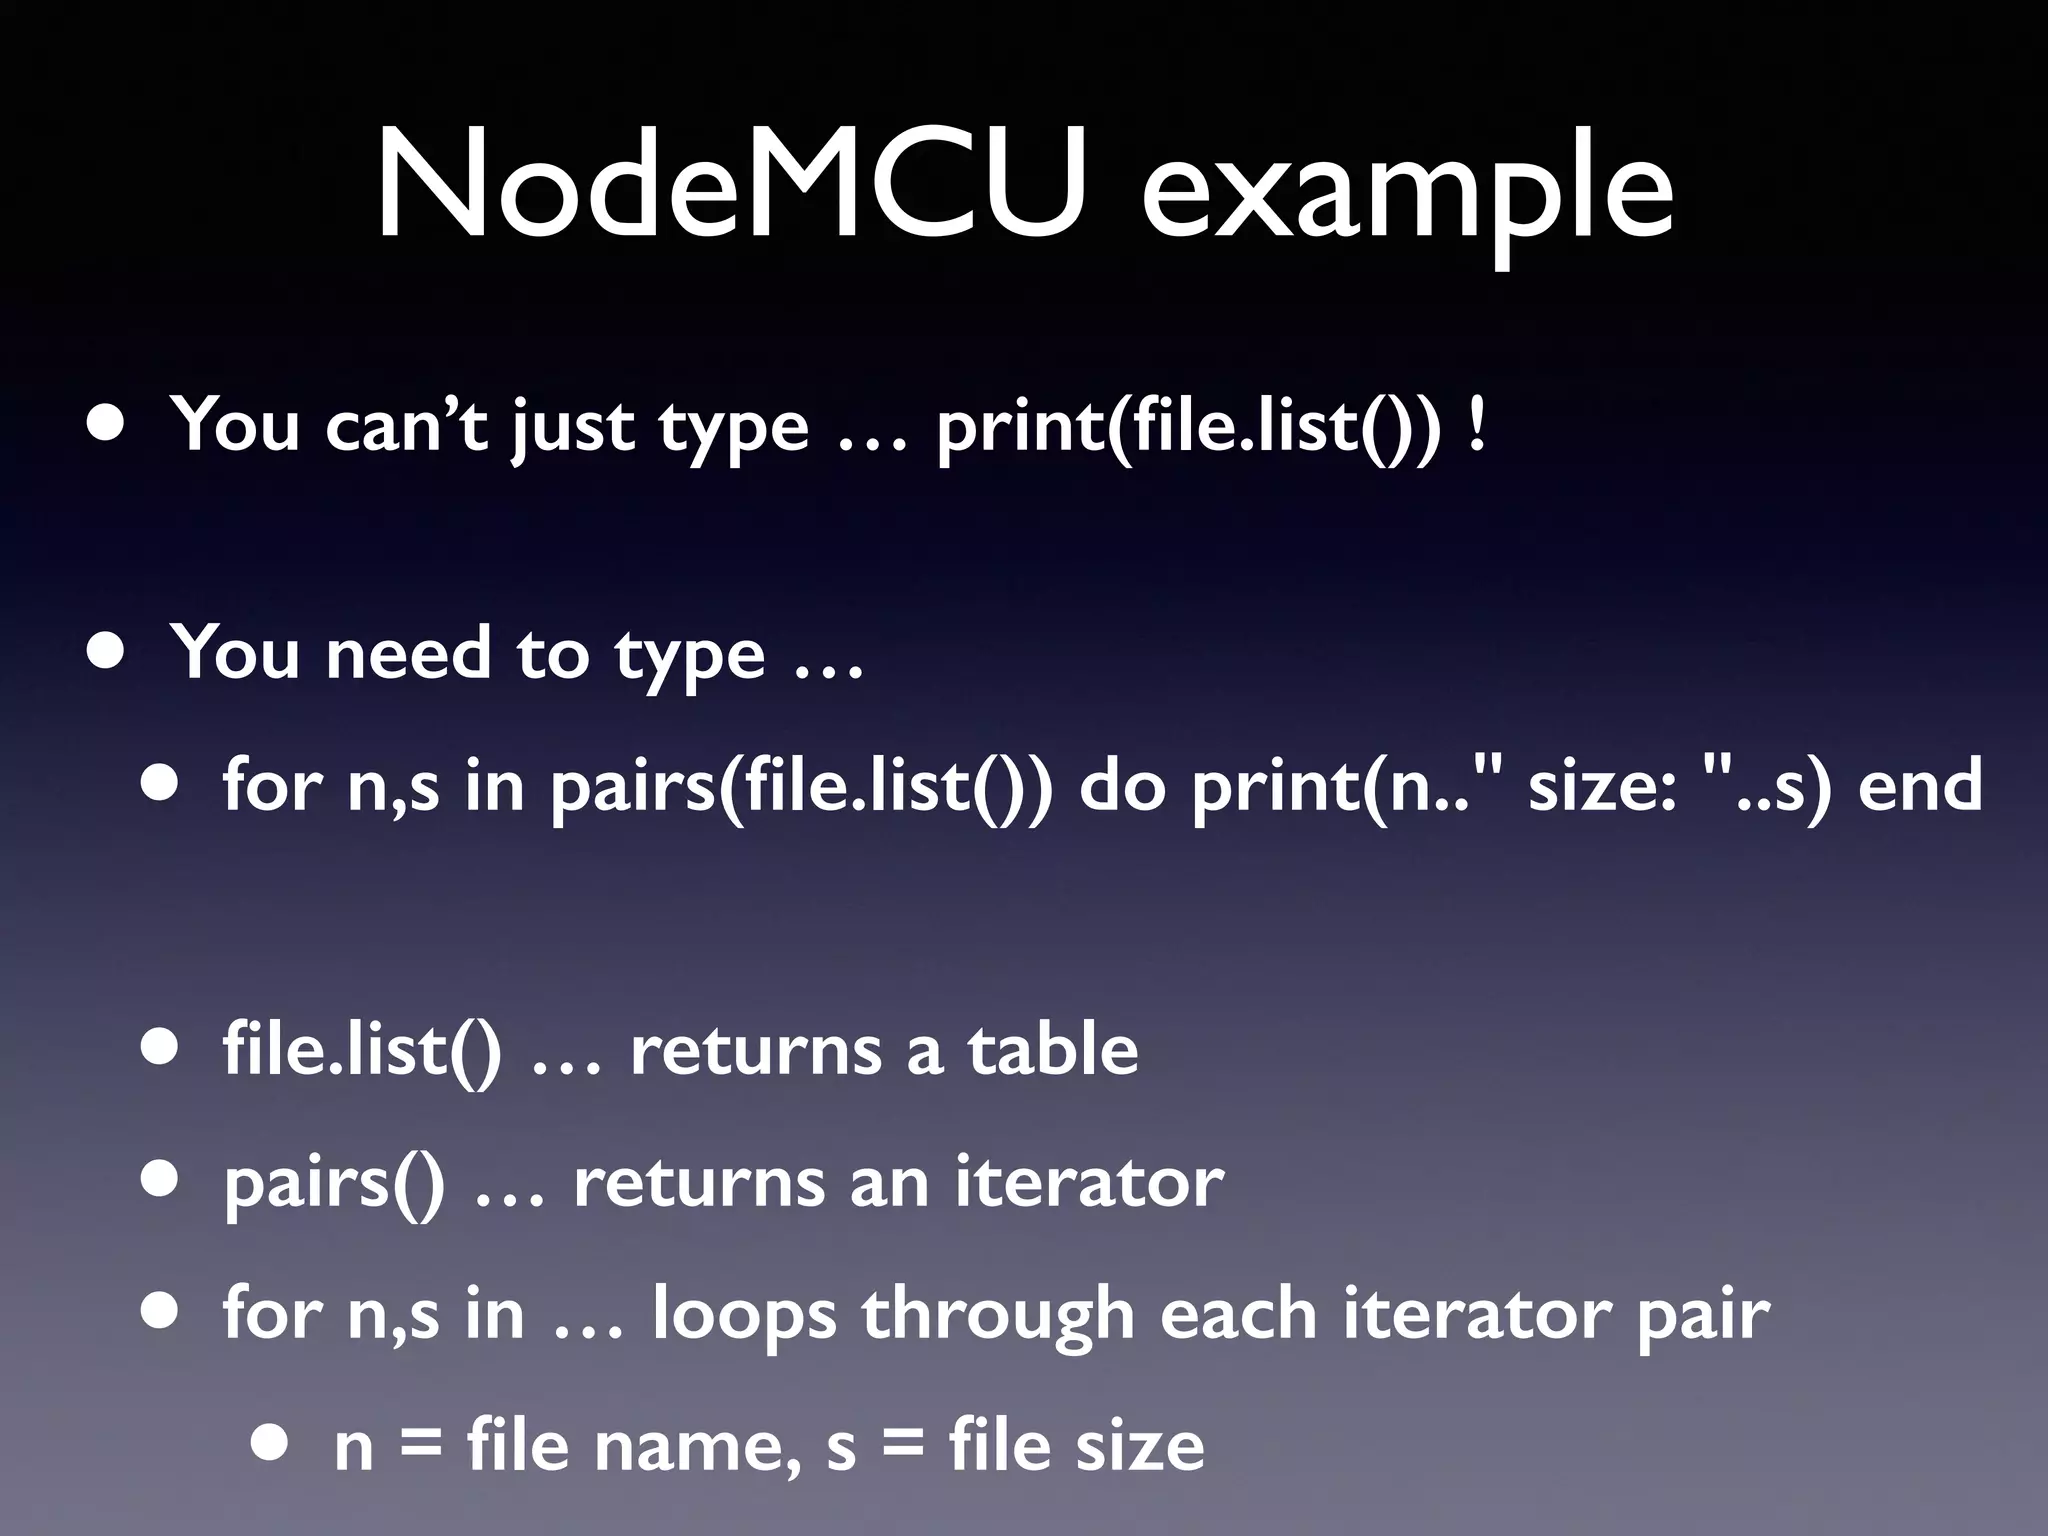
Example of code usage for listing files in NodeMCU, demonstrating Lua programming concepts.
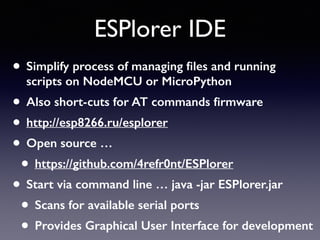
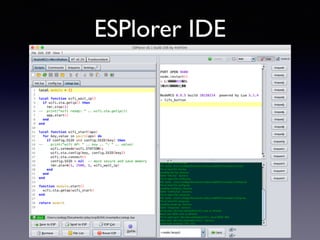
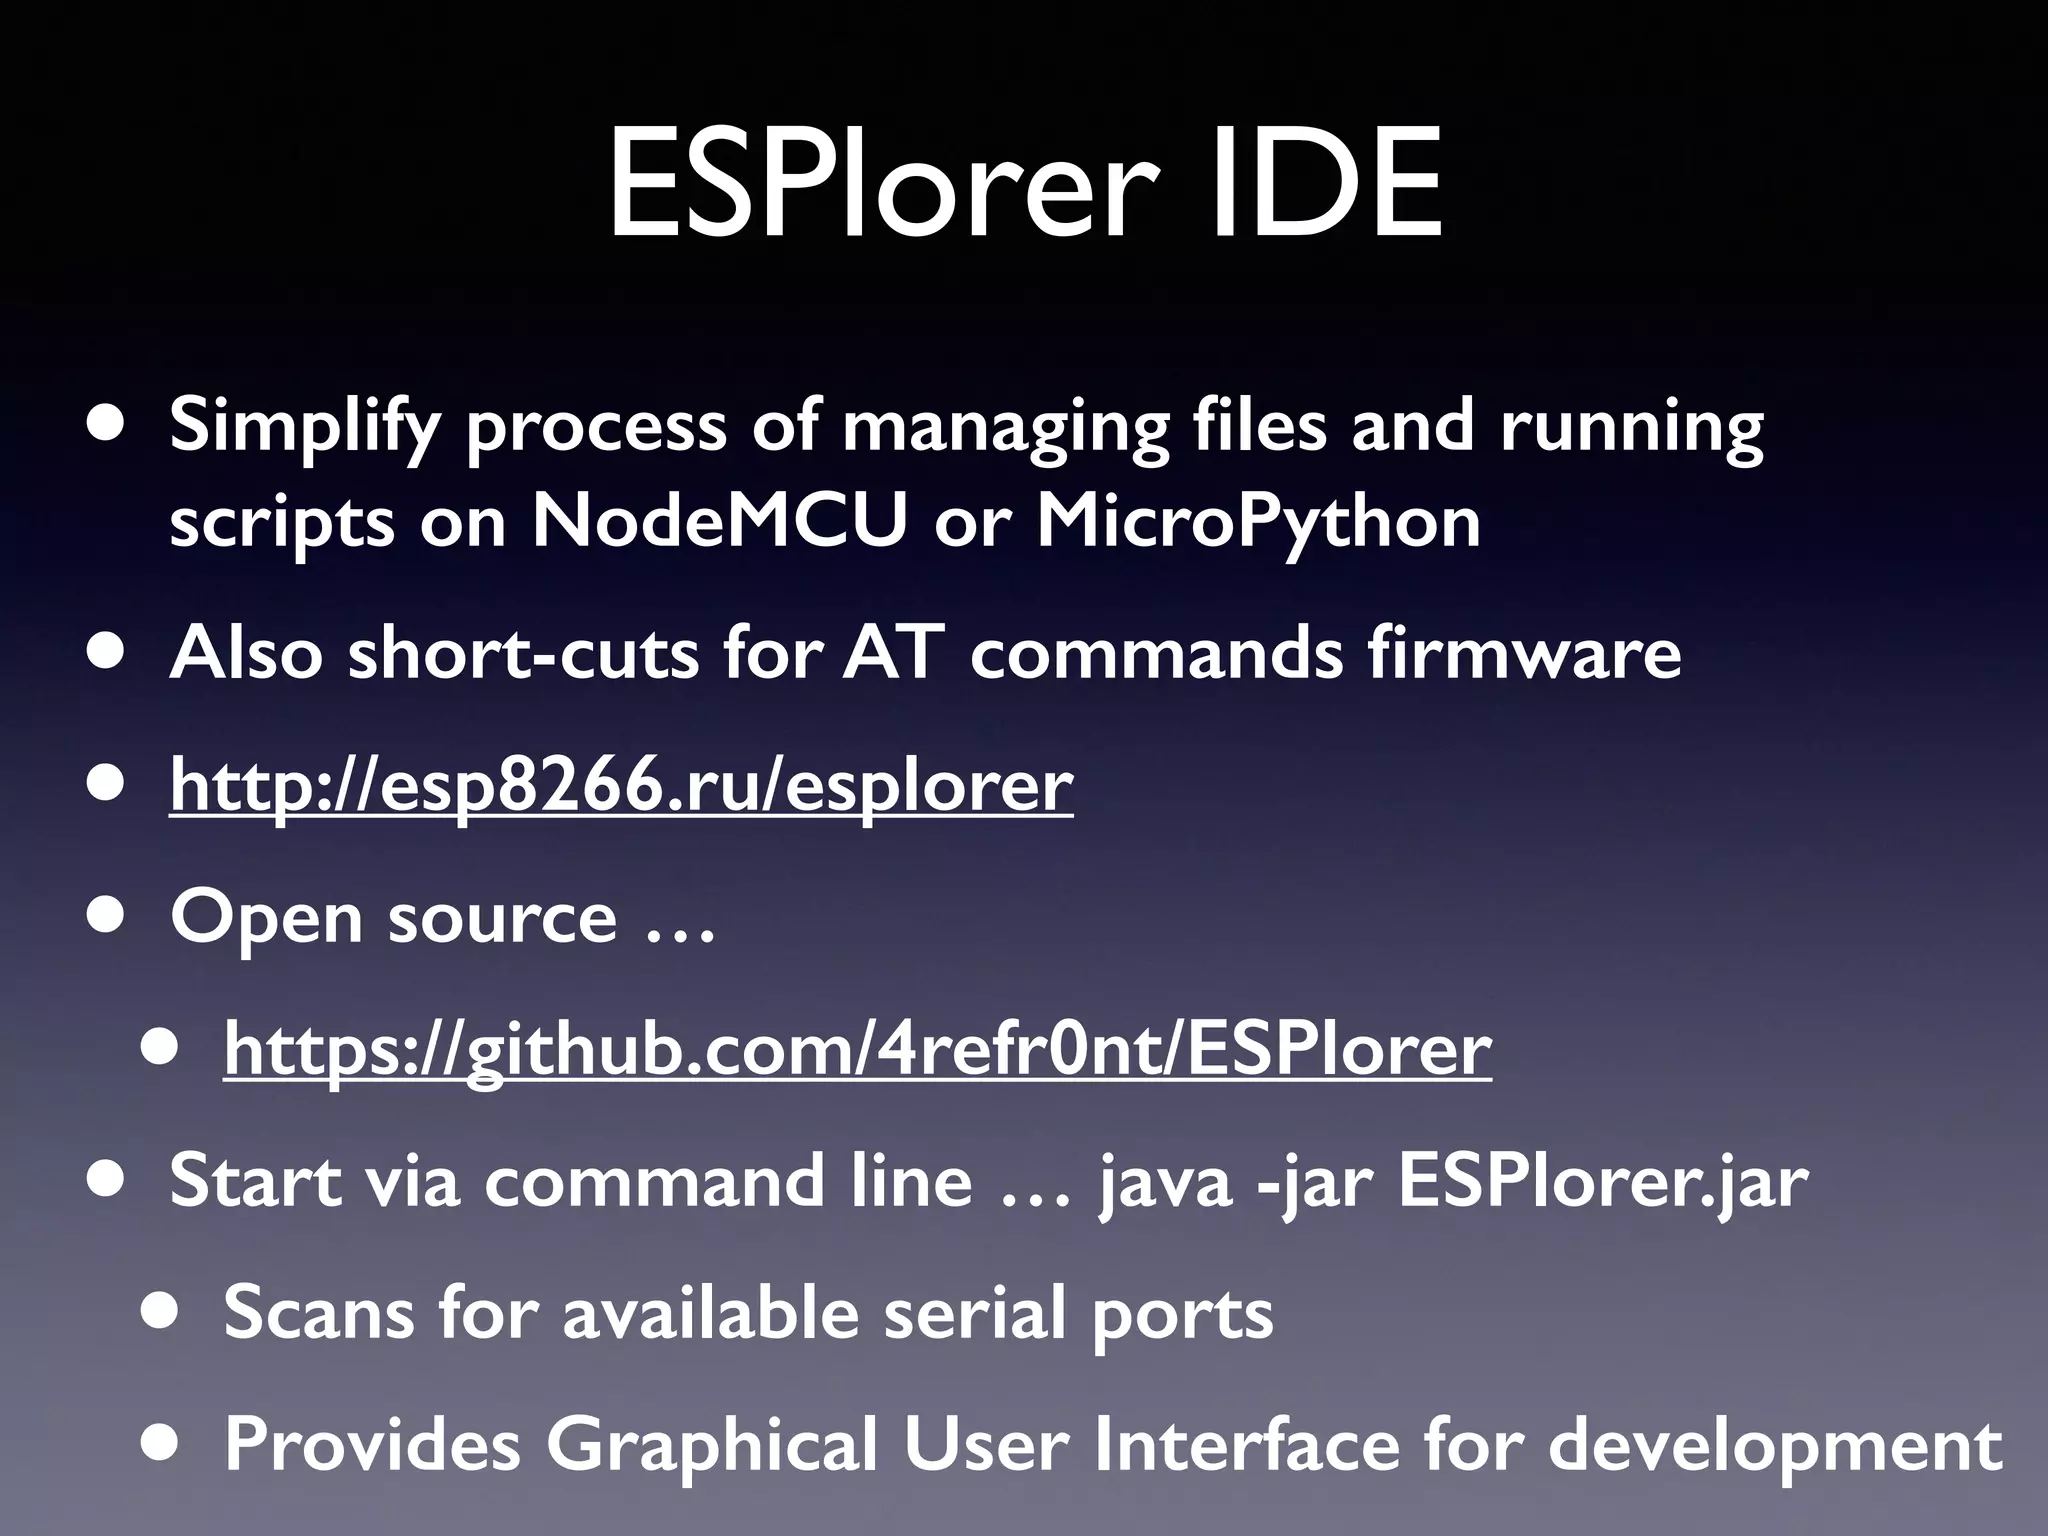
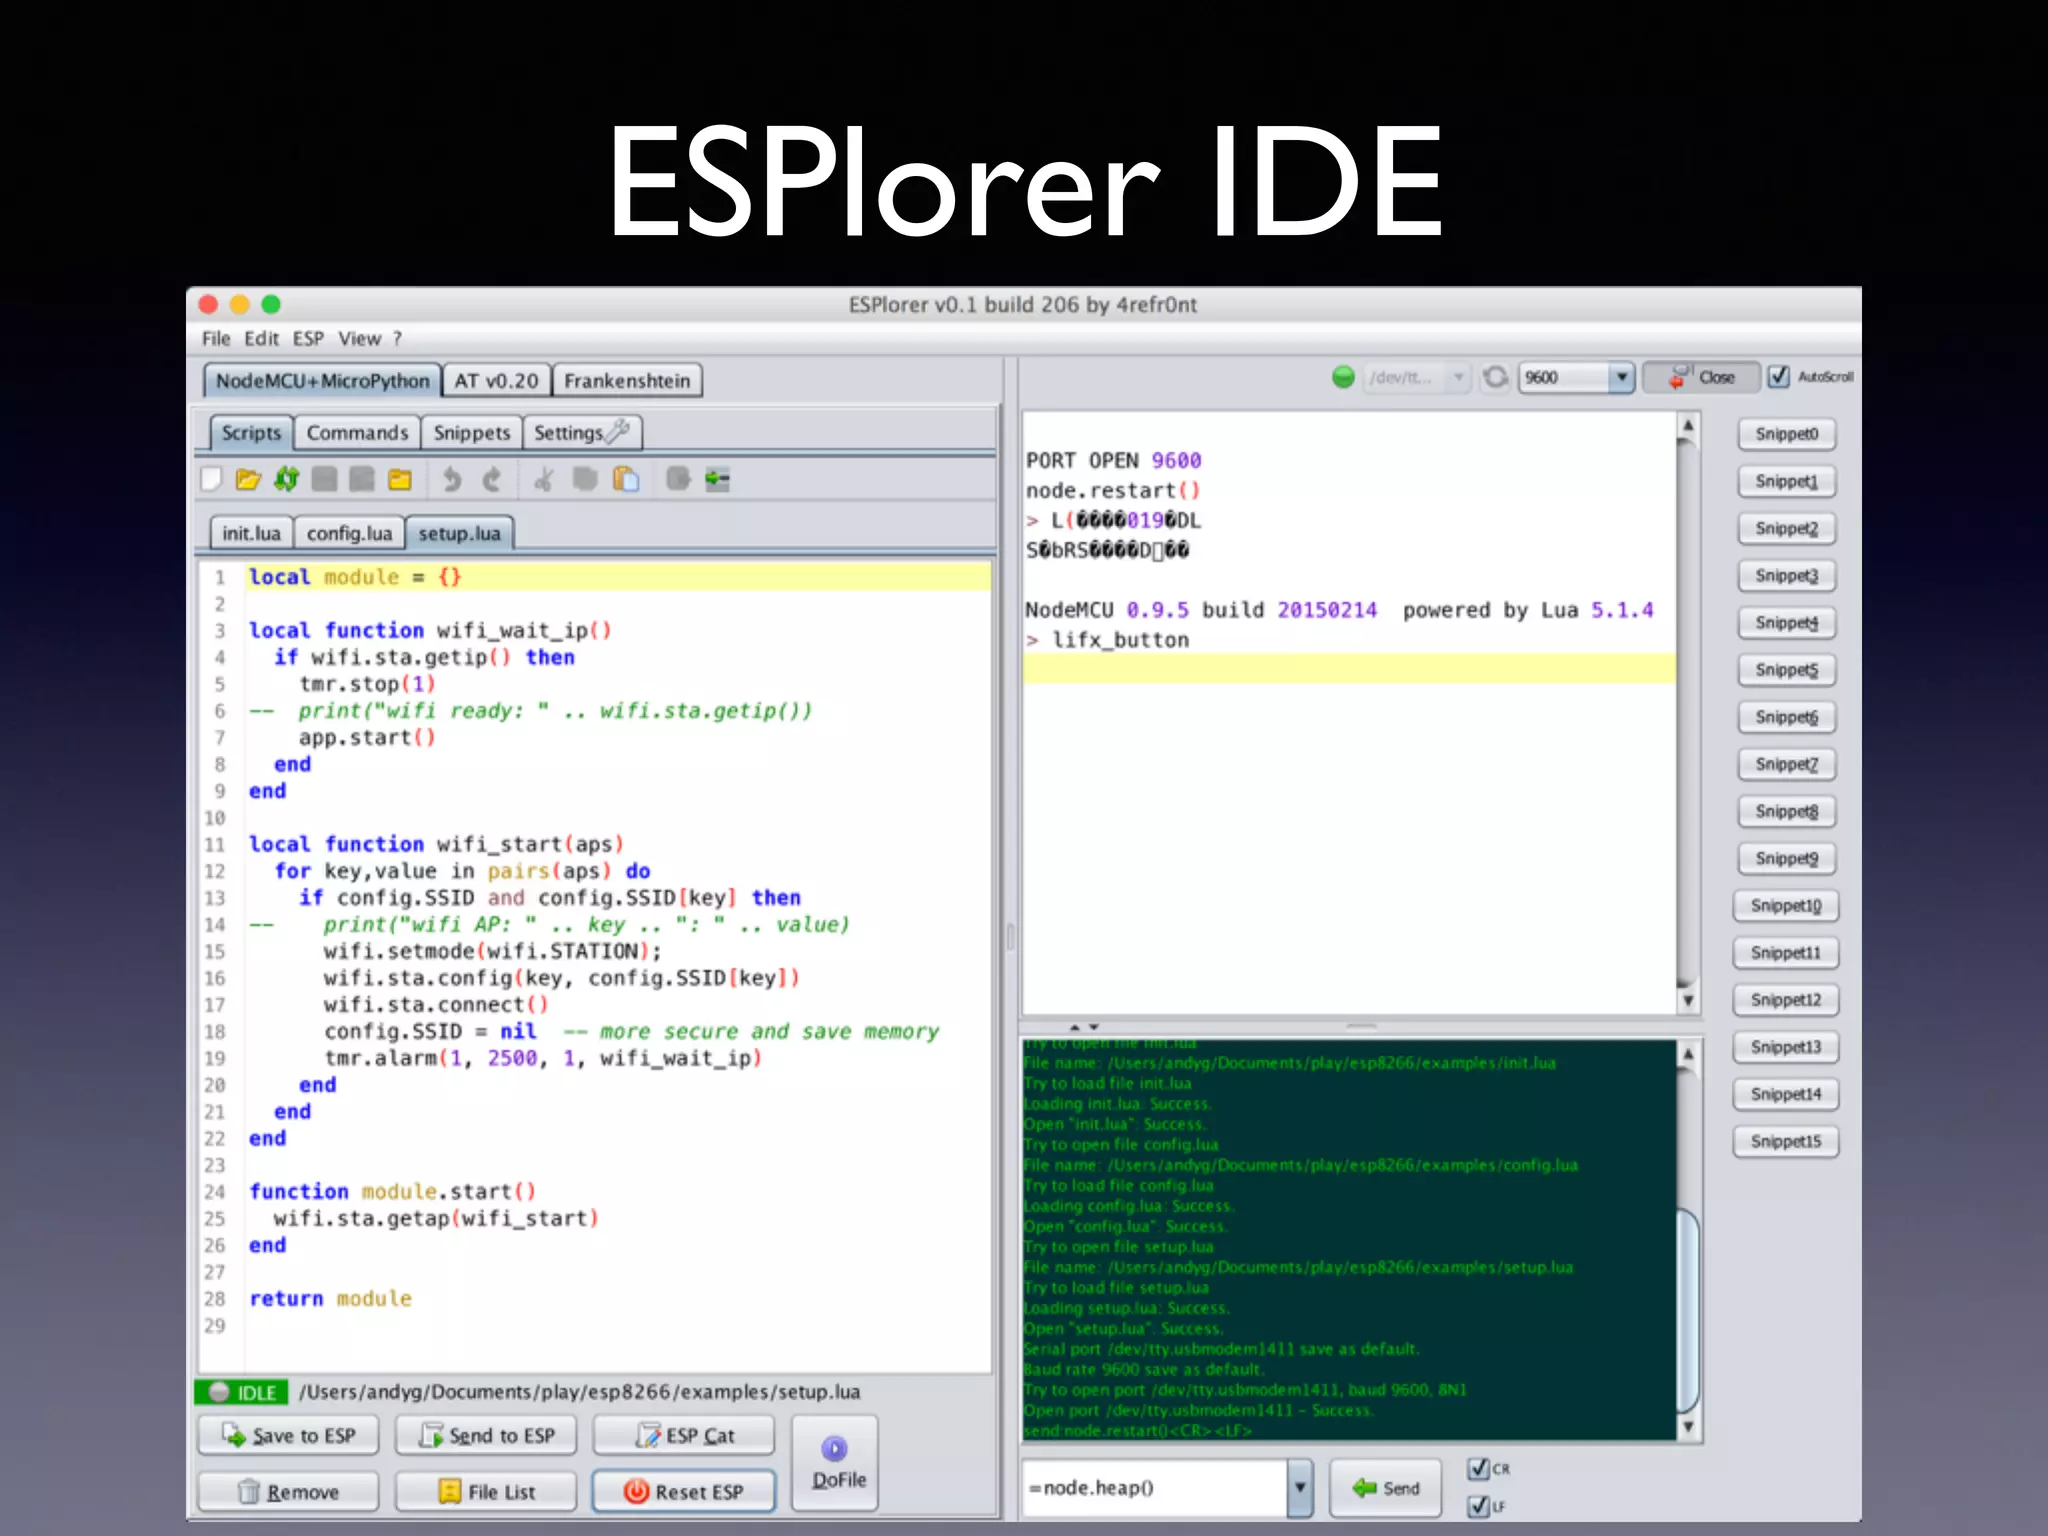
Introduction to ESPlorer IDE for managing files and running scripts on NodeMCU.
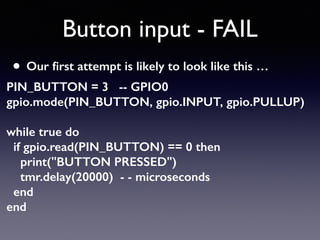
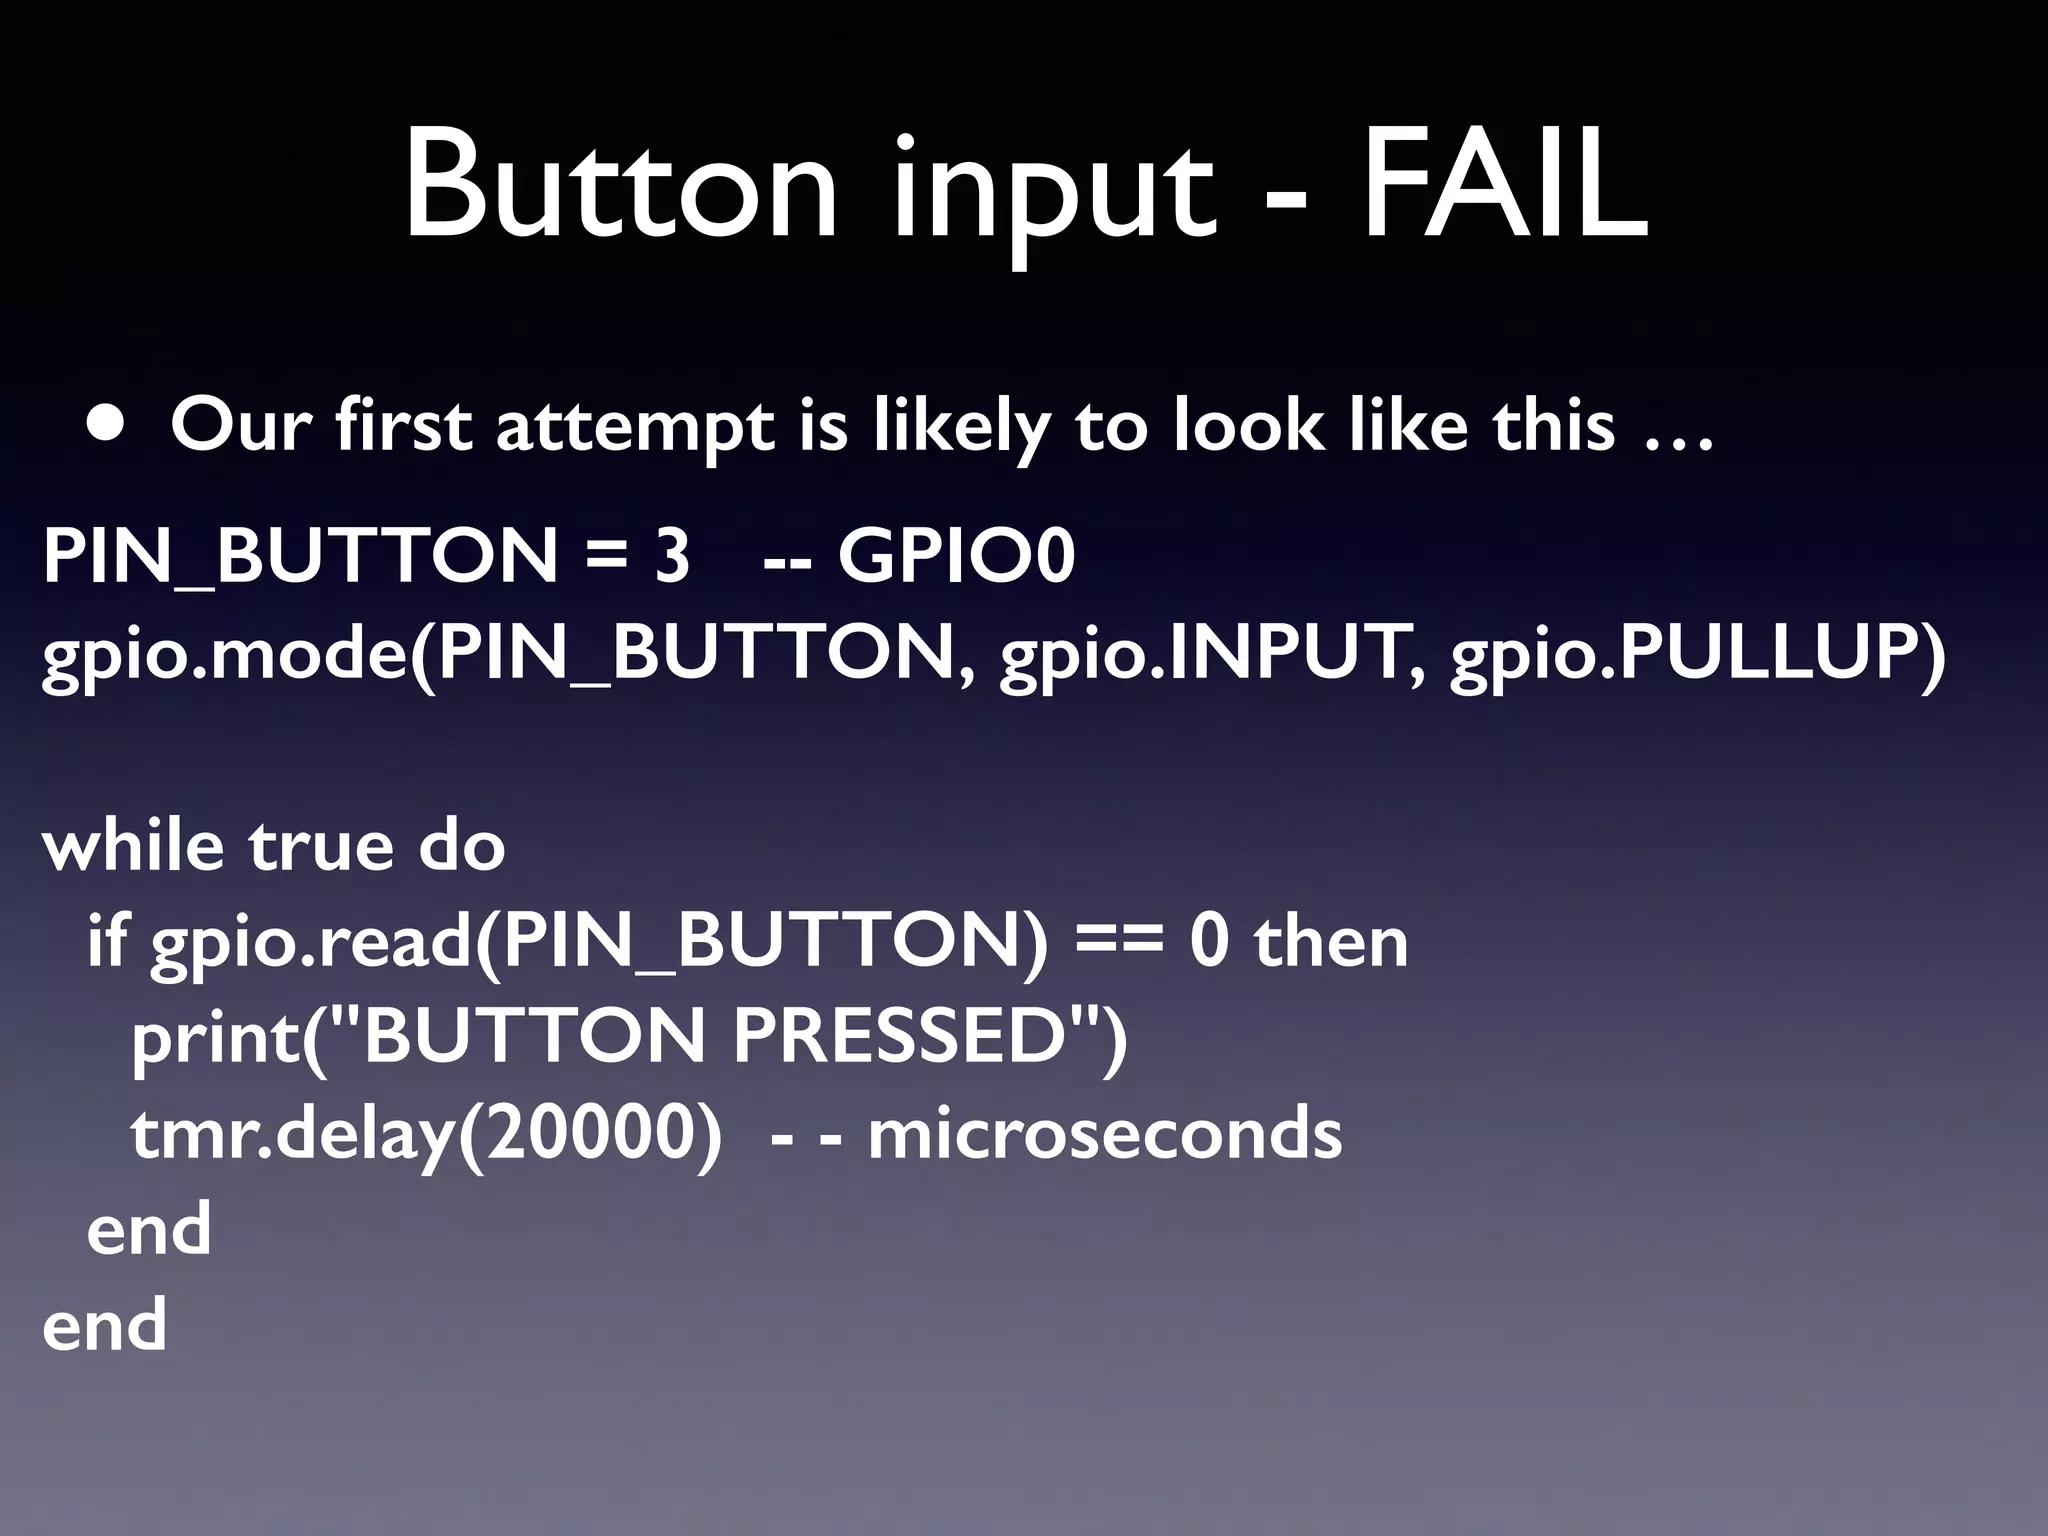
Instructions for using button input with GPIO0 on ESP8266, including example code.
Initial attempt at button input and recommended use of timers for more reliable execution.
Refined example code for handling button input with a timer method for better reliability.
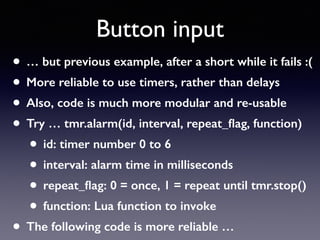
Setup and example code for controlling an LED using GPIO on the ESP8266.
Scheduled LED output functionality using a timer with code example.
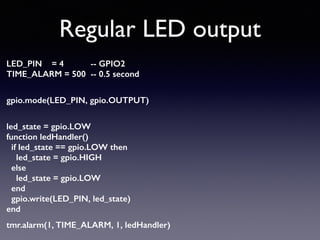
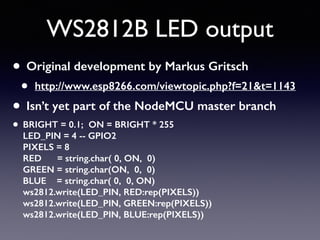
Development and control of WS2812B LEDs using ESP8266 with example code.
Example code for implementing and controlling WS2812B LEDs through ESPlorer IDE.
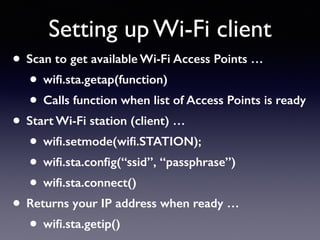
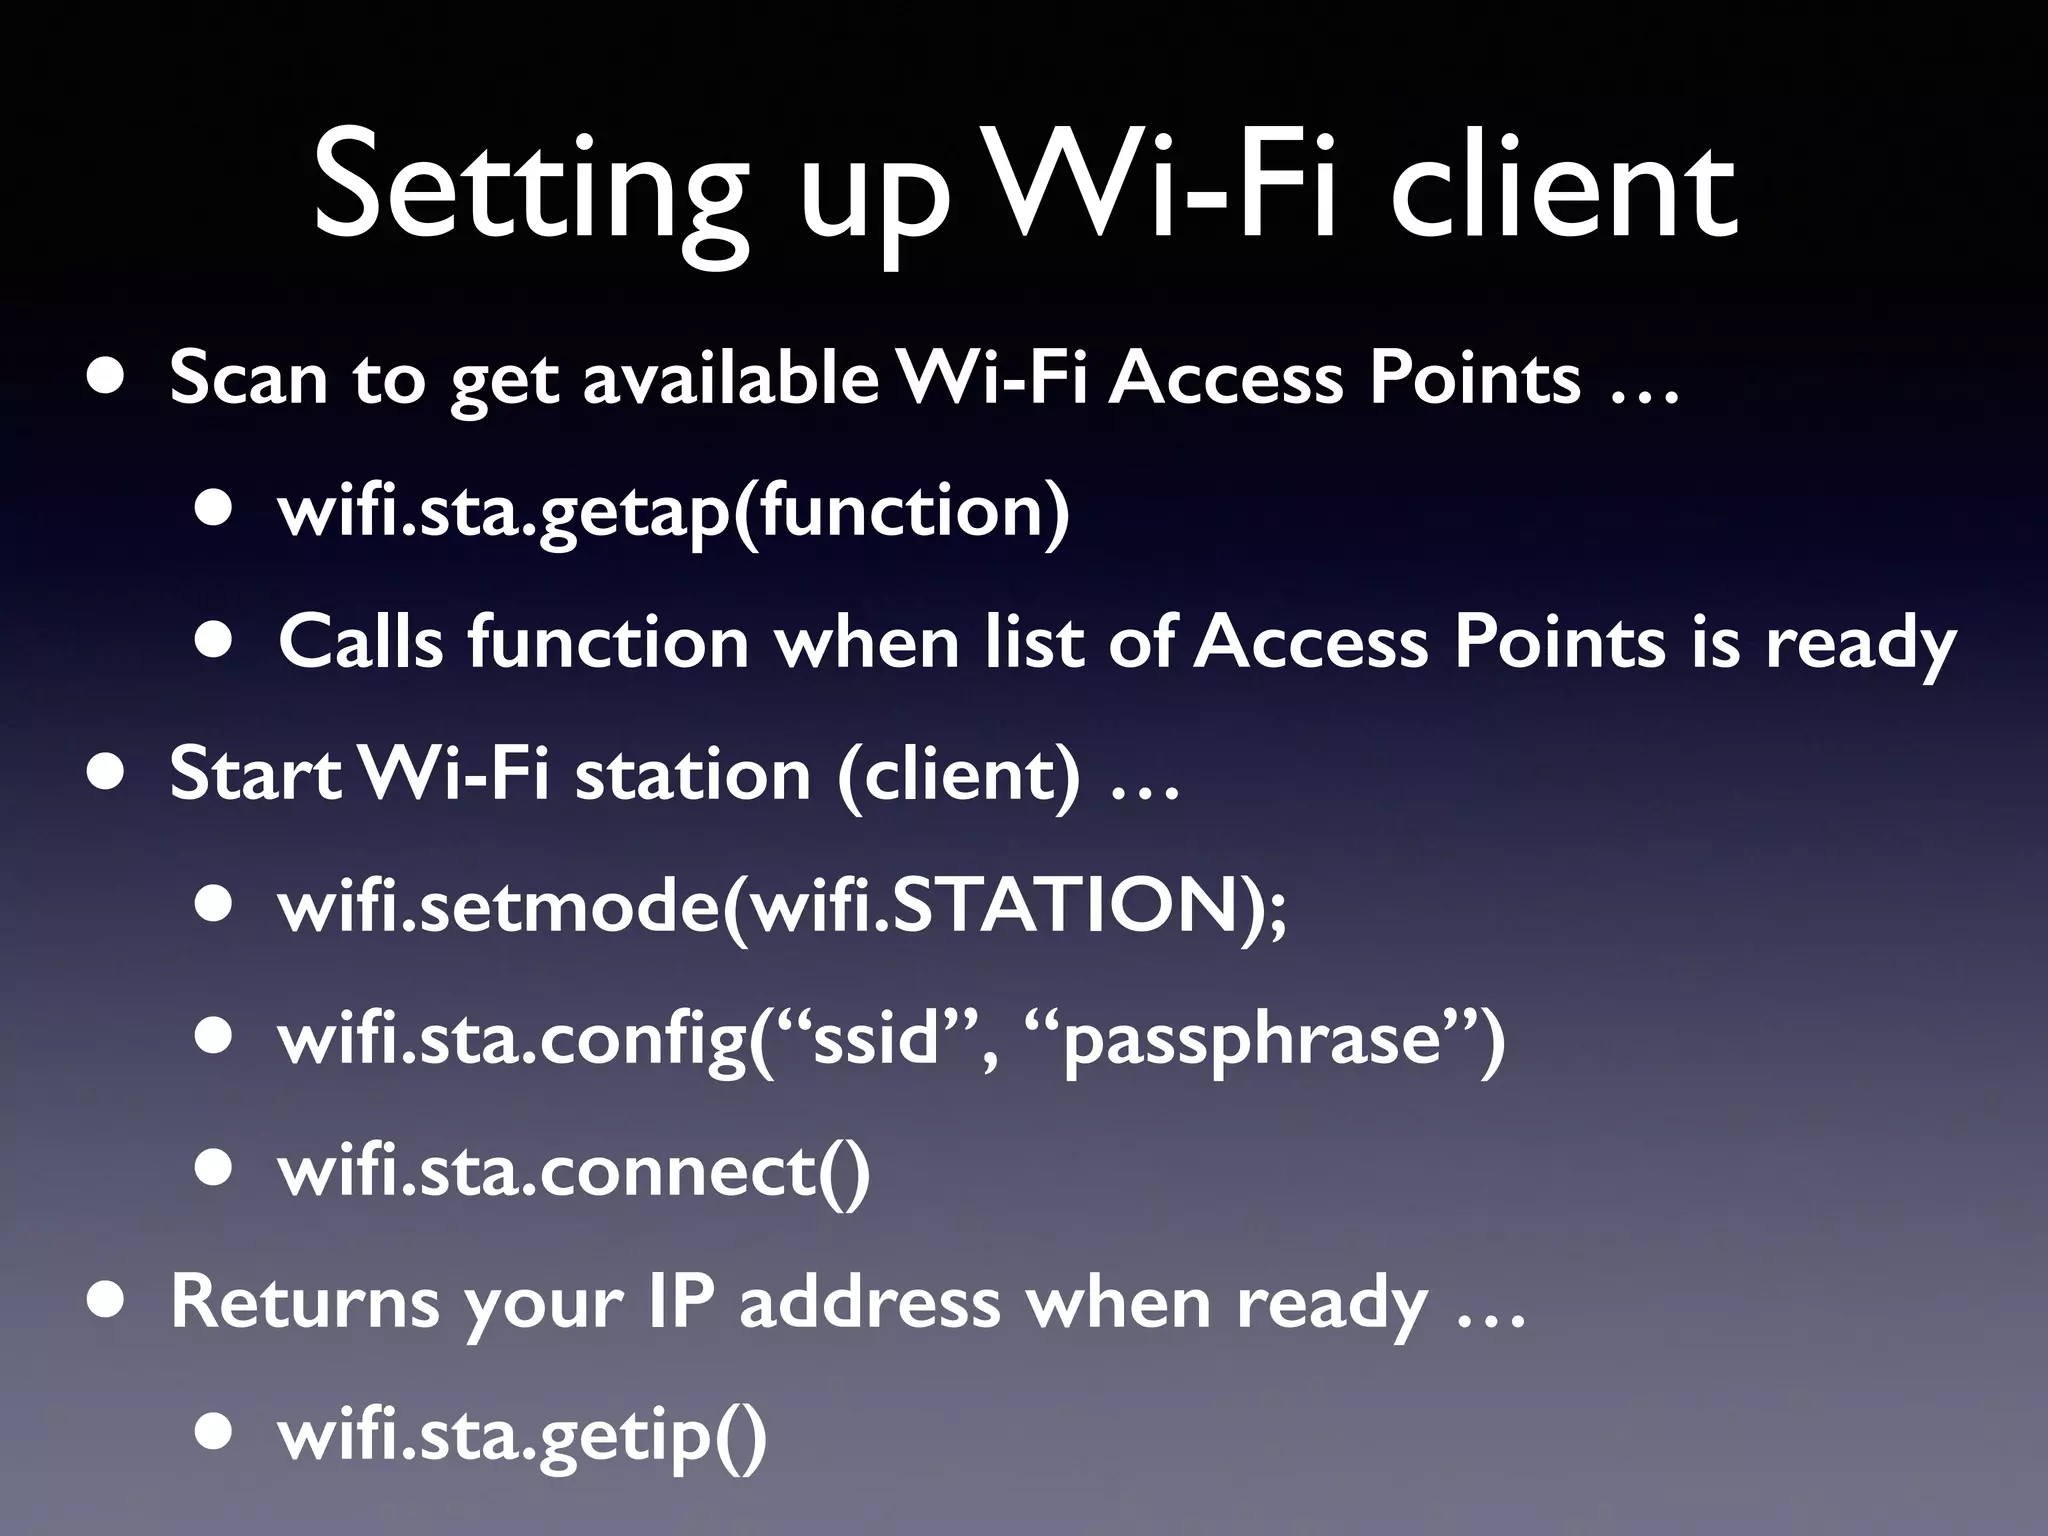
Overview of how to scan and connect to Wi-Fi networks using ESP8266 with example functions.
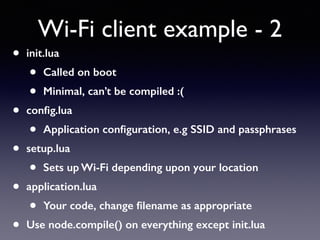
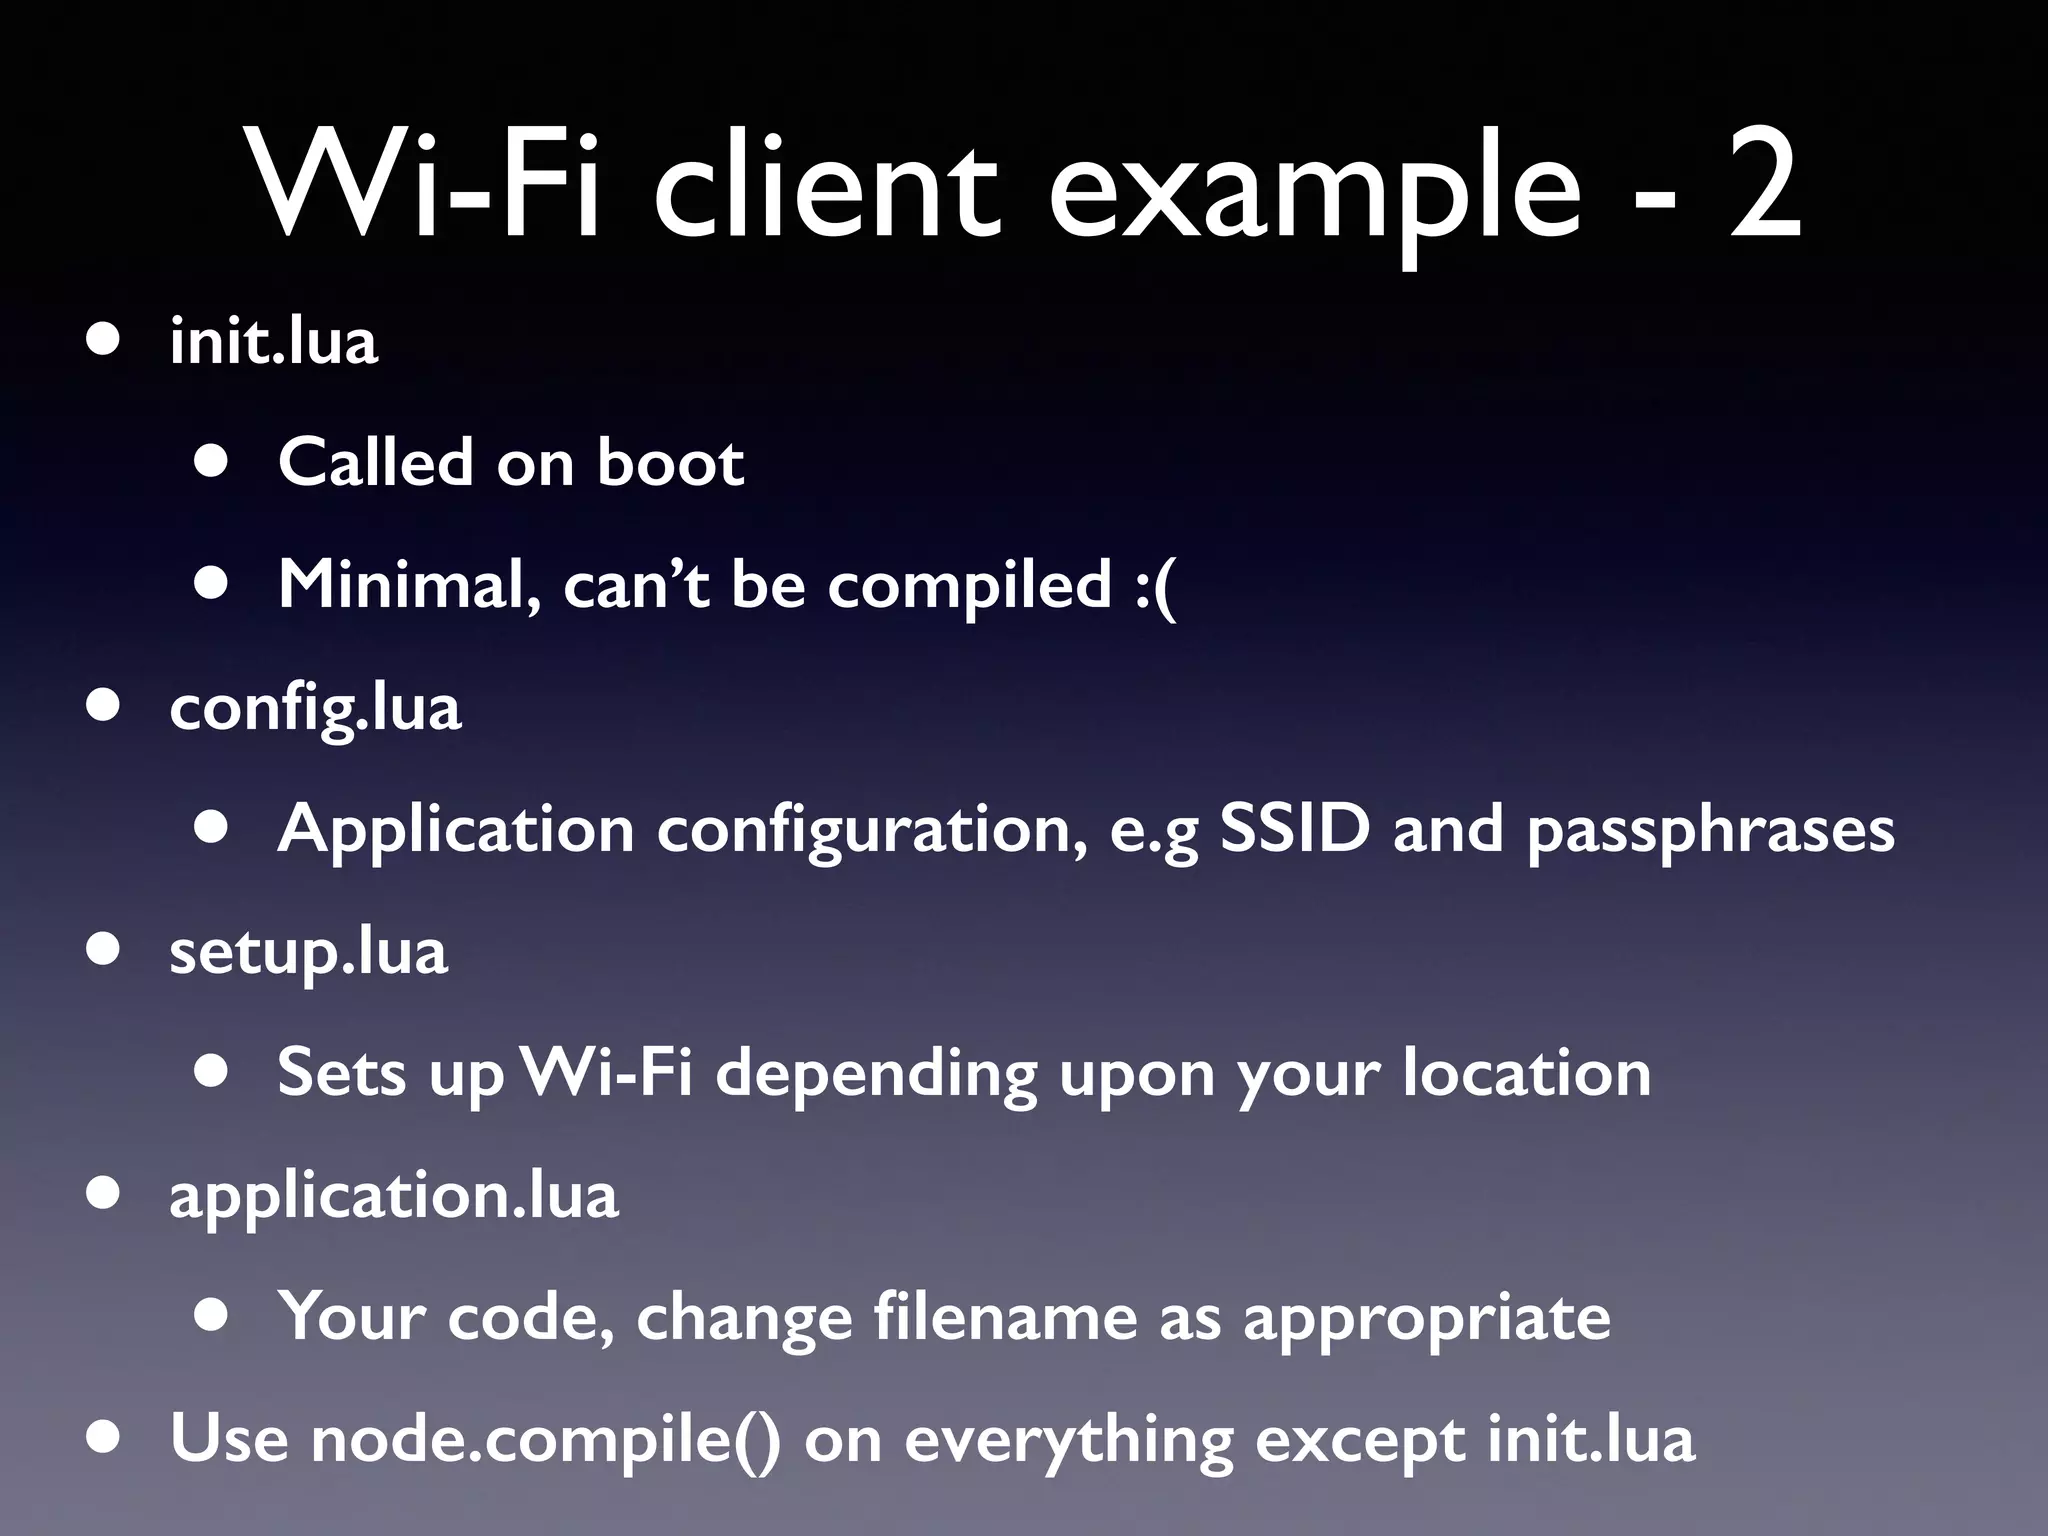
Modular application structure with separate Lua files for configuration and Wi-Fi setup.
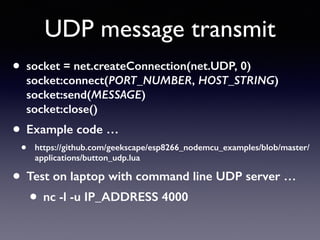
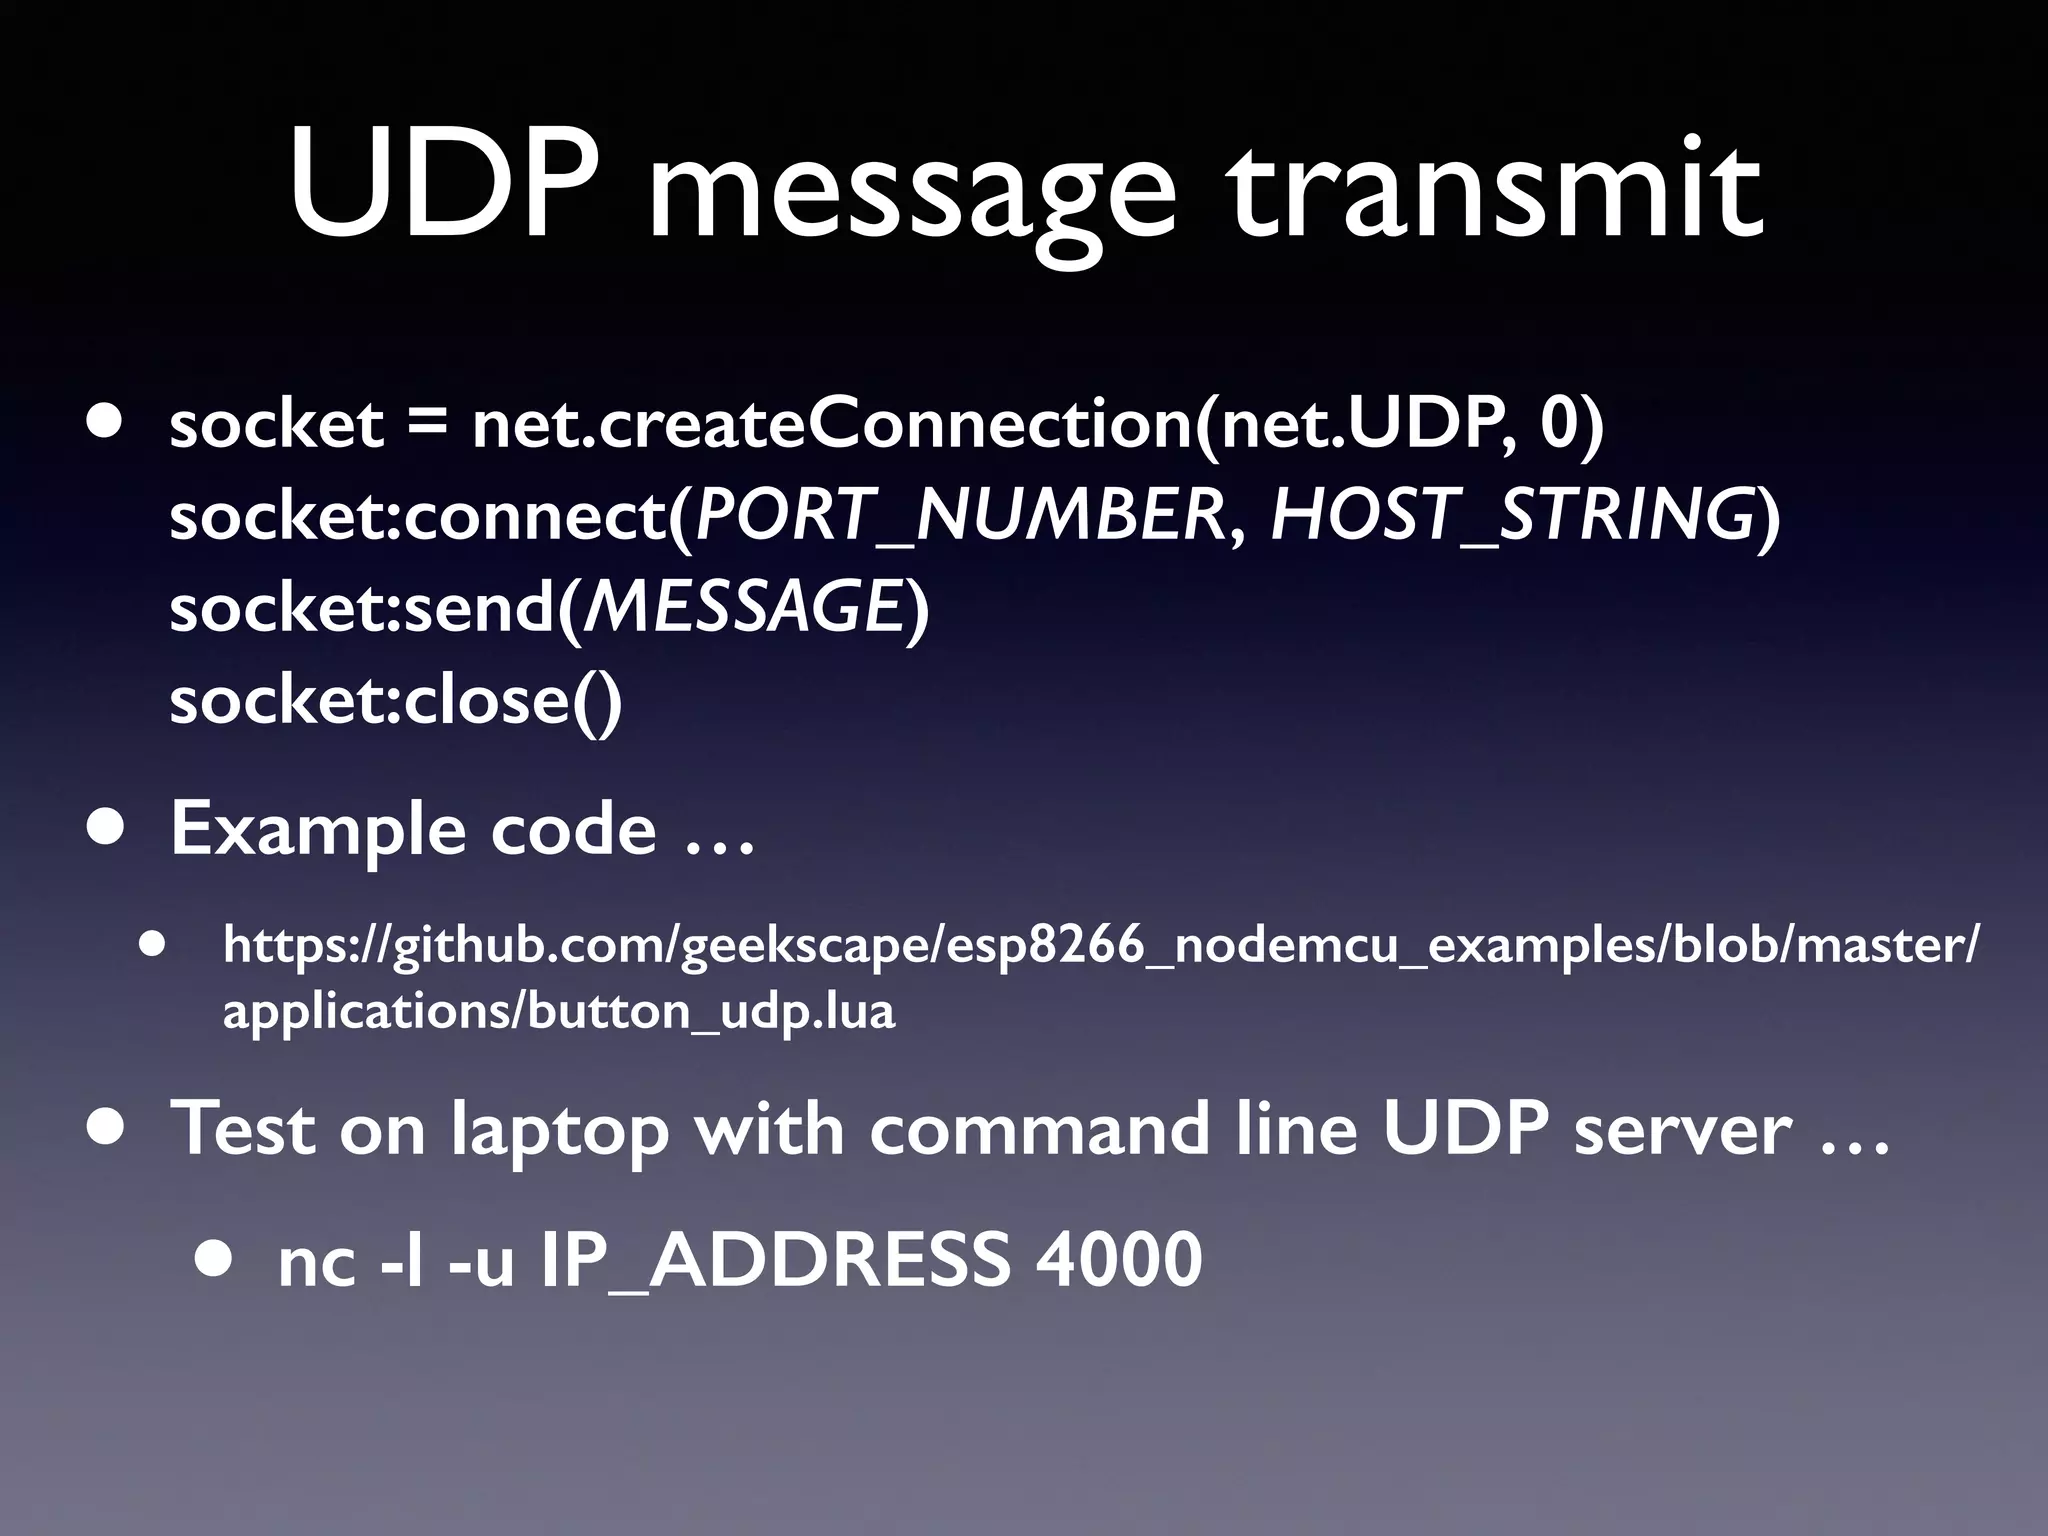
Instructions for sending UDP messages using NodeMCU, with example code provided.
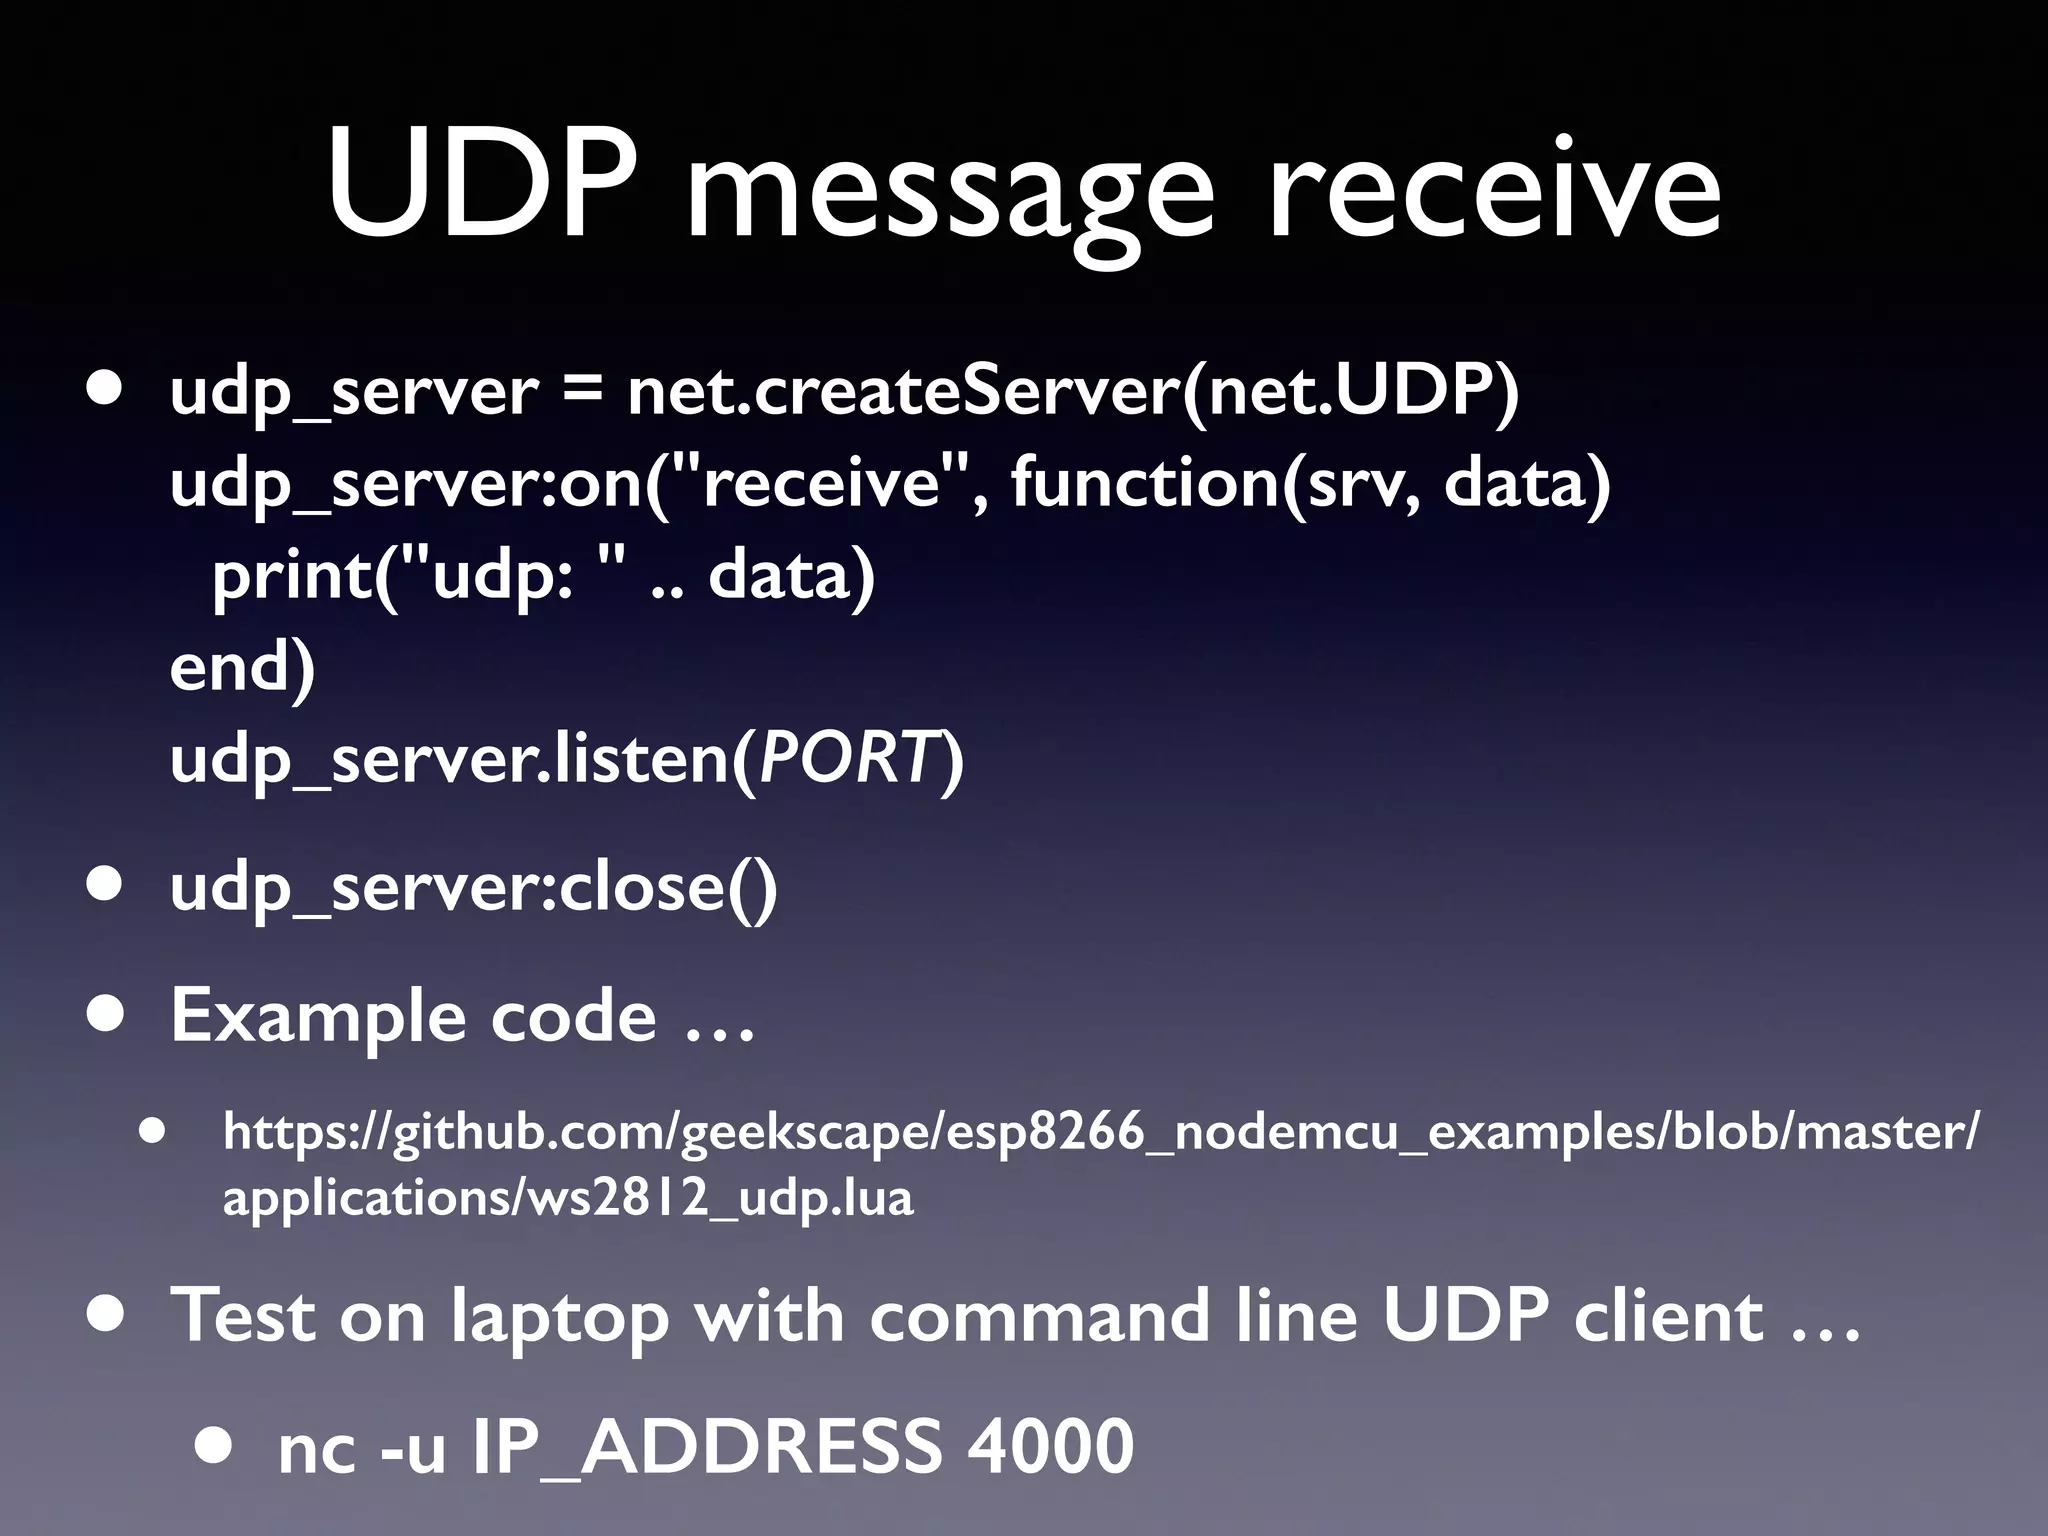
Receiving UDP messages with example code for handling incoming data on ESP8266.
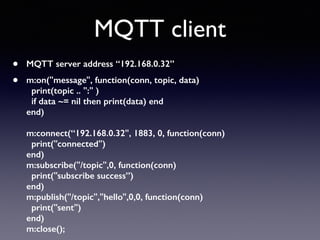
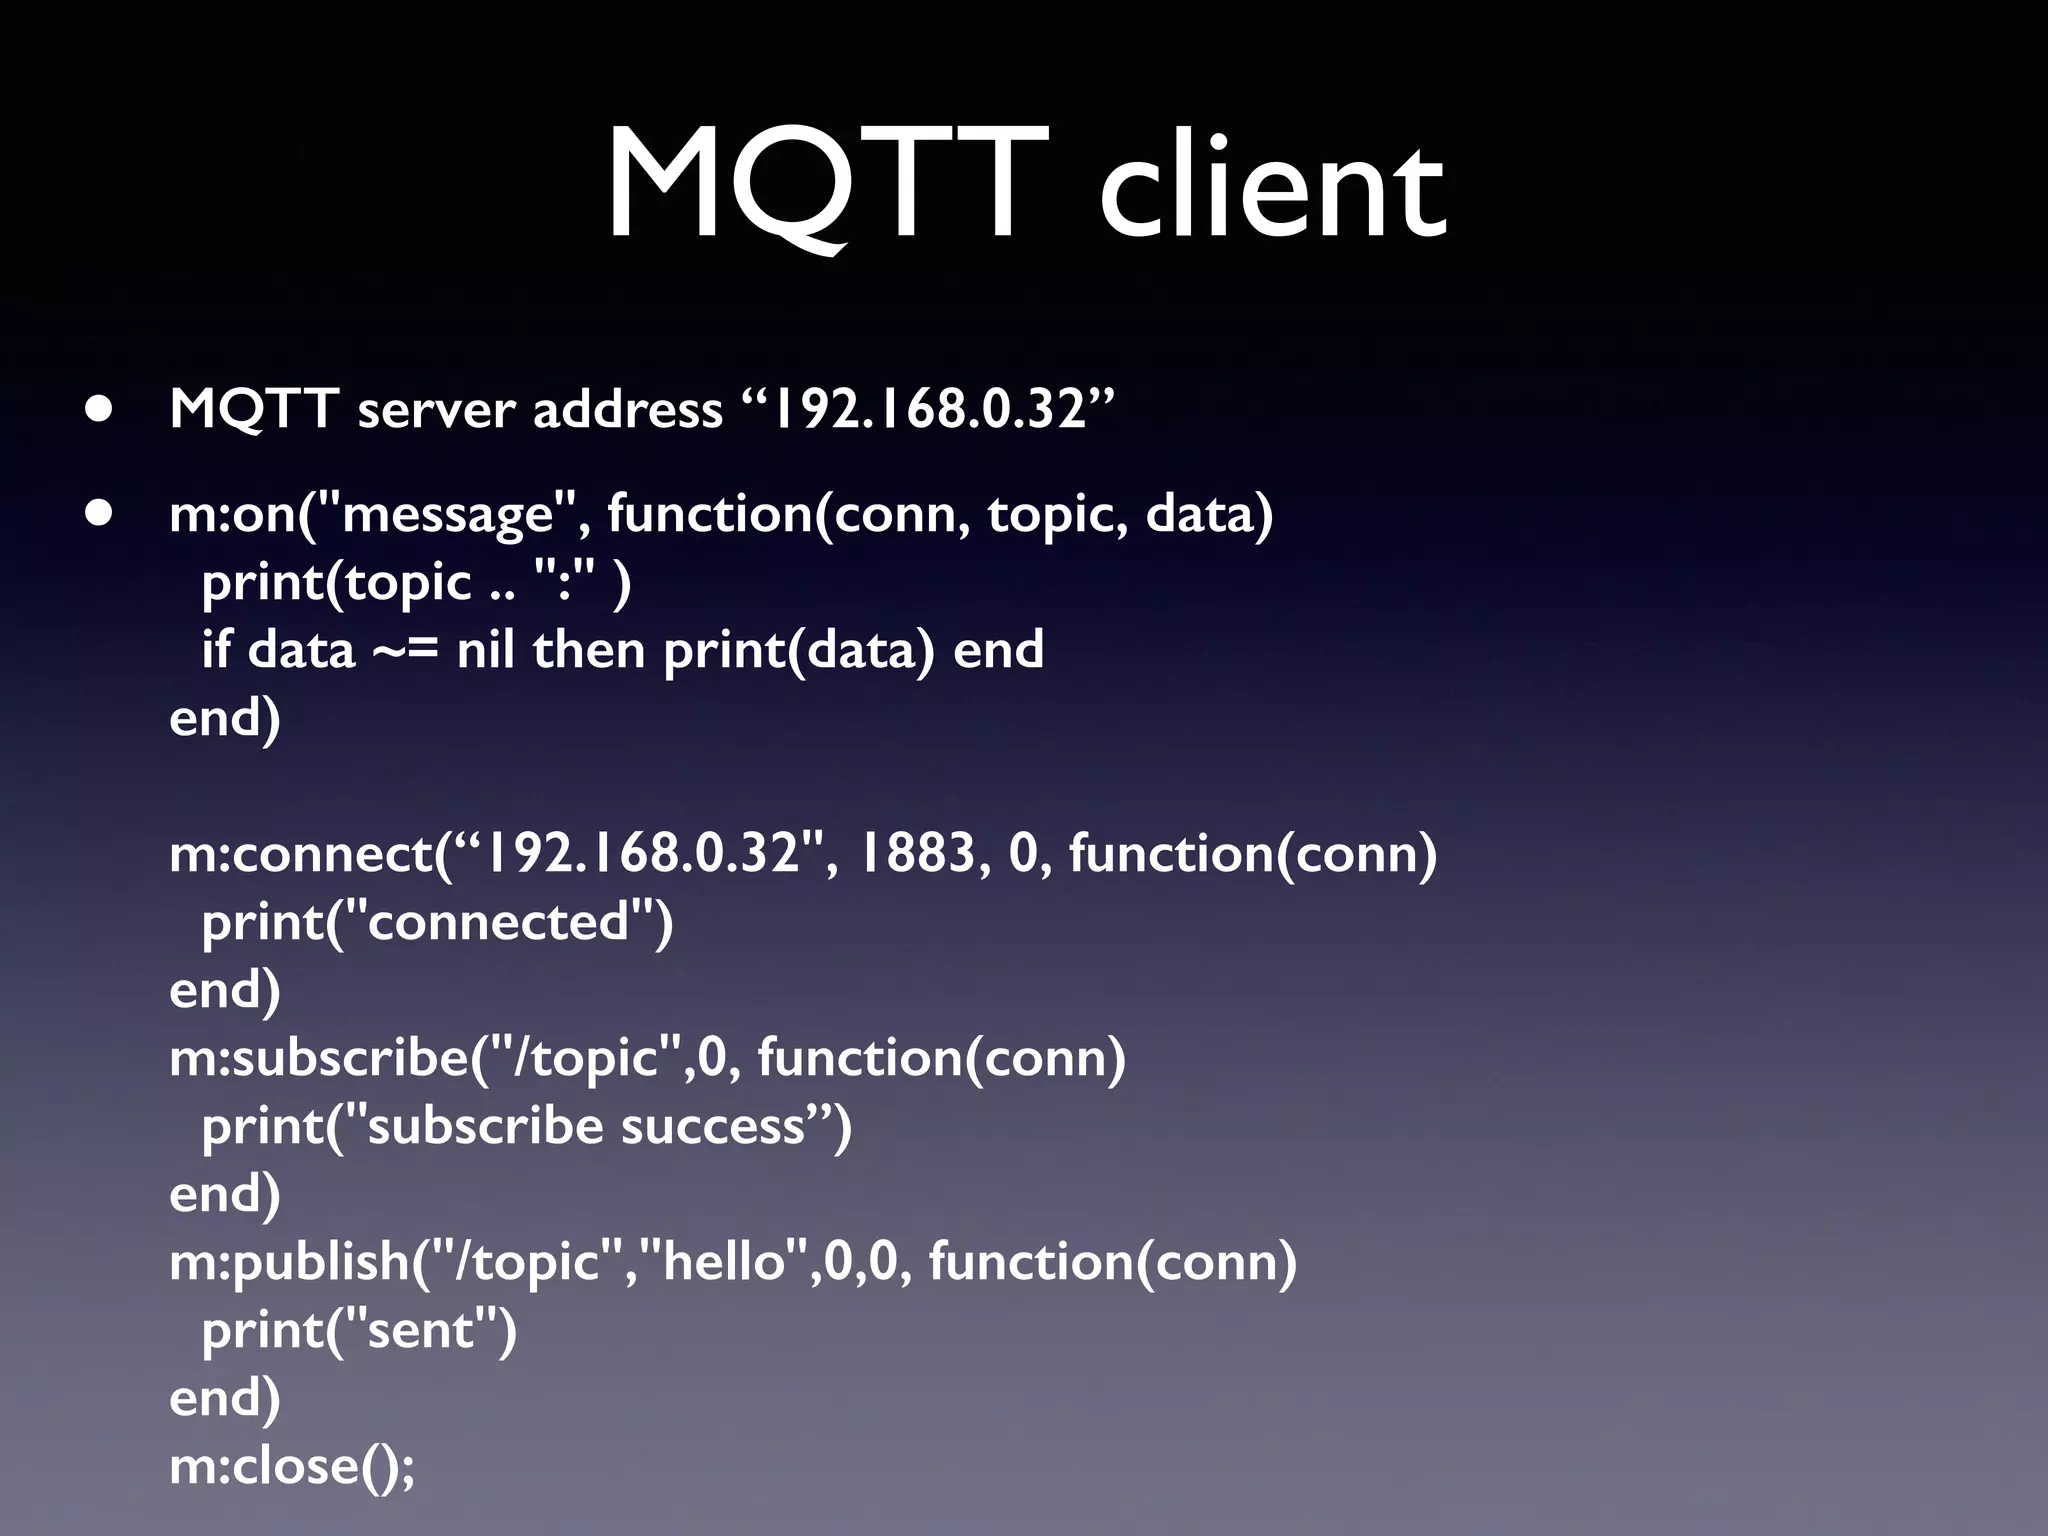
Example of establishing an MQTT client connection and handling messages on ESP8266.
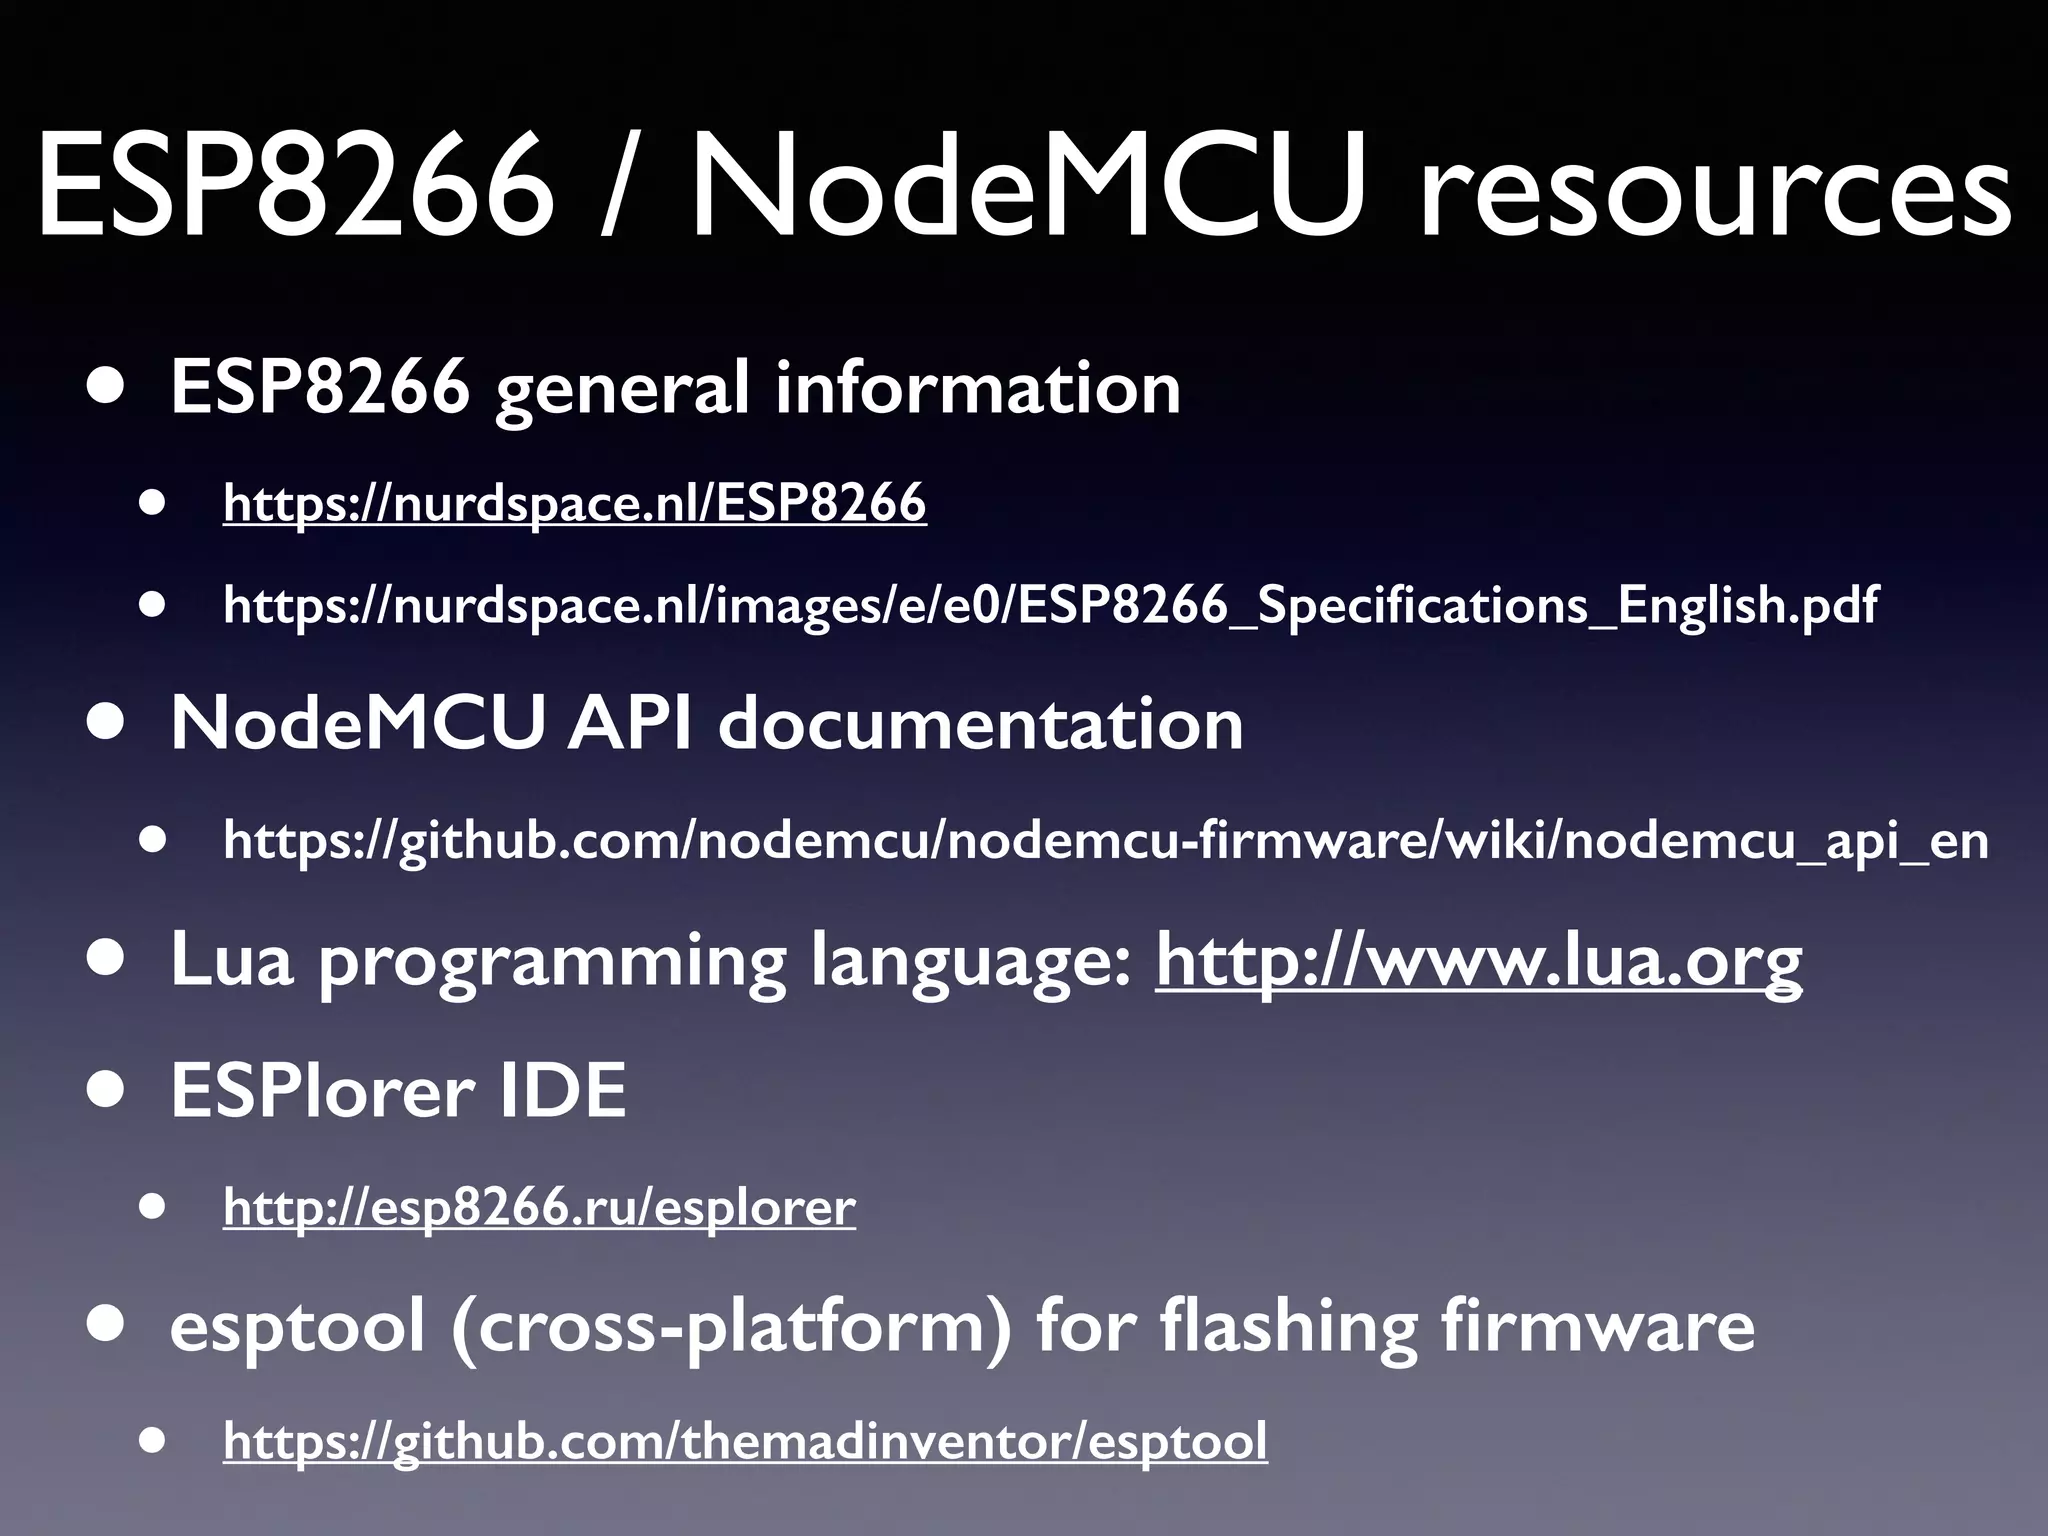
Resources for ESP8266 including documentation links, SDK, IDE information, and programming references.


![Introduction to ESP32 Programming [Road to RIoT 2017]](https://cdn.slidesharecdn.com/ss_thumbnails/roadtoriotsurabayagettingstartedesp32-170726155154-thumbnail.jpg?width=600ounds&width=560&fit=bounds)


![電路學 - [第一章] 電路元件與基本定律](https://cdn.slidesharecdn.com/ss_thumbnails/circuitch1-150613063006-lva1-app6892-thumbnail.jpg?width=600ounds&width=560&fit=bounds)
![電路學 - [第二章] 電路分析方法](https://cdn.slidesharecdn.com/ss_thumbnails/circuitch2-150613063007-lva1-app6891-thumbnail.jpg?width=600ounds&width=560&fit=bounds)
![射頻電子實驗手冊 - [實驗8] 低雜訊放大器模擬](https://cdn.slidesharecdn.com/ss_thumbnails/simlab8-150613072425-lva1-app6891-thumbnail.jpg?width=600ounds&width=560&fit=bounds)
![射頻電子實驗手冊 - [實驗7] 射頻放大器模擬](https://cdn.slidesharecdn.com/ss_thumbnails/simlab7-150613072420-lva1-app6892-thumbnail.jpg?width=600ounds&width=560&fit=bounds)
![Agilent ADS 模擬手冊 [實習1] 基本操作與射頻放大器設計](https://cdn.slidesharecdn.com/ss_thumbnails/1adsbasics-150613072812-lva1-app6891-thumbnail.jpg?width=600ounds&width=560&fit=bounds)
![射頻電子實驗手冊 [實驗6] 阻抗匹配模擬](https://cdn.slidesharecdn.com/ss_thumbnails/simlab6-150613072411-lva1-app6892-thumbnail.jpg?width=600ounds&width=560&fit=bounds)
![Agilent ADS 模擬手冊 [實習3] 壓控振盪器模擬](https://cdn.slidesharecdn.com/ss_thumbnails/3adsosc-150613072819-lva1-app6892-thumbnail.jpg?width=600ounds&width=560&fit=bounds)
![Agilent ADS 模擬手冊 [實習2] 放大器設計](https://cdn.slidesharecdn.com/ss_thumbnails/2adsamp-150613072818-lva1-app6892-thumbnail.jpg?width=600ounds&width=560&fit=bounds)
![射頻電子實驗手冊 [實驗1 ~ 5] ADS入門, 傳輸線模擬, 直流模擬, 暫態模擬, 交流模擬](https://cdn.slidesharecdn.com/ss_thumbnails/simlab15-150613072411-lva1-app6892-thumbnail.jpg?width=600ounds&width=560&fit=bounds)


![UiPath Automation Suite Installation (Hands-On) [2/3]](https://cdn.slidesharecdn.com/ss_thumbnails/automationsuitecommunitysession2-251015095633-a6d862f1-thumbnail.jpg?width=600ounds&width=560&fit=bounds)


