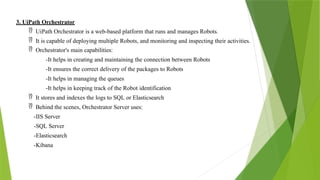
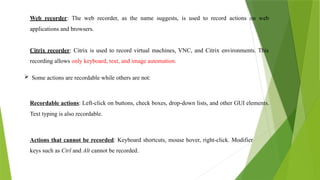
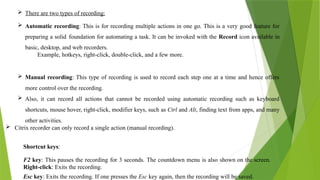
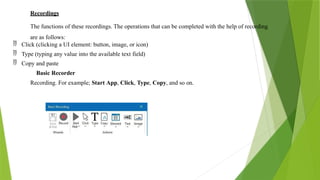
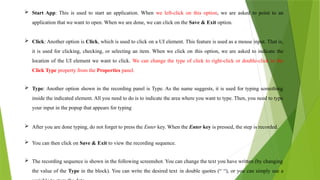
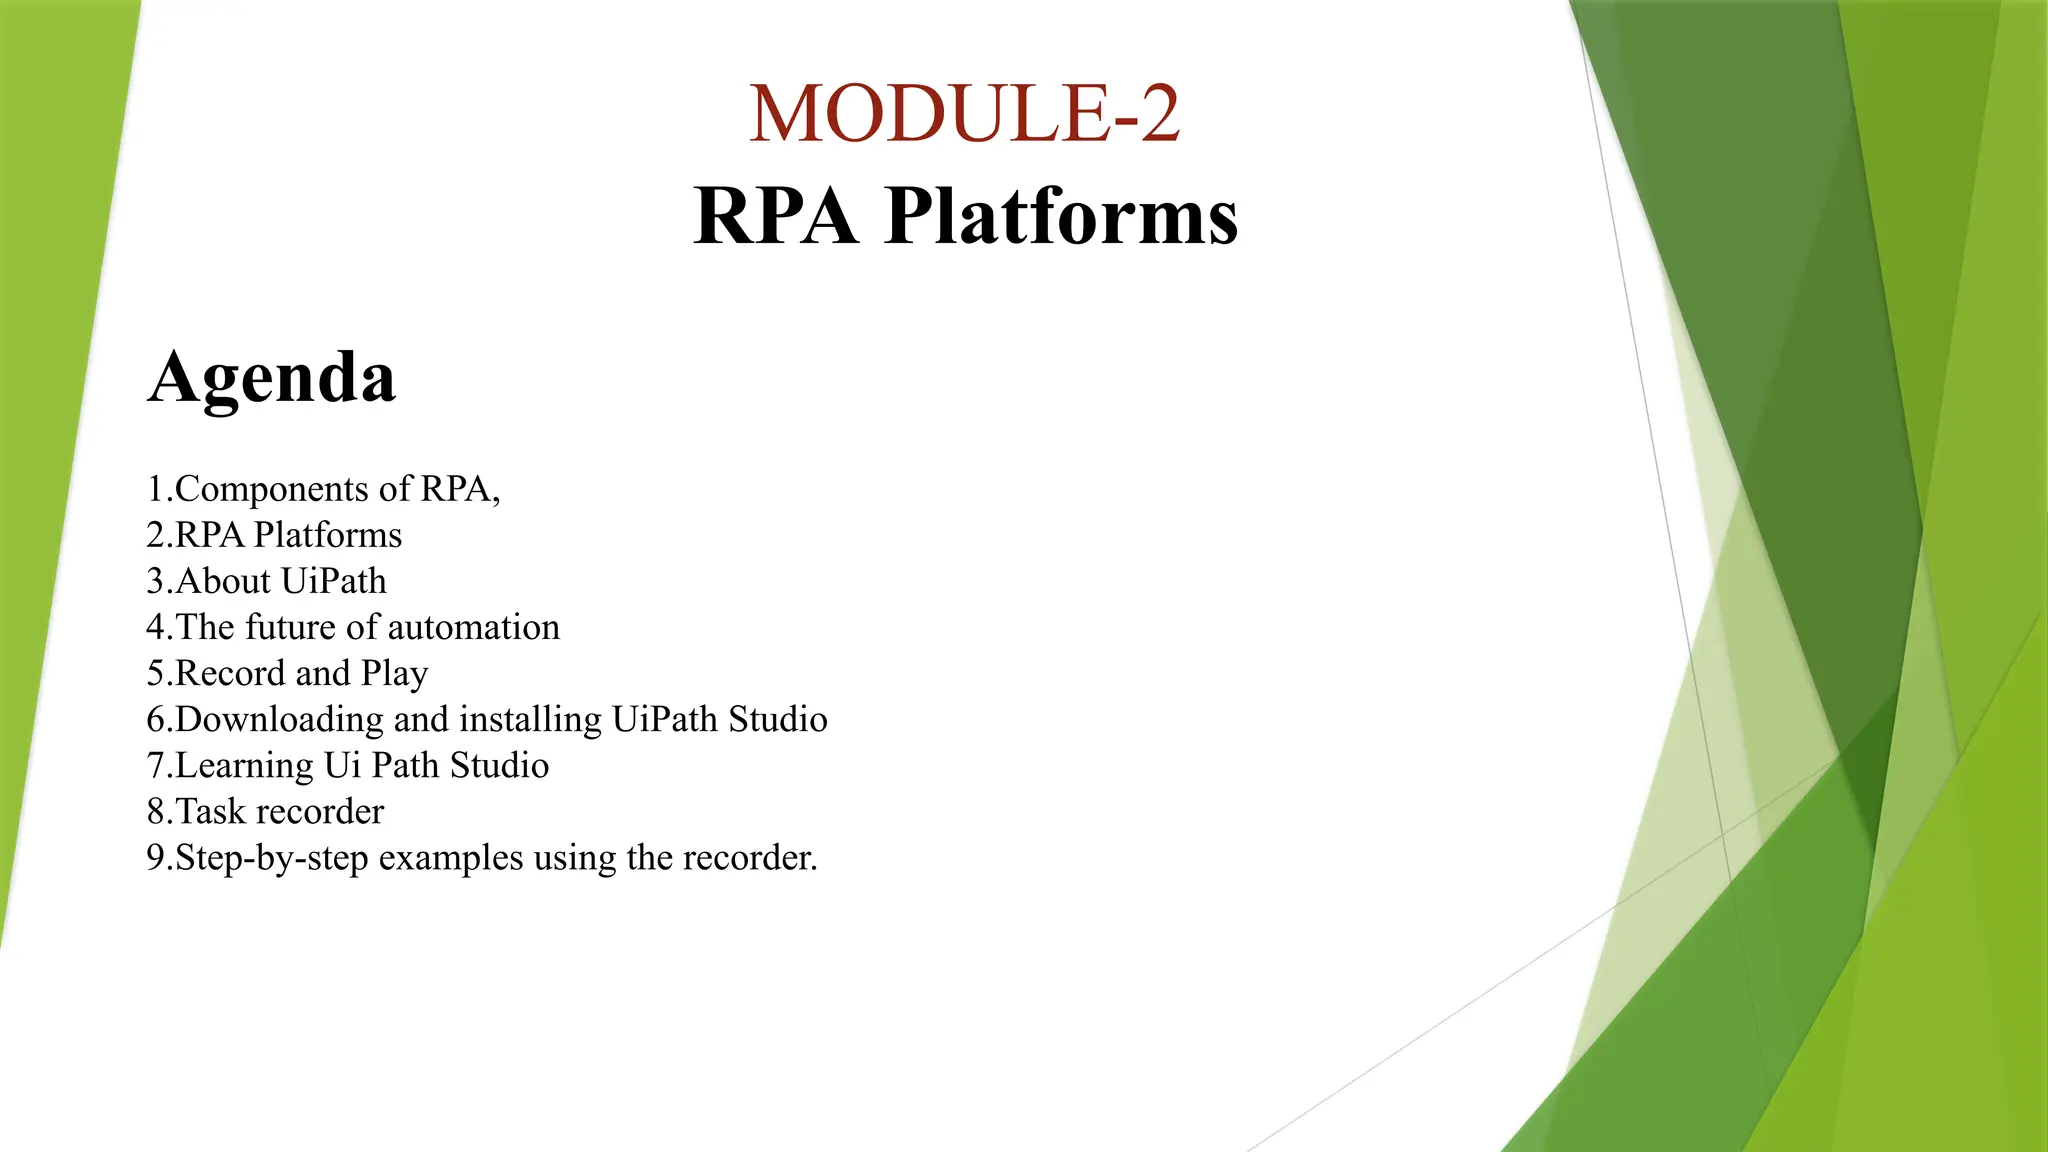
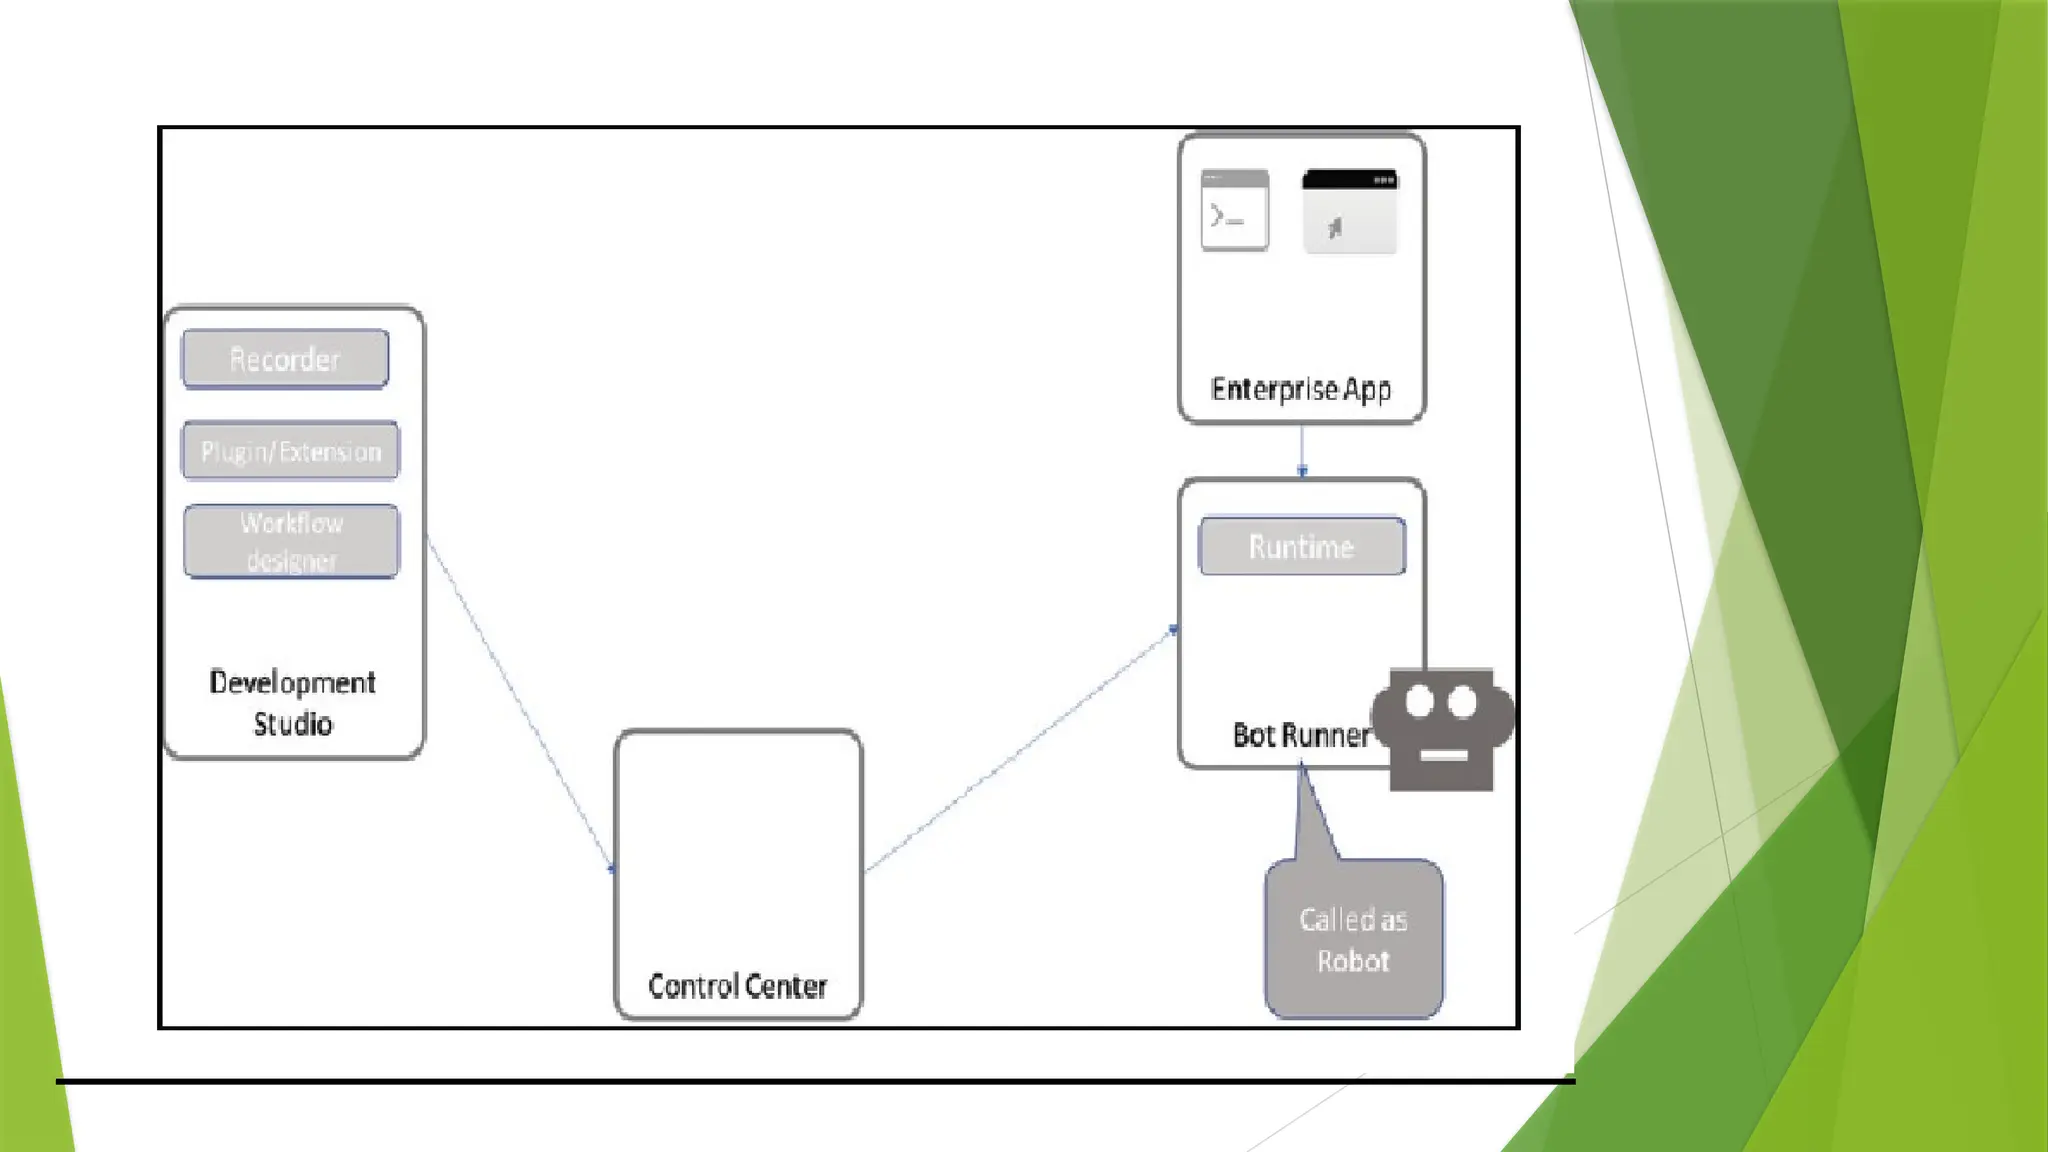
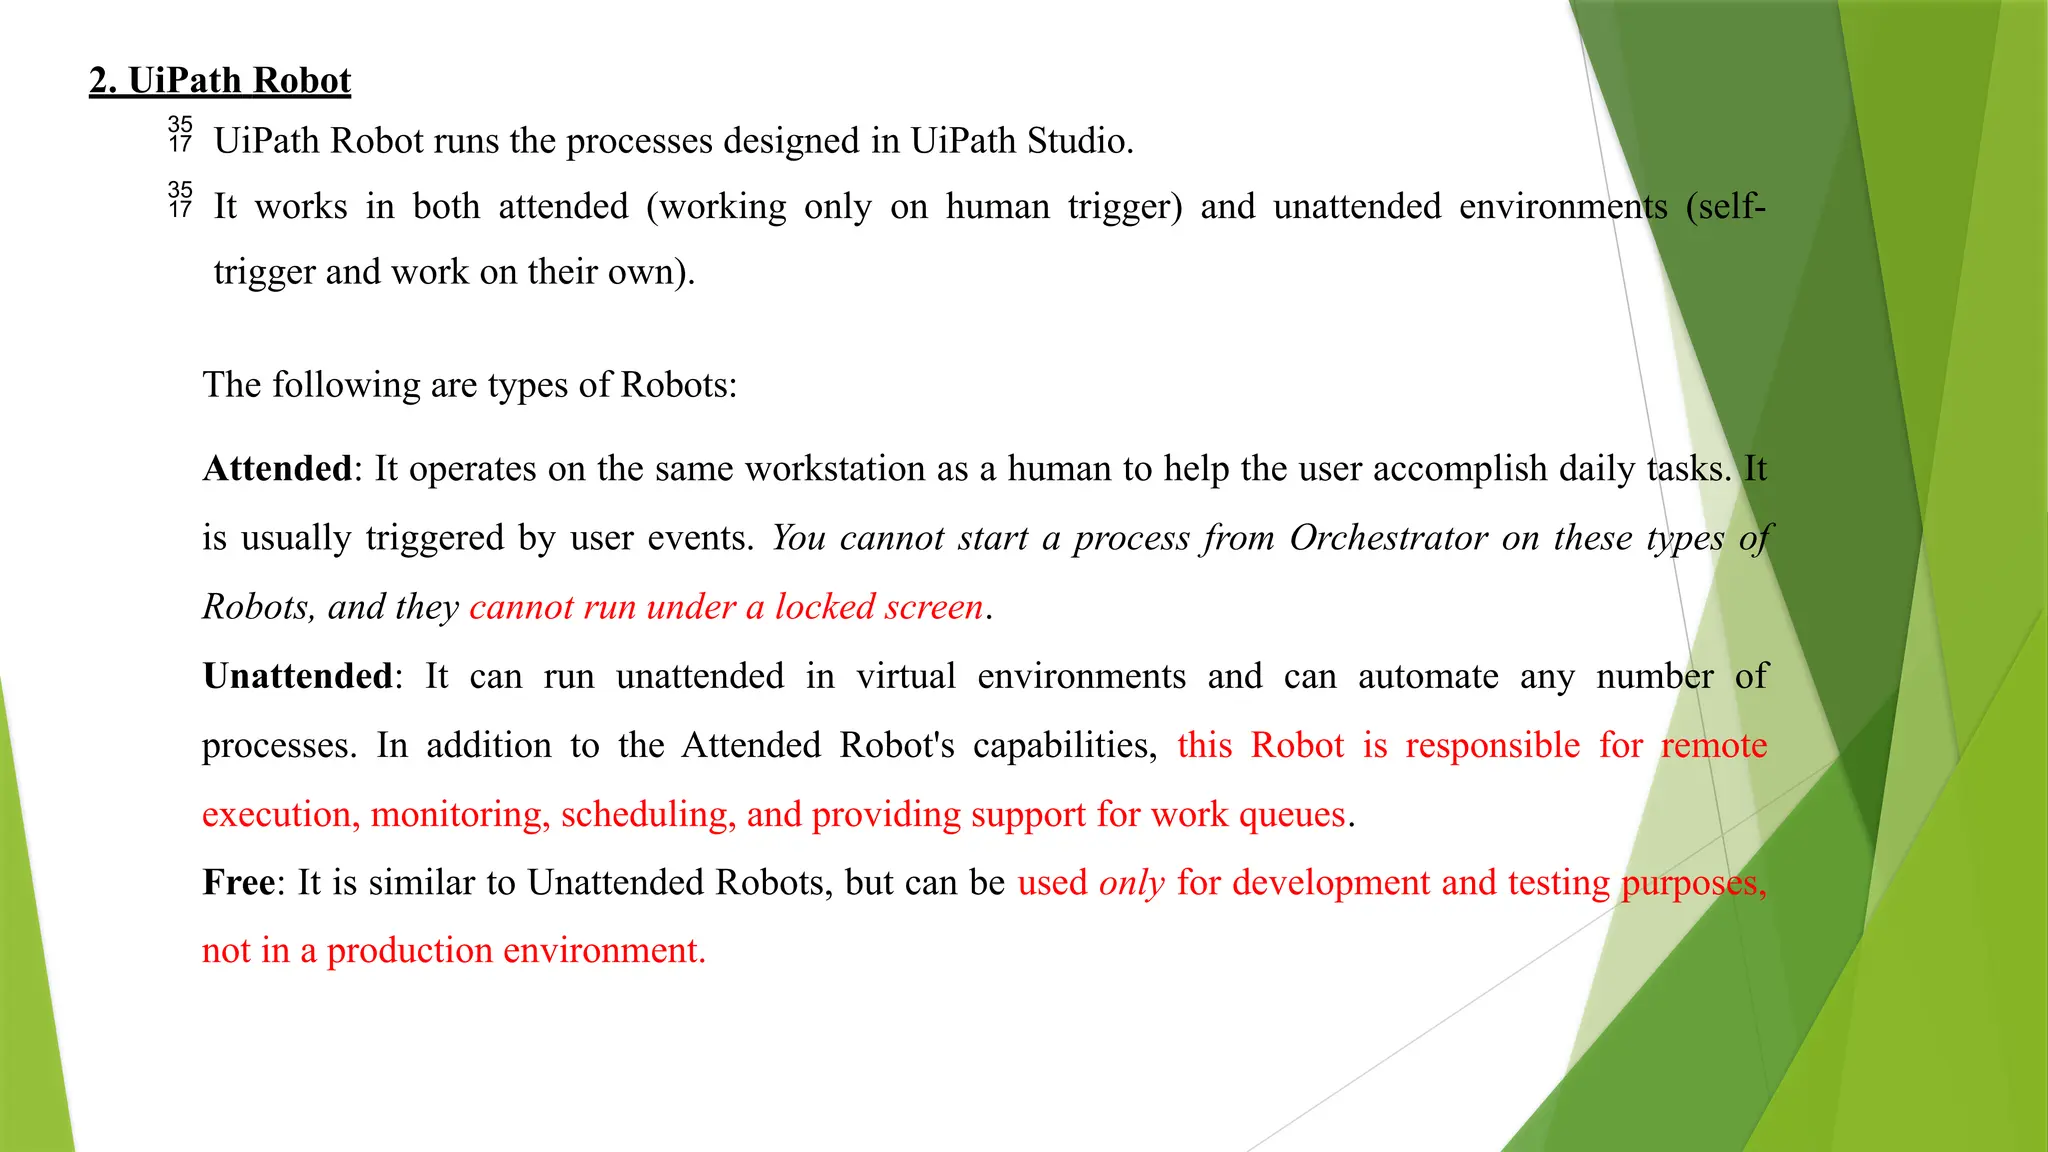
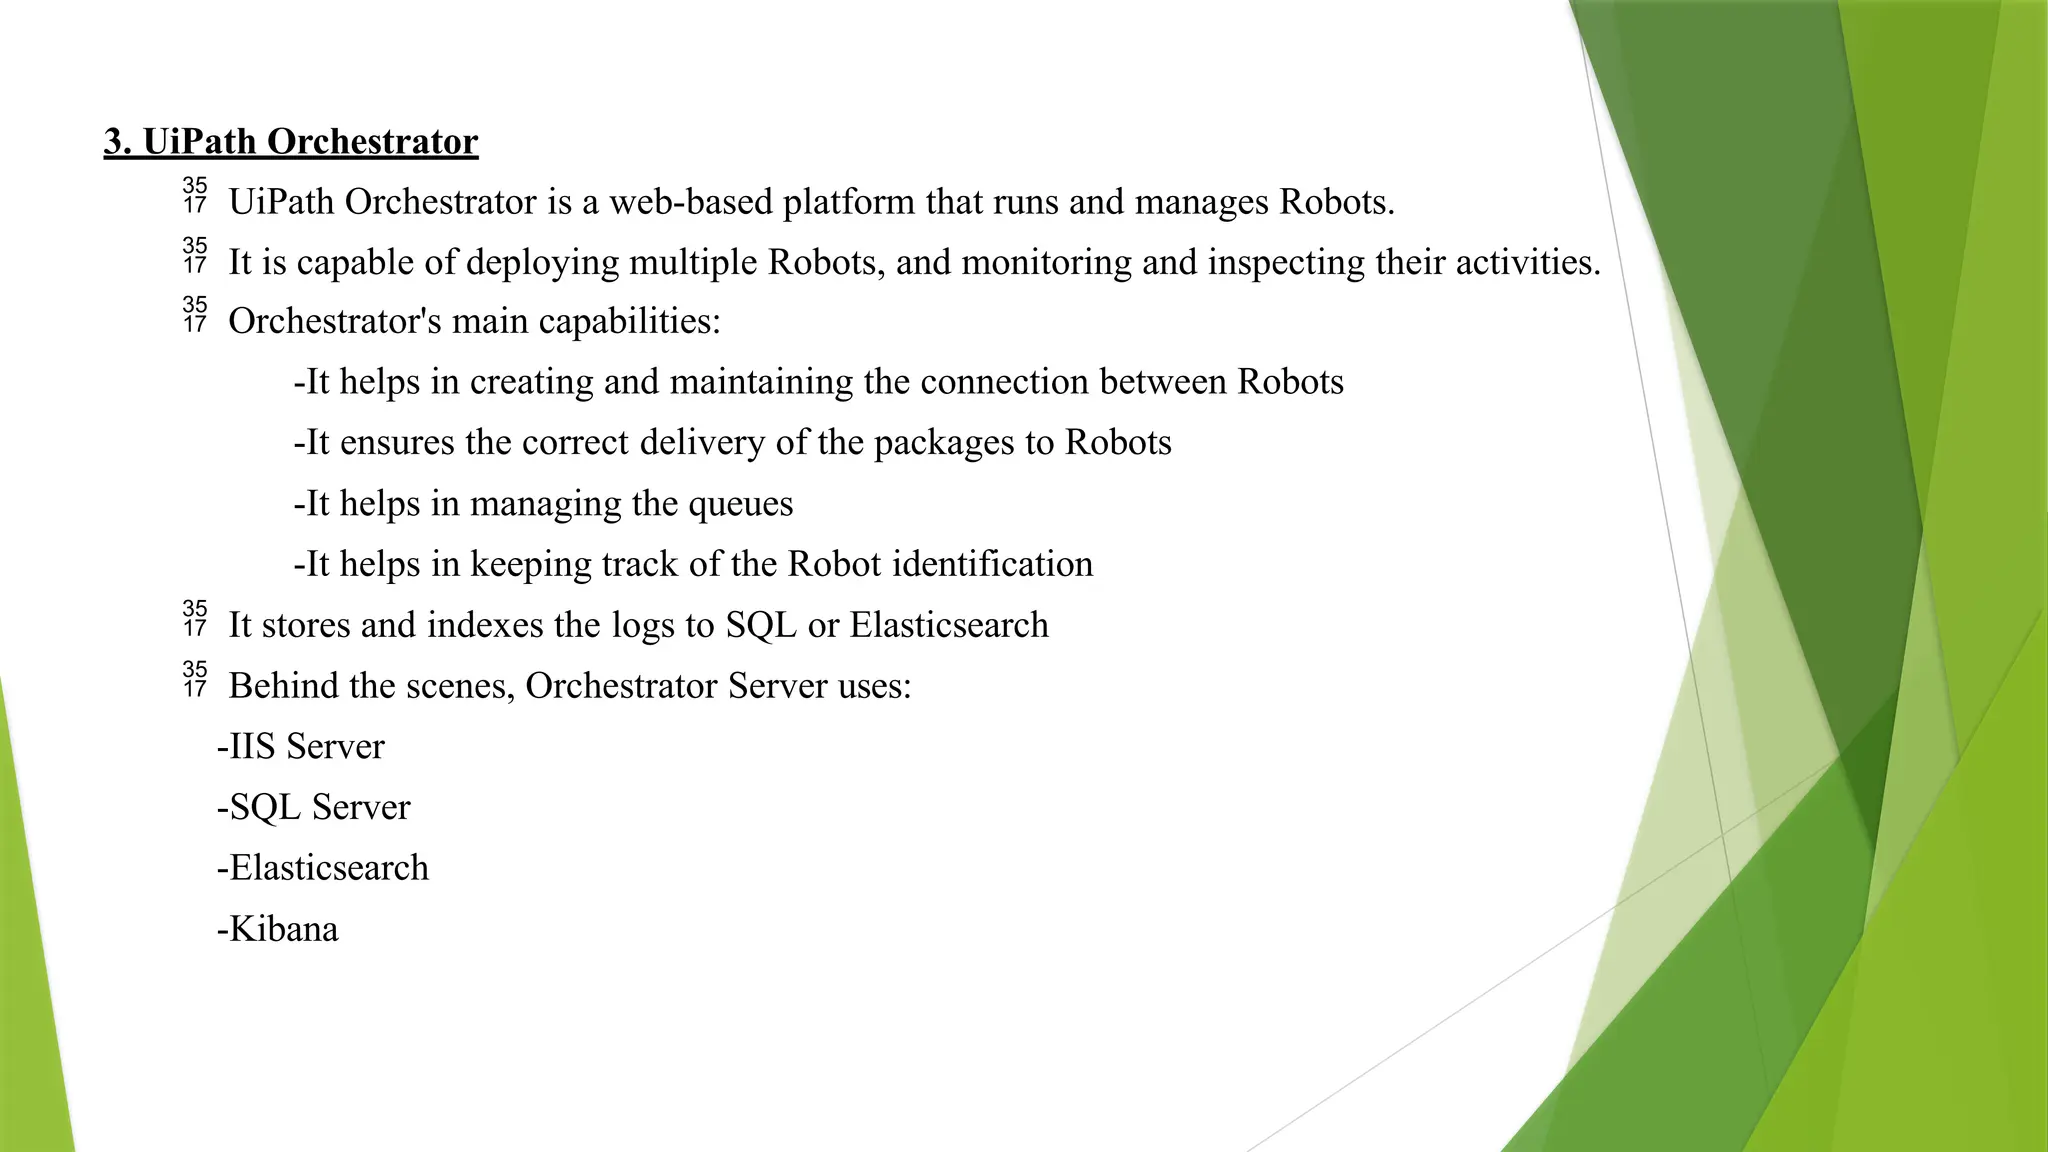
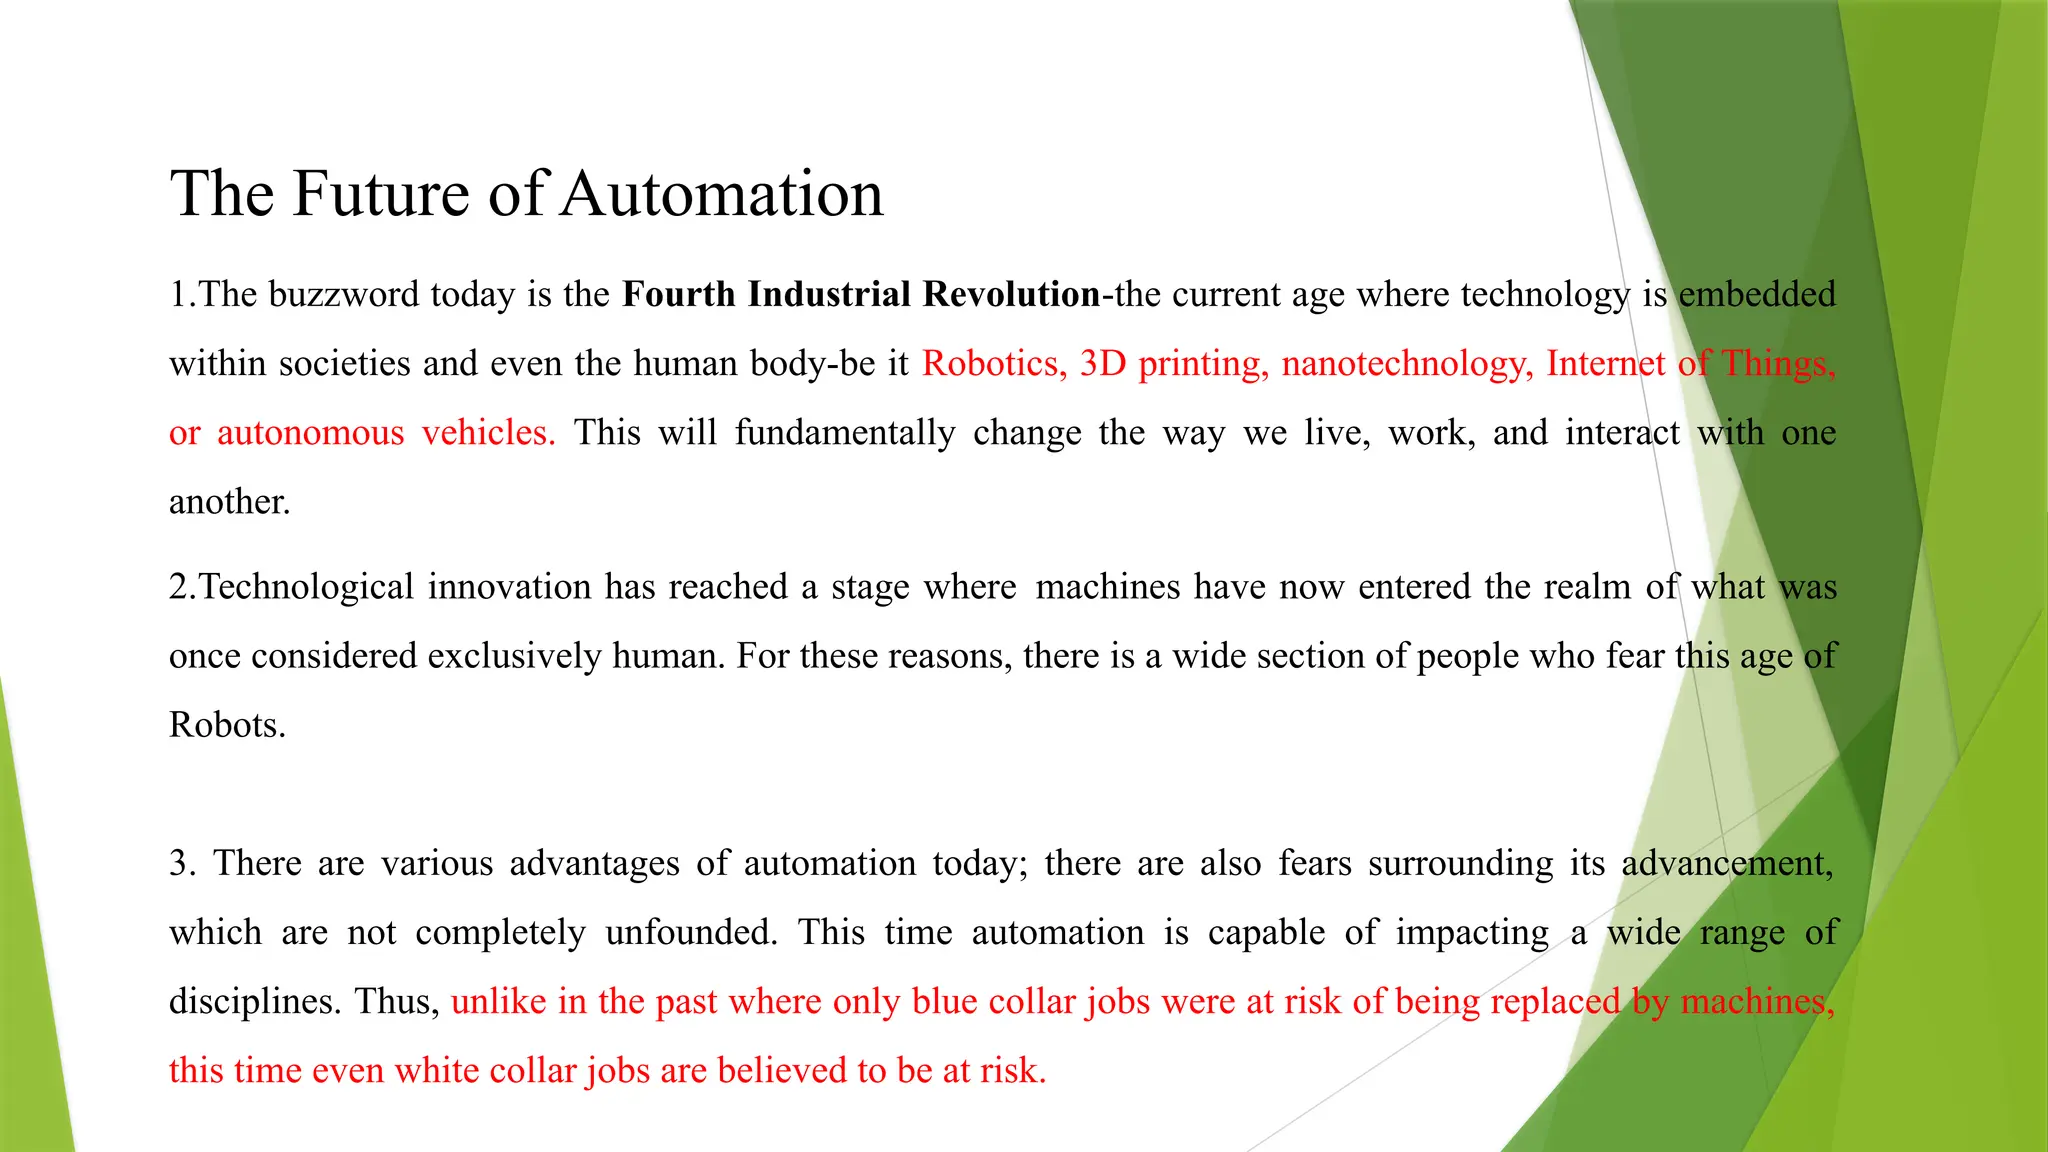
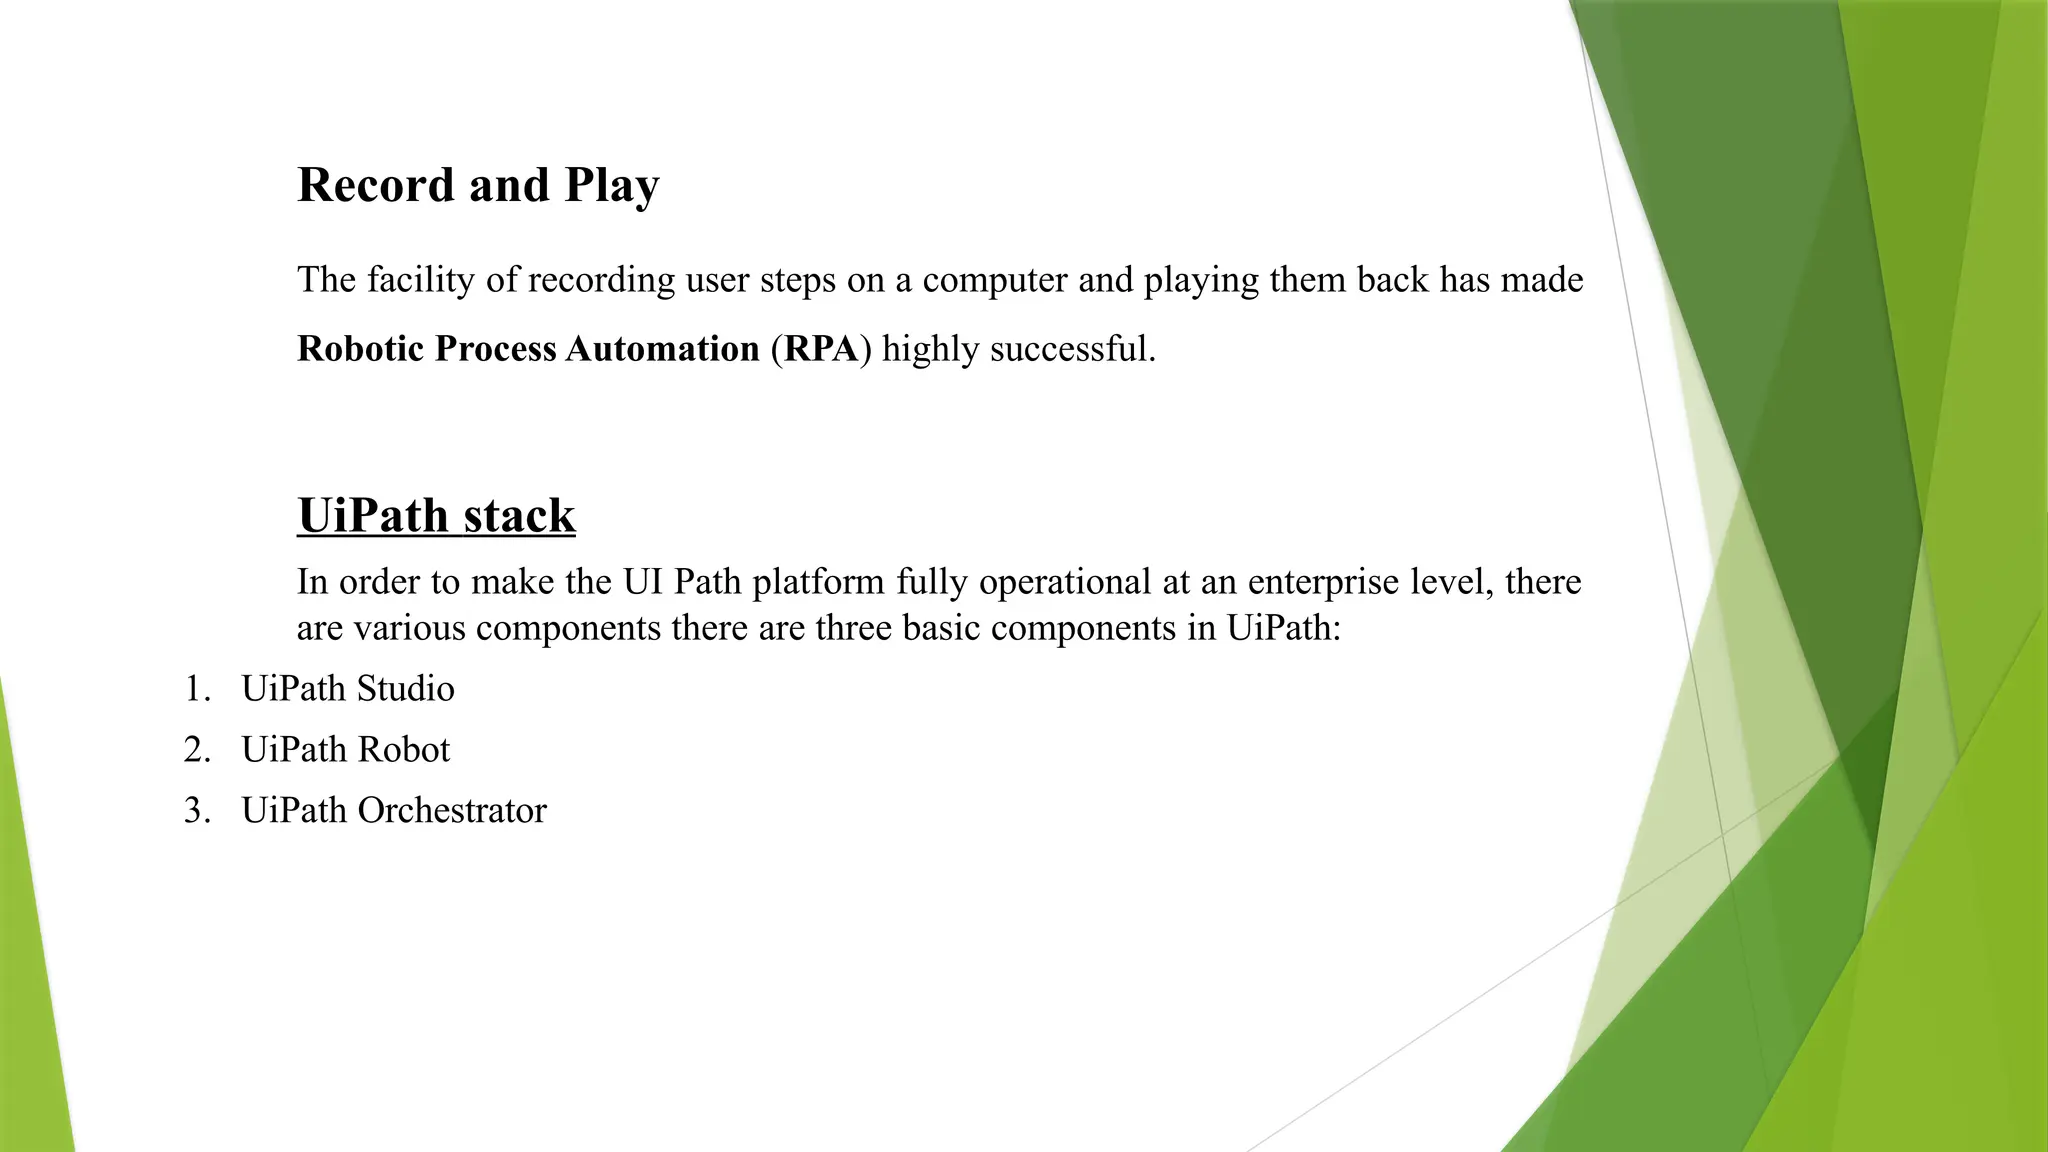
The document discusses the components, platforms, and future of Robotic Process Automation (RPA), focusing on tools like UiPath, Automation Anywhere, and Blue Prism. It highlights the growth of the RPA market, the basic components such as the recorder, development studio, bot runner, and control center, and provides insights into the capabilities of UiPath's studio, robot, and orchestrator. Additionally, it explores the implications of automation on various jobs and the need for adaptive education in response to technological advancements.


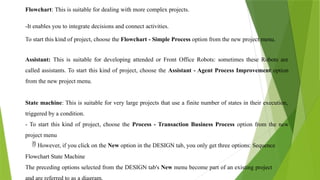


![UiPath Automation Suite Installation (Hands-On) [2/3]](https://cdn.slidesharecdn.com/ss_thumbnails/automationsuitecommunitysession2-251015095633-a6d862f1-thumbnail.jpg?width=600ounds&width=560&fit=bounds)


