Download as ODP, PPTX
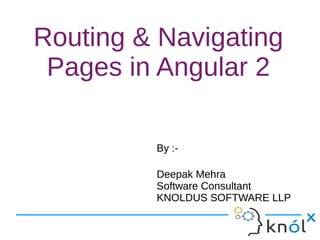

![Navigate from code
● Of course, You can navigate from page to another using code.
Let’s see How do we do that.
We will need to inject router in the constructor and call navigate
function.
export class TestComponent {constructor(private router:
Router) {}
back() {
this.router.navigate(['/']);}}](https://image.slidesharecdn.com/angular2-171117061817/85/Routing-Navigating-Pages-in-Angular-2-8-320.jpg)


![Navigate from code
● Of course, You can navigate from page to another using code.
Let’s see How do we do that.
We will need to inject router in the constructor and call navigate
function.
export class TestComponent {constructor(private router:
Router) {}
back() {
this.router.navigate(['/']);}}](https://image.slidesharecdn.com/angular2-171117061817/75/Routing-Navigating-Pages-in-Angular-2-8-2048.jpg)


Routing in Angular allows directing users to different pages/components based on their navigation choices. It defines routes for pages by creating components and linking them in the routes configuration. Components can link to routes using routerLink and navigate between them in code using the Router service. Route guards prevent navigation under certain conditions. Lazy loading allows splitting the app into smaller modules to improve performance. Code is cleaned up by exporting all imports from a single index file.
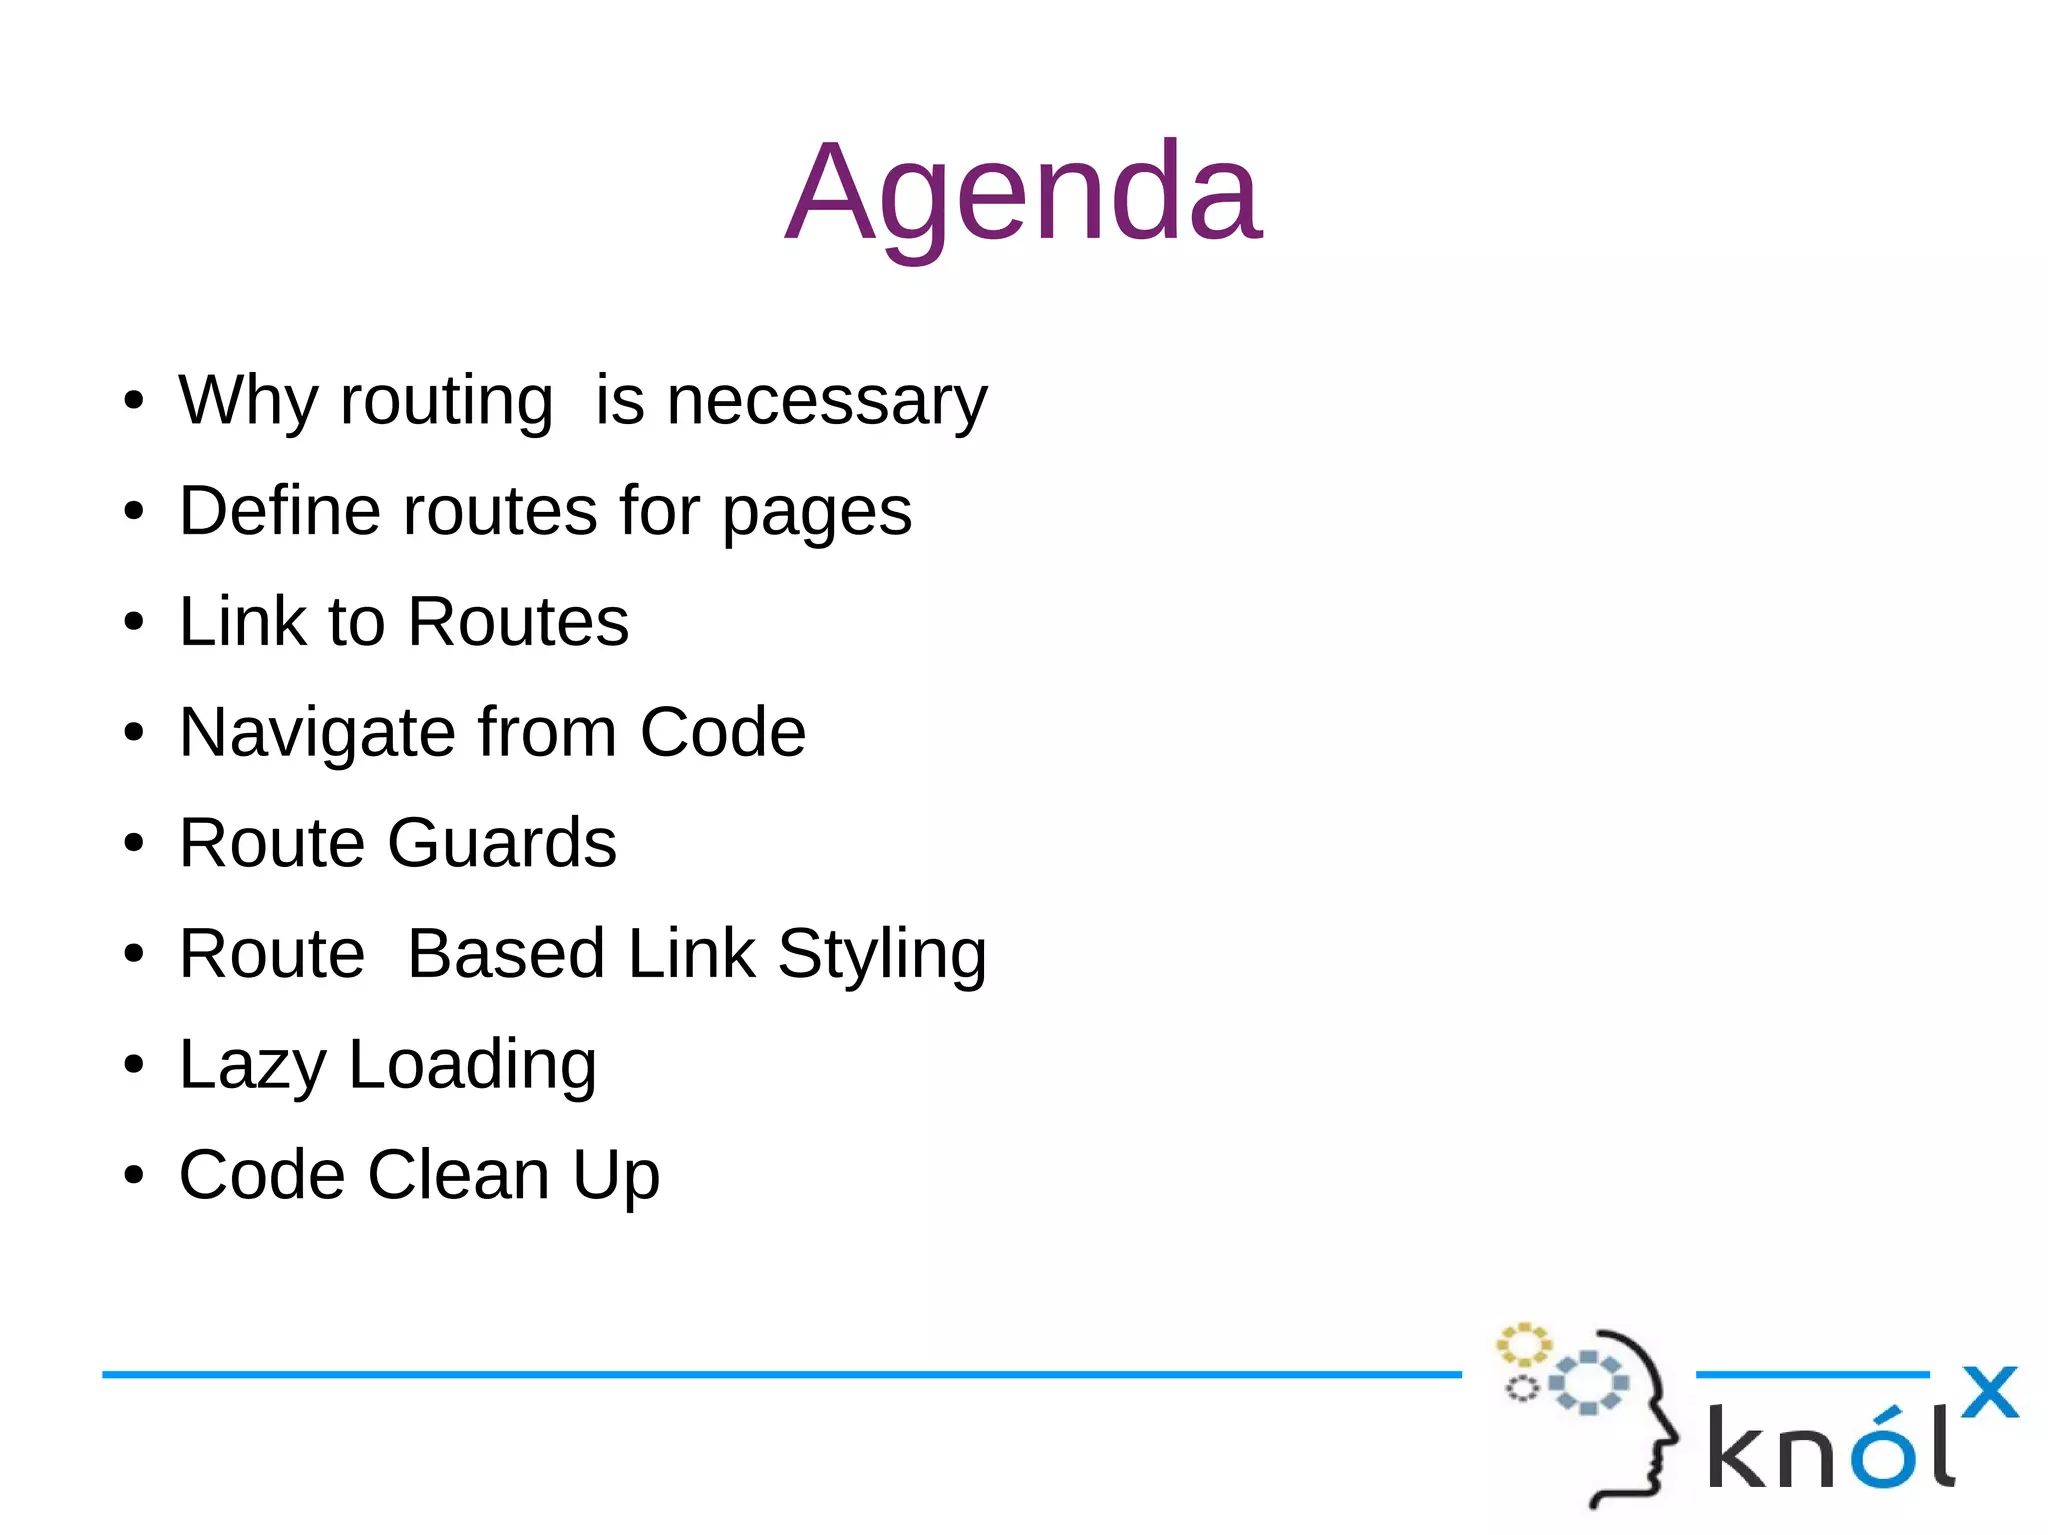
Introduction to routing & navigating in Angular. Importance of routing and agenda for the presentation.
Routing directs users to different pages based on selection, rendering required Angular components.
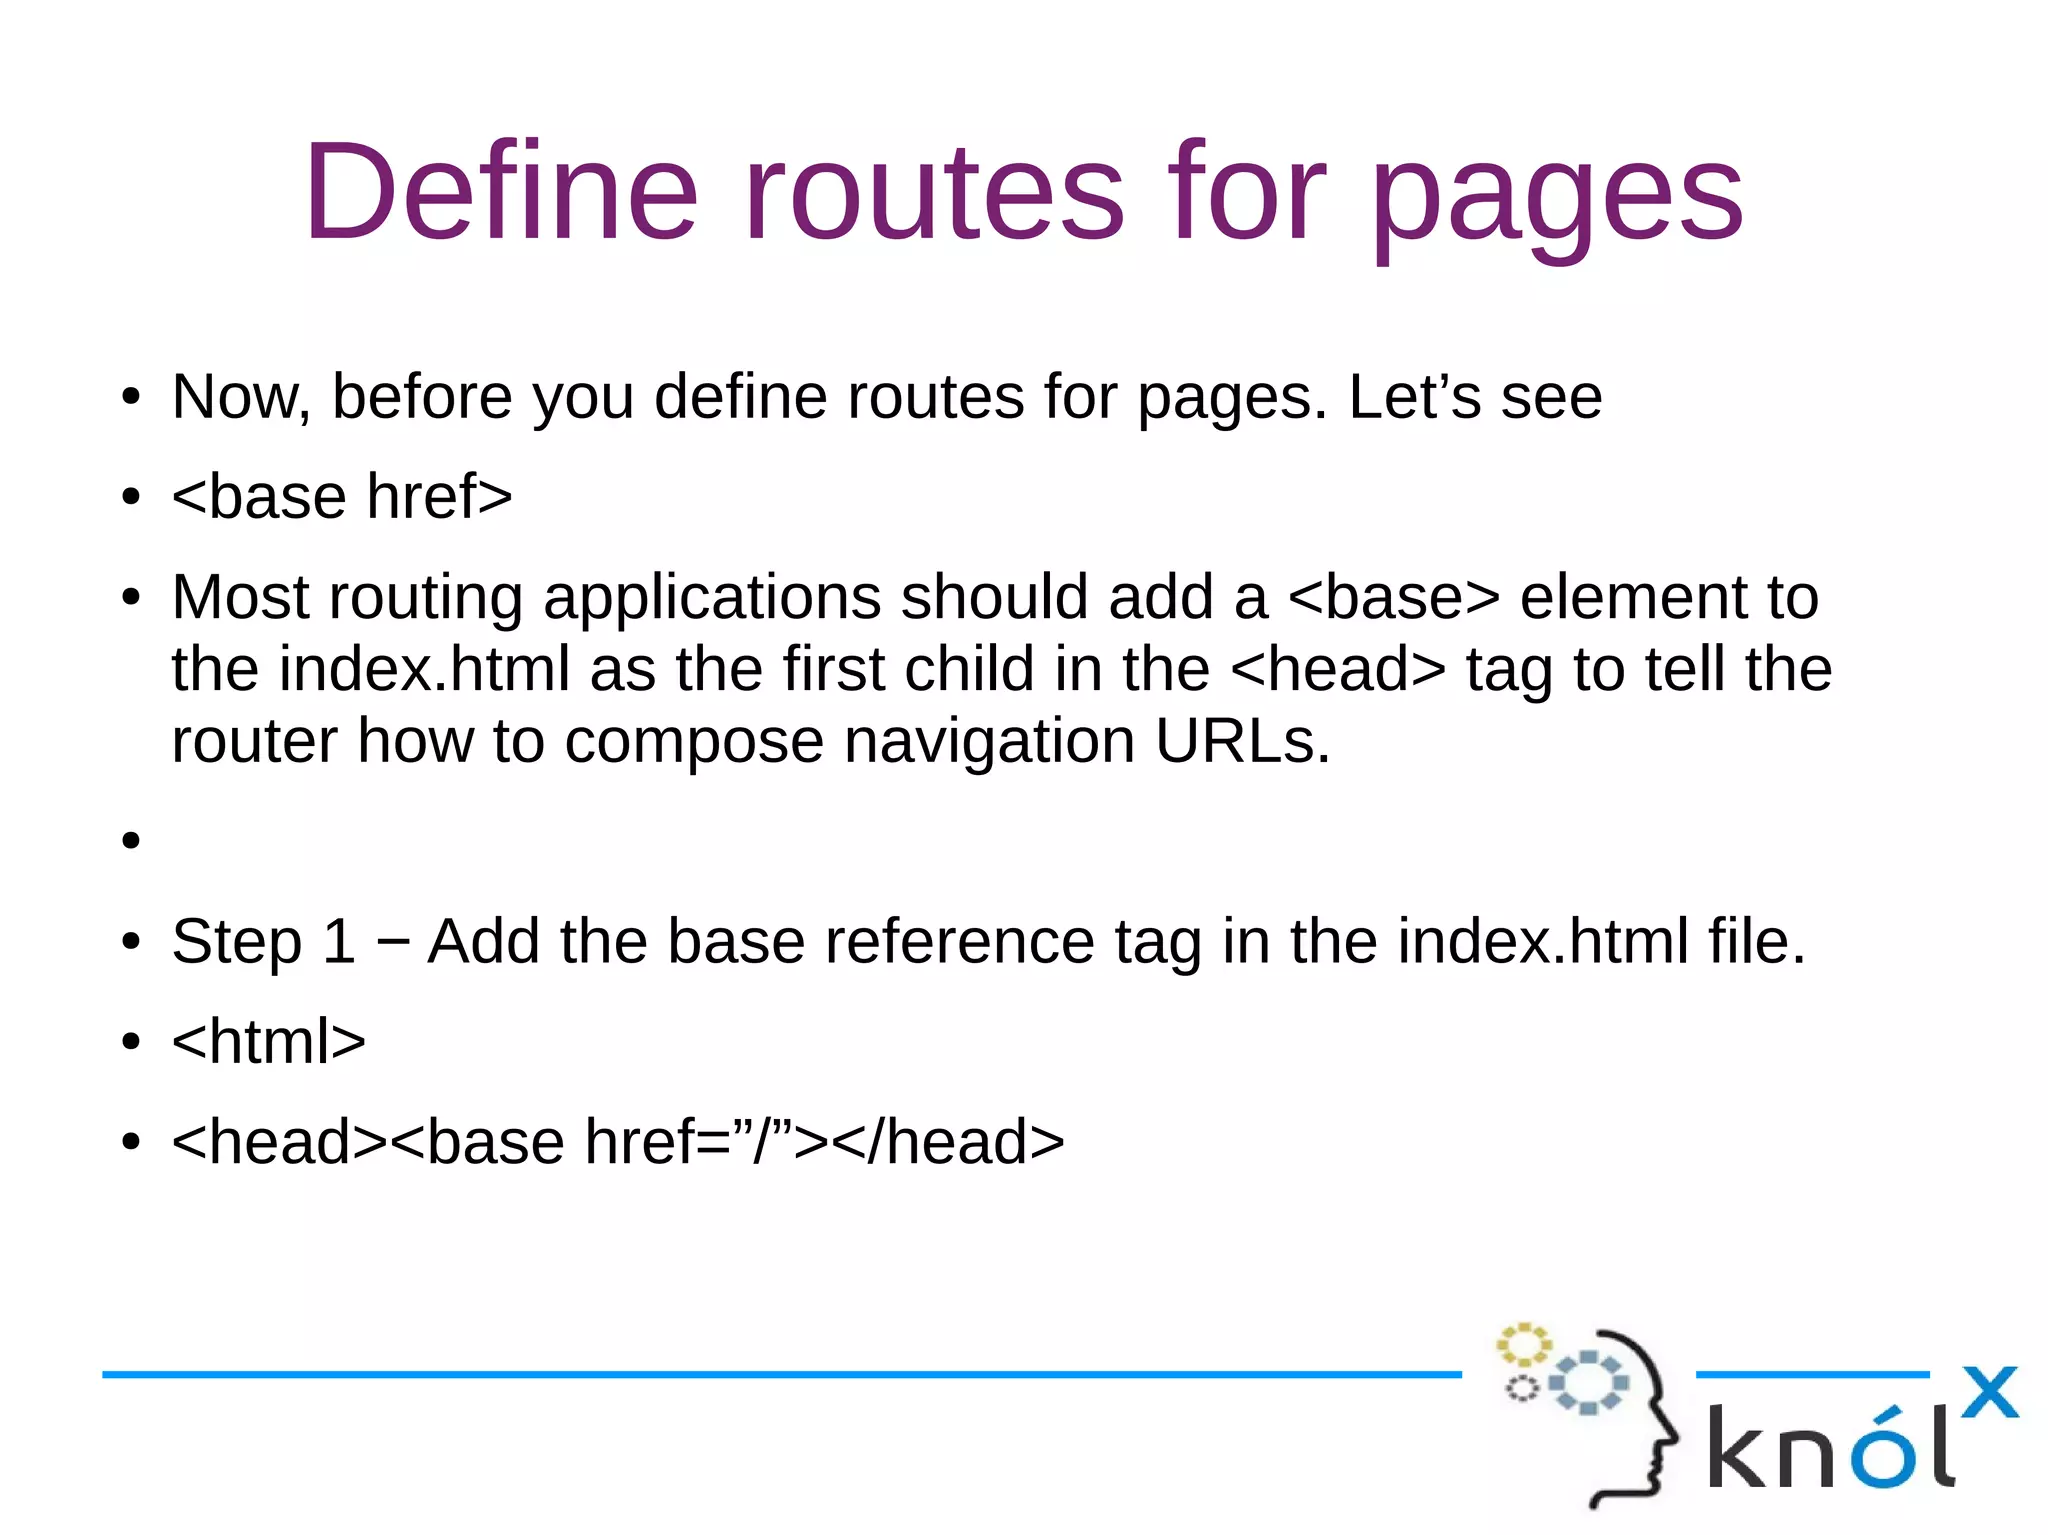
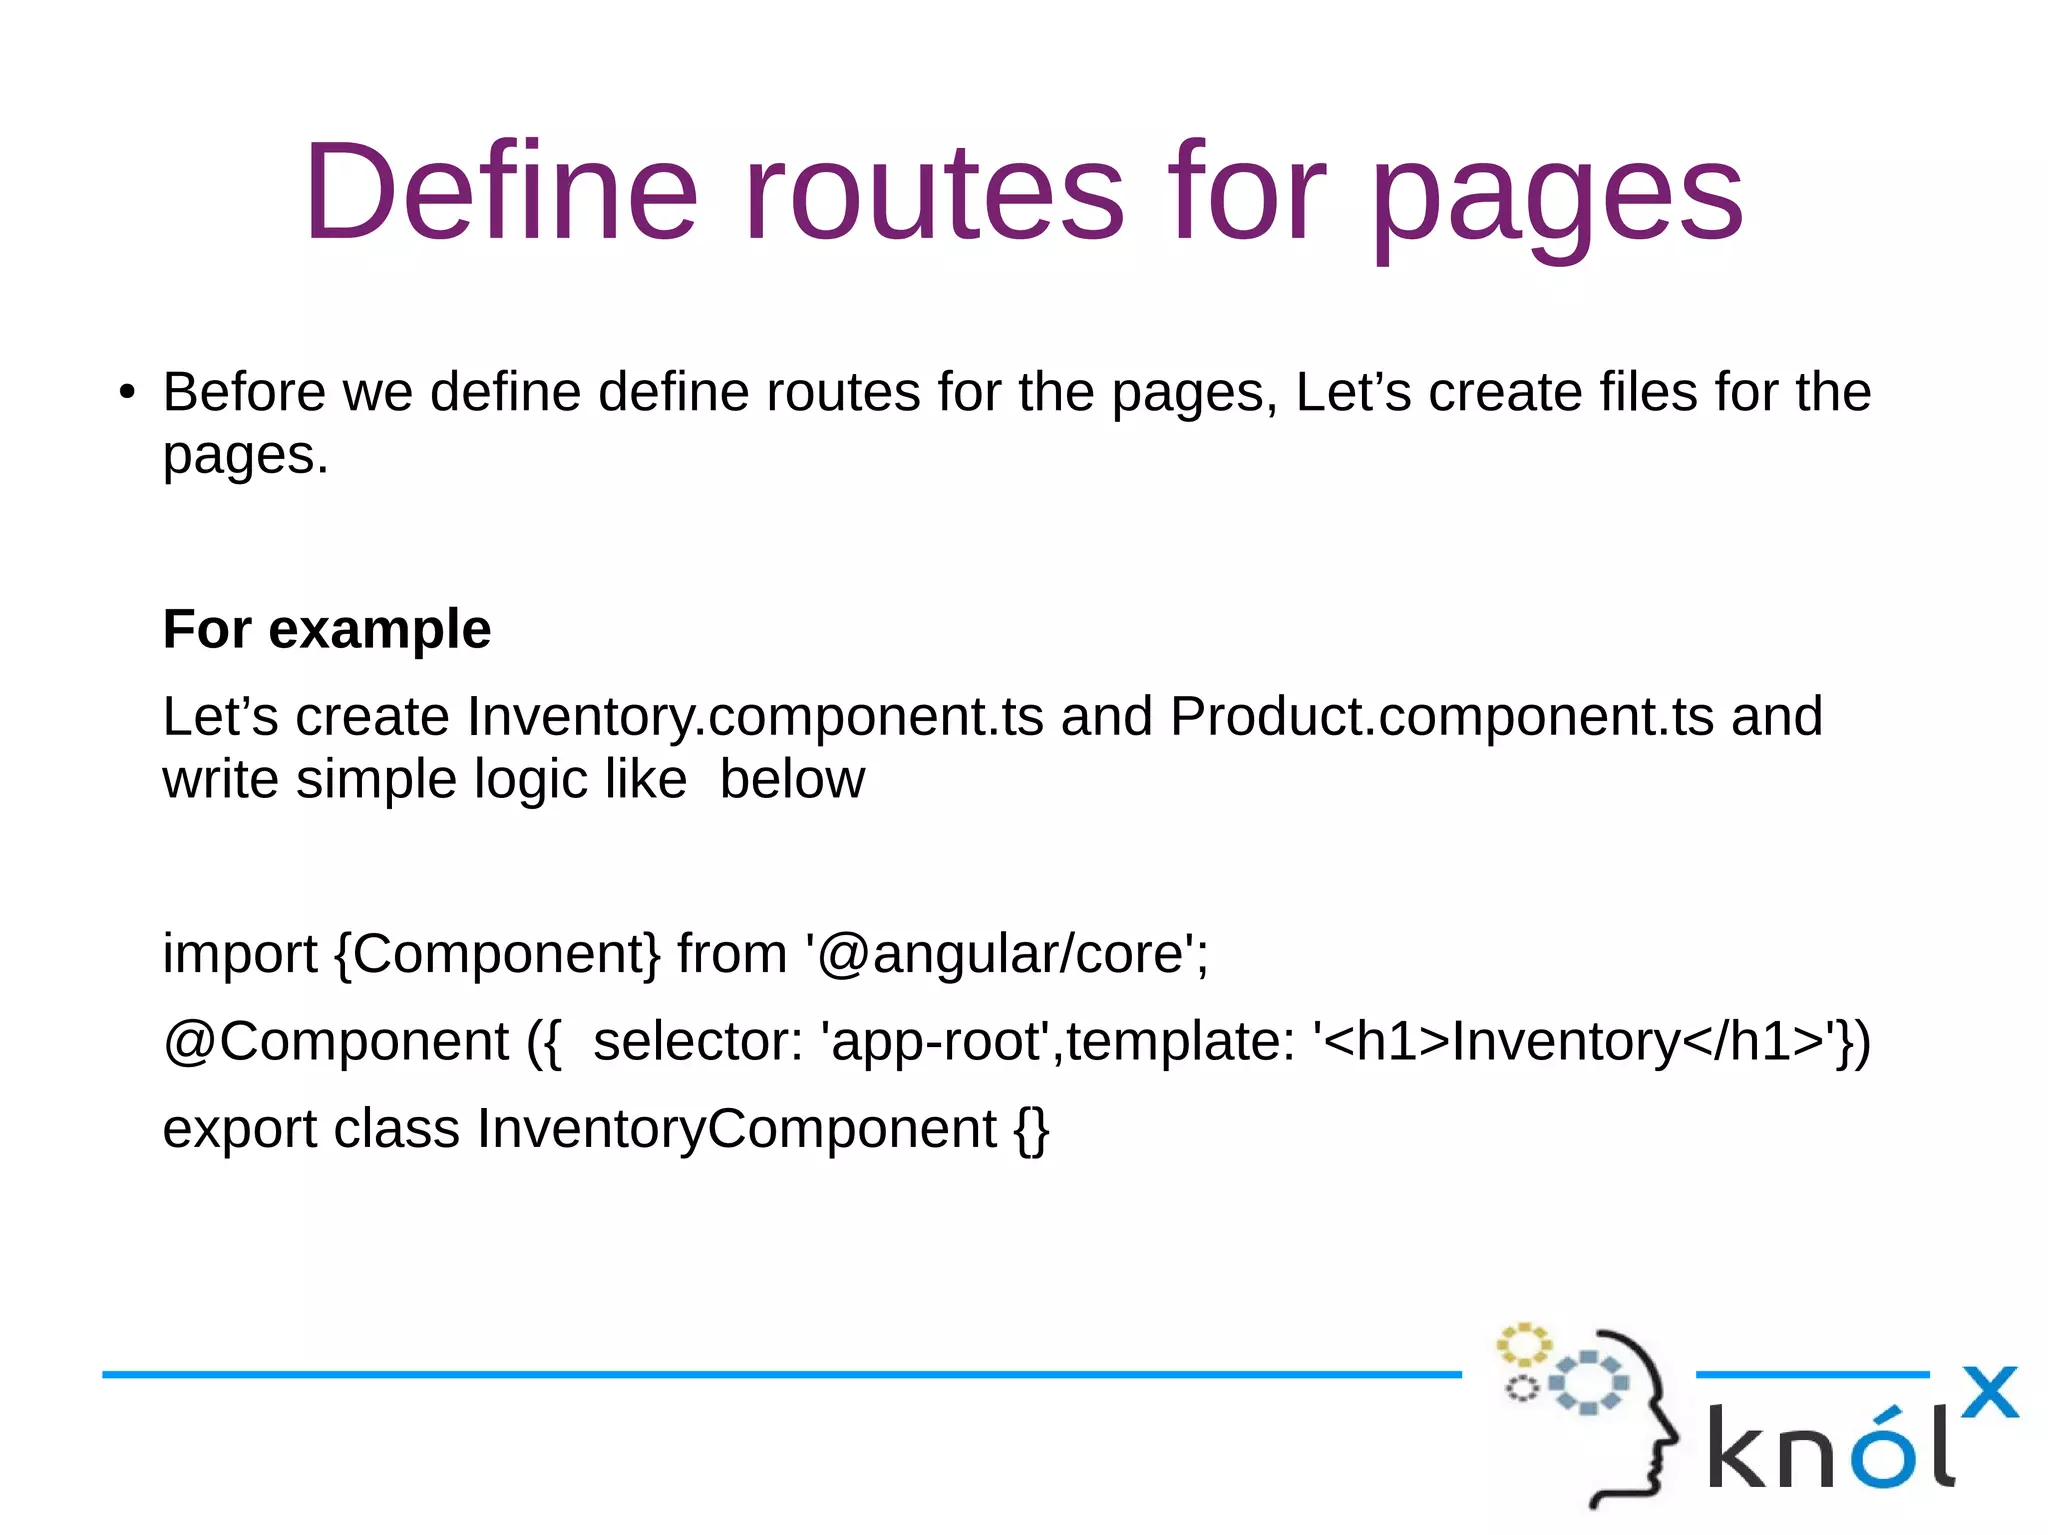
Explanation on how to define routes, including setting <base href> and creating component files like Inventory and Product.
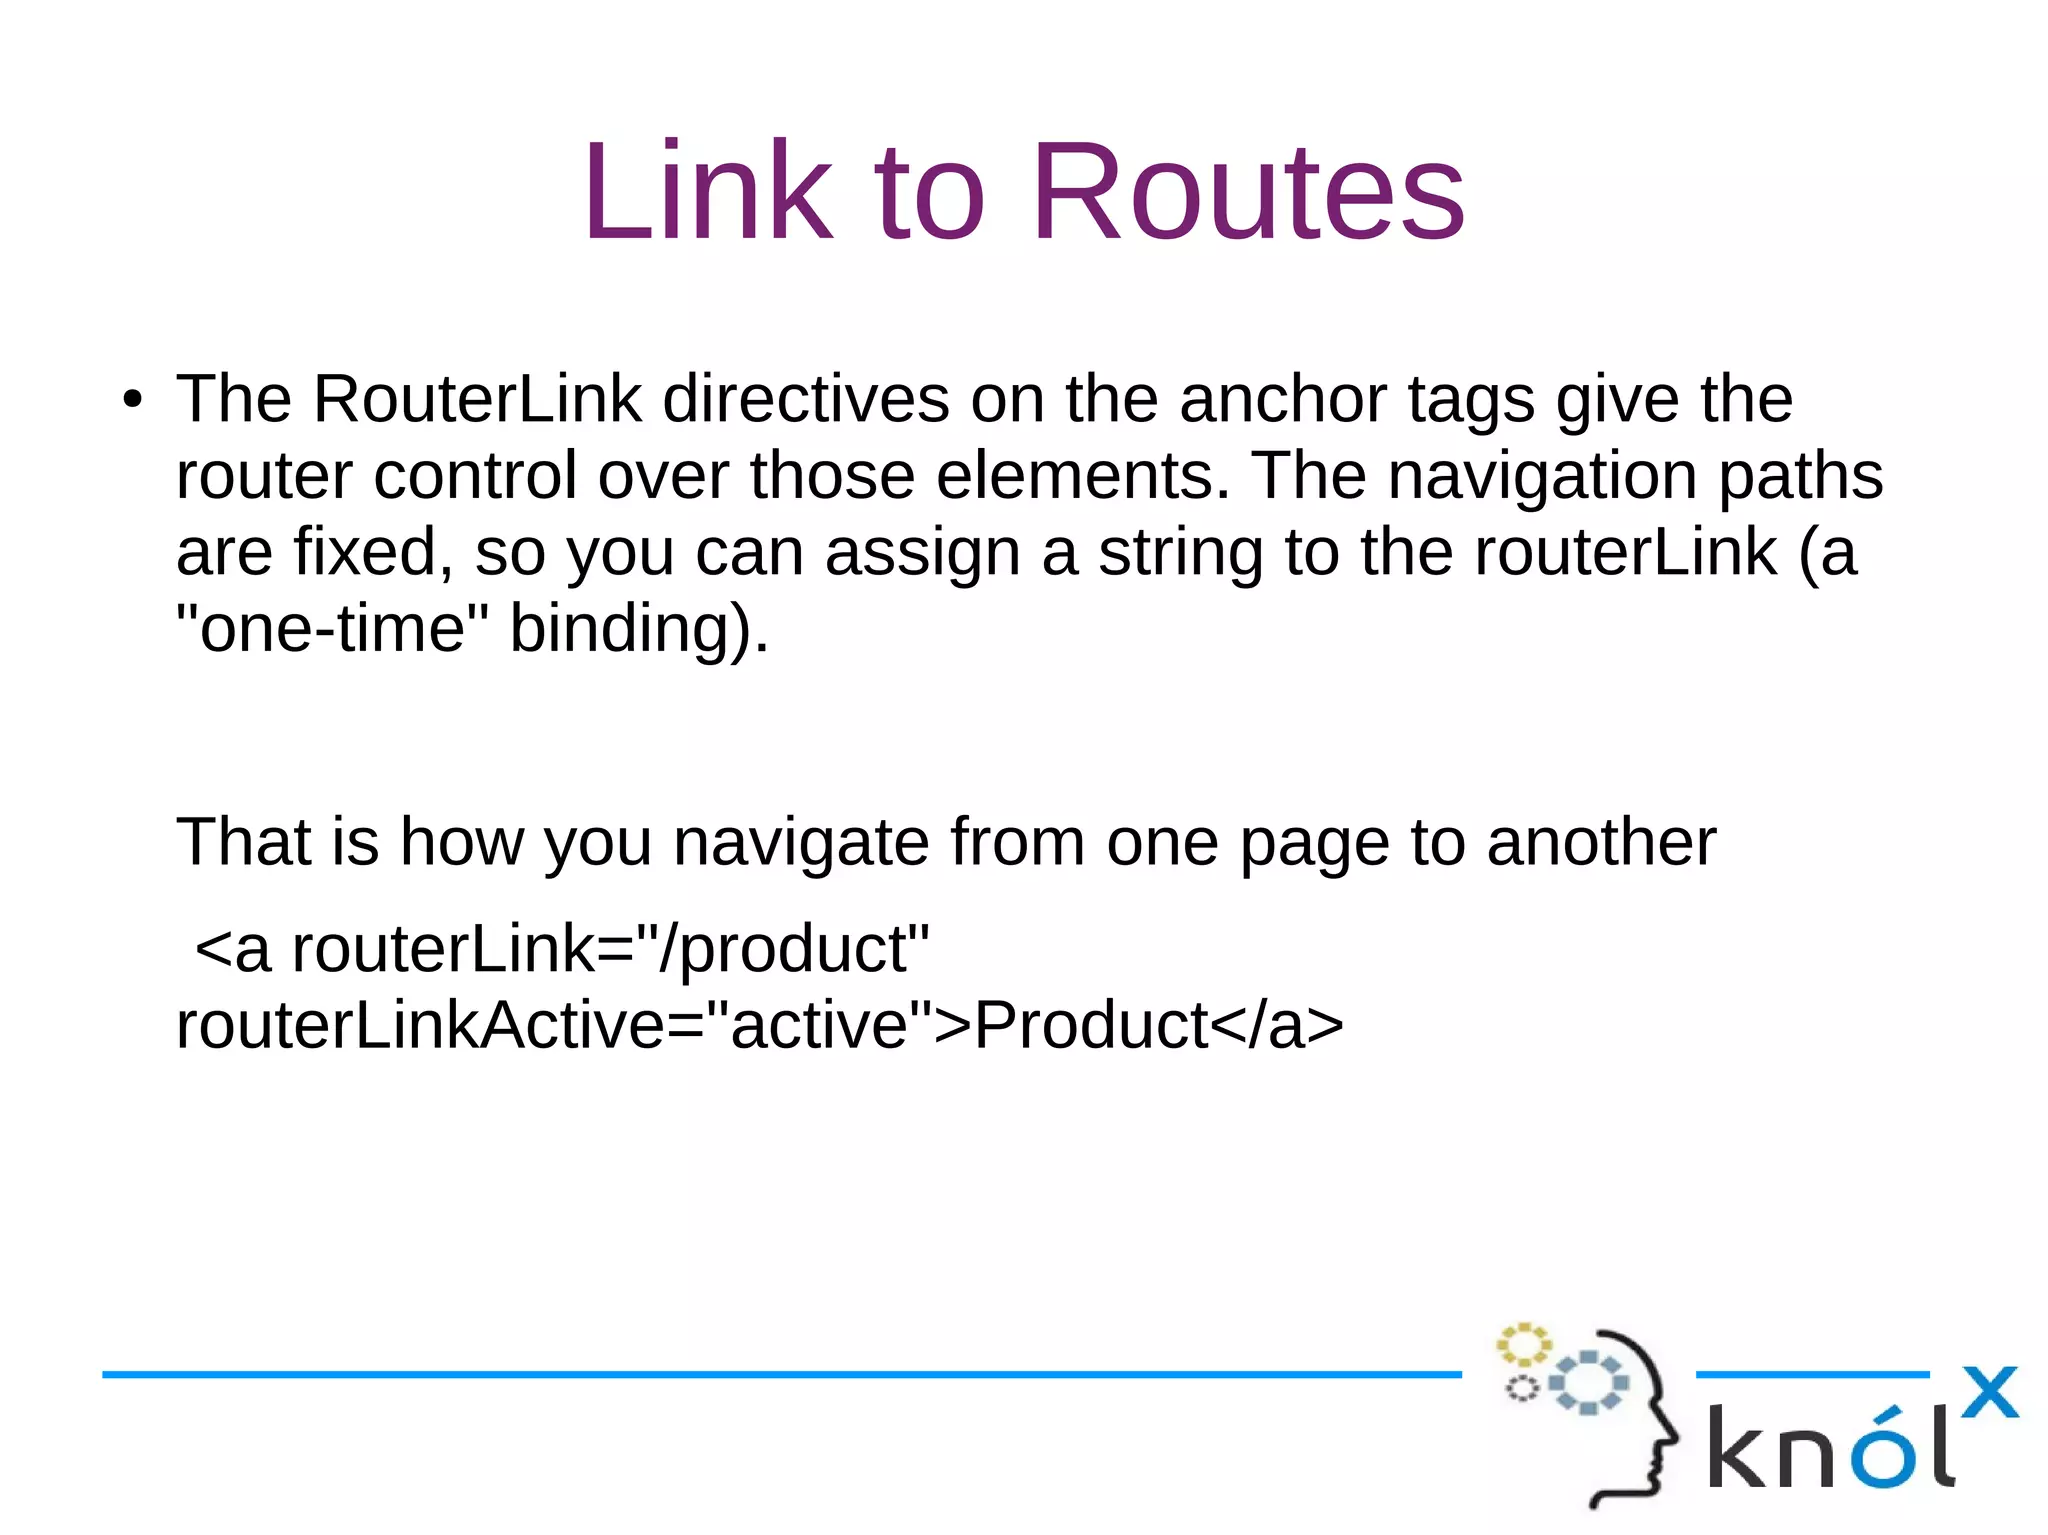
Usage of RouterLink for navigation between pages with examples of anchor tags.
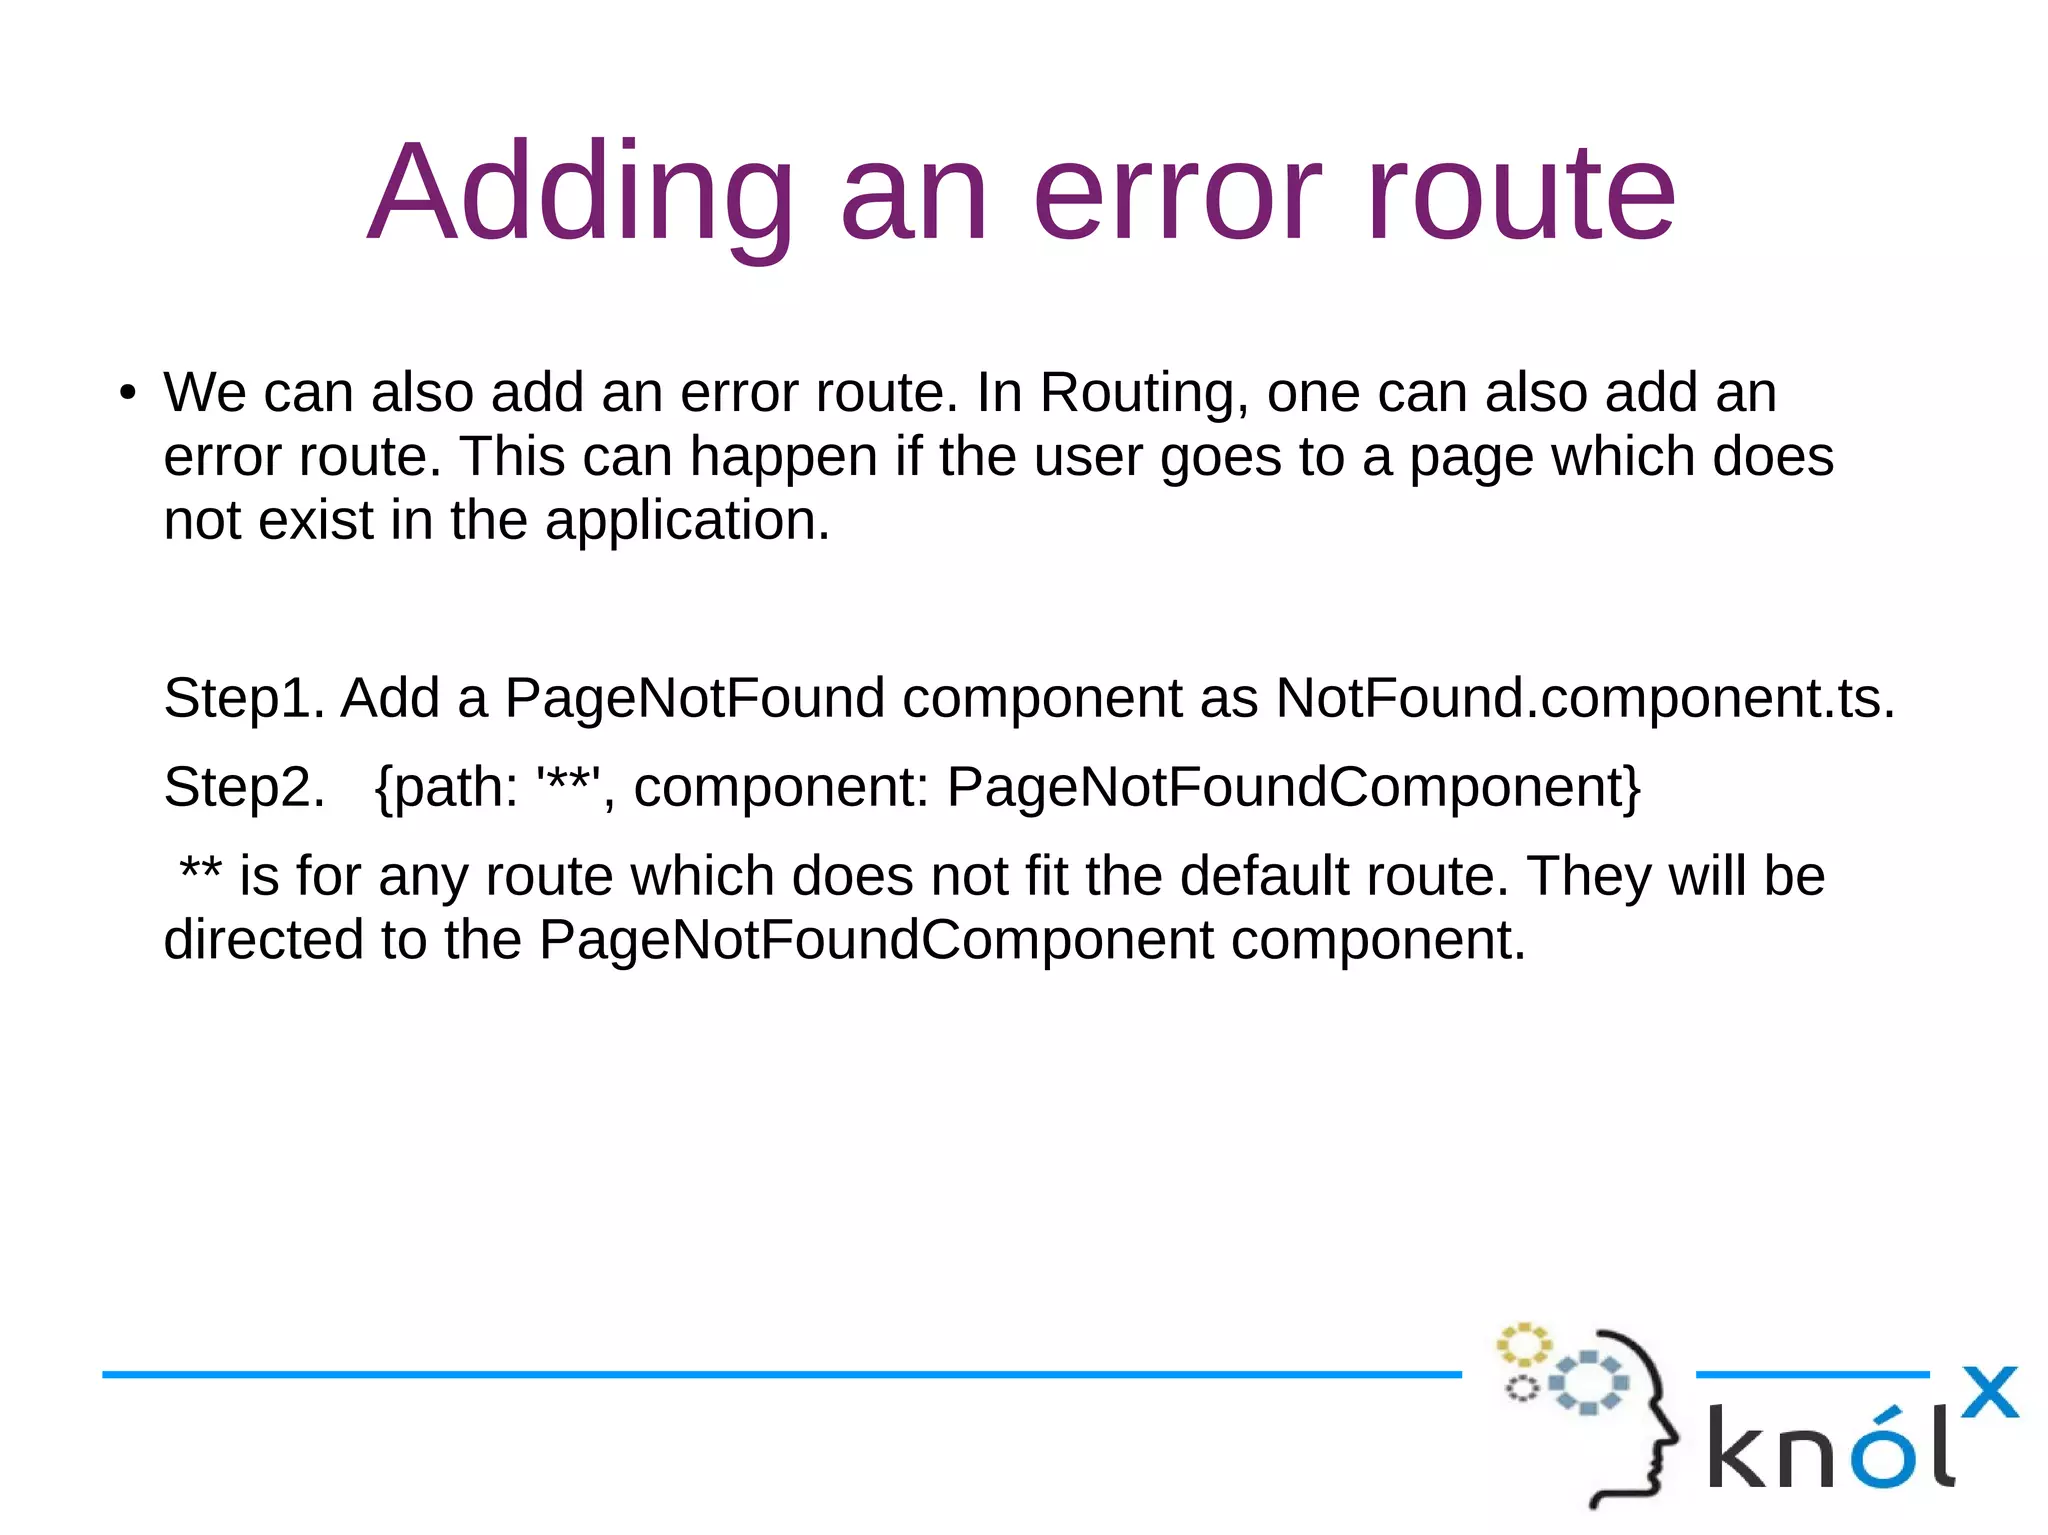
Adding error routes to handle navigation to non-existent pages using a PageNotFound component.
Using code to navigate between pages by injecting the router and utilizing the navigate function.
Purpose of route guards to control navigation, with properties Can Activate and Can Deactivate.
Highlighting active links in navigation using routerLinkActive and applying CSS for active states.
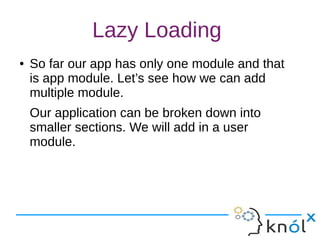
Breaking application into smaller sections or modules for better load management, example: user module.
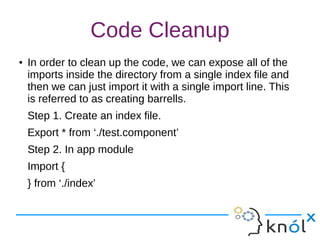
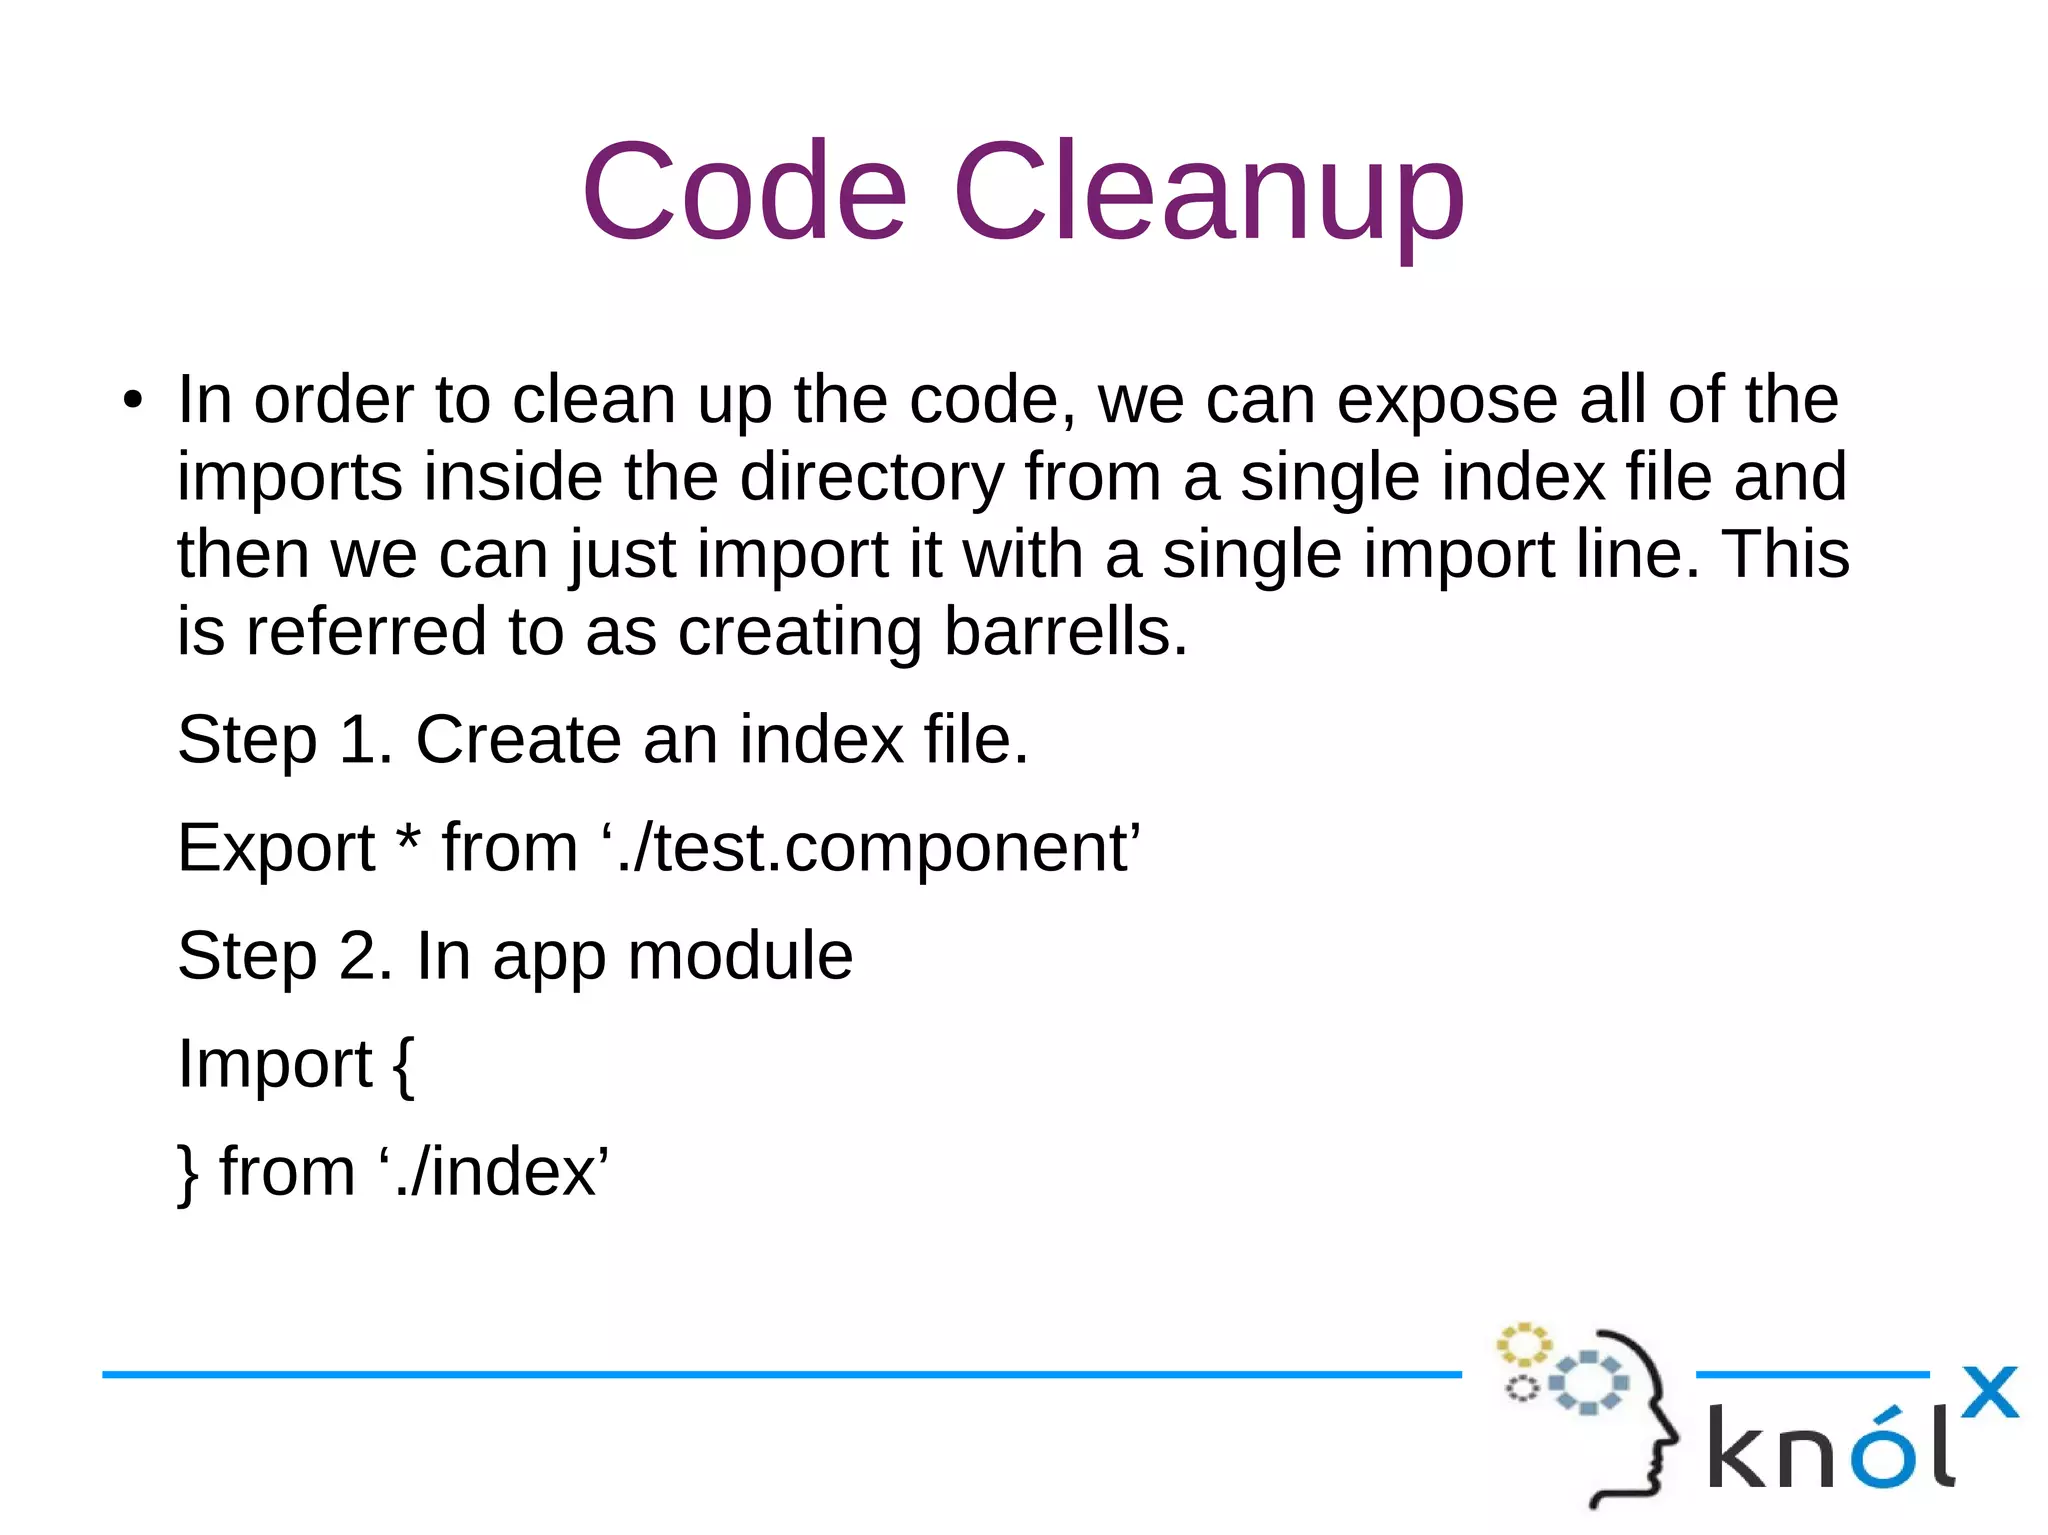
Techniques for code cleanup, utilizing index files to simplify imports.
A demo illustrating the concepts covered in the presentation.
Providing references for further learning and expressing gratitude to the audience.


