The document provides steps for inserting an image into a Moodle course using the HTML editor:
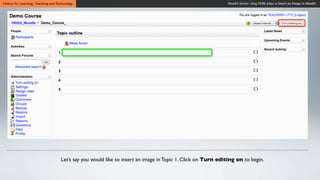
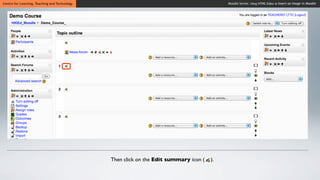
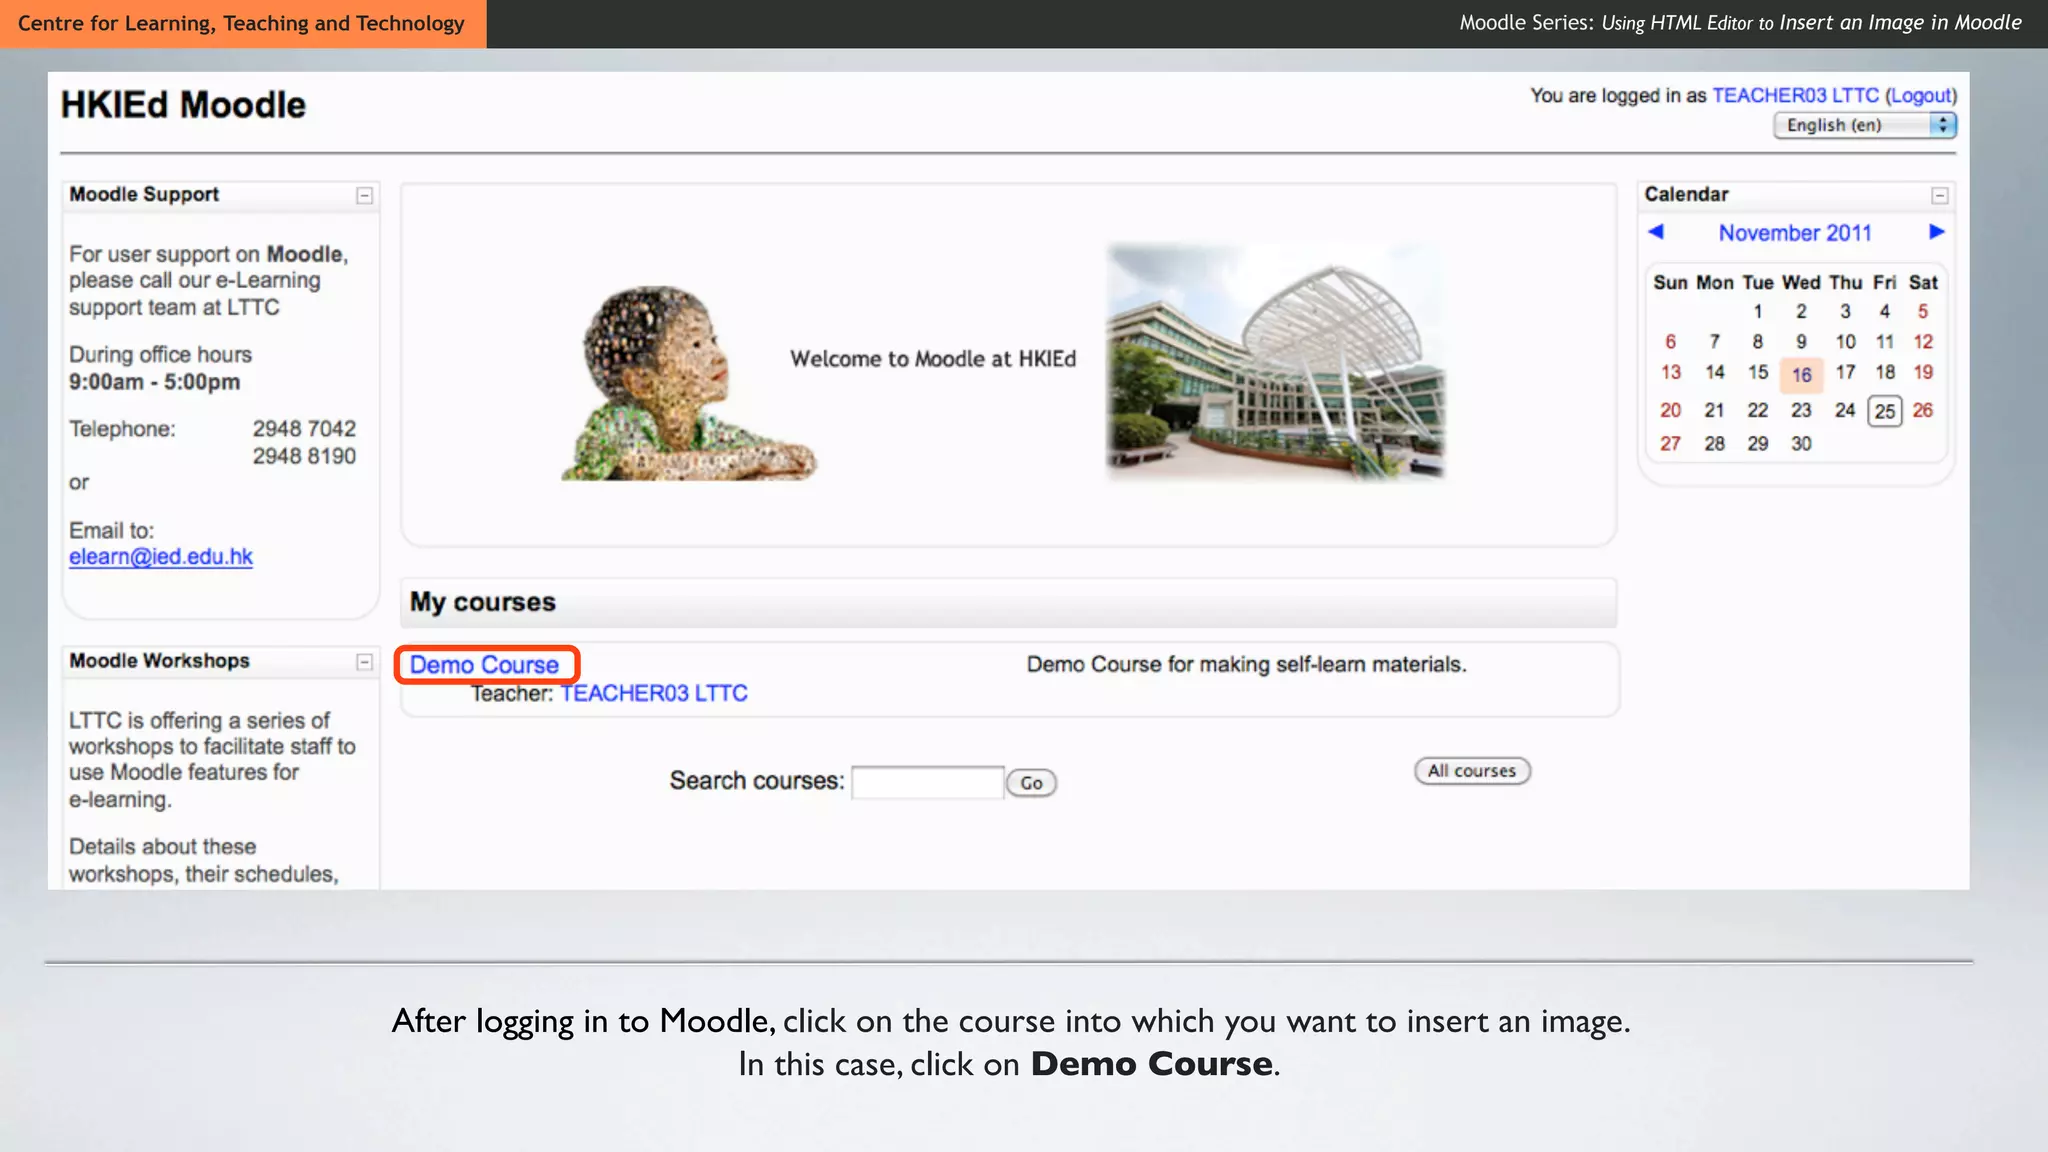
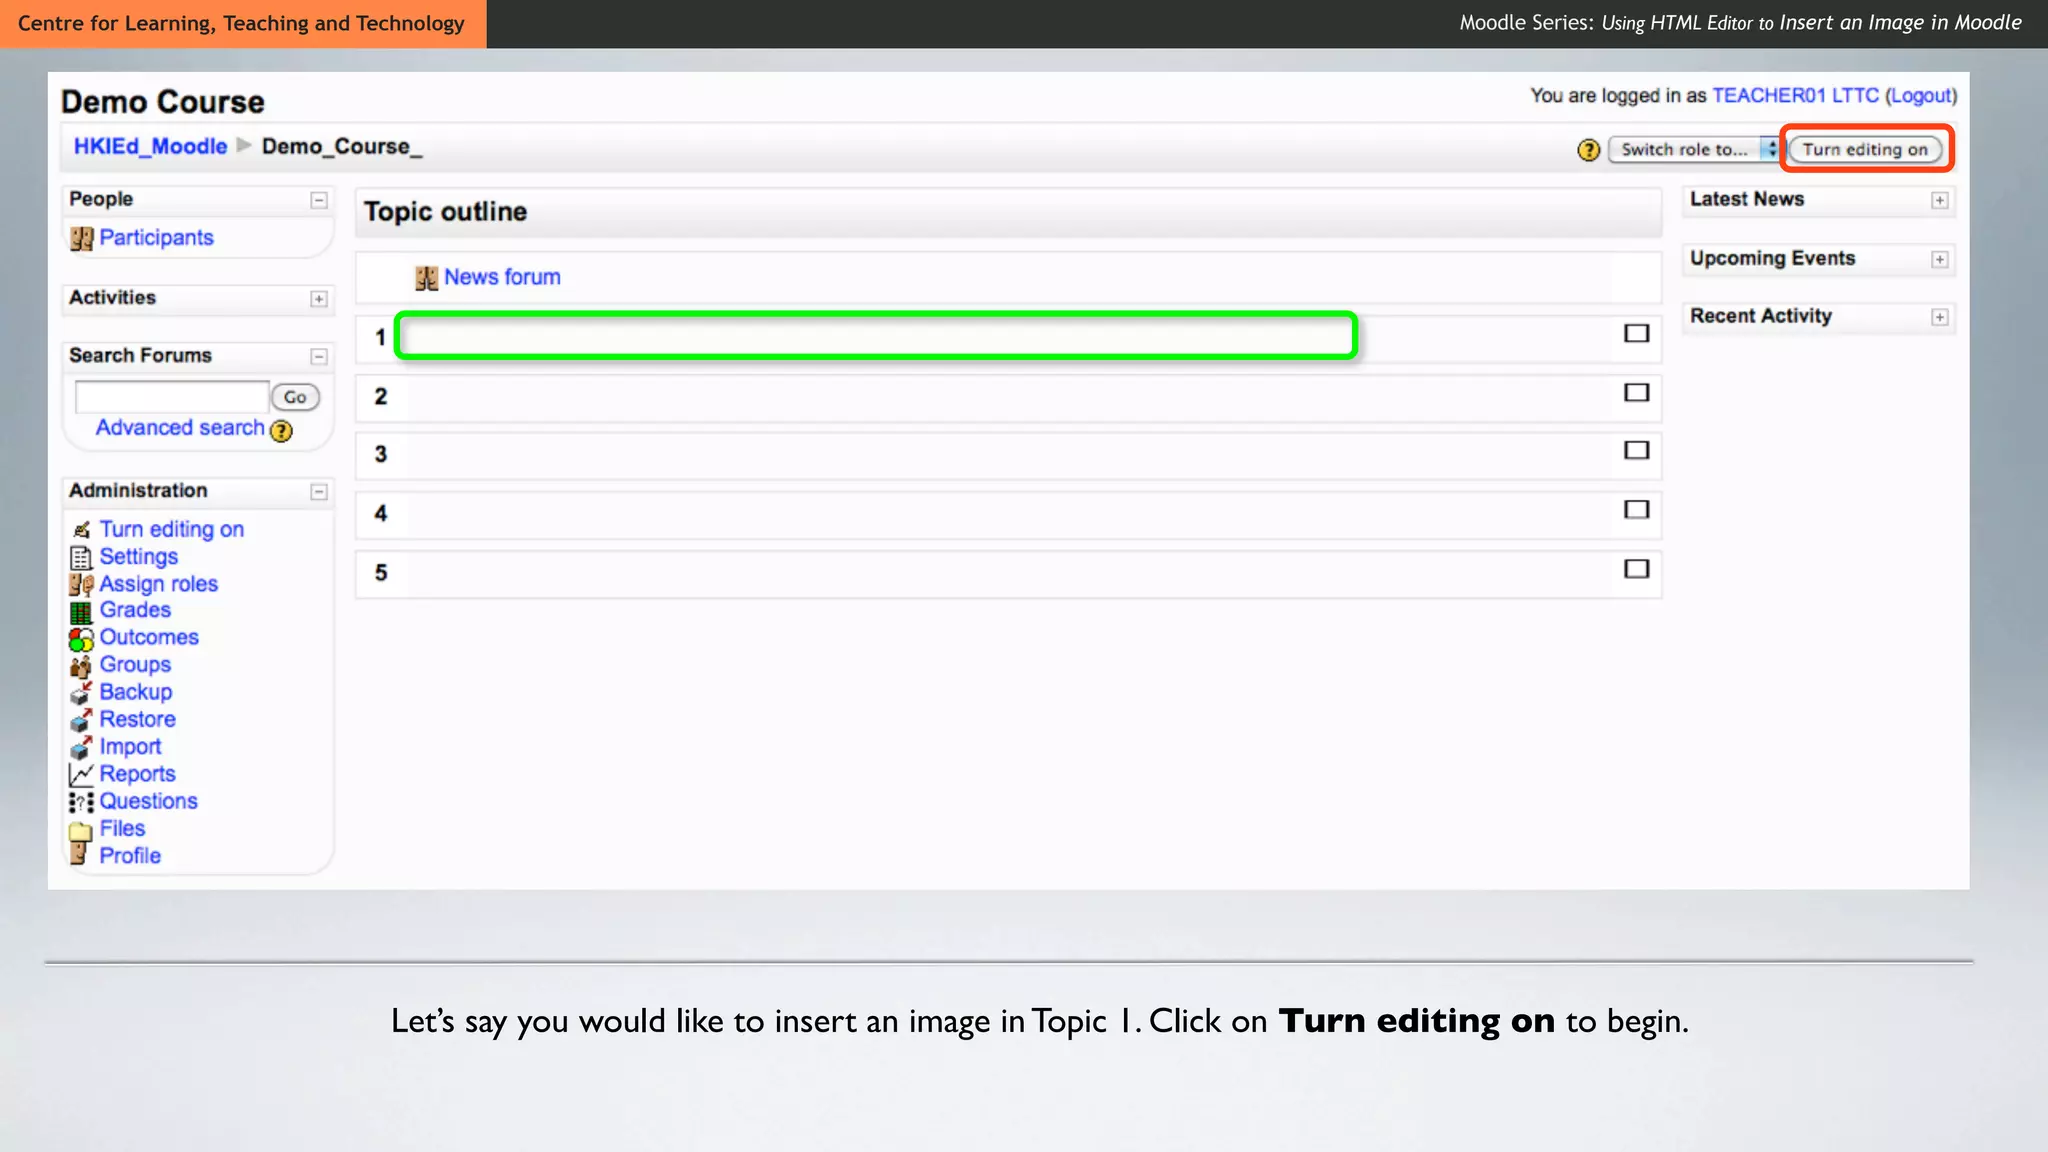
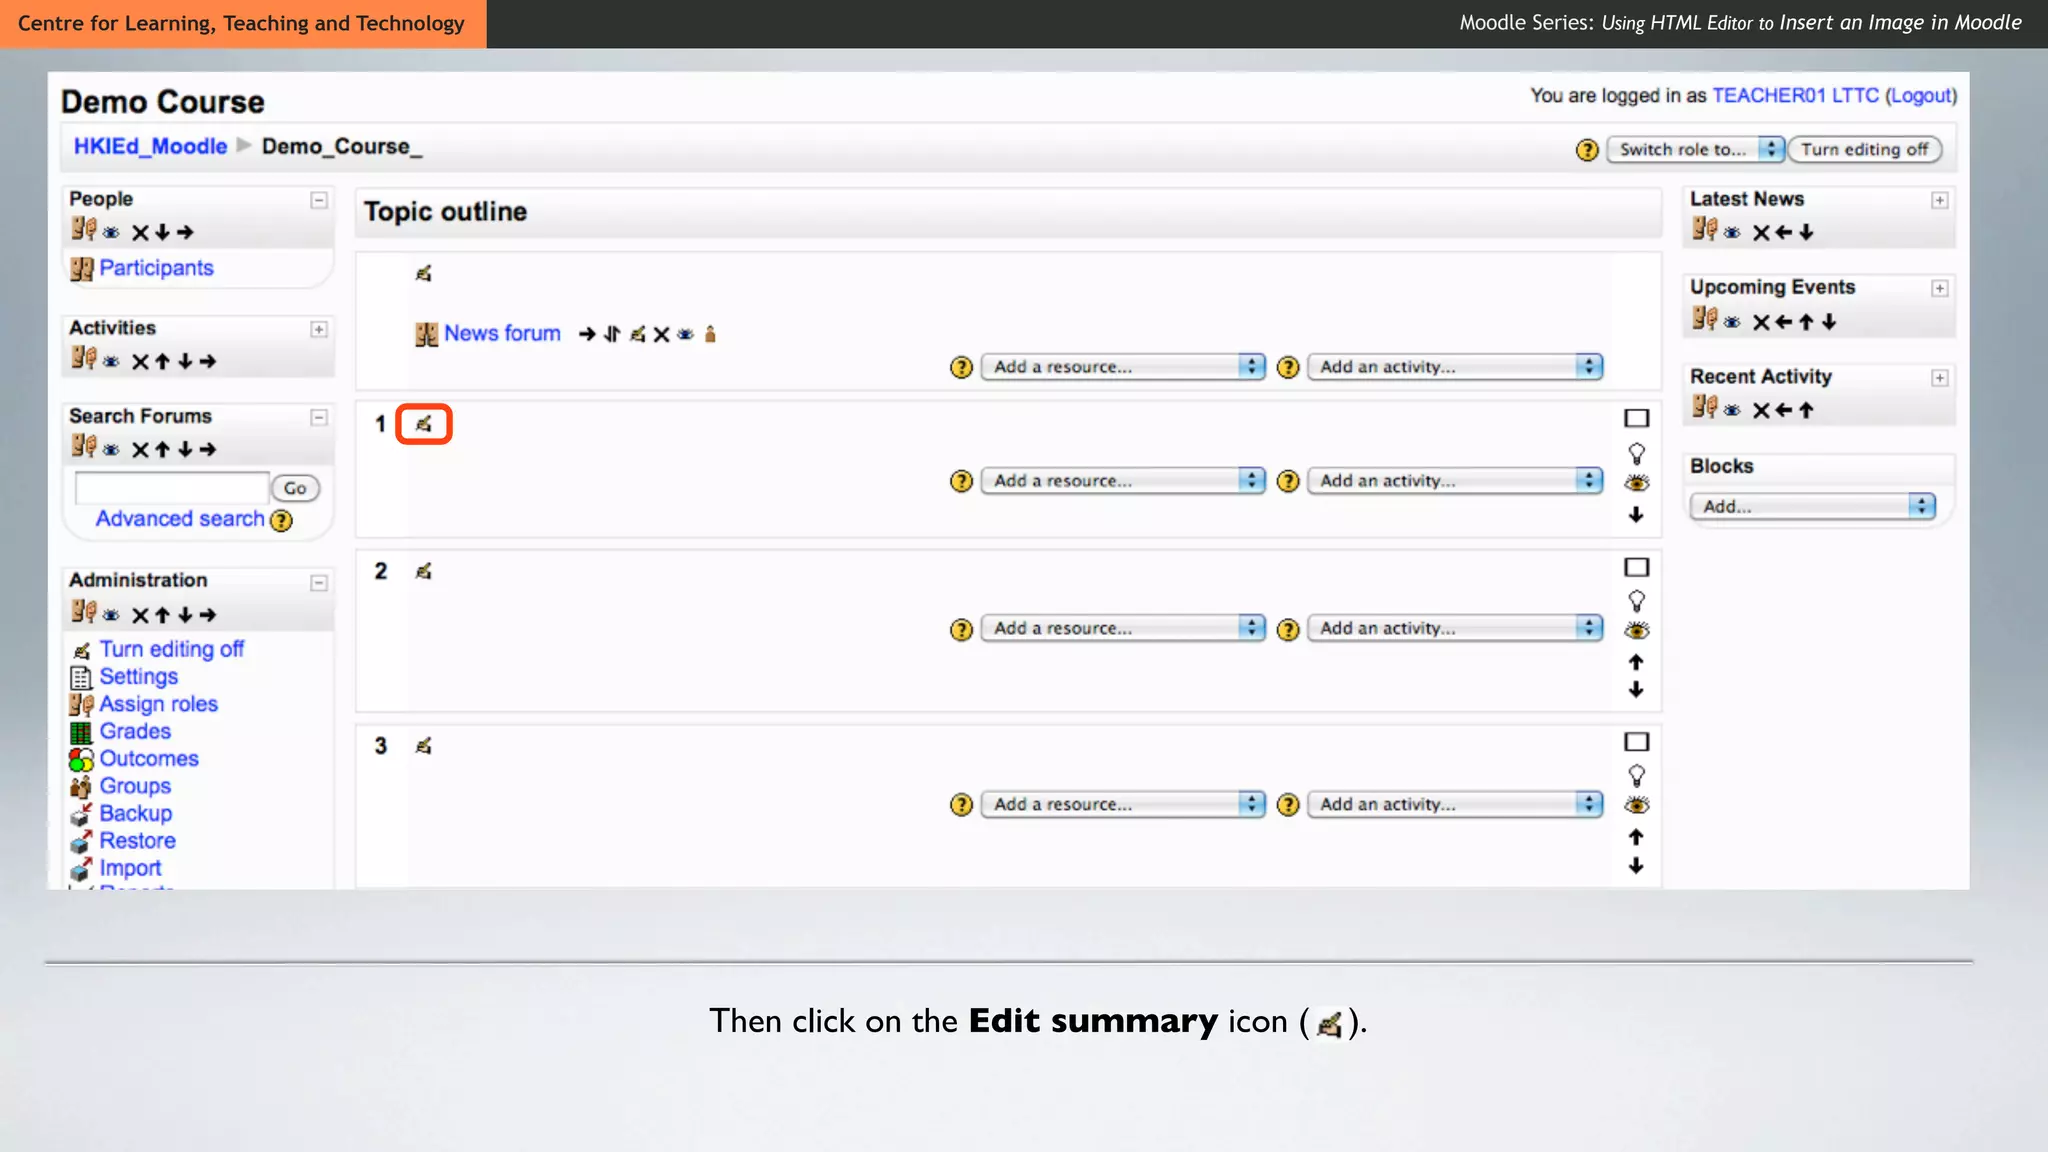
1. Access the course and topic where the image will be inserted and click "Turn editing on".
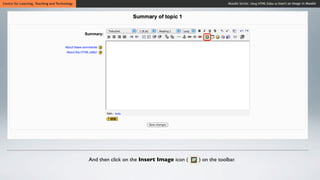
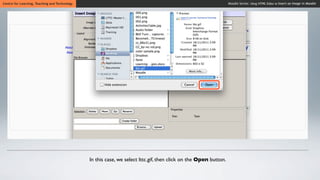
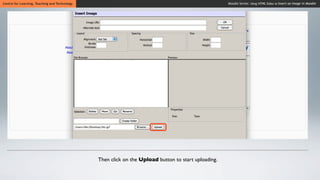
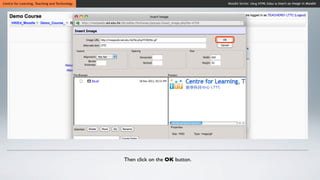
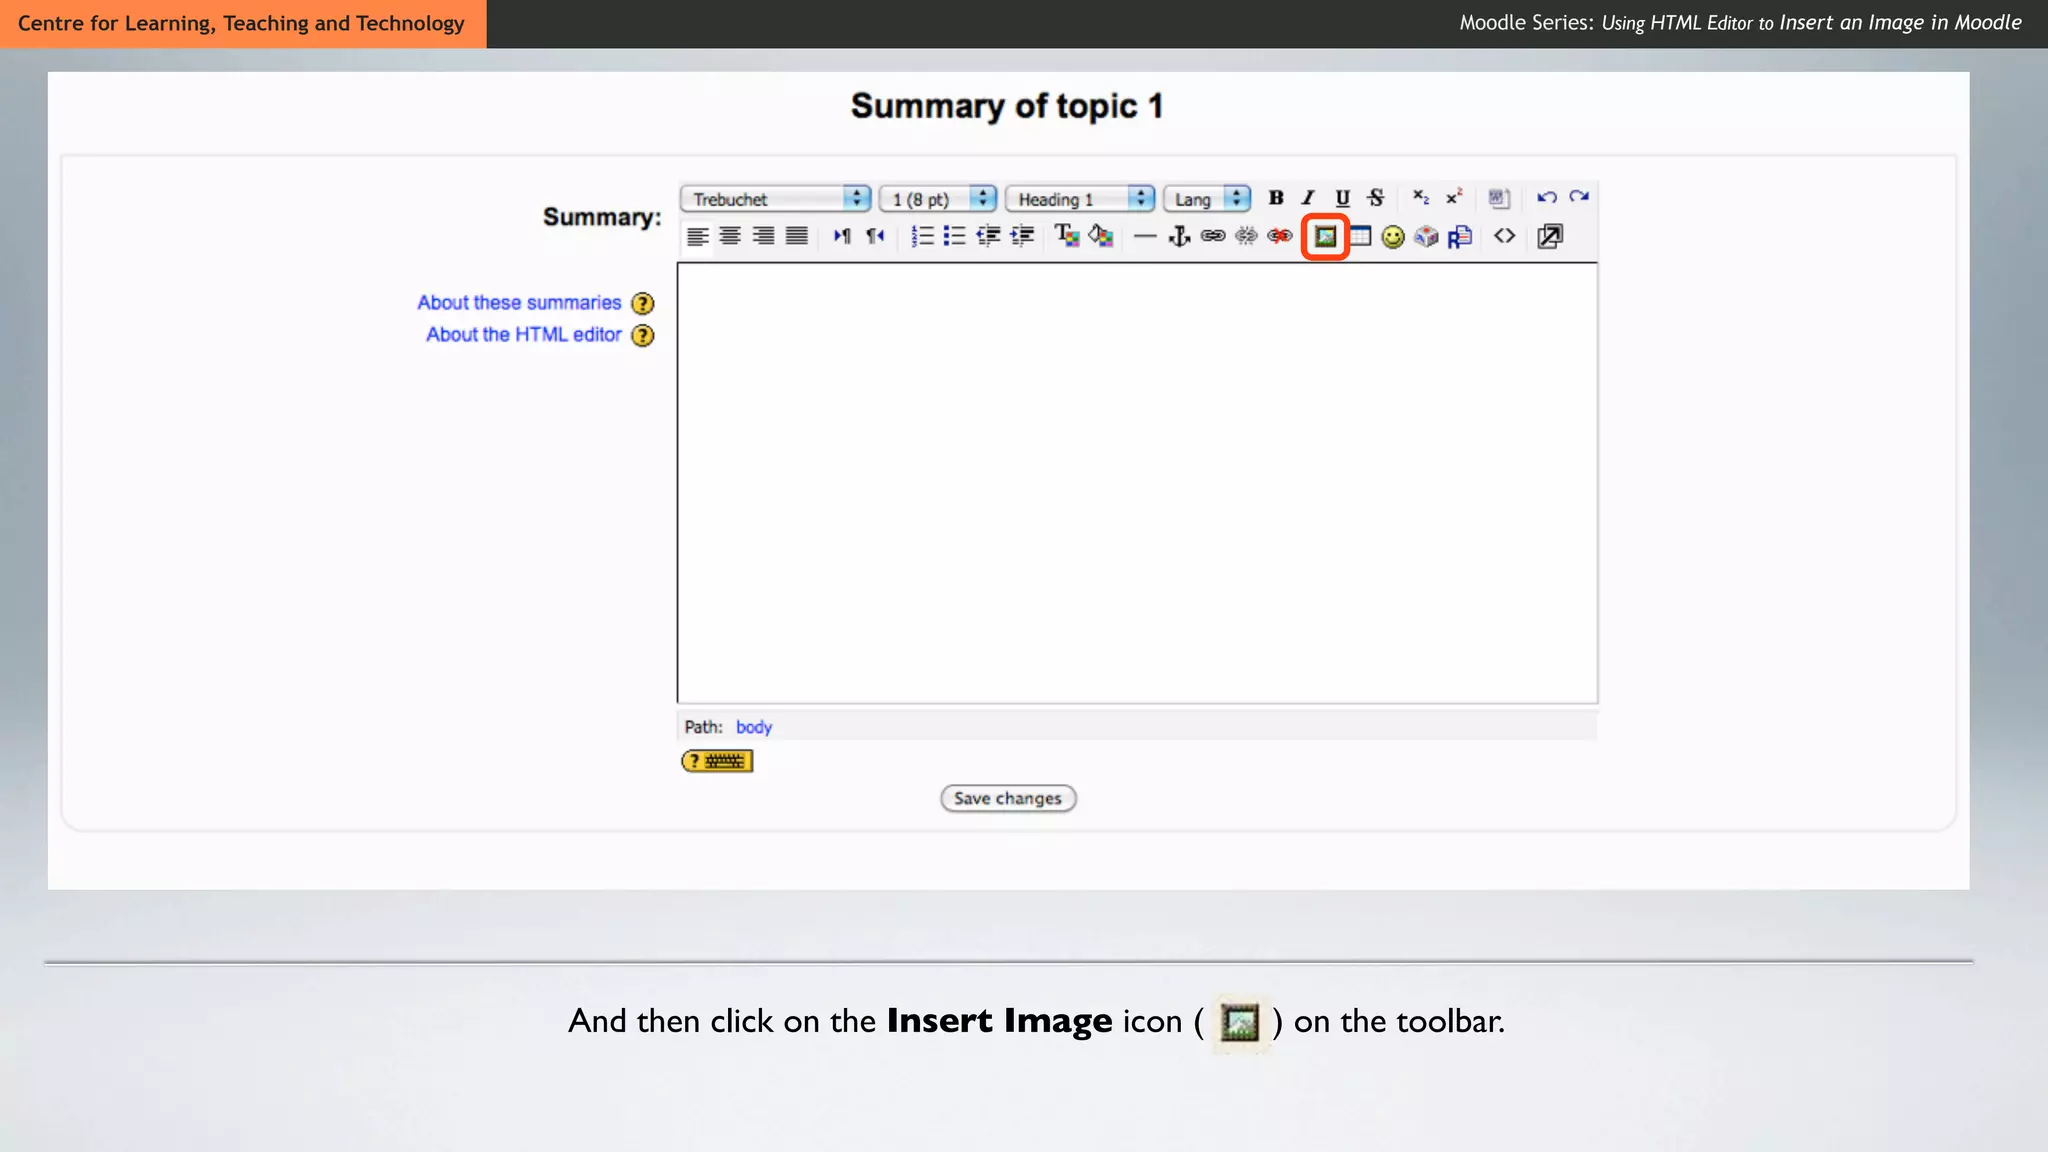
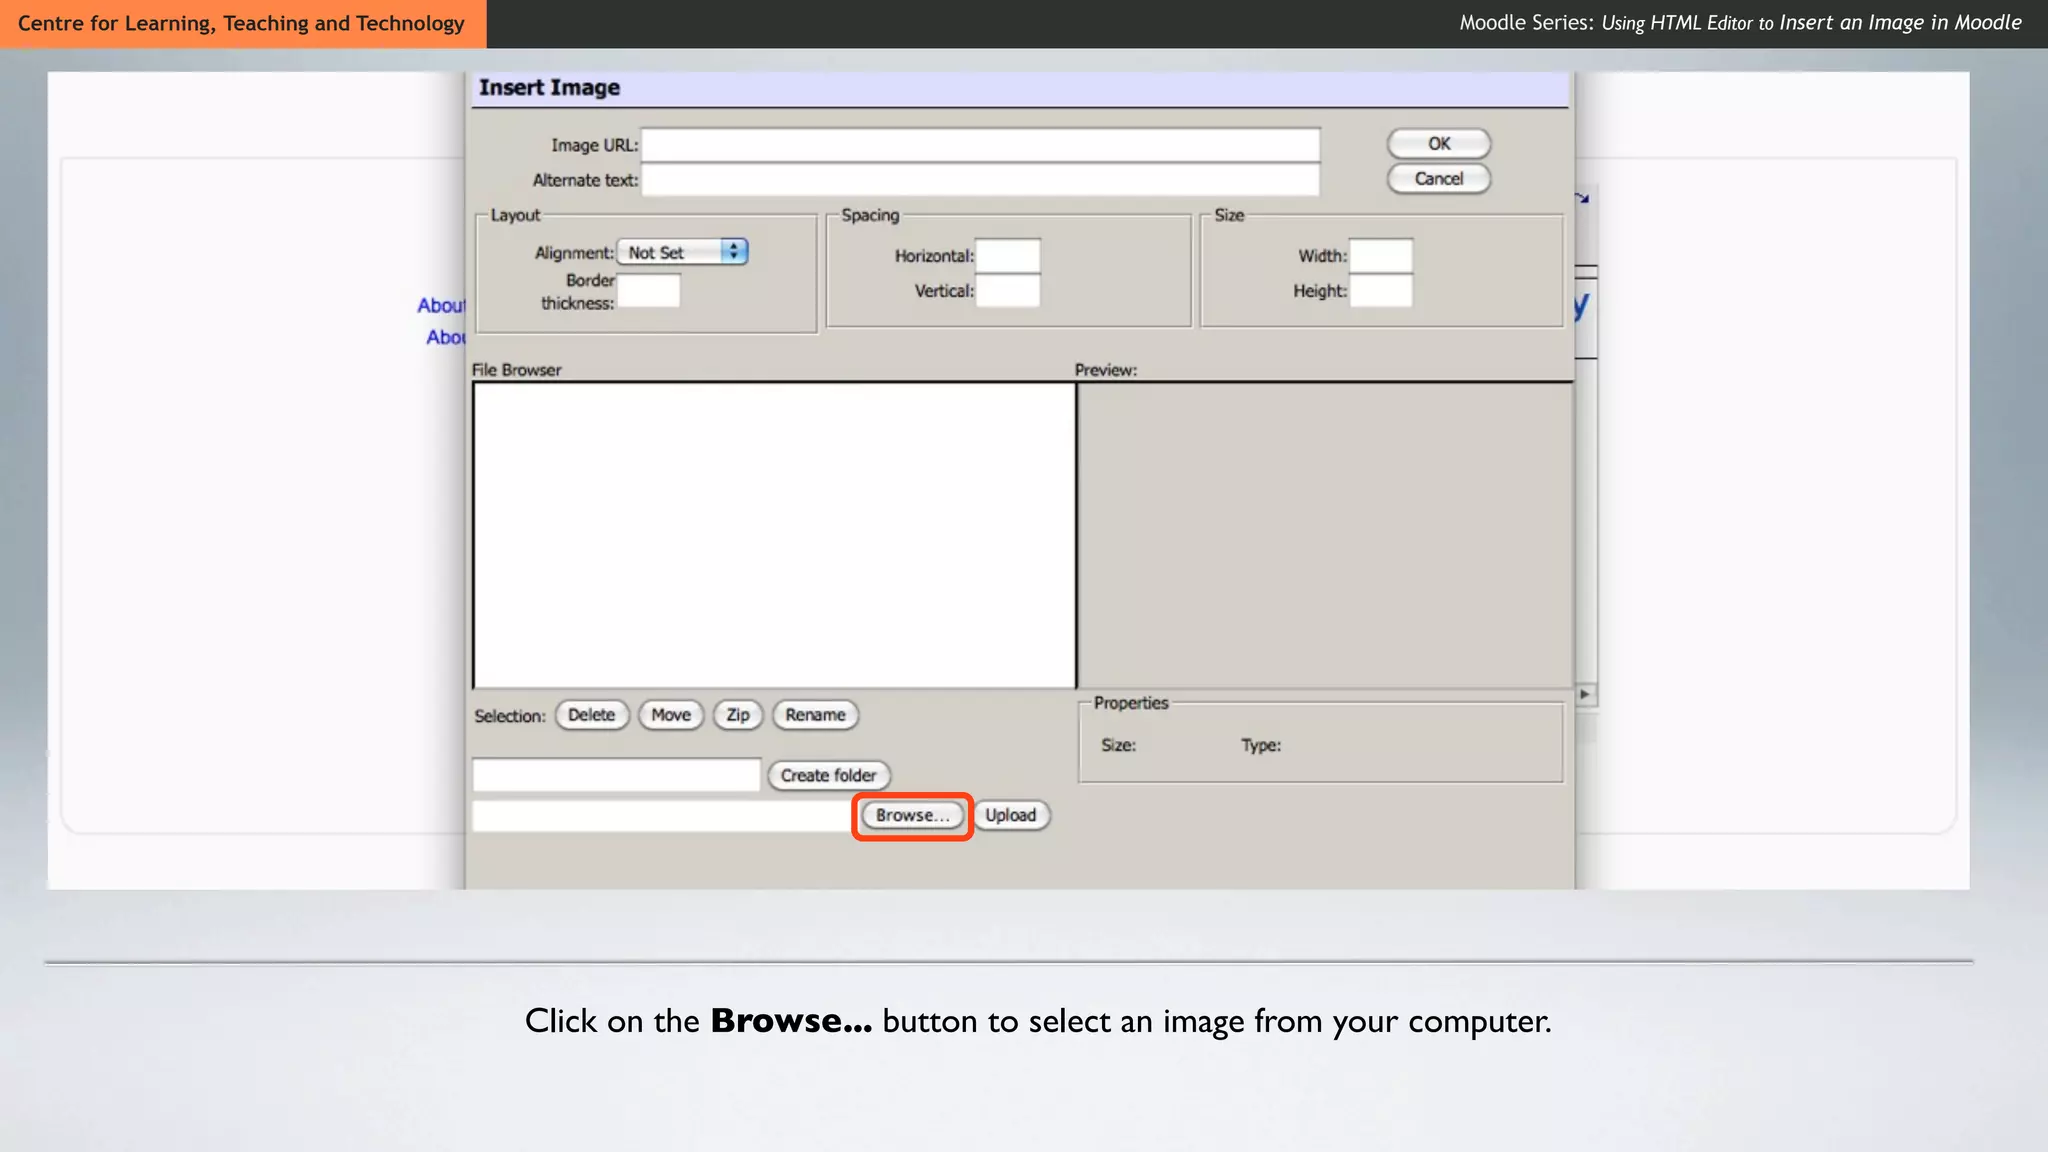
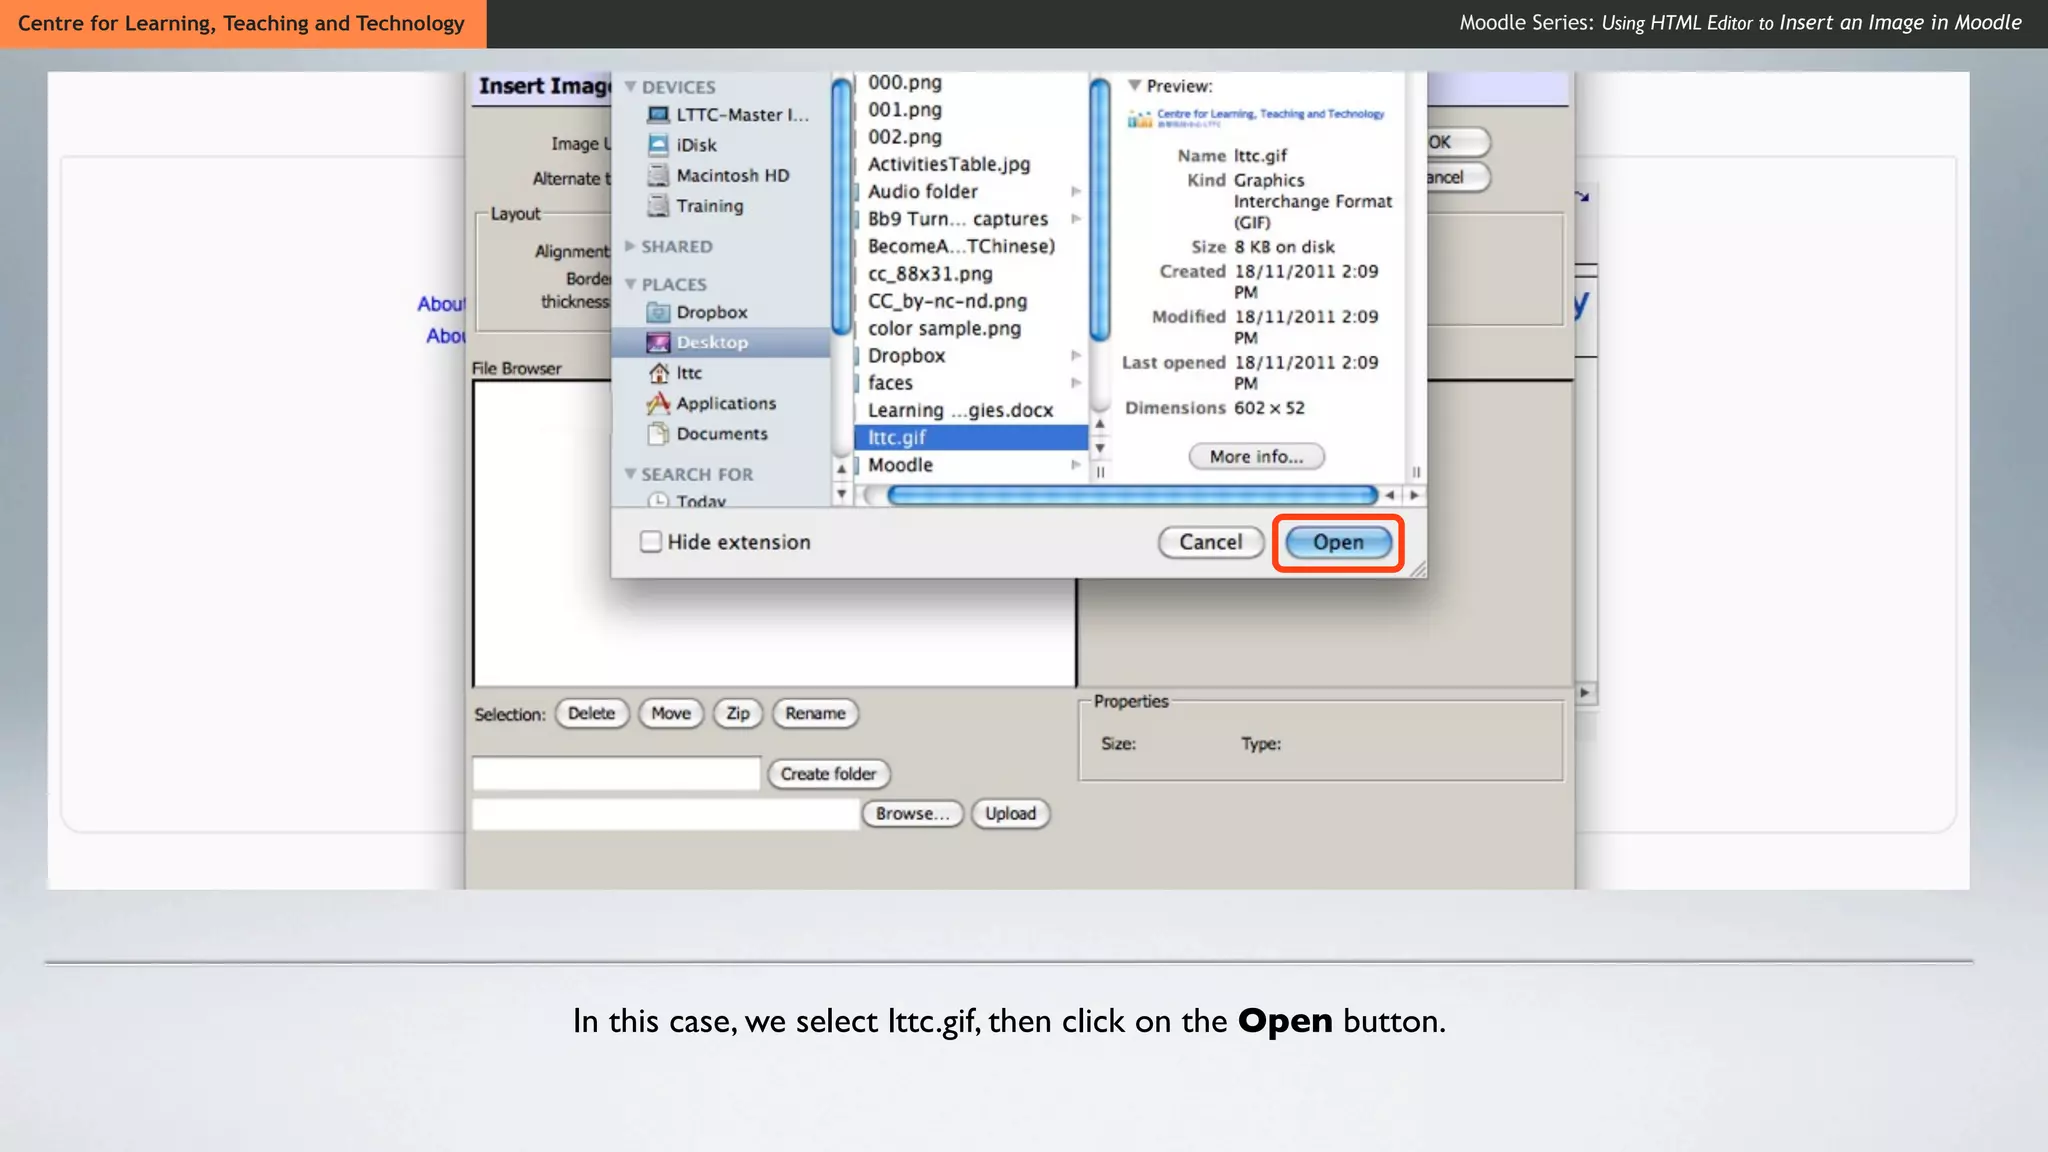
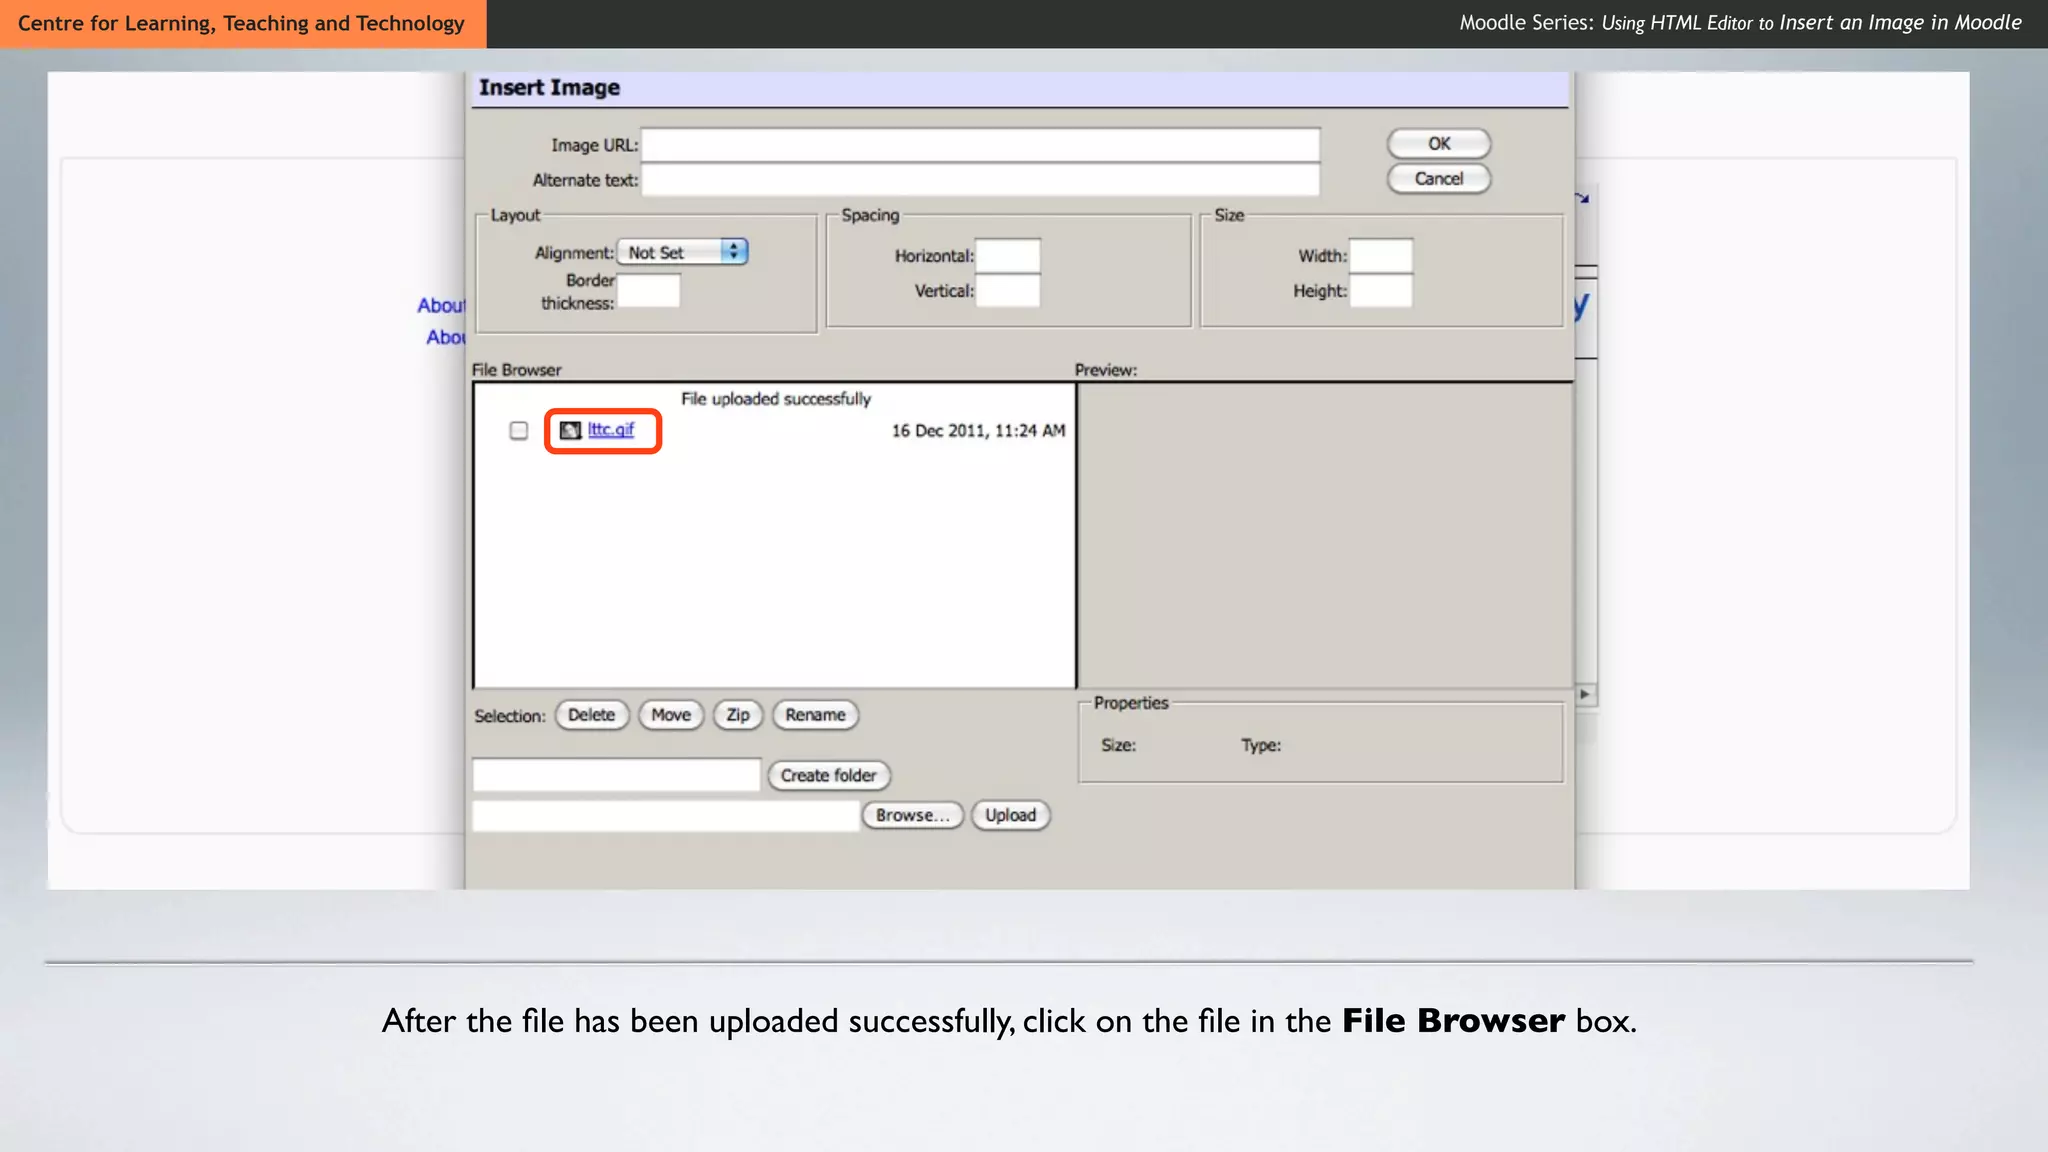
2. Click the "Insert Image" icon and select an image from your computer files.
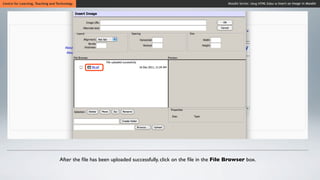
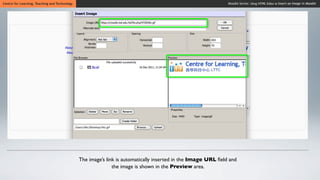
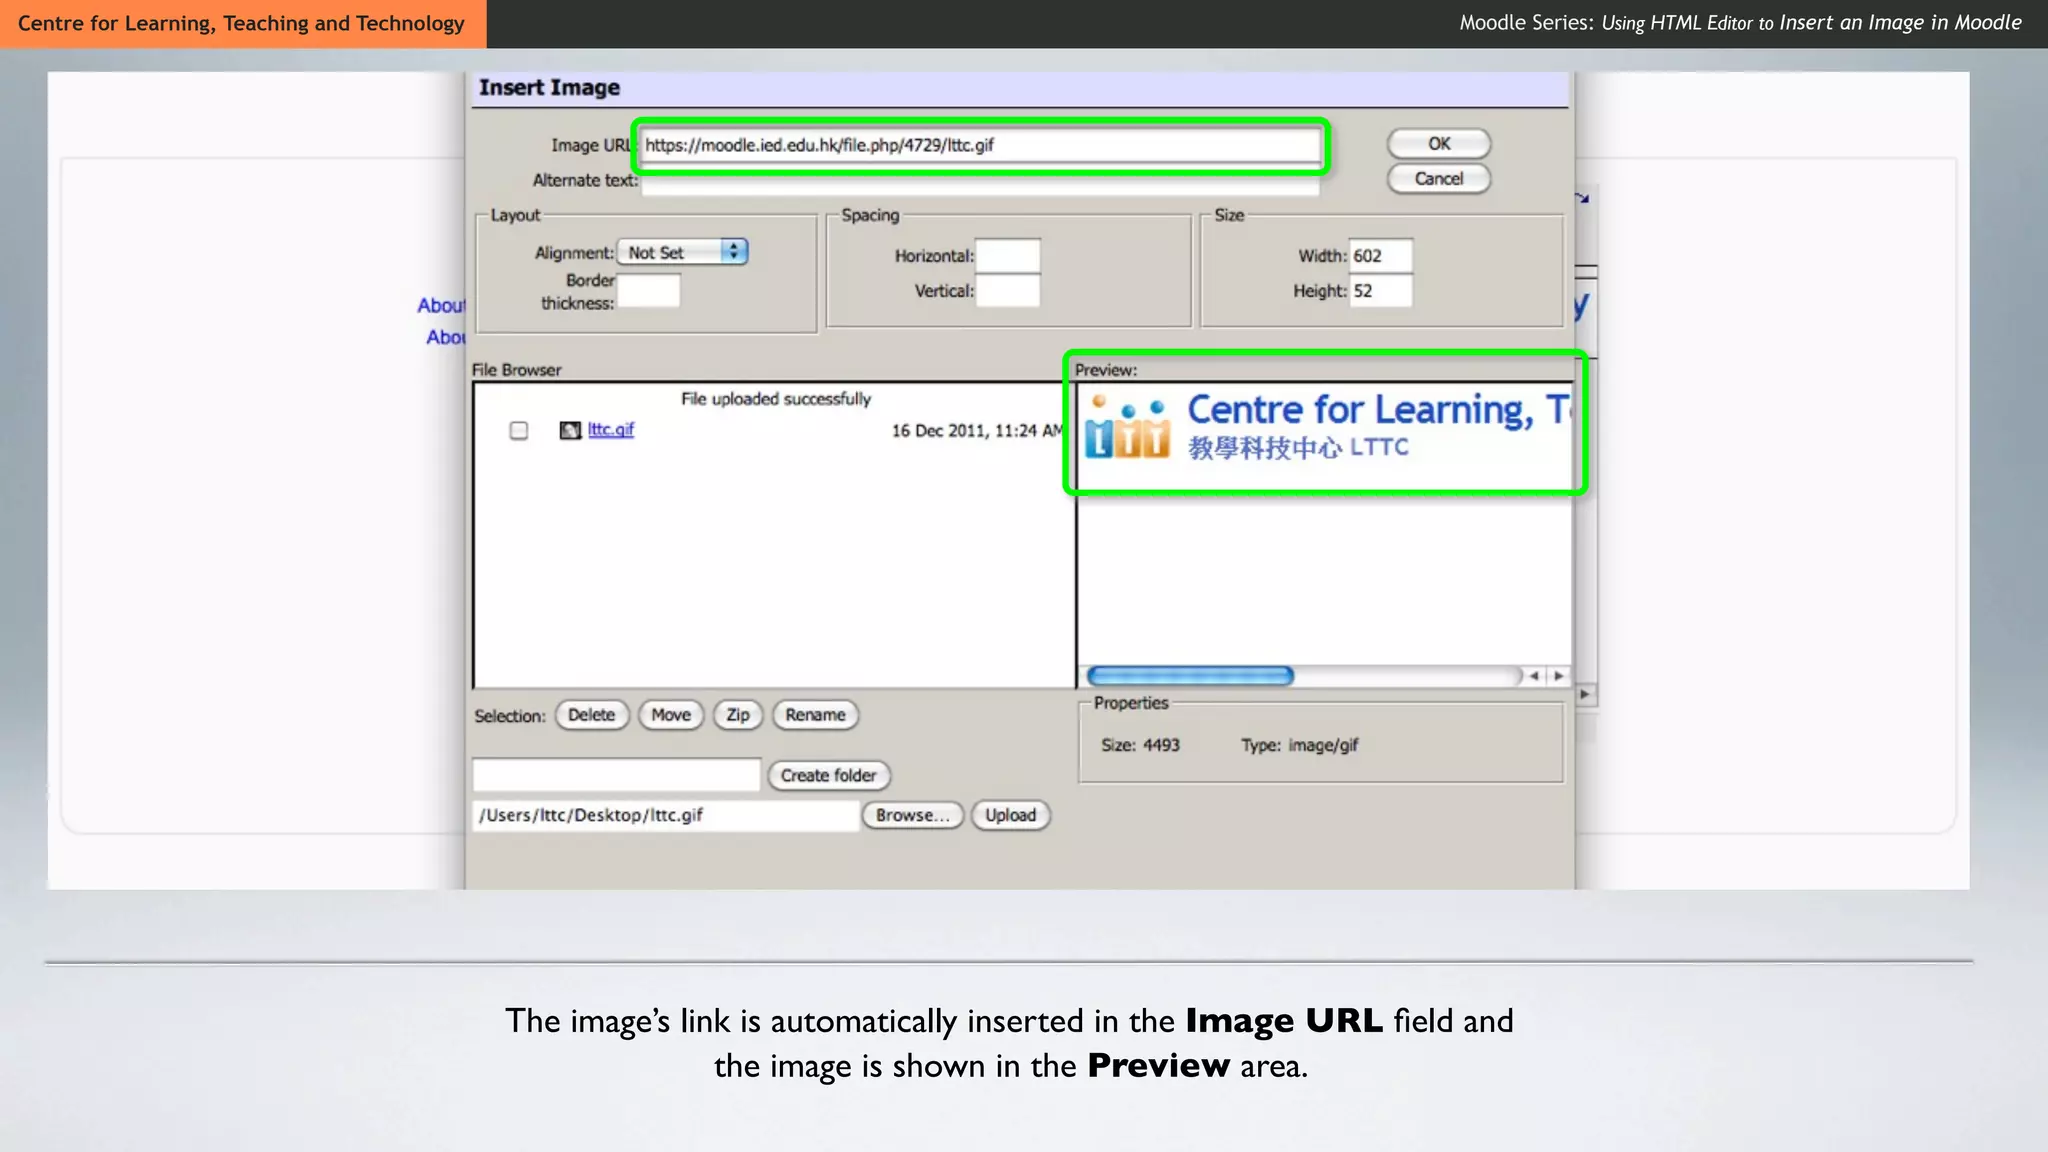
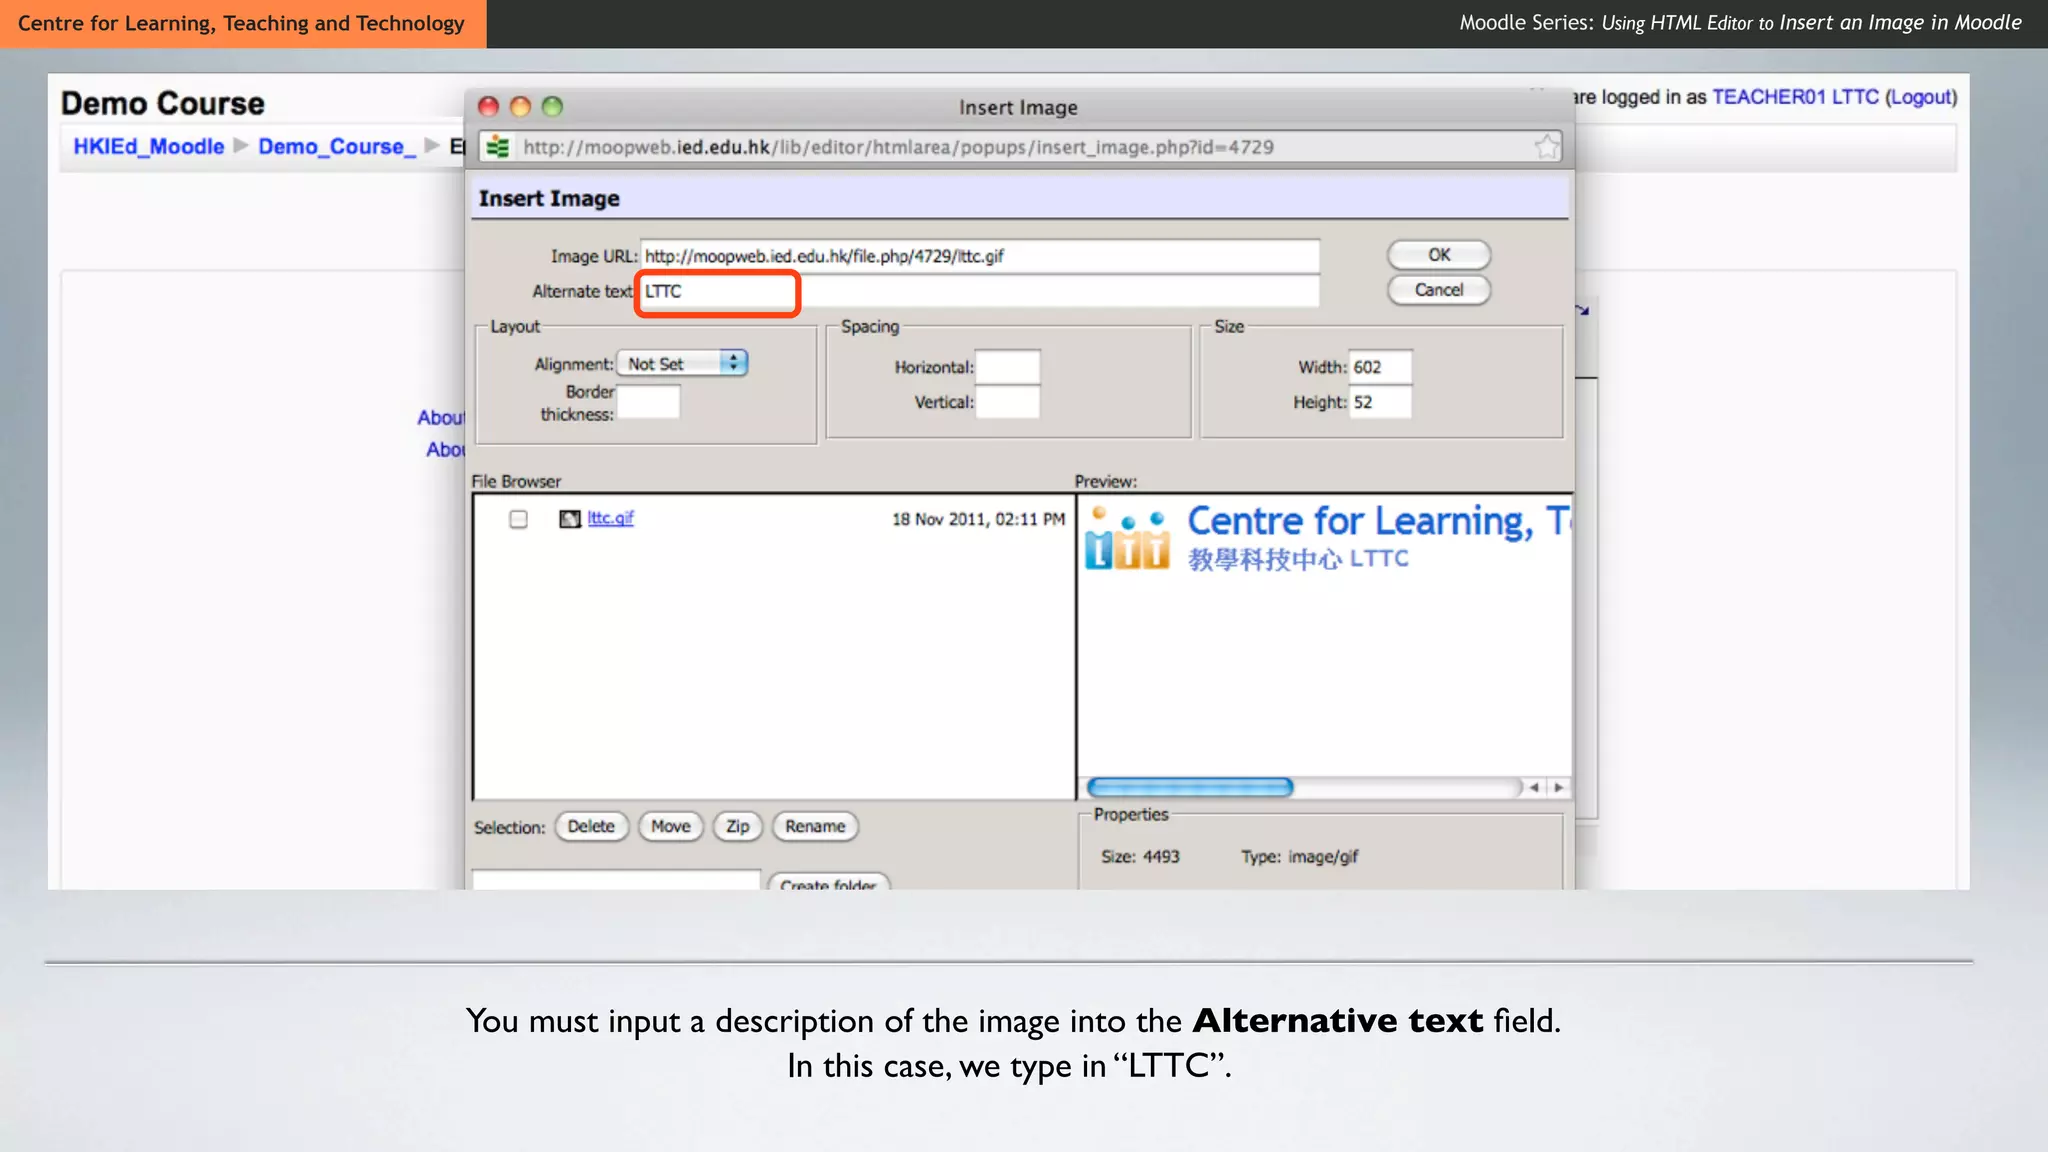
3. The image will be uploaded and its link automatically inserted; add an alternative text description.
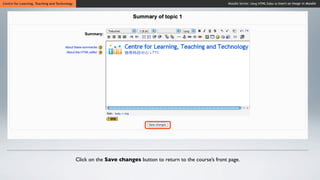
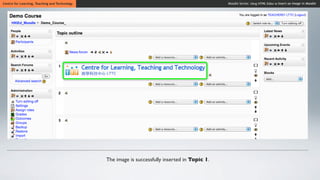
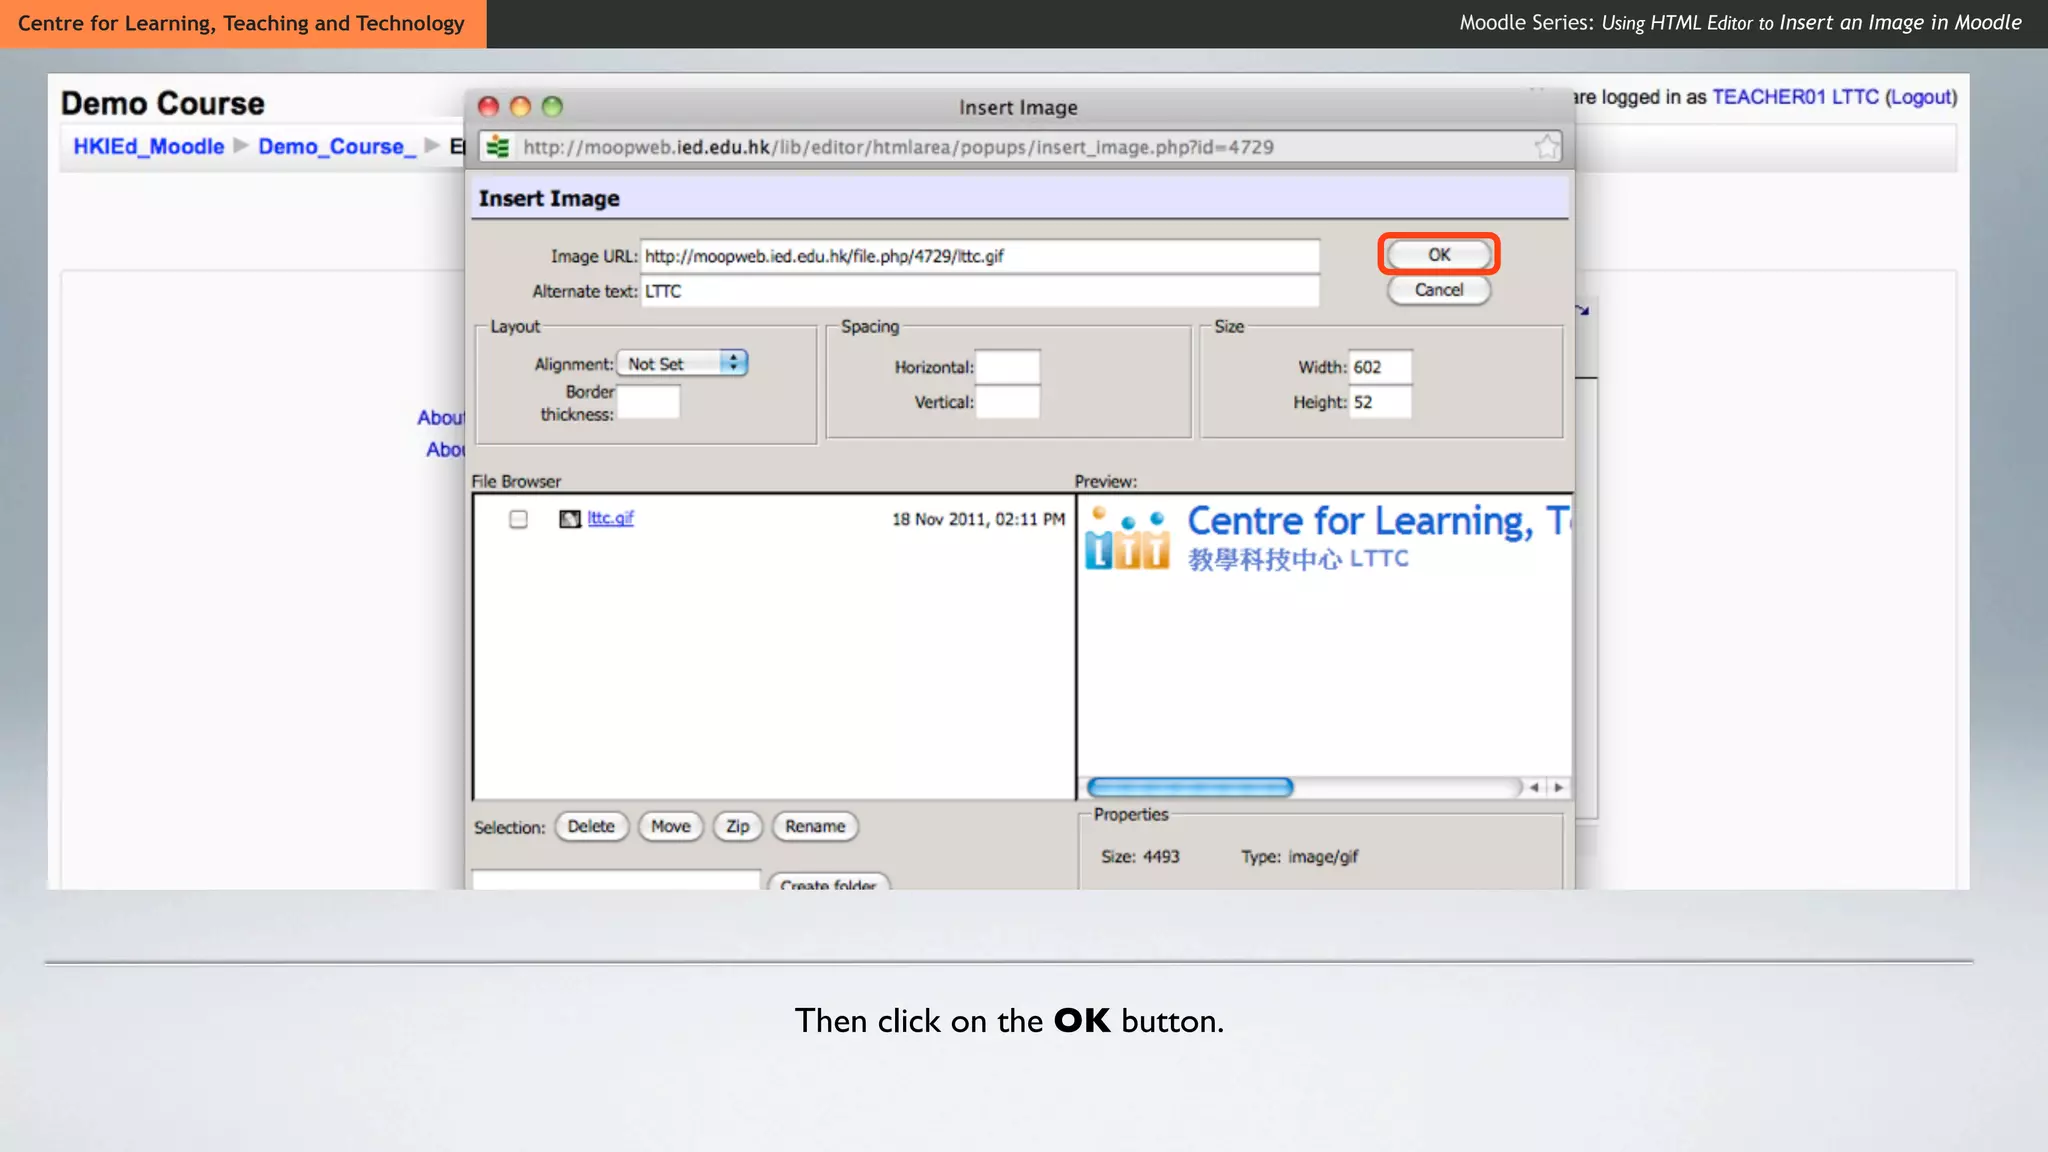
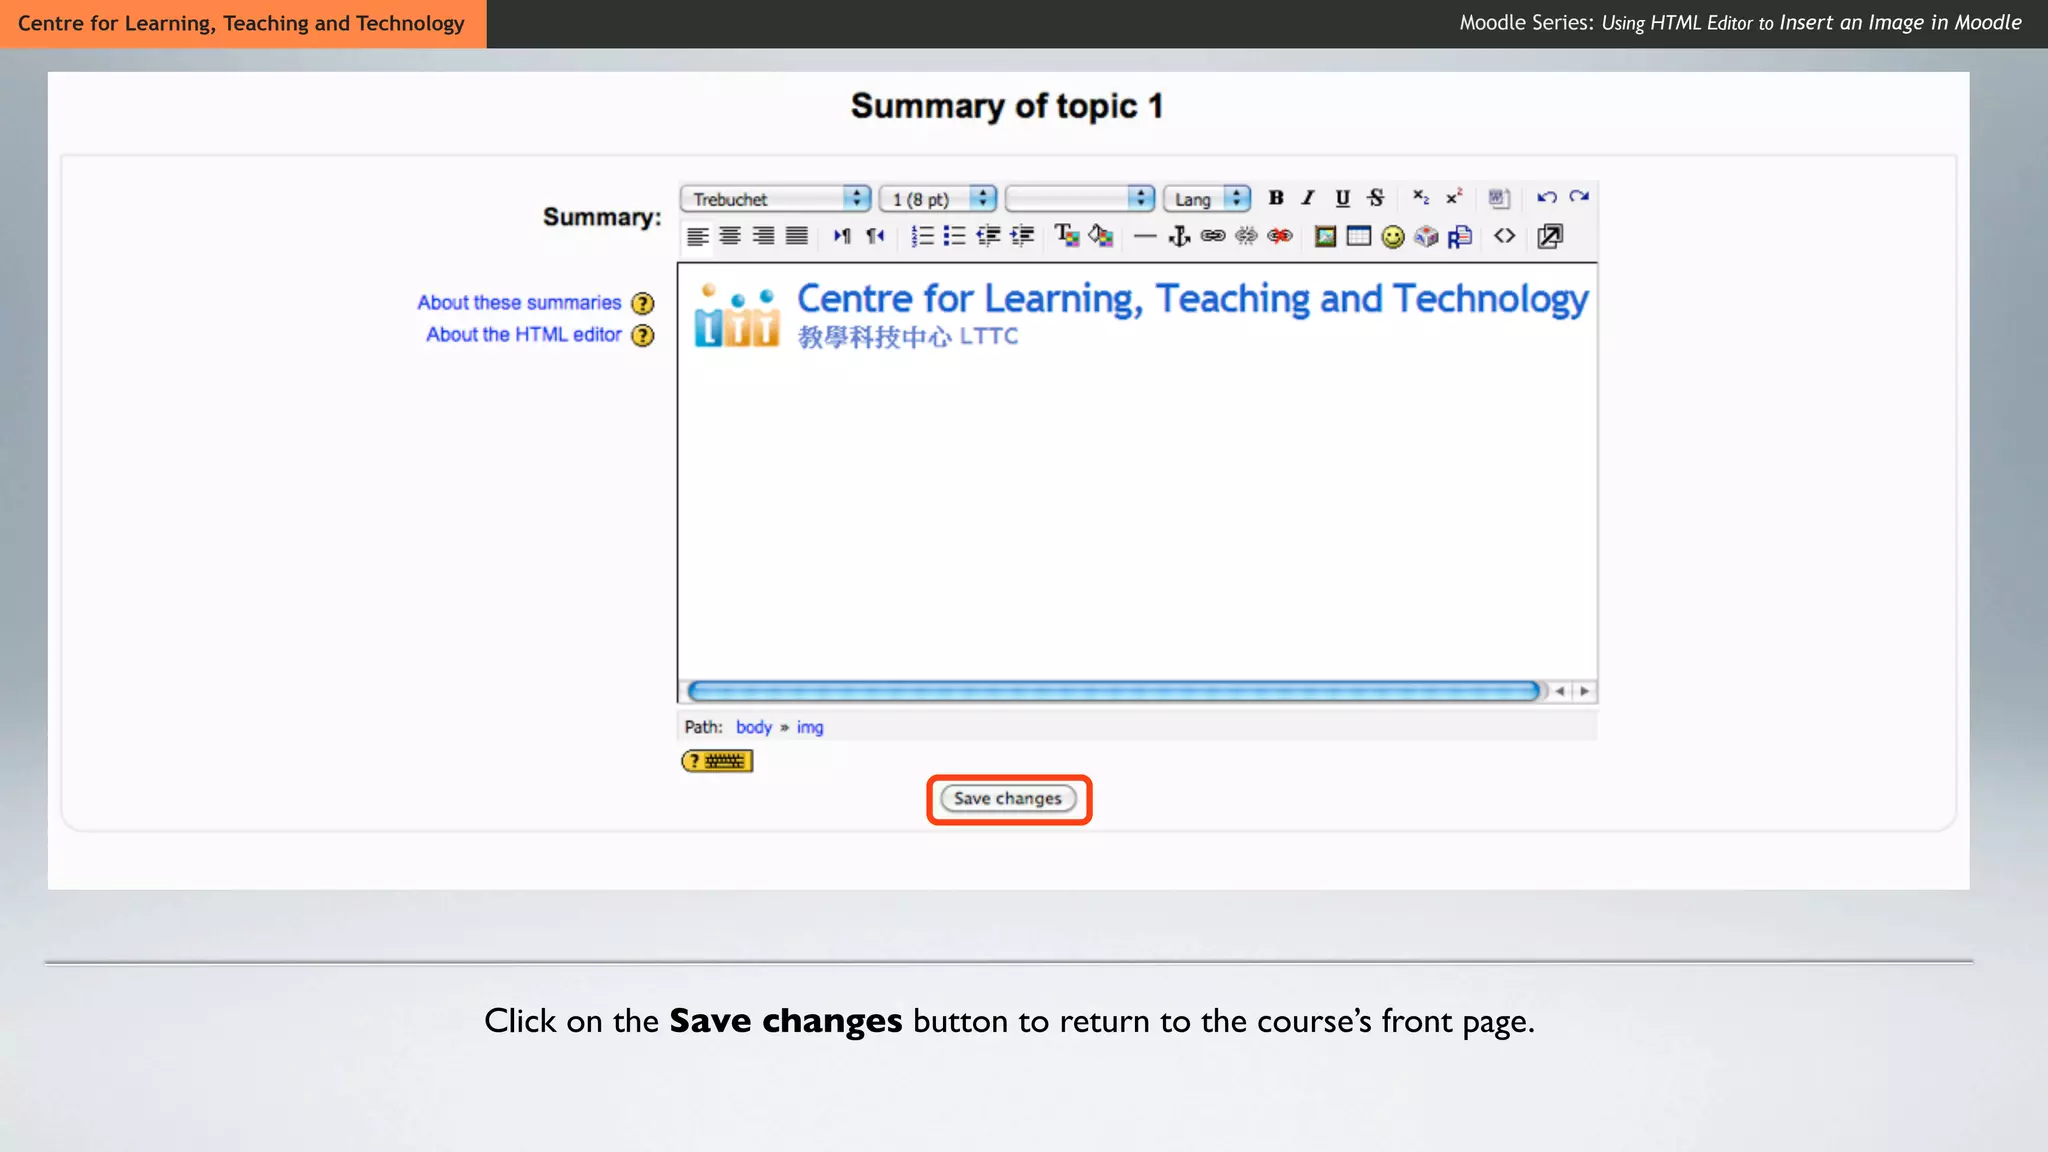
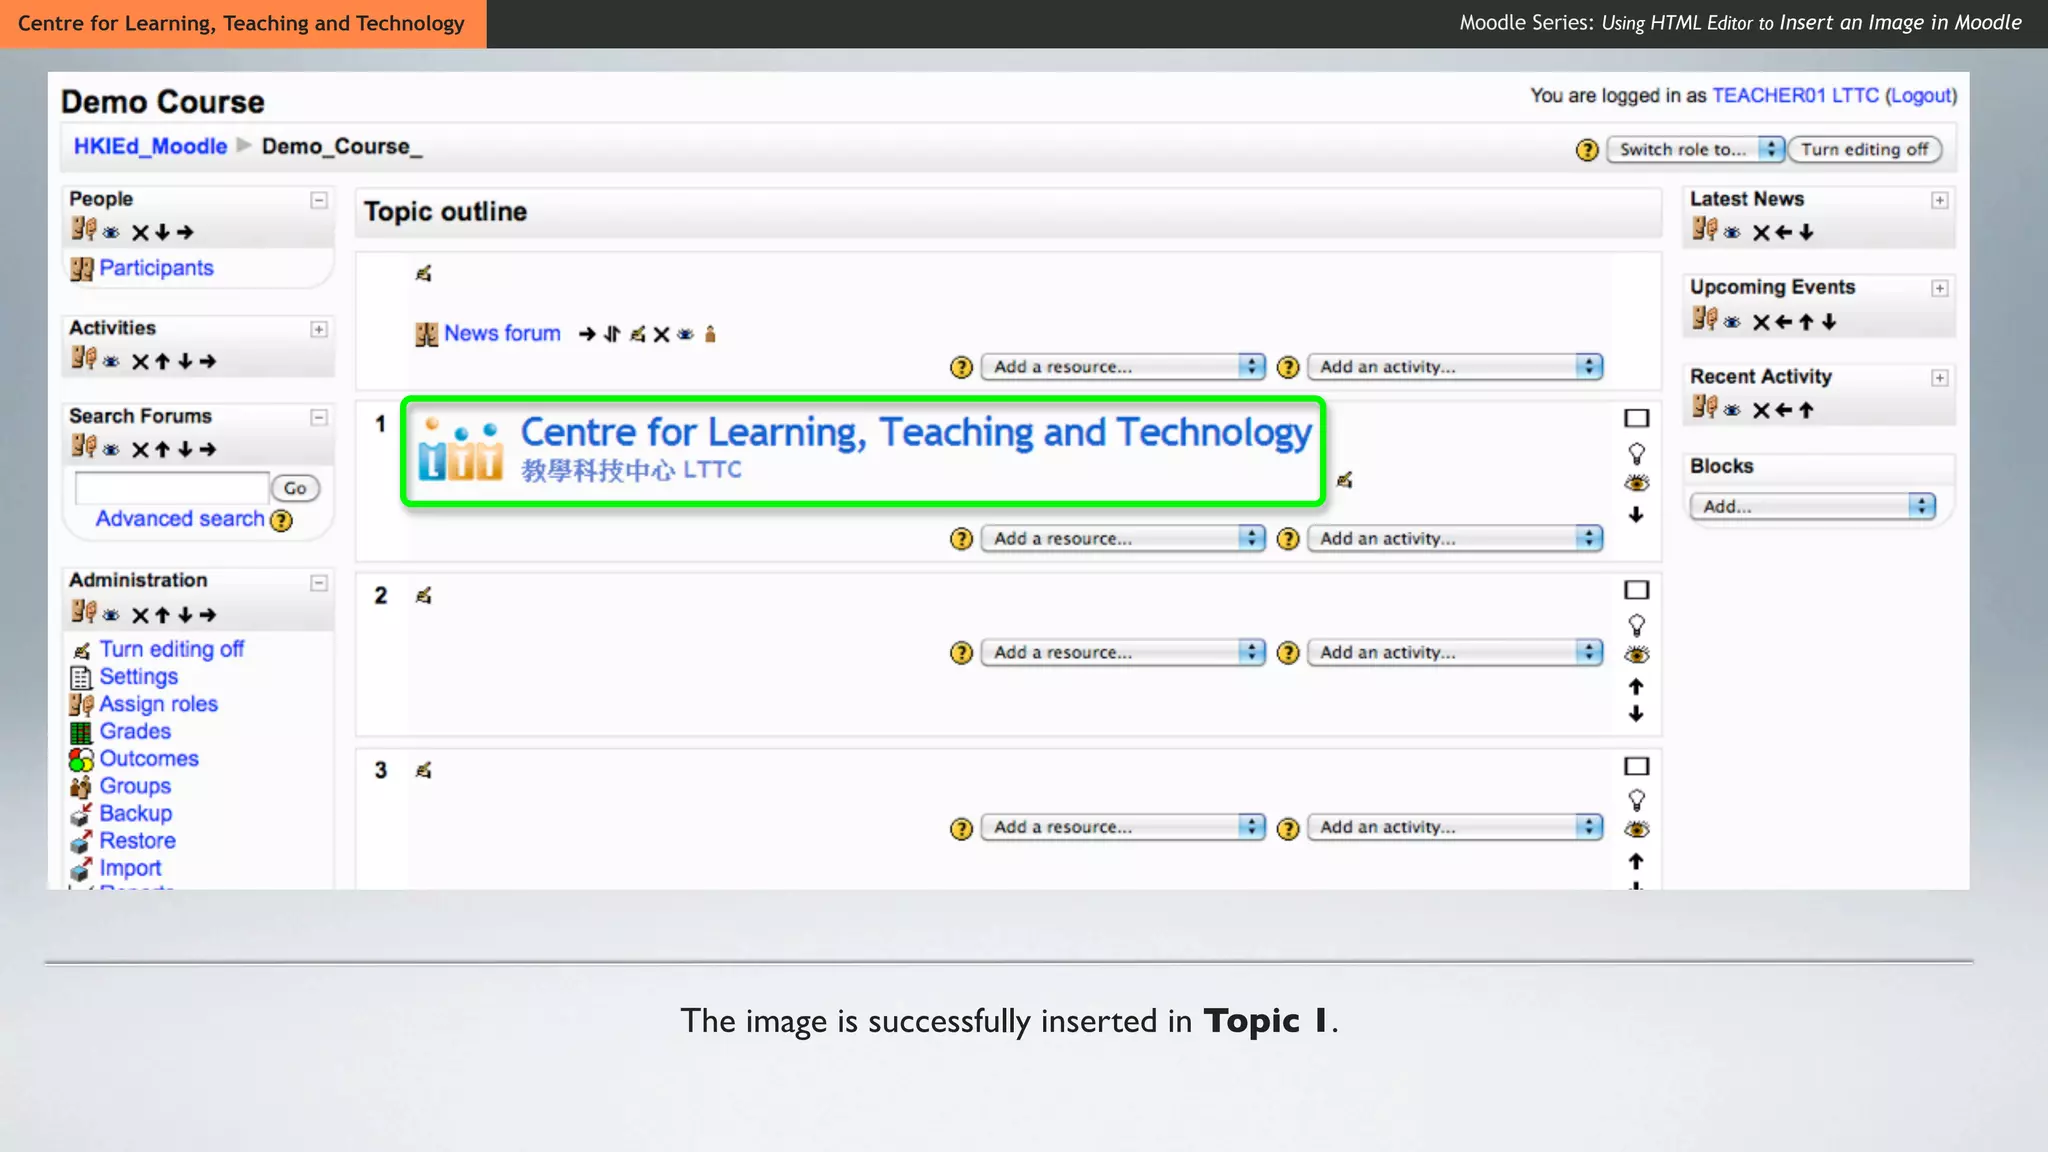
4. Click "OK" and "Save changes" to add the image to the course topic.