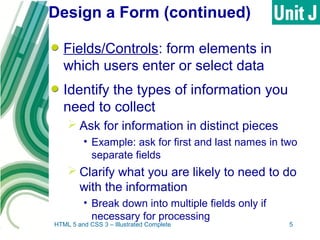
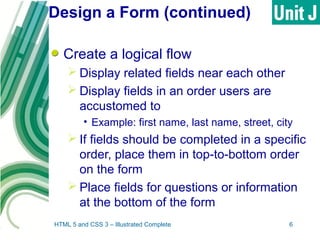
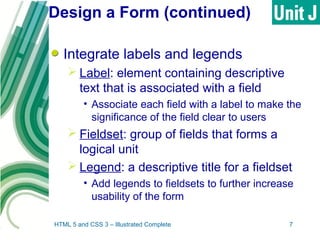
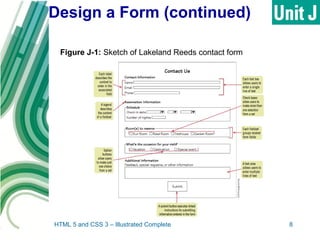
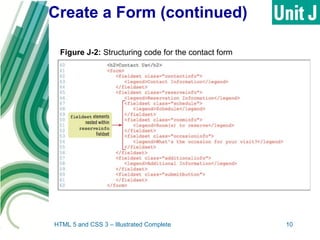
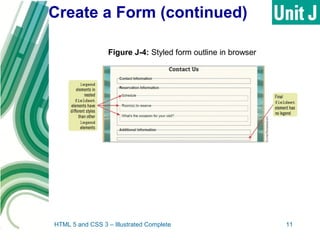
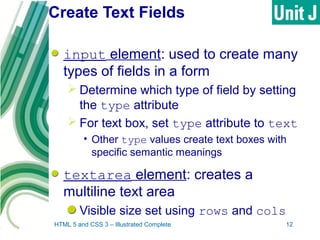
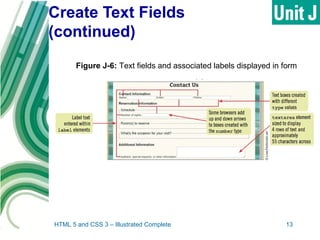
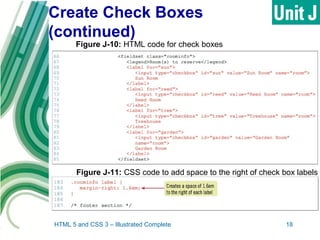
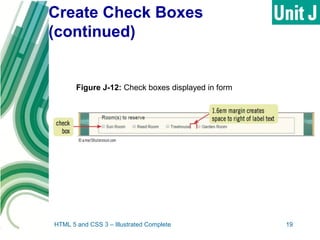
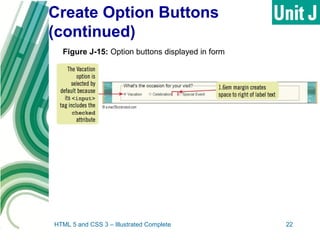
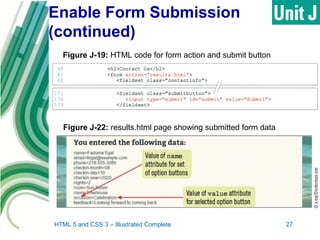
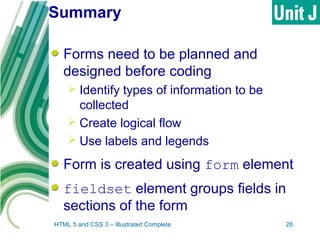
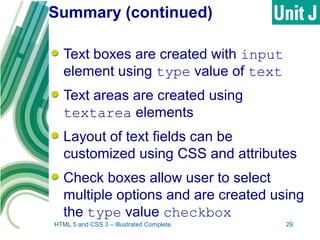
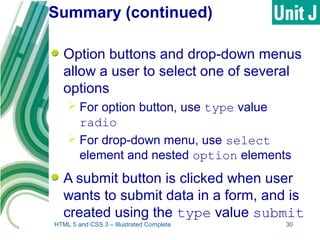
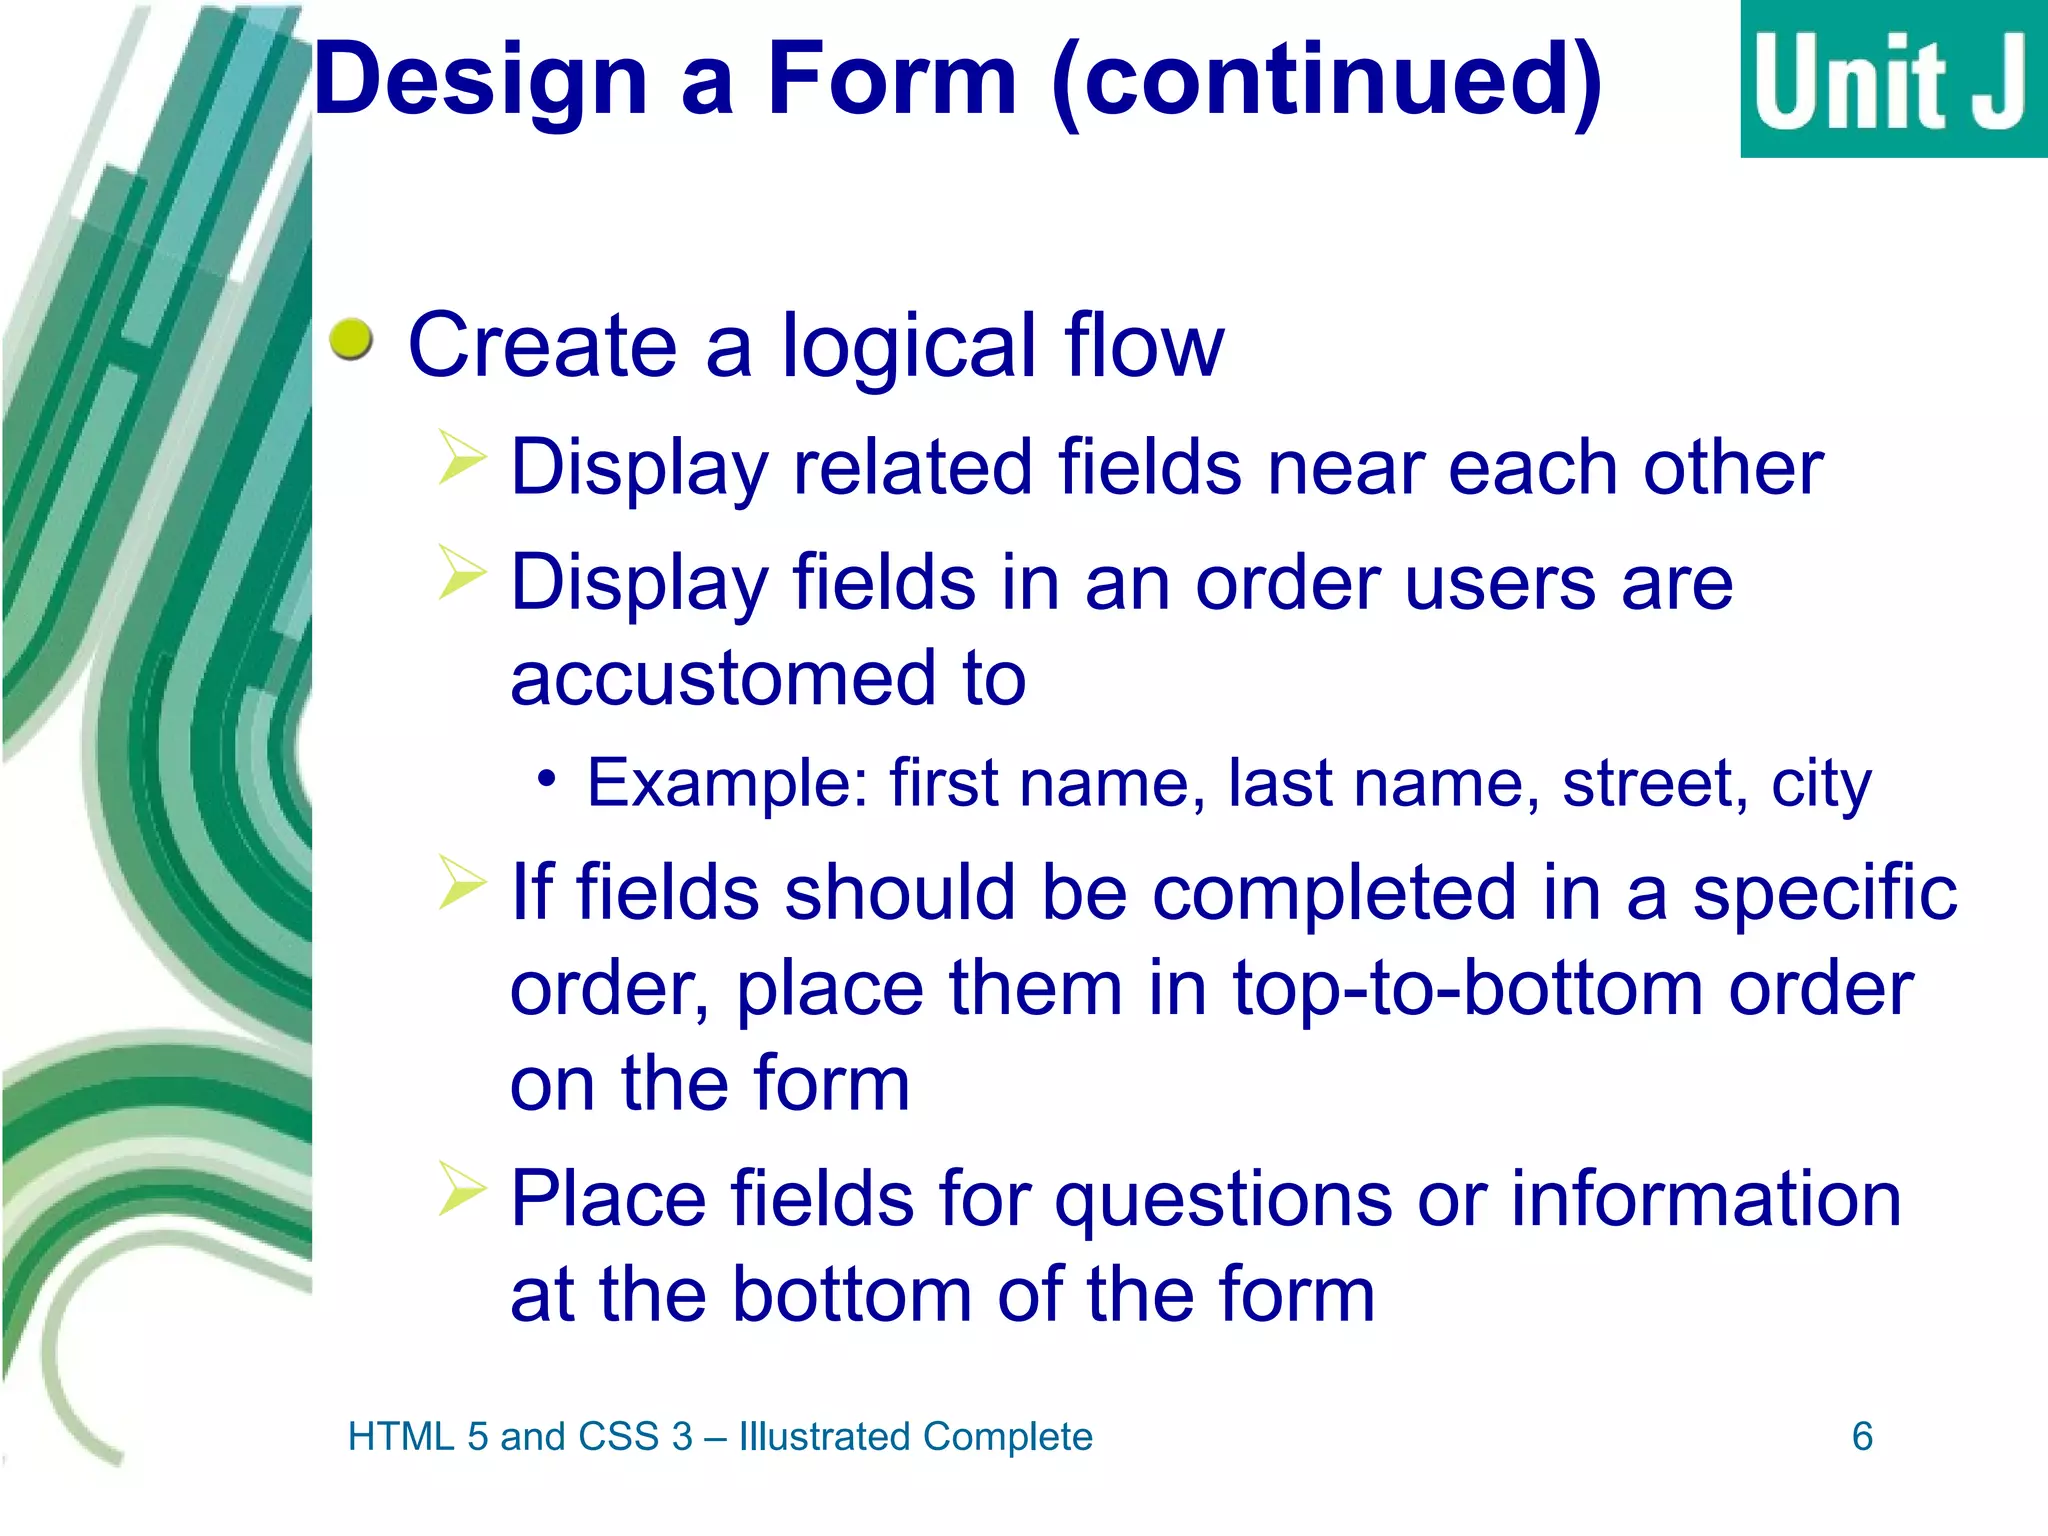
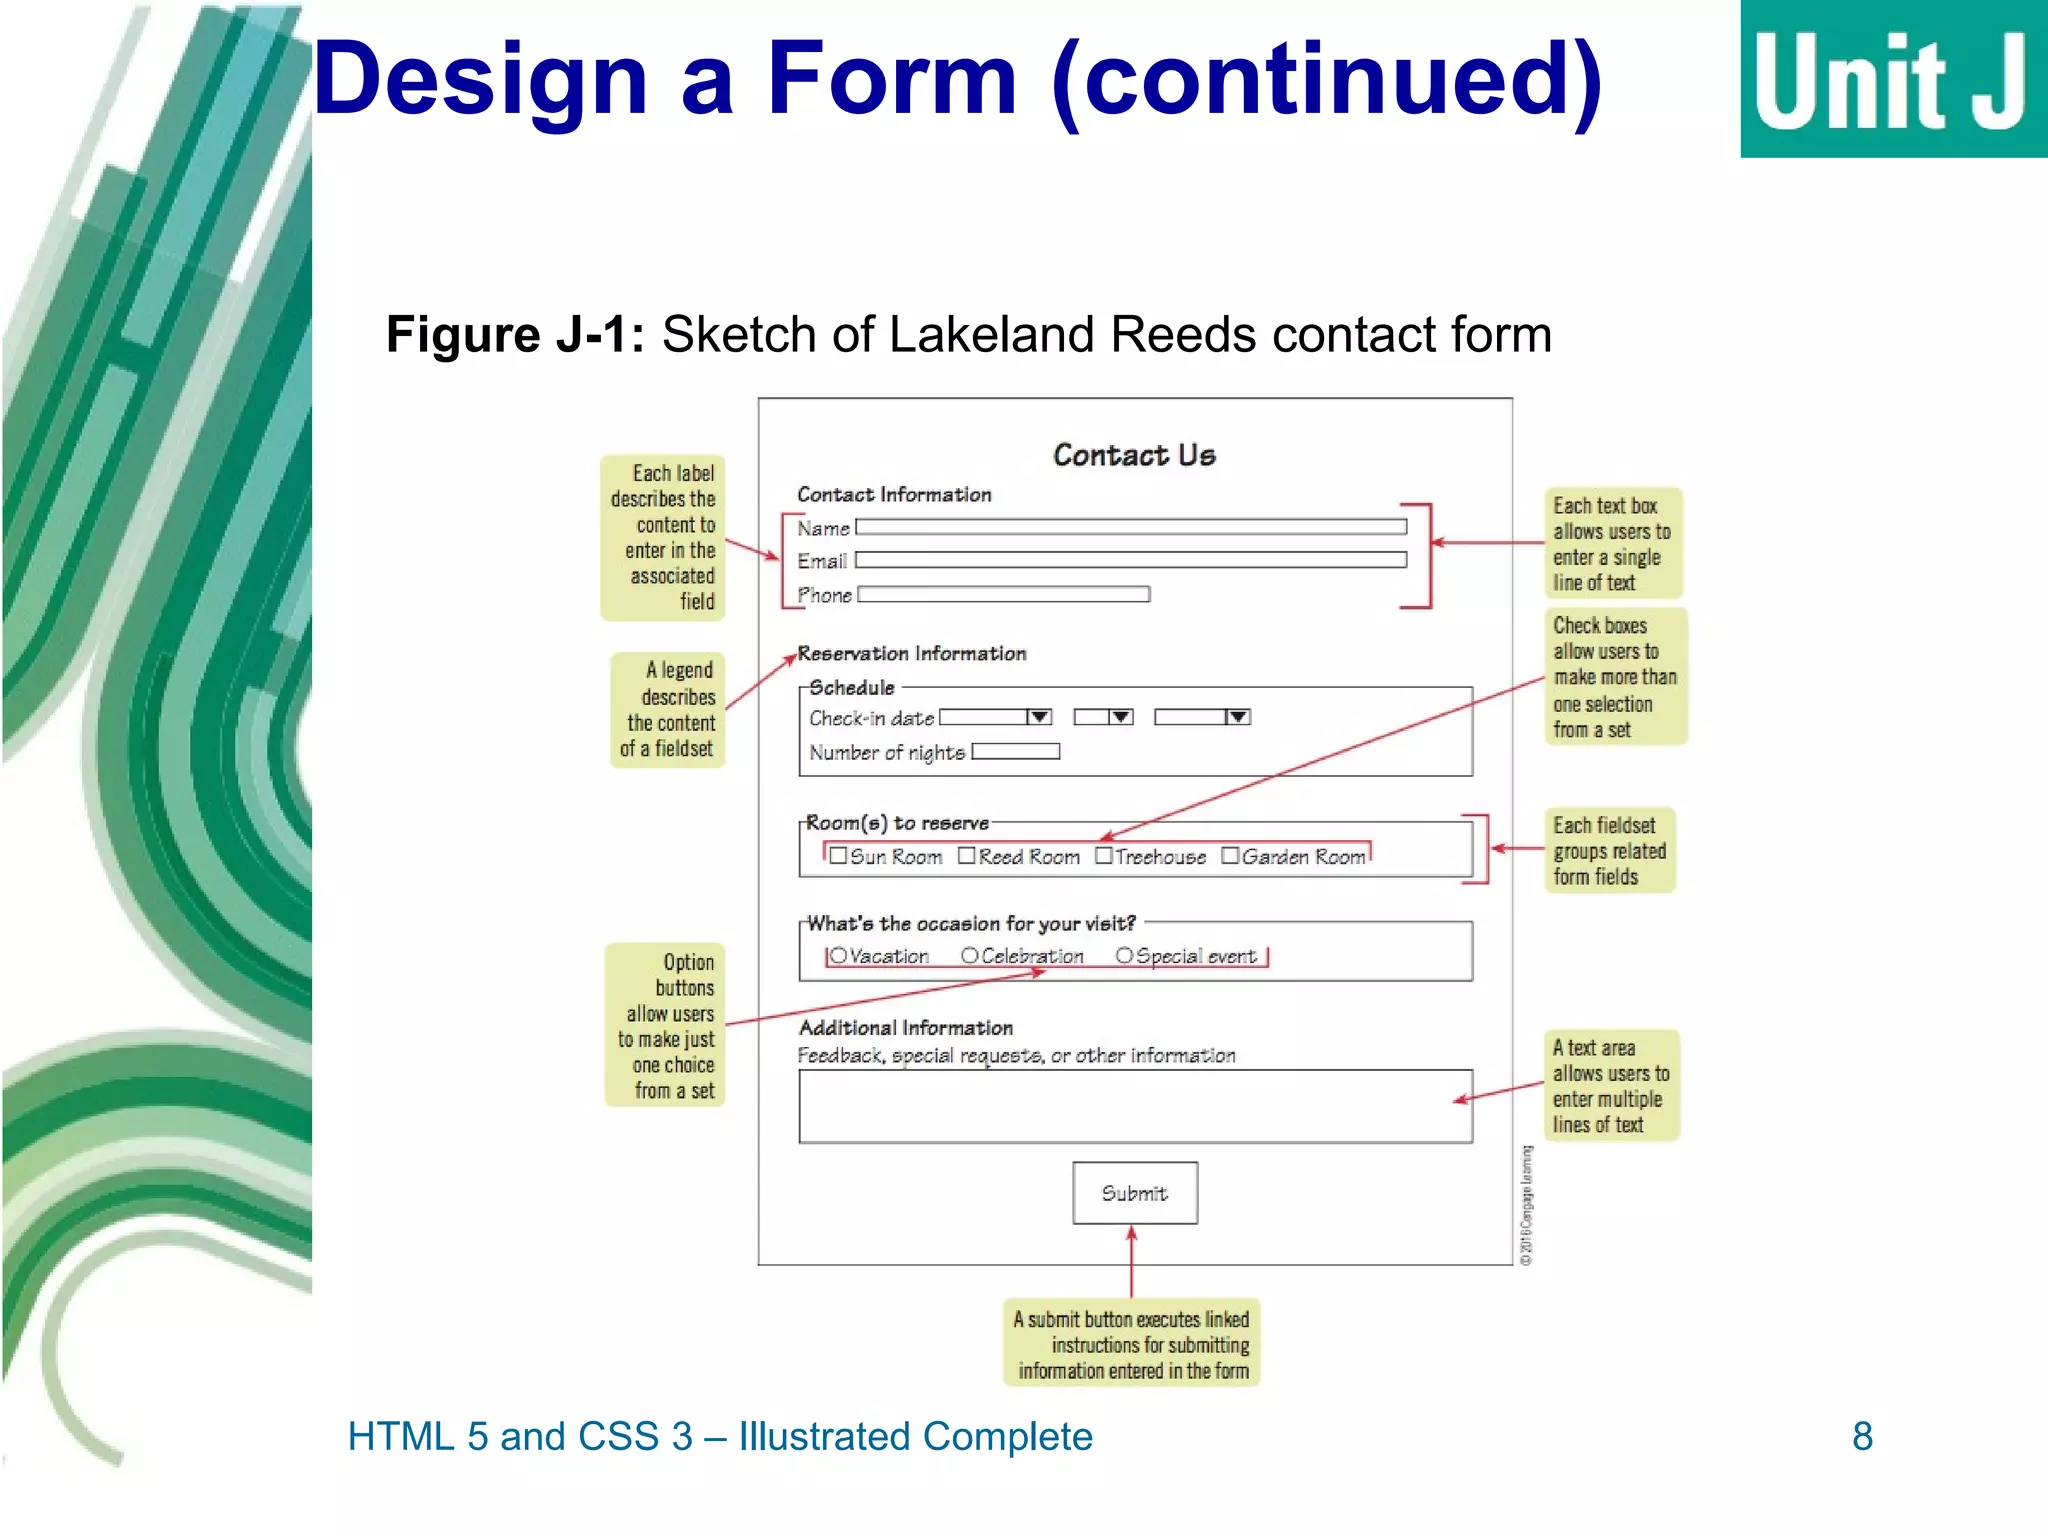
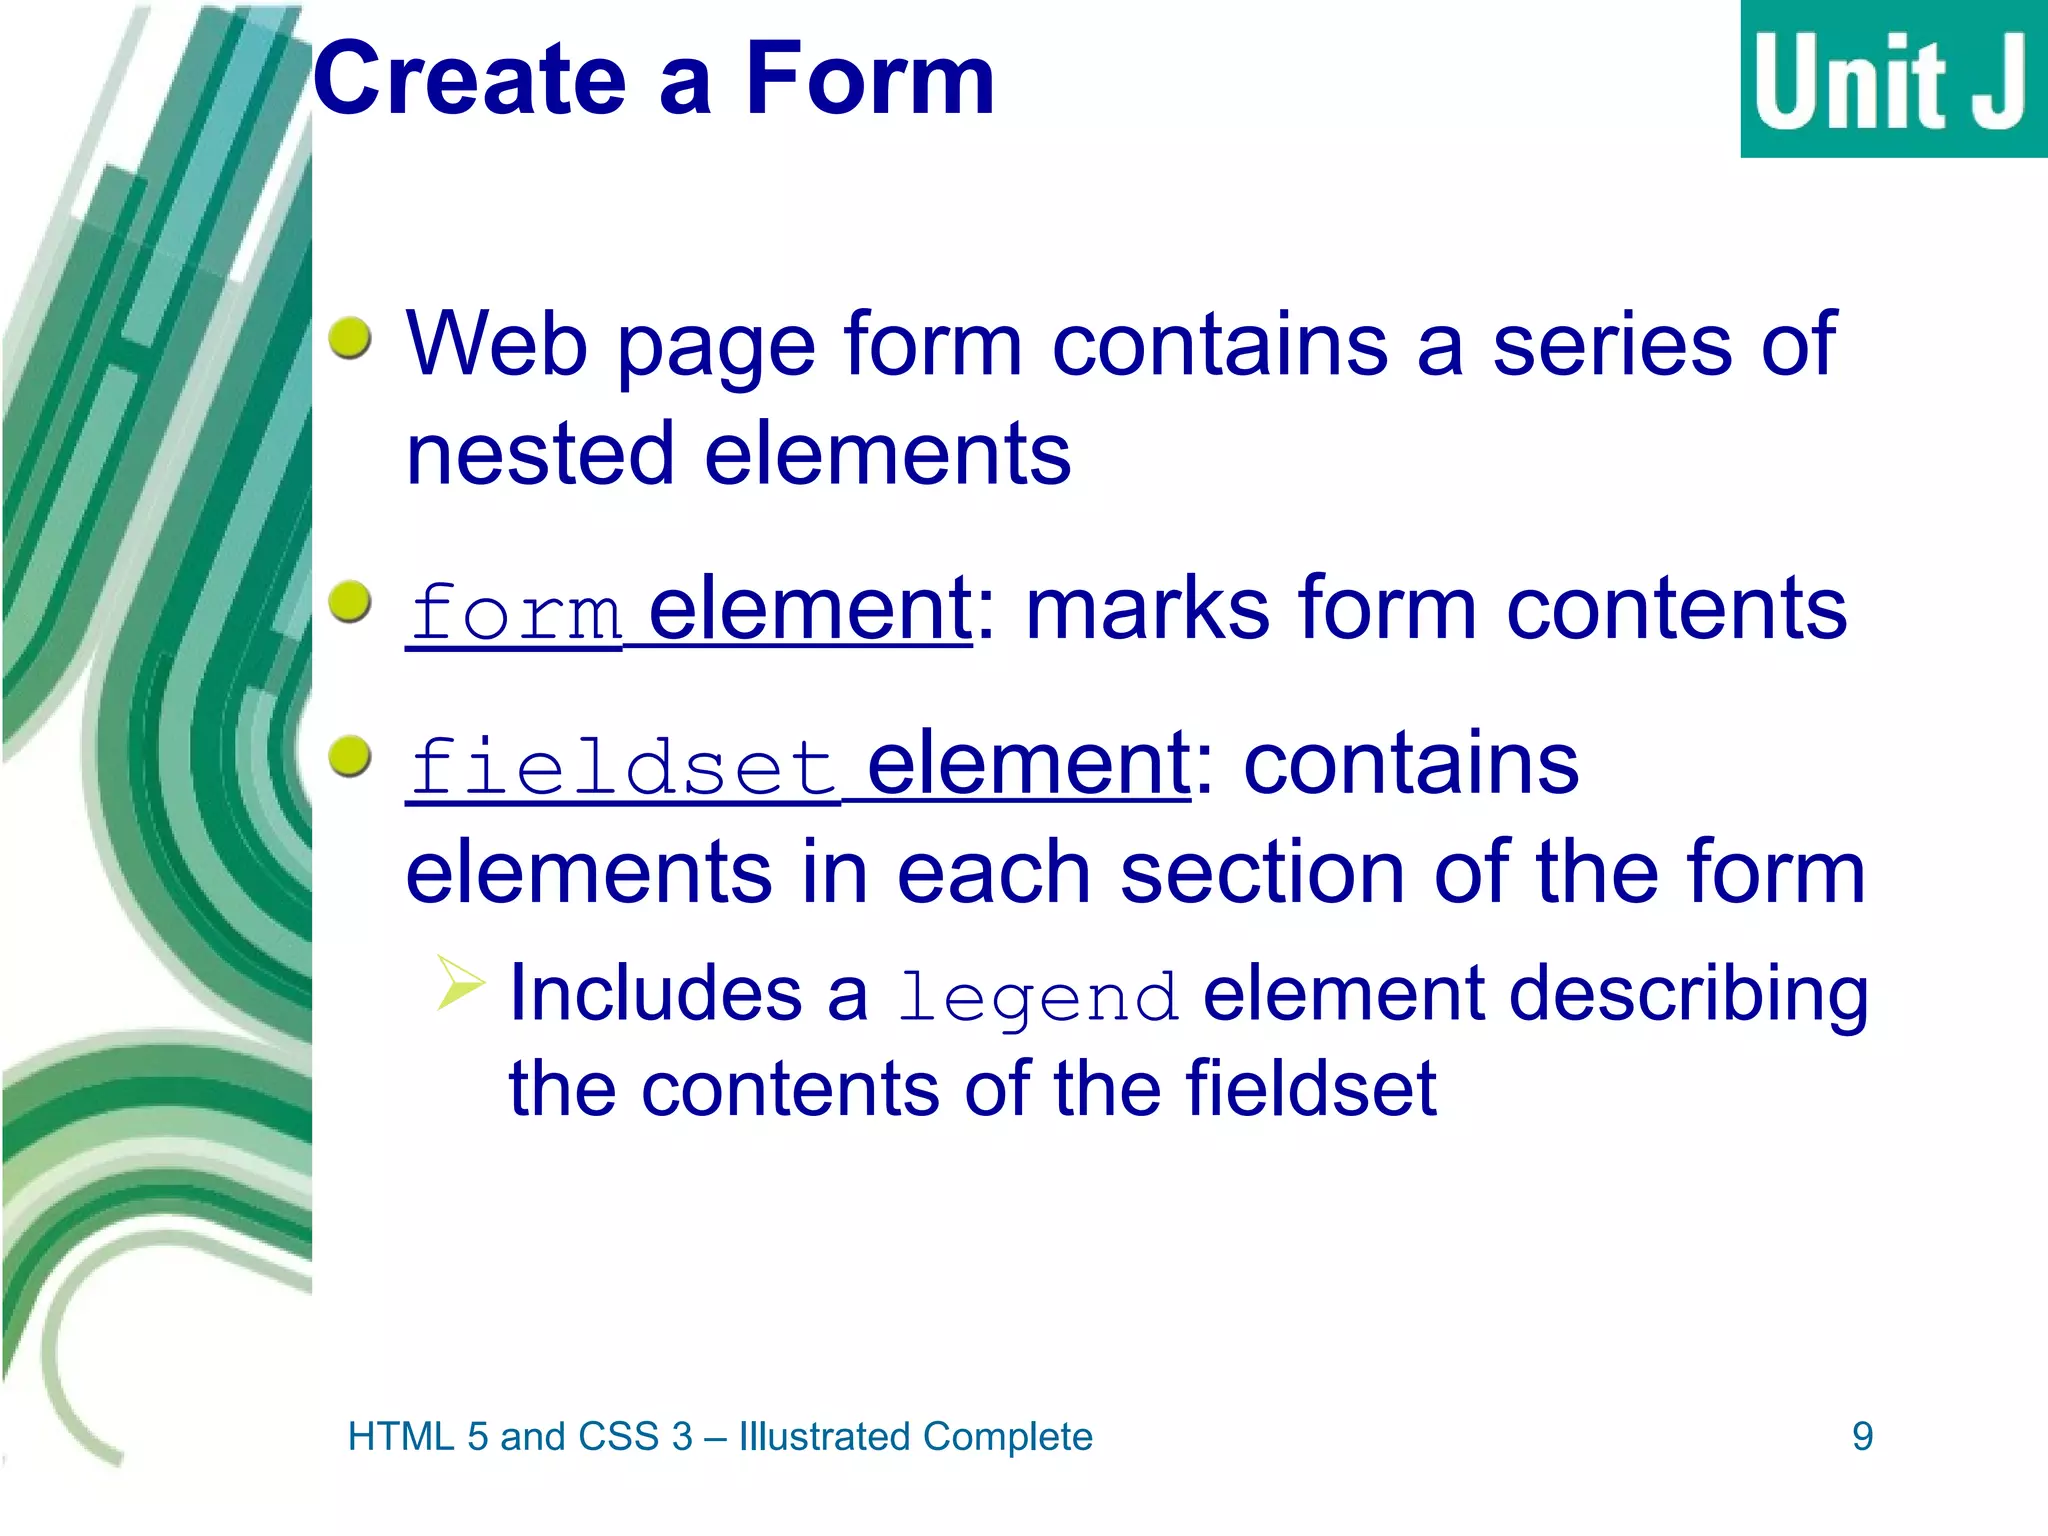
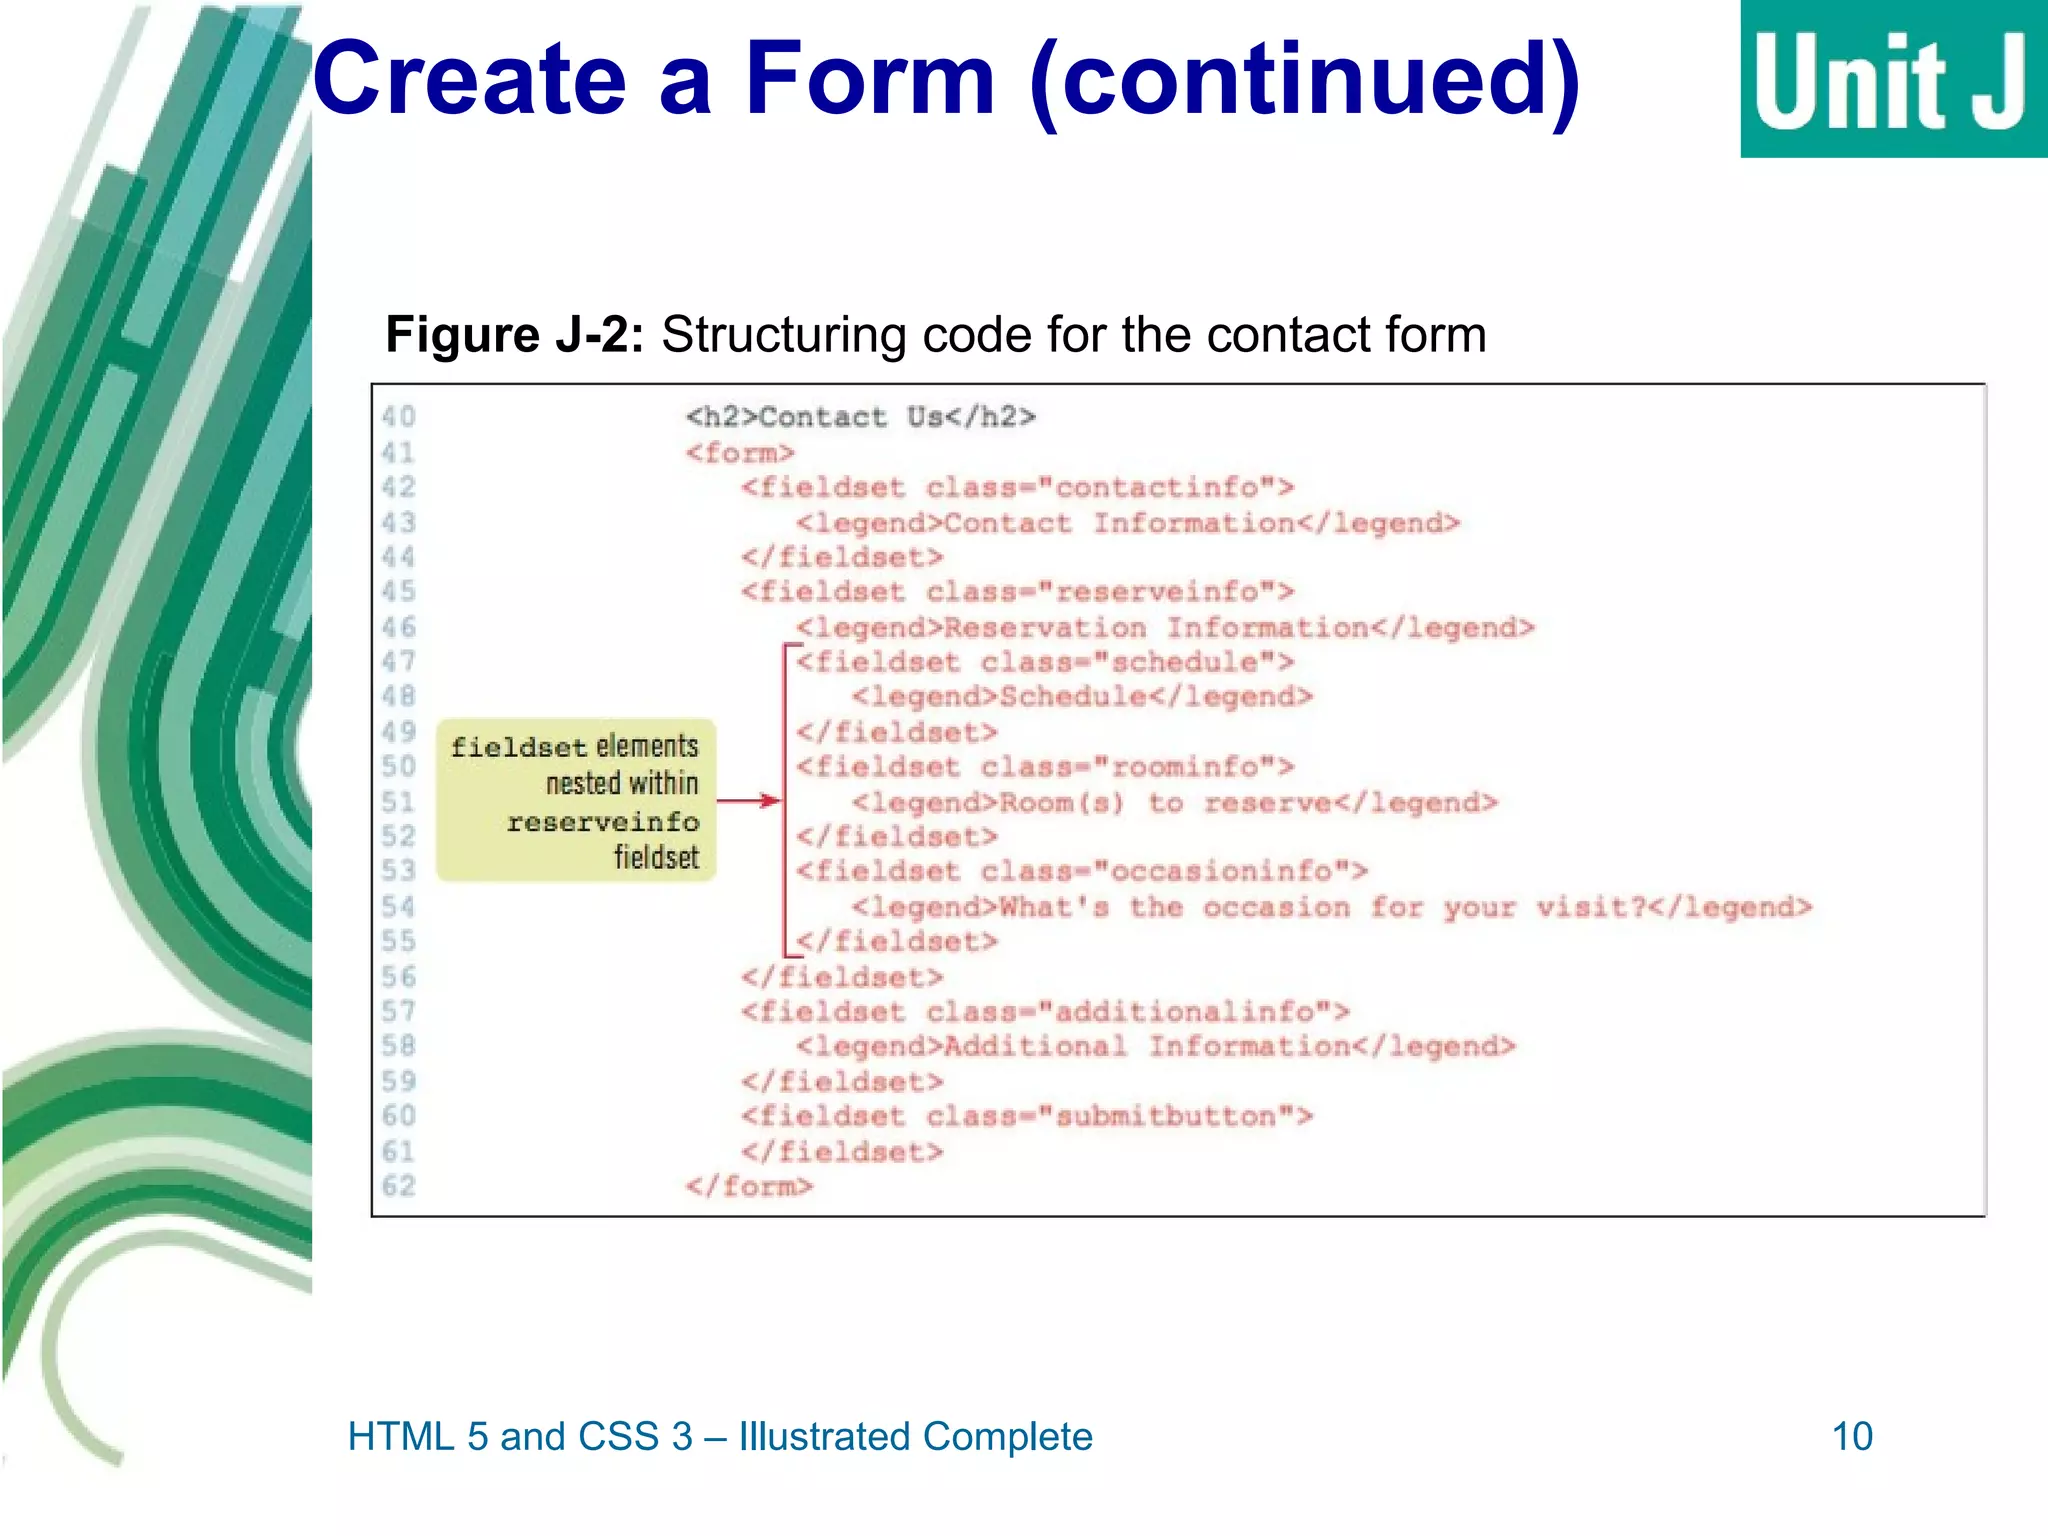
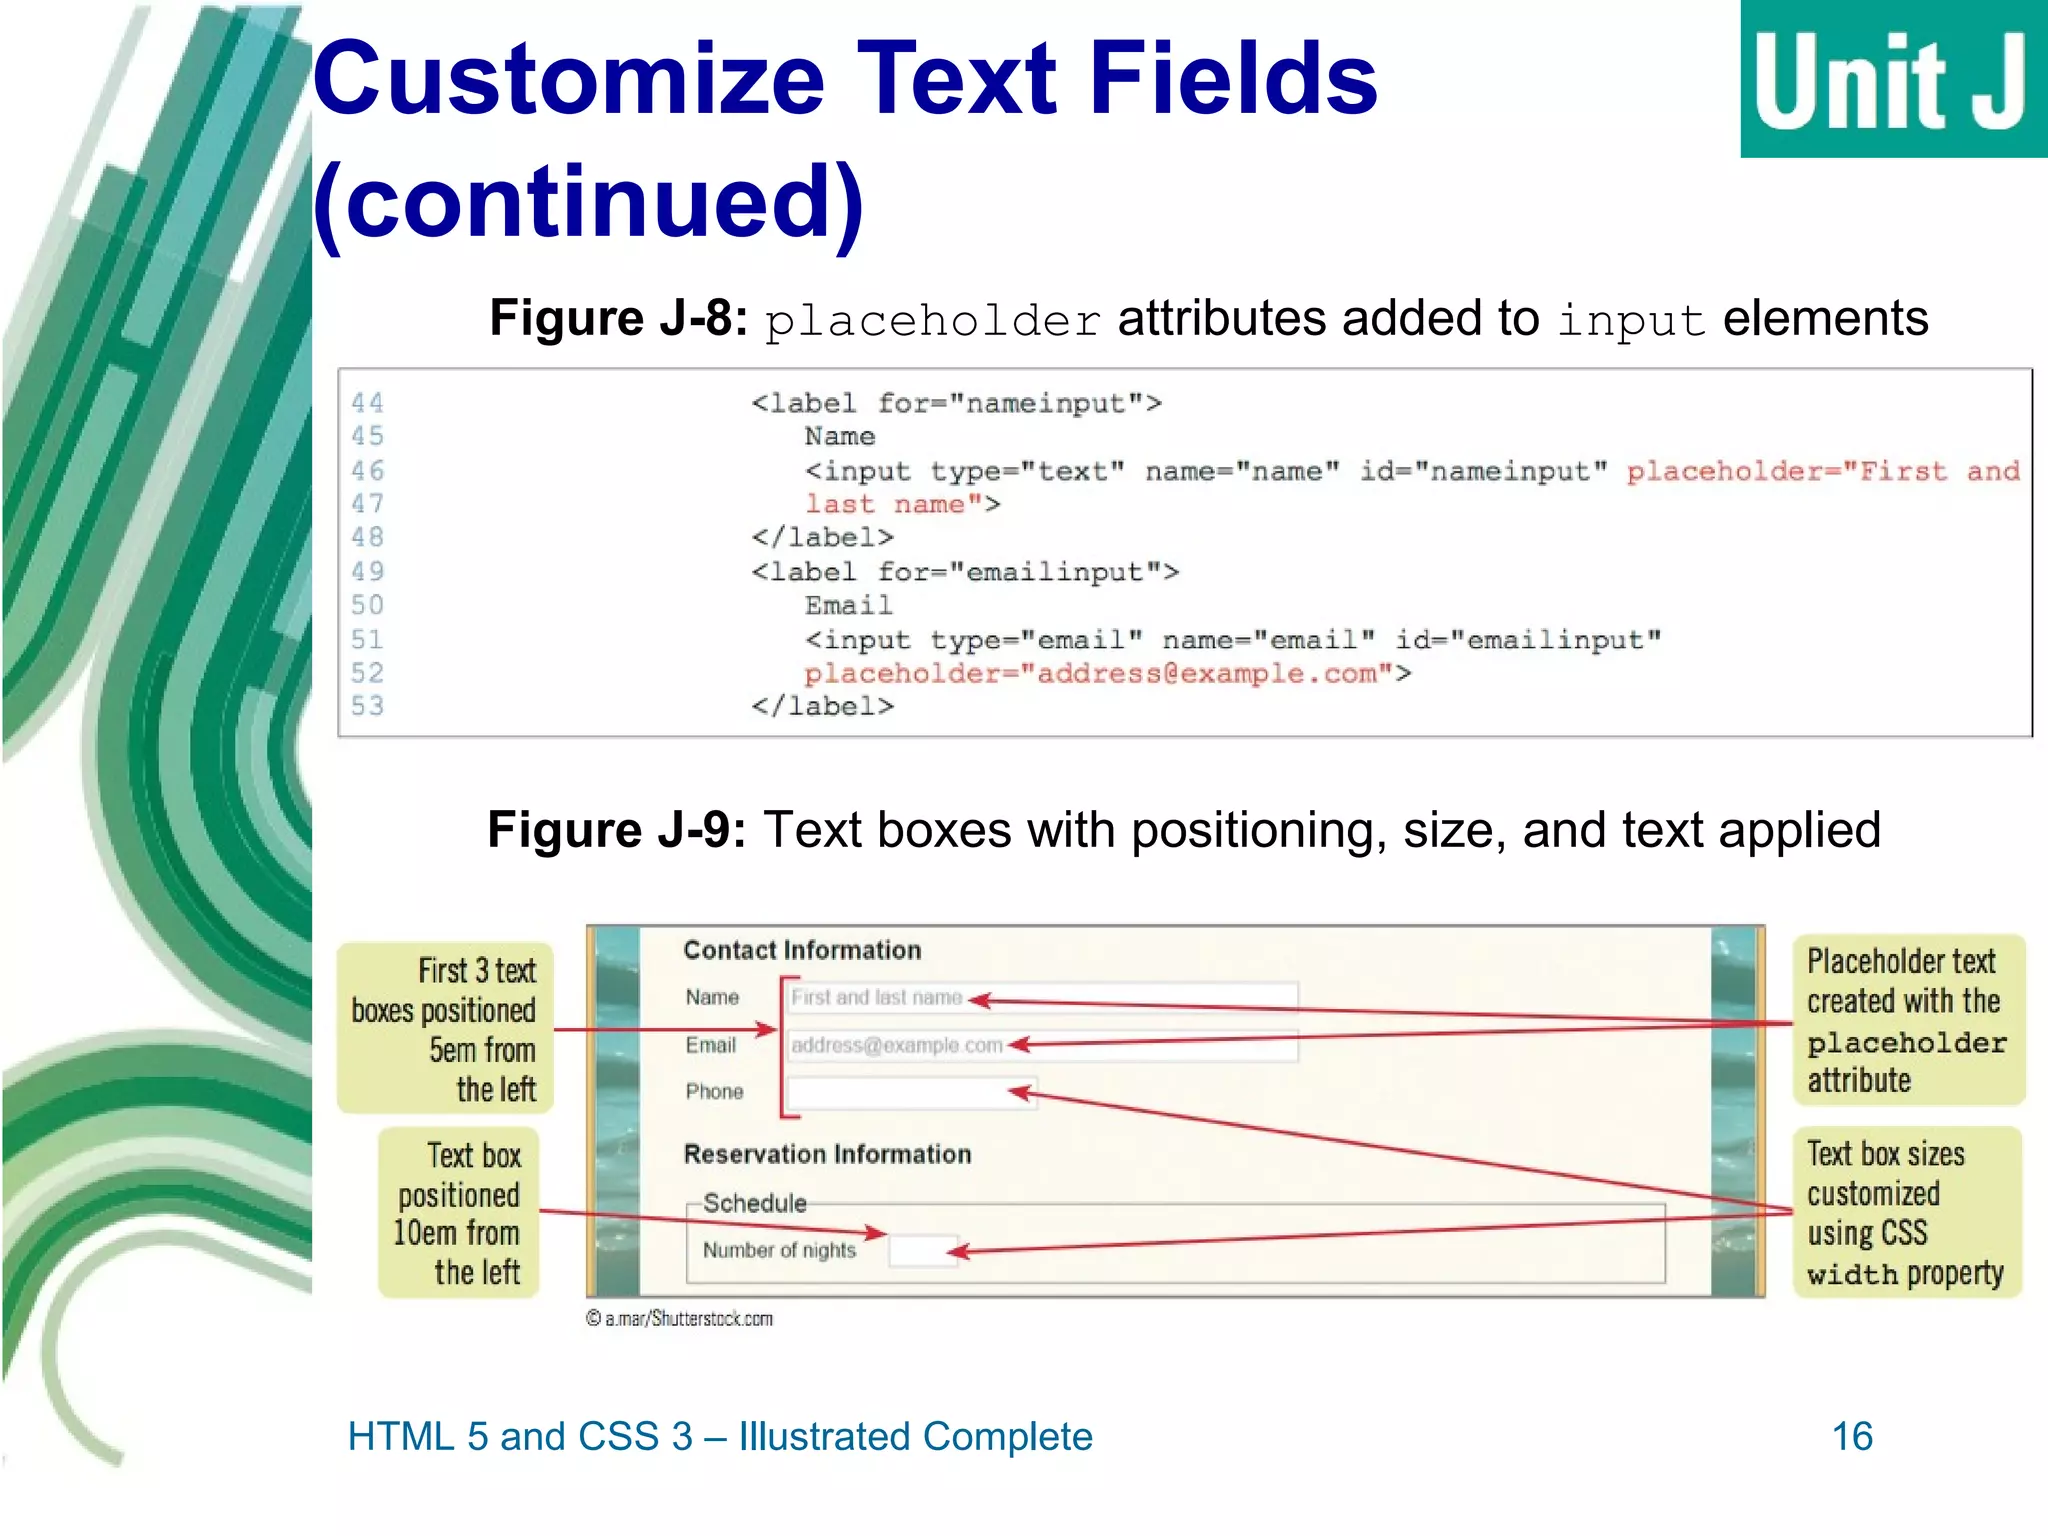
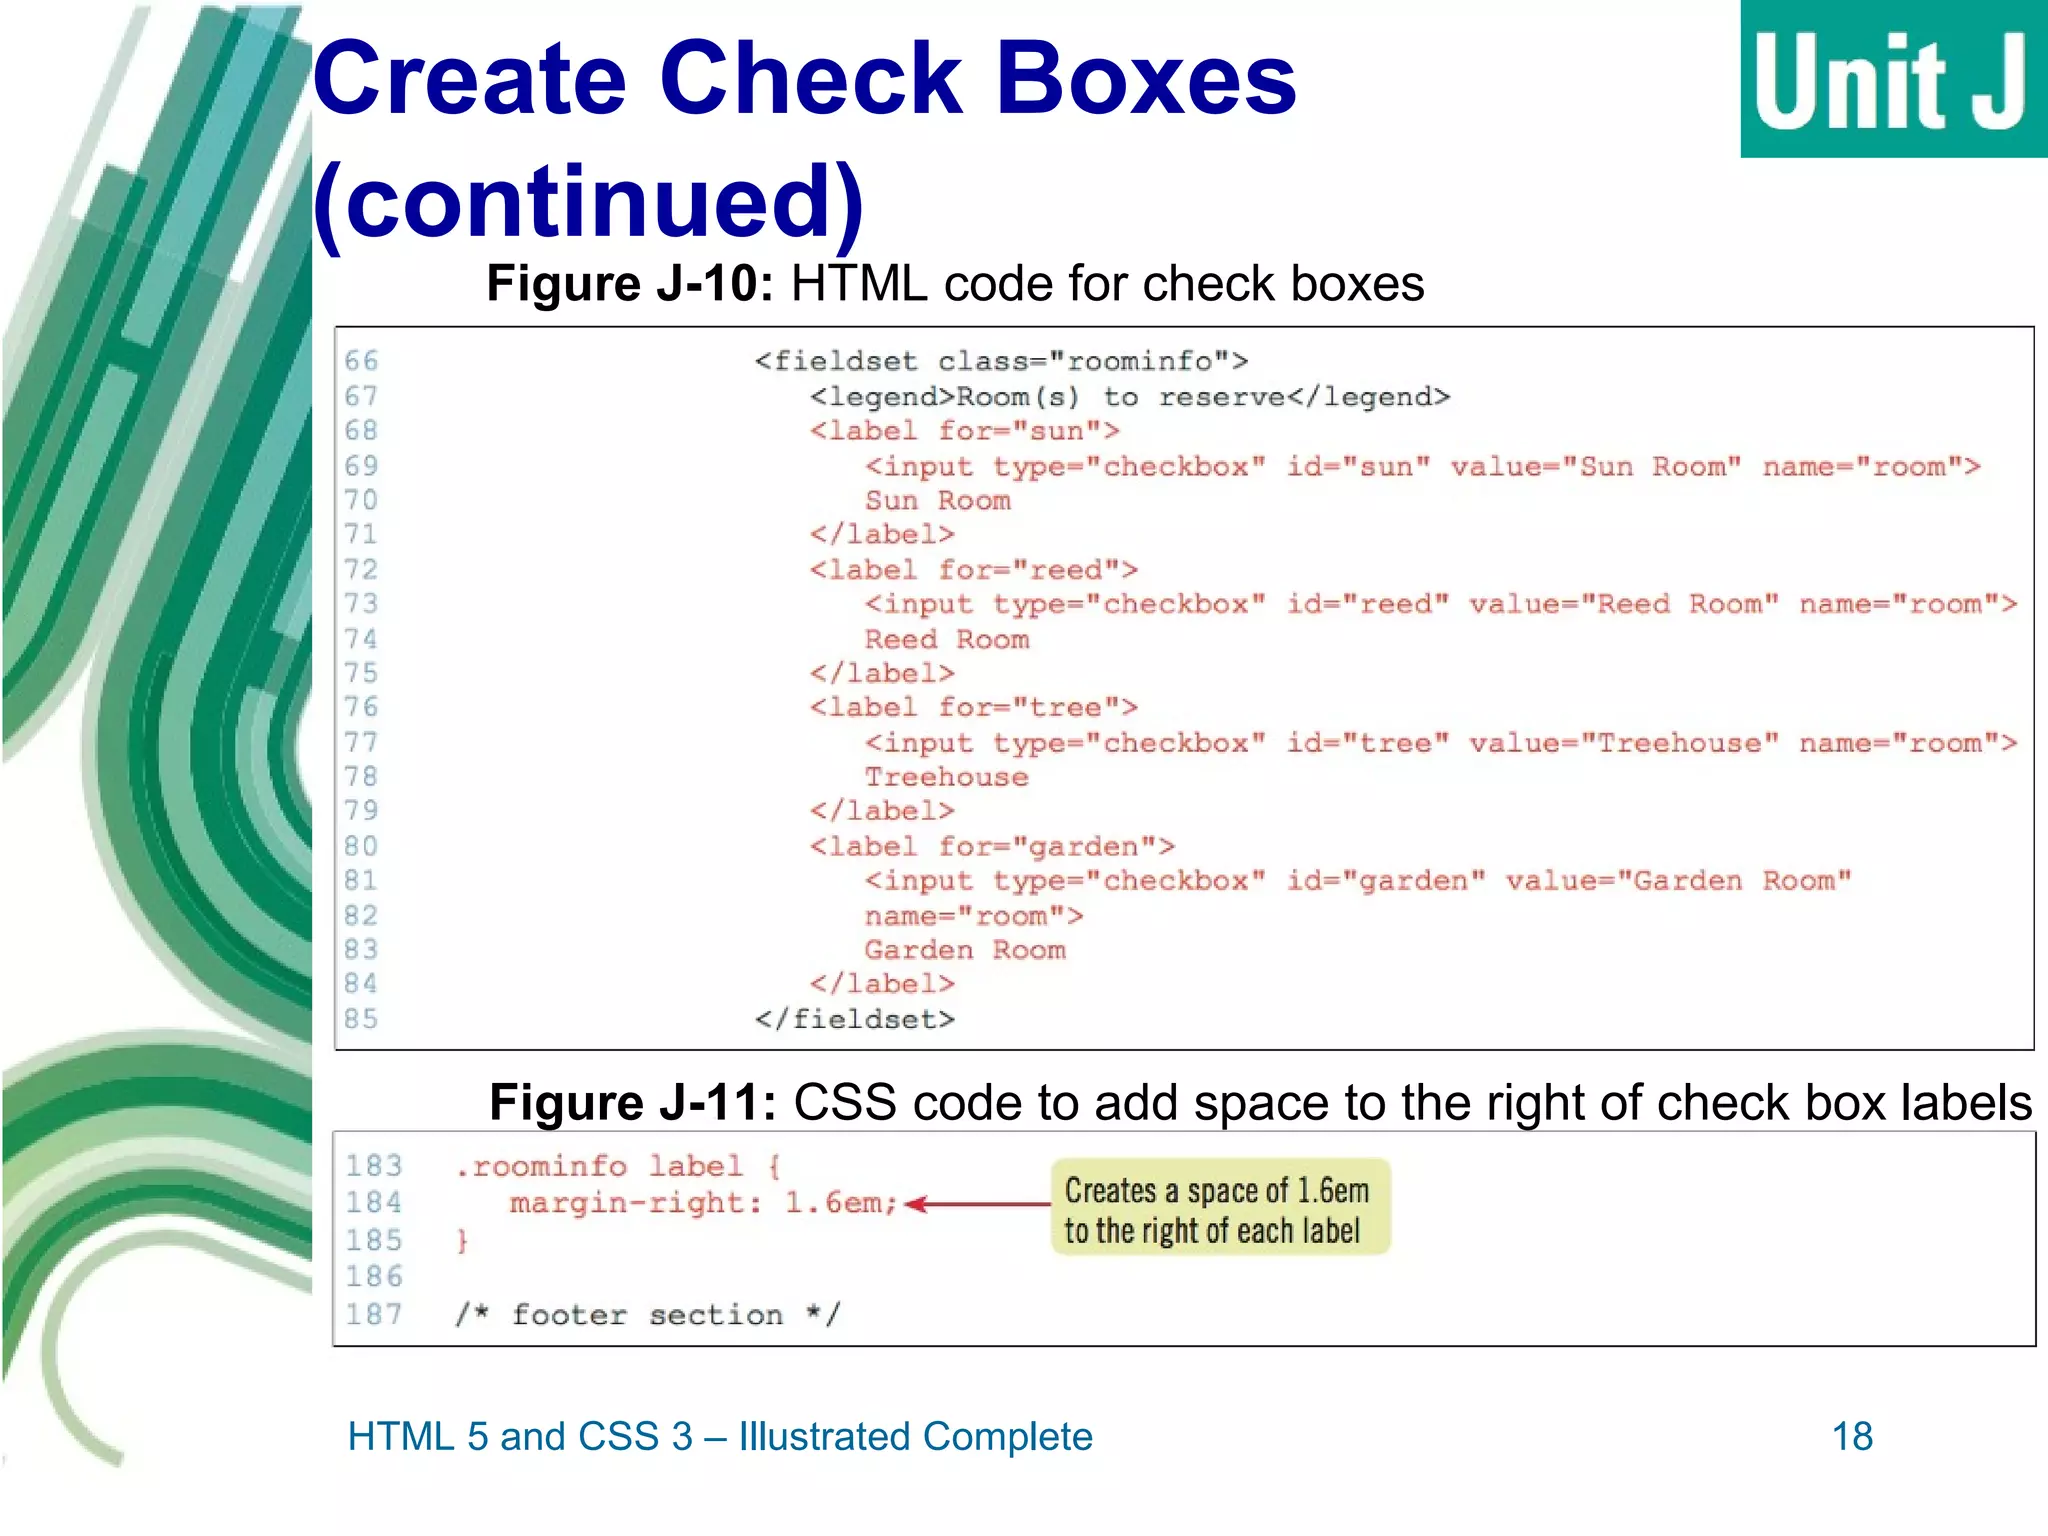
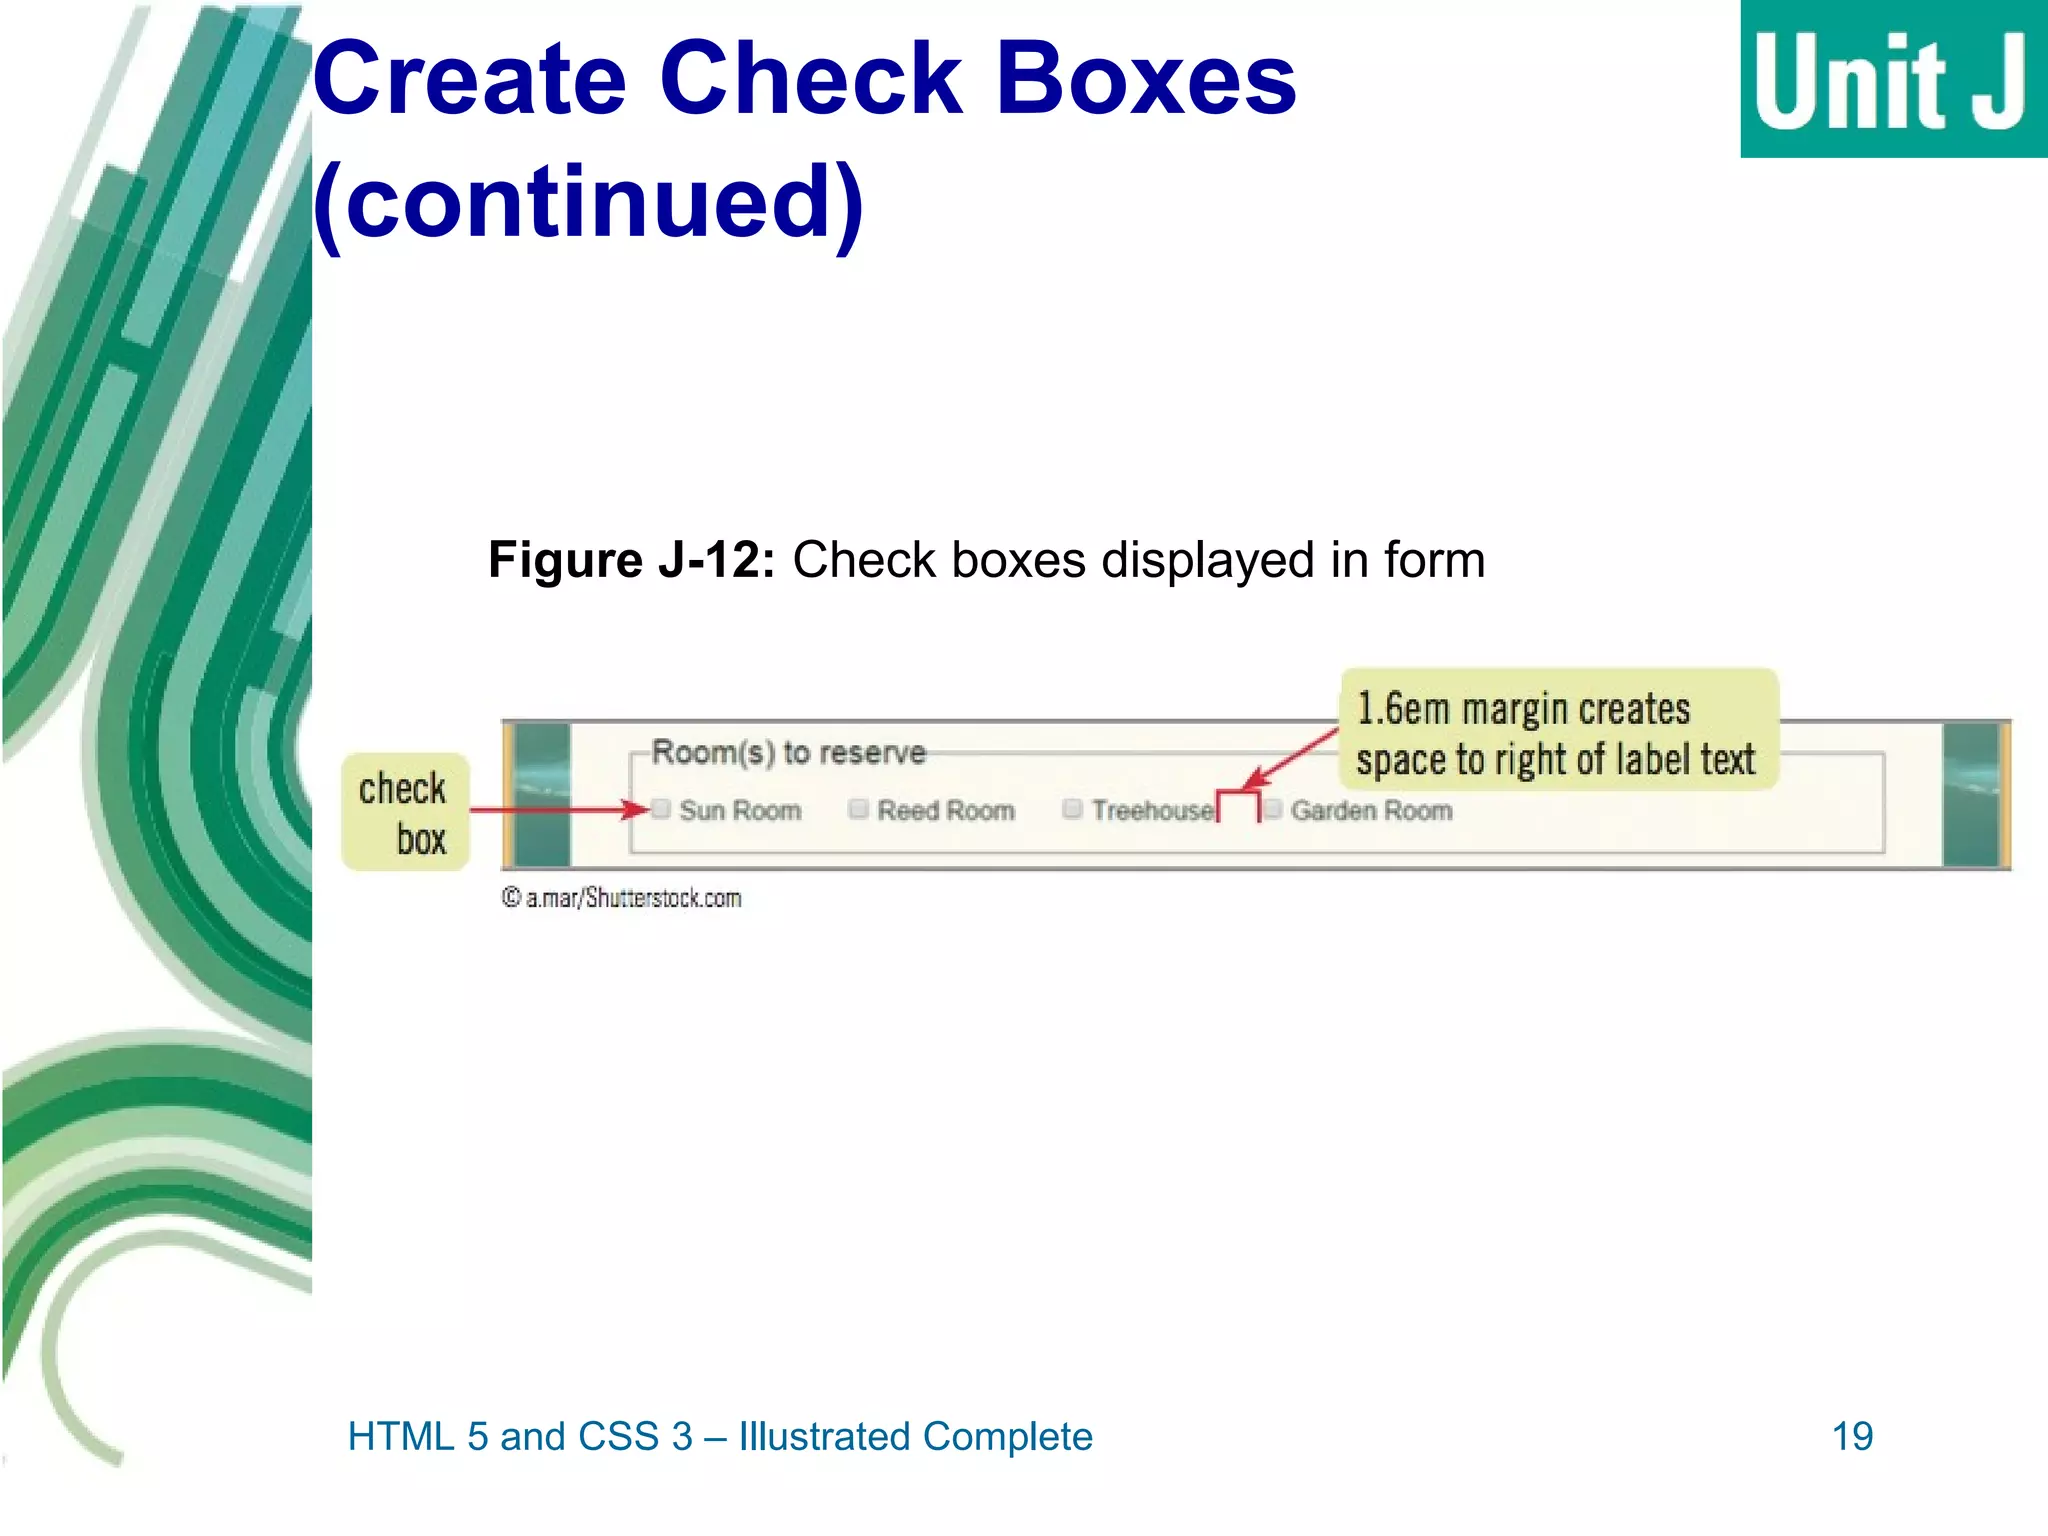
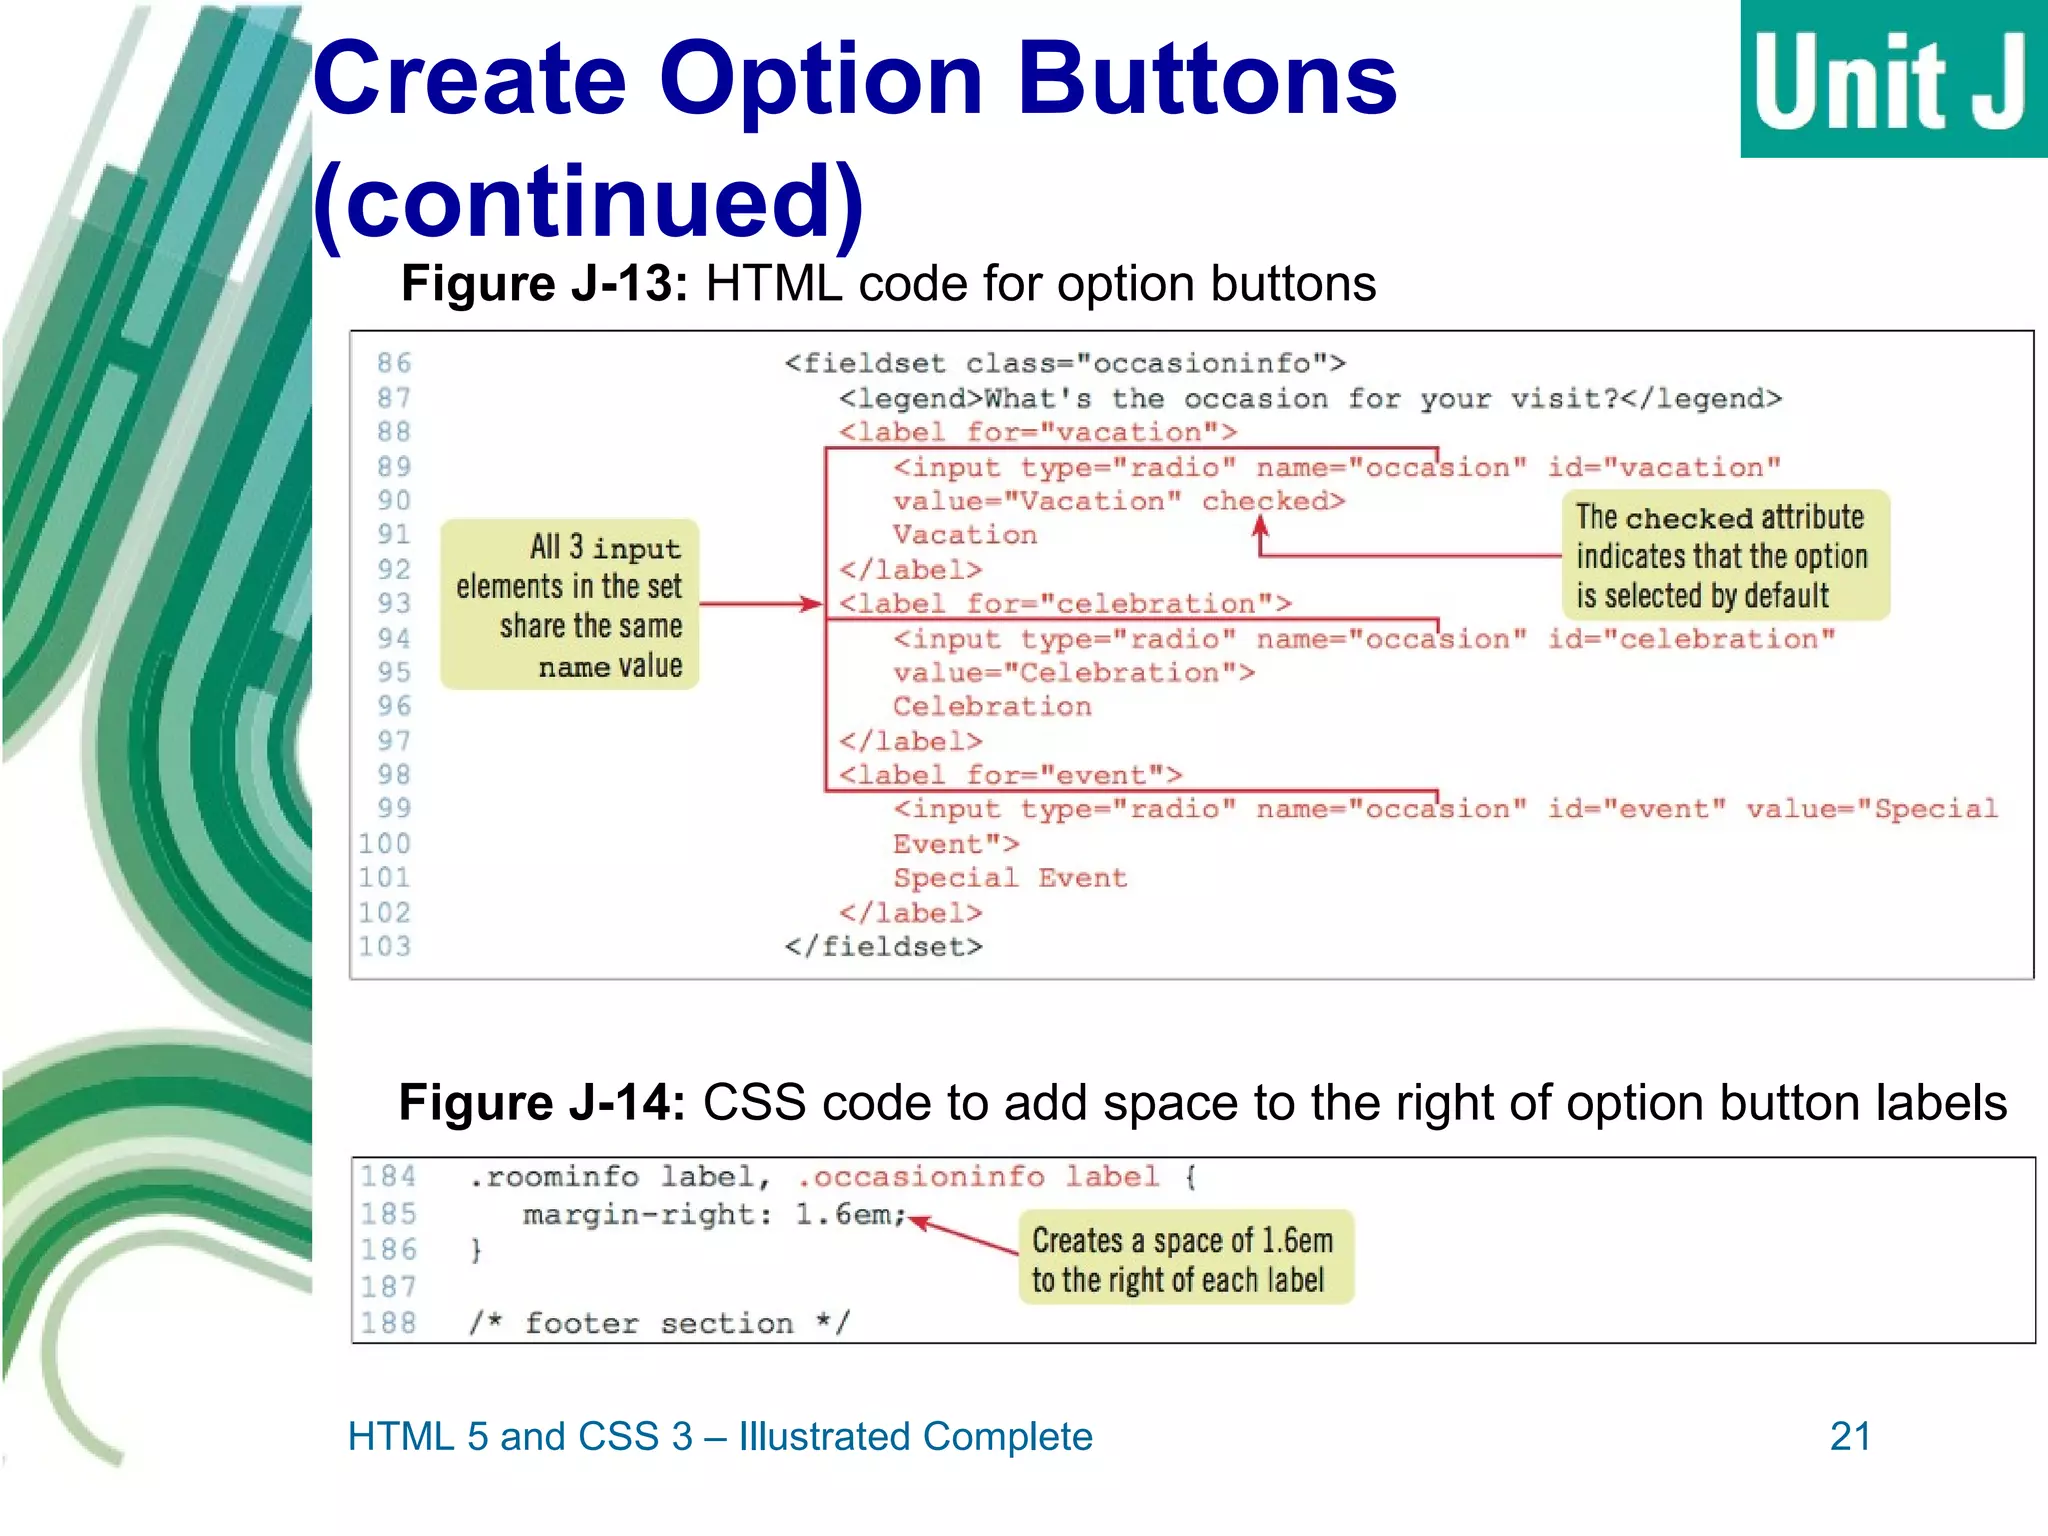
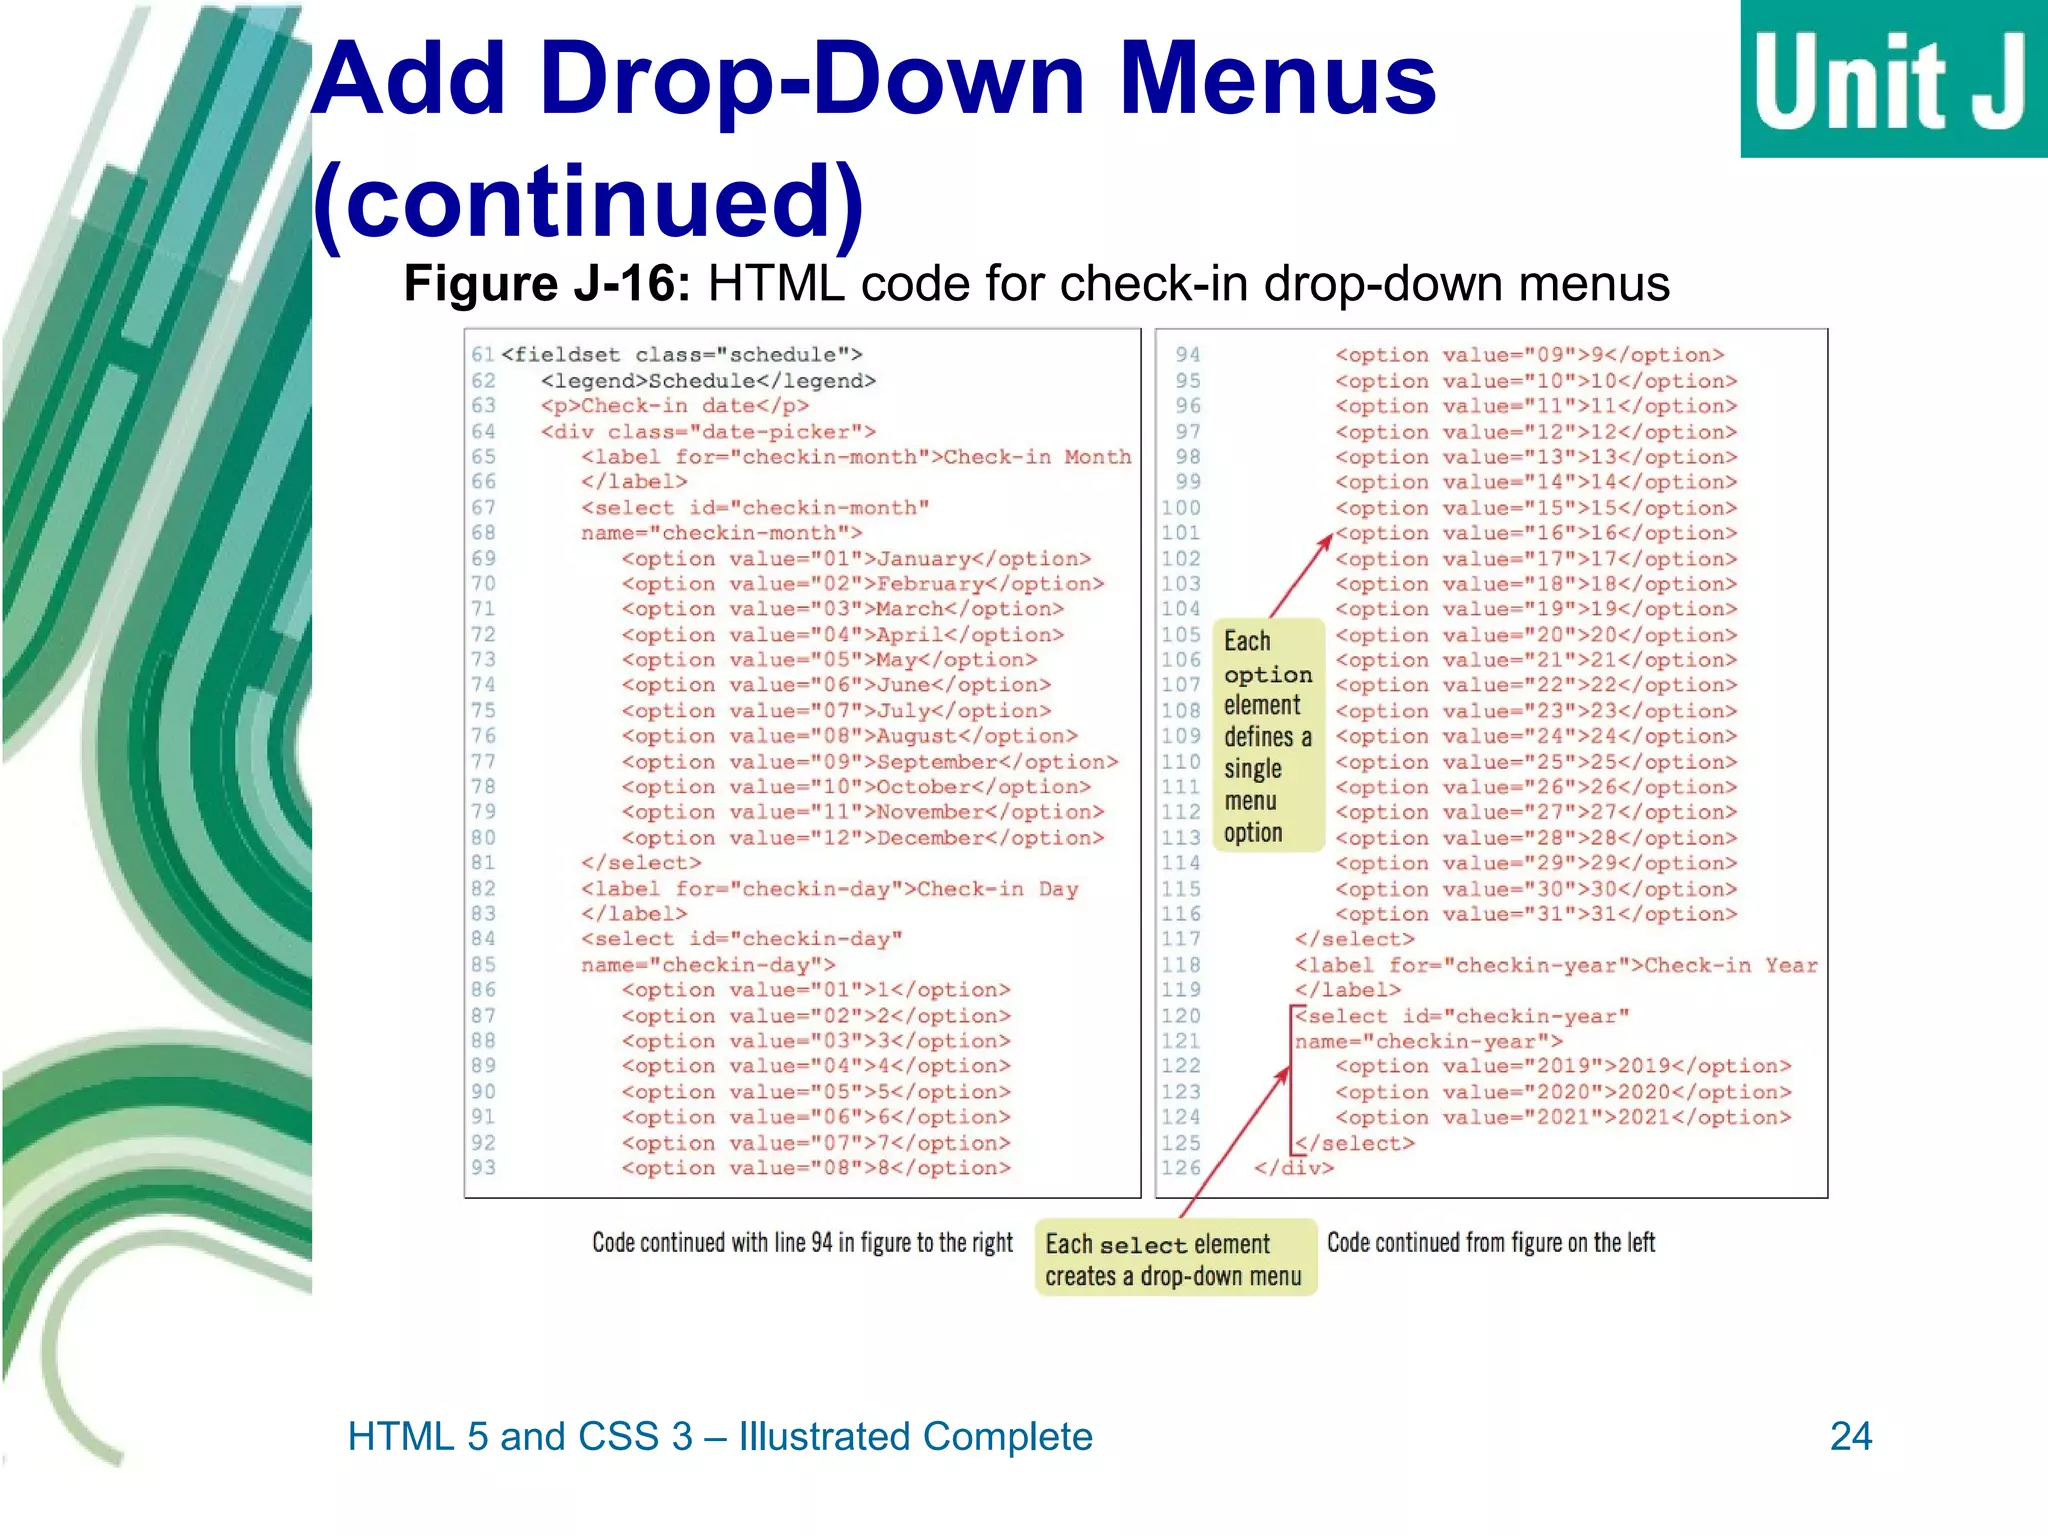
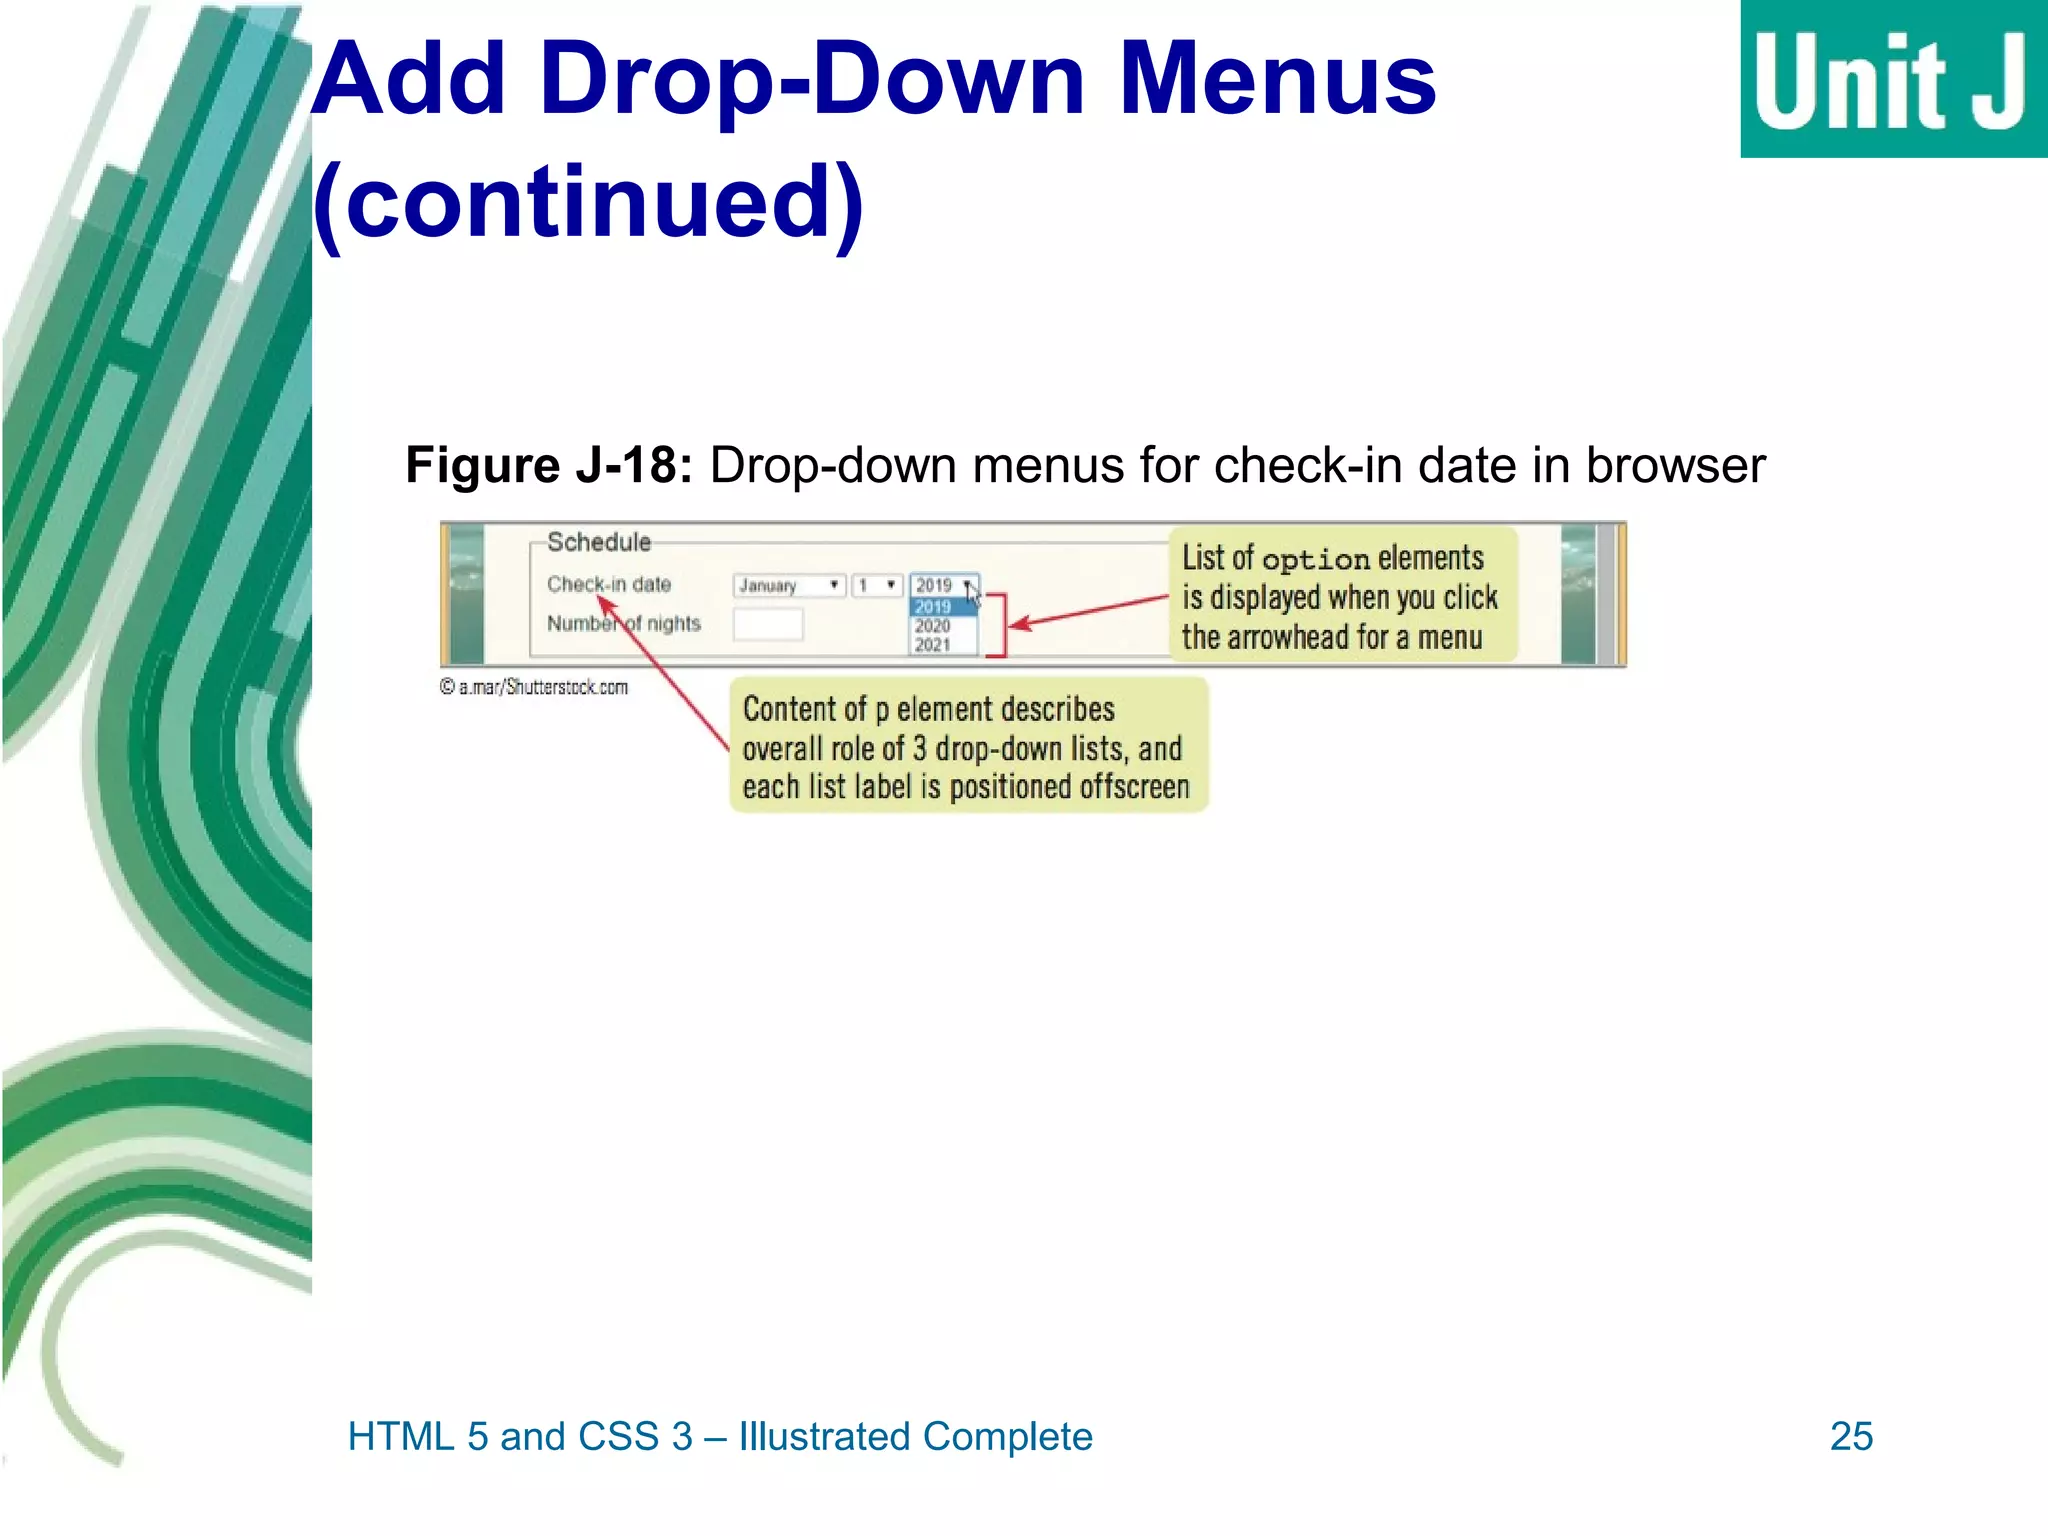
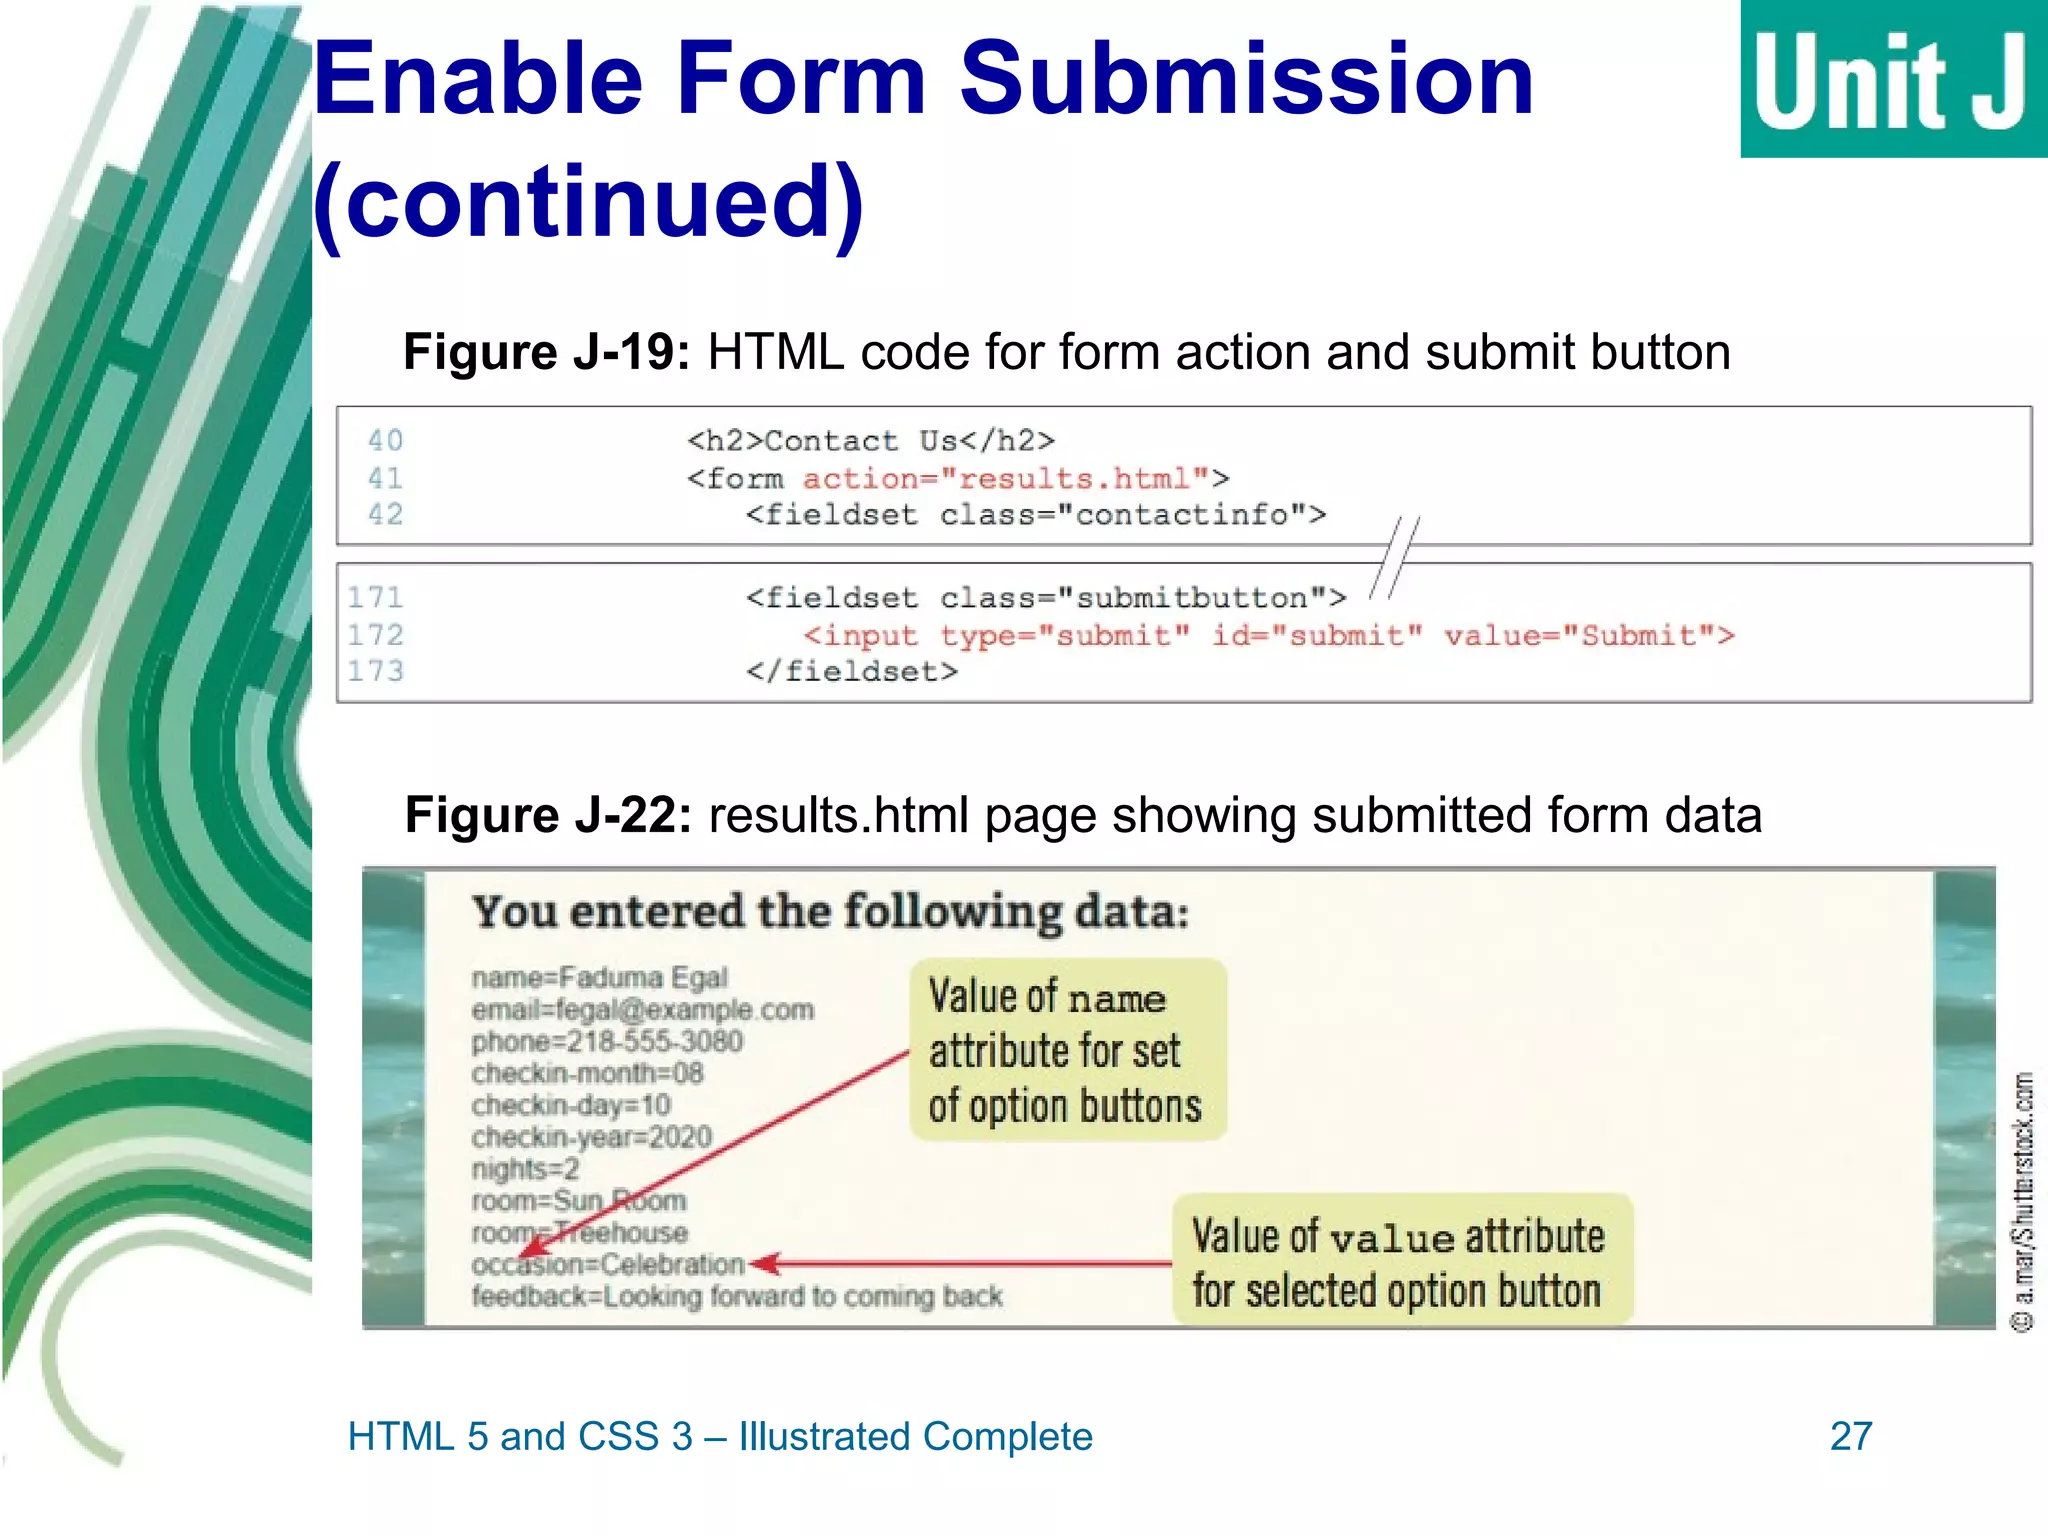
KEMBAR78
Creating and Processing Web Forms | PPT
Creating and Processing Web Forms
Objectives
Design a form
Create a form
Create text fields
Customize text fields
HTML 5 and CSS 3 – Illustrated Complete 2
Objectives (continued)
Create check boxes
Create option buttons
Add drop-down menus
Enable form submission
HTML 5 and CSS 3 – Illustrated Complete 3
Design a Form
Useful to plan out a form before
coding it
To increase usability:
 Understand what information you need to
collect
 Identify the type of data required for each
item
 Ensure your form is logically organized
and includes explanations
HTML 5 and CSS 3 – Illustrated Complete 4
Design a Form (continued)
Fields/Controls: form elements in
which users enter or select data
Identify the types of information you
need to collect
 Ask for information in distinct pieces
• Example: ask for first and last names in two
separate fields
 Clarify what you are likely to need to do
with the information
• Break down into multiple fields only if
necessary for processing
HTML 5 and CSS 3 – Illustrated Complete 5
Design a Form (continued)
Create a logical flow
 Display related fields near each other
 Display fields in an order users are
accustomed to
• Example: first name, last name, street, city
 If fields should be completed in a specific
order, place them in top-to-bottom order
on the form
 Place fields for questions or information
at the bottom of the form
HTML 5 and CSS 3 – Illustrated Complete 6
Design a Form (continued)
Integrate labels and legends
 Label: element containing descriptive
text that is associated with a field
• Associate each field with a label to make the
significance of the field clear to users
 Fieldset: group of fields that forms a
logical unit
 Legend: a descriptive title for a fieldset
• Add legends to fieldsets to further increase
usability of the form
HTML 5 and CSS 3 – Illustrated Complete 7
Design a Form (continued)
HTML 5 and CSS 3 – Illustrated Complete 8
Figure J-1: Sketch of Lakeland Reeds contact form
Create a Form
Web page form contains a series of
nested elements
form element: marks form contents
fieldset element: contains
elements in each section of the form
 Includes a legend element describing
the contents of the fieldset
HTML 5 and CSS 3 – Illustrated Complete 9
Create a Form (continued)
HTML 5 and CSS 3 – Illustrated Complete 10
Figure J-2: Structuring code for the contact form
Create a Form (continued)
HTML 5 and CSS 3 – Illustrated Complete 11
Figure J-4: Styled form outline in browser
Create Text Fields
input element: used to create many
types of fields in a form
 Determine which type of field by setting
the type attribute
 For text box, set type attribute to text
• Other type values create text boxes with
specific semantic meanings
textarea element: creates a
multiline text area
Visible size set using rows and cols
HTML 5 and CSS 3 – Illustrated Complete 12
Create Text Fields
(continued)
HTML 5 and CSS 3 – Illustrated Complete 13
Figure J-6: Text fields and associated labels displayed in form
Customize Text Fields
Labels and fields require styling
 Good layout makes relationship between
fields clear to users
Multiple options for organizing:
 Positioning
 CSS table styling
Use attributes to add usability features
 Example: placeholder attribute
HTML 5 and CSS 3 – Illustrated Complete 14
Customize Text Fields
(continued)
HTML 5 and CSS 3 – Illustrated Complete 15
Figure J-7: Field and label styles
Customize Text Fields
(continued)
HTML 5 and CSS 3 – Illustrated Complete 16
Figure J-8: placeholder attributes added to input elements
Figure J-9: Text boxes with positioning, size, and text applied
Create Check Boxes
Check box: allows user to select one
or more predefined choices
independent of one another
 User can click to select or deselect the
checkbox
 Defined using the type value checkbox
 value attribute specifies text to be
submitted with the form if a check box is
selected
HTML 5 and CSS 3 – Illustrated Complete 17
Create Check Boxes
(continued)
HTML 5 and CSS 3 – Illustrated Complete 18
Figure J-10: HTML code for check boxes
Figure J-11: CSS code to add space to the right of check box labels
Create Check Boxes
(continued)
HTML 5 and CSS 3 – Illustrated Complete 19
Figure J-12: Check boxes displayed in form
Create Option Buttons
Option button: allows user to select
only one of a predefined set of
choices
 Also known as a radio button
 User can click to select the option button
 Defined using the type value radio
• Each item in set must have the same value
for the name attribute as all other members of
the set
 Use checked attribute for one option to
be selected by defaultHTML 5 and CSS 3 – Illustrated Complete 20
Create Option Buttons
(continued)
HTML 5 and CSS 3 – Illustrated Complete 21
Figure J-13: HTML code for option buttons
Figure J-14: CSS code to add space to the right of option button labels
Create Option Buttons
(continued)
HTML 5 and CSS 3 – Illustrated Complete 22
Figure J-15: Option buttons displayed in form
Add Drop-Down Menus
Drop-down menu: method for creating
a list of options from which user can
select
 Displayed as text box with arrowhead
 User can select only one value from list
 Created using the select element
• Each of the options is created using an
option element nested within the select
element
HTML 5 and CSS 3 – Illustrated Complete 23
Add Drop-Down Menus
(continued)
HTML 5 and CSS 3 – Illustrated Complete 24
Figure J-16: HTML code for check-in drop-down menus
Add Drop-Down Menus
(continued)
HTML 5 and CSS 3 – Illustrated Complete 25
Figure J-18: Drop-down menus for check-in date in browser
Enable Form Submission
Submit button: Form button that users
click to submit their data
 Created using the type value submit
• Can use other type values for specialized
submit buttons
•action attribute used to specify name and
location of script that will accept form data
 User agents submit the name attribute of
a field with its associated value
HTML 5 and CSS 3 – Illustrated Complete 26
Enable Form Submission
(continued)
HTML 5 and CSS 3 – Illustrated Complete 27
Figure J-19: HTML code for form action and submit button
Figure J-22: results.html page showing submitted form data
Summary
Forms need to be planned and
designed before coding
 Identify types of information to be
collected
 Create logical flow
 Use labels and legends
Form is created using form element
fieldset element groups fields in
sections of the form
HTML 5 and CSS 3 – Illustrated Complete 28
Summary (continued)
Text boxes are created with input
element using type value of text
Text areas are created using
textarea elements
Layout of text fields can be
customized using CSS and attributes
Check boxes allow user to select
multiple options and are created using
the type value checkbox
HTML 5 and CSS 3 – Illustrated Complete 29
Summary (continued)
Option buttons and drop-down menus
allow a user to select one of several
options
 For option button, use type value
radio
 For drop-down menu, use select
element and nested option elements
A submit button is clicked when user
wants to submit data in a form, and is
created using the type value submit
HTML 5 and CSS 3 – Illustrated Complete 30

Creating and Processing Web Forms

  • 1.
  • 2.
    Objectives Design a form Createa form Create text fields Customize text fields HTML 5 and CSS 3 – Illustrated Complete 2
  • 3.
    Objectives (continued) Create checkboxes Create option buttons Add drop-down menus Enable form submission HTML 5 and CSS 3 – Illustrated Complete 3
  • 4.
    Design a Form Usefulto plan out a form before coding it To increase usability:  Understand what information you need to collect  Identify the type of data required for each item  Ensure your form is logically organized and includes explanations HTML 5 and CSS 3 – Illustrated Complete 4
  • 5.
    Design a Form(continued) Fields/Controls: form elements in which users enter or select data Identify the types of information you need to collect  Ask for information in distinct pieces • Example: ask for first and last names in two separate fields  Clarify what you are likely to need to do with the information • Break down into multiple fields only if necessary for processing HTML 5 and CSS 3 – Illustrated Complete 5
  • 6.
    Design a Form(continued) Create a logical flow  Display related fields near each other  Display fields in an order users are accustomed to • Example: first name, last name, street, city  If fields should be completed in a specific order, place them in top-to-bottom order on the form  Place fields for questions or information at the bottom of the form HTML 5 and CSS 3 – Illustrated Complete 6
  • 7.
    Design a Form(continued) Integrate labels and legends  Label: element containing descriptive text that is associated with a field • Associate each field with a label to make the significance of the field clear to users  Fieldset: group of fields that forms a logical unit  Legend: a descriptive title for a fieldset • Add legends to fieldsets to further increase usability of the form HTML 5 and CSS 3 – Illustrated Complete 7
  • 8.
    Design a Form(continued) HTML 5 and CSS 3 – Illustrated Complete 8 Figure J-1: Sketch of Lakeland Reeds contact form
  • 9.
    Create a Form Webpage form contains a series of nested elements form element: marks form contents fieldset element: contains elements in each section of the form  Includes a legend element describing the contents of the fieldset HTML 5 and CSS 3 – Illustrated Complete 9
  • 10.
    Create a Form(continued) HTML 5 and CSS 3 – Illustrated Complete 10 Figure J-2: Structuring code for the contact form
  • 11.
    Create a Form(continued) HTML 5 and CSS 3 – Illustrated Complete 11 Figure J-4: Styled form outline in browser
  • 12.
    Create Text Fields inputelement: used to create many types of fields in a form  Determine which type of field by setting the type attribute  For text box, set type attribute to text • Other type values create text boxes with specific semantic meanings textarea element: creates a multiline text area Visible size set using rows and cols HTML 5 and CSS 3 – Illustrated Complete 12
  • 13.
    Create Text Fields (continued) HTML5 and CSS 3 – Illustrated Complete 13 Figure J-6: Text fields and associated labels displayed in form
  • 14.
    Customize Text Fields Labelsand fields require styling  Good layout makes relationship between fields clear to users Multiple options for organizing:  Positioning  CSS table styling Use attributes to add usability features  Example: placeholder attribute HTML 5 and CSS 3 – Illustrated Complete 14
  • 15.
    Customize Text Fields (continued) HTML5 and CSS 3 – Illustrated Complete 15 Figure J-7: Field and label styles
  • 16.
    Customize Text Fields (continued) HTML5 and CSS 3 – Illustrated Complete 16 Figure J-8: placeholder attributes added to input elements Figure J-9: Text boxes with positioning, size, and text applied
  • 17.
    Create Check Boxes Checkbox: allows user to select one or more predefined choices independent of one another  User can click to select or deselect the checkbox  Defined using the type value checkbox  value attribute specifies text to be submitted with the form if a check box is selected HTML 5 and CSS 3 – Illustrated Complete 17
  • 18.
    Create Check Boxes (continued) HTML5 and CSS 3 – Illustrated Complete 18 Figure J-10: HTML code for check boxes Figure J-11: CSS code to add space to the right of check box labels
  • 19.
    Create Check Boxes (continued) HTML5 and CSS 3 – Illustrated Complete 19 Figure J-12: Check boxes displayed in form
  • 20.
    Create Option Buttons Optionbutton: allows user to select only one of a predefined set of choices  Also known as a radio button  User can click to select the option button  Defined using the type value radio • Each item in set must have the same value for the name attribute as all other members of the set  Use checked attribute for one option to be selected by defaultHTML 5 and CSS 3 – Illustrated Complete 20
  • 21.
    Create Option Buttons (continued) HTML5 and CSS 3 – Illustrated Complete 21 Figure J-13: HTML code for option buttons Figure J-14: CSS code to add space to the right of option button labels
  • 22.
    Create Option Buttons (continued) HTML5 and CSS 3 – Illustrated Complete 22 Figure J-15: Option buttons displayed in form
  • 23.
    Add Drop-Down Menus Drop-downmenu: method for creating a list of options from which user can select  Displayed as text box with arrowhead  User can select only one value from list  Created using the select element • Each of the options is created using an option element nested within the select element HTML 5 and CSS 3 – Illustrated Complete 23
  • 24.
    Add Drop-Down Menus (continued) HTML5 and CSS 3 – Illustrated Complete 24 Figure J-16: HTML code for check-in drop-down menus
  • 25.
    Add Drop-Down Menus (continued) HTML5 and CSS 3 – Illustrated Complete 25 Figure J-18: Drop-down menus for check-in date in browser
  • 26.
    Enable Form Submission Submitbutton: Form button that users click to submit their data  Created using the type value submit • Can use other type values for specialized submit buttons •action attribute used to specify name and location of script that will accept form data  User agents submit the name attribute of a field with its associated value HTML 5 and CSS 3 – Illustrated Complete 26
  • 27.
    Enable Form Submission (continued) HTML5 and CSS 3 – Illustrated Complete 27 Figure J-19: HTML code for form action and submit button Figure J-22: results.html page showing submitted form data
  • 28.
    Summary Forms need tobe planned and designed before coding  Identify types of information to be collected  Create logical flow  Use labels and legends Form is created using form element fieldset element groups fields in sections of the form HTML 5 and CSS 3 – Illustrated Complete 28
  • 29.
    Summary (continued) Text boxesare created with input element using type value of text Text areas are created using textarea elements Layout of text fields can be customized using CSS and attributes Check boxes allow user to select multiple options and are created using the type value checkbox HTML 5 and CSS 3 – Illustrated Complete 29
  • 30.
    Summary (continued) Option buttonsand drop-down menus allow a user to select one of several options  For option button, use type value radio  For drop-down menu, use select element and nested option elements A submit button is clicked when user wants to submit data in a form, and is created using the type value submit HTML 5 and CSS 3 – Illustrated Complete 30