Downloaded 97 times

![GUI construction
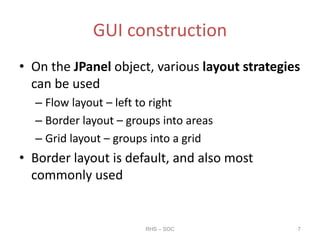
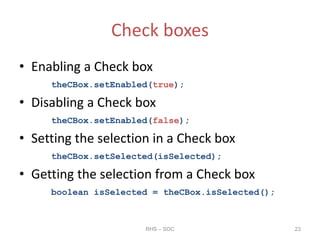
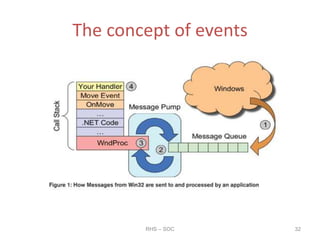
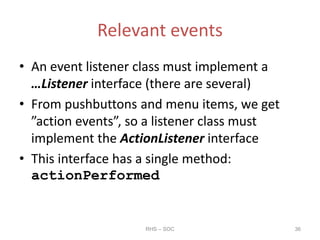
public static void main(String[] args)
{
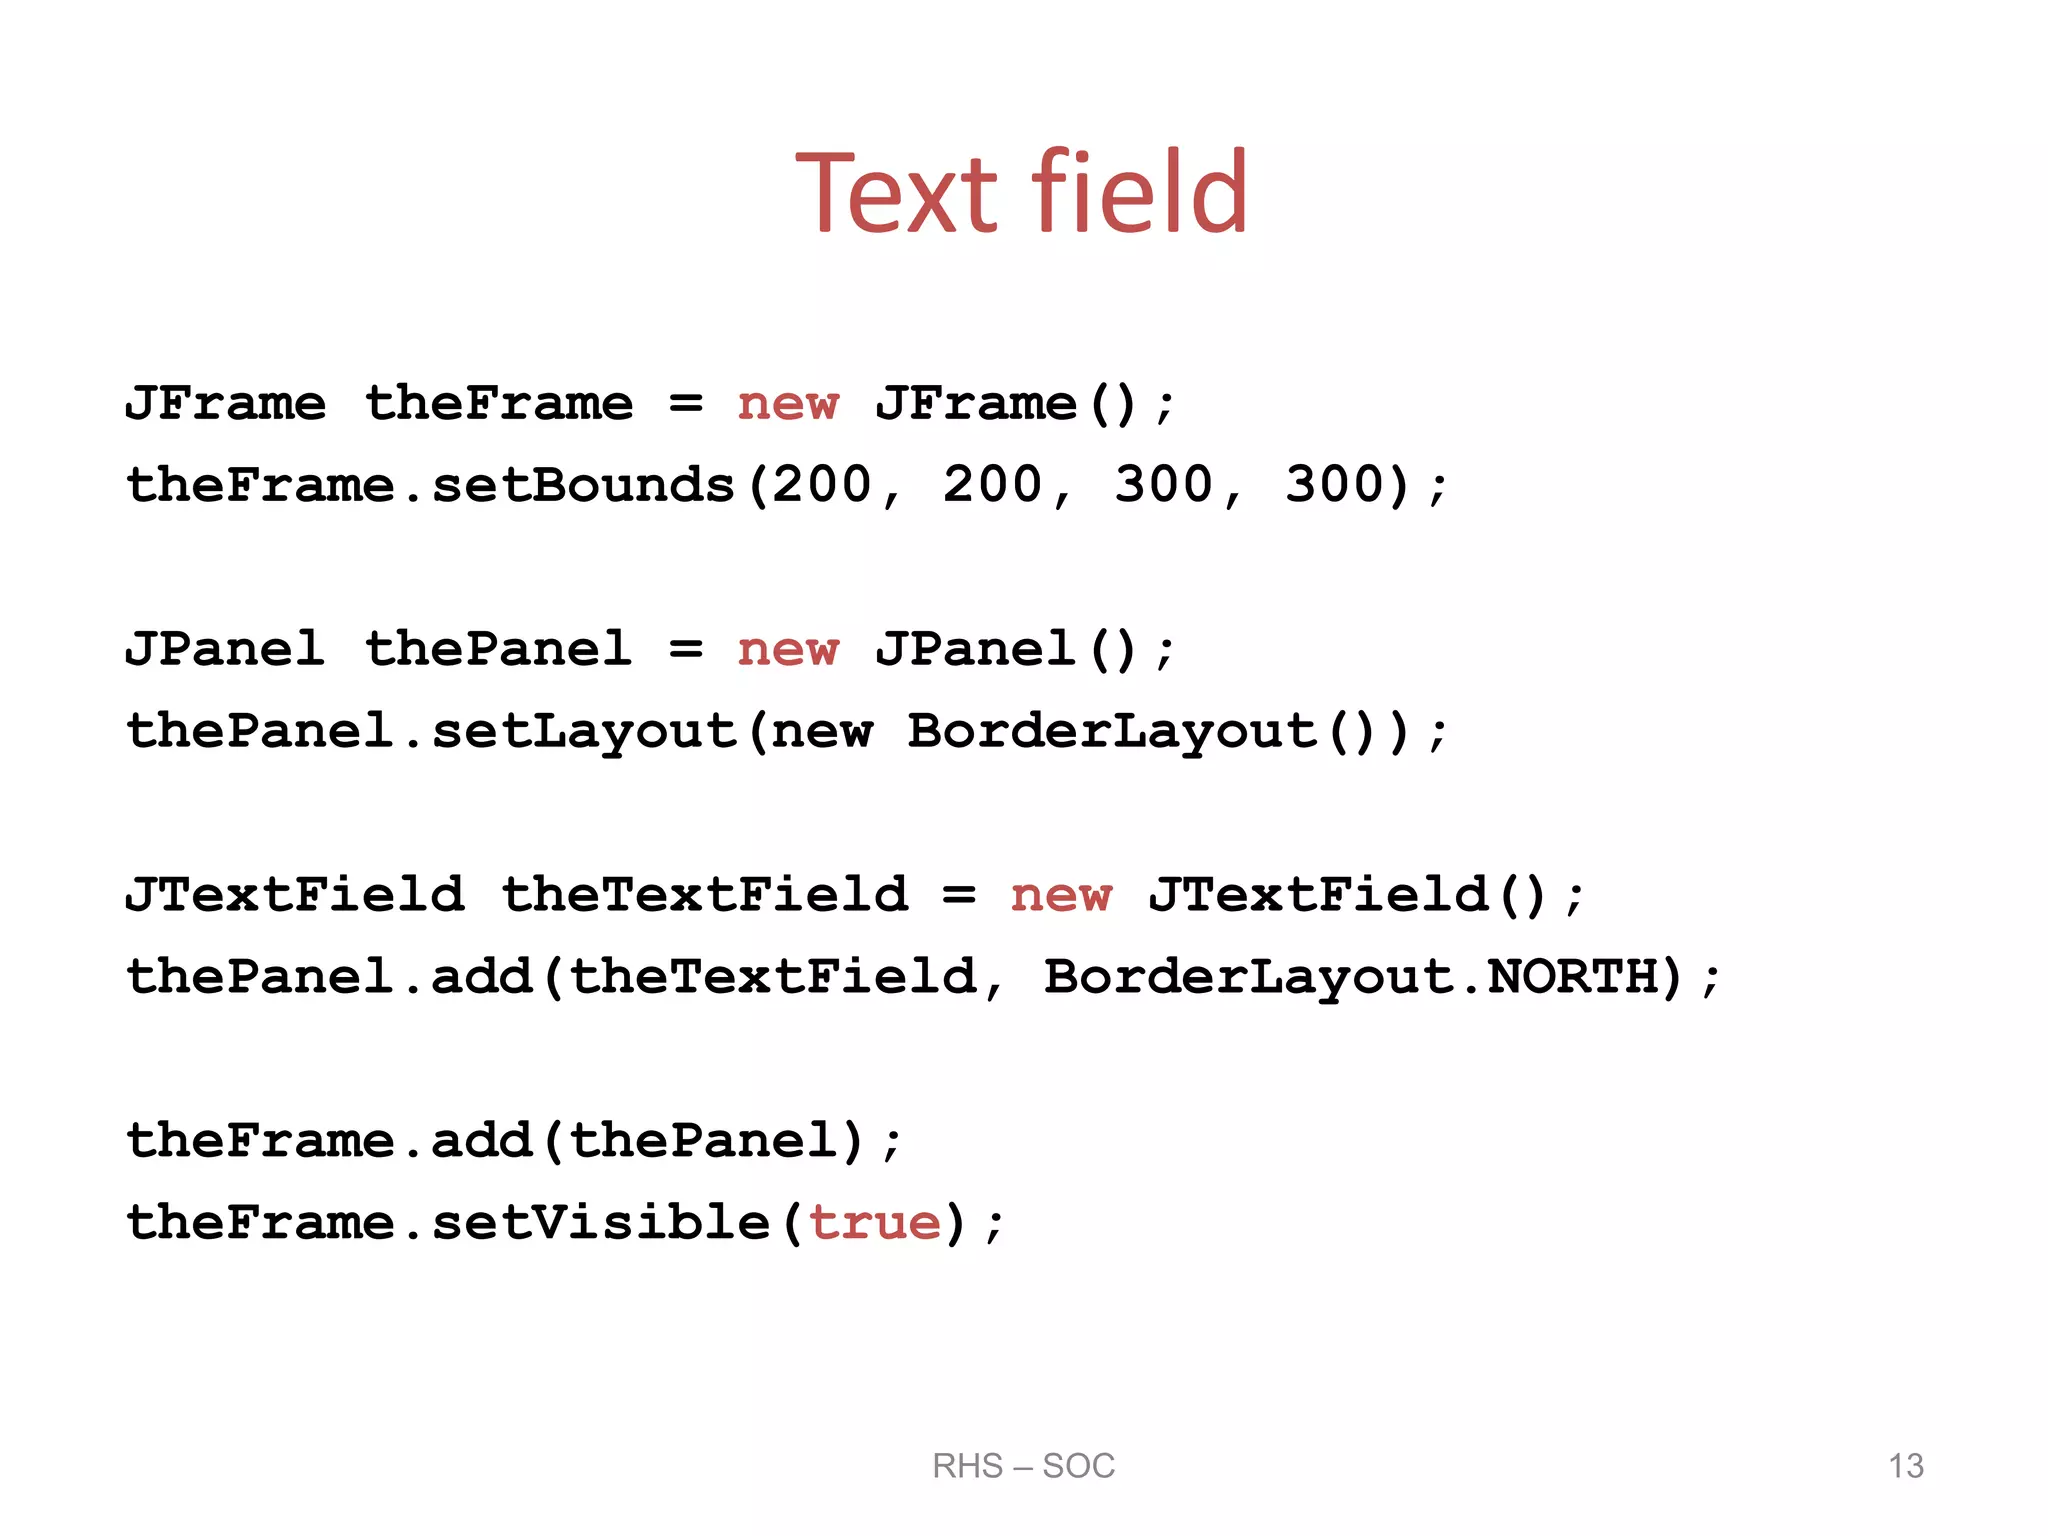
JFrame theFrame = new JFrame();
theFrame.setBounds(200, 200, 720, 450);
theFrame.setVisible(true);
JPanel thePanel = new JPanel();
theFrame.add(thePanel);
}
RHS – SOC 6](https://image.slidesharecdn.com/gui-20programming-20using-20netbeans-20-281-29-150117003413-conversion-gate01/85/GUI-Programming-using-NetBeans-1-pptx-6-320.jpg)
![GUI construction
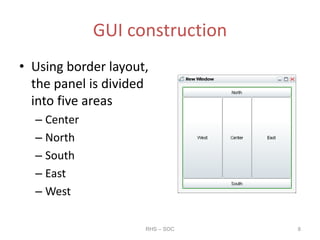
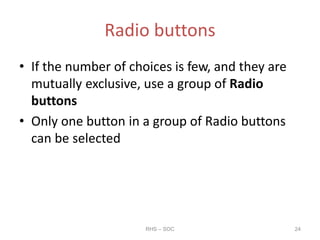
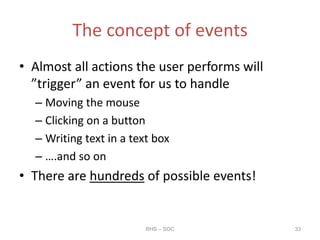
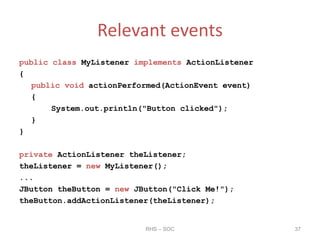
public static void main(String[] args)
{
JFrame theFrame = new JFrame();
theFrame.setBounds(200, 200, 240, 150);
theFrame.setVisible(true);
JPanel thePanel = new JPanel();
thePanel.setLayout(new BorderLayout());
thePanel.add(new Button("Center"), BorderLayout.CENTER);
theFrame.add(thePanel);
}
RHS – SOC 10](https://image.slidesharecdn.com/gui-20programming-20using-20netbeans-20-281-29-150117003413-conversion-gate01/85/GUI-Programming-using-NetBeans-1-pptx-10-320.jpg)
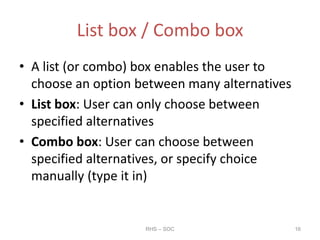
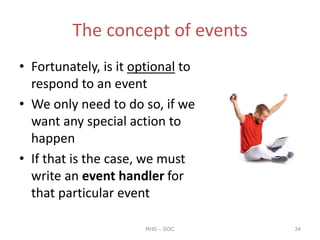
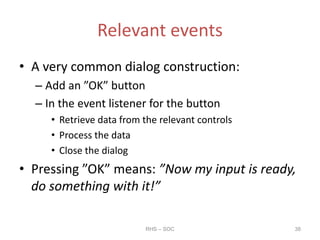
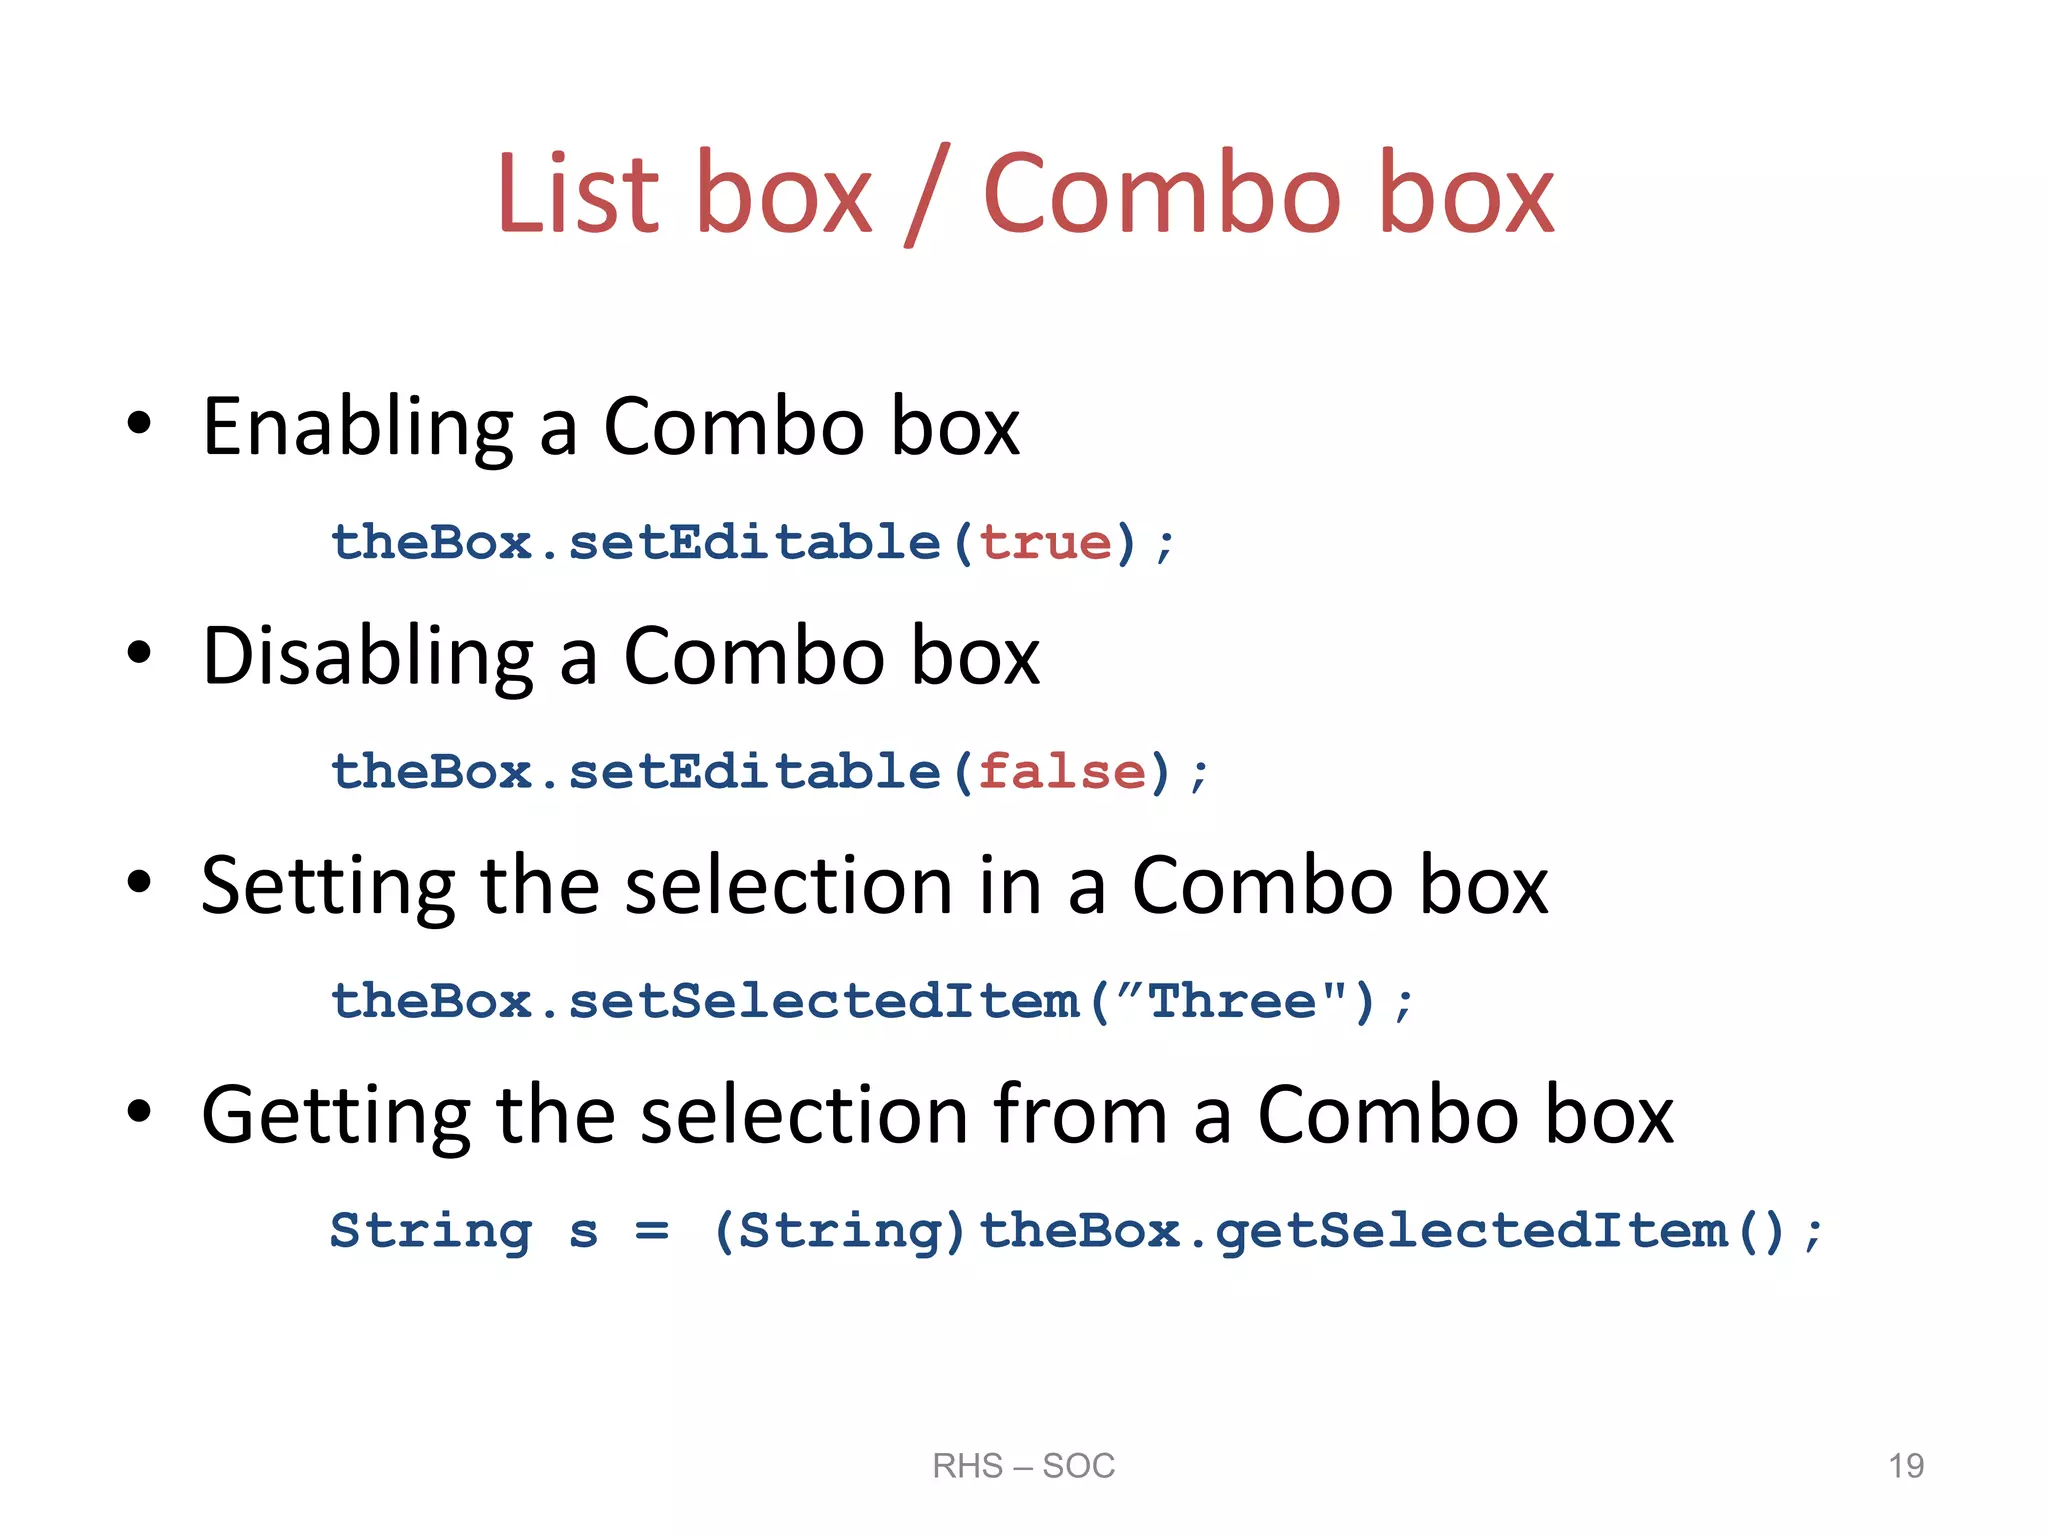
![List box / Combo box
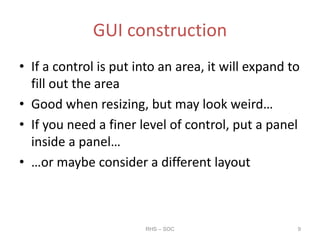
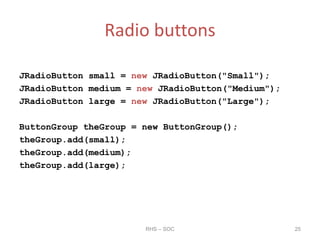
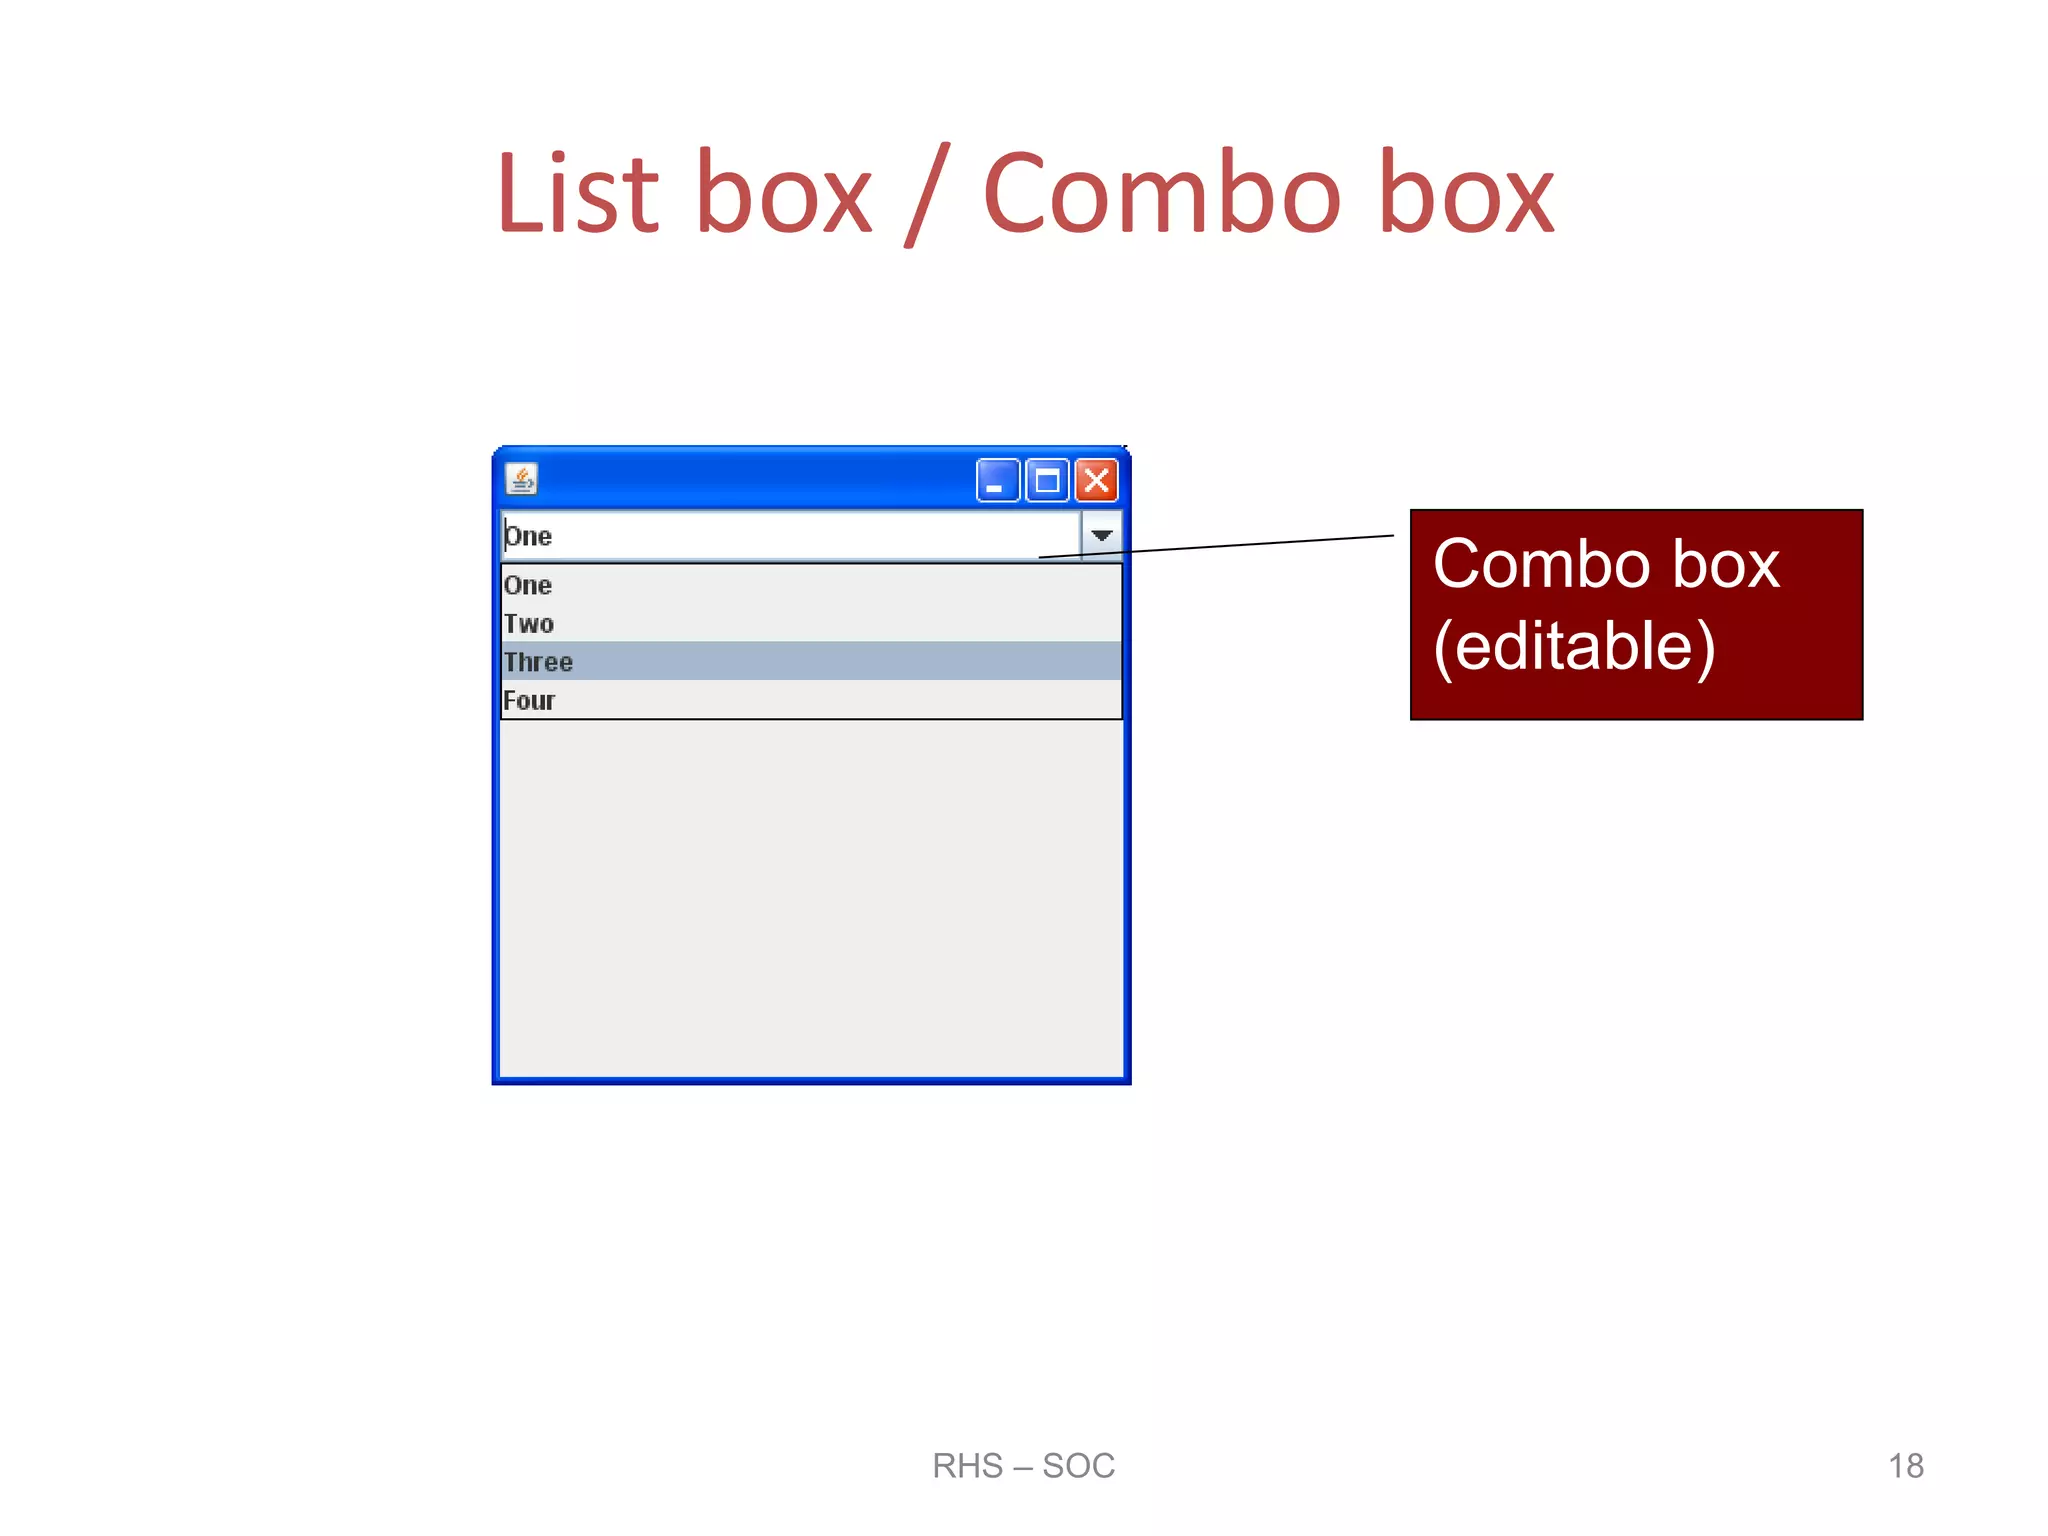
Object[] choices =
{"One", "Two", "Three", "Four"};
JComboBox theBox = new JComboBox(choices);
theBox.setEditable(true);
thePanel.add(theBox, BorderLayout.NORTH);
RHS – SOC 17](https://image.slidesharecdn.com/gui-20programming-20using-20netbeans-20-281-29-150117003413-conversion-gate01/85/GUI-Programming-using-NetBeans-1-pptx-17-320.jpg)

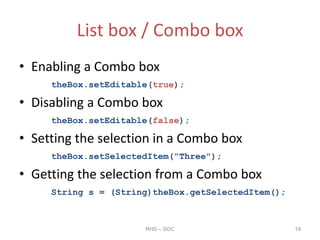


![GUI construction
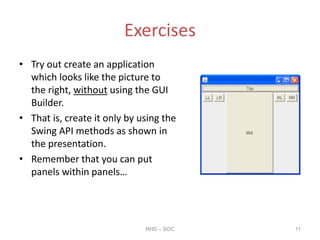
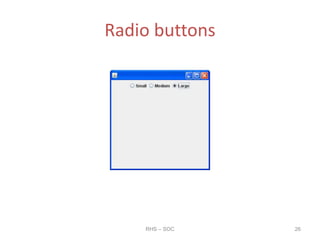
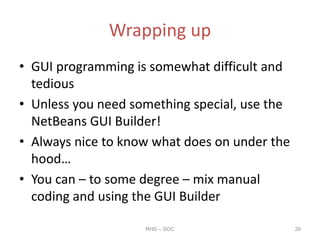
public static void main(String[] args)
{
JFrame theFrame = new JFrame();
theFrame.setBounds(200, 200, 720, 450);
theFrame.setVisible(true);
JPanel thePanel = new JPanel();
theFrame.add(thePanel);
}
RHS – SOC 6](https://image.slidesharecdn.com/gui-20programming-20using-20netbeans-20-281-29-150117003413-conversion-gate01/75/GUI-Programming-using-NetBeans-1-pptx-6-2048.jpg)
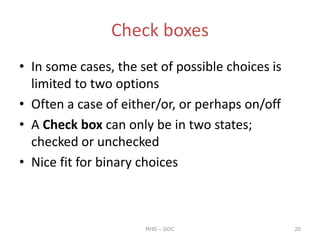
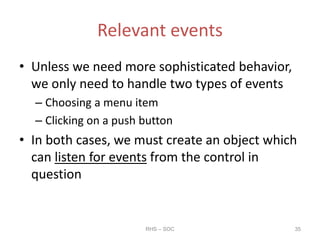
![GUI construction
public static void main(String[] args)
{
JFrame theFrame = new JFrame();
theFrame.setBounds(200, 200, 240, 150);
theFrame.setVisible(true);
JPanel thePanel = new JPanel();
thePanel.setLayout(new BorderLayout());
thePanel.add(new Button("Center"), BorderLayout.CENTER);
theFrame.add(thePanel);
}
RHS – SOC 10](https://image.slidesharecdn.com/gui-20programming-20using-20netbeans-20-281-29-150117003413-conversion-gate01/75/GUI-Programming-using-NetBeans-1-pptx-10-2048.jpg)


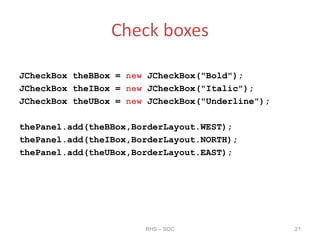
![List box / Combo box
Object[] choices =
{"One", "Two", "Three", "Four"};
JComboBox theBox = new JComboBox(choices);
theBox.setEditable(true);
thePanel.add(theBox, BorderLayout.NORTH);
RHS – SOC 17](https://image.slidesharecdn.com/gui-20programming-20using-20netbeans-20-281-29-150117003413-conversion-gate01/75/GUI-Programming-using-NetBeans-1-pptx-17-2048.jpg)


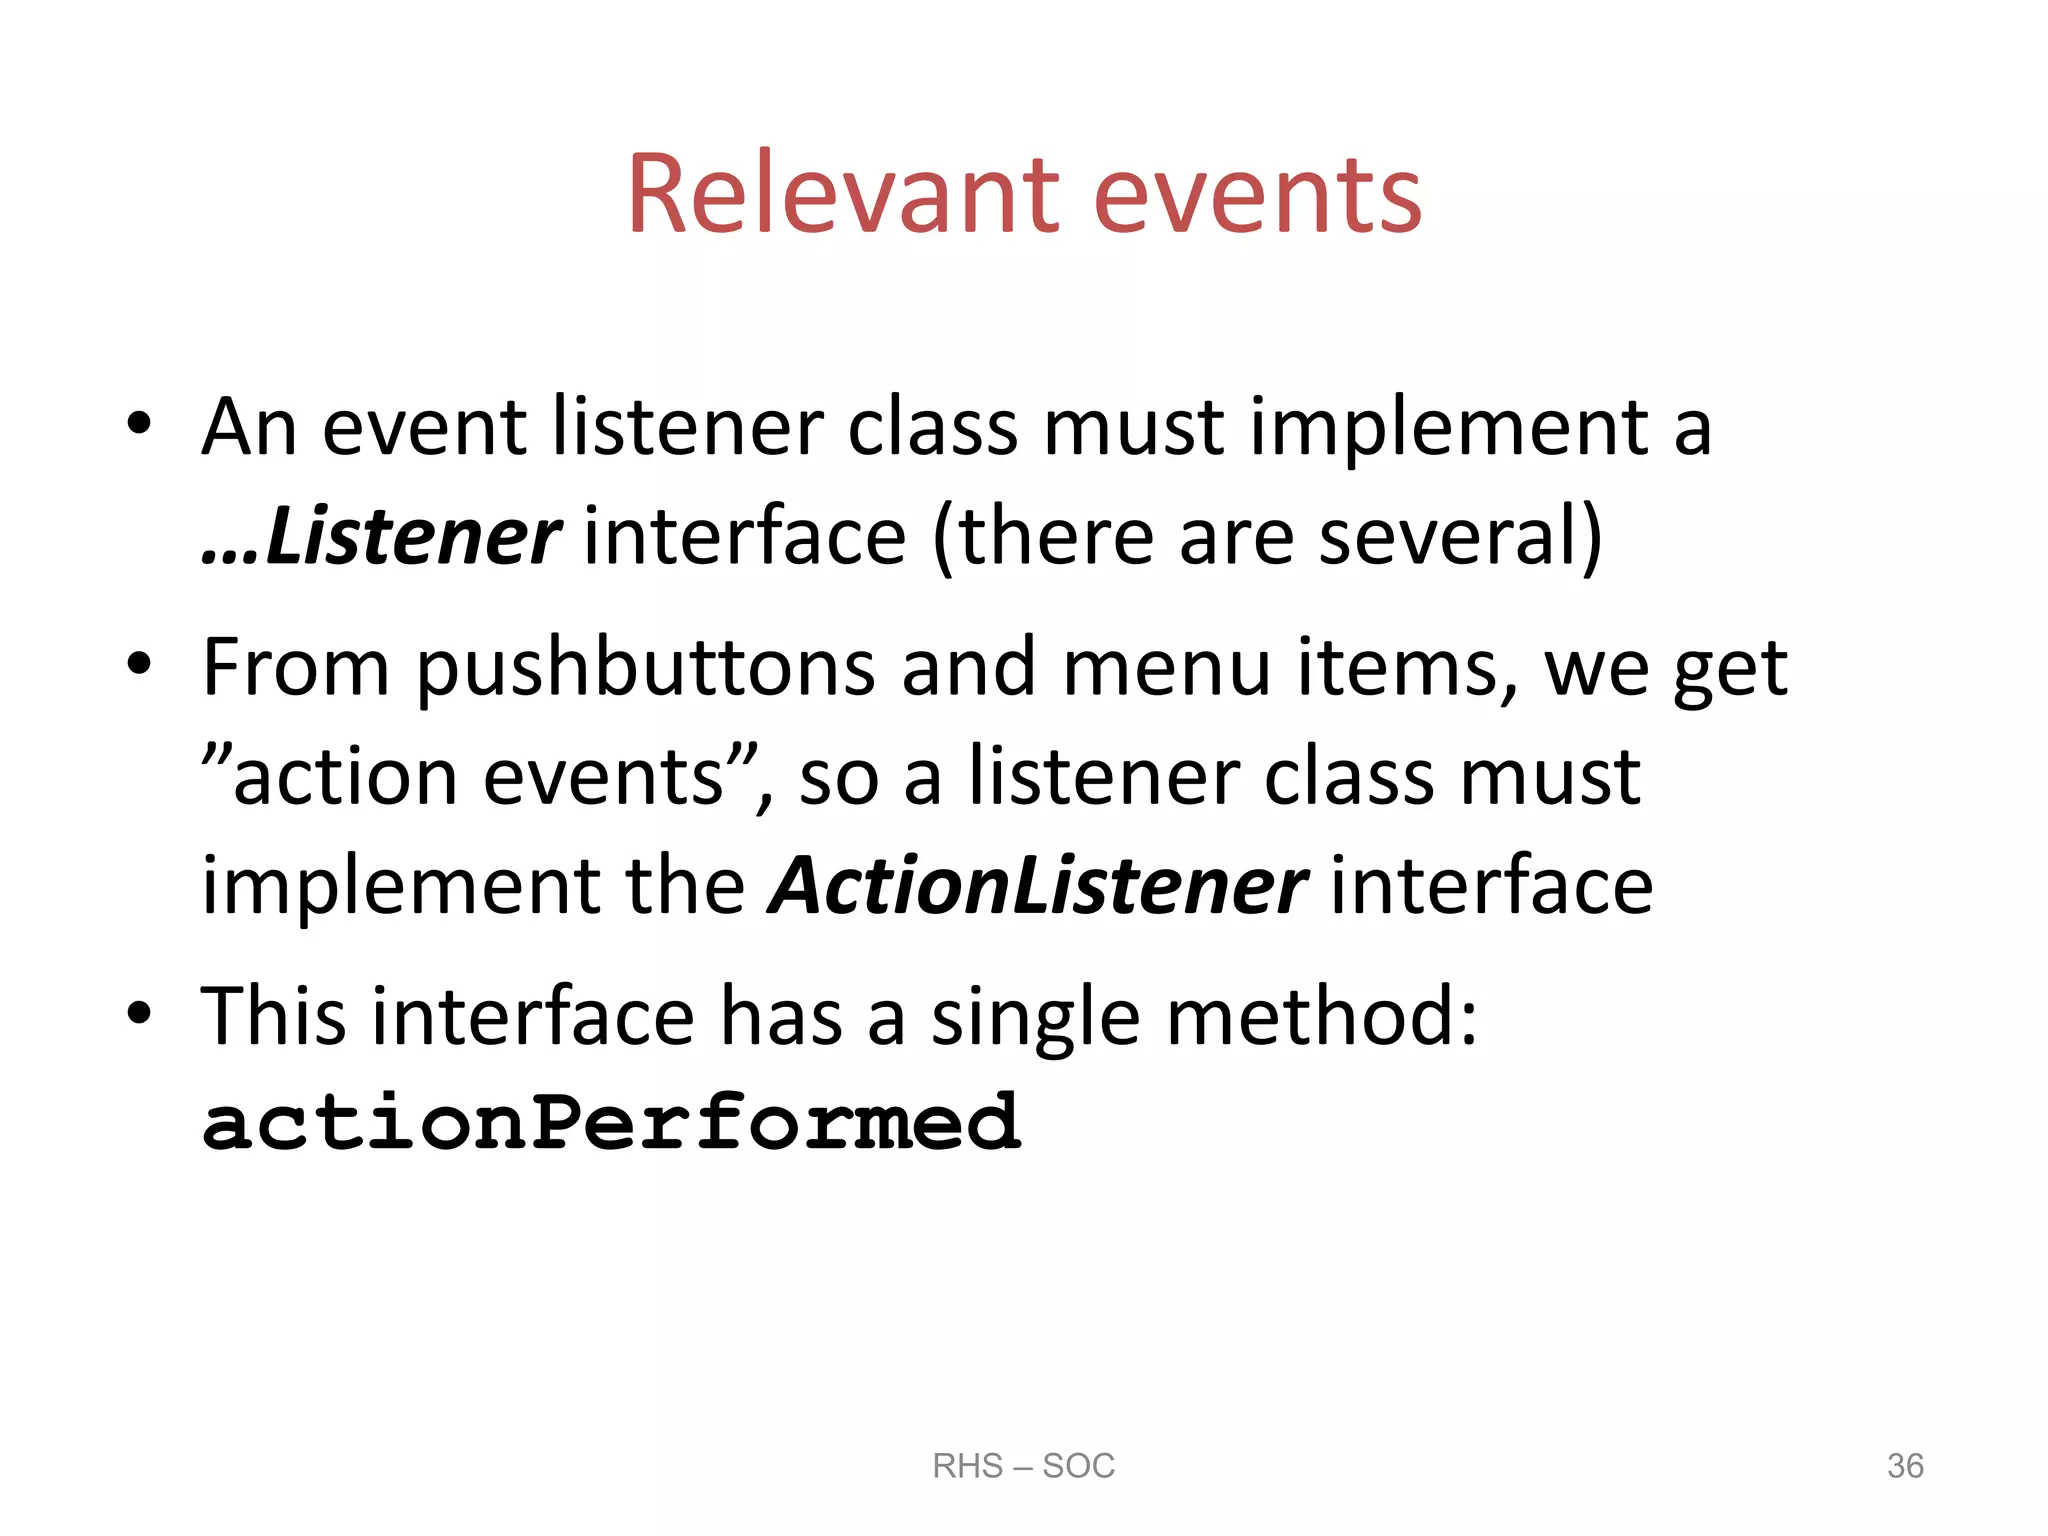
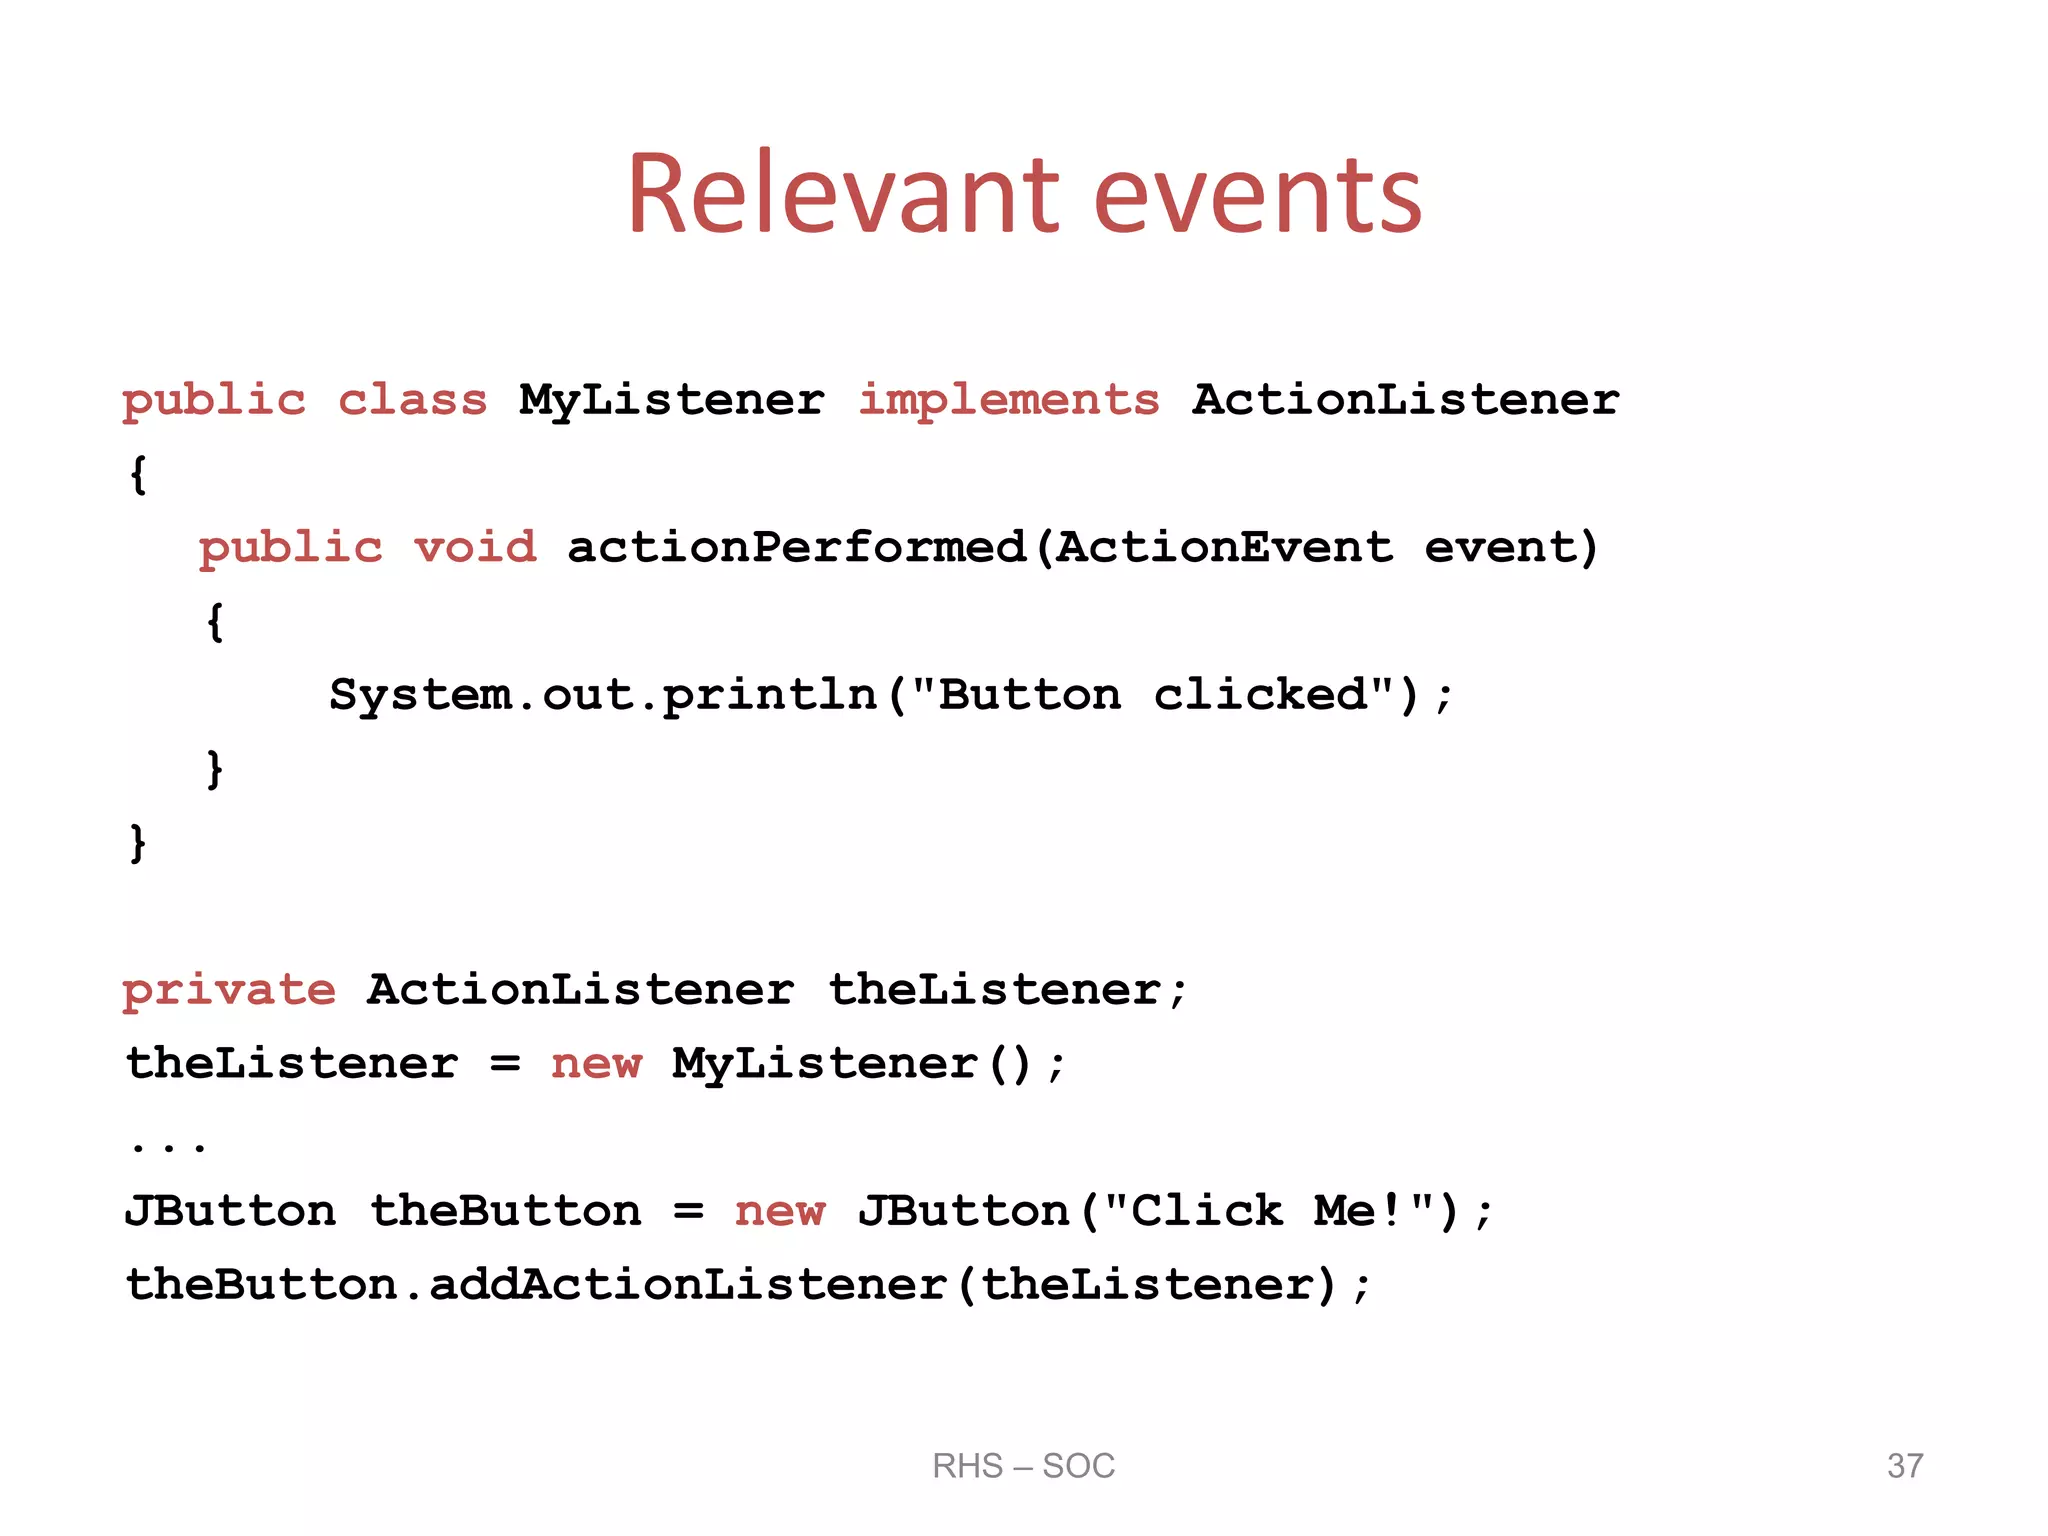
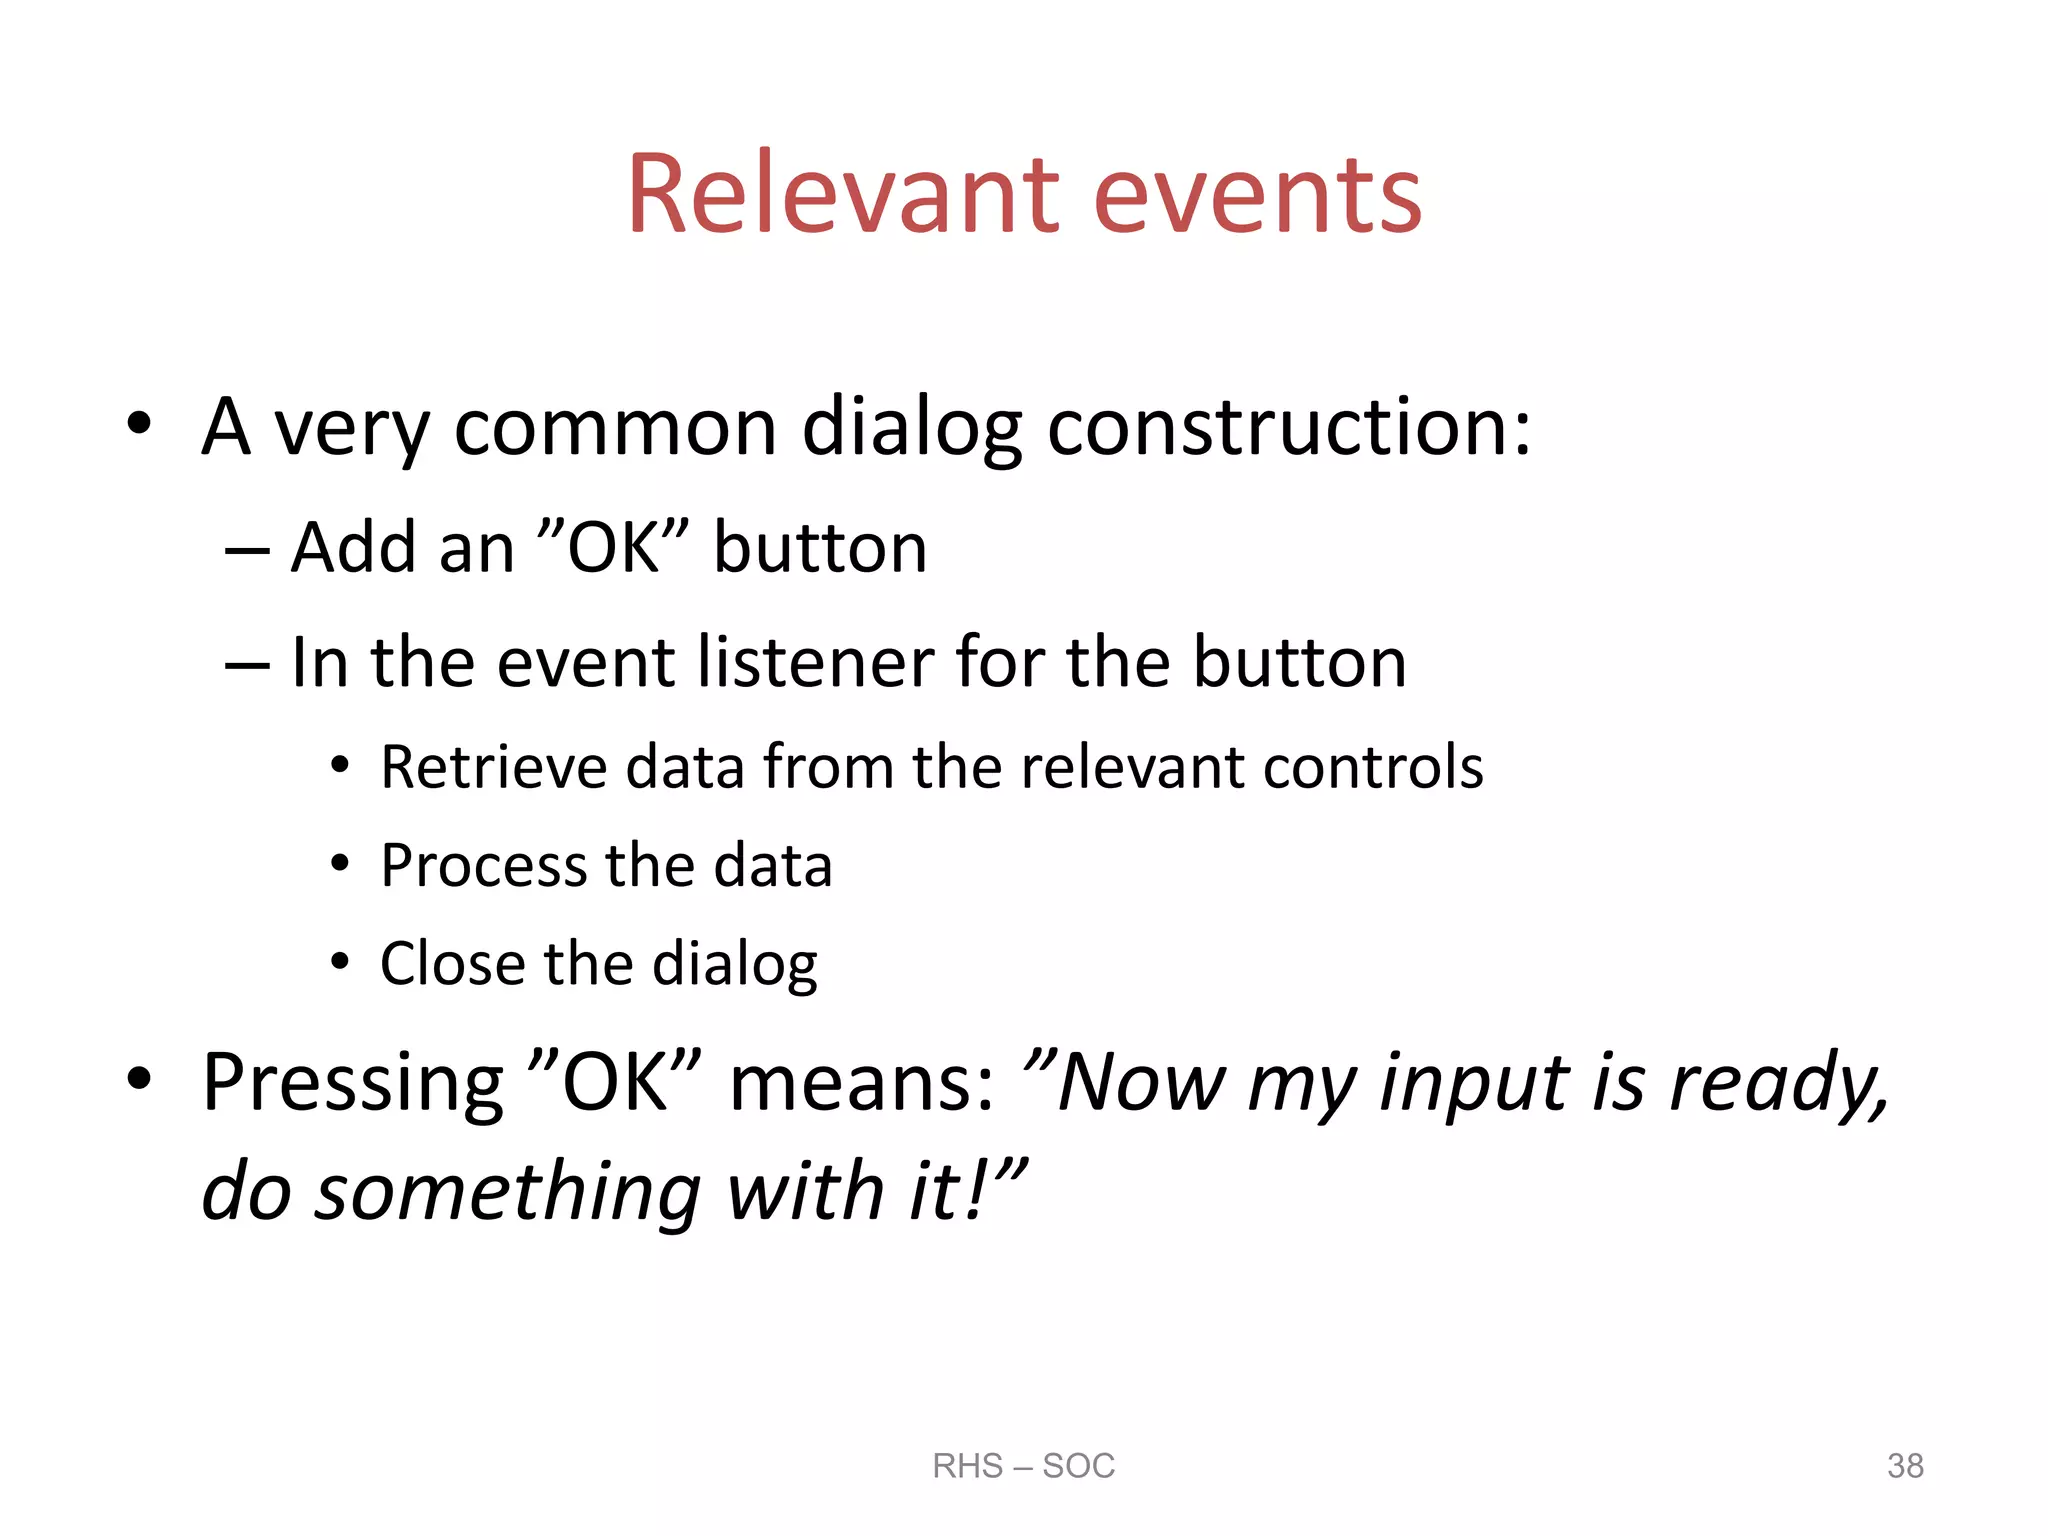


This document discusses GUI programming using the Swing API in Java. It covers constructing GUIs manually by creating frames, panels, and adding GUI controls like text fields, lists, buttons, and handling events. Specifically, it explains how to: 1) Create frames and panels to hold GUI elements and use layouts like border layout to position them. 2) Add common controls like text fields, lists, radio and check boxes programmatically. 3) Handle events from controls by implementing listener interfaces and writing event handlers. 4) Retrieve data from and set selections in GUI elements using their methods. 5) Create example applications to demonstrate concepts like grouping radio buttons and handling multiple button clicks.


