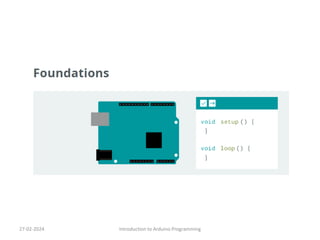
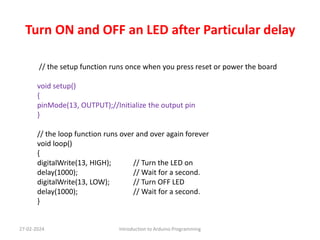
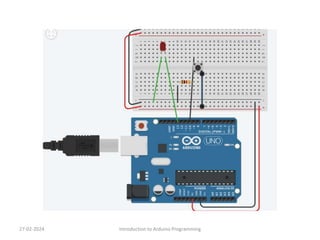
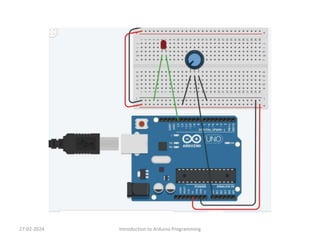
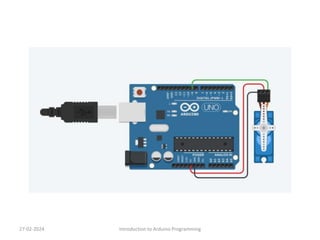
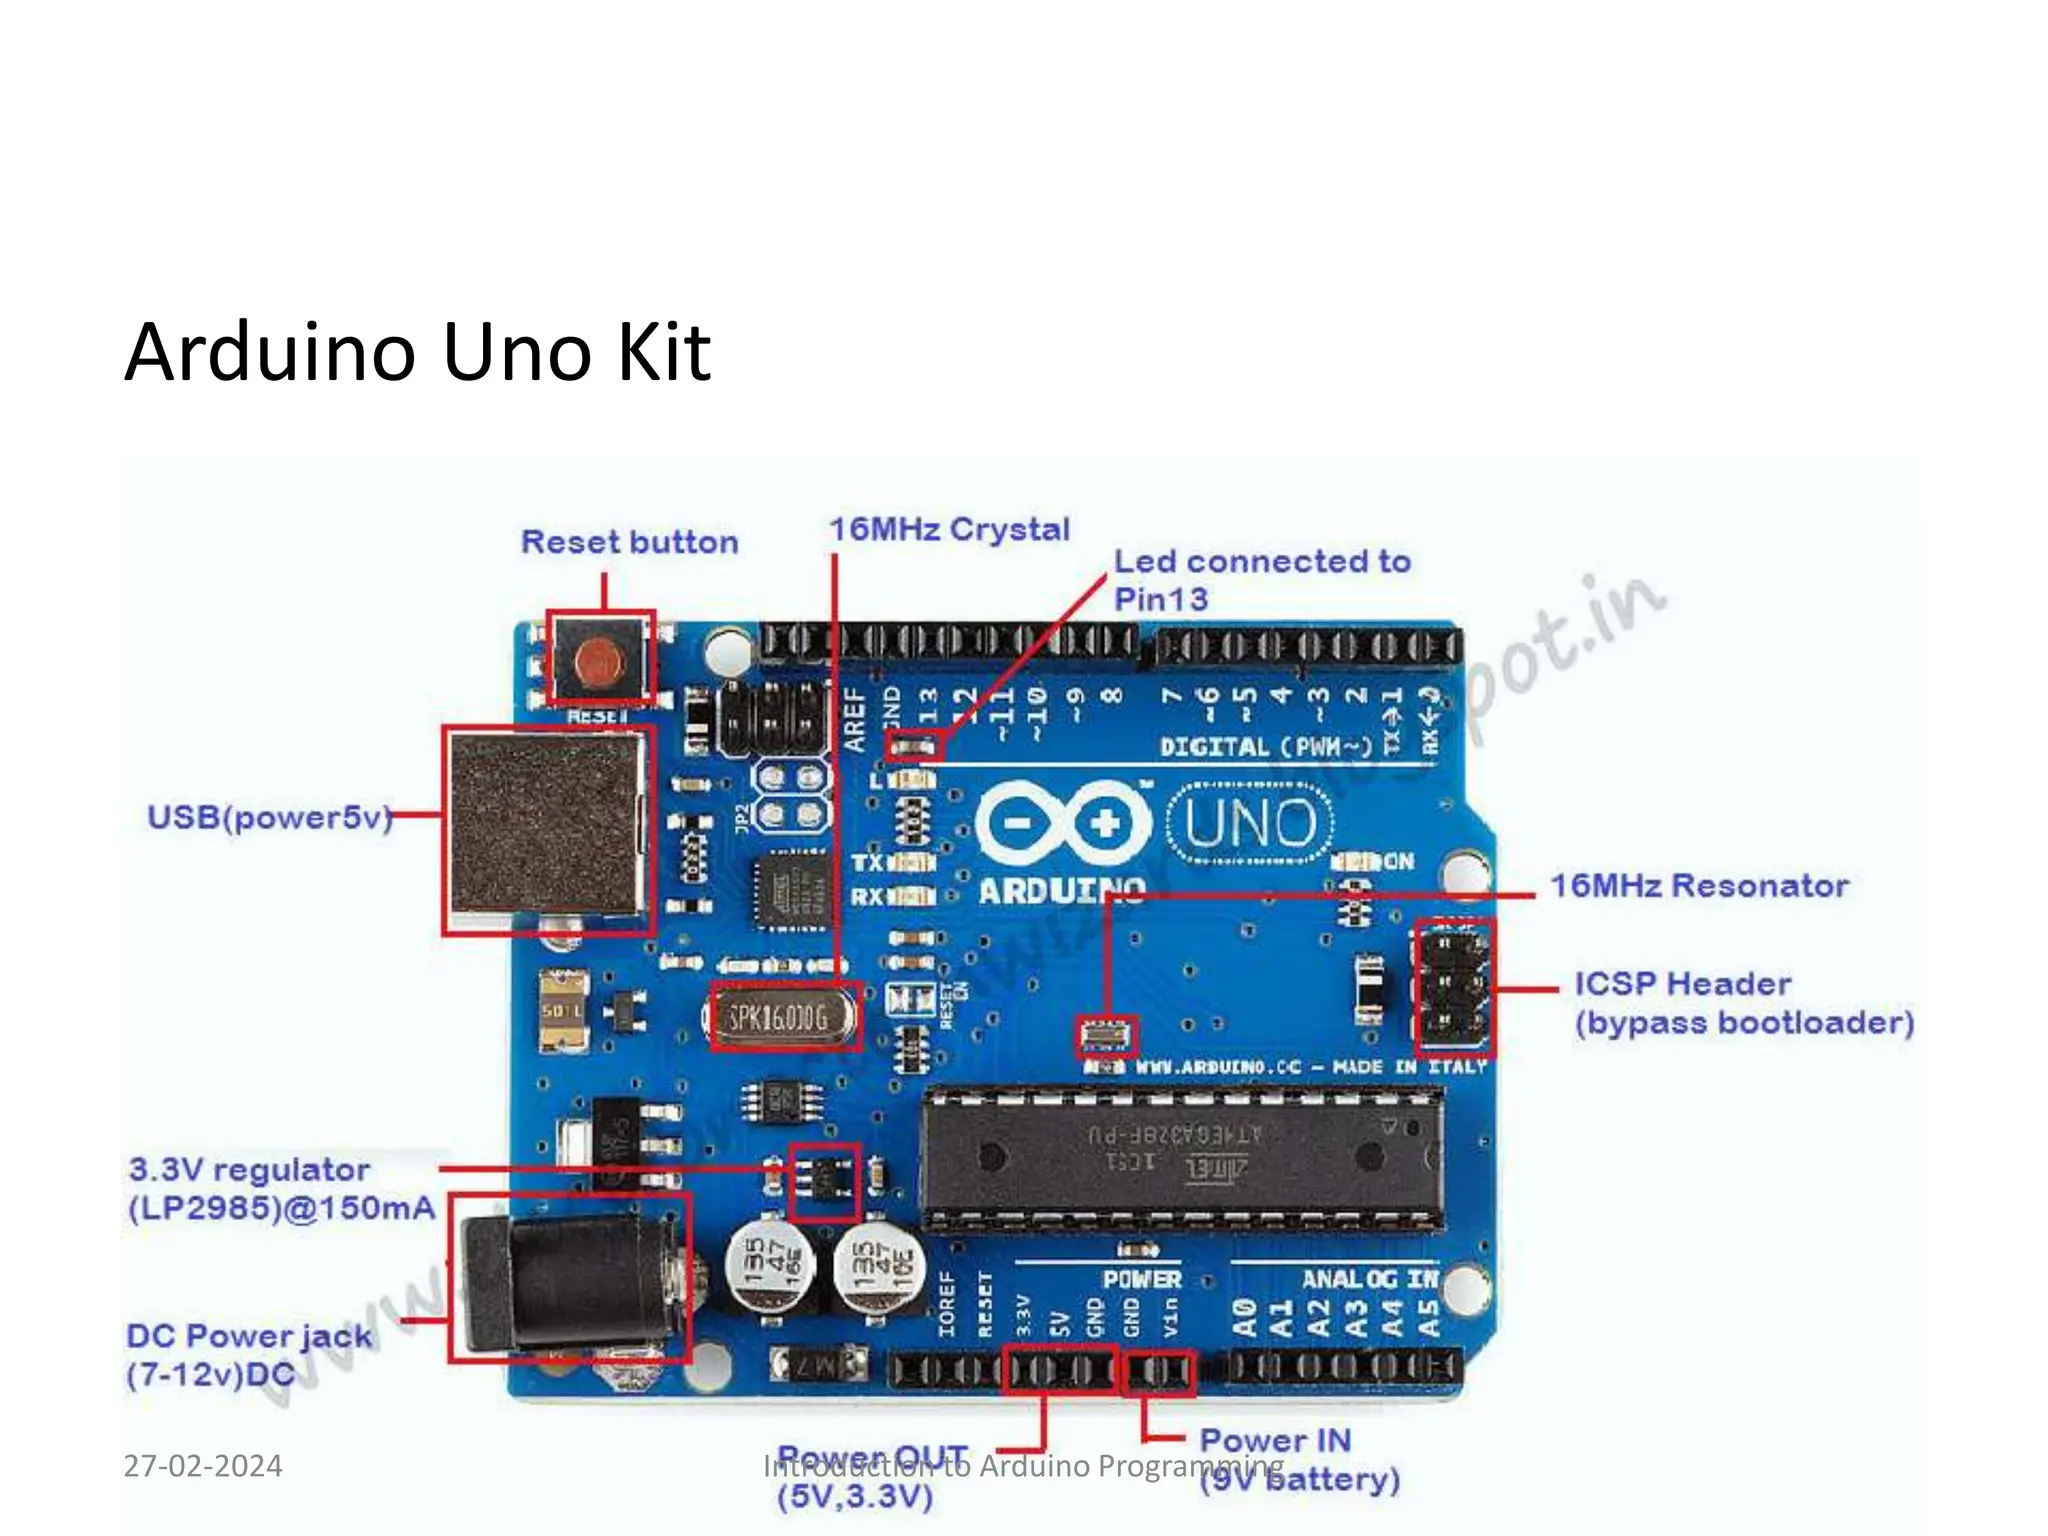
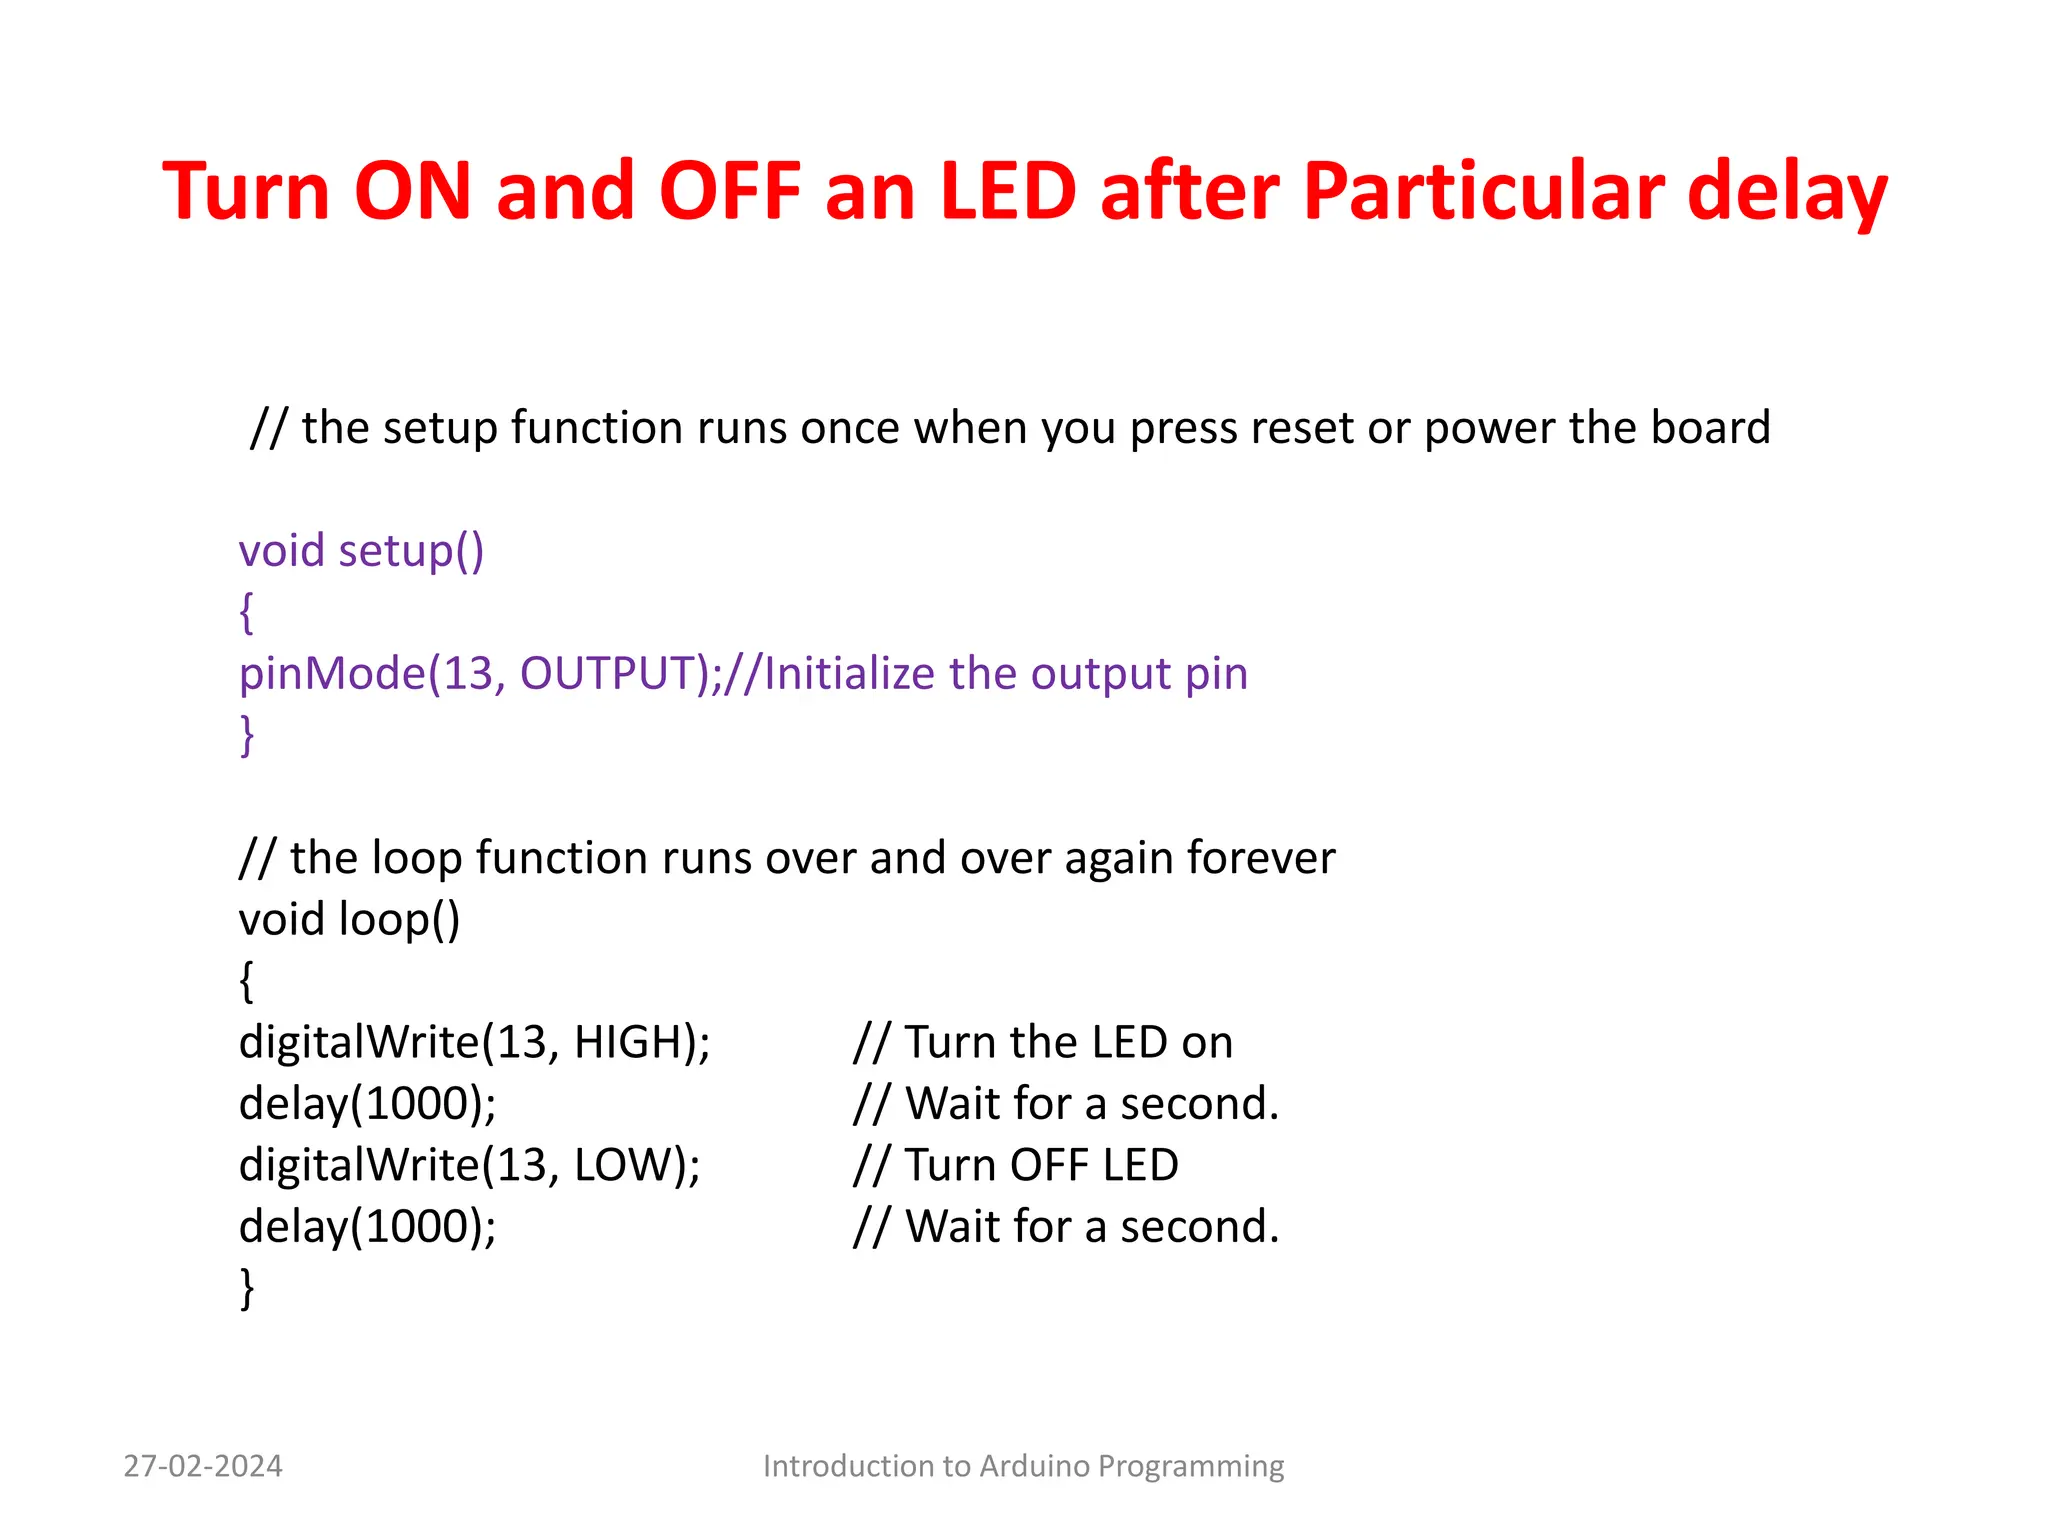
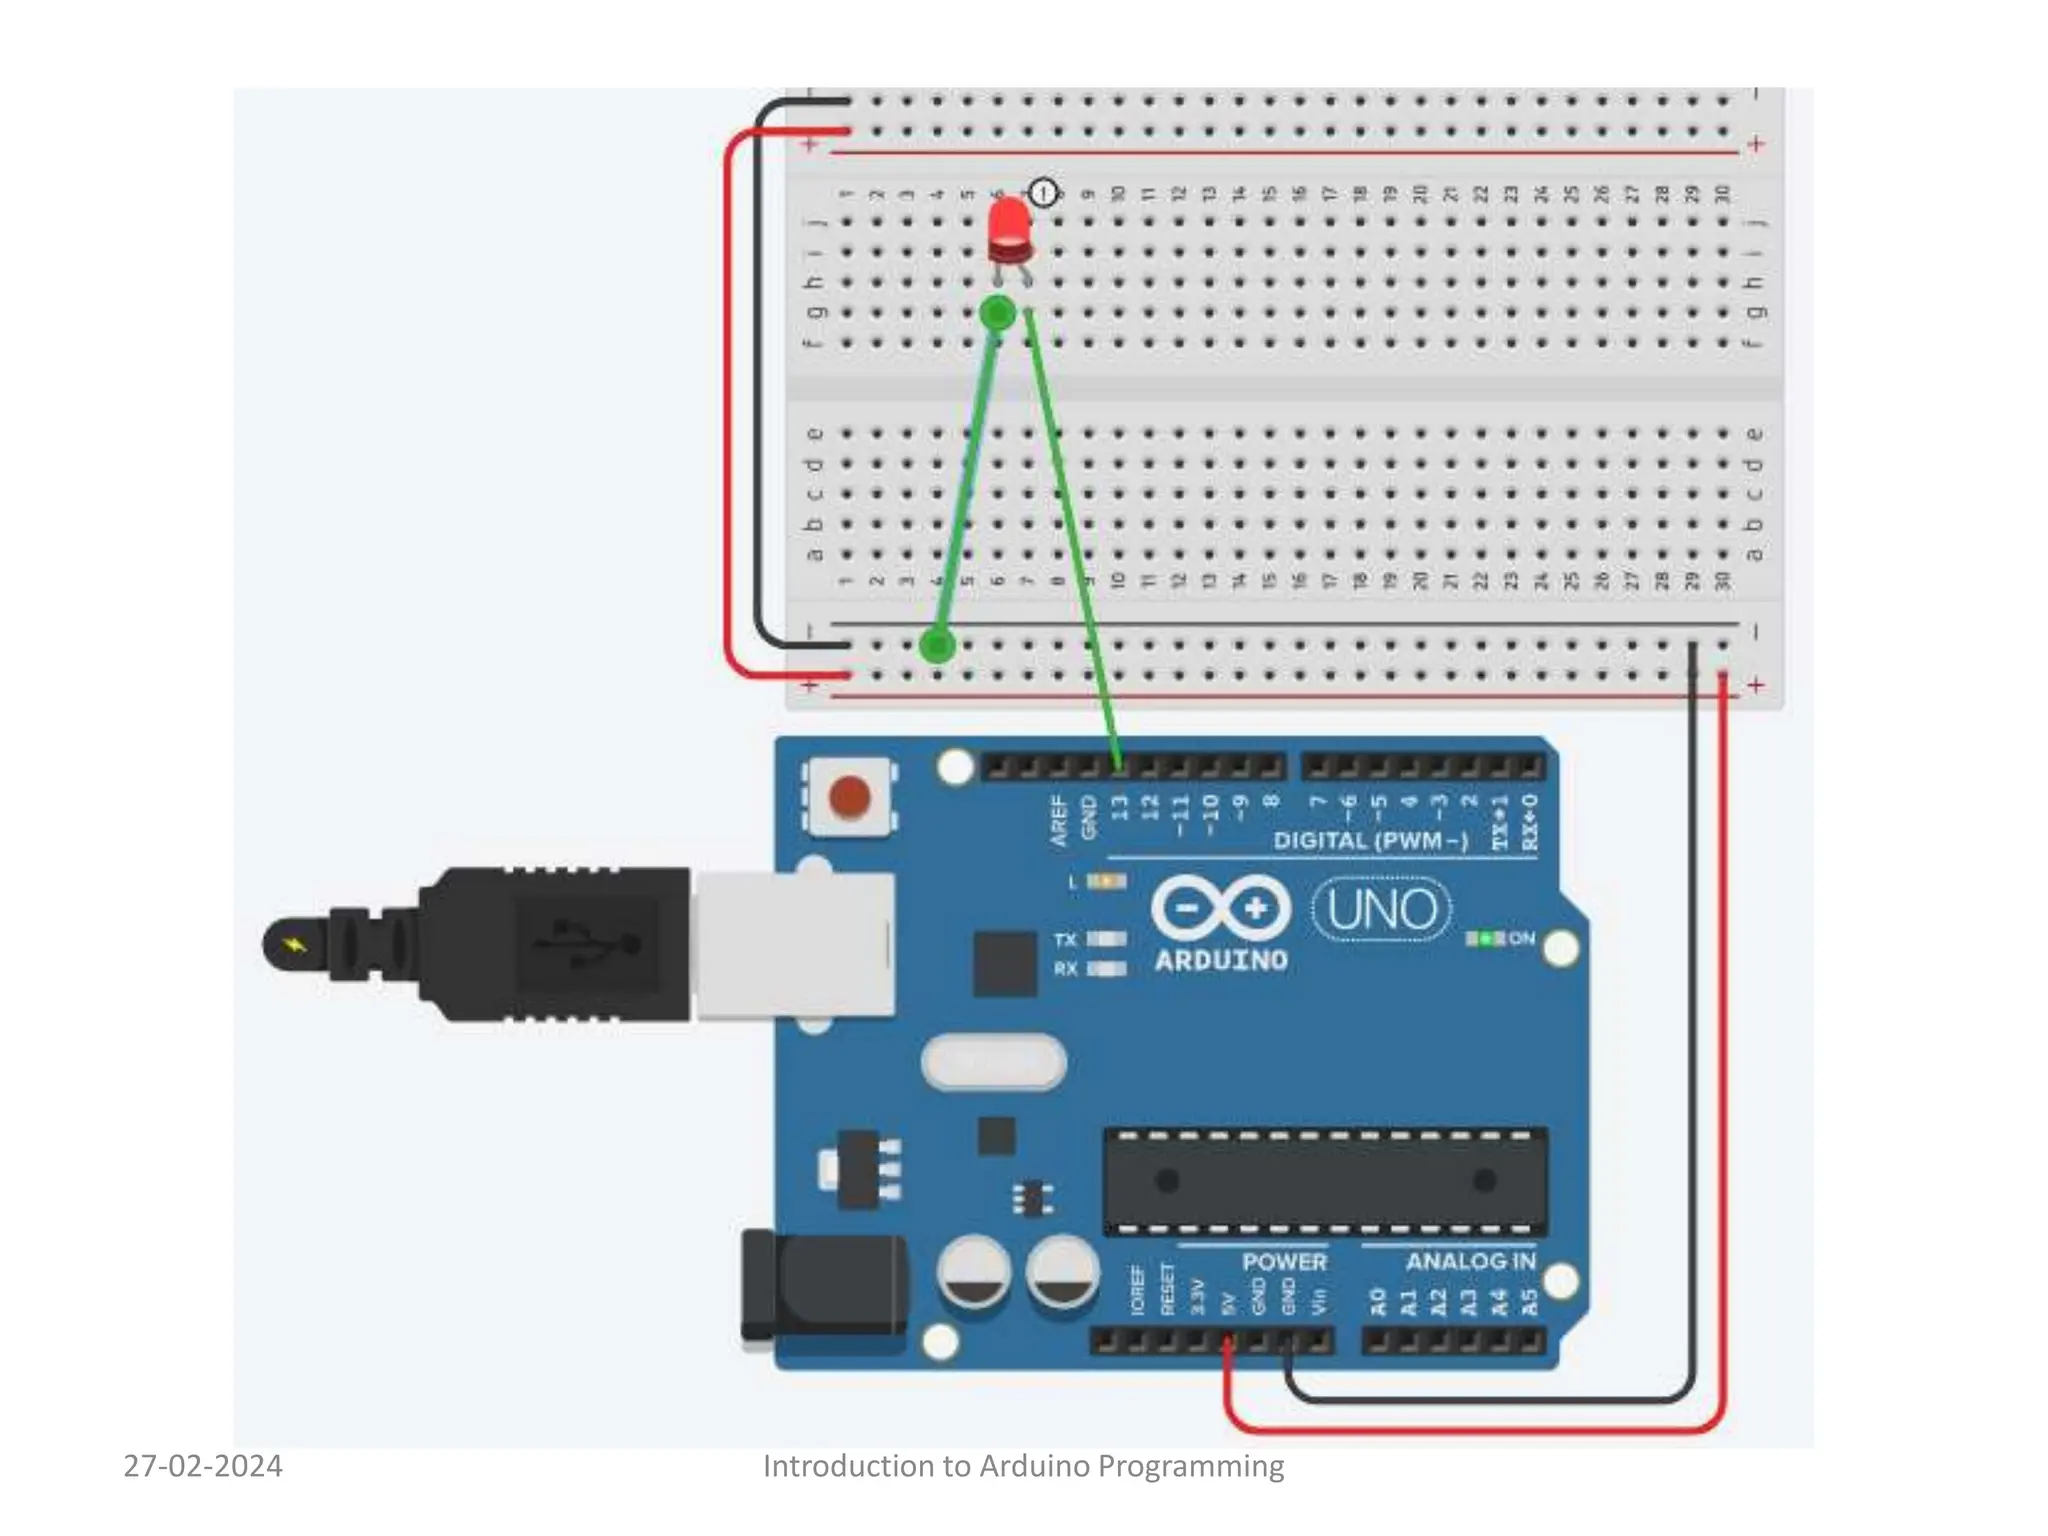
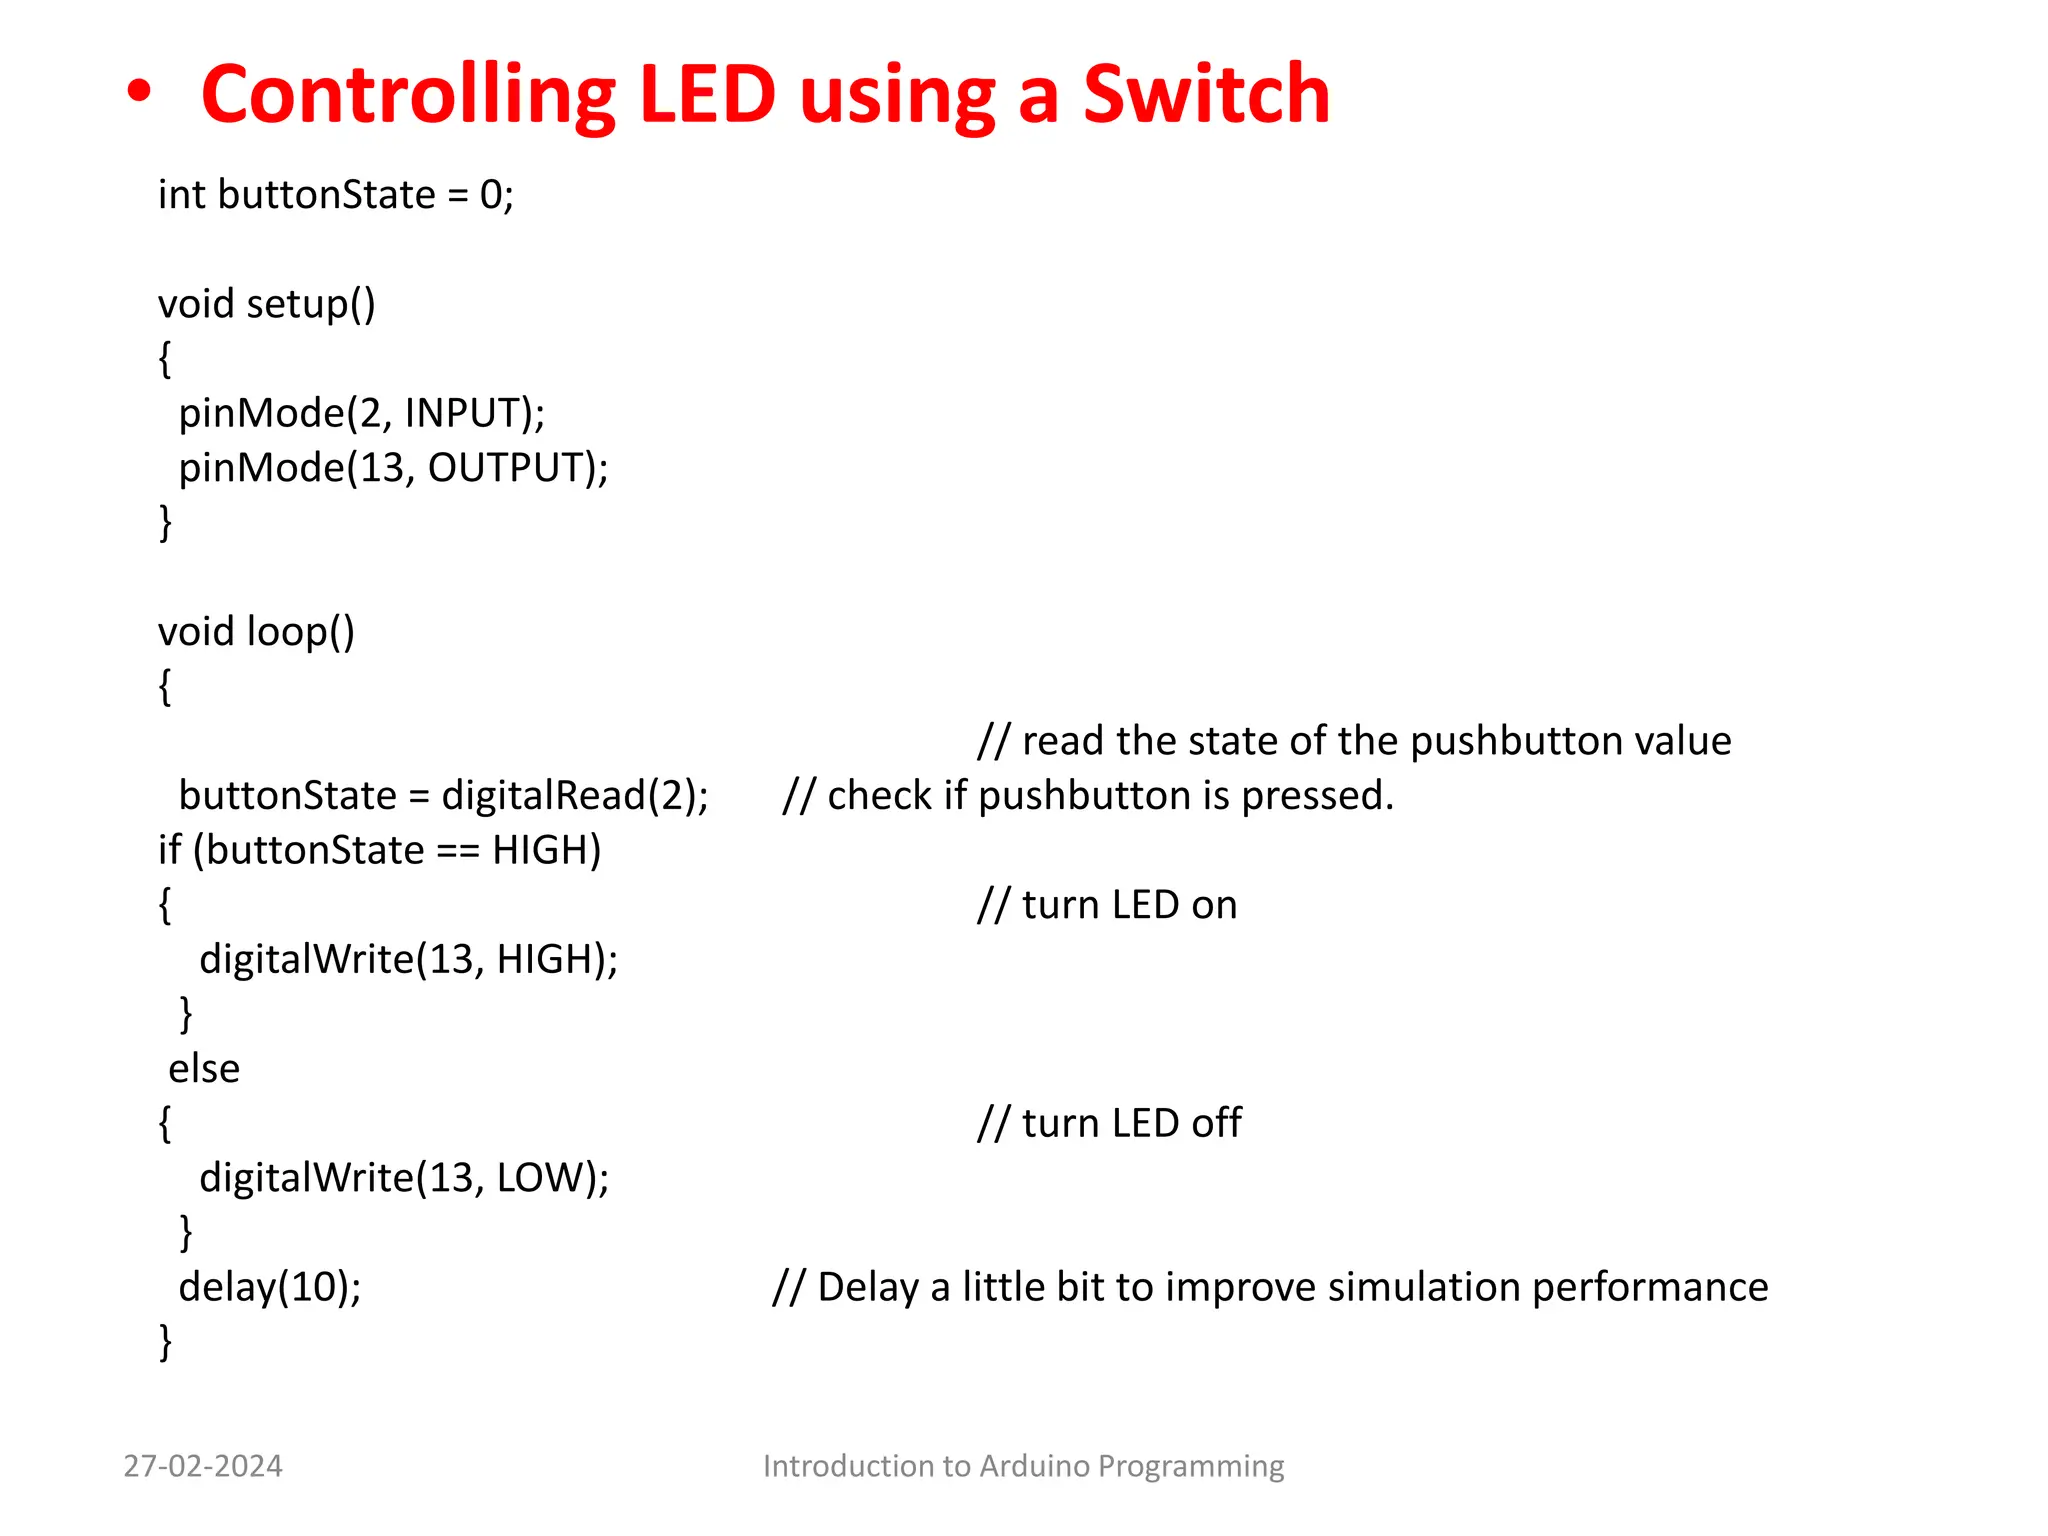
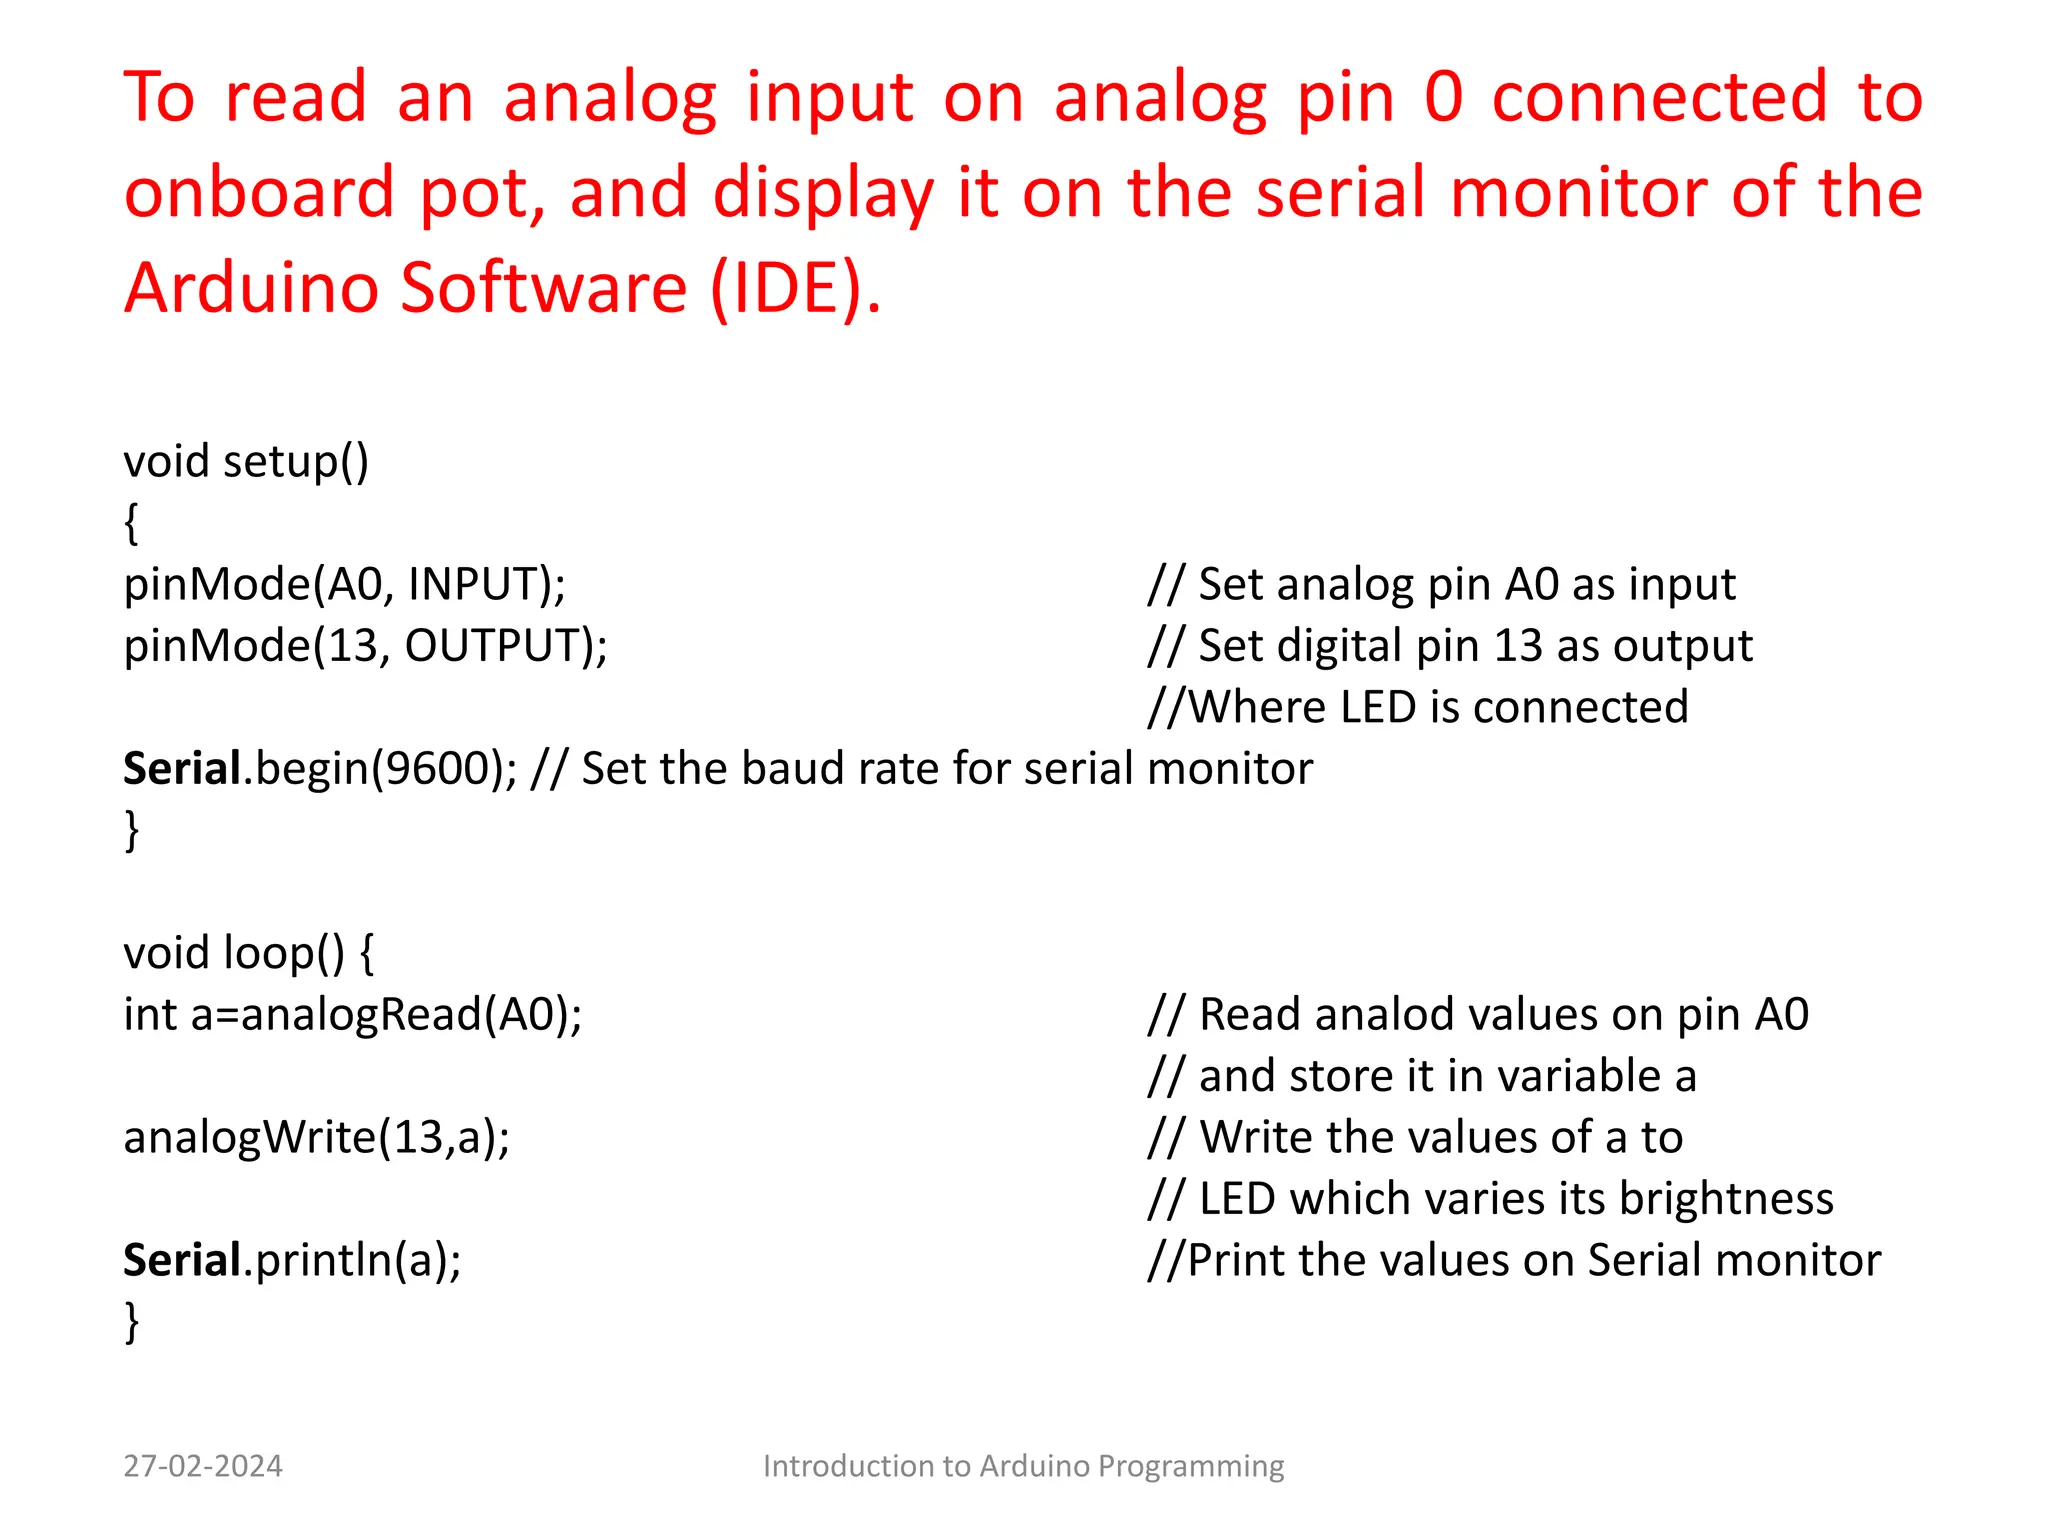
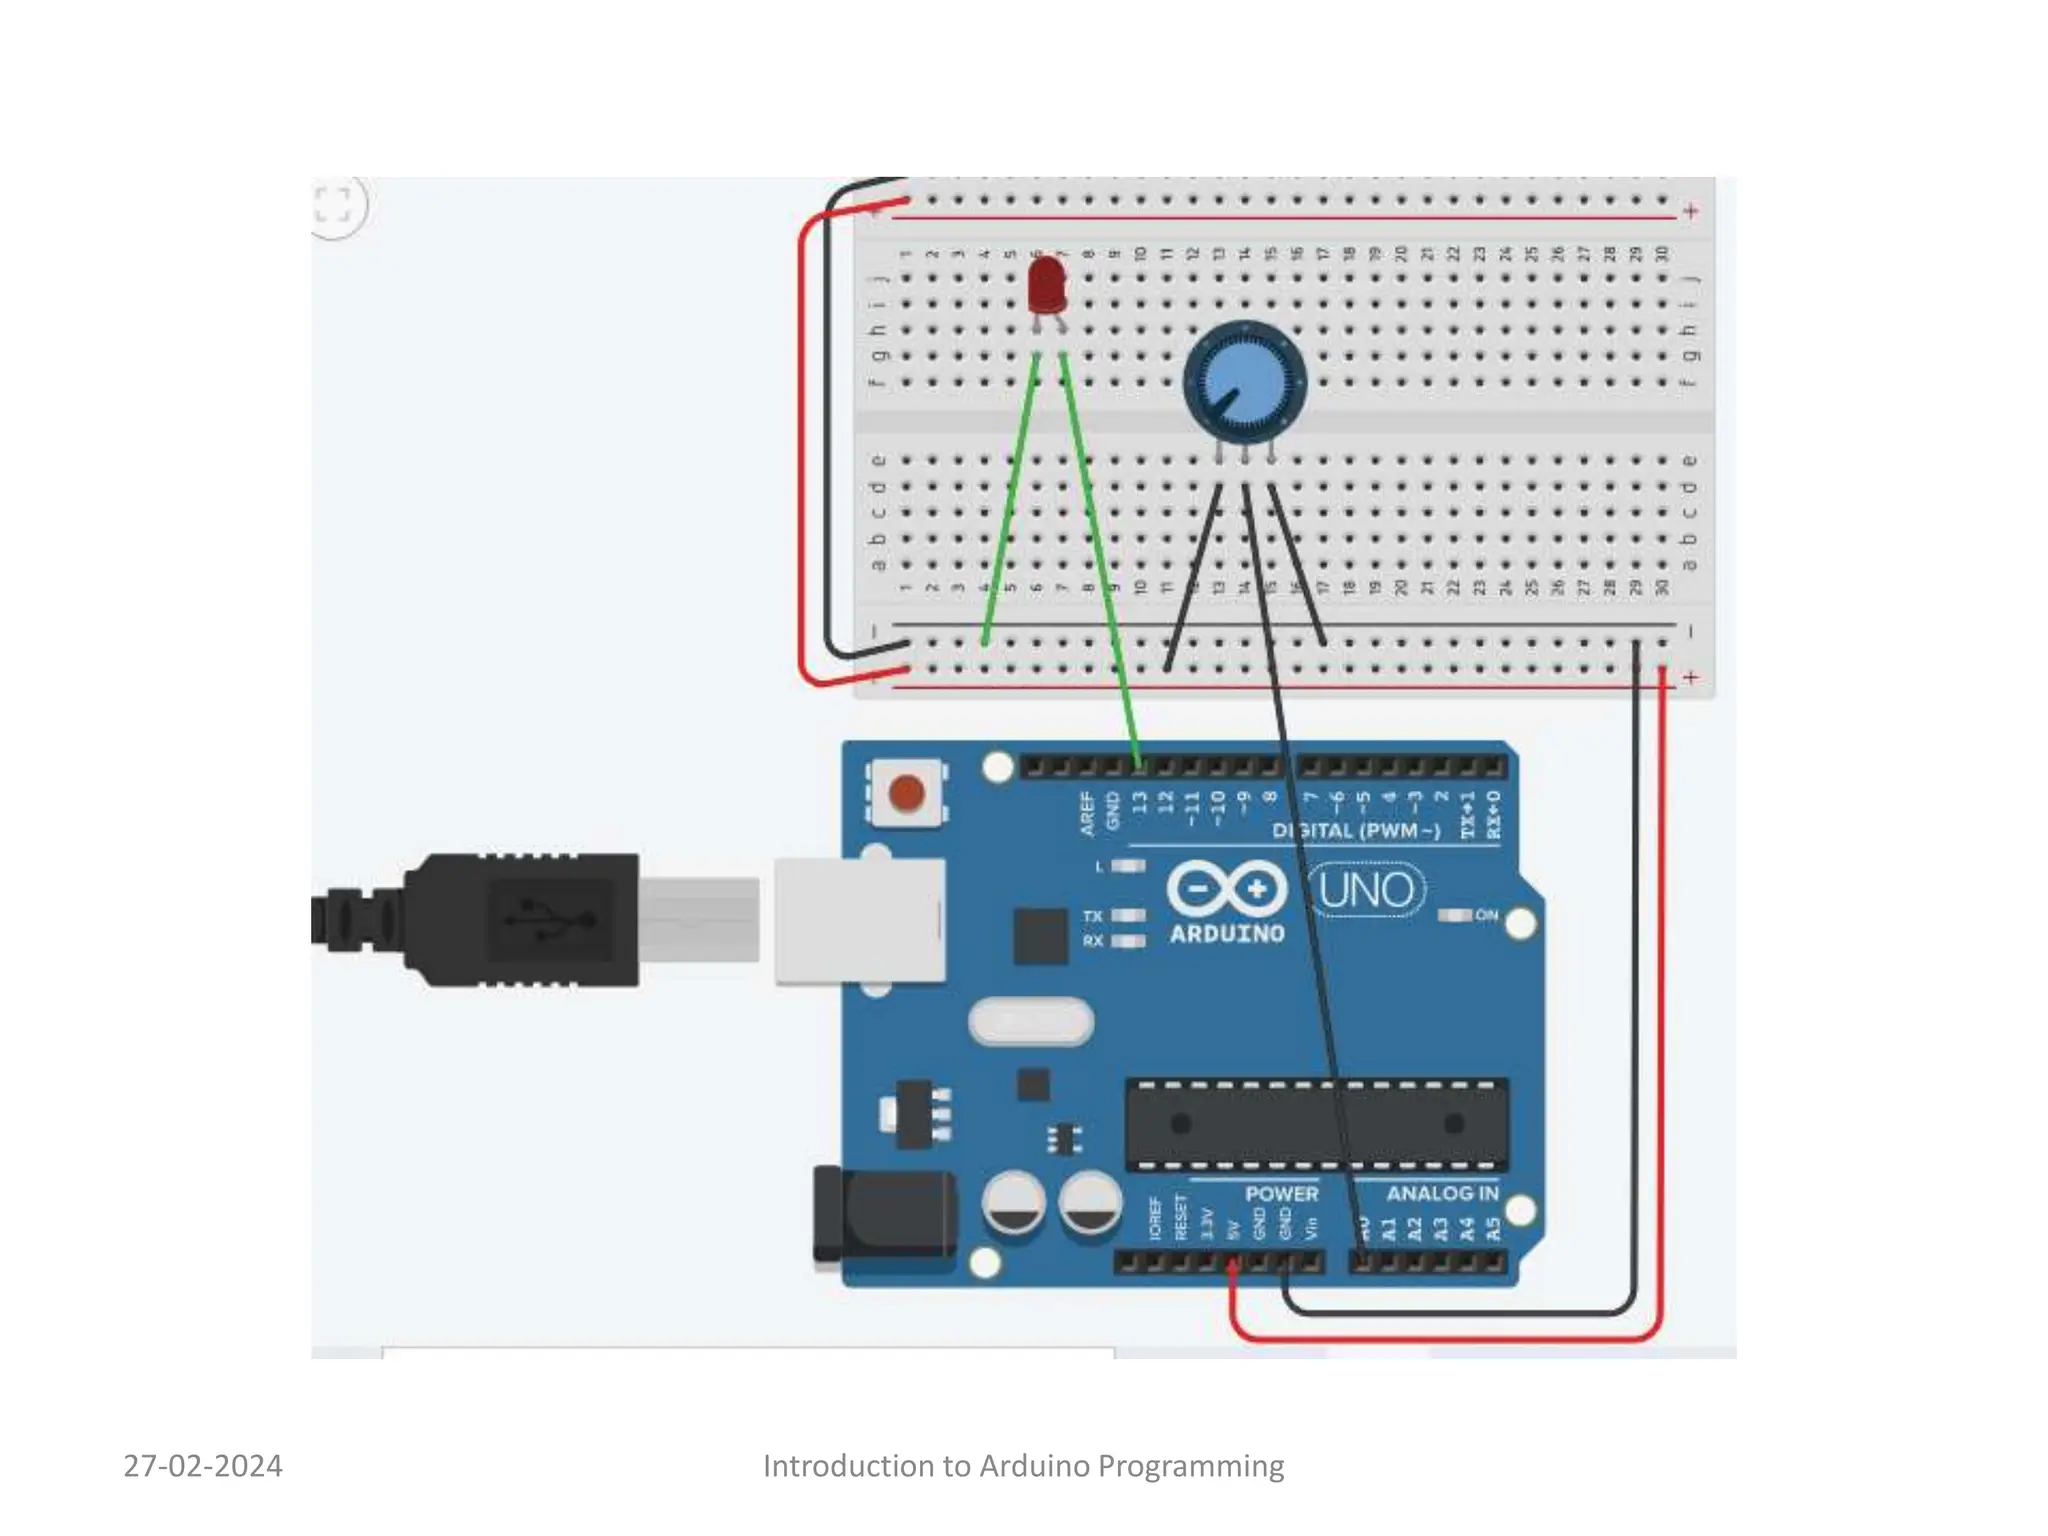
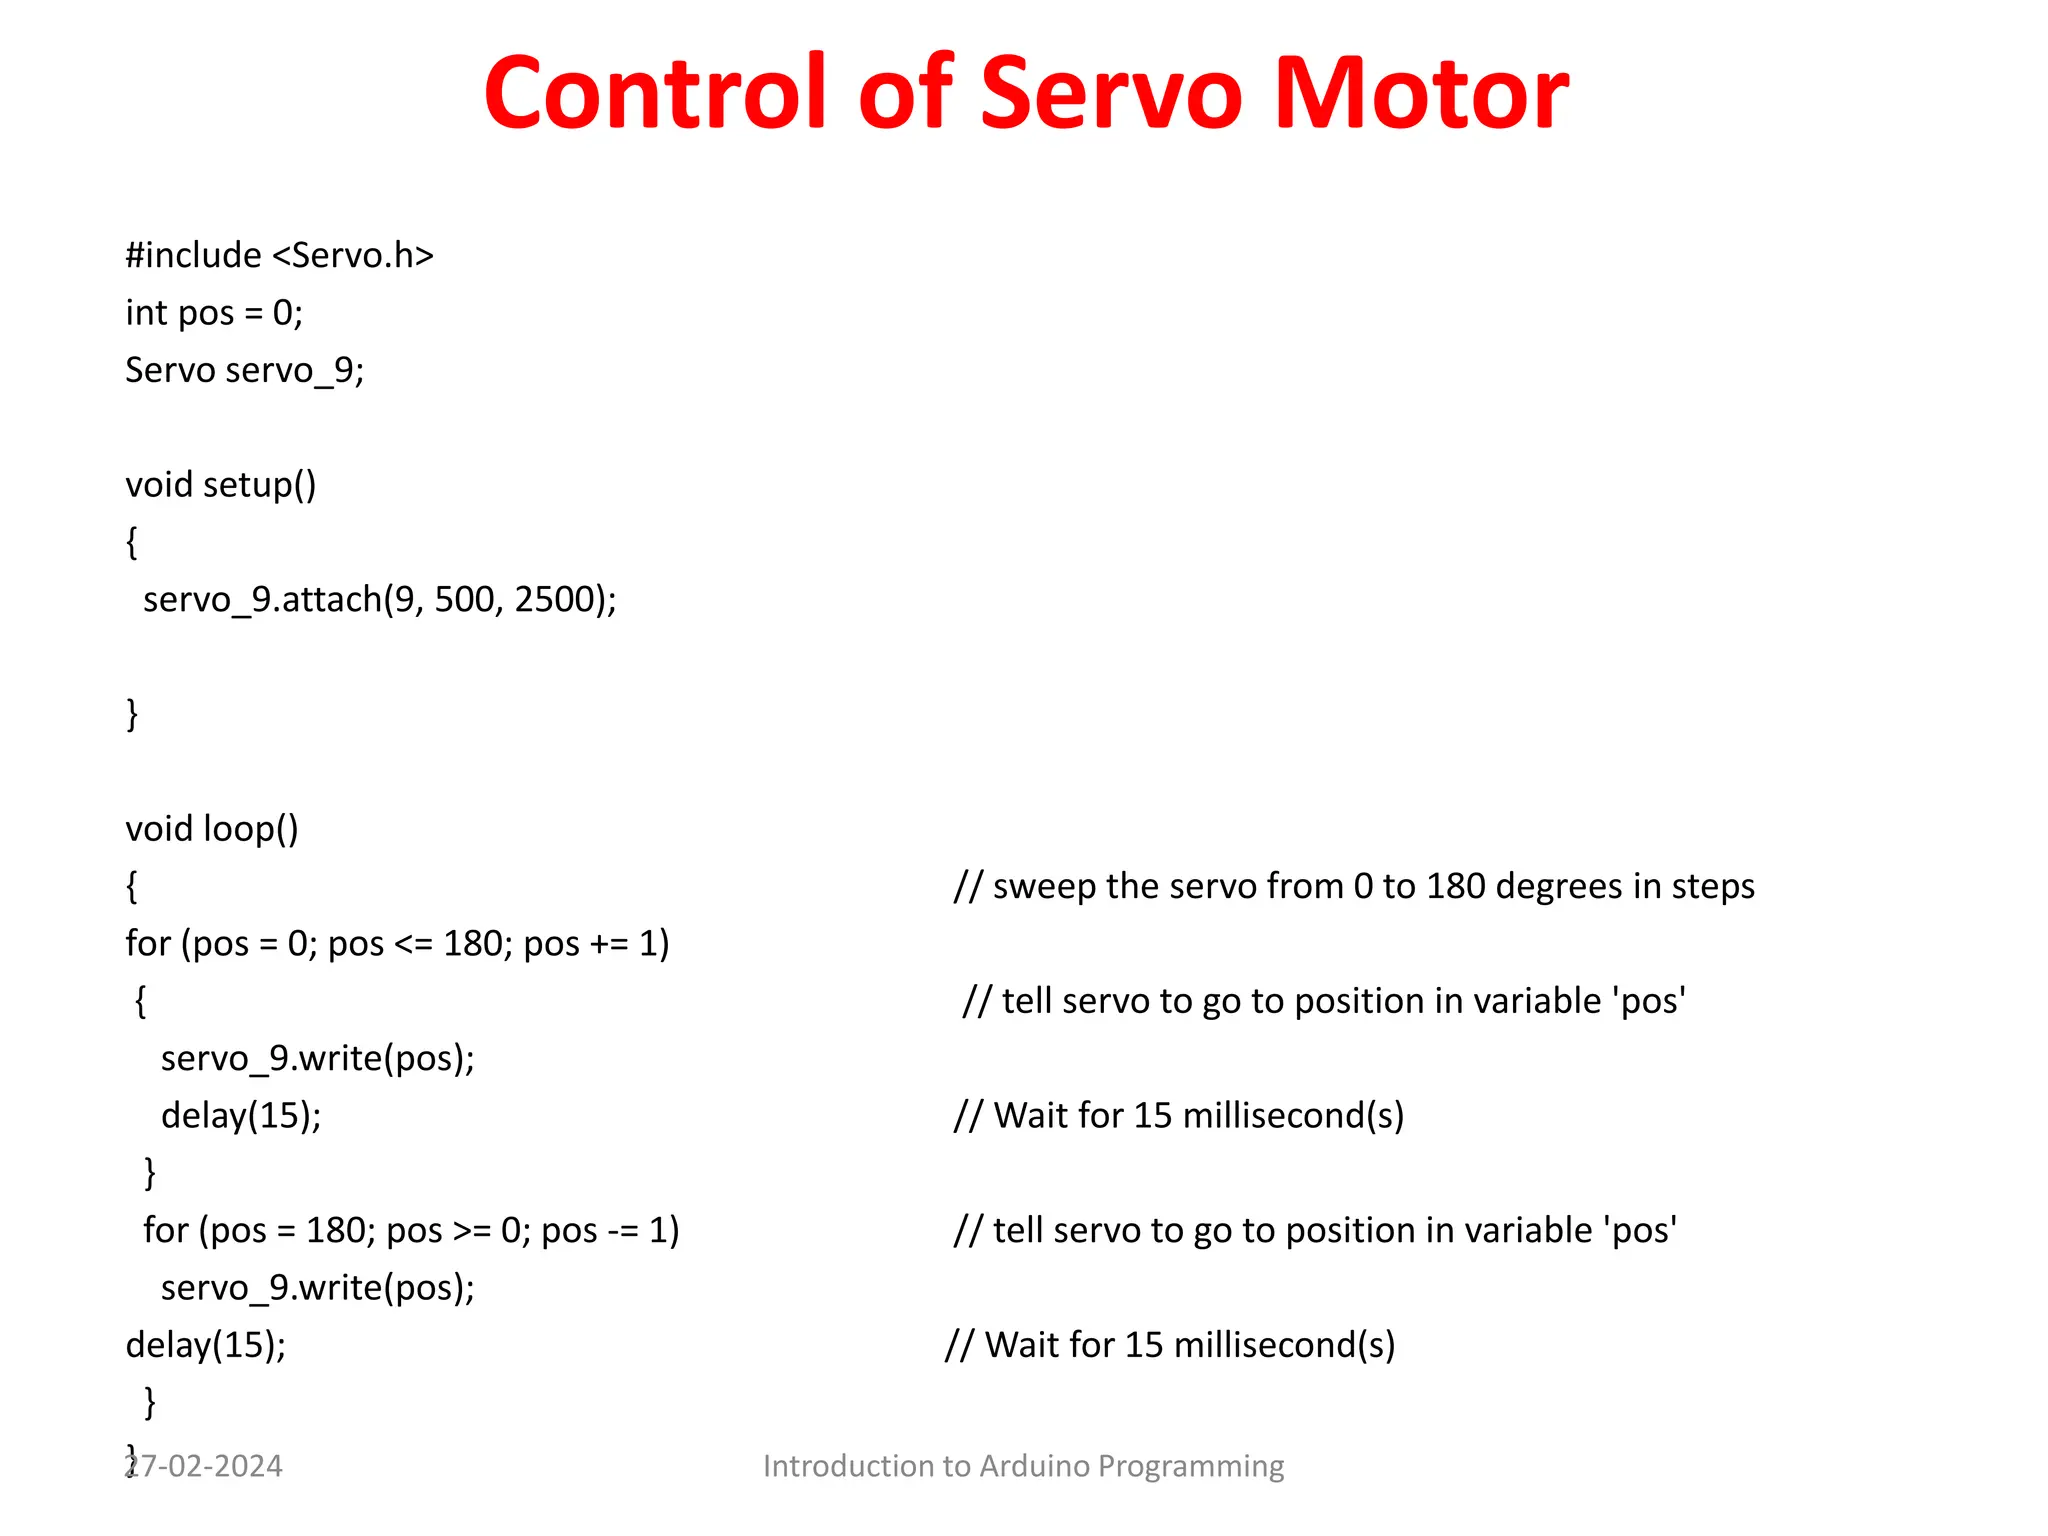
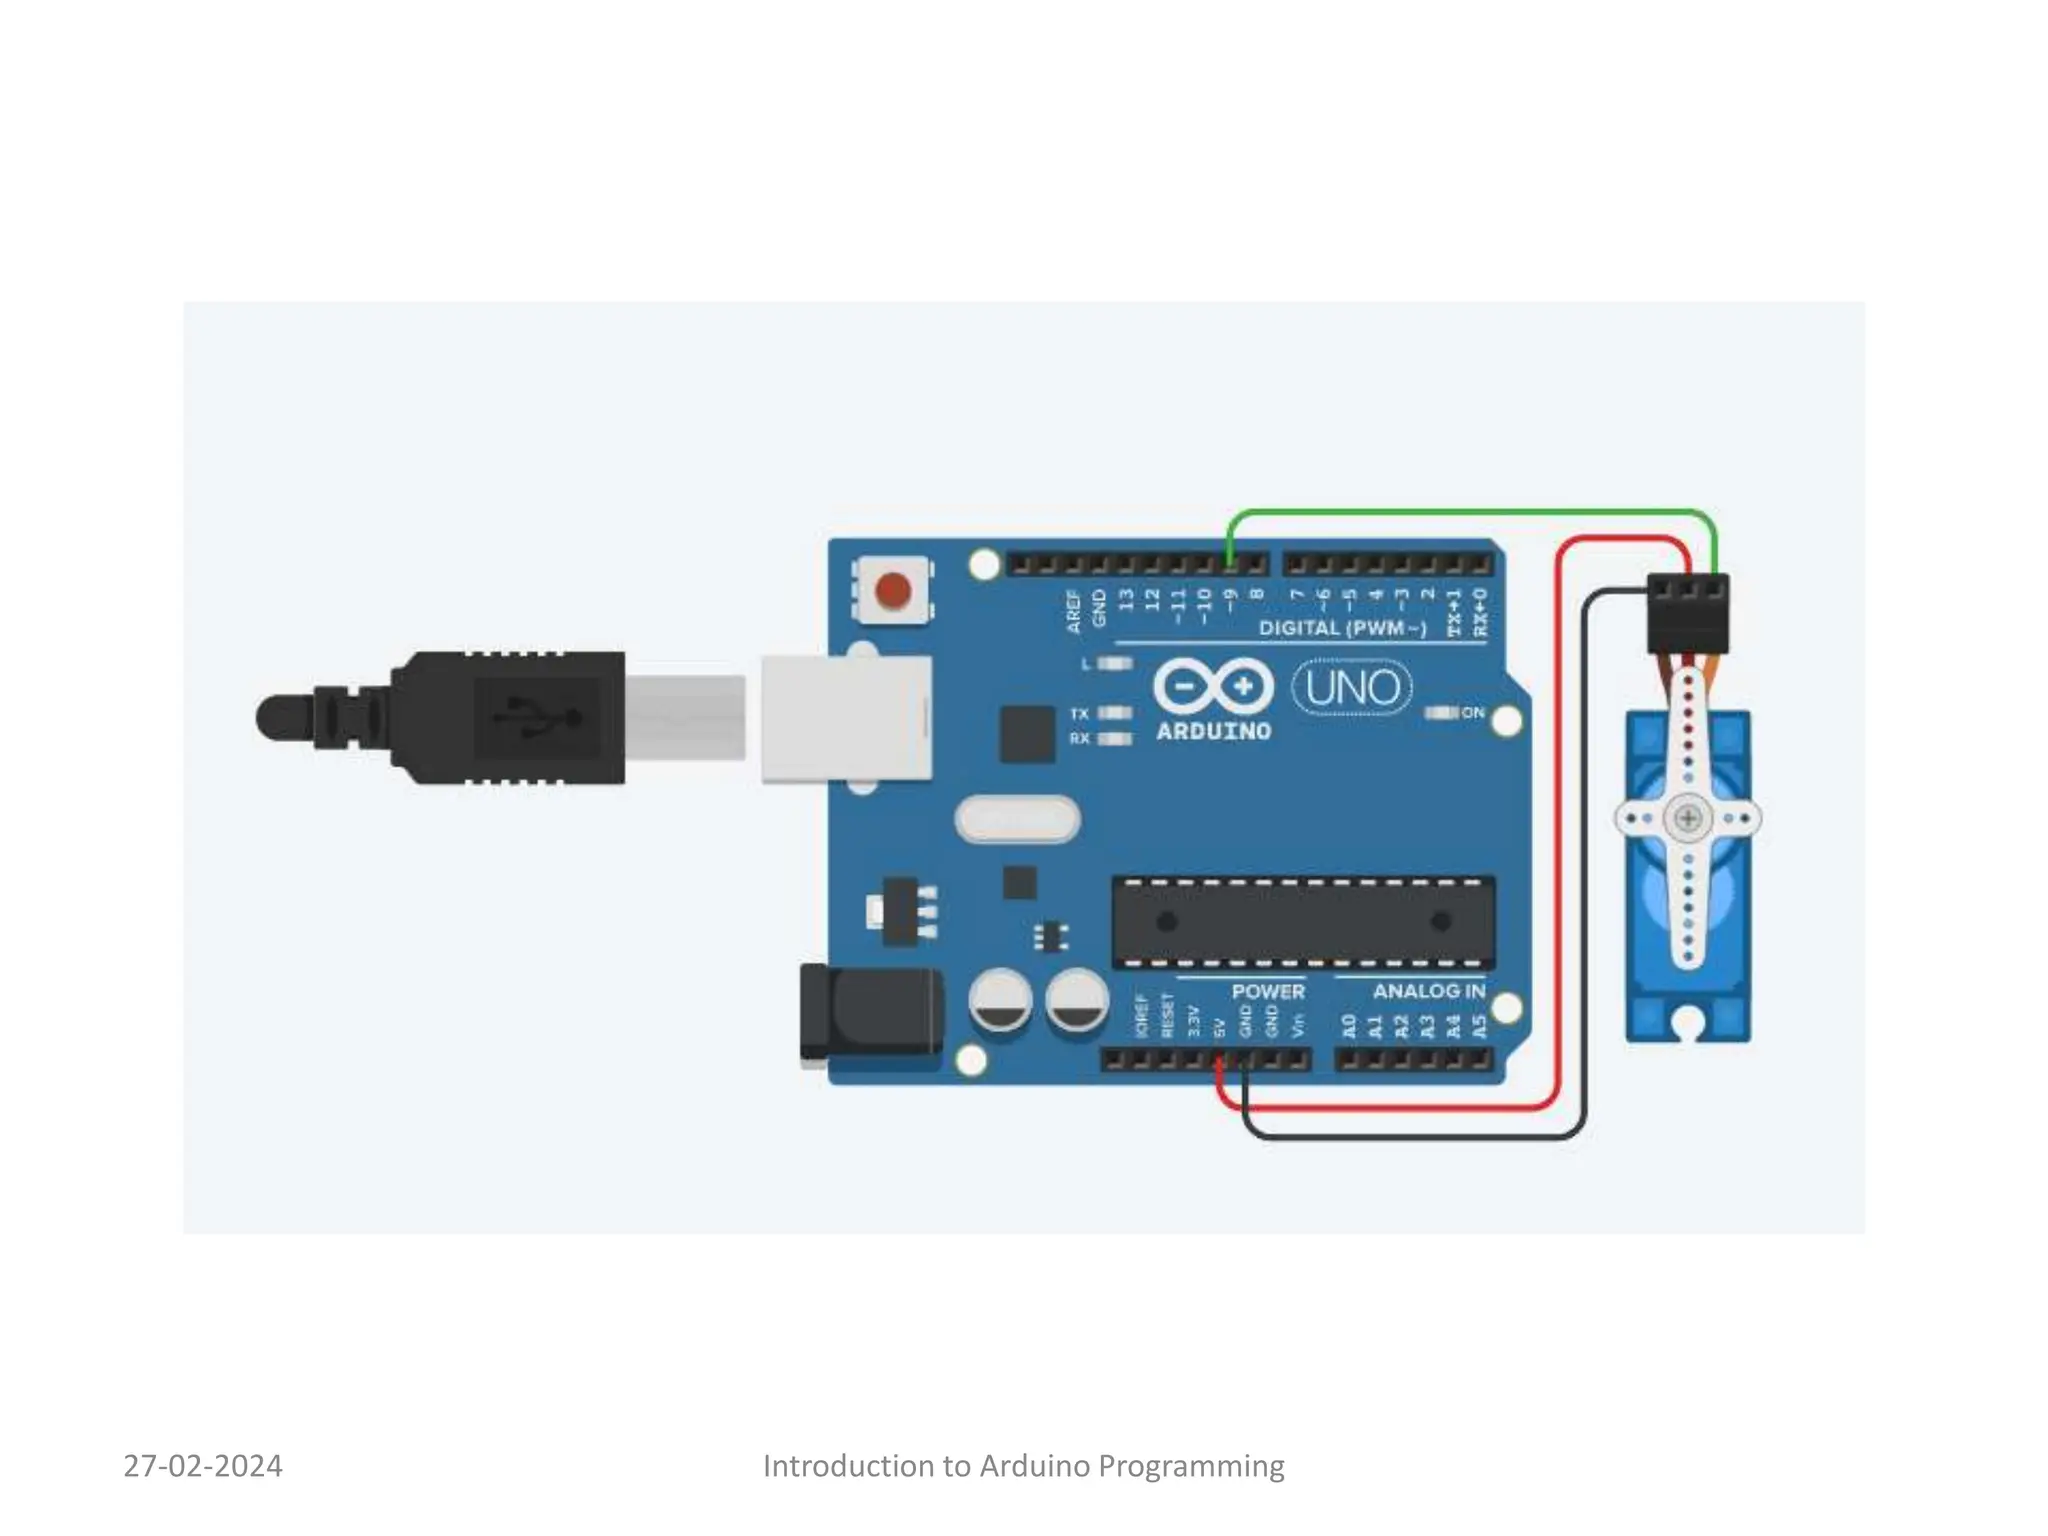
KEMBAR78
Introduction to arduino Programming with | PPTX
Two Day Workshop
on
Introduction to Arduino
Programming
27-02-2024 Introduction to Arduino Programming
• What Is Arduino?
27-02-2024 Introduction to Arduino Programming
Arduino Uno Kit
27-02-2024 Introduction to Arduino Programming
Turn ON and OFF an LED after Particular delay
27-02-2024 Introduction to Arduino Programming
// the setup function runs once when you press reset or power the board
void setup()
{
pinMode(13, OUTPUT);//Initialize the output pin
}
// the loop function runs over and over again forever
void loop()
{
digitalWrite(13, HIGH); // Turn the LED on
delay(1000); // Wait for a second.
digitalWrite(13, LOW); // Turn OFF LED
delay(1000); // Wait for a second.
}
27-02-2024 Introduction to Arduino Programming
• Controlling LED using a Switch
27-02-2024 Introduction to Arduino Programming
int buttonState = 0;
void setup()
{
pinMode(2, INPUT);
pinMode(13, OUTPUT);
}
void loop()
{
// read the state of the pushbutton value
buttonState = digitalRead(2); // check if pushbutton is pressed.
if (buttonState == HIGH)
{ // turn LED on
digitalWrite(13, HIGH);
}
else
{ // turn LED off
digitalWrite(13, LOW);
}
delay(10); // Delay a little bit to improve simulation performance
}
27-02-2024 Introduction to Arduino Programming
To read an analog input on analog pin 0 connected to
onboard pot, and display it on the serial monitor of the
Arduino Software (IDE).
void setup()
{
pinMode(A0, INPUT); // Set analog pin A0 as input
pinMode(13, OUTPUT); // Set digital pin 13 as output
//Where LED is connected
Serial.begin(9600); // Set the baud rate for serial monitor
}
void loop() {
int a=analogRead(A0); // Read analod values on pin A0
// and store it in variable a
analogWrite(13,a); // Write the values of a to
// LED which varies its brightness
Serial.println(a); //Print the values on Serial monitor
}
27-02-2024 Introduction to Arduino Programming
Control of Servo Motor
#include <Servo.h>
int pos = 0;
Servo servo_9;
void setup()
{
servo_9.attach(9, 500, 2500);
}
void loop()
{ // sweep the servo from 0 to 180 degrees in steps
for (pos = 0; pos <= 180; pos += 1)
{ // tell servo to go to position in variable 'pos'
servo_9.write(pos);
delay(15); // Wait for 15 millisecond(s)
}
for (pos = 180; pos >= 0; pos -= 1) // tell servo to go to position in variable 'pos'
servo_9.write(pos);
delay(15); // Wait for 15 millisecond(s)
}
}
27-02-2024 Introduction to Arduino Programming

Introduction to arduino Programming with

  • 1.
    Two Day Workshop on Introductionto Arduino Programming 27-02-2024 Introduction to Arduino Programming
  • 2.
    • What IsArduino? 27-02-2024 Introduction to Arduino Programming
  • 3.
    27-02-2024 Introduction toArduino Programming
  • 4.
    27-02-2024 Introduction toArduino Programming
  • 5.
    Arduino Uno Kit 27-02-2024Introduction to Arduino Programming
  • 6.
    Turn ON andOFF an LED after Particular delay 27-02-2024 Introduction to Arduino Programming // the setup function runs once when you press reset or power the board void setup() { pinMode(13, OUTPUT);//Initialize the output pin } // the loop function runs over and over again forever void loop() { digitalWrite(13, HIGH); // Turn the LED on delay(1000); // Wait for a second. digitalWrite(13, LOW); // Turn OFF LED delay(1000); // Wait for a second. }
  • 7.
    27-02-2024 Introduction toArduino Programming
  • 8.
    • Controlling LEDusing a Switch 27-02-2024 Introduction to Arduino Programming int buttonState = 0; void setup() { pinMode(2, INPUT); pinMode(13, OUTPUT); } void loop() { // read the state of the pushbutton value buttonState = digitalRead(2); // check if pushbutton is pressed. if (buttonState == HIGH) { // turn LED on digitalWrite(13, HIGH); } else { // turn LED off digitalWrite(13, LOW); } delay(10); // Delay a little bit to improve simulation performance }
  • 9.
    27-02-2024 Introduction toArduino Programming
  • 10.
    To read ananalog input on analog pin 0 connected to onboard pot, and display it on the serial monitor of the Arduino Software (IDE). void setup() { pinMode(A0, INPUT); // Set analog pin A0 as input pinMode(13, OUTPUT); // Set digital pin 13 as output //Where LED is connected Serial.begin(9600); // Set the baud rate for serial monitor } void loop() { int a=analogRead(A0); // Read analod values on pin A0 // and store it in variable a analogWrite(13,a); // Write the values of a to // LED which varies its brightness Serial.println(a); //Print the values on Serial monitor } 27-02-2024 Introduction to Arduino Programming
  • 11.
    27-02-2024 Introduction toArduino Programming
  • 12.
    Control of ServoMotor #include <Servo.h> int pos = 0; Servo servo_9; void setup() { servo_9.attach(9, 500, 2500); } void loop() { // sweep the servo from 0 to 180 degrees in steps for (pos = 0; pos <= 180; pos += 1) { // tell servo to go to position in variable 'pos' servo_9.write(pos); delay(15); // Wait for 15 millisecond(s) } for (pos = 180; pos >= 0; pos -= 1) // tell servo to go to position in variable 'pos' servo_9.write(pos); delay(15); // Wait for 15 millisecond(s) } } 27-02-2024 Introduction to Arduino Programming
  • 13.
    27-02-2024 Introduction toArduino Programming