SAP ABAp module Pool programming give by Rahul Mehta
The document provides an overview of module pool programming, highlighting its features and differences from executable programs. It details the various screen types, events, and functionalities such as screen painter, subscreens, modal dialog boxes, and output displays using table controls and tab strips. Additionally, it includes information on managing screen field properties and contains a Q&A section addressing common queries related to GUI status and screen navigation.
2
Introduction
▪ It isalso called as dialog programming.
▪ It is a pool of modules like screens, includes, transactions etc.
▪ A module pool is mainly a pool of screens.
▪ The type of module pool program is ‘M’.
▪ The difference between executable program and module pool program is - An
executable program runs independently, whereas a module pool program can not run
independently. A transaction code is required to run a module pool program.
4
Tabs(Parts) of Screen
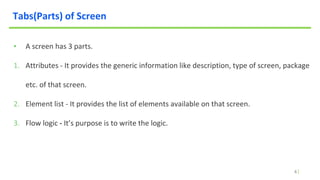
▪A screen has 3 parts.
1. Attributes - It provides the generic information like description, type of screen, package
etc. of that screen.
2. Element list - It provides the list of elements available on that screen.
3. Flow logic - It’s purpose is to write the logic.
5.
5
Module Pool Events
▪There are 4 module pool events.
1. Process before output(PBO)
2. Process after input(PAI)
3. Process on value request(POV)
4. Process on help request(POH)
6.
6
Module Pool Events
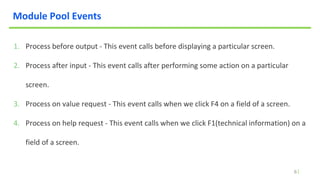
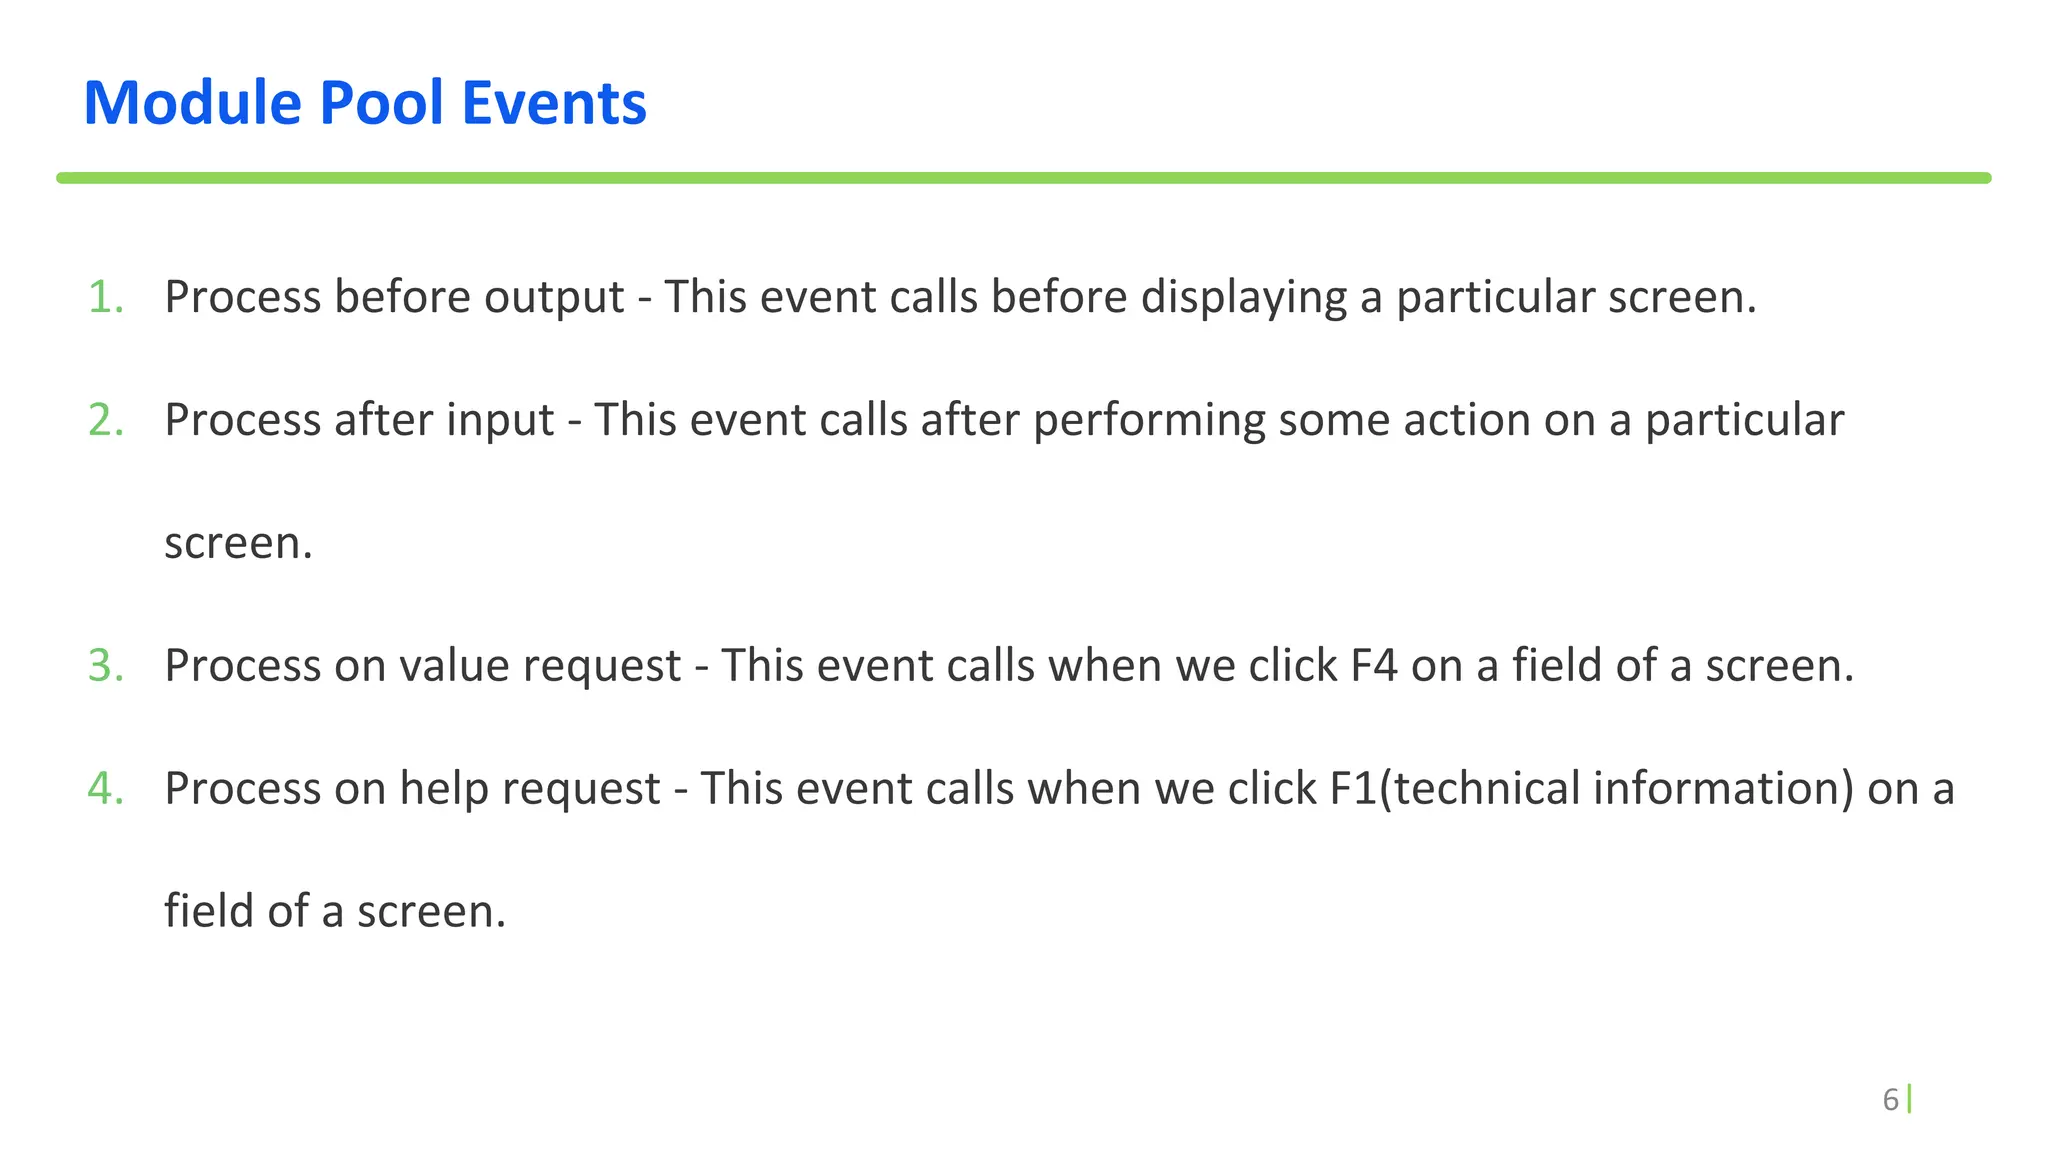
1.Process before output - This event calls before displaying a particular screen.
2. Process after input - This event calls after performing some action on a particular
screen.
3. Process on value request - This event calls when we click F4 on a field of a screen.
4. Process on help request - This event calls when we click F1(technical information) on a
field of a screen.
7.
7
Module Pool Events(Contd.)
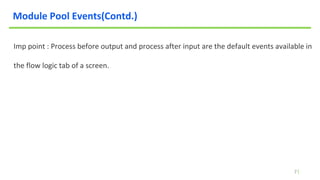
Imppoint : Process before output and process after input are the default events available in
the flow logic tab of a screen.
8.
8
Screen Painter
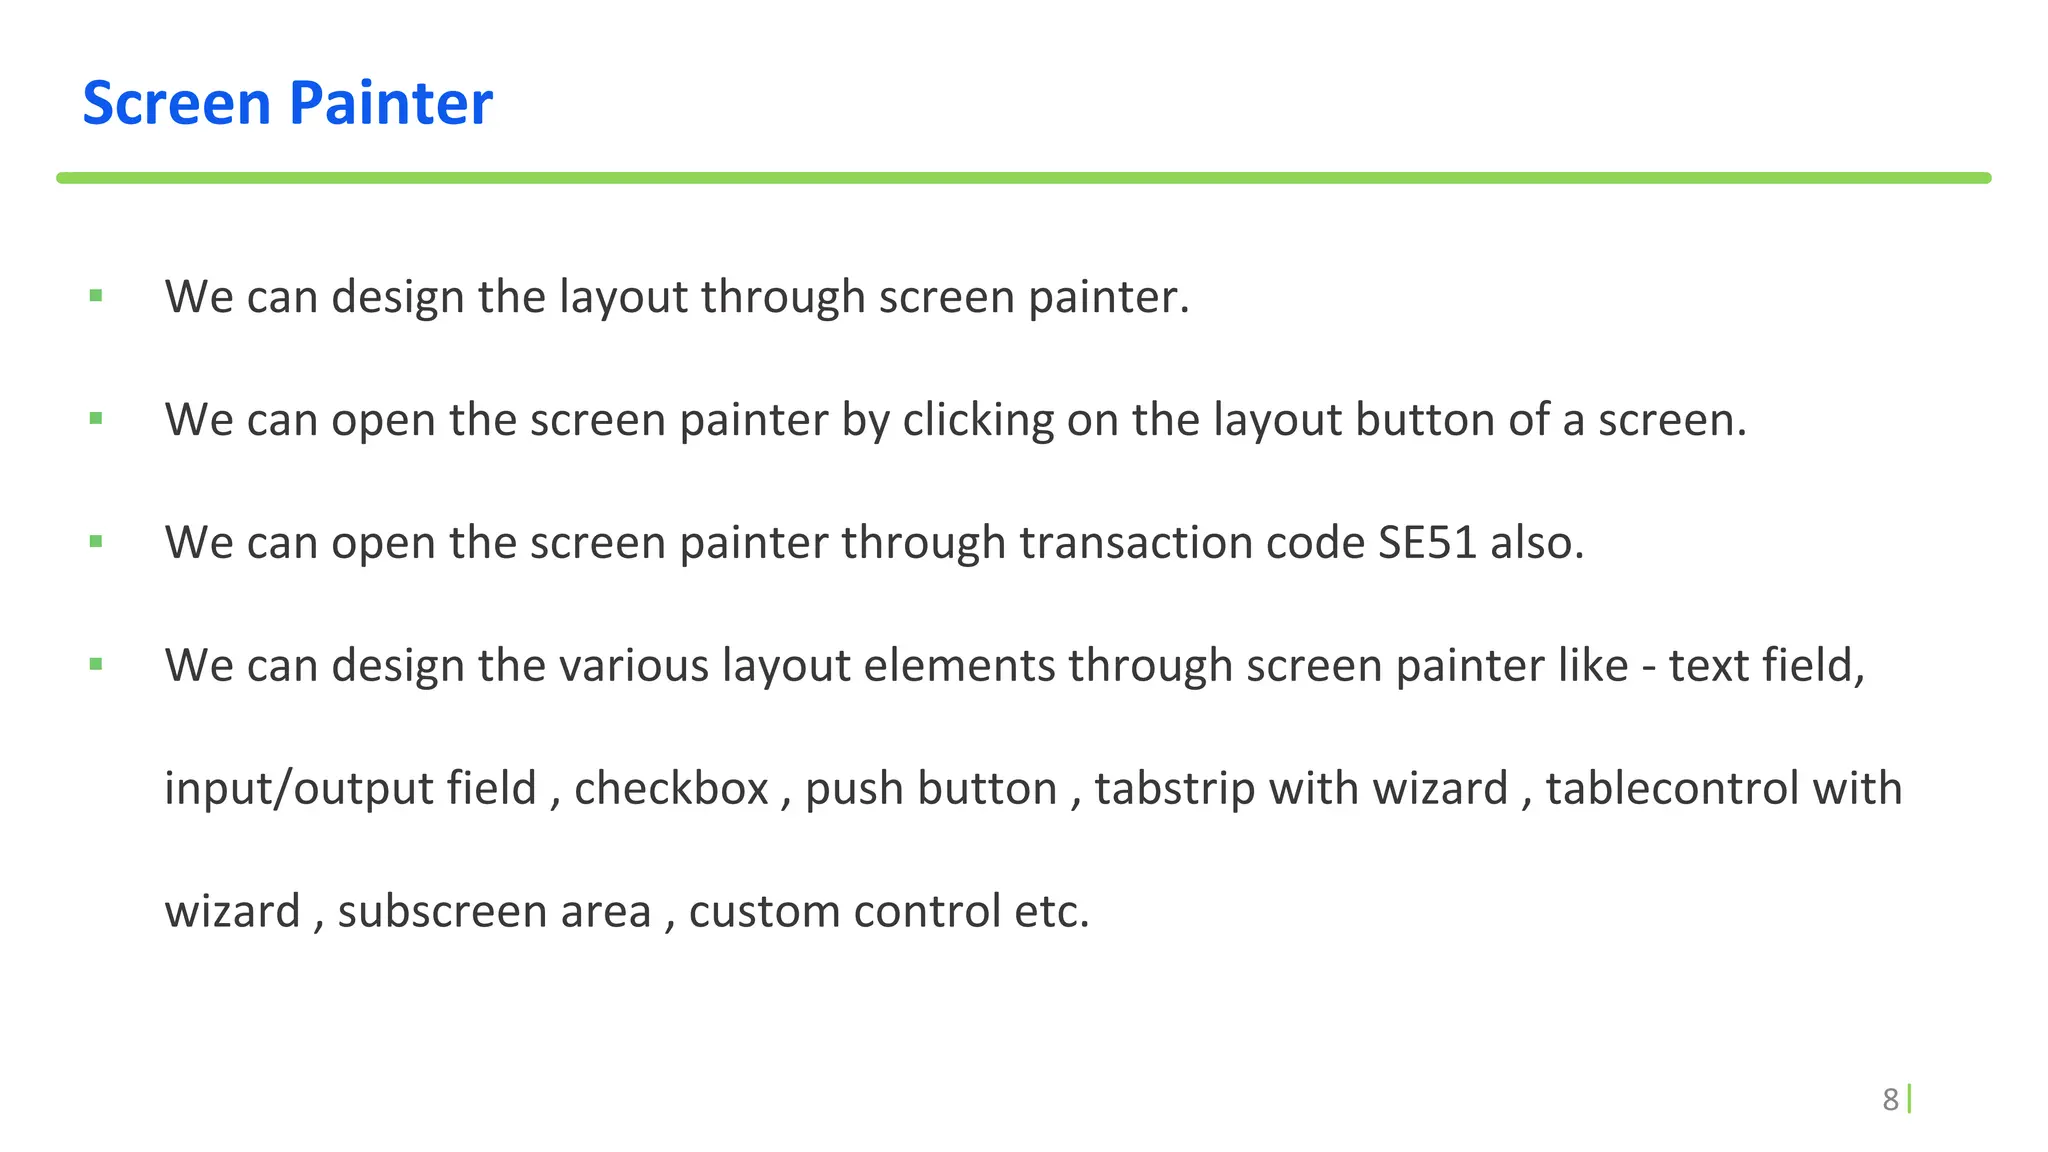
▪ Wecan design the layout through screen painter.
▪ We can open the screen painter by clicking on the layout button of a screen.
▪ We can open the screen painter through transaction code SE51 also.
▪ We can design the various layout elements through screen painter like - text field,
input/output field , checkbox , push button , tabstrip with wizard , tablecontrol with
wizard , subscreen area , custom control etc.
9.
9
Sub Screen
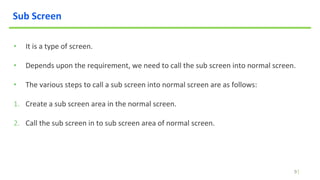
• Itis a type of screen.
• Depends upon the requirement, we need to call the sub screen into normal screen.
• The various steps to call a sub screen into normal screen are as follows:
1. Create a sub screen area in the normal screen.
2. Call the sub screen in to sub screen area of normal screen.
10.
10
Sub Screen (Contd.)
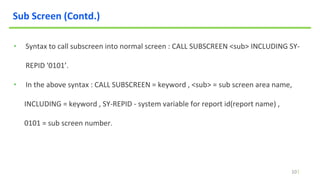
•Syntax to call subscreen into normal screen : CALL SUBSCREEN <sub> INCLUDING SY-
REPID '0101’.
• In the above syntax : CALL SUBSCREEN = keyword , <sub> = sub screen area name,
INCLUDING = keyword , SY-REPID - system variable for report id(report name) ,
0101 = sub screen number.
11.
11
Modal Dialog Box
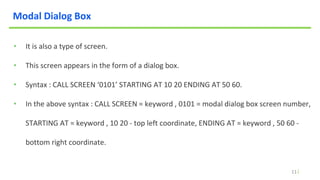
•It is also a type of screen.
• This screen appears in the form of a dialog box.
• Syntax : CALL SCREEN ‘0101’ STARTING AT 10 20 ENDING AT 50 60.
• In the above syntax : CALL SCREEN = keyword , 0101 = modal dialog box screen number,
STARTING AT = keyword , 10 20 - top left coordinate, ENDING AT = keyword , 50 60 -
bottom right coordinate.
12.
12
Table Control WithWizard
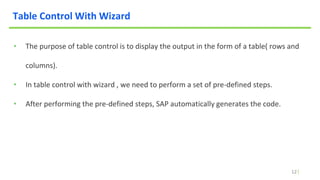
• The purpose of table control is to display the output in the form of a table( rows and
columns).
• In table control with wizard , we need to perform a set of pre-defined steps.
• After performing the pre-defined steps, SAP automatically generates the code.
13.
13
Tab Strip WithWizard
• The purpose of tab strip is to display the output in the form of tabs.
• In tab strip with wizard , we need to perform a set of pre-defined steps.
• After performing the pre-defined steps, SAP automatically generates the code.
• For every tab SAP generates a sub screen.
14.
14
AT EXIT-COMMAND
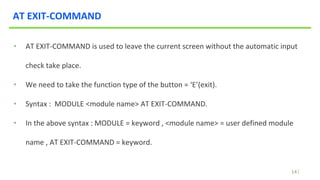
• ATEXIT-COMMAND is used to leave the current screen without the automatic input
check take place.
• We need to take the function type of the button = ‘E’(exit).
• Syntax : MODULE <module name> AT EXIT-COMMAND.
• In the above syntax : MODULE = keyword , <module name> = user defined module
name , AT EXIT-COMMAND = keyword.
15.
15
CHAIN ENDCHAIN
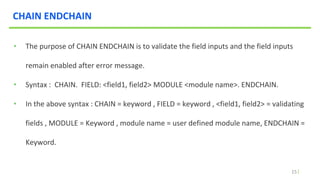
• Thepurpose of CHAIN ENDCHAIN is to validate the field inputs and the field inputs
remain enabled after error message.
• Syntax : CHAIN. FIELD: <field1, field2> MODULE <module name>. ENDCHAIN.
• In the above syntax : CHAIN = keyword , FIELD = keyword , <field1, field2> = validating
fields , MODULE = Keyword , module name = user defined module name, ENDCHAIN =
Keyword.
16.
16
Changing the ScreenField Properties
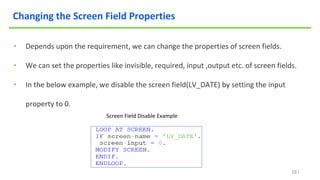
• Depends upon the requirement, we can change the properties of screen fields.
• We can set the properties like invisible, required, input ,output etc. of screen fields.
• In the below example, we disable the screen field(LV_DATE) by setting the input
property to 0.
Screen Field Disable Example
17.
17
Q & A
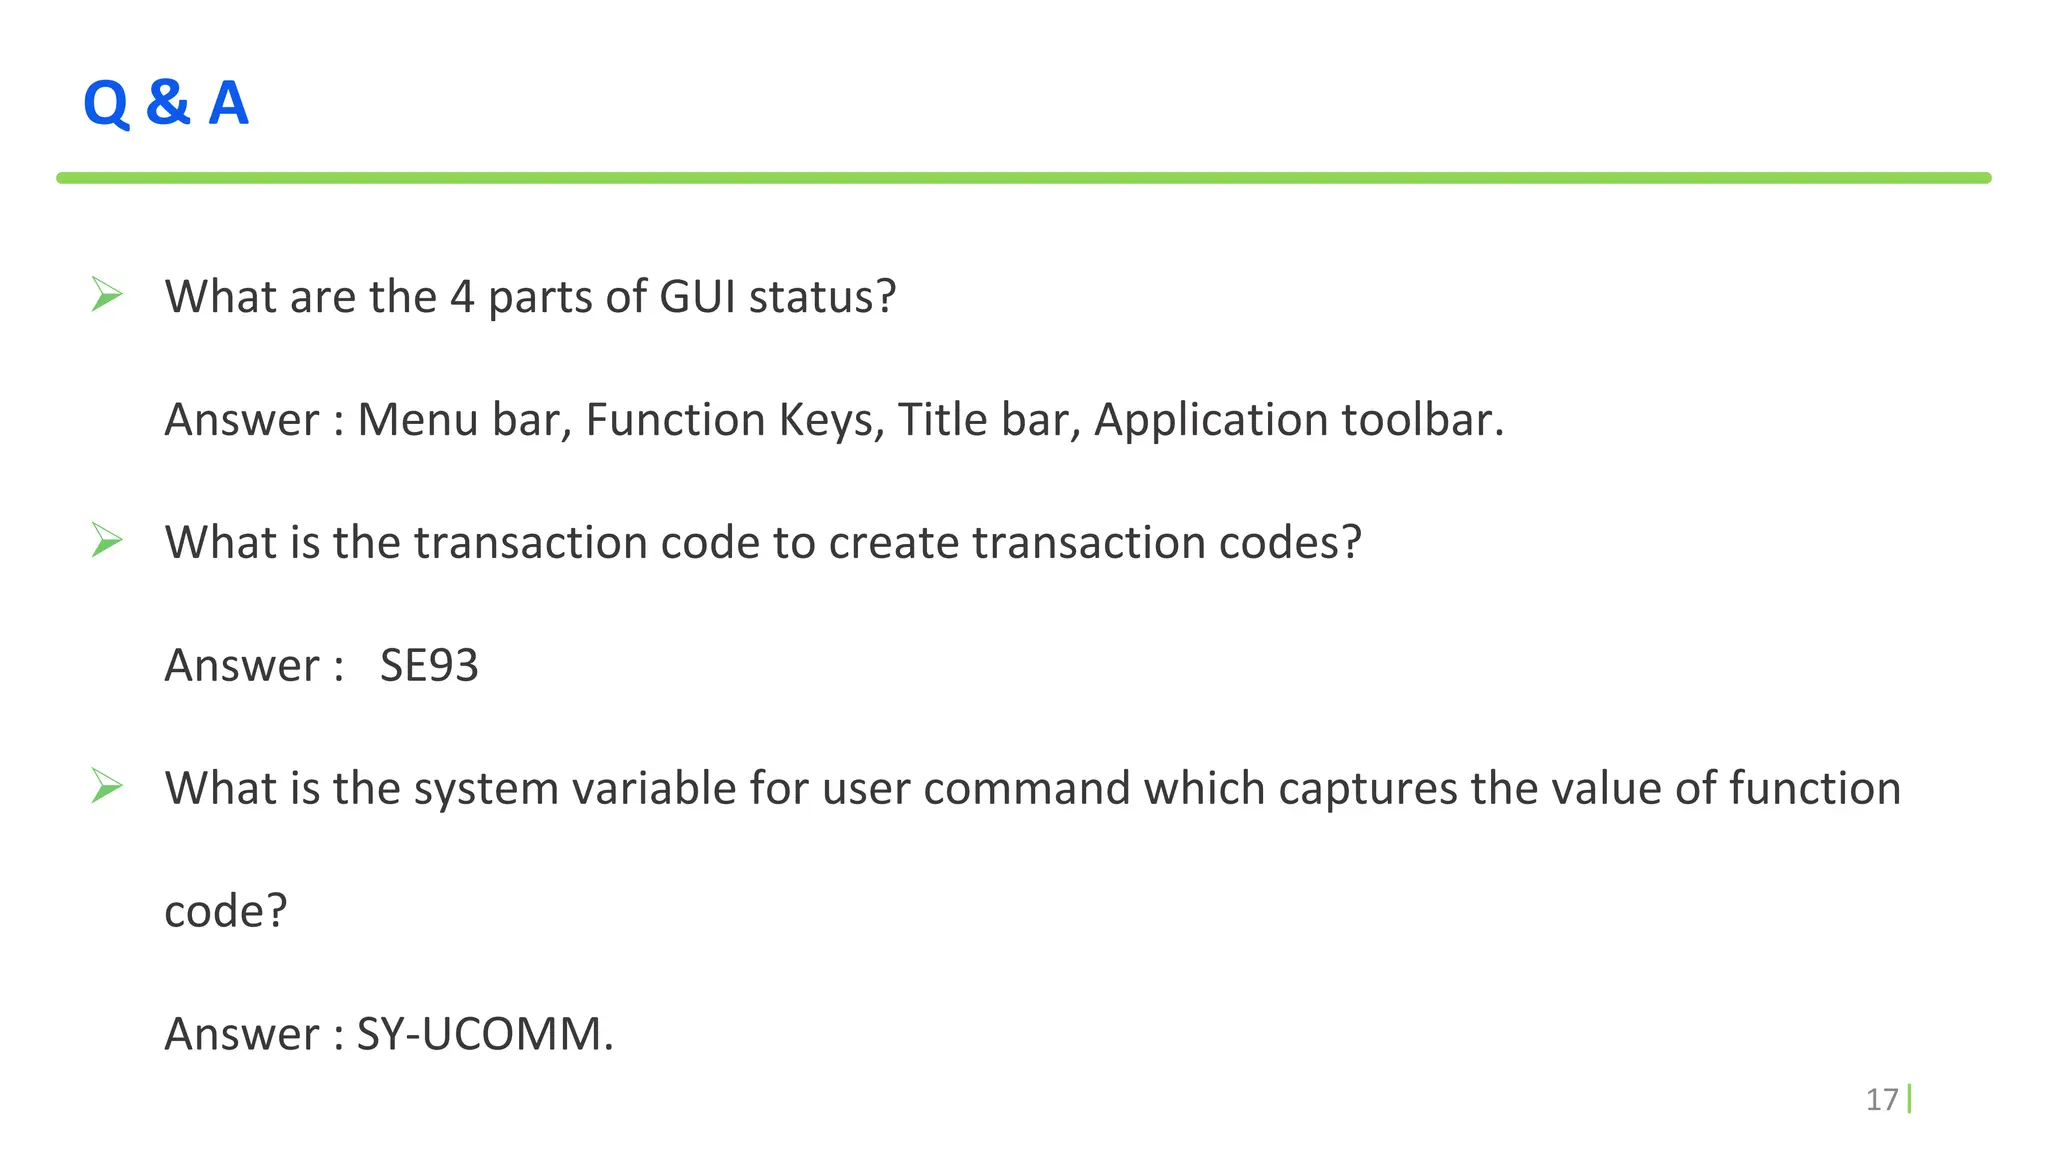
What are the 4 parts of GUI status?
Answer : Menu bar, Function Keys, Title bar, Application toolbar.
What is the transaction code to create transaction codes?
Answer : SE93
What is the system variable for user command which captures the value of function
code?
Answer : SY-UCOMM.
18.
18
Q & A
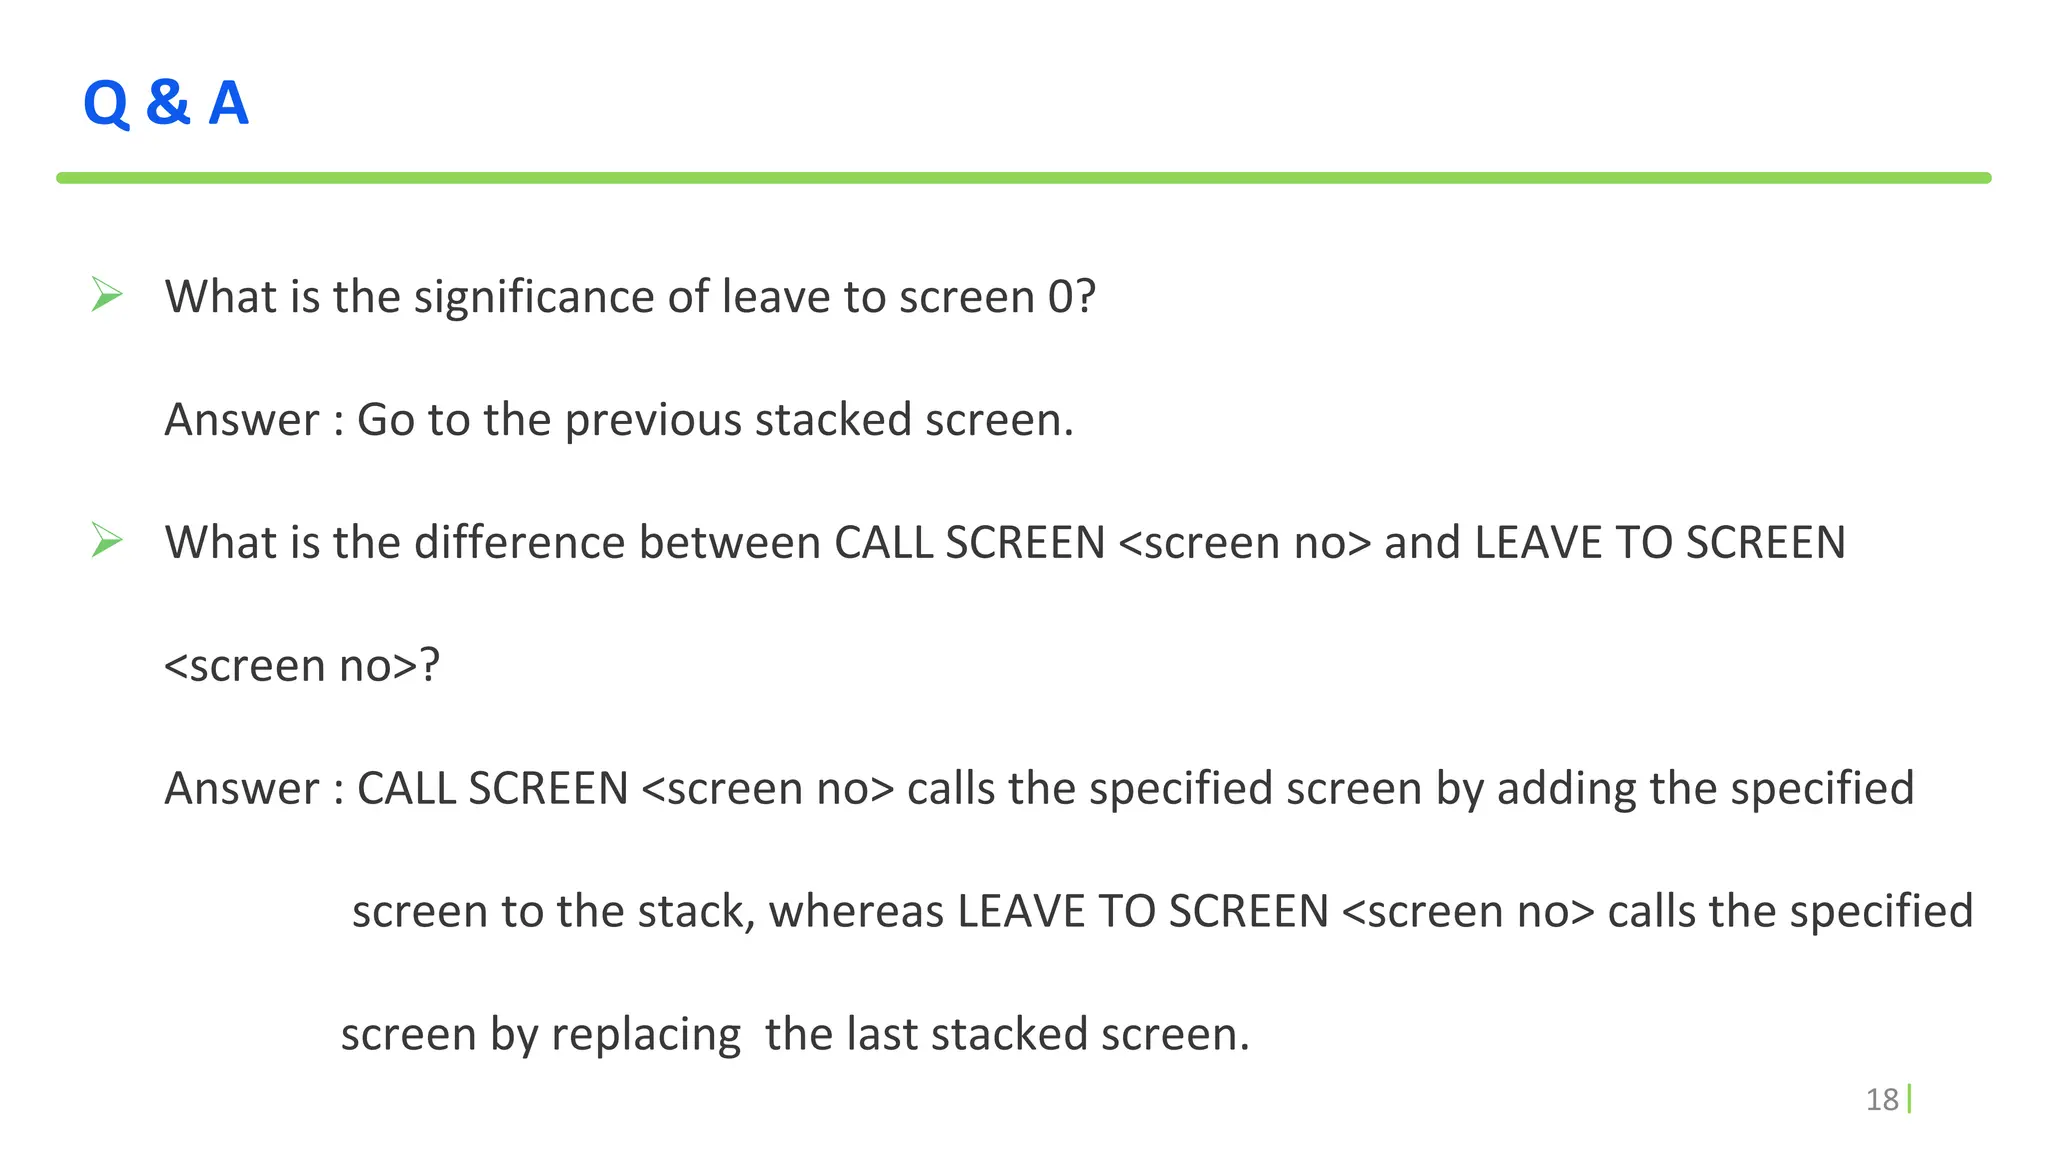
What is the significance of leave to screen 0?
Answer : Go to the previous stacked screen.
What is the difference between CALL SCREEN <screen no> and LEAVE TO SCREEN
<screen no>?
Answer : CALL SCREEN <screen no> calls the specified screen by adding the specified
screen to the stack, whereas LEAVE TO SCREEN <screen no> calls the specified
screen by replacing the last stacked screen.


![Hci [4]interaction](https://cdn.slidesharecdn.com/ss_thumbnails/hci-4interaction-140116110608-phpapp01-thumbnail.jpg?width=600ounds&width=560&fit=bounds)


