Downloaded 577 times


![Step 1 and 2: Code for JFrame
import pakages
public class MyFirstFrame{
public static void main(String[] args) {
JFrame myFrame=new
JFrame("my frame");
myFrame.setSize(500, 500);//size
of the frame widht and height
myFrame.setVisible(true);
//this v.impt visibilty
myFrame.setDefaultCloseOperation
(JFrame.EXIT_ON_CLOSE);
}
}](https://image.slidesharecdn.com/swingpre-150616004959-lva1-app6892/85/Swing-and-AWT-in-java-18-320.jpg)

![mport java.awt.BorderLayout;
import java.awt.FlowLayout;
import javax.swing.JButton;
import javax.swing.JFrame;
/**
* @author Adil M
*/
public class JavaApplication9 {
///code for border layout
public static void main(String[] args) {
// TODO code application logic here
JFrame a=new JFrame("my frame");
a.setLayout(new BorderLayout());
JButton bt=new JButton("North");
a.add(bt,BorderLayout.NORTH);
JButton bt1=new JButton("west");
a.add(bt1,BorderLayout.WEST);
JButton bt2=new JButton("center");
a.add(bt2,BorderLayout.CENTER);
JButton bt3=new JButton("East");
a.add(bt3,BorderLayout.EAST);
JButton bt4=new JButton("south");
a.add(bt4,BorderLayout.SOUTH);
a.setSize(500,500);
a.setVisible(true);
a.setDefaultCloseOperation(JFrame.EXIT_ON_CLOSE);
}
}](https://image.slidesharecdn.com/swingpre-150616004959-lva1-app6892/85/Swing-and-AWT-in-java-25-320.jpg)


![We can Add commponents on frame
import java.awt.FlowLayout;
import javax.swing.JButton;
import javax.swing.JFrame;
public class JavaApplication9 {
public static void main(String[] args) {
JFrame a=new JFrame("my frame");
//SET LAYOUT FOR FRAME most imp
a.setLayout(new
FlowLayout());
JButton bt=new JButton("Button 1");
a.add(bt);
JButton bt1=new JButton("Button31");
a.add(bt1);
a.setSize(500,500);
a.setVisible(true);
a.setDefaultCloseOperation(JFrame.EXIT_ON_C
LOSE);](https://image.slidesharecdn.com/swingpre-150616004959-lva1-app6892/85/Swing-and-AWT-in-java-30-320.jpg)
![continue......
public GUITest ( ) { // default constructor
initGUI ();
}
public static void main (Strin g args[ ]) {
GUITest gui = new GUITest();
}
}](https://image.slidesharecdn.com/swingpre-150616004959-lva1-app6892/85/Swing-and-AWT-in-java-33-320.jpg)
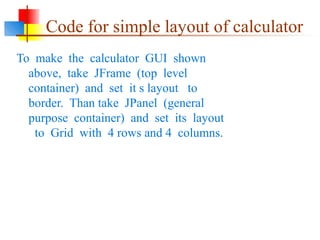
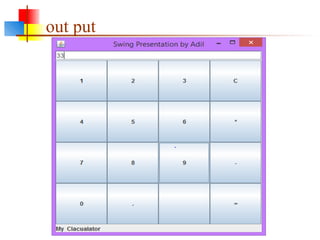
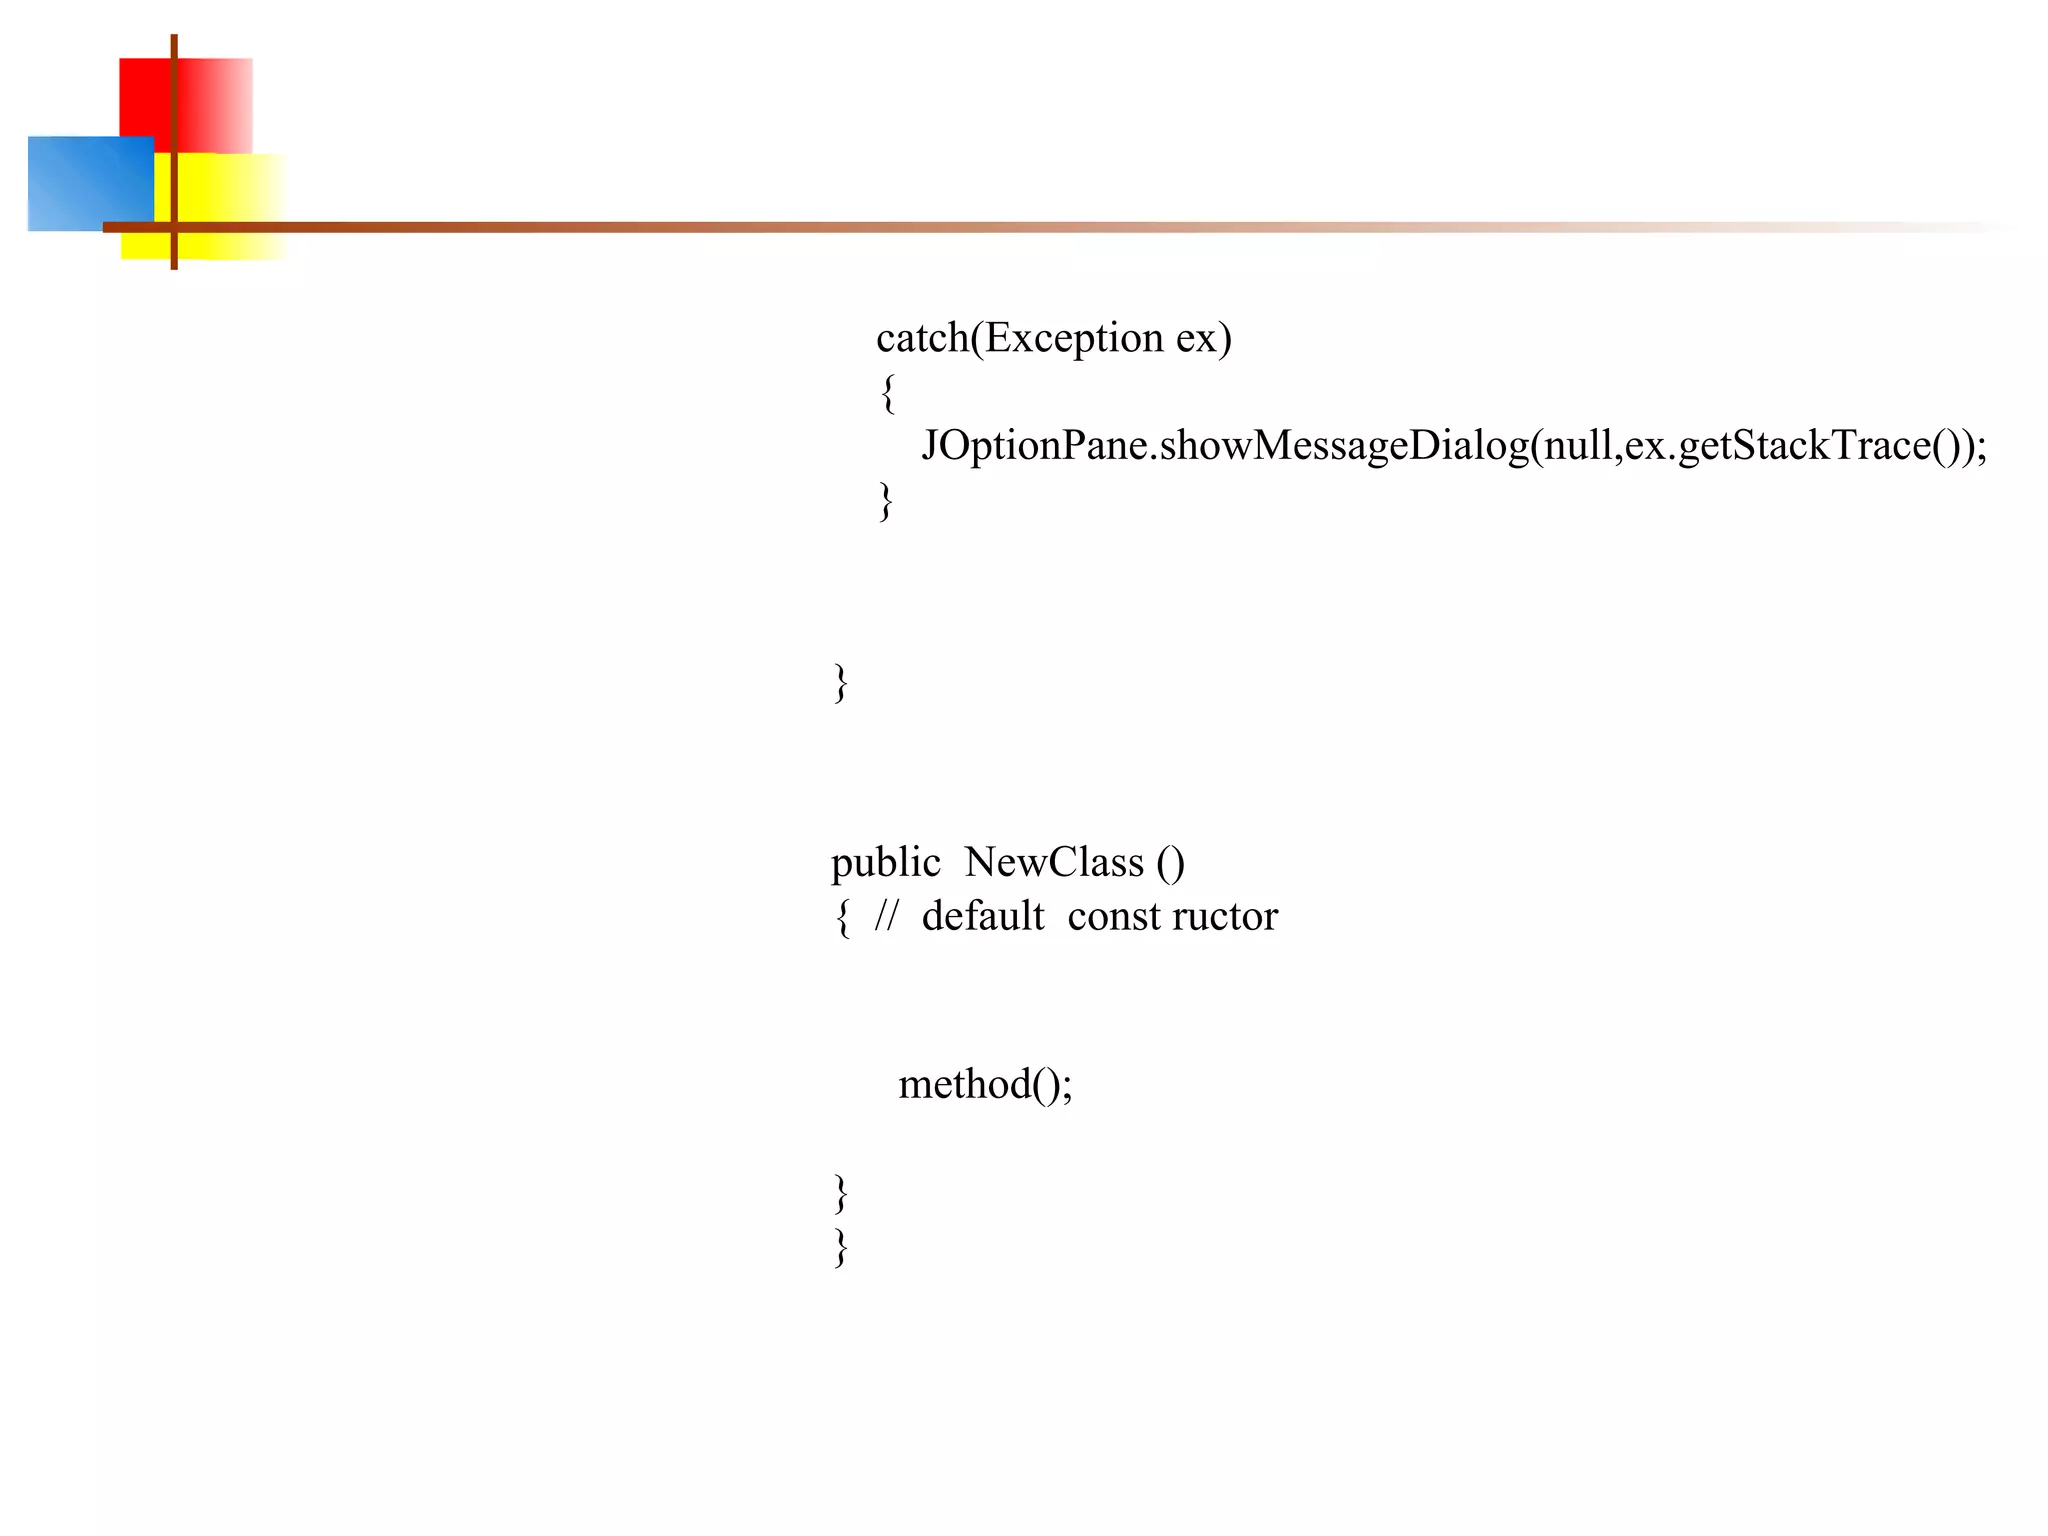
![calculator cont......
public class NewClass {
JFrame fCalc=new JFrame("Swing Presentation by Adil");
JButton b1, b2, b3, b4, b5, b6, b7, b8, b9, b0;
JButton bPlus,bMinus,bMul,bPoint,bEqual,bCl ,ear;
JPanel pButtons;
JTextField tfAn, swer;
JLabel lMyCalc;
public static void main(String[] args)
{
NewClass v= new NewClass();
}
public void method(){
try
{
bPlus=new JButton("");
b1=new JButton("1");
b2=new JButton("2");
b3=new JButton("3");
b4=new JButton("4");
b5=new JButton("5");
b6=new JButton("6");
b7=new JButton("7");
b8=new JButton("8");
b9=new JButton("9");
b0=new JButton("0");](https://image.slidesharecdn.com/swingpre-150616004959-lva1-app6892/85/Swing-and-AWT-in-java-35-320.jpg)


![46
Option dialogs
Object[] options =
new String[] {"English", "Chinese", "French", "German" };
int option =
JOptionPane.showOptionDialog(parentJFrame,
"Choose an option:",
"Option Dialog",
JOptionPane.YES_NO_OPTION,
JOptionPane.QUESTION_MESSAGE,
null,
options,
options[0]); // use as default
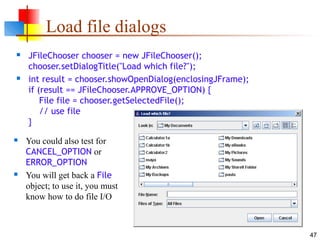
Fourth argument could be JOptionPane.YES_NO_CANCEL_OPTION
Fifth argument specifies which icon to use in the dialog; it could be one of
ERROR_MESSAGE, INFORMATION_MESSAGE, WARNING_MESSAGE, or
PLAIN_MESSAGE
Sixth argument (null above) can specify a custom icon](https://image.slidesharecdn.com/swingpre-150616004959-lva1-app6892/85/Swing-and-AWT-in-java-46-320.jpg)


![Step 1 and 2: Code for JFrame
import pakages
public class MyFirstFrame{
public static void main(String[] args) {
JFrame myFrame=new
JFrame("my frame");
myFrame.setSize(500, 500);//size
of the frame widht and height
myFrame.setVisible(true);
//this v.impt visibilty
myFrame.setDefaultCloseOperation
(JFrame.EXIT_ON_CLOSE);
}
}](https://image.slidesharecdn.com/swingpre-150616004959-lva1-app6892/75/Swing-and-AWT-in-java-18-2048.jpg)

![mport java.awt.BorderLayout;
import java.awt.FlowLayout;
import javax.swing.JButton;
import javax.swing.JFrame;
/**
* @author Adil M
*/
public class JavaApplication9 {
///code for border layout
public static void main(String[] args) {
// TODO code application logic here
JFrame a=new JFrame("my frame");
a.setLayout(new BorderLayout());
JButton bt=new JButton("North");
a.add(bt,BorderLayout.NORTH);
JButton bt1=new JButton("west");
a.add(bt1,BorderLayout.WEST);
JButton bt2=new JButton("center");
a.add(bt2,BorderLayout.CENTER);
JButton bt3=new JButton("East");
a.add(bt3,BorderLayout.EAST);
JButton bt4=new JButton("south");
a.add(bt4,BorderLayout.SOUTH);
a.setSize(500,500);
a.setVisible(true);
a.setDefaultCloseOperation(JFrame.EXIT_ON_CLOSE);
}
}](https://image.slidesharecdn.com/swingpre-150616004959-lva1-app6892/75/Swing-and-AWT-in-java-25-2048.jpg)
![We can Add commponents on frame
import java.awt.FlowLayout;
import javax.swing.JButton;
import javax.swing.JFrame;
public class JavaApplication9 {
public static void main(String[] args) {
JFrame a=new JFrame("my frame");
//SET LAYOUT FOR FRAME most imp
a.setLayout(new
FlowLayout());
JButton bt=new JButton("Button 1");
a.add(bt);
JButton bt1=new JButton("Button31");
a.add(bt1);
a.setSize(500,500);
a.setVisible(true);
a.setDefaultCloseOperation(JFrame.EXIT_ON_C
LOSE);](https://image.slidesharecdn.com/swingpre-150616004959-lva1-app6892/75/Swing-and-AWT-in-java-30-2048.jpg)

![continue......
public GUITest ( ) { // default constructor
initGUI ();
}
public static void main (Strin g args[ ]) {
GUITest gui = new GUITest();
}
}](https://image.slidesharecdn.com/swingpre-150616004959-lva1-app6892/75/Swing-and-AWT-in-java-33-2048.jpg)
![calculator cont......
public class NewClass {
JFrame fCalc=new JFrame("Swing Presentation by Adil");
JButton b1, b2, b3, b4, b5, b6, b7, b8, b9, b0;
JButton bPlus,bMinus,bMul,bPoint,bEqual,bCl ,ear;
JPanel pButtons;
JTextField tfAn, swer;
JLabel lMyCalc;
public static void main(String[] args)
{
NewClass v= new NewClass();
}
public void method(){
try
{
bPlus=new JButton("");
b1=new JButton("1");
b2=new JButton("2");
b3=new JButton("3");
b4=new JButton("4");
b5=new JButton("5");
b6=new JButton("6");
b7=new JButton("7");
b8=new JButton("8");
b9=new JButton("9");
b0=new JButton("0");](https://image.slidesharecdn.com/swingpre-150616004959-lva1-app6892/75/Swing-and-AWT-in-java-35-2048.jpg)


![46
Option dialogs
Object[] options =
new String[] {"English", "Chinese", "French", "German" };
int option =
JOptionPane.showOptionDialog(parentJFrame,
"Choose an option:",
"Option Dialog",
JOptionPane.YES_NO_OPTION,
JOptionPane.QUESTION_MESSAGE,
null,
options,
options[0]); // use as default
Fourth argument could be JOptionPane.YES_NO_CANCEL_OPTION
Fifth argument specifies which icon to use in the dialog; it could be one of
ERROR_MESSAGE, INFORMATION_MESSAGE, WARNING_MESSAGE, or
PLAIN_MESSAGE
Sixth argument (null above) can specify a custom icon](https://image.slidesharecdn.com/swingpre-150616004959-lva1-app6892/75/Swing-and-AWT-in-java-46-2048.jpg)


The document provides an overview of how to build a graphical user interface (GUI) in Java. It discusses the key classes used to create GUI components like JFrame, JPanel, and JButton. It explains how to set layout managers, add components, set frame size and visibility. It also includes sample code to create a simple calculator GUI with a border layout and grid layout. The document is an introduction to developing GUIs in Java using the Swing toolkit.
Overview of topics including GUI, AWT, Swing, their differences, and practical implementation.
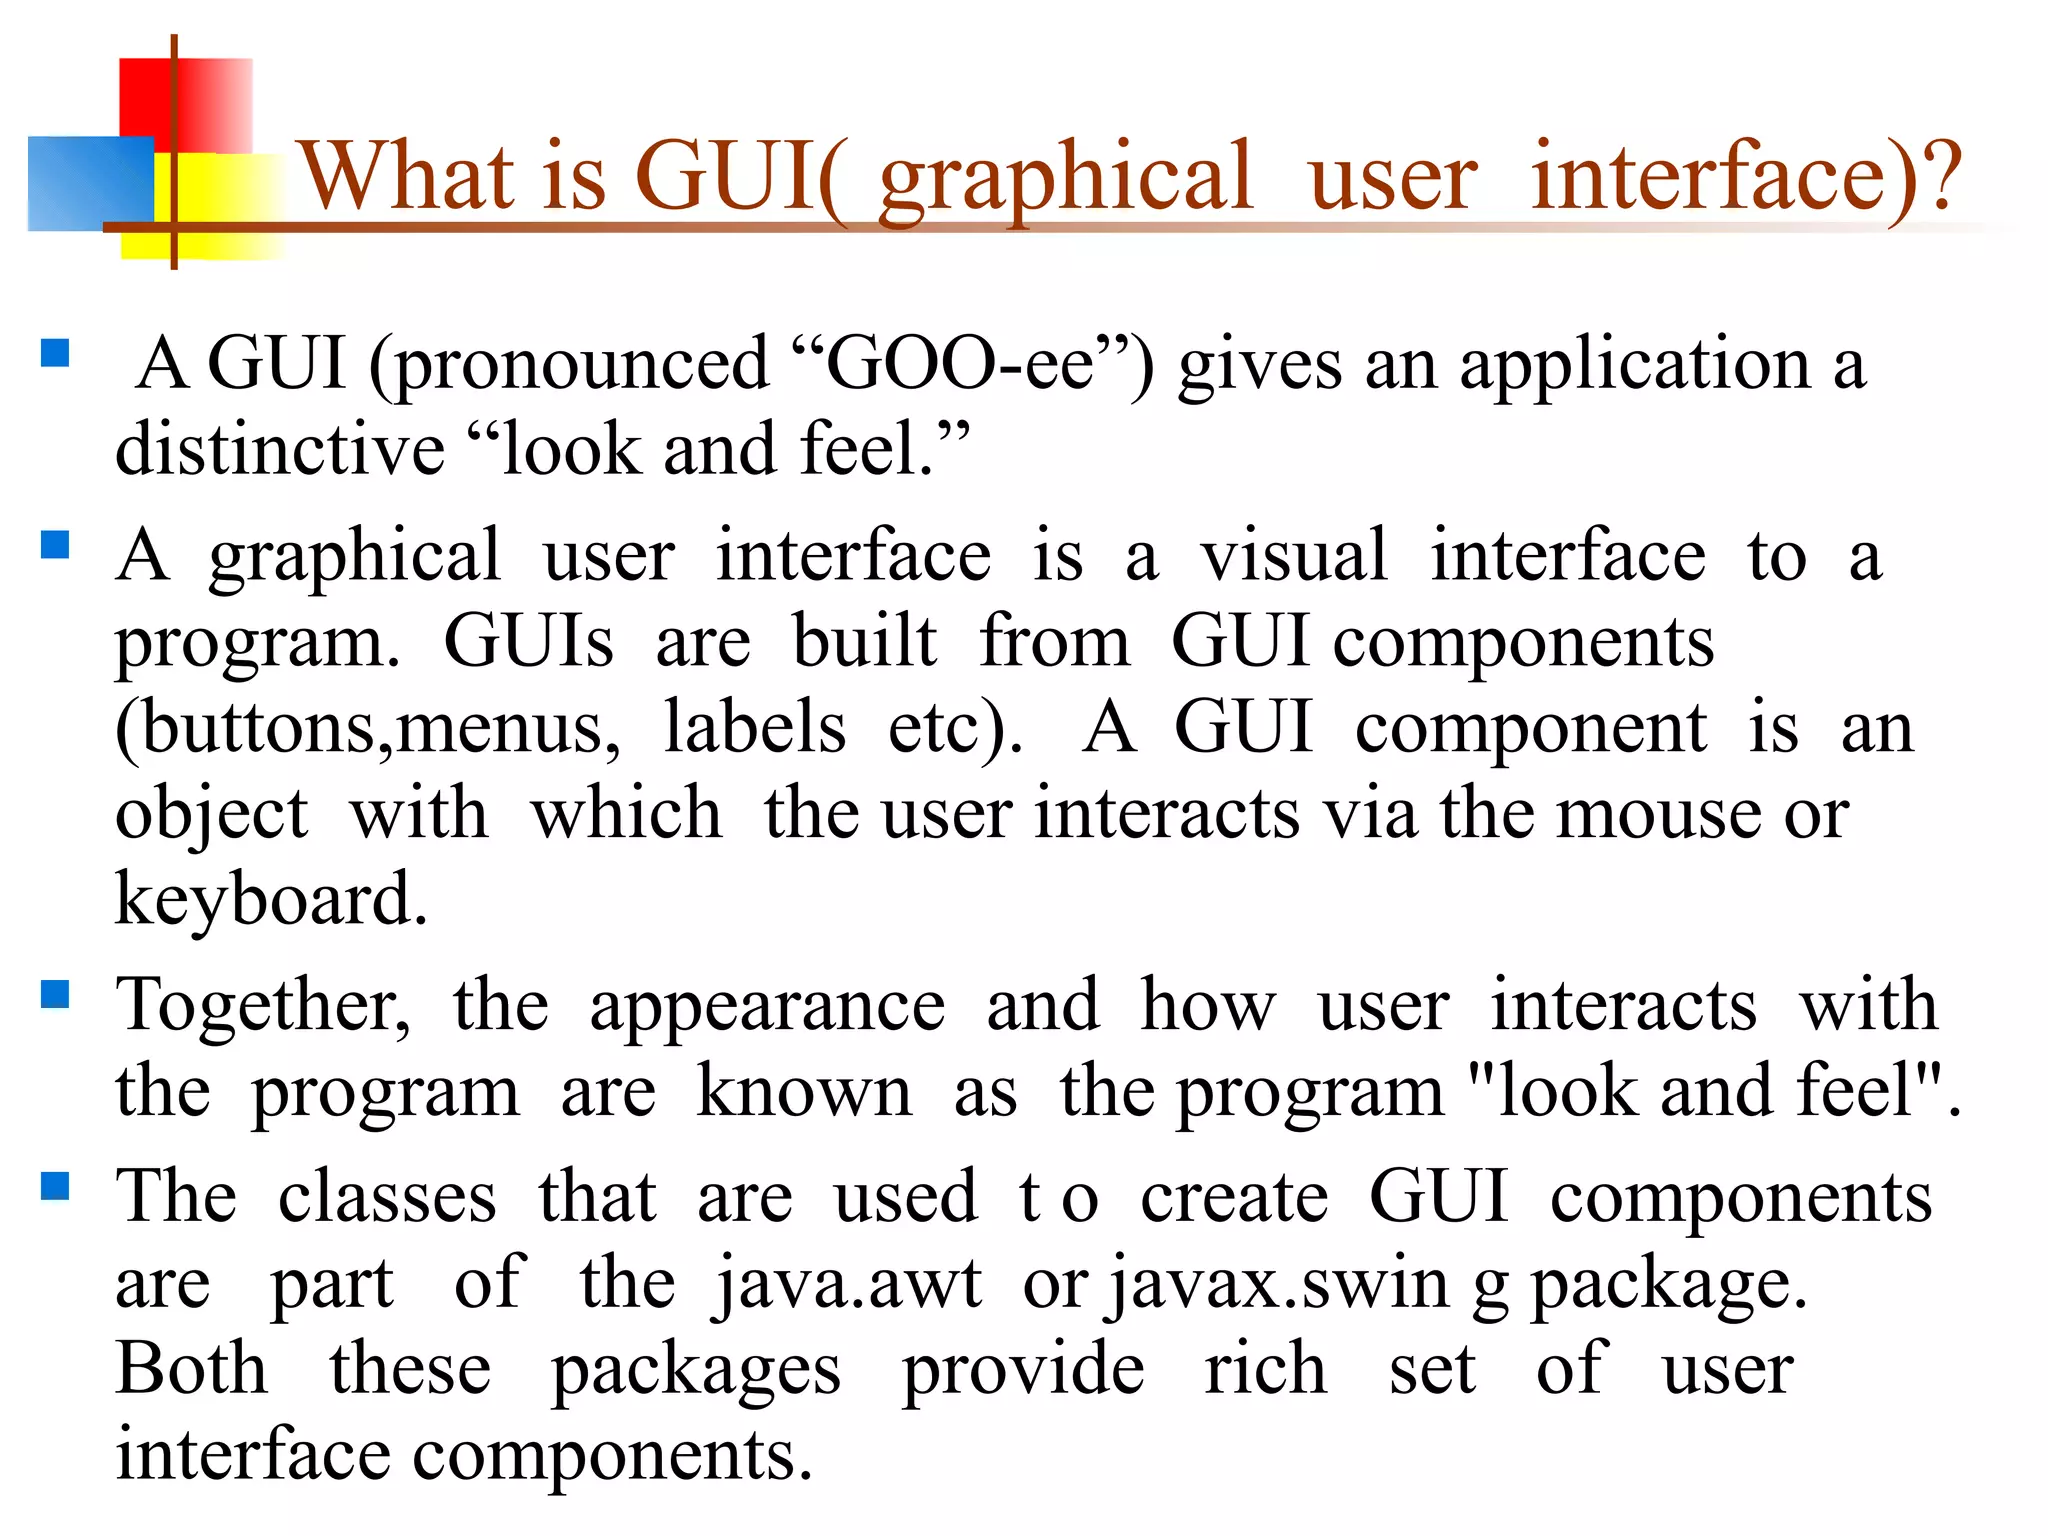
Definition of GUI as a visual interface allowing user interaction through components and packages.
Distinction between GUI and Non-GUI classes in AWT and Swing, focusing on interaction and support.
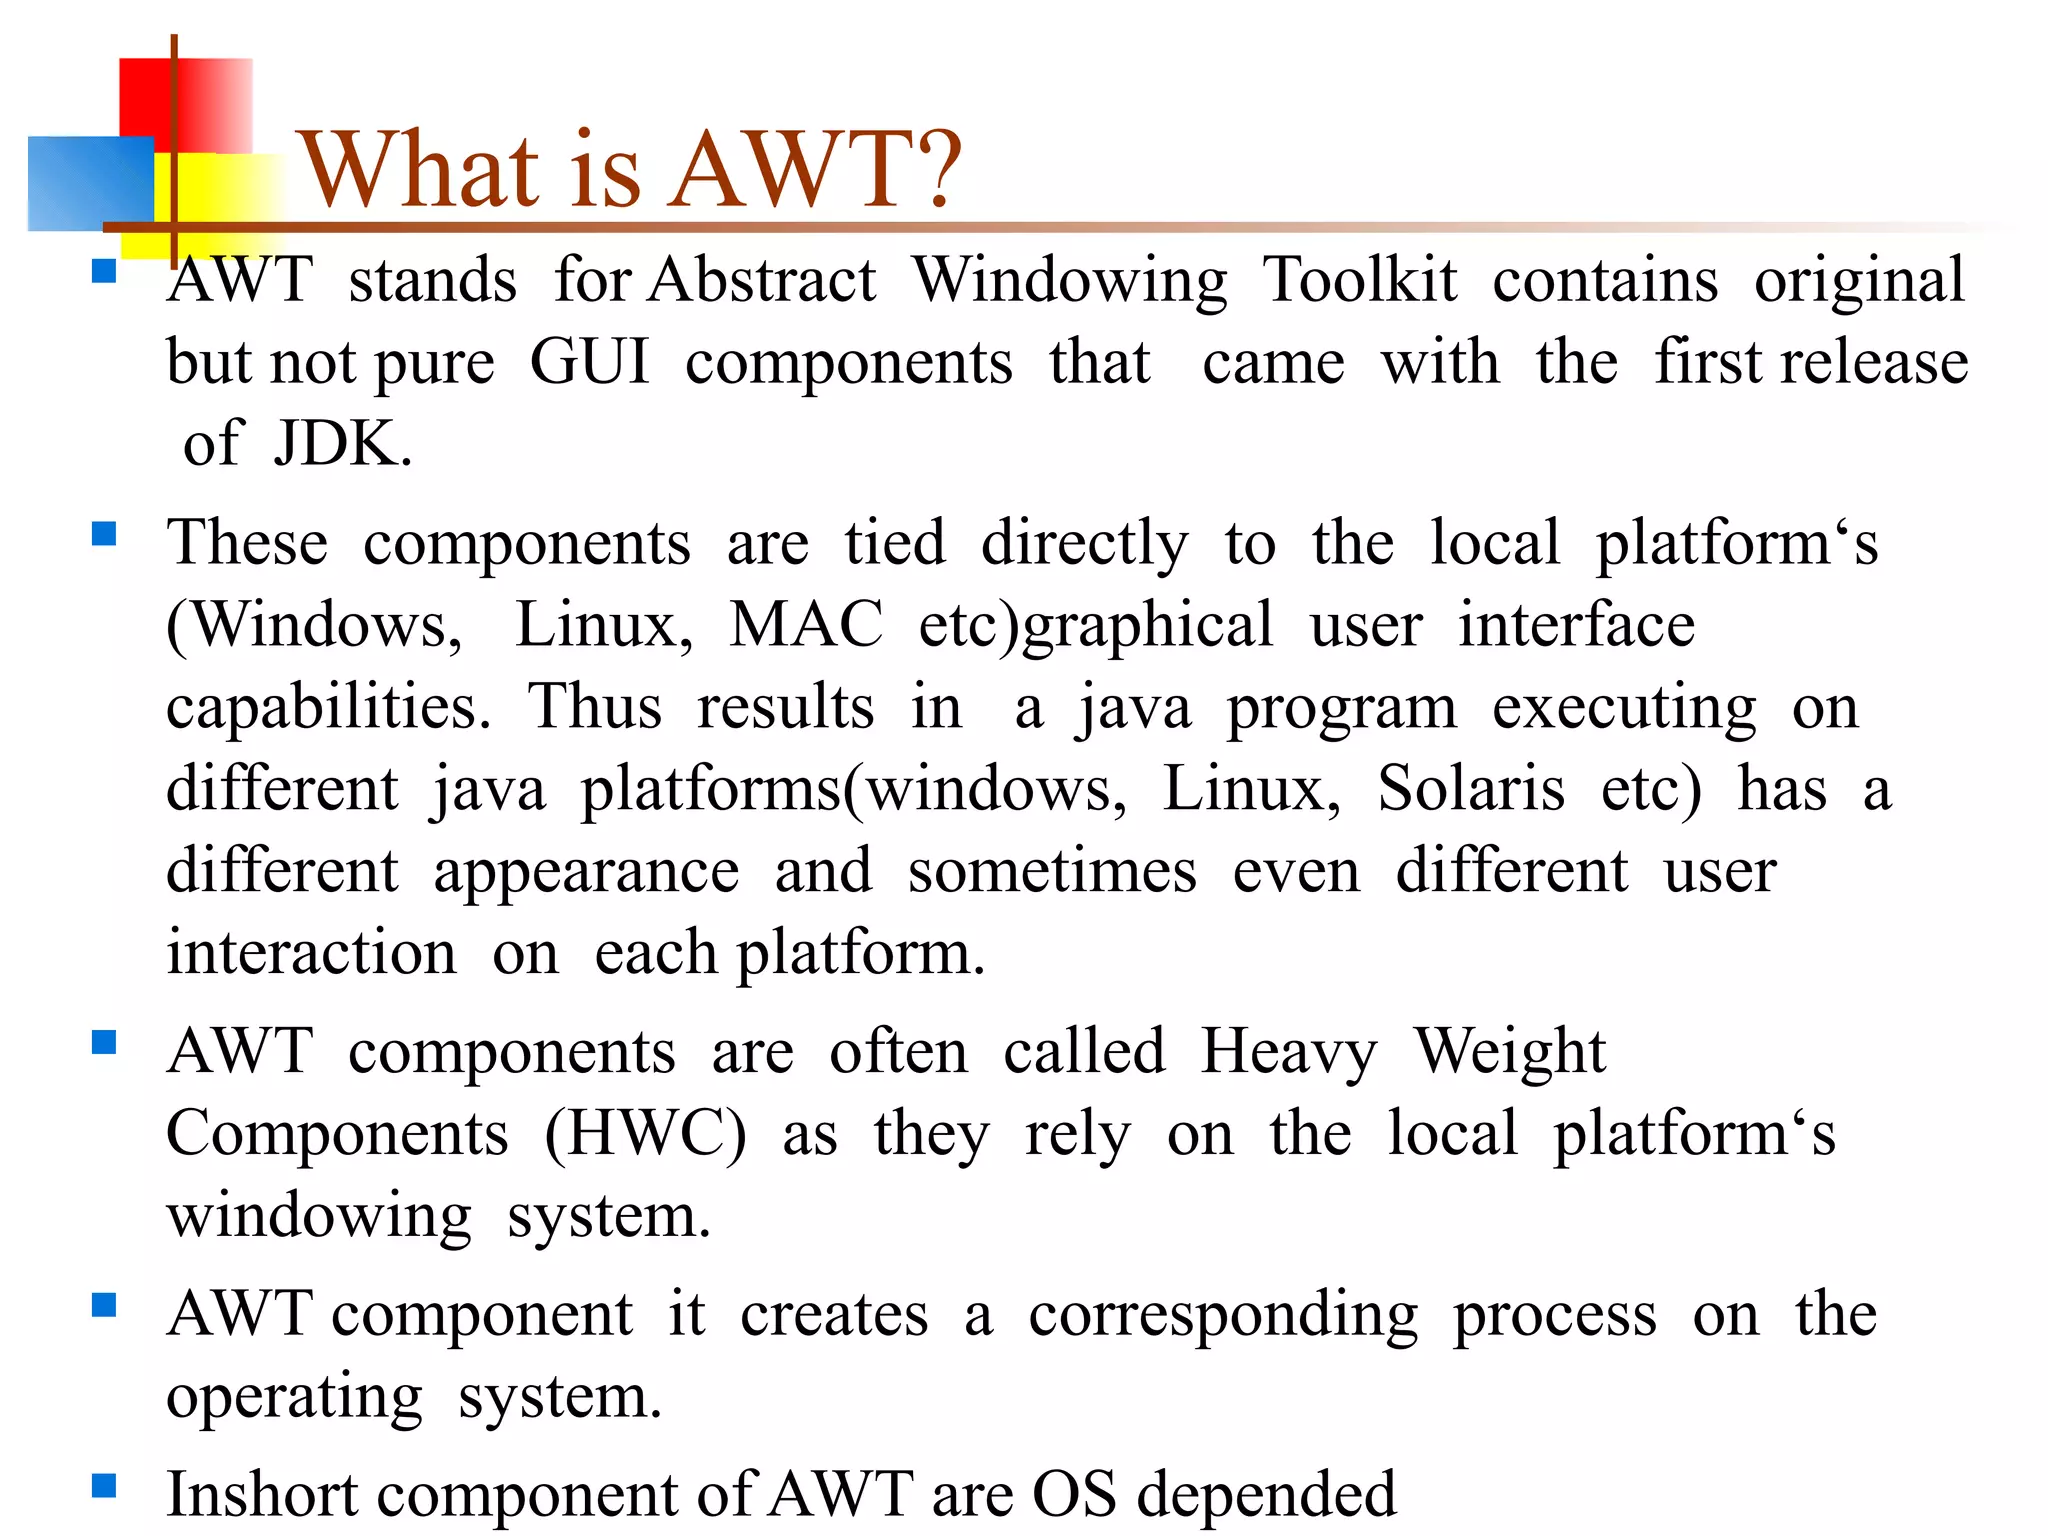
AWT: Abstract Windowing Toolkit, details on heavy-weight components and OS dependency.
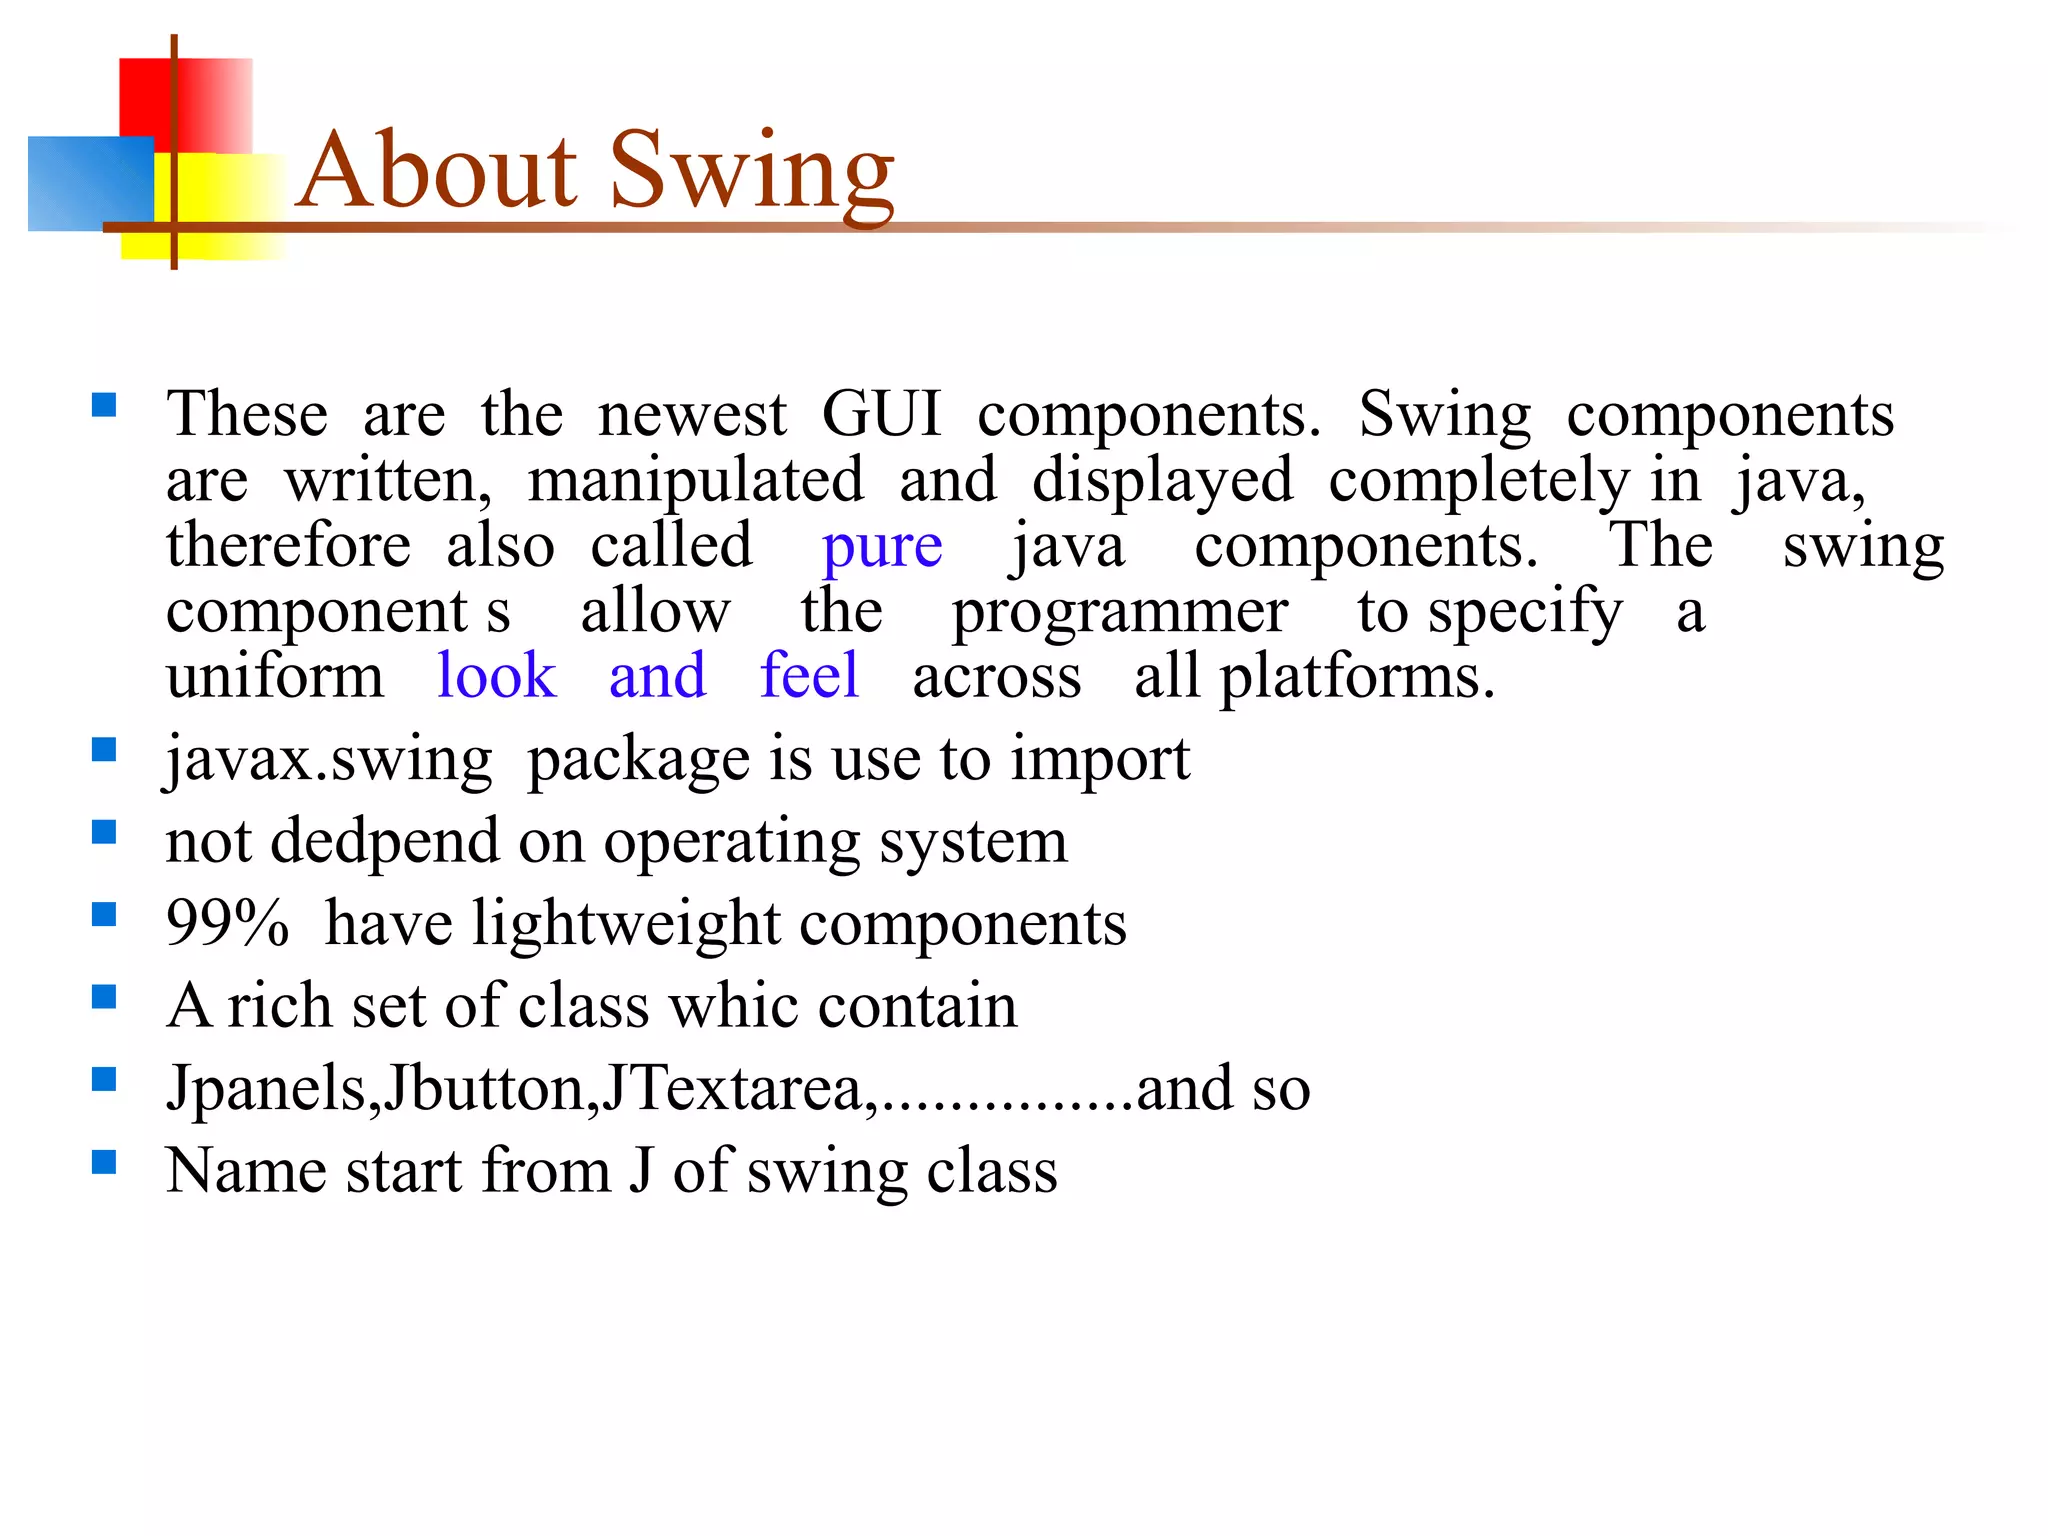
Swing: Newer Java components offering a consistent look and feel across platforms, are mostly lightweight.
Illustrates the inheritance hierarchy of Swing's lightweight GUI components.
Comparison of Swing and AWT components focusing on OS dependency, weight, and consistency.
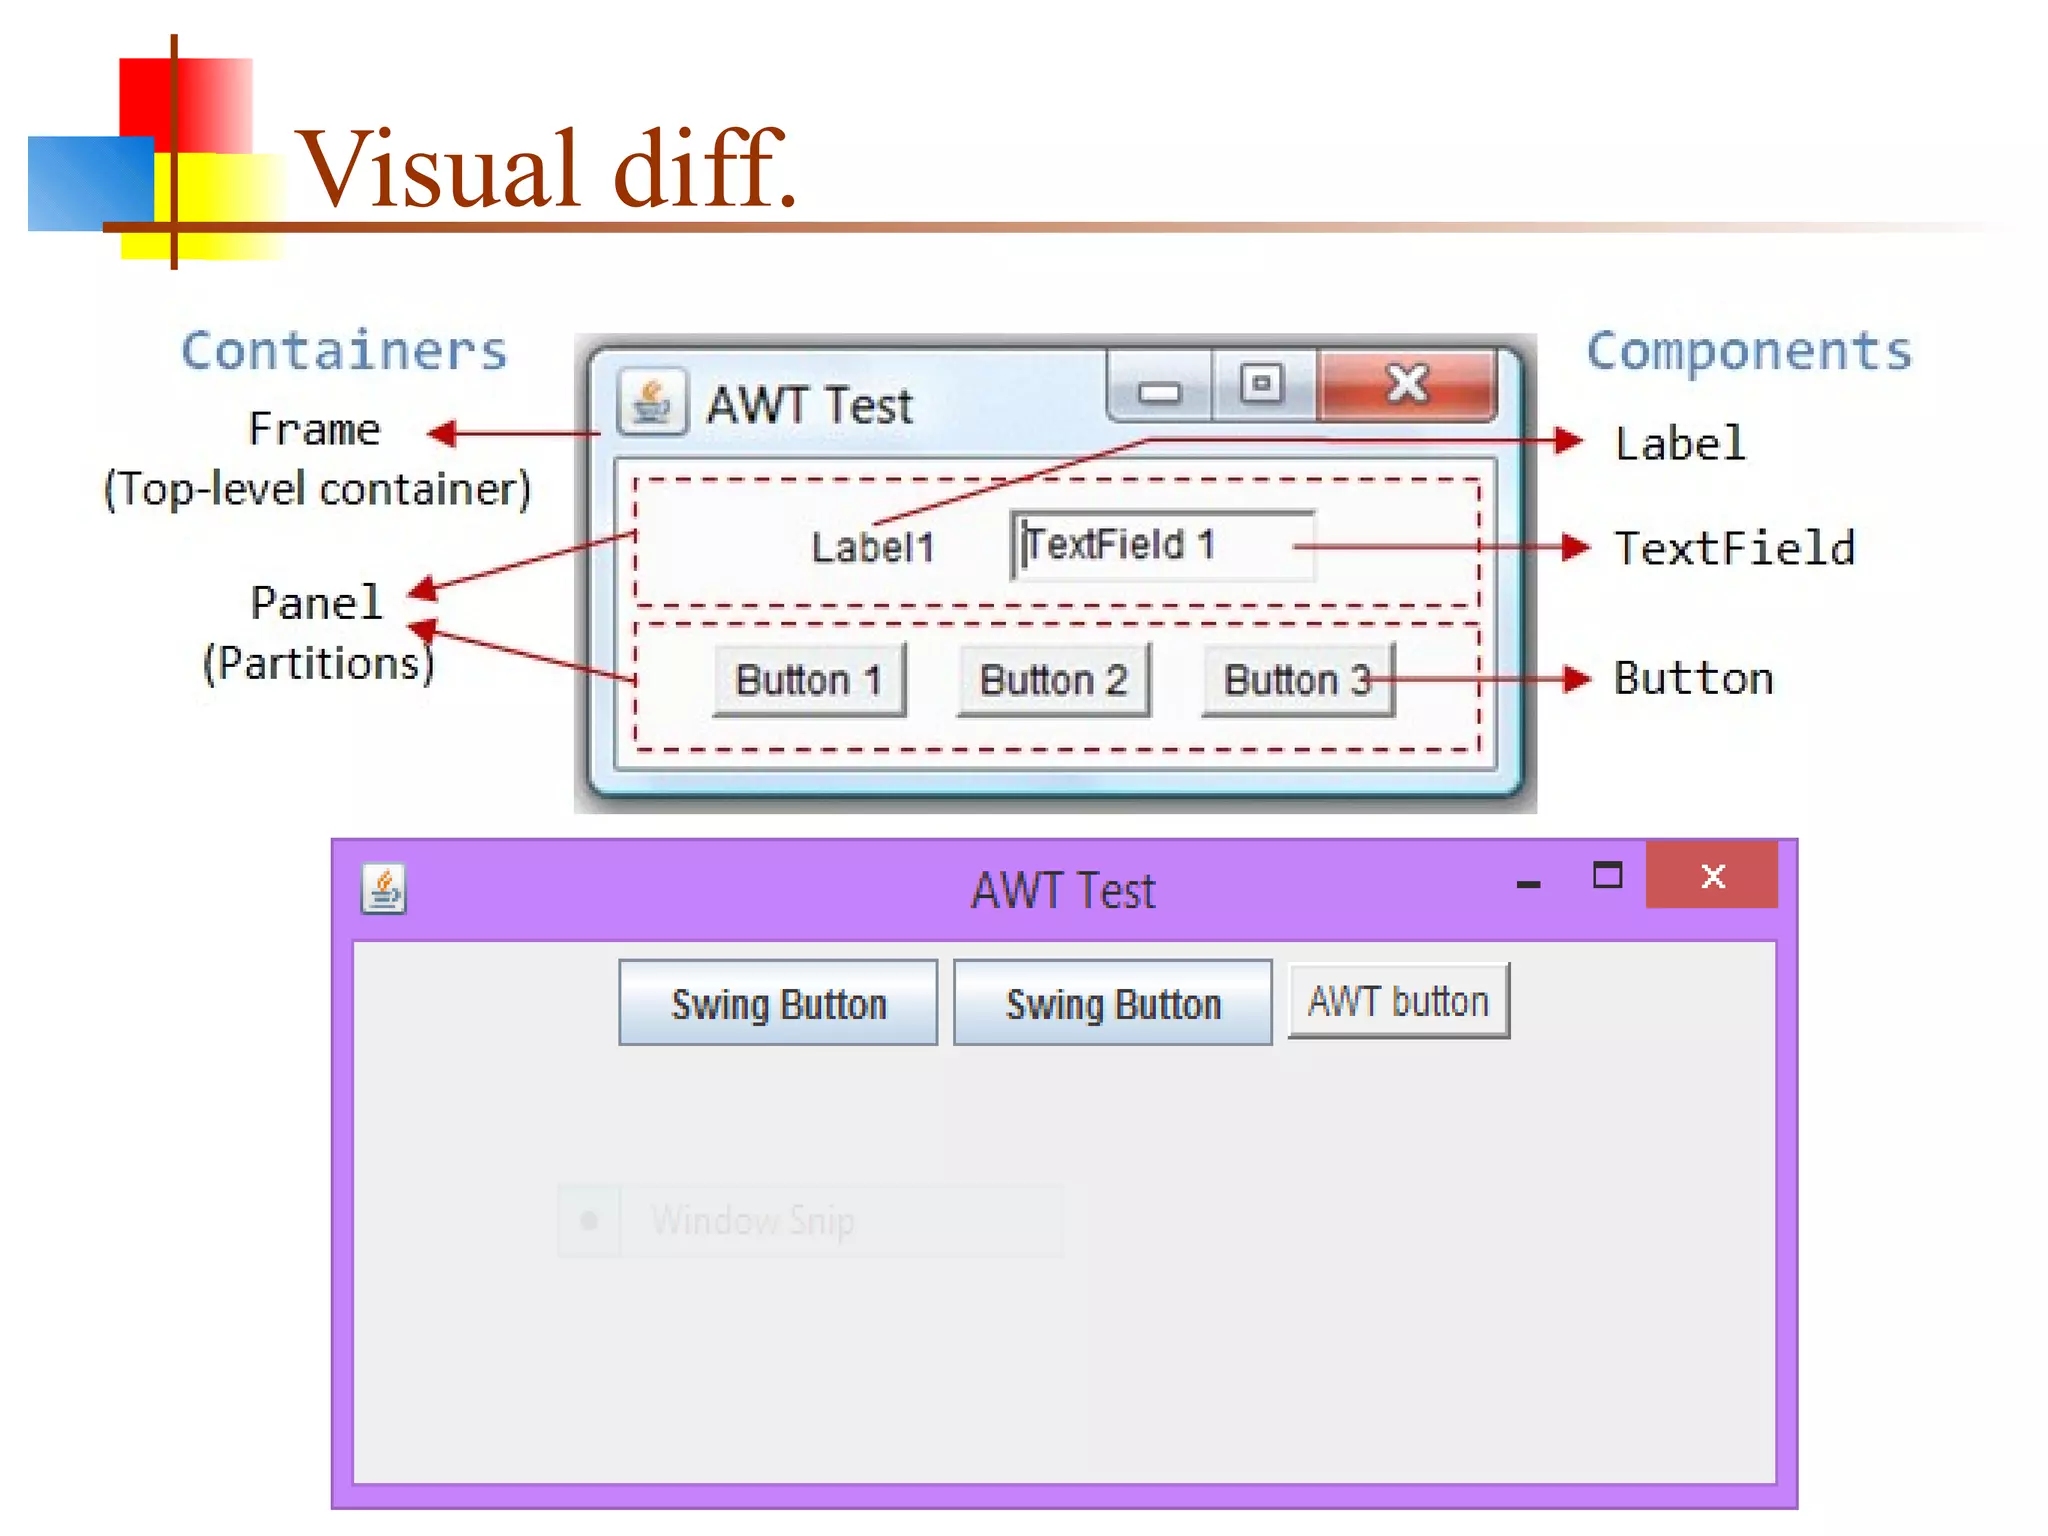
Illustrative differences to highlight the contrast between Swing and AWT components.
Arguments for using Swing over AWT due to lightweight, OS independence, and modern implementation.
Details on the Component class in AWT hierarchy and its role in visual elements.
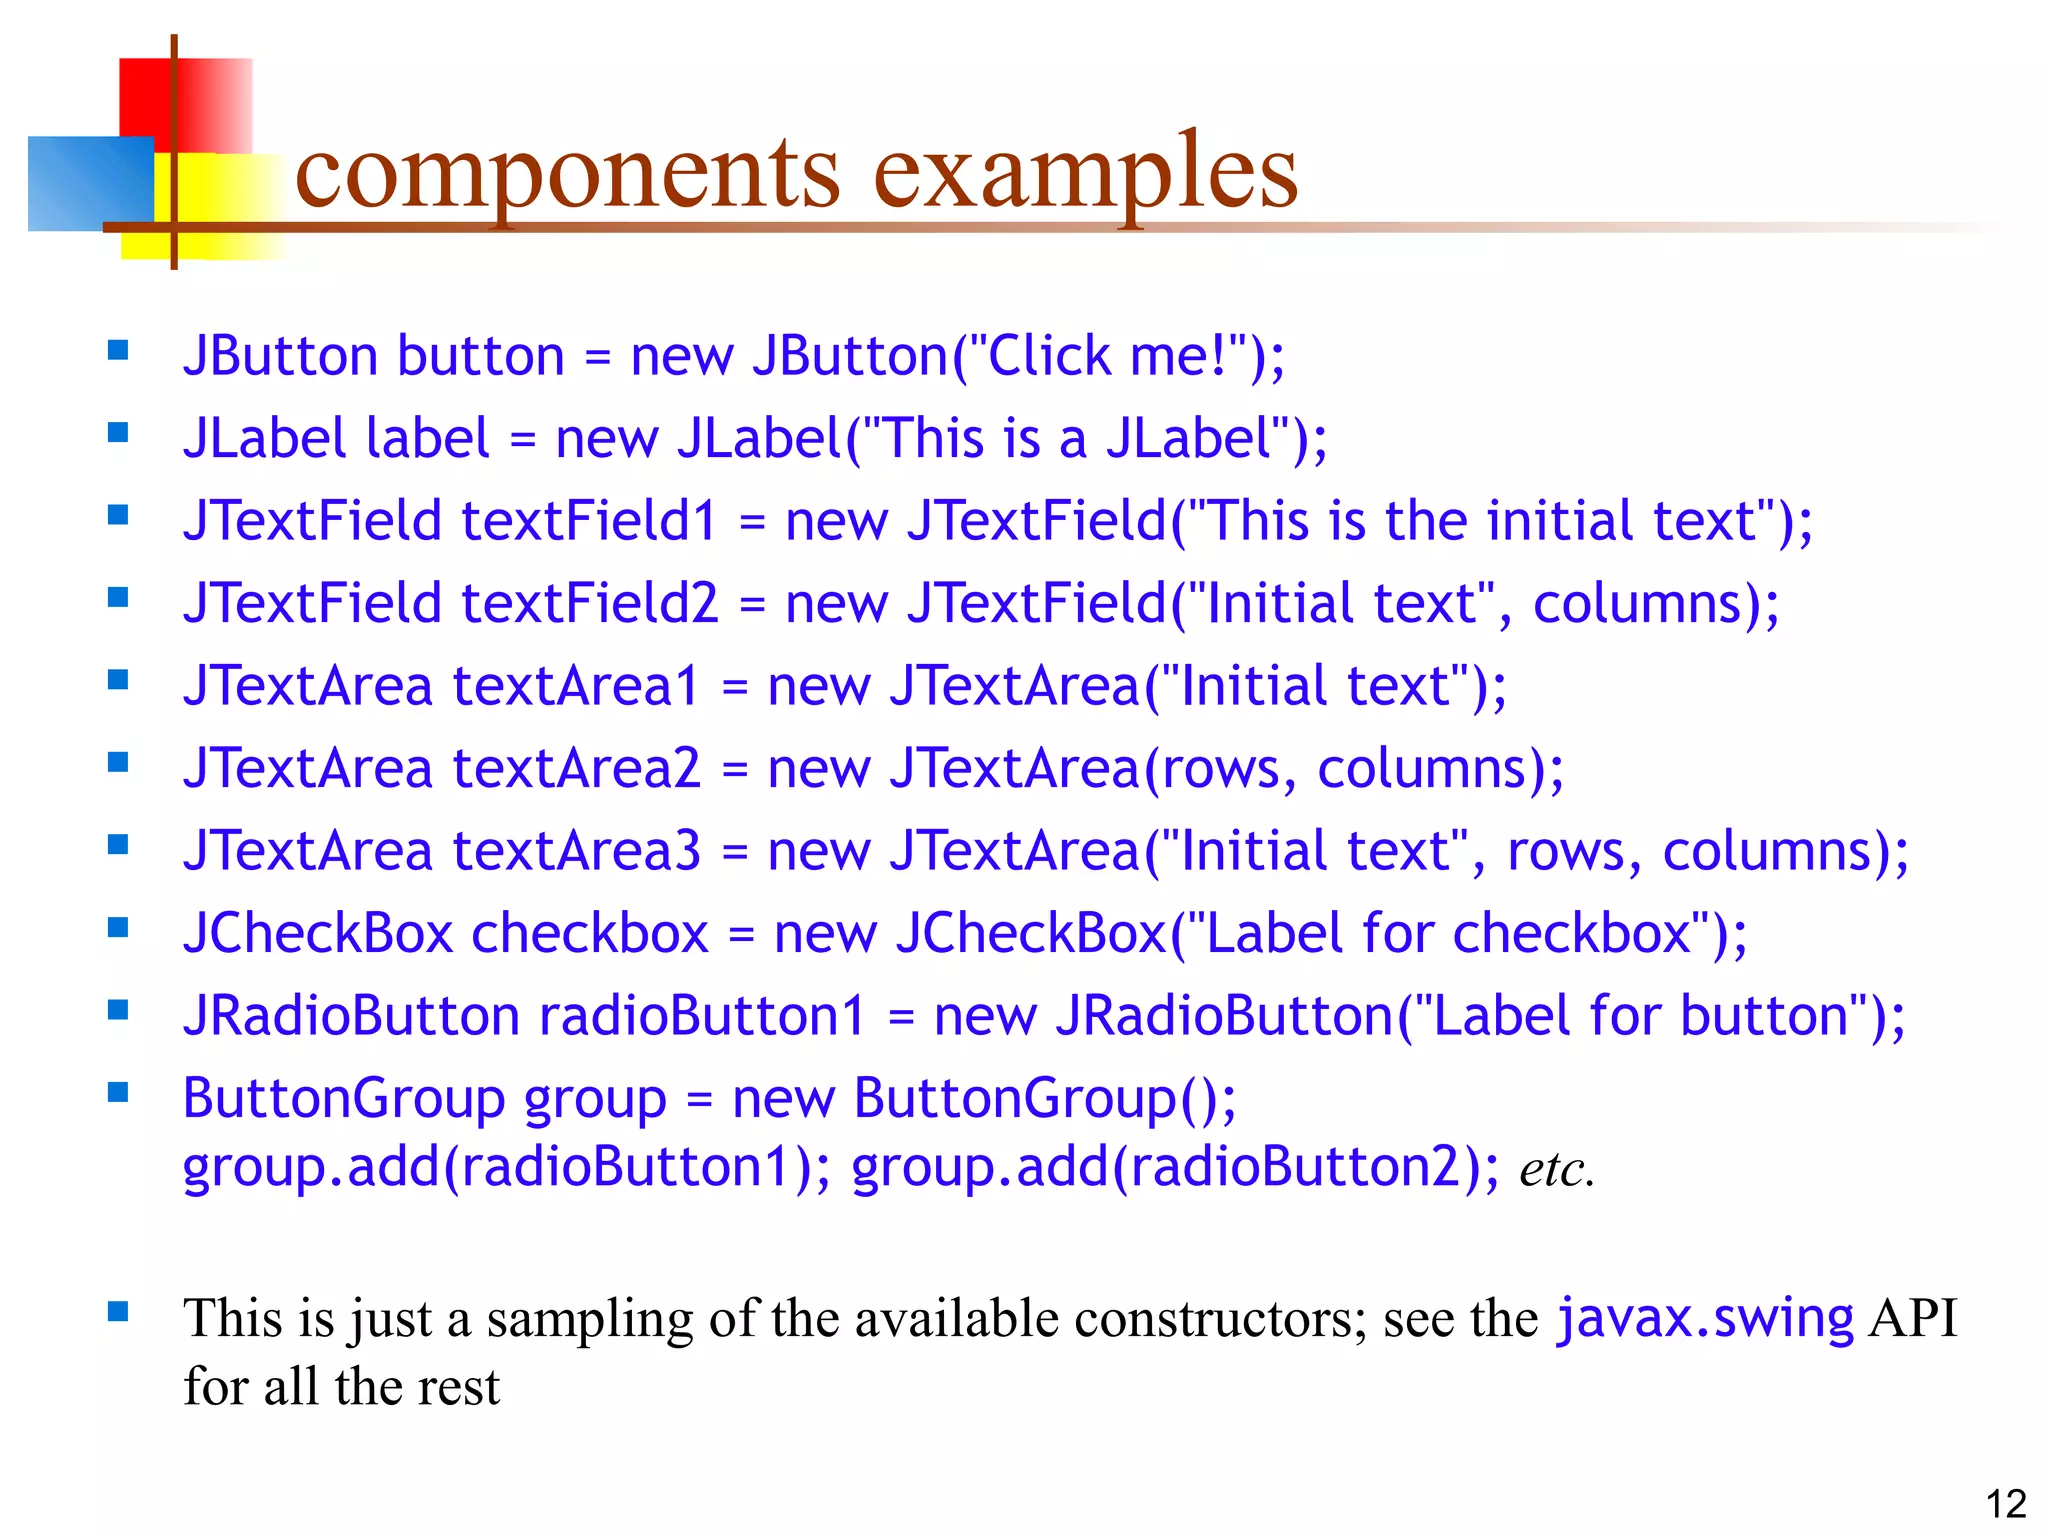
Code snippets showcasing various GUI components like JButton, JLabel, JTextField.
Details on the Container class, its methods, and the concept of adding and managing components.
The Panel class as a concrete container for screen output without title or menu bars.
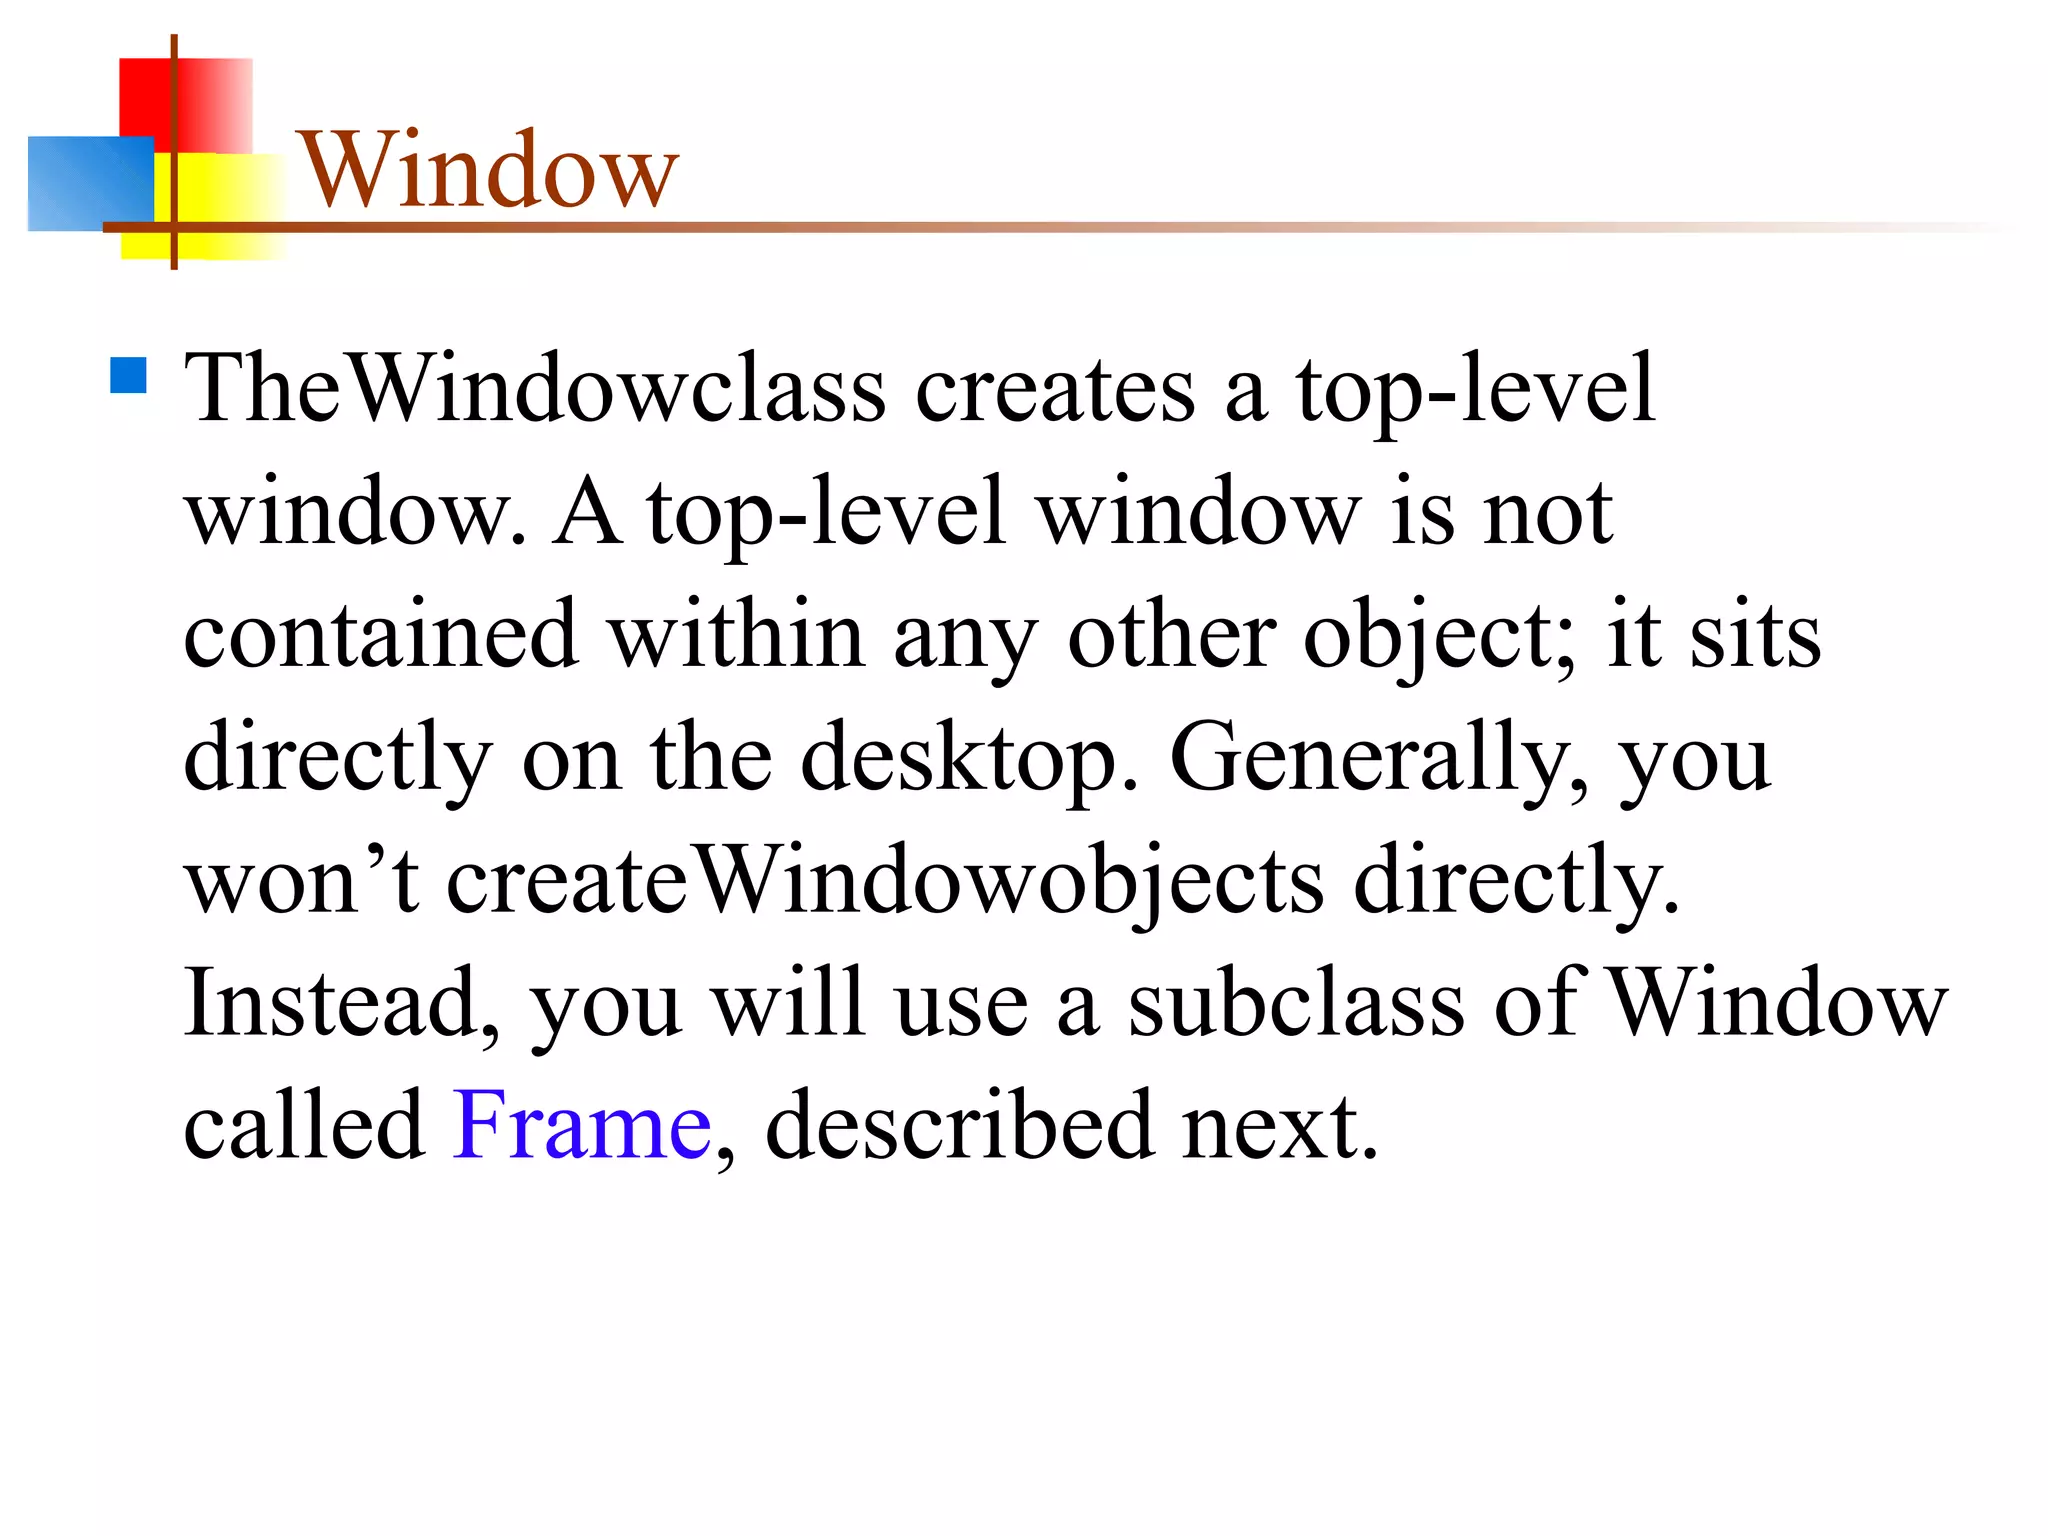
The Window class overview as a top-level container and its significance in GUI applications.
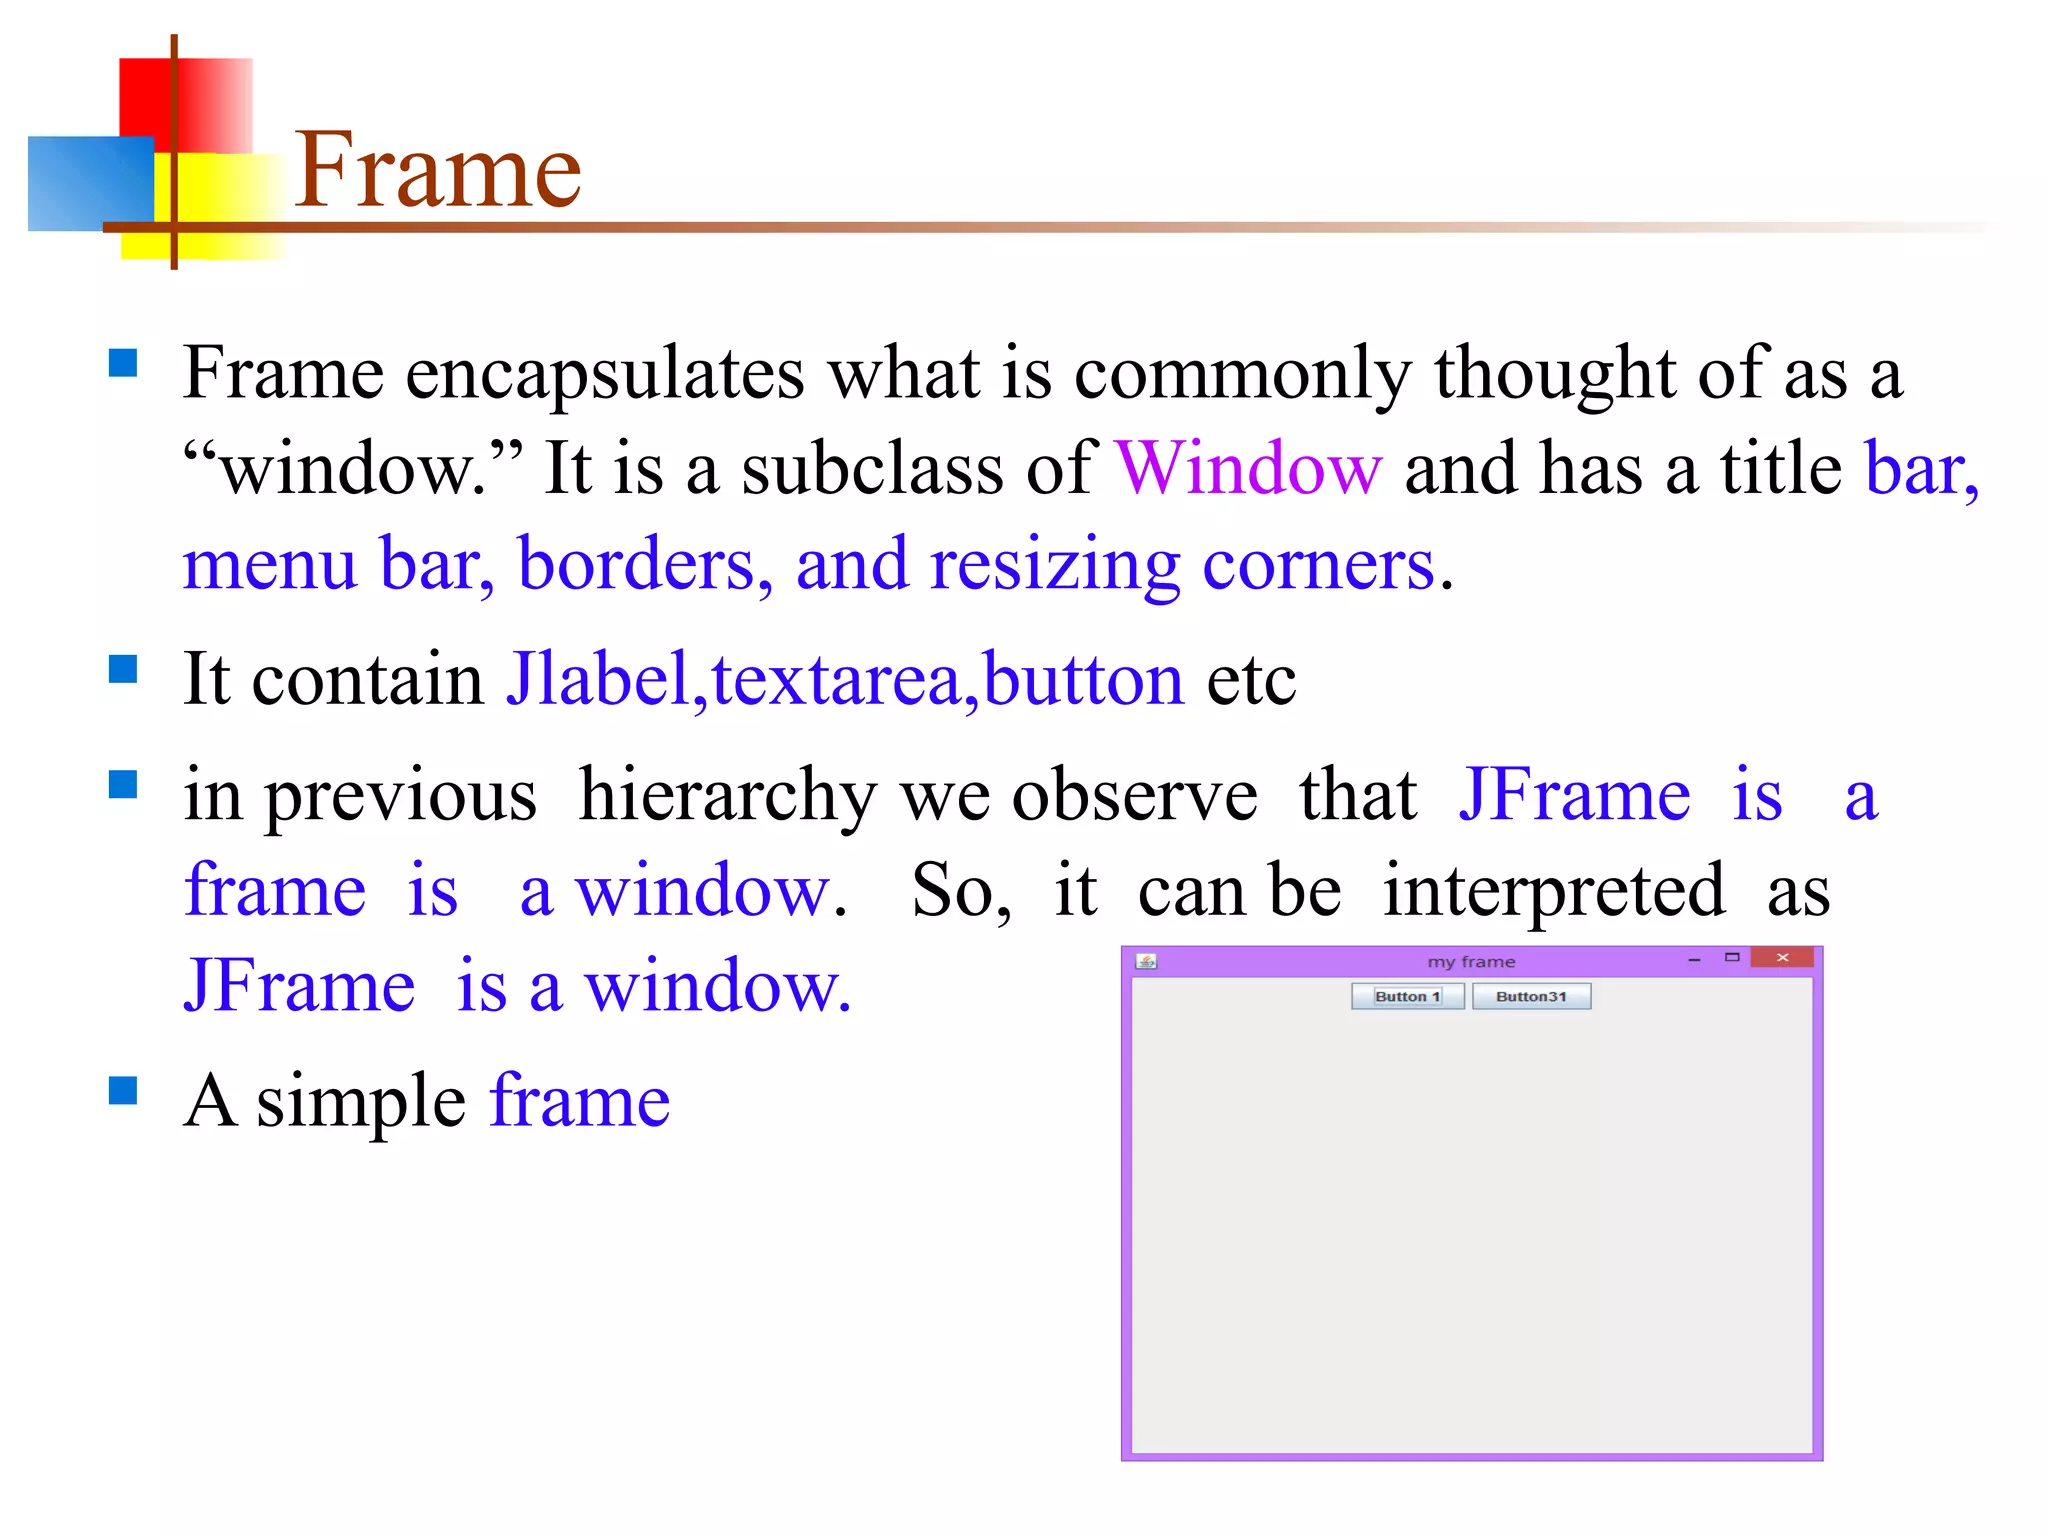
Overview of Frame as a window with interface elements and its relationship with JFrame.
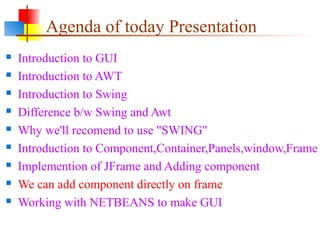
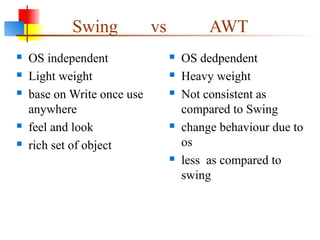
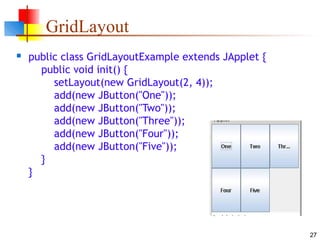
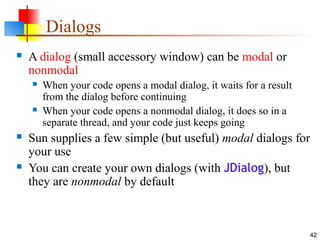
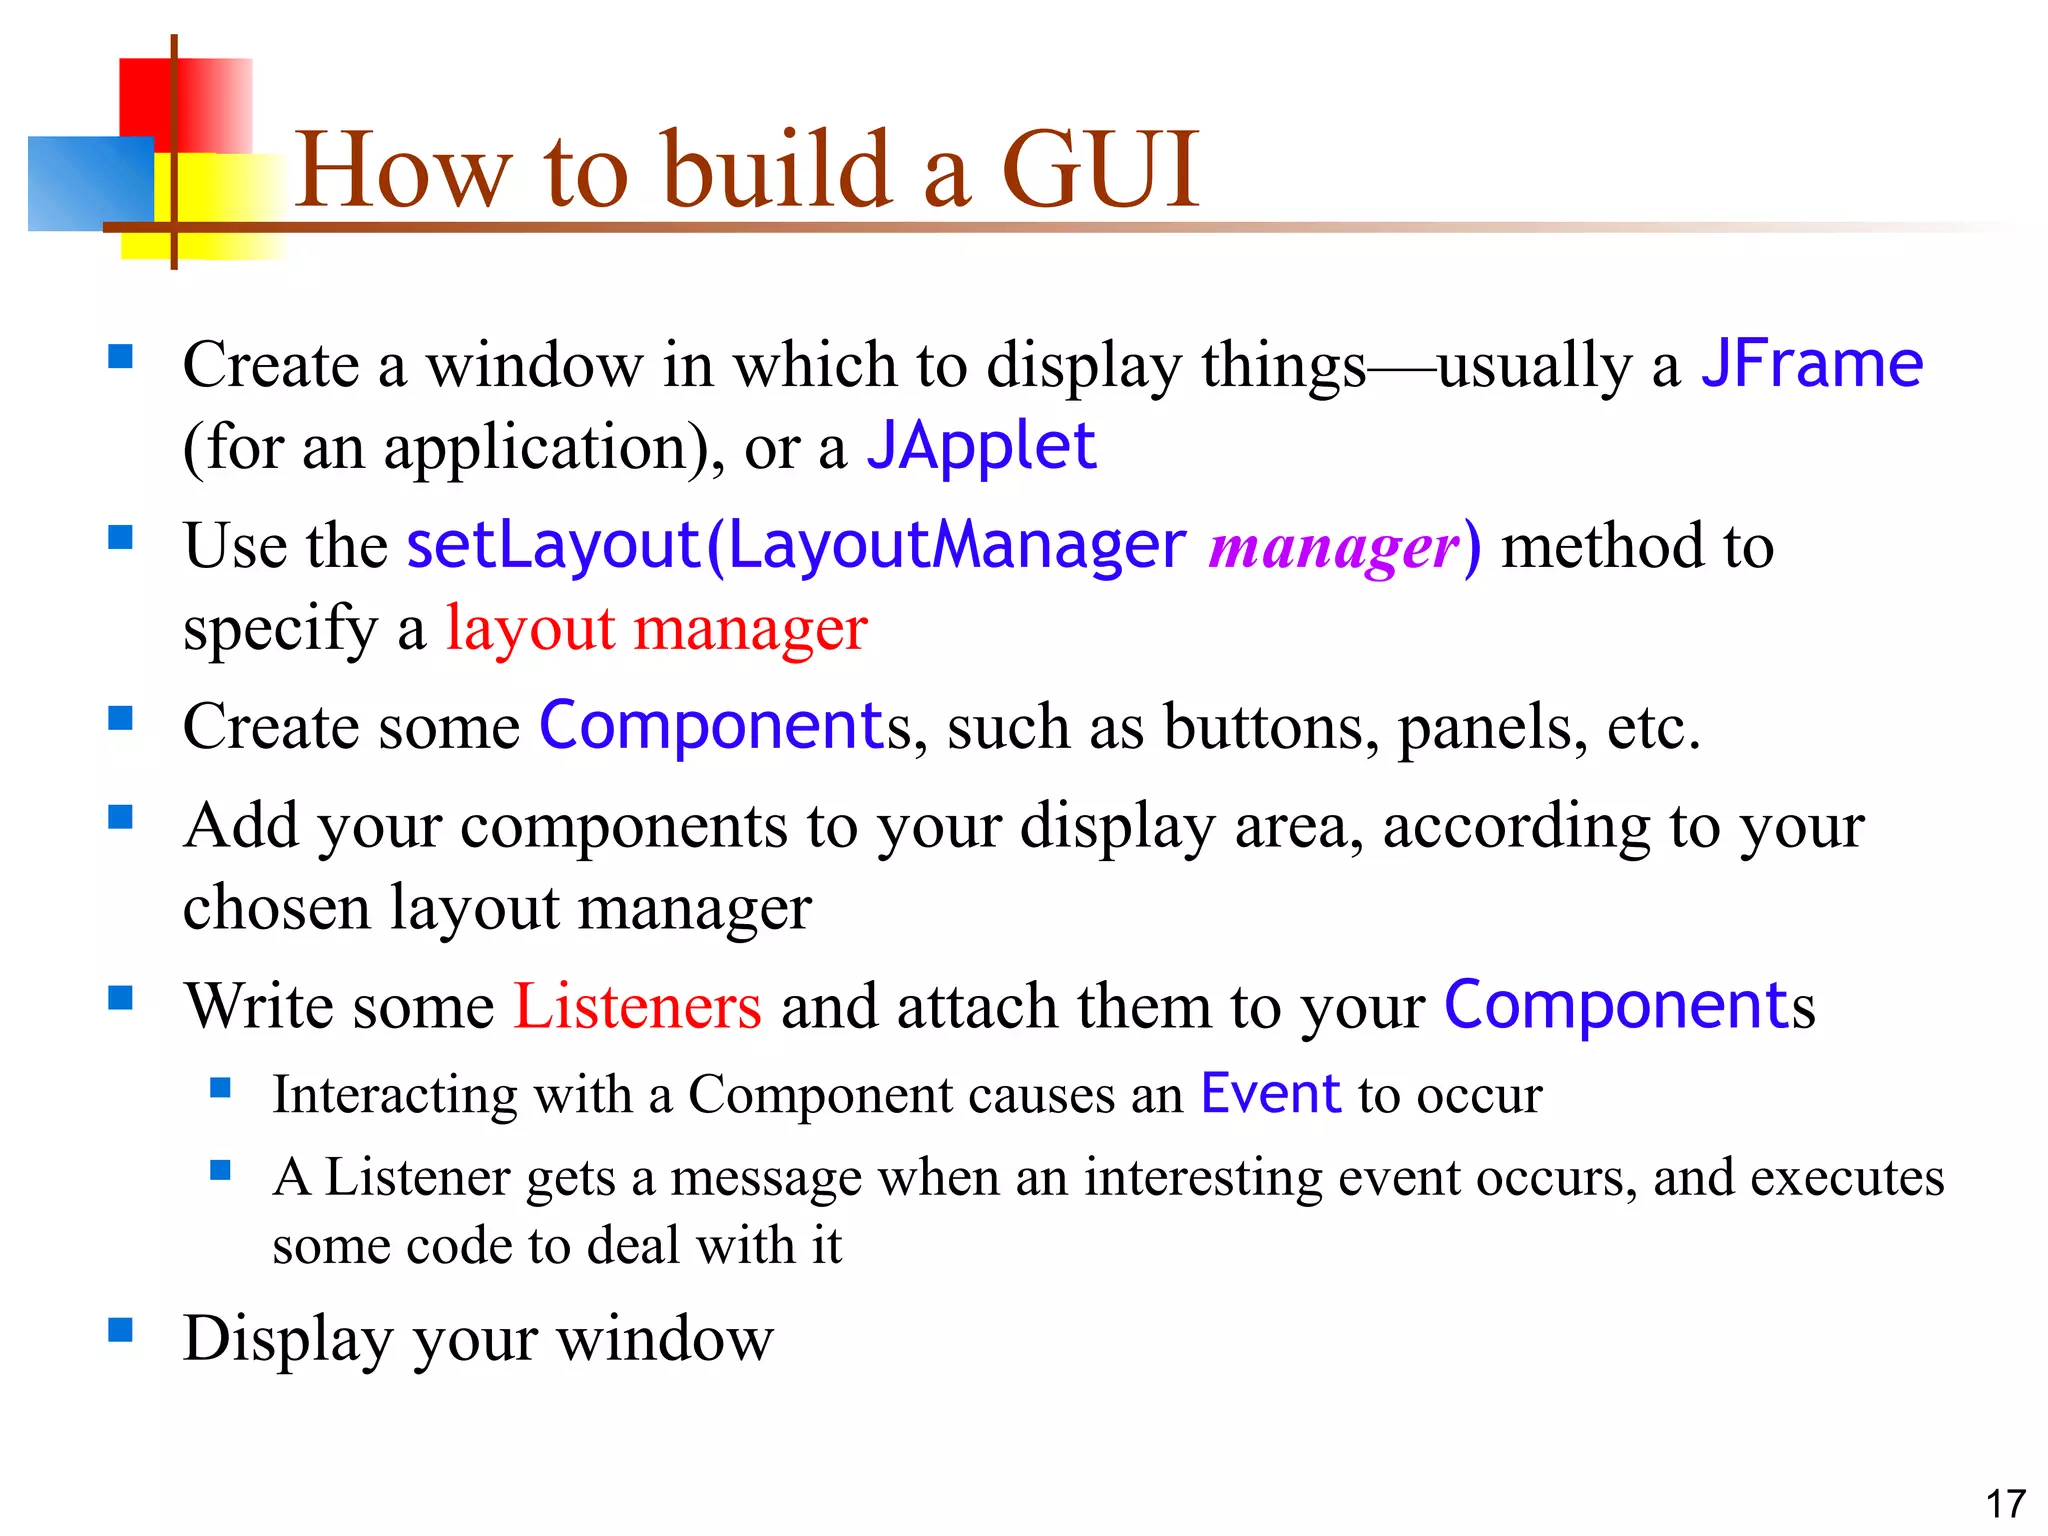
Steps to build a GUI: Create a JFrame, set layouts, add components, and handle events.
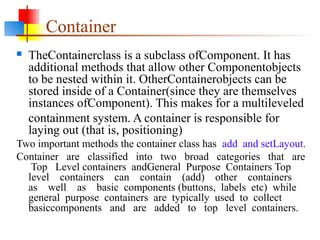
Basic code for initializing a JFrame with specified dimensions and visibility.
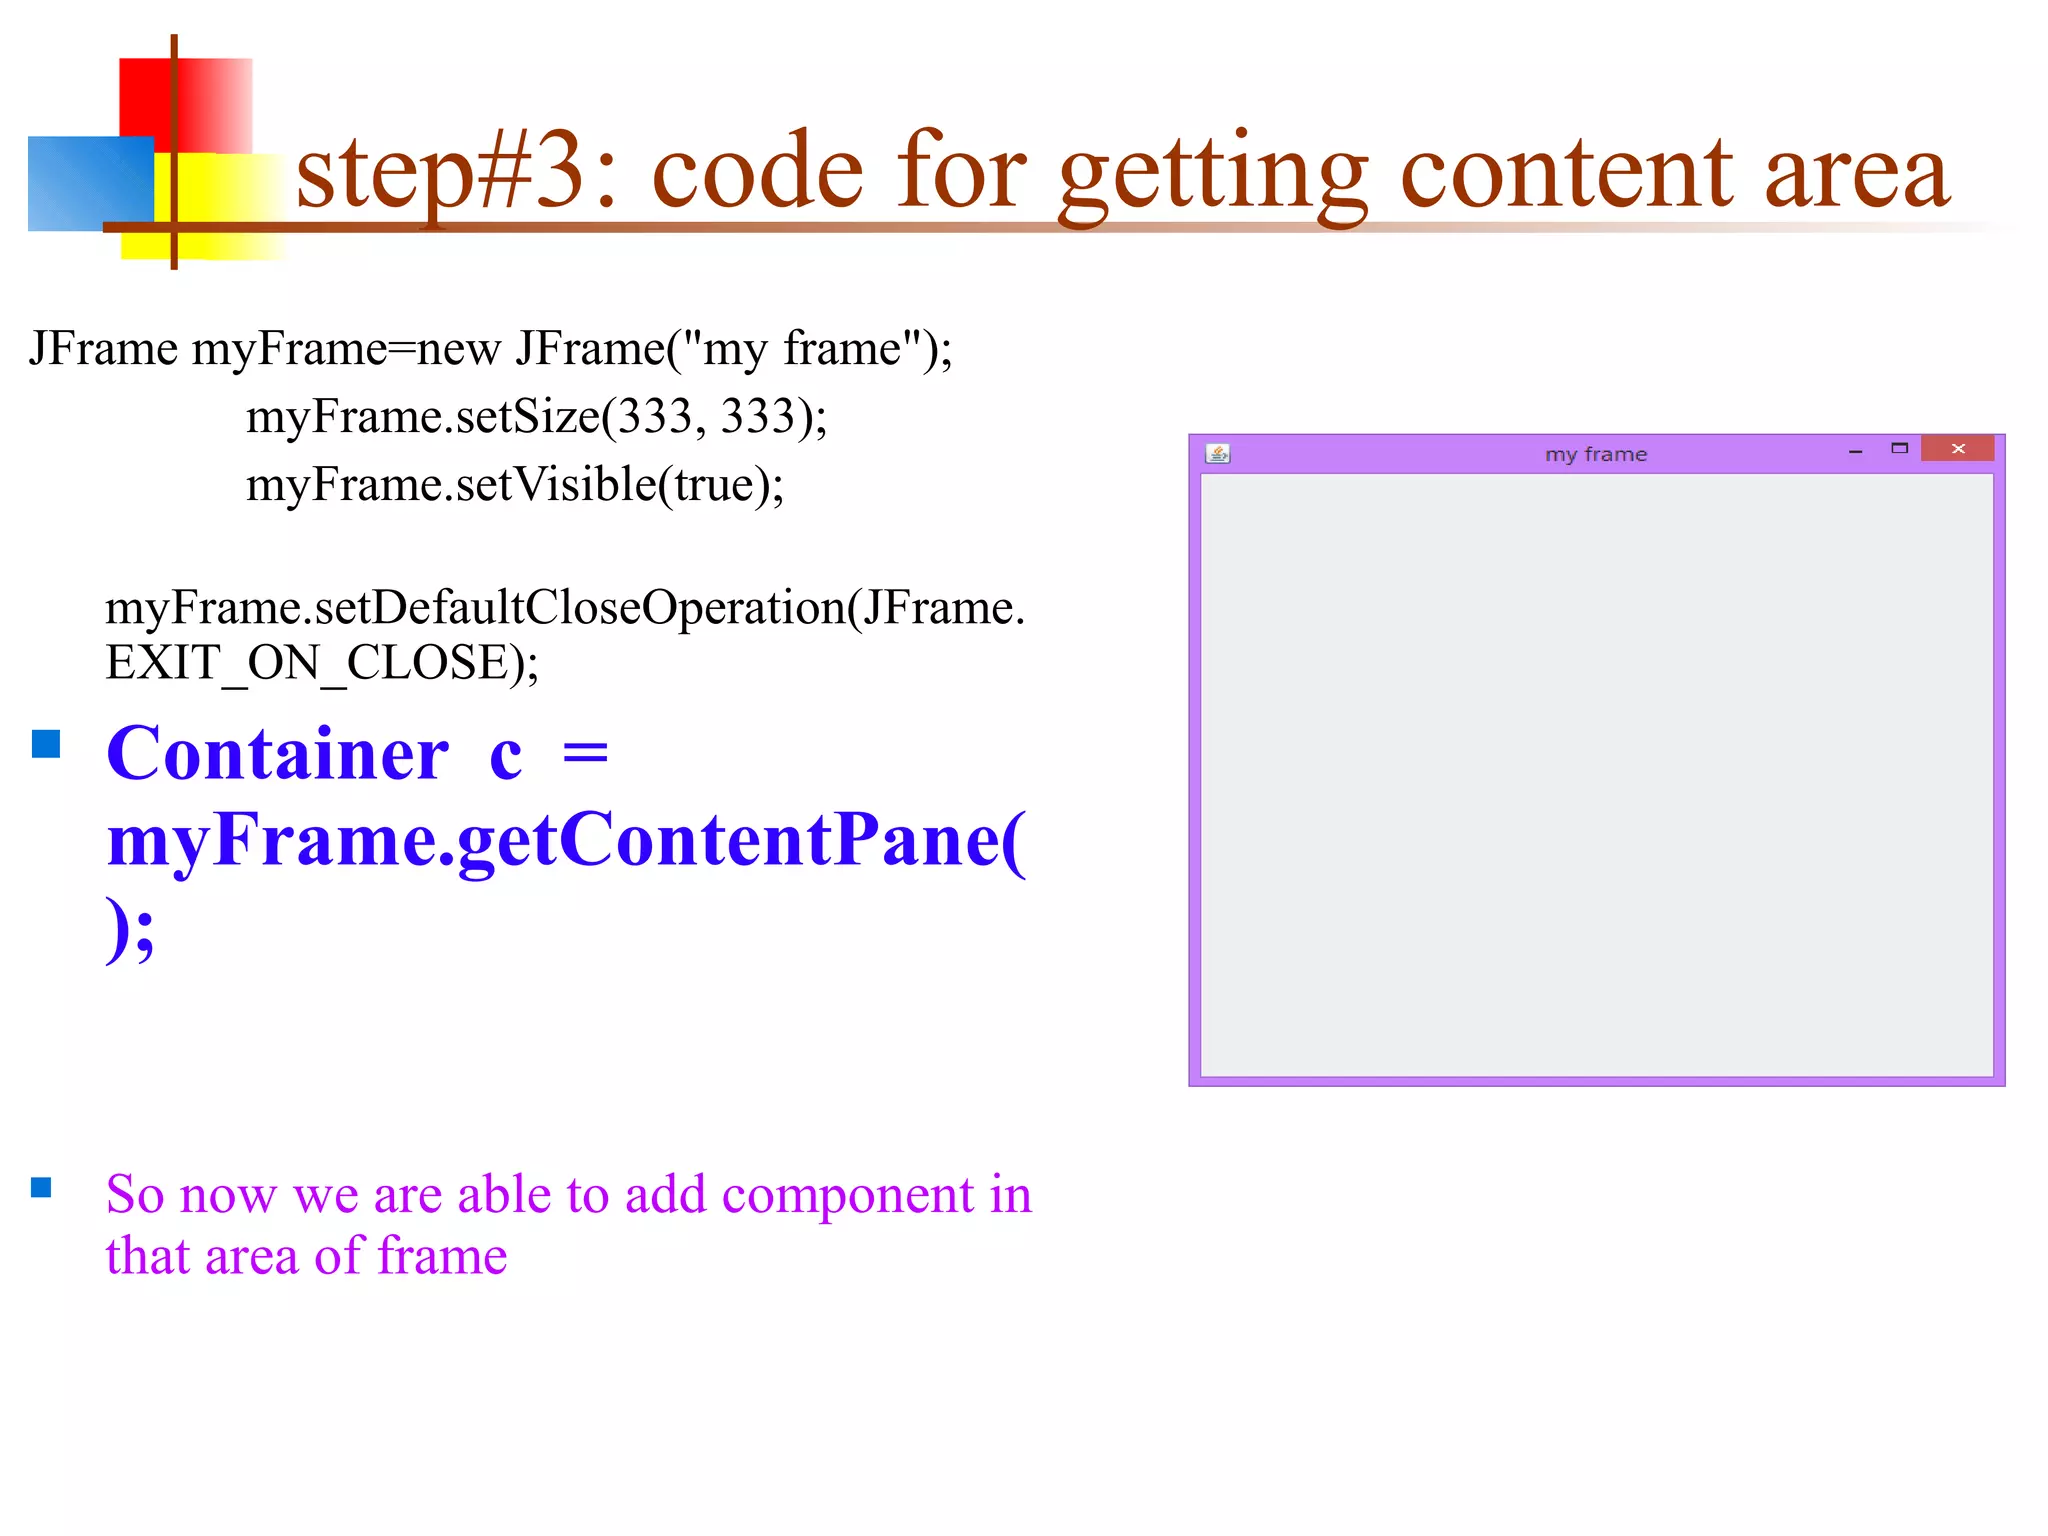
Code snippet to obtain JFrame's content area for adding components.
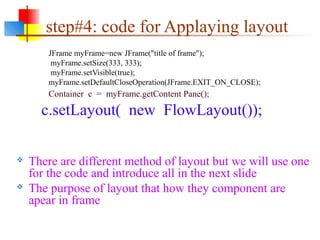
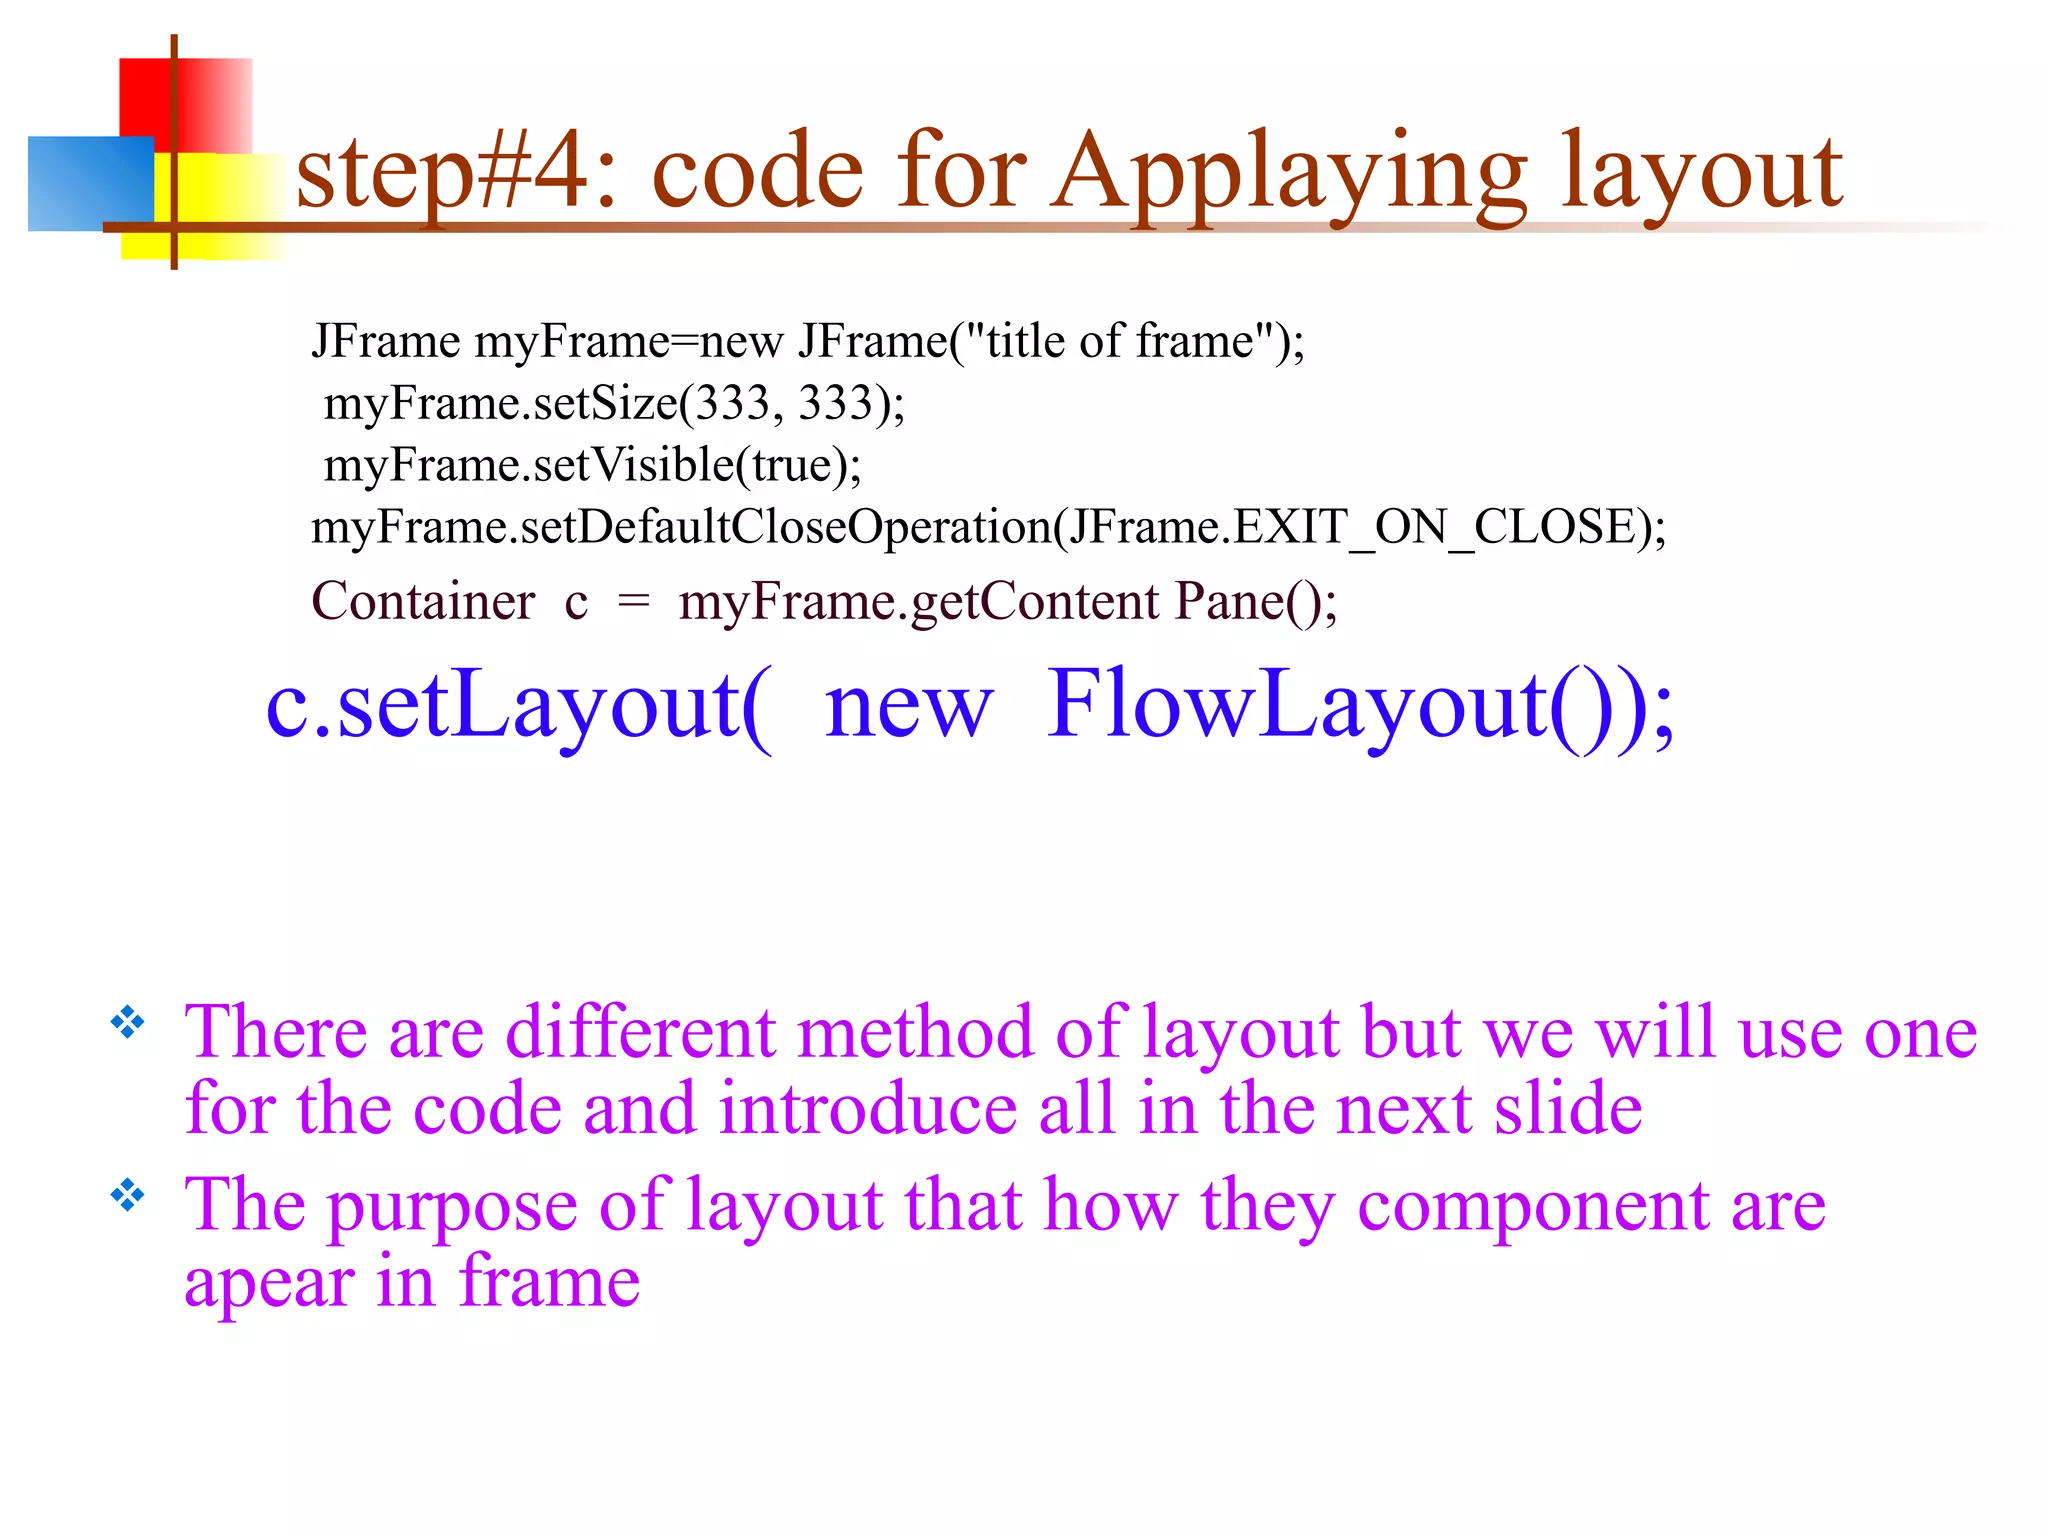
How to set layout managers in the JFrame to arrange components.
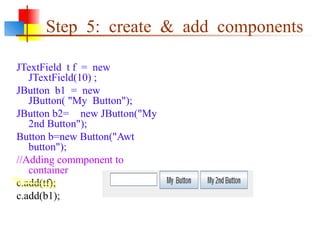
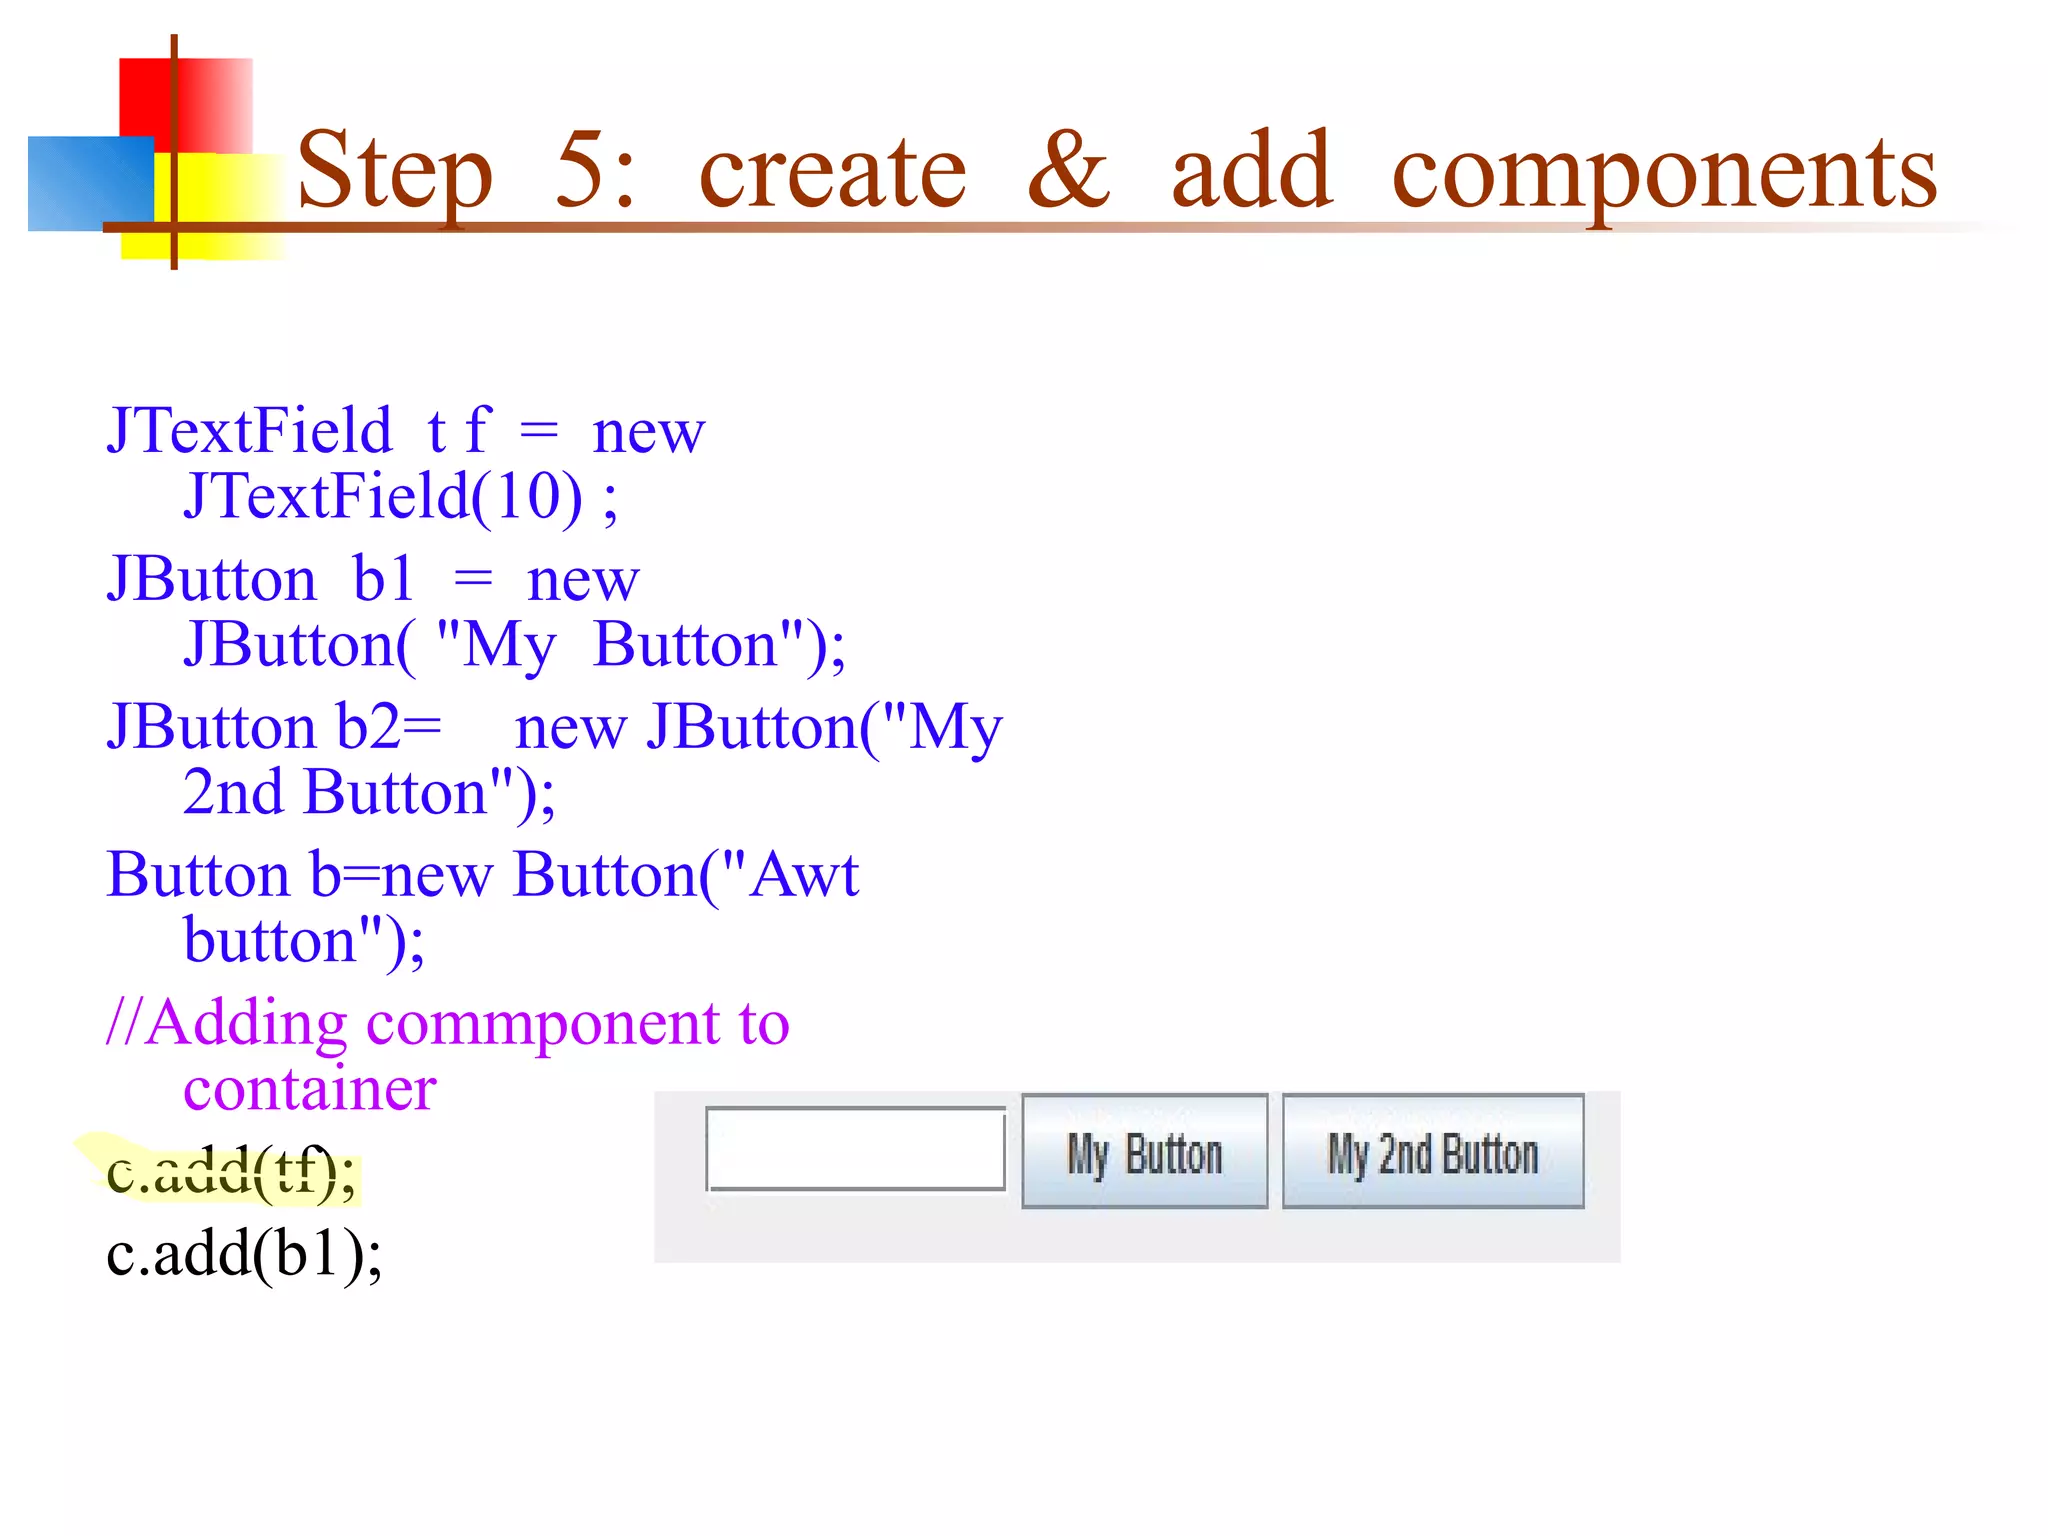
Code for creating GUI components like JTextField and JButton and adding them to the container.
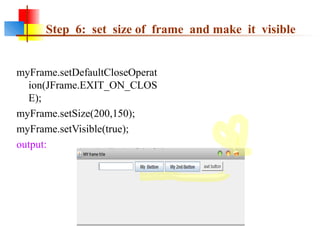
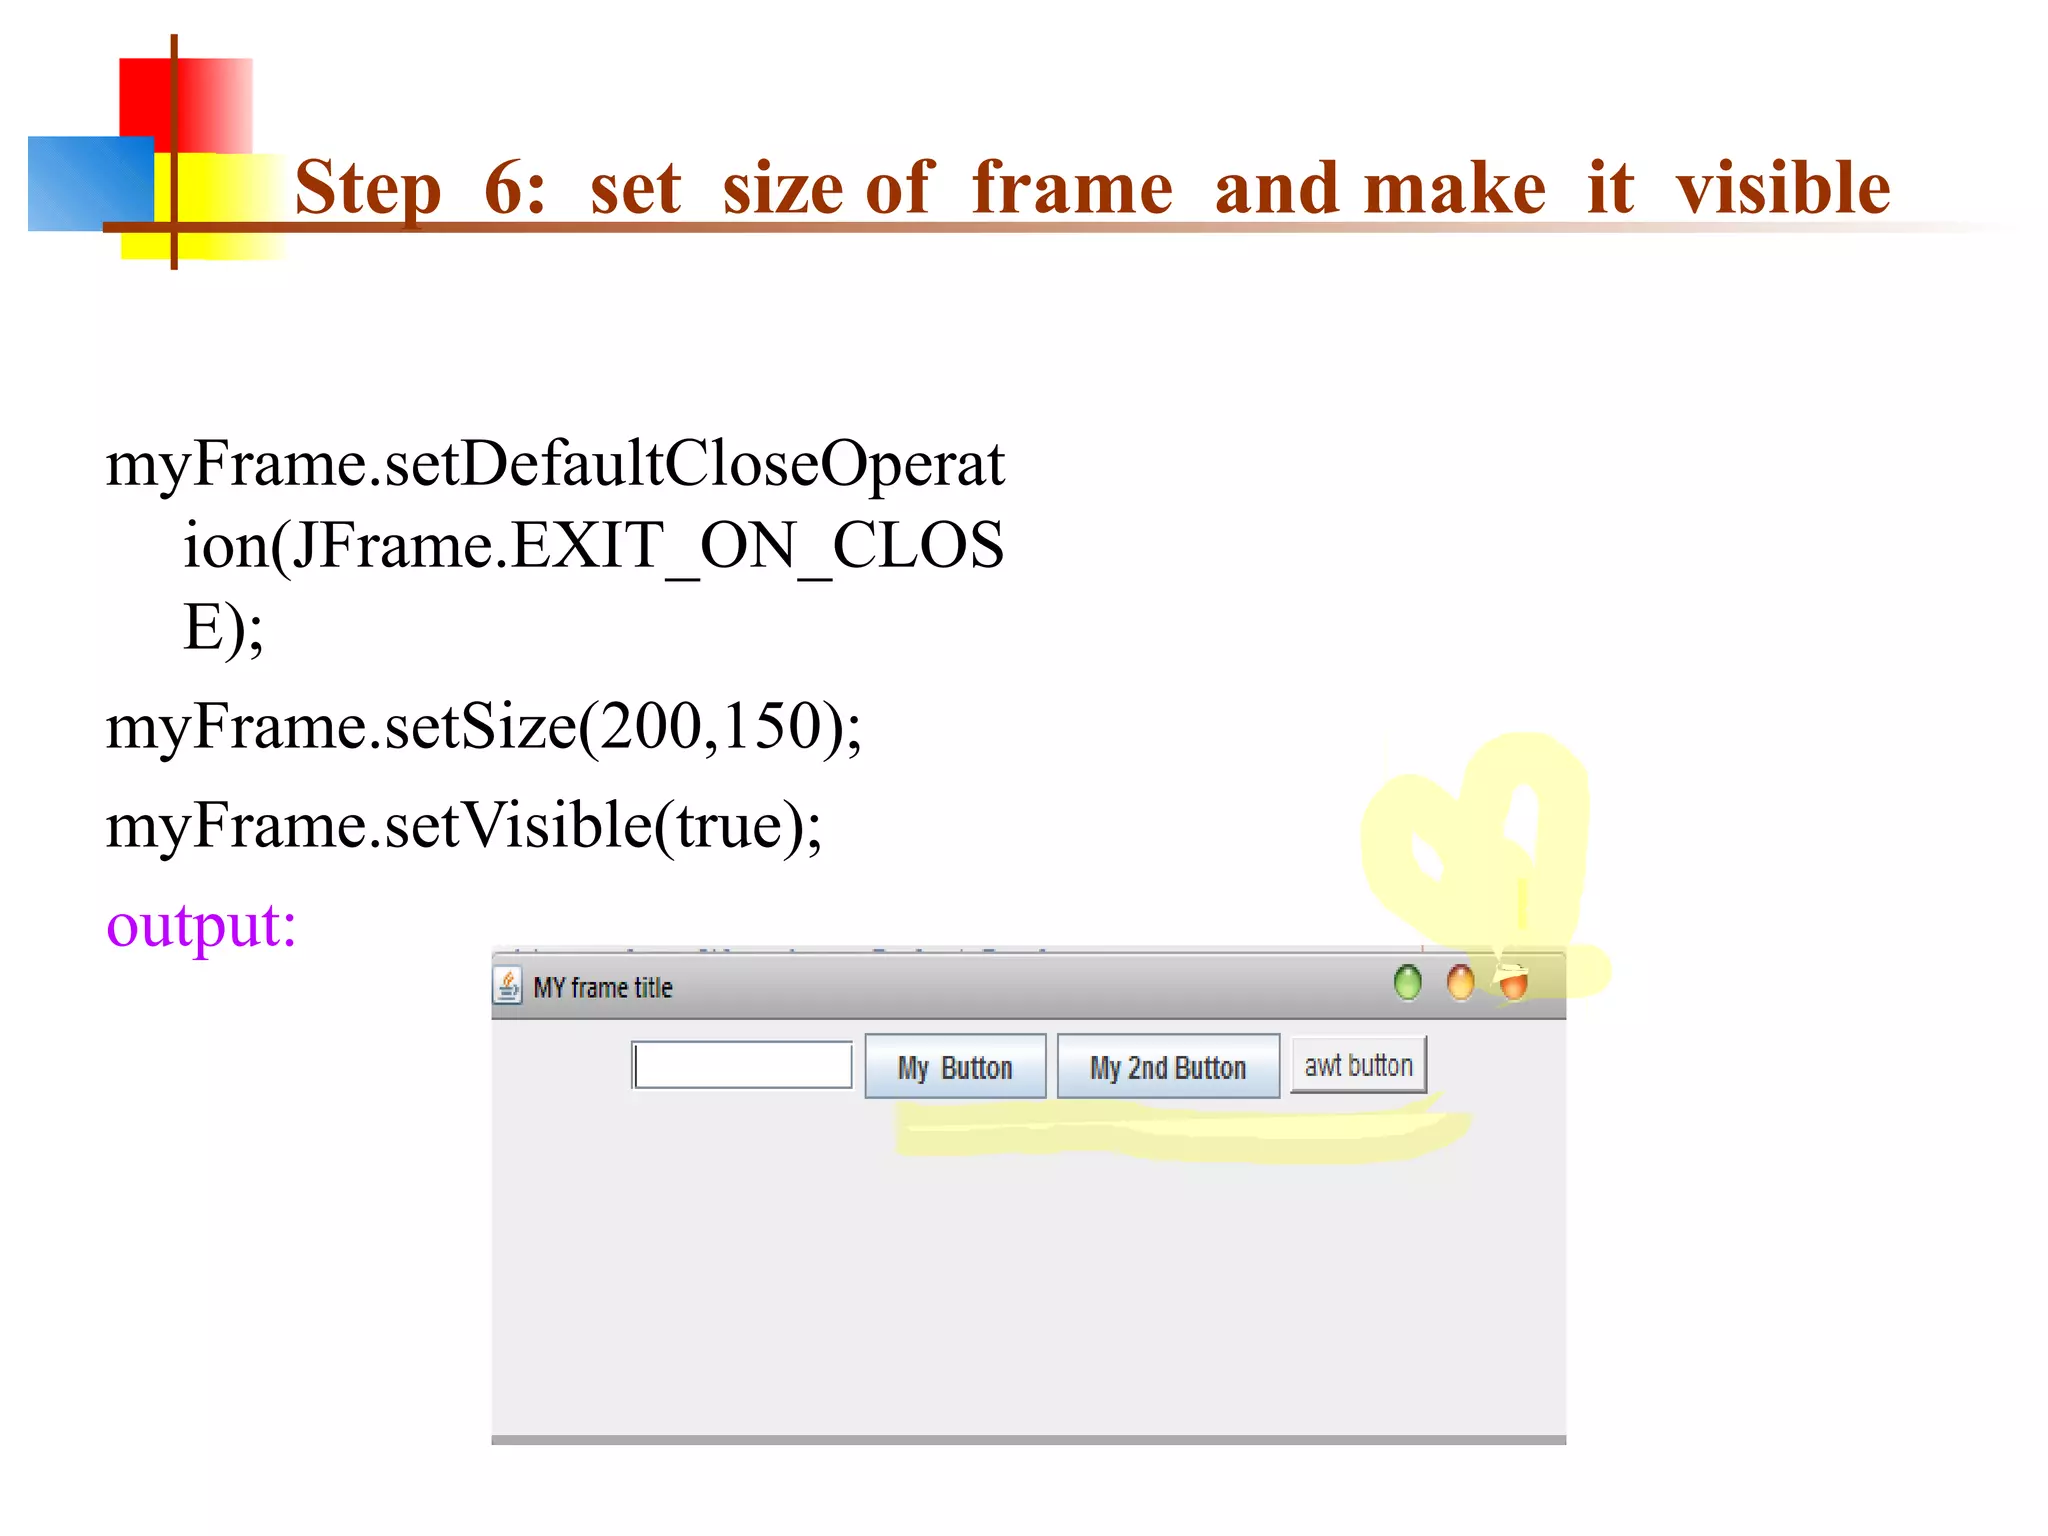
Code snippet to set size and visibility for the frame.
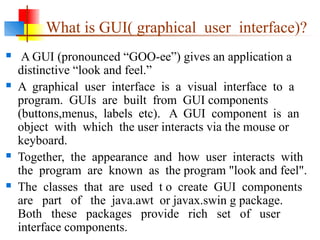
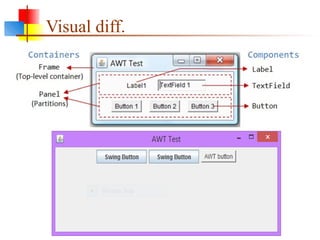
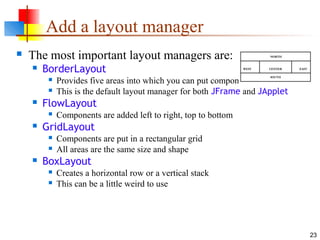
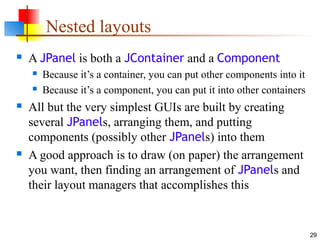
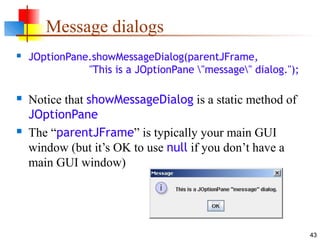
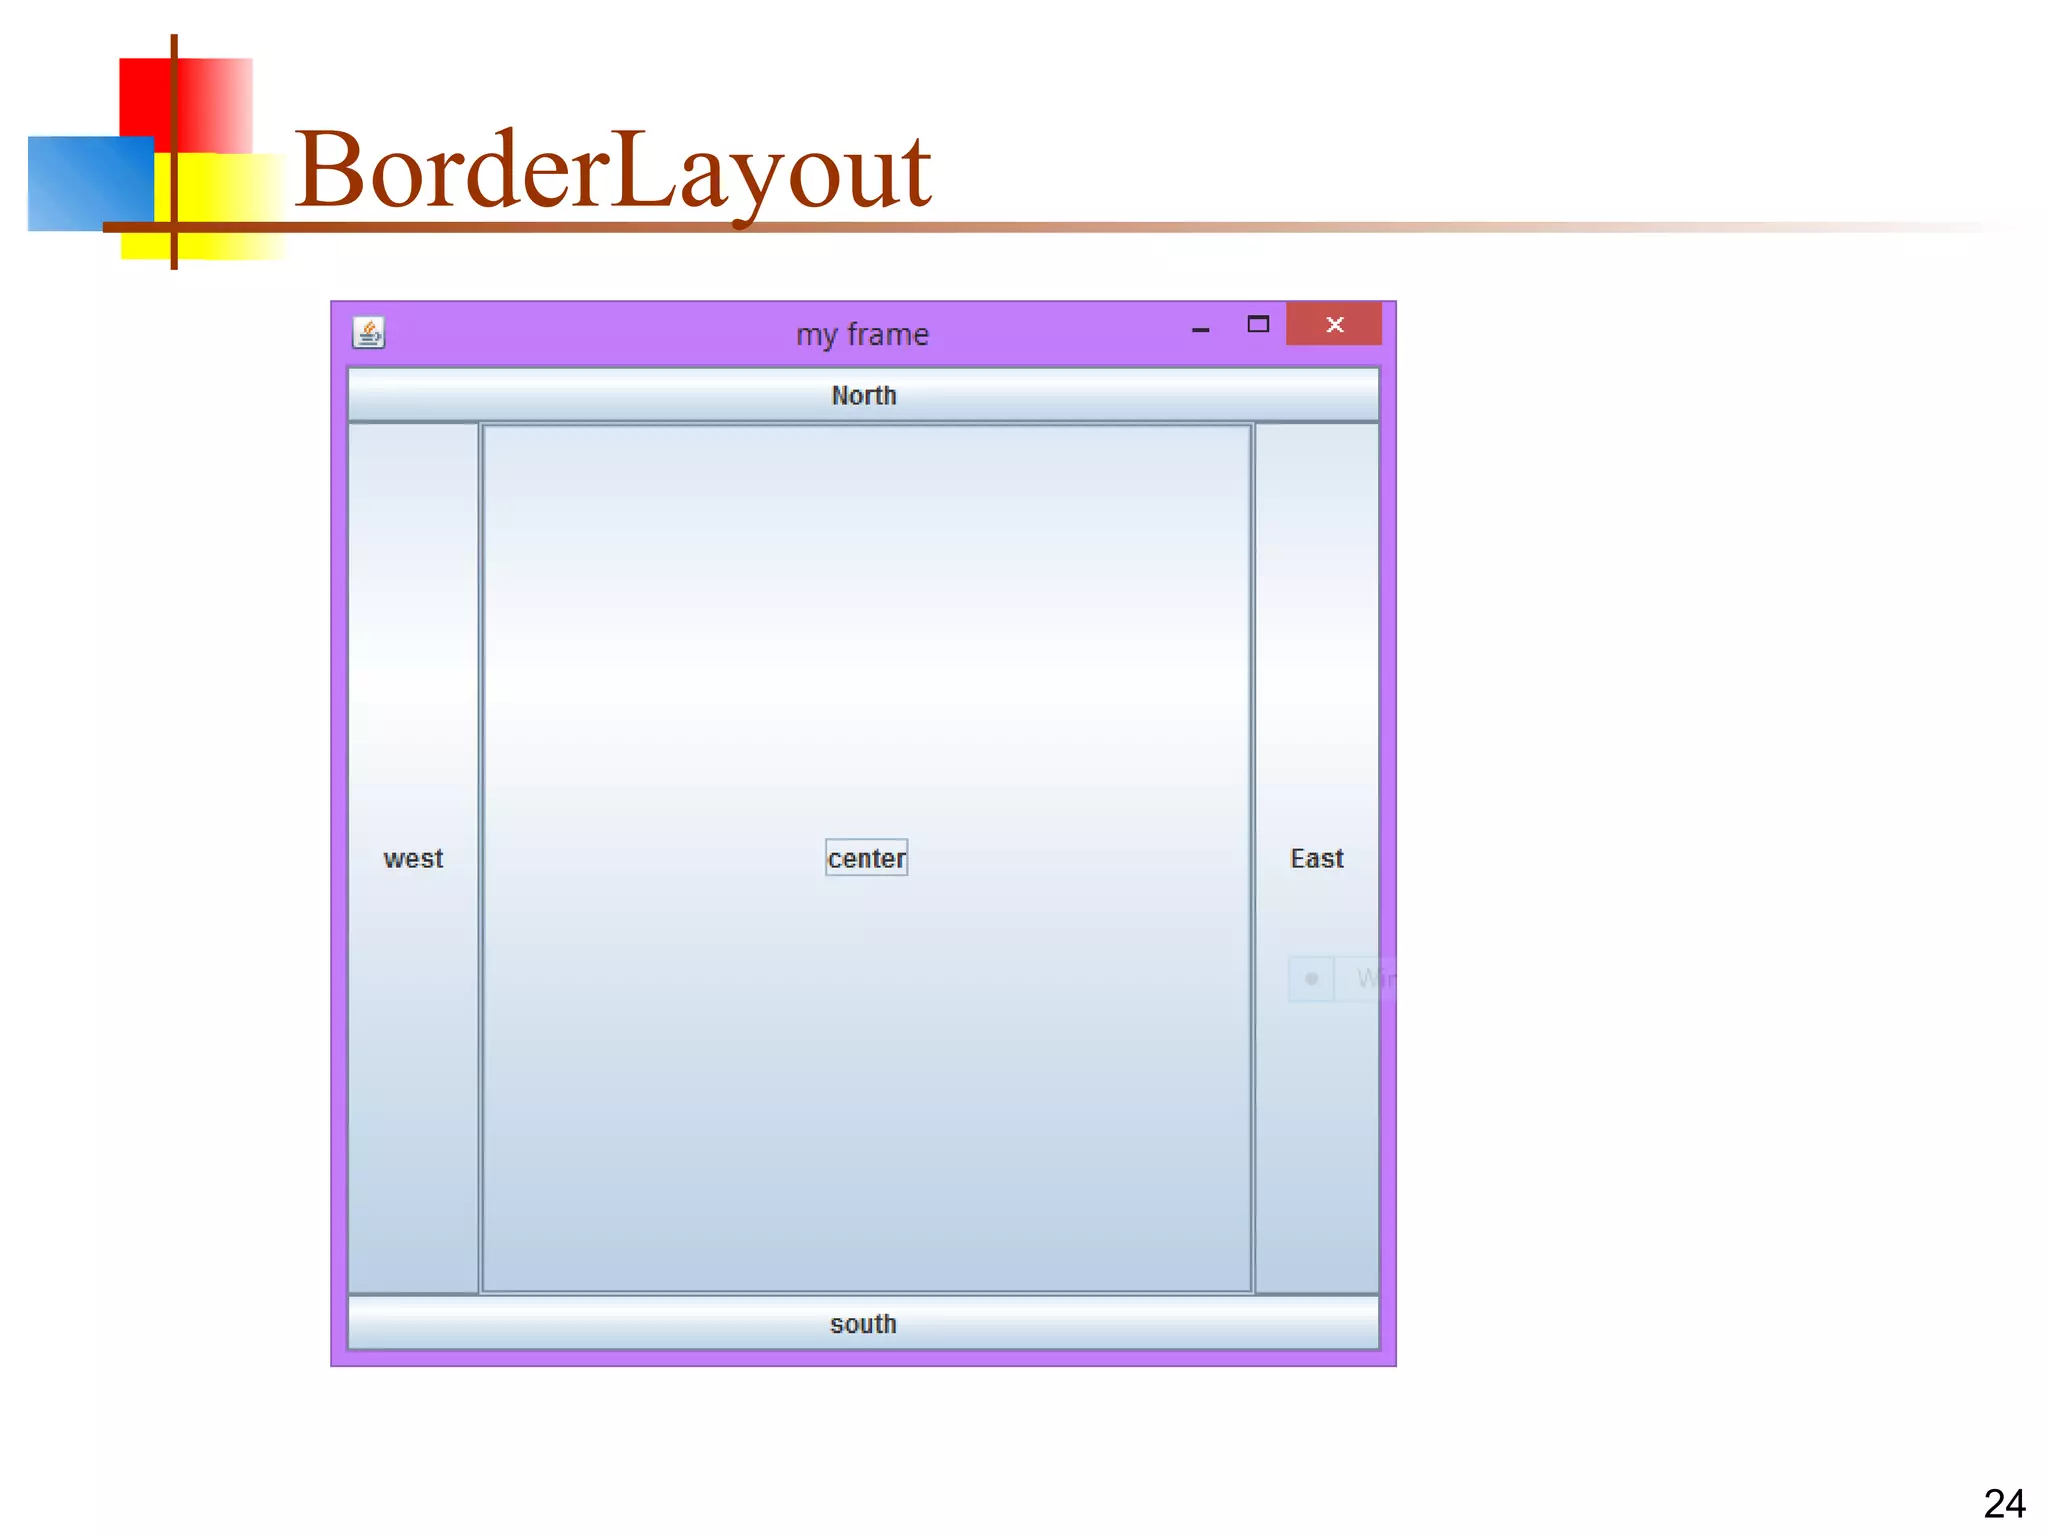
Overview of different layout managers: BorderLayout, FlowLayout, GridLayout, and BoxLayout.
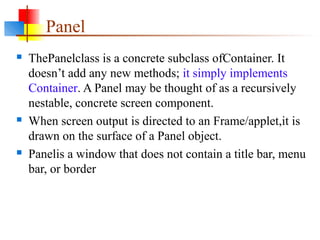
Visual and coding examples of BorderLayout in action.
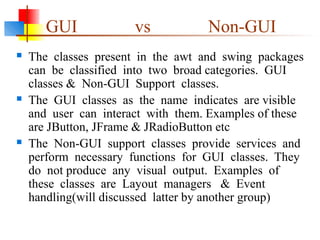
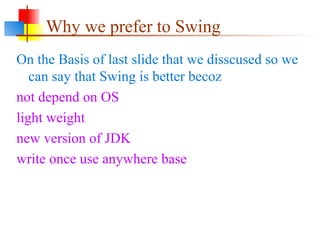
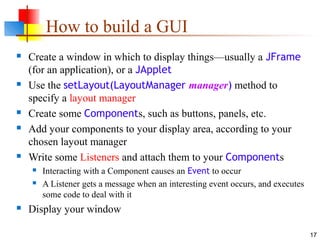
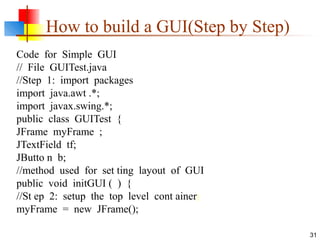
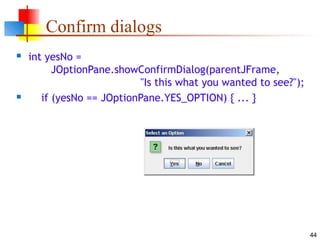
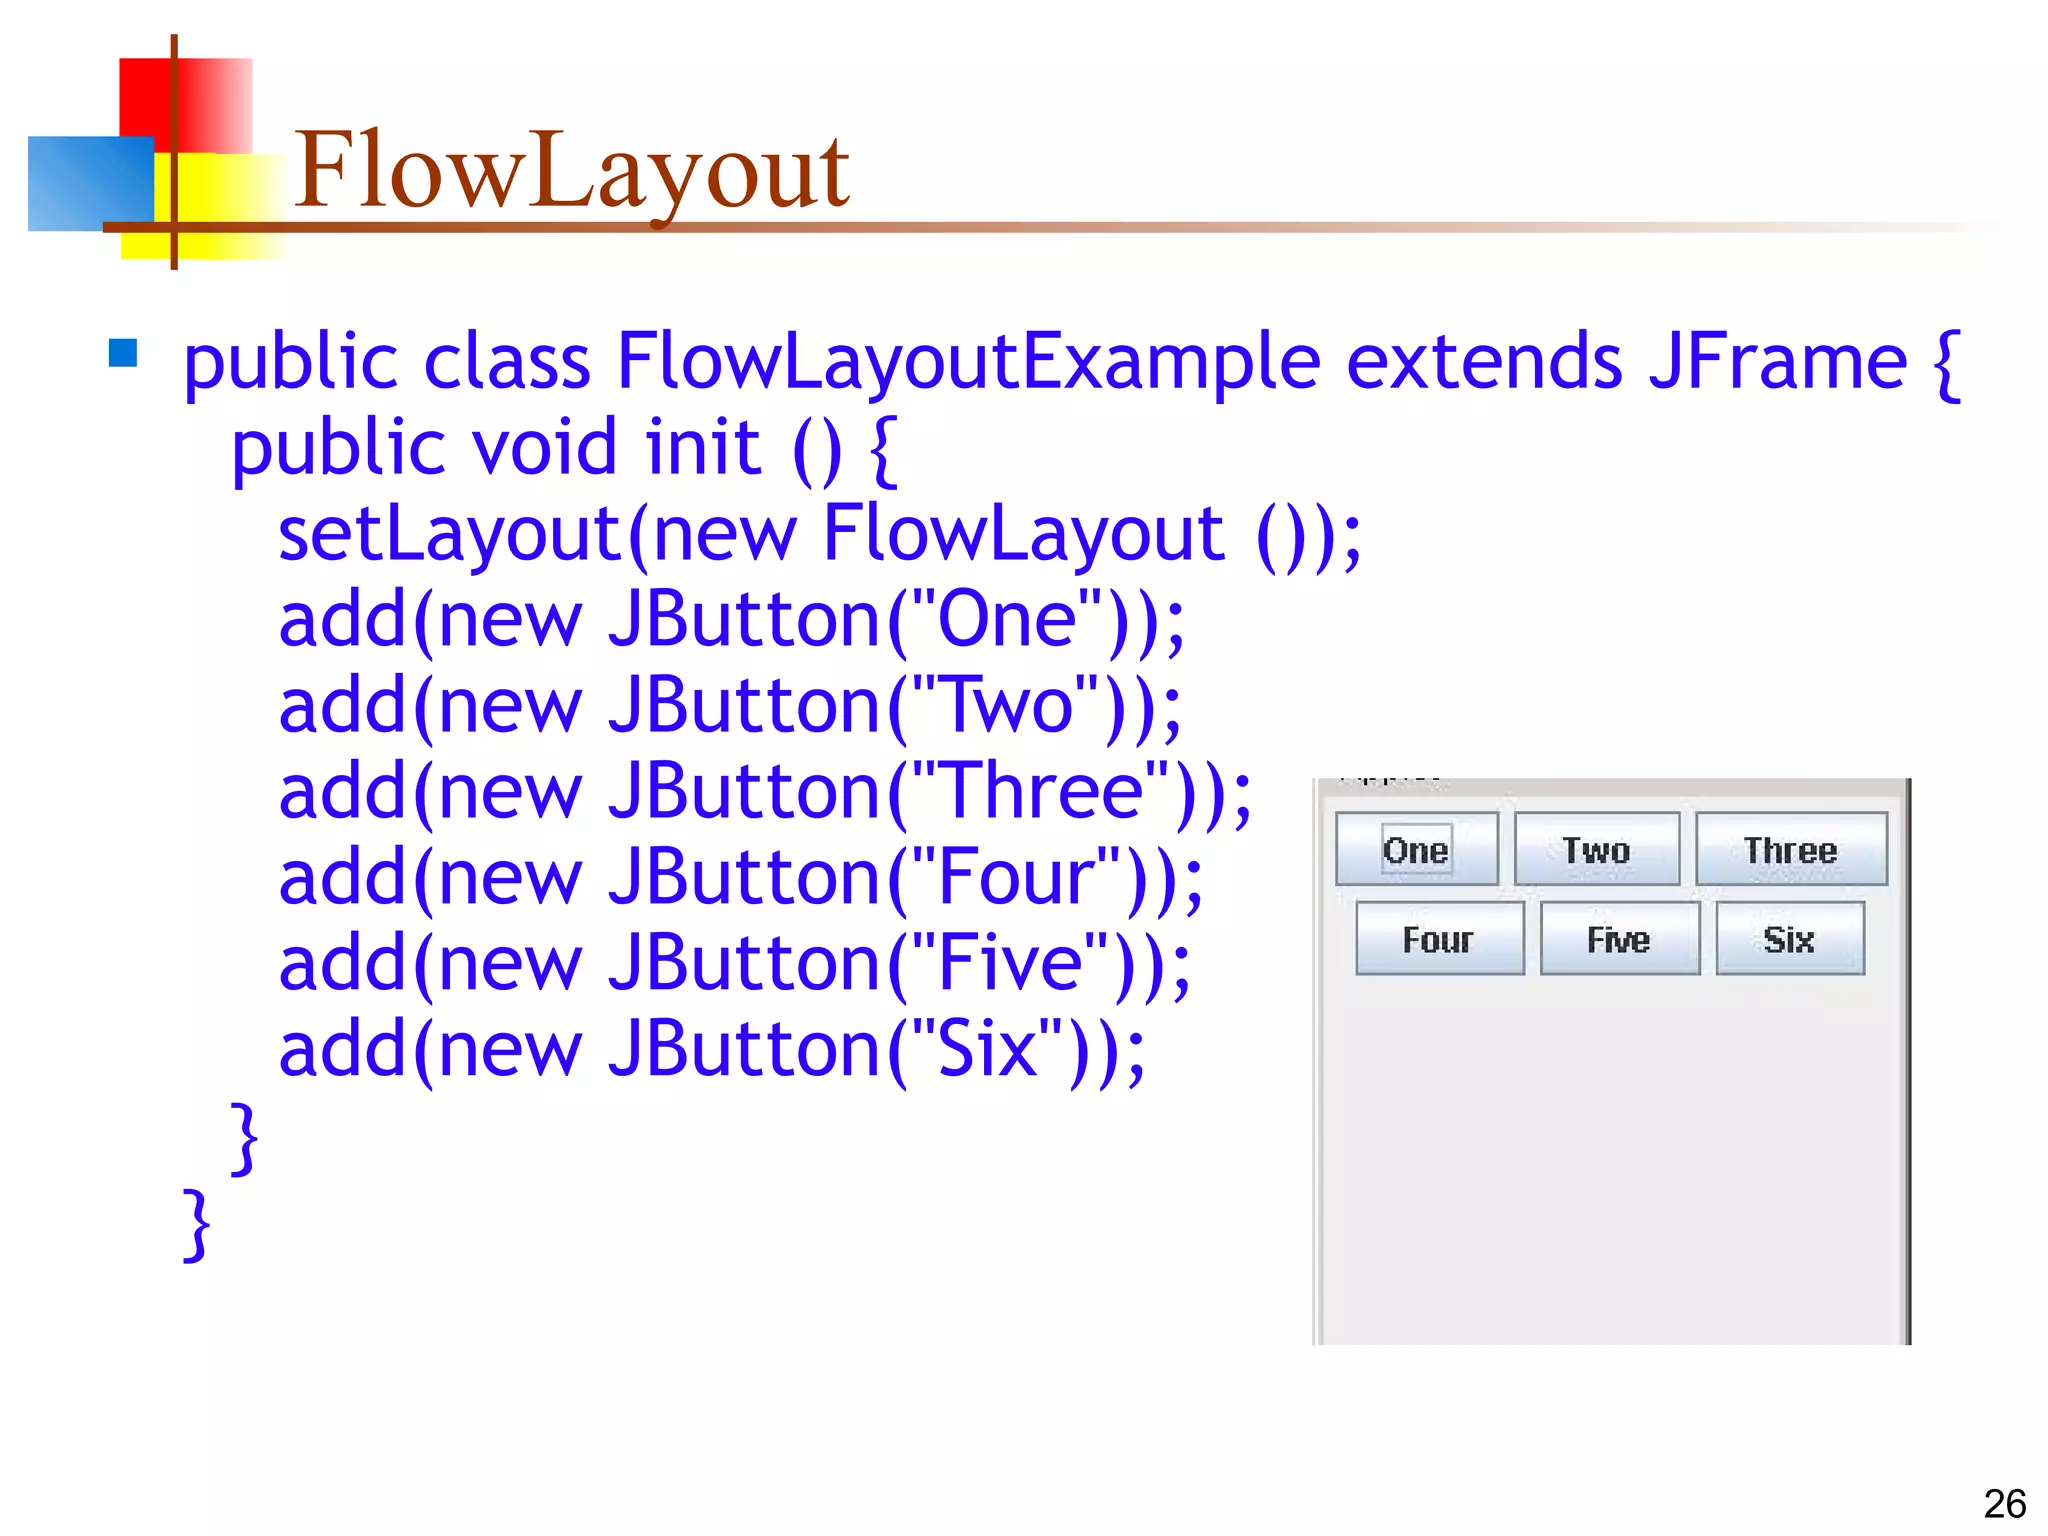
Code example demonstrating FlowLayout in a JFrame.
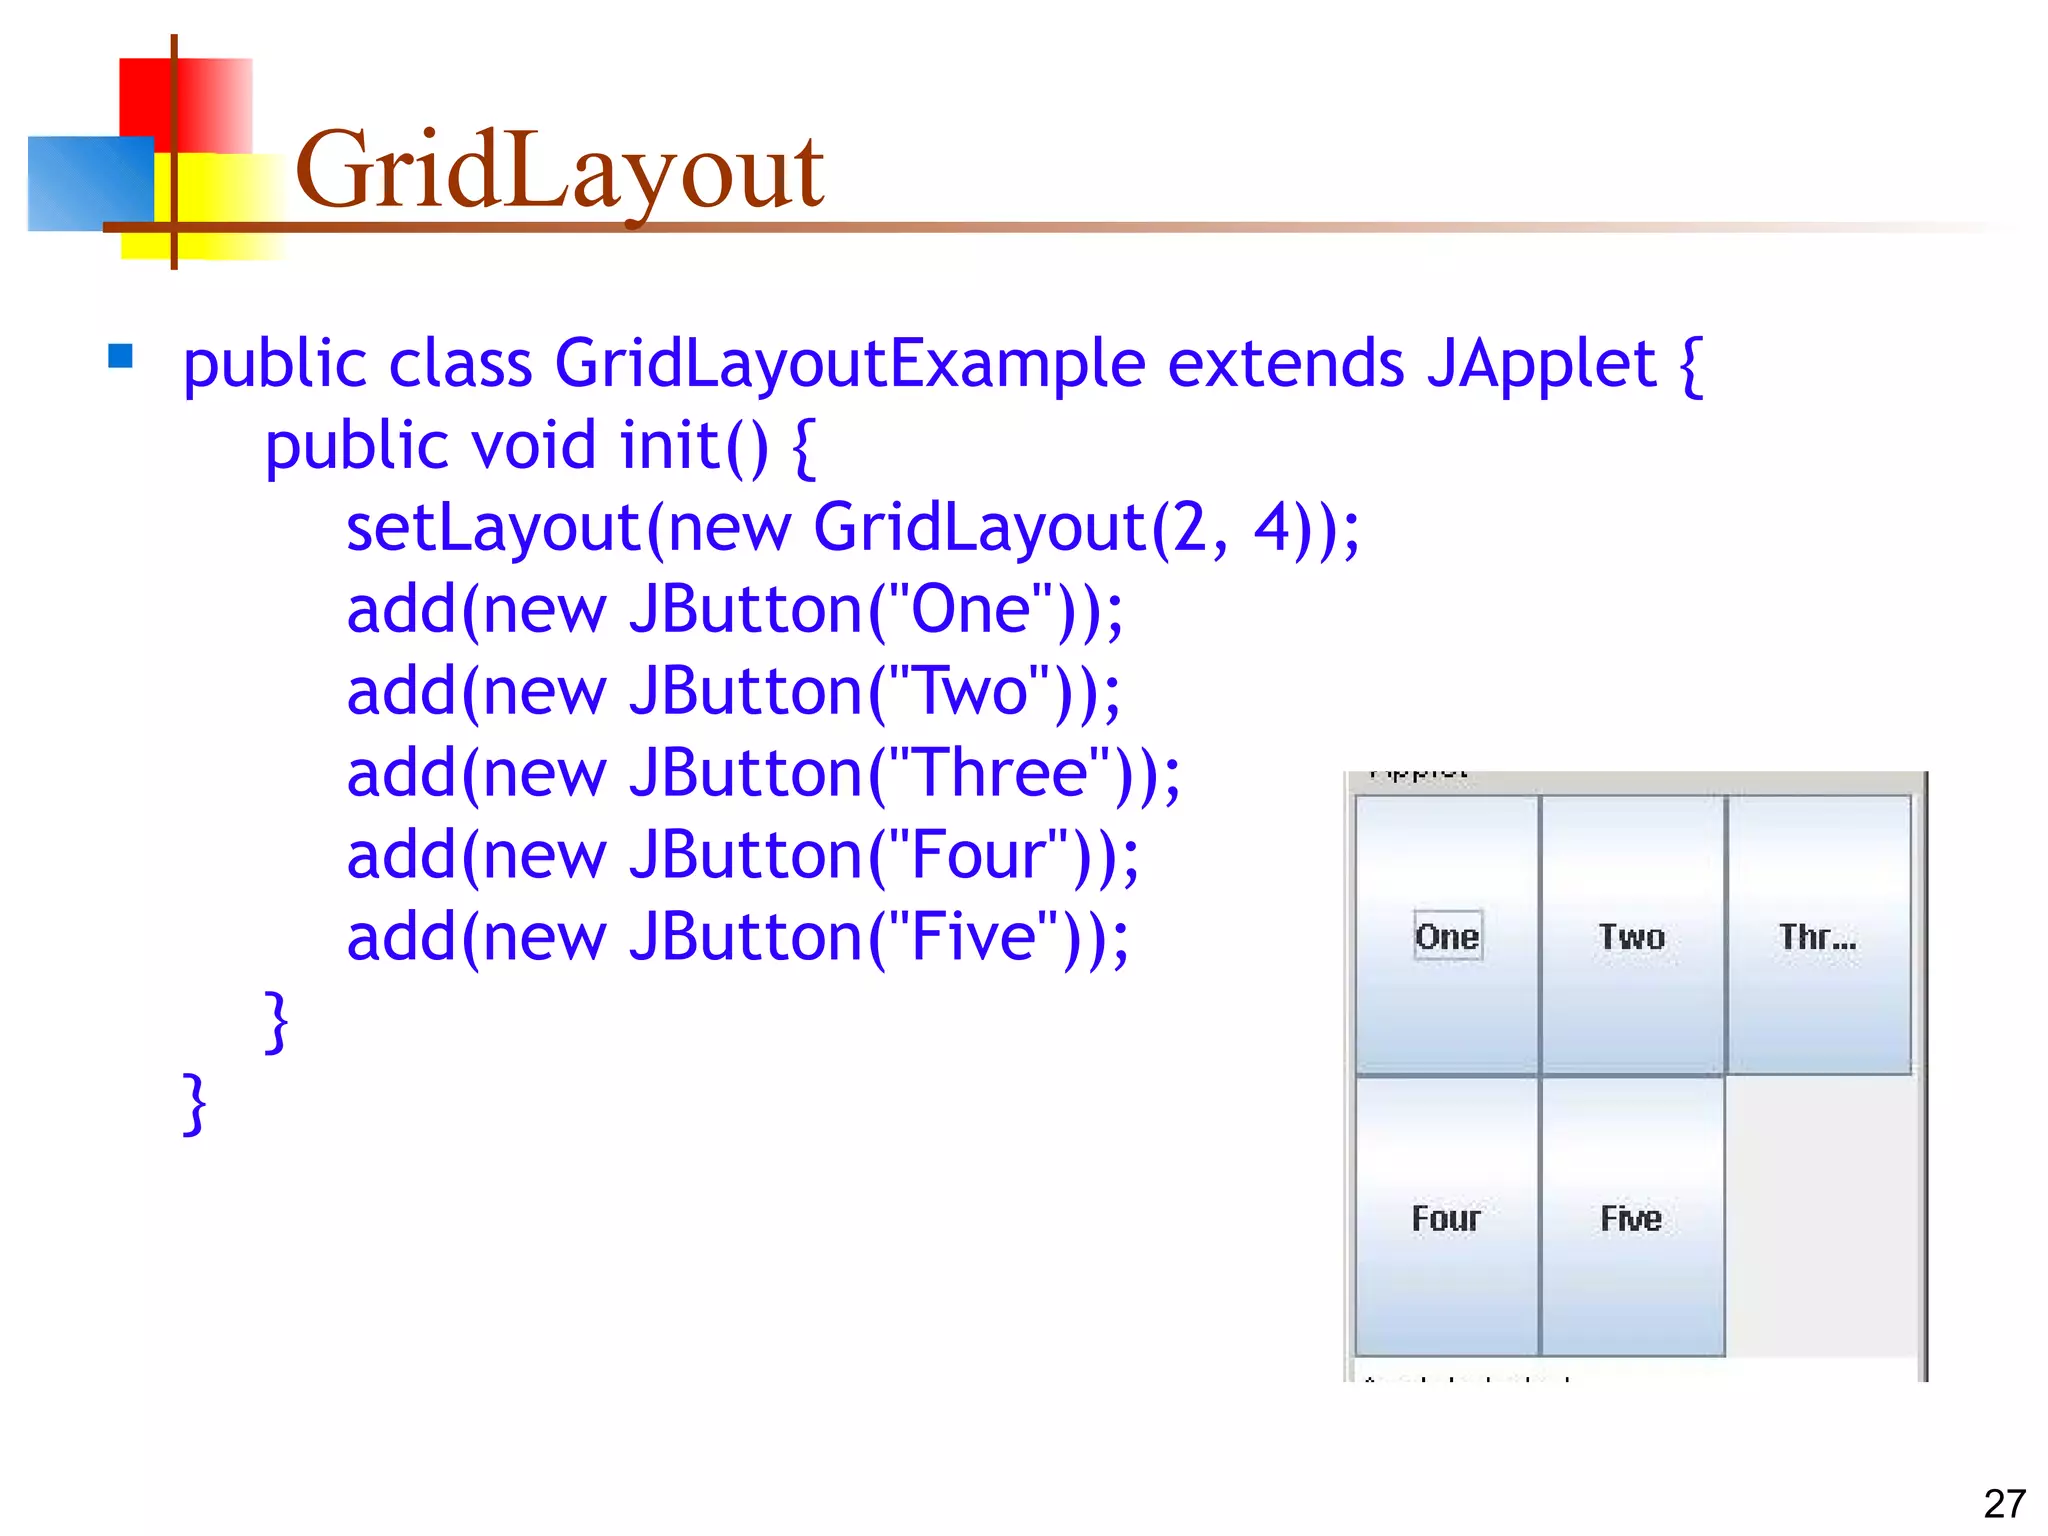
Code implementation of GridLayout in a JApplet.
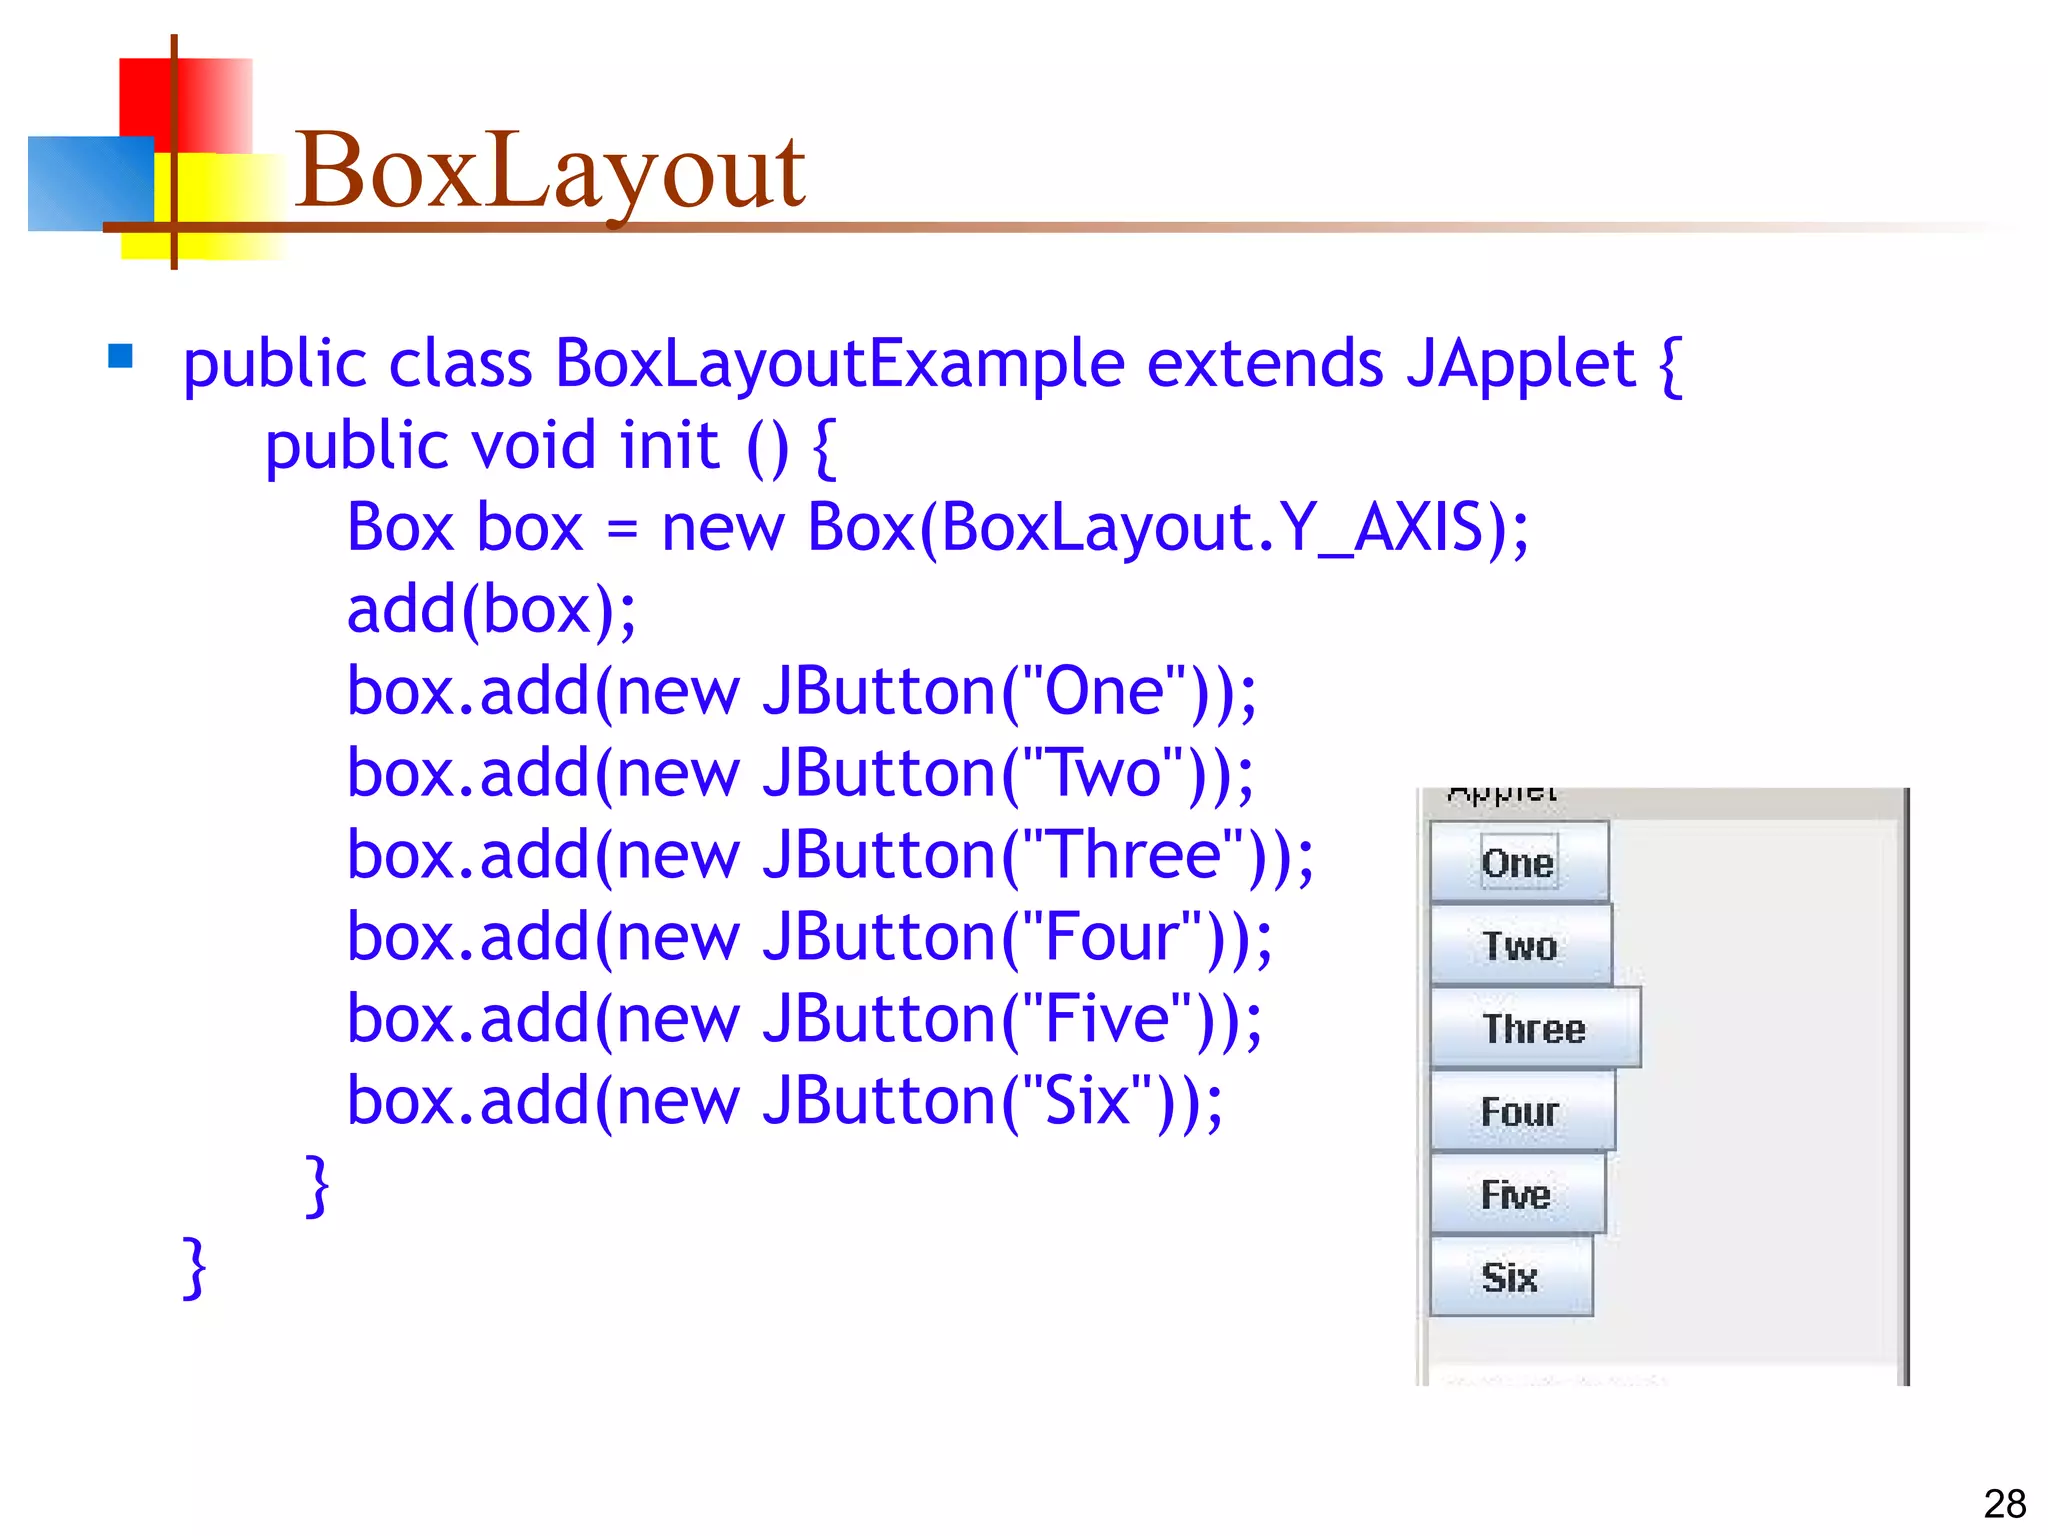
Example of using BoxLayout in a JApplet for component arrangement.
Approach to create GUIs using nested JPanels for complex layouts.
Code for adding GUI components into the JFrame with FlowLayout.
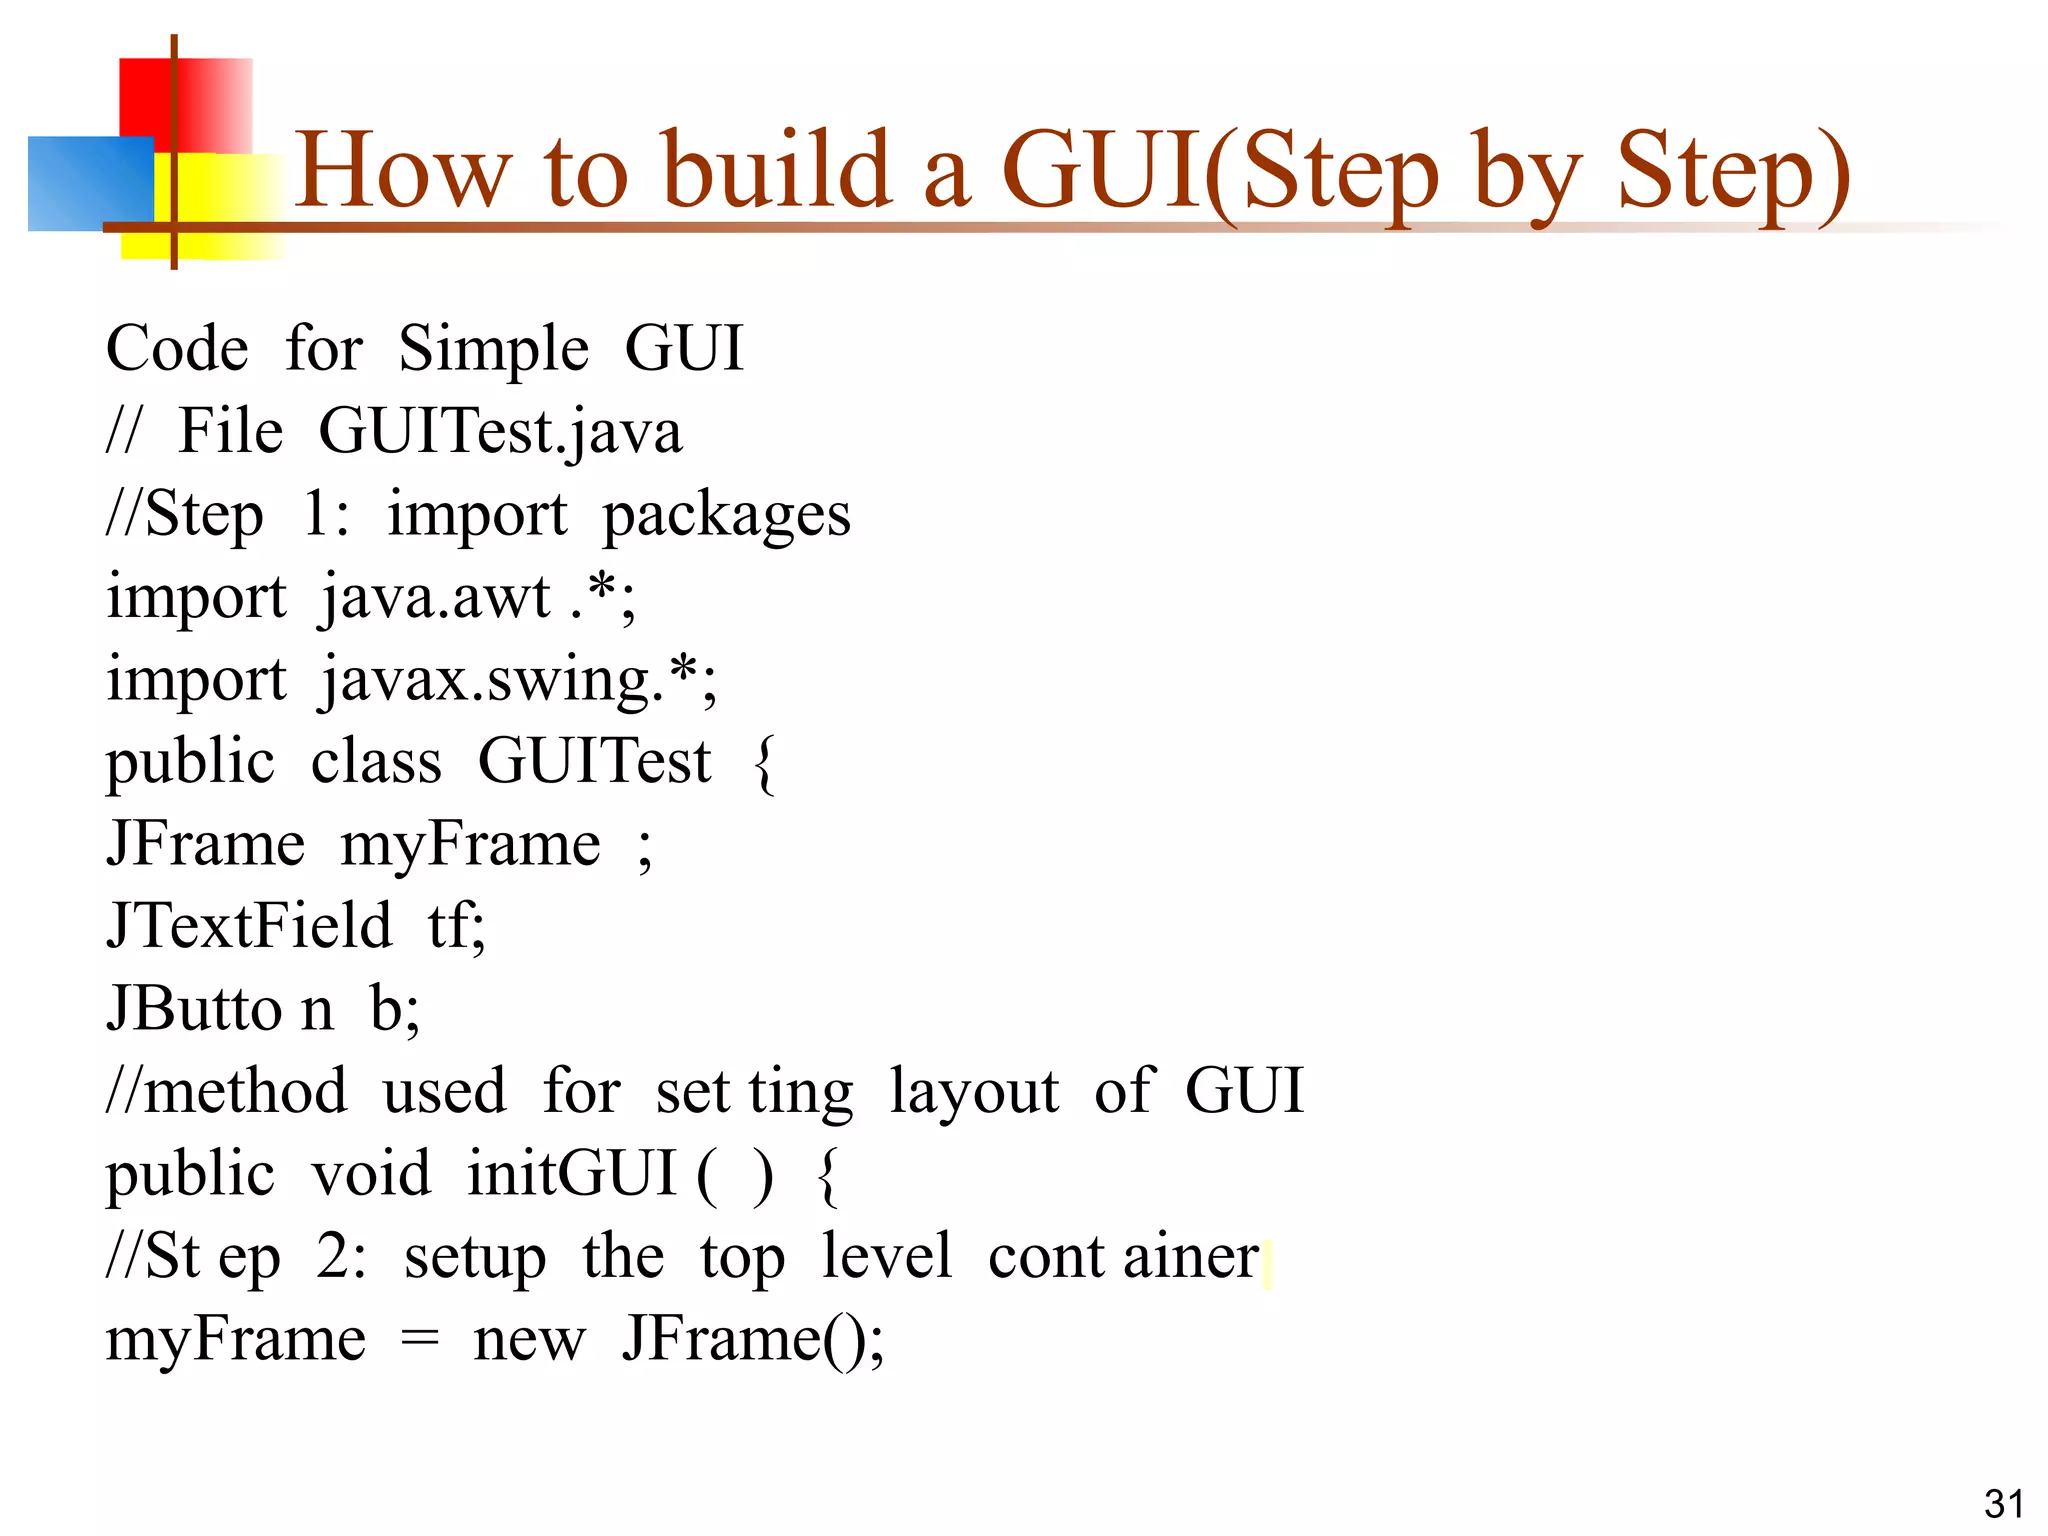
Code outline for creating a simple GUI with import statements and layout setup.
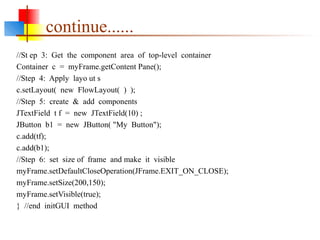
Continuation of GUI code for setting container layout and adding components.
Final parts of GUI code setup for a complete simple application.
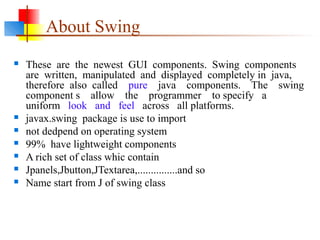
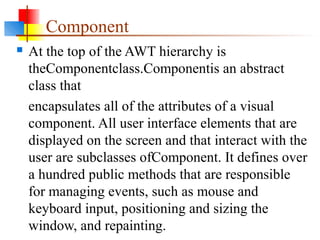
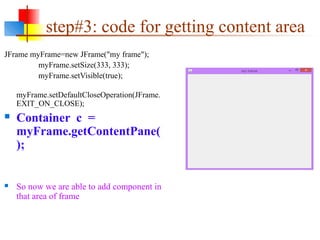
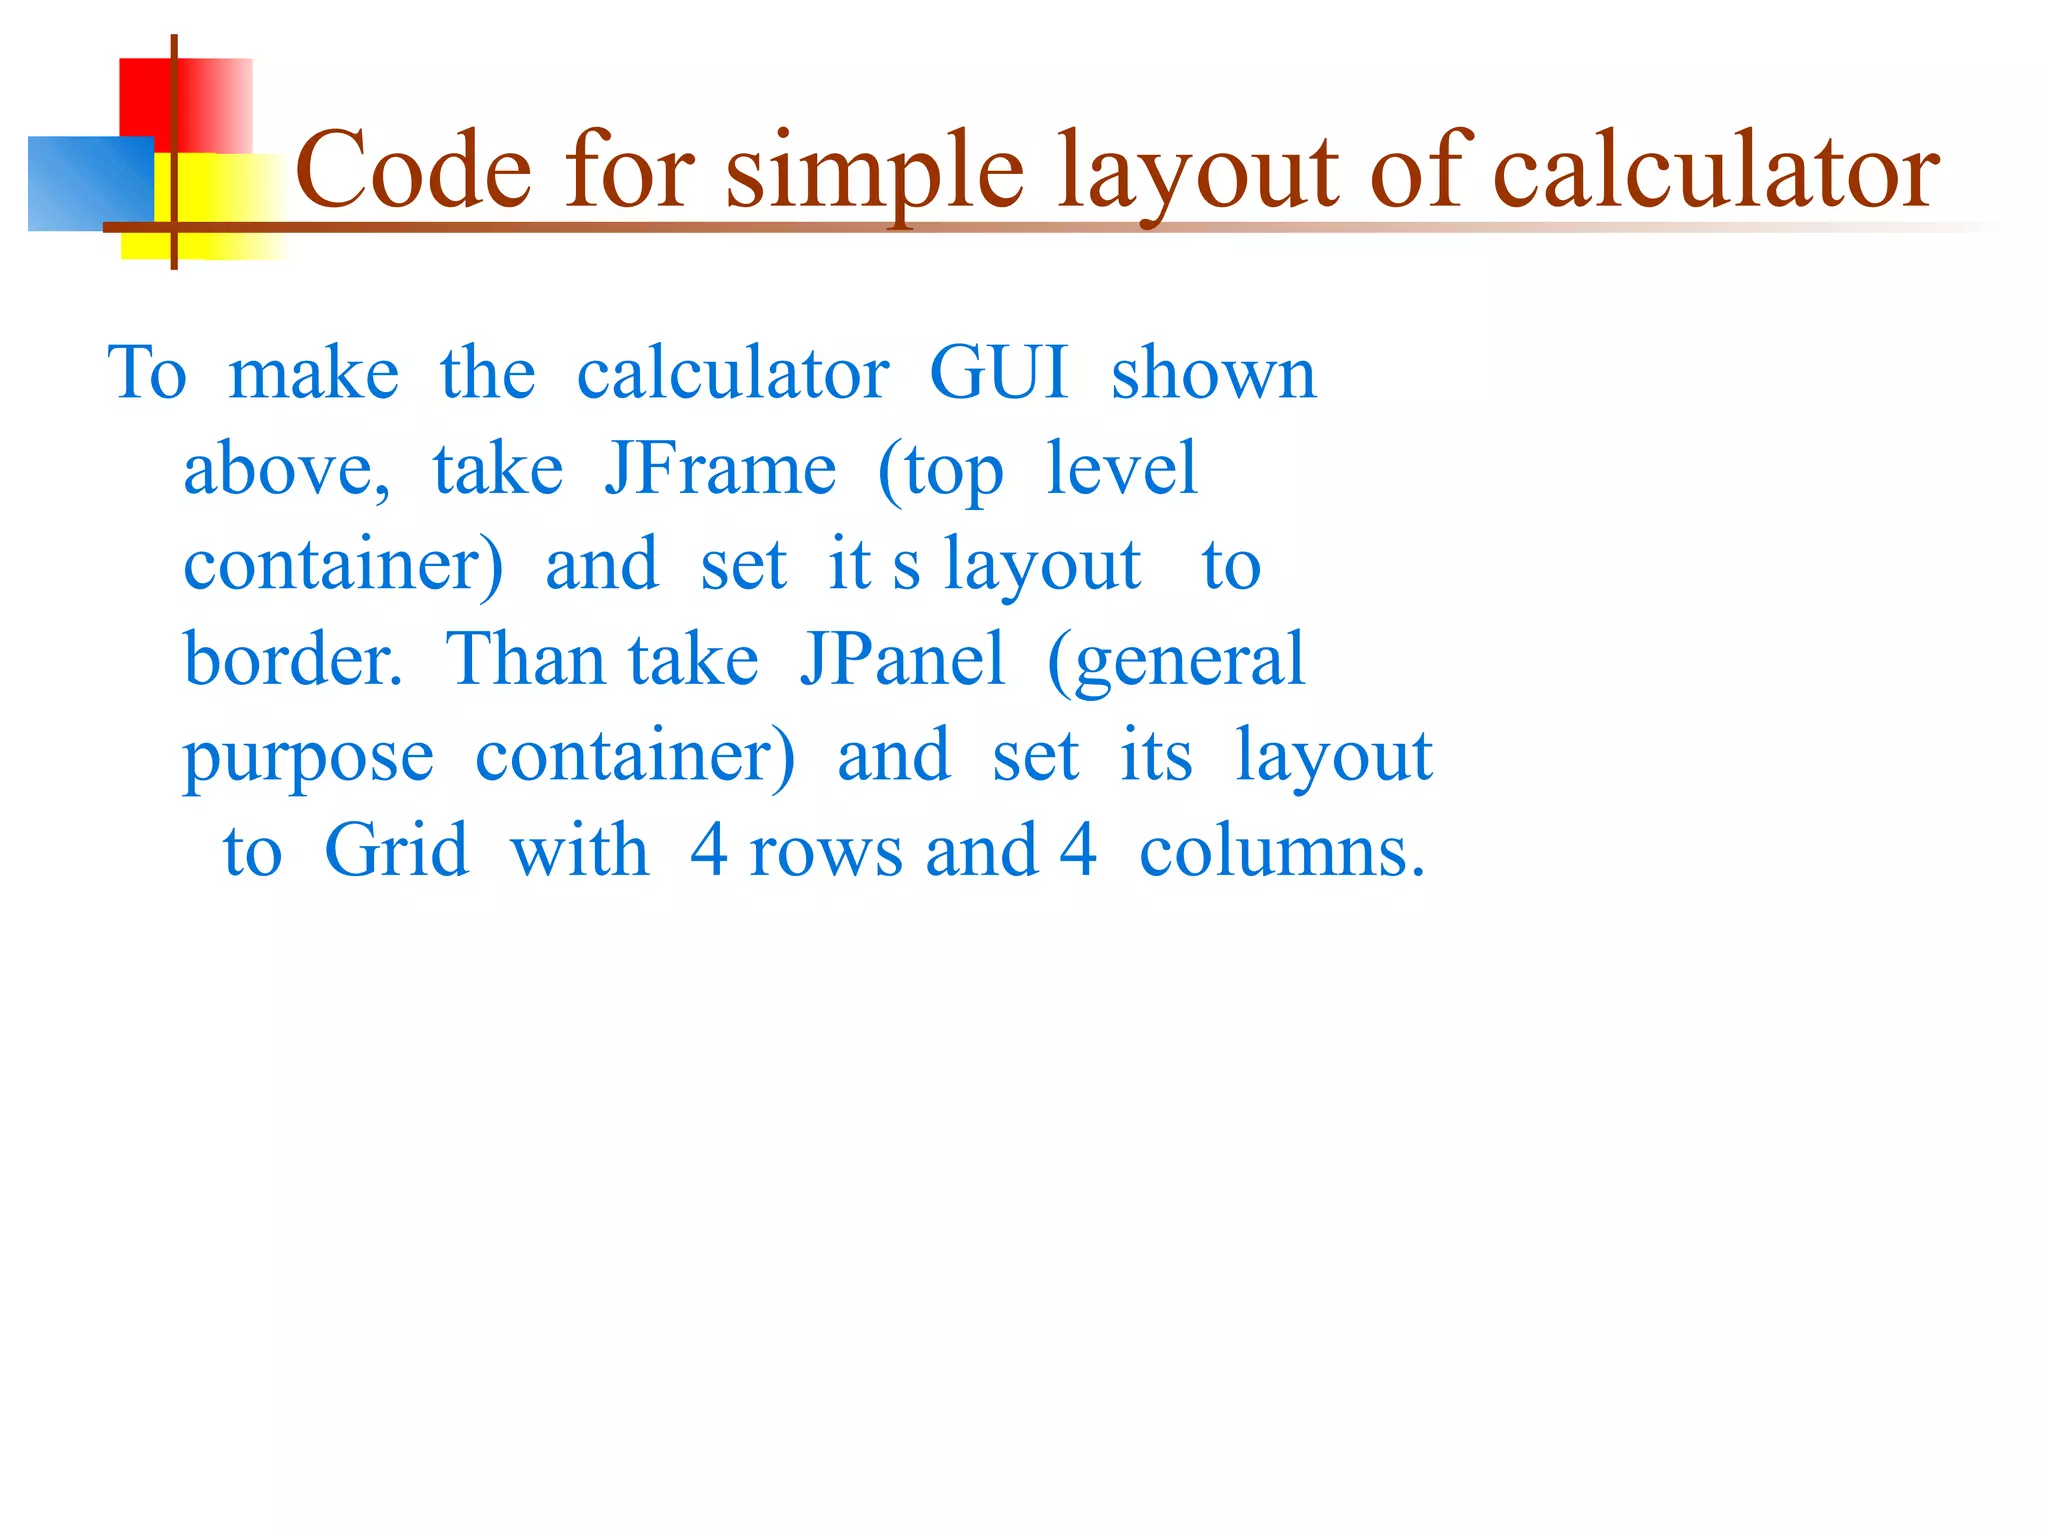
Code strategy for building a calculator GUI with a JFrame and GridLayout.
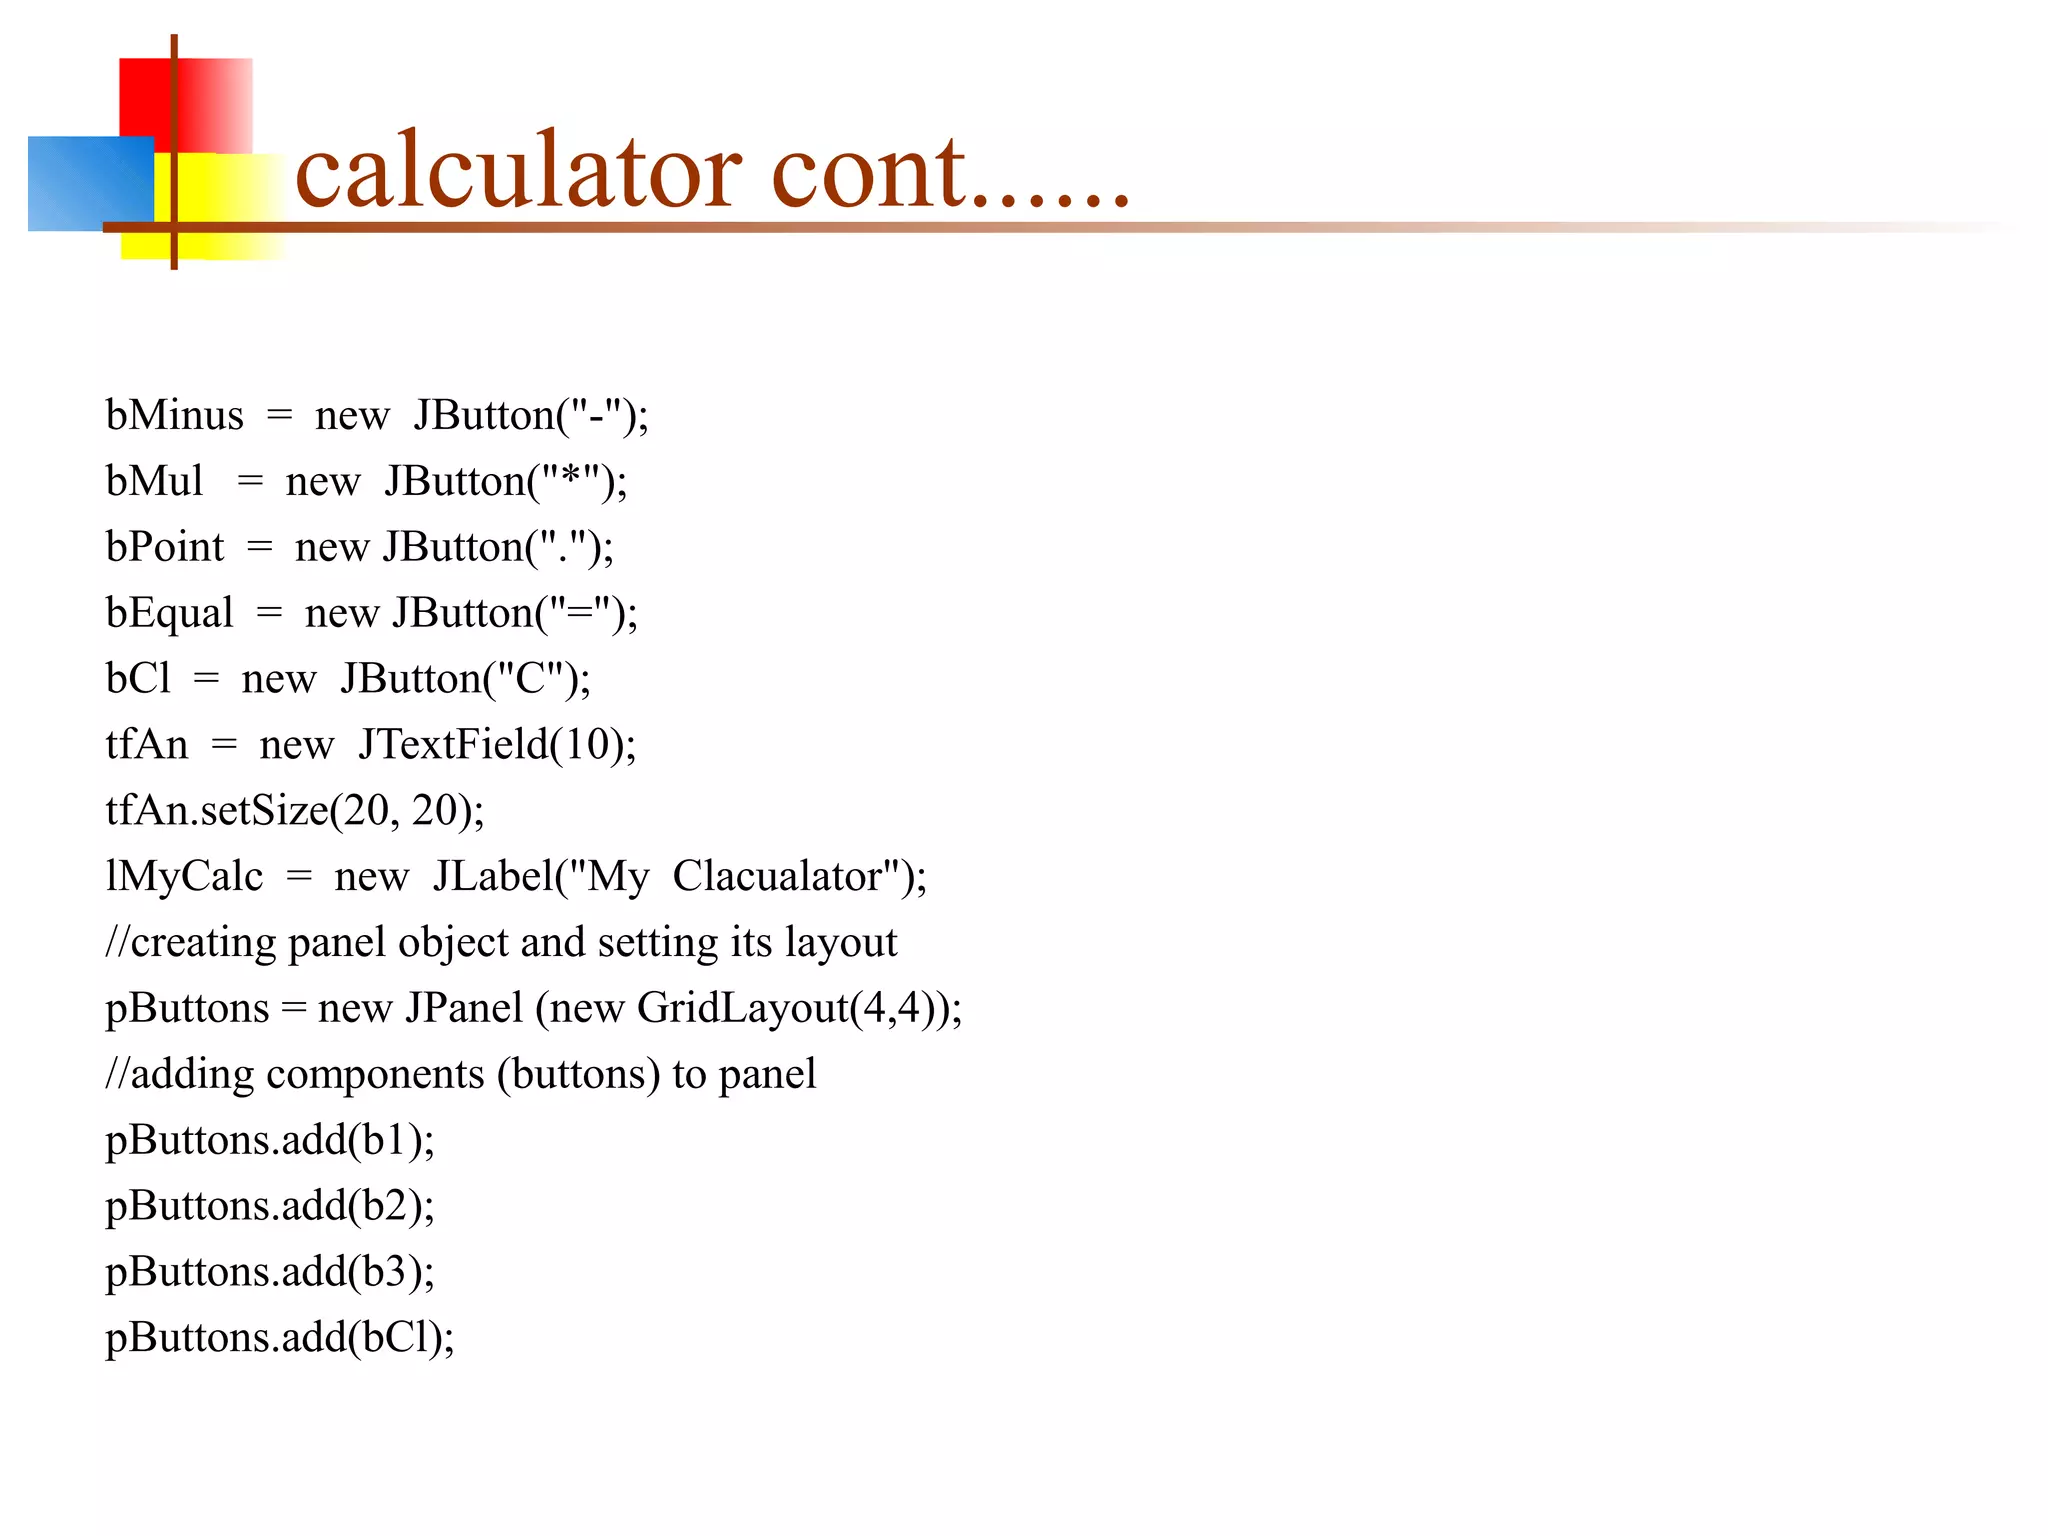
More code implementation details for the calculator GUI showing button creation.
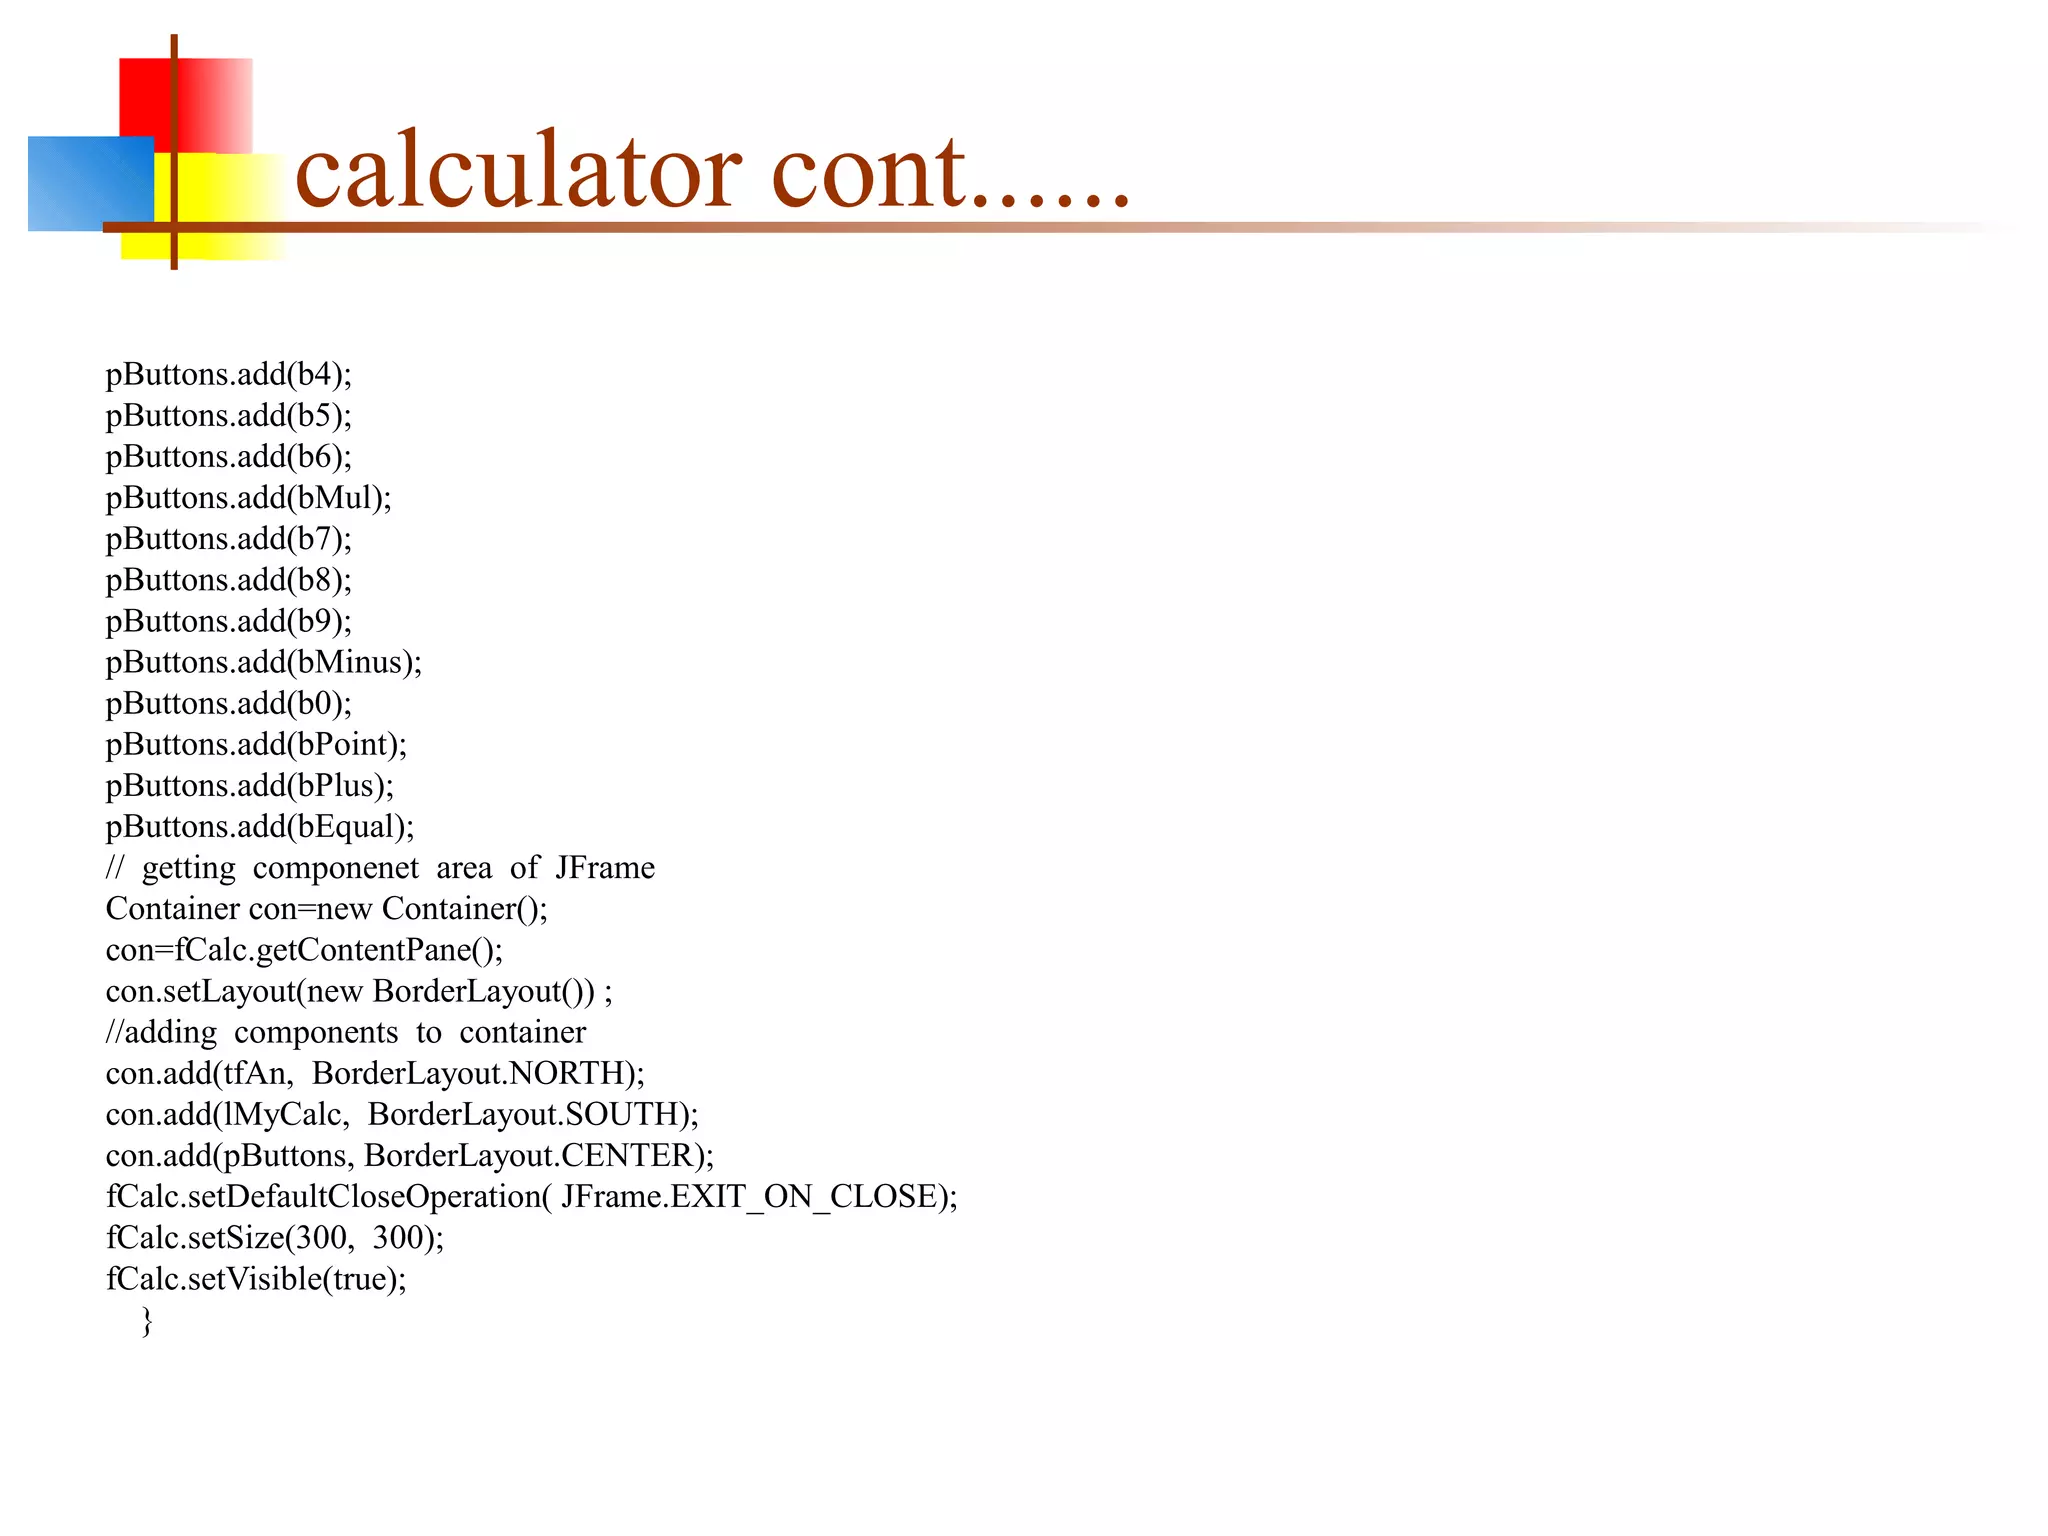
Continuing the button arrangement in the calculator layout.
Final adjustments to calculator GUI layout including mainframe settings.
Overview of expected output from the calculator GUI application.
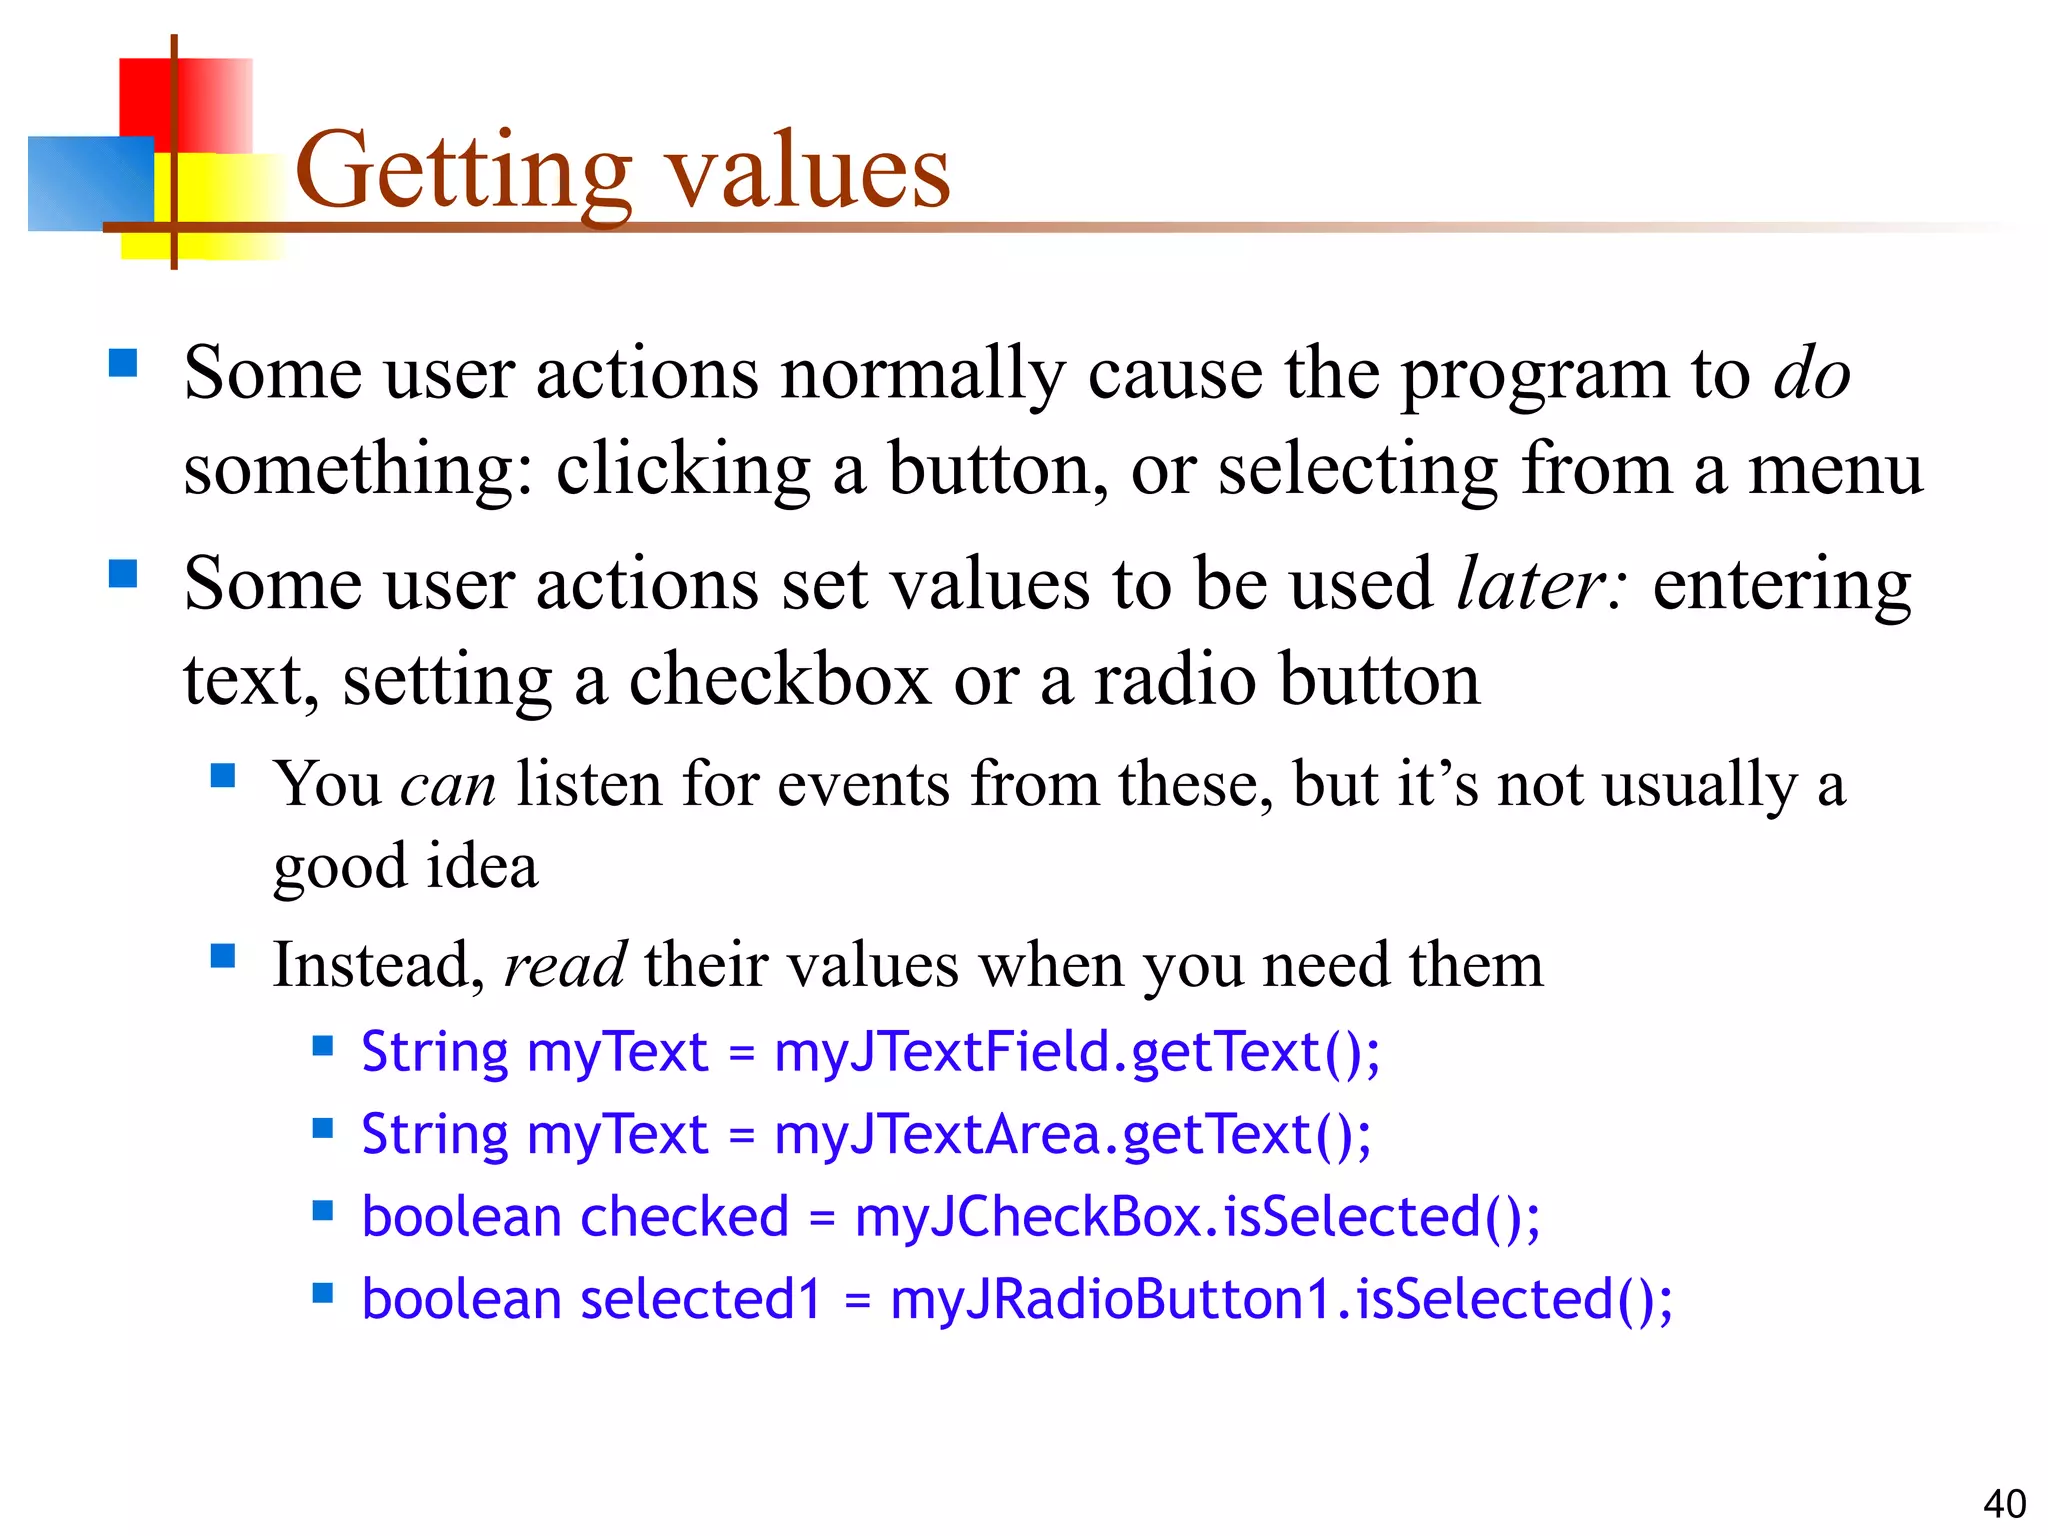
Explanation of handling user interactions like button clicks and text entries.
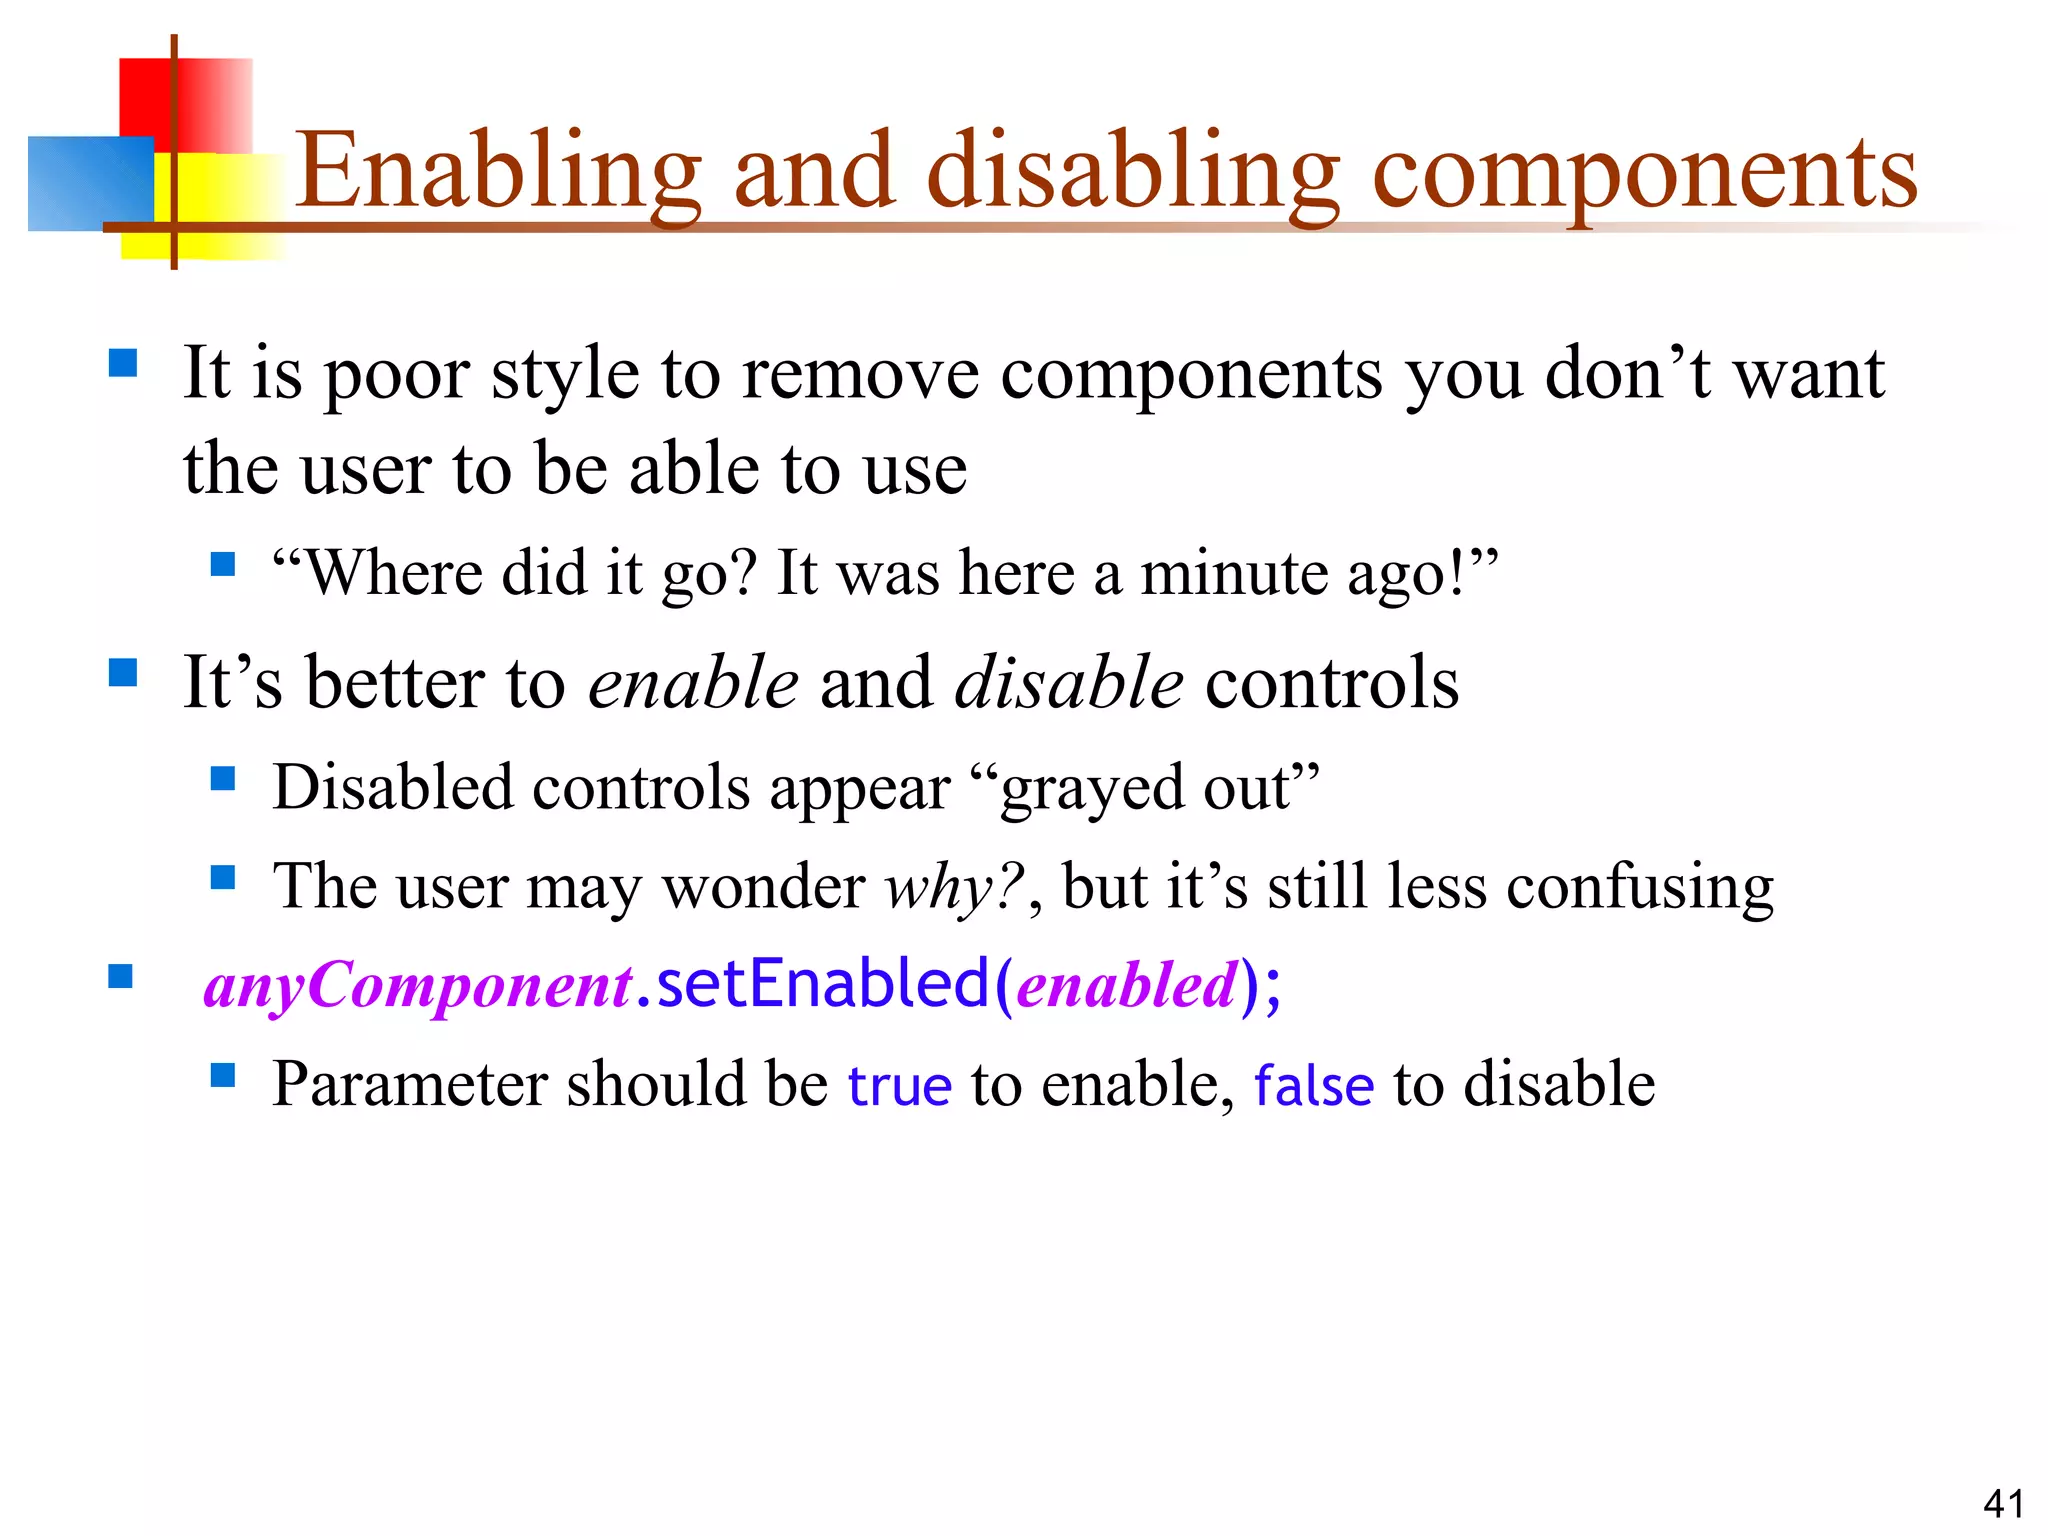
Best practices for managing component availability in the GUI without removing elements.
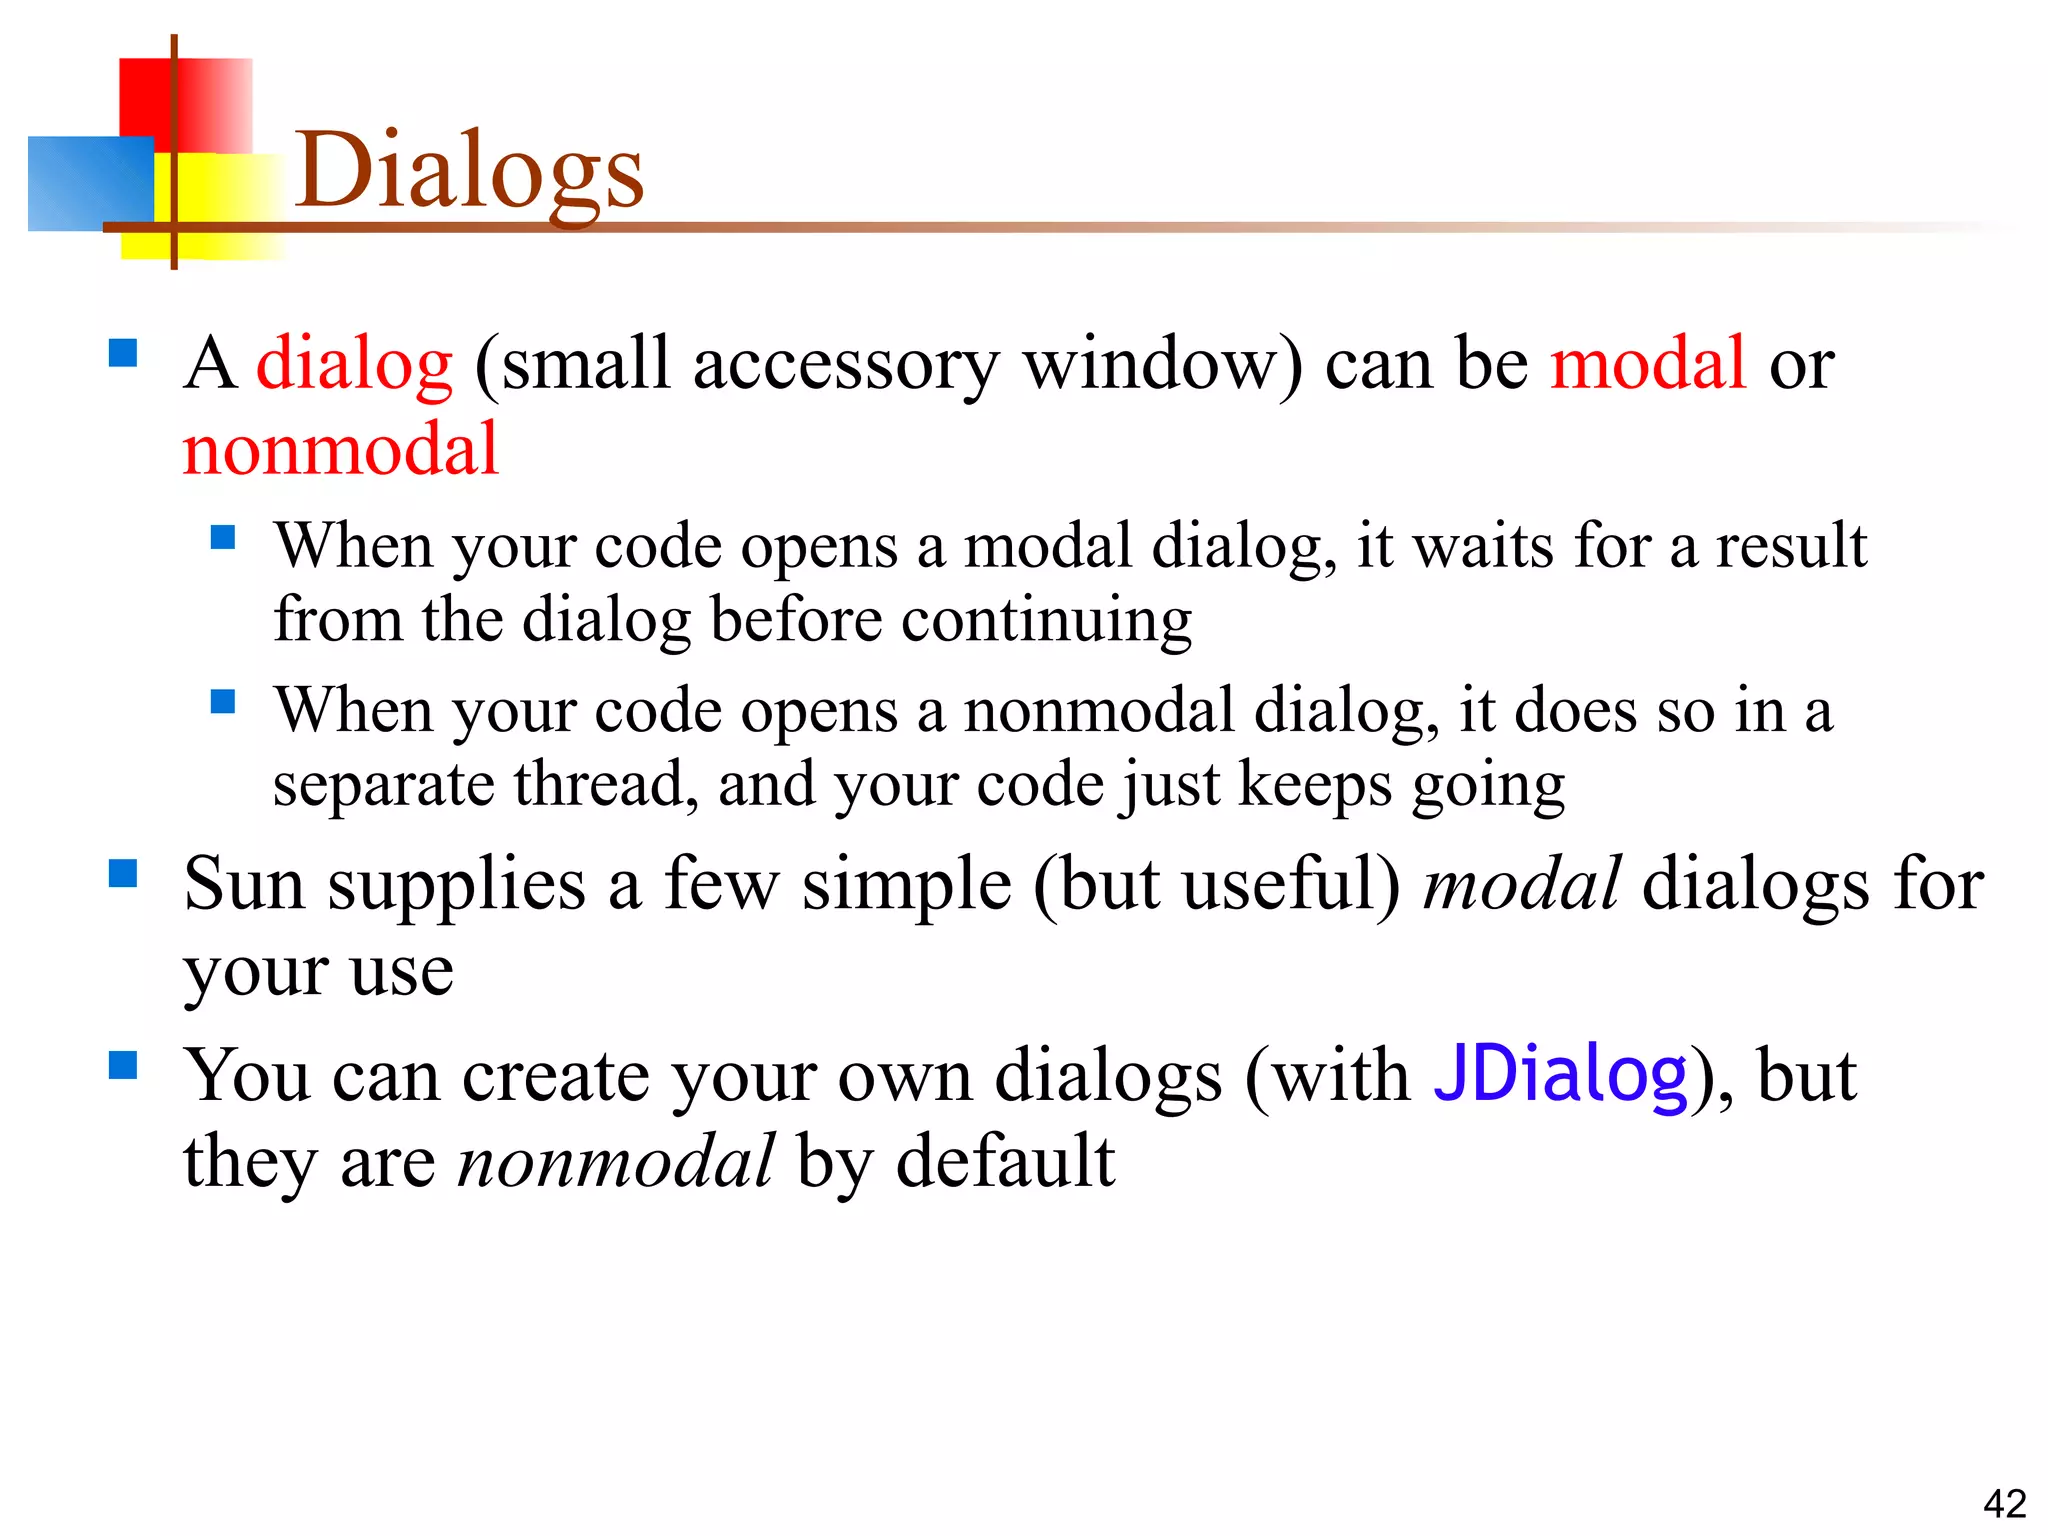
Overview of modal and nonmodal dialogs for user interactions.
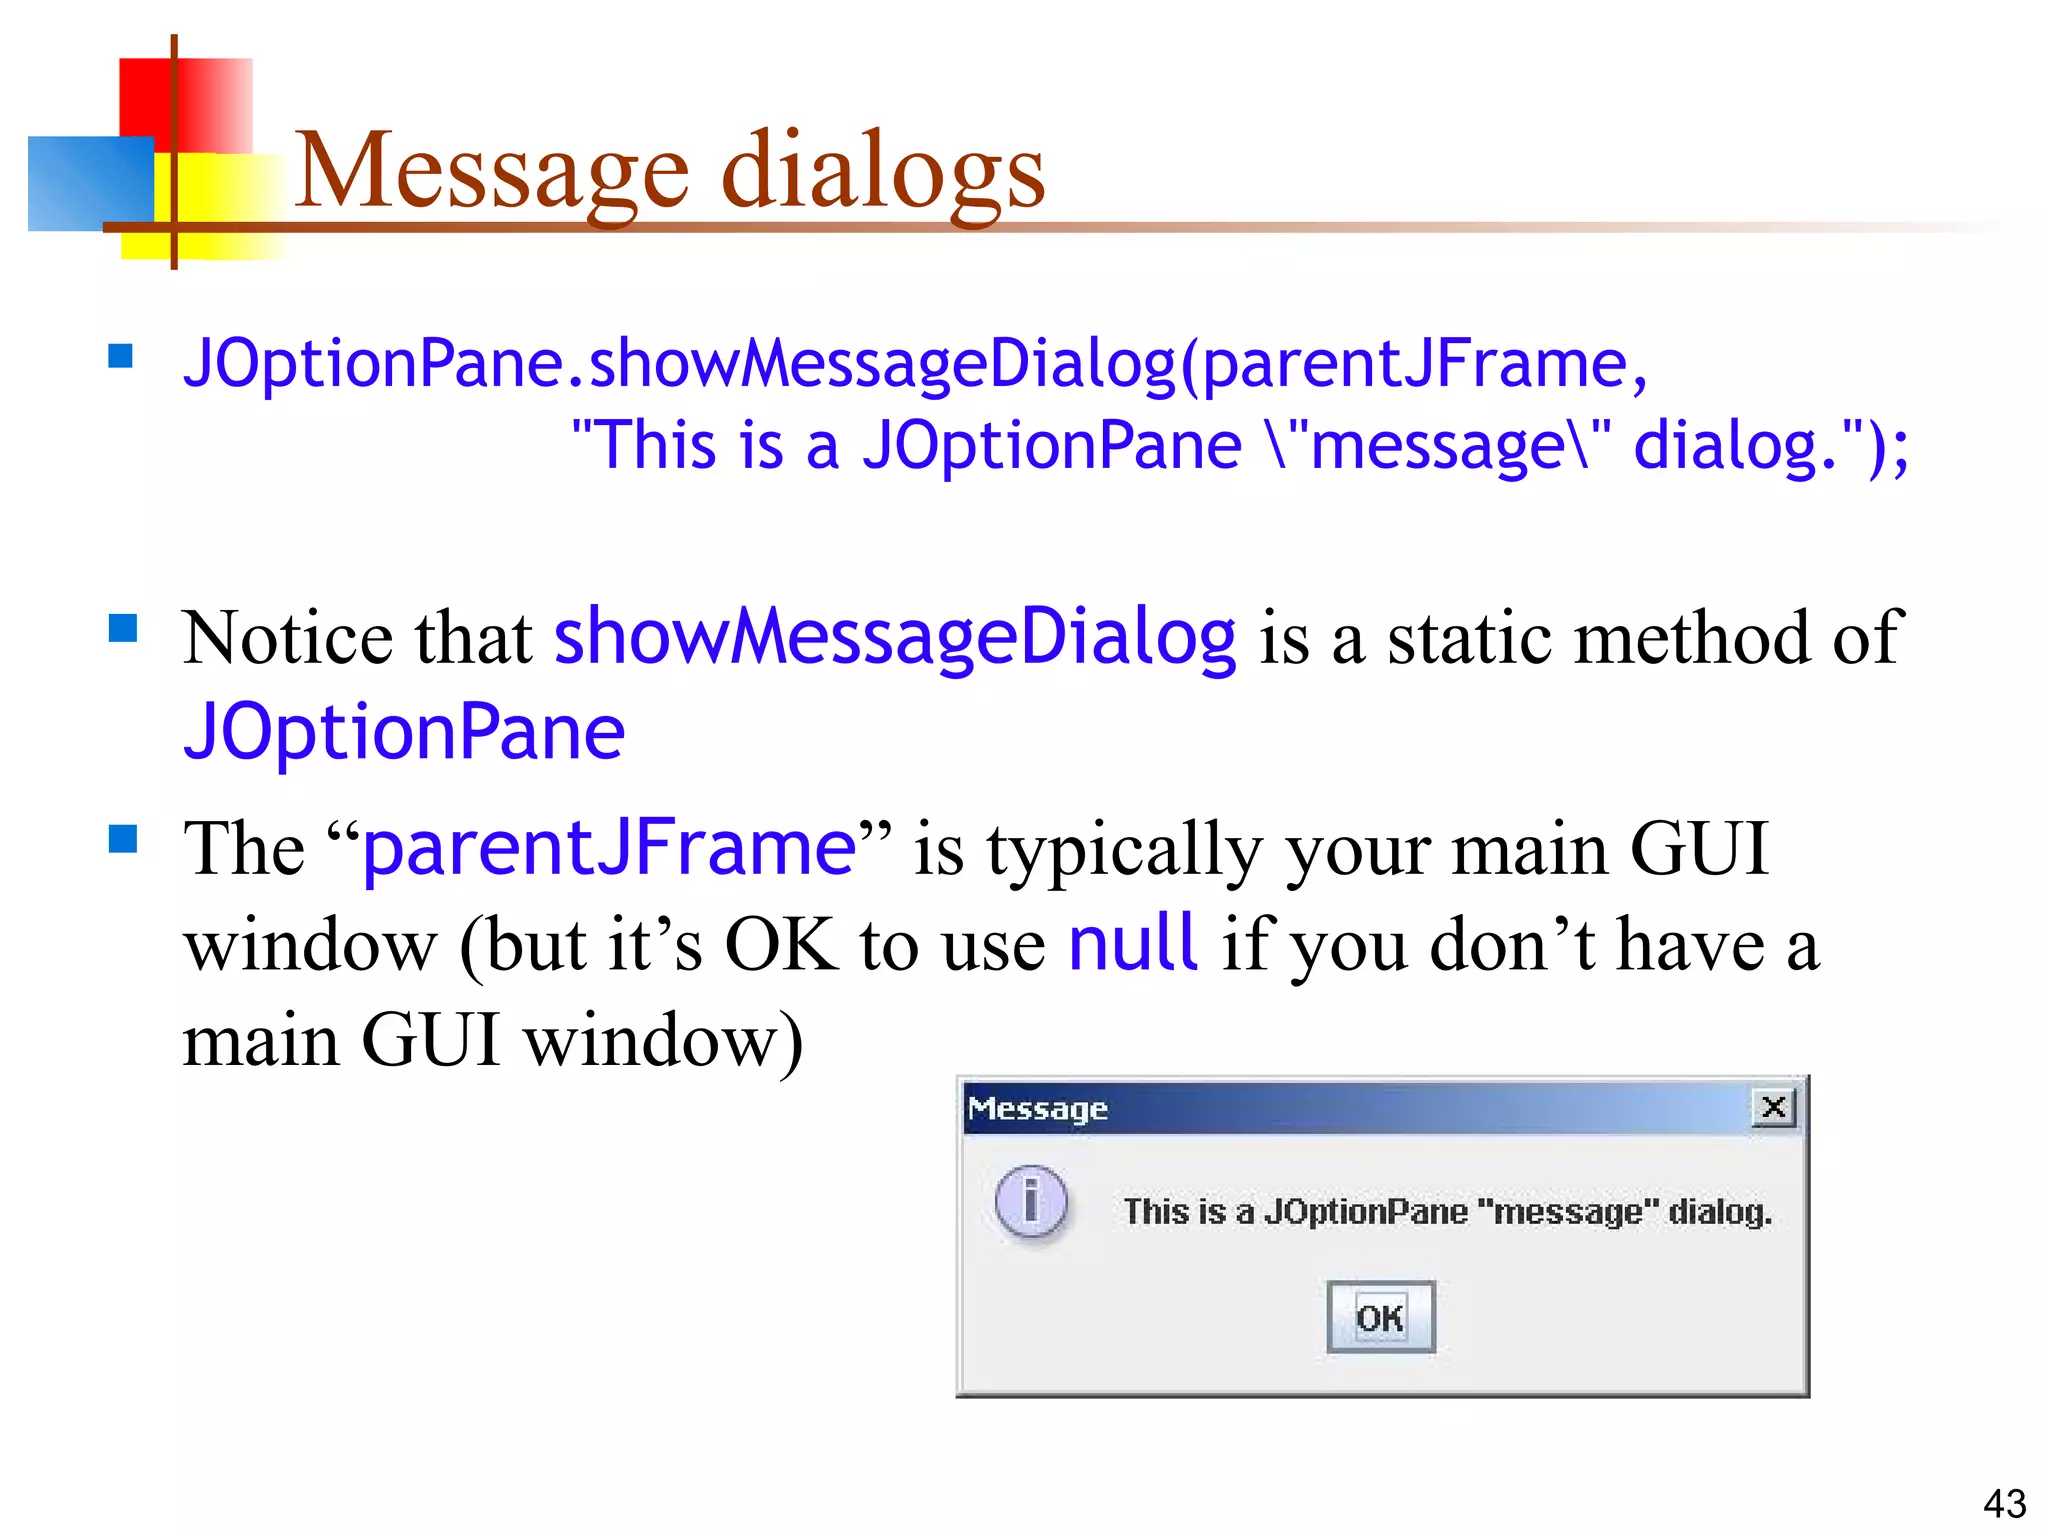
Example of how to create a JOptionPane to display messages.
Usage of JOptionPane for obtaining confirmation from users.
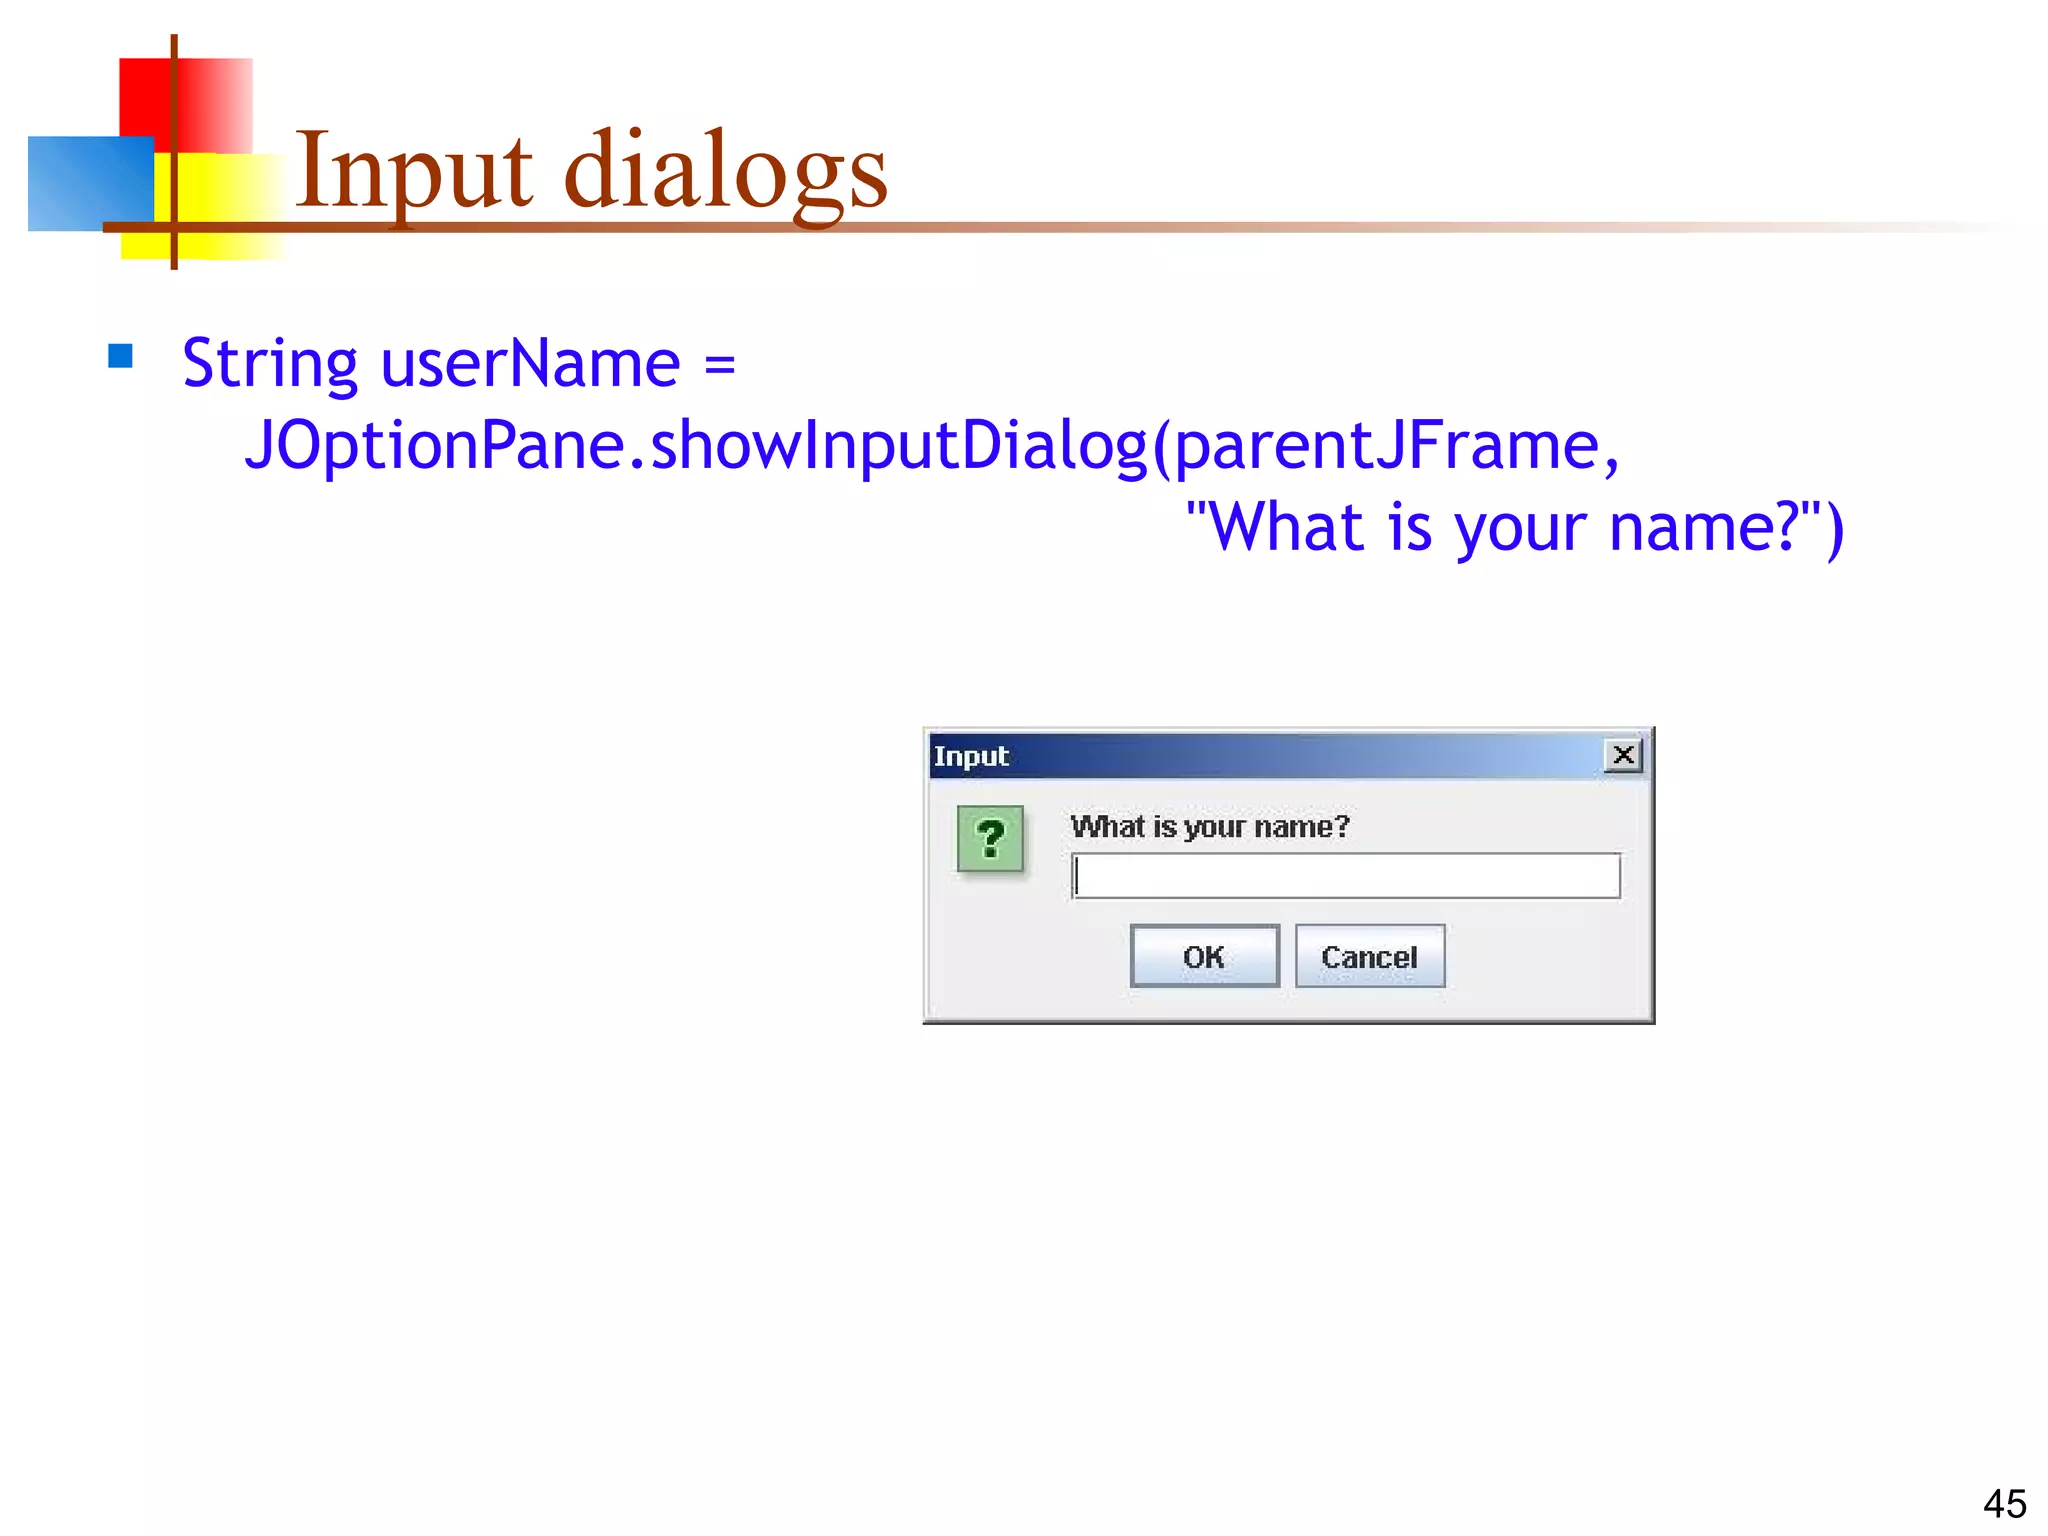
Implementation of user input dialogs through JOptionPane.
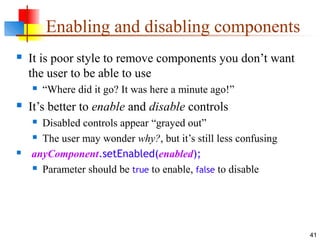
Guide for creating option dialogs with multiple choices using JOptionPane.
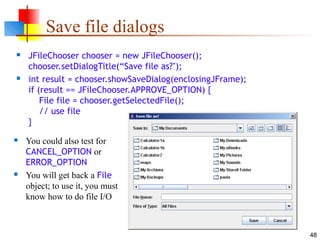
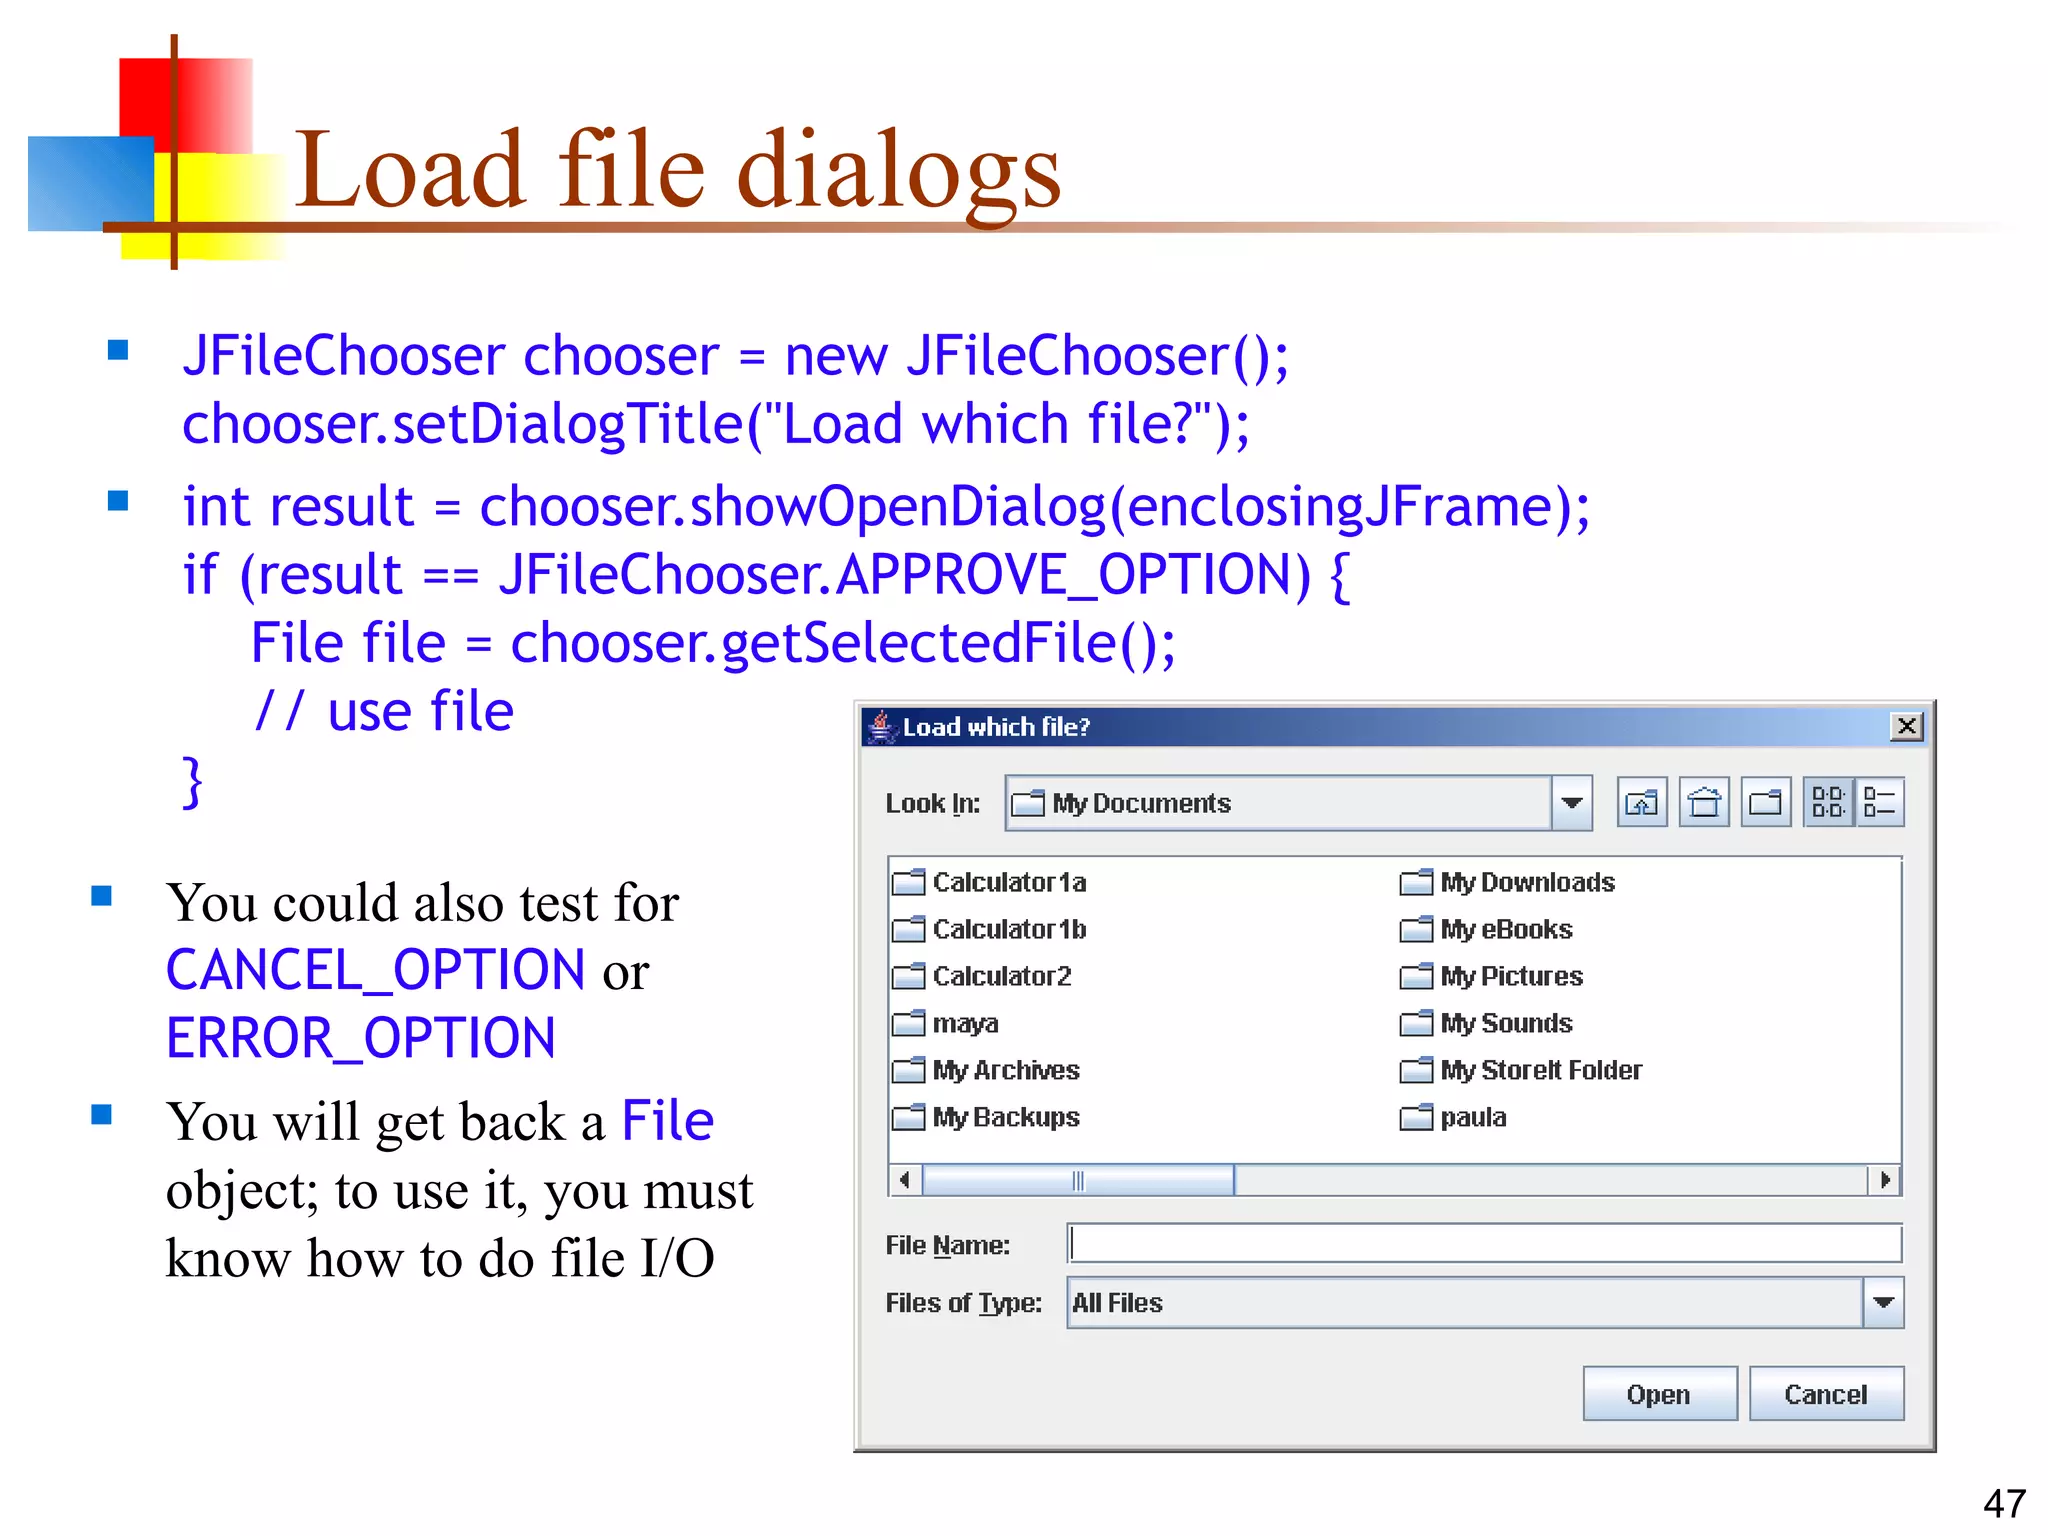
Implementing file chooser dialogs for loading files in the GUI.
Implementation of file chooser dialogs for saving files from the GUI.
Recap of topics covered in the presentation including GUI, AWT, Swing, and components.


