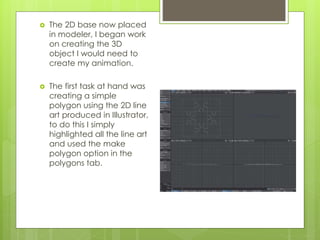
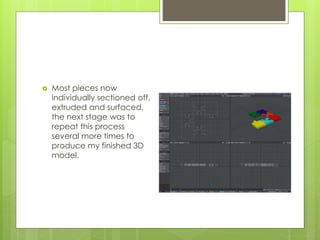
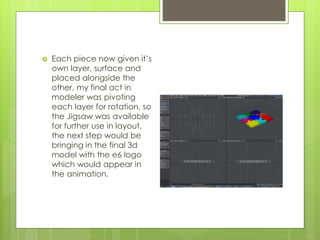
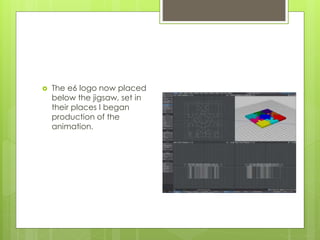
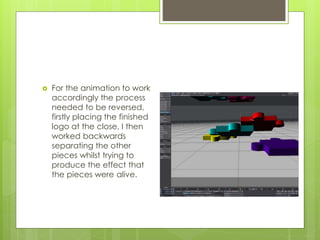
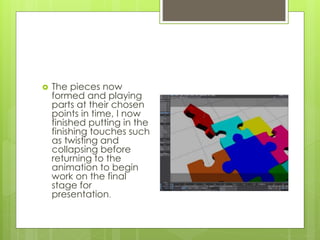
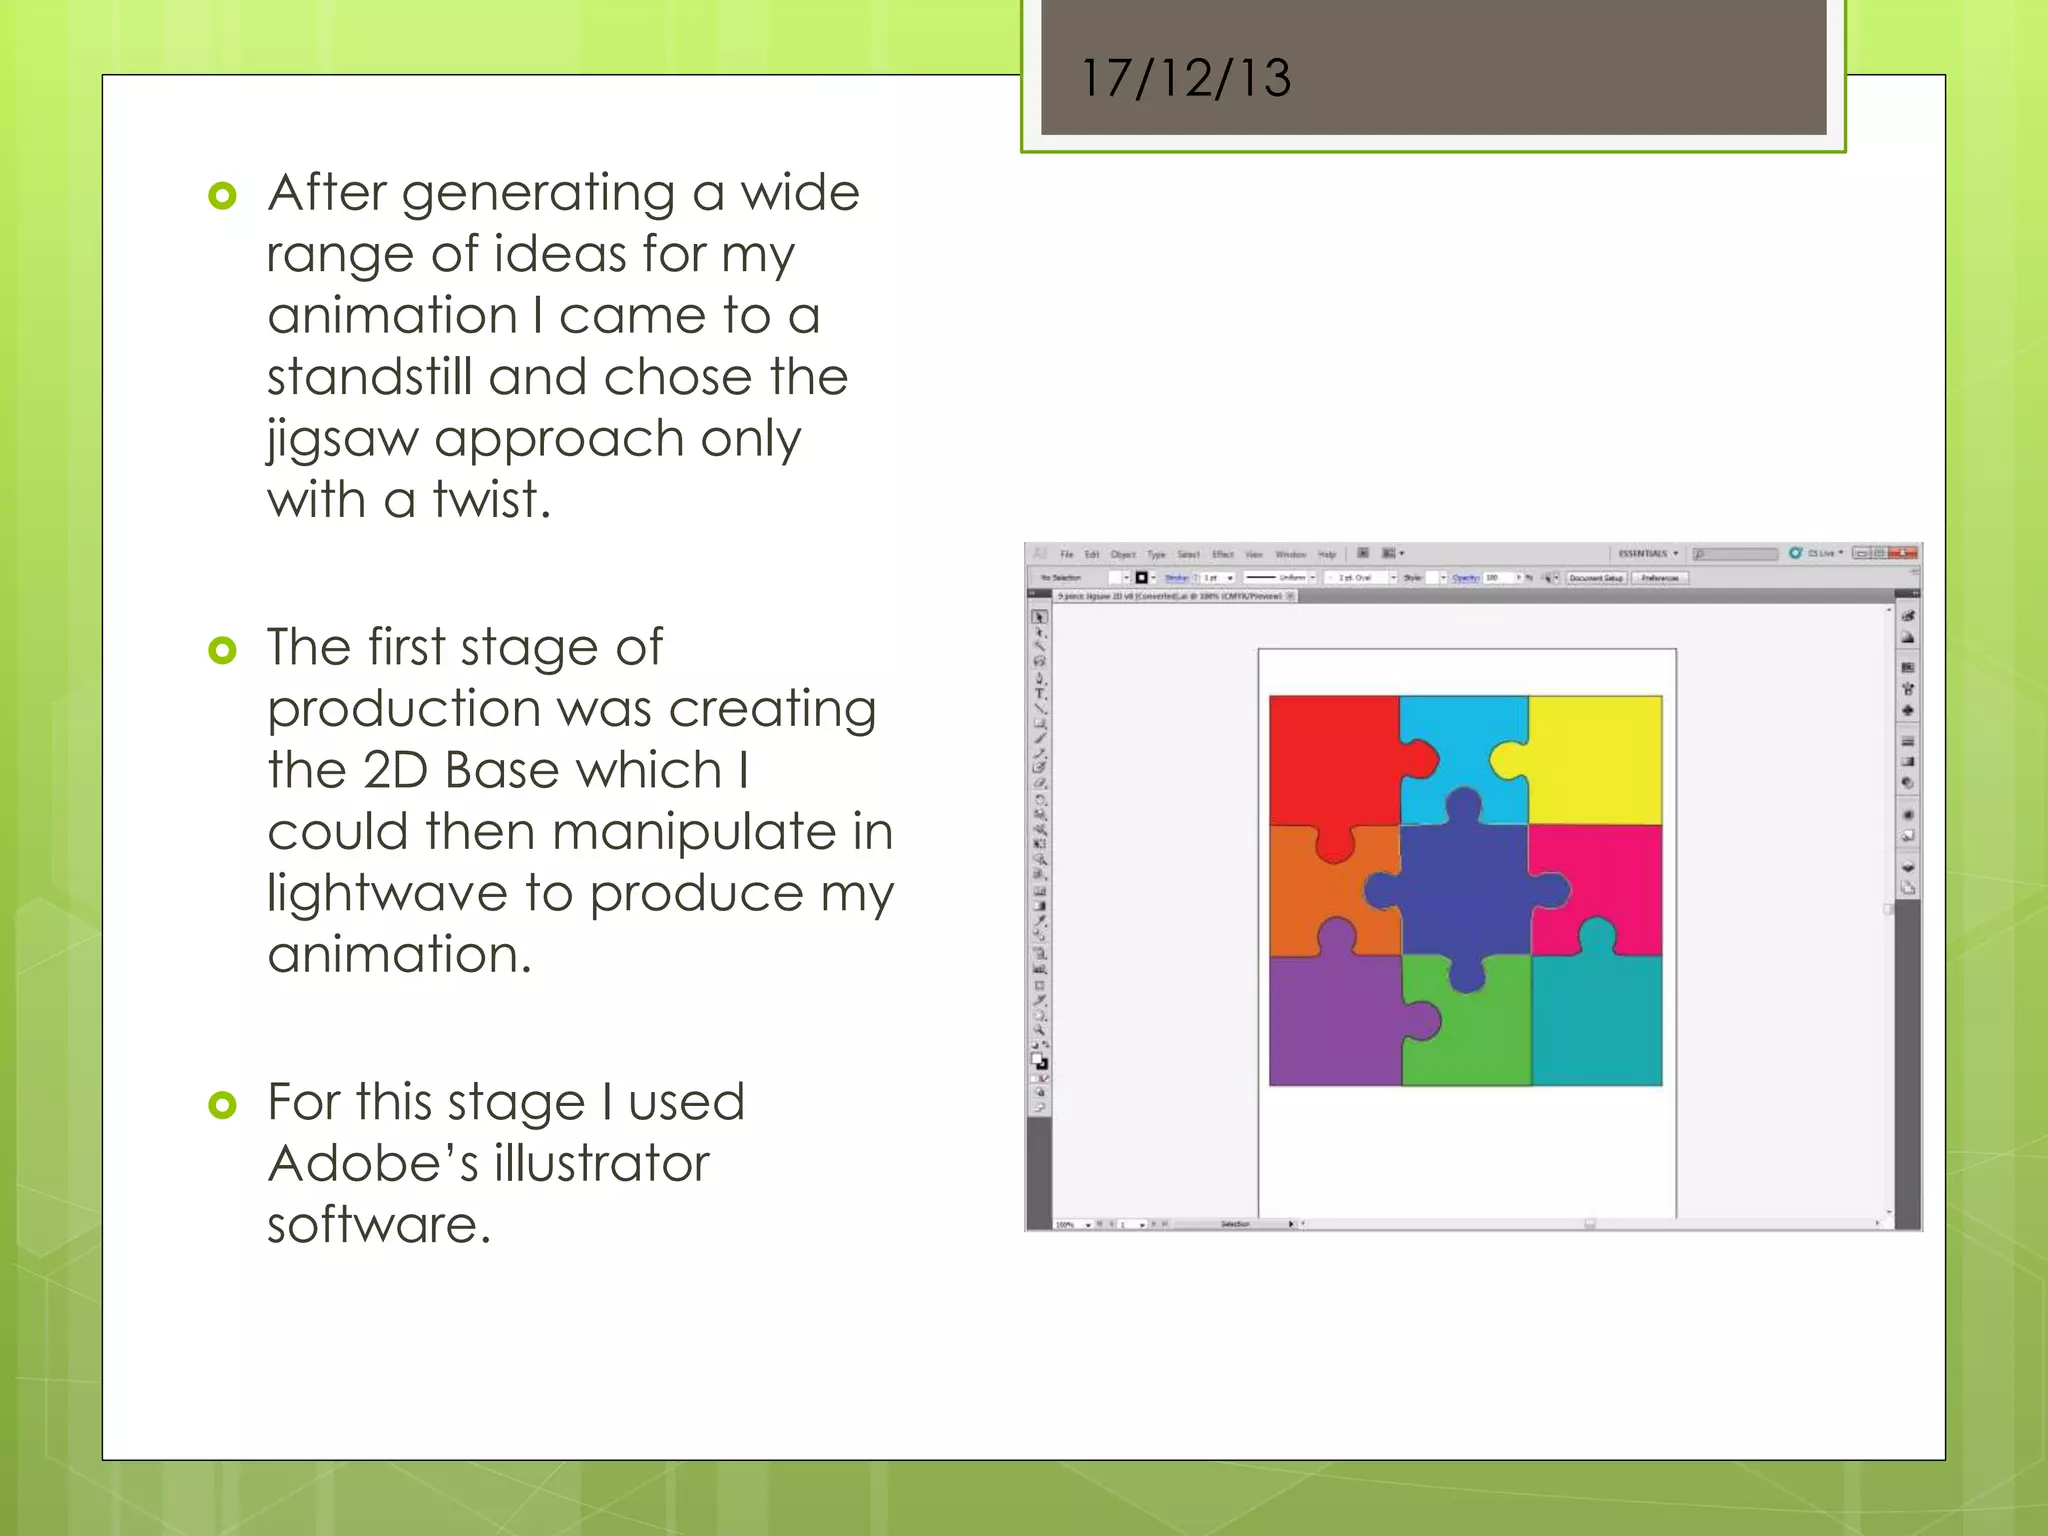
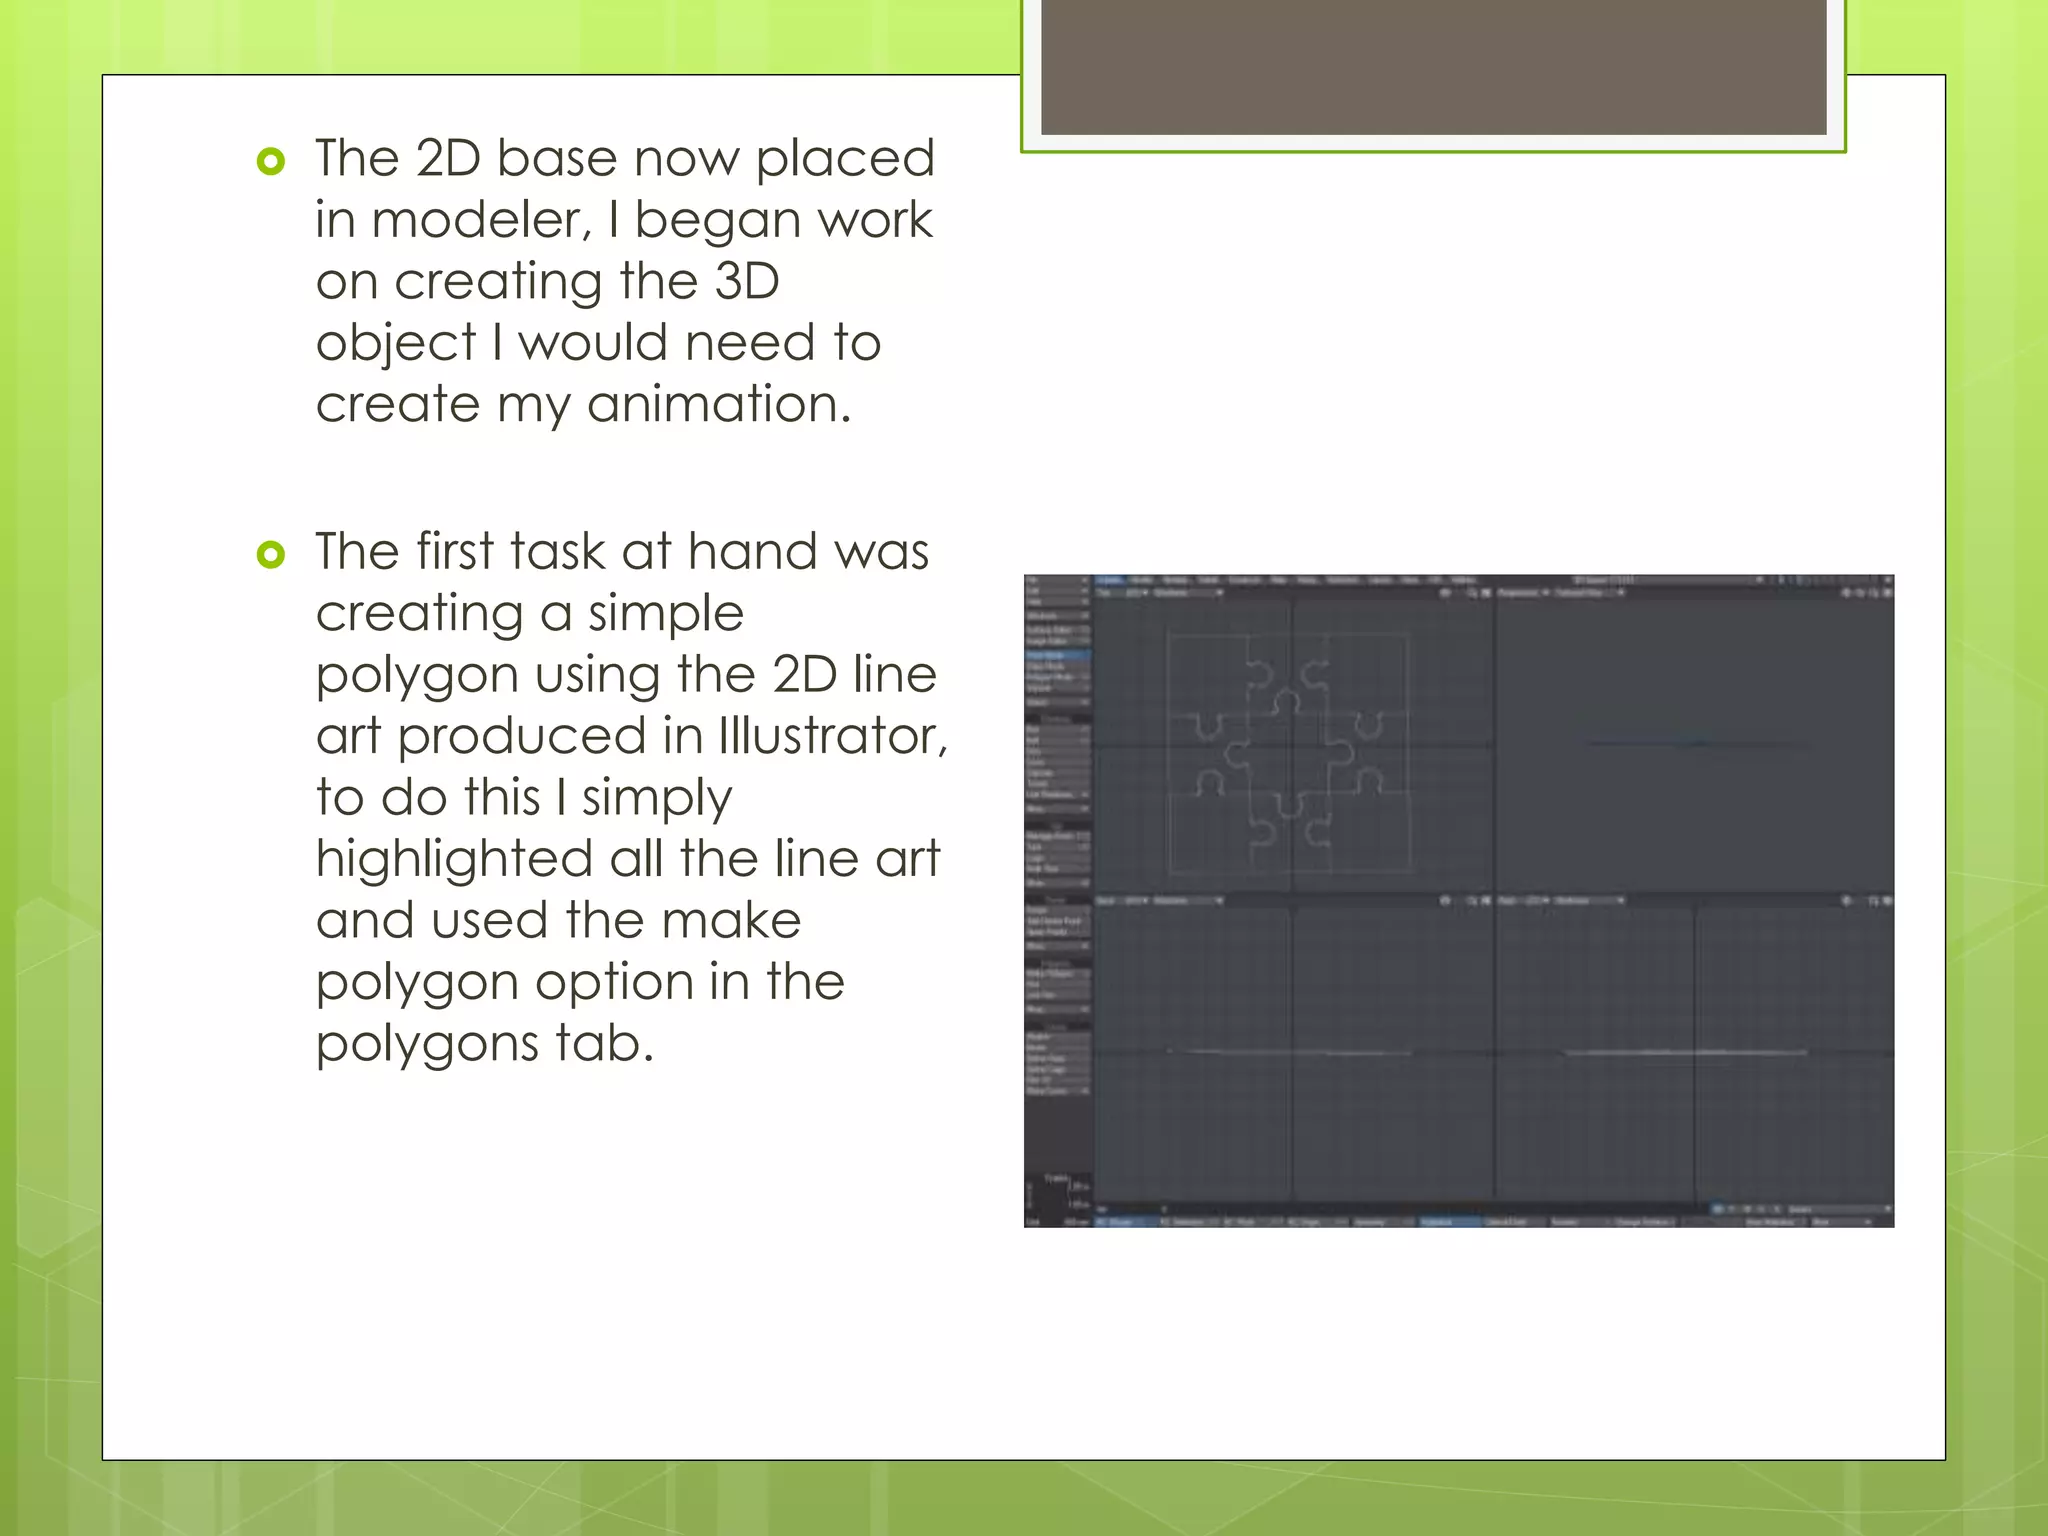
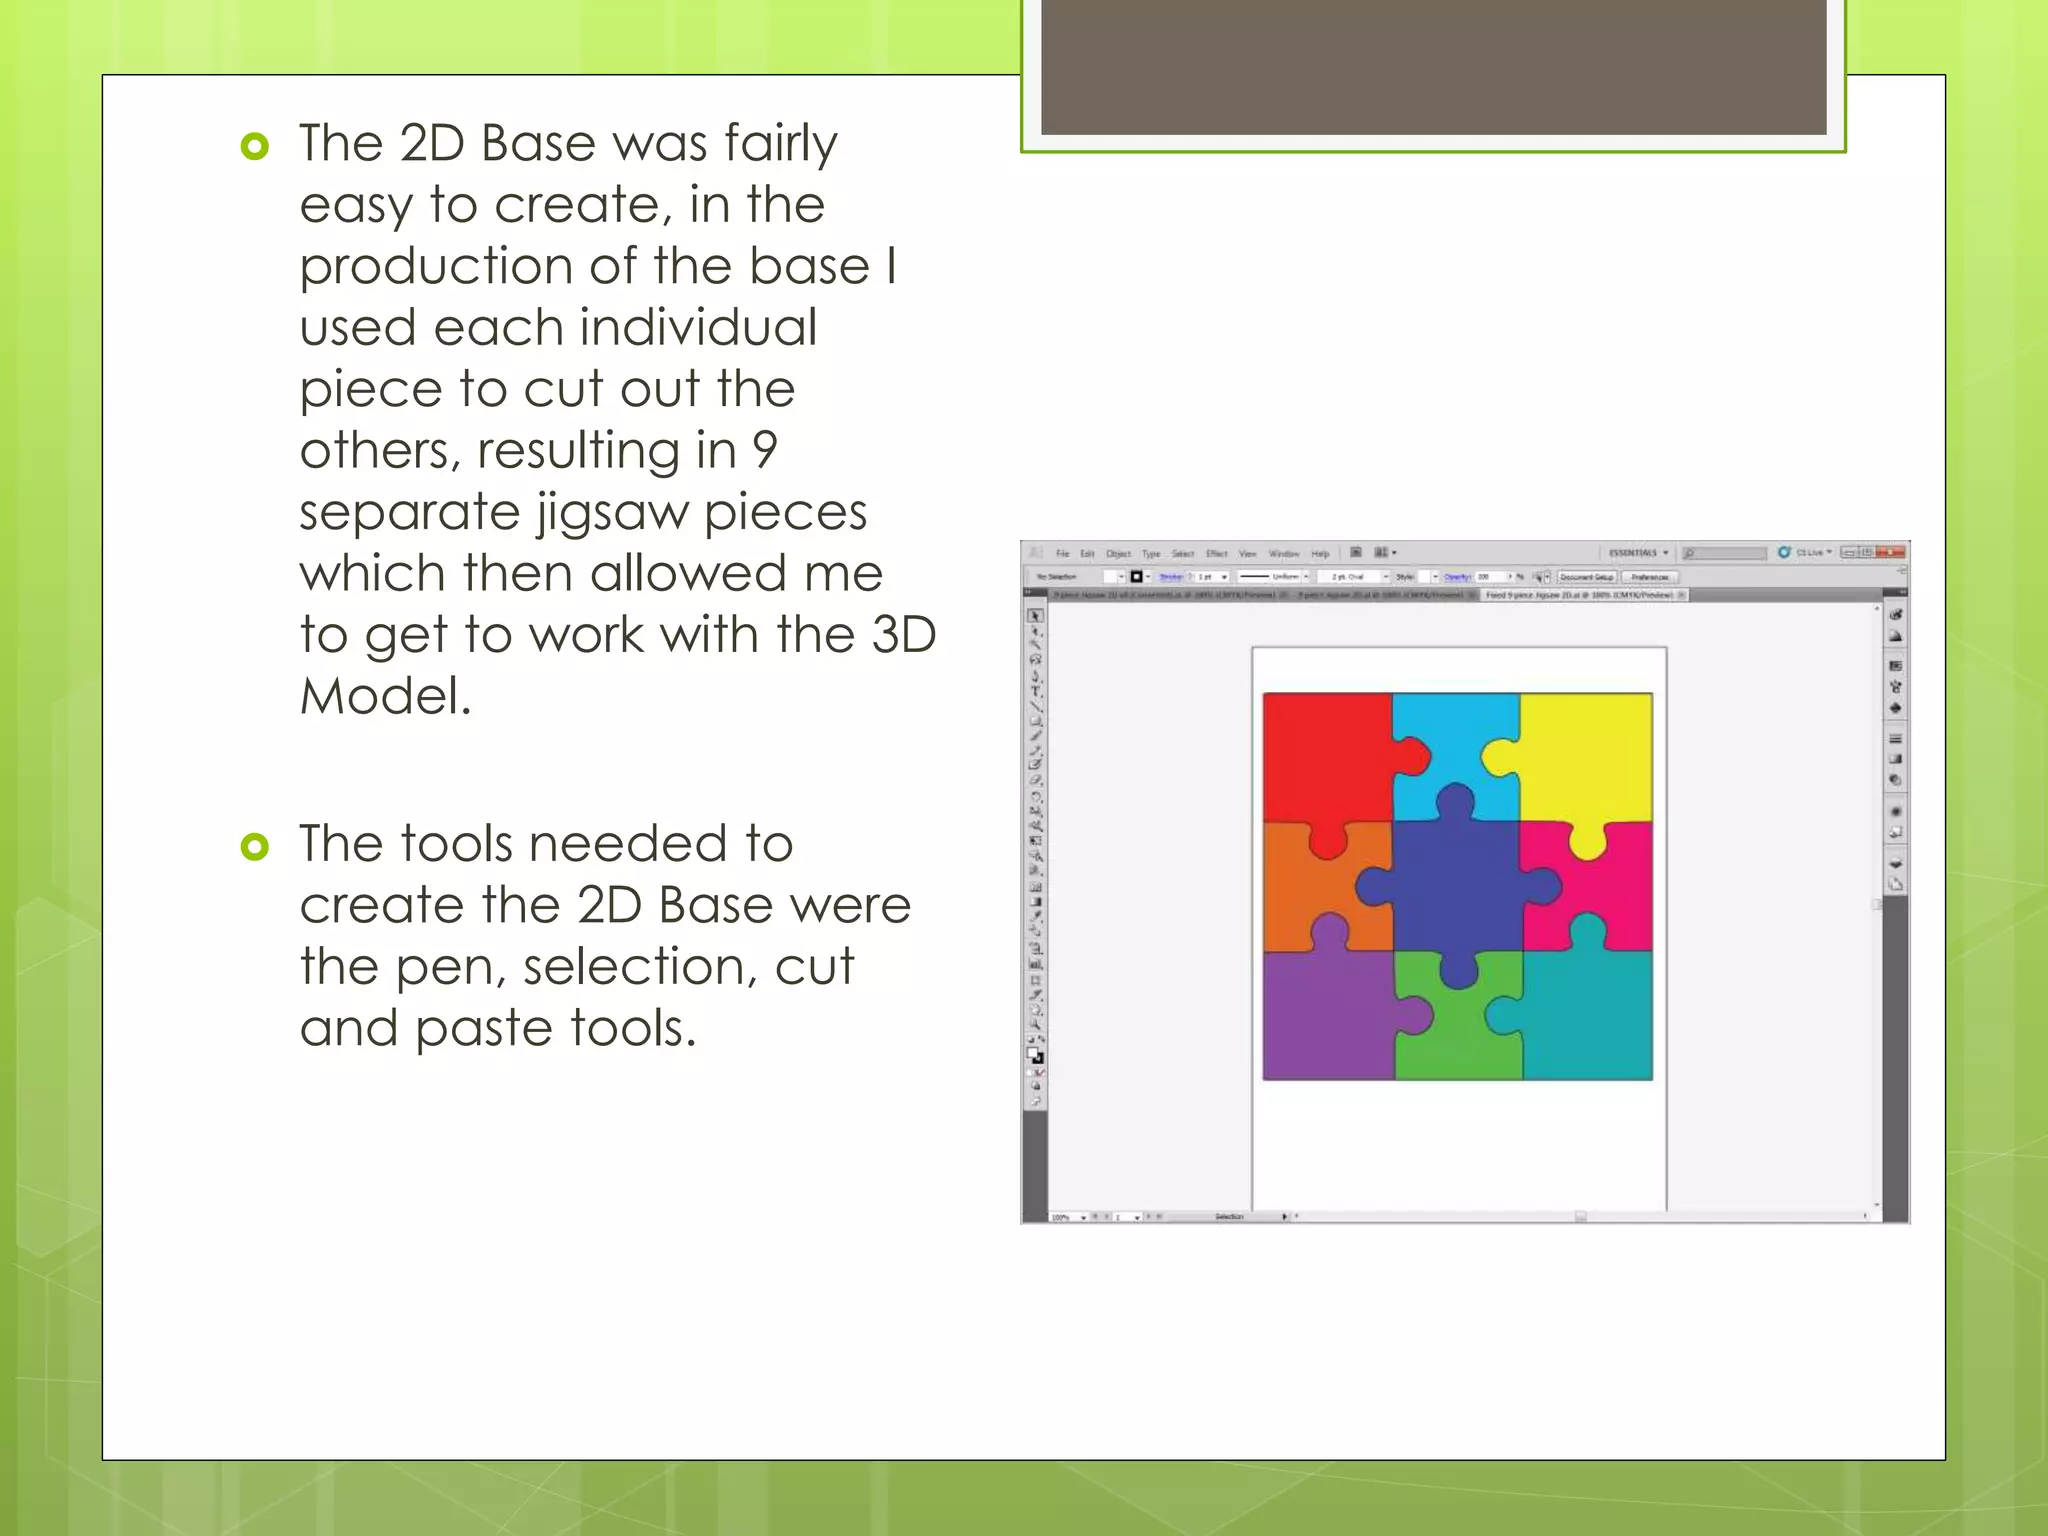
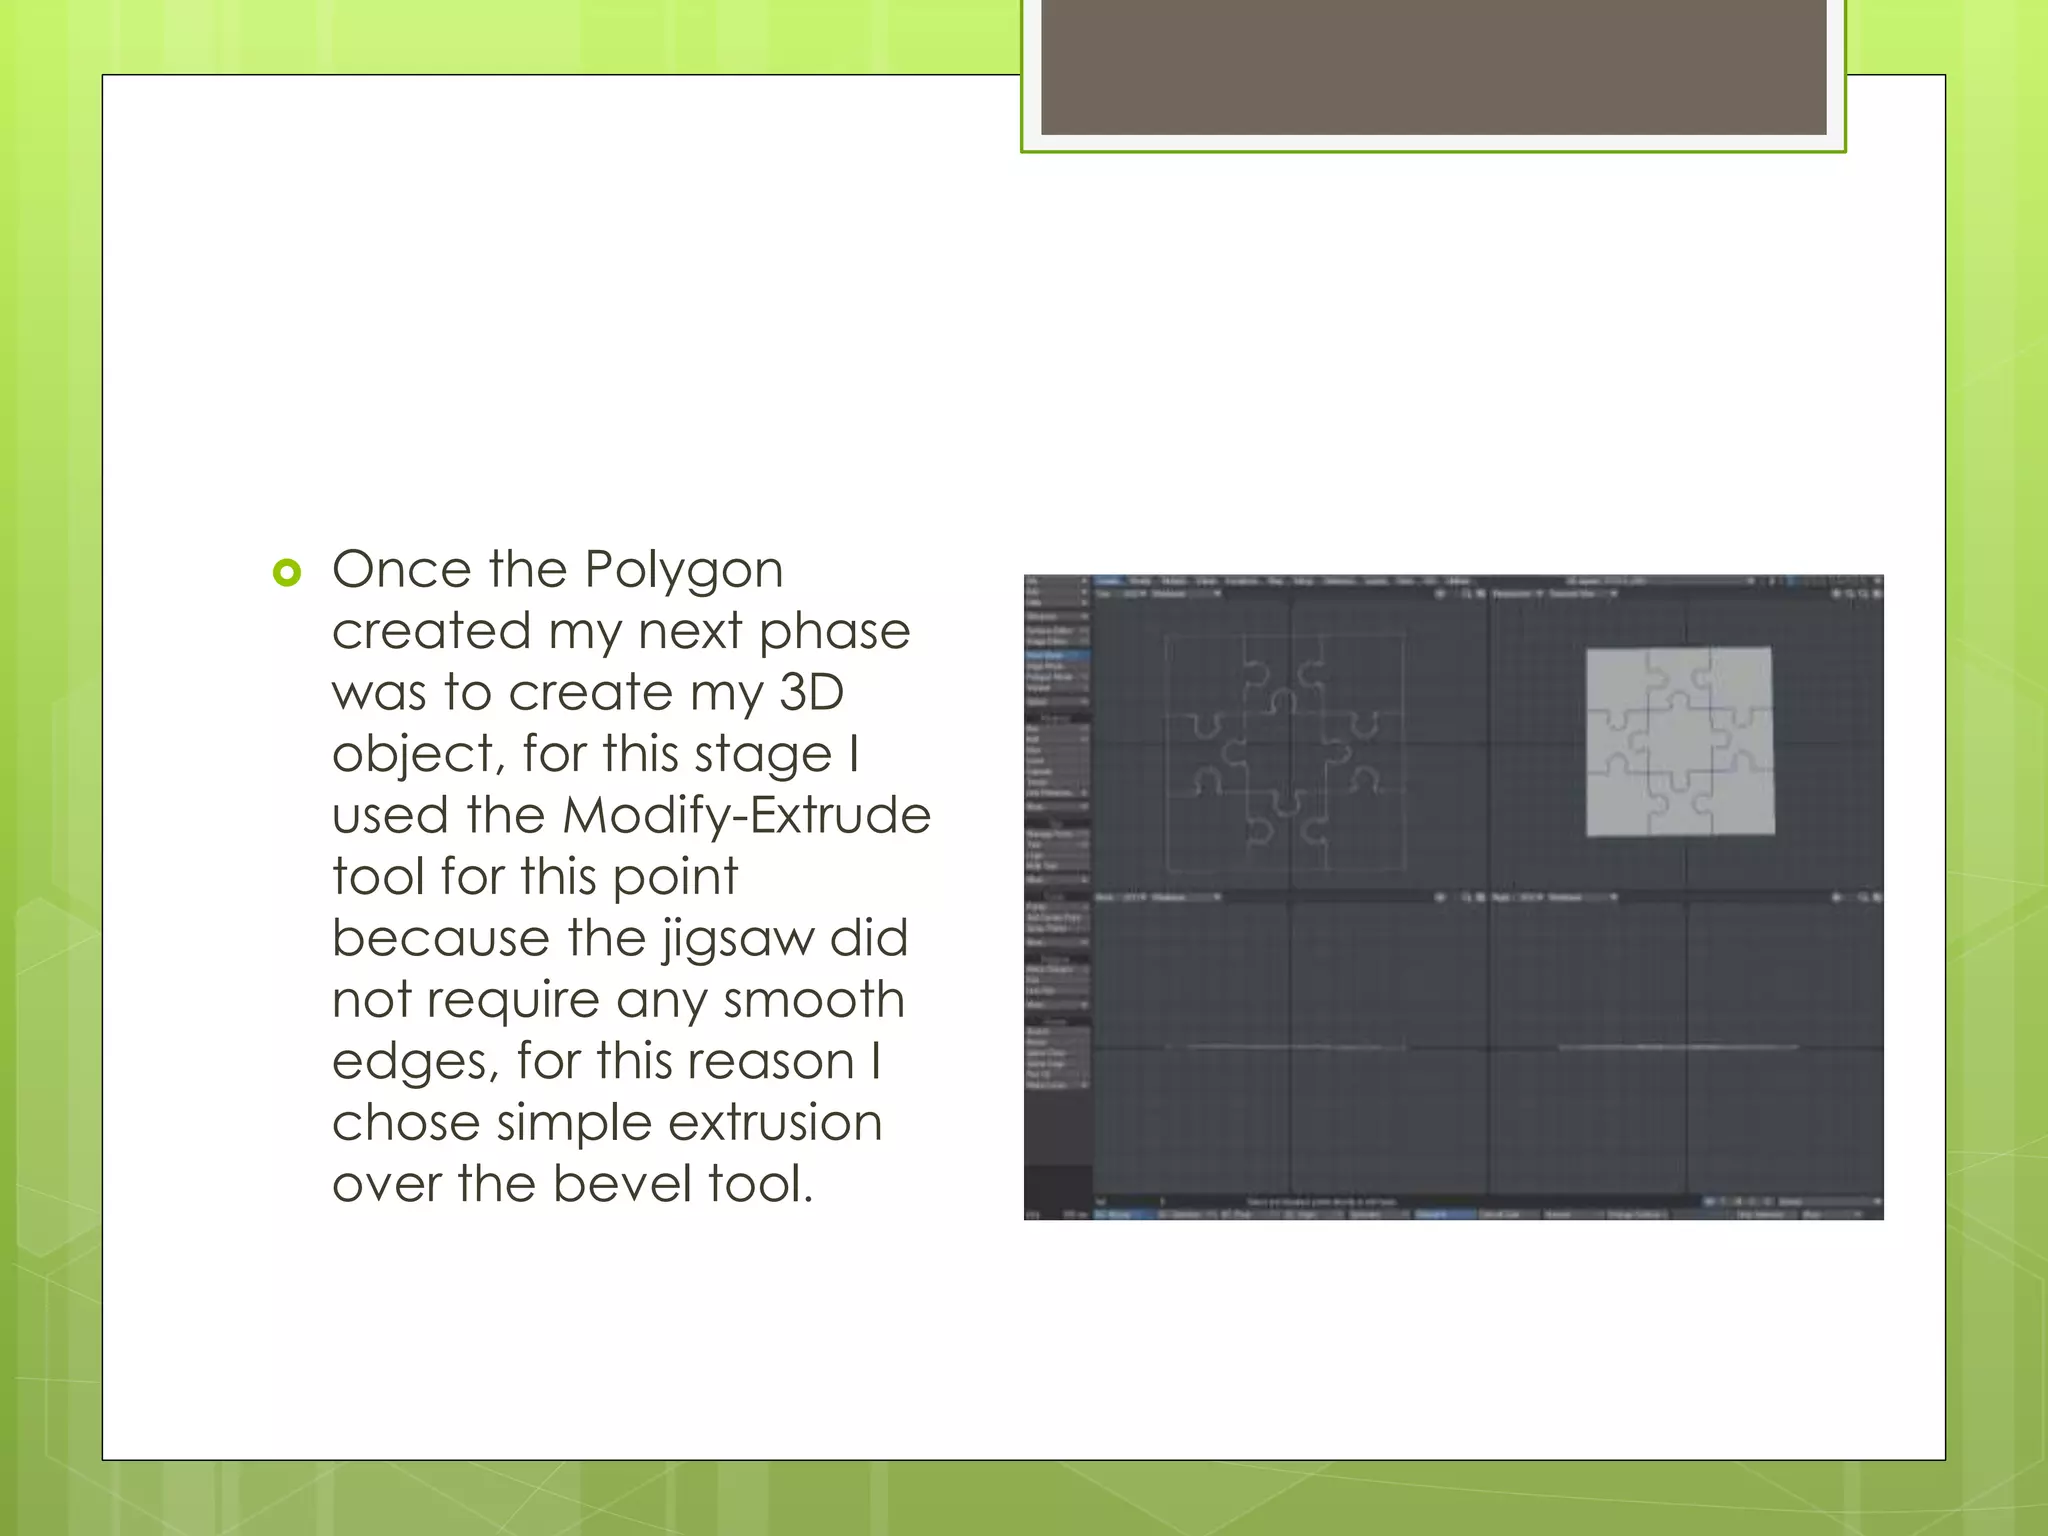
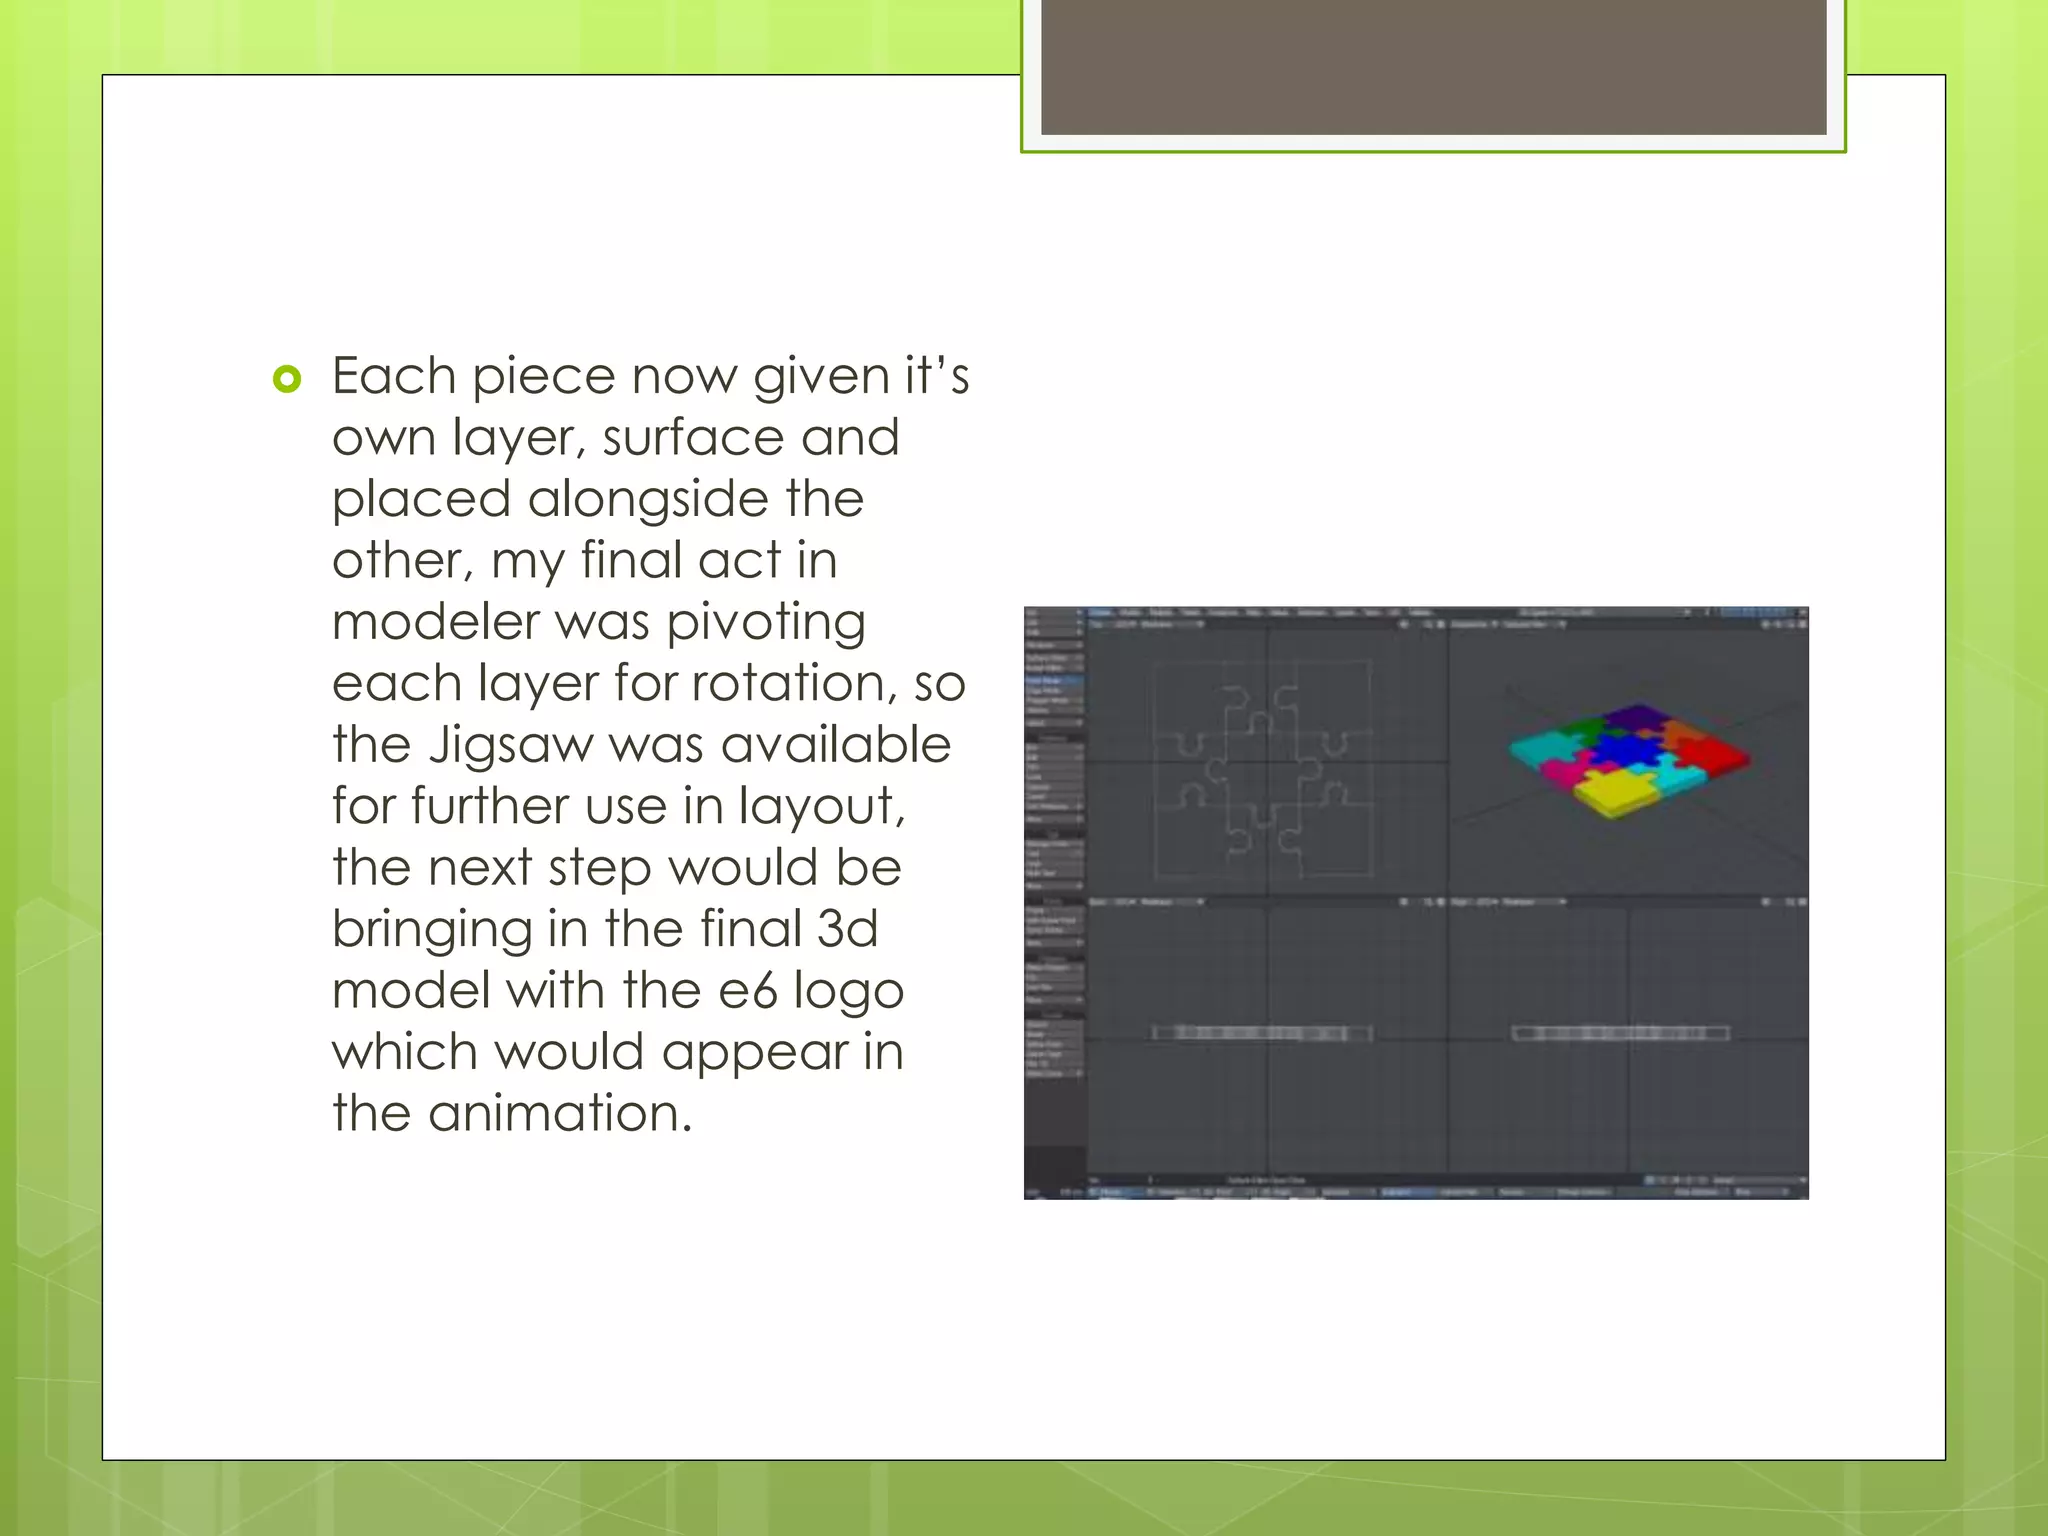
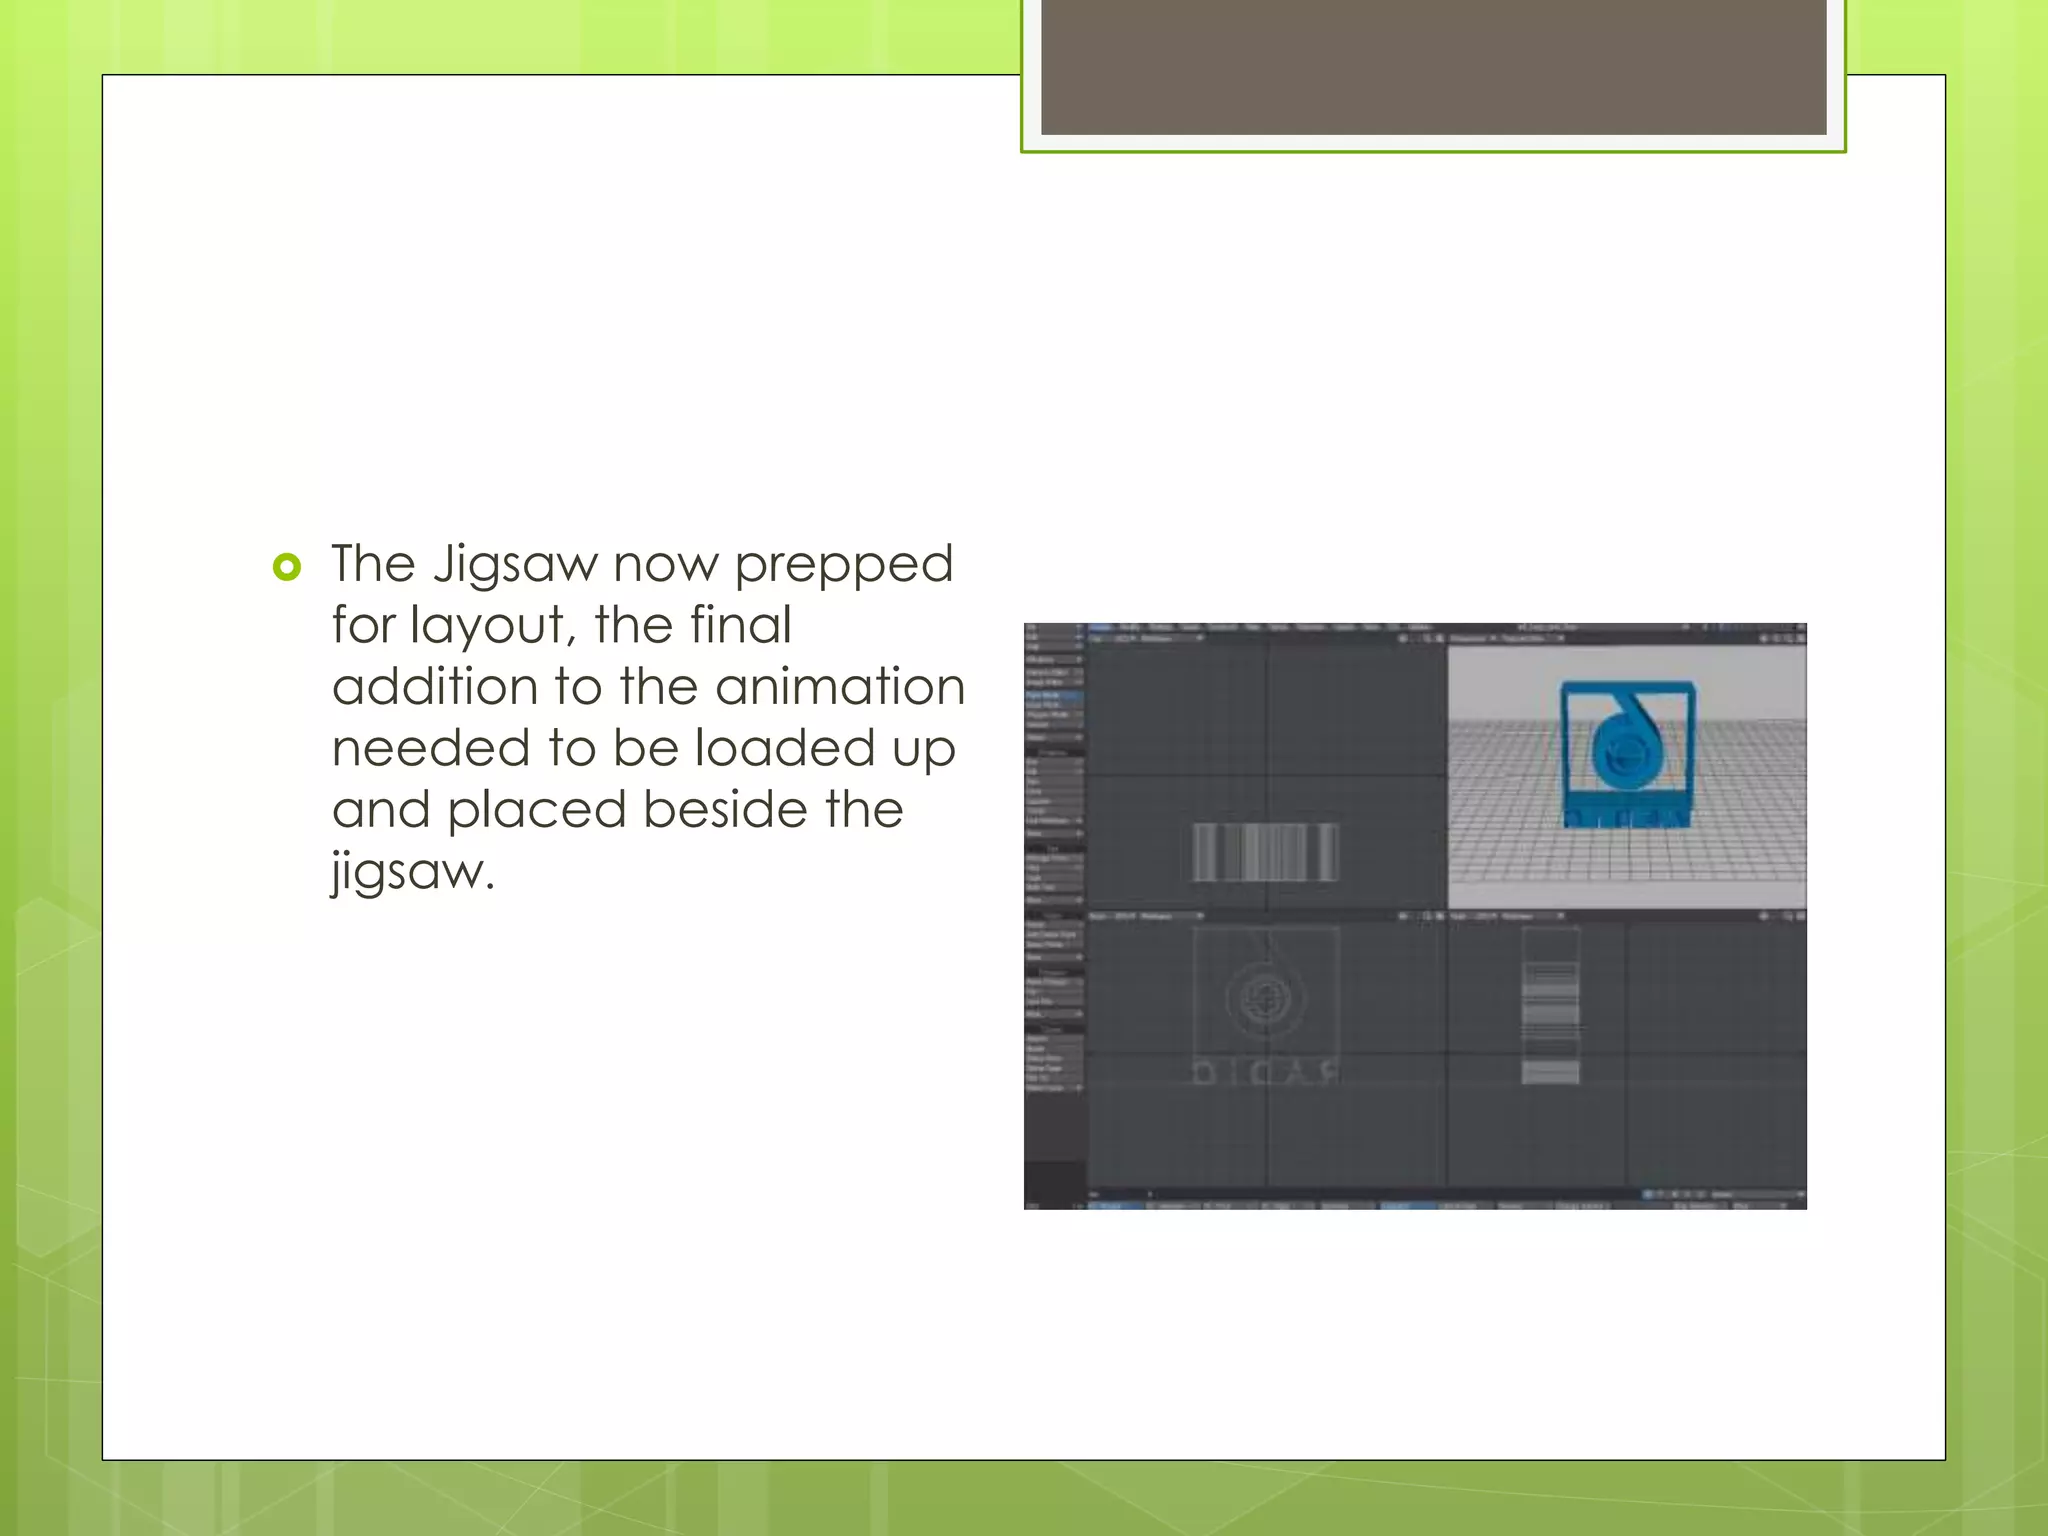
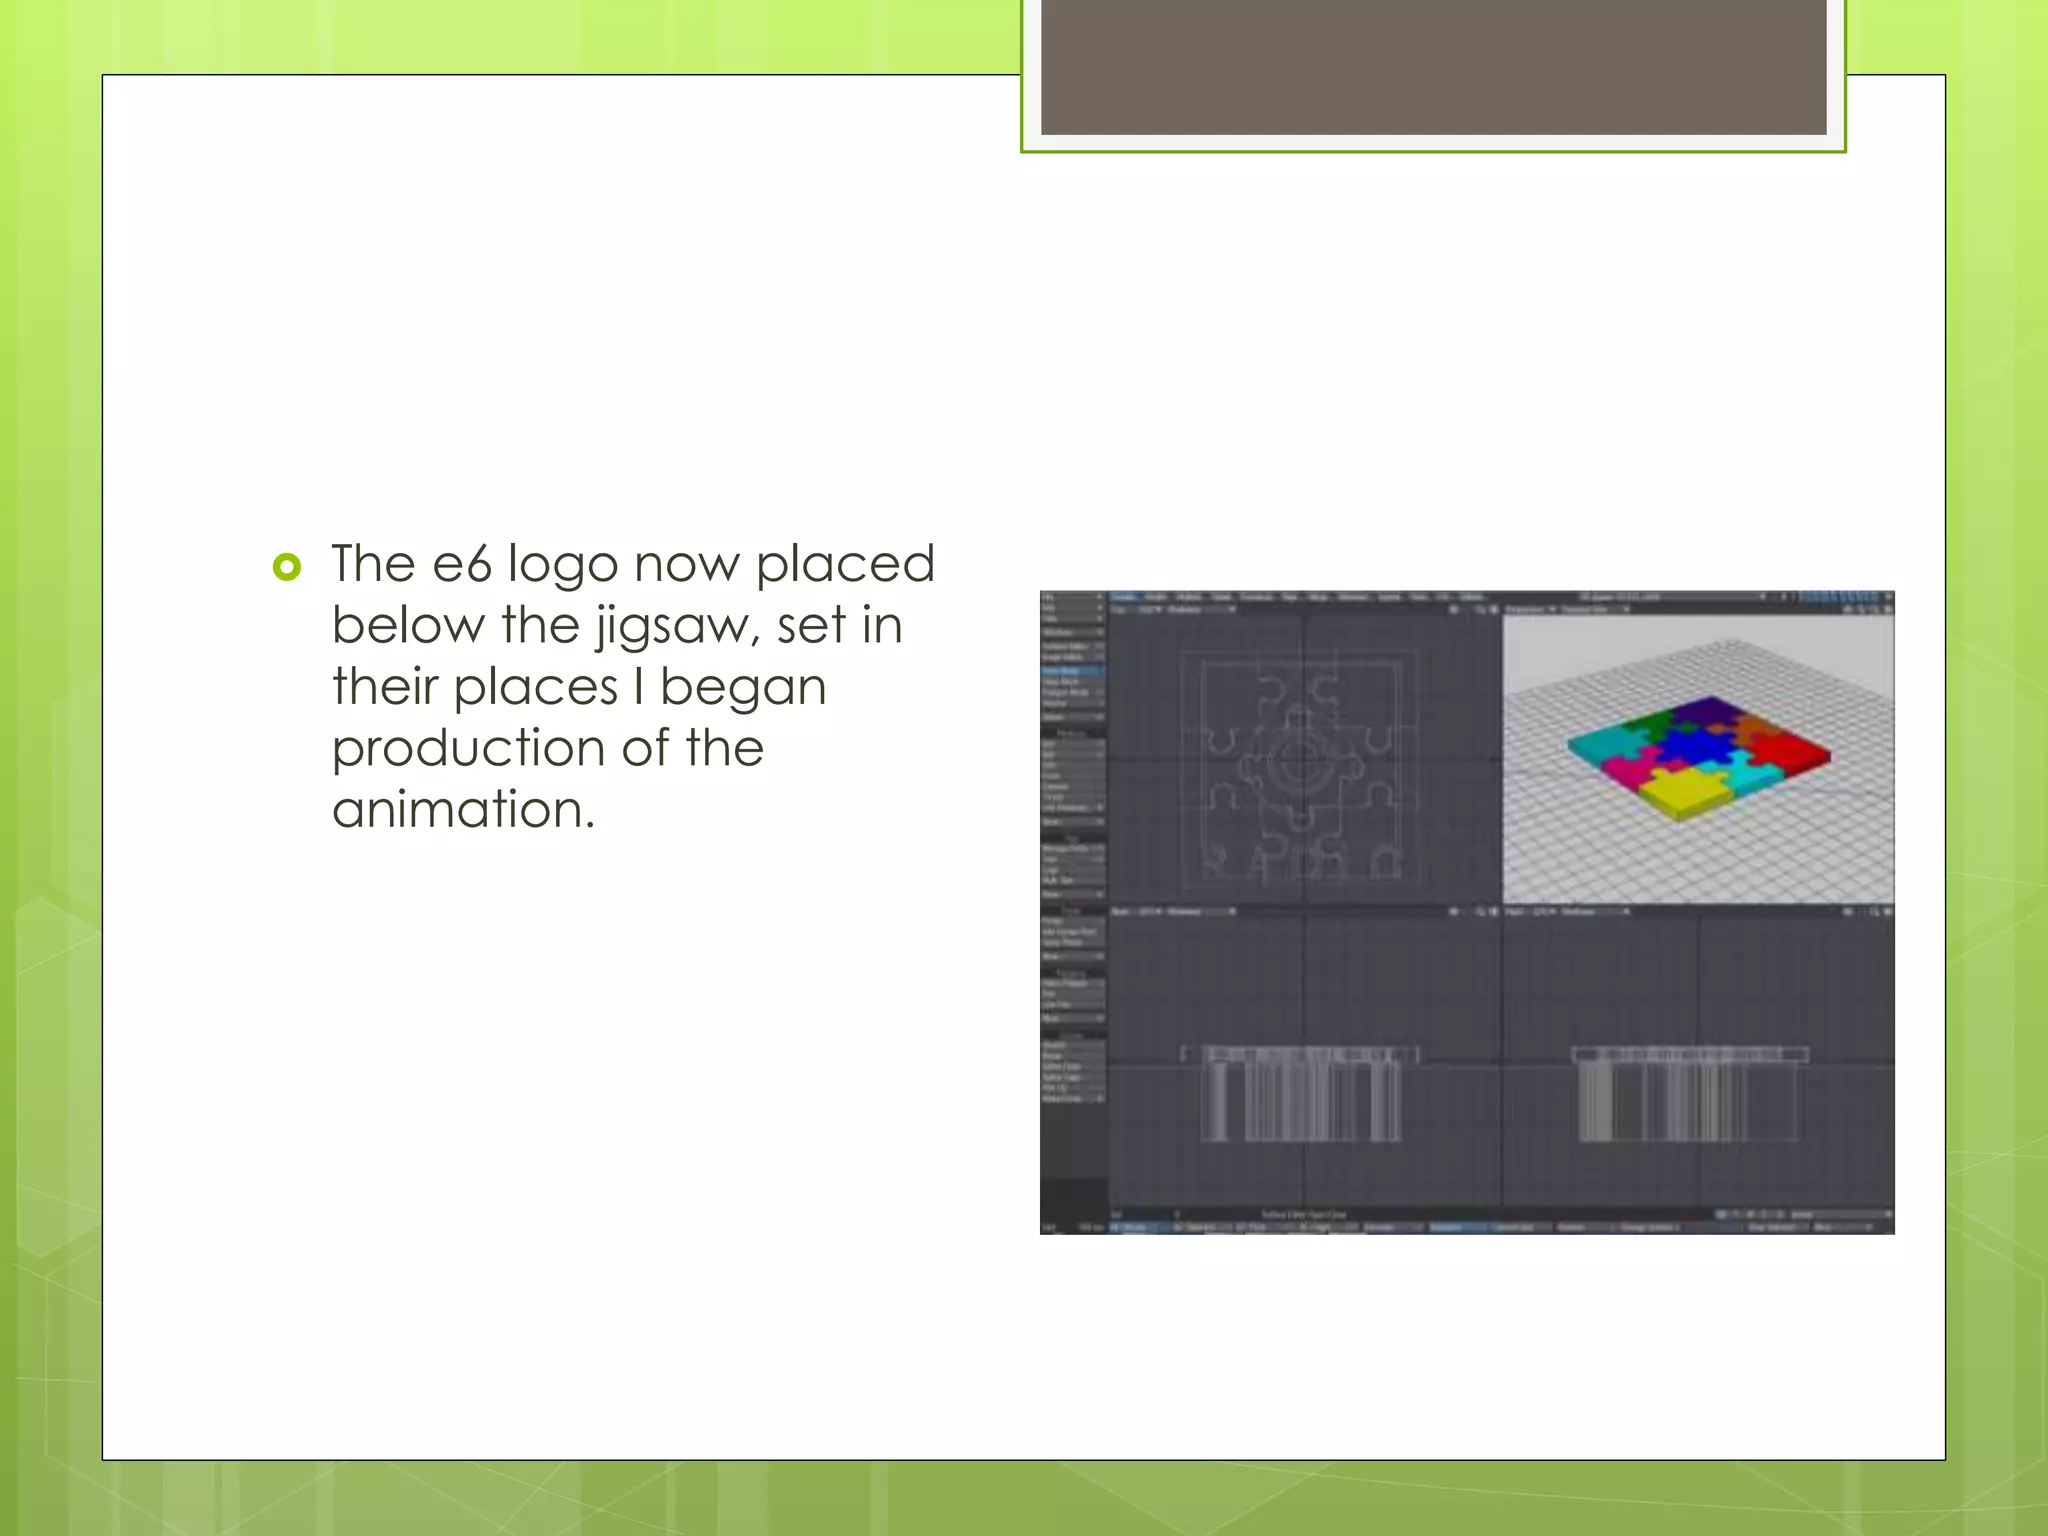
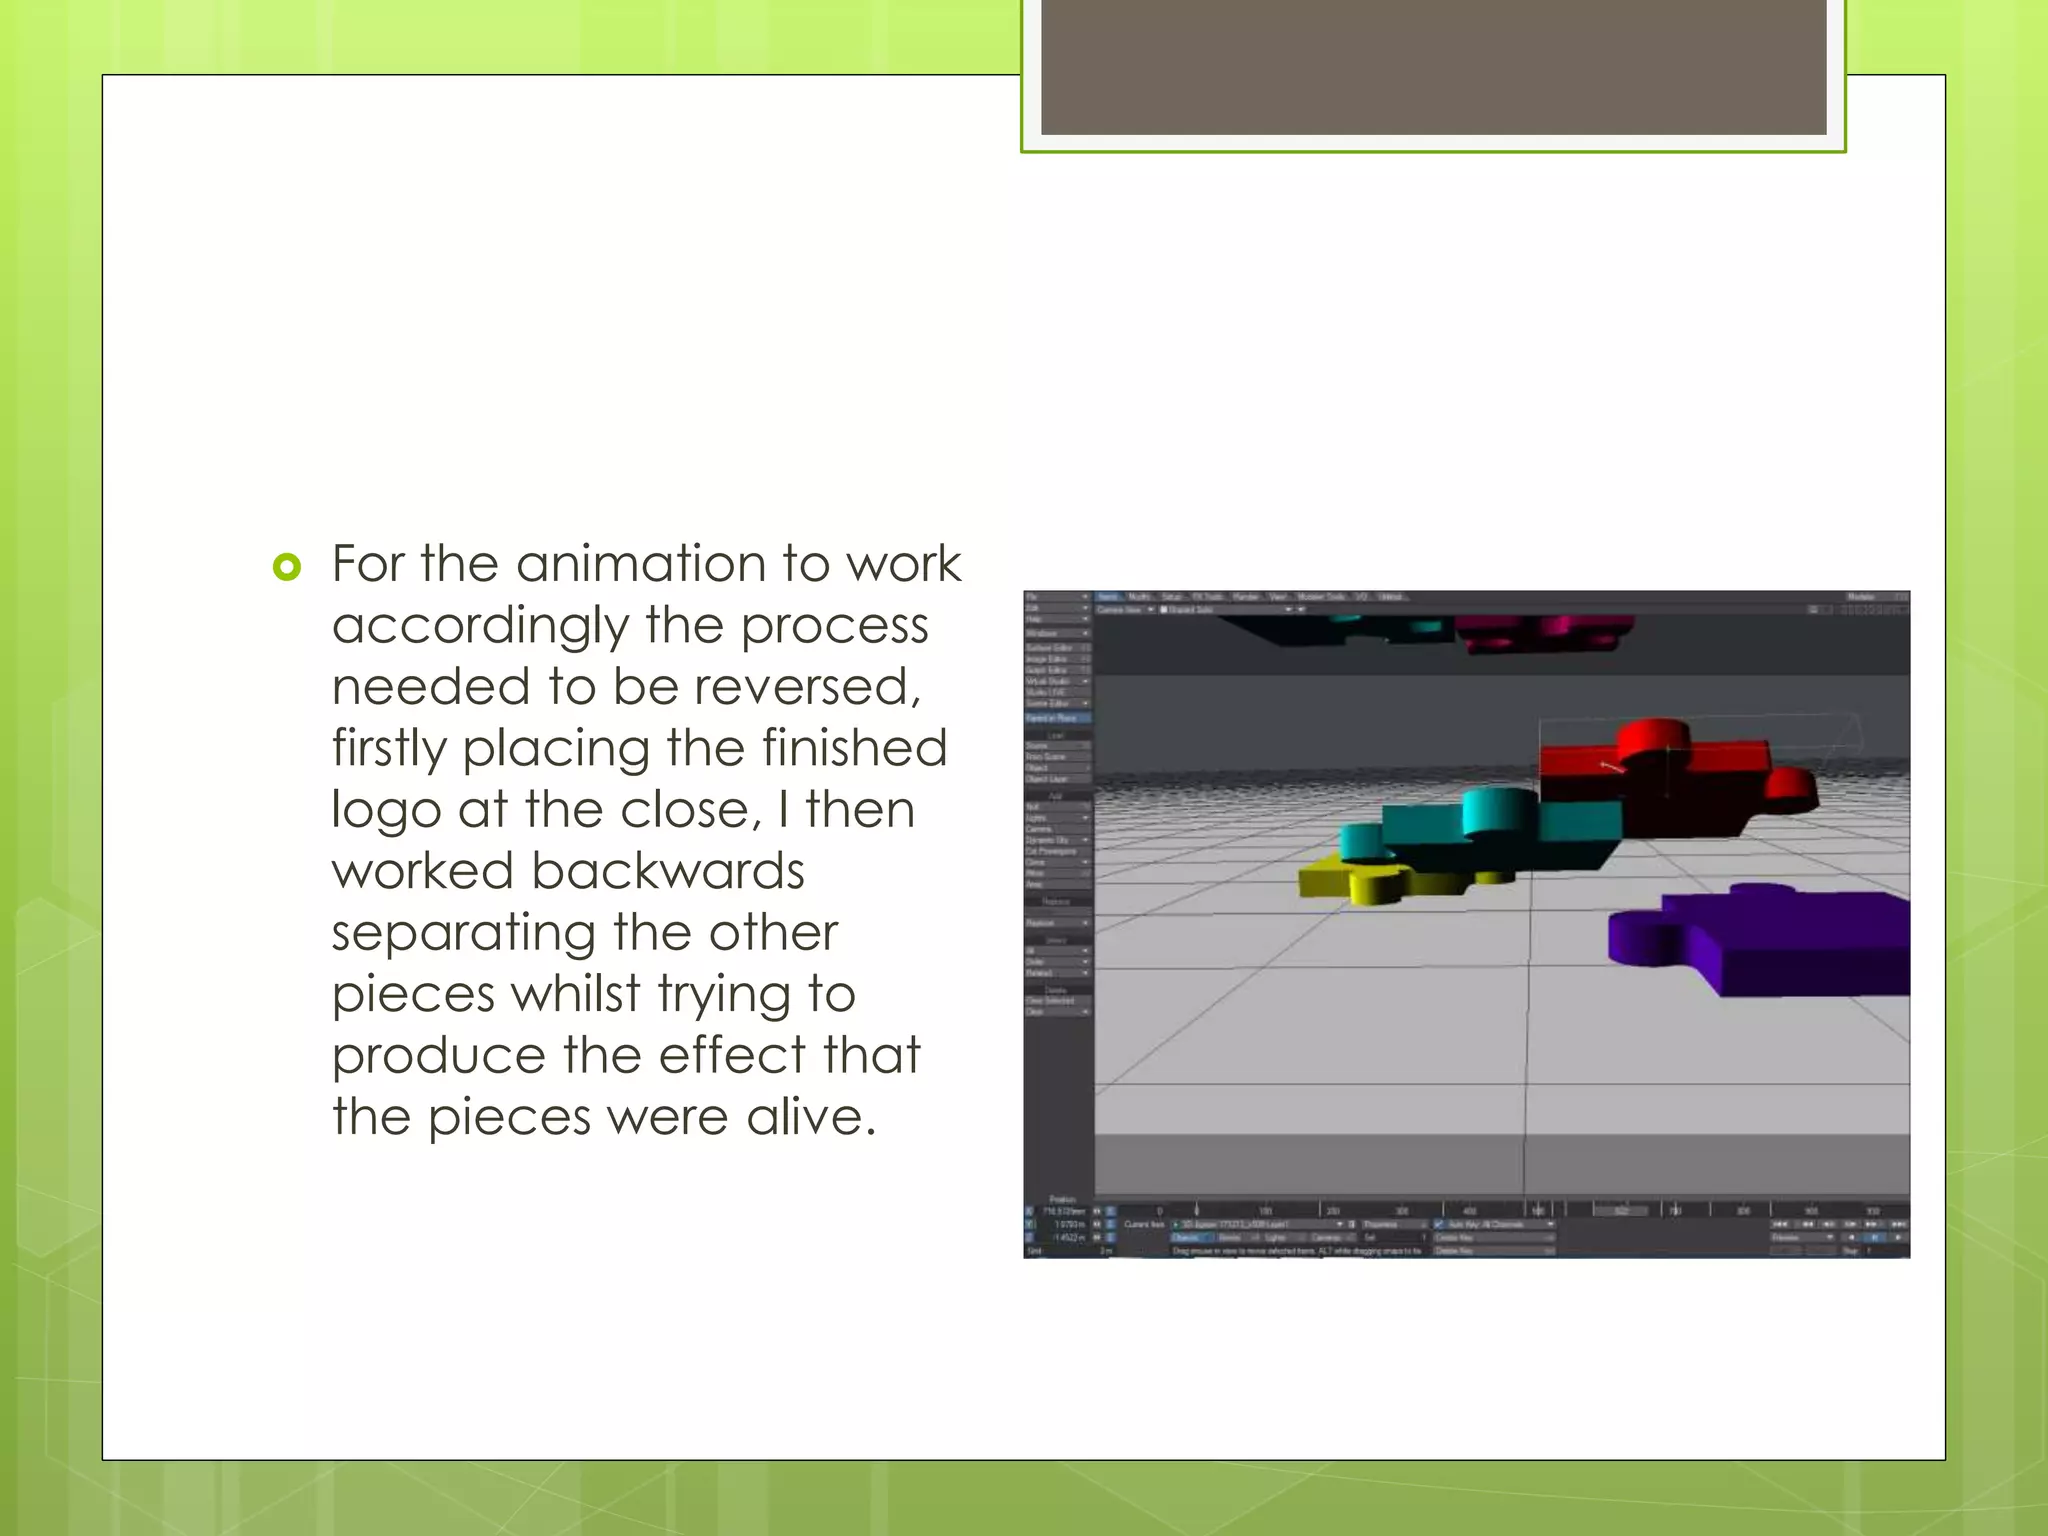
KEMBAR78
Unit 67 Task 6 | PPTX
Unit 67 Task 6
Nathan West
 After generating a wide
range of ideas for my
animation I came to a
standstill and chose the
jigsaw approach only
with a twist.
 The first stage of
production was creating
the 2D Base which I
could then manipulate in
lightwave to produce my
animation.
 For this stage I used
Adobe’s illustrator
software.
17/12/13
 The 2D base now placed
in modeler, I began work
on creating the 3D
object I would need to
create my animation.
 The first task at hand was
creating a simple
polygon using the 2D line
art produced in Illustrator,
to do this I simply
highlighted all the line art
and used the make
polygon option in the
polygons tab.
 The 2D Base was fairly
easy to create, in the
production of the base I
used each individual
piece to cut out the
others, resulting in 9
separate jigsaw pieces
which then allowed me
to get to work with the 3D
Model.
 The tools needed to
create the 2D Base were
the pen, selection, cut
and paste tools.
 Once the Polygon
created my next phase
was to create my 3D
object, for this stage I
used the Modify-Extrude
tool for this point
because the jigsaw did
not require any smooth
edges, for this reason I
chose simple extrusion
over the bevel tool.
 Most pieces now
individually sectioned off,
extruded and surfaced,
the next stage was to
repeat this process
several more times to
produce my finished 3D
model.
 Each piece now given it’s
own layer, surface and
placed alongside the
other, my final act in
modeler was pivoting
each layer for rotation, so
the Jigsaw was available
for further use in layout,
the next step would be
bringing in the final 3d
model with the e6 logo
which would appear in
the animation.
 The Jigsaw now prepped
for layout, the final
addition to the animation
needed to be loaded up
and placed beside the
jigsaw.
 The e6 logo now placed
below the jigsaw, set in
their places I began
production of the
animation.
 For the animation to work
accordingly the process
needed to be reversed,
firstly placing the finished
logo at the close, I then
worked backwards
separating the other
pieces whilst trying to
produce the effect that
the pieces were alive.
 In order for the pieces I
needed to add a form of
movement or growth, for
this reason I chose a few
individual pieces and
within a point on the
timeline stretched and
squashed the pieces, this
would then display the
effect that the piece
grew in size and
physically collided with
one another.
 The pieces now
formed and playing
parts at their chosen
points in time, I now
finished putting in the
finishing touches such
as twisting and
collapsing before
returning to the
animation to begin
work on the final
stage for
presentation.

Unit 67 Task 6

  • 1.
    Unit 67 Task6 Nathan West
  • 2.
     After generatinga wide range of ideas for my animation I came to a standstill and chose the jigsaw approach only with a twist.  The first stage of production was creating the 2D Base which I could then manipulate in lightwave to produce my animation.  For this stage I used Adobe’s illustrator software. 17/12/13
  • 3.
     The 2Dbase now placed in modeler, I began work on creating the 3D object I would need to create my animation.  The first task at hand was creating a simple polygon using the 2D line art produced in Illustrator, to do this I simply highlighted all the line art and used the make polygon option in the polygons tab.
  • 4.
     The 2DBase was fairly easy to create, in the production of the base I used each individual piece to cut out the others, resulting in 9 separate jigsaw pieces which then allowed me to get to work with the 3D Model.  The tools needed to create the 2D Base were the pen, selection, cut and paste tools.
  • 5.
     Once thePolygon created my next phase was to create my 3D object, for this stage I used the Modify-Extrude tool for this point because the jigsaw did not require any smooth edges, for this reason I chose simple extrusion over the bevel tool.
  • 6.
     Most piecesnow individually sectioned off, extruded and surfaced, the next stage was to repeat this process several more times to produce my finished 3D model.
  • 7.
     Each piecenow given it’s own layer, surface and placed alongside the other, my final act in modeler was pivoting each layer for rotation, so the Jigsaw was available for further use in layout, the next step would be bringing in the final 3d model with the e6 logo which would appear in the animation.
  • 8.
     The Jigsawnow prepped for layout, the final addition to the animation needed to be loaded up and placed beside the jigsaw.
  • 9.
     The e6logo now placed below the jigsaw, set in their places I began production of the animation.
  • 10.
     For theanimation to work accordingly the process needed to be reversed, firstly placing the finished logo at the close, I then worked backwards separating the other pieces whilst trying to produce the effect that the pieces were alive.
  • 11.
     In orderfor the pieces I needed to add a form of movement or growth, for this reason I chose a few individual pieces and within a point on the timeline stretched and squashed the pieces, this would then display the effect that the piece grew in size and physically collided with one another.
  • 12.
     The piecesnow formed and playing parts at their chosen points in time, I now finished putting in the finishing touches such as twisting and collapsing before returning to the animation to begin work on the final stage for presentation.