Downloaded 421 times


The document introduces Arduino and Raspberry Pi for internet of things applications. It discusses the basics of both platforms, including components, programming, and interfacing with sensors and actuators. It provides examples of blinking LEDs, reading button input, and controlling an LED based on light level. Finally, it compares Arduino and Raspberry Pi, concluding they are best used together to take advantage of their complementary capabilities.
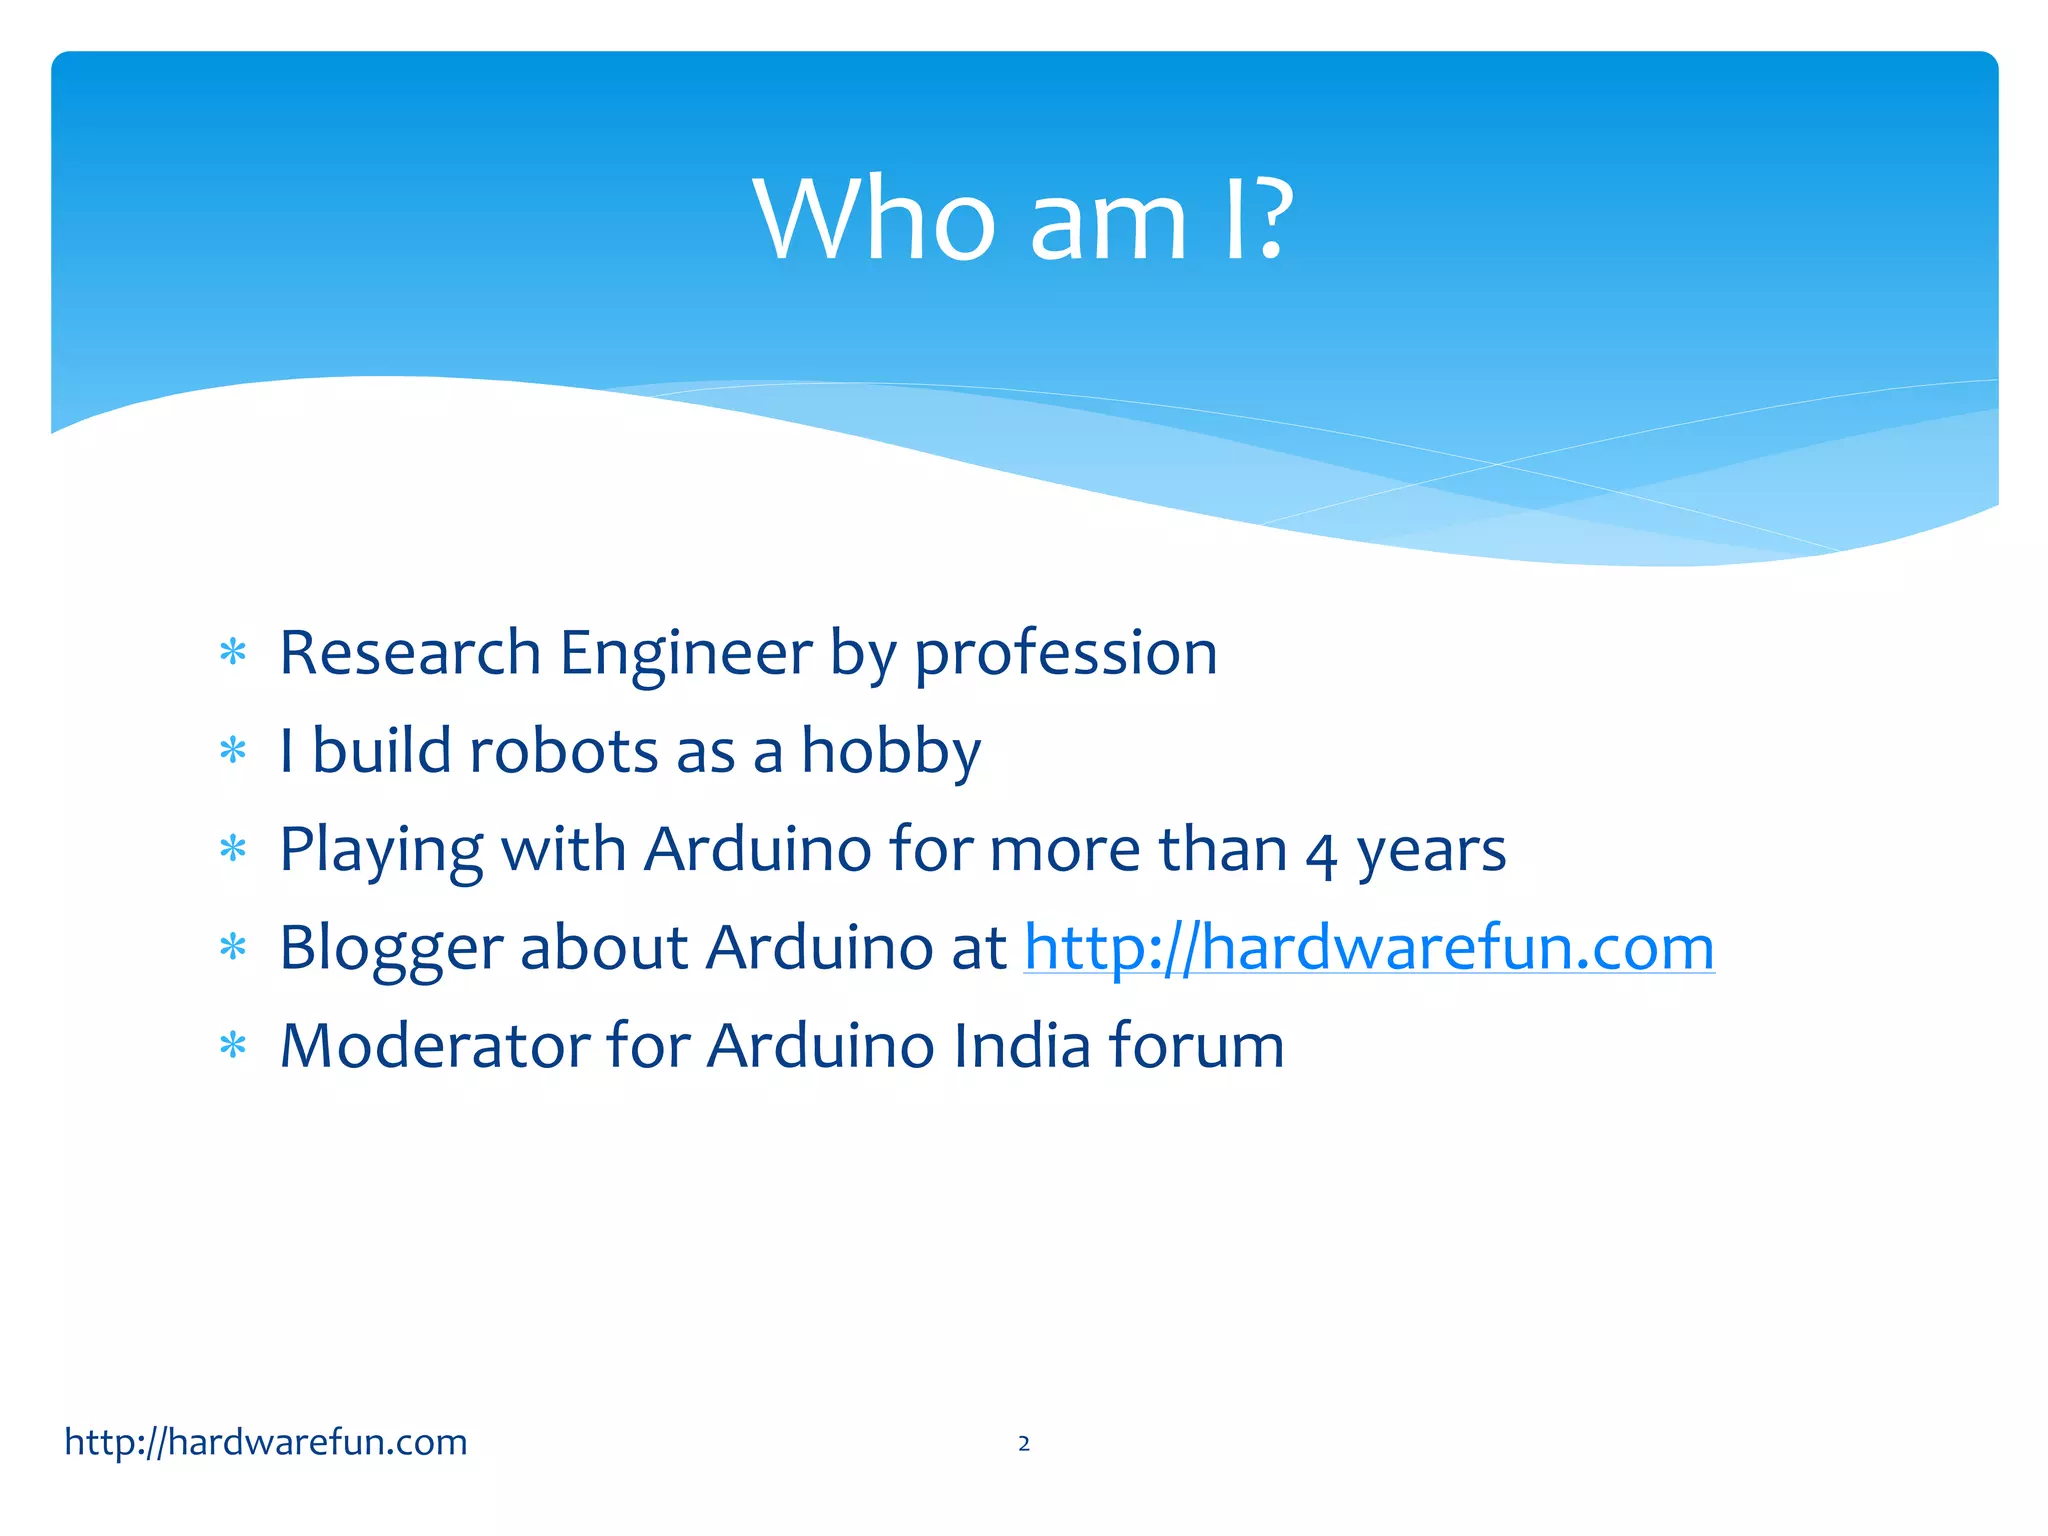
Presentation by Sudar Muthu introducing the Internet of Things (IoT) using Arduino and Raspberry Pi.
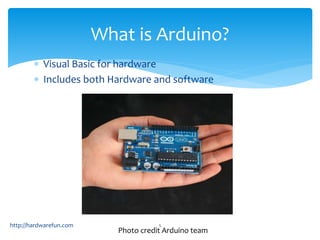
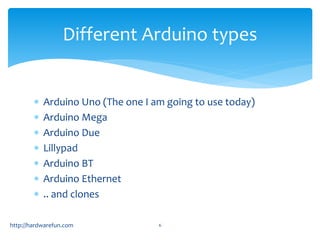
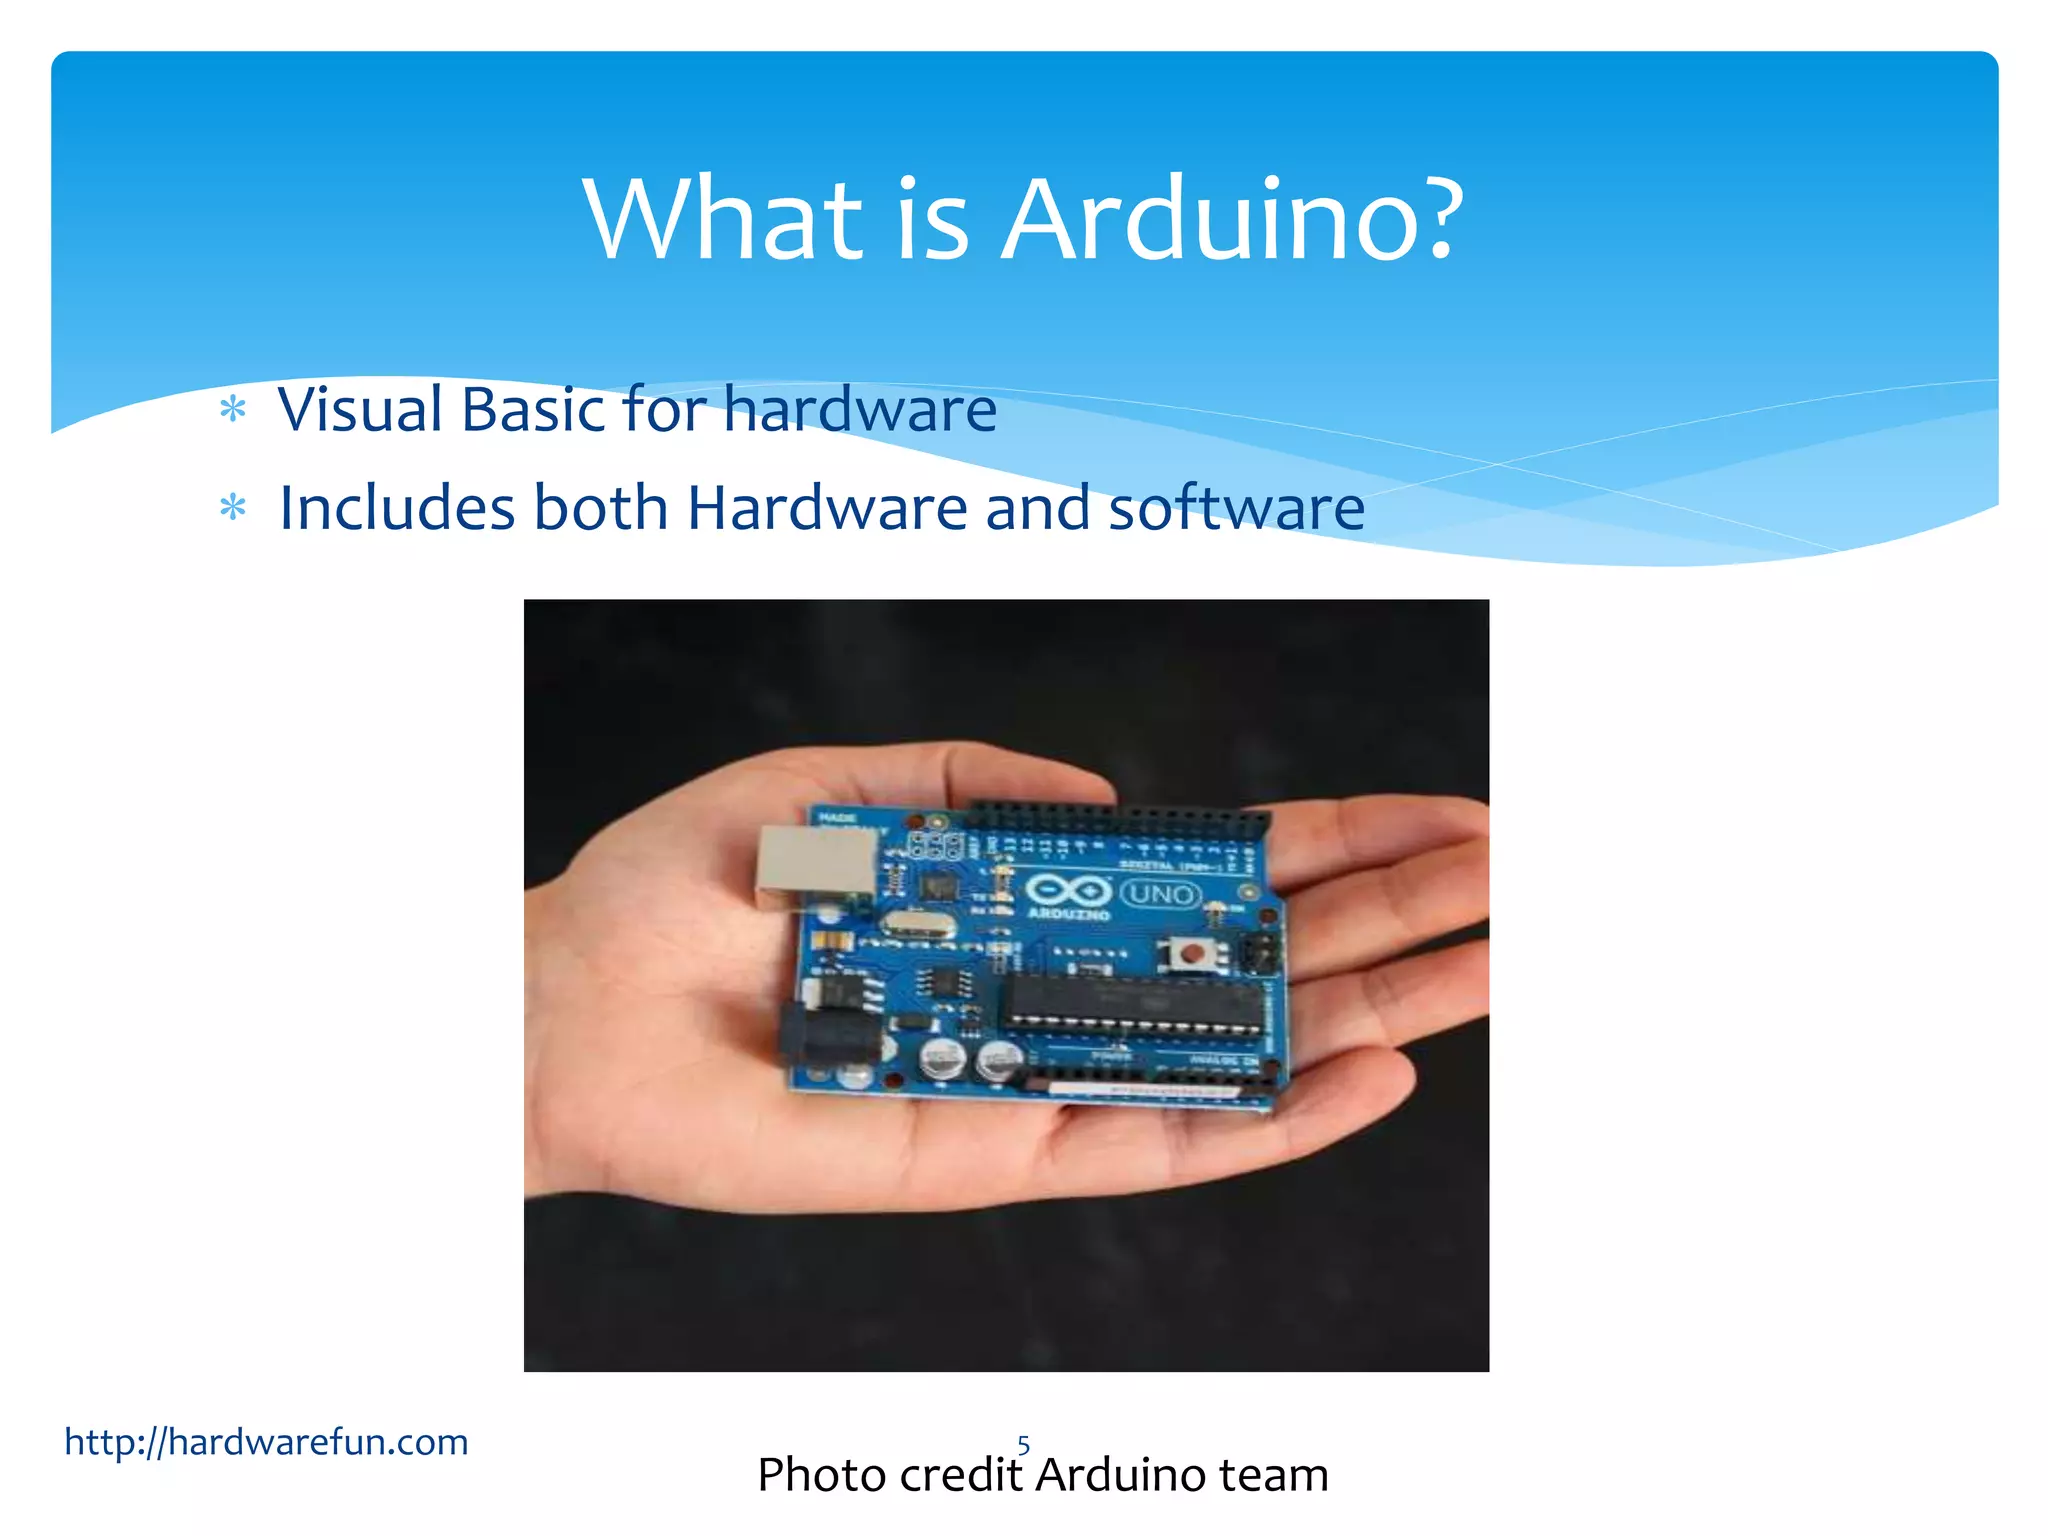
Detailed description and types of Arduino boards, including Uno, Mega, and important components.
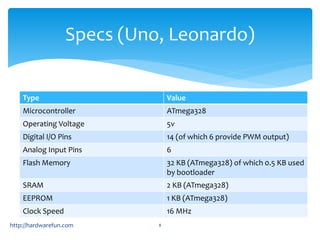
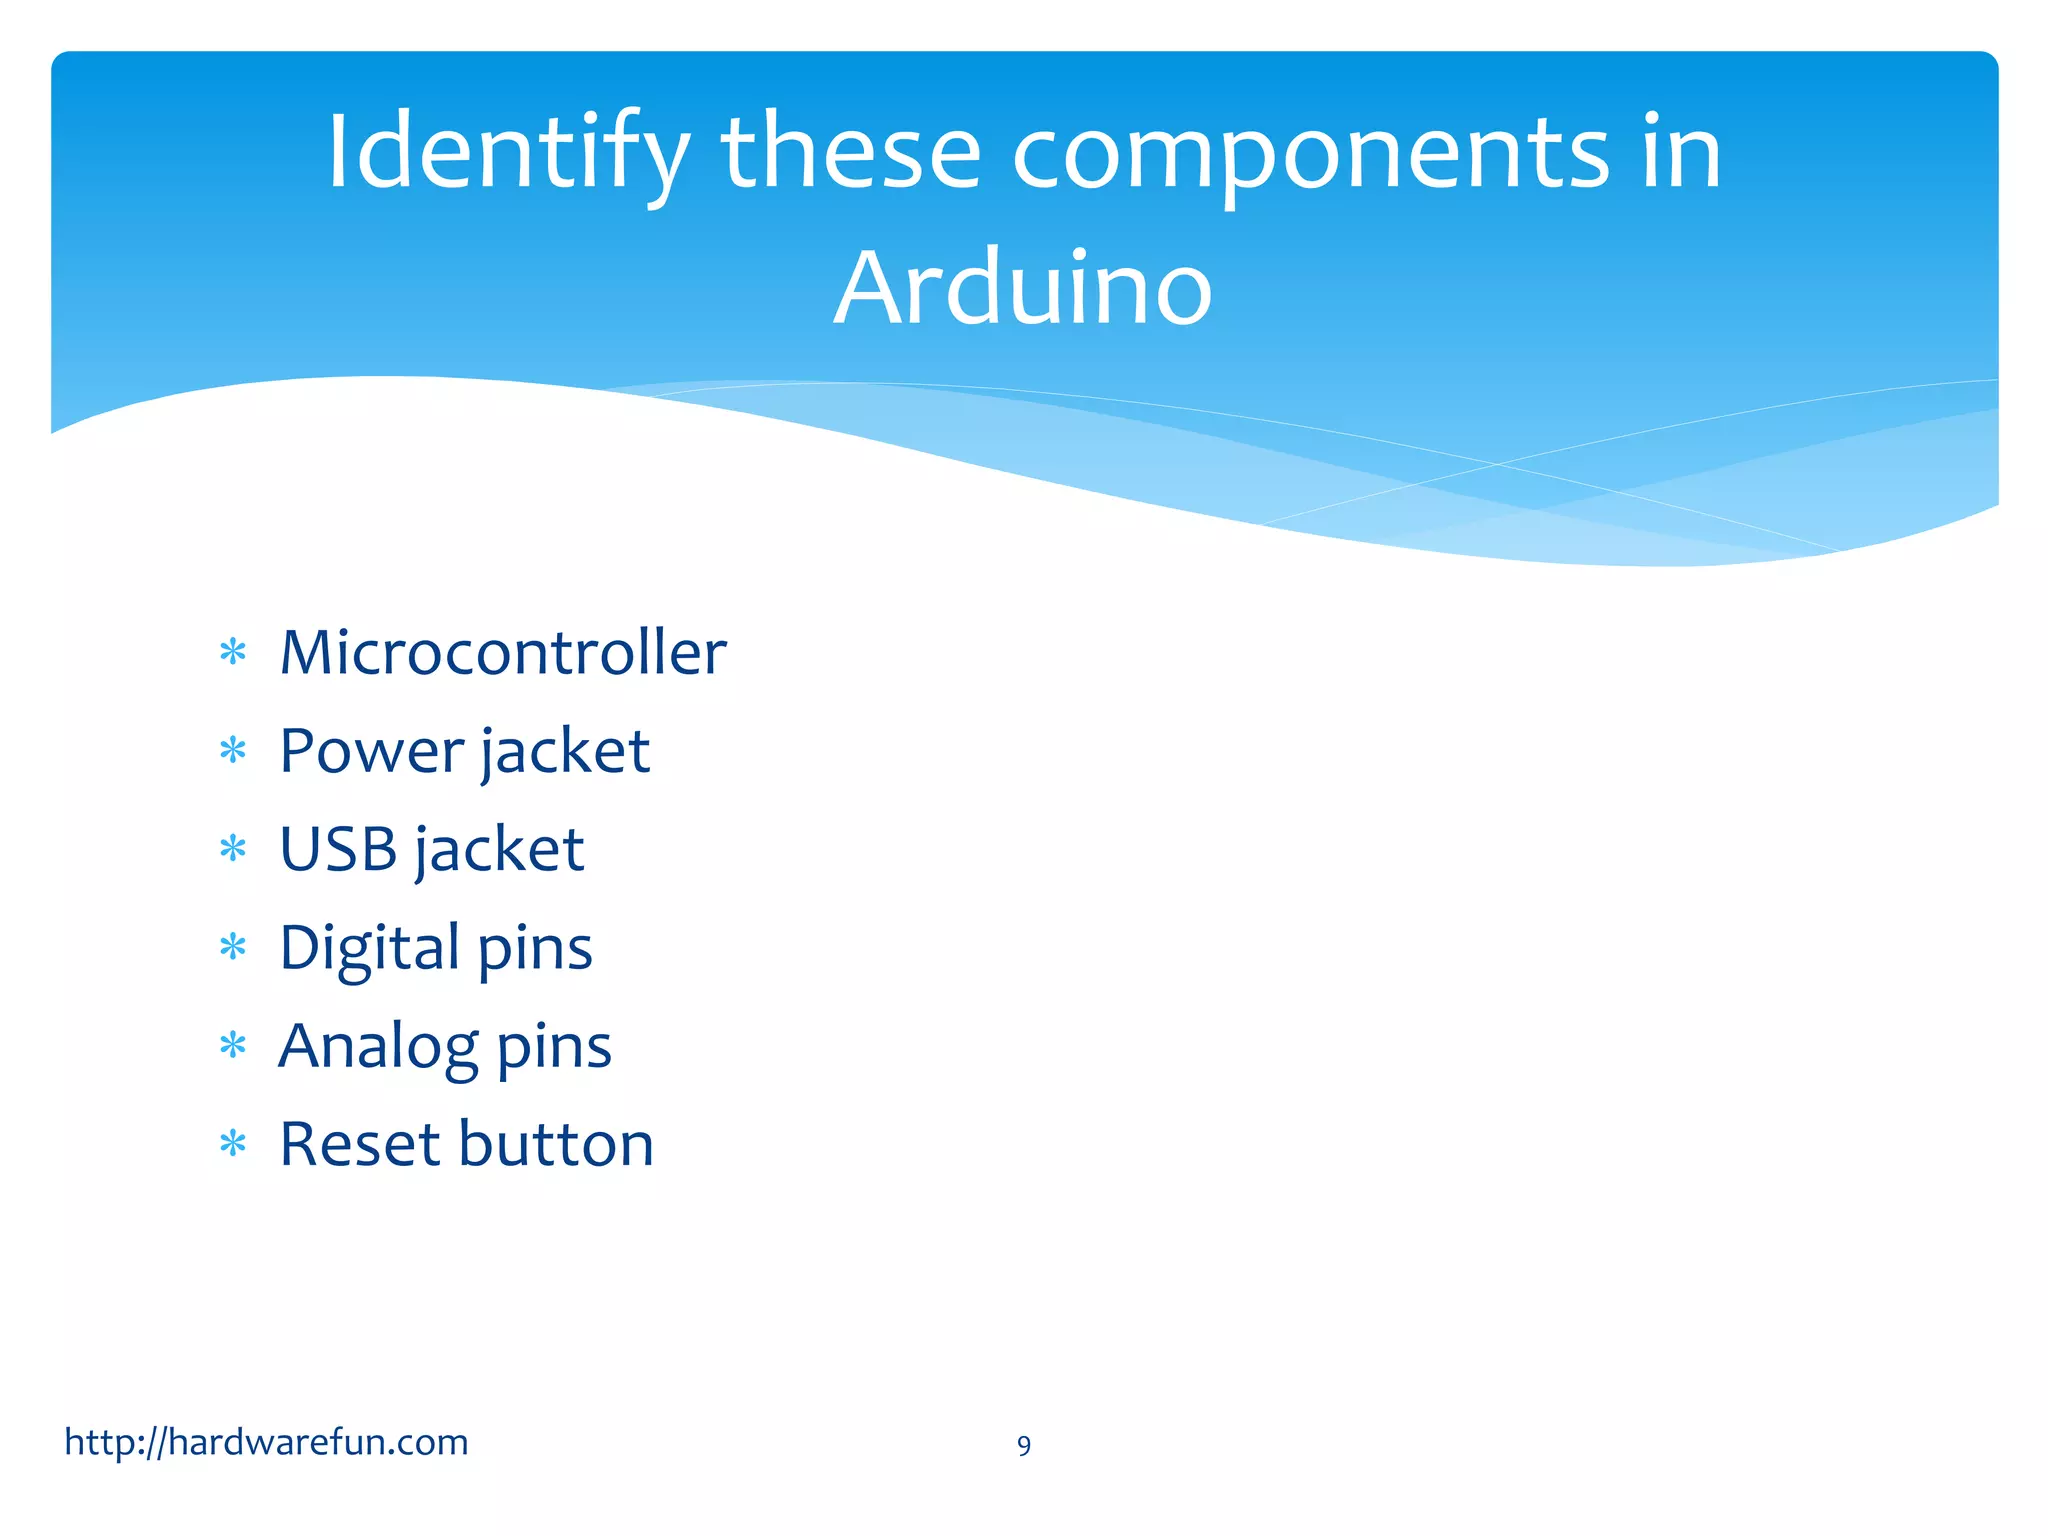
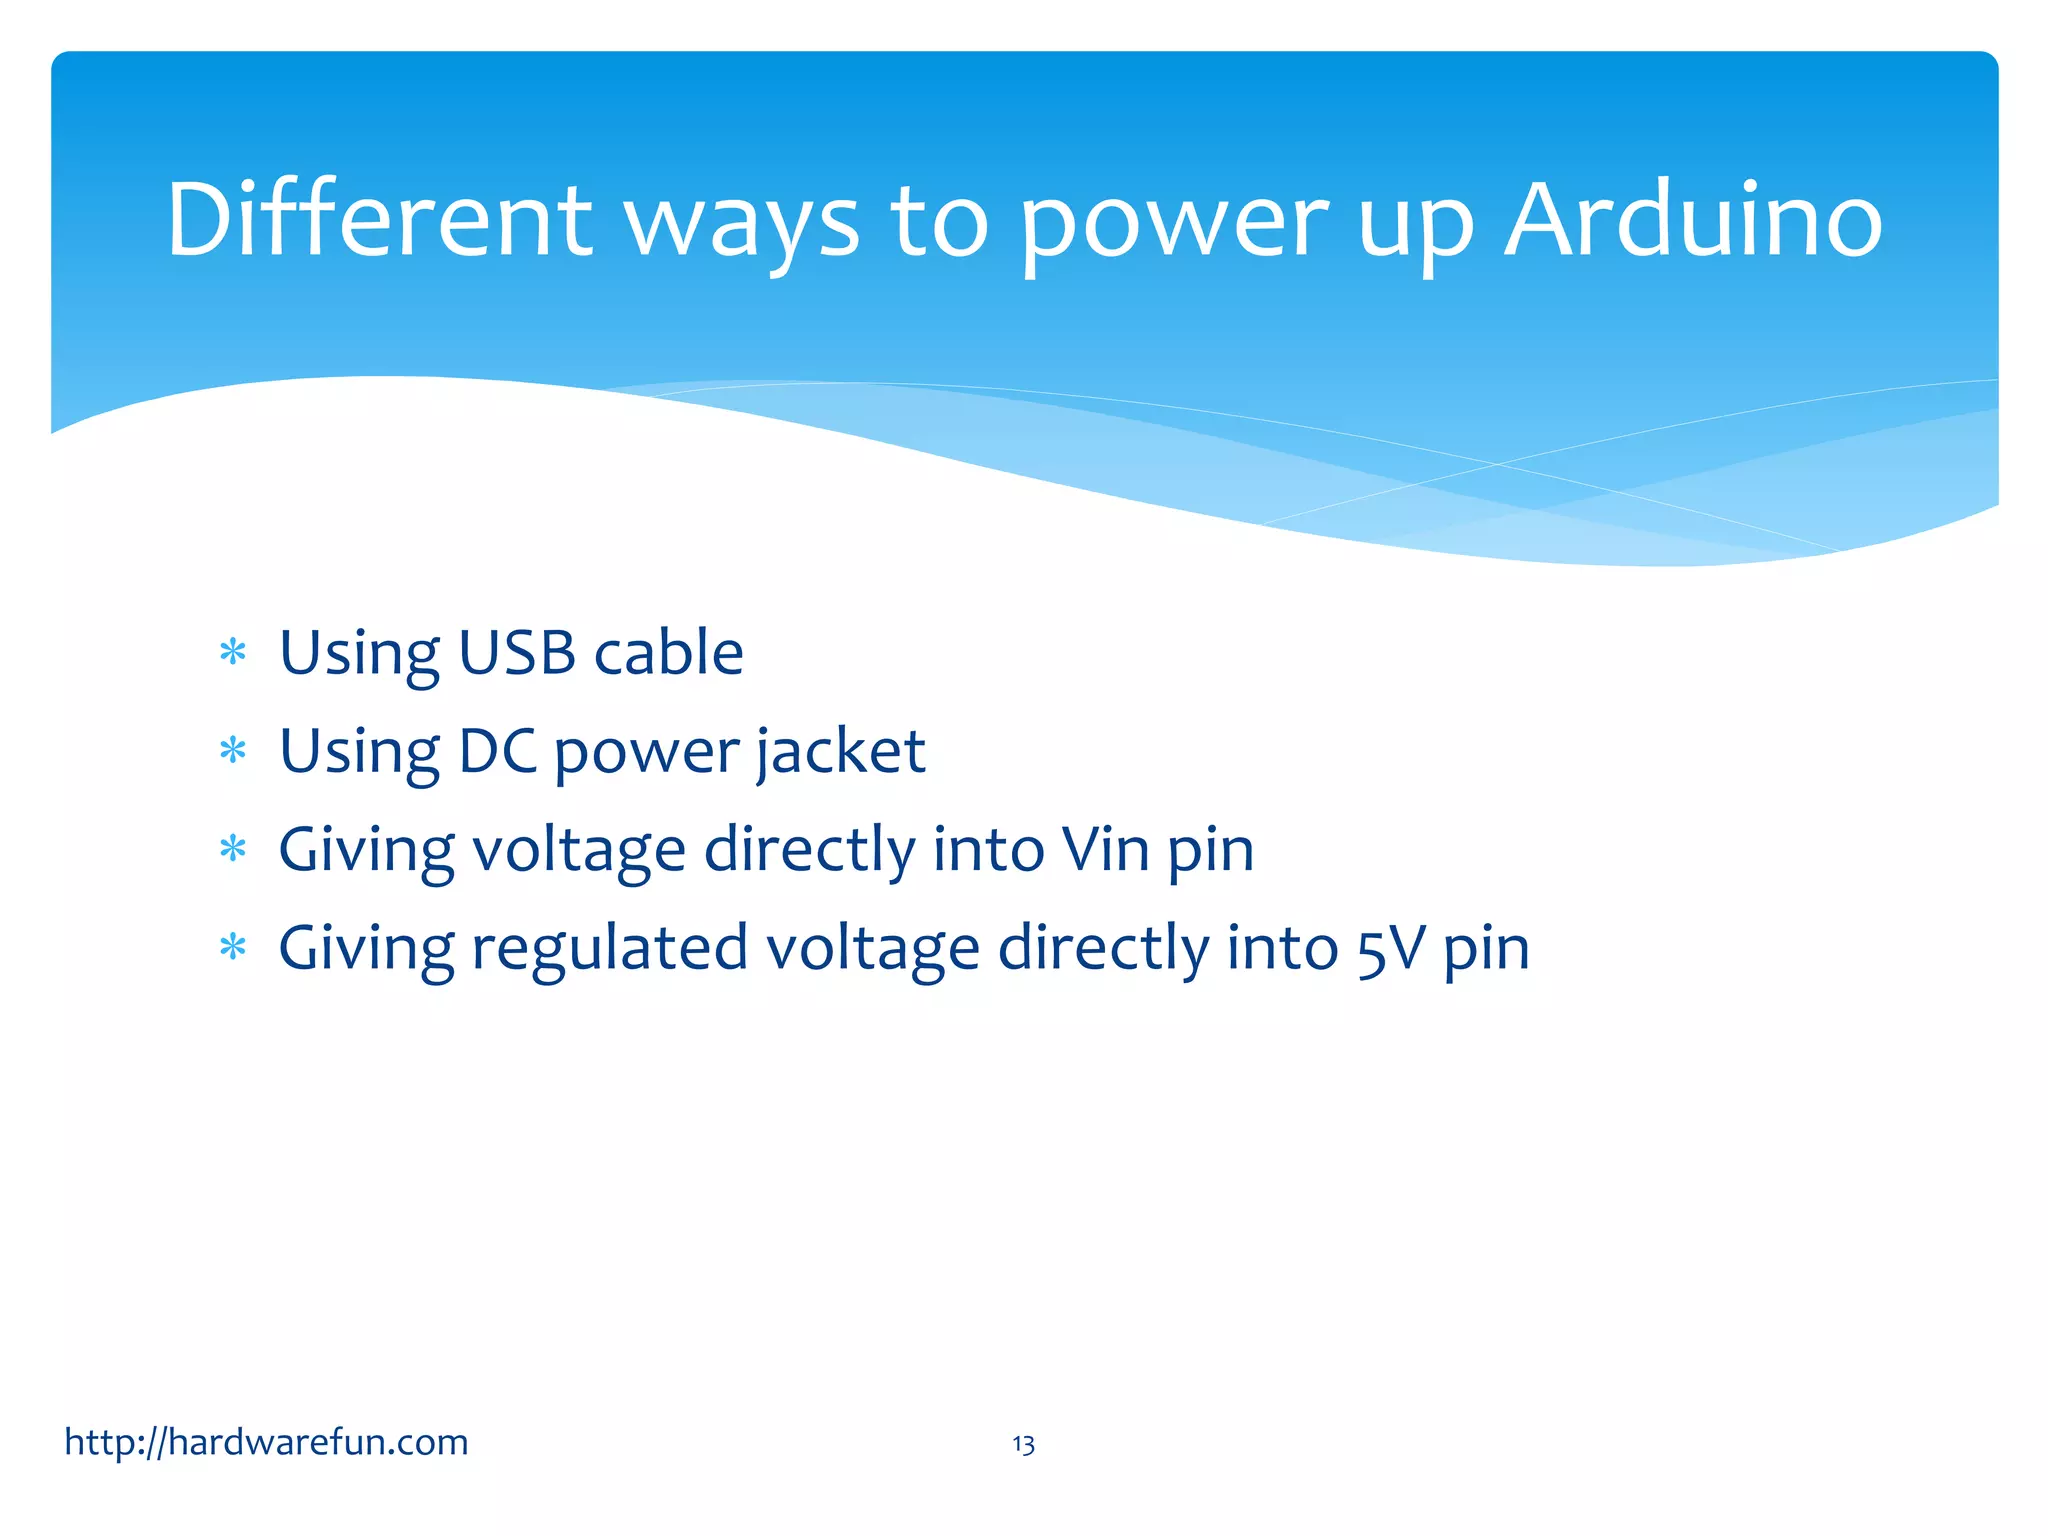
Identifying components of Arduino and specs like operating voltage, input pins, and setup process.
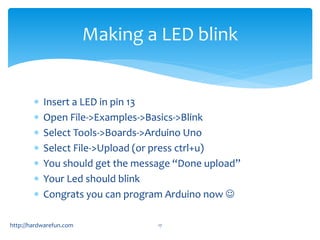
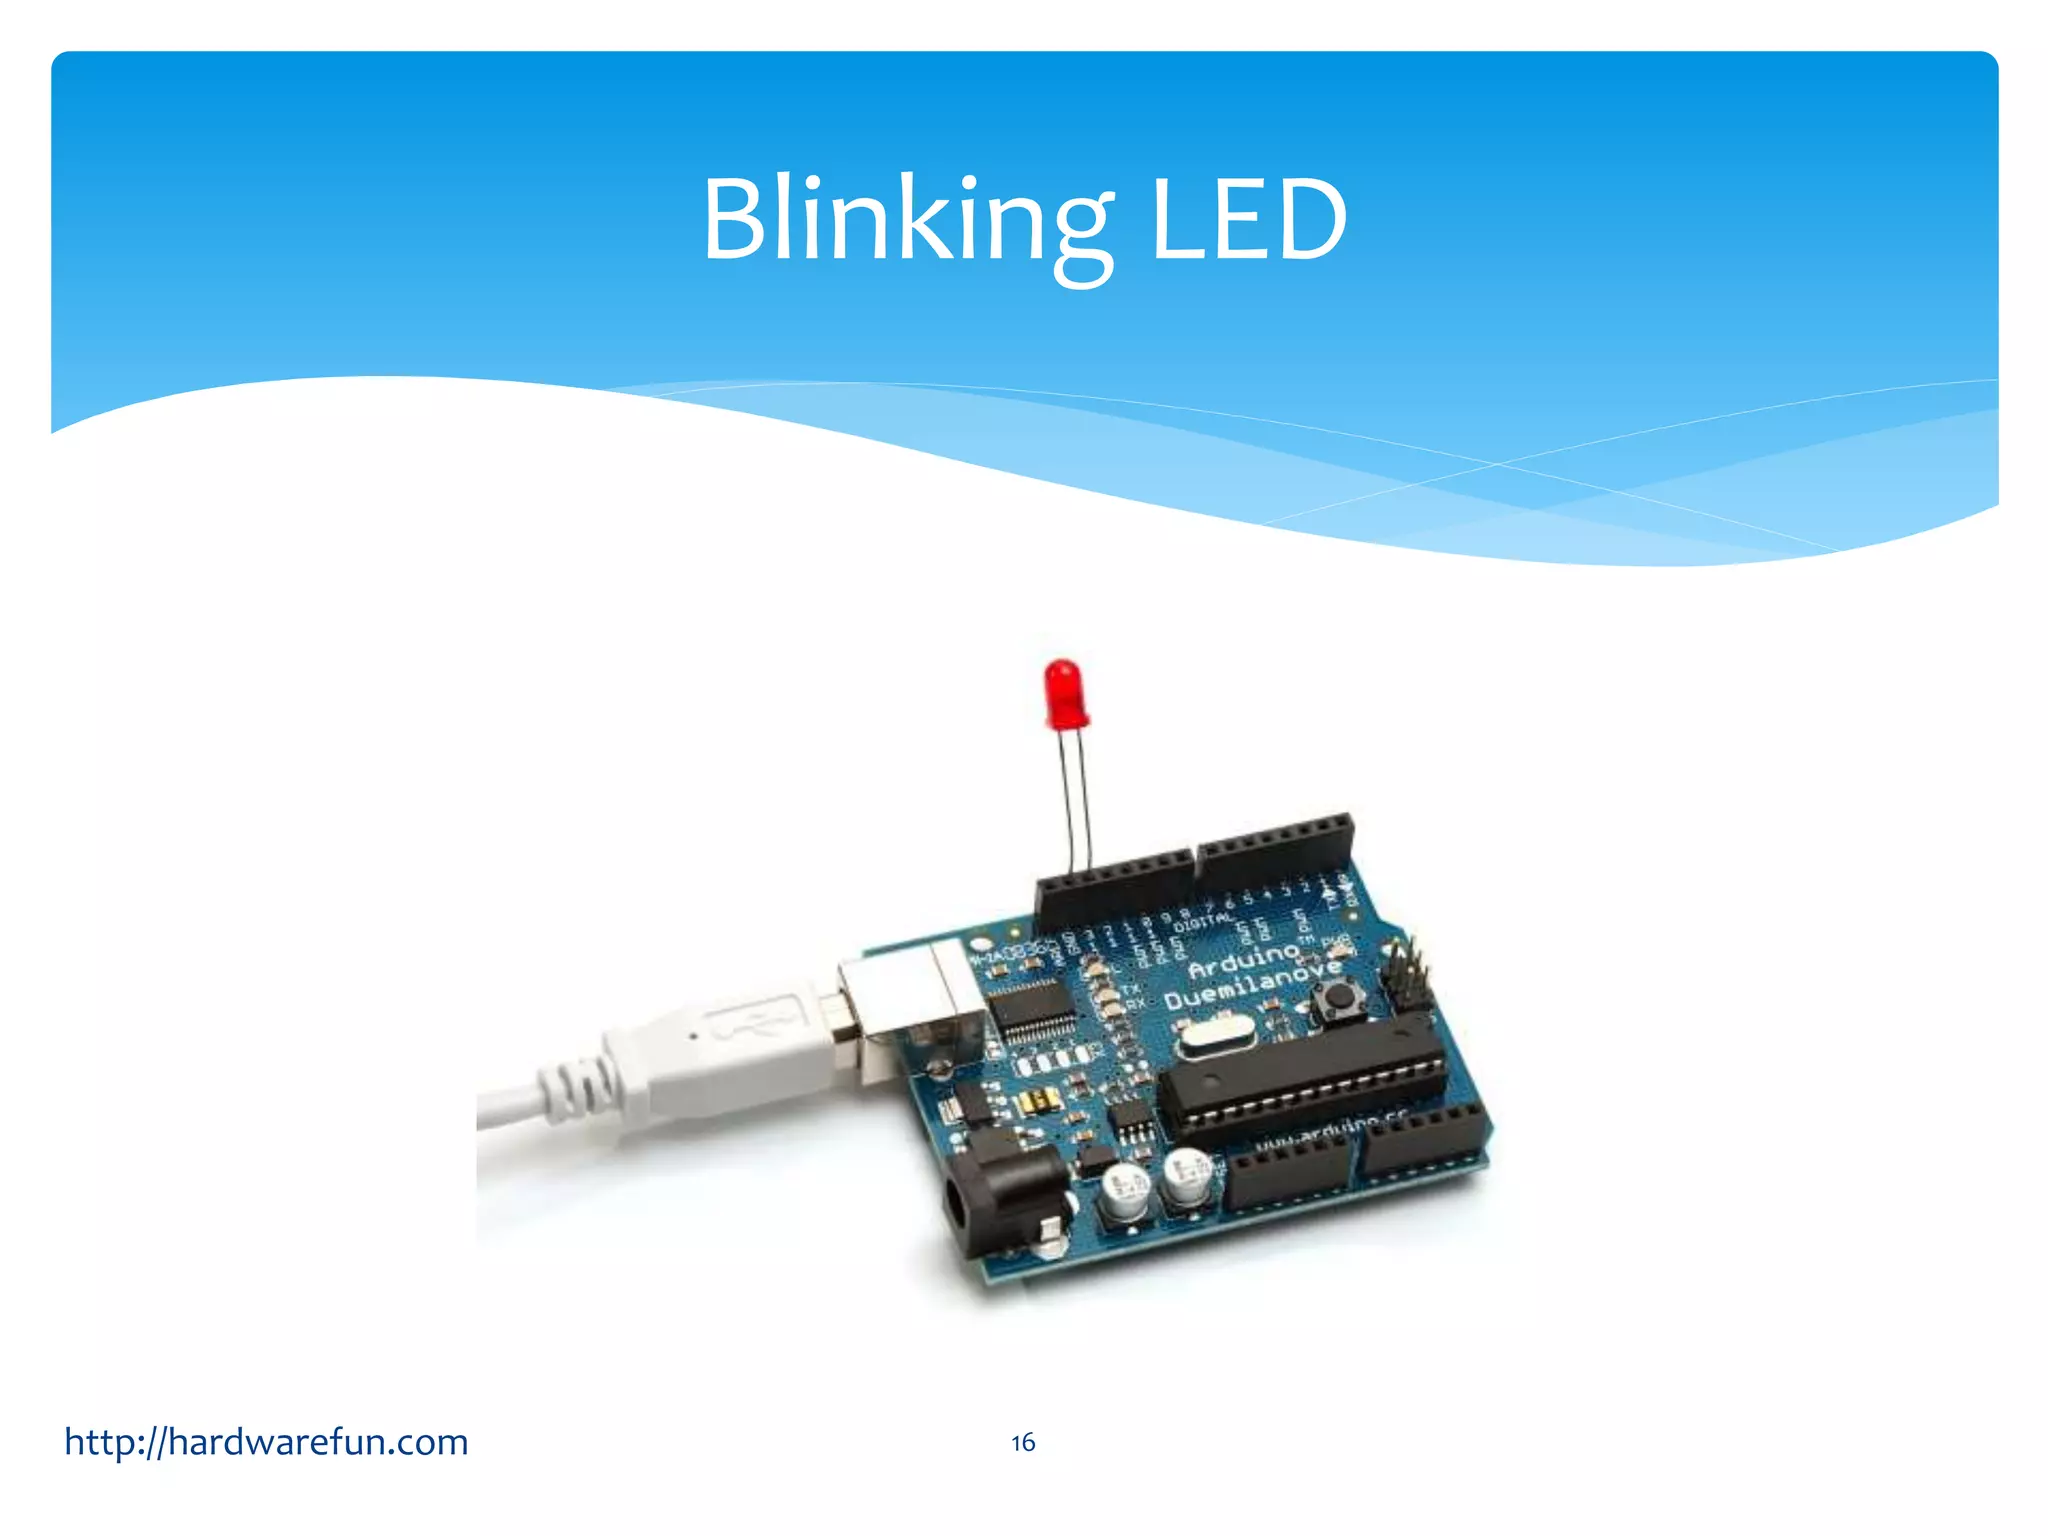
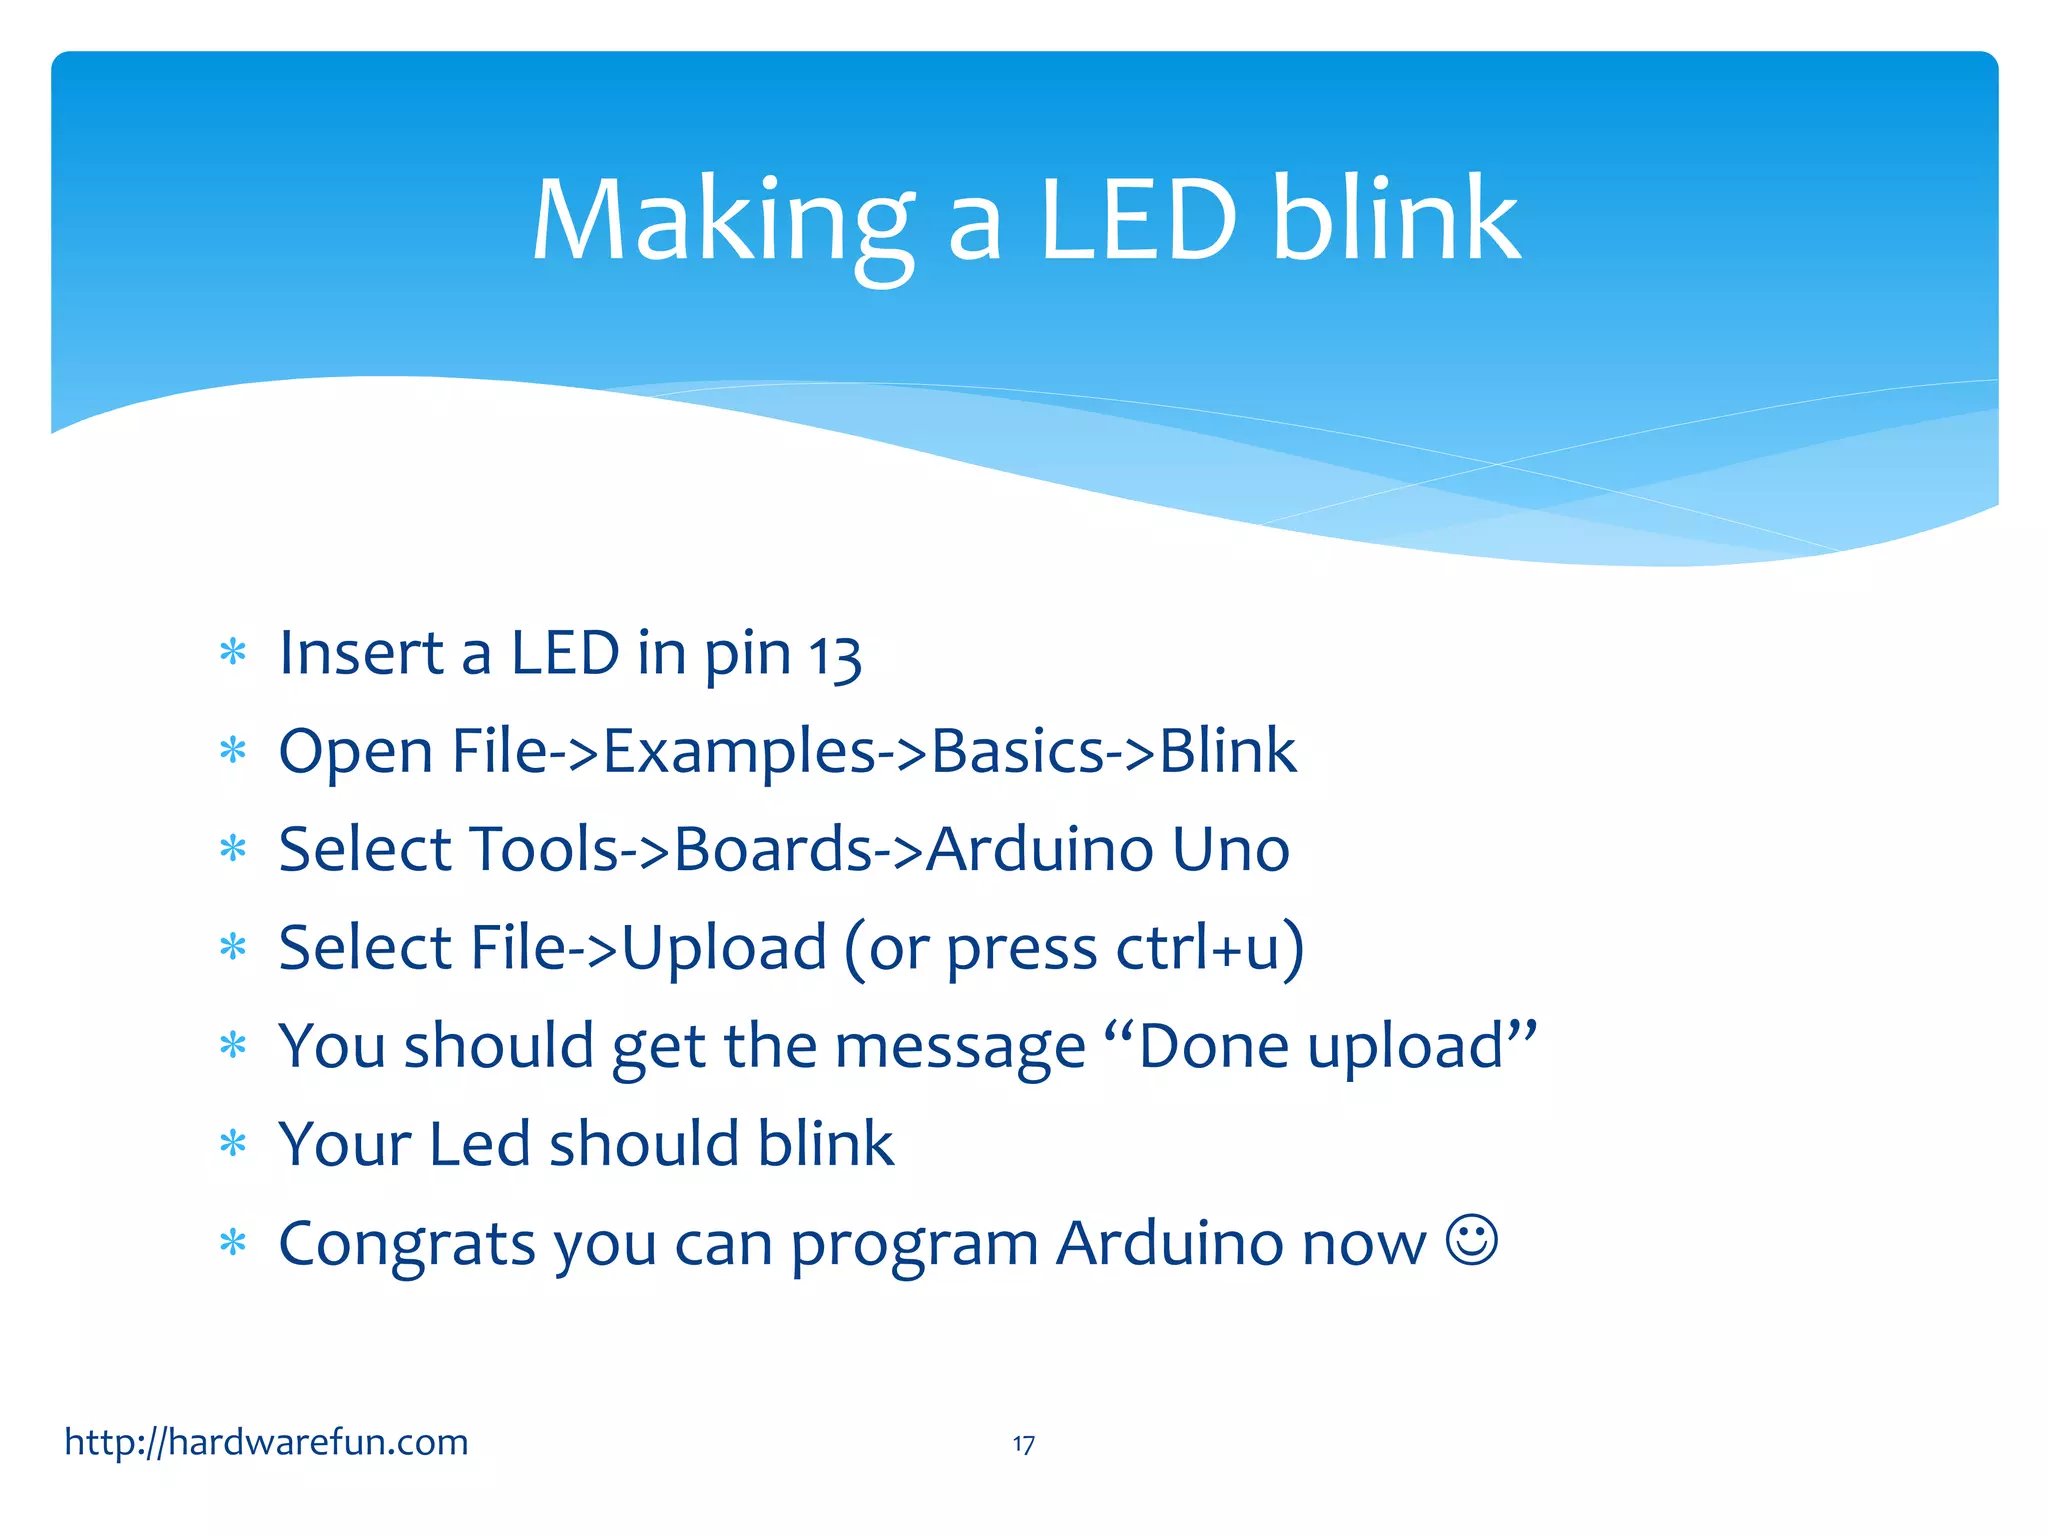
Creating a simple program to blink an LED, understanding basic sketch anatomy, and serial communication.
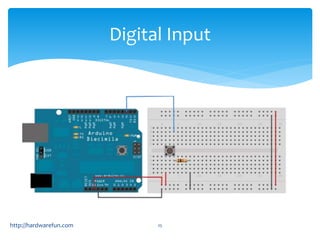
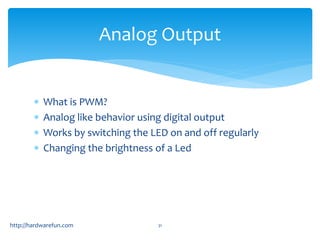
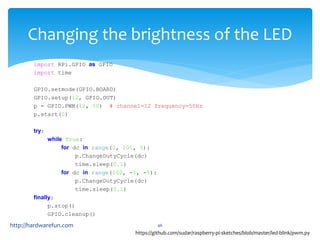
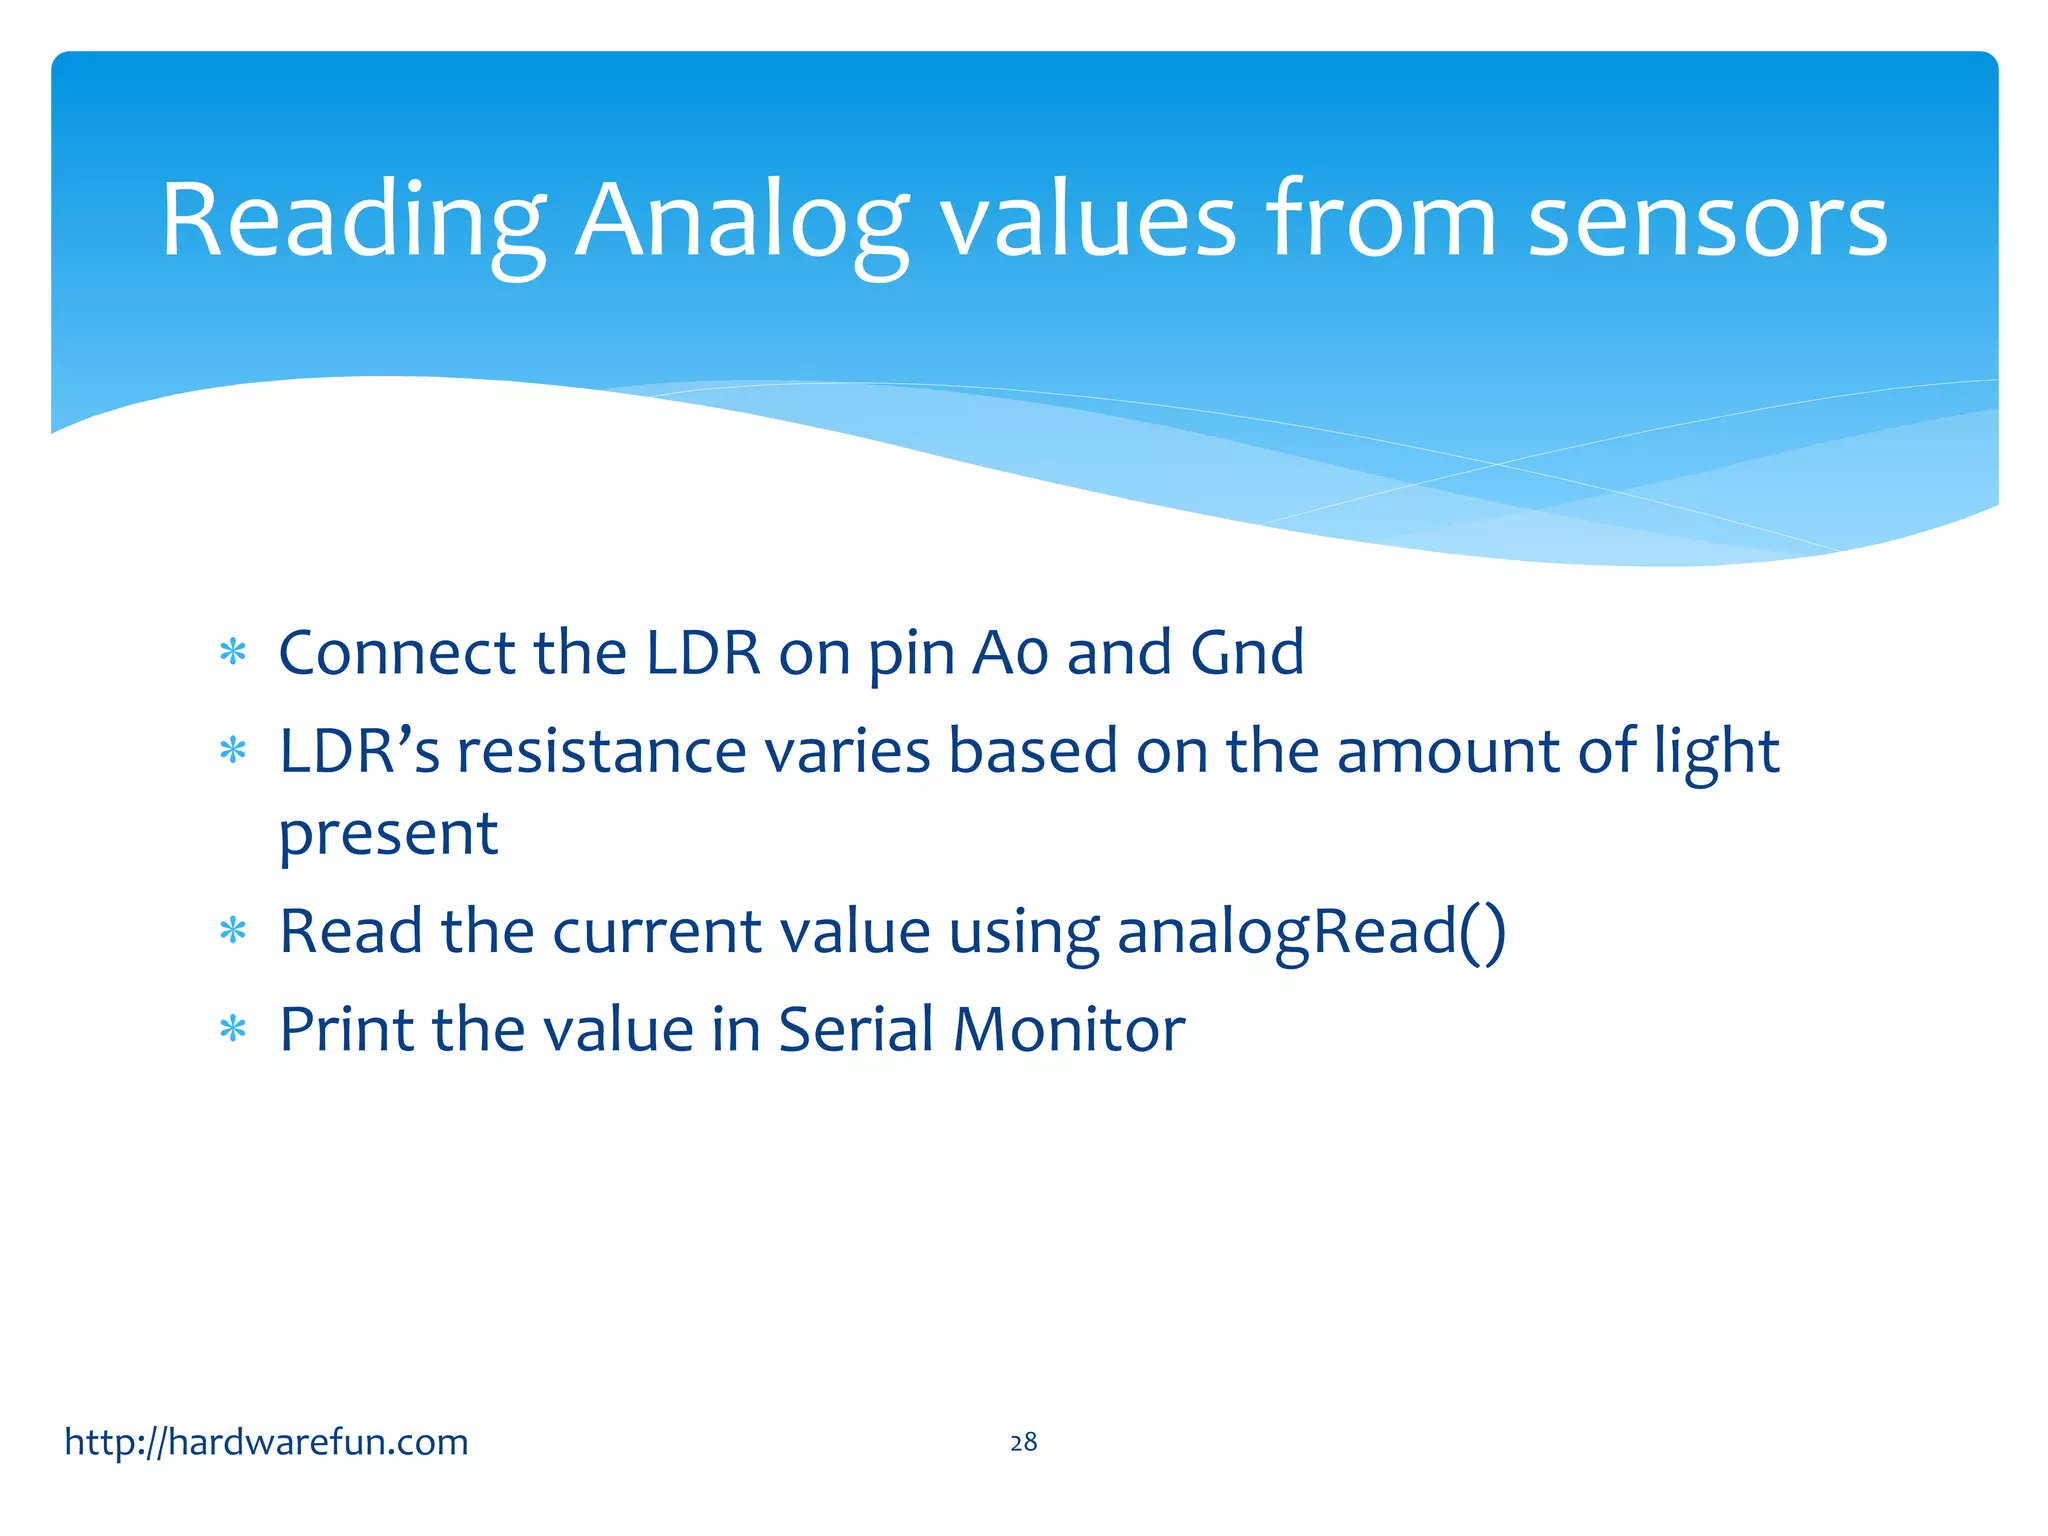
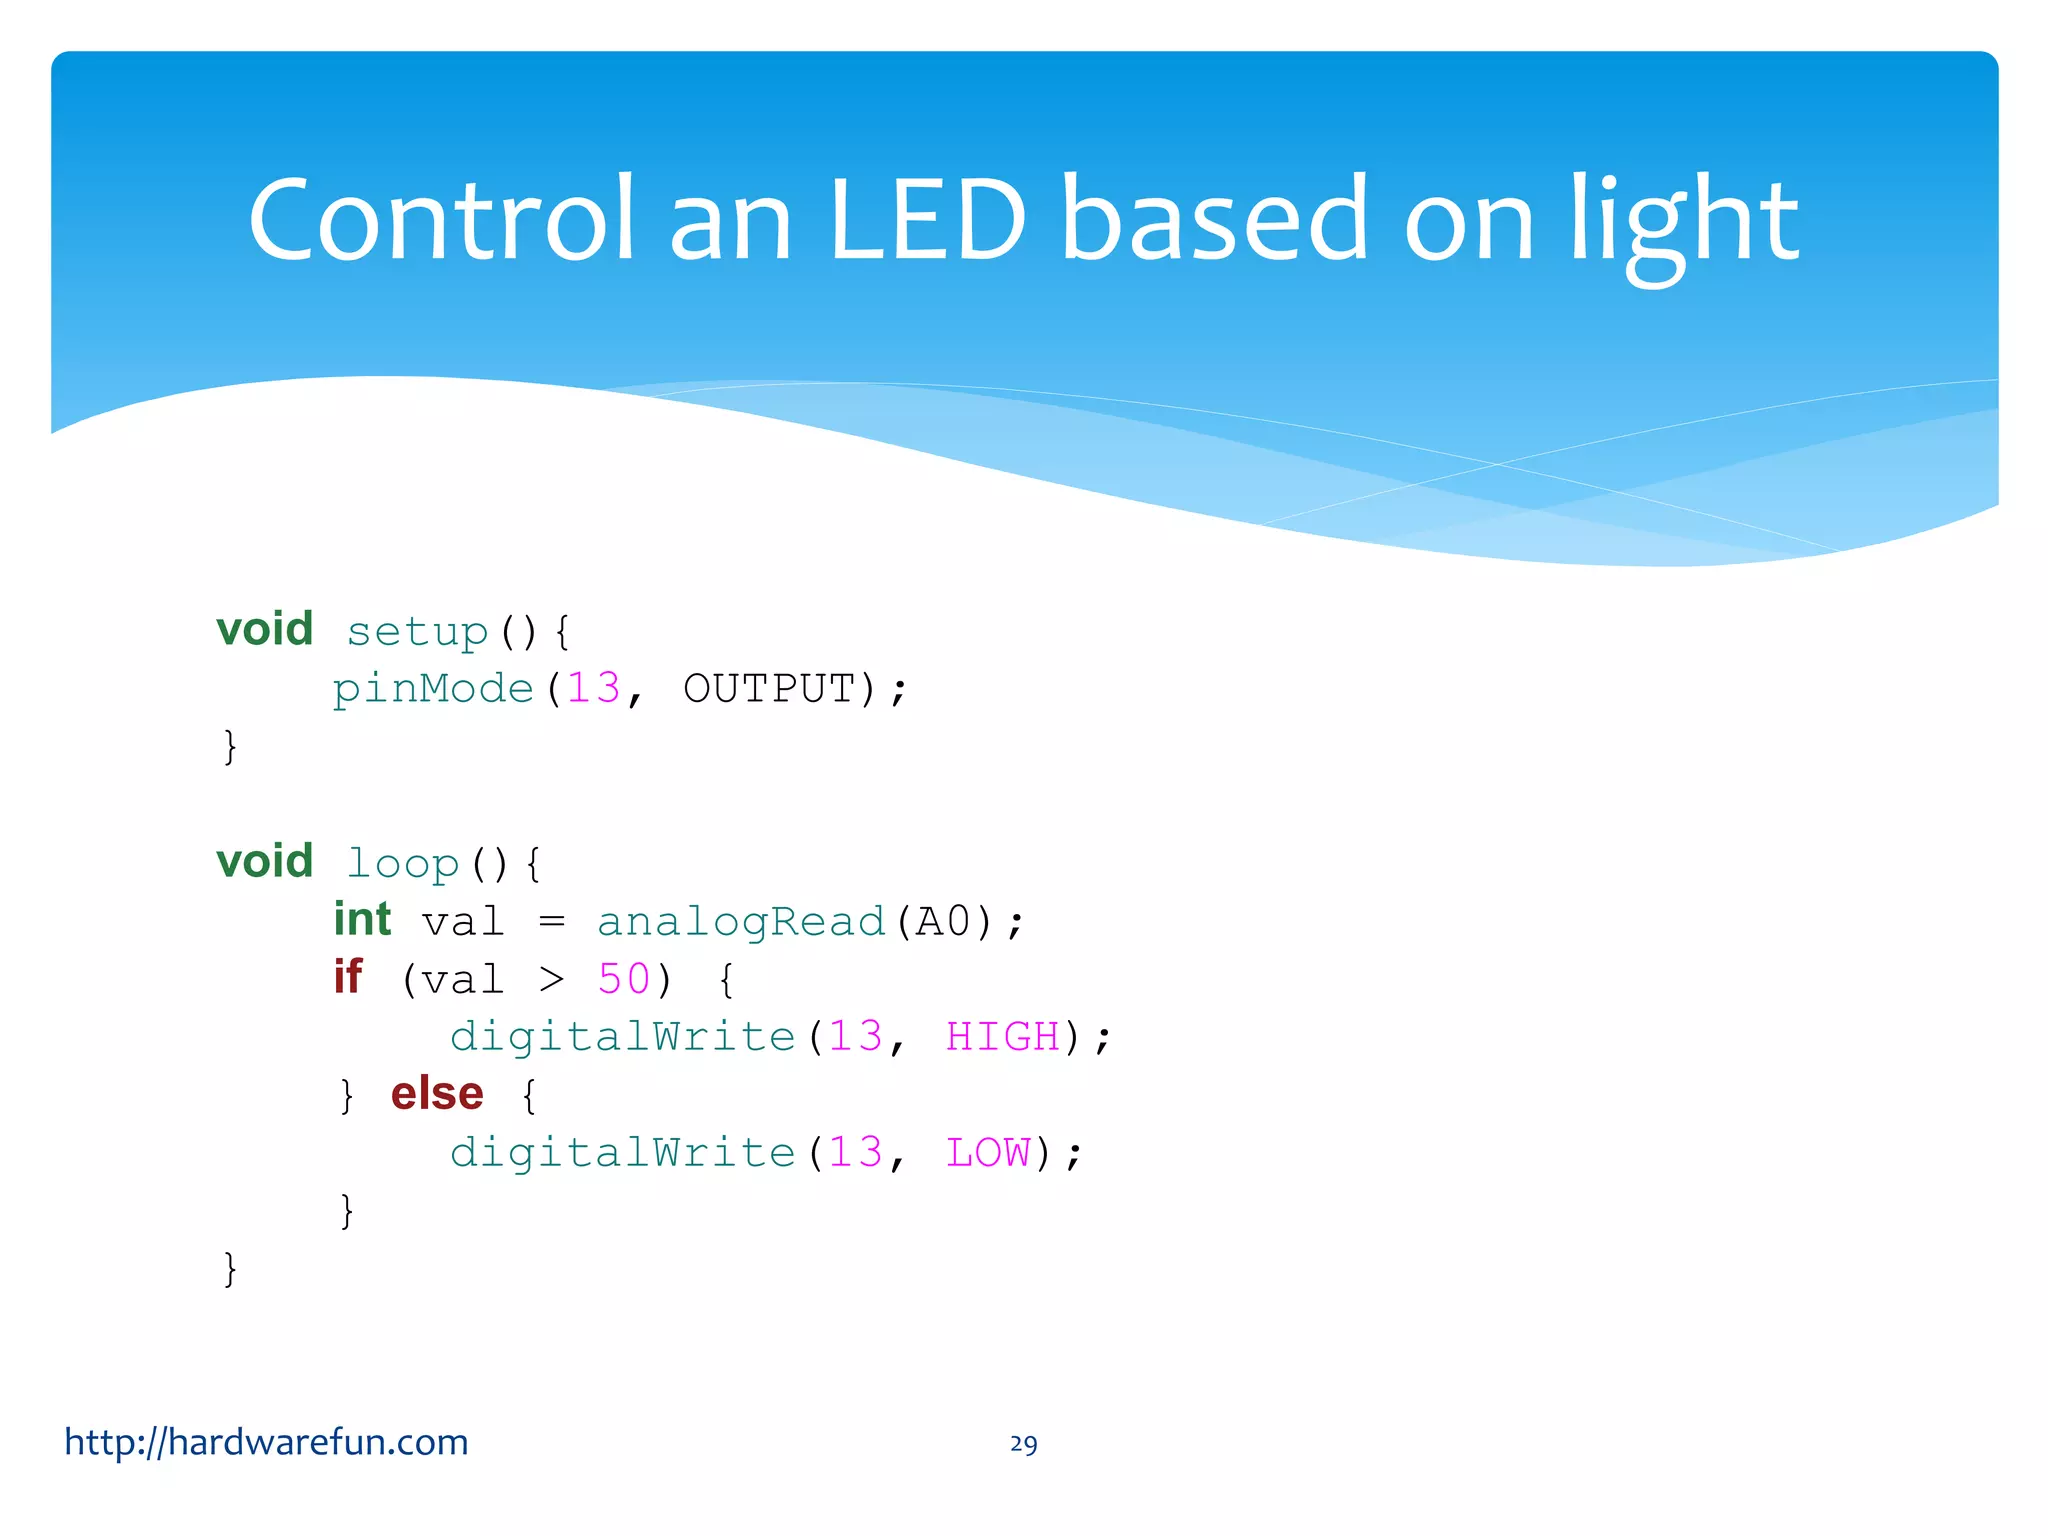
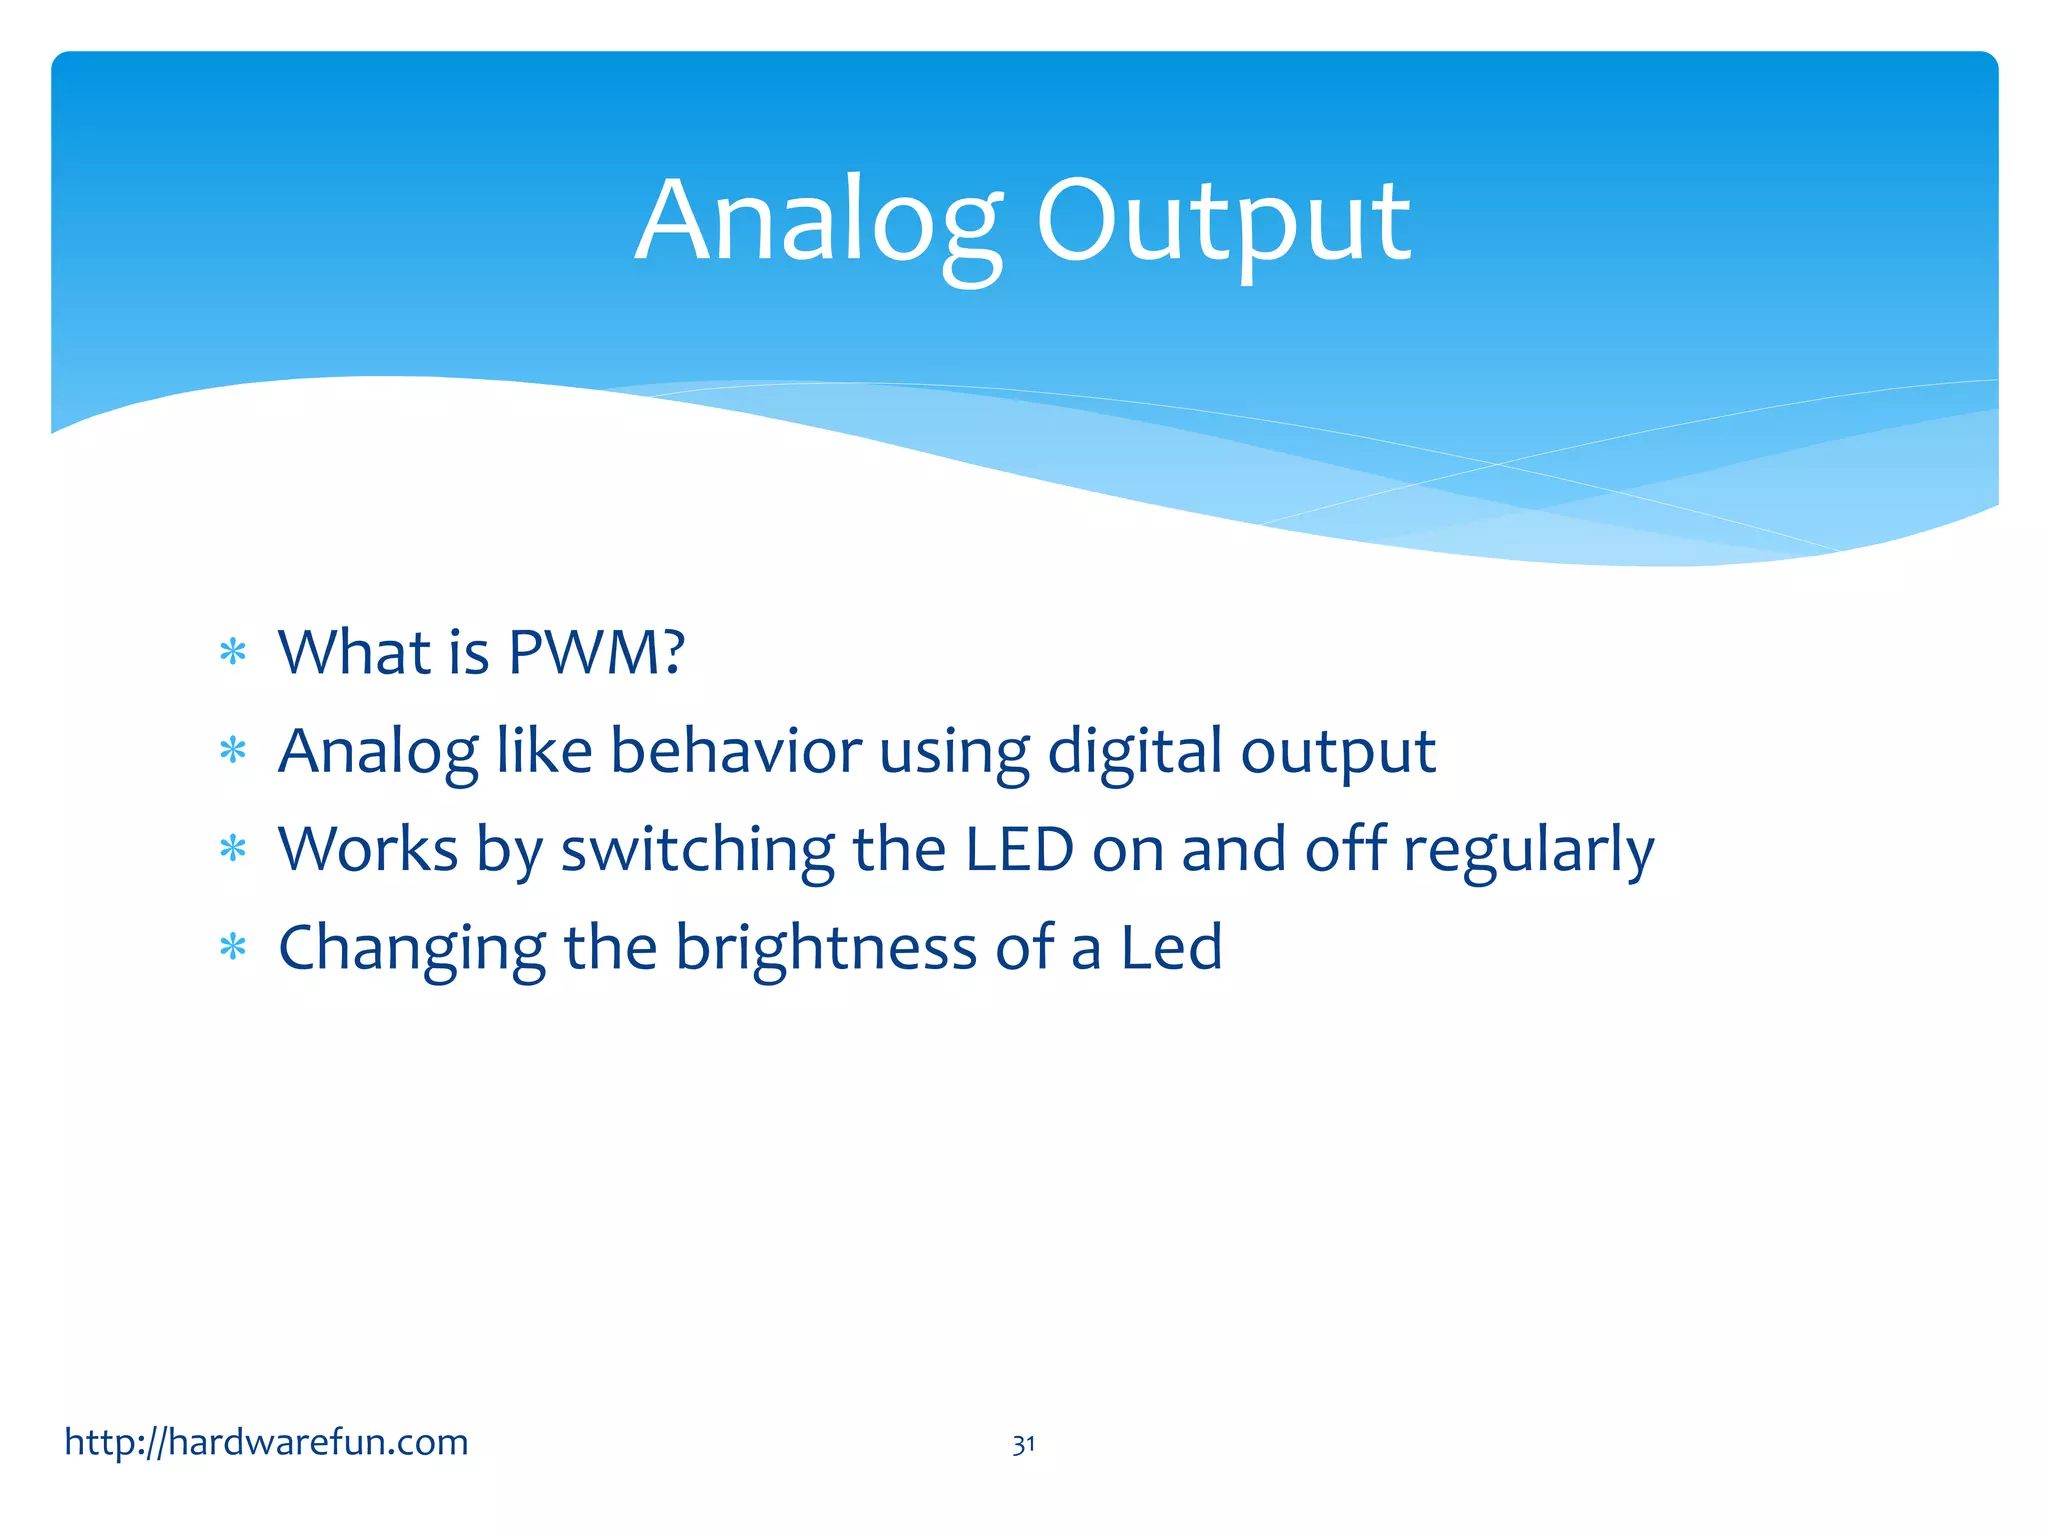
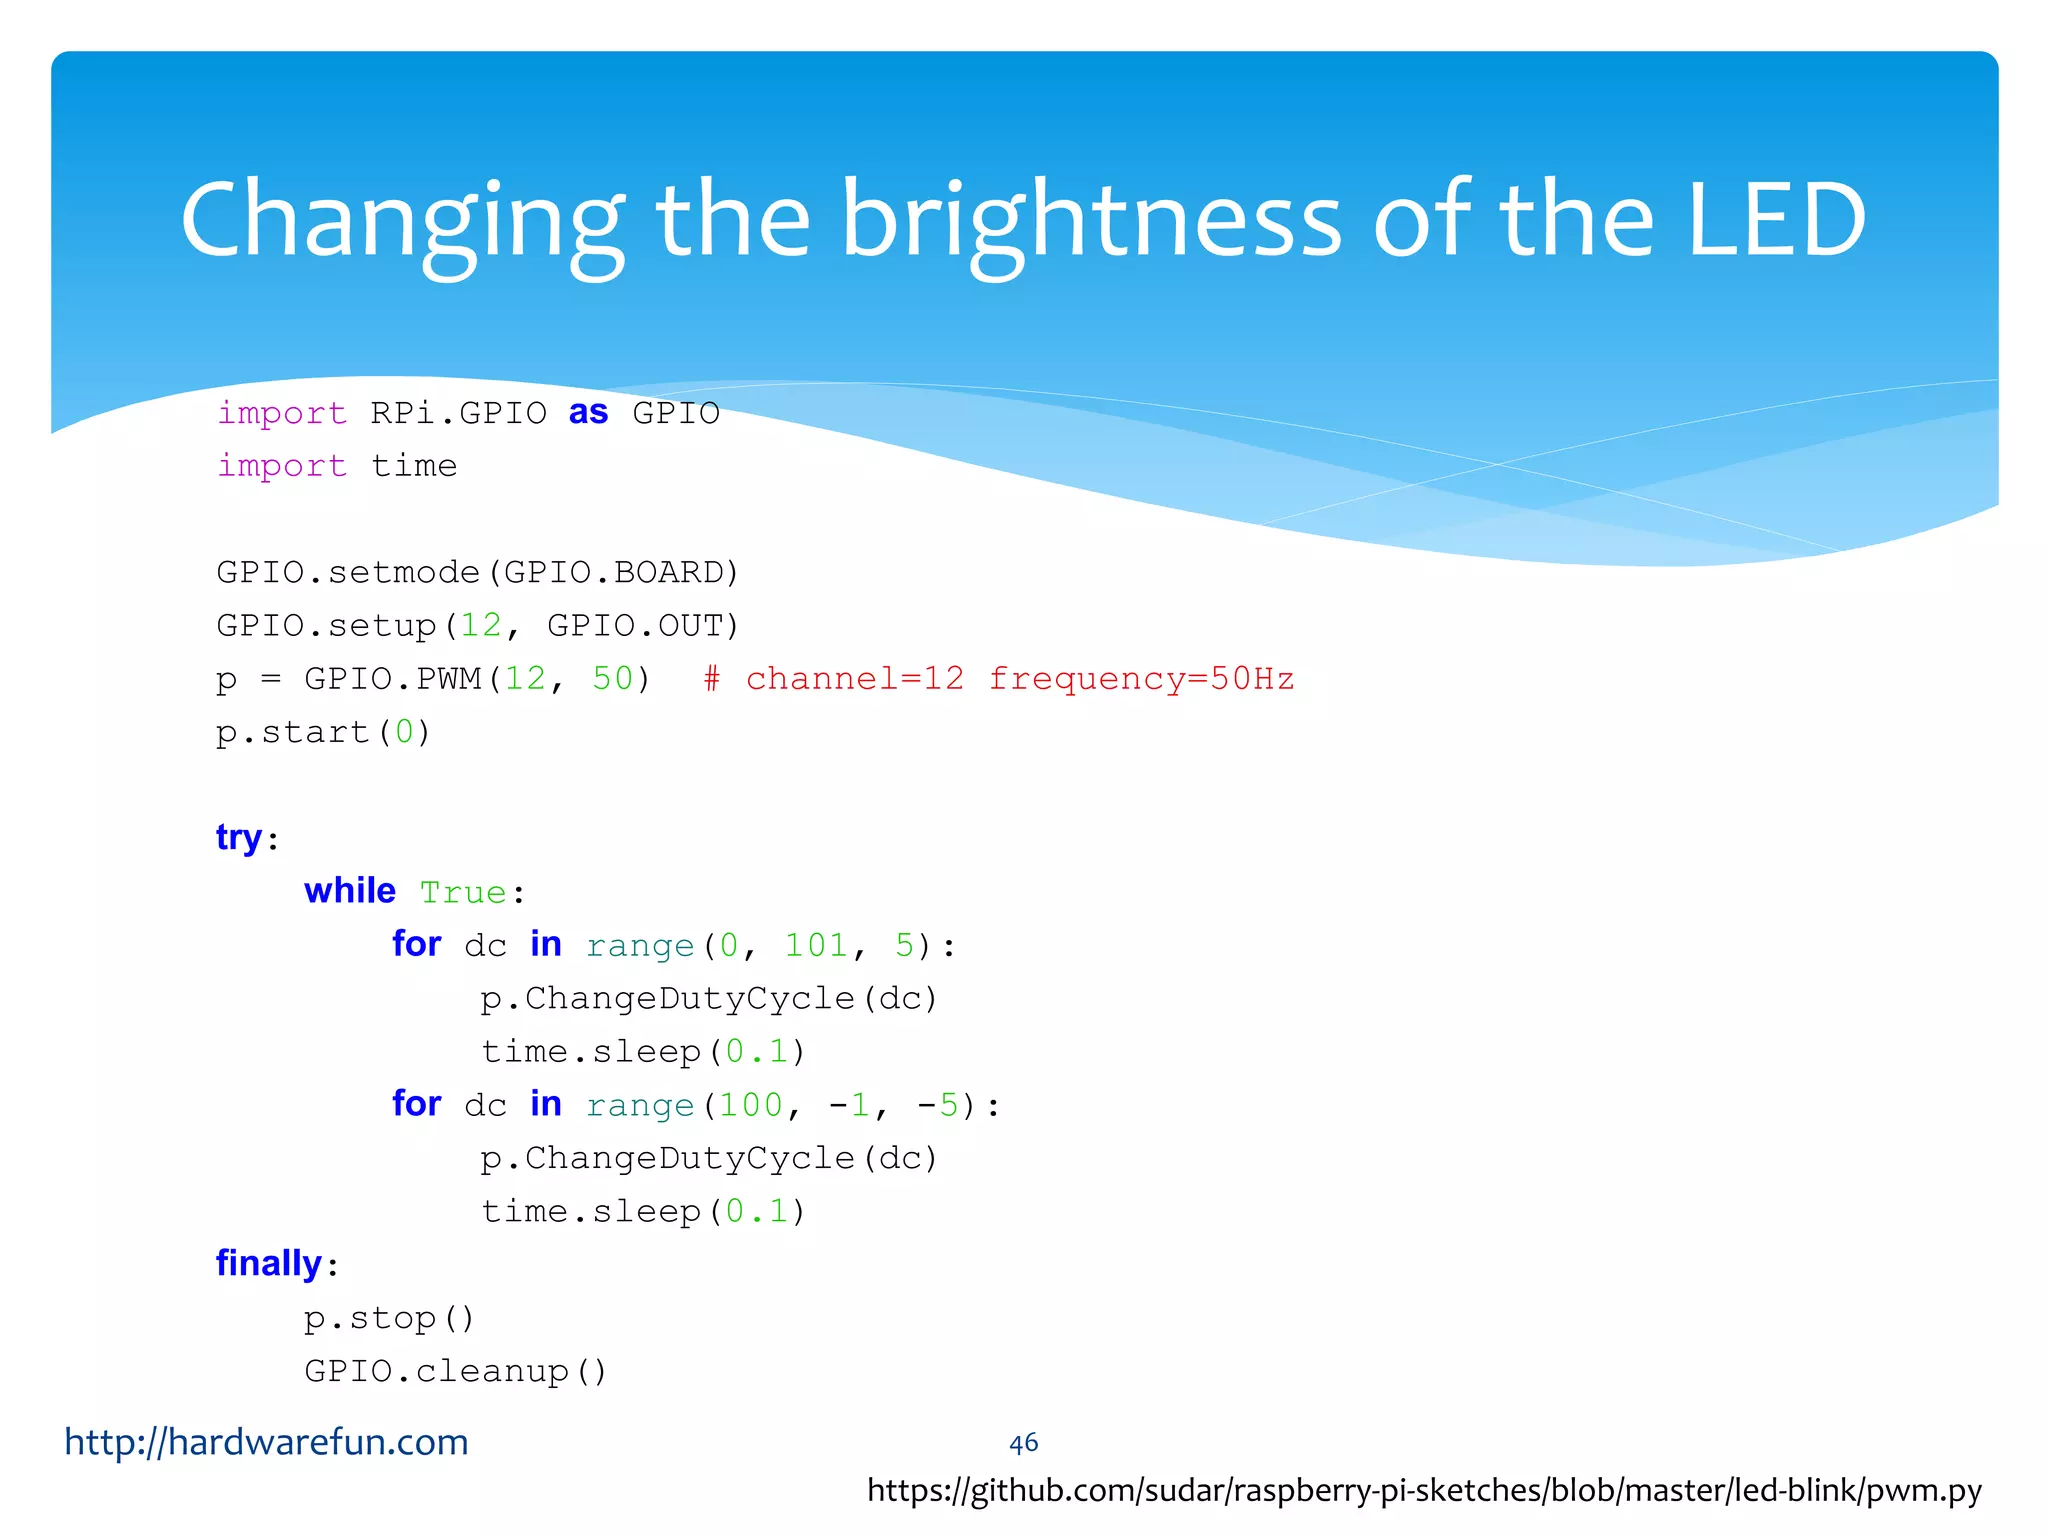
Using digital and analog input/output methods and concepts like PWM for controlling LED brightness.
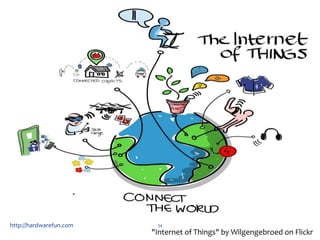
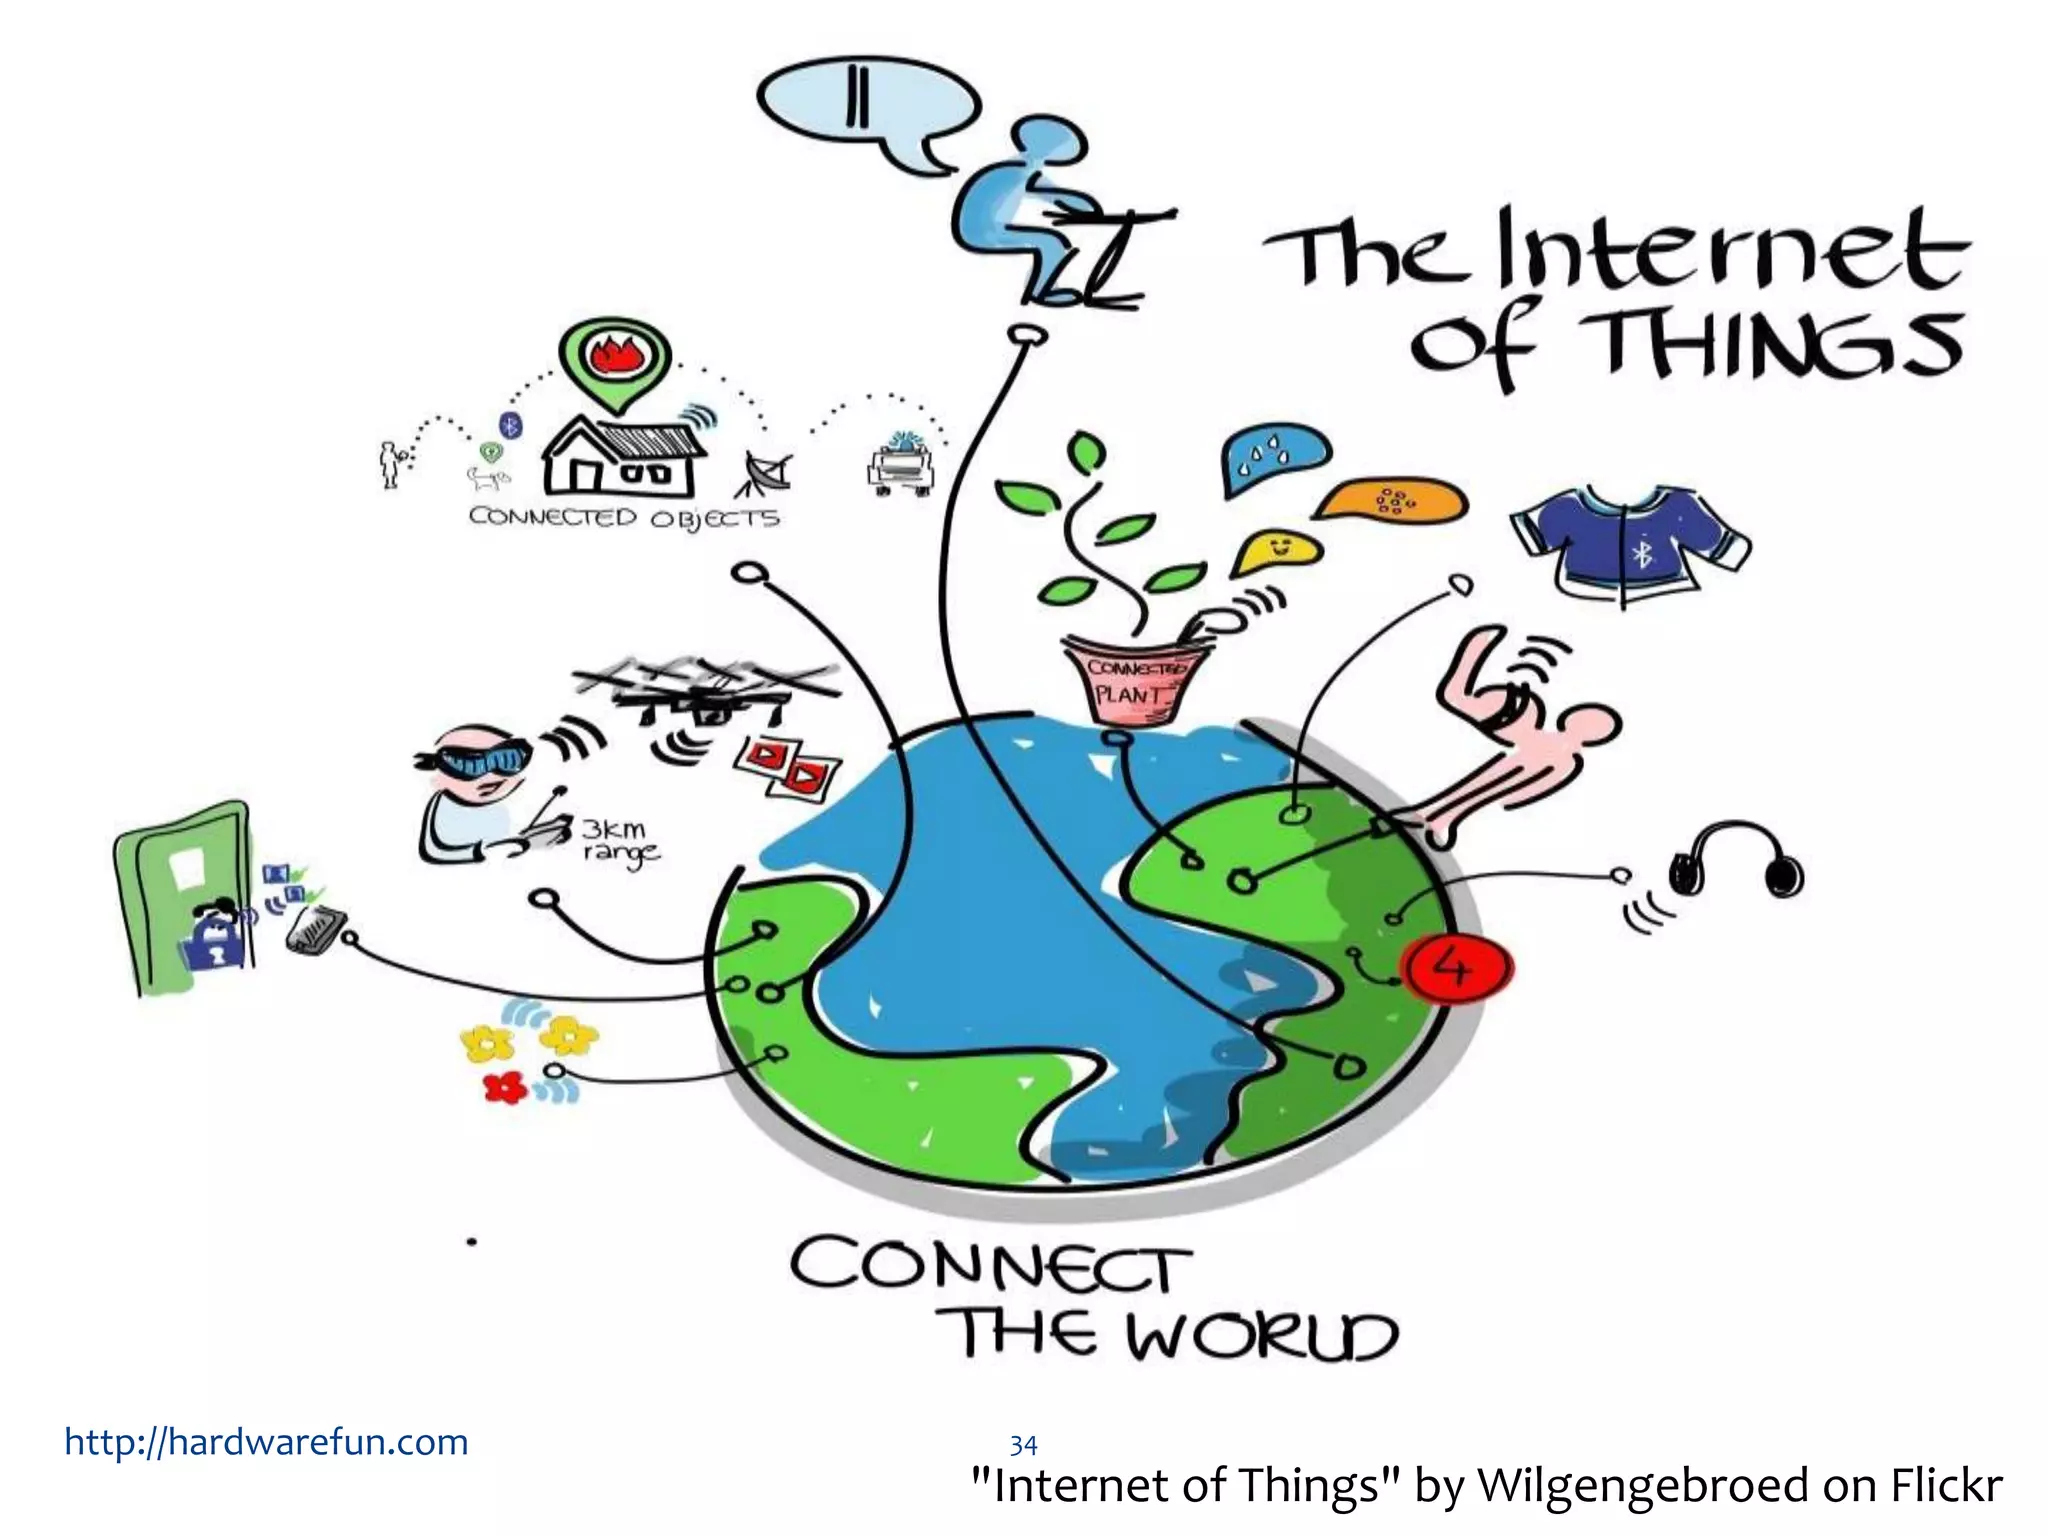
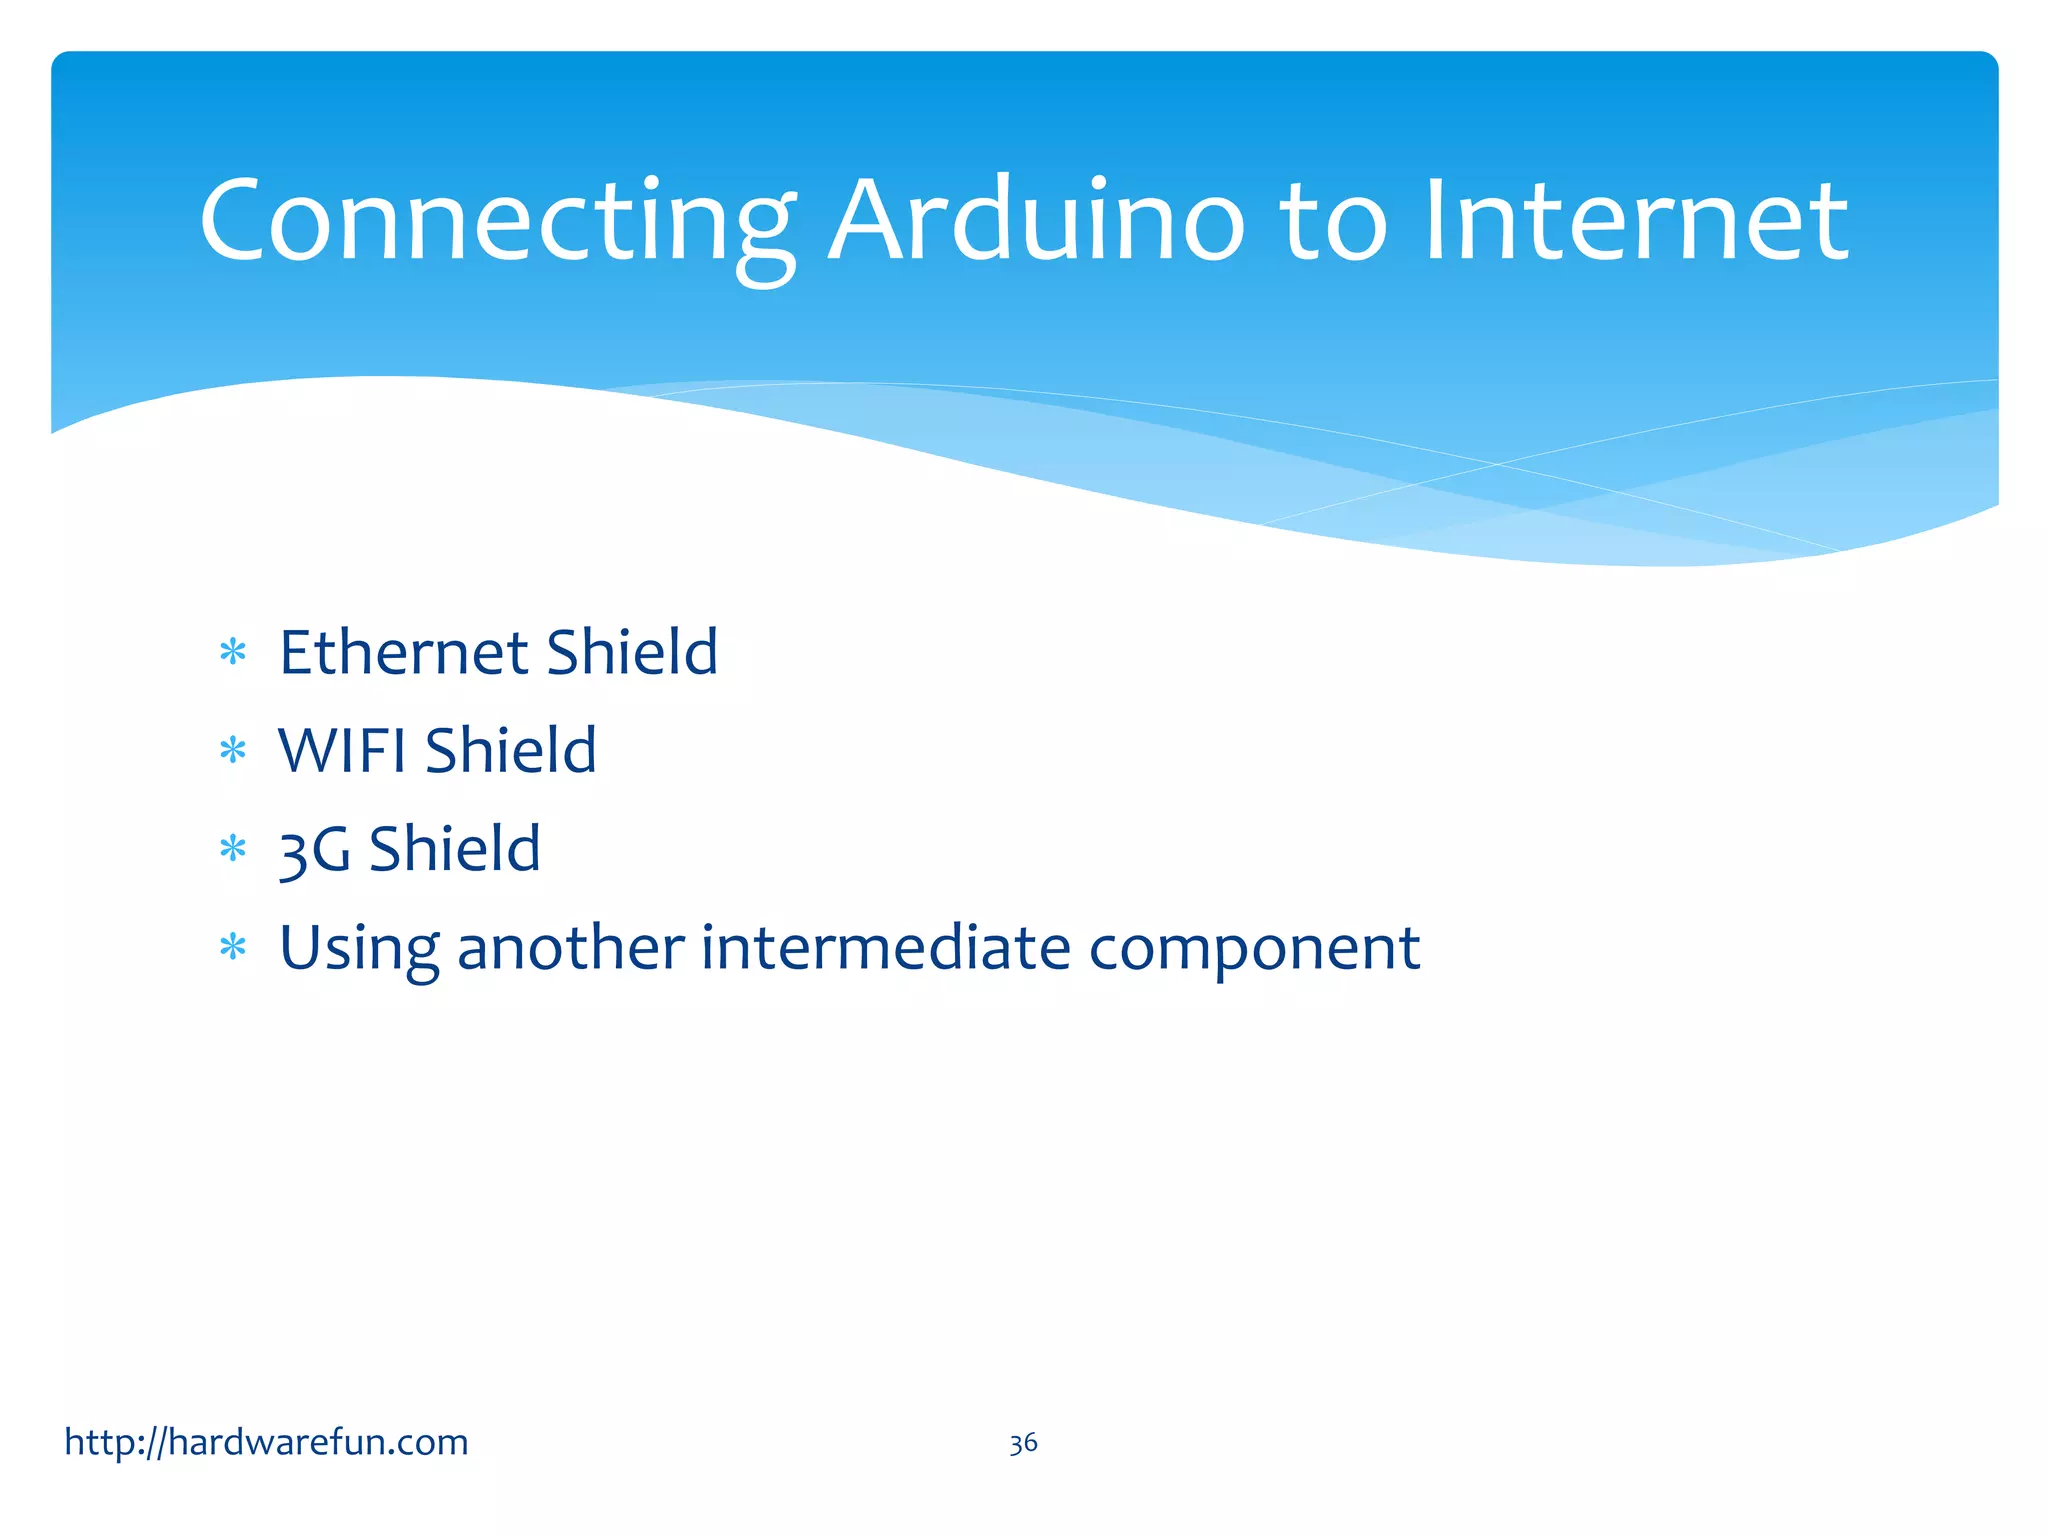
Definition of IoT and how Arduino can connect to the internet using various shields.
Demonstration of network connectivity using Arduino, followed by a break.
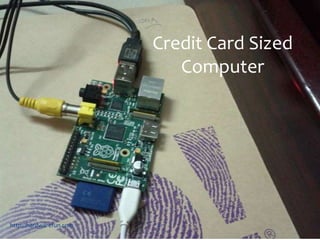
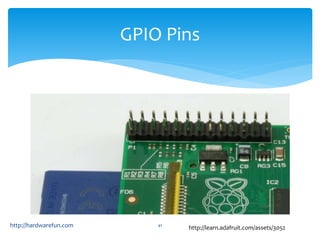
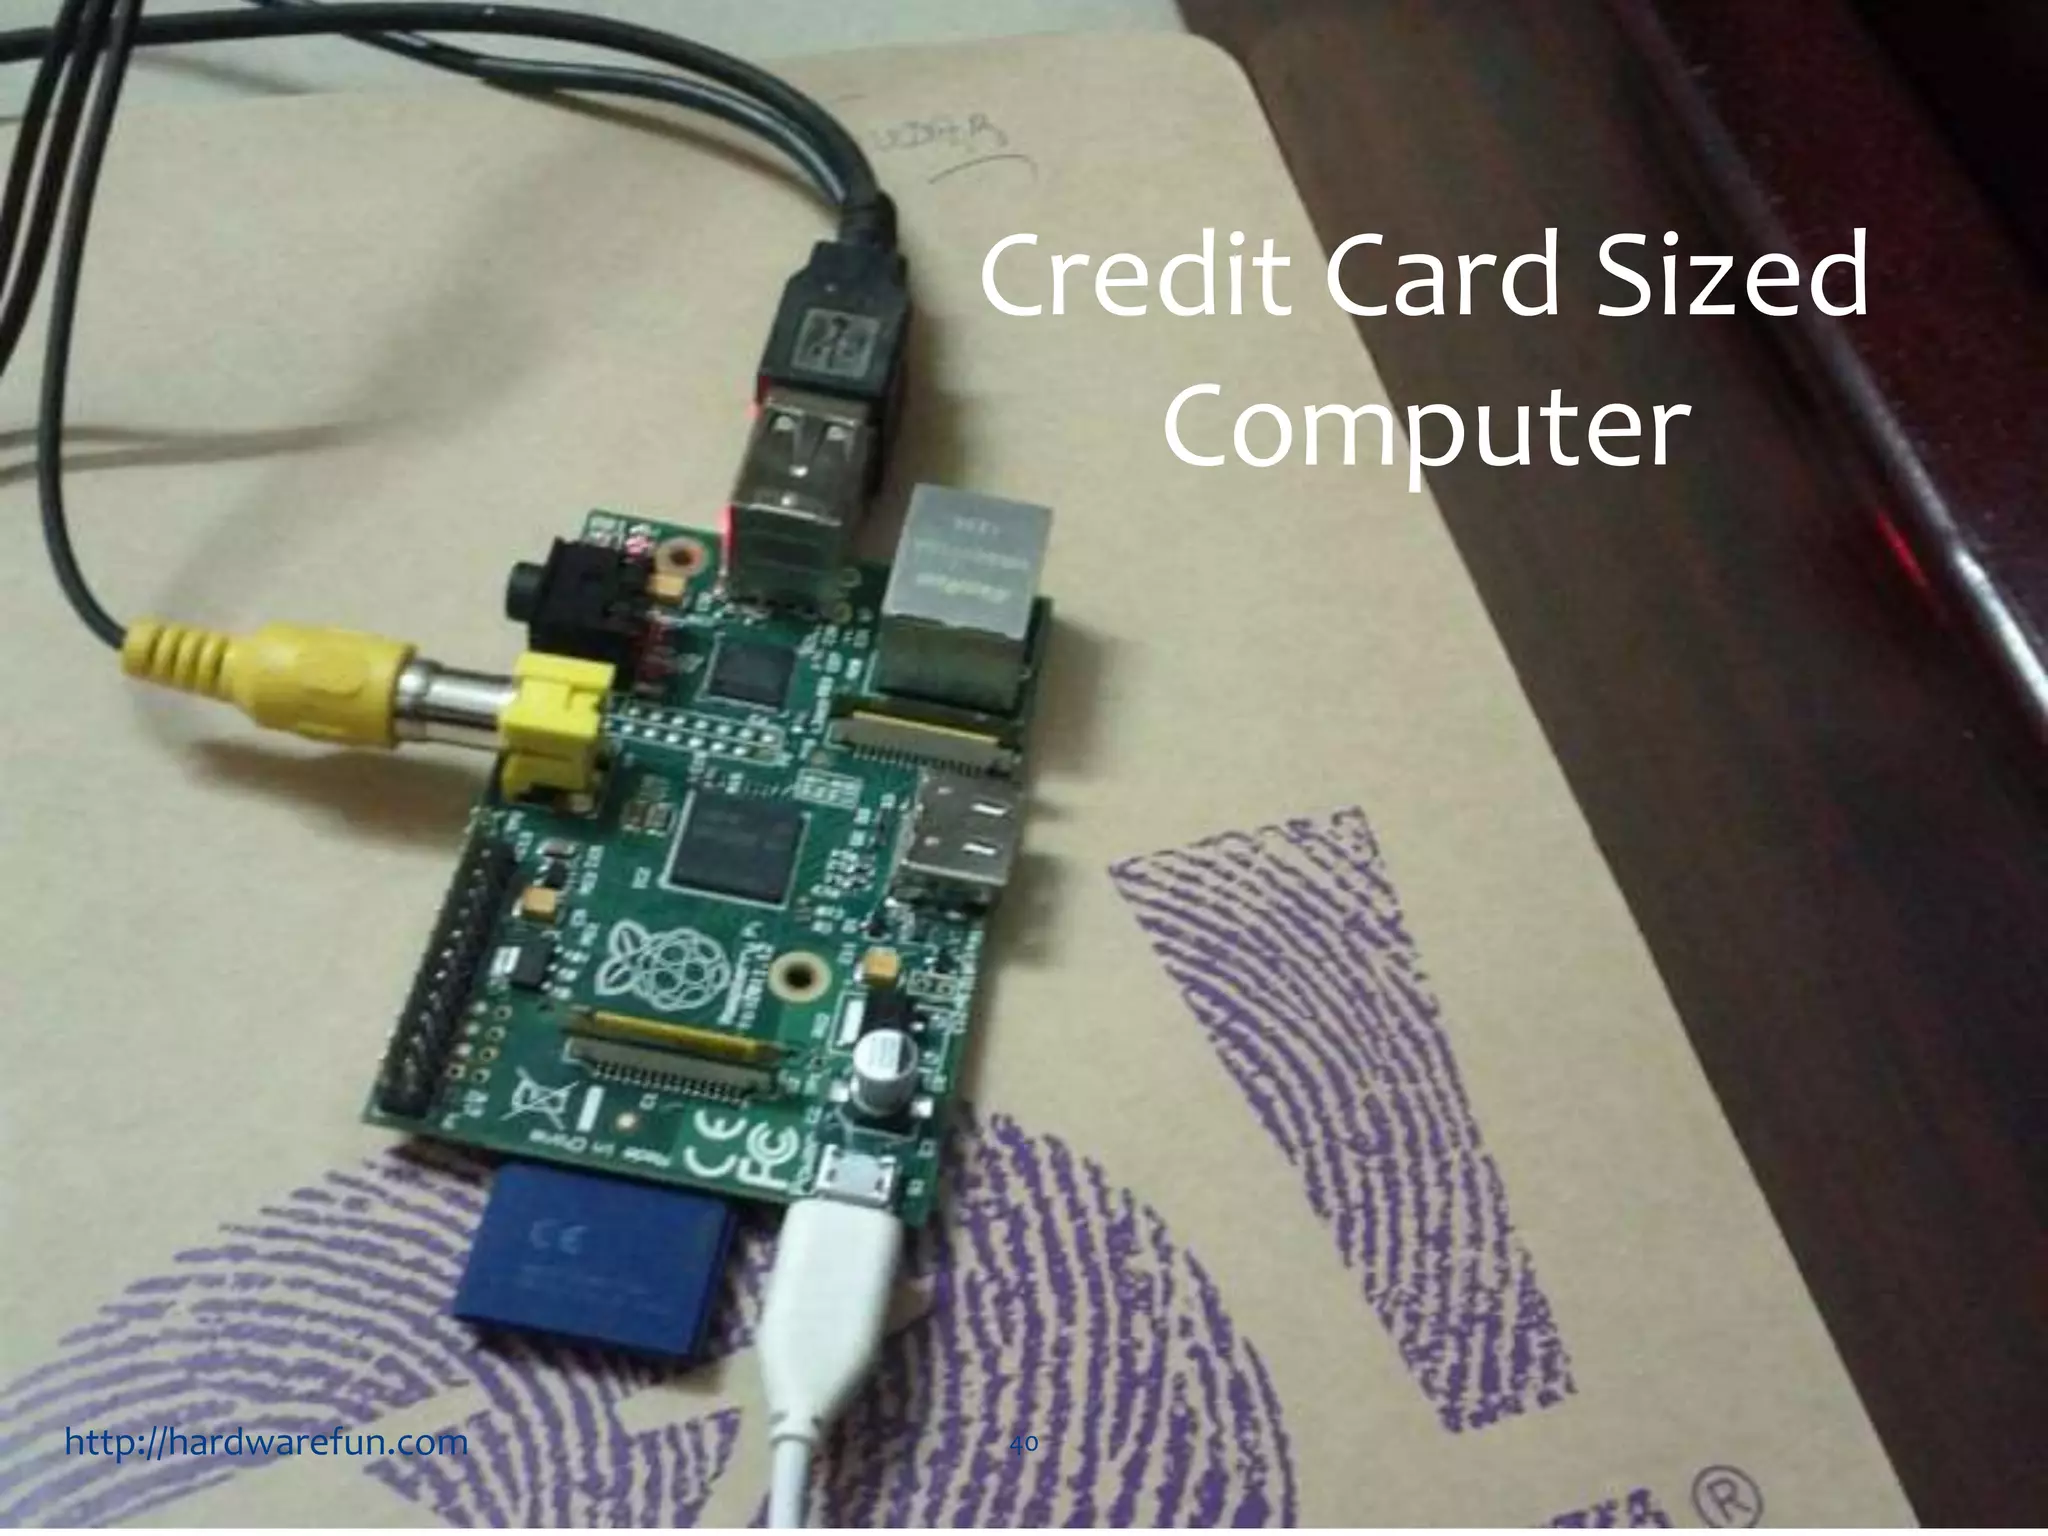
Overview of Raspberry Pi as a small computer, highlighting GPIO pins.
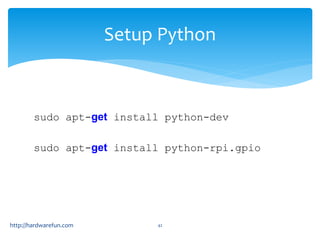
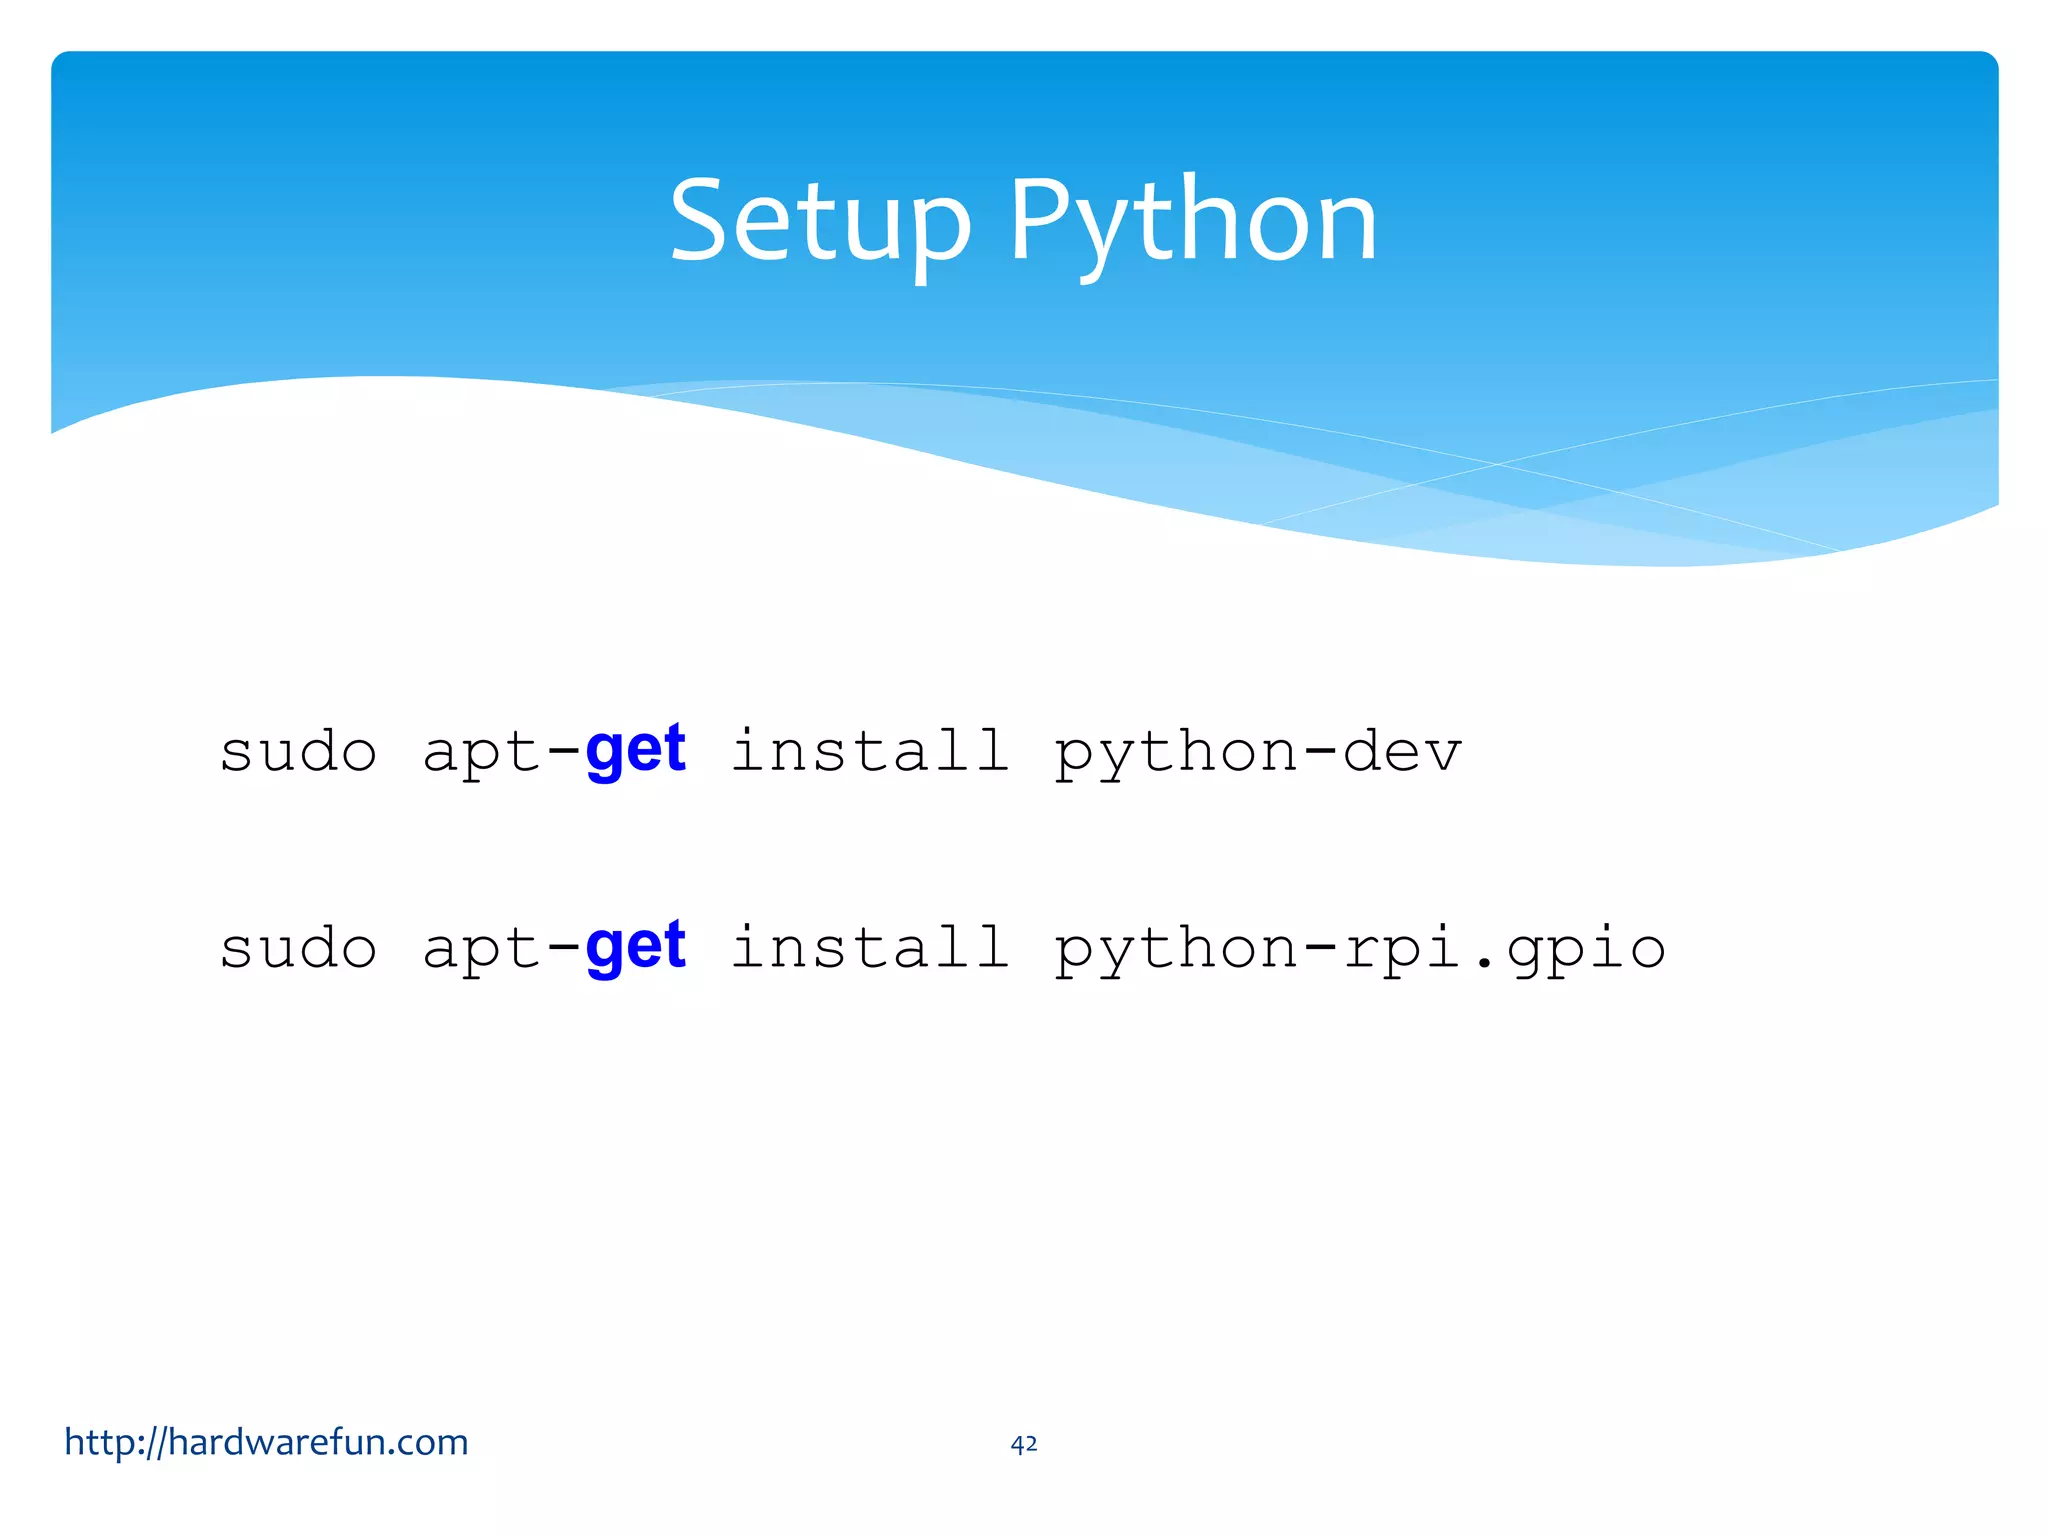
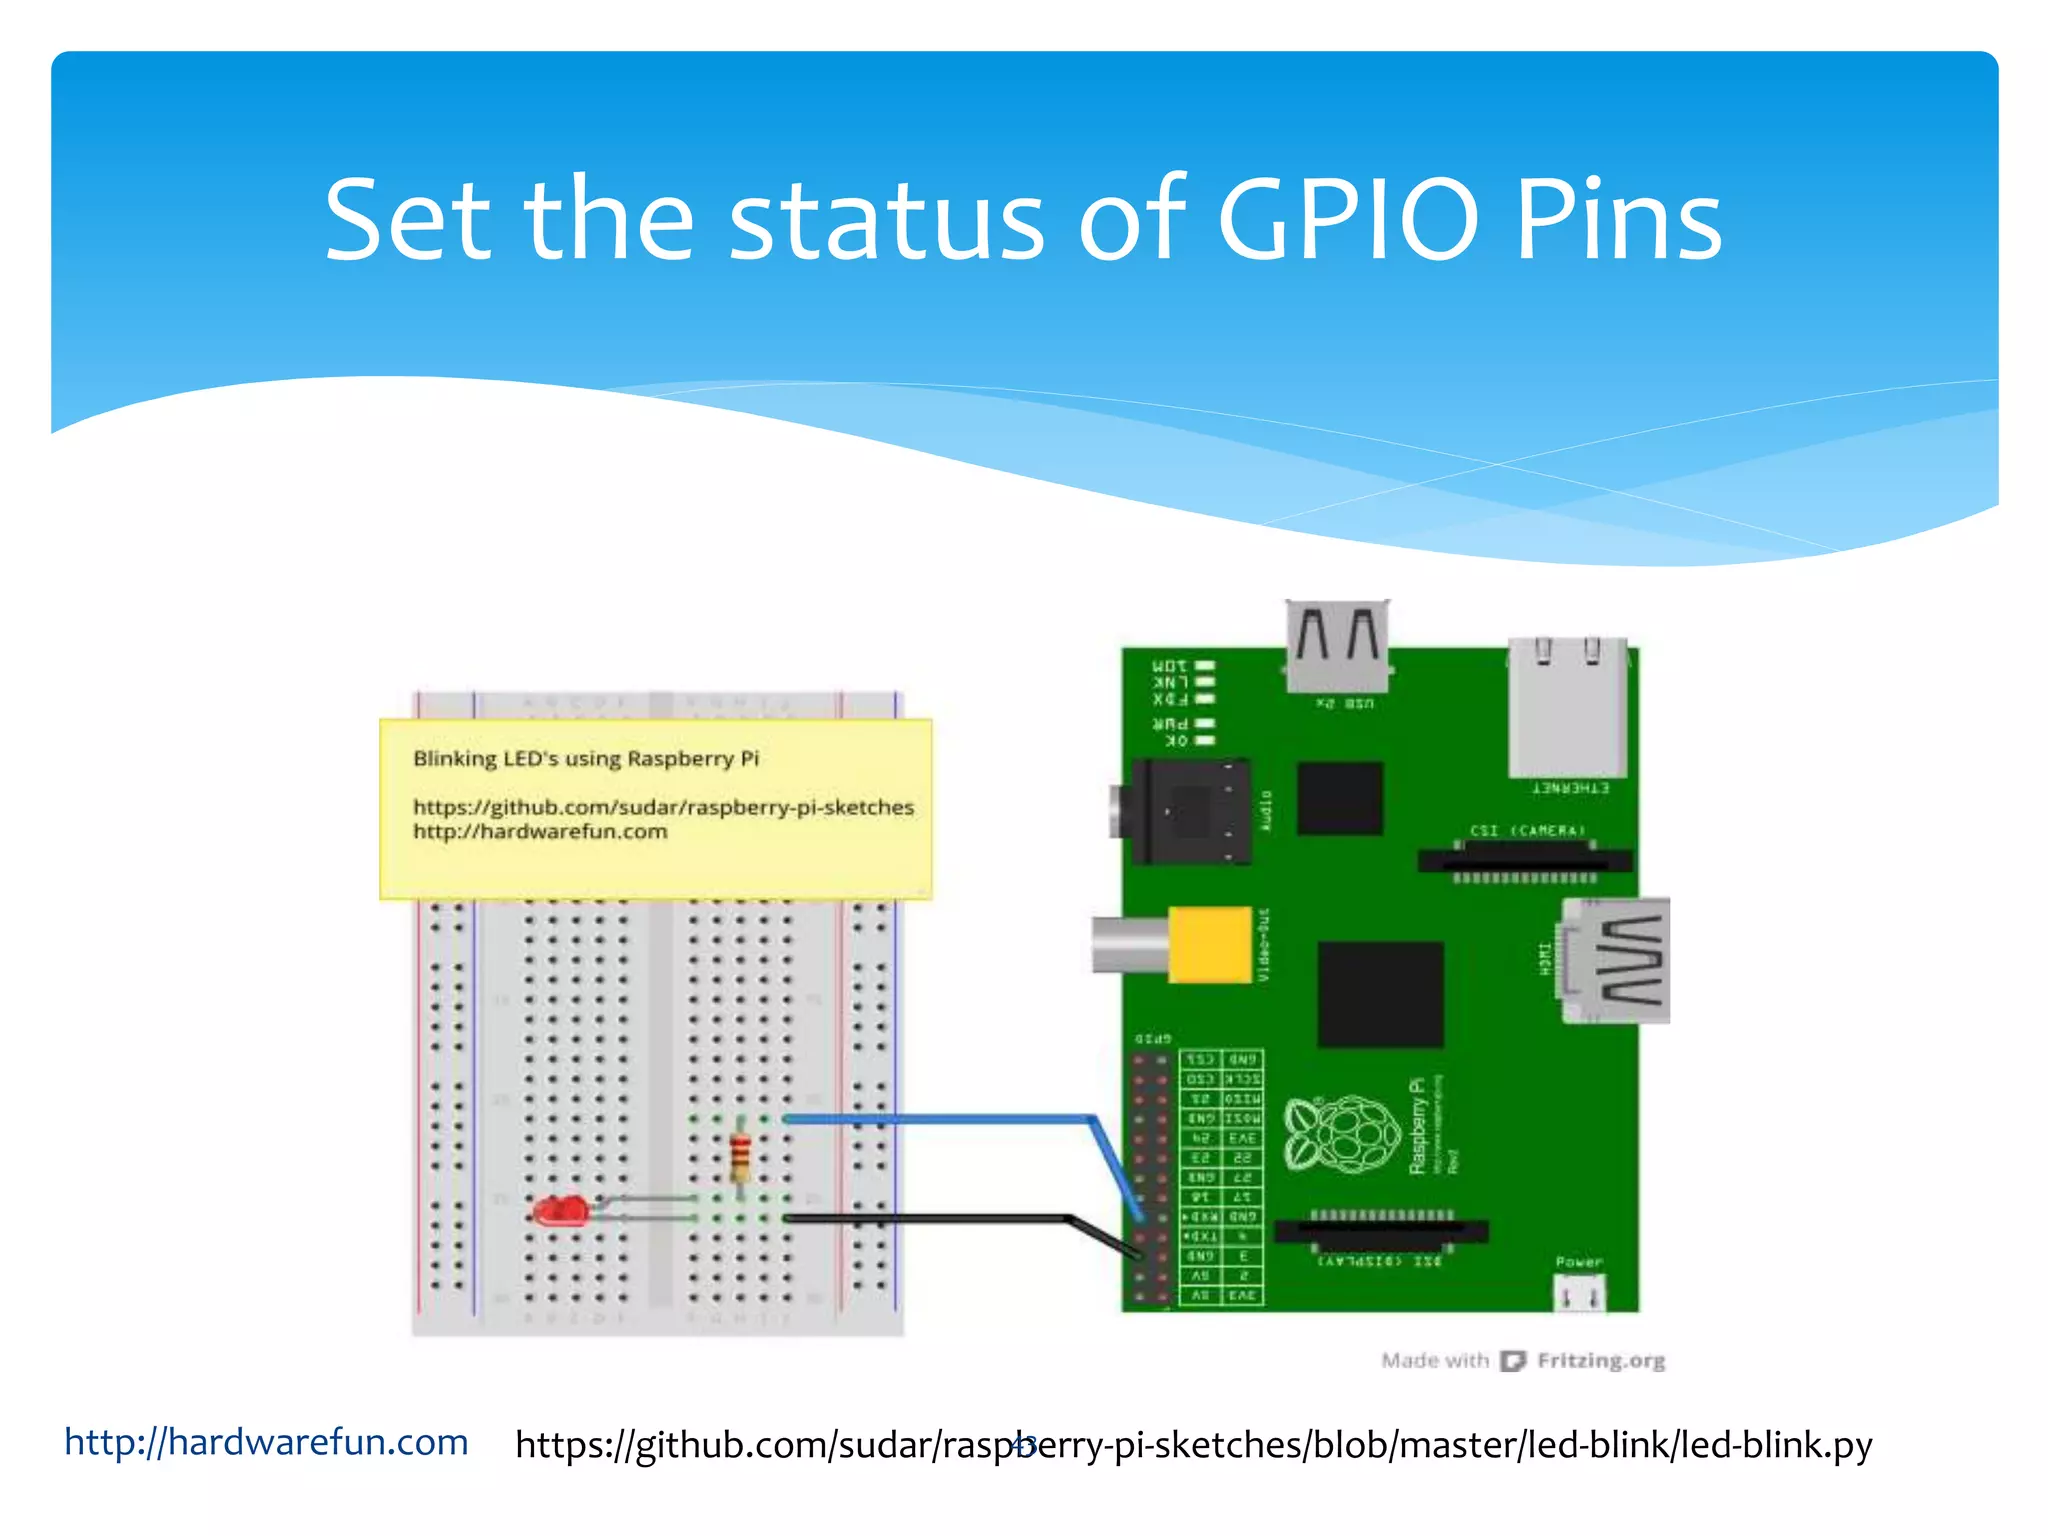
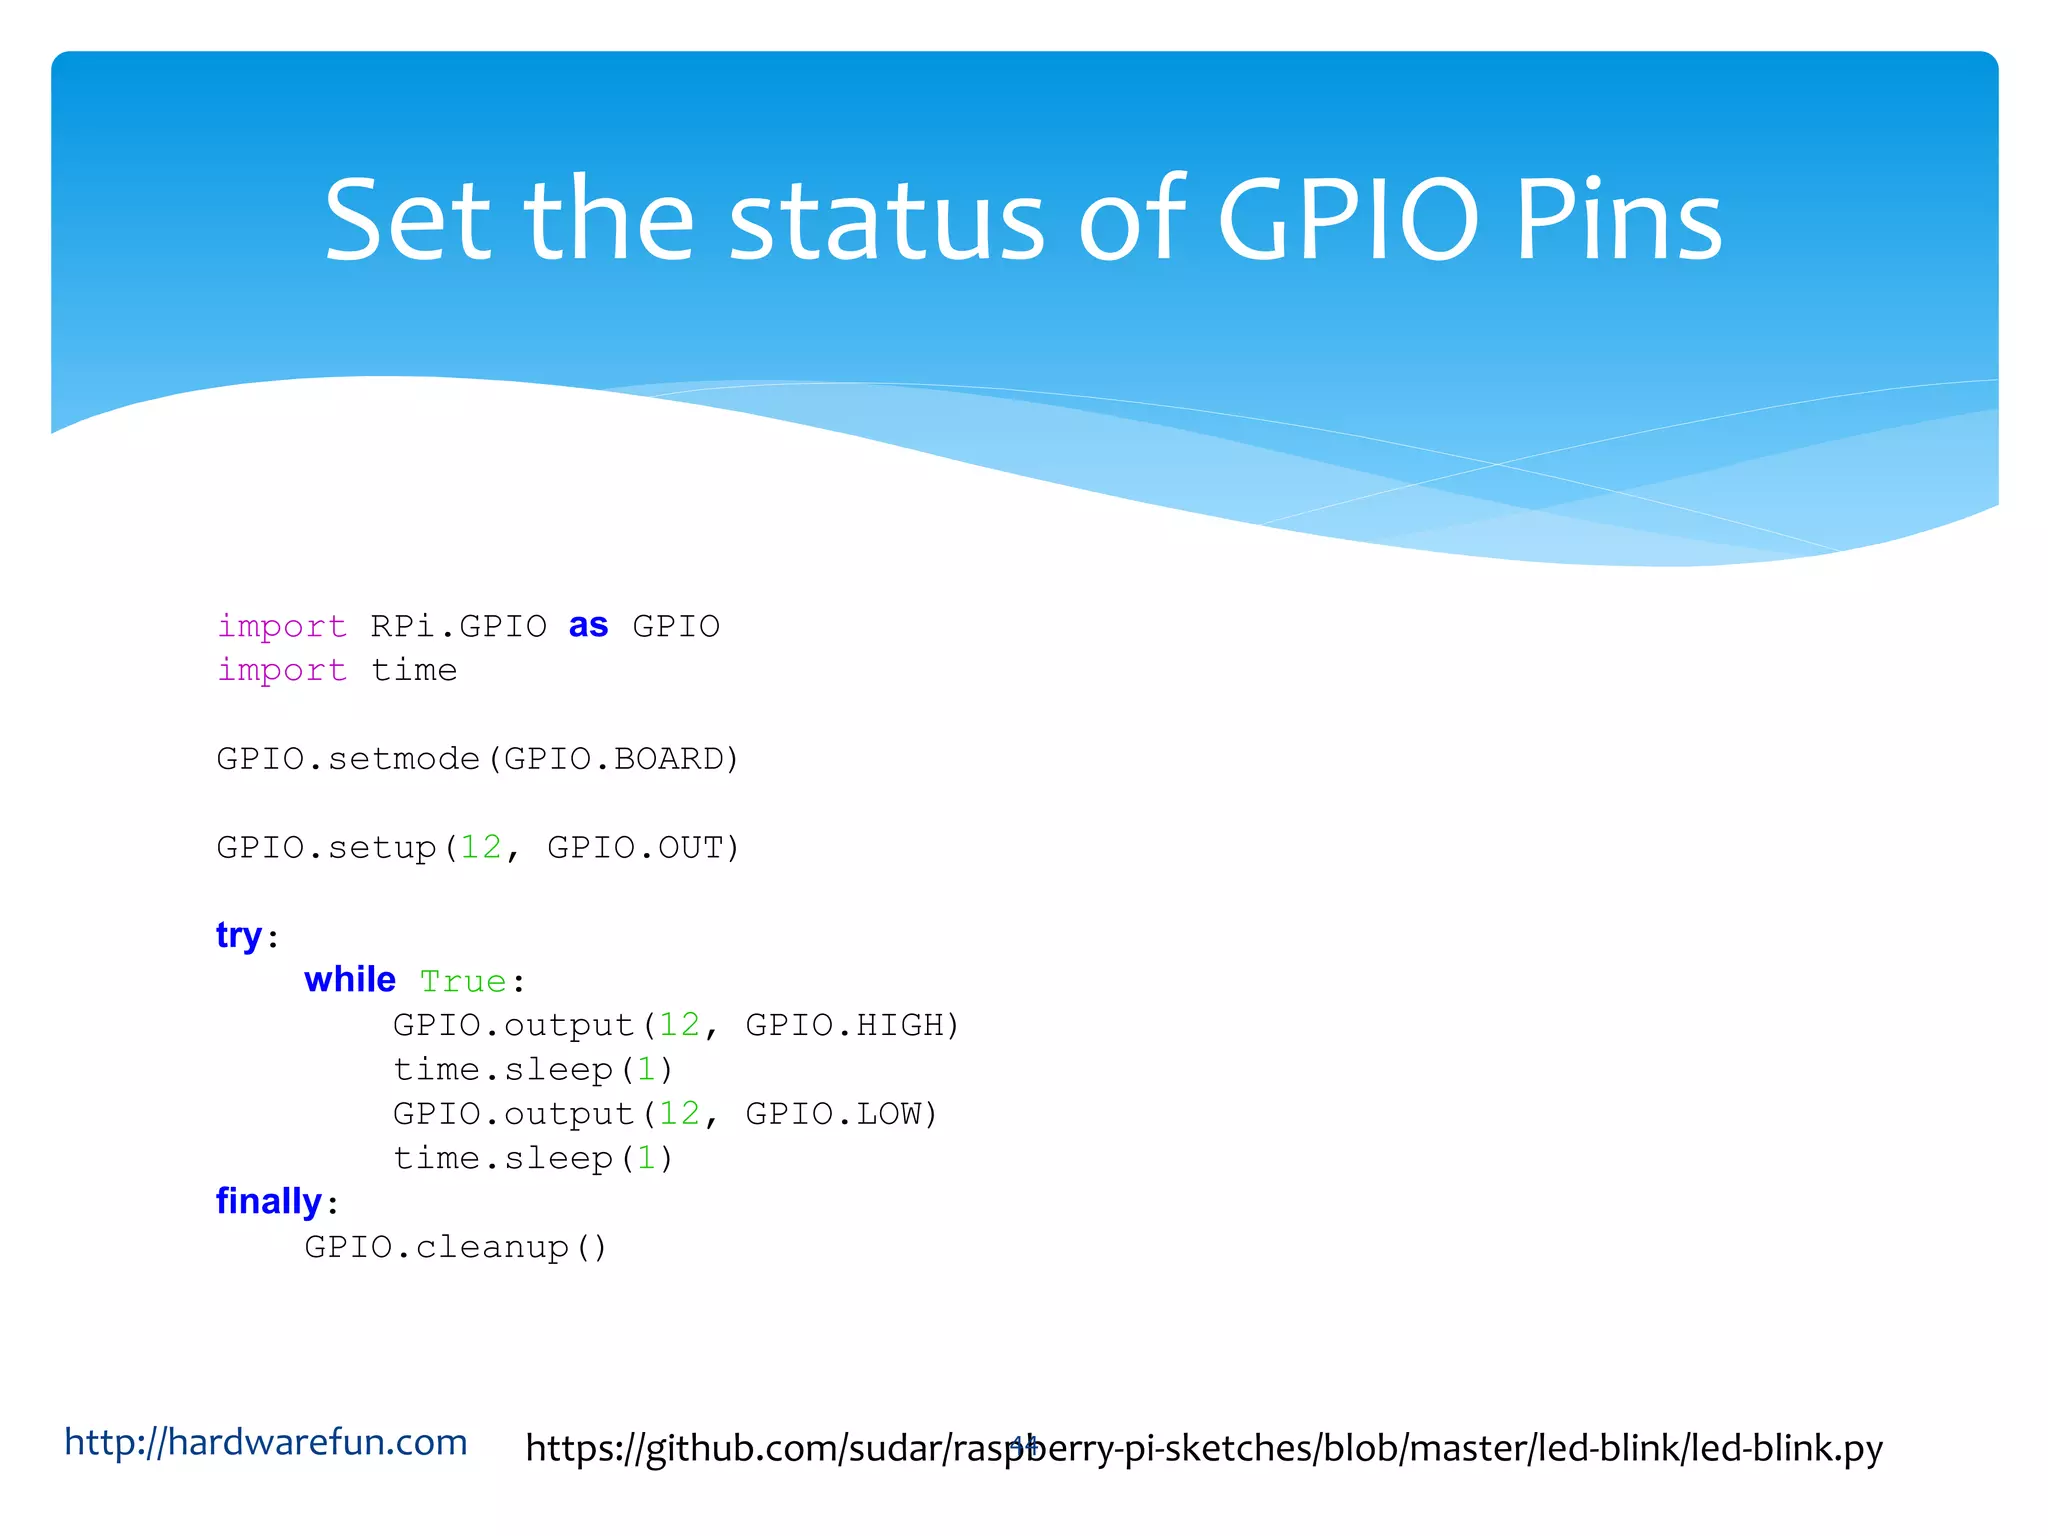
Setup instructions for Python and controlling GPIO pins for LED operations.
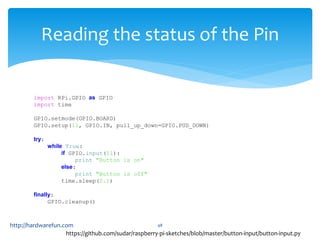
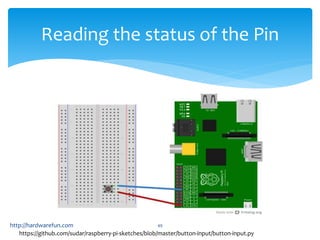
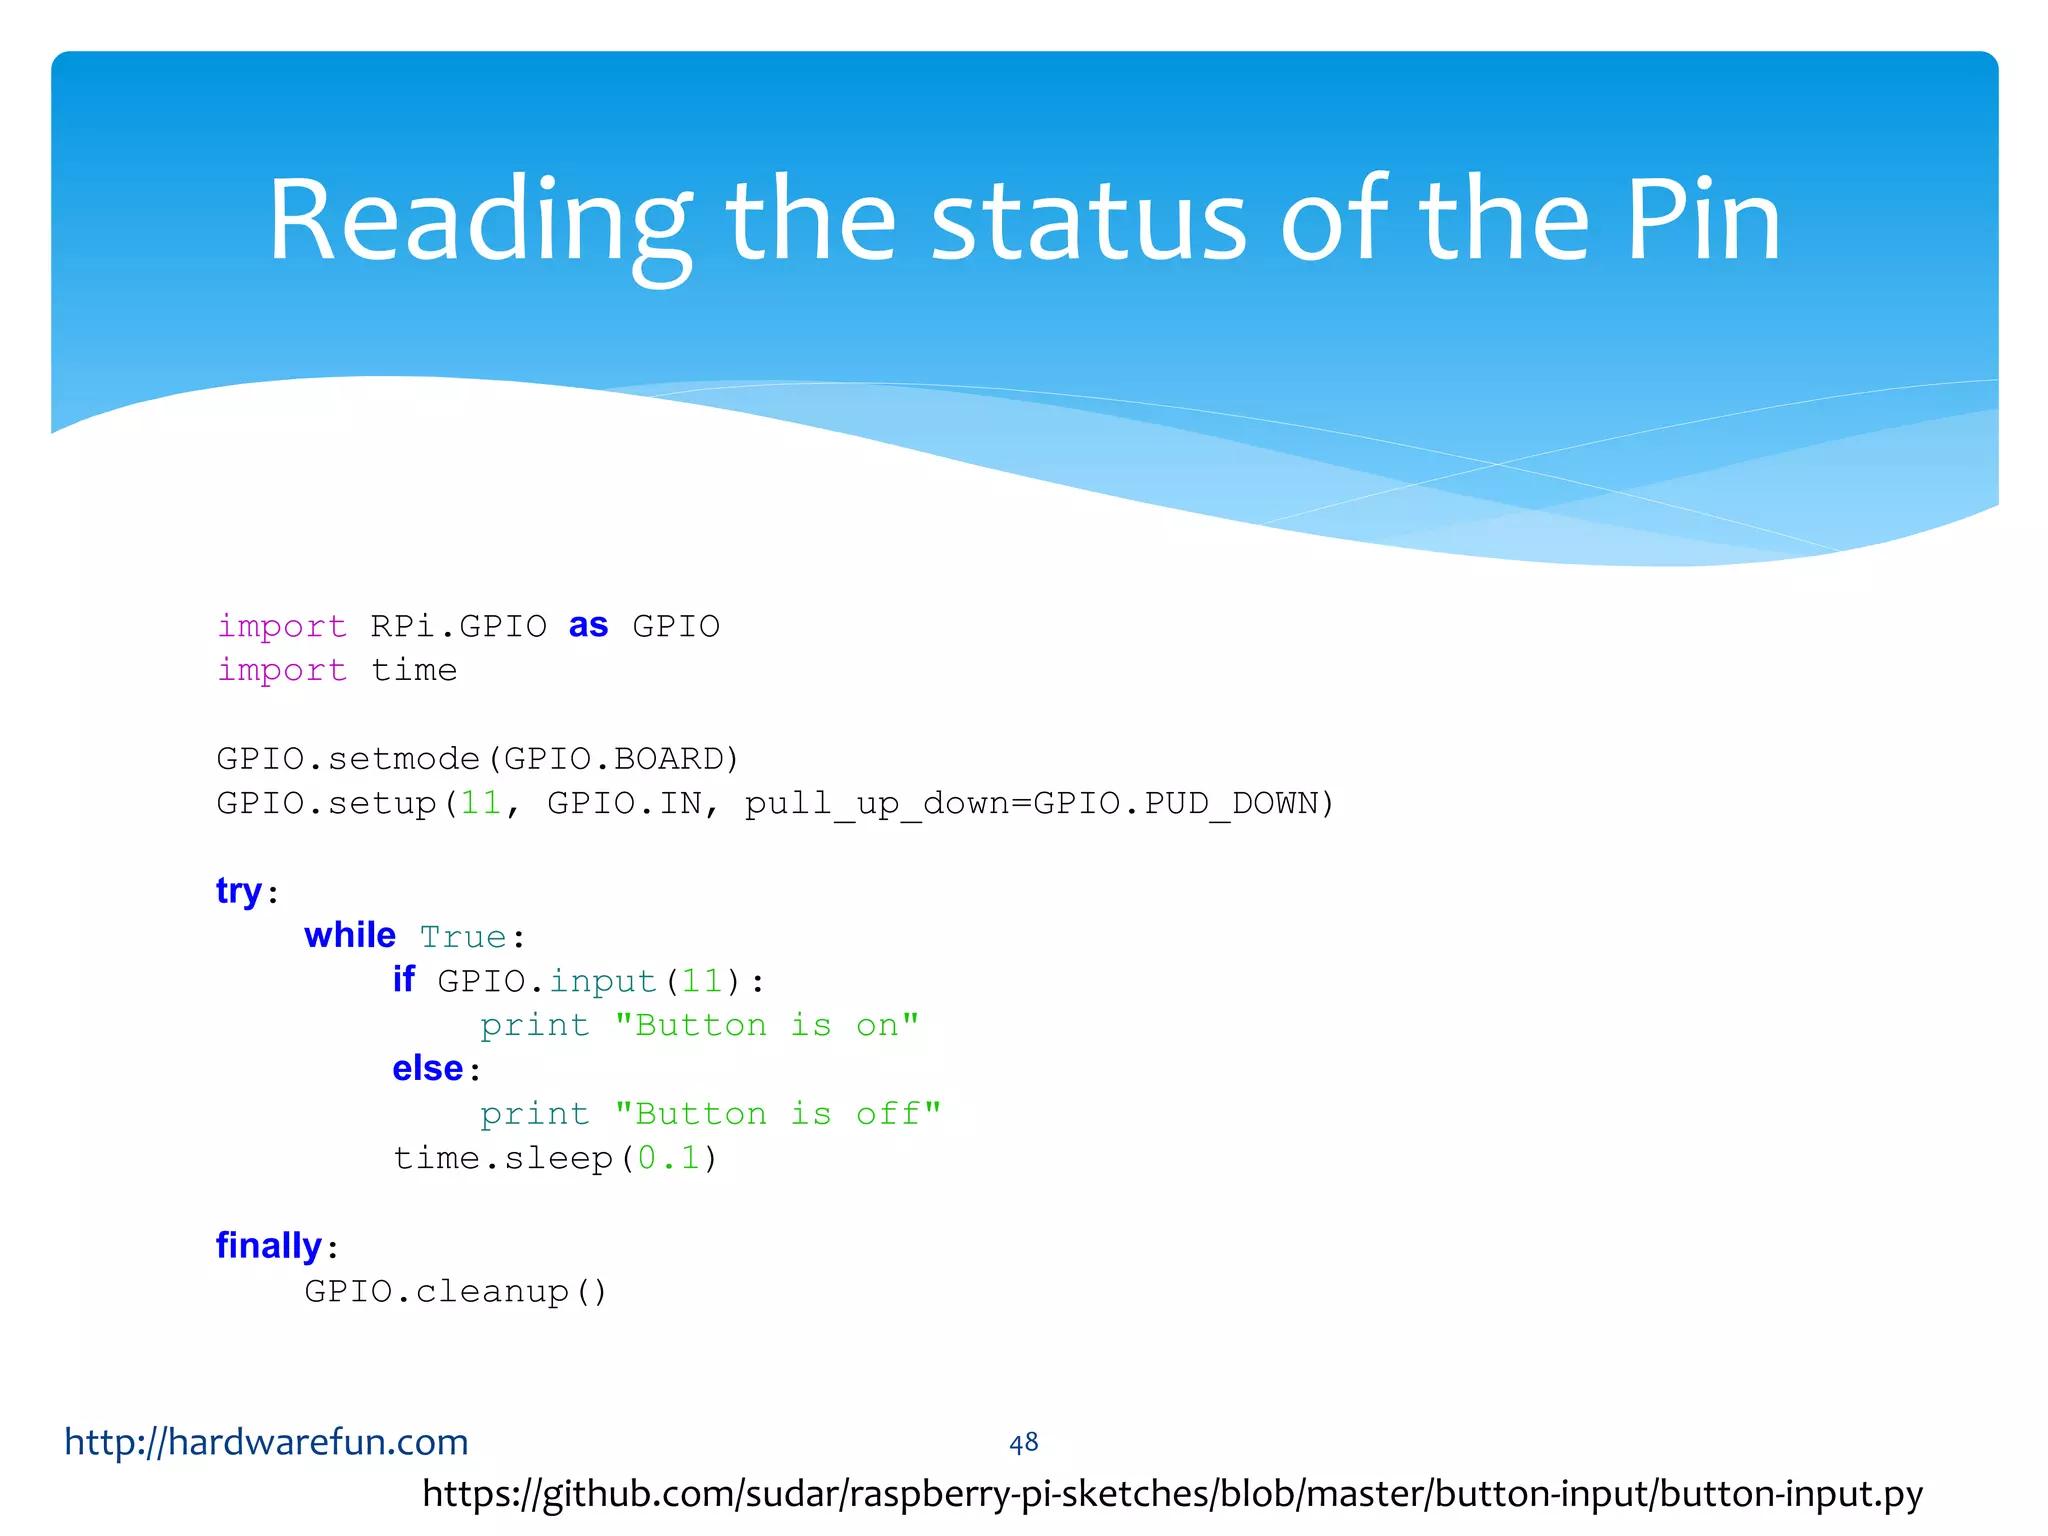
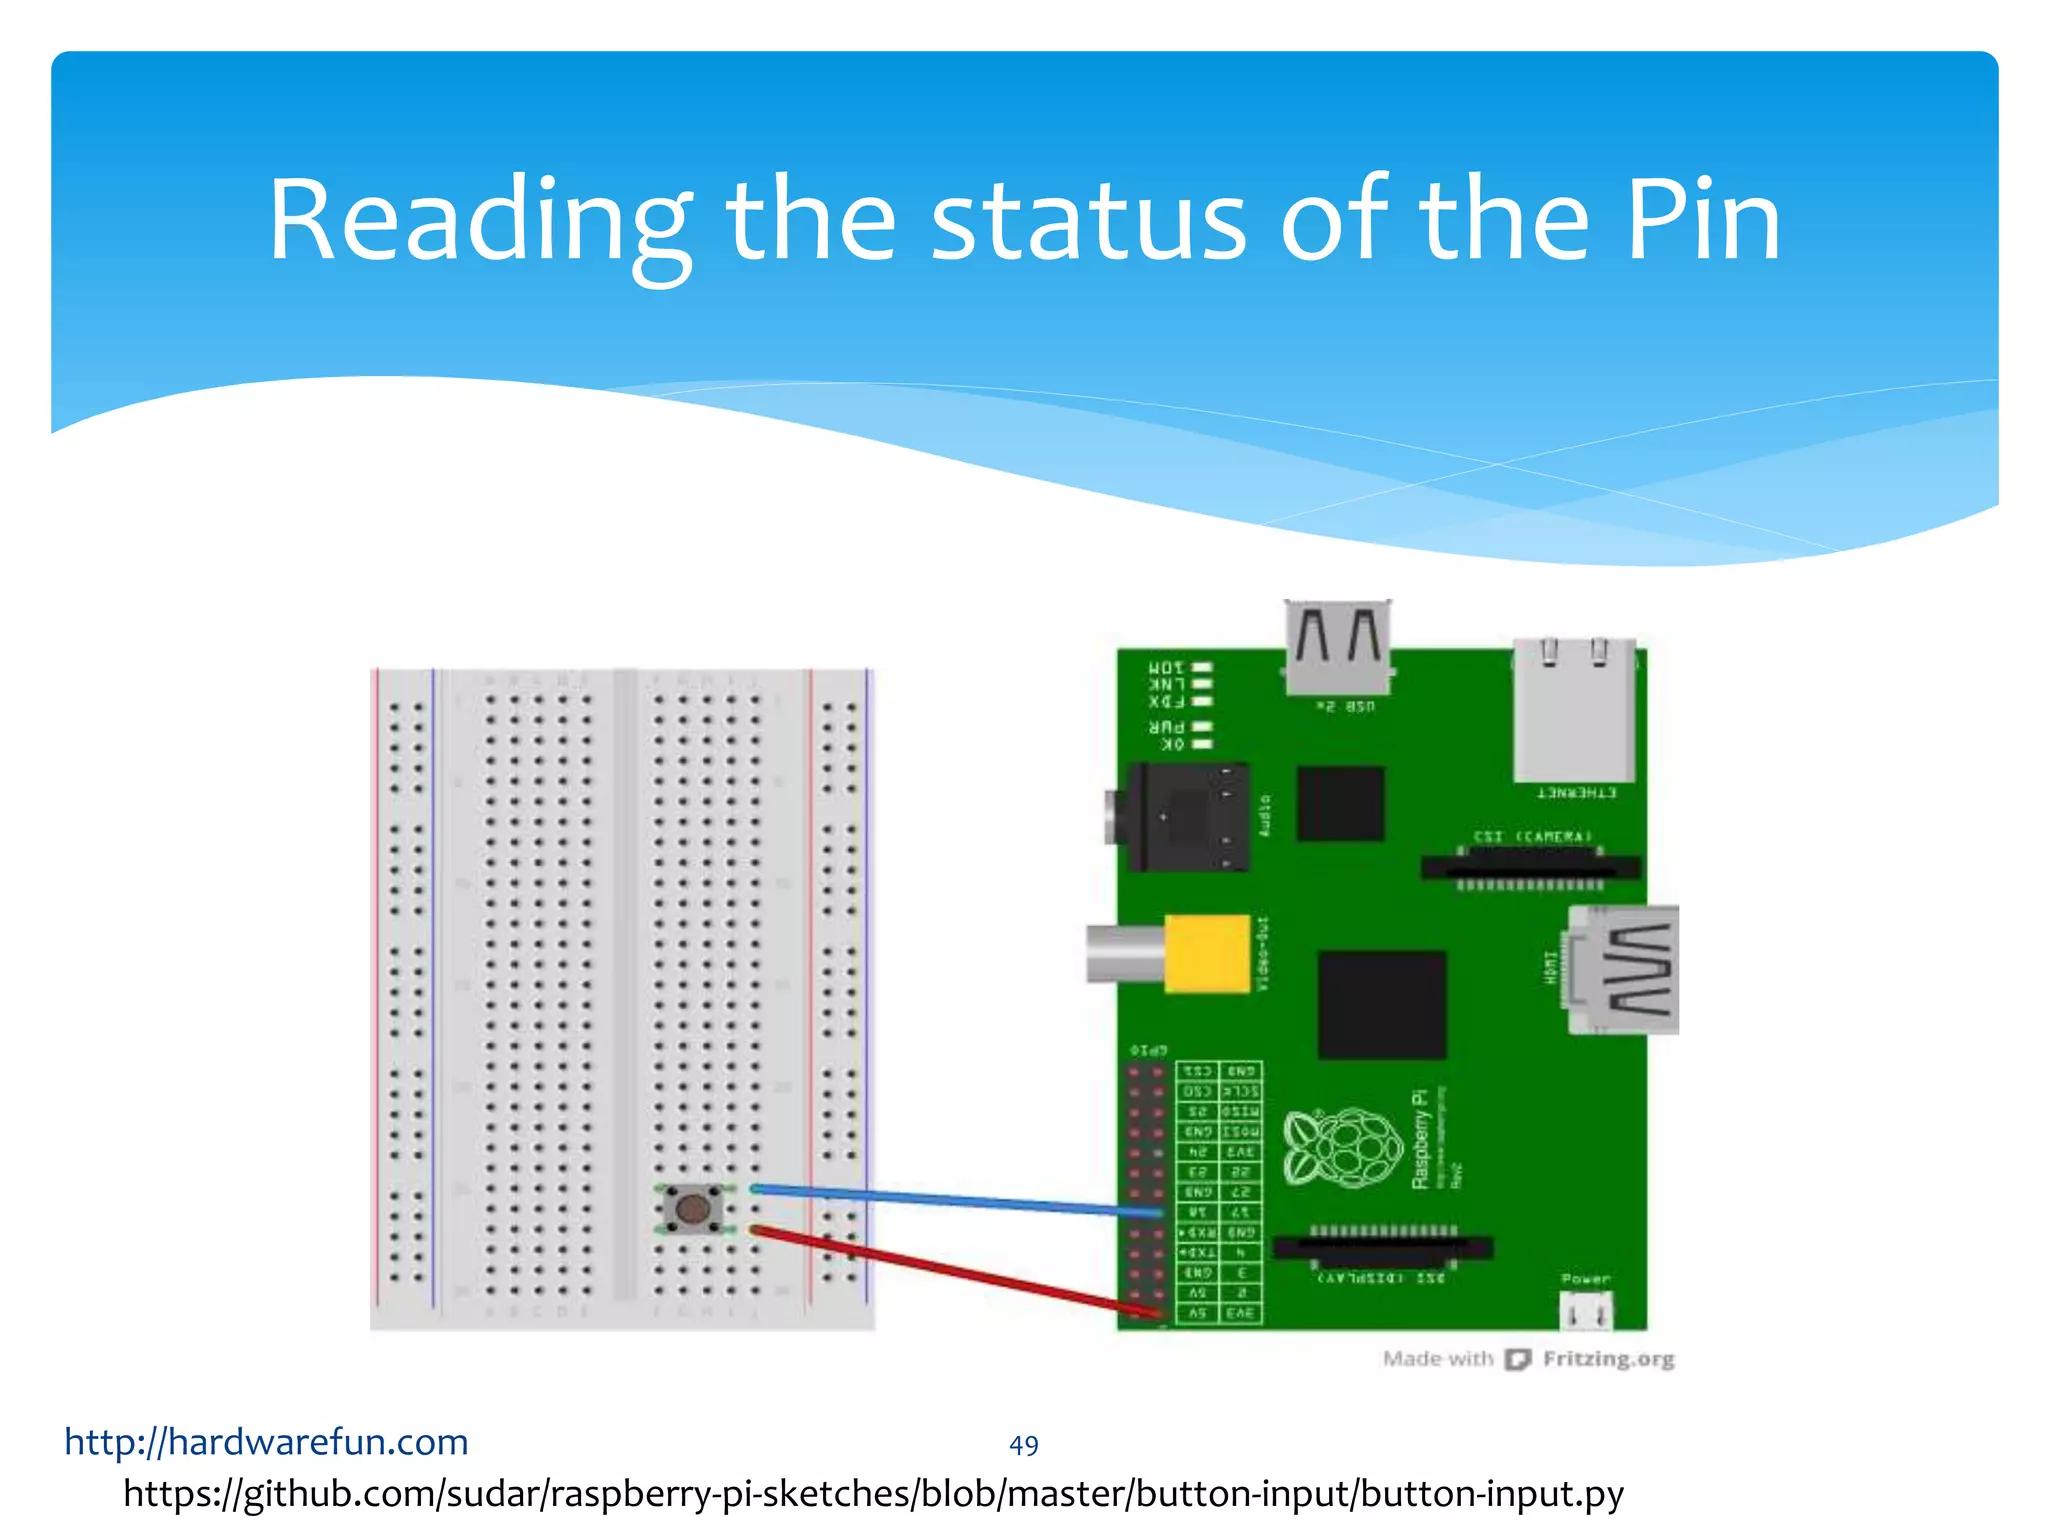
Demonstrating the reading of button input and its effect on LED status.
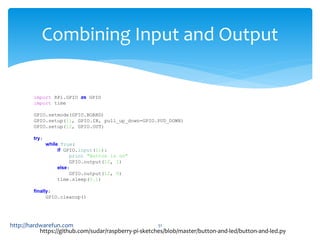
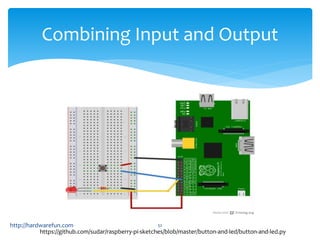
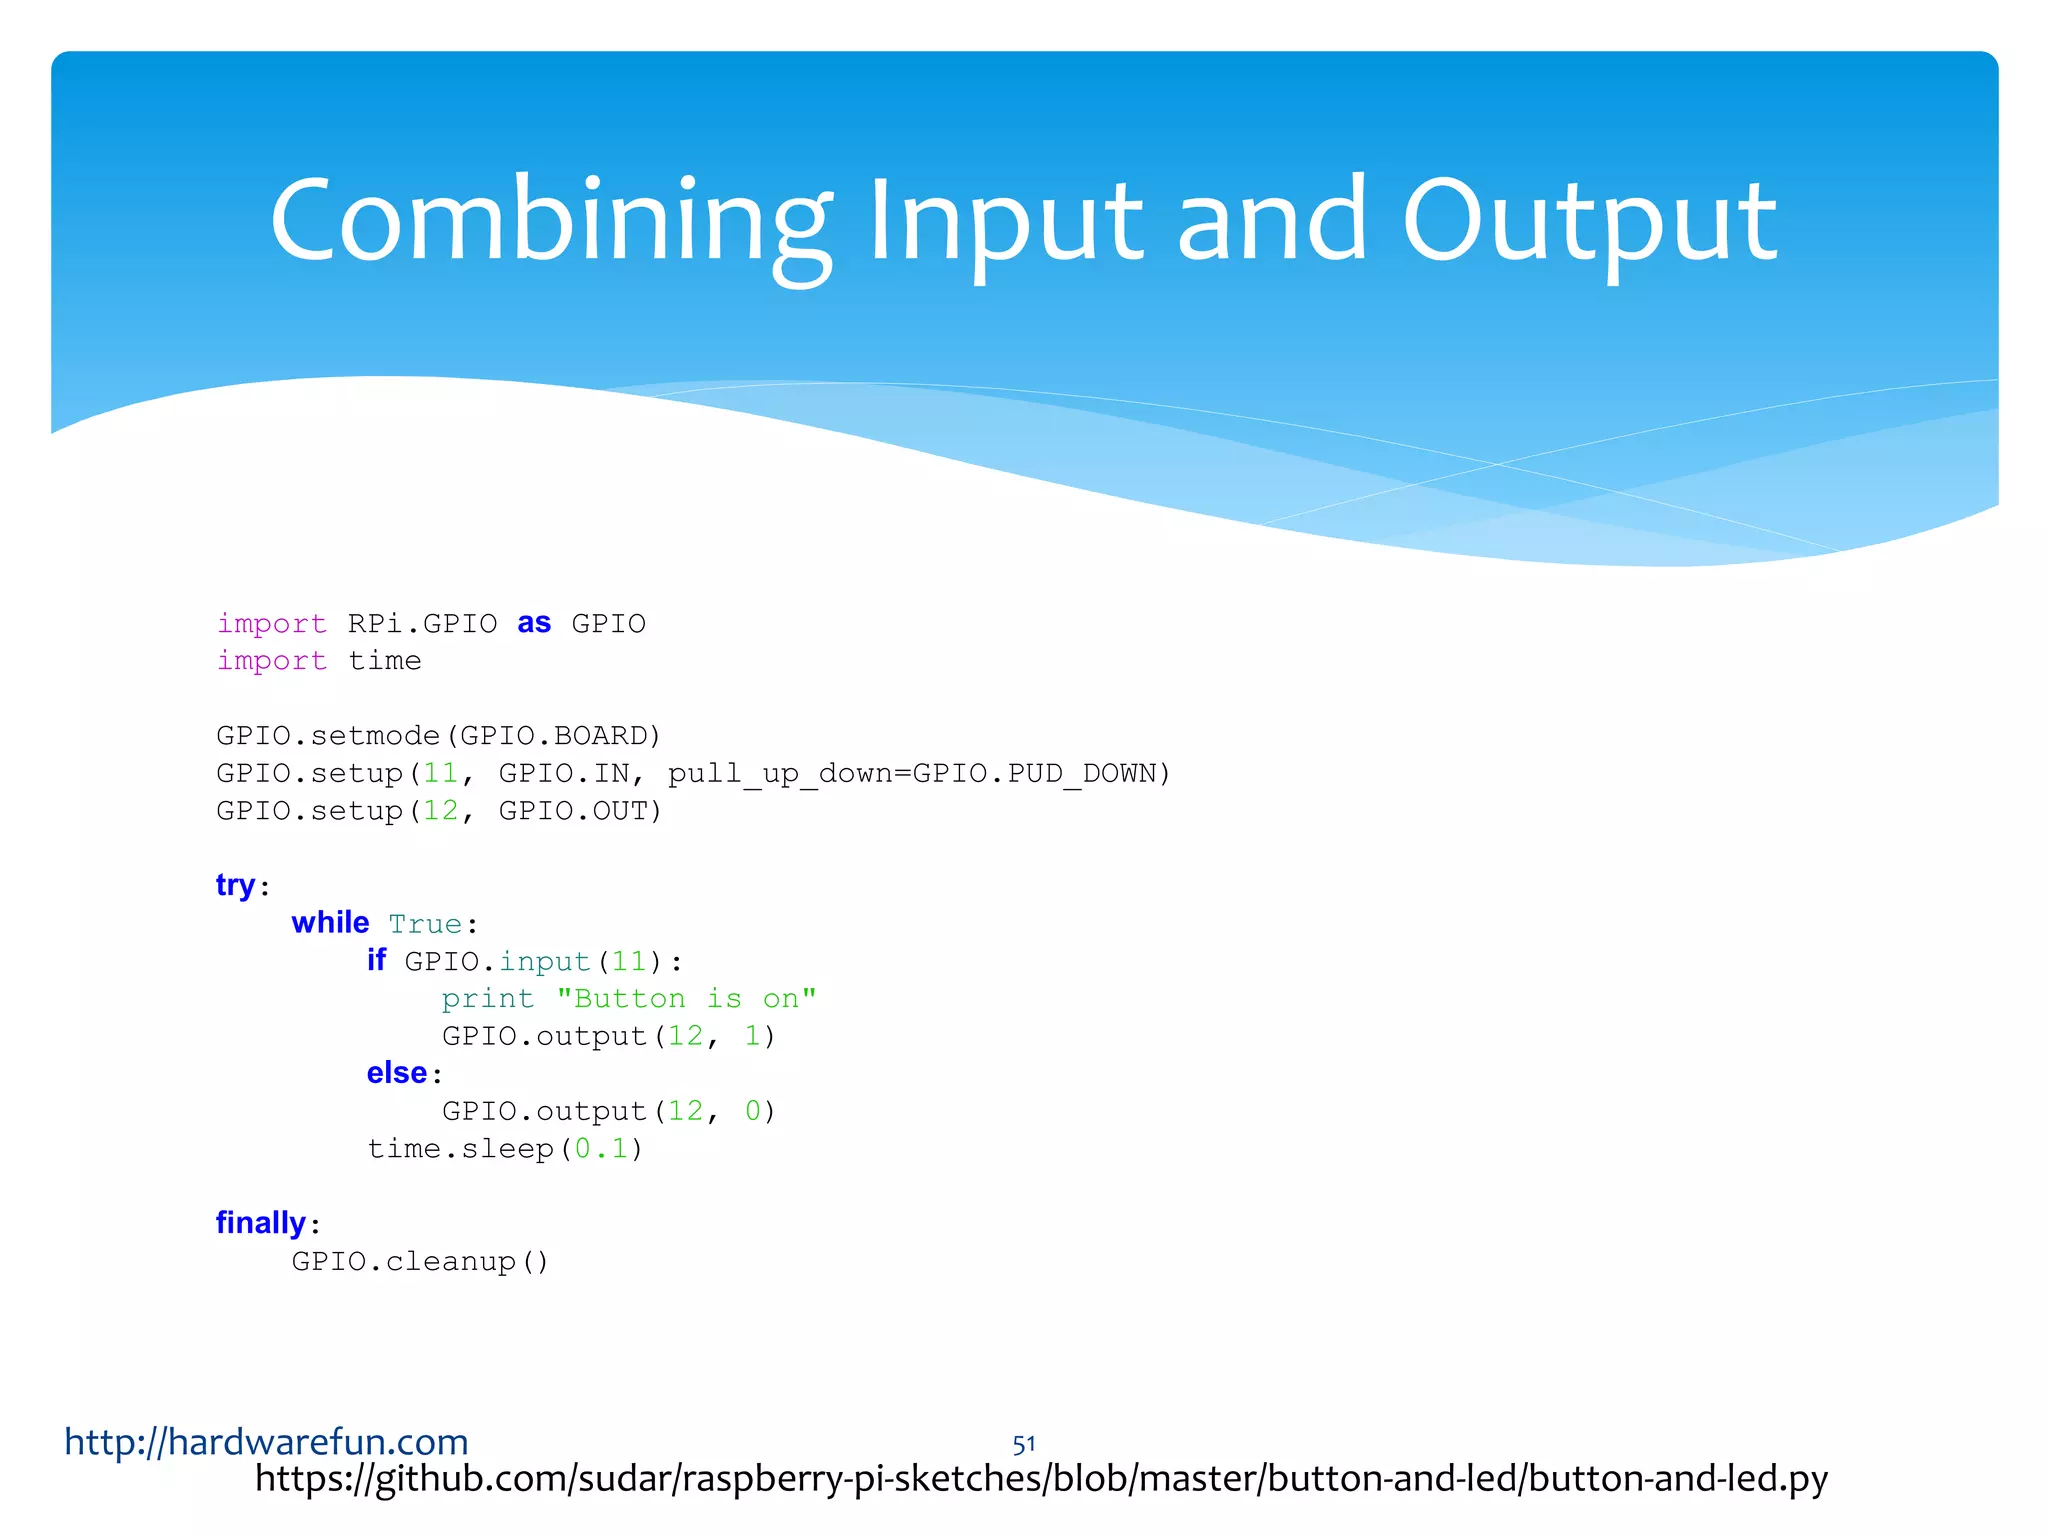
Using Python to control an LED based on button presses, demonstrating input/output combinations.
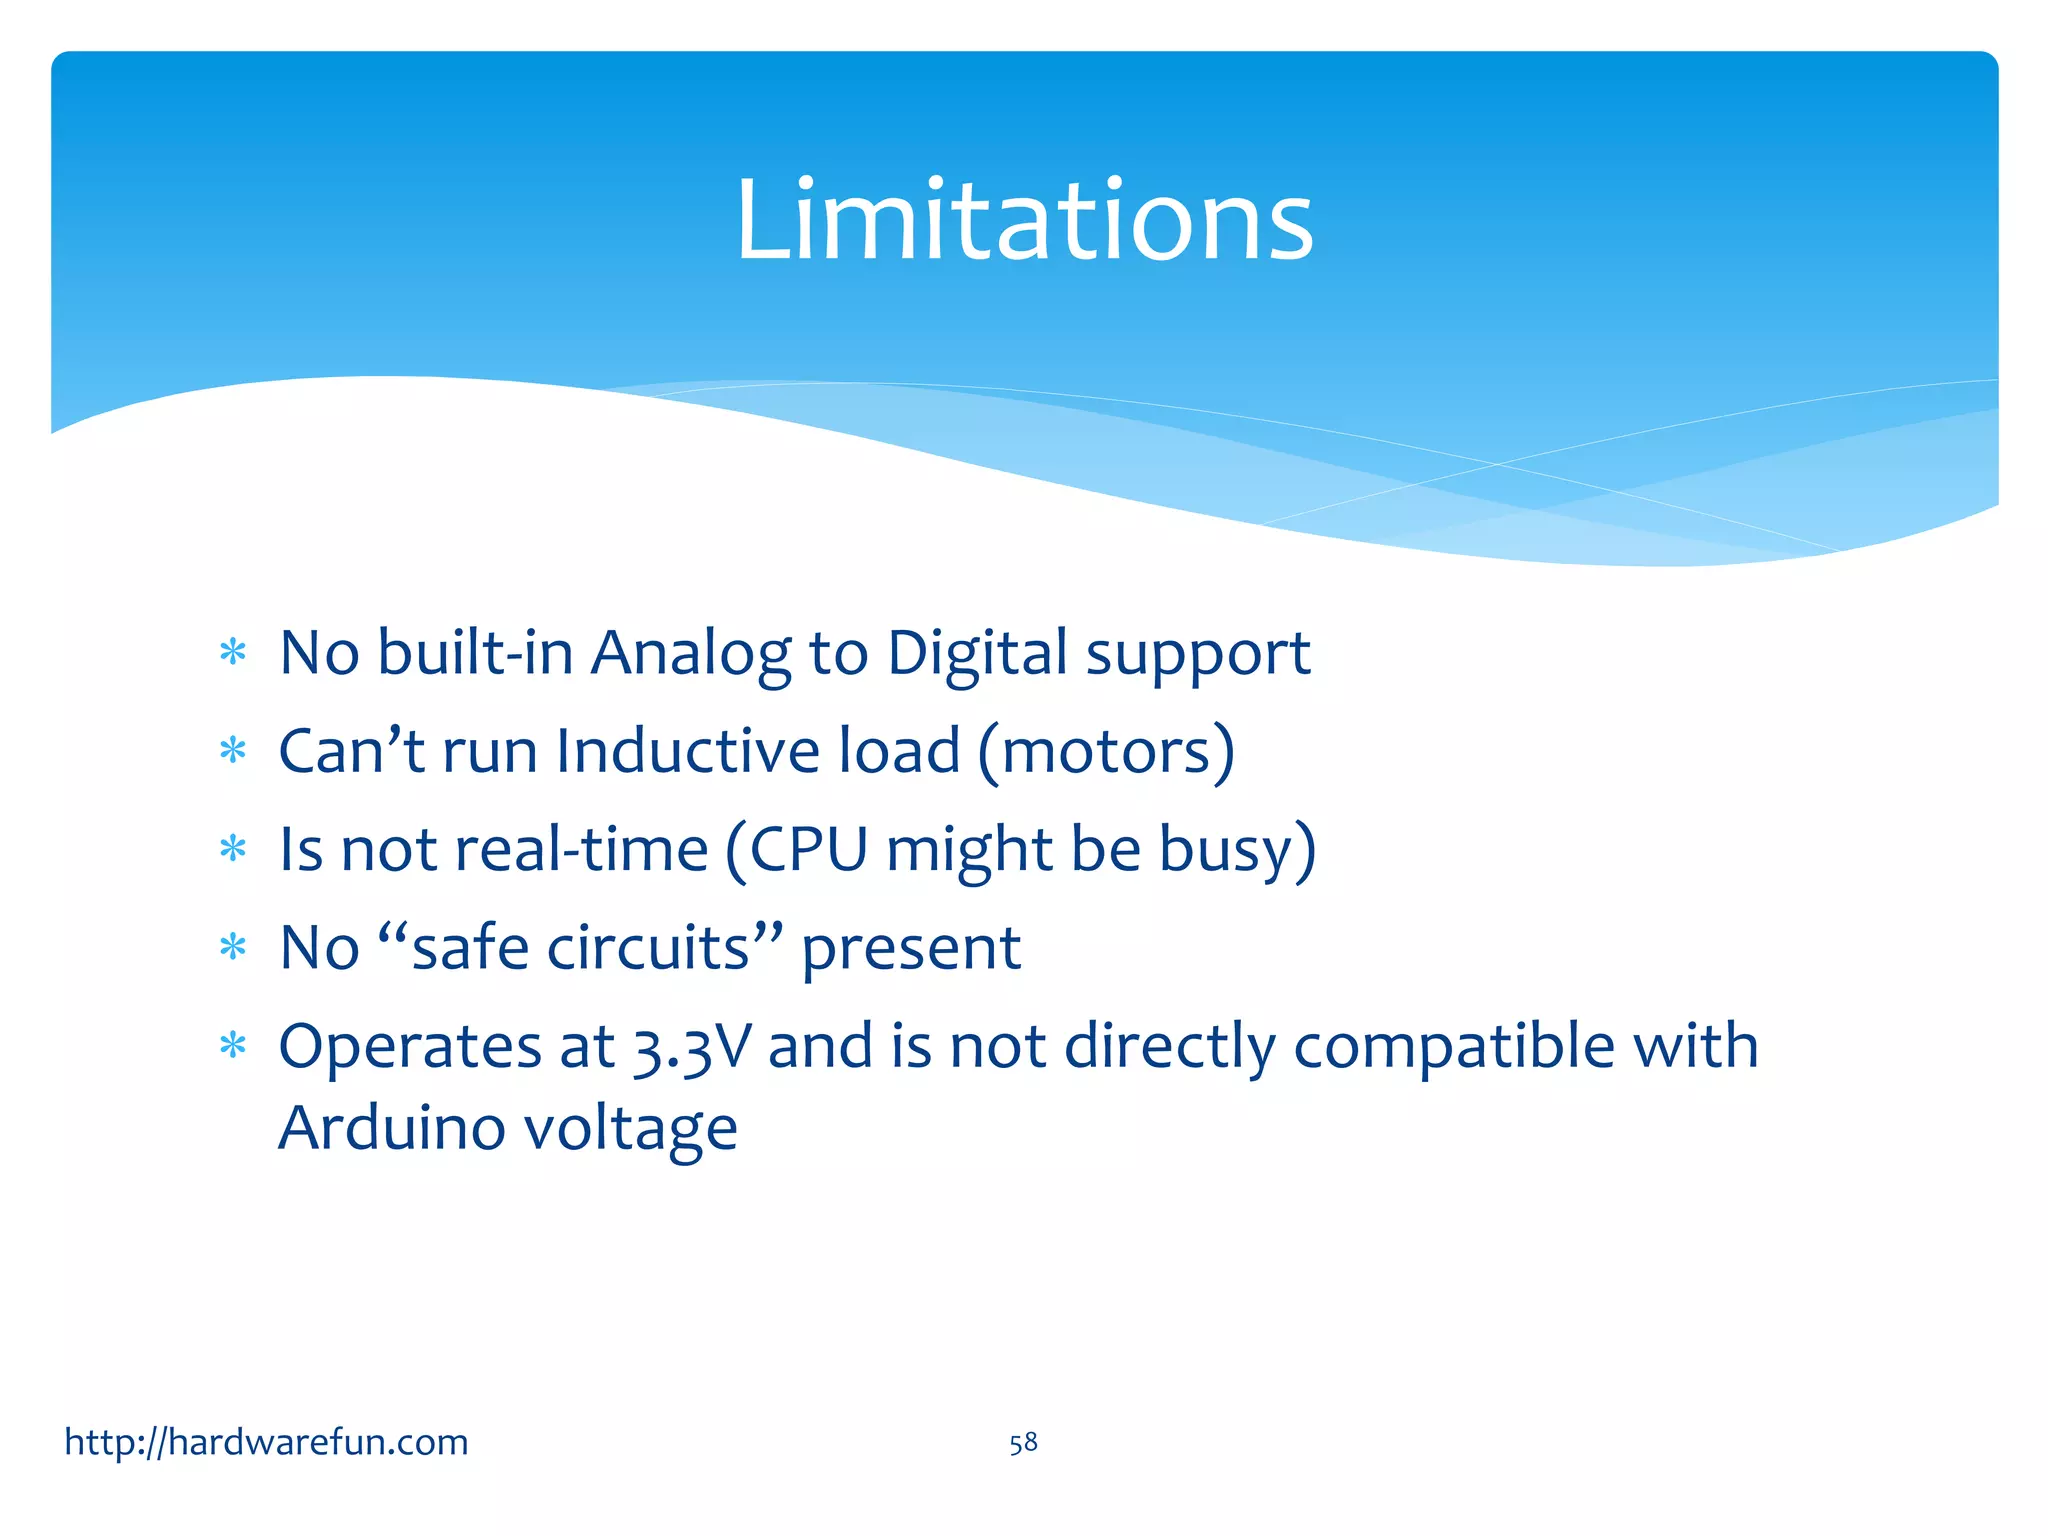
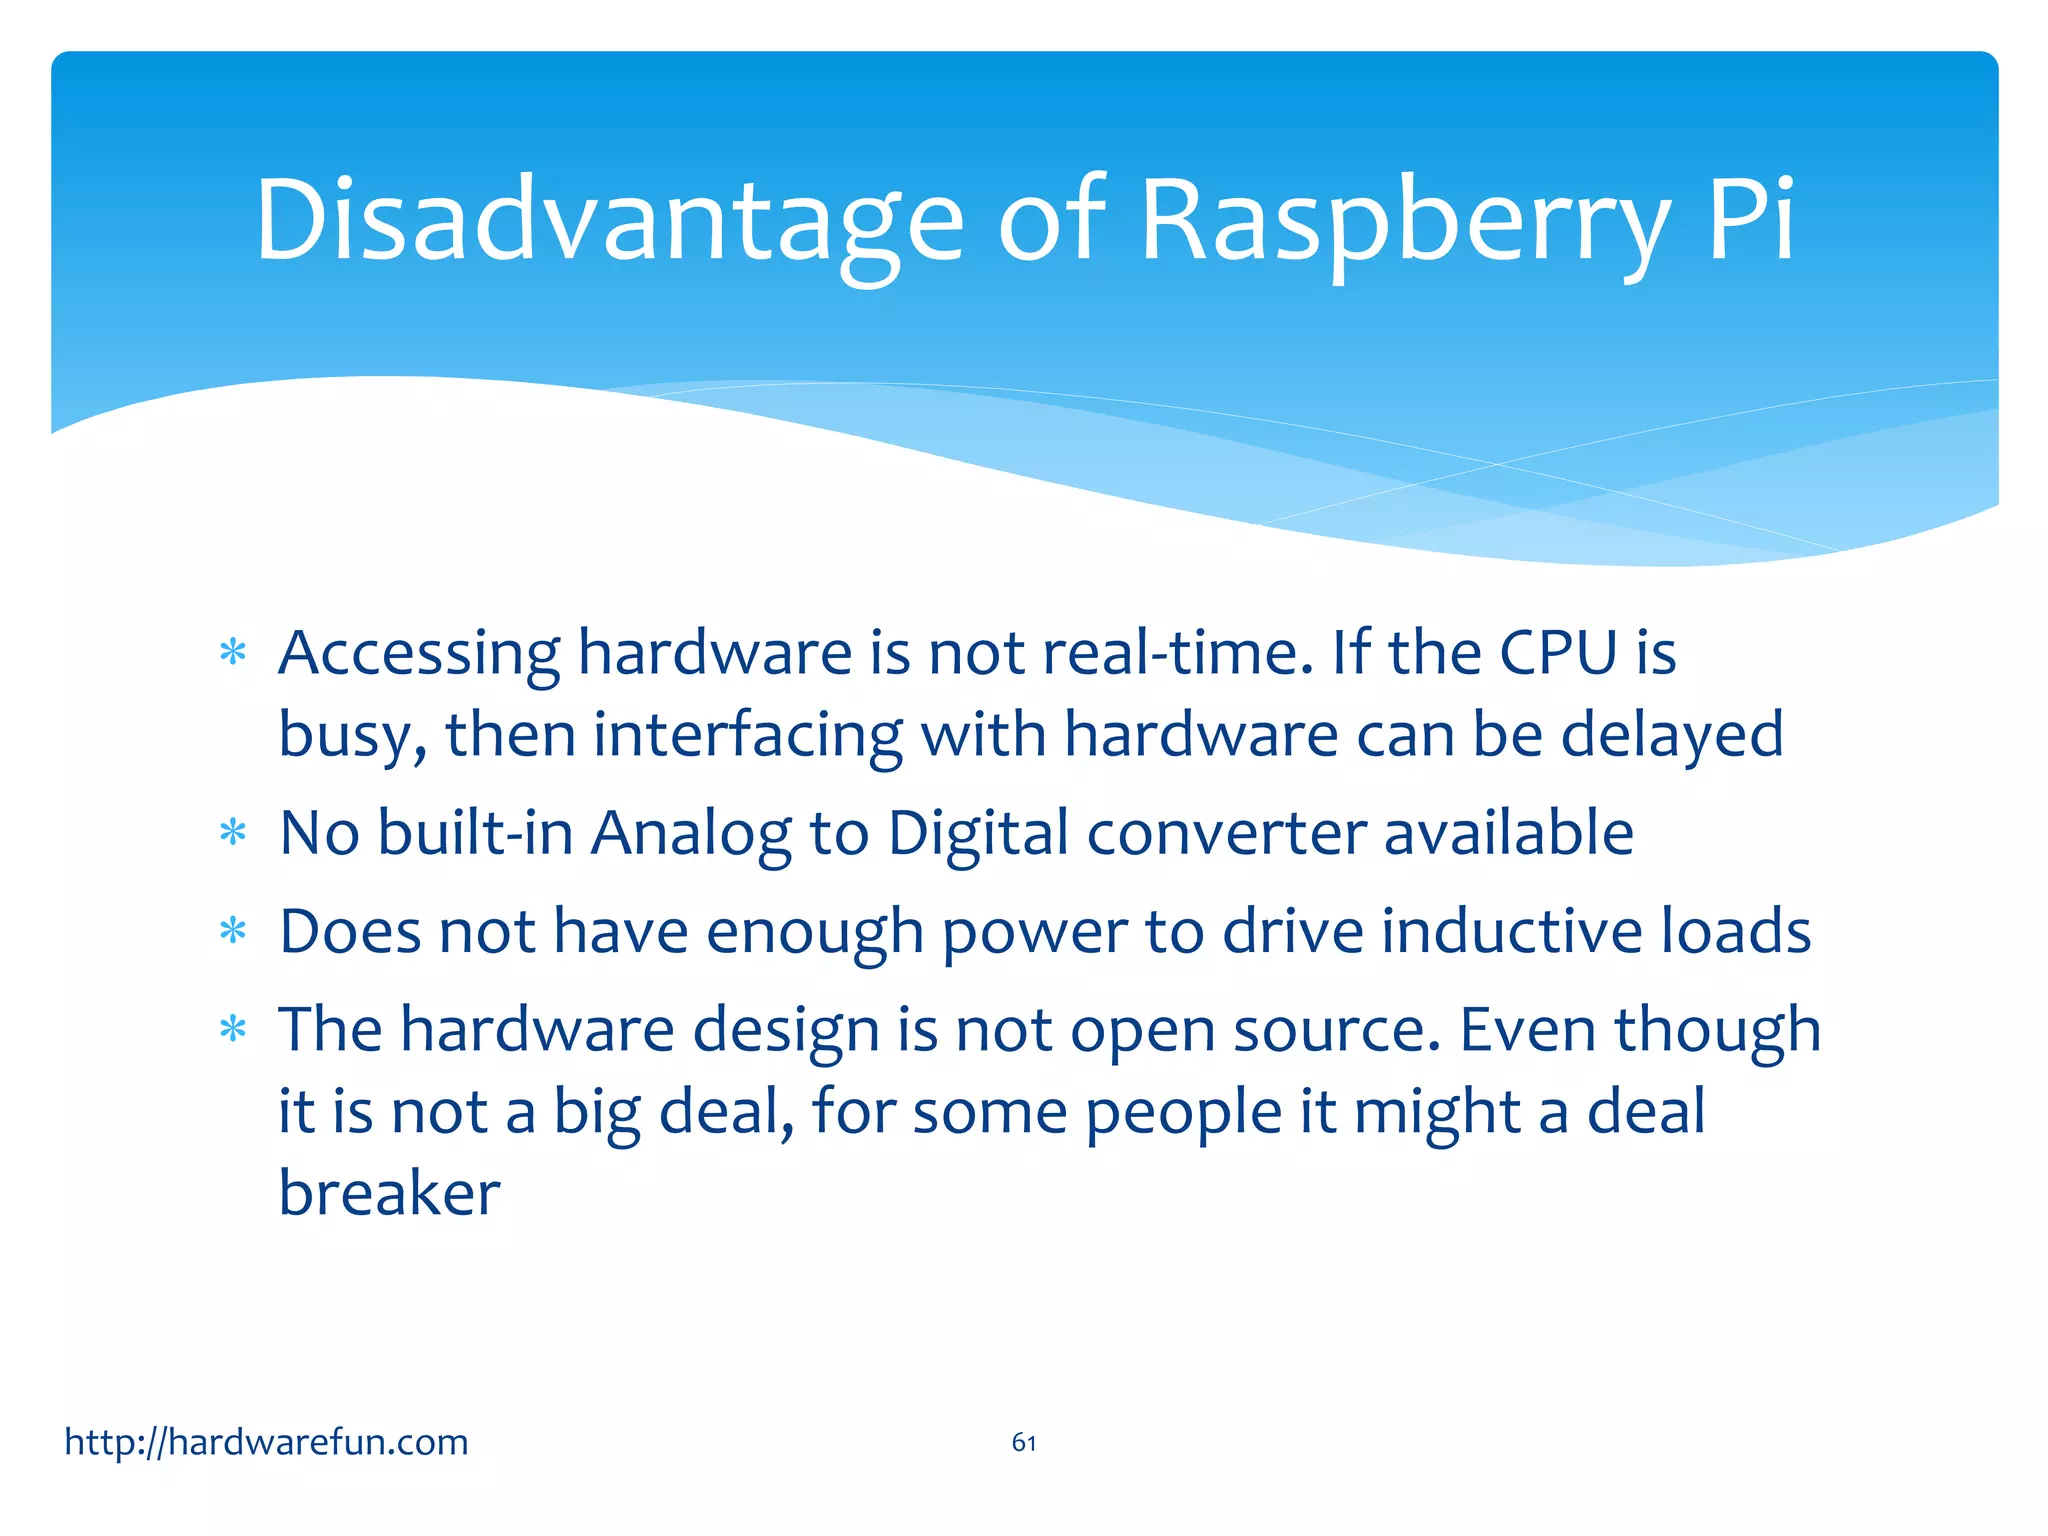
Exploring more advanced features and limitations of Raspberry Pi including analog support and real-time constraints.
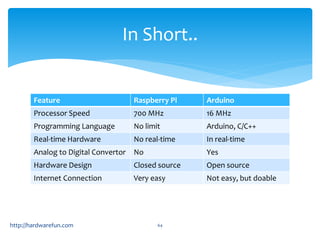
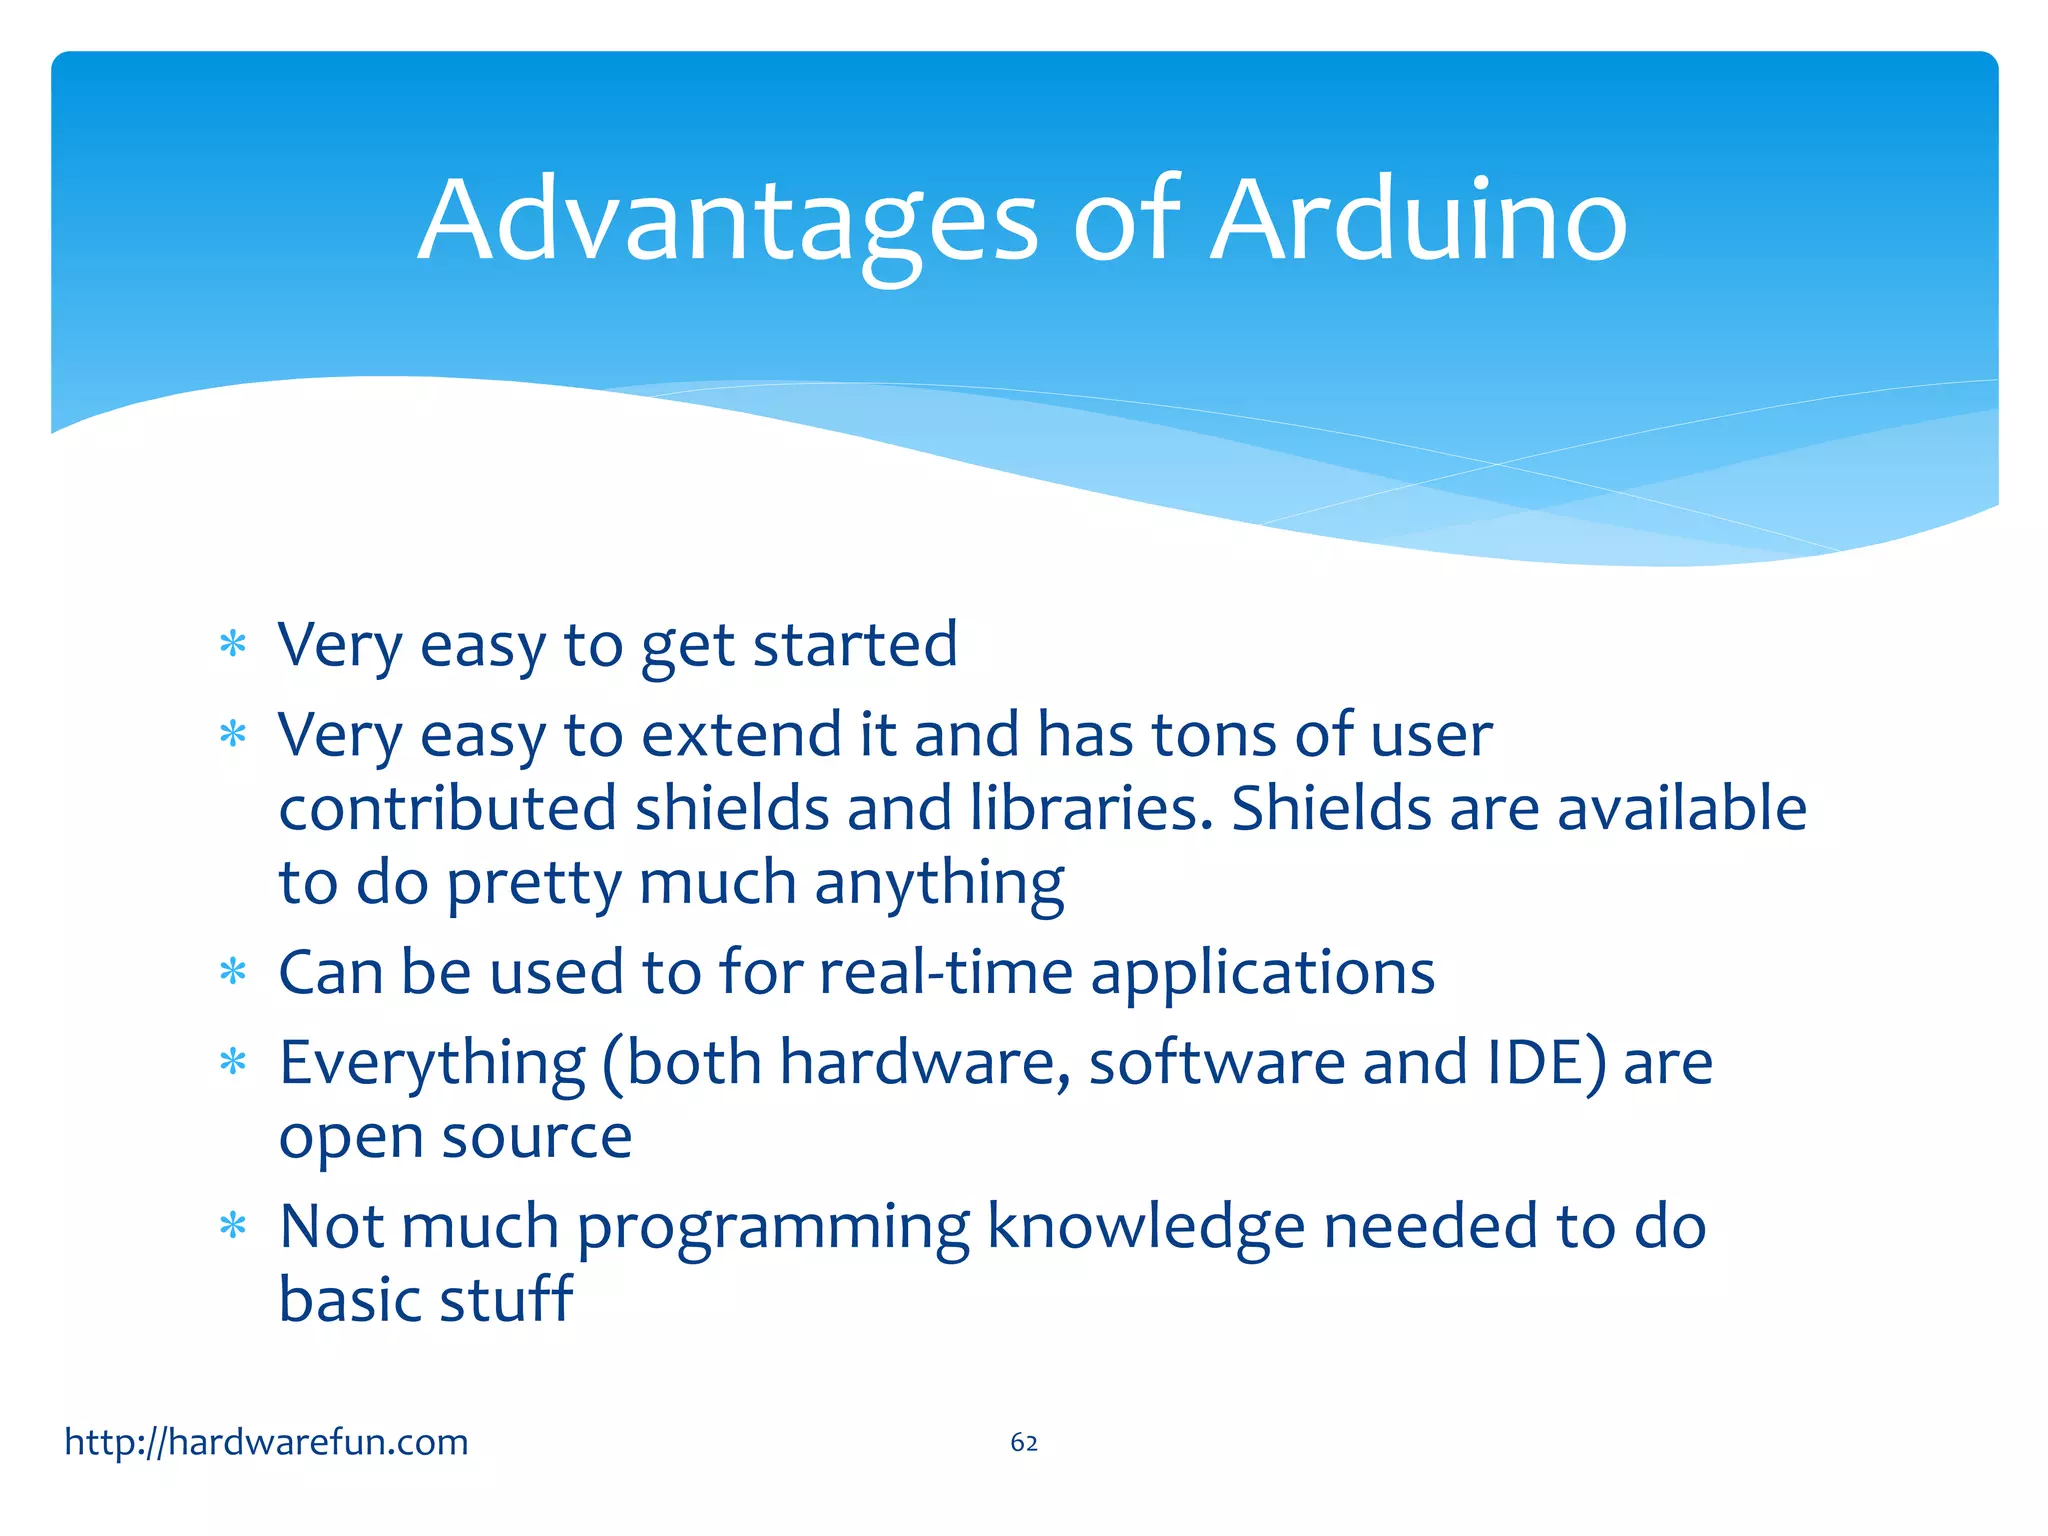
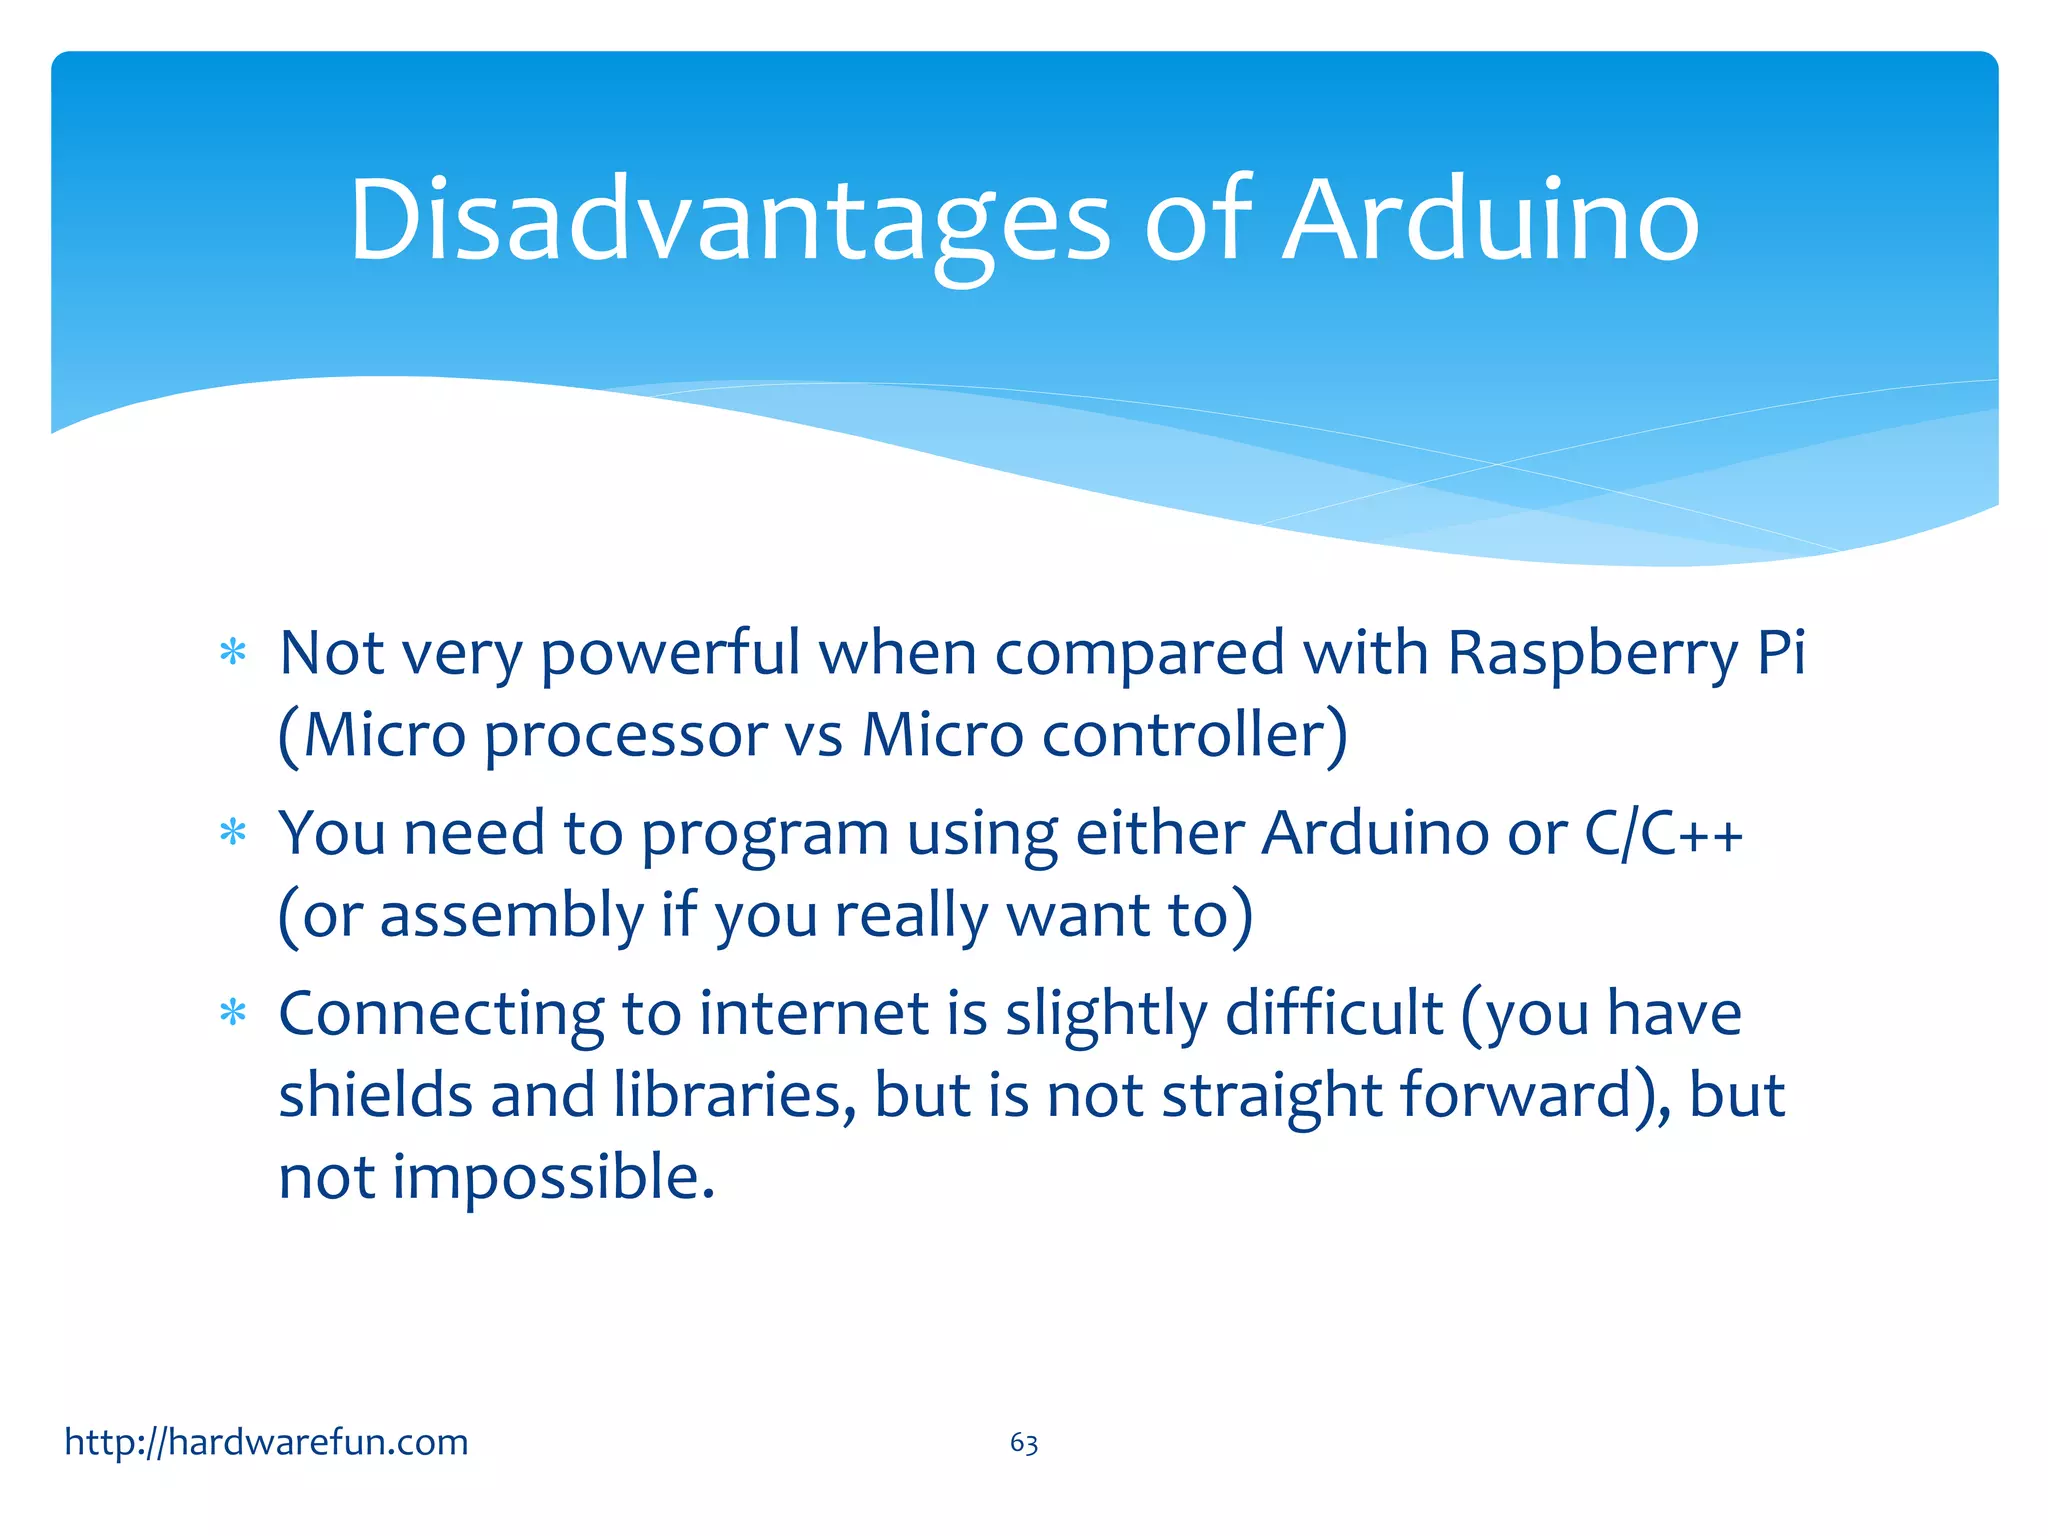
Assessing advantages and disadvantages of both platforms for IoT applications.
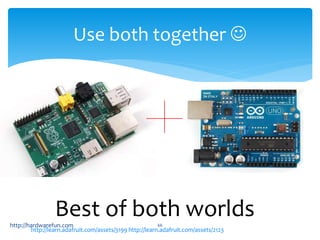
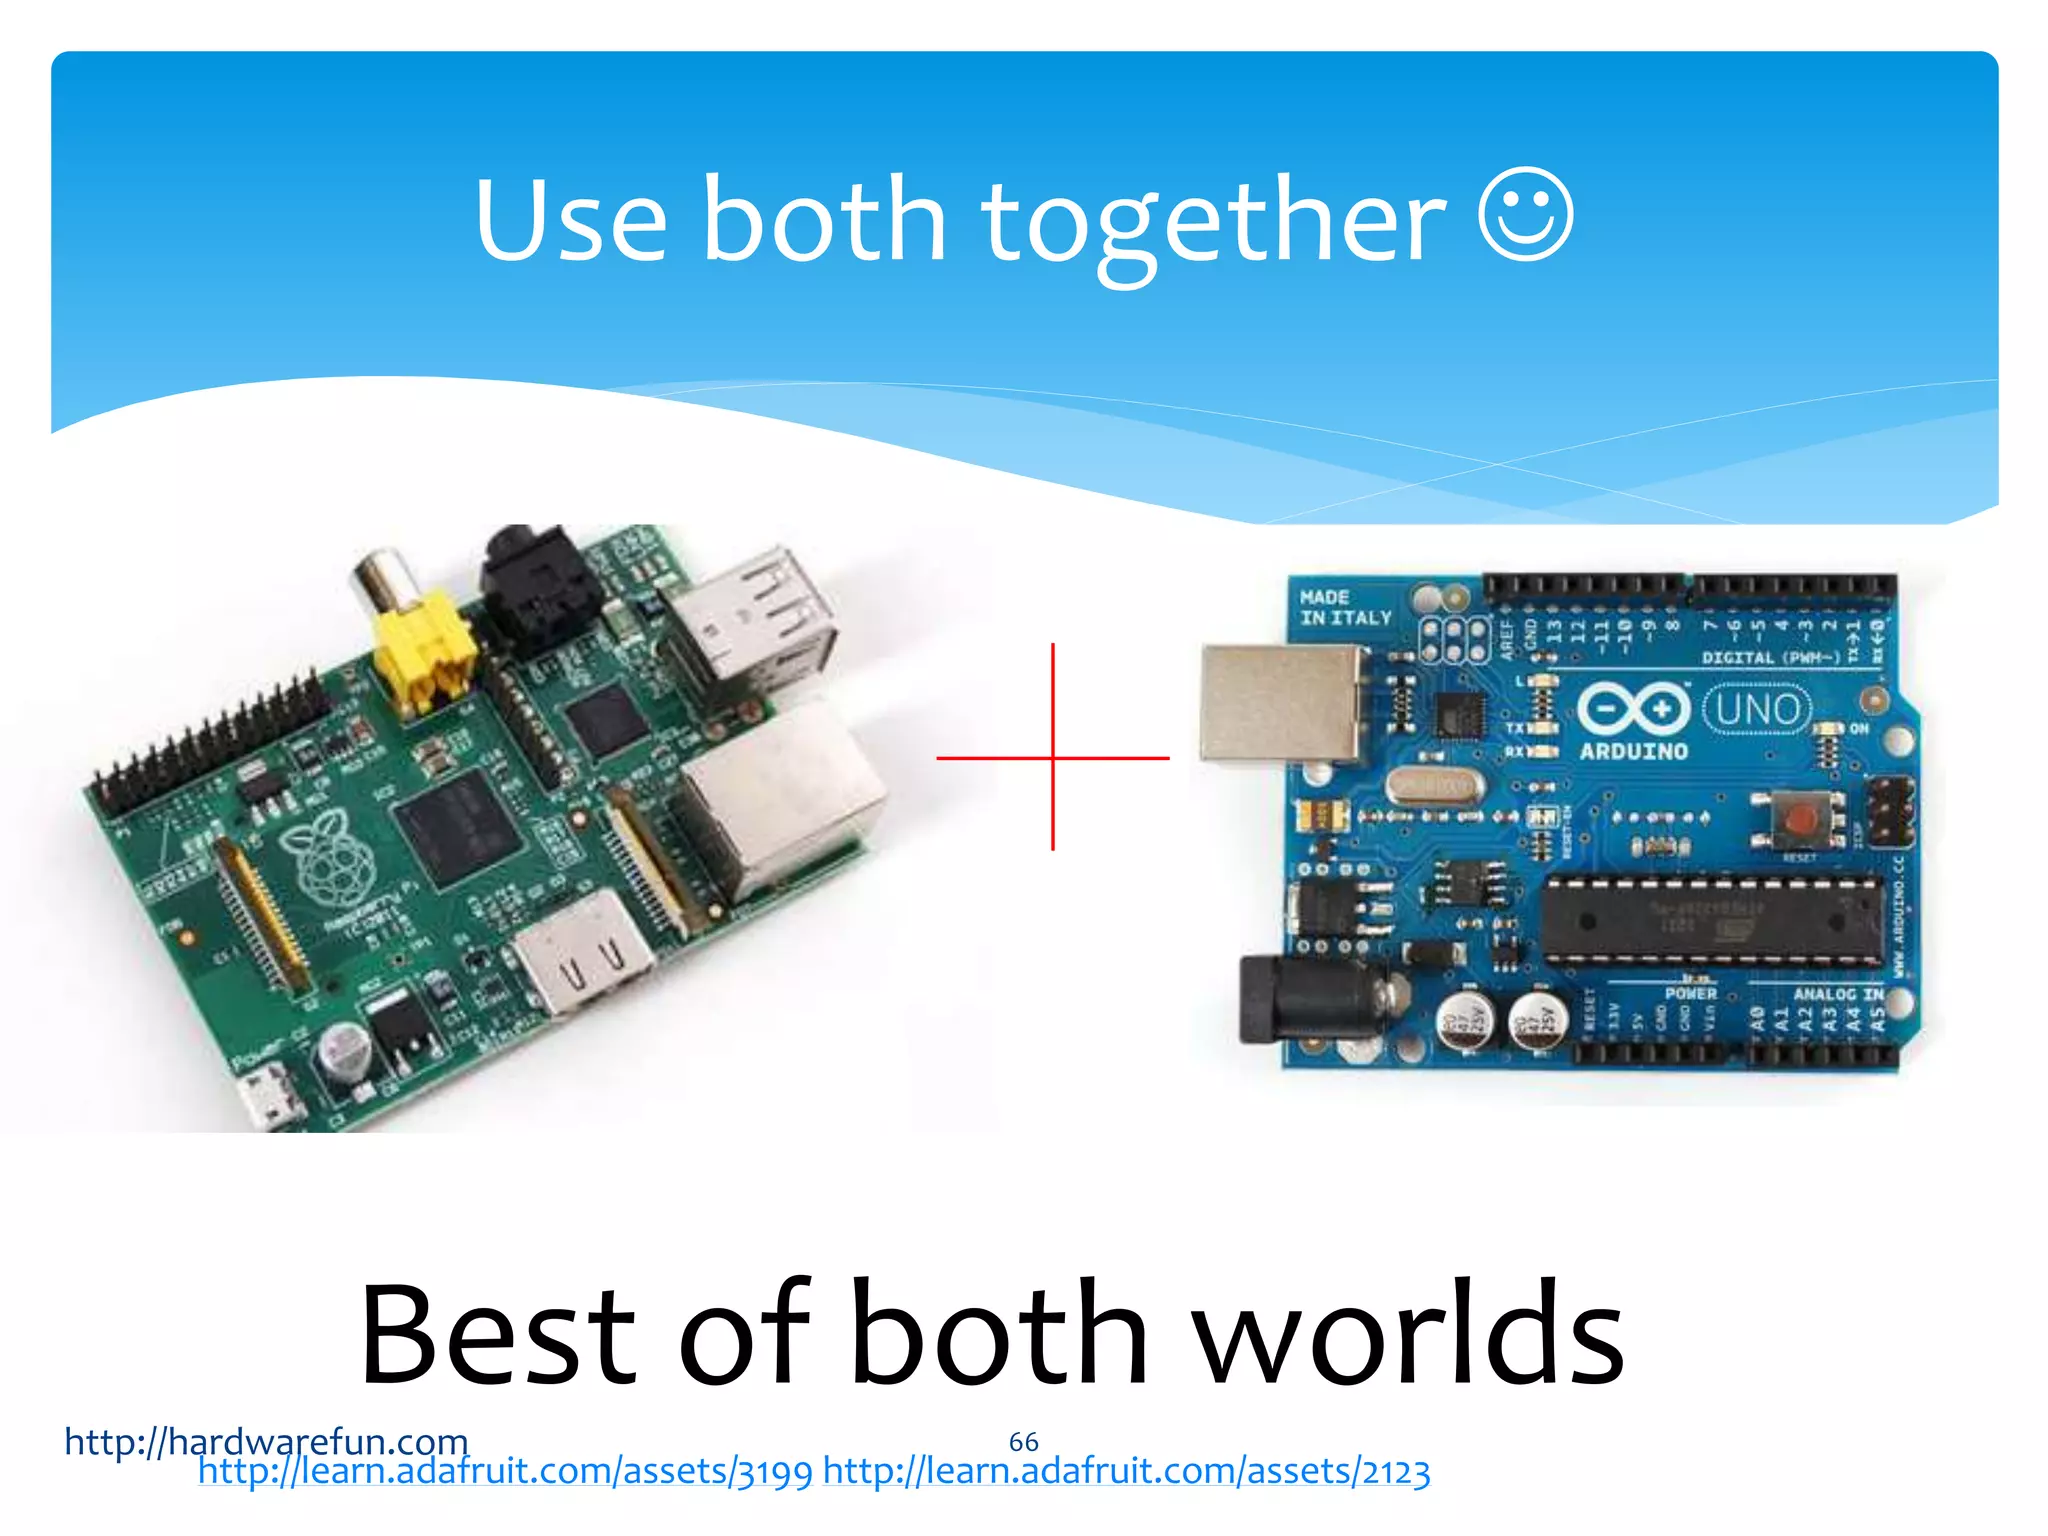
Proposal to use both Raspberry Pi and Arduino together for optimal IoT solutions along with resource links.
Closing remarks with a call for questions and thanks from the presenter.


