ATTRIBUTES OF OUTPUT PRIMITIVES IN COMPUTER GRAPHICS
This document discusses different types of filled area primitives and their attributes. It describes boundary fill and flood fill algorithms for filling regions. Boundary fill uses recursion to fill pixels adjacent to the boundary, while flood fill selects an interior seed point and fills surrounding pixels. The document also covers line attributes like type, width, and color. It explains character attributes such as font, size, color, and orientation used to display text. Marker attributes define symbols and their size/color that can represent points.
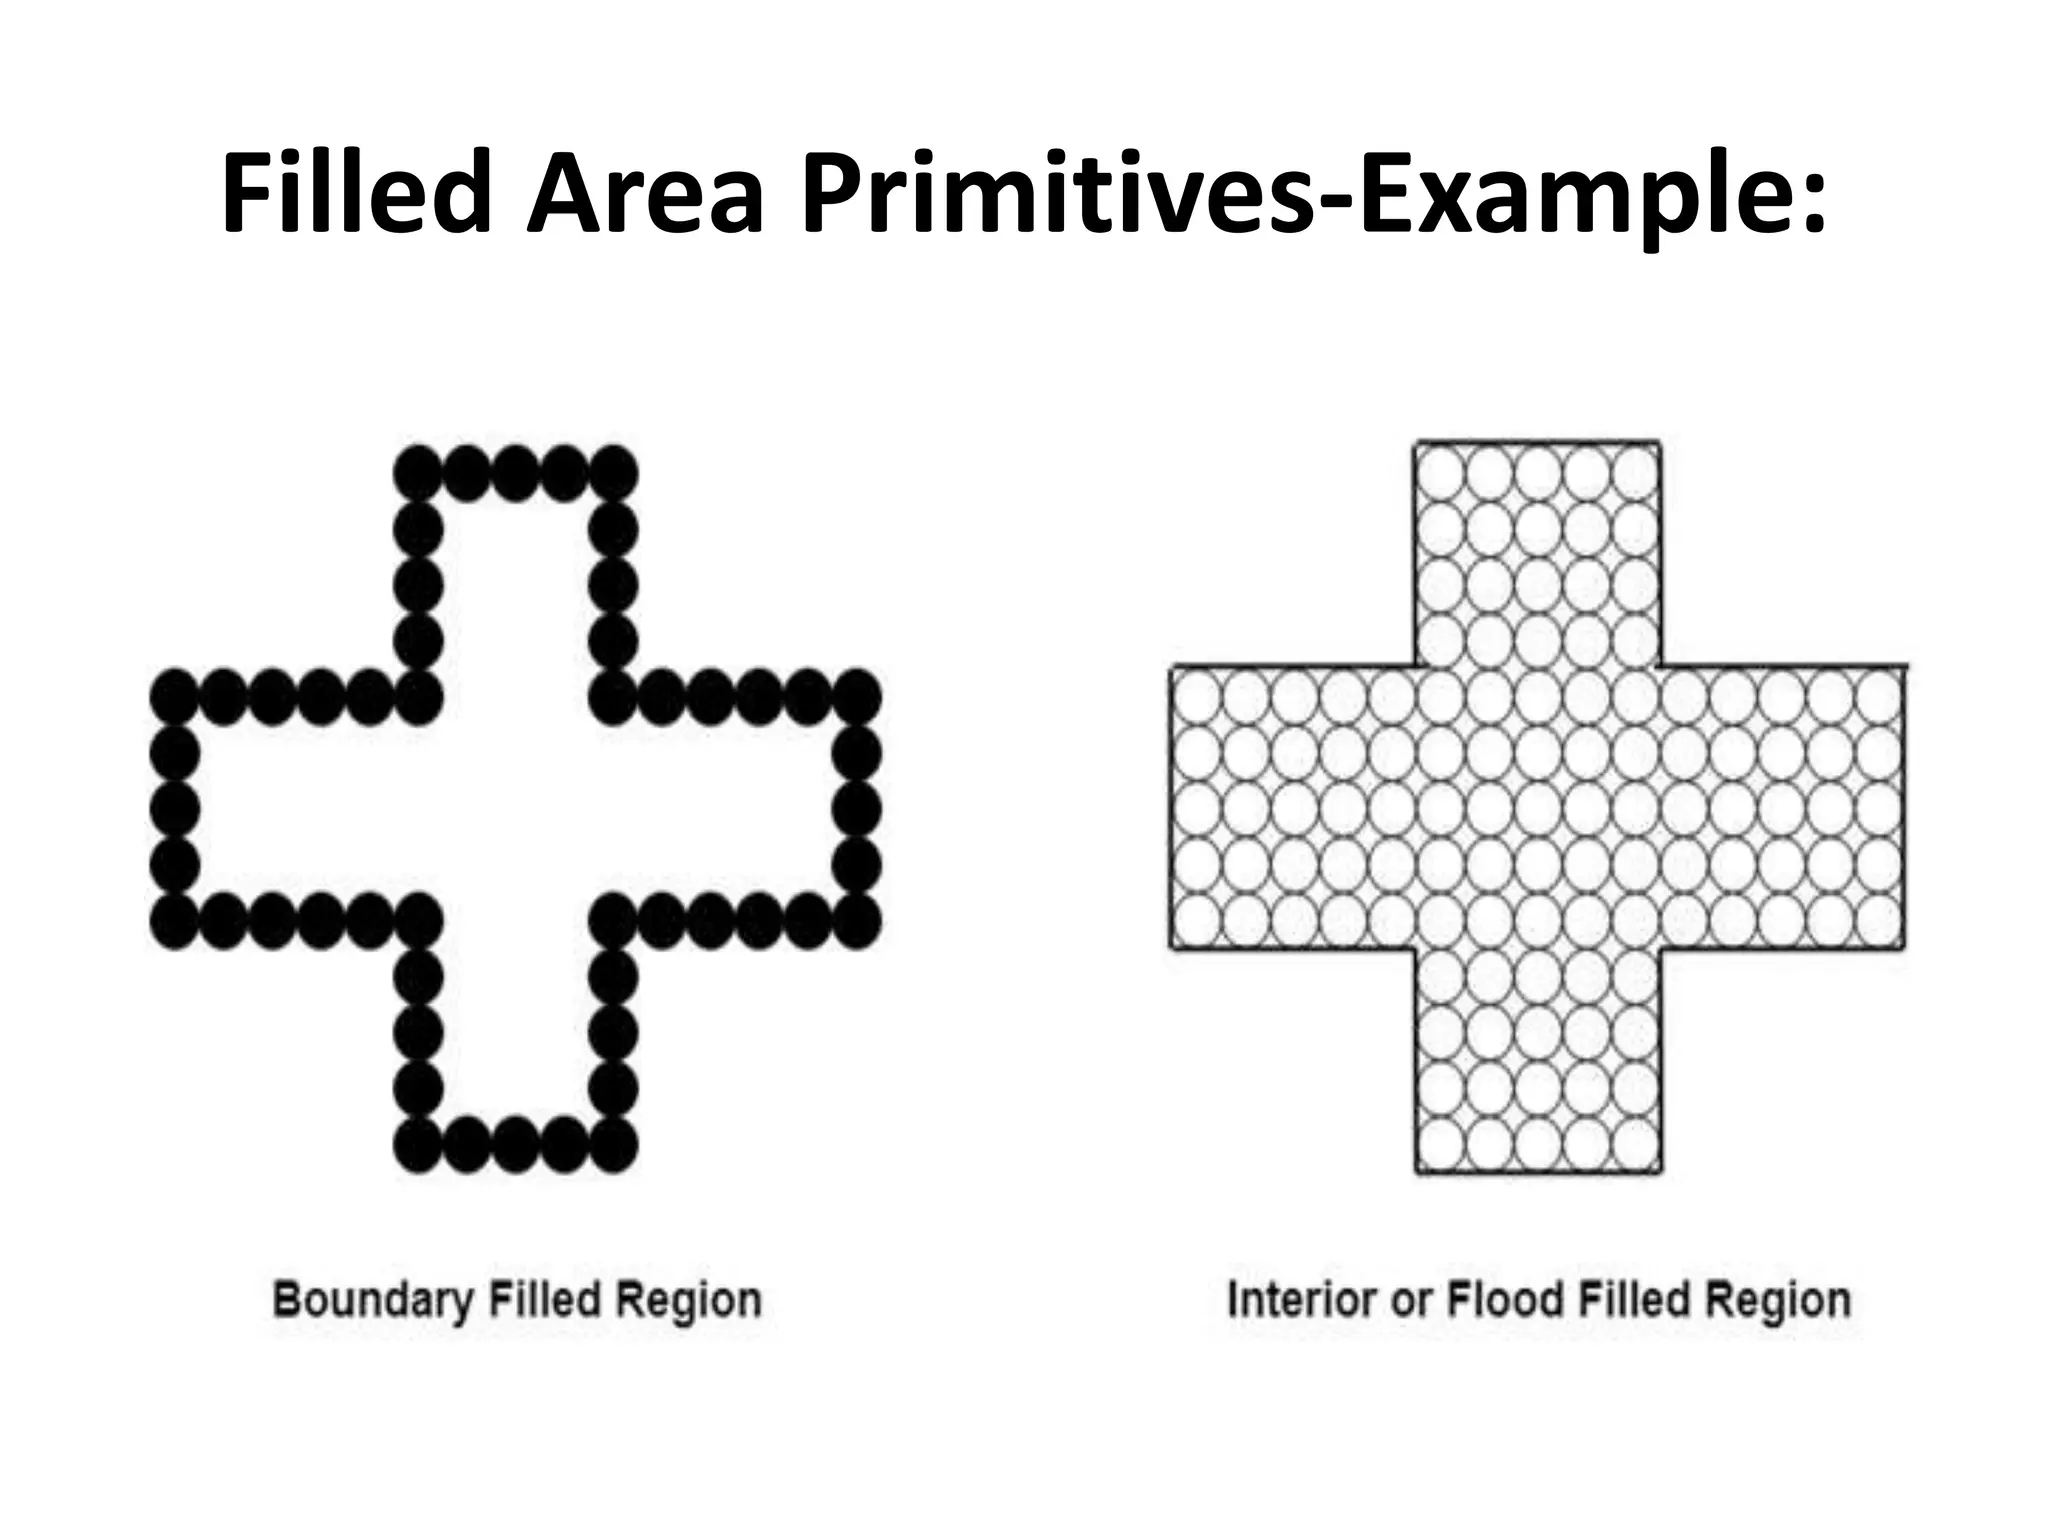
Filled Area Primitives:
•Region filling is the process of filling image or
region.
• Filling can be of boundary or interior region.
• Boundary Fill algorithms are used to fill the
boundary.
• Flood-fill algorithm are used to fill the interior.
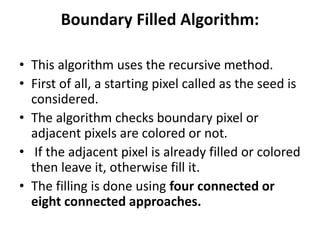
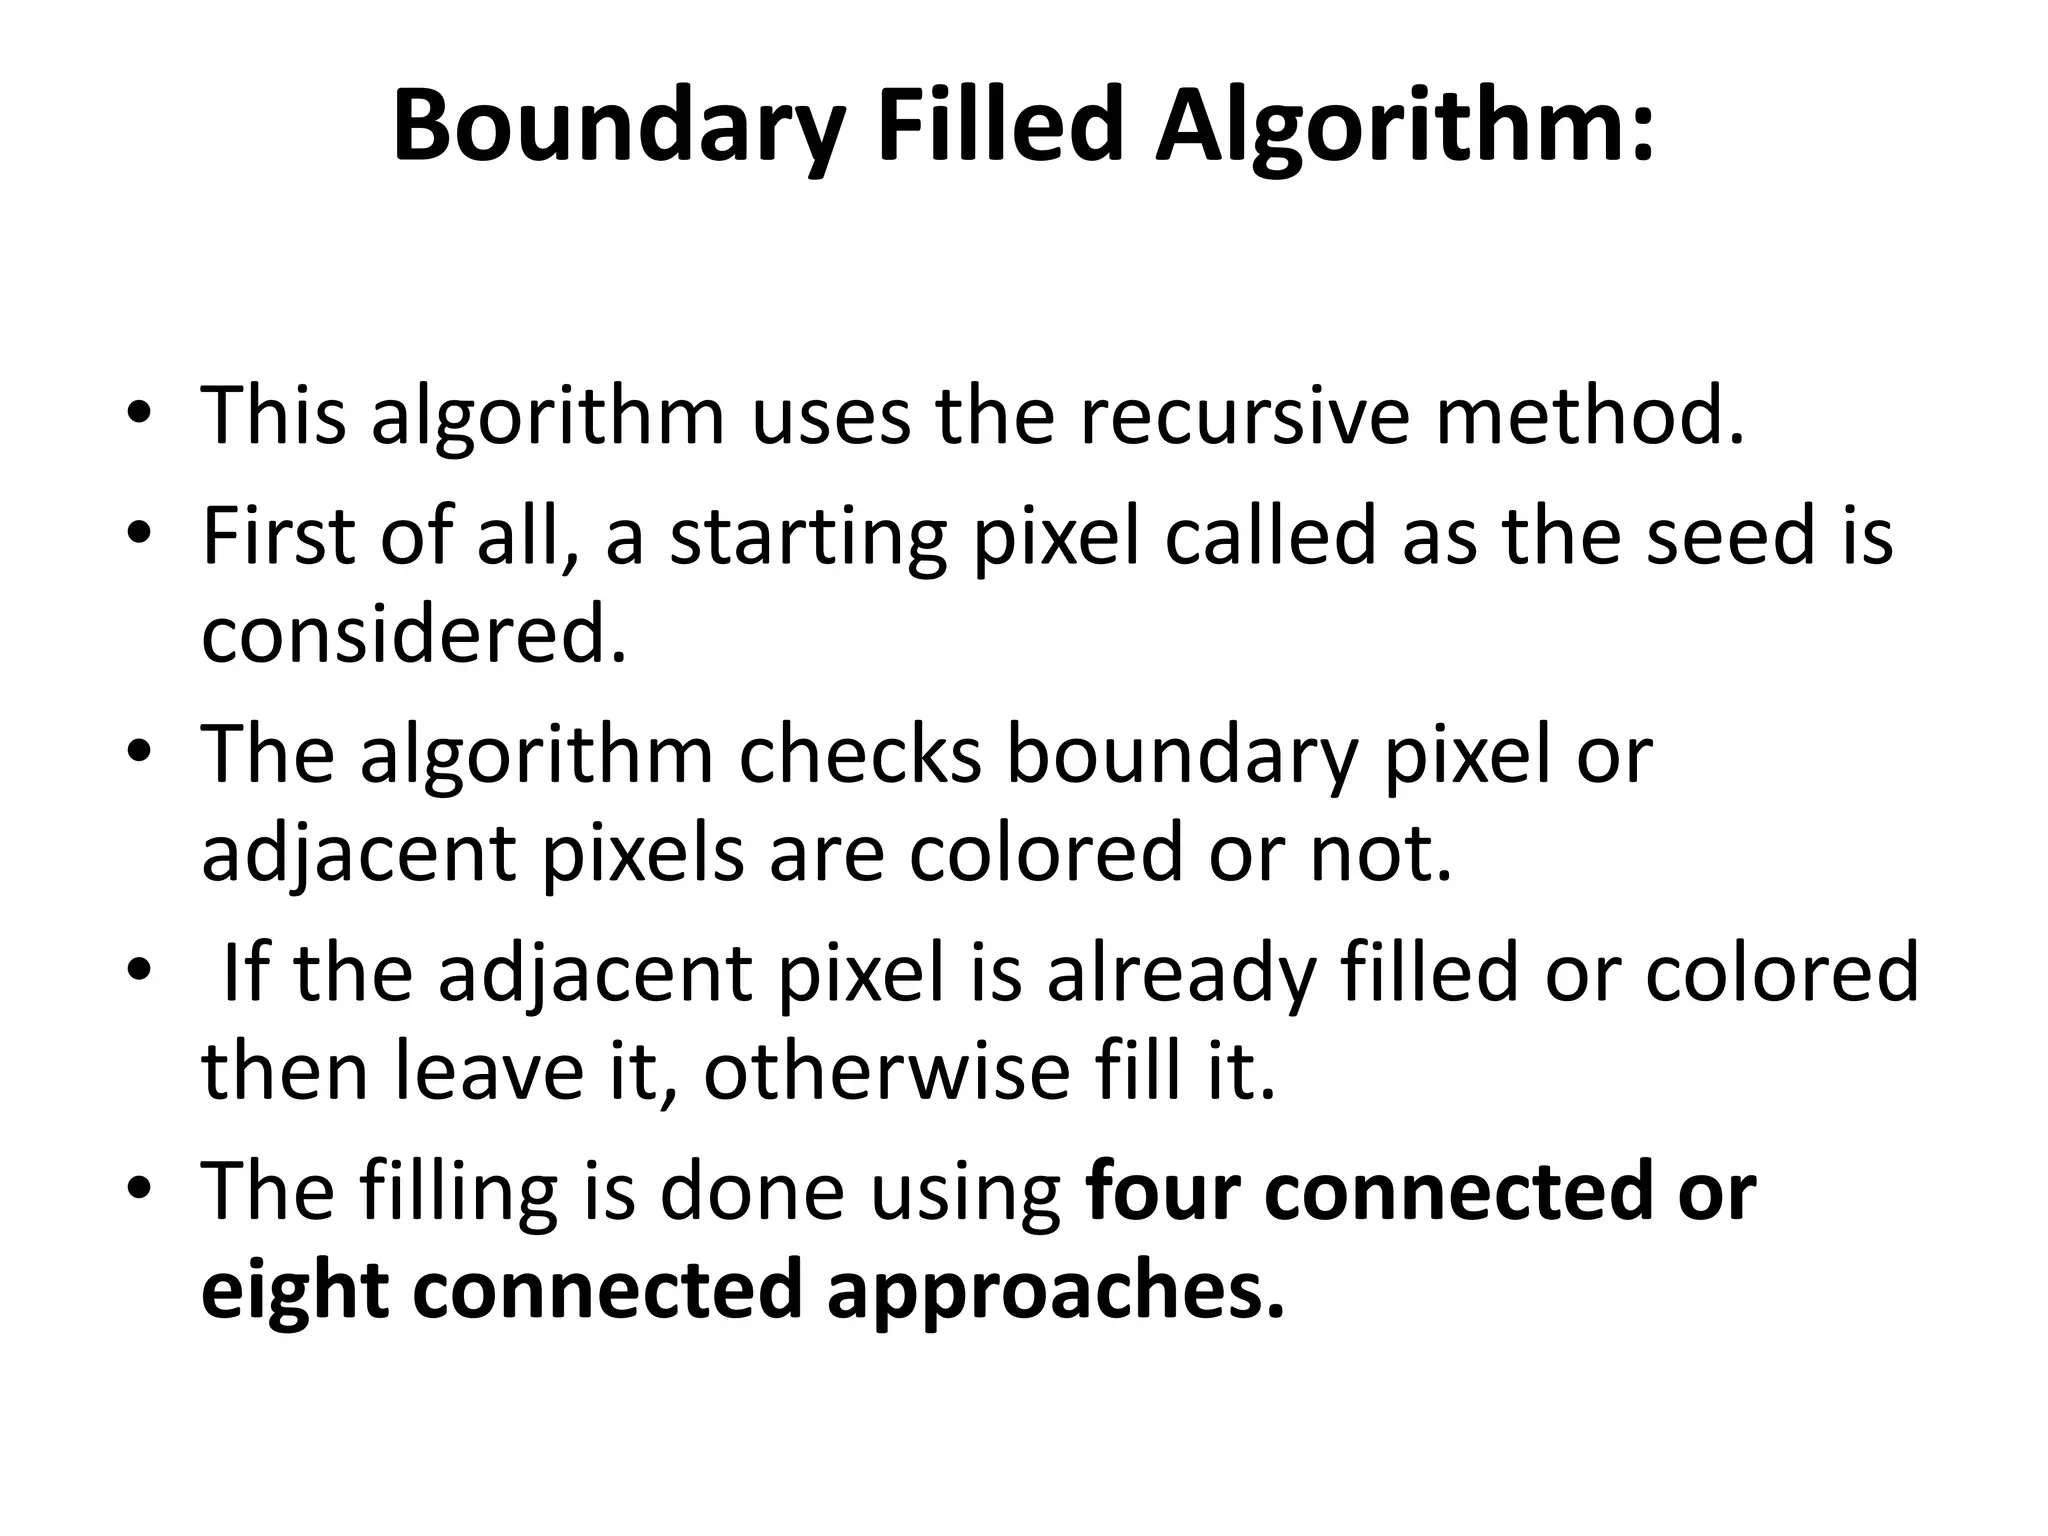
Boundary Filled Algorithm:
•This algorithm uses the recursive method.
• First of all, a starting pixel called as the seed is
considered.
• The algorithm checks boundary pixel or
adjacent pixels are colored or not.
• If the adjacent pixel is already filled or colored
then leave it, otherwise fill it.
• The filling is done using four connected or
eight connected approaches.
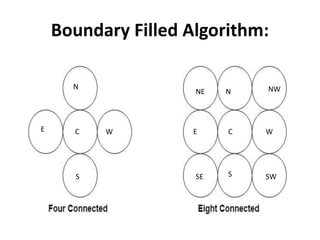
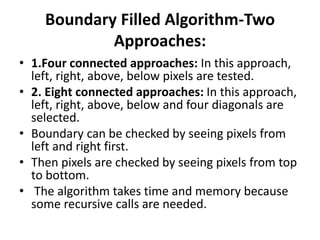
Boundary Filled Algorithm-Two
Approaches:
•1.Four connected approaches: In this approach,
left, right, above, below pixels are tested.
• 2. Eight connected approaches: In this approach,
left, right, above, below and four diagonals are
selected.
• Boundary can be checked by seeing pixels from
left and right first.
• Then pixels are checked by seeing pixels from top
to bottom.
• The algorithm takes time and memory because
some recursive calls are needed.
7.
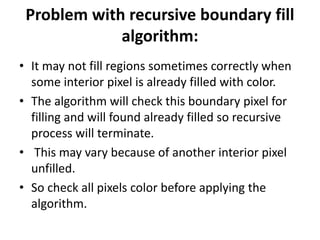
Problem with recursiveboundary fill
algorithm:
• It may not fill regions sometimes correctly when
some interior pixel is already filled with color.
• The algorithm will check this boundary pixel for
filling and will found already filled so recursive
process will terminate.
• This may vary because of another interior pixel
unfilled.
• So check all pixels color before applying the
algorithm.
8.
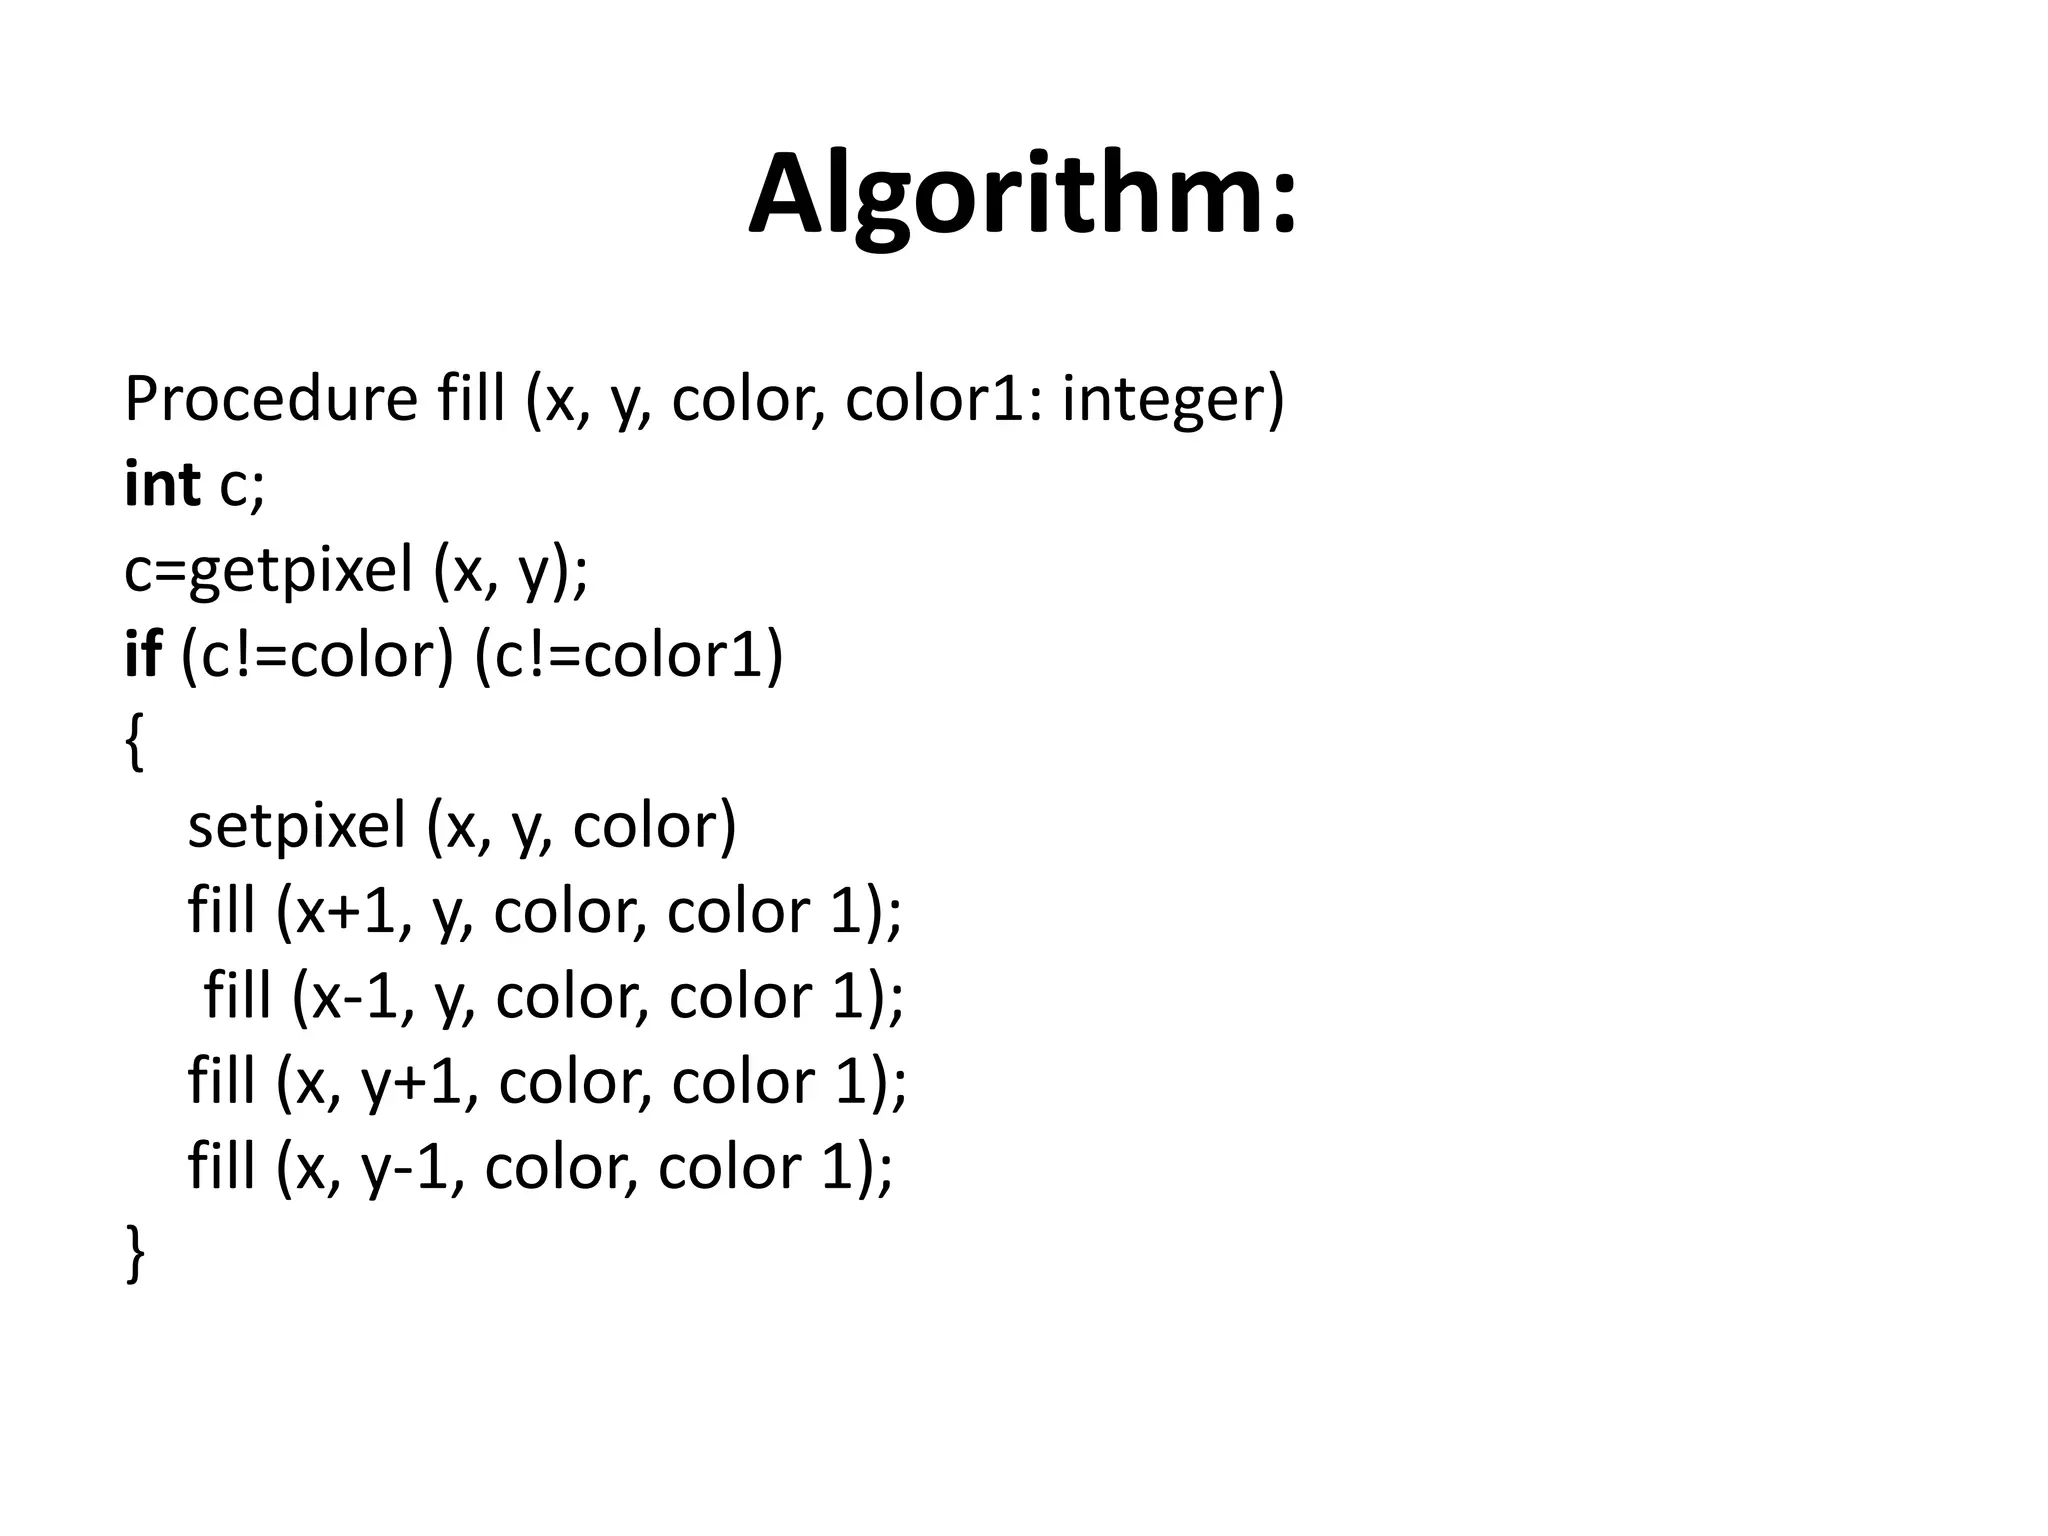
Algorithm:
Procedure fill (x,y, color, color1: integer)
int c;
c=getpixel (x, y);
if (c!=color) (c!=color1)
{
setpixel (x, y, color)
fill (x+1, y, color, color 1);
fill (x-1, y, color, color 1);
fill (x, y+1, color, color 1);
fill (x, y-1, color, color 1);
}
9.
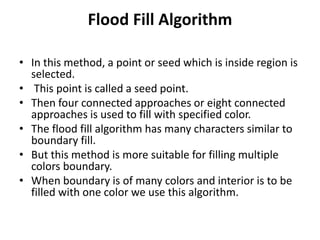
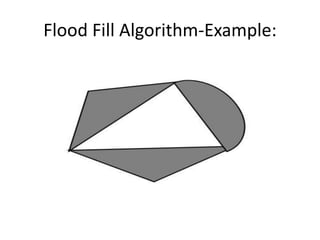
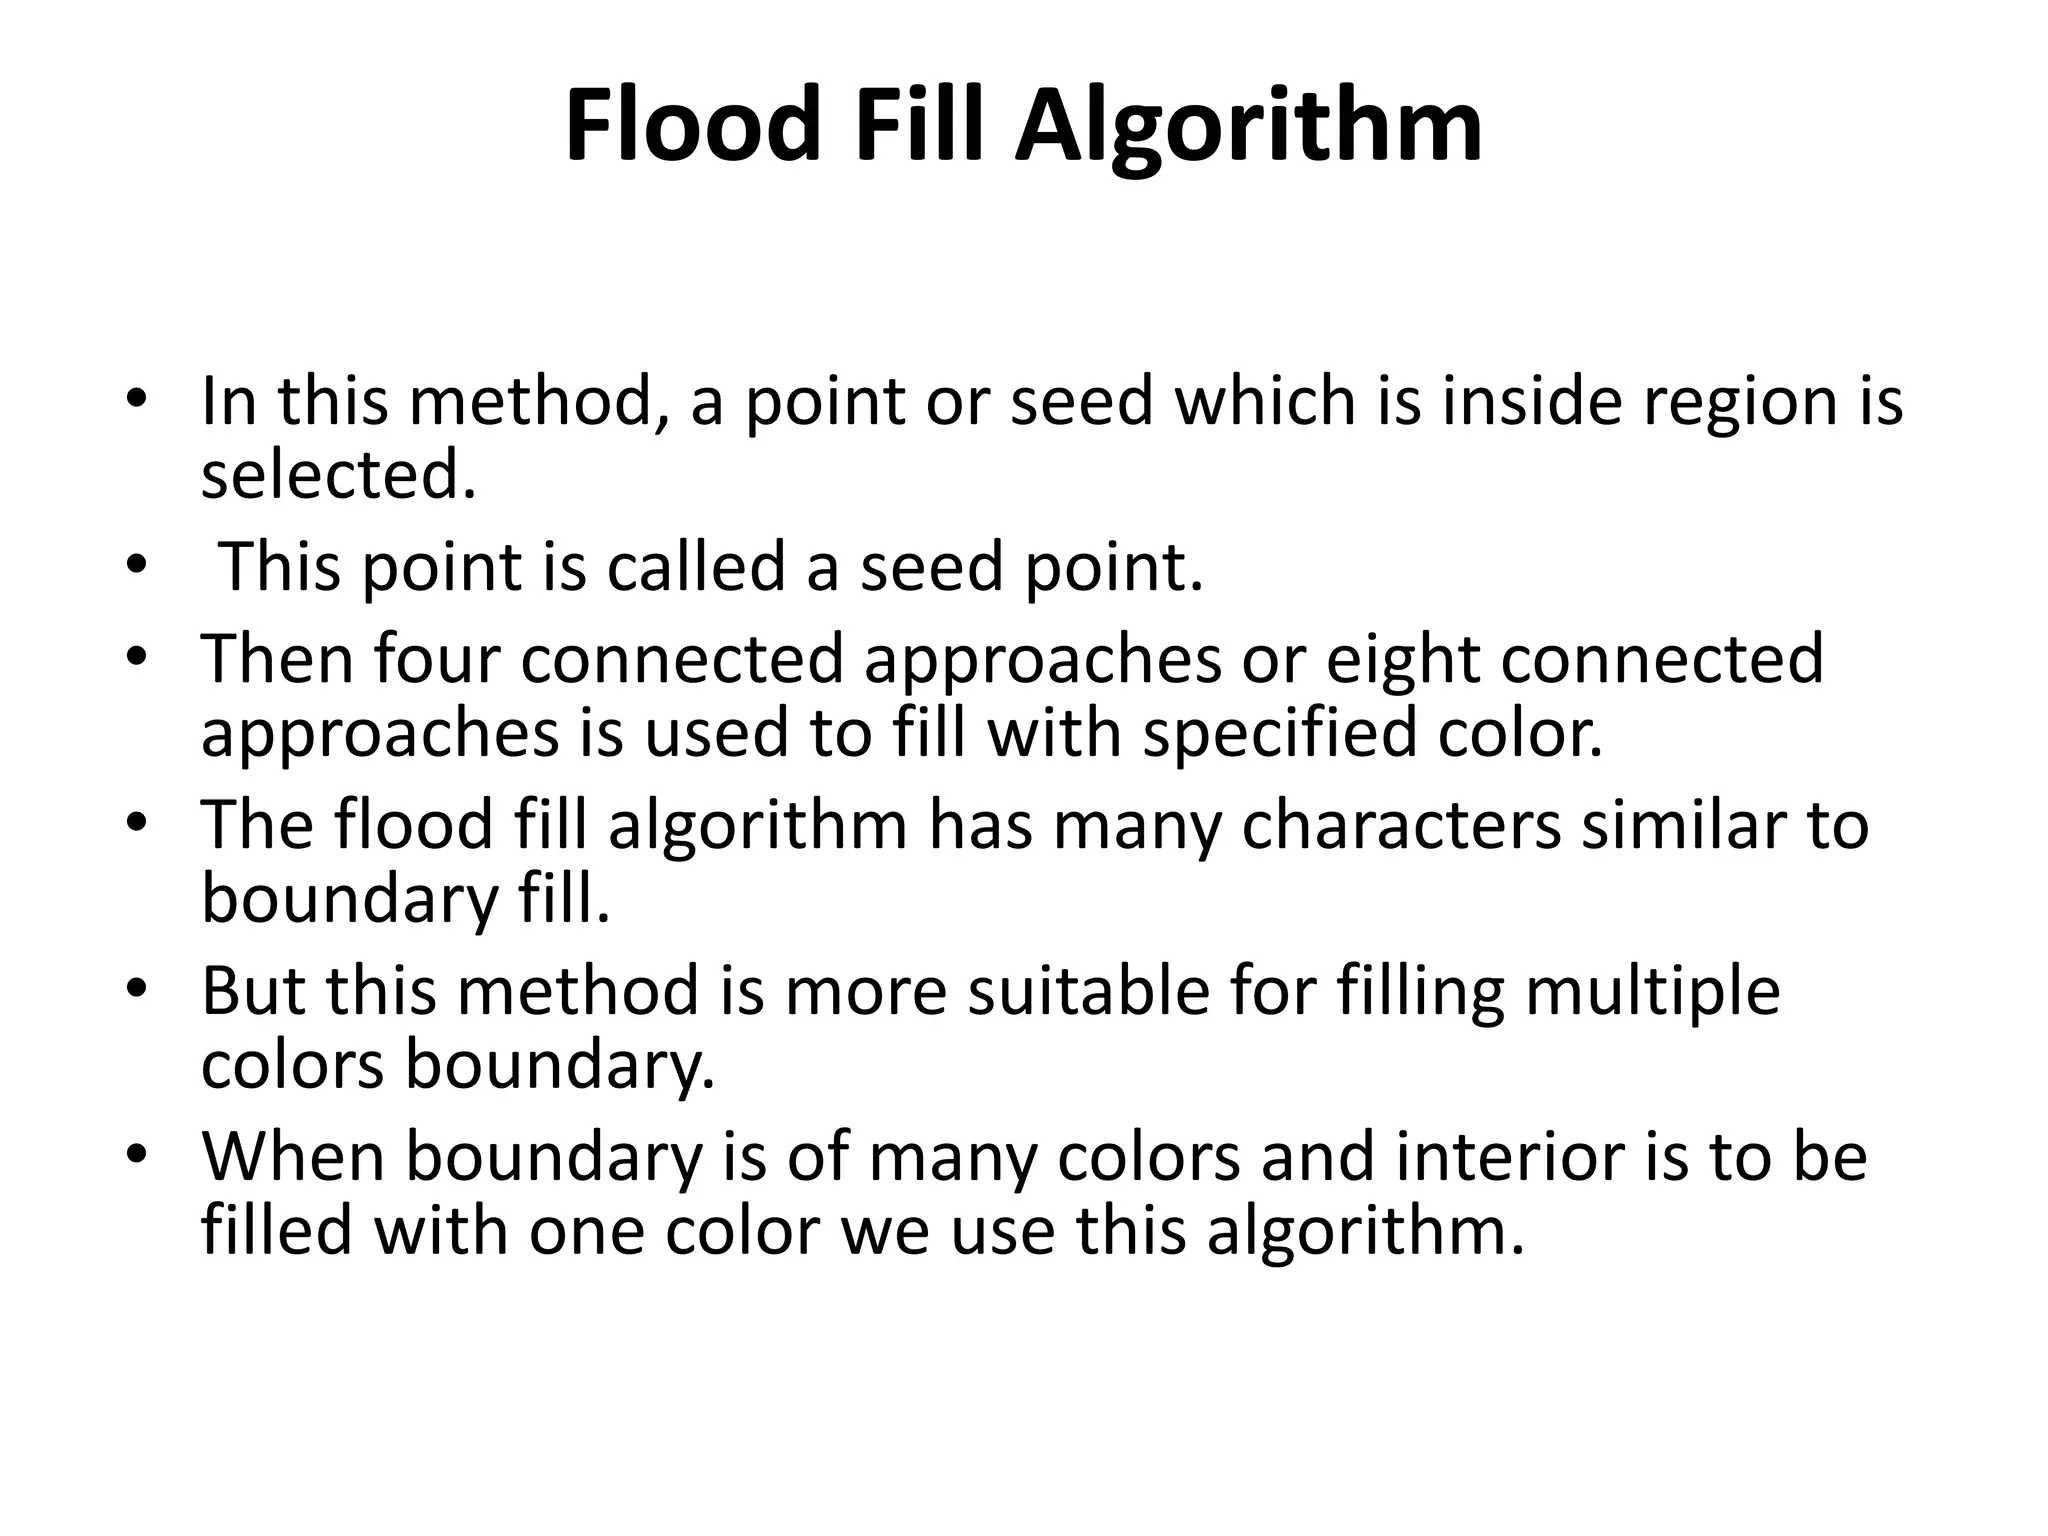
Flood Fill Algorithm
•In this method, a point or seed which is inside region is
selected.
• This point is called a seed point.
• Then four connected approaches or eight connected
approaches is used to fill with specified color.
• The flood fill algorithm has many characters similar to
boundary fill.
• But this method is more suitable for filling multiple
colors boundary.
• When boundary is of many colors and interior is to be
filled with one color we use this algorithm.
10.
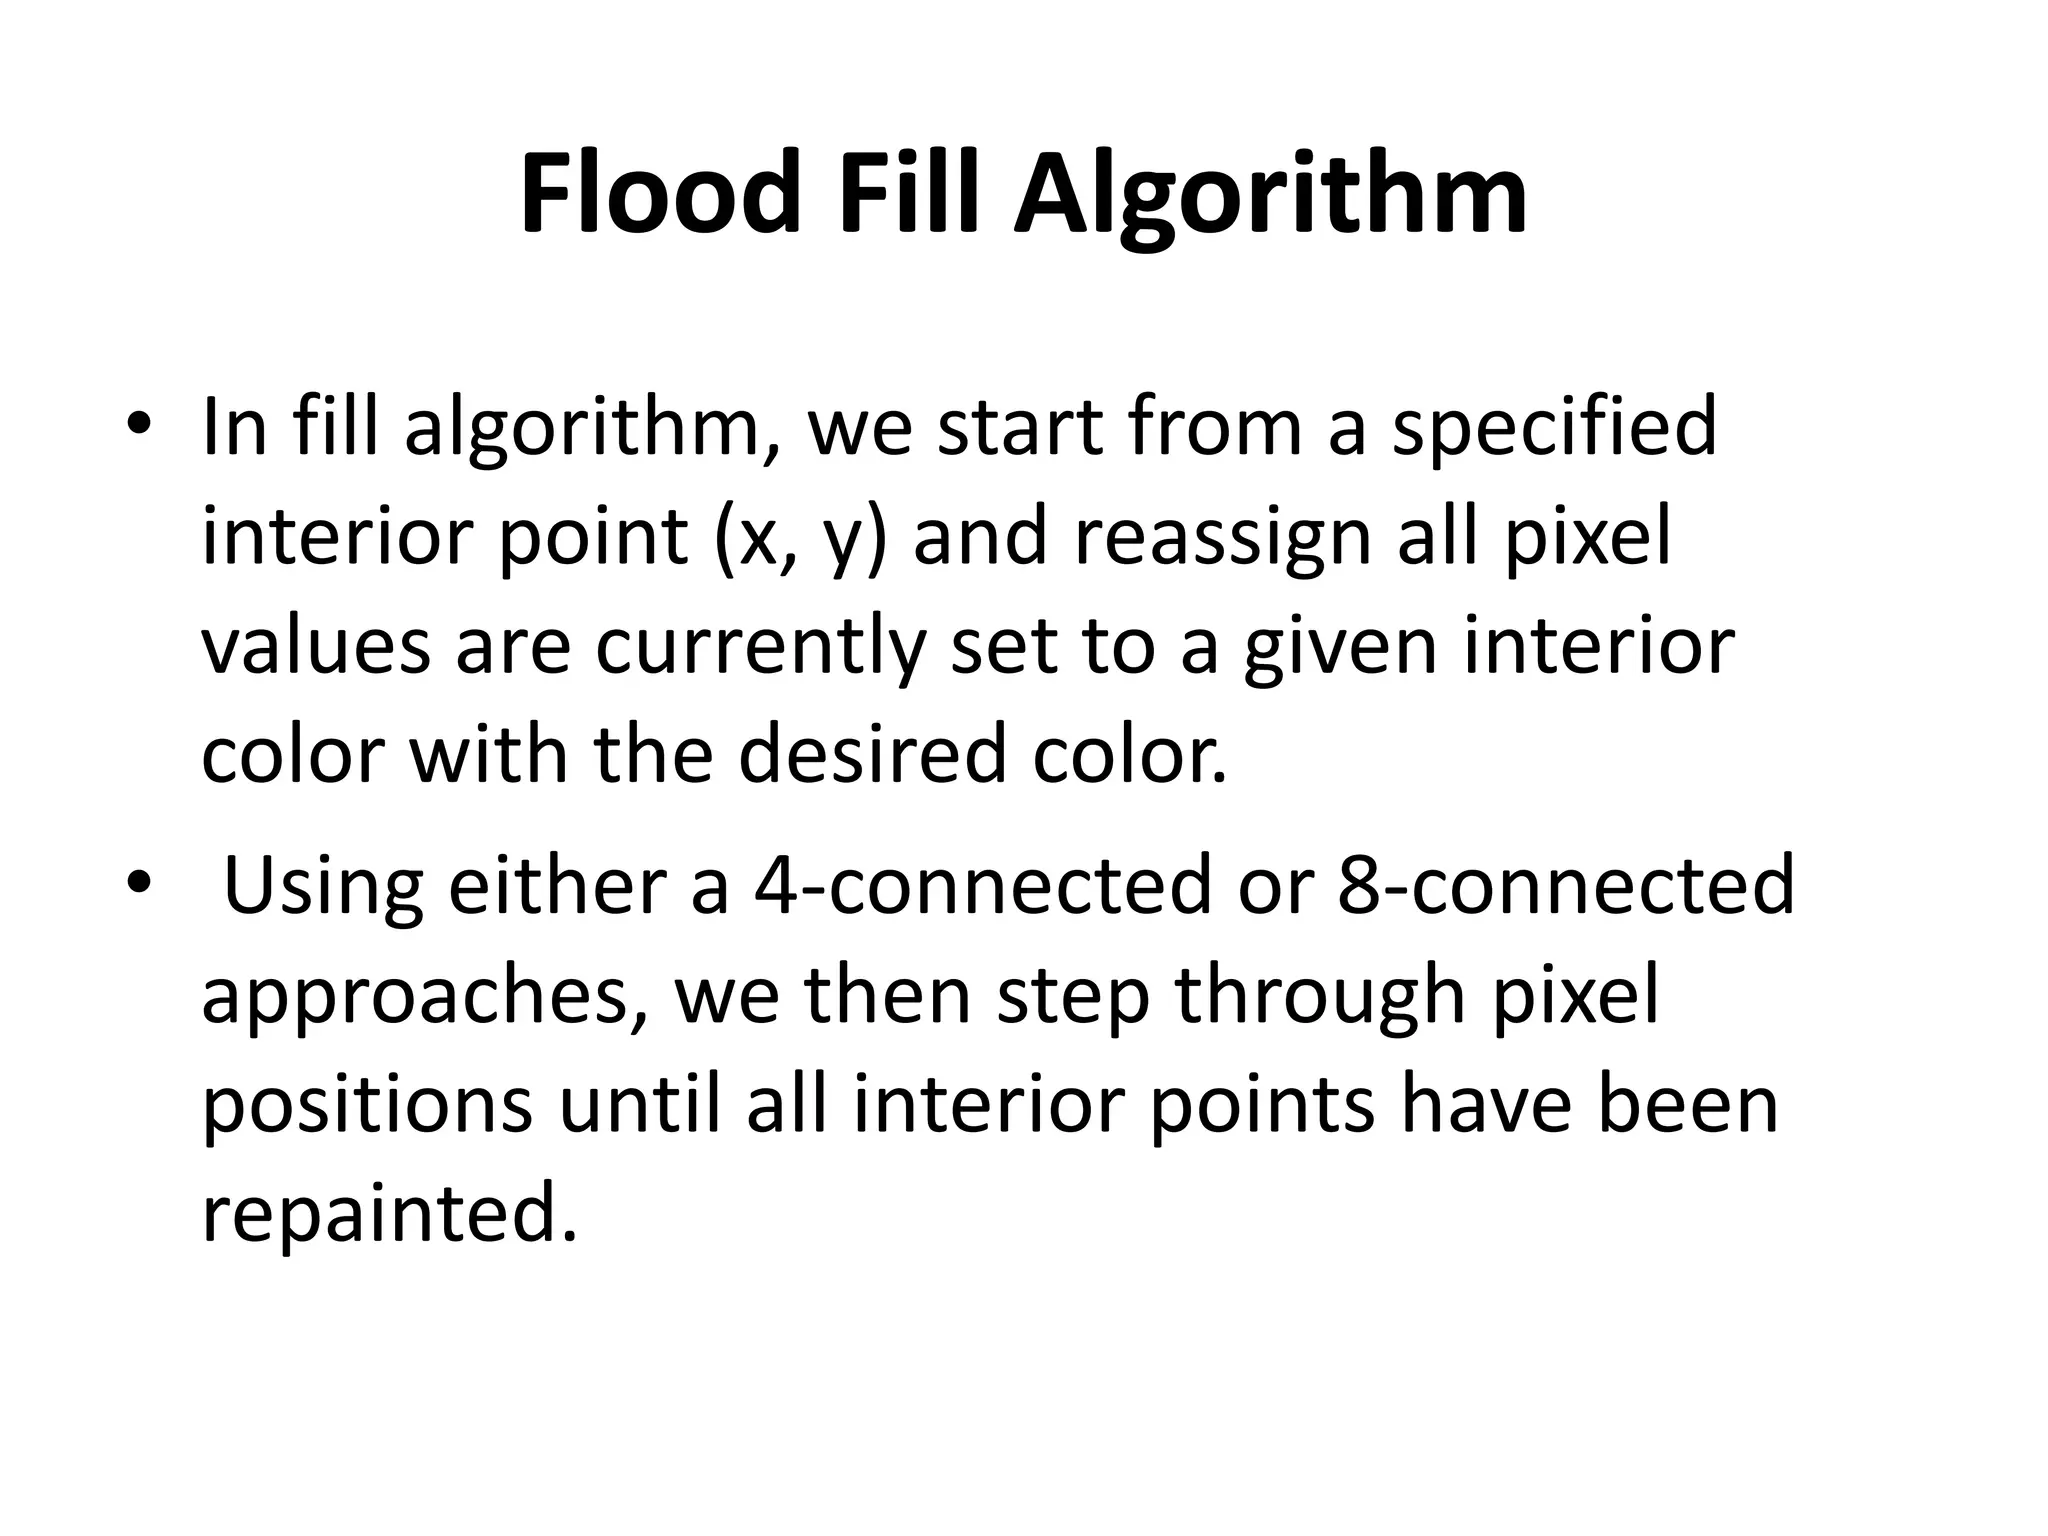
Flood Fill Algorithm
•In fill algorithm, we start from a specified
interior point (x, y) and reassign all pixel
values are currently set to a given interior
color with the desired color.
• Using either a 4-connected or 8-connected
approaches, we then step through pixel
positions until all interior points have been
repainted.
11.
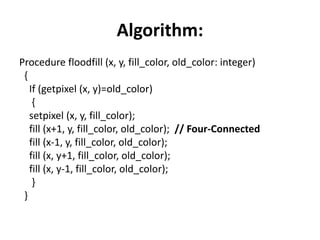
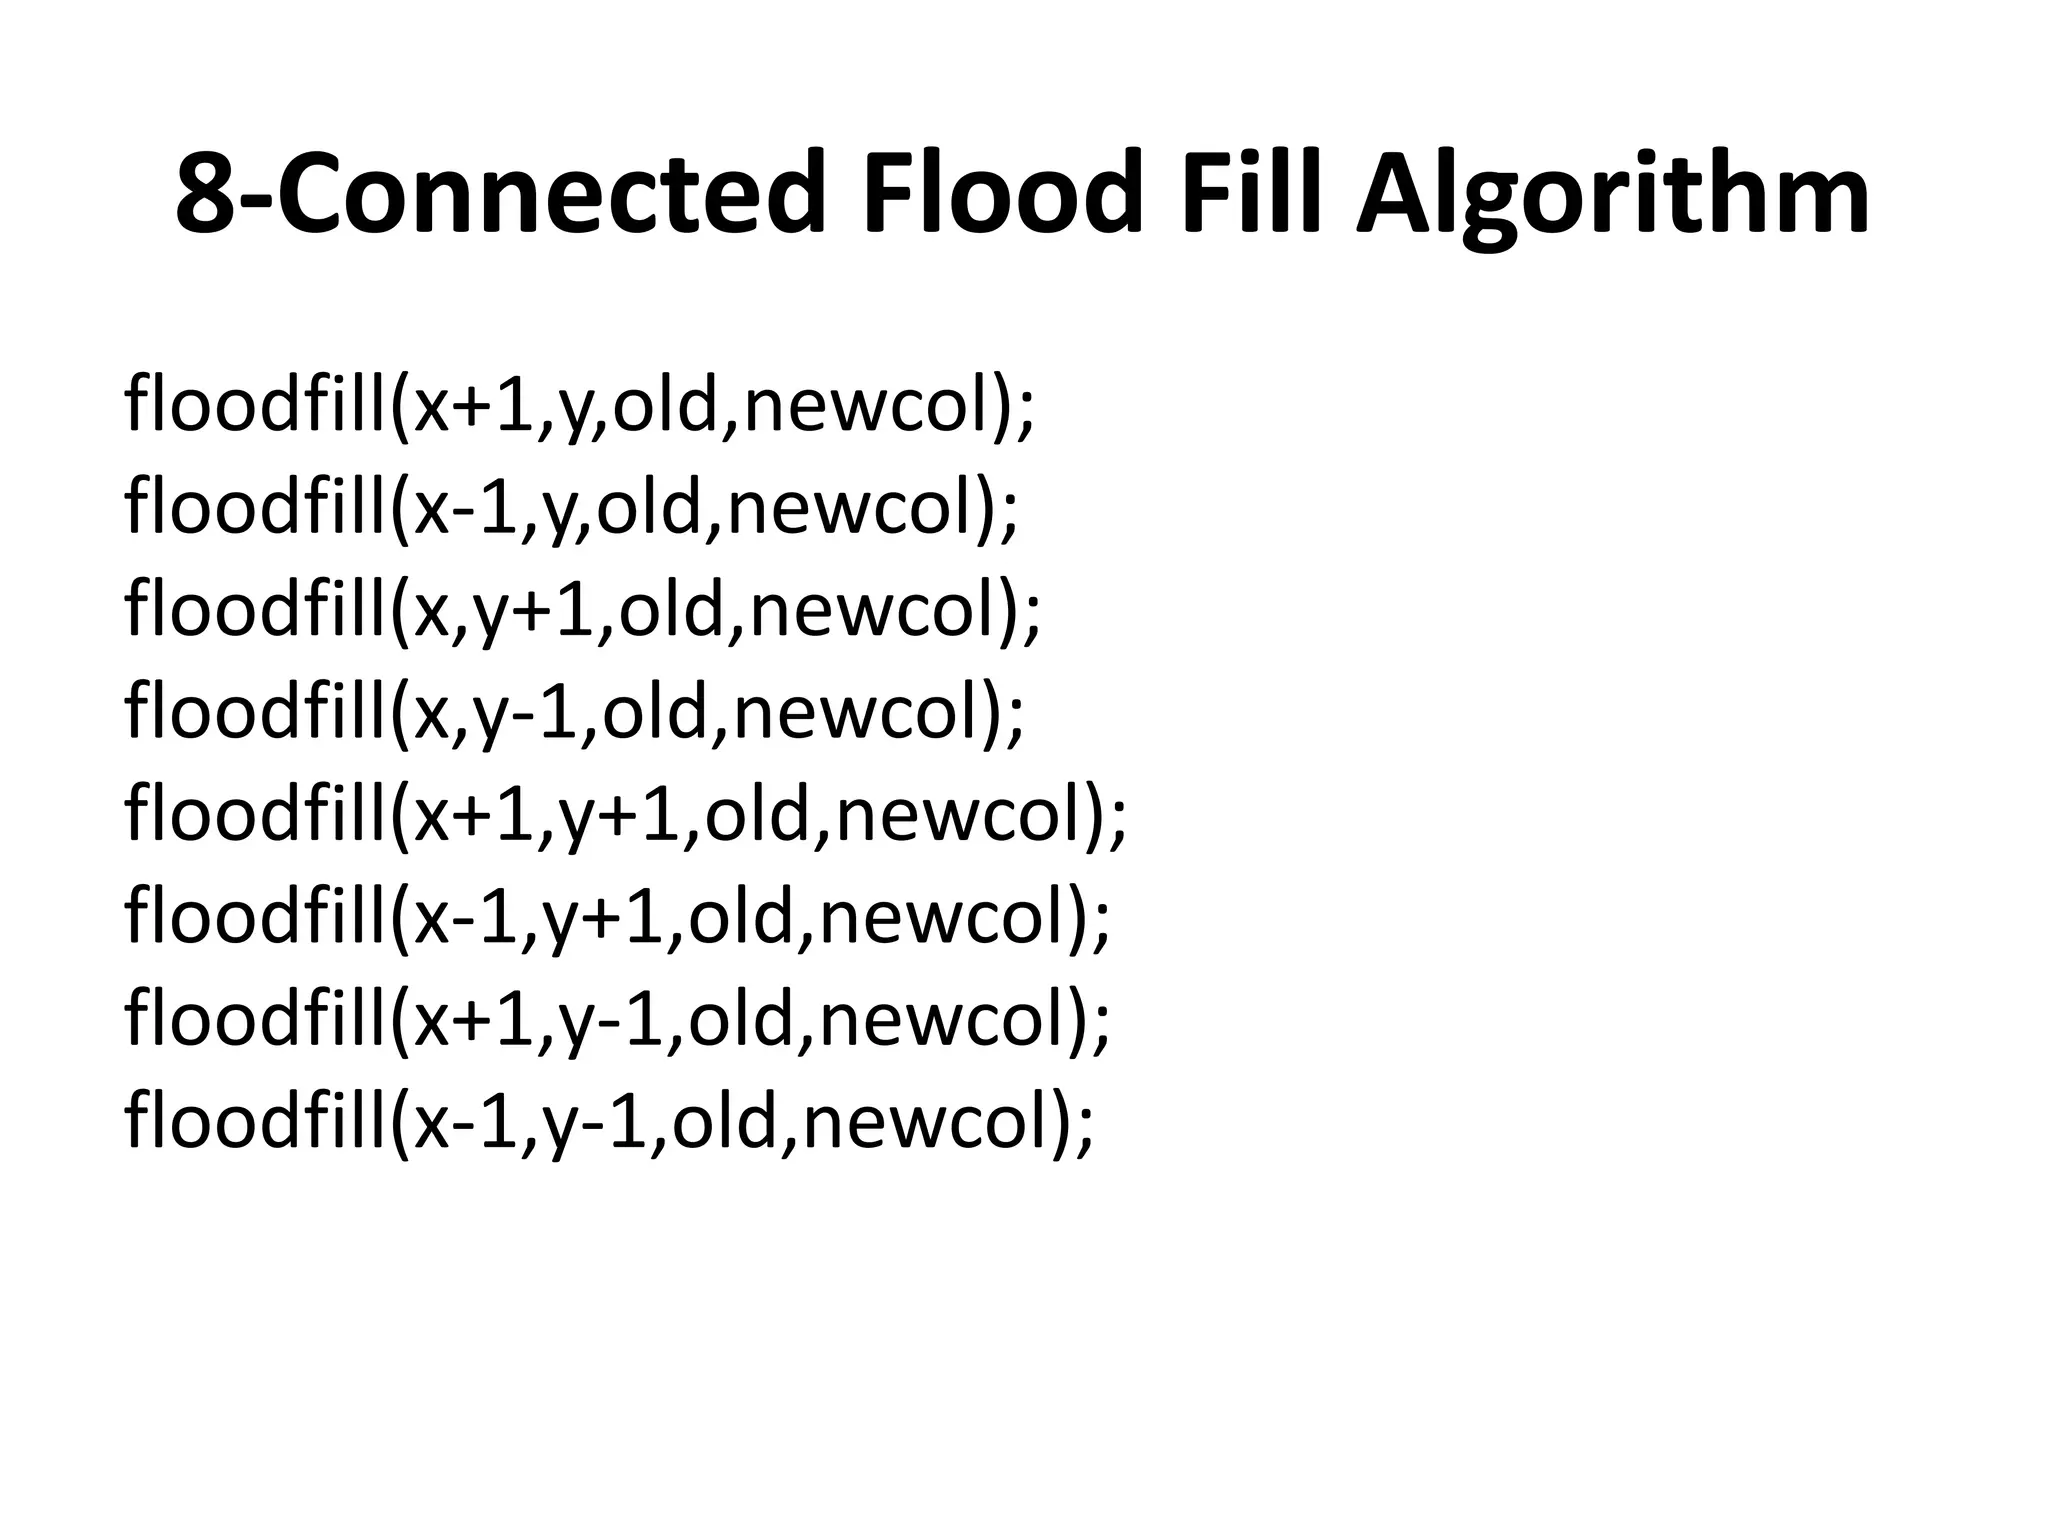
Algorithm:
Procedure floodfill (x,y, fill_color, old_color: integer)
{
If (getpixel (x, y)=old_color)
{
setpixel (x, y, fill_color);
fill (x+1, y, fill_color, old_color); // Four-Connected
fill (x-1, y, fill_color, old_color);
fill (x, y+1, fill_color, old_color);
fill (x, y-1, fill_color, old_color);
}
}
ATTRIBUTES OF OUTPUTPRIMITIVES
• Any parameter that affect the way a
parameter is to be displayed is referred to as
an attribute parameter.
• Example attribute parameter are color
specification,size,position,orientation and so
on.
• some attributes are:
1.Line Attributes
17.
ATTRIBUTES OF OUTPUTPRIMITIVES
2.Curve Attributes
3.Color and Grayscale levels
4.Area Fill Attributes
5.Character Attributes
6.Marker Attributes
18.
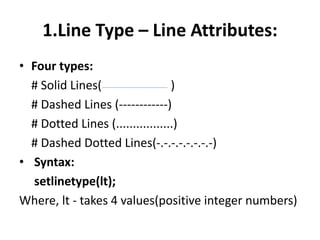
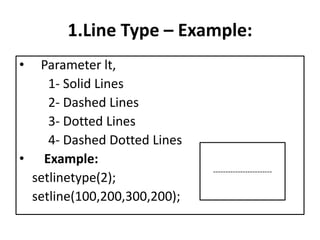
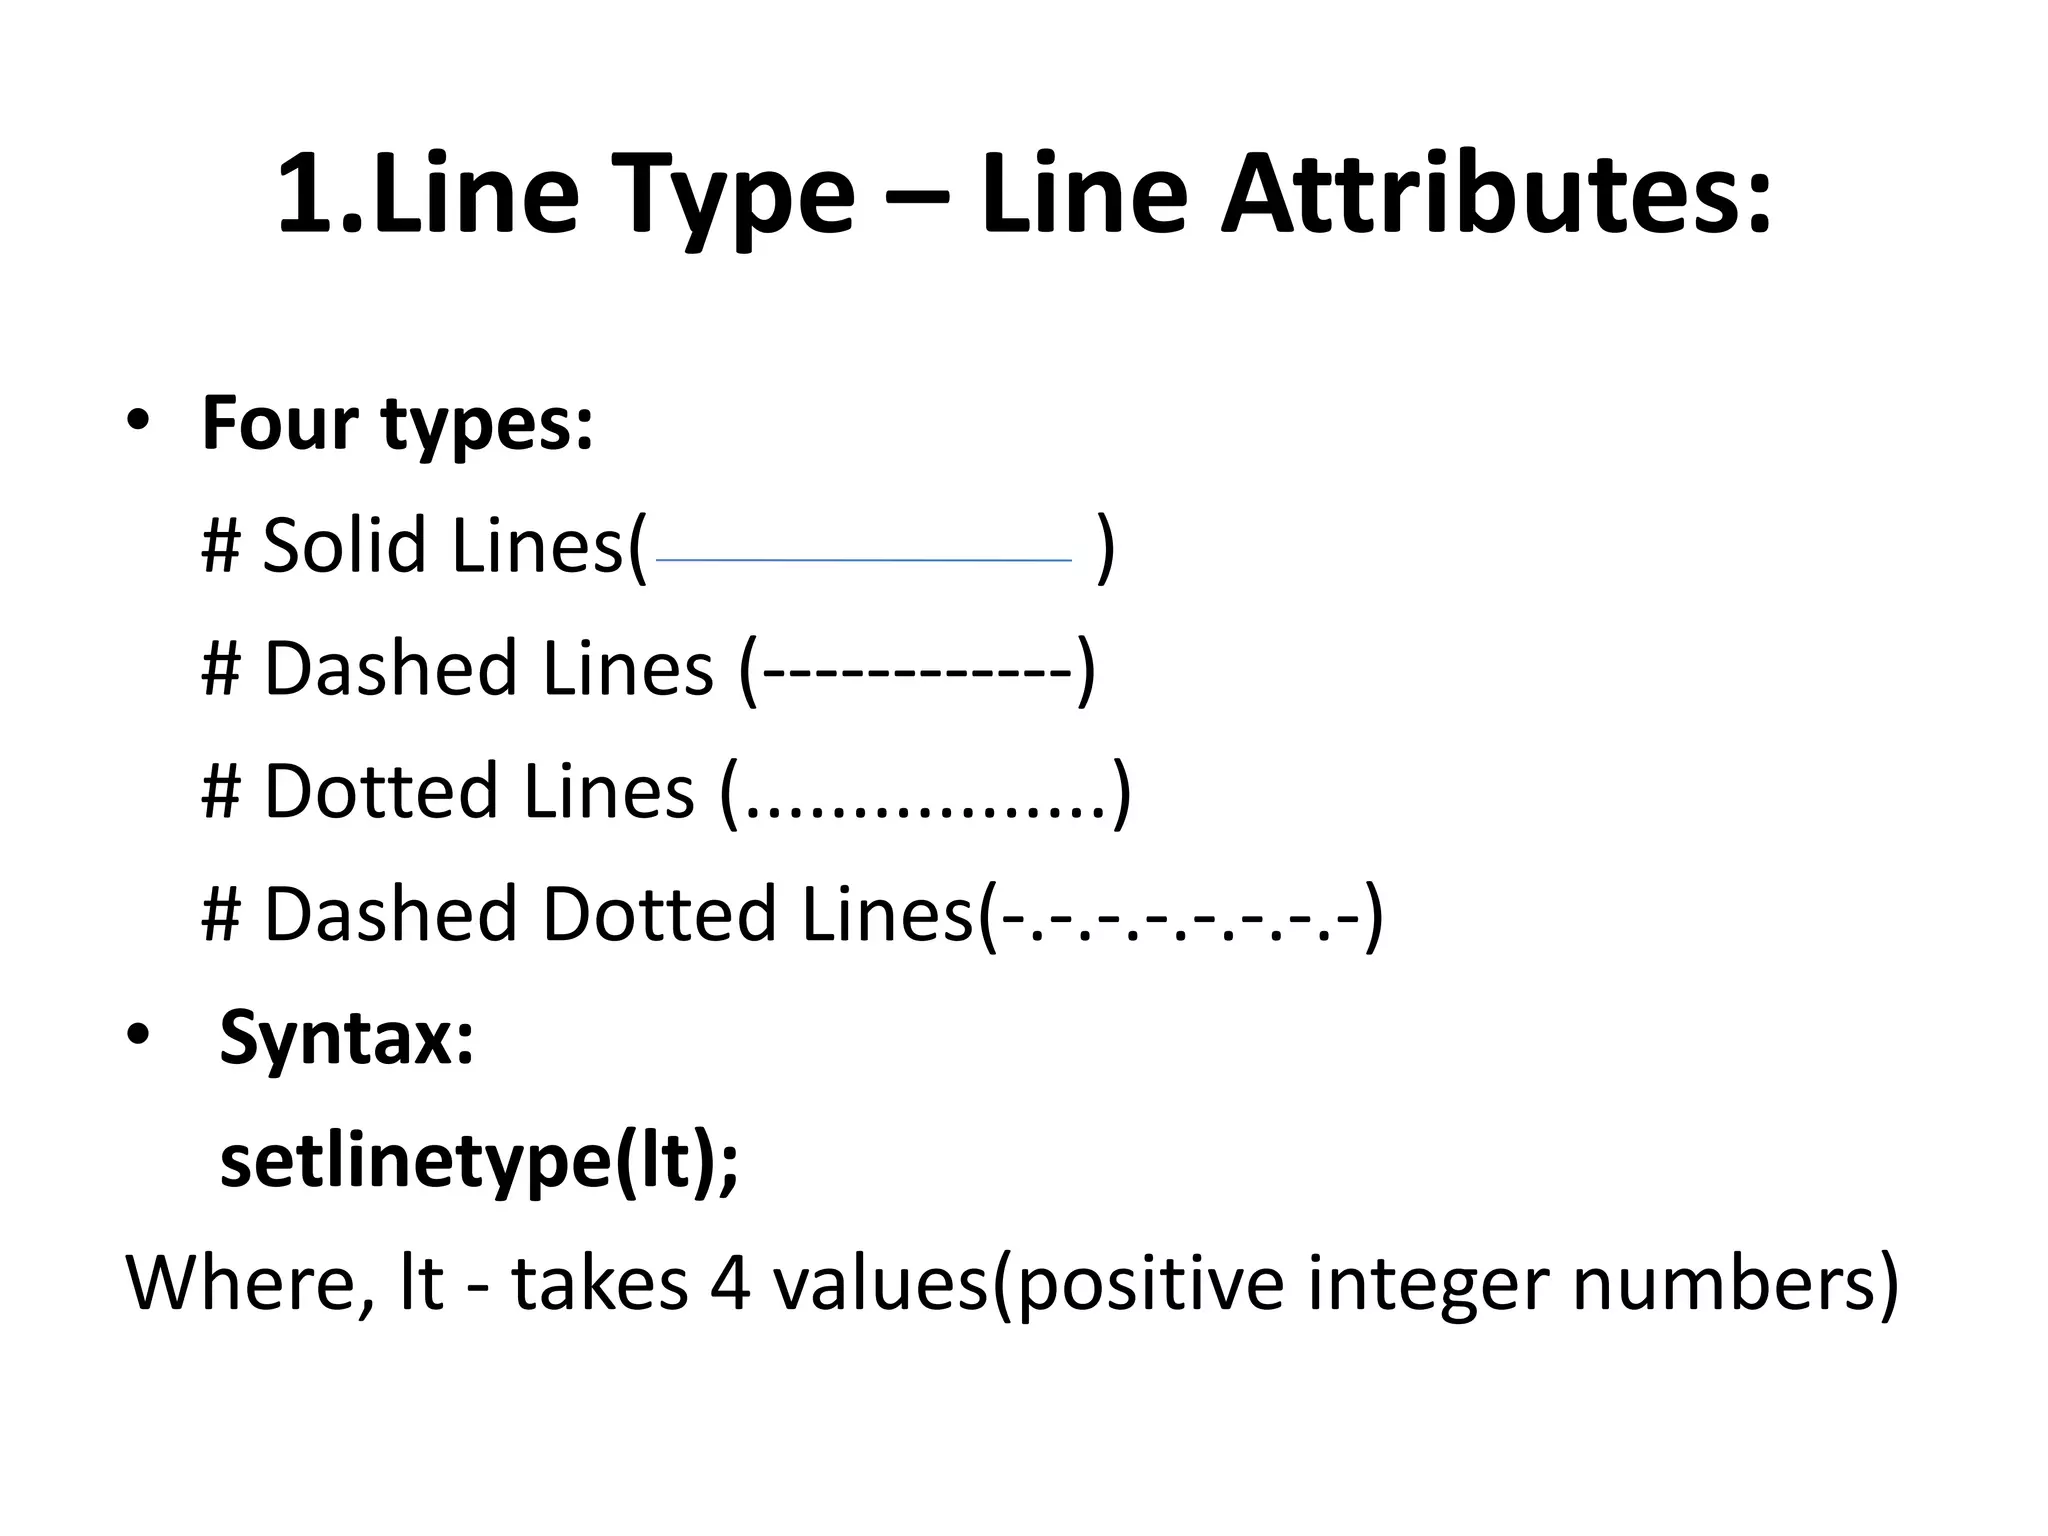
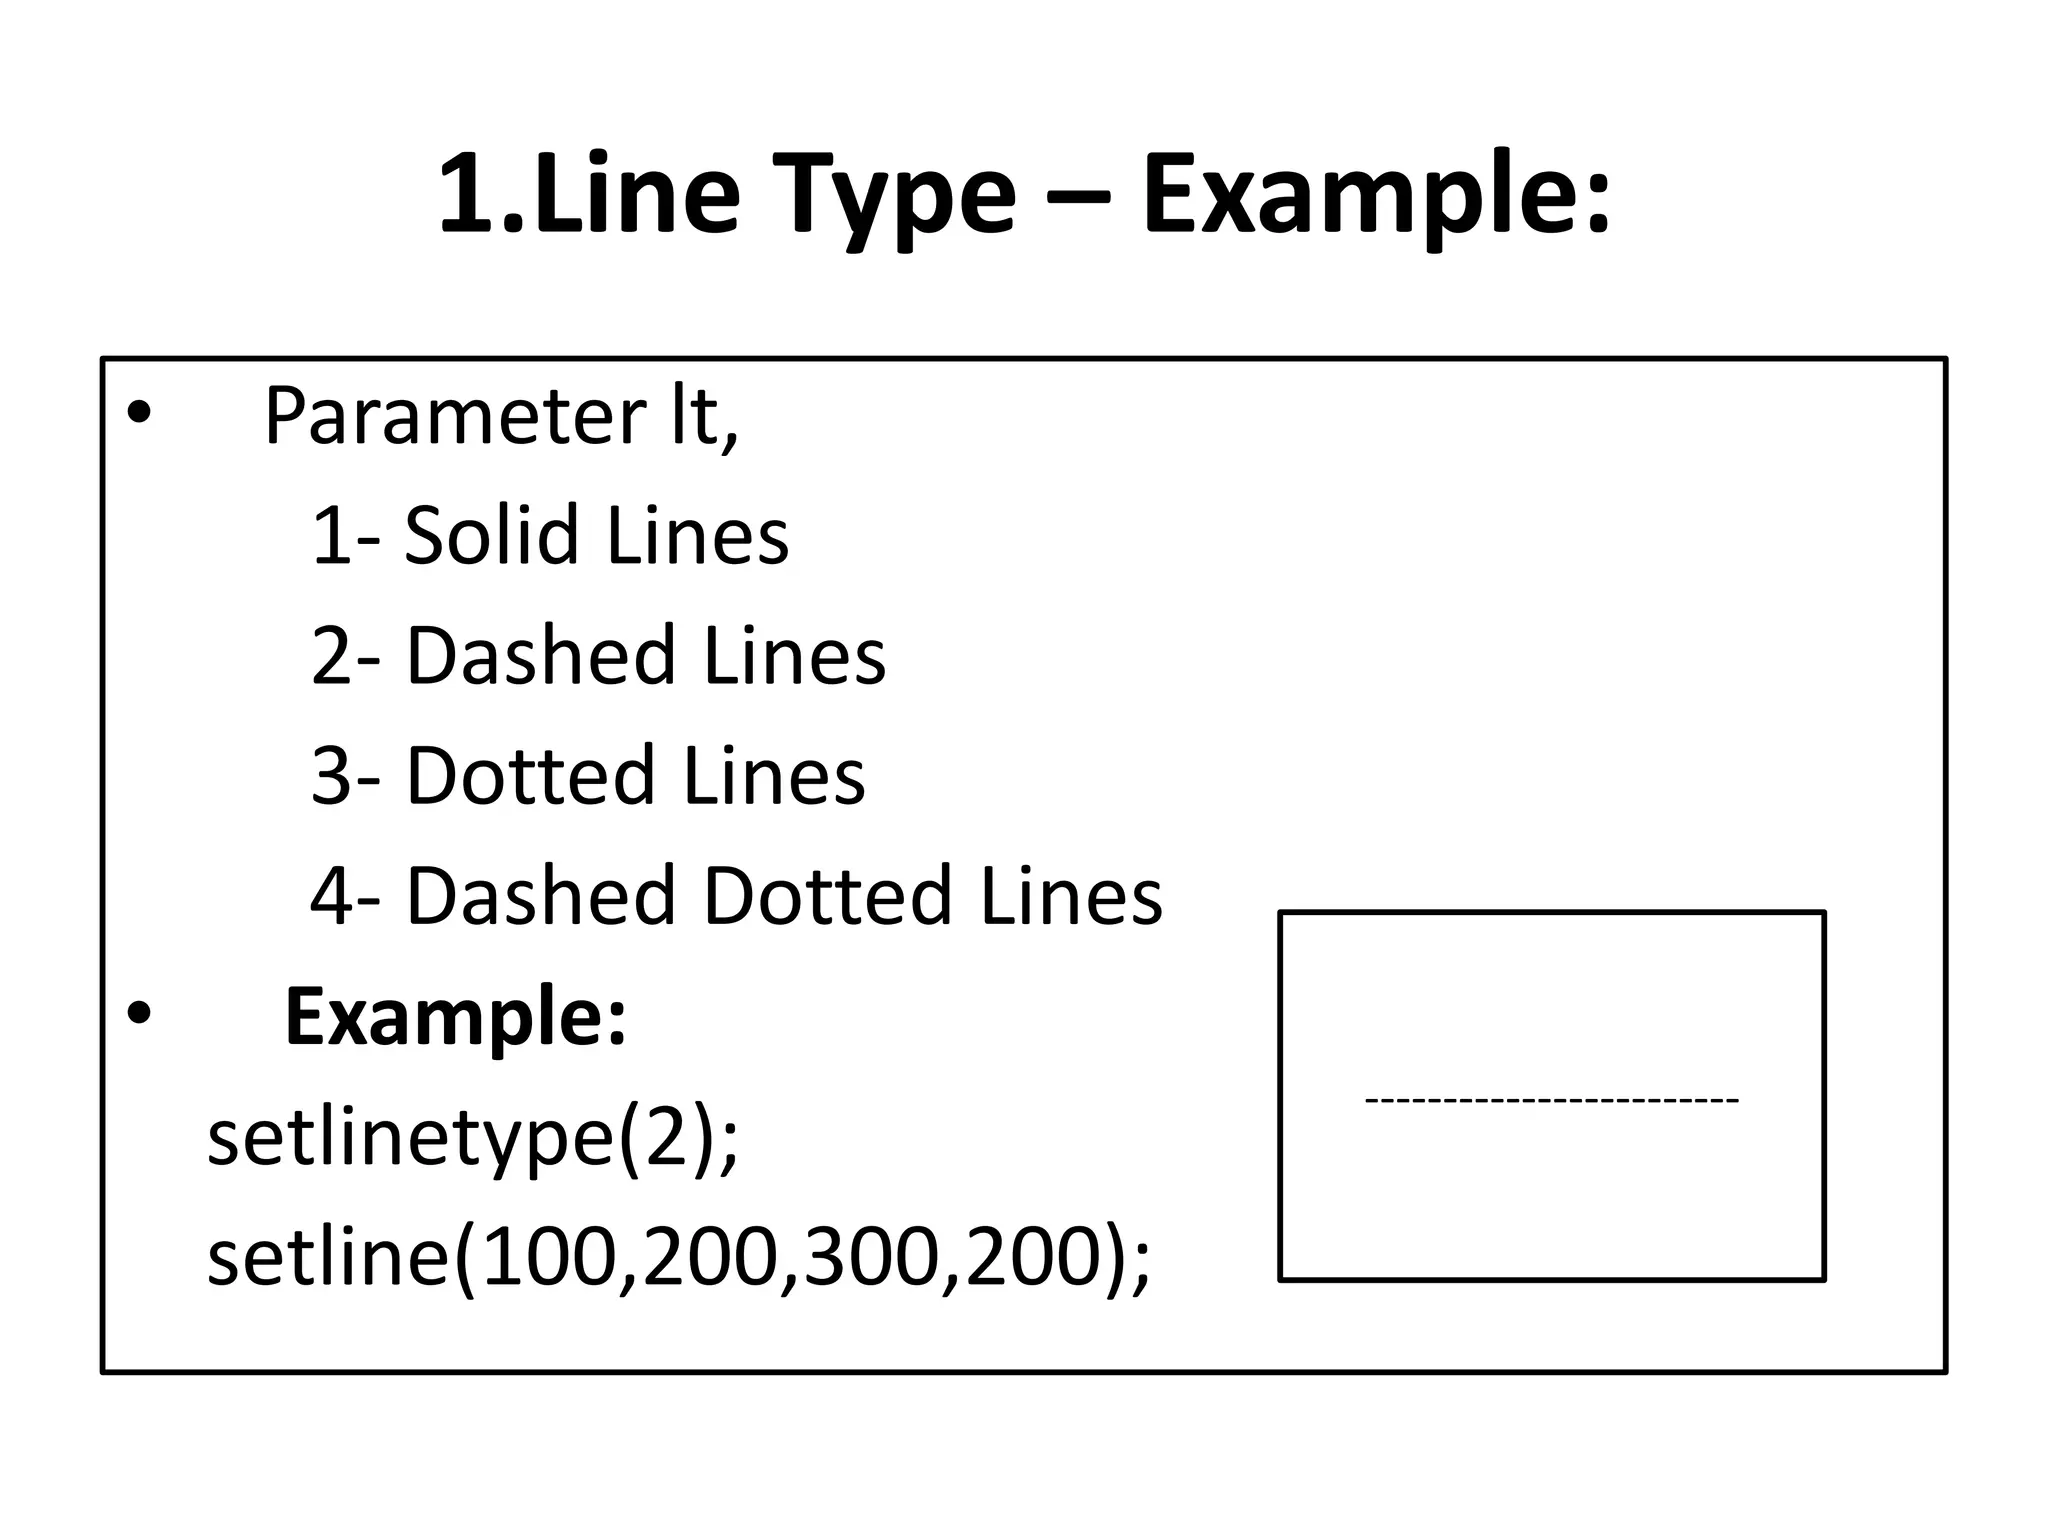
1.Line Attributes
• Basicattributes of a st. Line segment are:
1.Line Type
2.Line Width
3.Pen and Brush Options
4.Line Color
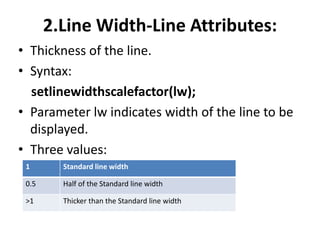
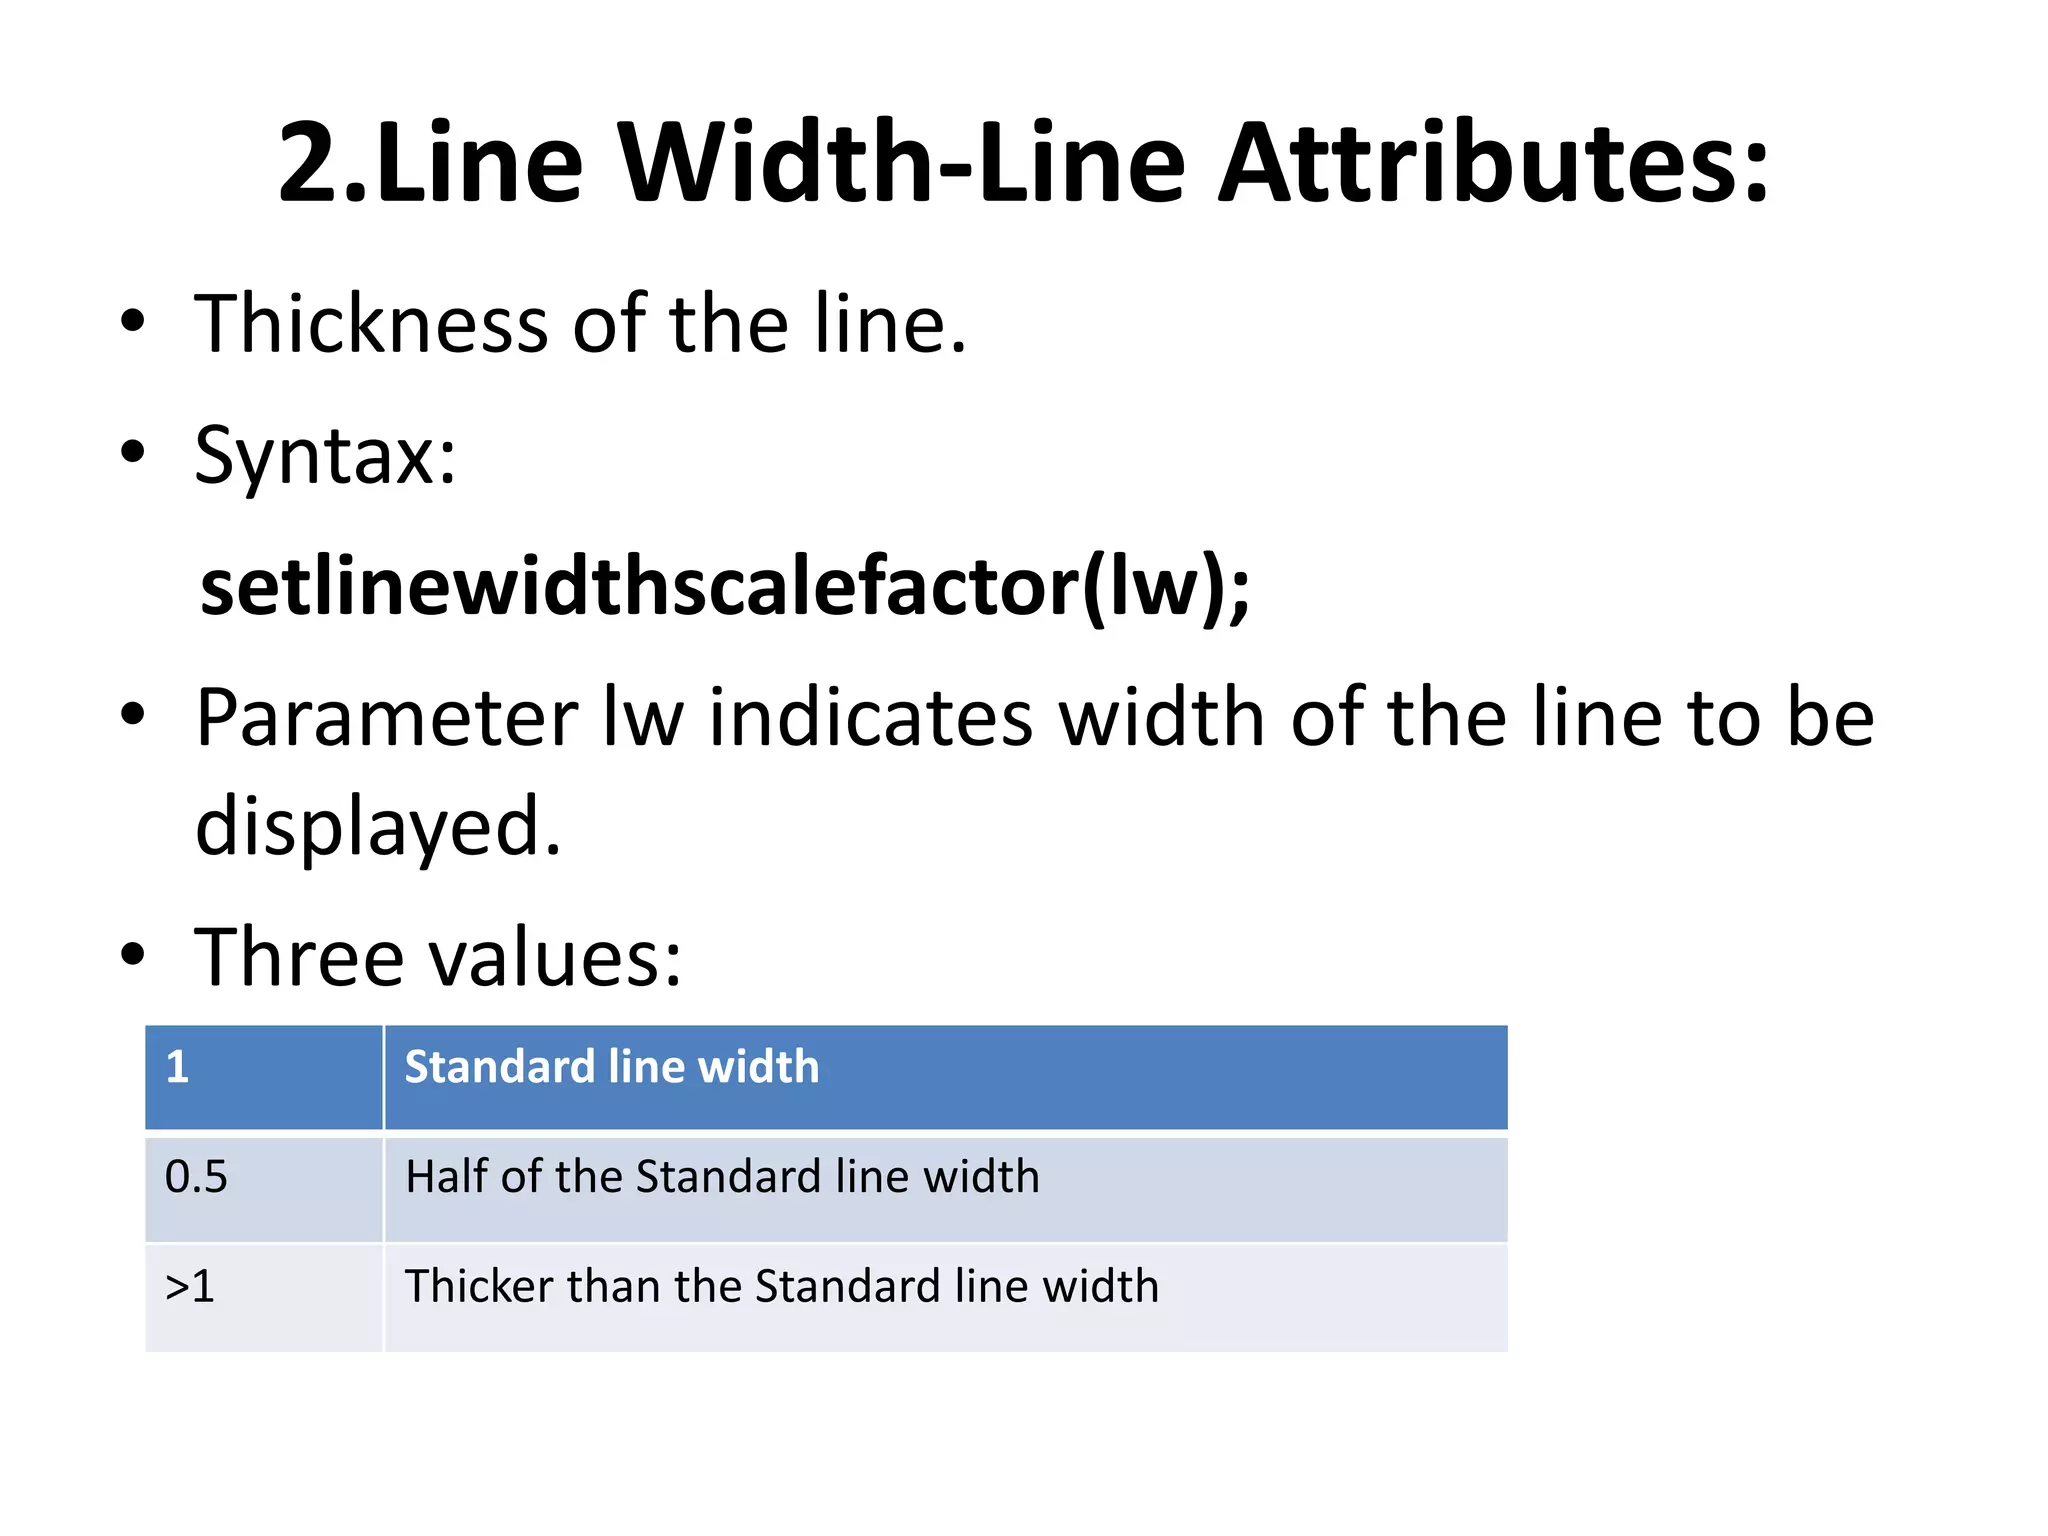
2.Line Width-Line Attributes:
•Thickness of the line.
• Syntax:
setlinewidthscalefactor(lw);
• Parameter lw indicates width of the line to be
displayed.
• Three values:
1 Standard line width
0.5 Half of the Standard line width
>1 Thicker than the Standard line width
22.
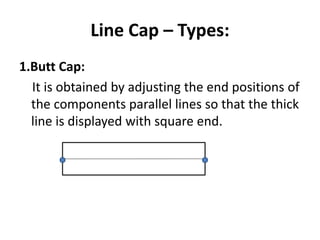
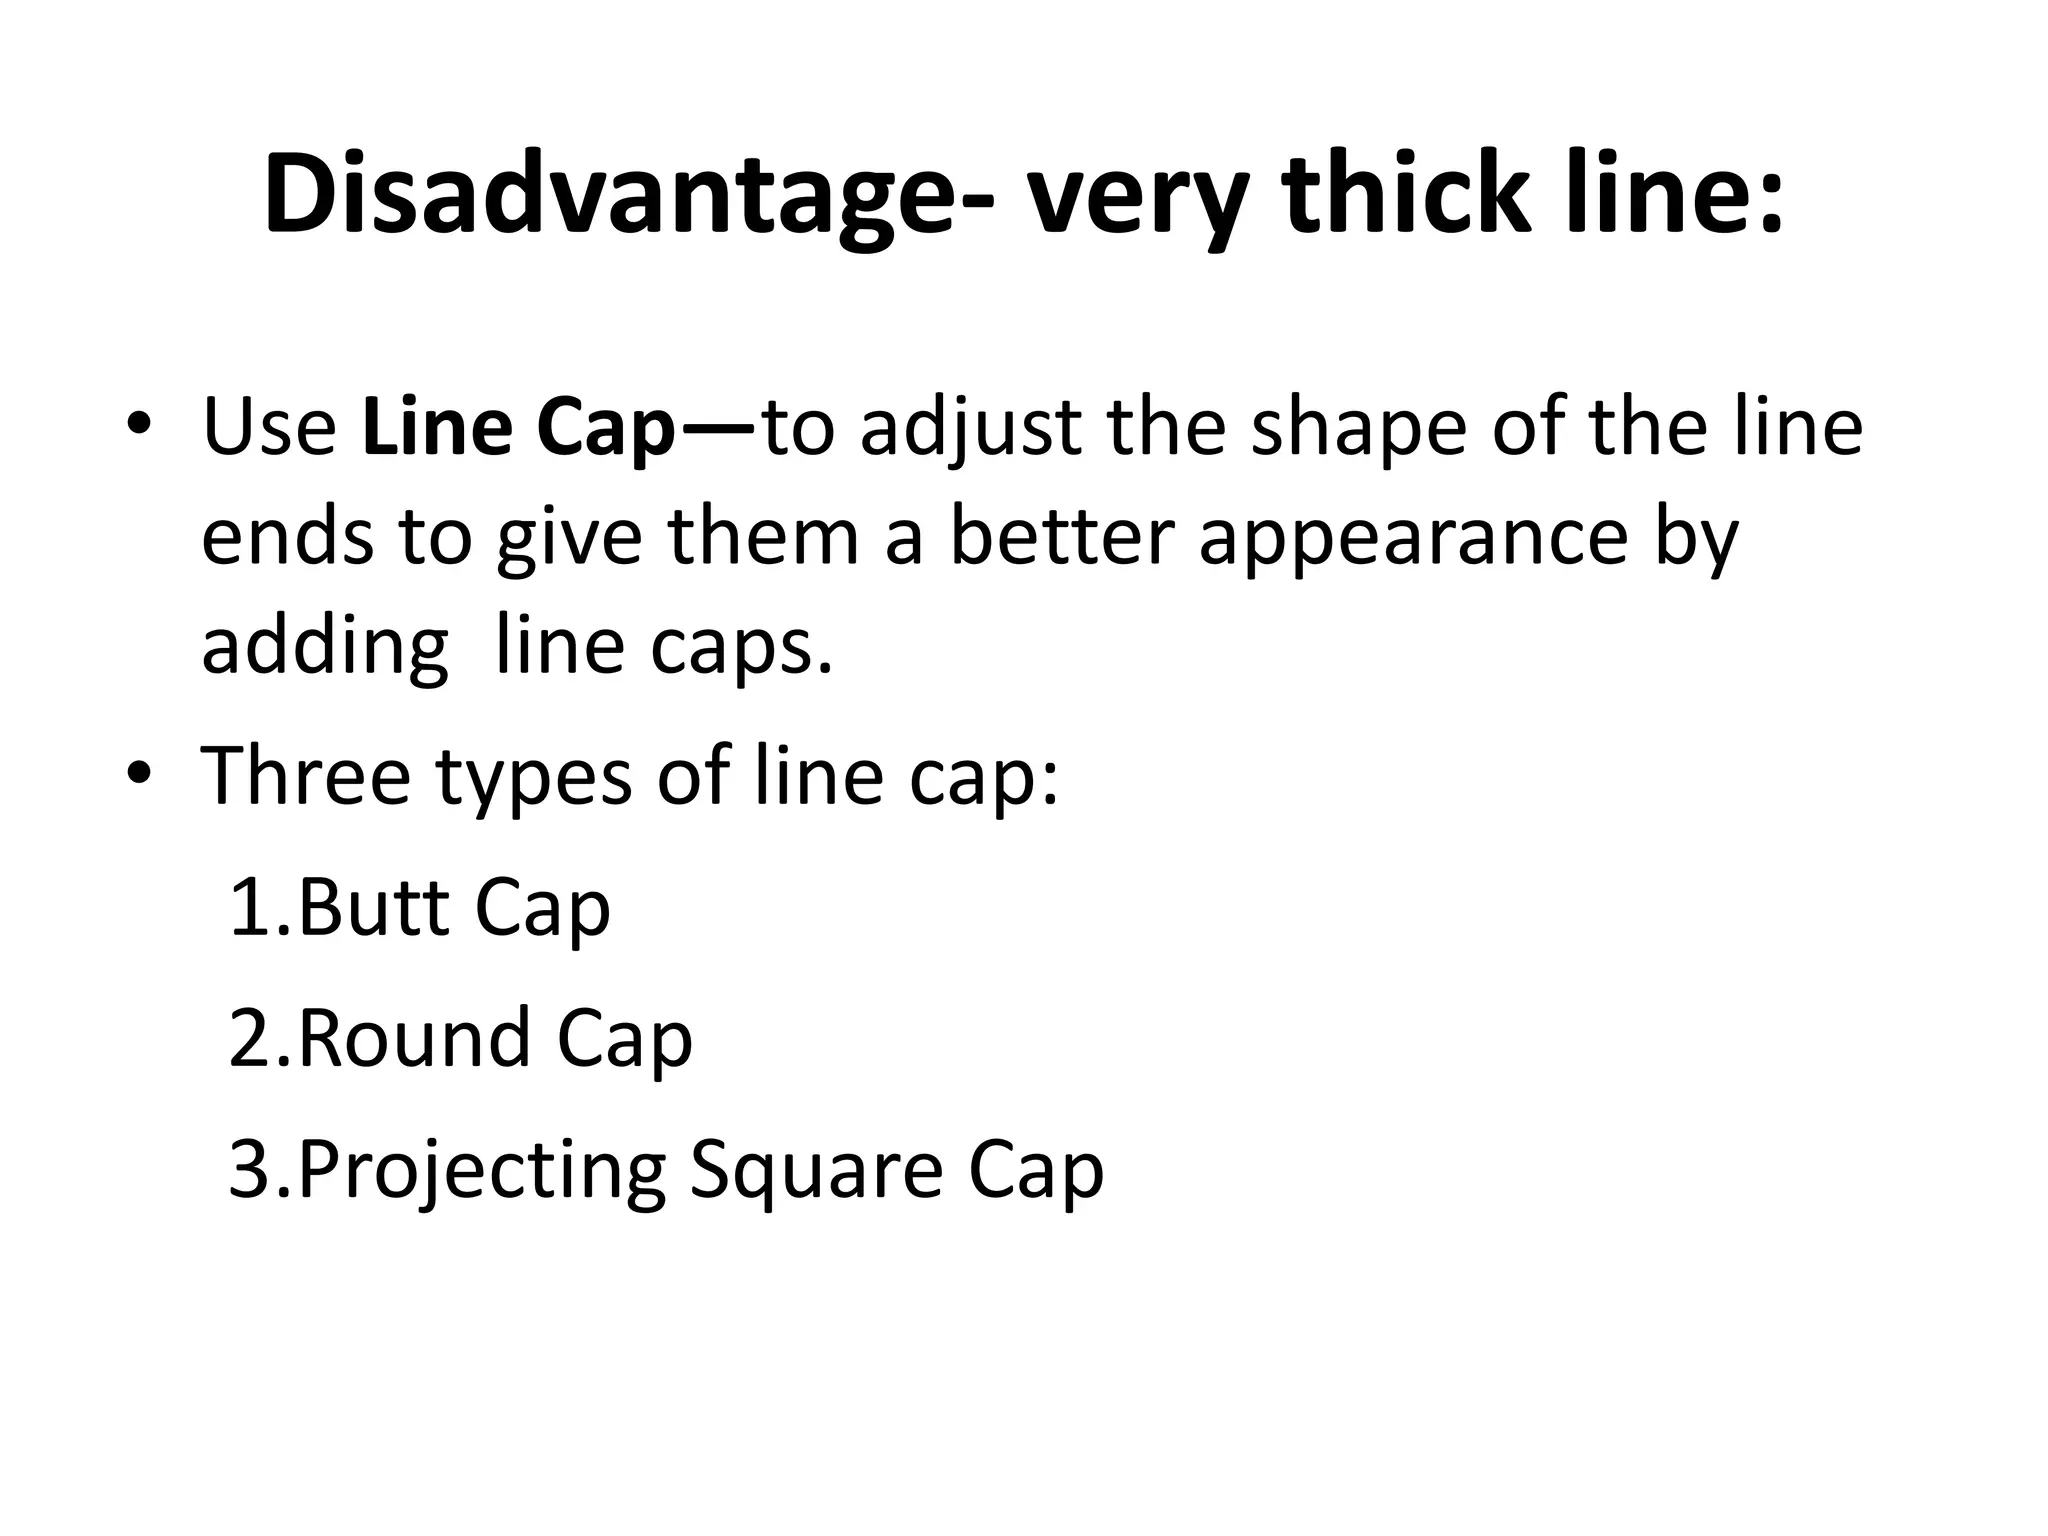
Disadvantage- very thickline:
• Use Line Cap—to adjust the shape of the line
ends to give them a better appearance by
adding line caps.
• Three types of line cap:
1.Butt Cap
2.Round Cap
3.Projecting Square Cap
23.
Line Cap –Types:
1.Butt Cap:
It is obtained by adjusting the end positions of
the components parallel lines so that the thick
line is displayed with square end.
24.
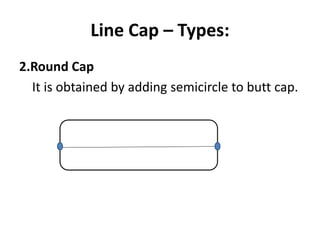
Line Cap –Types:
2.Round Cap
It is obtained by adding semicircle to butt cap.
25.
Line Cap –Types:
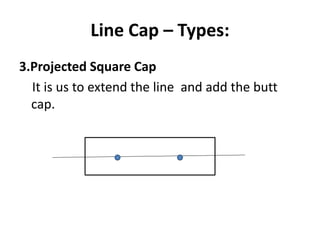
3.Projected Square Cap
It is us to extend the line and add the butt
cap.
26.
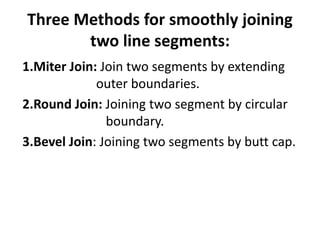
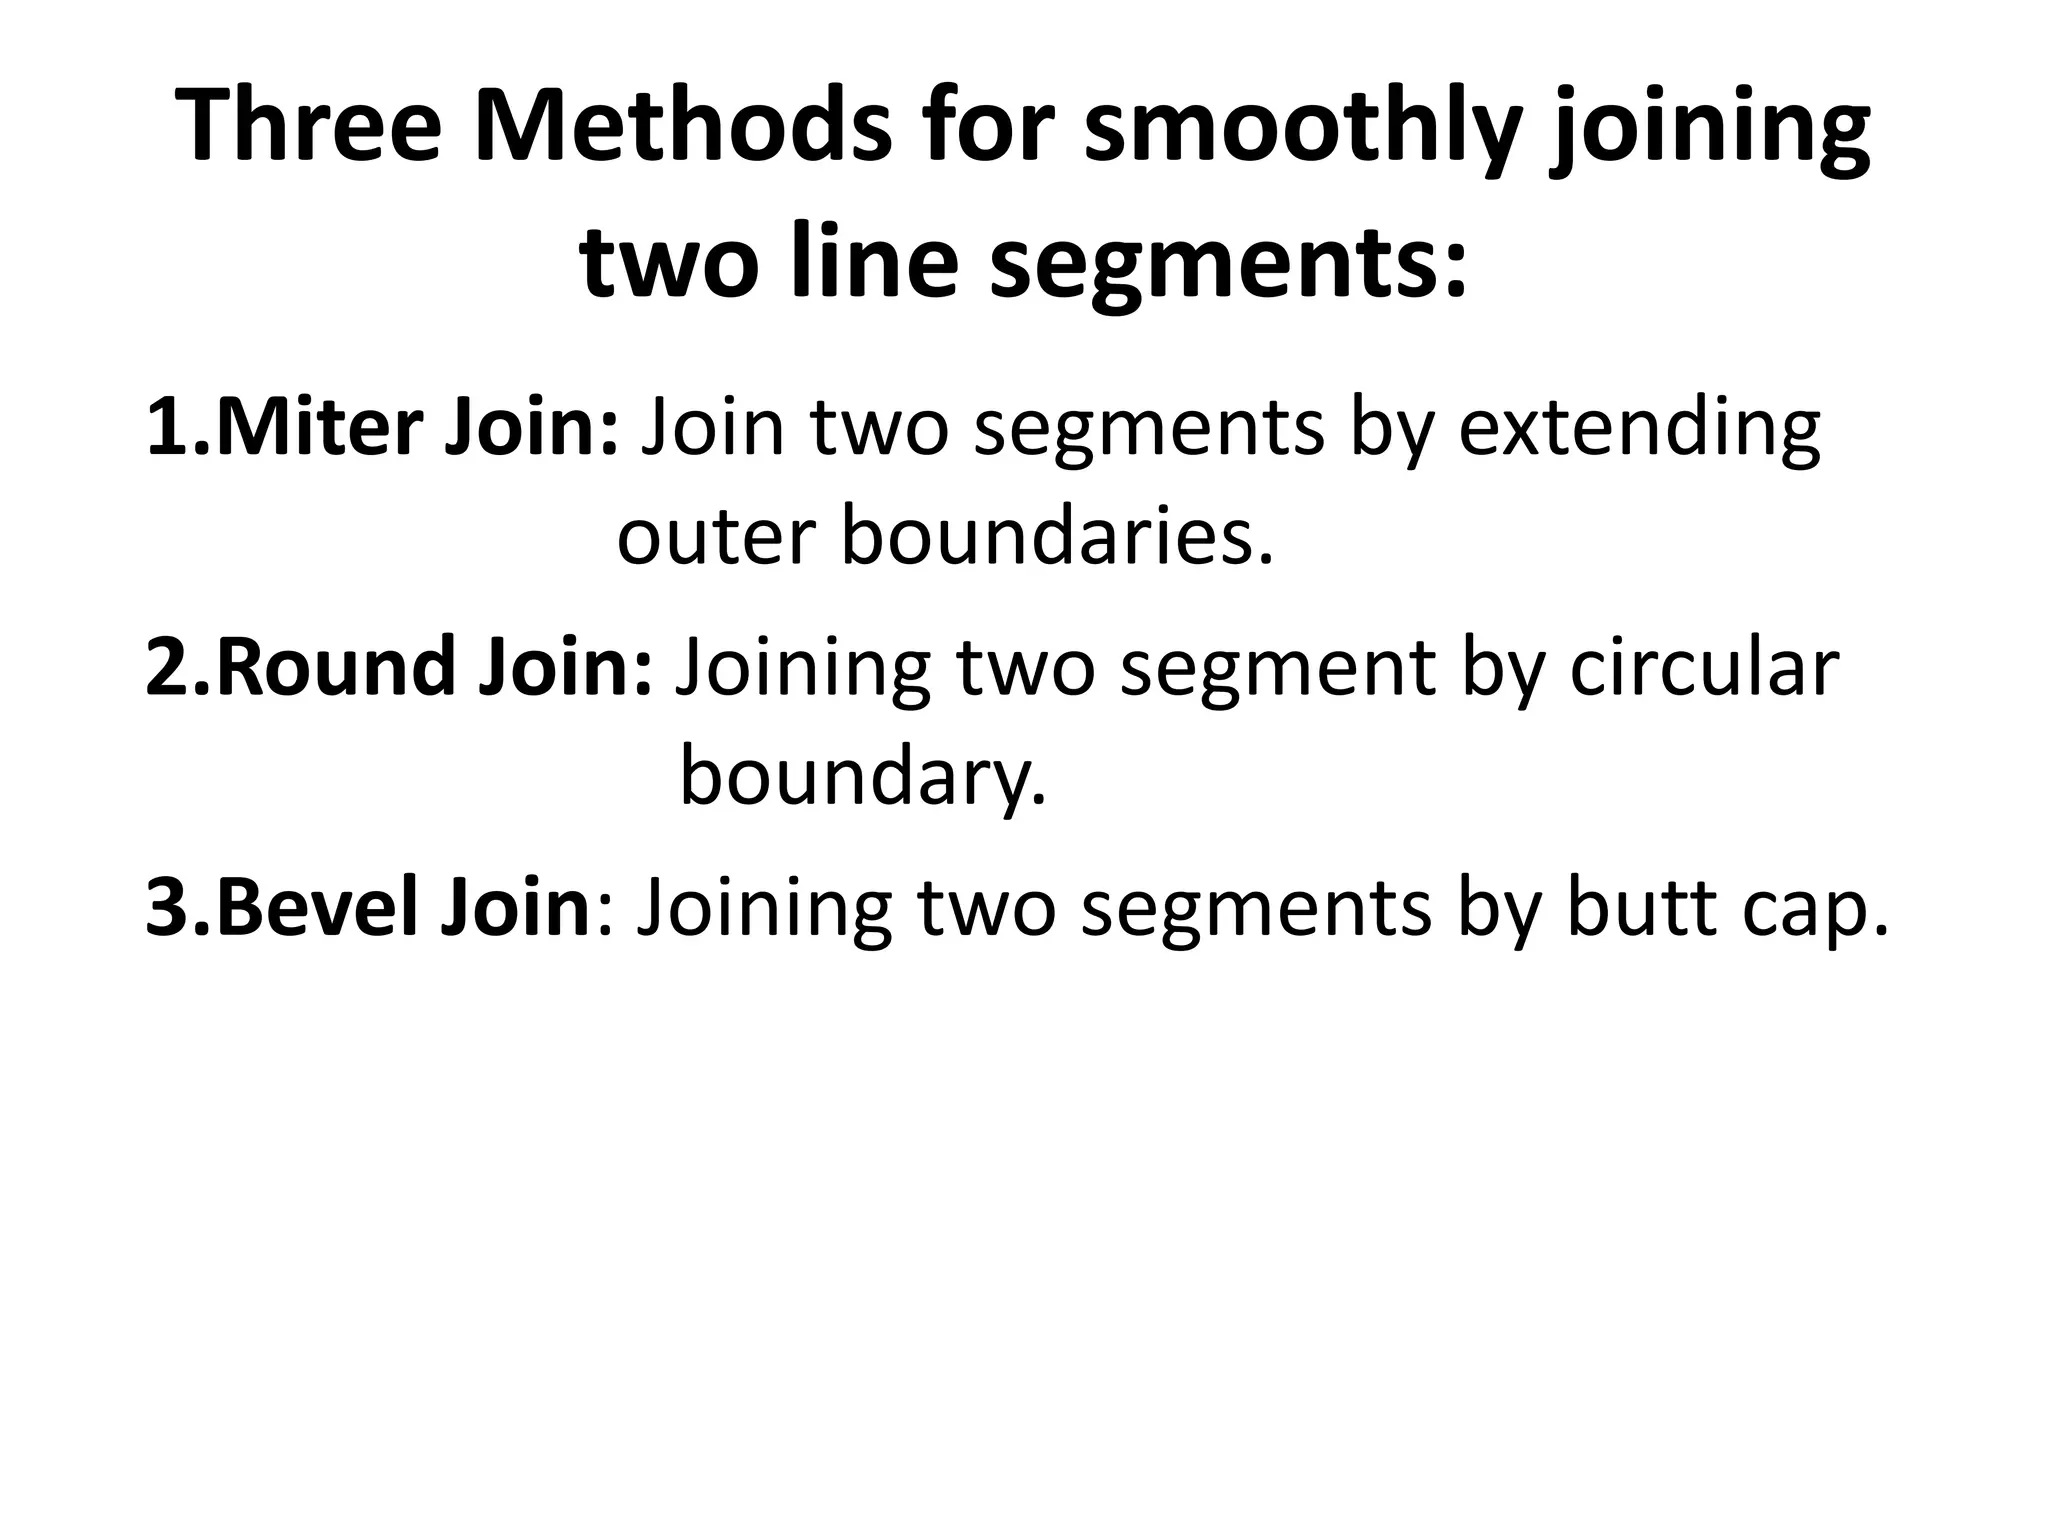
Three Methods forsmoothly joining
two line segments:
1.Miter Join: Join two segments by extending
outer boundaries.
2.Round Join: Joining two segment by circular
boundary.
3.Bevel Join: Joining two segments by butt cap.
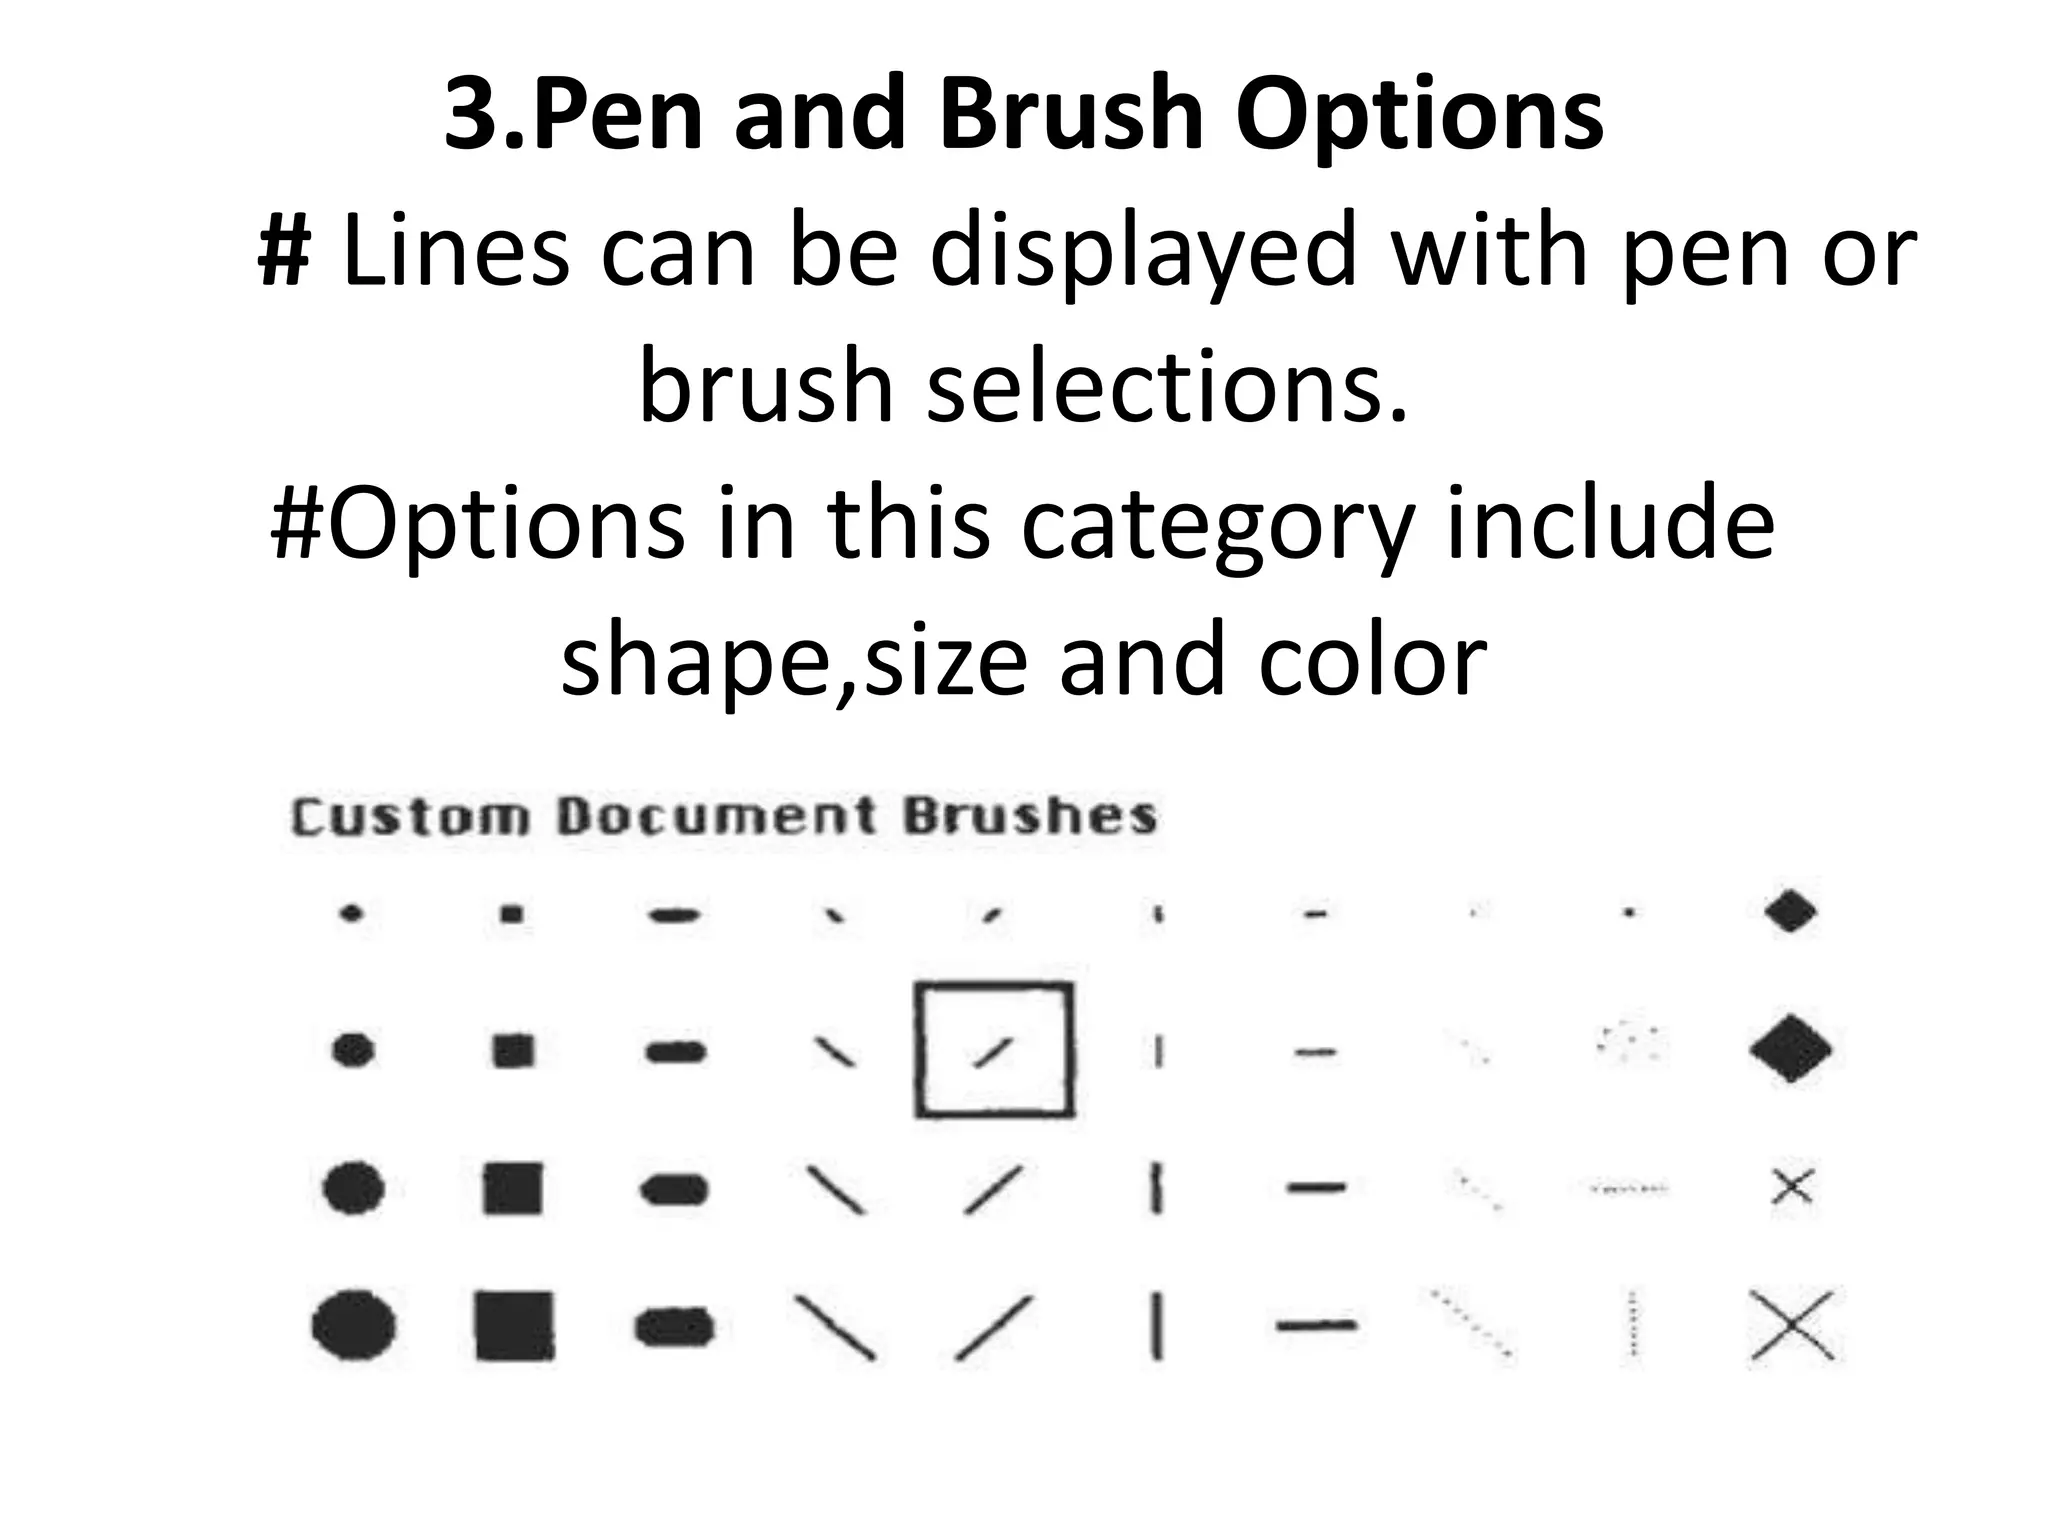
3.Pen and BrushOptions
# Lines can be displayed with pen or
brush selections.
#Options in this category include
shape,size and color
29.
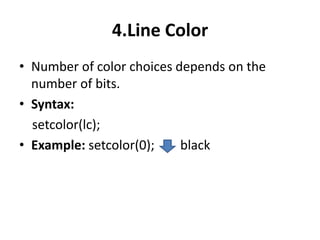
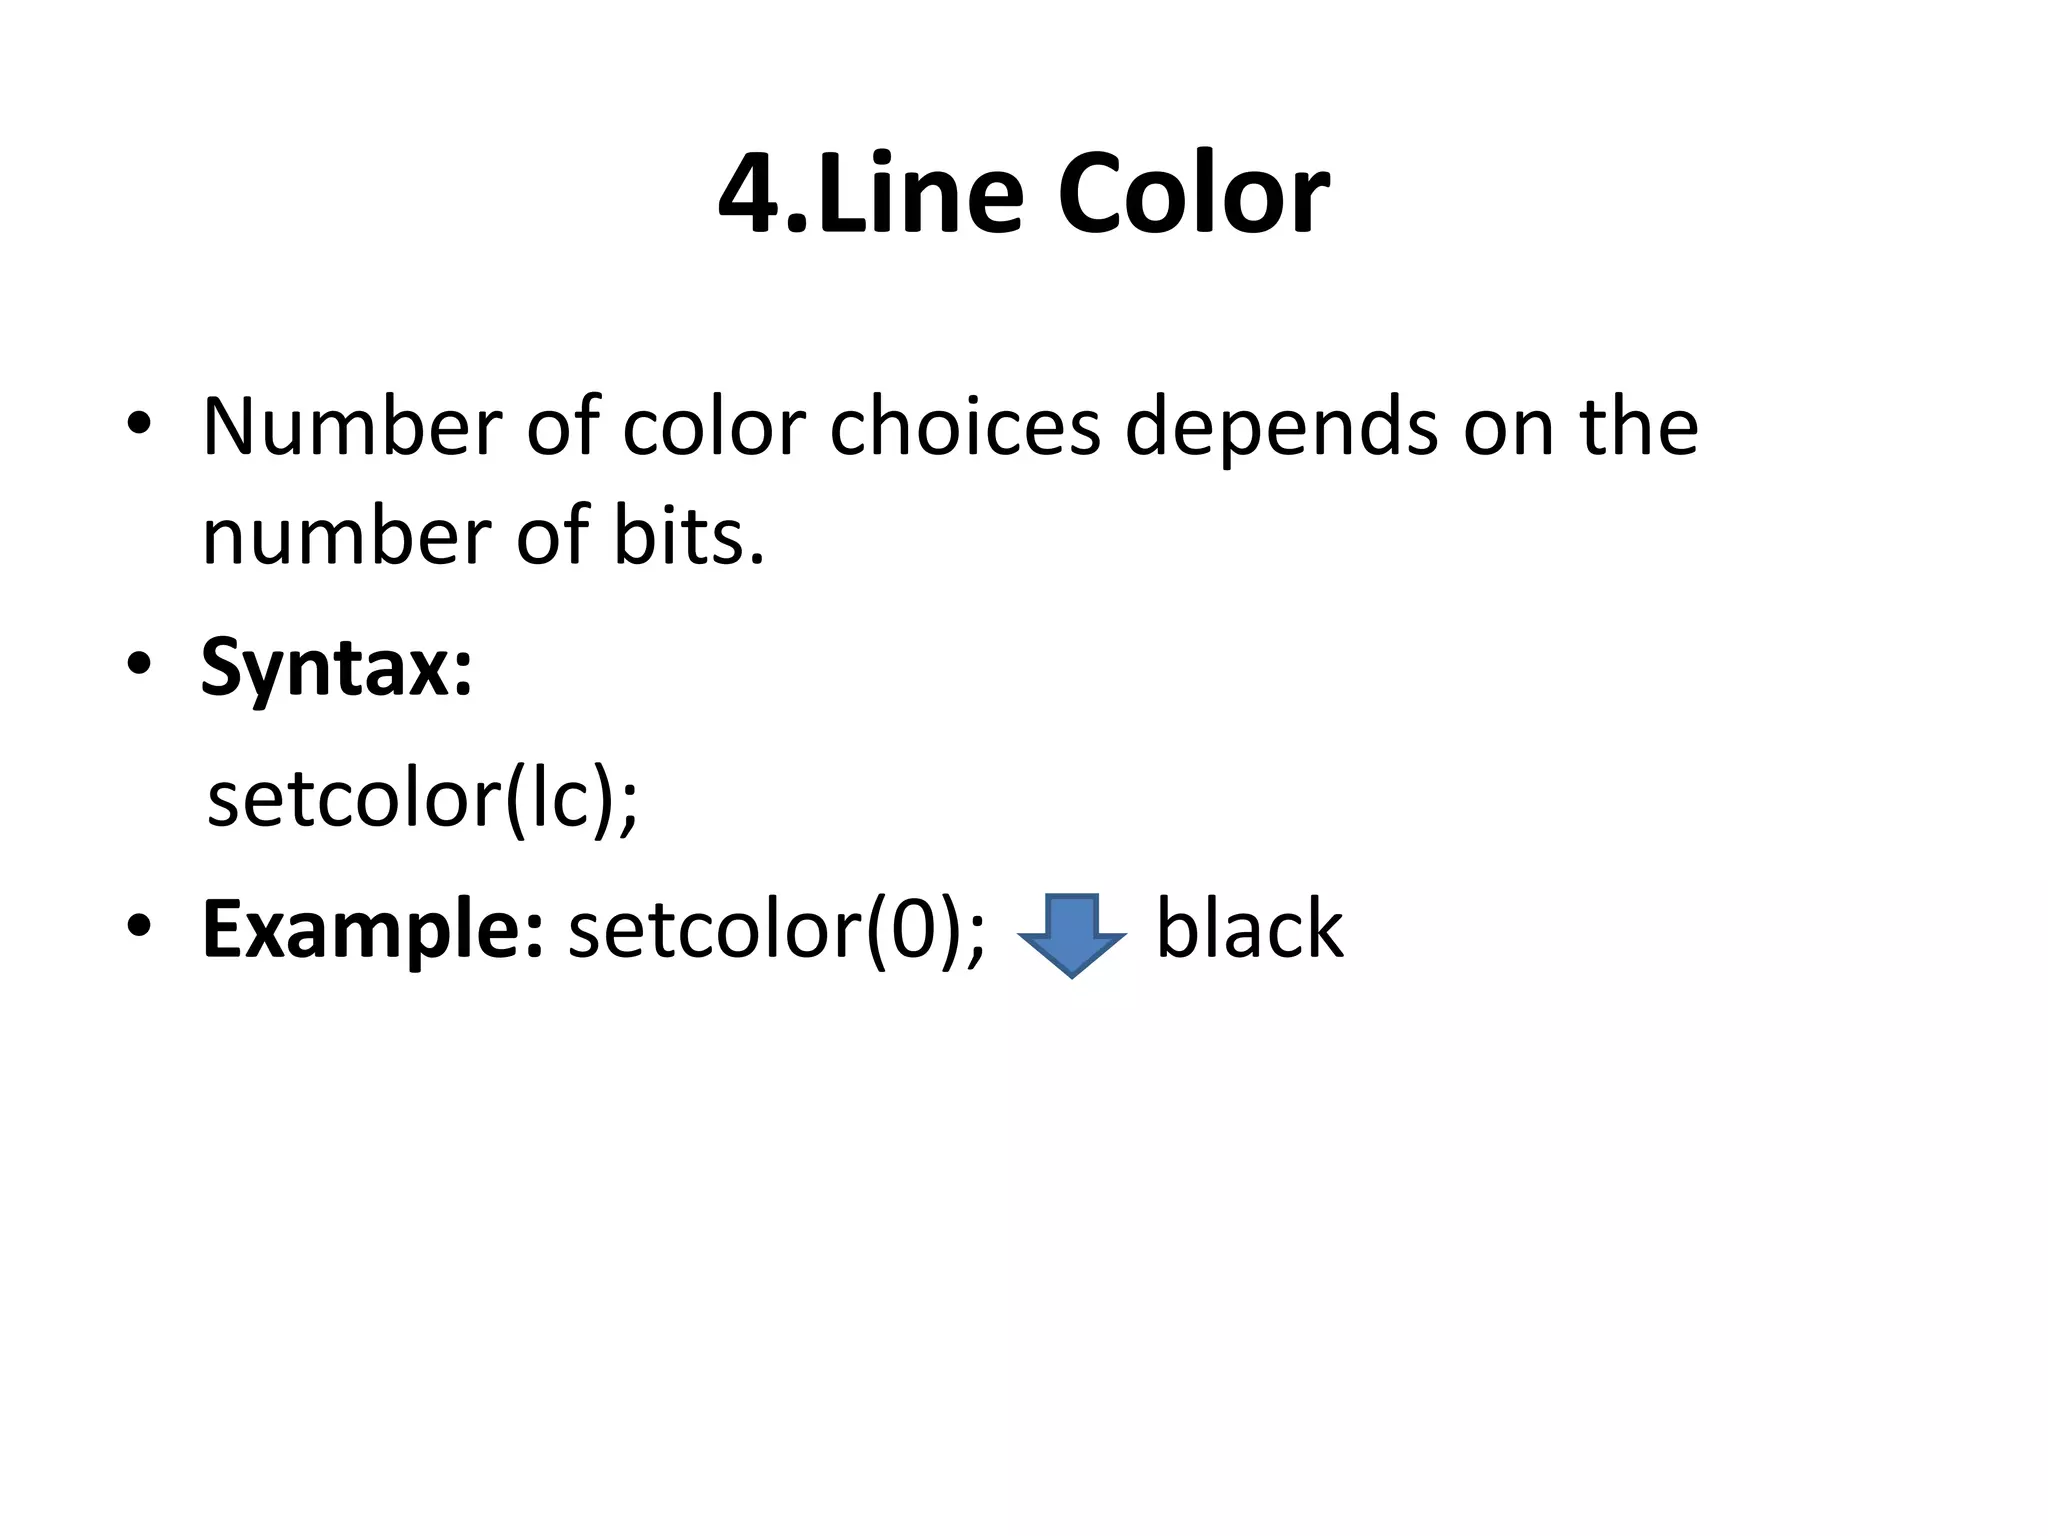
4.Line Color
• Numberof color choices depends on the
number of bits.
• Syntax:
setcolor(lc);
• Example: setcolor(0); black
30.
2.CURVE ATTRIBUTES
• Parameterfor curve attributes are same as
those for line segments.
• Curves displayed with varying
colors,widths,dot-dashed pattern and pen or
brush options.
31.
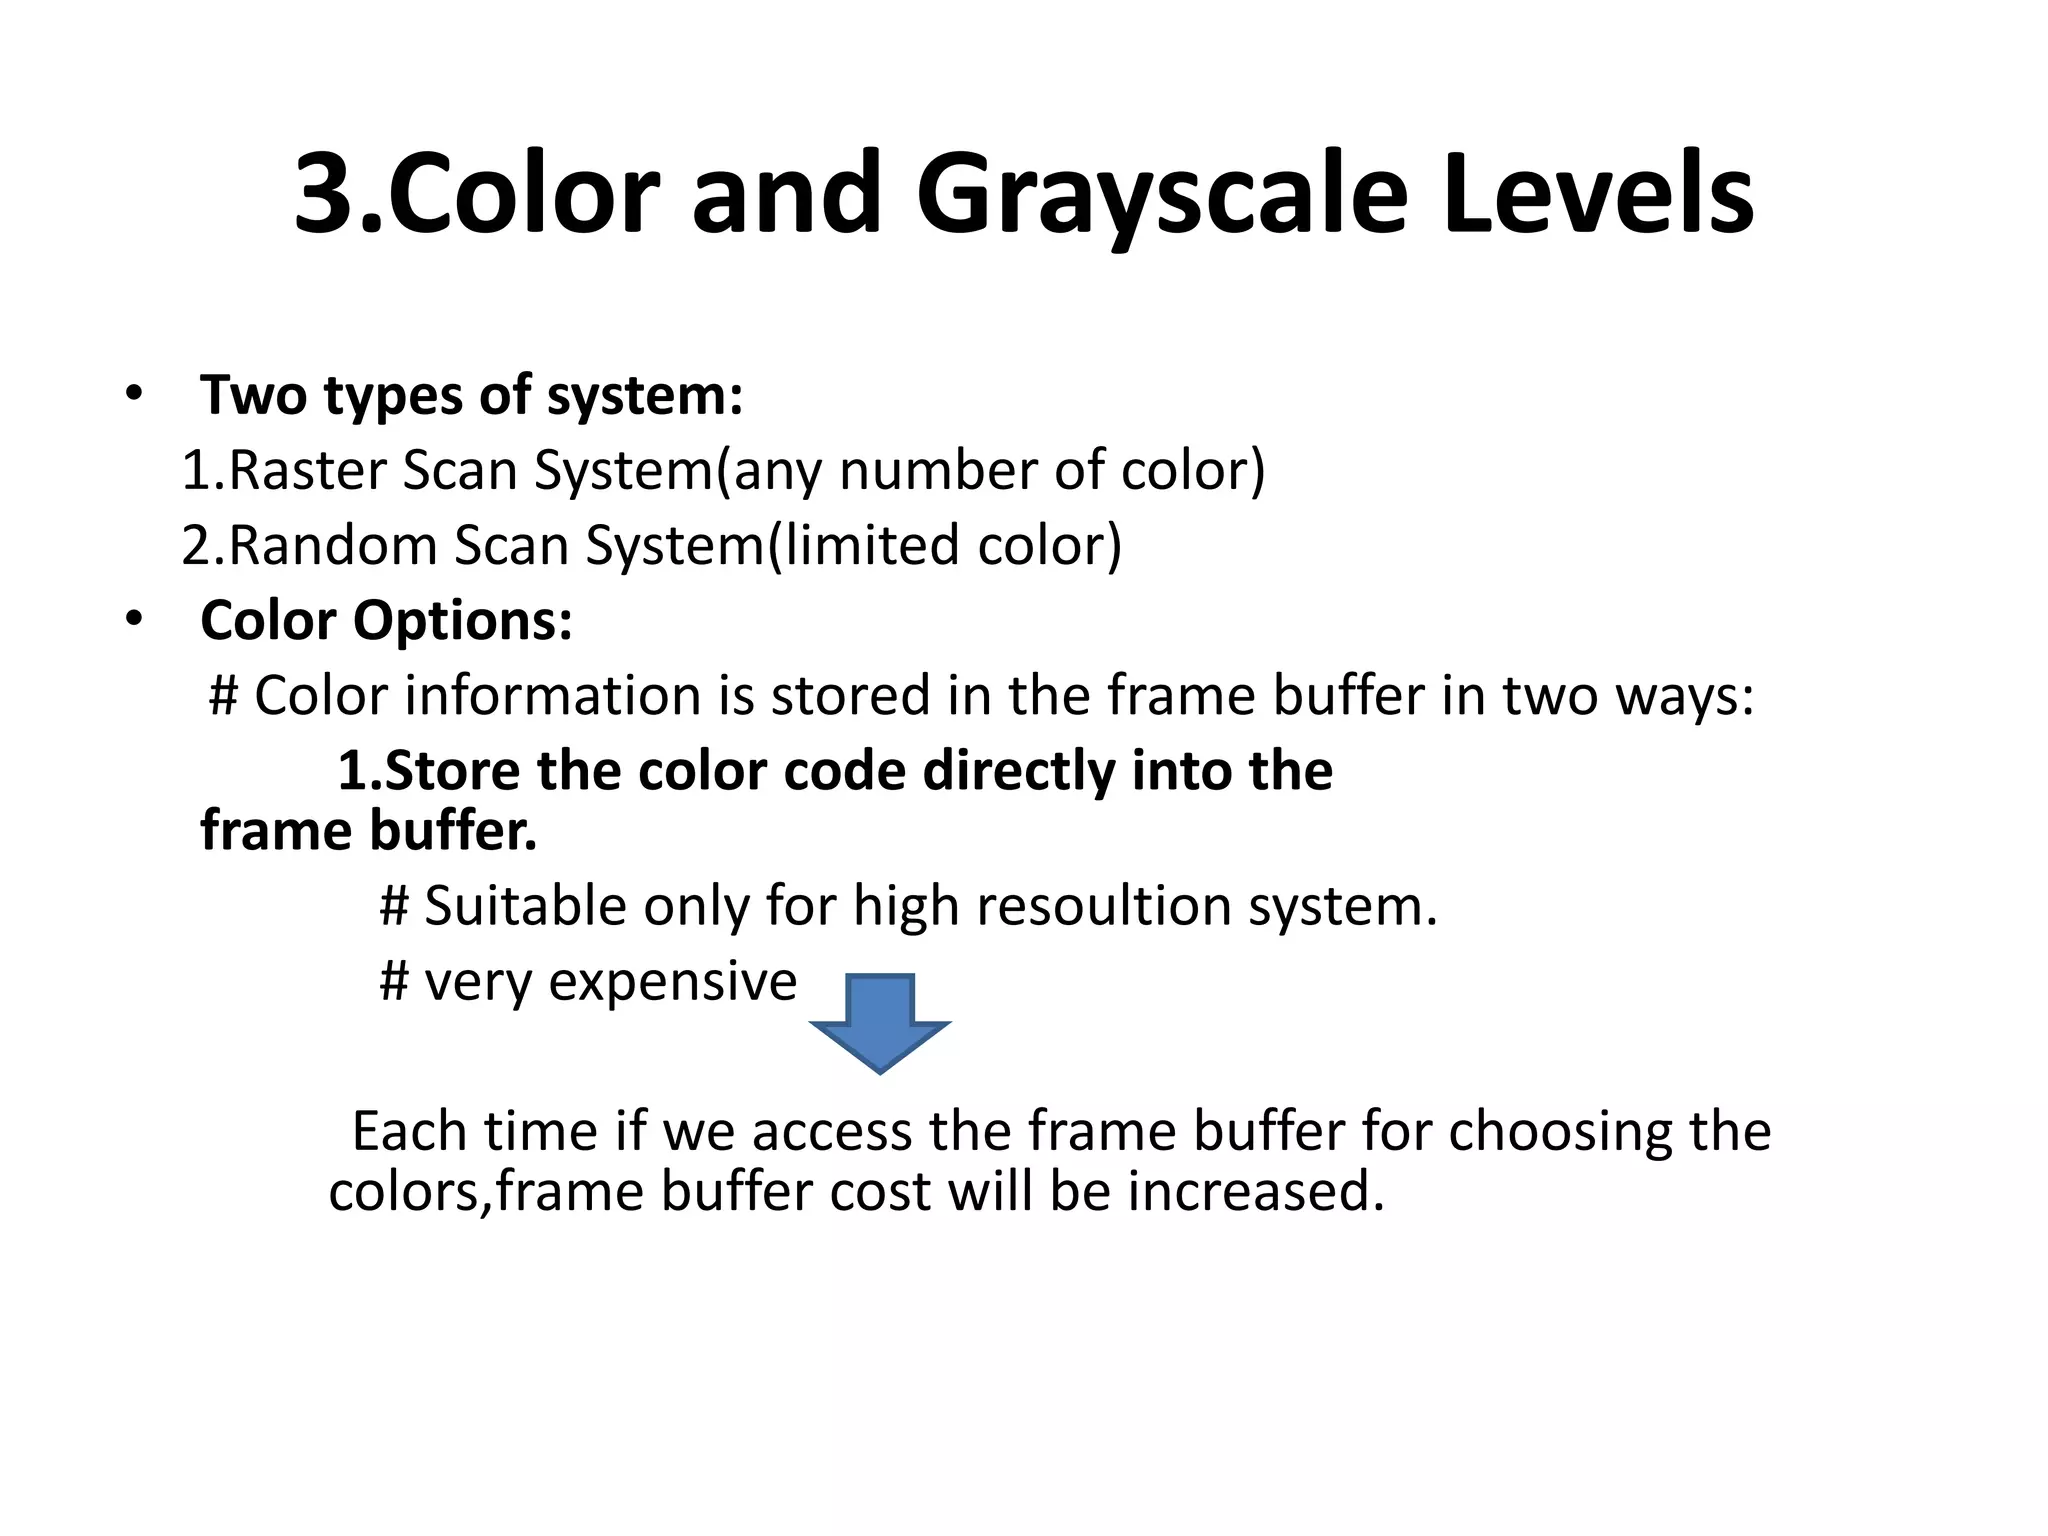
3.Color and GrayscaleLevels
• Two types of system:
1.Raster Scan System(any number of color)
2.Random Scan System(limited color)
• Color Options:
# Color information is stored in the frame buffer in two ways:
1.Store the color code directly into the
frame buffer.
# Suitable only for high resoultion system.
# very expensive
Each time if we access the frame buffer for choosing the
colors,frame buffer cost will be increased.
32.
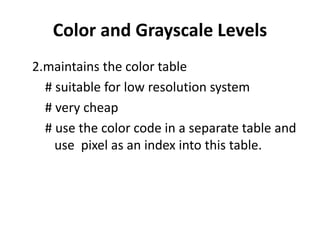
Color and GrayscaleLevels
2.maintains the color table
# suitable for low resolution system
# very cheap
# use the color code in a separate table and
use pixel as an index into this table.
33.
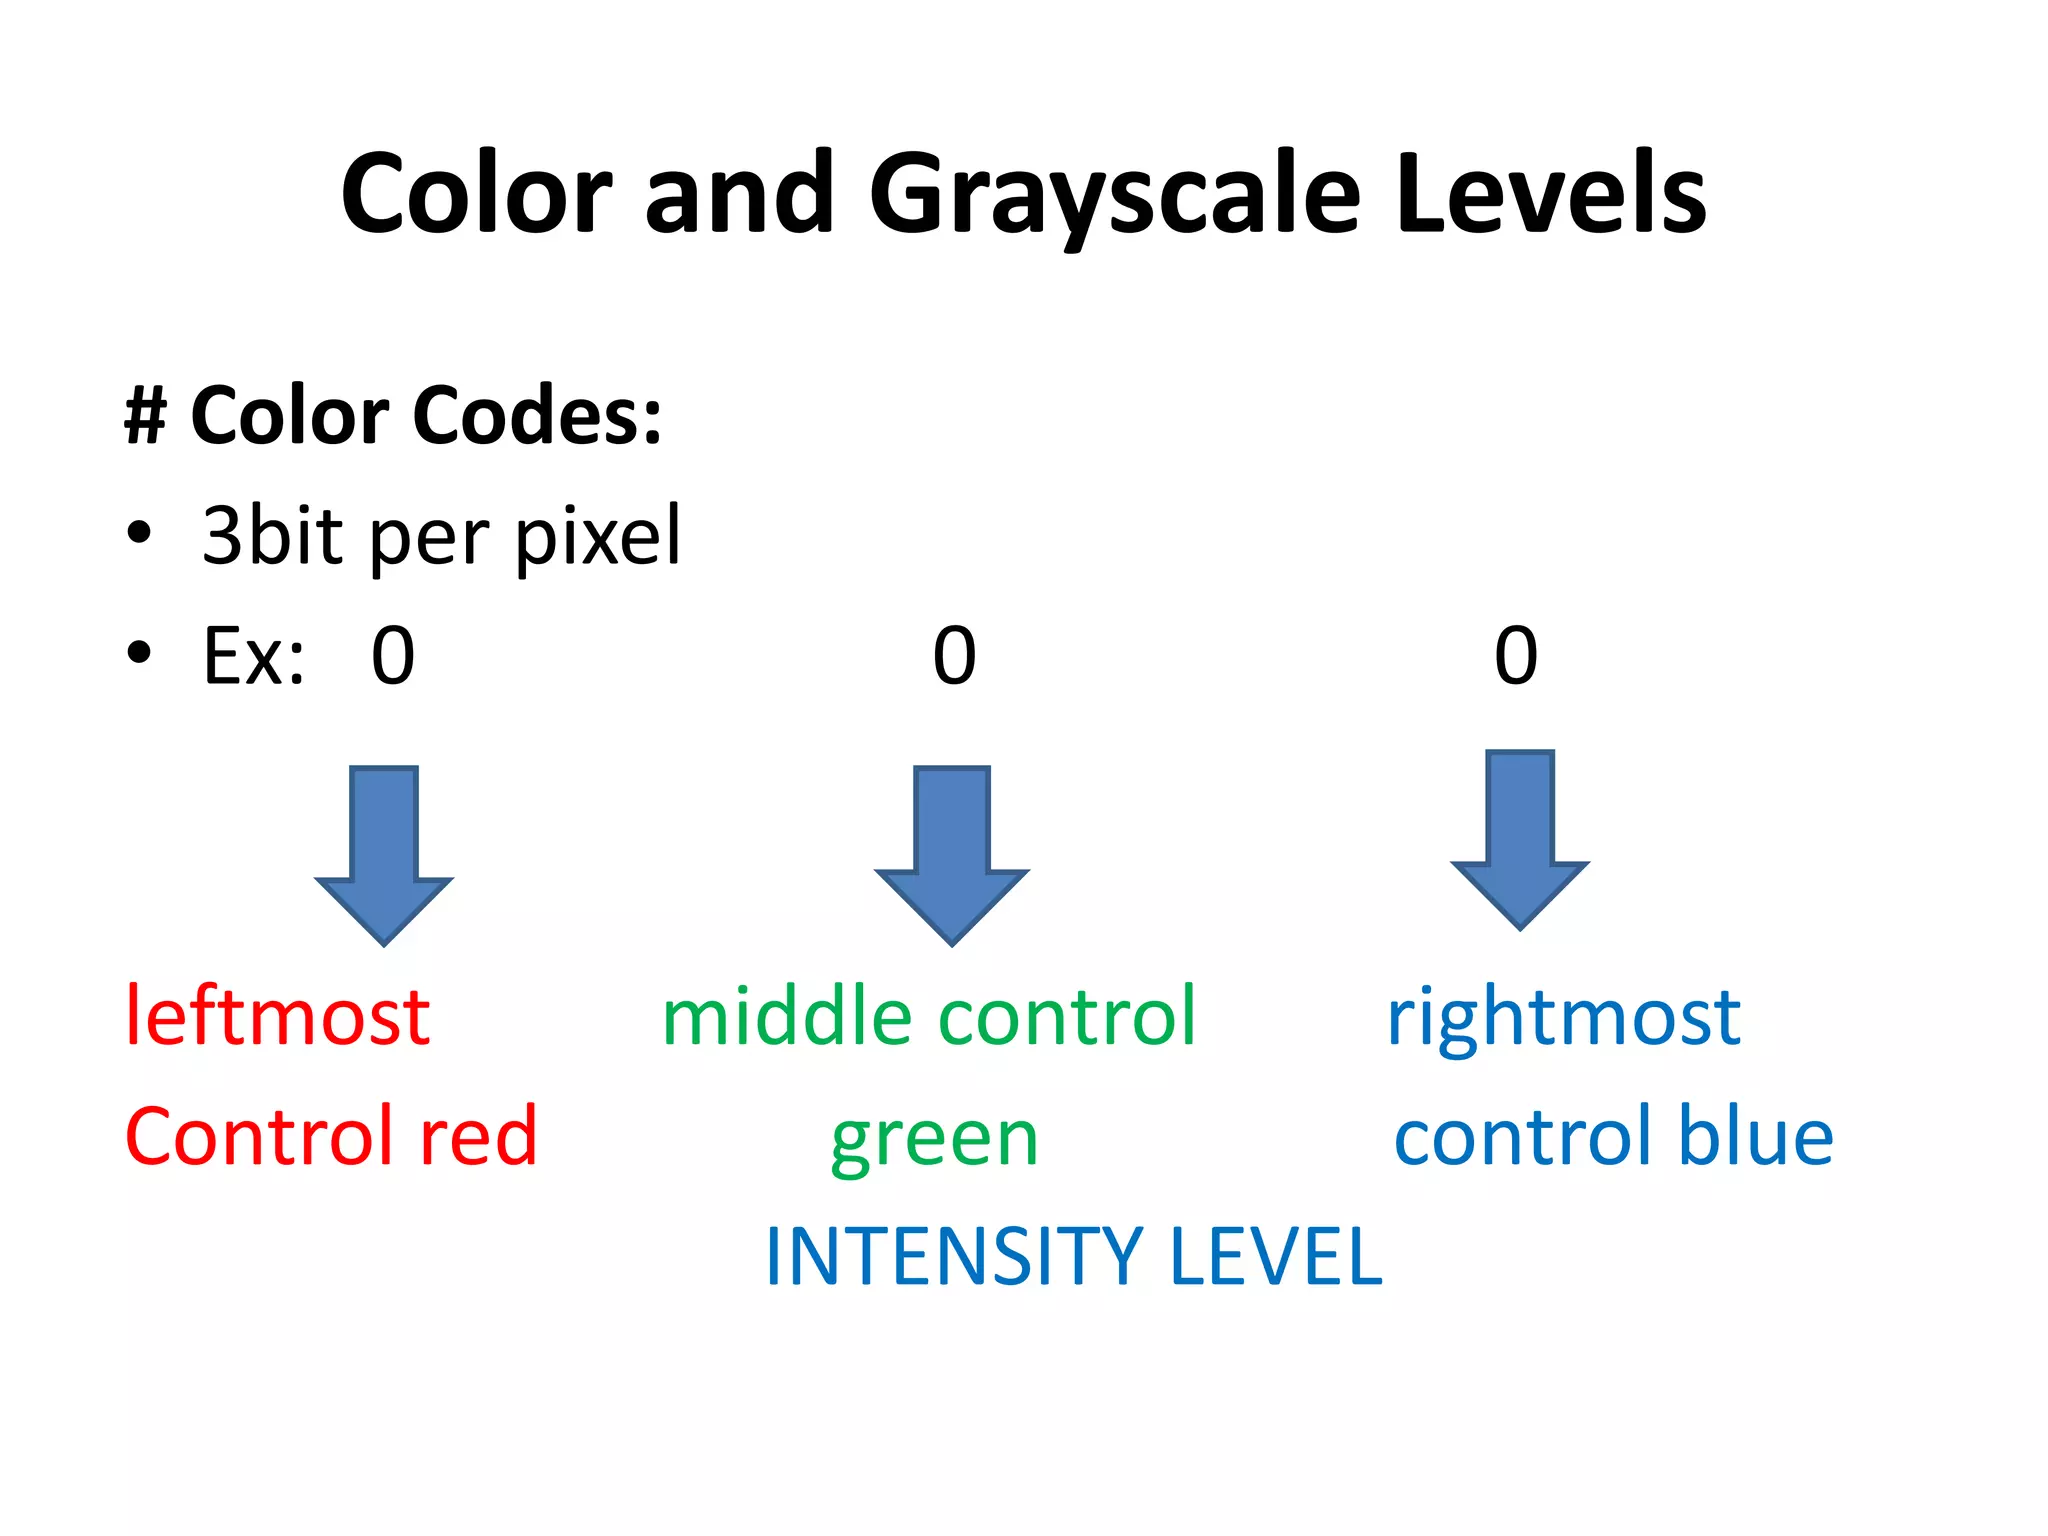
Color and GrayscaleLevels
# Color Codes:
• 3bit per pixel
• Ex: 0 0 0
leftmost middle control rightmost
Control red green control blue
INTENSITY LEVEL
34.
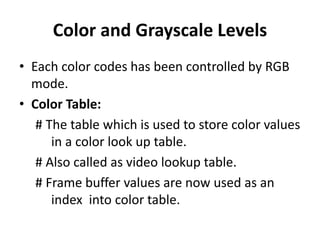
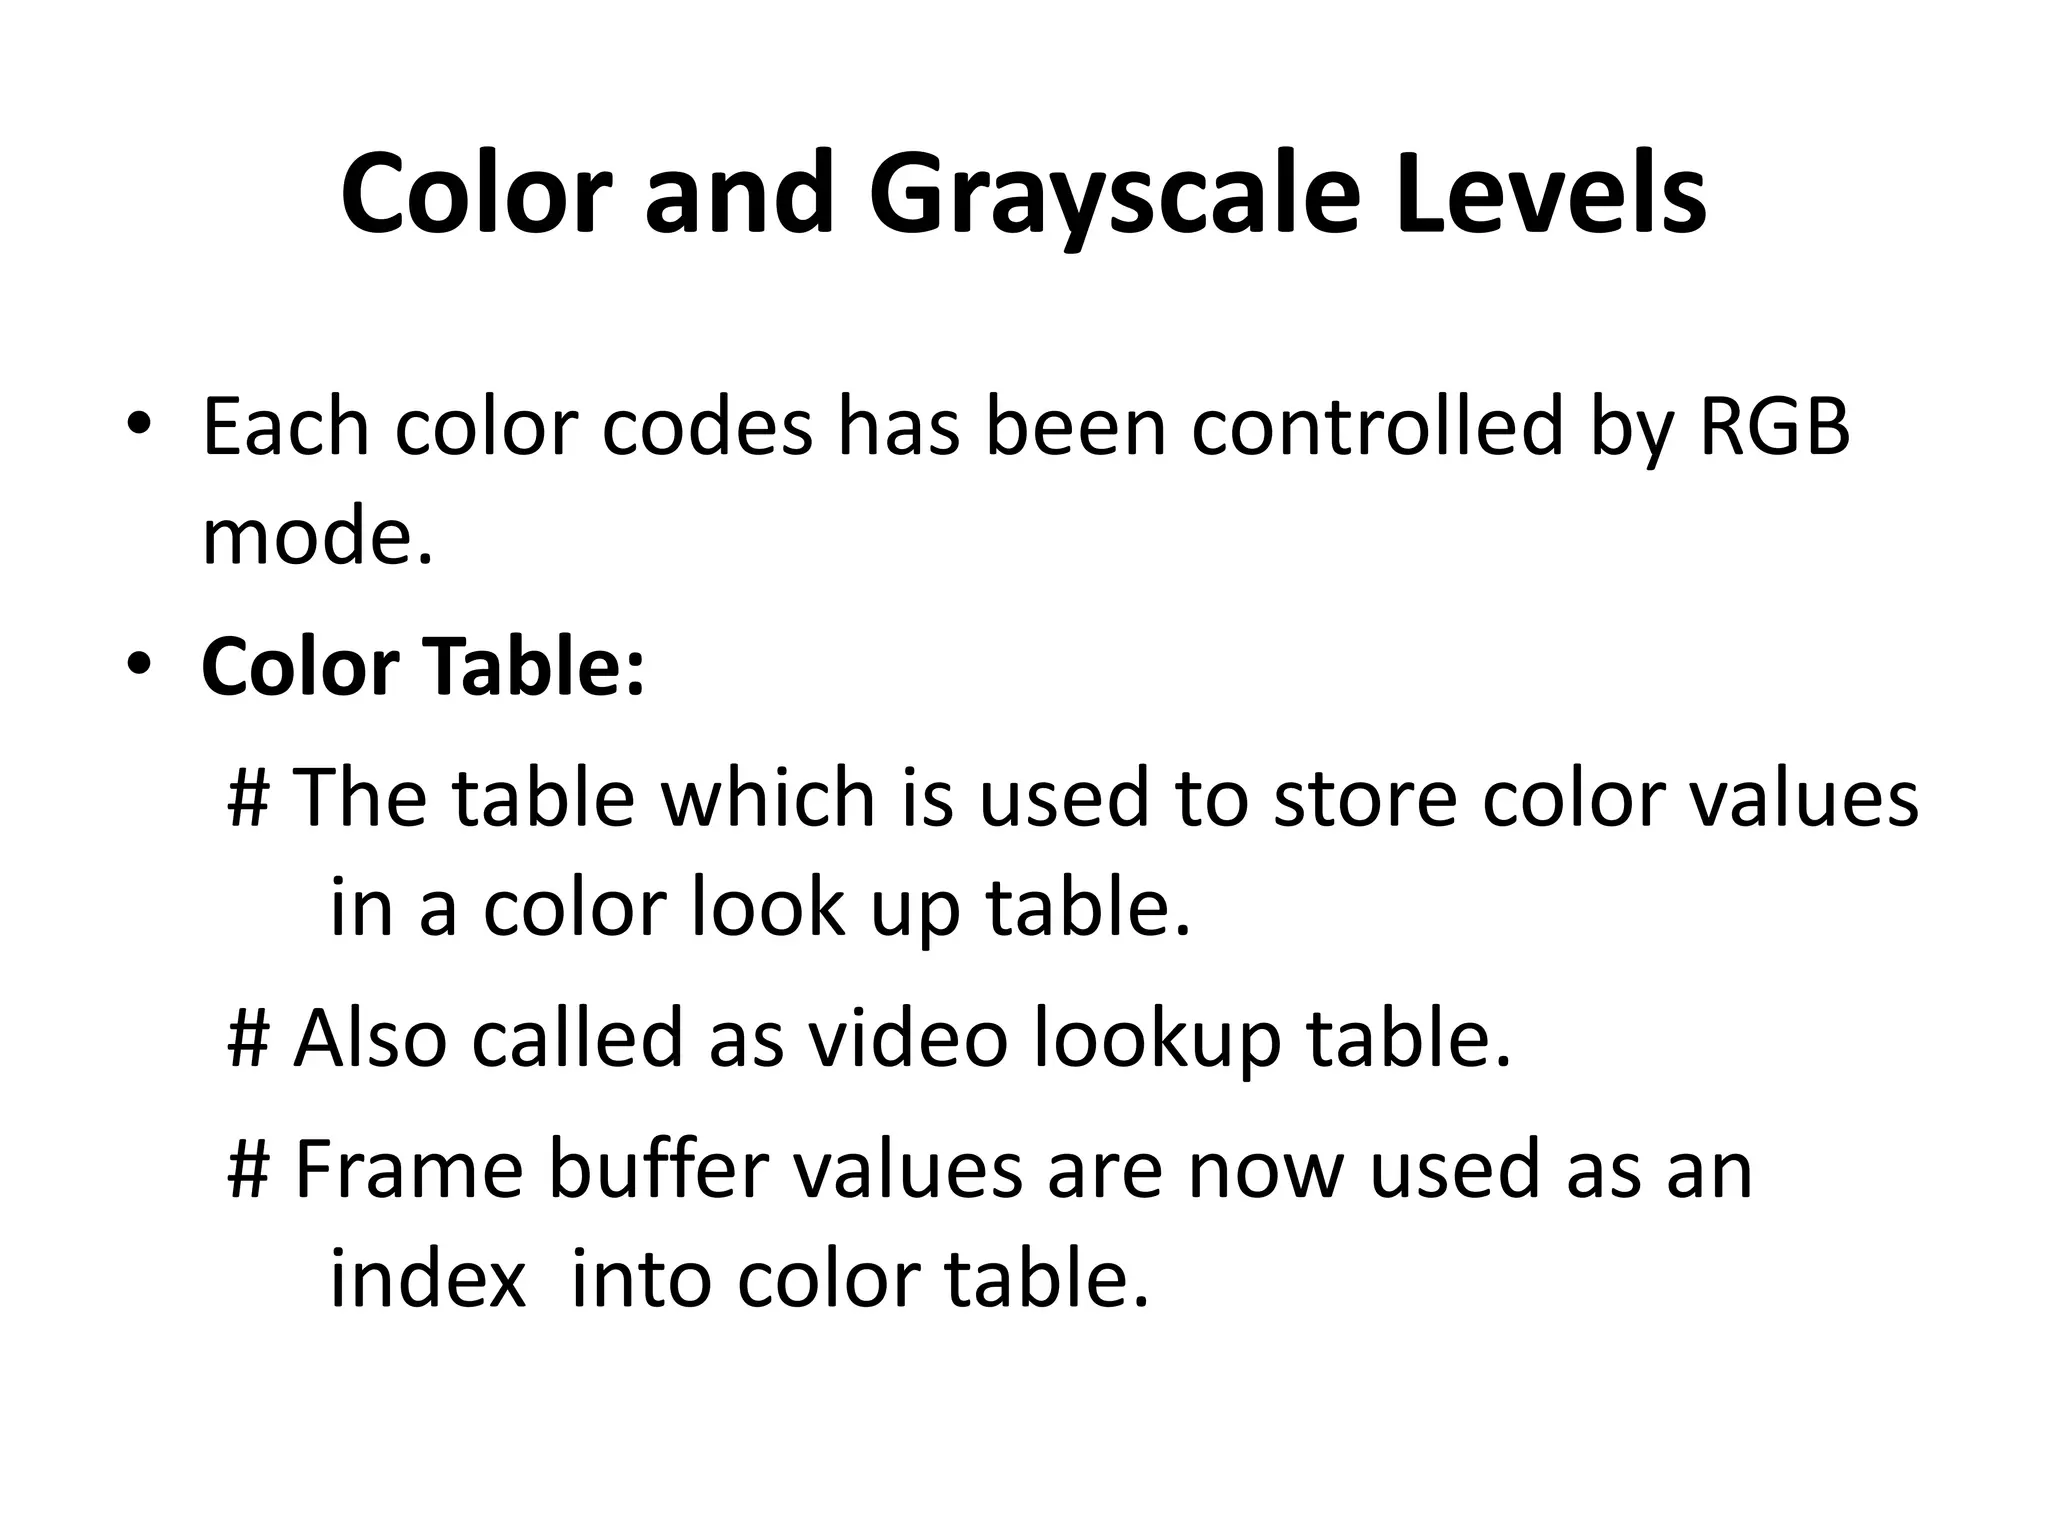
Color and GrayscaleLevels
• Each color codes has been controlled by RGB
mode.
• Color Table:
# The table which is used to store color values
in a color look up table.
# Also called as video lookup table.
# Frame buffer values are now used as an
index into color table.
35.
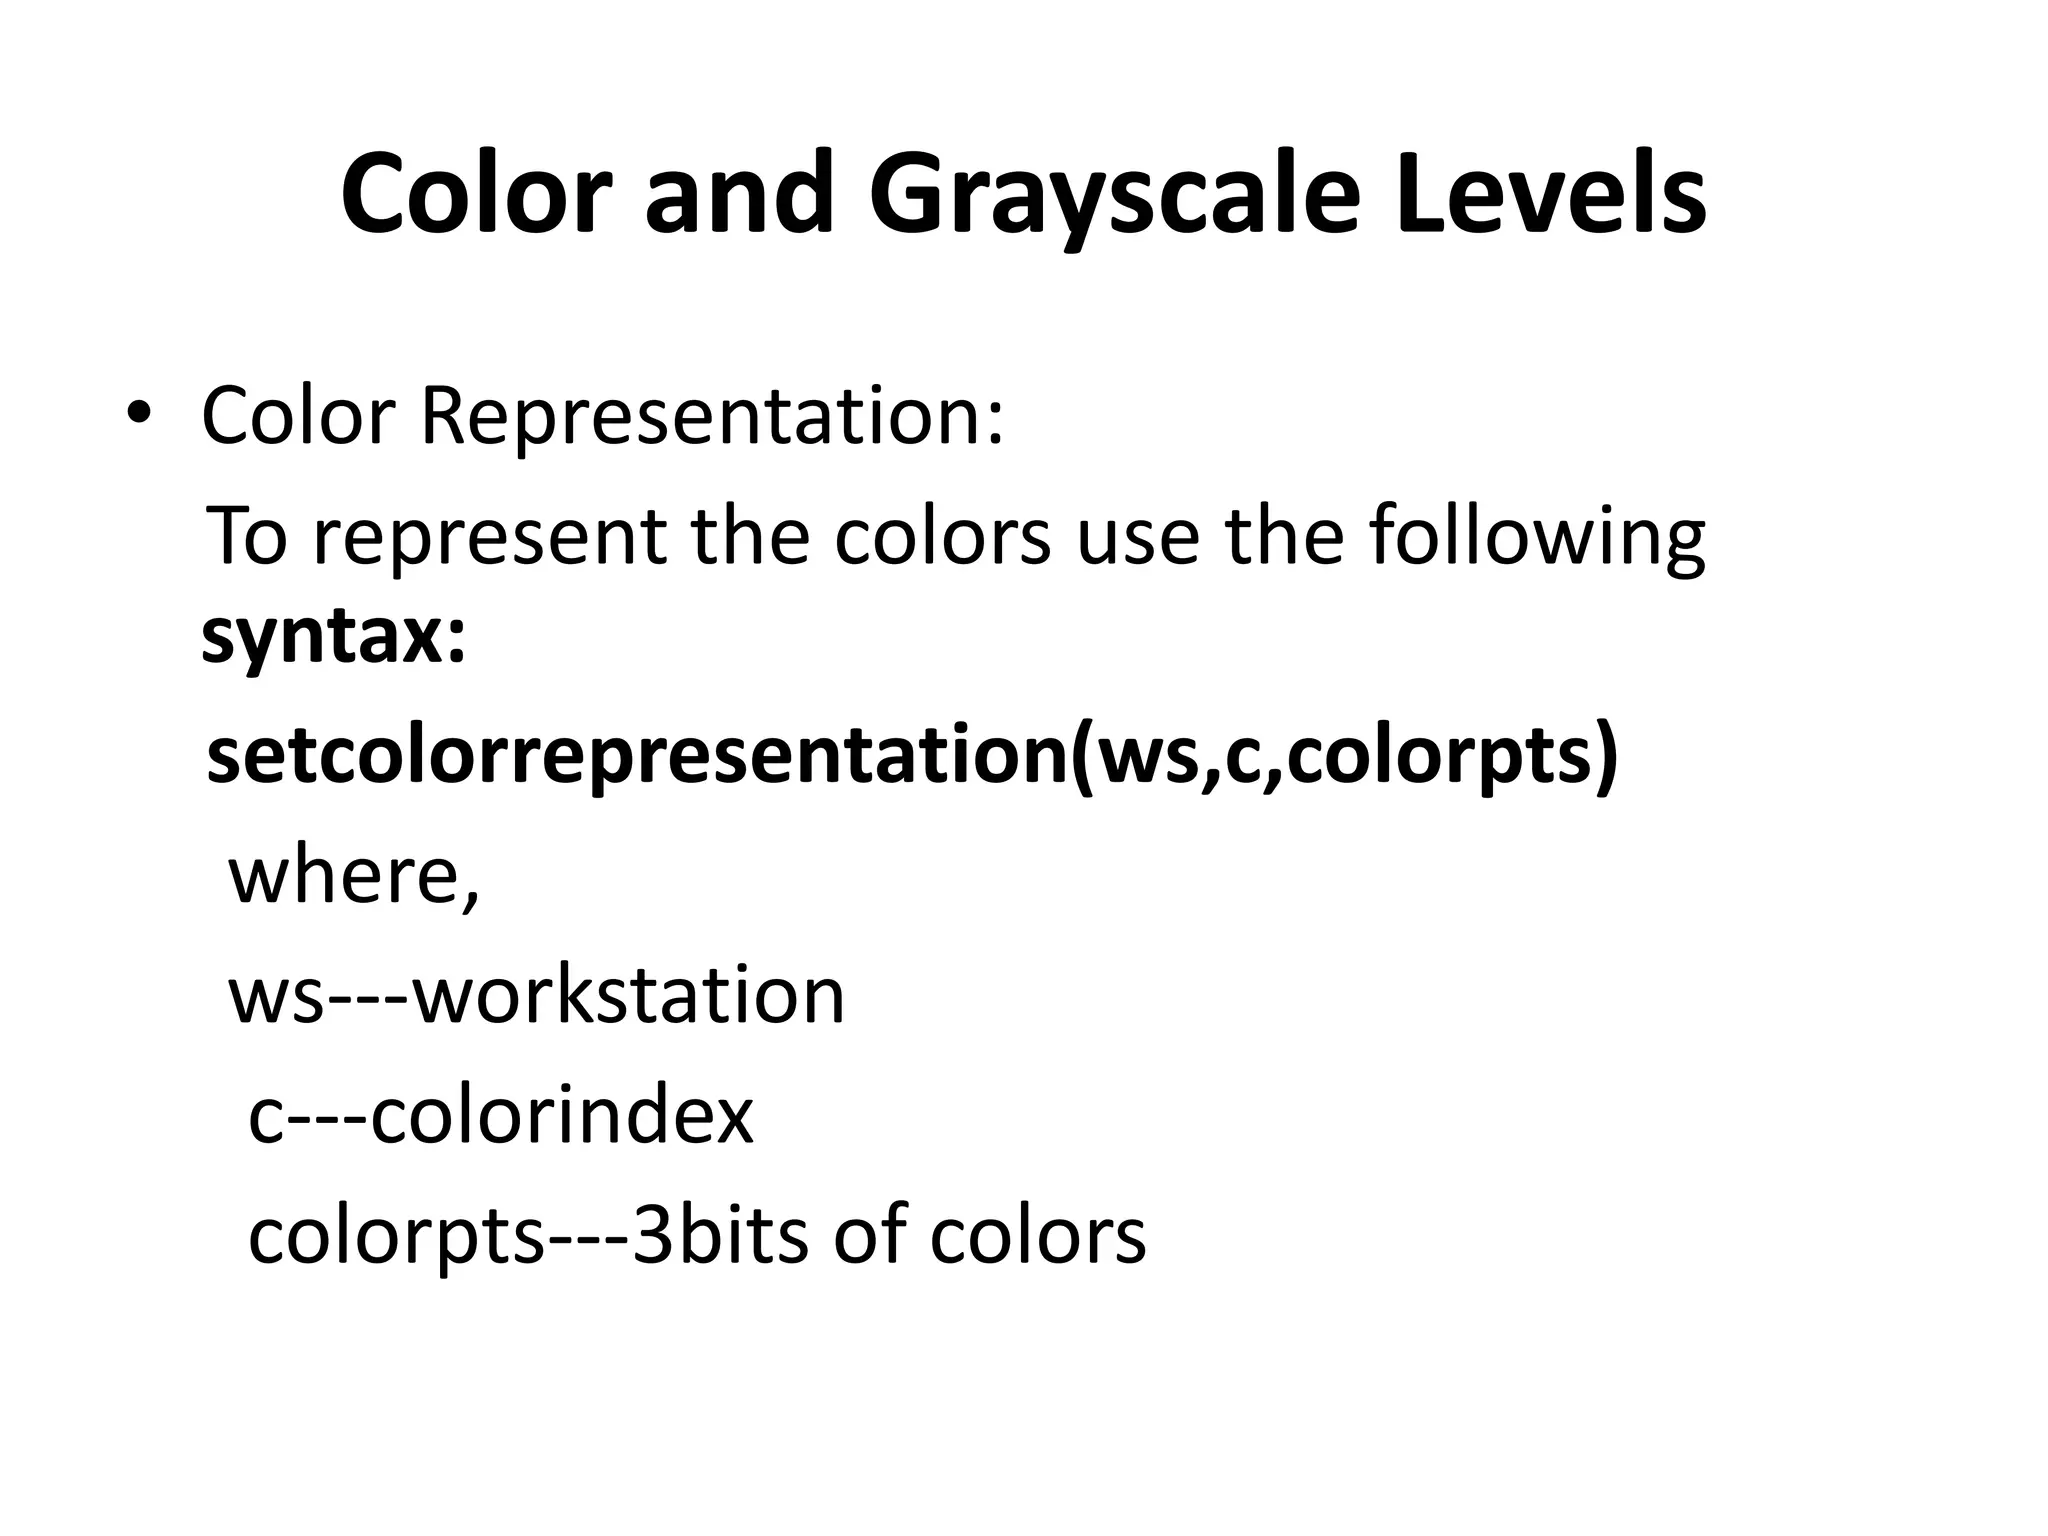
Color and GrayscaleLevels
• Color Representation:
To represent the colors use the following
syntax:
setcolorrepresentation(ws,c,colorpts)
where,
ws---workstation
c---colorindex
colorpts---3bits of colors
36.
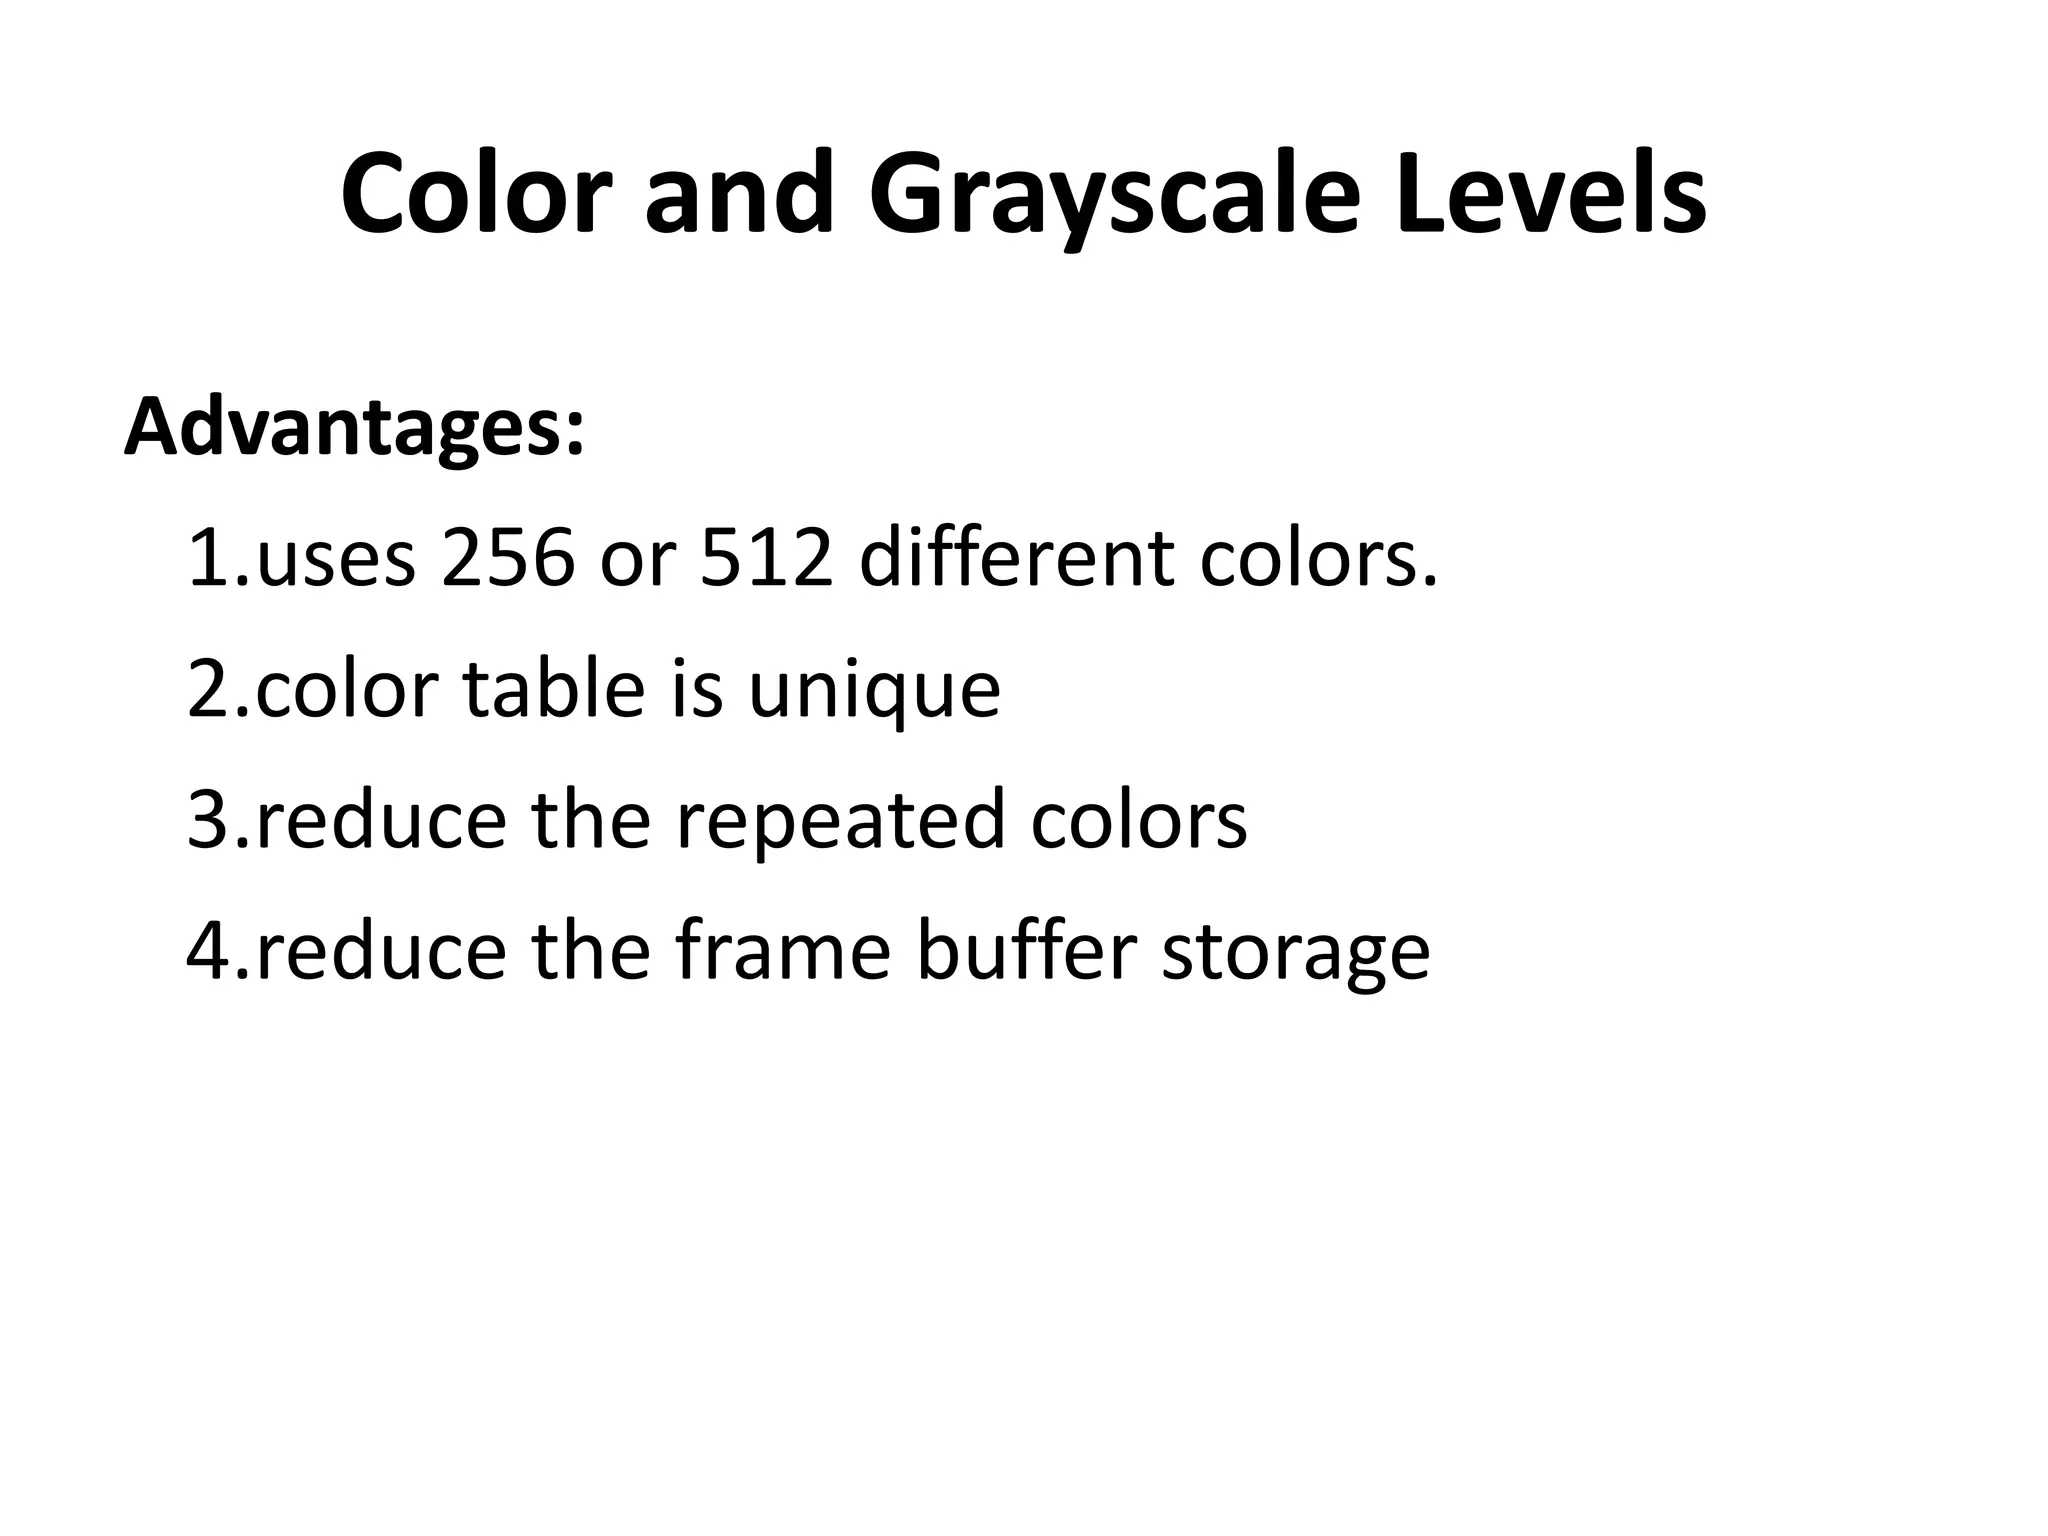
Color and GrayscaleLevels
Advantages:
1.uses 256 or 512 different colors.
2.color table is unique
3.reduce the repeated colors
4.reduce the frame buffer storage
37.
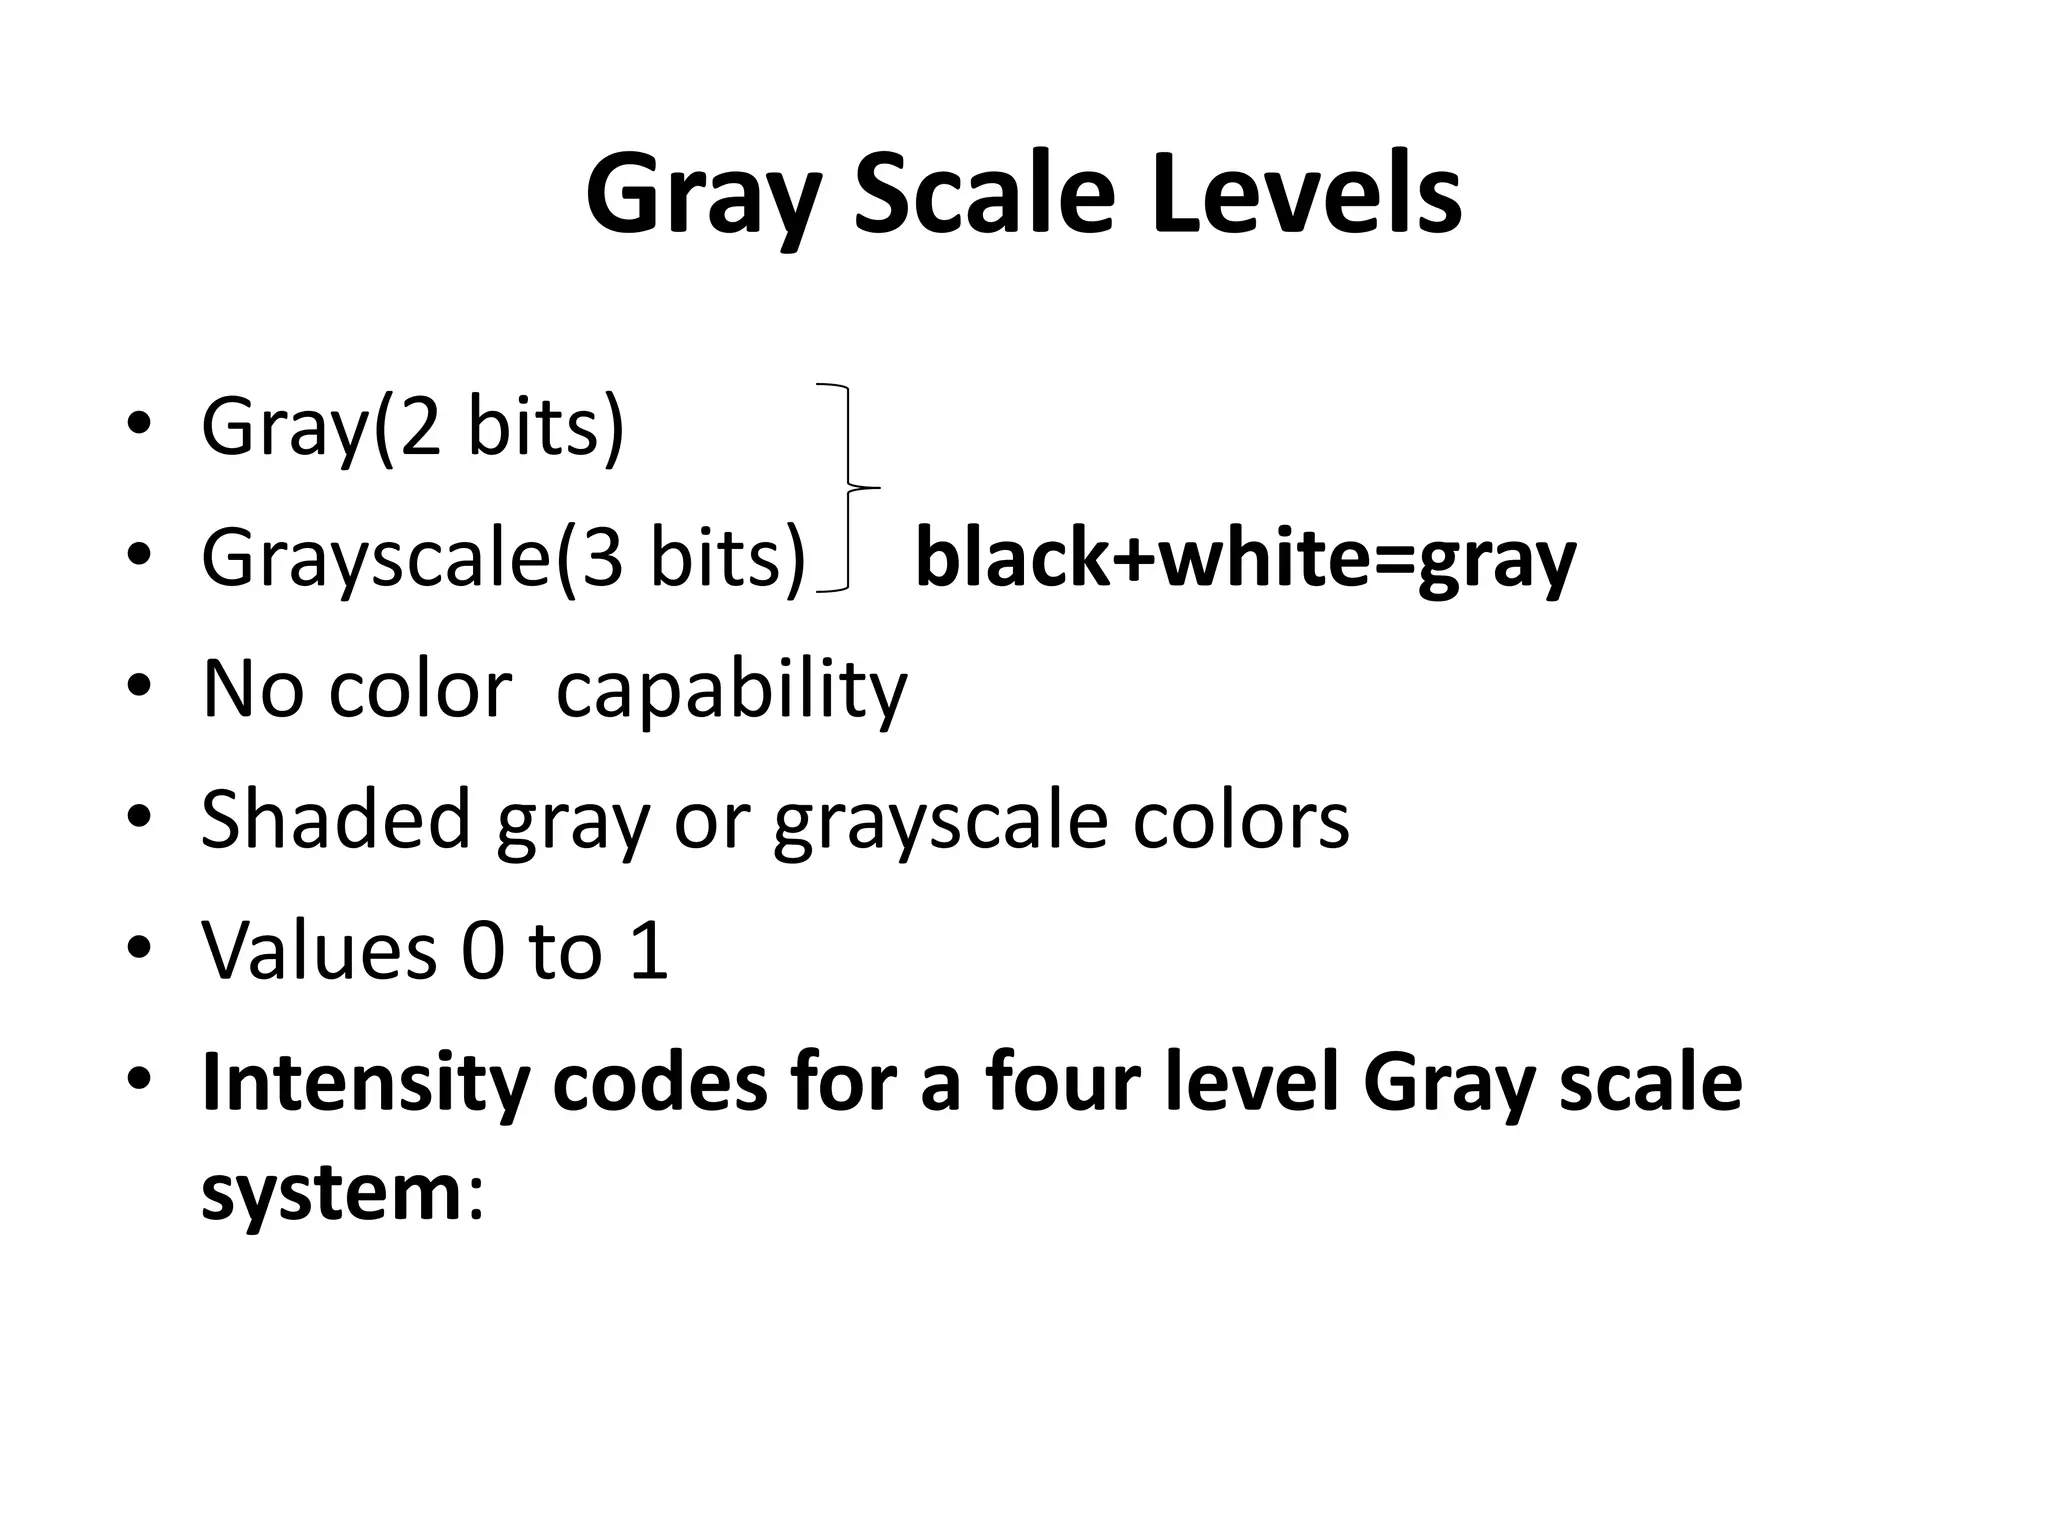
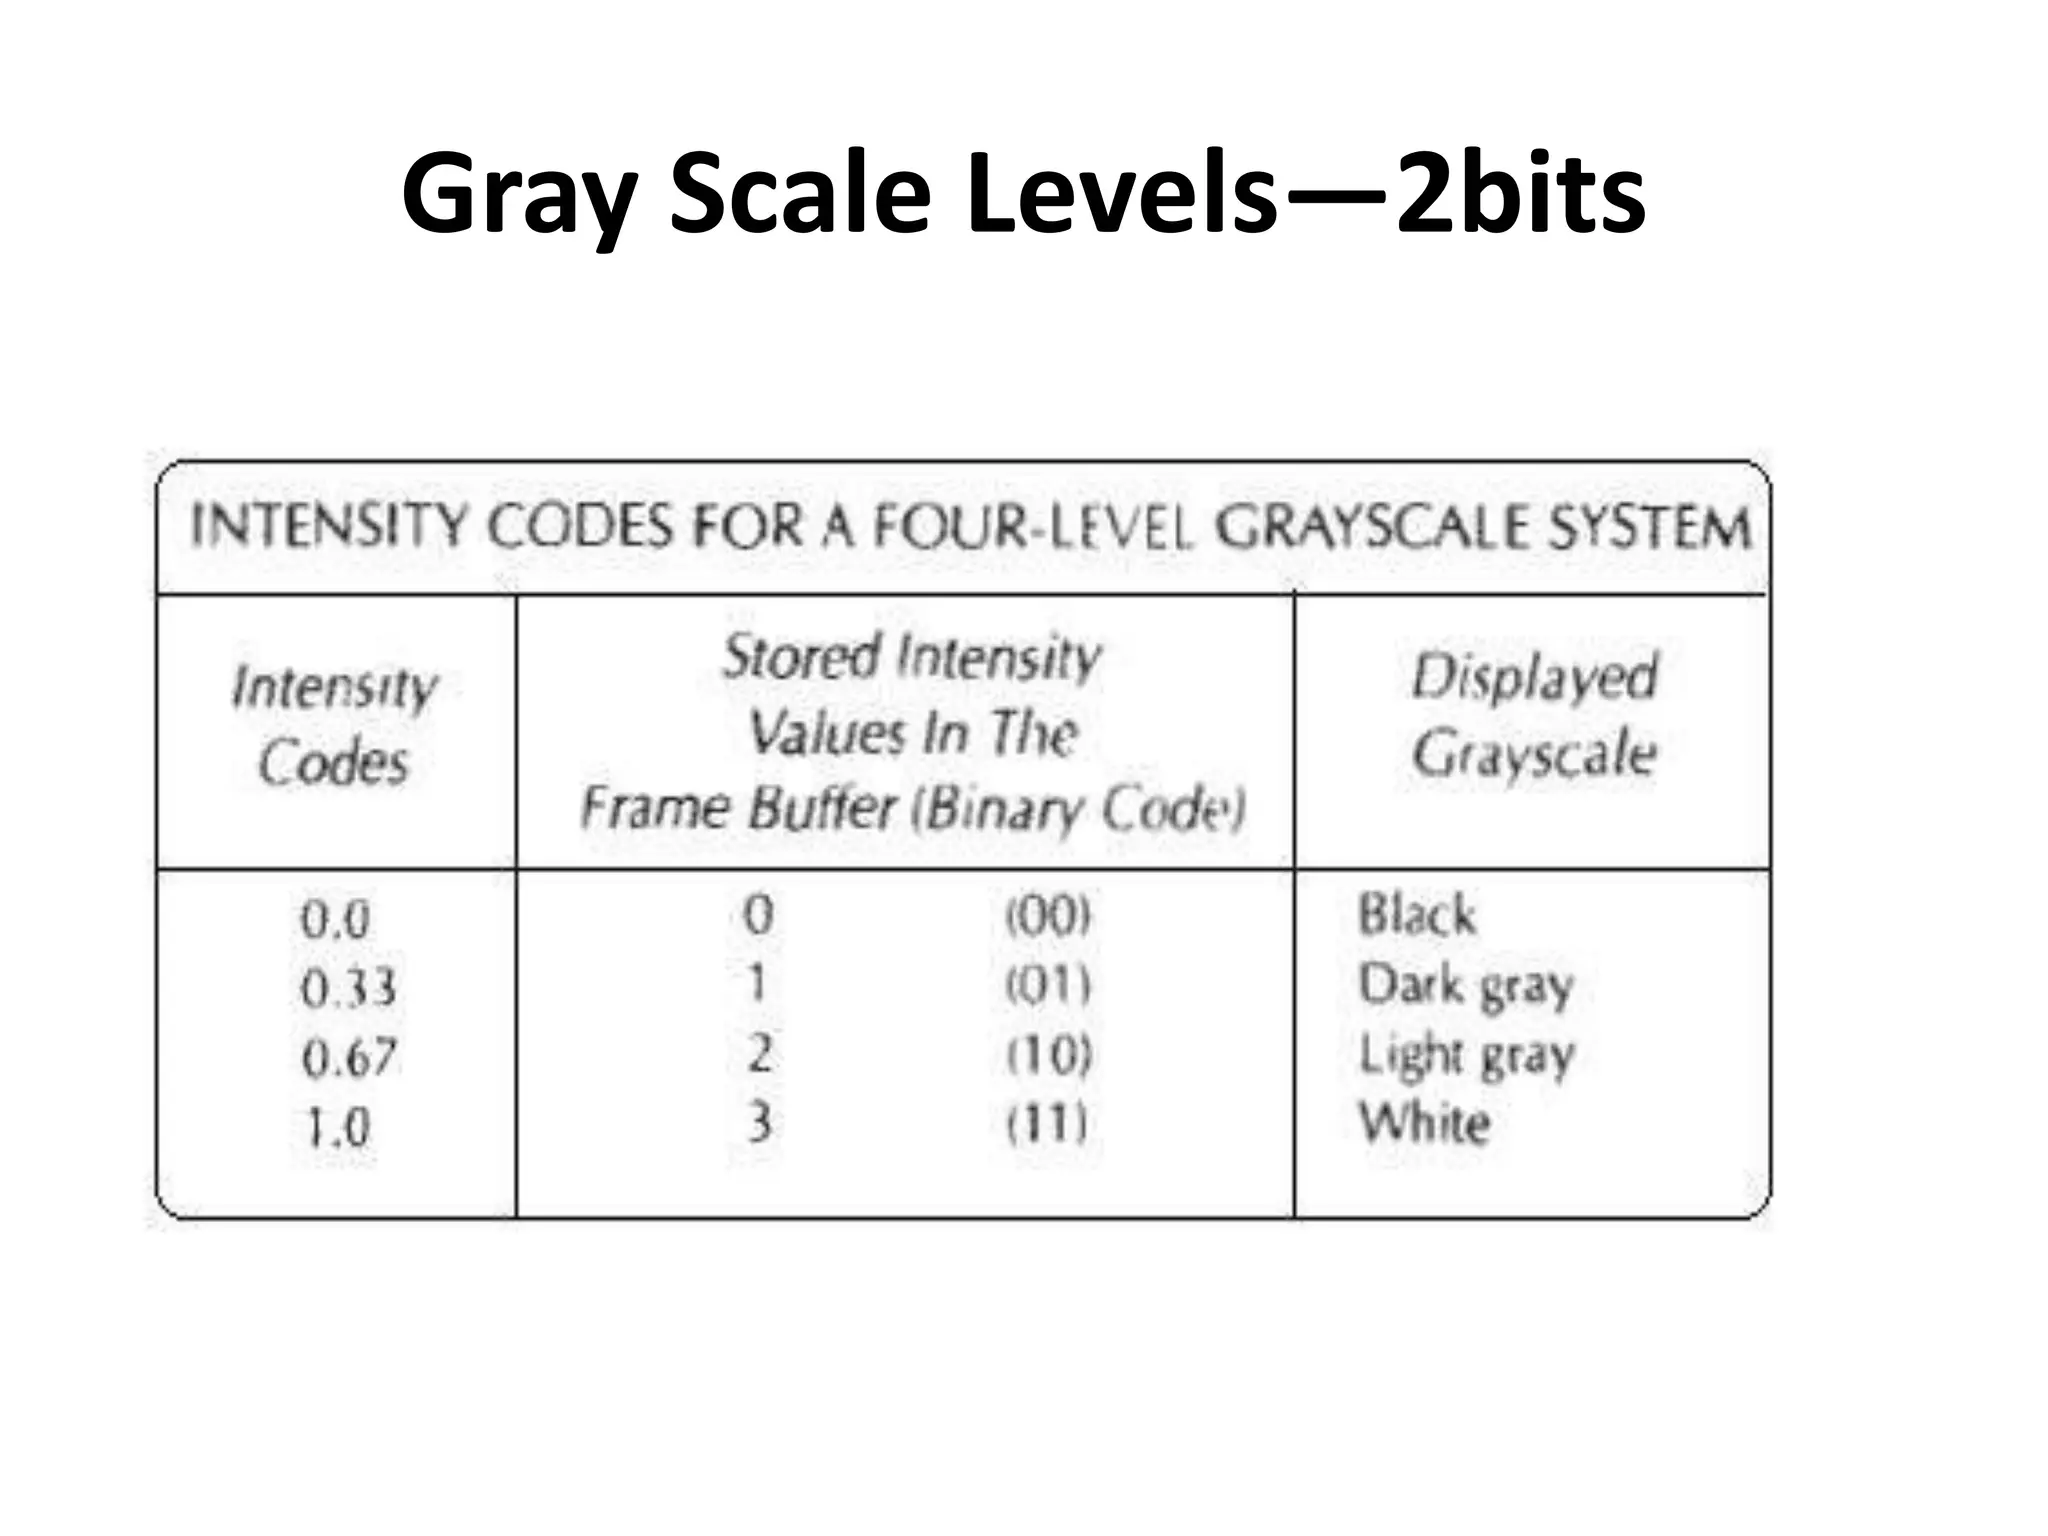
Gray Scale Levels
•Gray(2 bits)
• Grayscale(3 bits) black+white=gray
• No color capability
• Shaded gray or grayscale colors
• Values 0 to 1
• Intensity codes for a four level Gray scale
system:
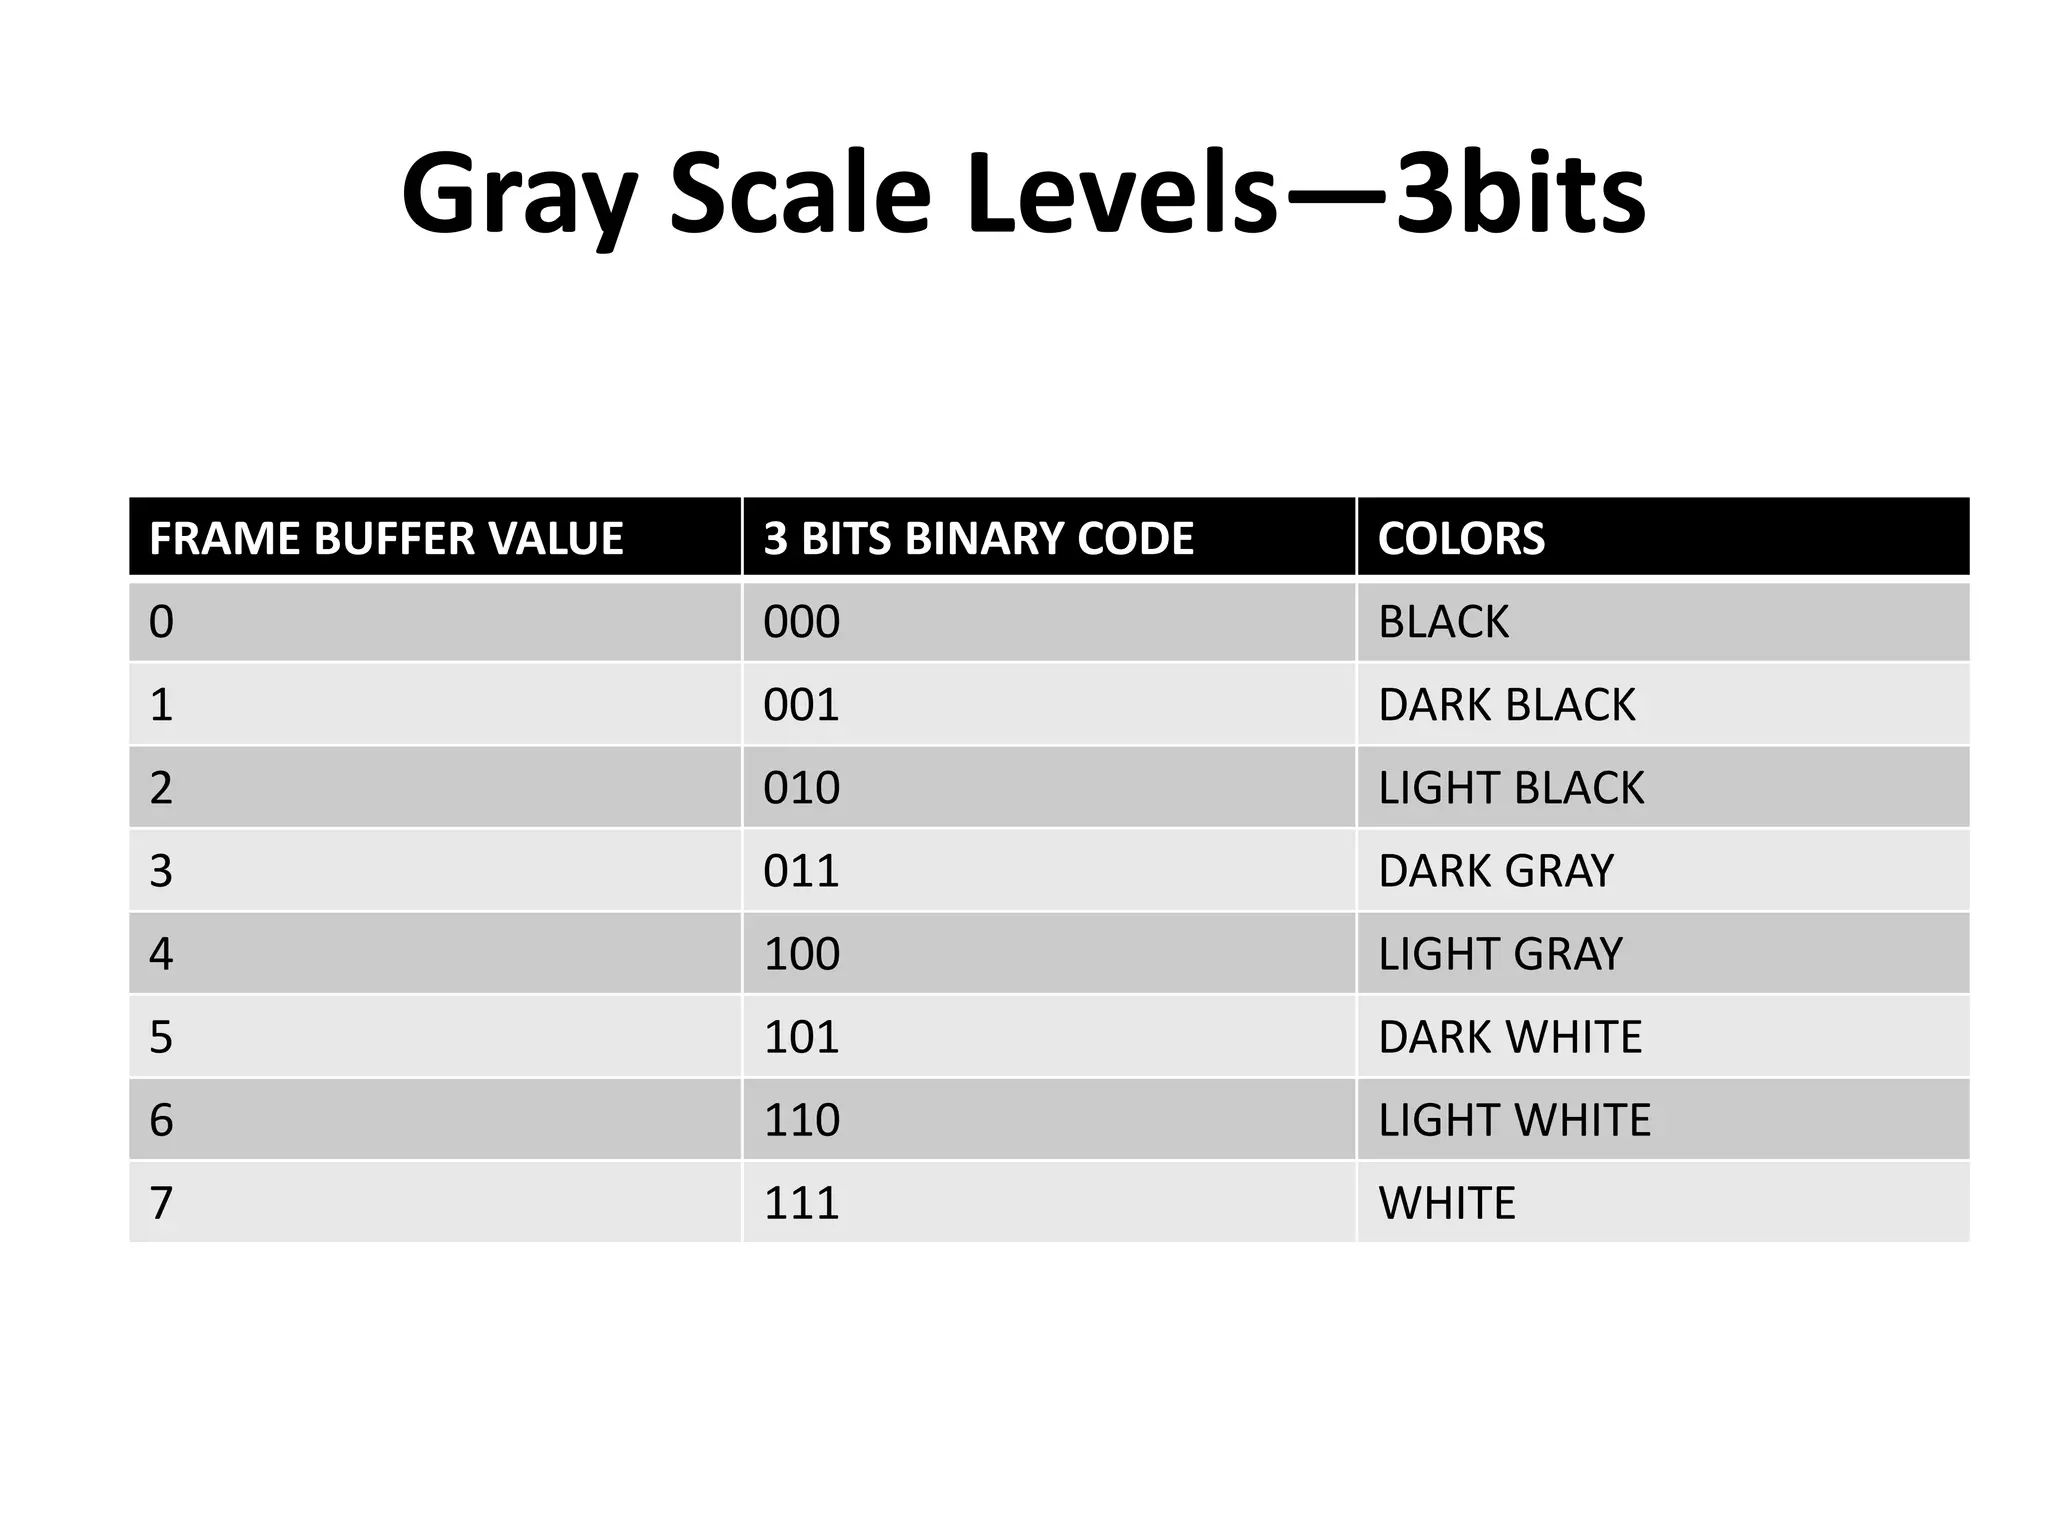
Gray Scale Levels—3bits
FRAMEBUFFER VALUE 3 BITS BINARY CODE COLORS
0 000 BLACK
1 001 DARK BLACK
2 010 LIGHT BLACK
3 011 DARK GRAY
4 100 LIGHT GRAY
5 101 DARK WHITE
6 110 LIGHT WHITE
7 111 WHITE
40.
4.Character Attributes
• CharacterAttributes: The appearance of
displayed characters is controlled by attributes
such as font, size, colour and orientation.
• Attributes can be set both for entire character
strings and for individual characters, known as
Marker symbols.
41.
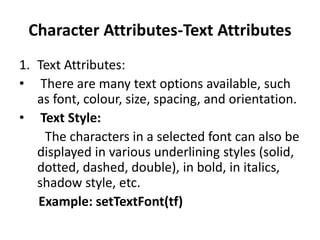
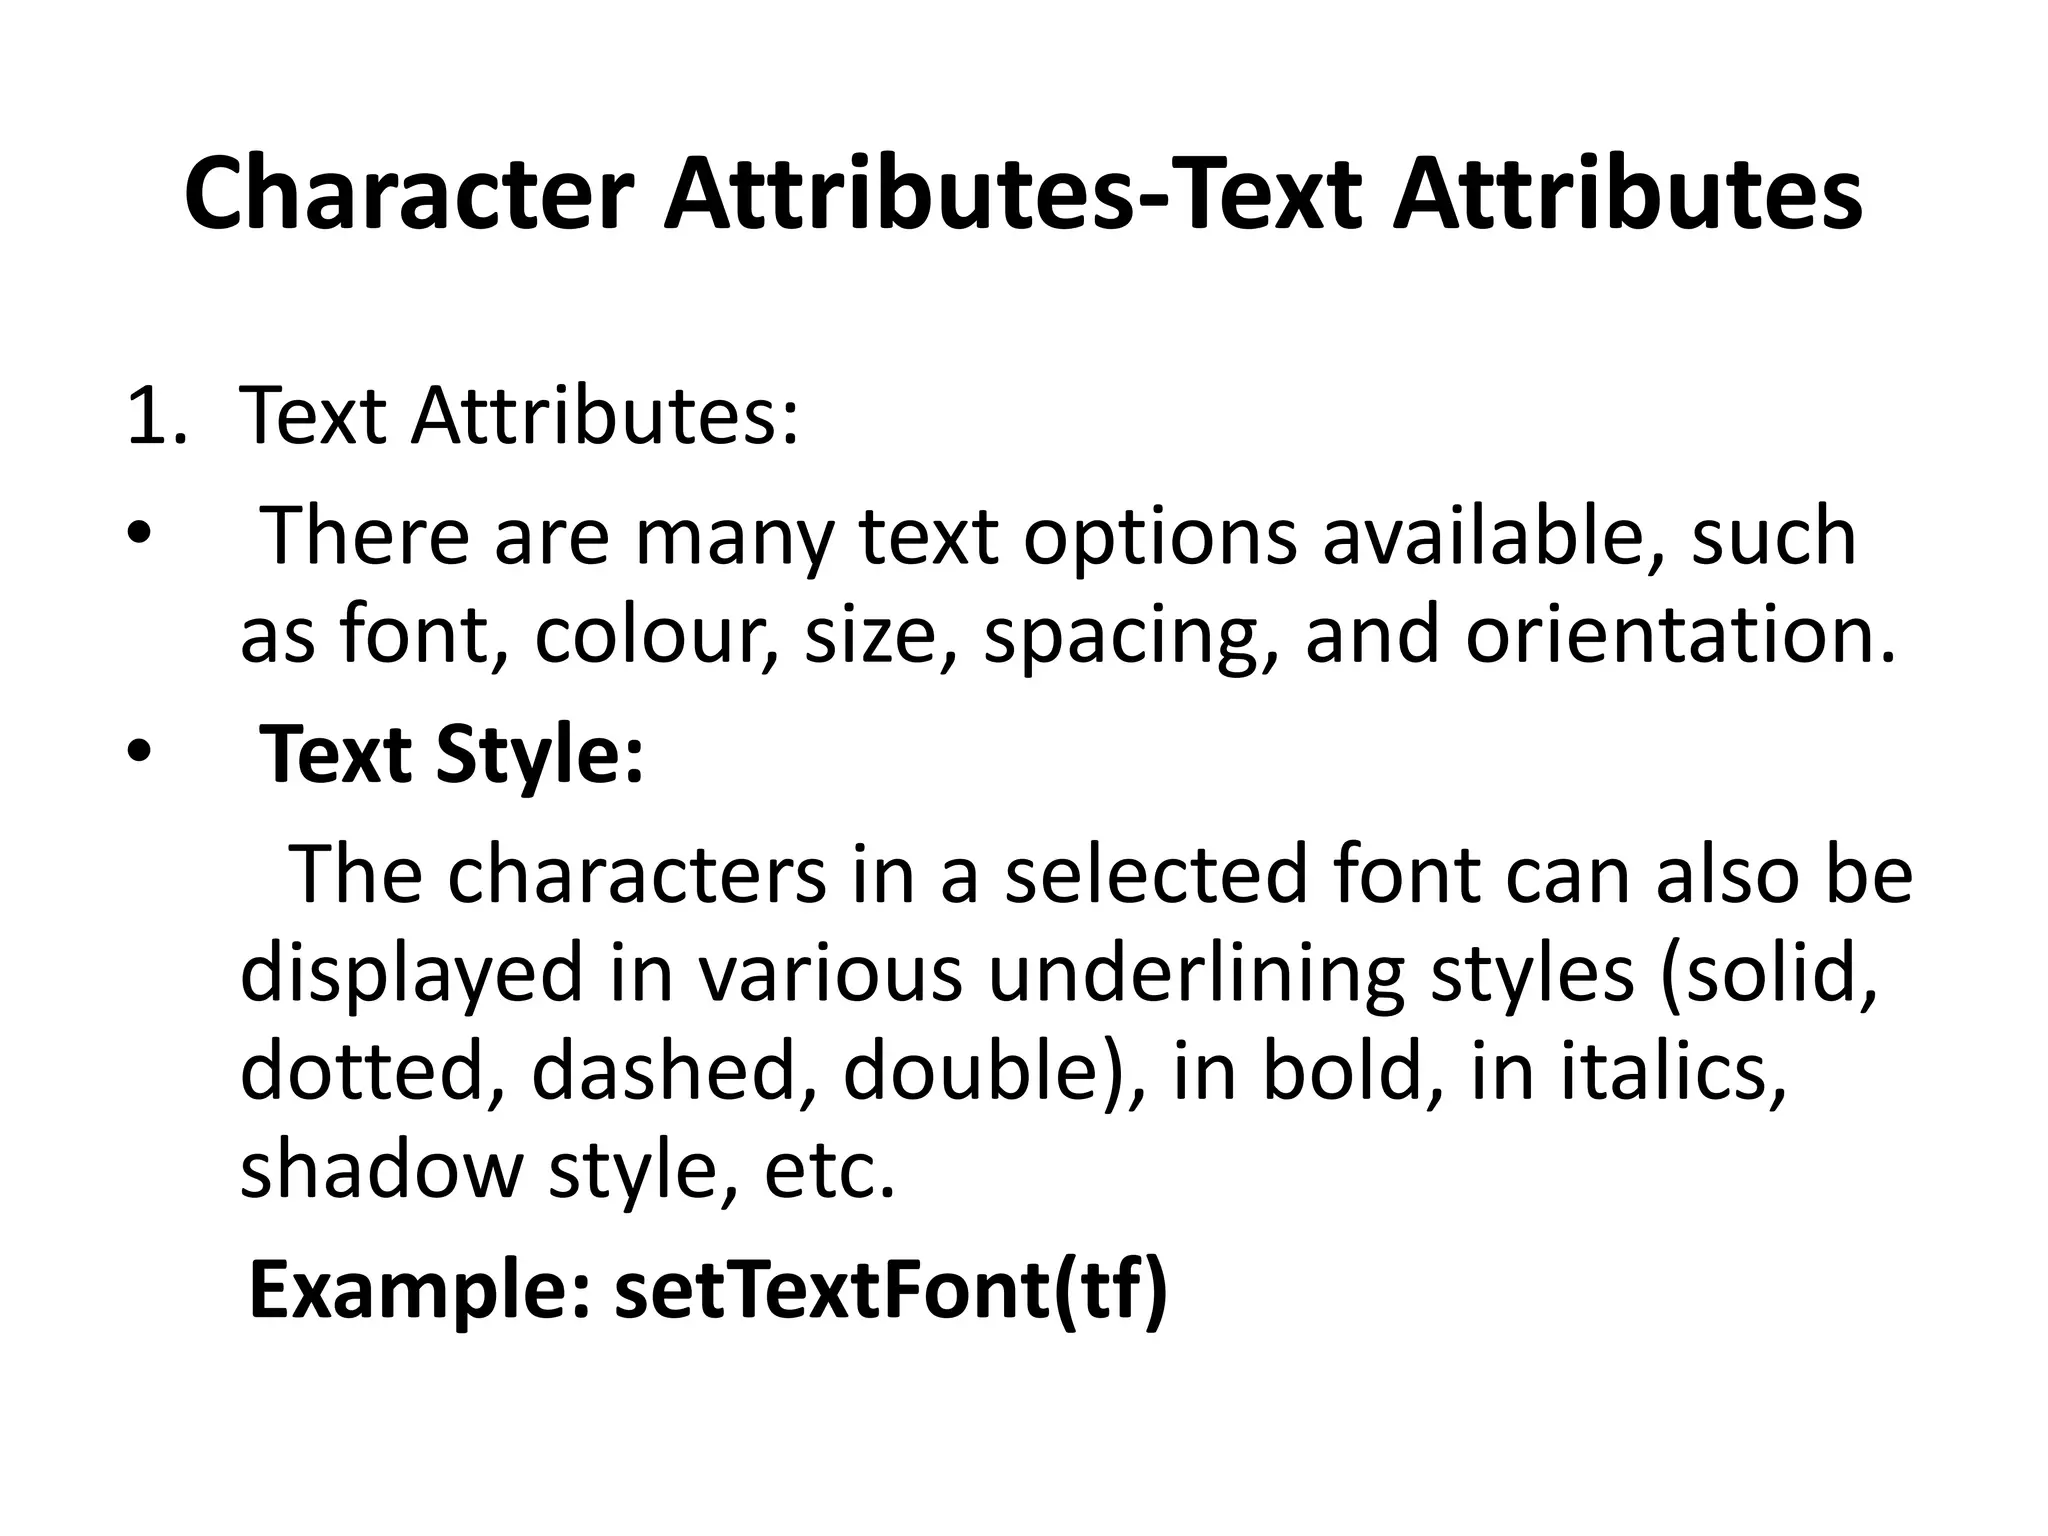
Character Attributes-Text Attributes
1.Text Attributes:
• There are many text options available, such
as font, colour, size, spacing, and orientation.
• Text Style:
The characters in a selected font can also be
displayed in various underlining styles (solid,
dotted, dashed, double), in bold, in italics,
shadow style, etc.
Example: setTextFont(tf)
42.
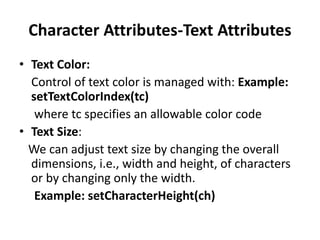
Character Attributes-Text Attributes
•Text Color:
Control of text color is managed with: Example:
setTextColorIndex(tc)
where tc specifies an allowable color code
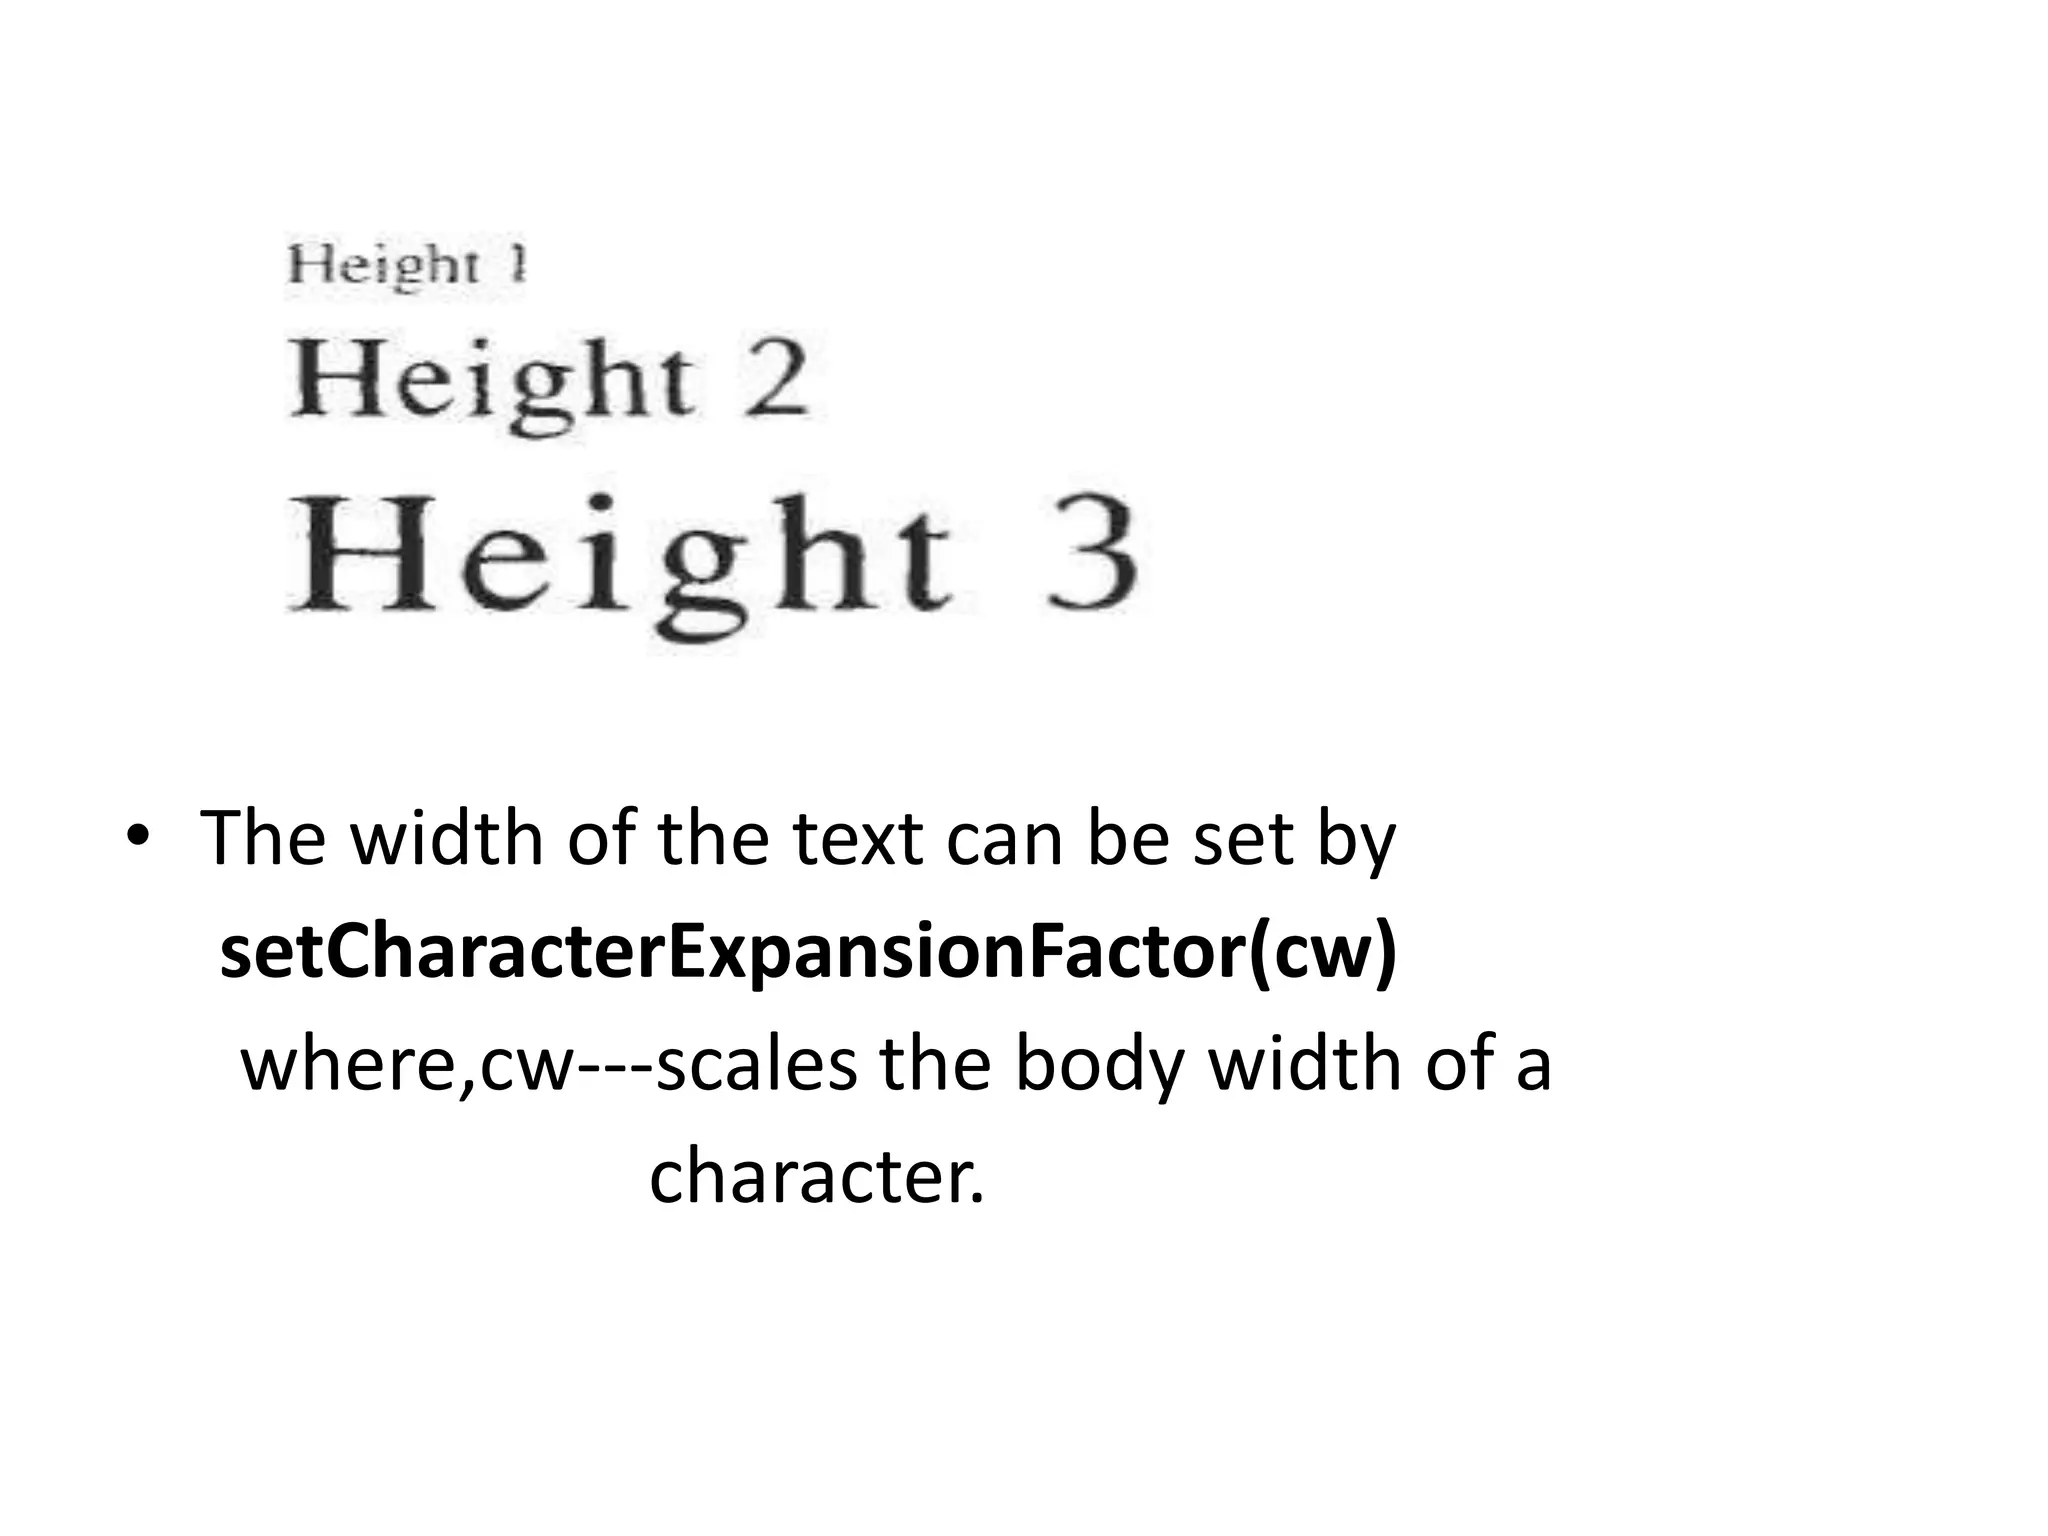
• Text Size:
We can adjust text size by changing the overall
dimensions, i.e., width and height, of characters
or by changing only the width.
Example: setCharacterHeight(ch)
43.
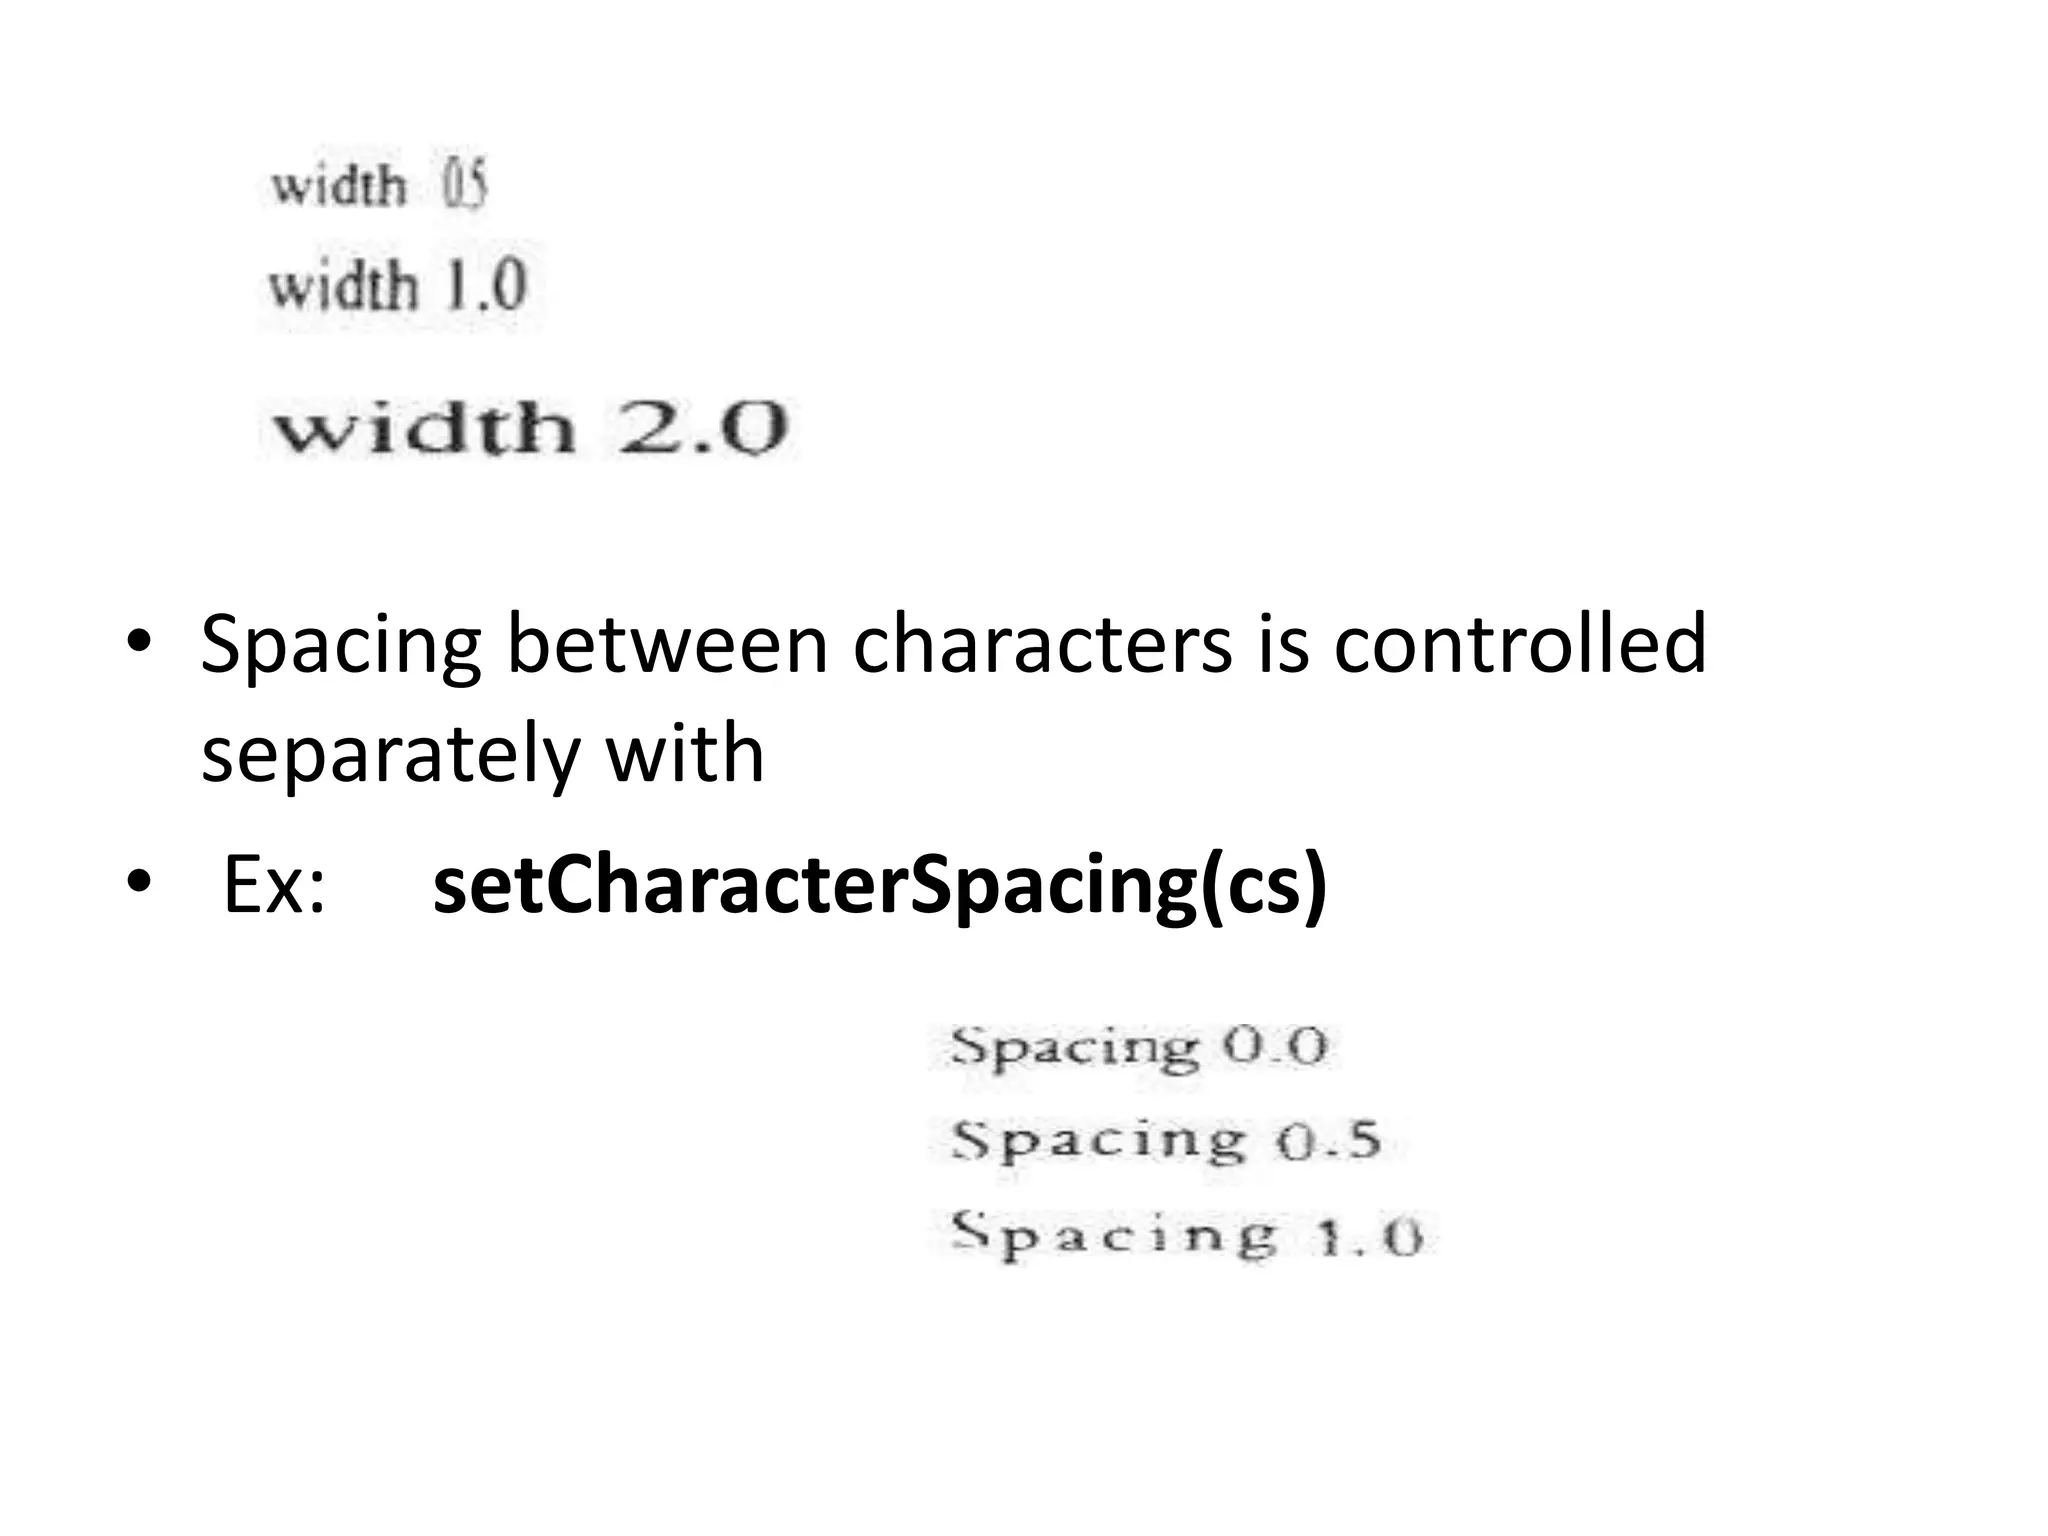
• The widthof the text can be set by
setCharacterExpansionFactor(cw)
where,cw---scales the body width of a
character.
44.
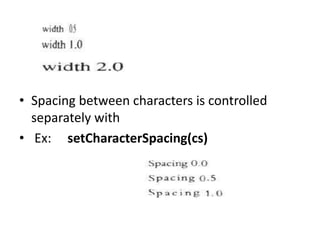
• Spacing betweencharacters is controlled
separately with
• Ex: setCharacterSpacing(cs)
45.
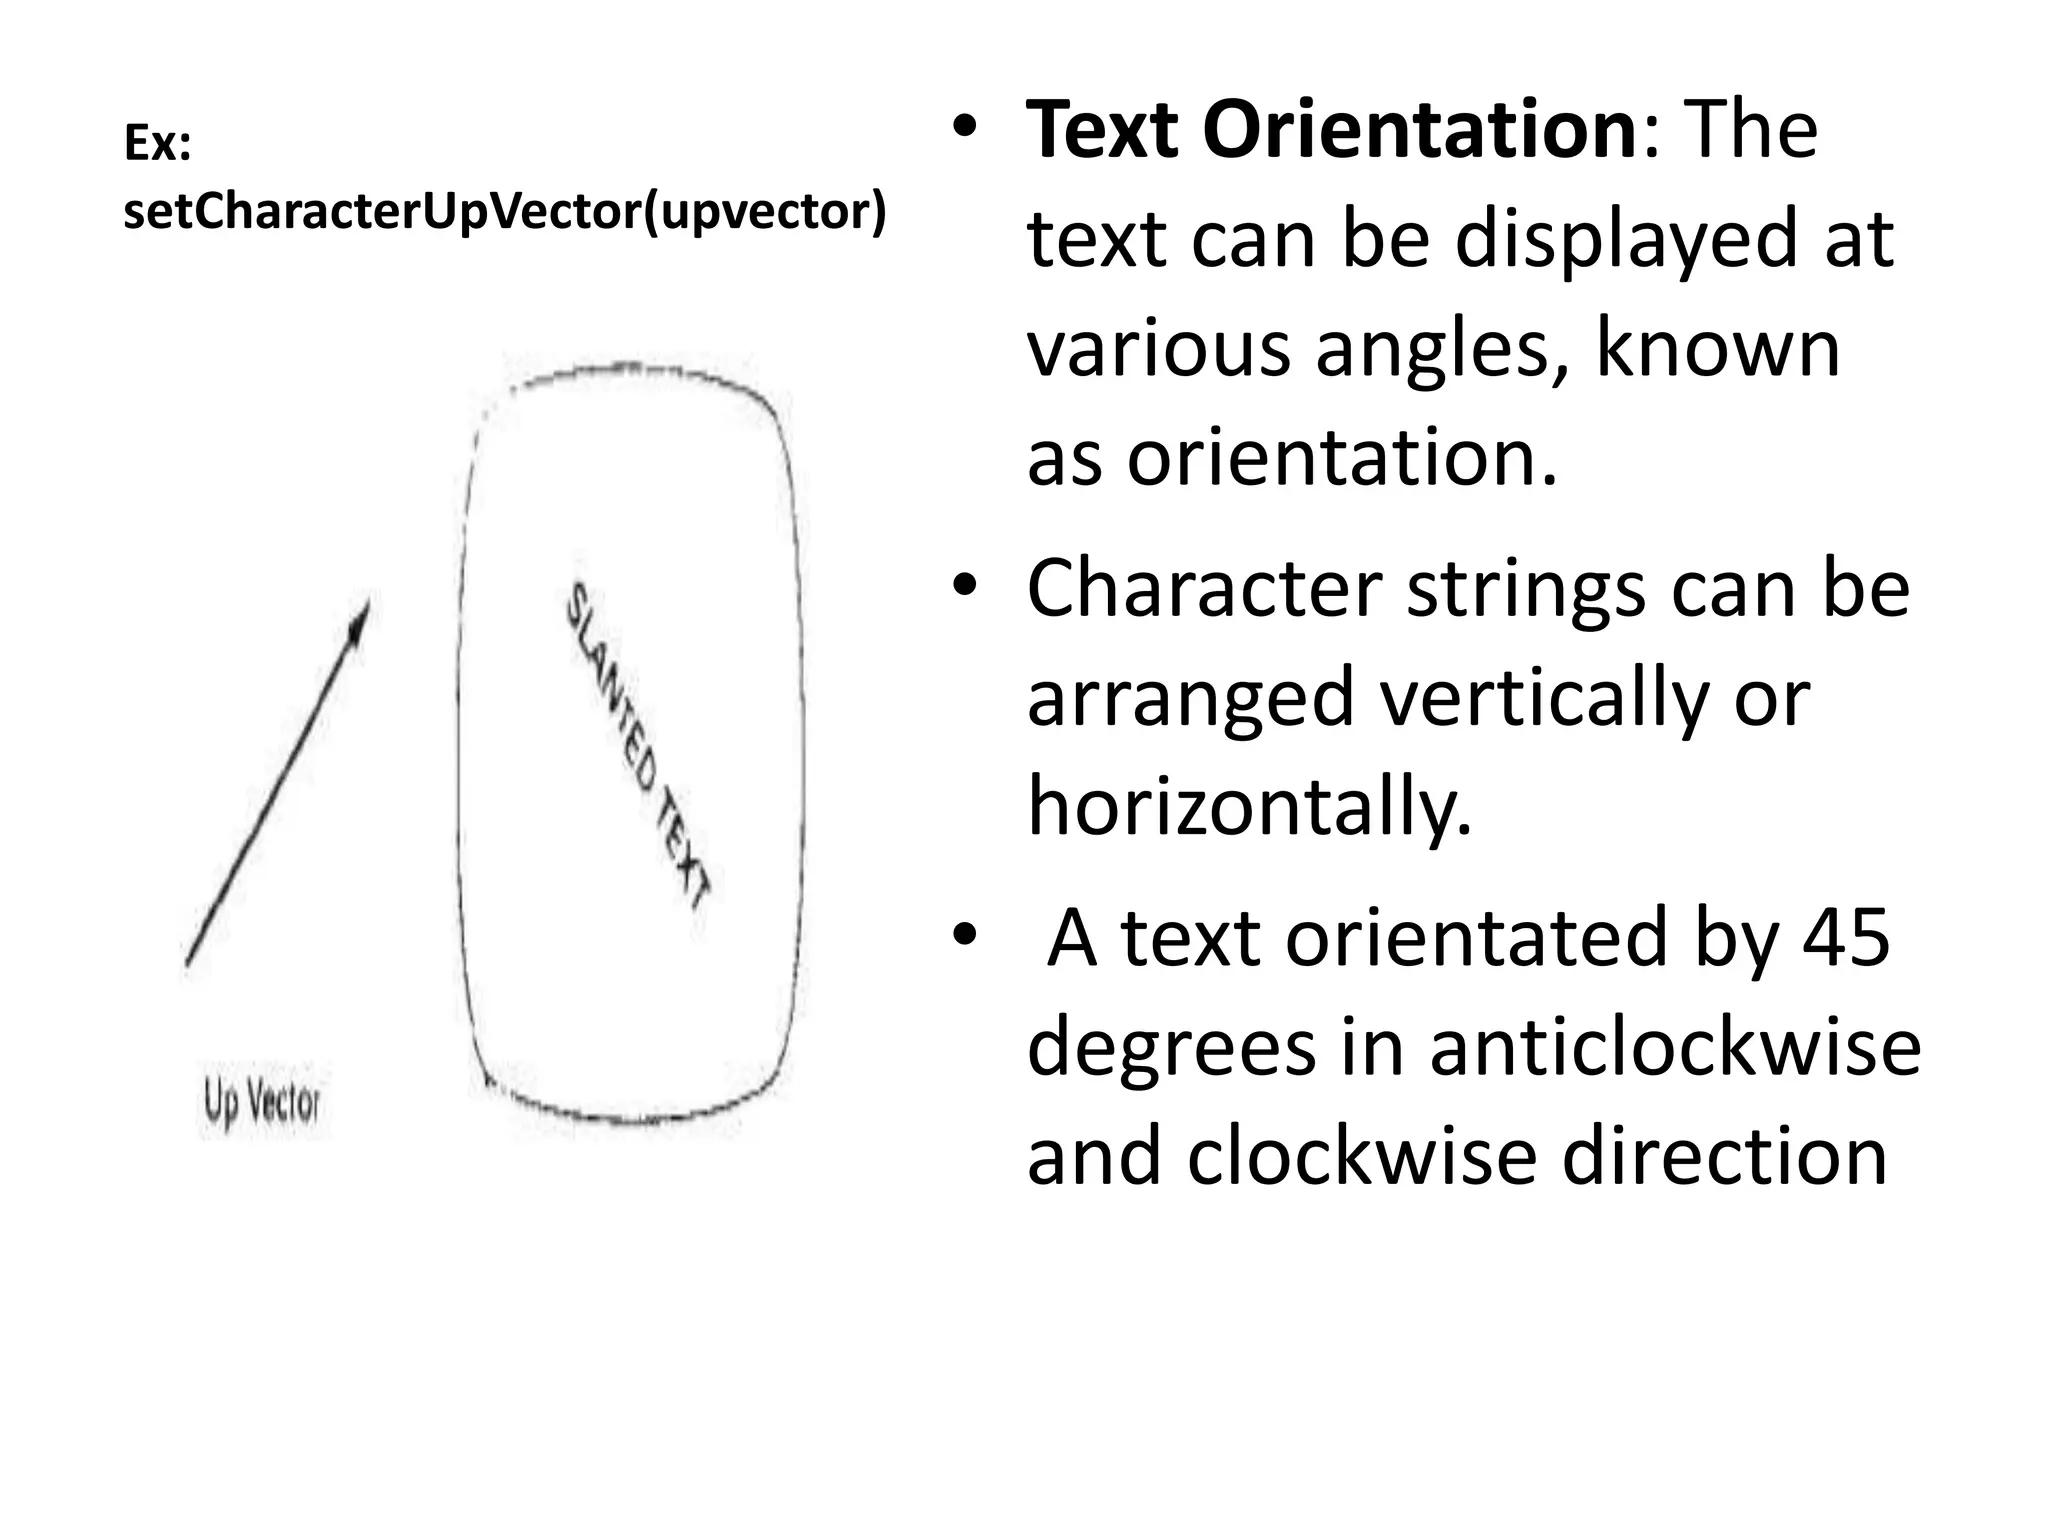
Ex:
setCharacterUpVector(upvector)
• Text Orientation:The
text can be displayed at
various angles, known
as orientation.
• Character strings can be
arranged vertically or
horizontally.
• A text orientated by 45
degrees in anticlockwise
and clockwise direction
46.
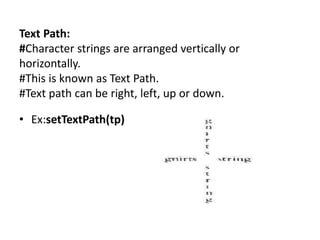
Text Path:
#Character stringsare arranged vertically or
horizontally.
#This is known as Text Path.
#Text path can be right, left, up or down.
• Ex:setTextPath(tp)
47.
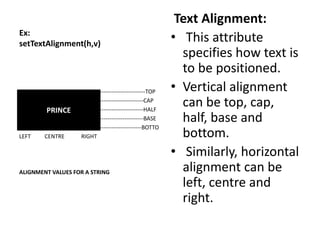
Ex:
setTextAlignment(h,v)
Text Alignment:
• Thisattribute
specifies how text is
to be positioned.
• Vertical alignment
can be top, cap,
half, base and
bottom.
• Similarly, horizontal
alignment can be
left, centre and
right.
------------------------TOP
-----------------------CAP
-----------------------HALF
-----------------------BASE
----------------------BOTTO
LEFT CENTRE RIGHT
ALIGNMENT VALUES FOR A STRING
PRINCE
48.
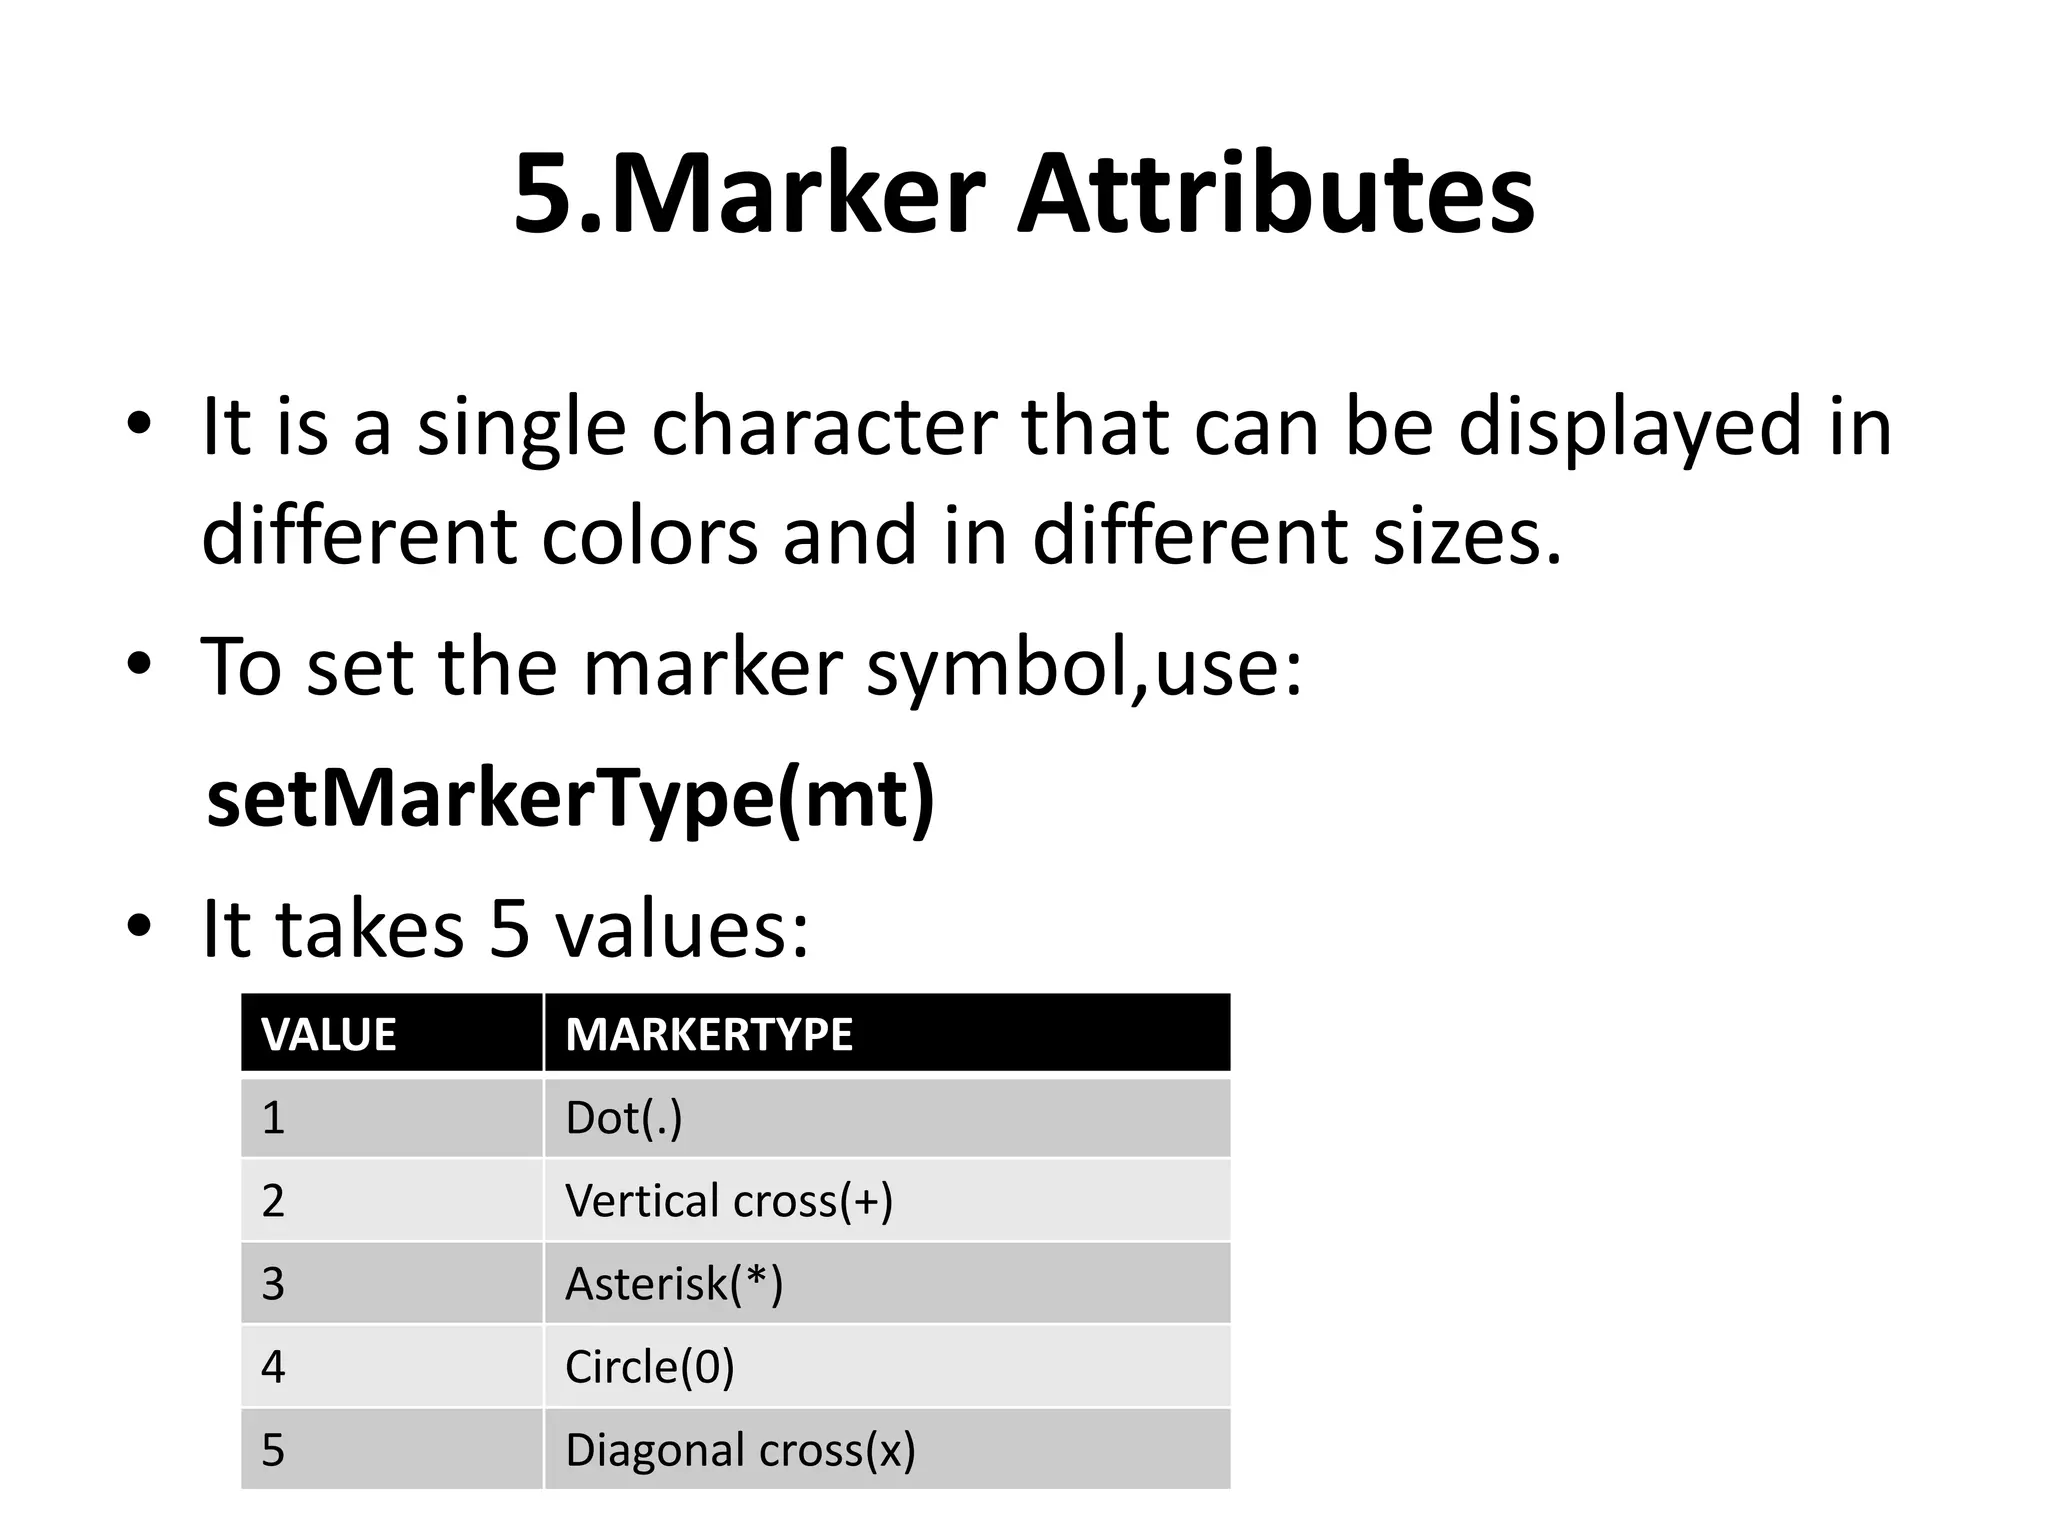
5.Marker Attributes
• Itis a single character that can be displayed in
different colors and in different sizes.
• To set the marker symbol,use:
setMarkerType(mt)
• It takes 5 values:
VALUE MARKERTYPE
1 Dot(.)
2 Vertical cross(+)
3 Asterisk(*)
4 Circle(0)
5 Diagonal cross(x)
49.
Marker Attributes
• Toset the marker size,use
setMarkerSizeScaleFactor(ms)
• Marker color is specified with
setPolyMarkerColorIndex(mc)
use the color code
VALUE MEANING
VALUE>1 Character Enlargement
VALUE<1 Reduce the marker size