Download as PDF, PPTX


The document provides an overview of Arduino, an open-source platform for building electronics projects, which includes a microcontroller and a simplified IDE for coding. It explains the functionalities of various Arduino boards, their components, and the coding structure in the Arduino programming language. Additionally, it highlights the ease of use and accessibility of Arduino hardware and software for beginners in electronics.
This slide introduces the University of Duhok’s College of Science CS Department.
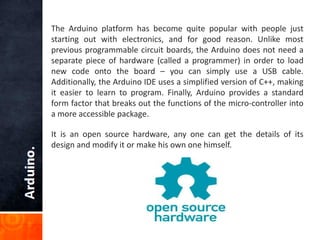
Arduino is an open-source platform for electronics. It includes hardware (microcontroller) and software (IDE) for coding.
Arduino's user-friendliness makes it popular for beginners in electronics. It uses USB for programming and has a simplified C++ IDE.
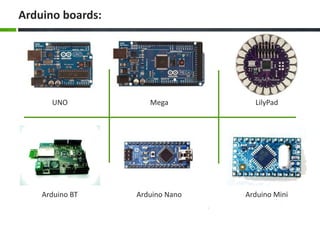
Different types of Arduino boards are listed including UNO, Mega, LilyPad, BT, Nano, and Mini.
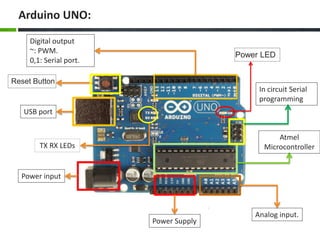
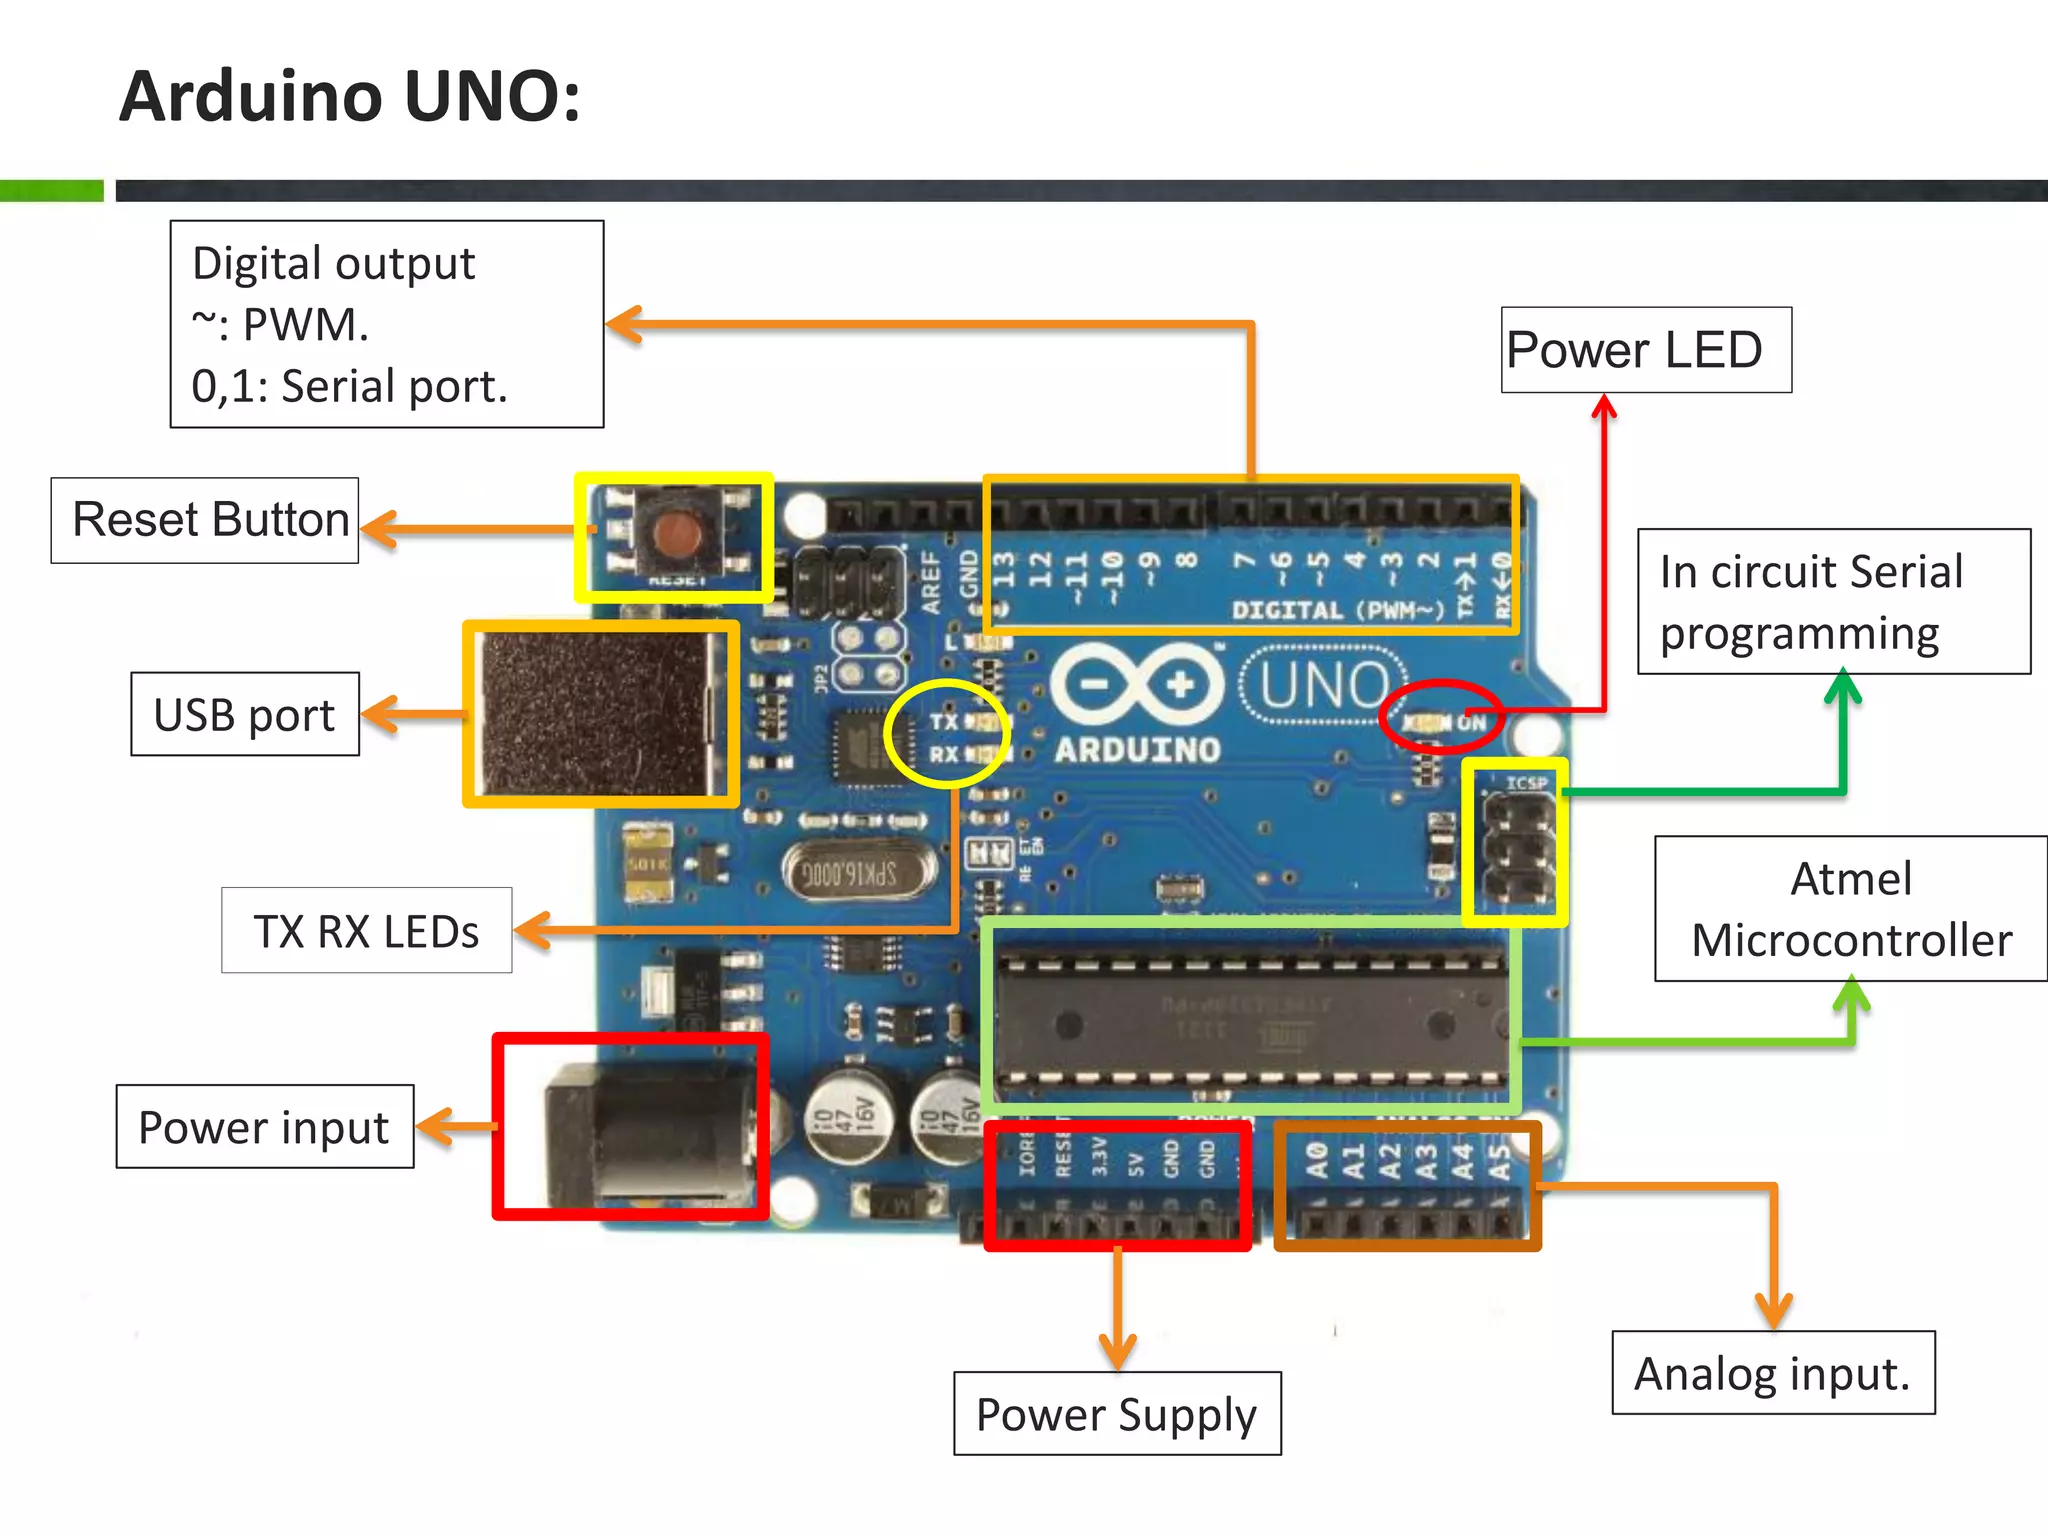
Details of the Arduino UNO include functions such as digital output, PWM, serial programming, and analog input.
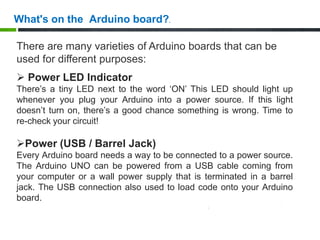
This slide discusses the power LED indicator and power supply options for the Arduino board.
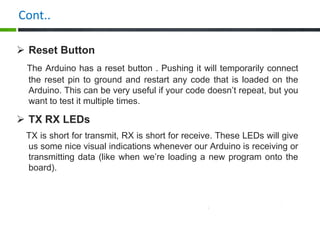
Explains the reset button function and TX RX LEDs for data transmission indicators on the board.
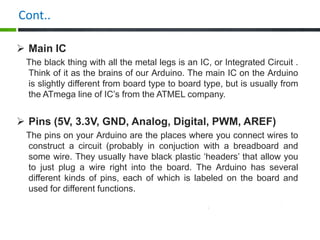
Describes the main IC as the Arduino's brain and lists the types of pins available for various functions.
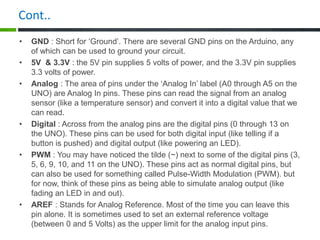
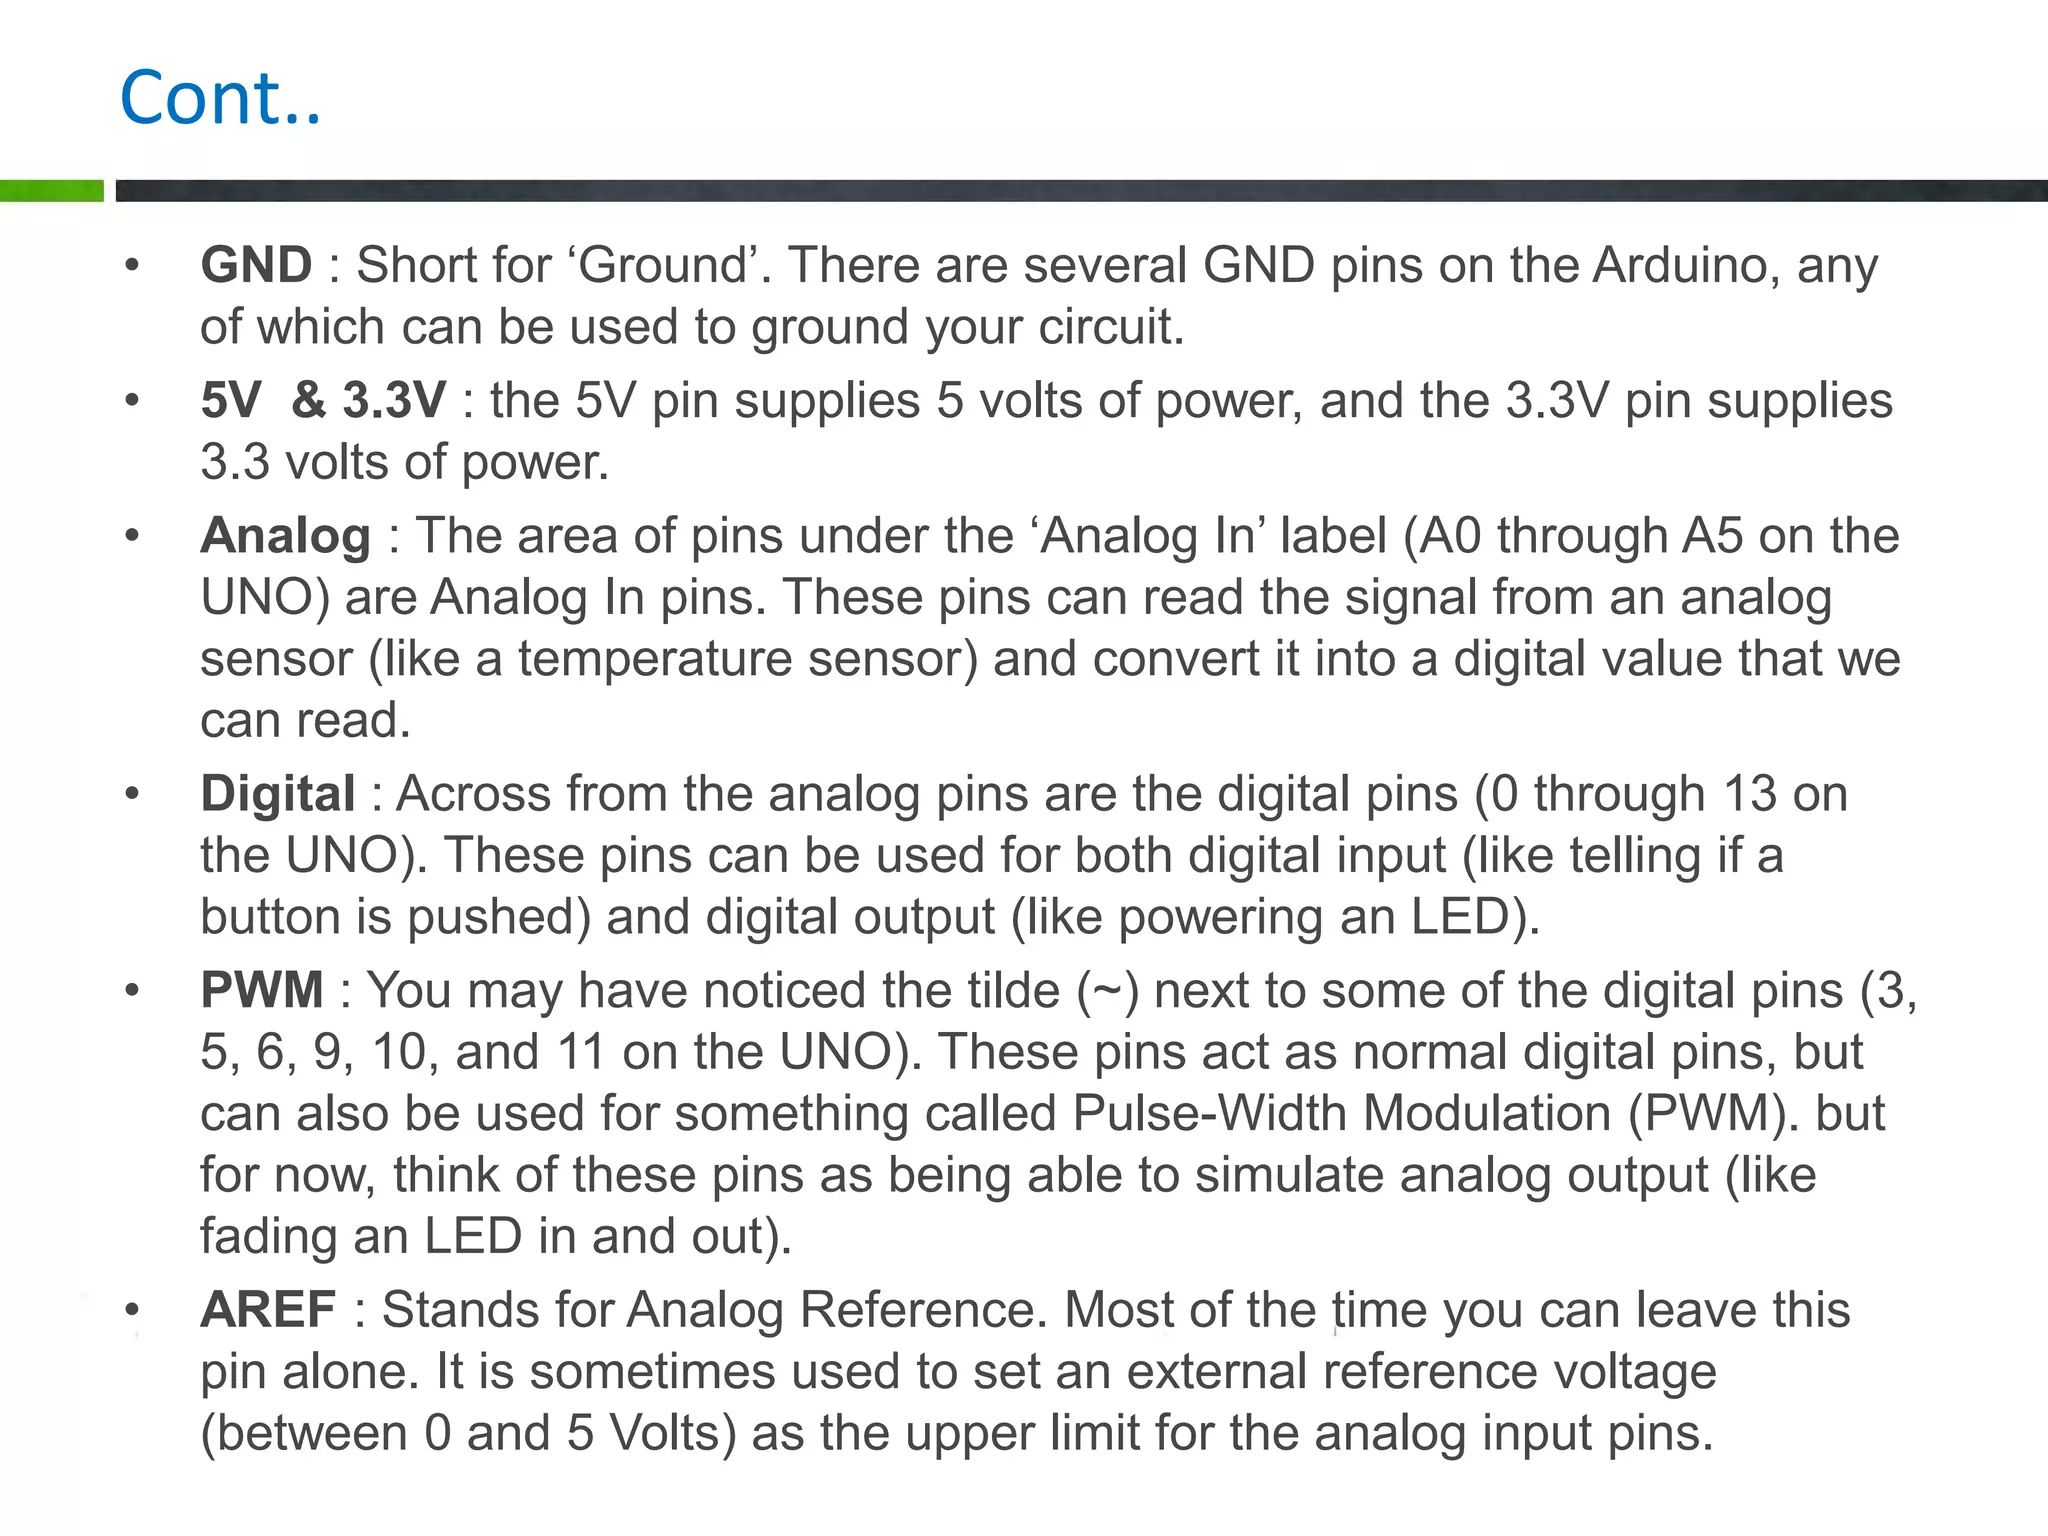
Details on pin functions like GND, 5V, Analog, Digital, PWM, and AREF pins for circuit connections.
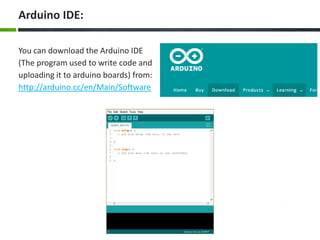
Information on how to download the Arduino IDE for coding and uploading to Arduino boards.
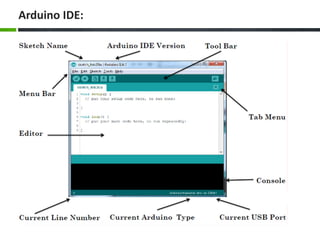
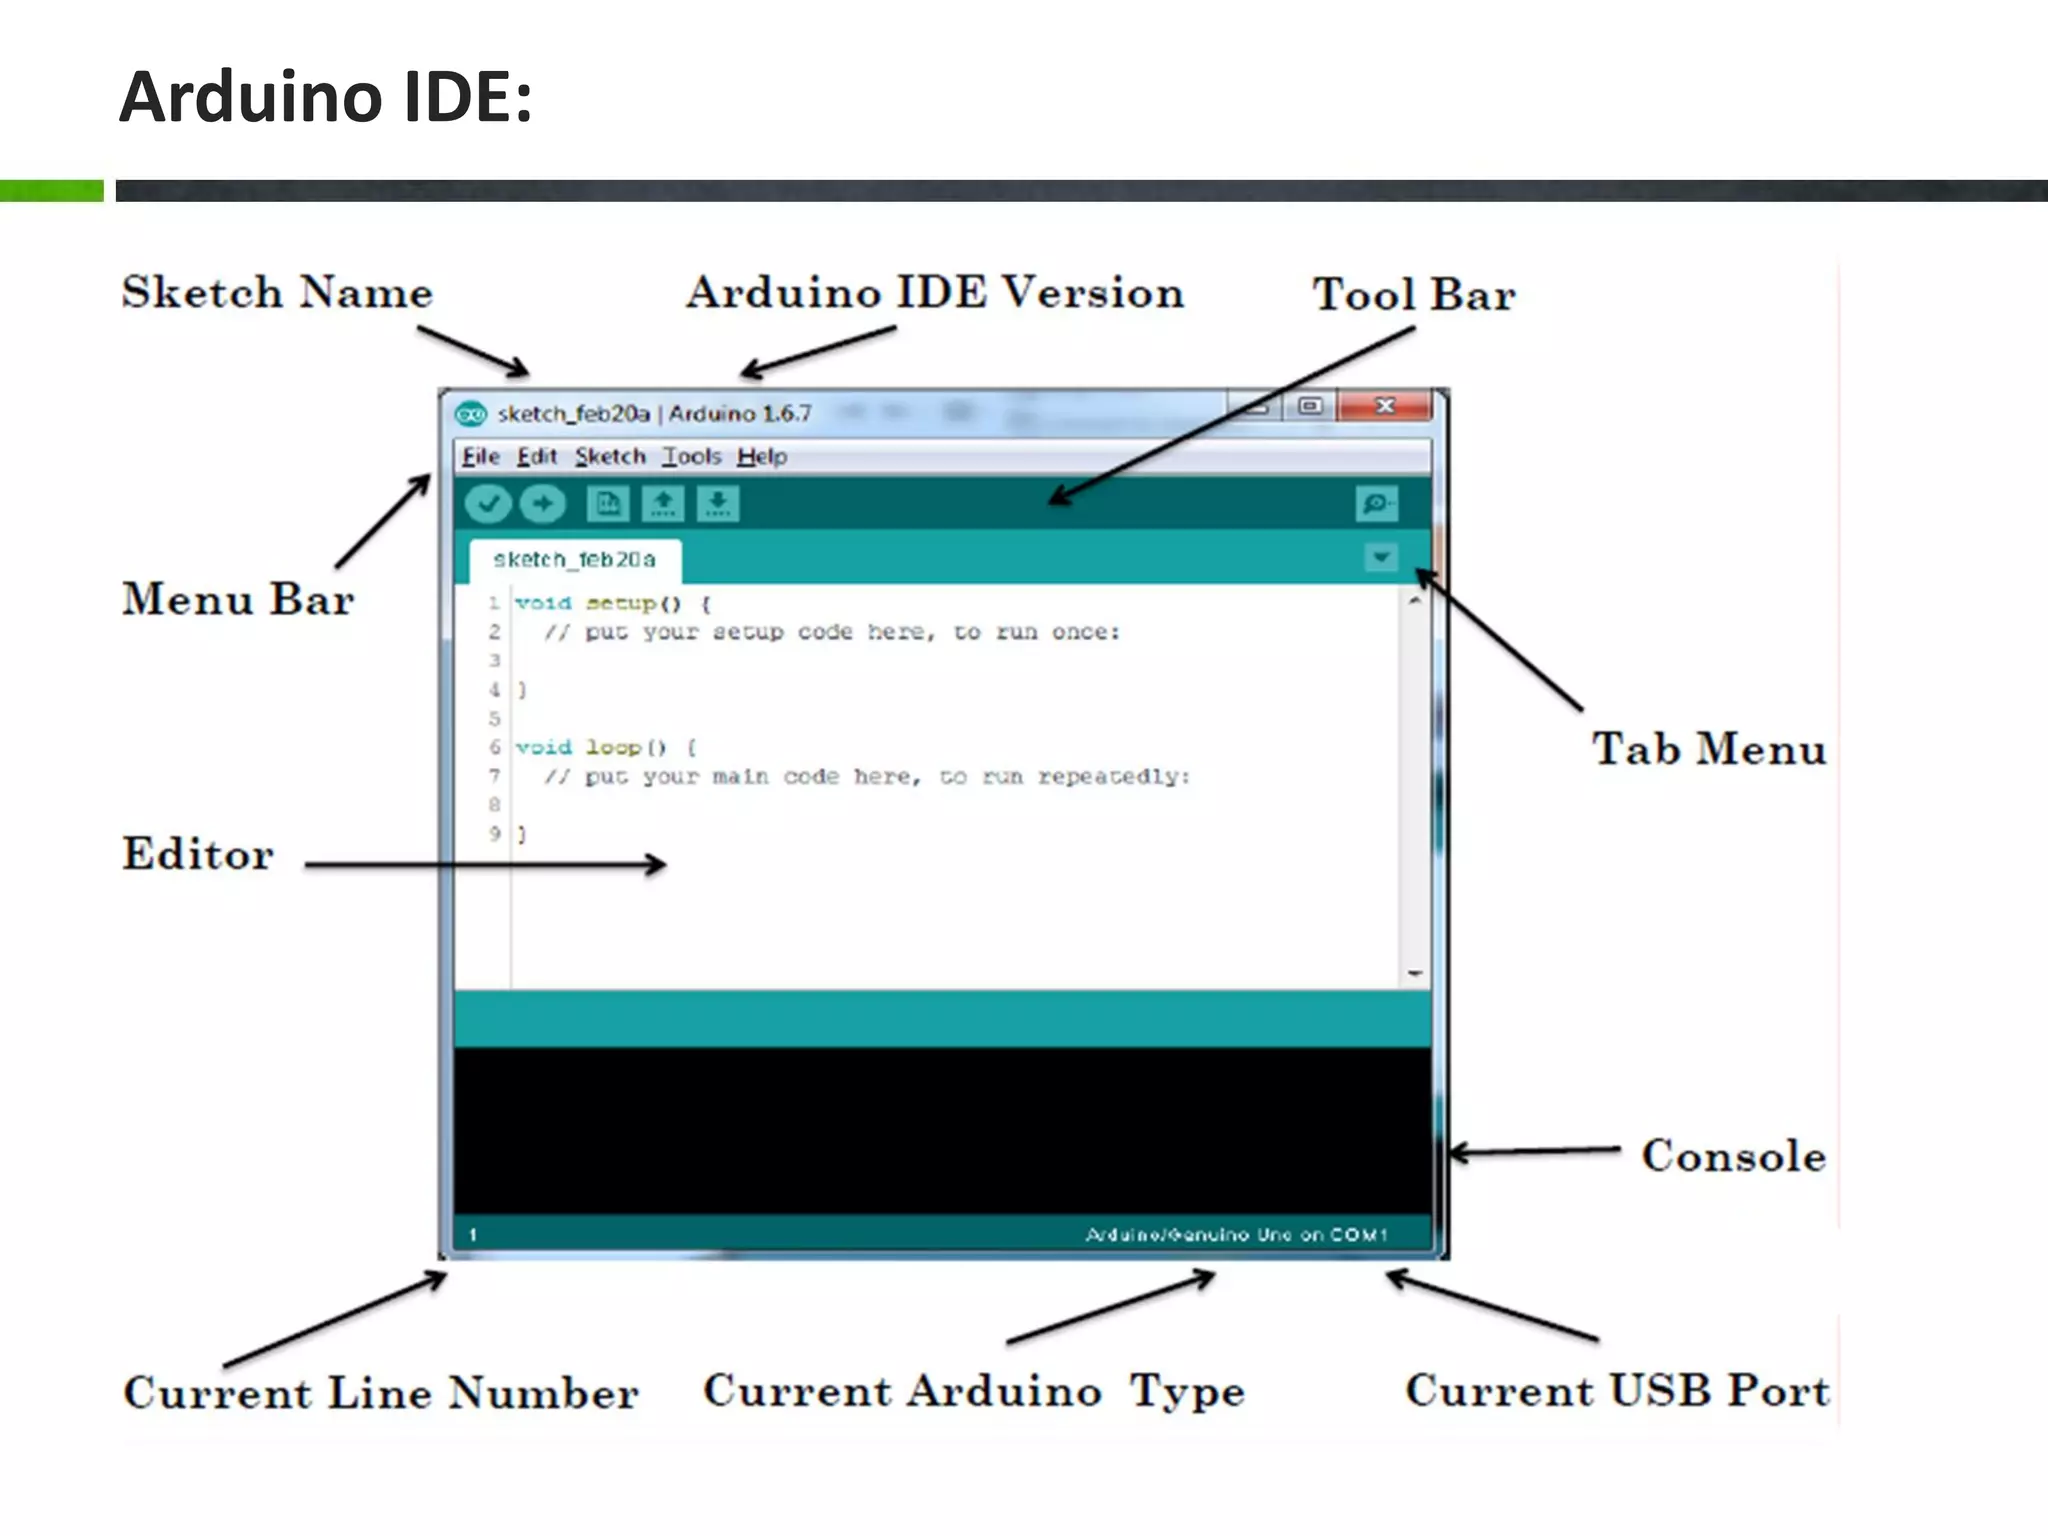
Visual introduction to the Arduino IDE mentioning various aspects like verifying code and uploading it.
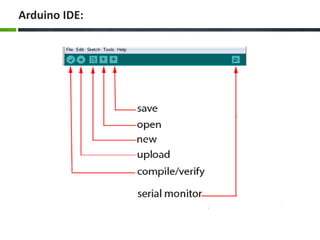
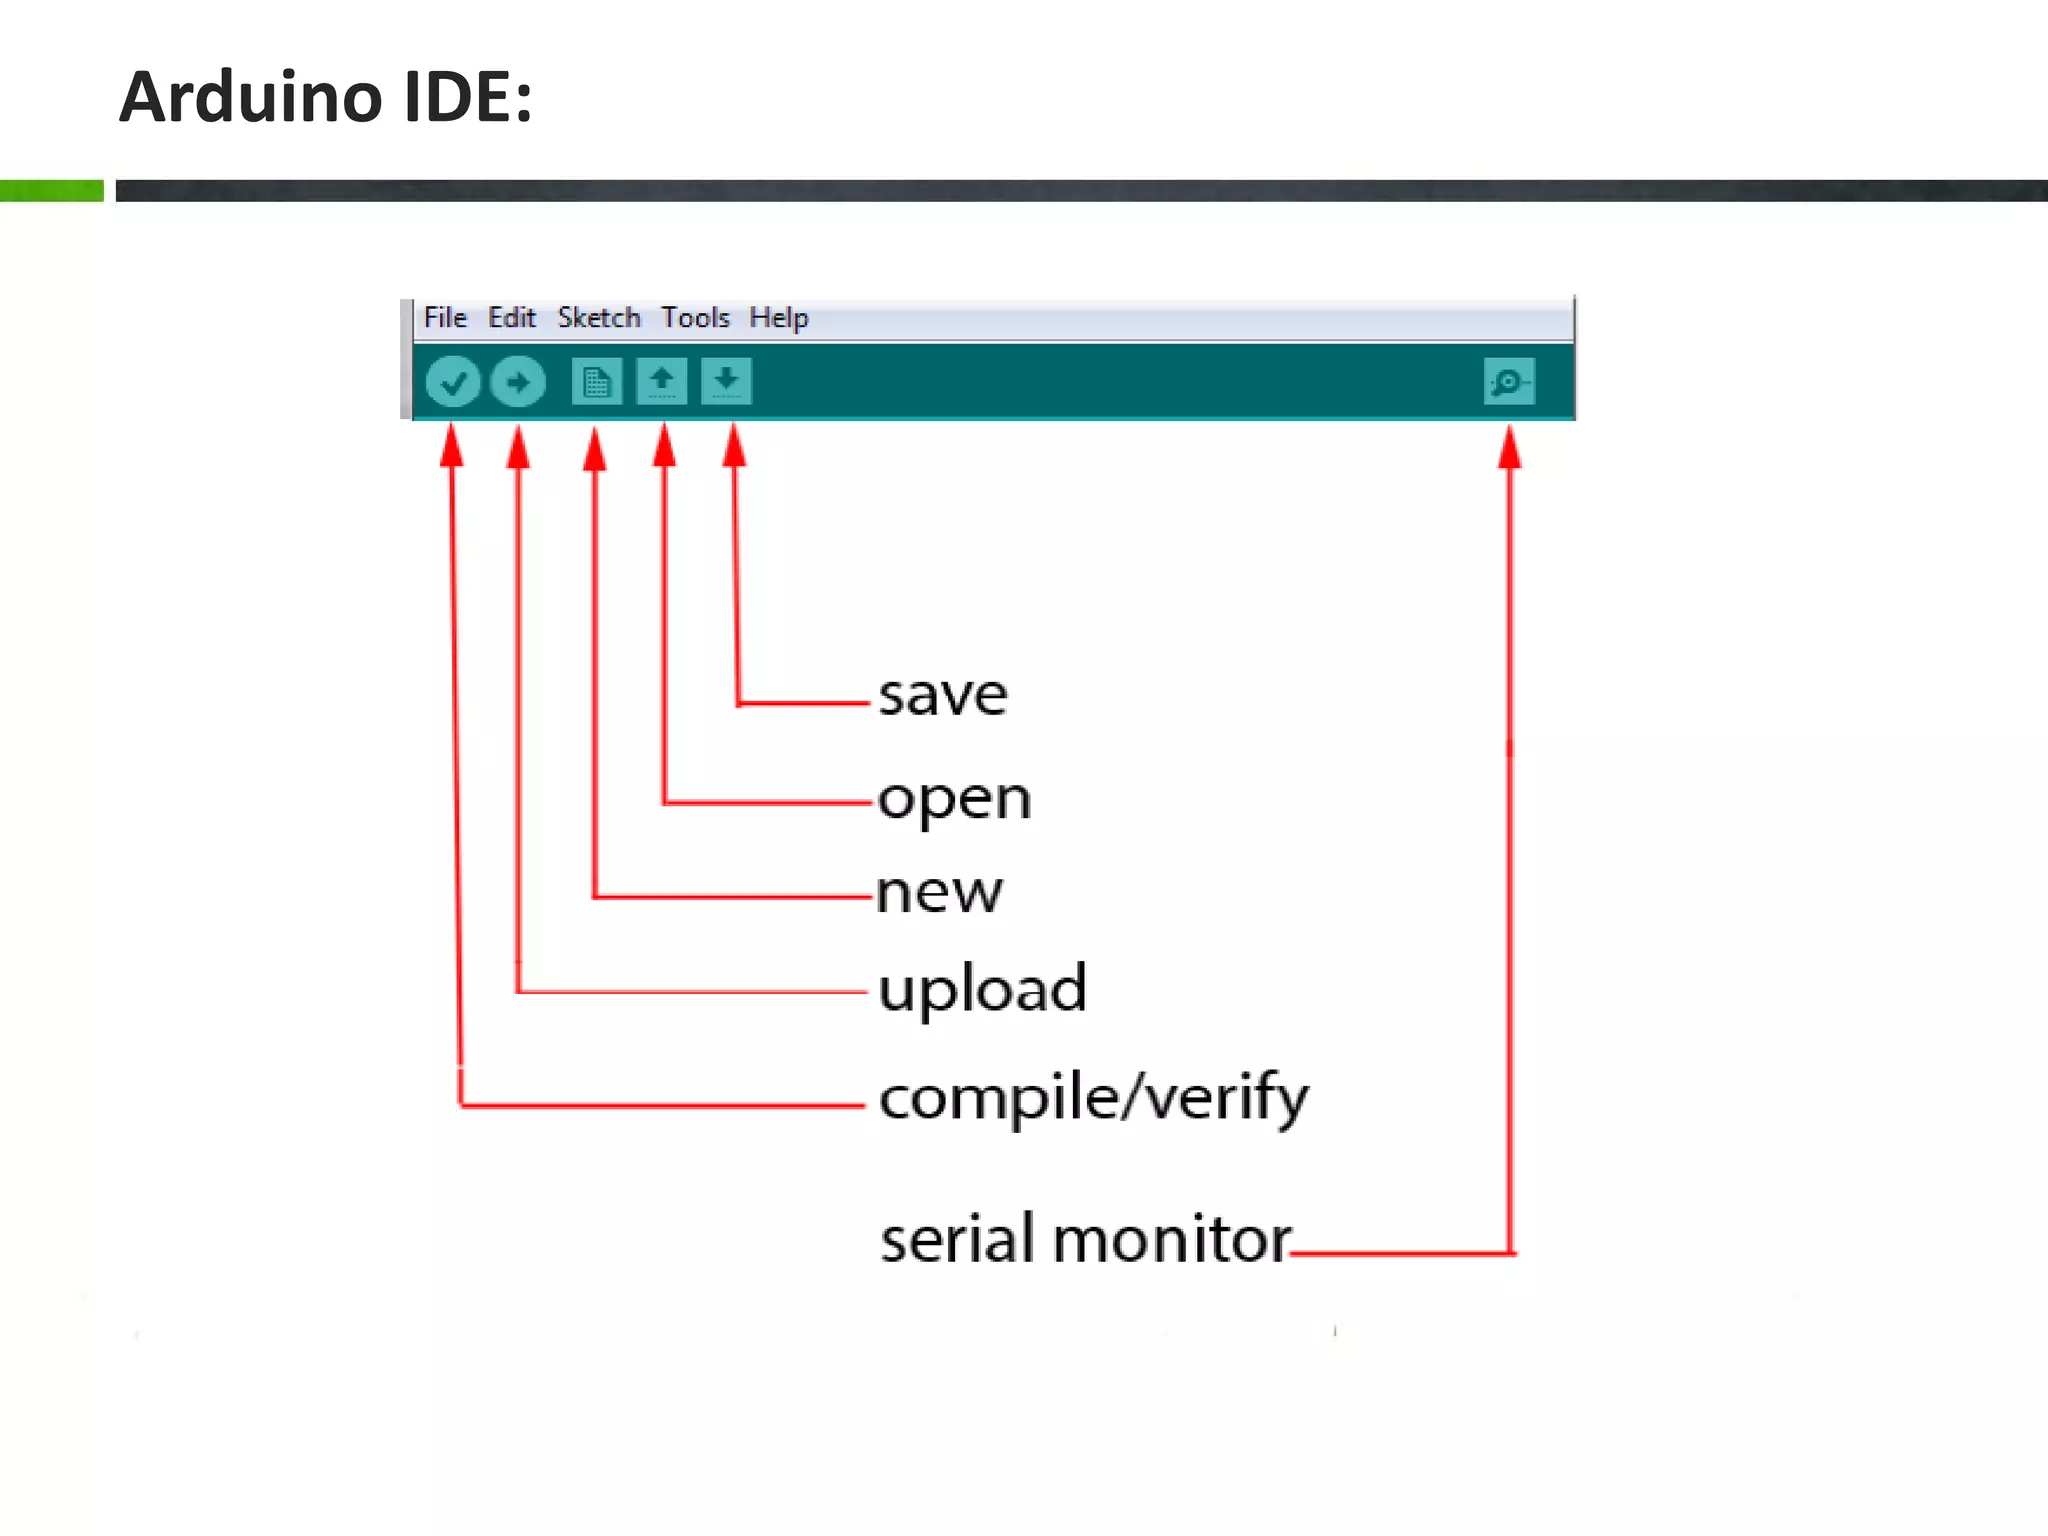
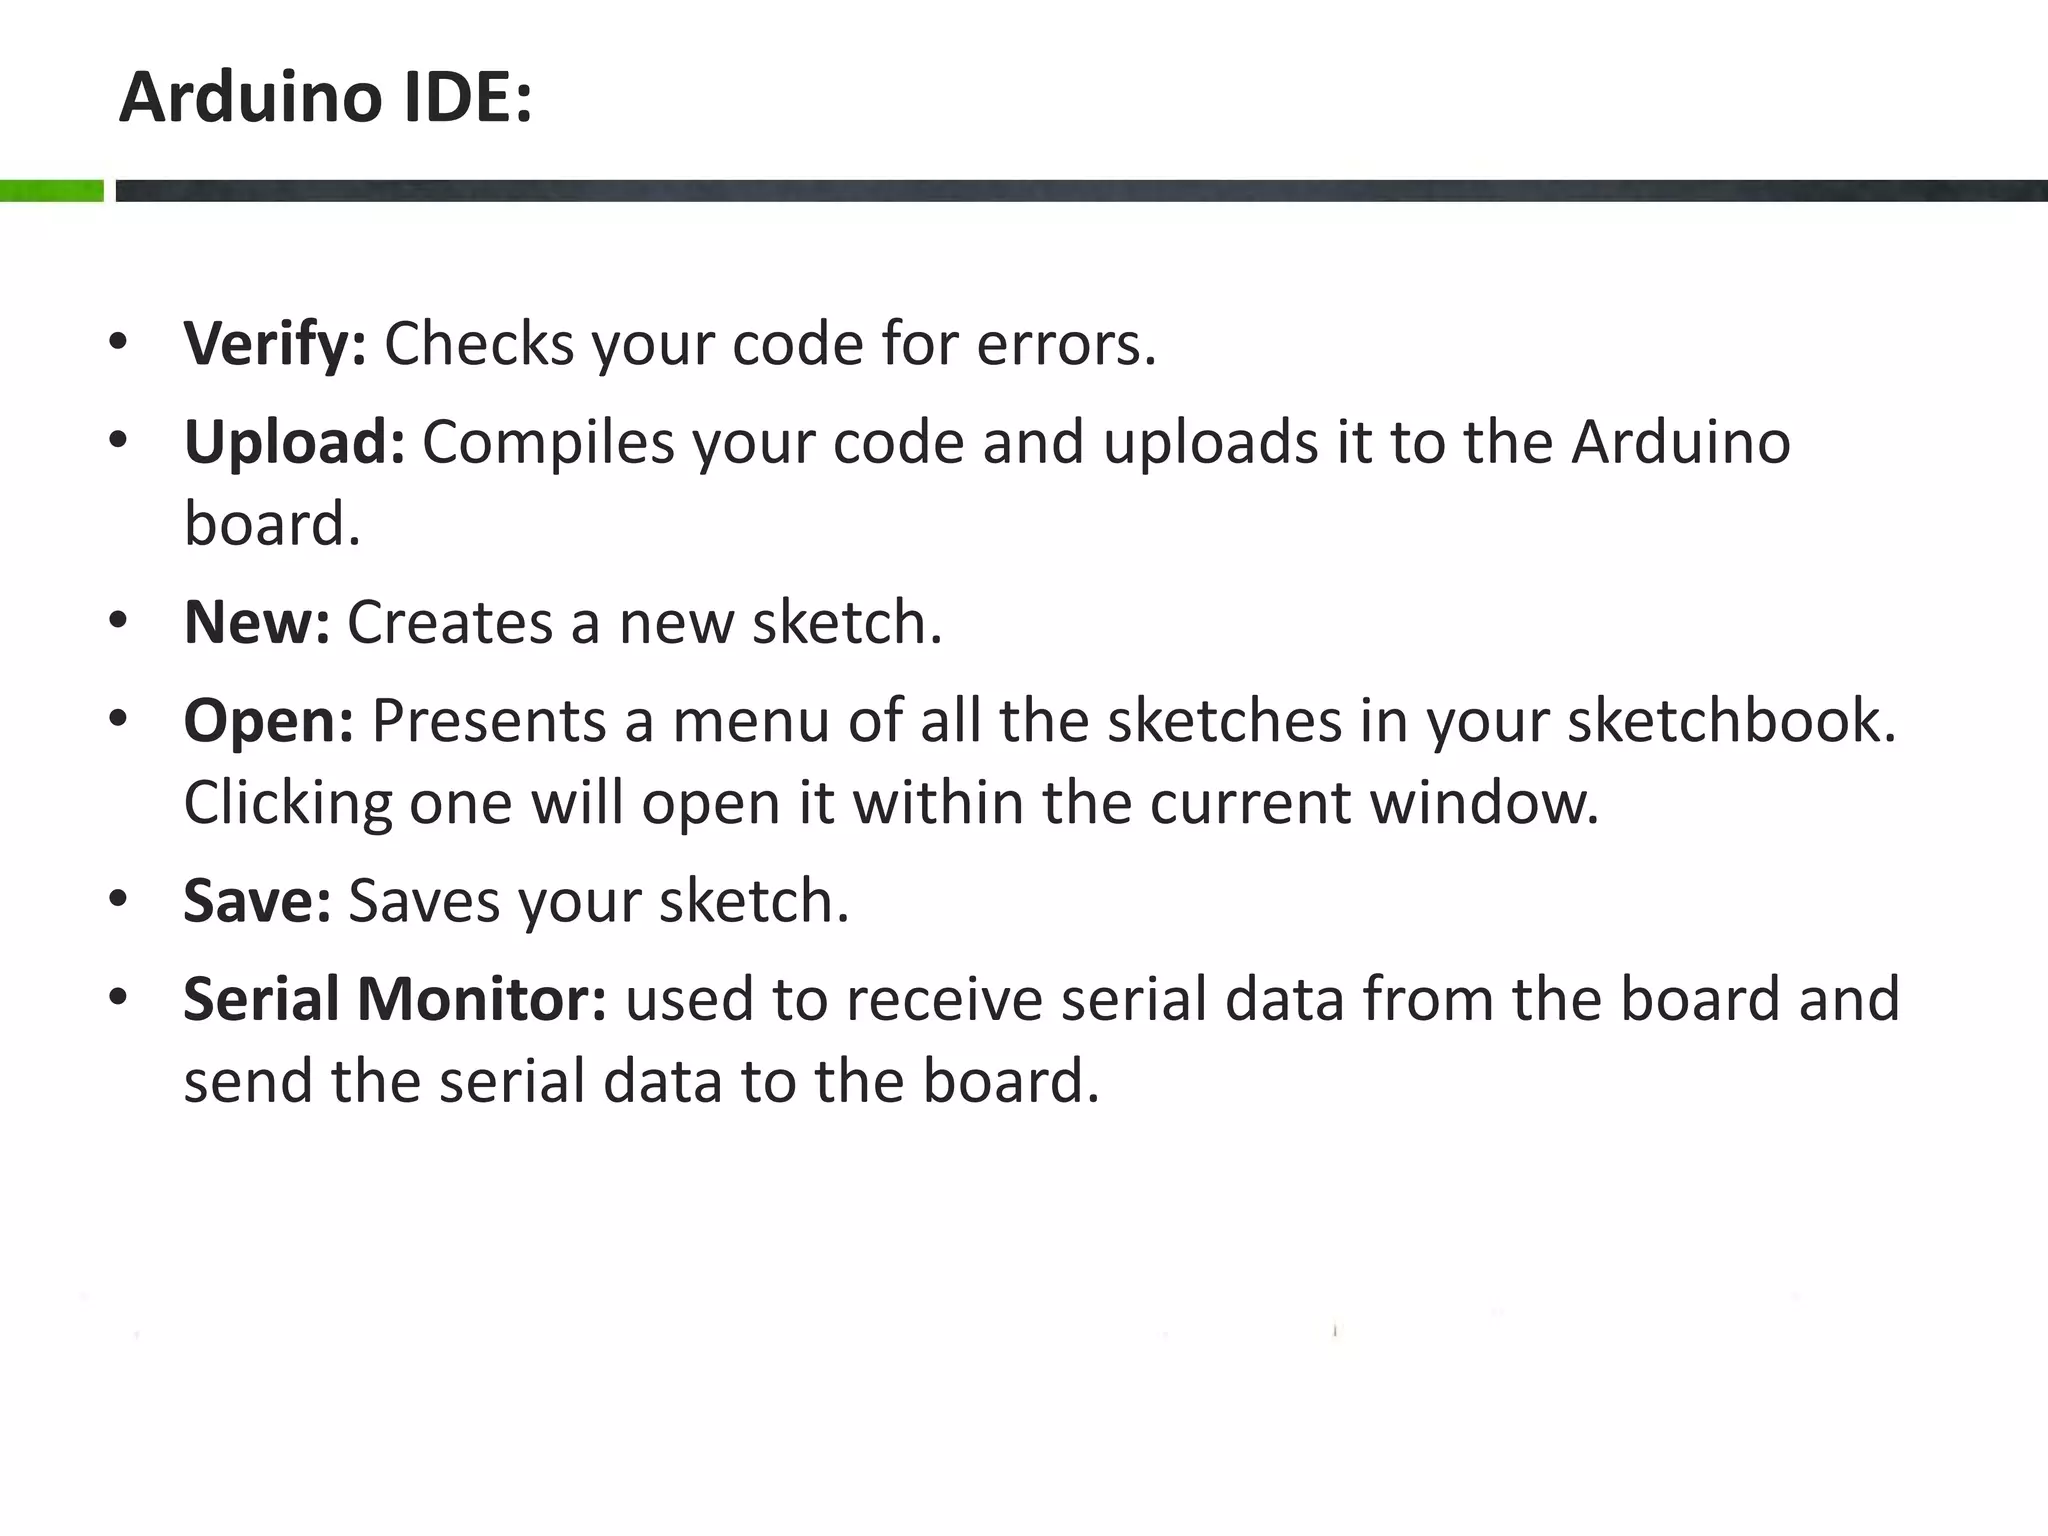
Explains functions of the Arduino IDE: verify, upload, create, open, save, and serial monitor.
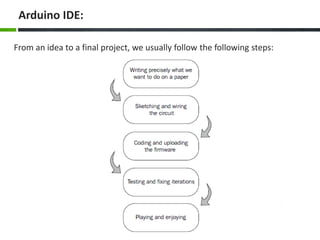
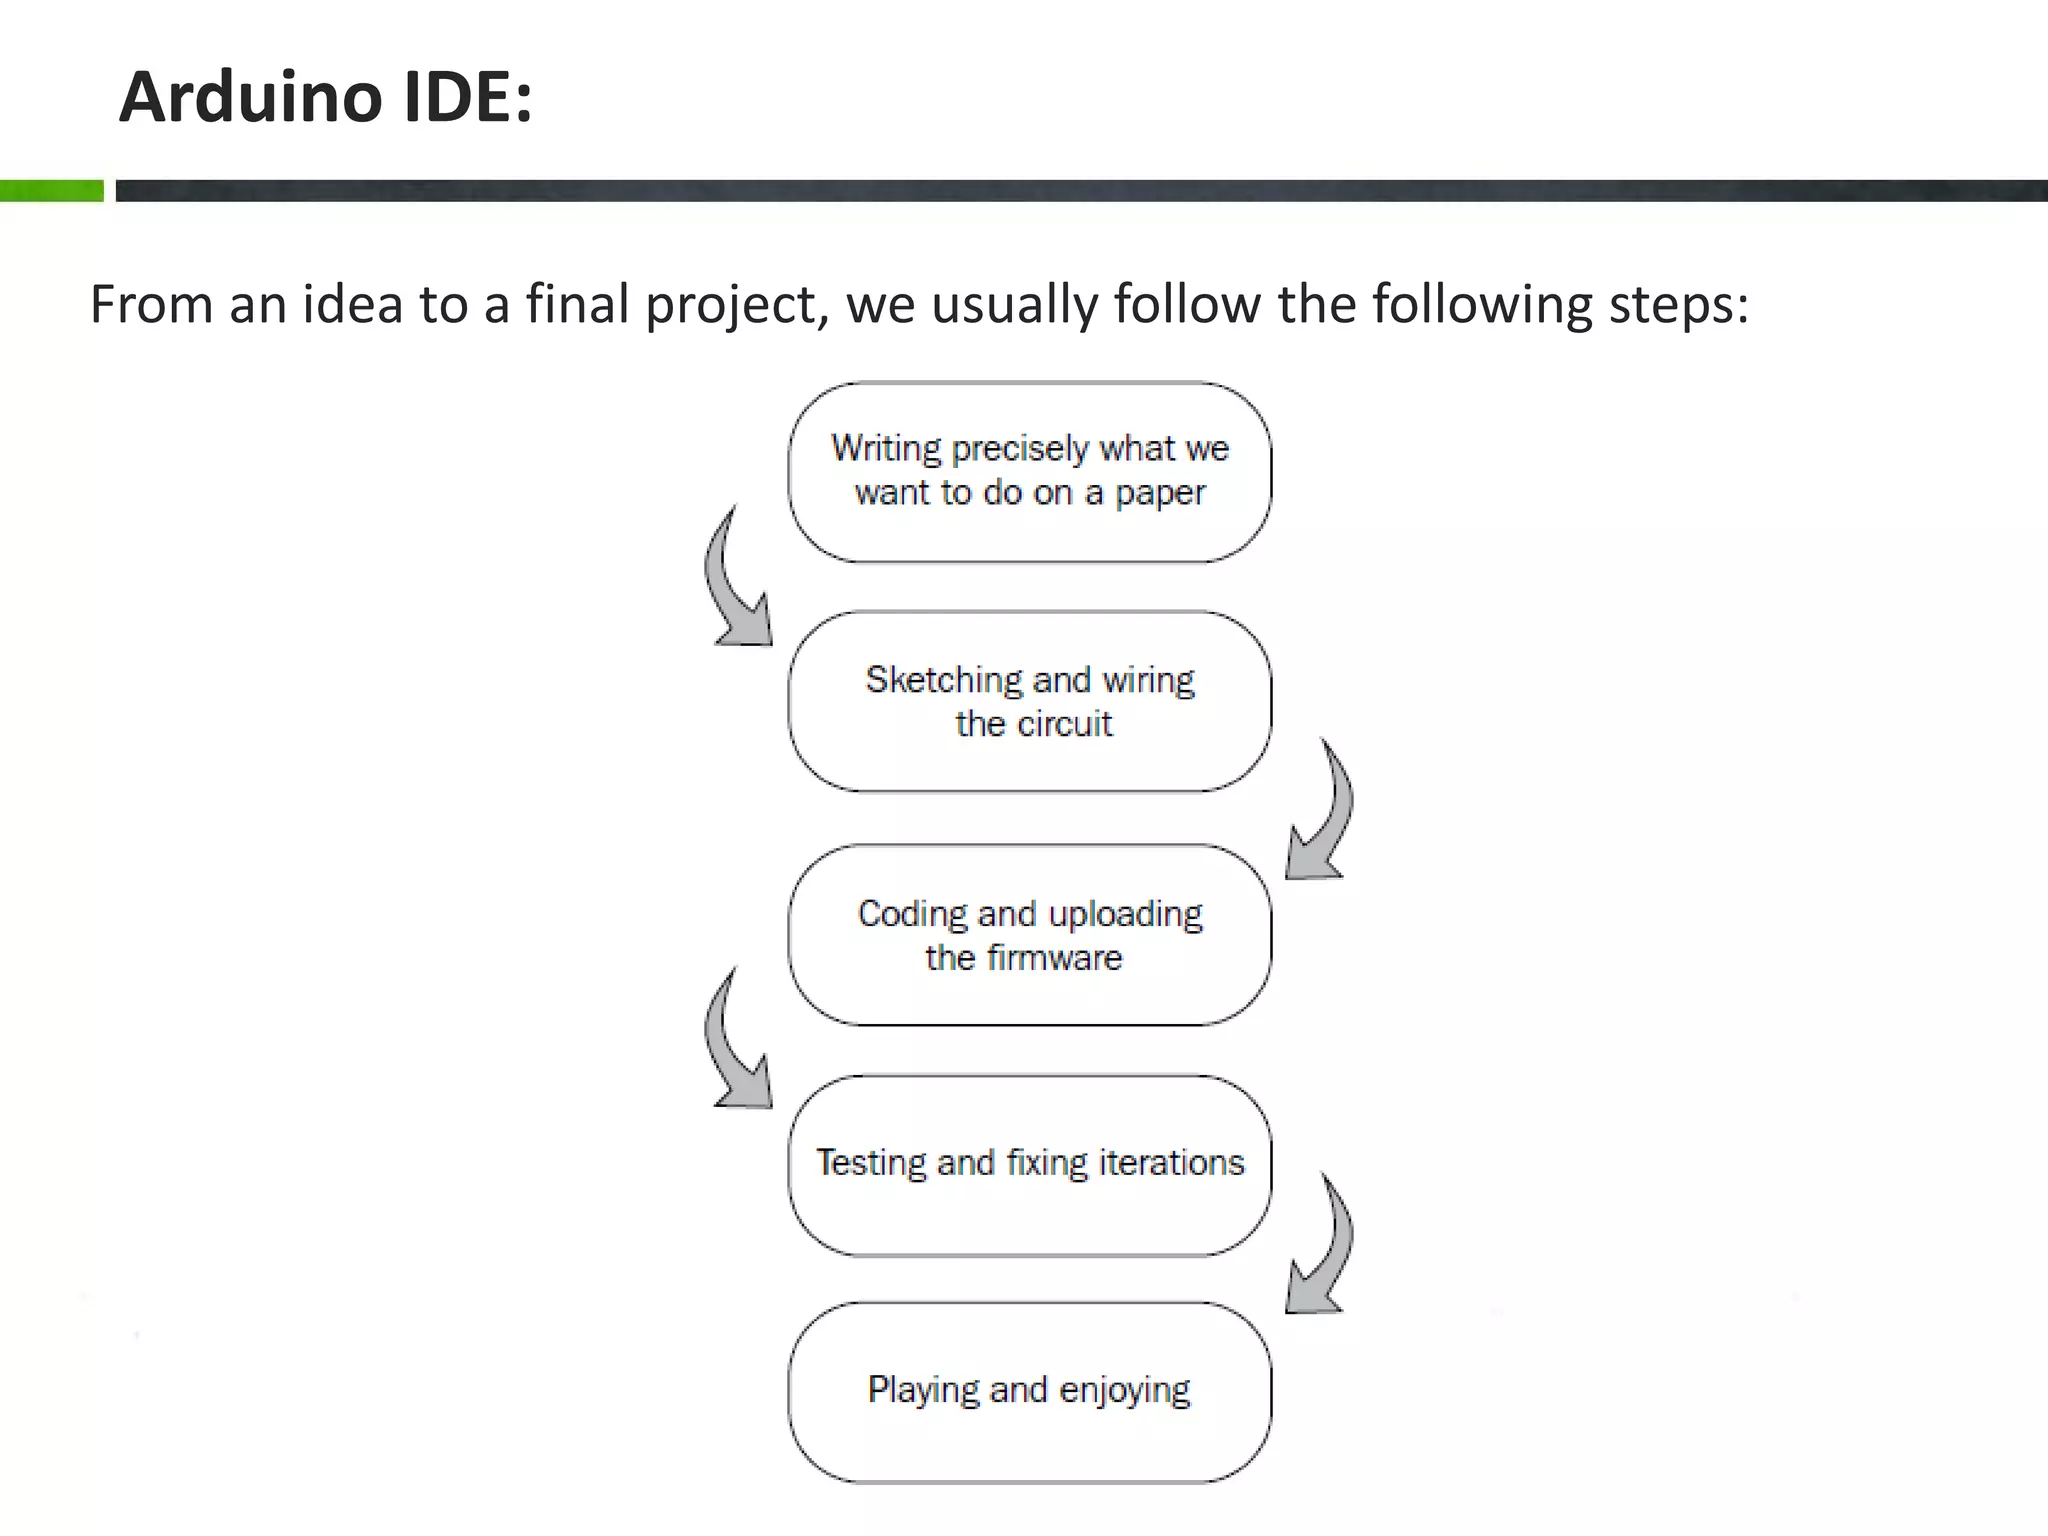
Outlines the steps from concept to the final project using Arduino technology.
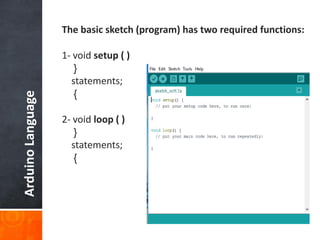
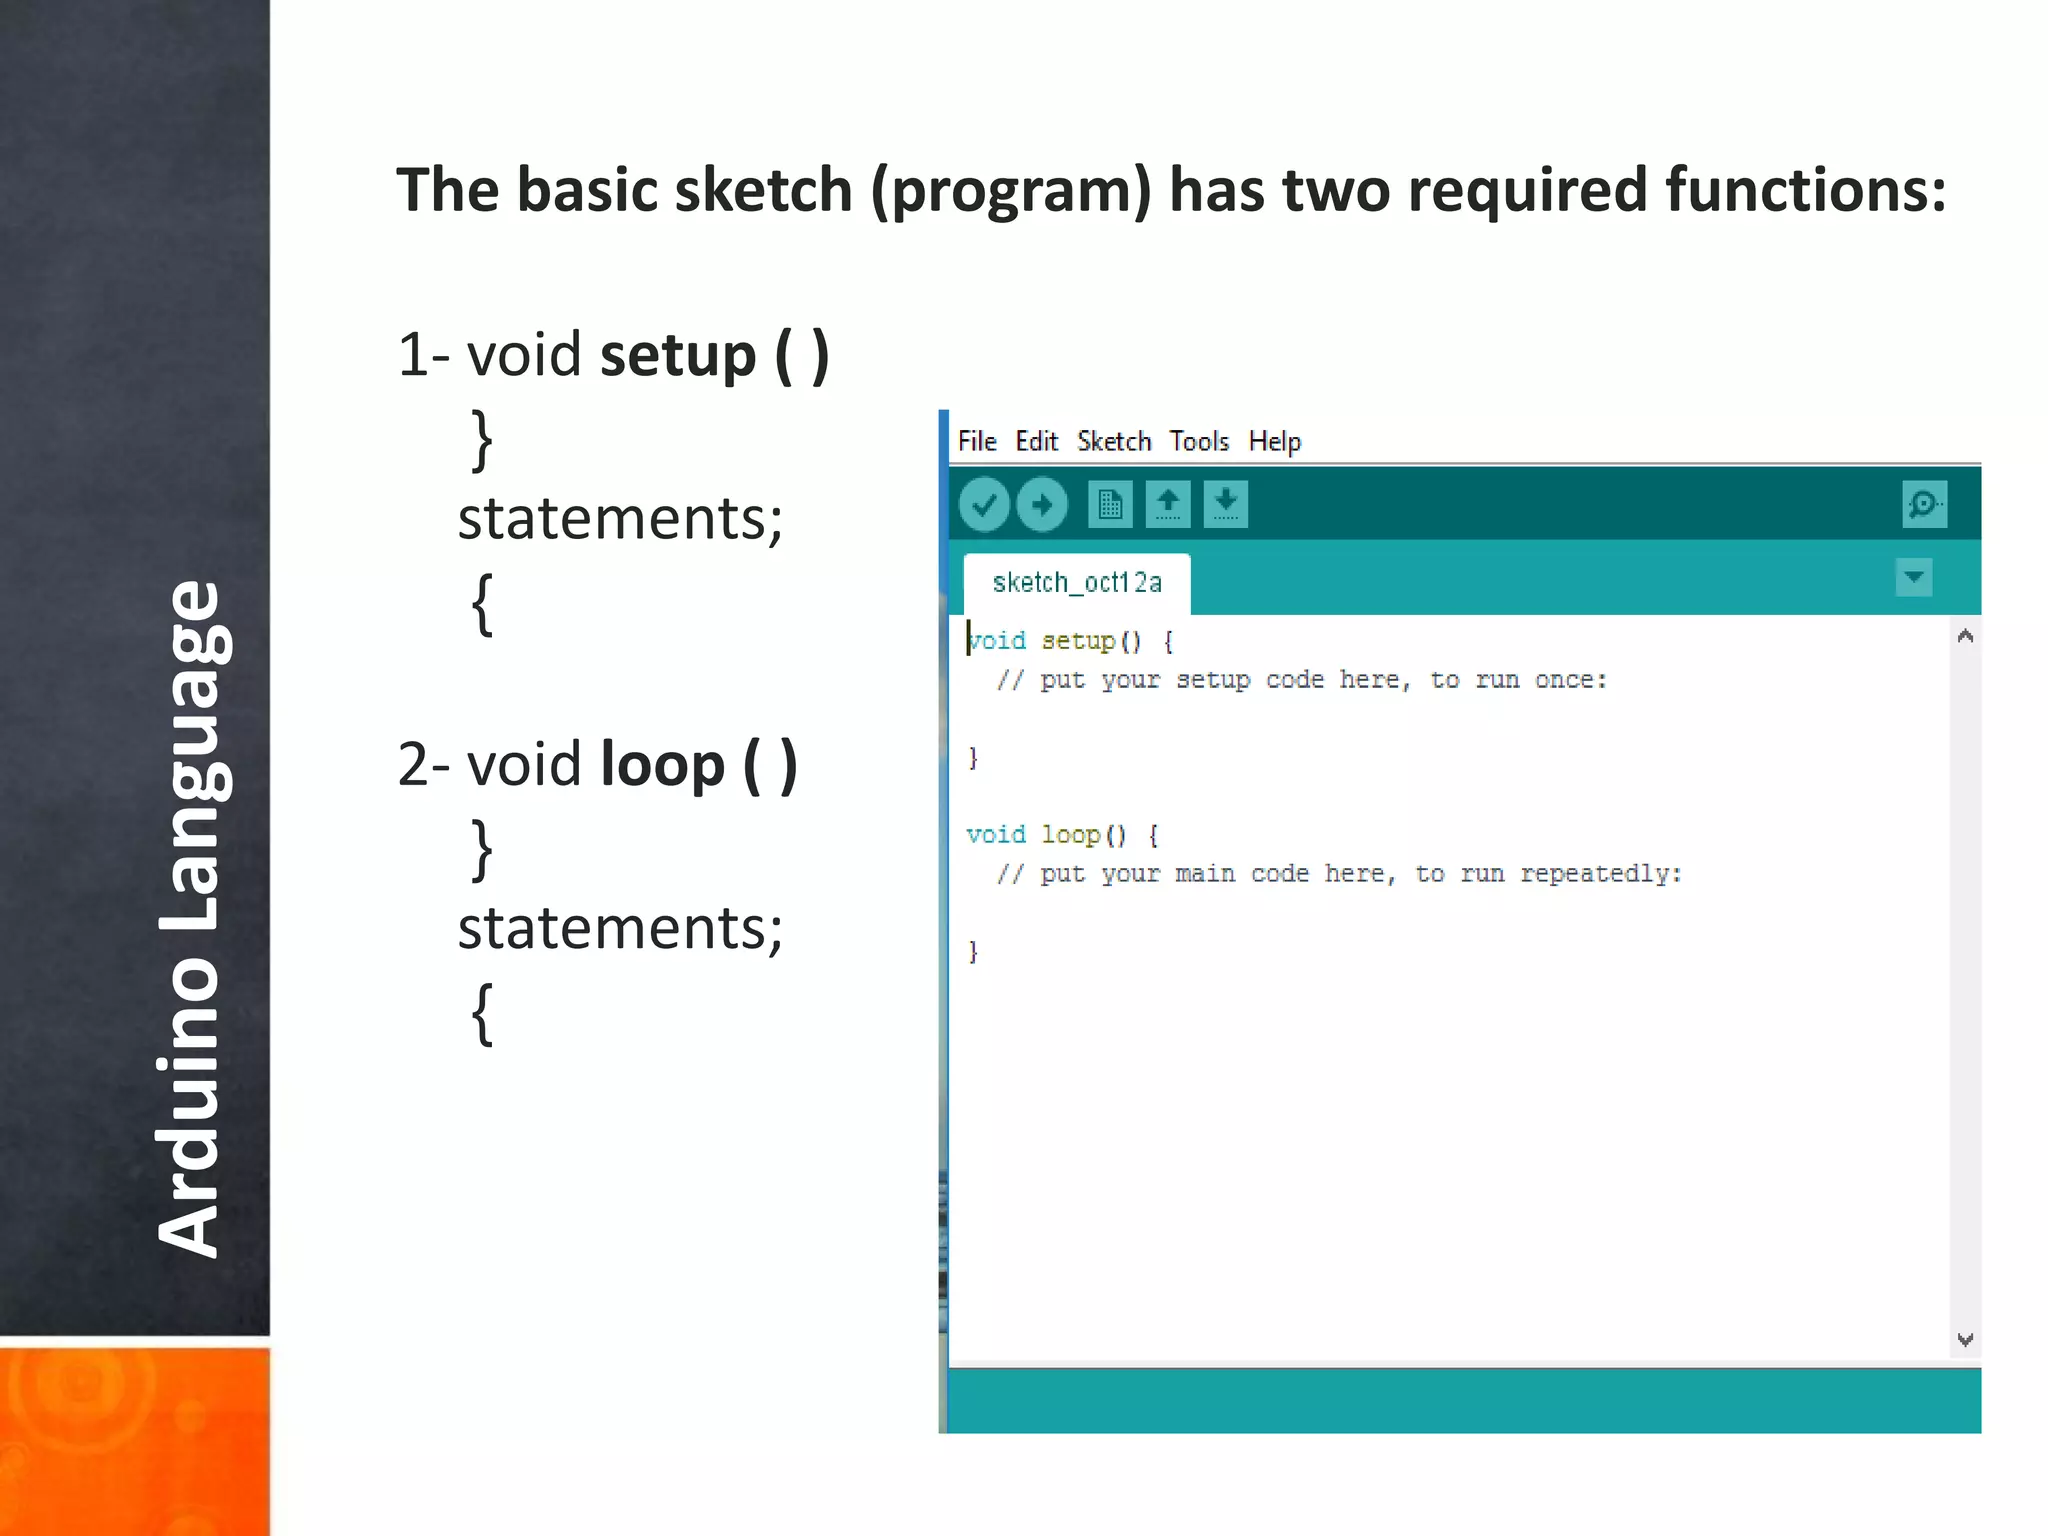
Introduces the basic structure of an Arduino sketch with the required setup and loop functions.
Details the roles of setup for initialization and loop for continuous execution, with references to C/C++.
A thank you note concludes the presentation.


