Downloaded 33 times


![16
Korean Language setup
Raspberry Pi Configuration
• [Menu] [Preference] [Raspberry Pi Configuration]](https://image.slidesharecdn.com/raspberrypi-howtogetstarted-171018070647/85/Raspberry-pi-how-to-get-started-16-320.jpg)
![17
Korean Language setup
Language and country setting
• [Localisation] [Set Locale]](https://image.slidesharecdn.com/raspberrypi-howtogetstarted-171018070647/85/Raspberry-pi-how-to-get-started-17-320.jpg)
![18
Korean Language setup
Timezone setting
• [Localisation] [Set Timezone]](https://image.slidesharecdn.com/raspberrypi-howtogetstarted-171018070647/85/Raspberry-pi-how-to-get-started-18-320.jpg)
![19
Korean Language setup
Keyboard setting
• [Localisation] [Set Keyboard]](https://image.slidesharecdn.com/raspberrypi-howtogetstarted-171018070647/85/Raspberry-pi-how-to-get-started-19-320.jpg)
![20
Korean Language setup
Let’s reboot!
• After finishing all setting up, then reboot the RPi
• Notice that the menu in English has changed to Korean
Check the keyboard
• Toggle the language [US Hangul]
• Click the Hangul
• Now you can toggle the language [Shift + Spacebar]](https://image.slidesharecdn.com/raspberrypi-howtogetstarted-171018070647/85/Raspberry-pi-how-to-get-started-20-320.jpg)


![16
Korean Language setup
Raspberry Pi Configuration
• [Menu] [Preference] [Raspberry Pi Configuration]](https://image.slidesharecdn.com/raspberrypi-howtogetstarted-171018070647/75/Raspberry-pi-how-to-get-started-16-2048.jpg)
![17
Korean Language setup
Language and country setting
• [Localisation] [Set Locale]](https://image.slidesharecdn.com/raspberrypi-howtogetstarted-171018070647/75/Raspberry-pi-how-to-get-started-17-2048.jpg)
![18
Korean Language setup
Timezone setting
• [Localisation] [Set Timezone]](https://image.slidesharecdn.com/raspberrypi-howtogetstarted-171018070647/75/Raspberry-pi-how-to-get-started-18-2048.jpg)
![19
Korean Language setup
Keyboard setting
• [Localisation] [Set Keyboard]](https://image.slidesharecdn.com/raspberrypi-howtogetstarted-171018070647/75/Raspberry-pi-how-to-get-started-19-2048.jpg)
![20
Korean Language setup
Let’s reboot!
• After finishing all setting up, then reboot the RPi
• Notice that the menu in English has changed to Korean
Check the keyboard
• Toggle the language [US Hangul]
• Click the Hangul
• Now you can toggle the language [Shift + Spacebar]](https://image.slidesharecdn.com/raspberrypi-howtogetstarted-171018070647/75/Raspberry-pi-how-to-get-started-20-2048.jpg)
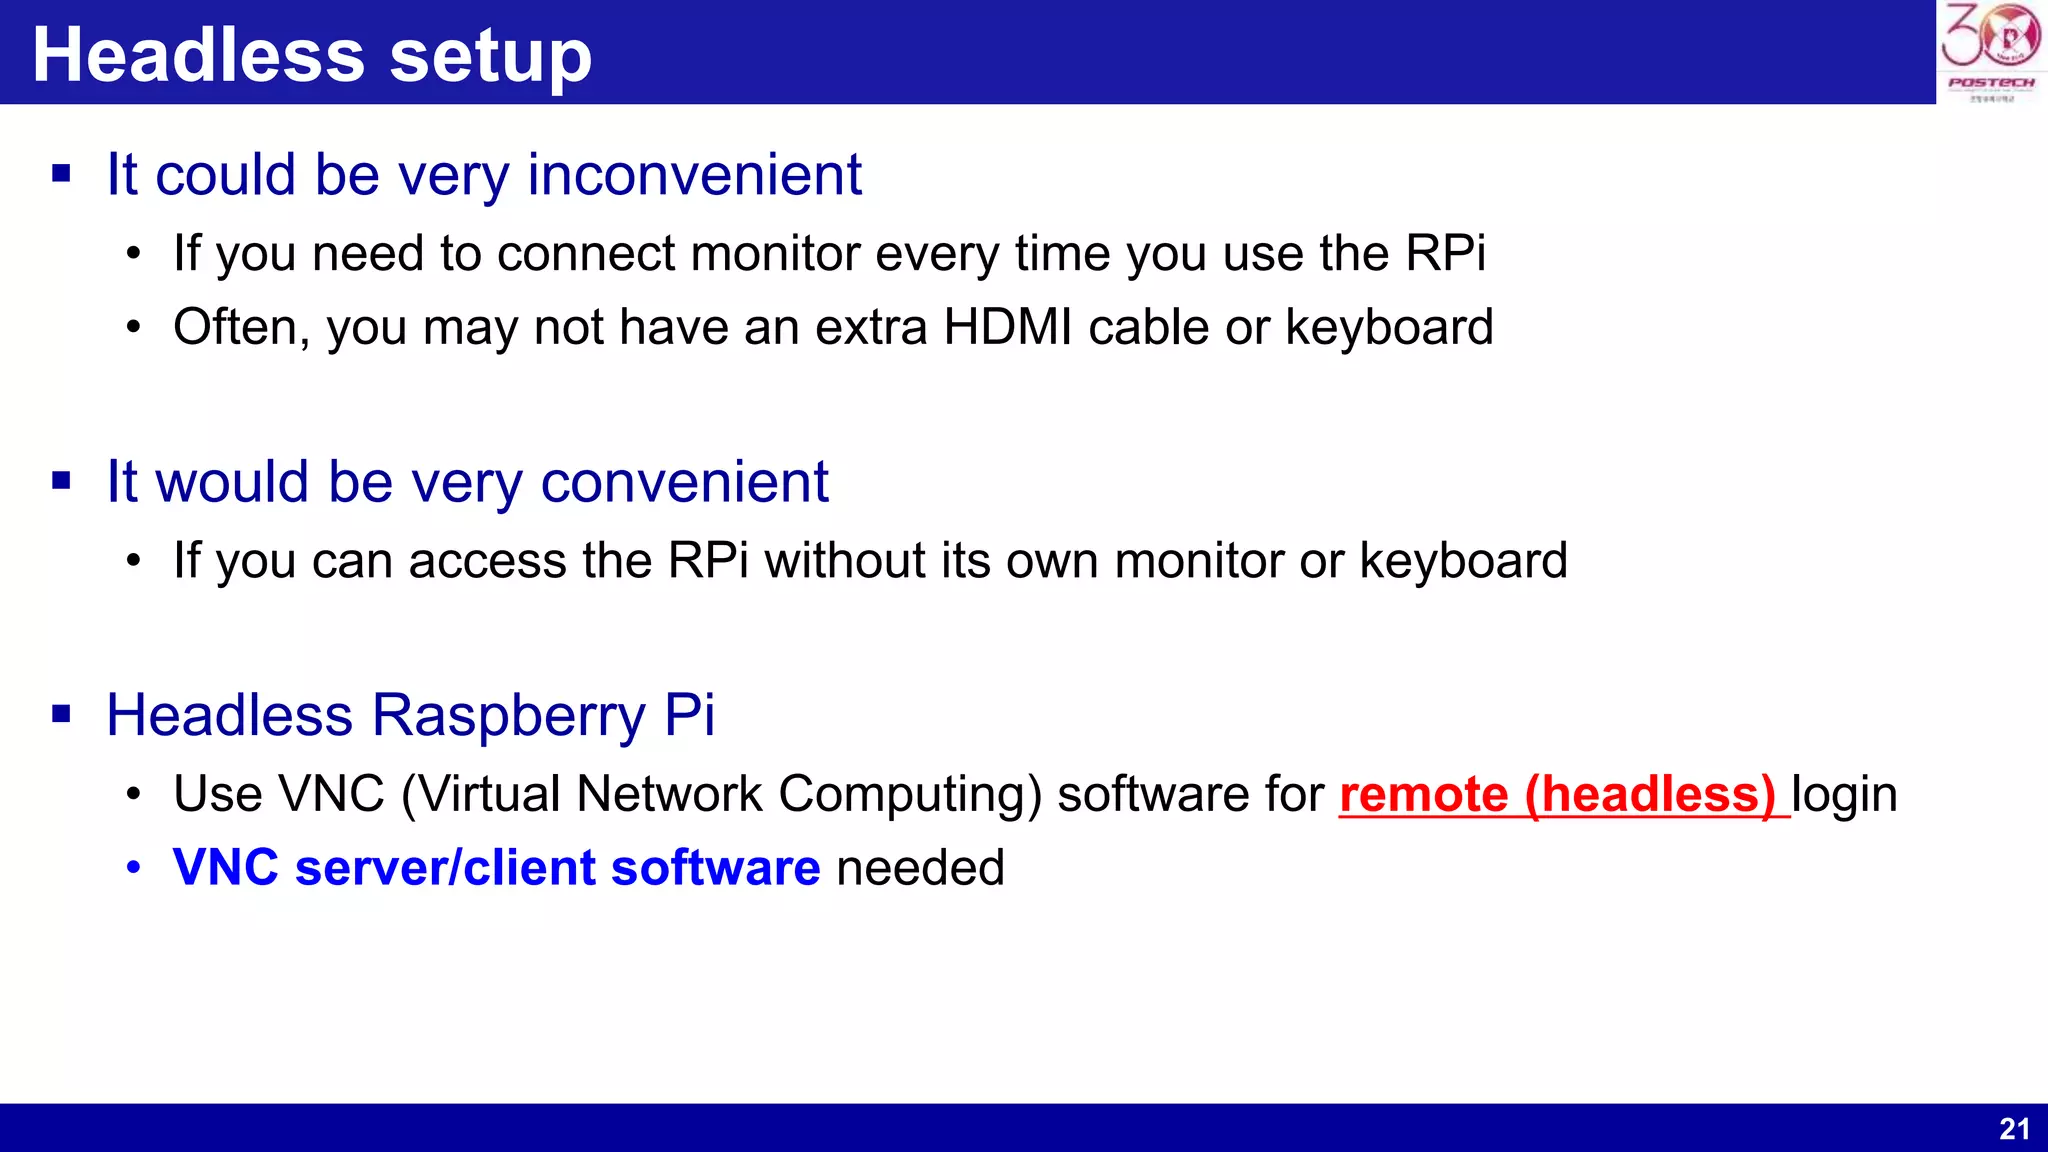
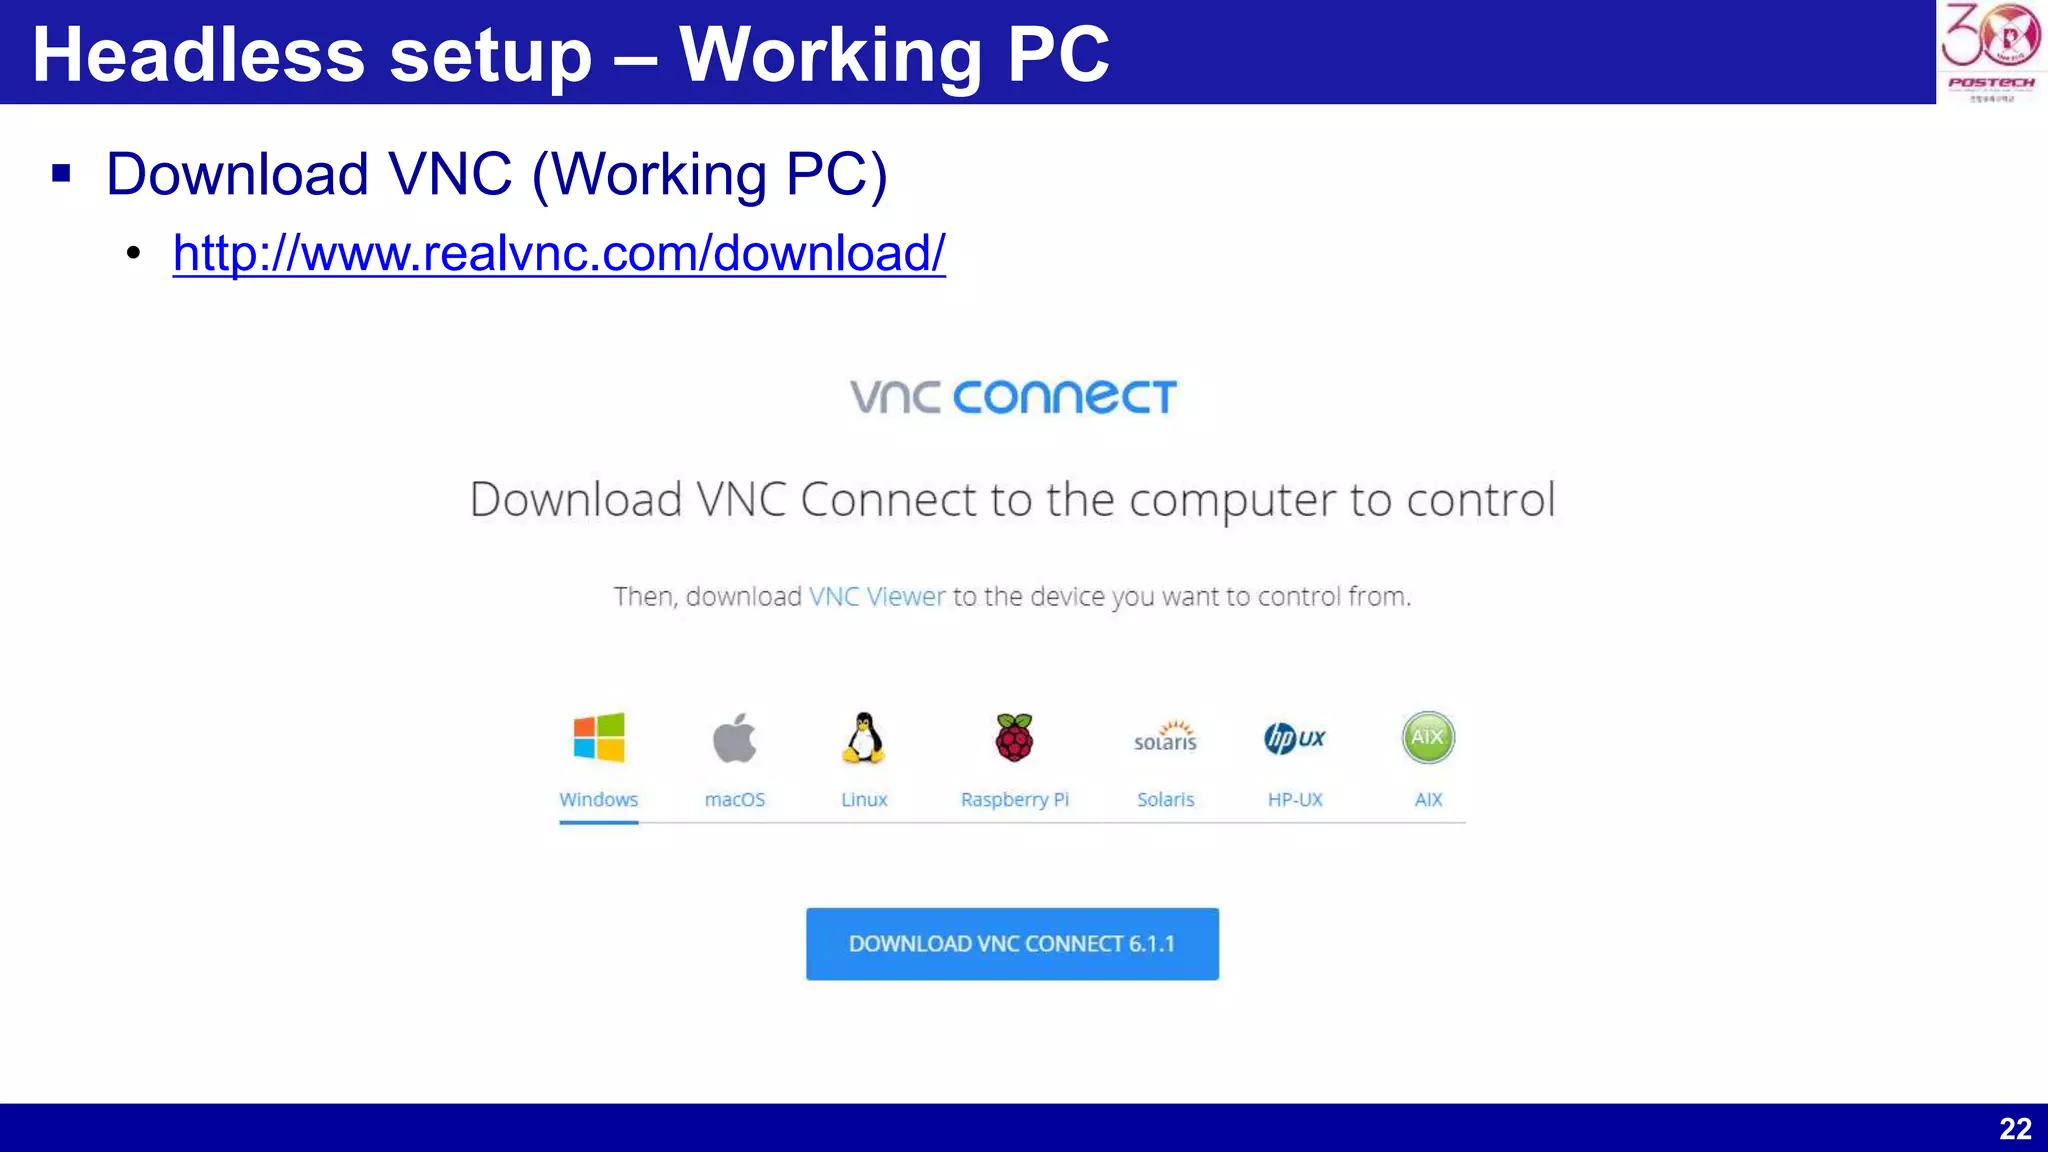

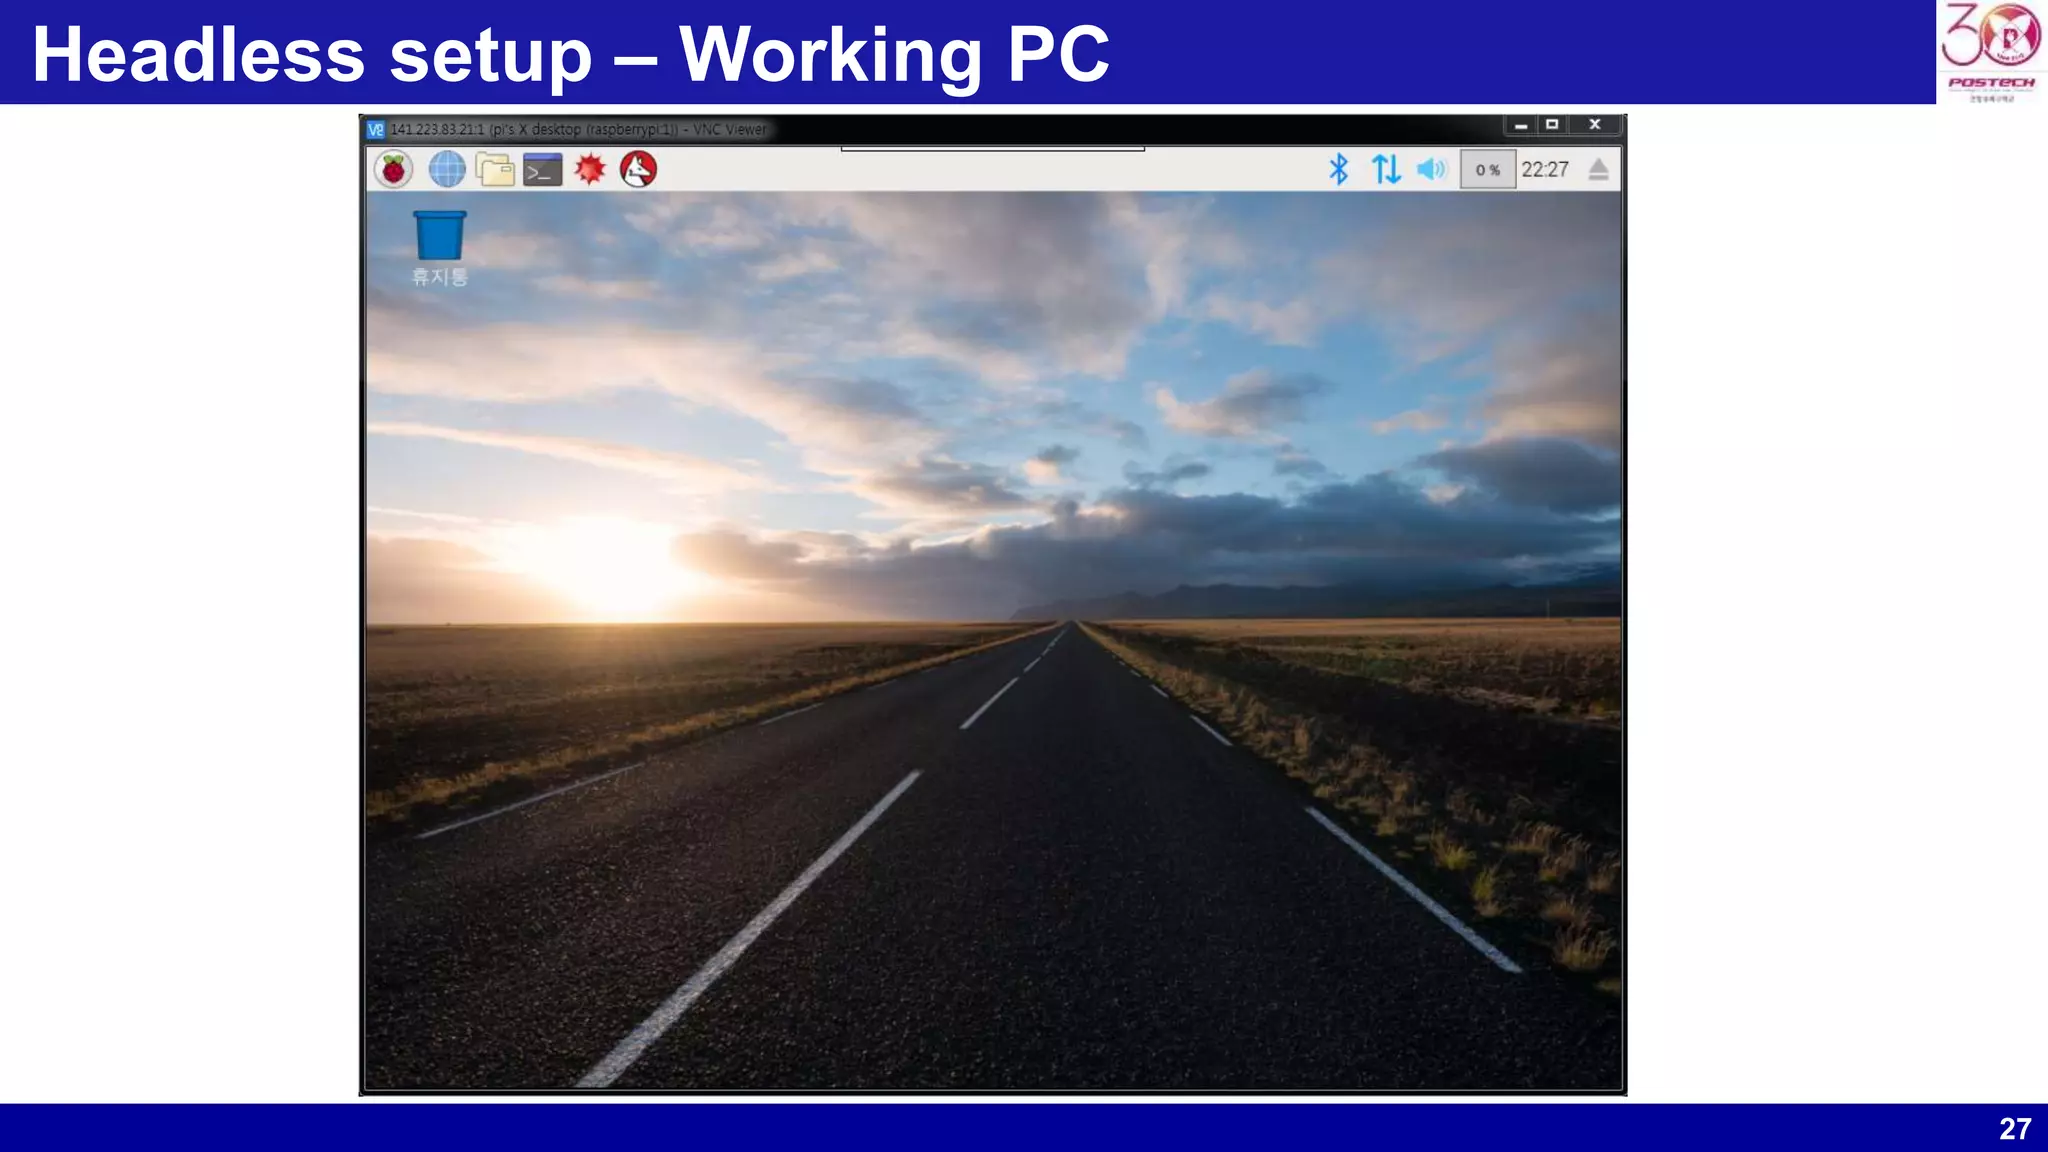


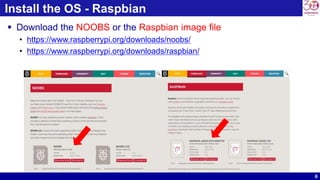
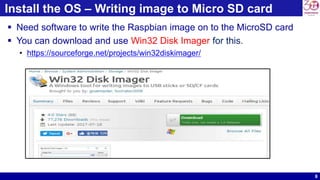
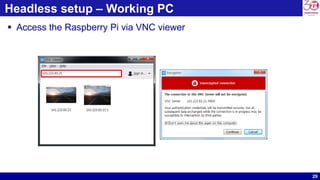
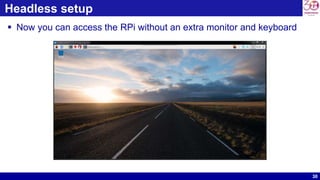
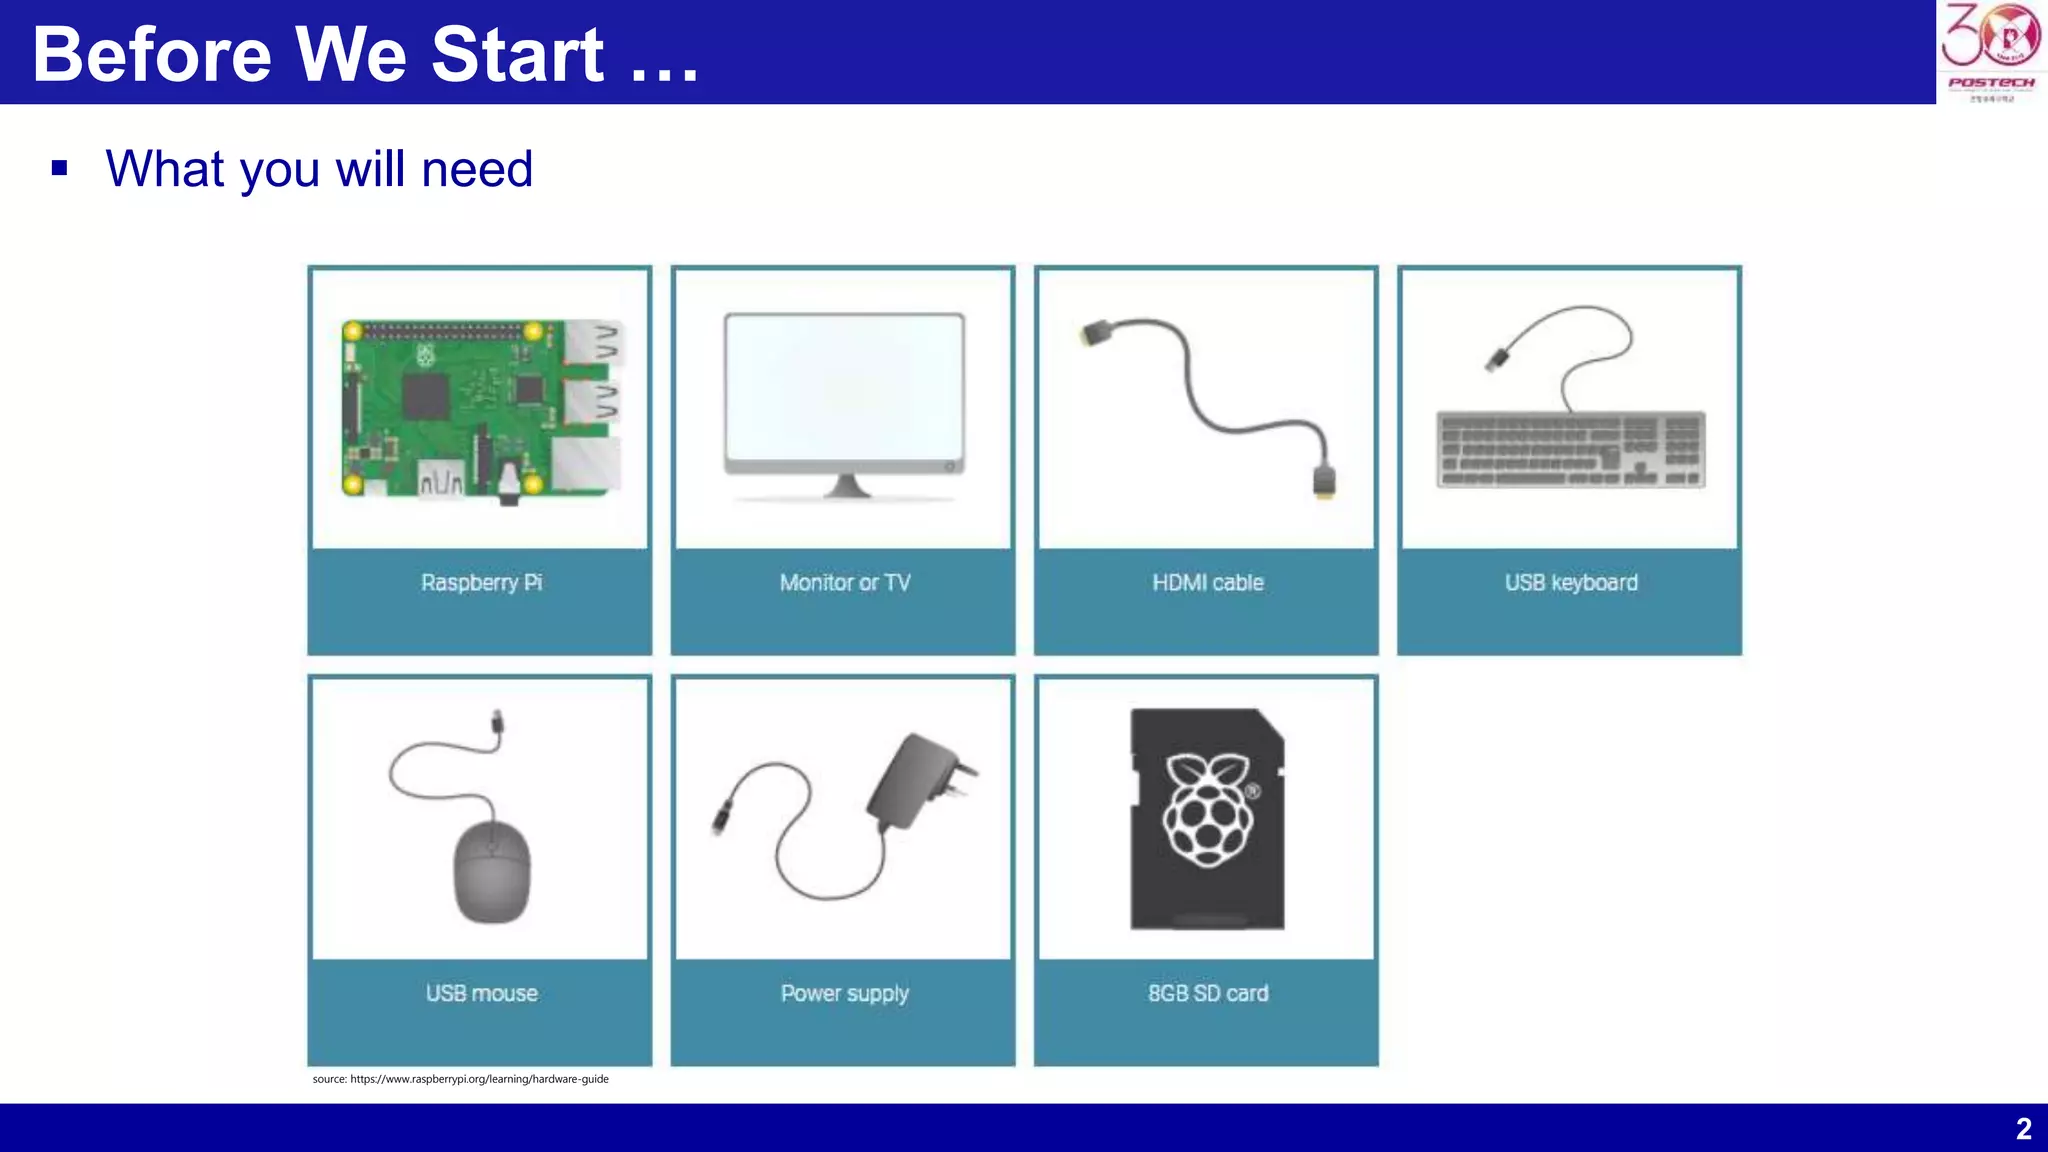
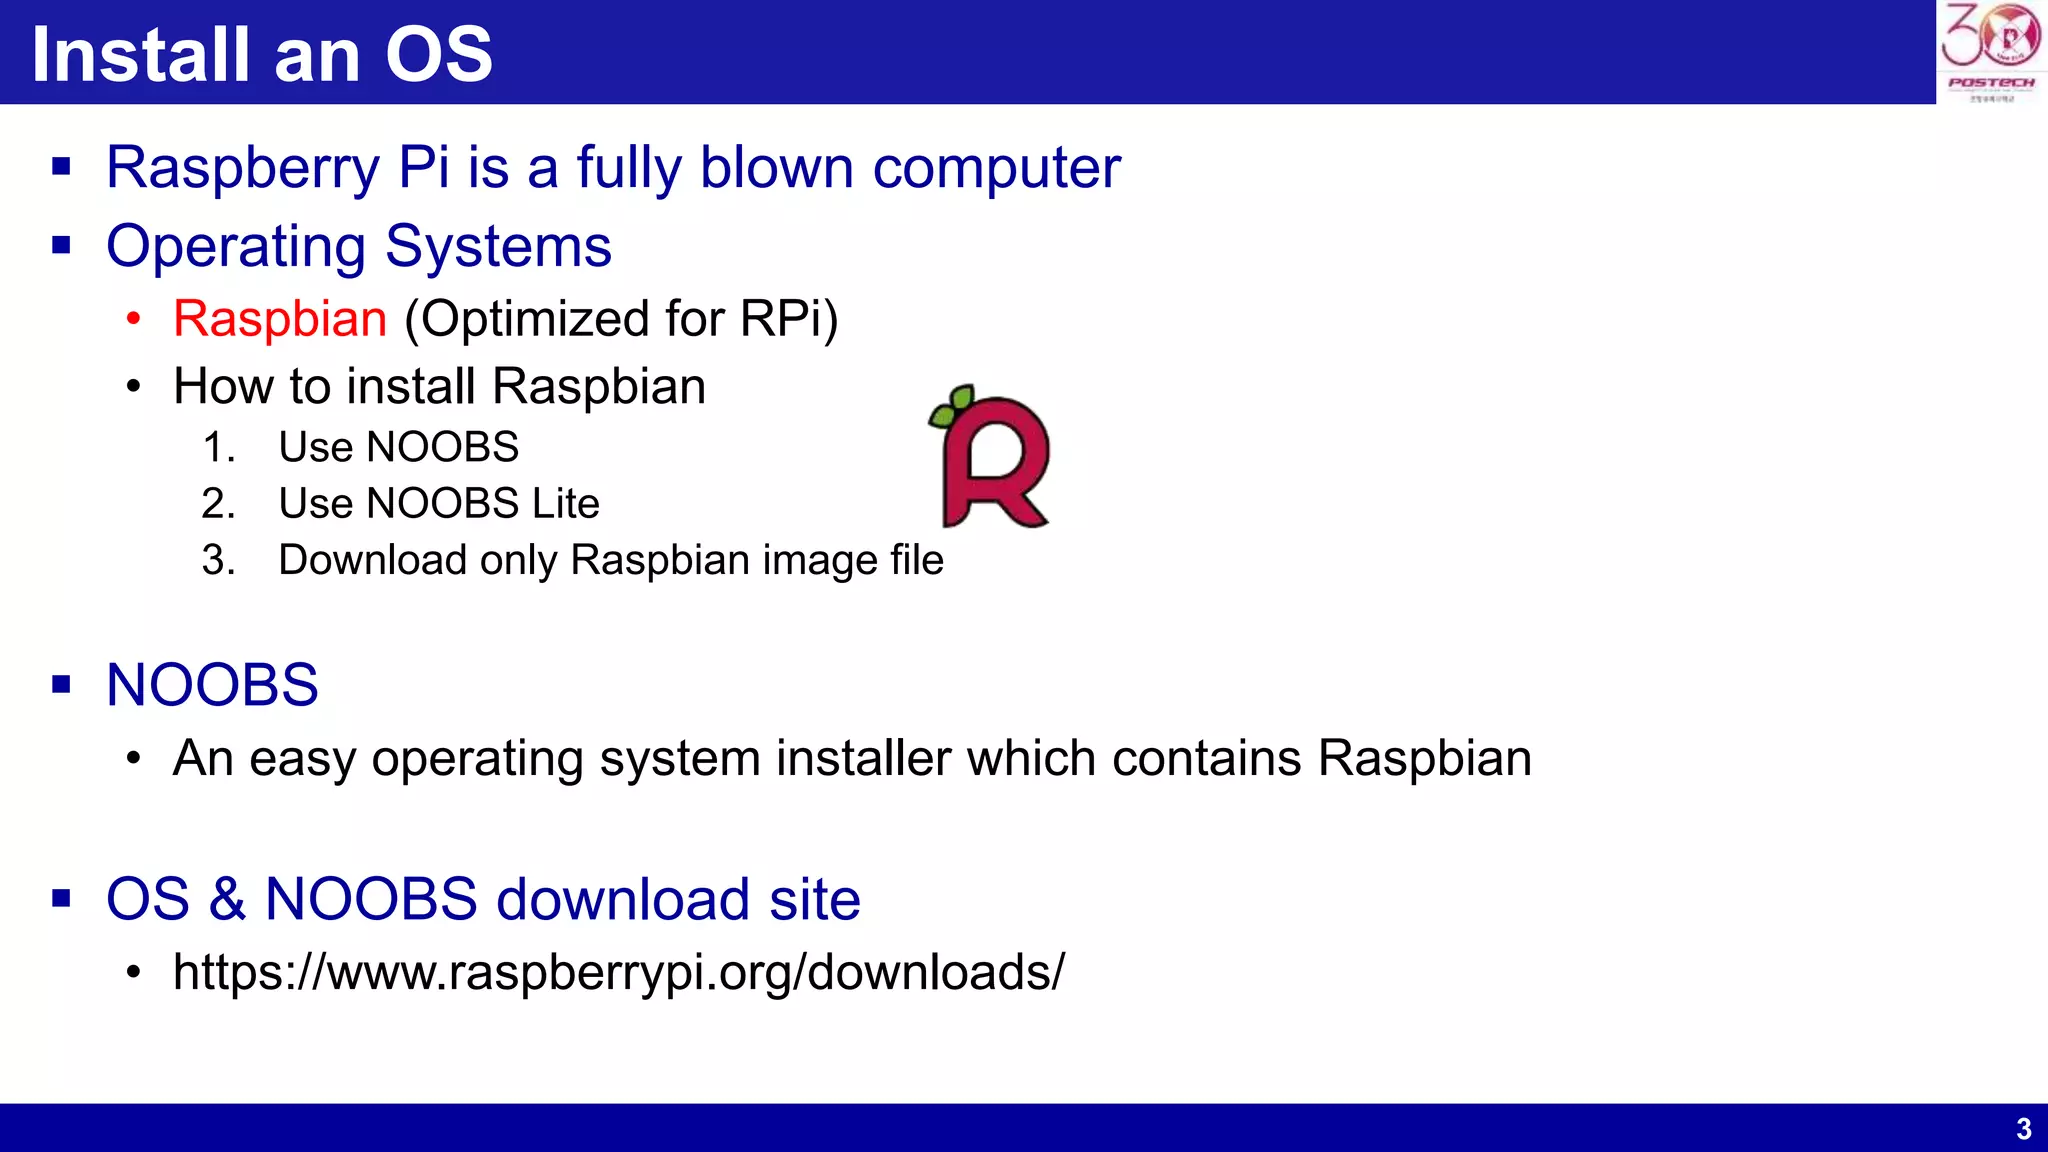
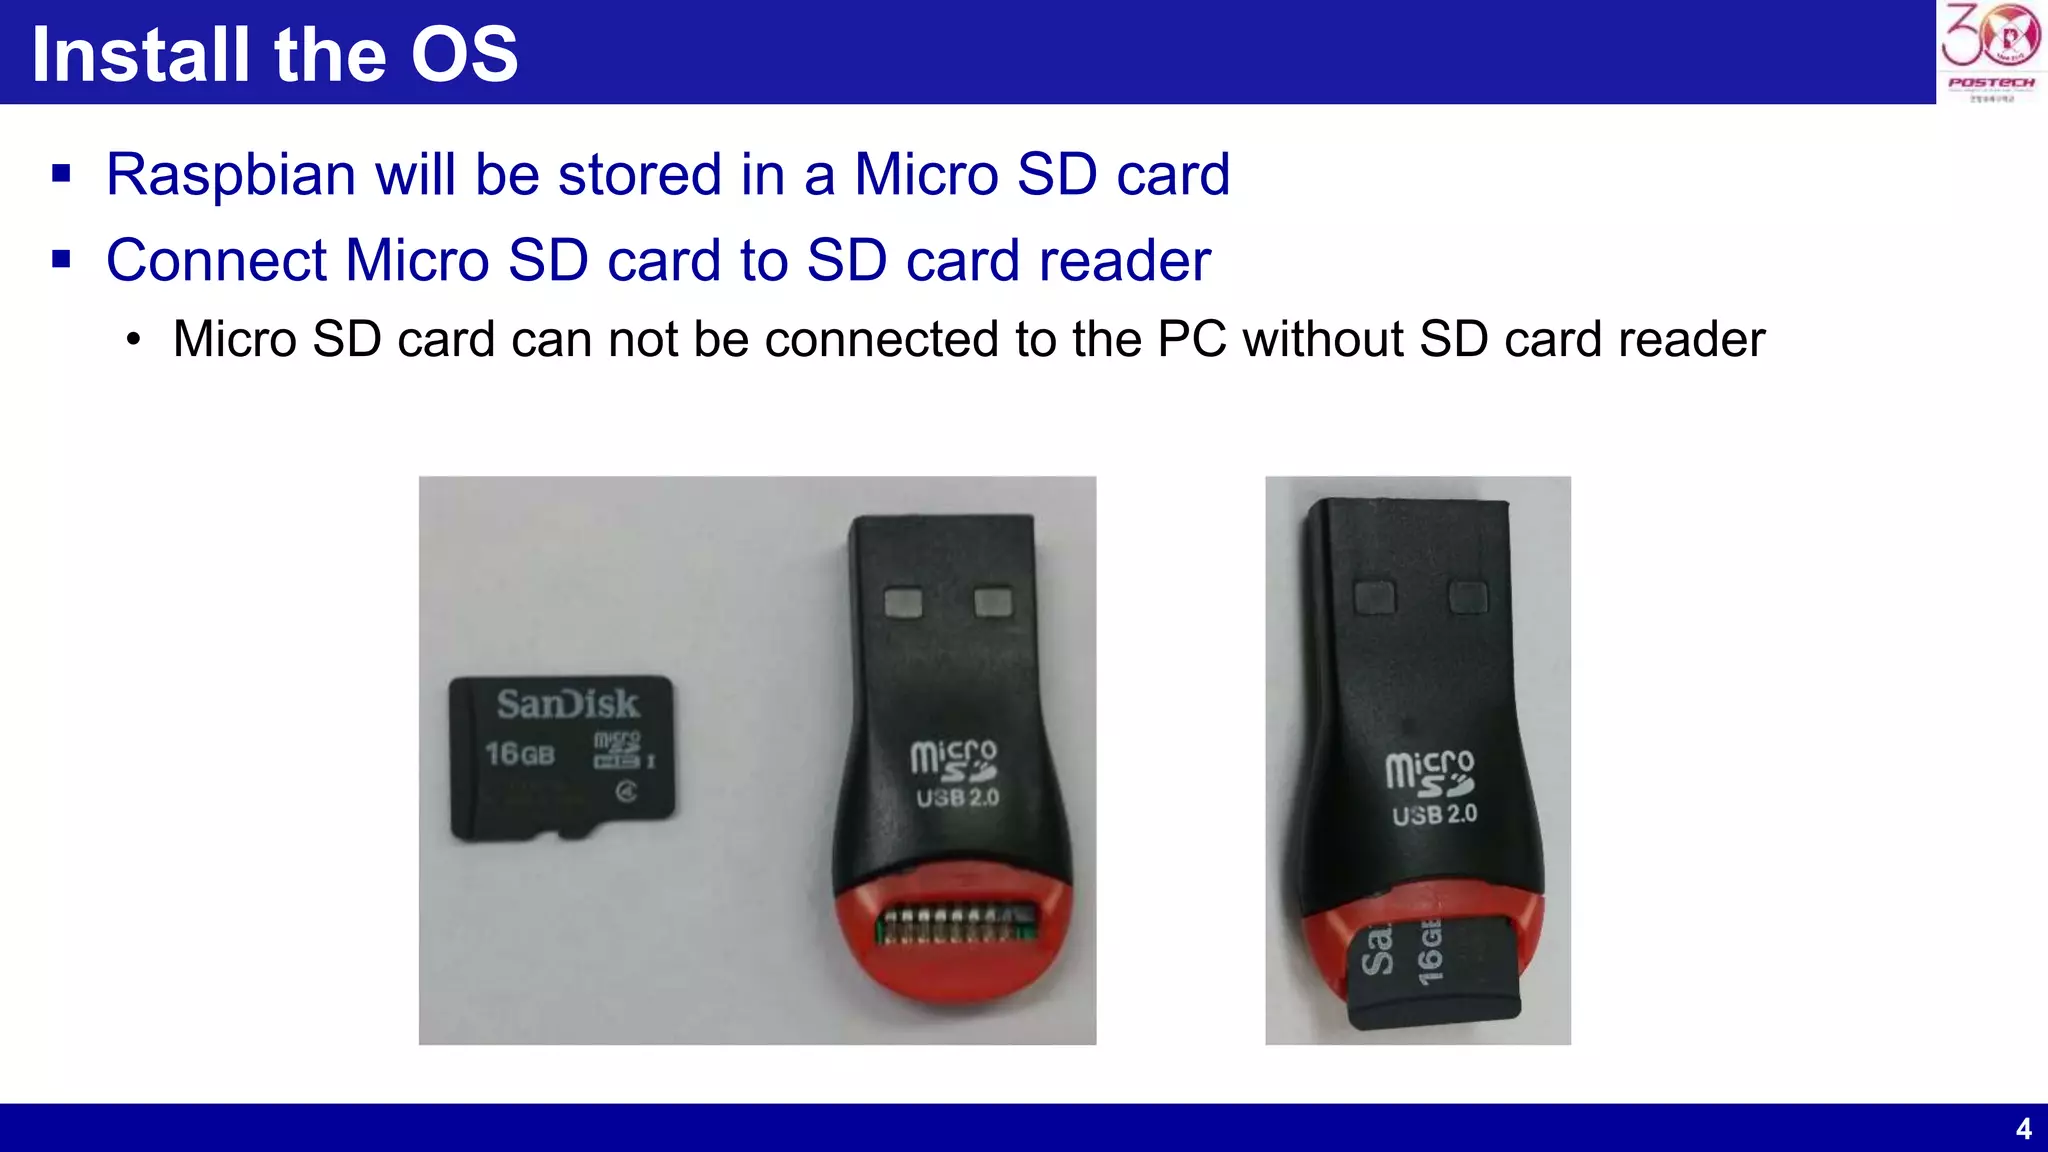
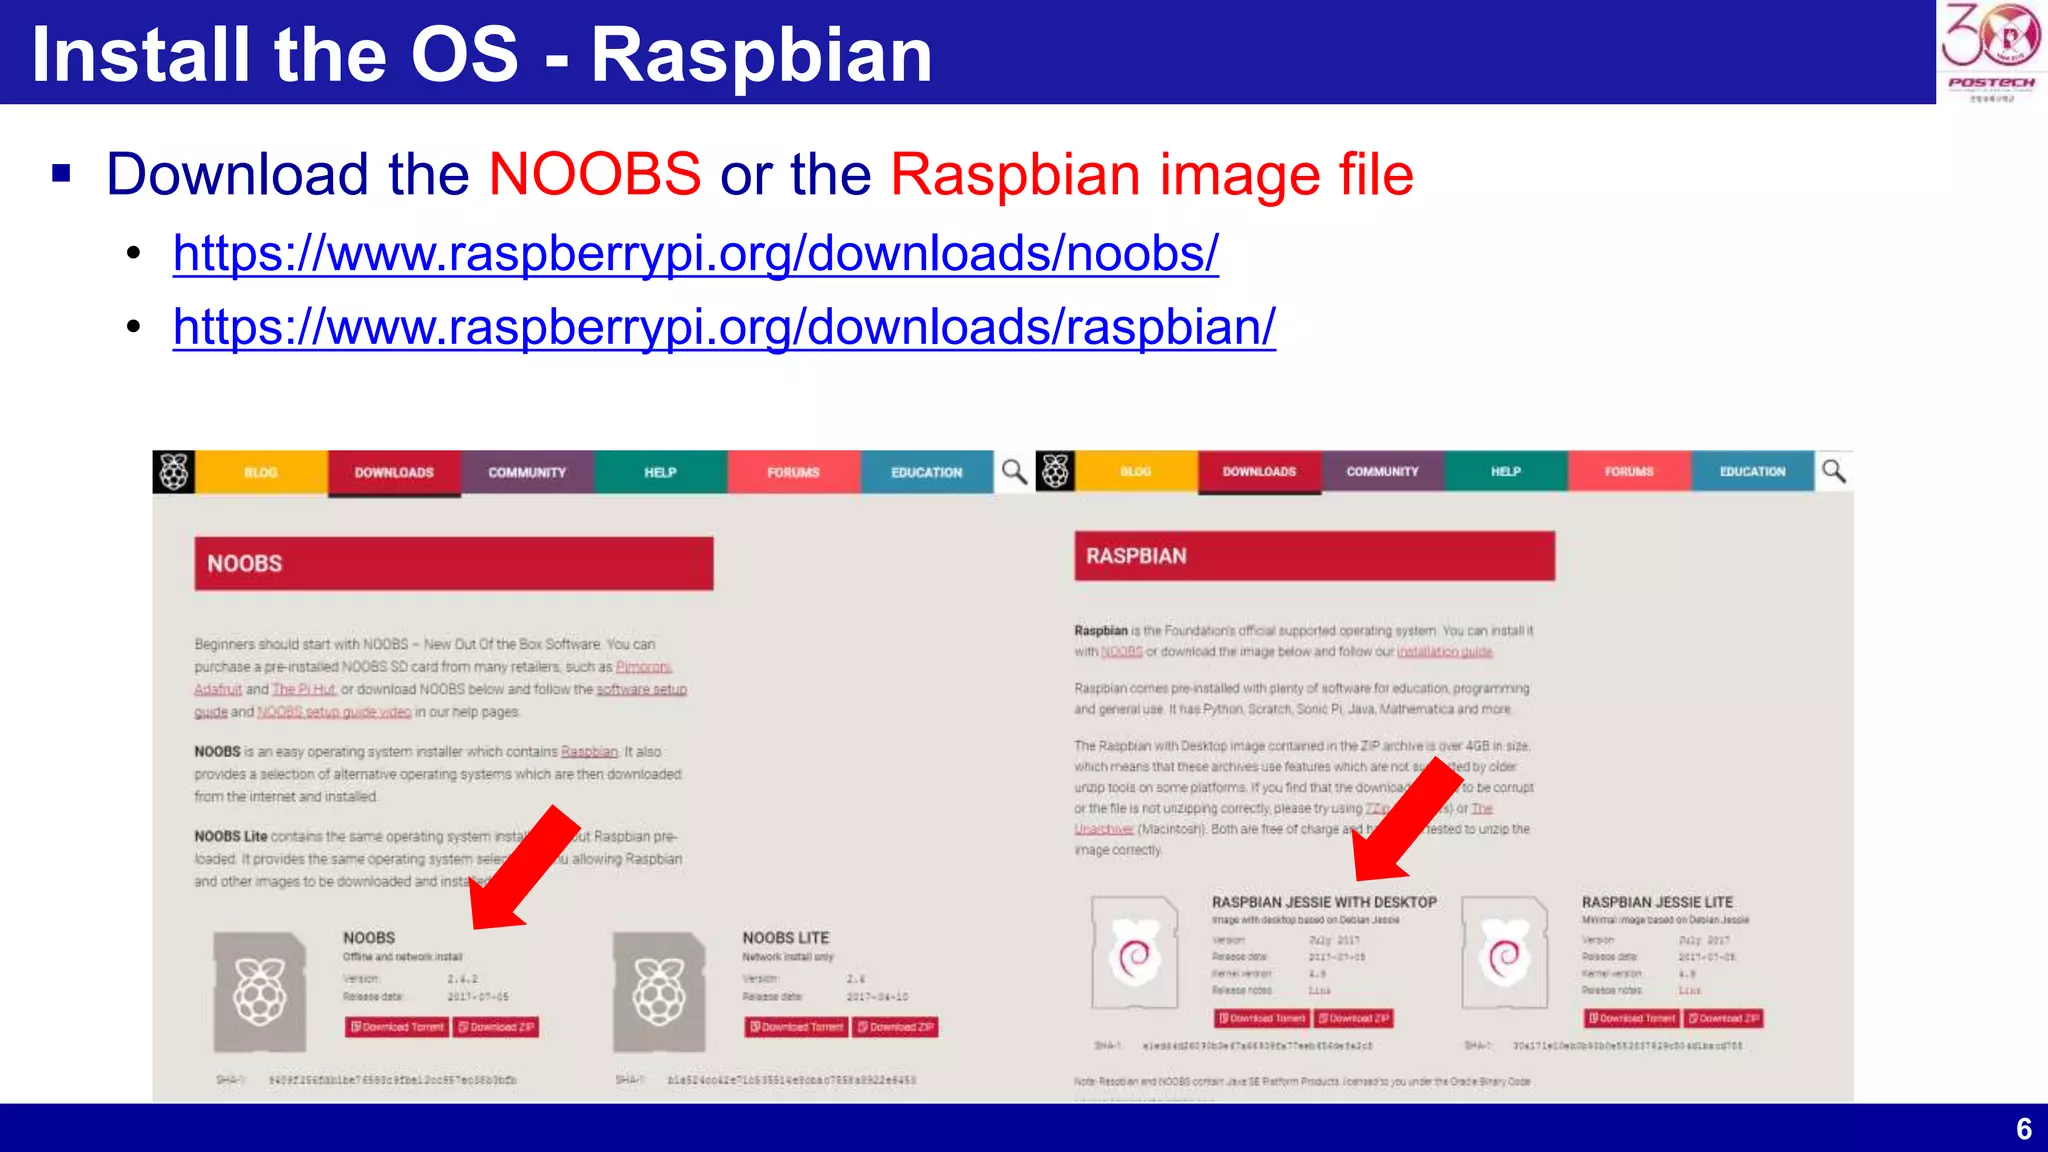
This document provides instructions for setting up a Raspberry Pi. It discusses the hardware requirements, installing the Raspbian operating system using NOOBS or downloading the image file, and setting up the Korean language. It also explains how to access the Raspberry Pi remotely using a "headless" setup with VNC server and client software, allowing control without an attached monitor or keyboard. Major topics covered include installing OSes like Raspbian, connecting to WiFi or Ethernet, and configuring language and timezone settings.


