Download as ODP, PPTX


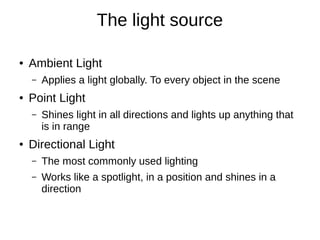
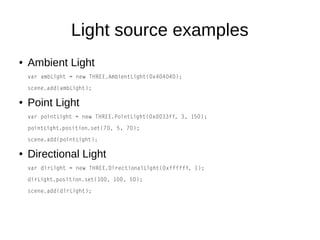
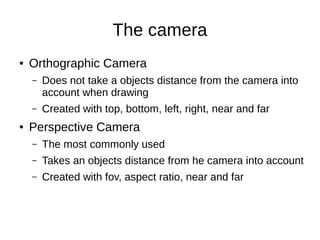
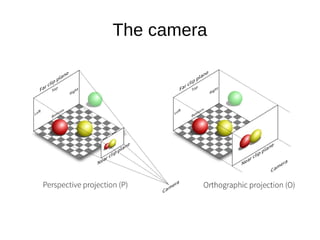


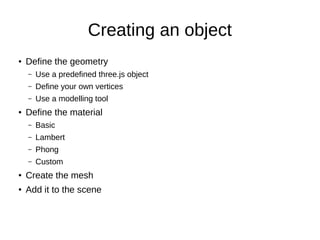


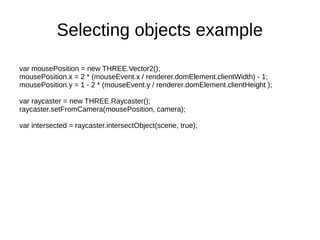


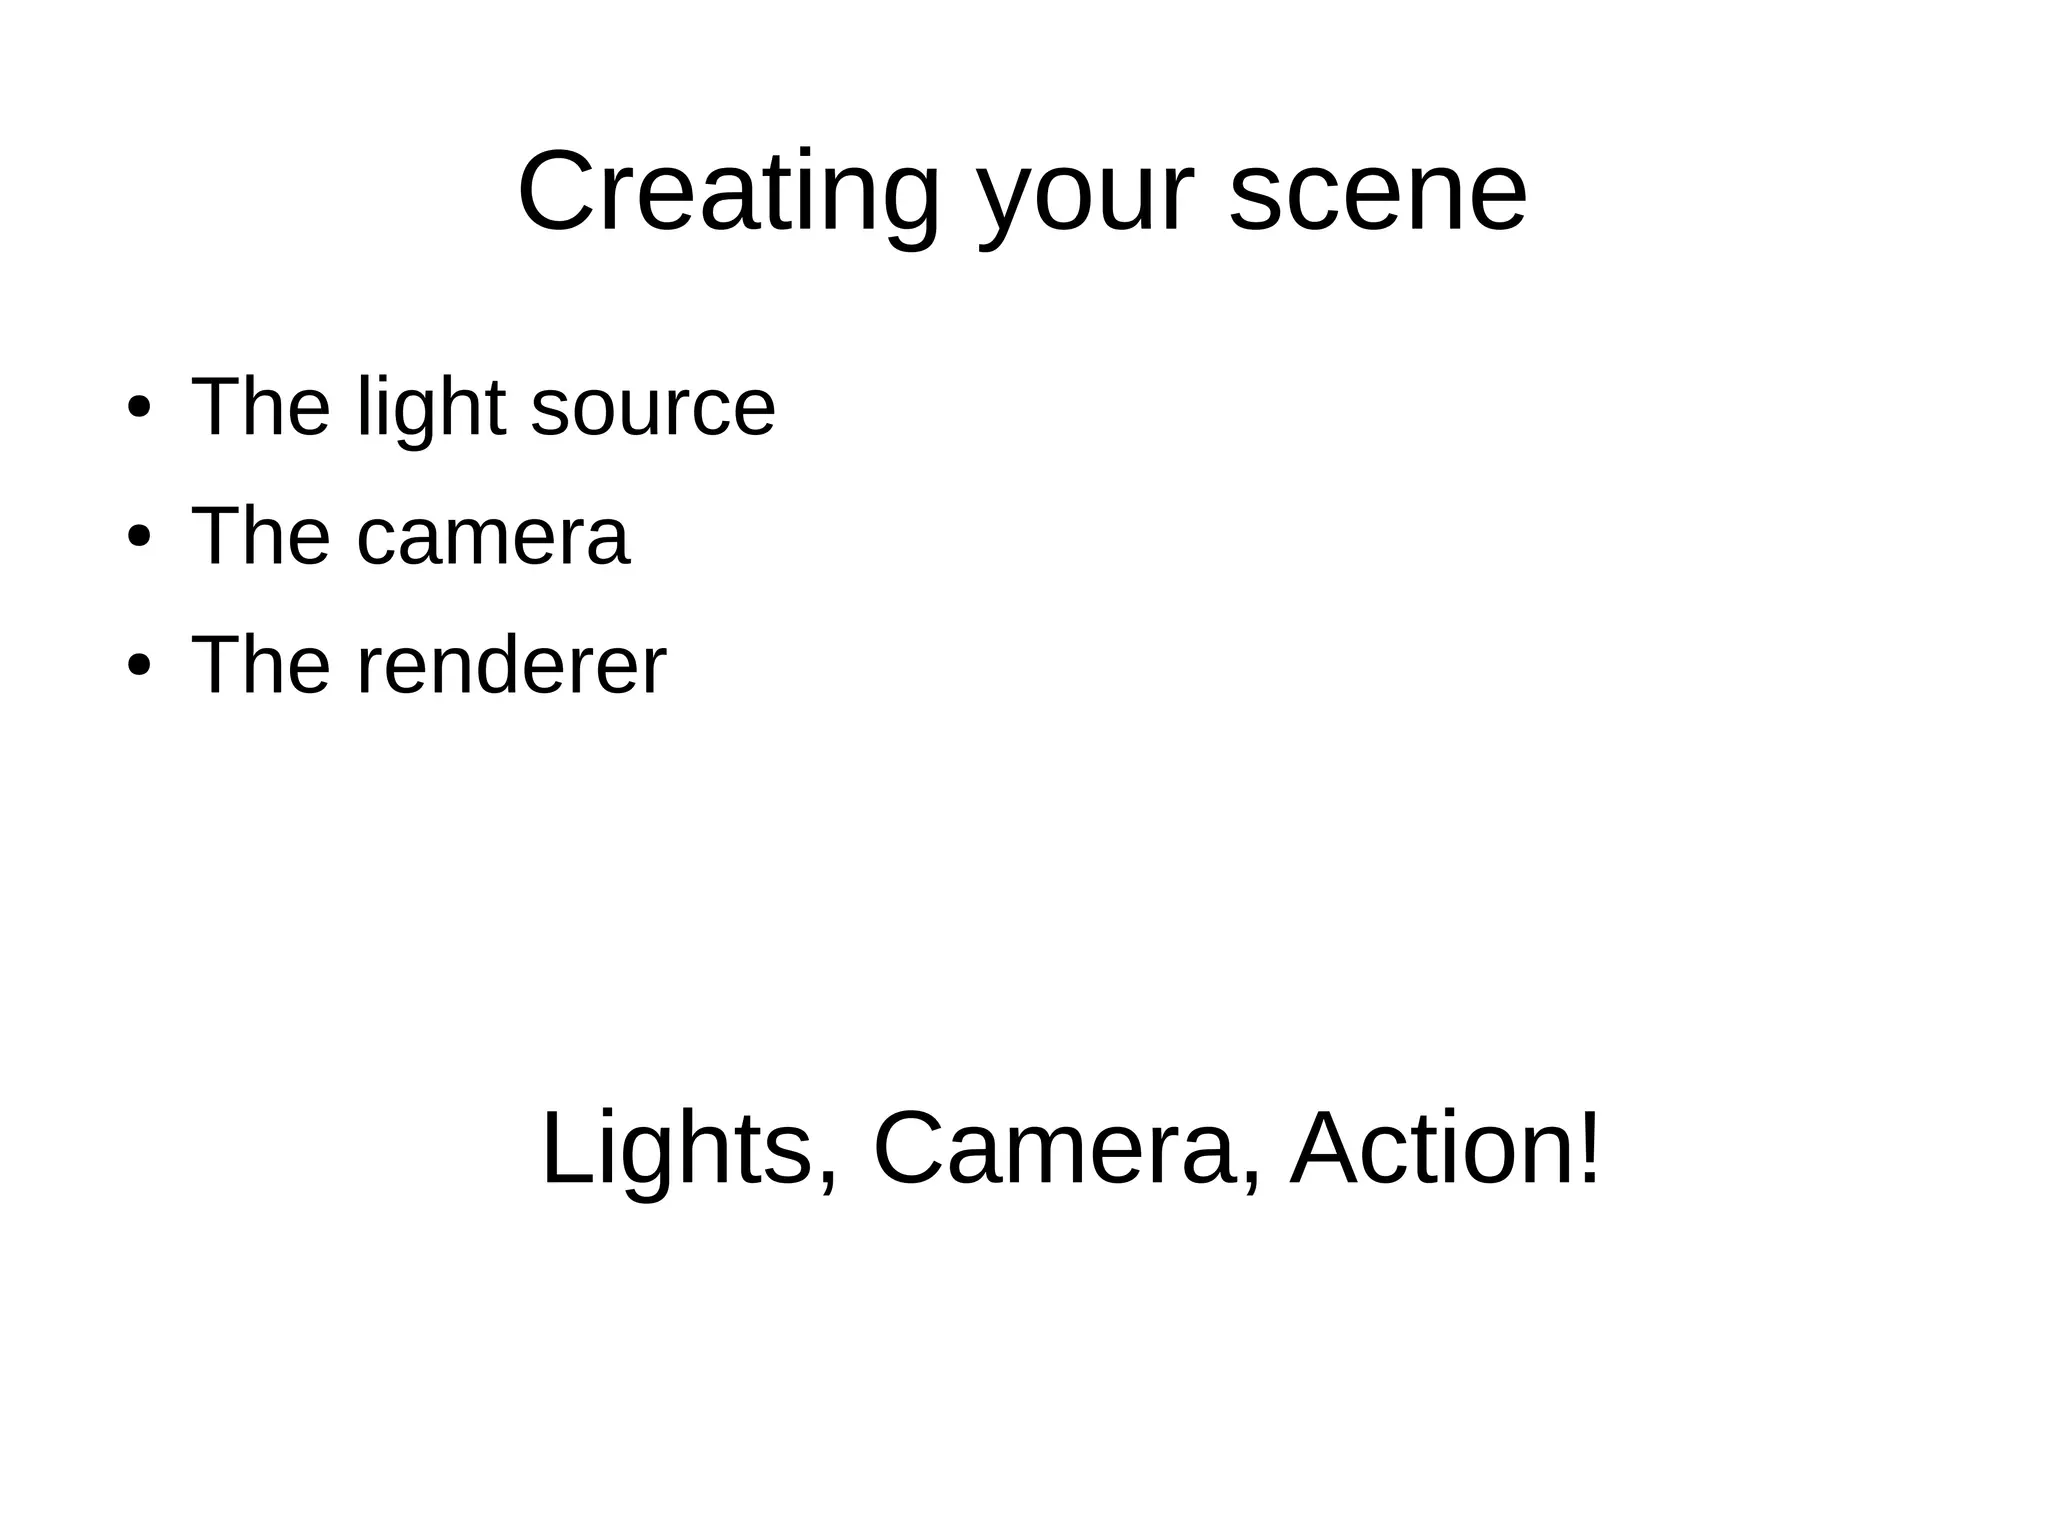


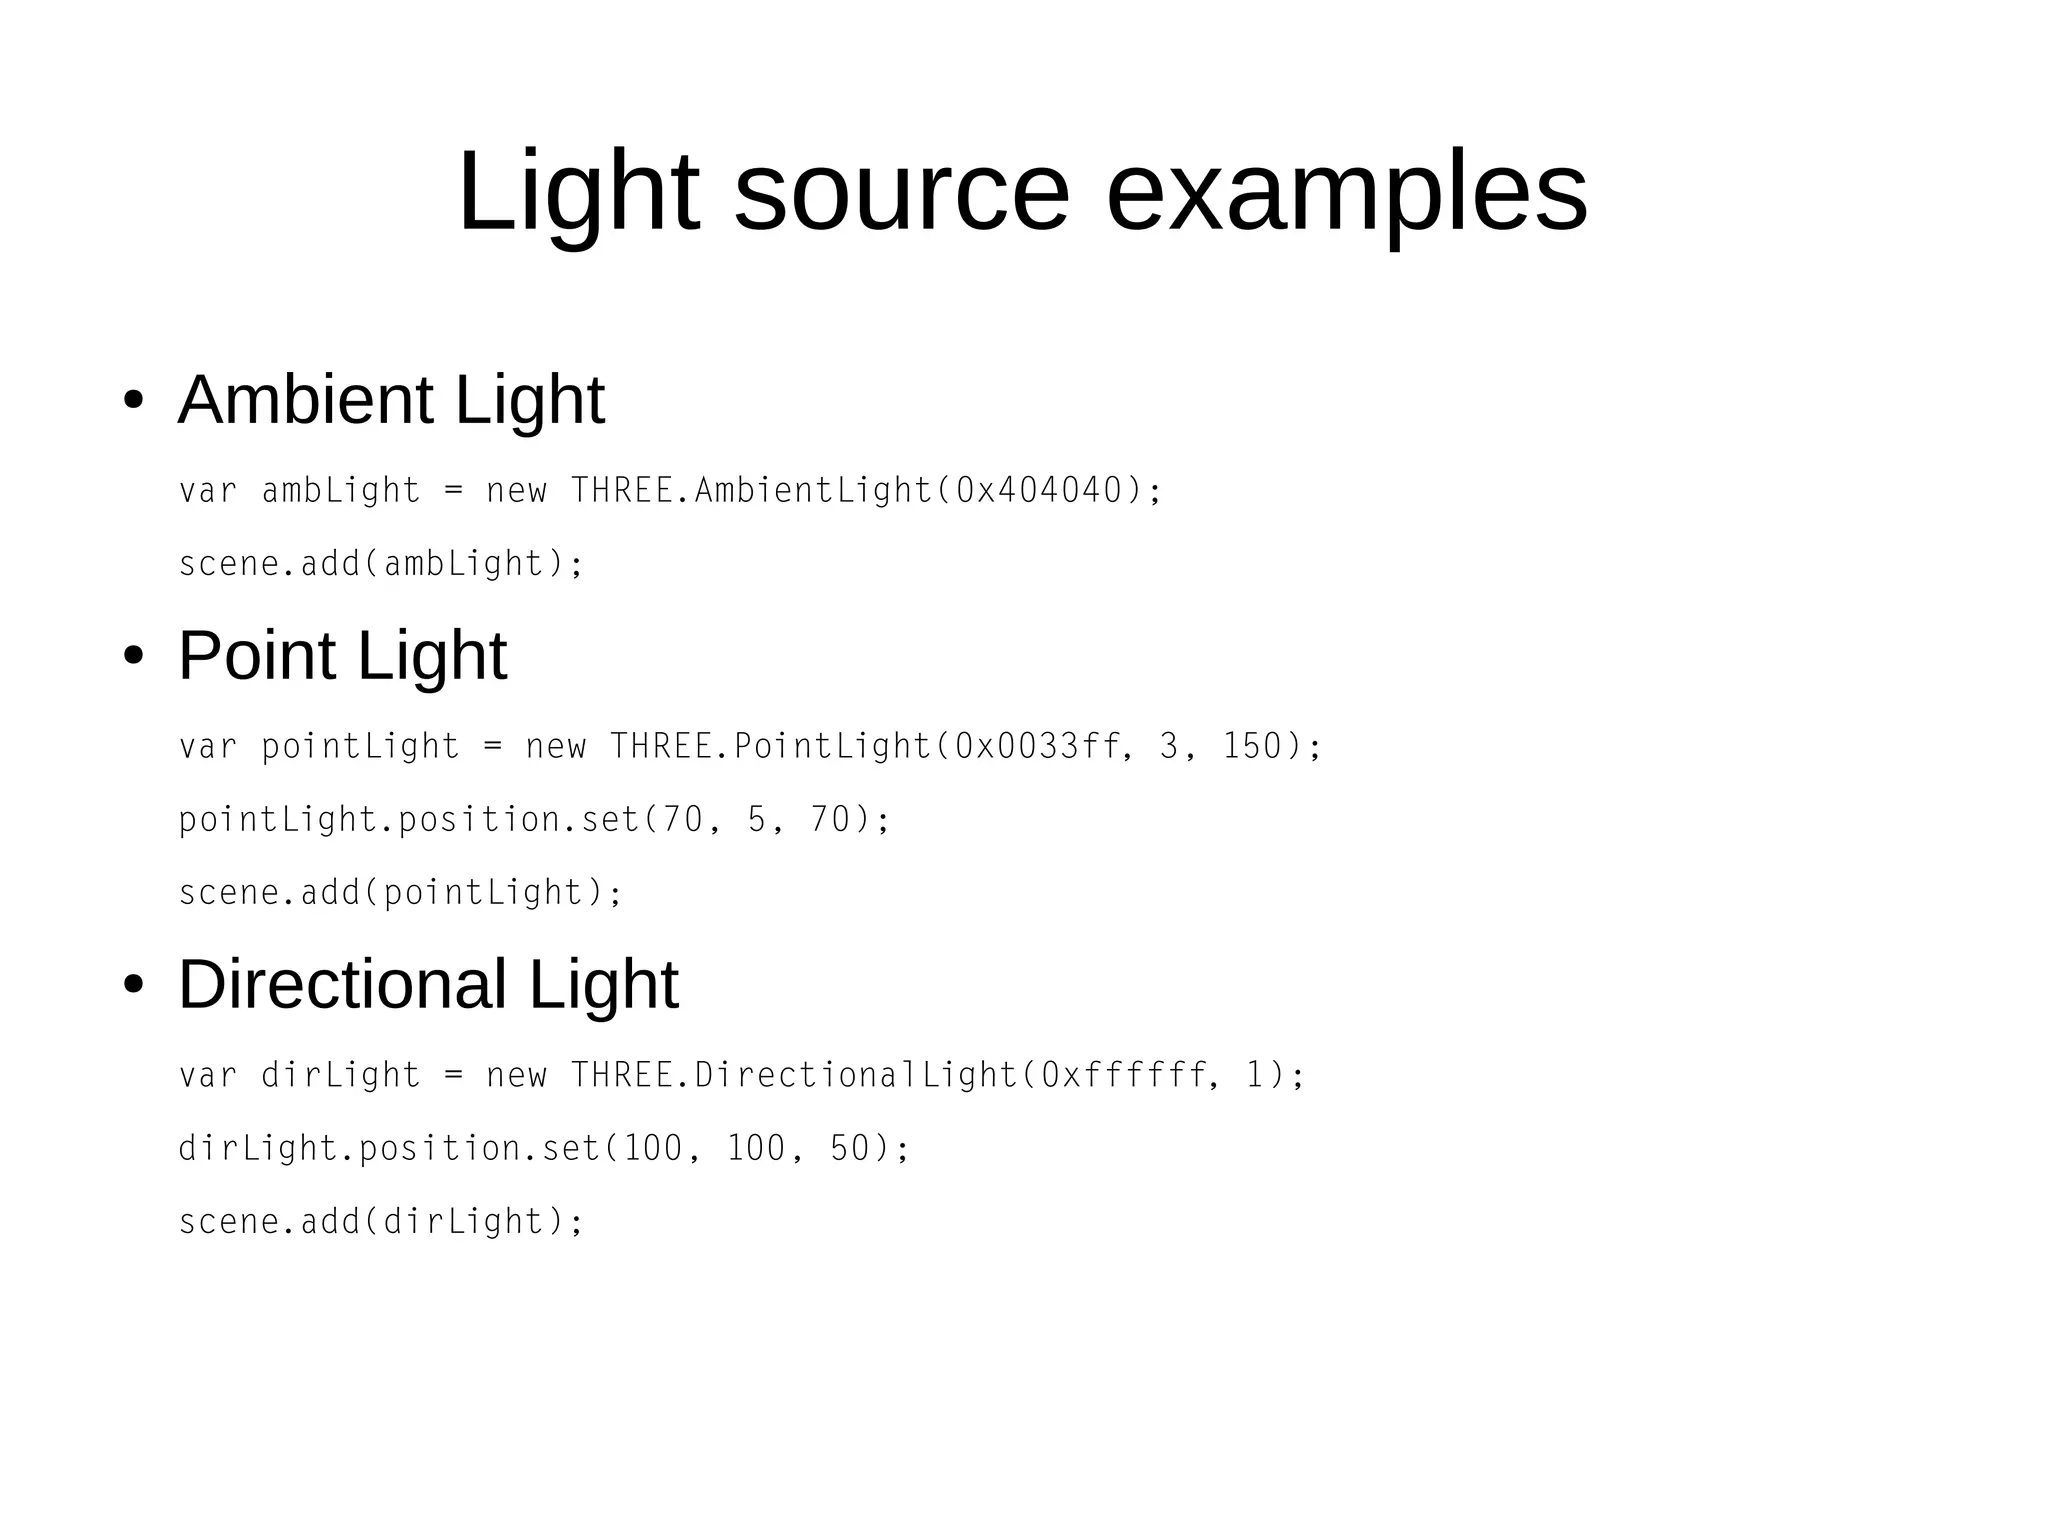


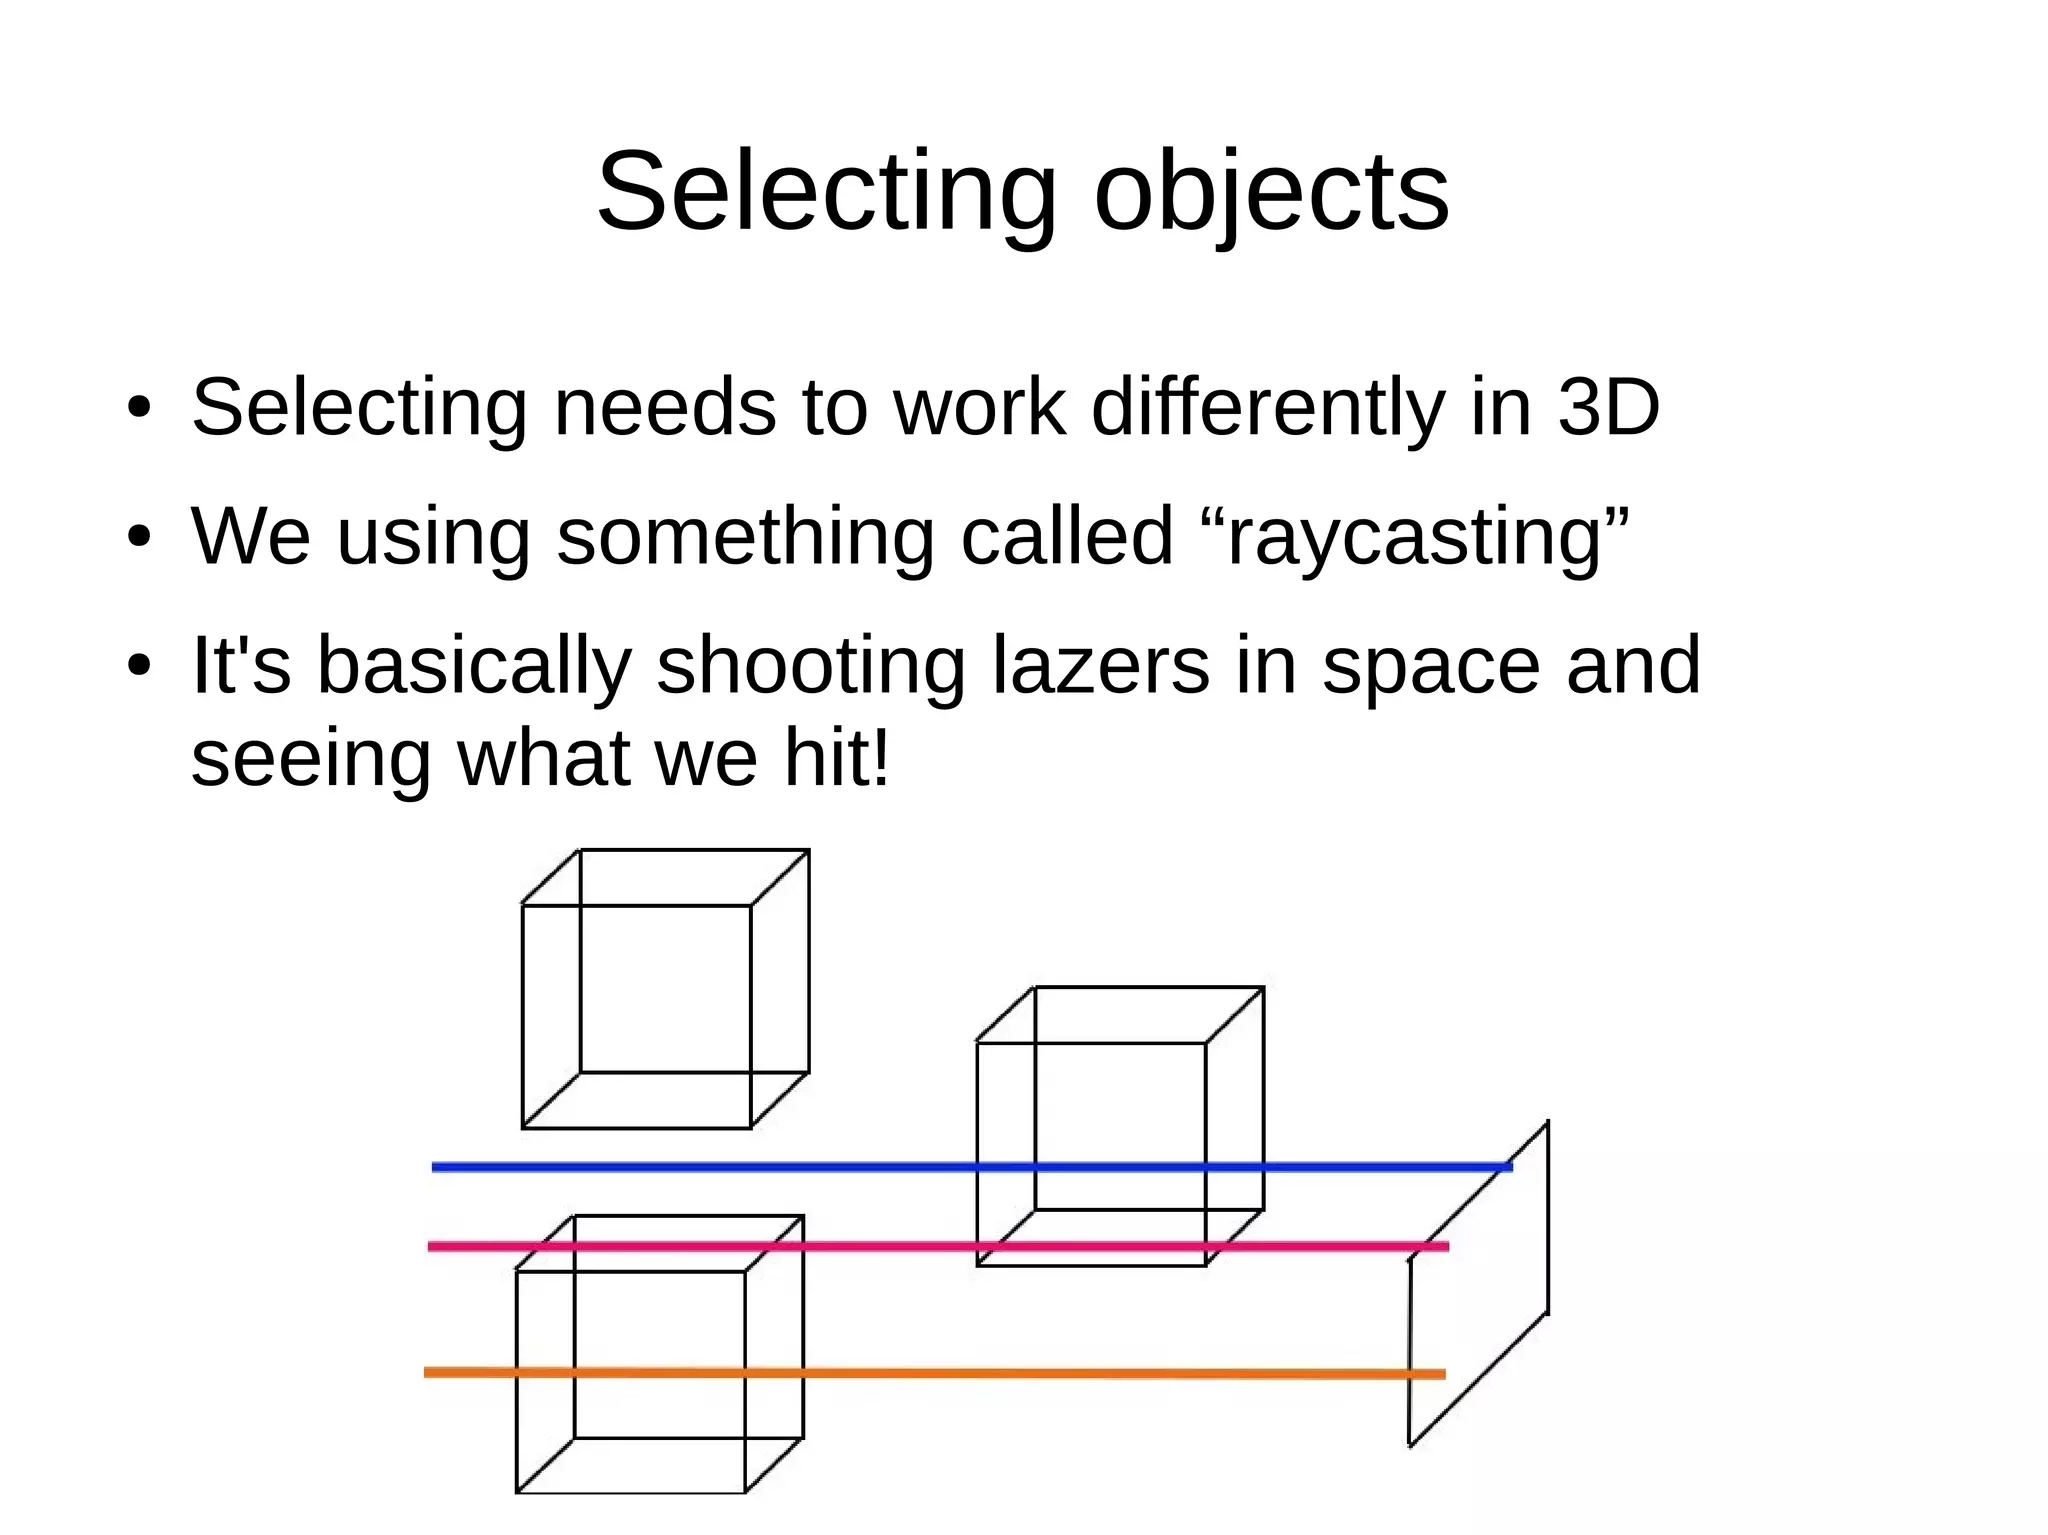


This document provides an introduction to creating 3D scenes using the three.js library. It discusses the key components of a 3D scene: the light source, camera, and renderer. Common light sources like ambient, point, and directional lights are described. Perspective and orthographic cameras are covered. The renderer draws the scene. Examples are provided for setting up a basic scene with these components and adding objects, animating objects, selecting objects using raycasting, and controlling the camera. Advantages of 3D web development using three.js include being browser-based and able to integrate with other web technologies.


![3D Web Programming [Thanh Loc Vo , CTO Epsilon Mobile ]](https://cdn.slidesharecdn.com/ss_thumbnails/thanhlocvo-3dprogramming-131125060122-phpapp02-thumbnail.jpg?width=600ounds&width=560&fit=bounds)


